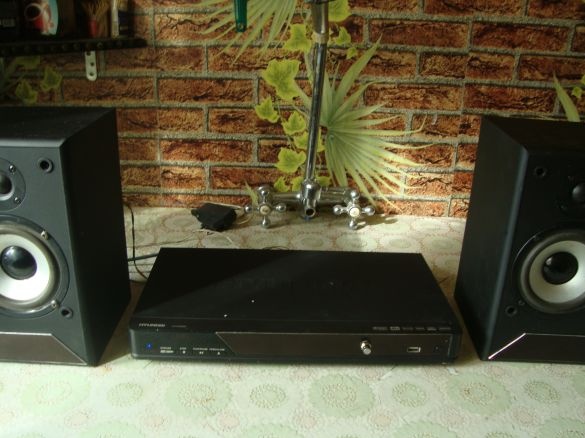
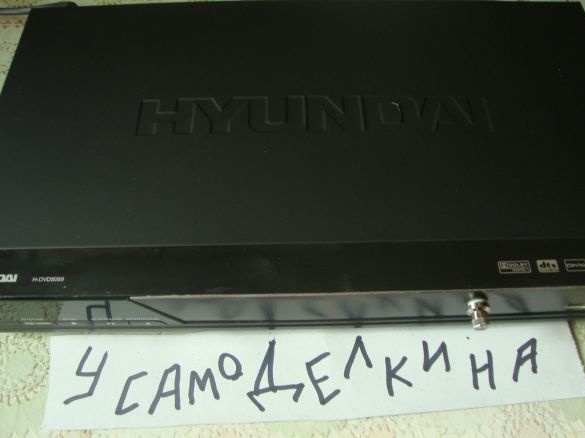
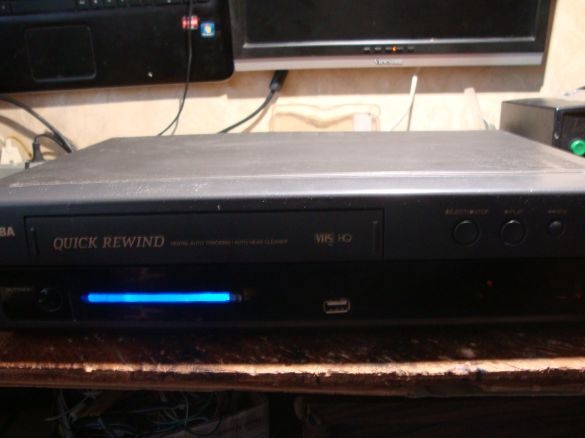
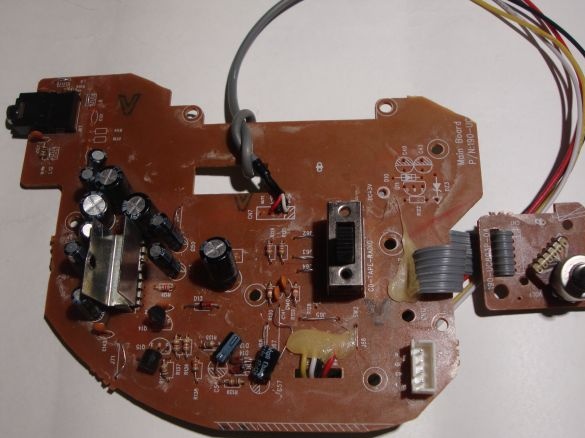
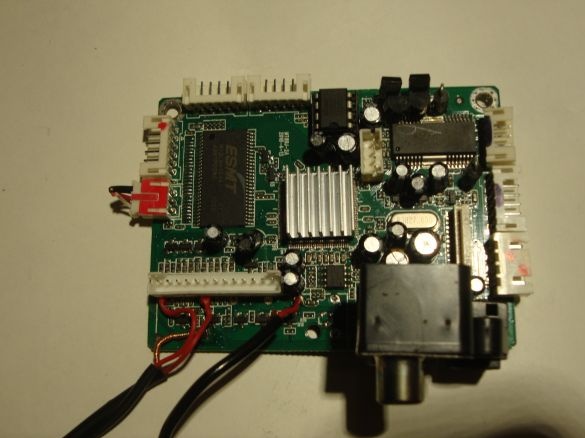
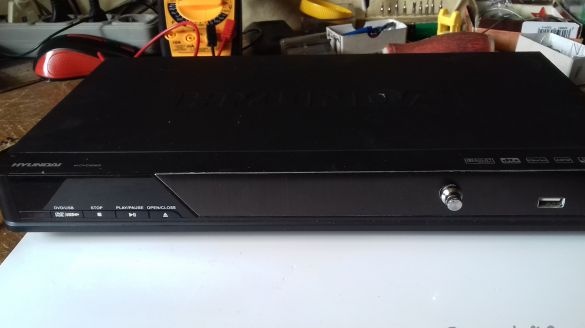
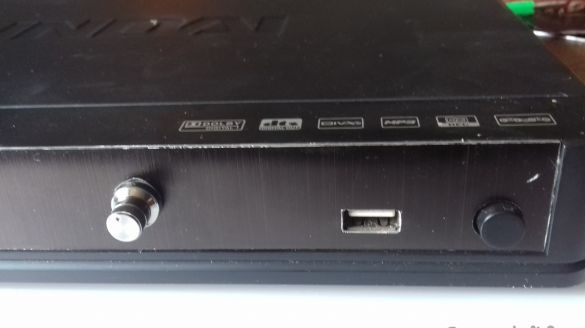
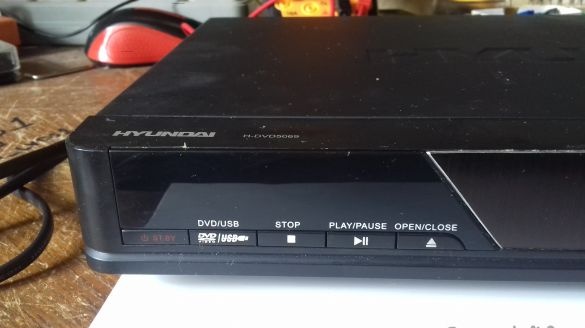
Hello. Each house is probably either lying somewhere in the pantry, on the mezzanine, or just what we need for the next homemade. Namely: a DVD player and some boombox / tape recorder. And of these, we will make a fully functional amplifier.
To do this, you will need:
Dvd player
Amplifier from an old boombox or tape recorder or any other ULF (homemade for example)
6-pin on / off switch (I have a toggle switch)
Mains switch 220 v (Most DVDs already have one)
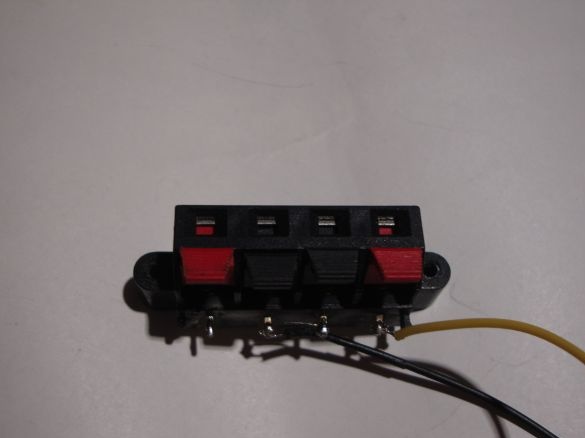
Acoustic connection pad
Soldering iron with accessories
Mounting wire
Drill
Dremel or similar shredding tool
Multimeter
And other screwdrivers, wire cutters, strippers, scalpels ...
So let's get started.
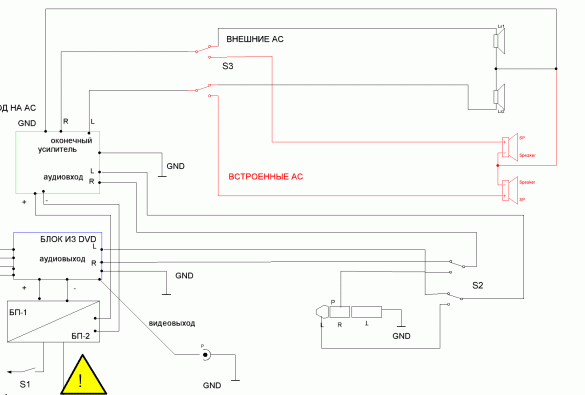
Since everyone has different devices, it makes no sense to bring a specific circuit and layout, so I outlined a block diagram that makes it easy to understand what and where.
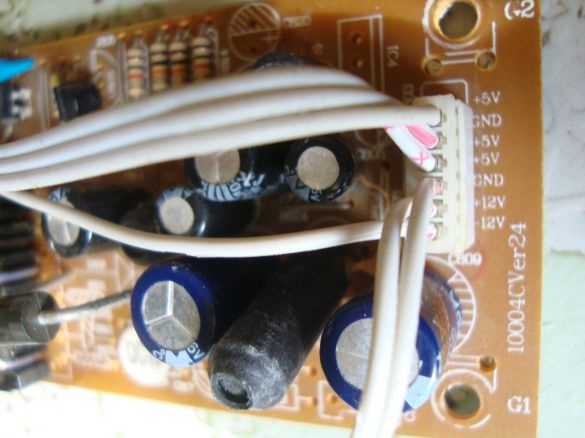
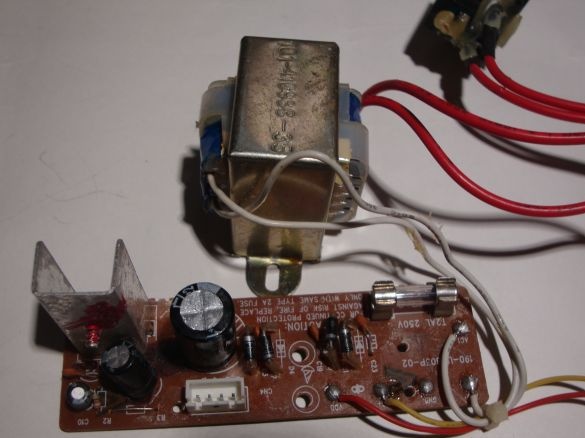
I’ll explain a little: Two PSUs are needed if you are assembling a powerful amplifier, in this case the DVD PSU will not bear the load, but if the power as in my case does not exceed 15 W, then the DVD feeder can handle it, it’s very easy to take voltage from it: more often all on the output block all voltages are signed:
Just solder to the necessary +12 and GND and that's it. Well, or call with a multimeter.
However, if the sound is distorted when the volume is increased, it is better to power the amplifier unit separately.
Further: the option with internal speakers is highlighted in red on the diagram, if the case size allows and there is a desire, then the native speakers from the boombox are placed inside, and in order to output sound to external speakers, you need to install an additional switch S3. If this is not necessary, then the highlighted in red can be ignored. Here, by the way, is the option with built-in speakers in the case from the VCR, but I did not like it, the sound is like from an iron.
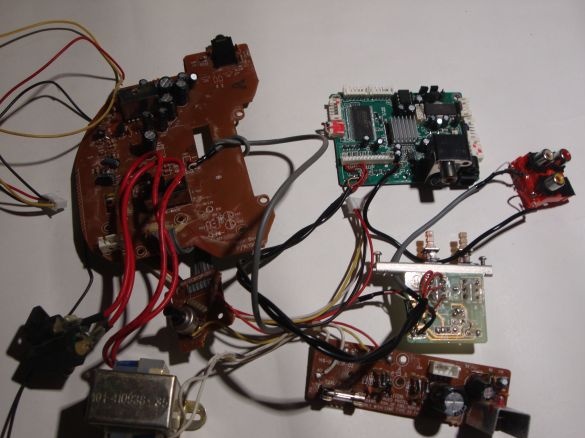
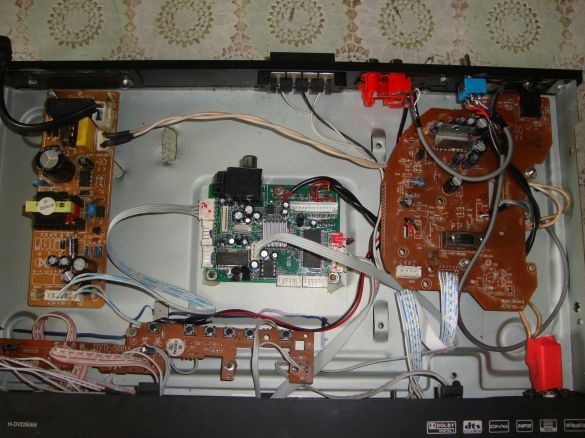
We continue. Now we disassemble and carefully remove the insides from our experimental subjects and lay them on the table
We throw out the unnecessary DVD-drive, an amplifier will fall into its place.
Getting to the assembly. To begin with, let's figure out how all this will be located in the case and drill-cut the necessary holes, then on the knee we solder according to the scheme everything in a heap, as in the photo above, we again figure it out:
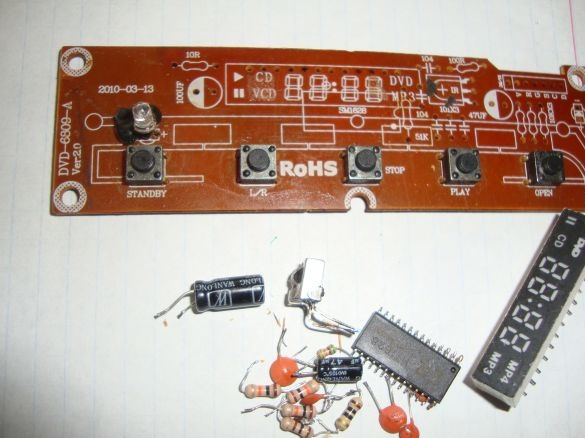
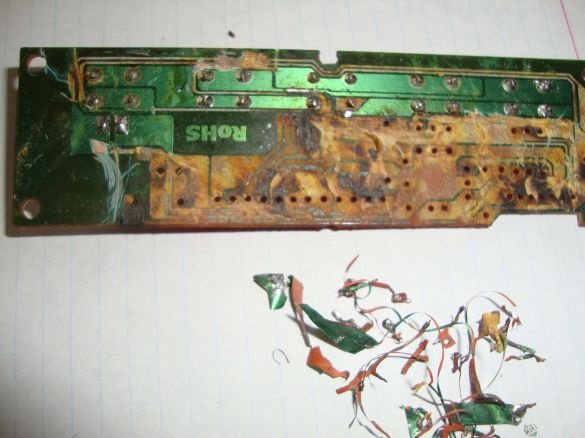
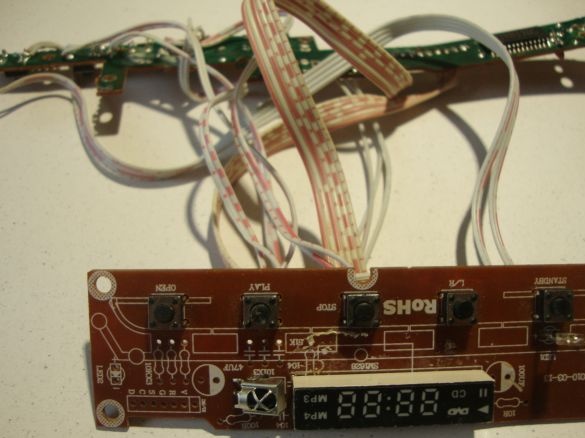
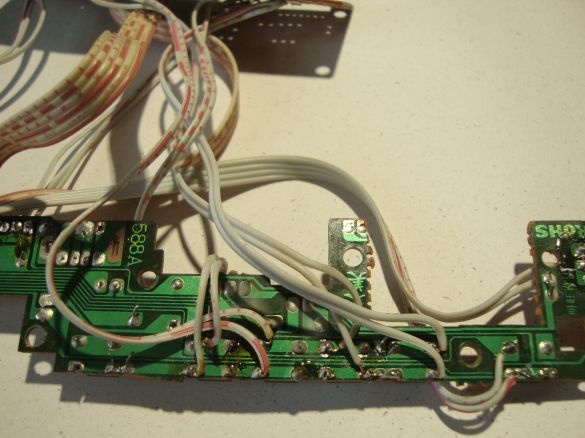
A few nuances: since I have a non-native case, I had to resort to such a barbaric method to get control on the front panel: I hid the panel with buttons and an indicator from the working DVD inside the case, and using the cable of wires I soldered the extension cords to the existing buttons, so - the indicator popped out and stuck it where it should be on the extension cable. To do this, removed all unnecessary radio elements and foil, left only the buttons and the LED
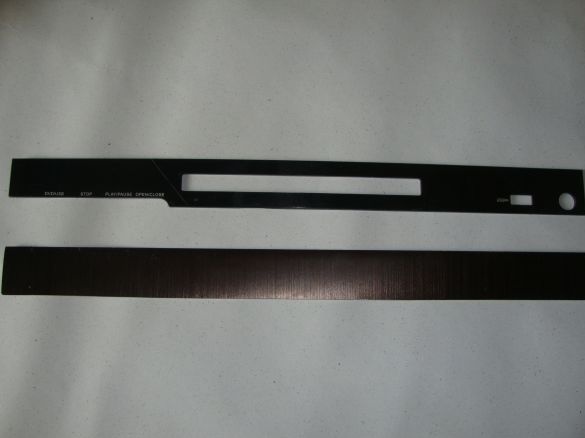
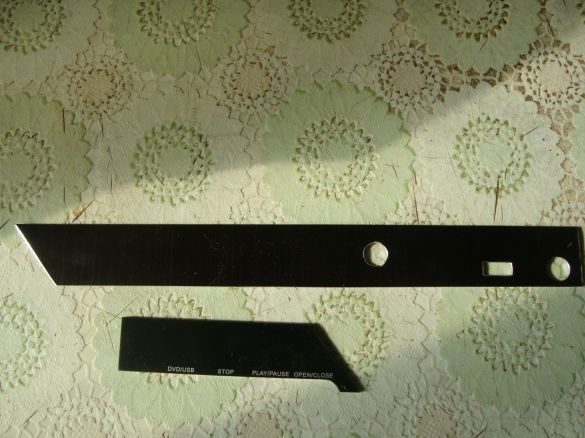
Well, if you assemble in your own building, then you will not need such perversions. Just leave everything in regular places. Next, ennoble the hull. Since there is a gap left from the discarded drive, this is not comme il faut. The aluminum top cover from the laptop caught my eye. What you need! I remove the decorative cover with a slit from the body and from these two components I make a muzzle that looks pretty to me:
Further: since the dvd-yuk was karaoke, there was a hole from the microphone input, where the mains switch remarkably stood. Nearby in a regular place is a USB input. I drilled a new hole under the volume control.
I didn’t change anything on the left side, just cut off a piece of the old cladding and left it there
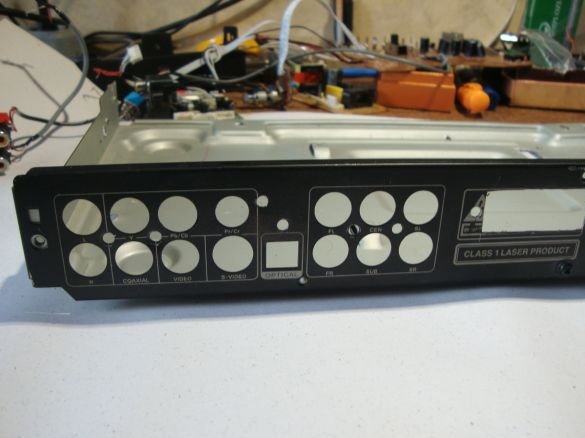
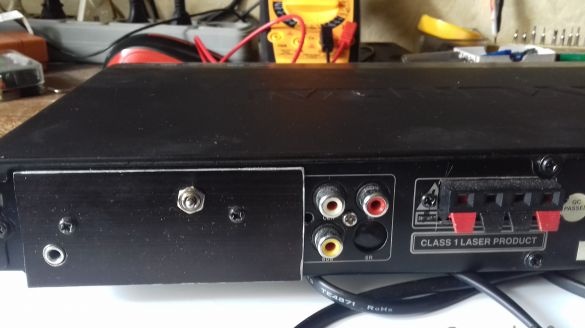
Further: there are somehow too many holes in the back
We’ll cover them with the same aluminum plate, as well as cut out the holes for the toggle switch, the headphone output and the speaker connection block:
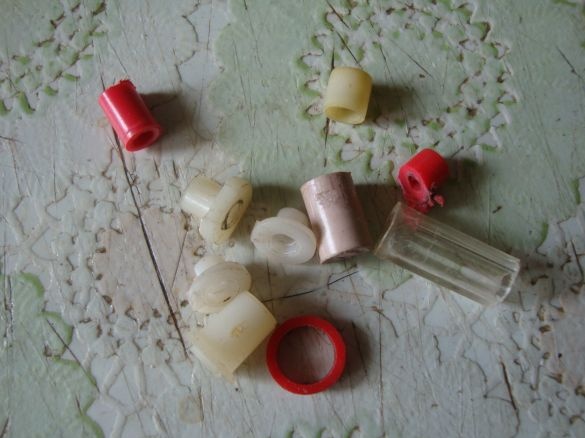
We drill the necessary holes for mounting the boards inside the case. We remember that the case is metal, and so in order not to short-circuit it, we raise the boards on the dielectric legs-washers, you can make homemade cut from anything, for example, felt-tip pens.
We fasten everything in place and once again go over the joints for proper assembly and if anything fell off during installation. If necessary, paint and assemble finally.
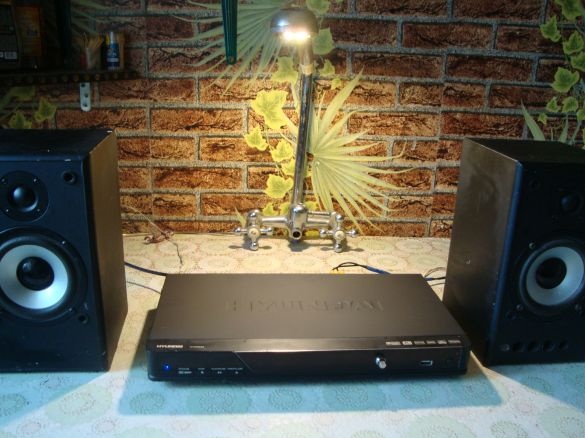
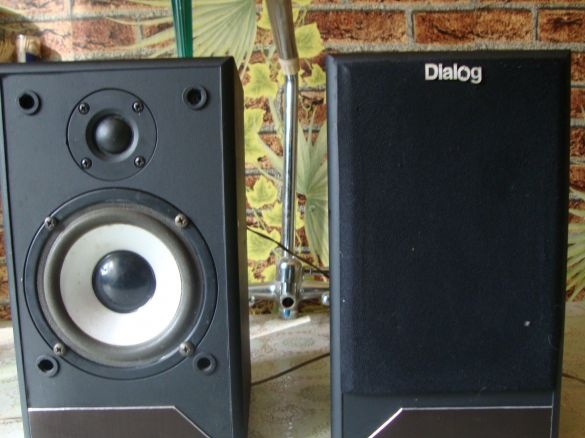
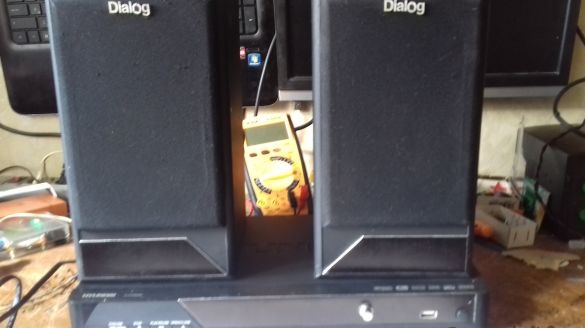
And we see that dialog polochniki with a torn amplifier and holes instead of it, by no means fit into the general layout. Well, well, we still have a lot of laptop covers.
That will be better! Well, that's all, good luck to everyone!


