
Hello everyone, in this instruction we will look at an example of how you can start an internal combustion engine on wood gas. Who knows, maybe this article will inspire you, and you will want to transfer your firewood car for agricultural use. As an experiment, we will run on wood gas an ordinary two-stroke engine, a motor from a chainsaw, a chainsaw and other equipment will do. It is very simple to assemble a furnace for converting solid fuel to gaseous using waste material.
The principle of the formation of combustible gas is very simple. If you put the firewood in a sealed container where oxygen does not enter, and then heat the fuel from the outside, it will start to smoke, and the smoke is nothing more than evaporation. Of course, ordinary smoke from a fire is not combustible, because everything that could burn there has already burned in the fire. In our smoke, which will come out of the furnace, there will be many combustible resins and other compounds.
Such fuel can be used to power an internal combustion engine, used to power a burner, and so on. So, we will consider in more detail how to conduct such an experiment.
A few words about the engine
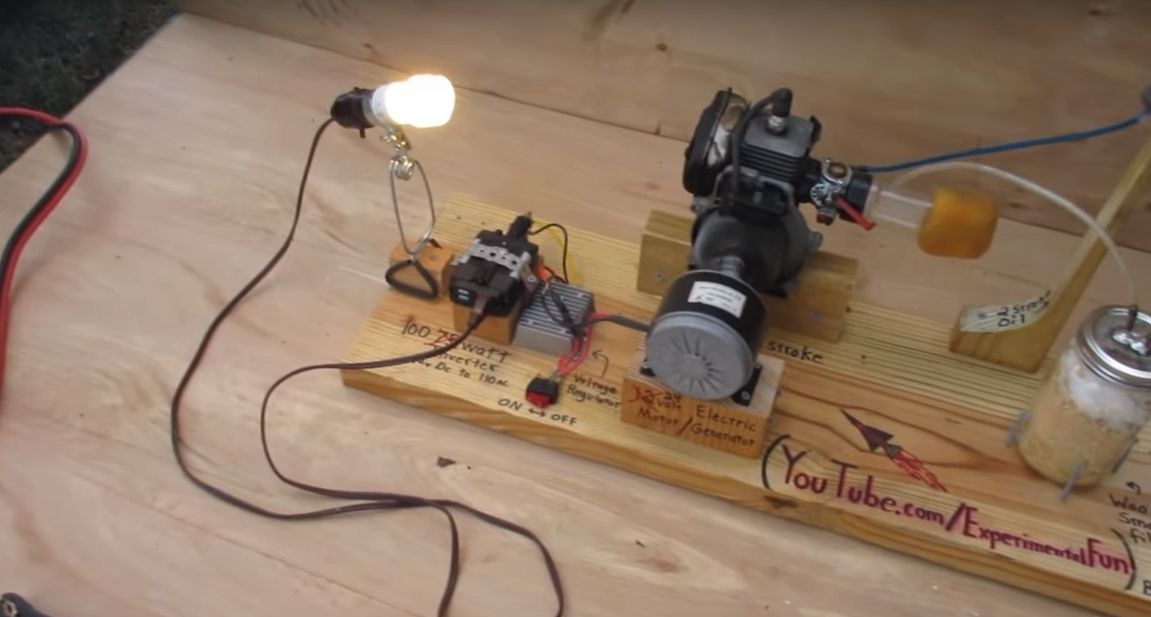
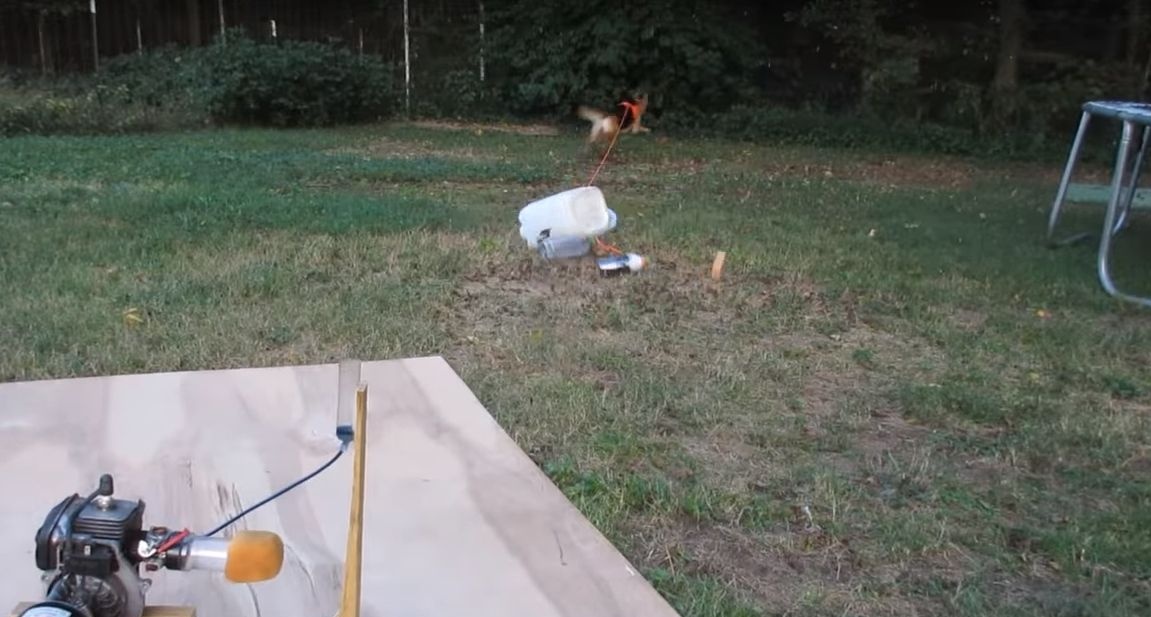
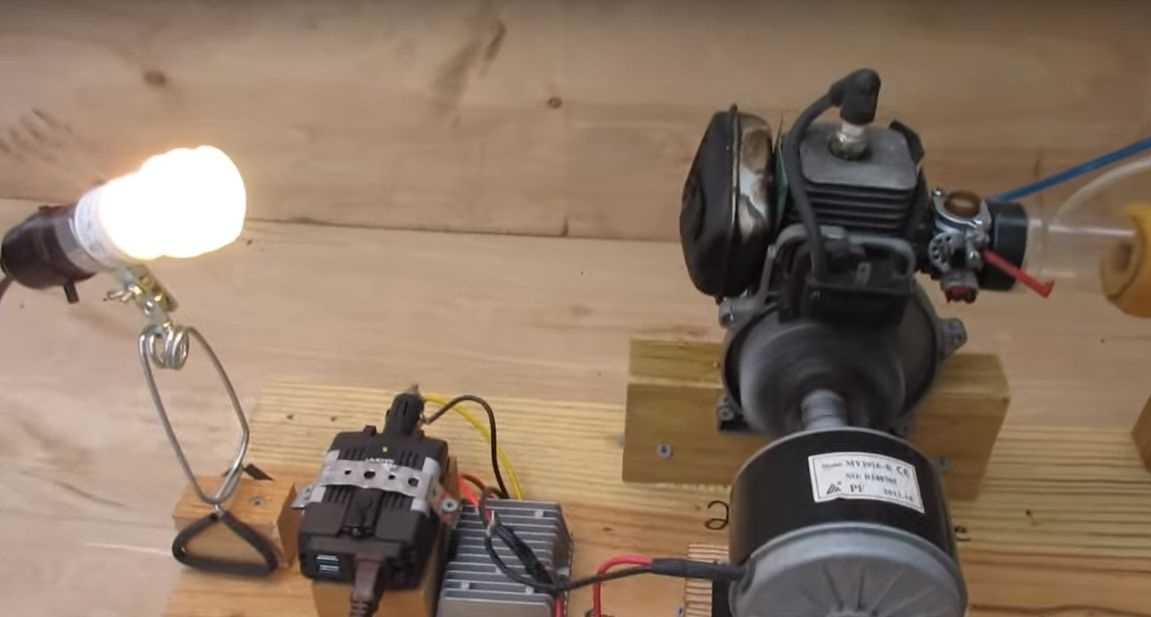
The author already had a platform on which an engine with a generator was installed in advance. This design was used to power the engine with hydrogen, which I talked about. All that part homemade, which was responsible for the production and supply of gas, was dismantled with the help of a faithful friend - the shepherd.
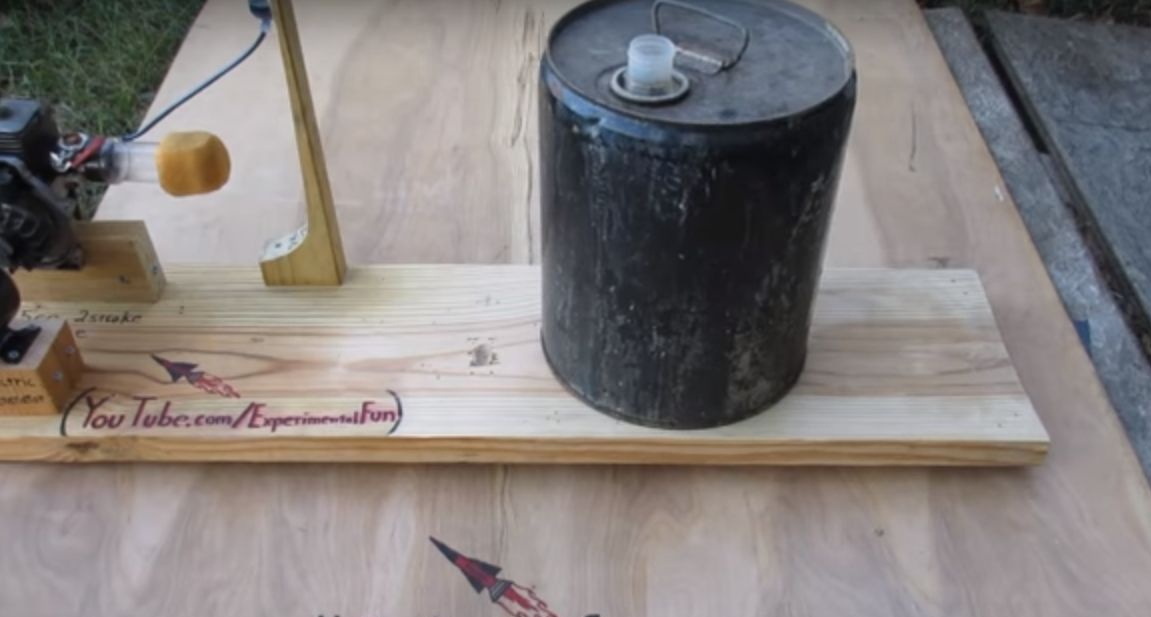
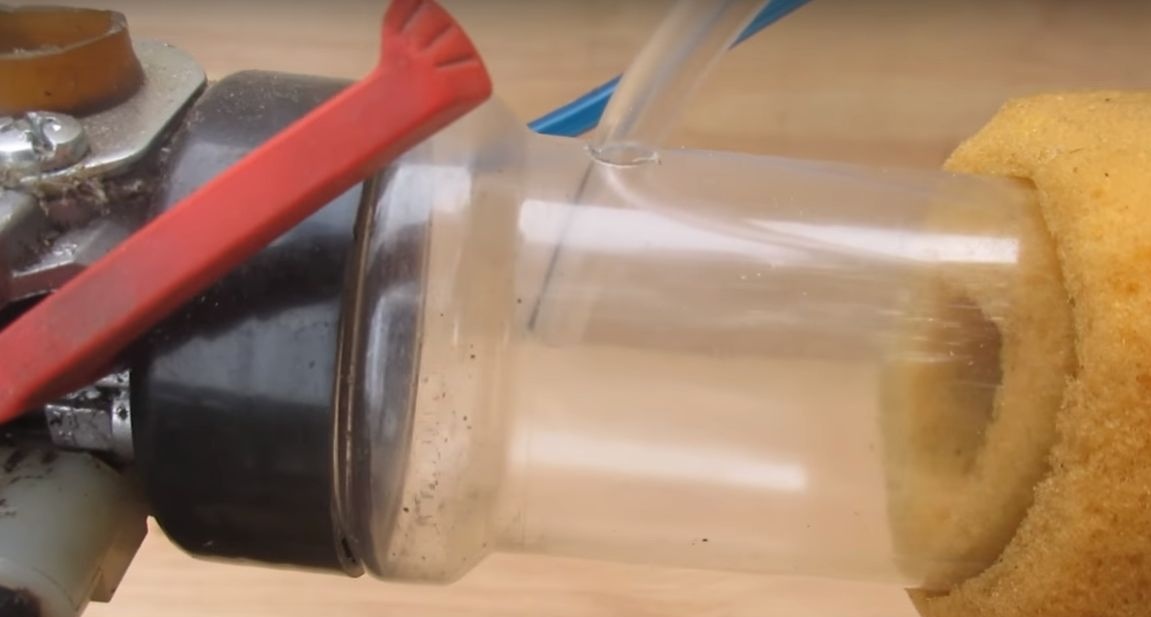
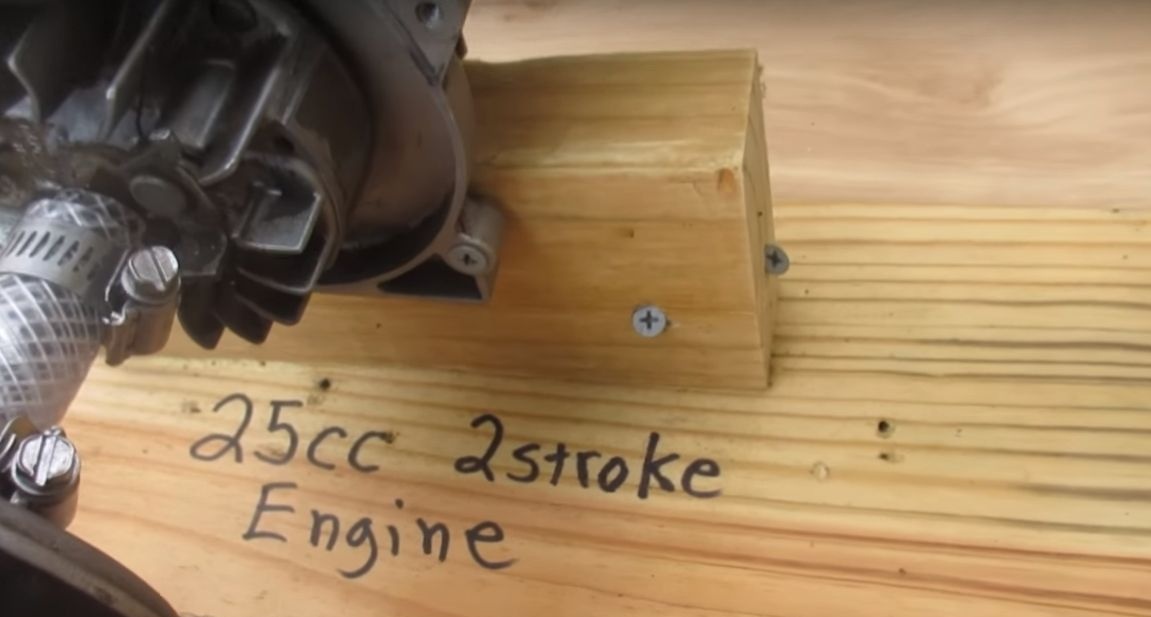
A two-stroke engine must be lubricated, the author decided this issue by feeding oil to the carburetor. To supply gas, you need to adapt the adapter to the carburetor, which is made from a small plastic jar.

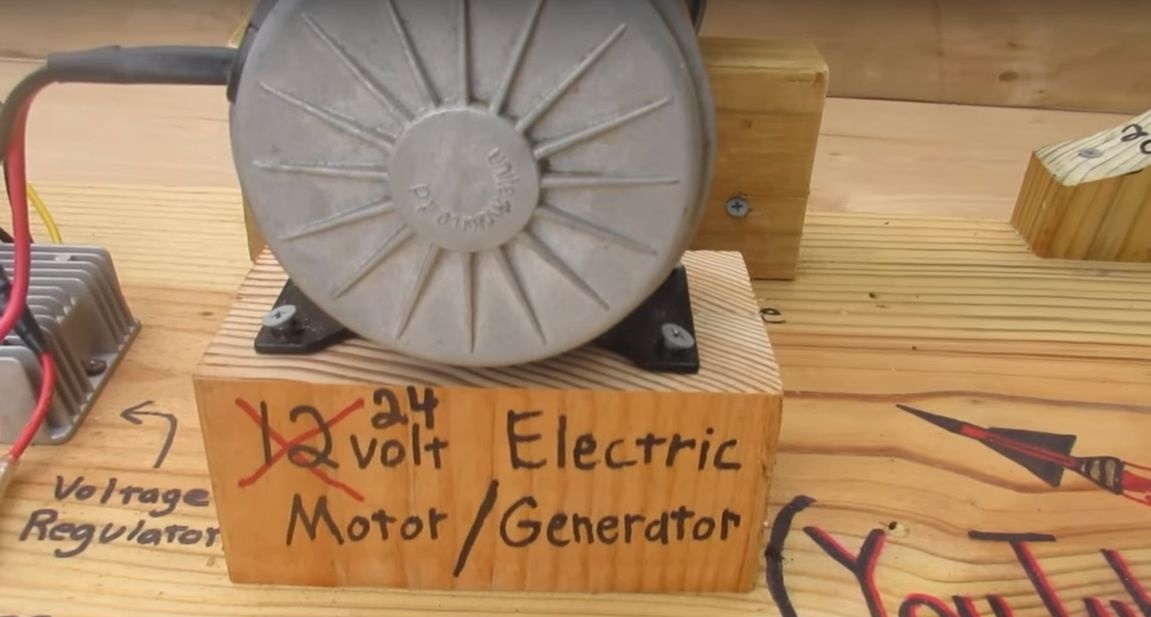
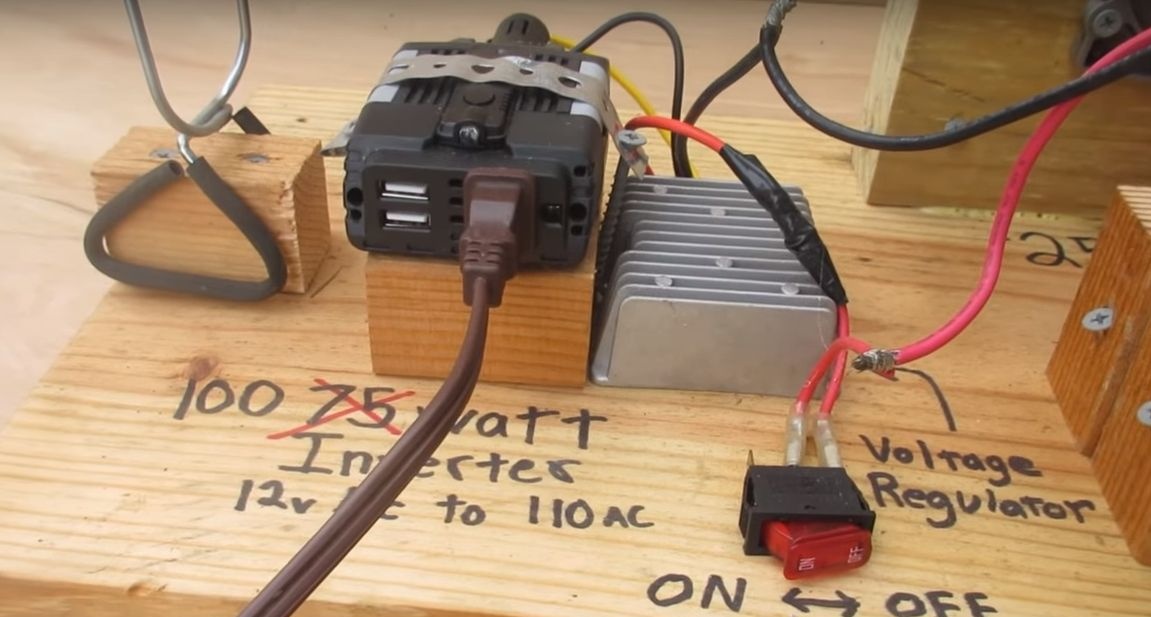
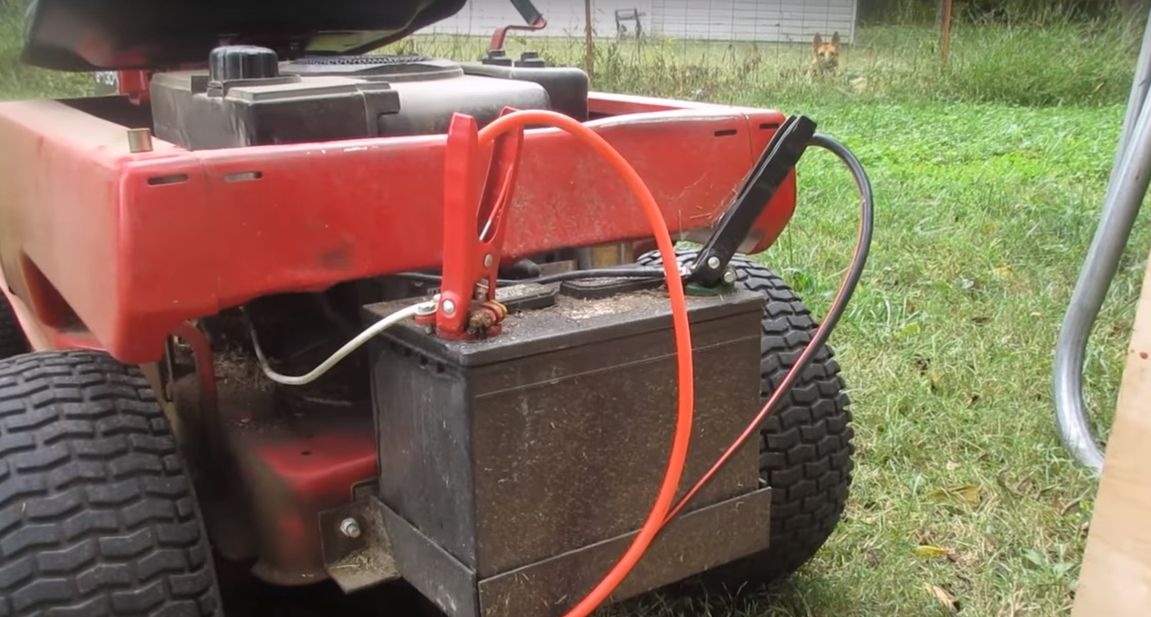
An electric motor is connected to the shaft of the internal combustion engine. It is used as a starter, and then as a generator. The whole thing starts up with a 12V battery. An inverter is connected to the generator, with which you can raise the voltage to 220V and connect various household appliances. The author decided to connect a light bulb for demonstration.
Materials and tools that the author used to make the gas generator:
Material List:
- old metal canister;
- a piece of pipe;
- a metal can with a tight cover;
- copper pipe (for heat exchanger);
- various plumbing fittings;
- two cans with sealed steel lids;
- rubber hoses;
- tap and piece of metal pipe (for burner);
- tee for hoses;
- self-tapping screws;
- cold welding;
- thin sheet steel.
Tool List:
-, solder, flux;
- screwdriver;
-
- grinder;
- spanners.
The manufacturing process of the device:
Step one. Let's start with the stove
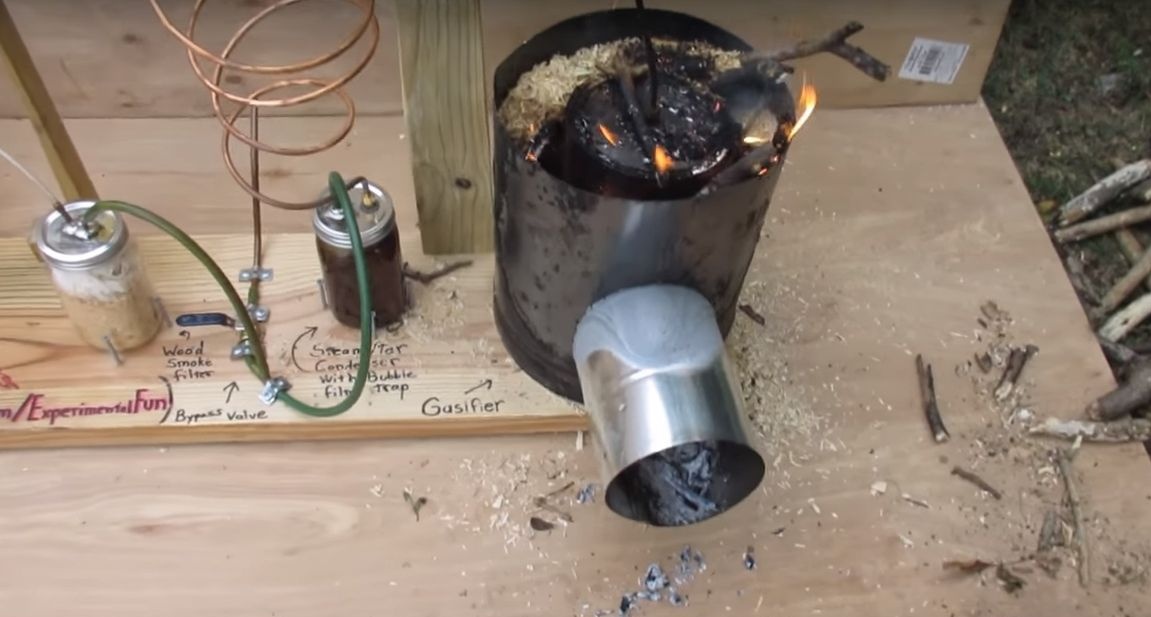
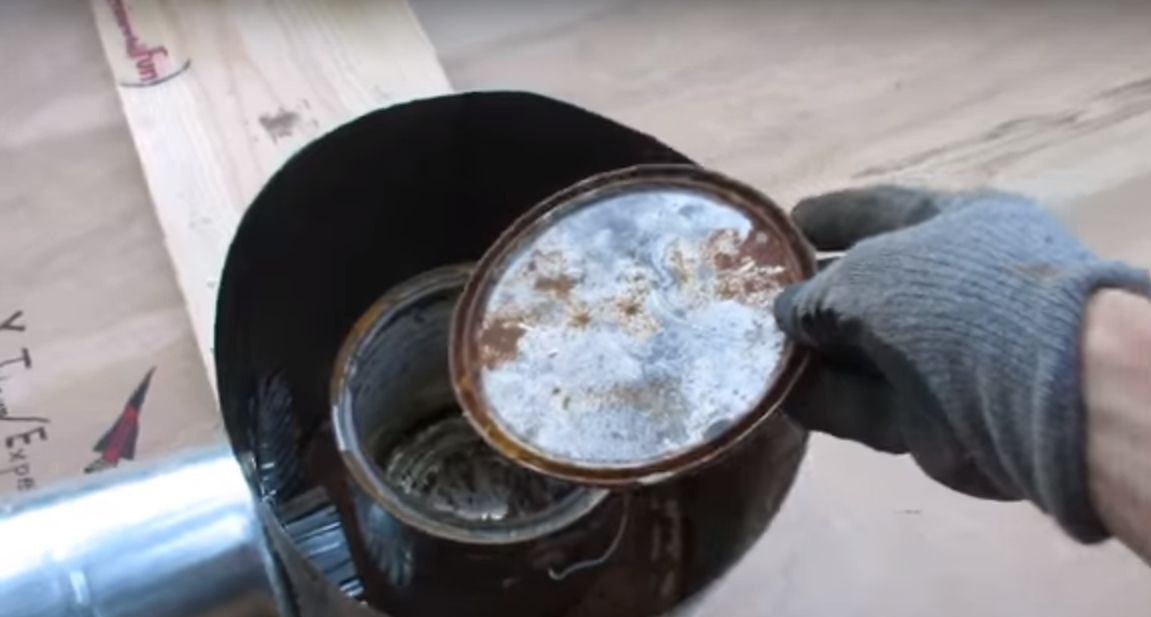
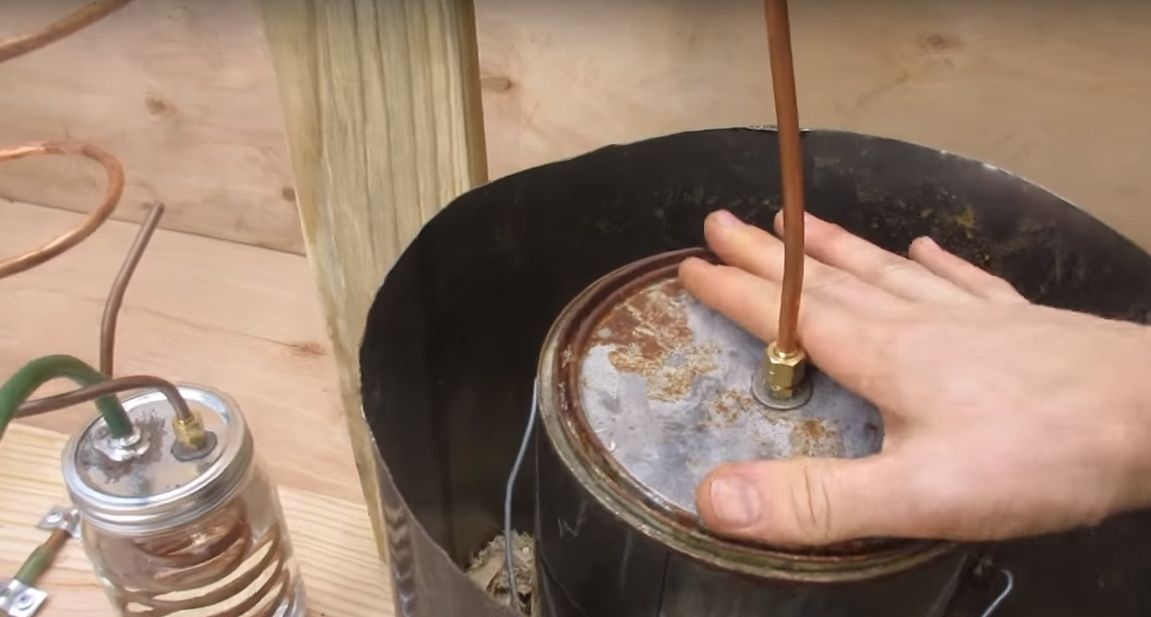
The furnace consists of two chambers, internal and external. Fuel is poured into the inside, which is then converted into combustible gas, this container is hermetically sealed. As for the outside, fuel is laid in and burned, which heats the central container with firewood.
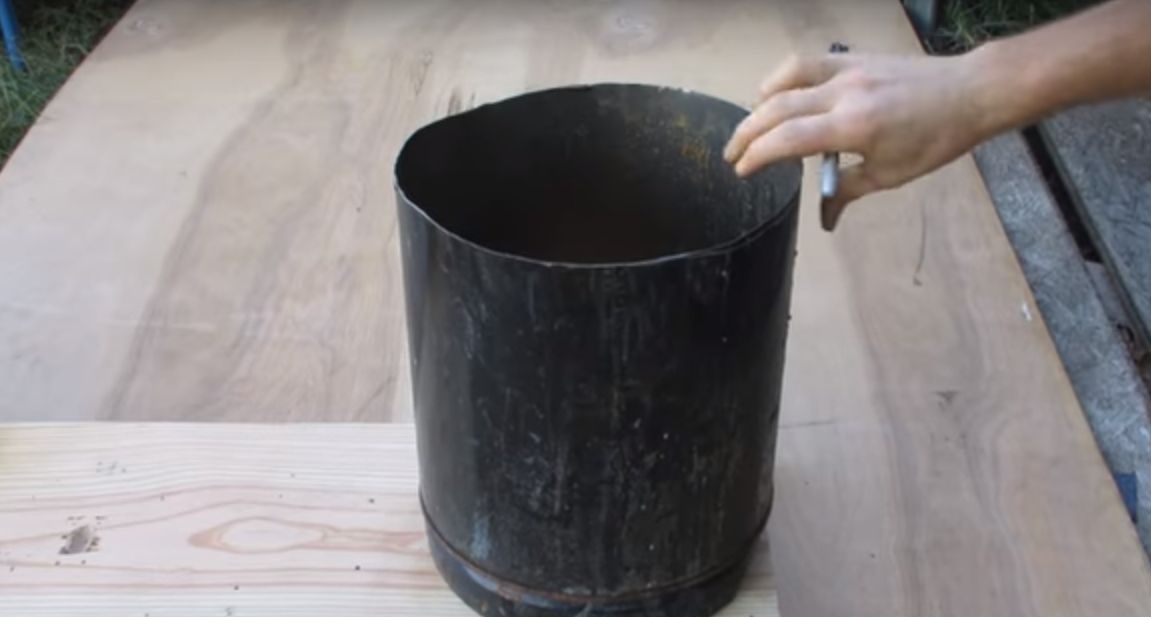
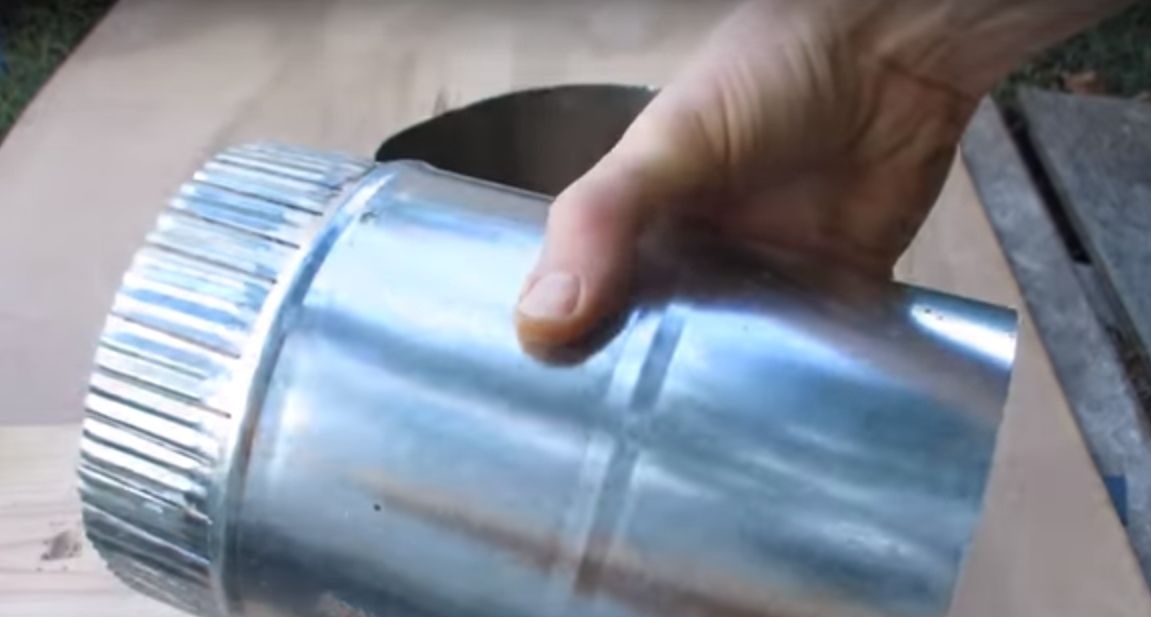
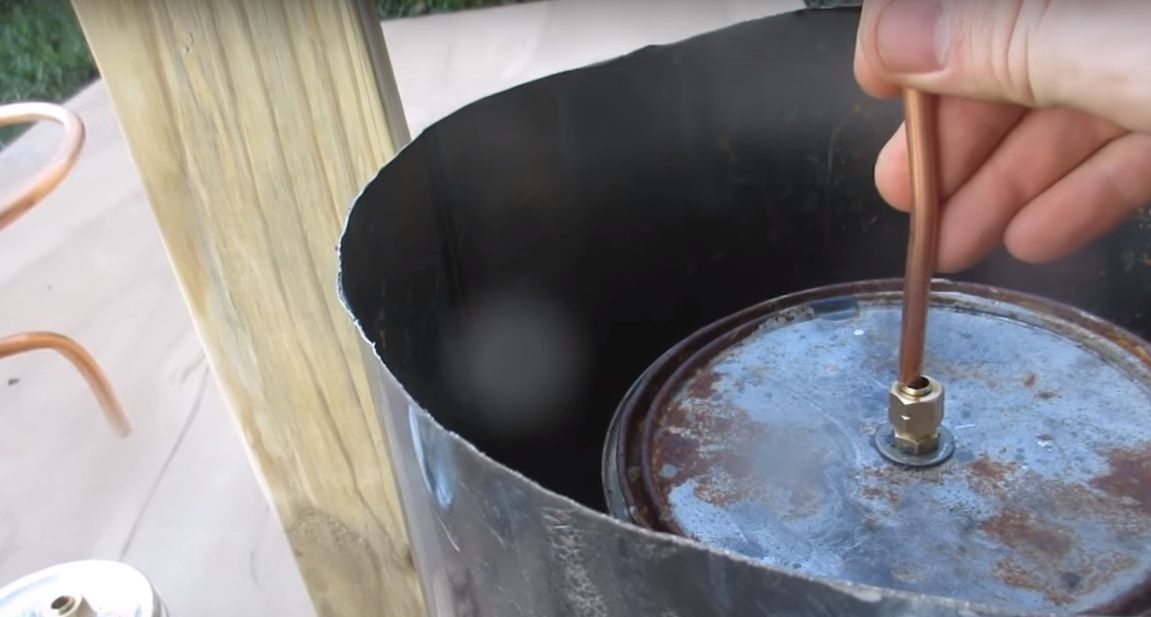
First of all, you will need a metal canister or something similar. The author cuts off the neck of the canister with a grinder and fastens it to the base, as a result we get a kind of pallet that will not allow a wooden base to catch fire. We put the cut-off canister on top.
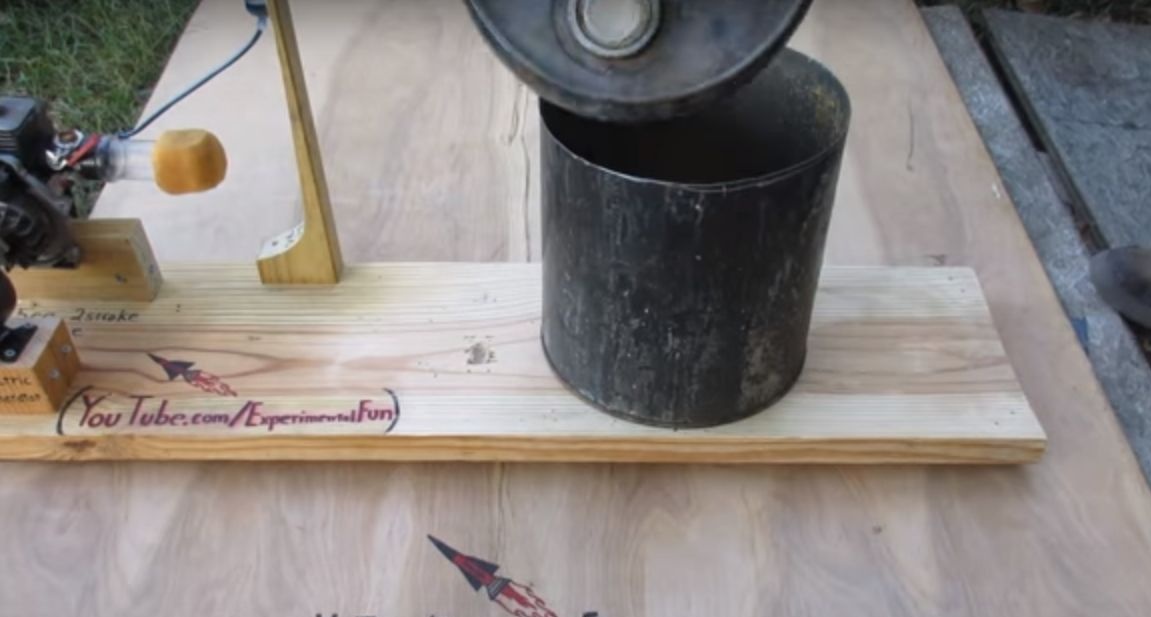
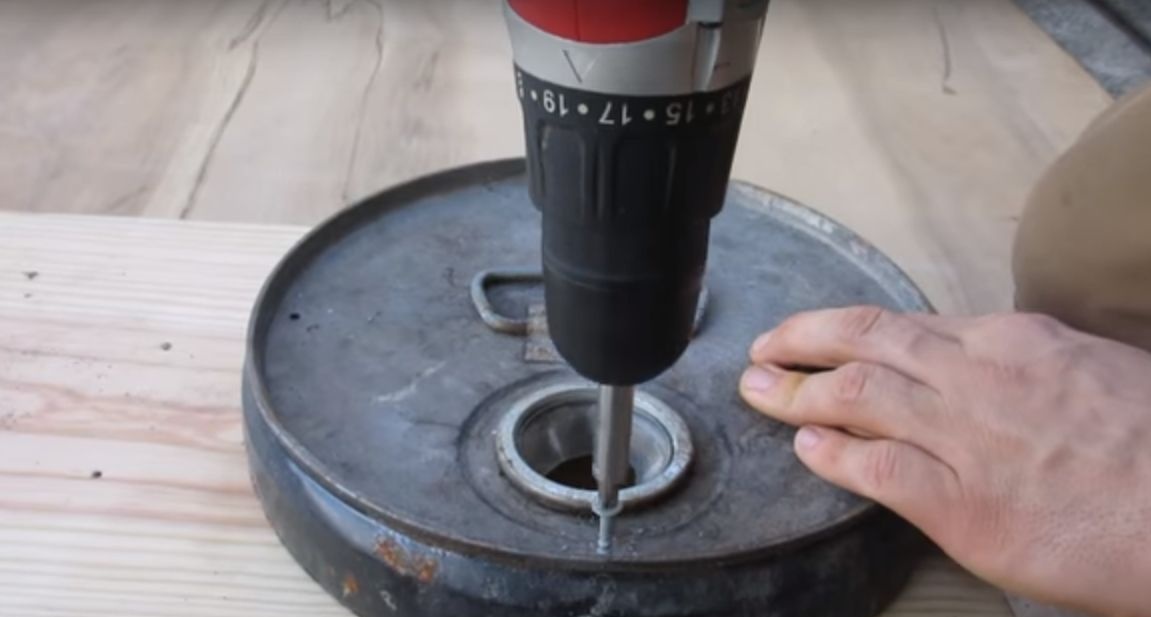
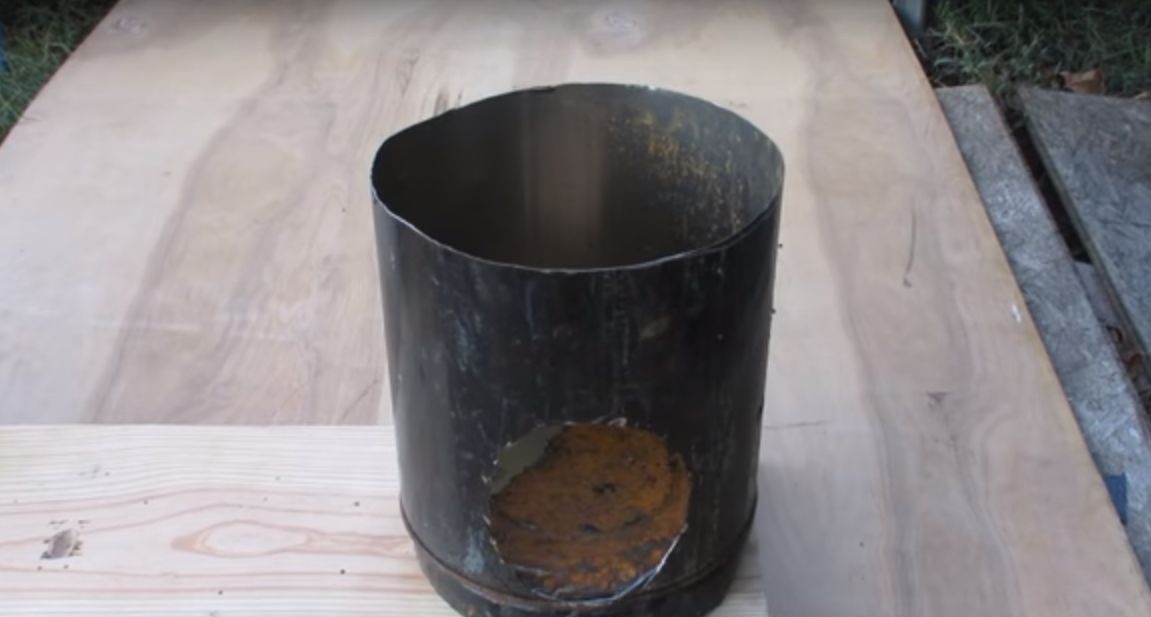
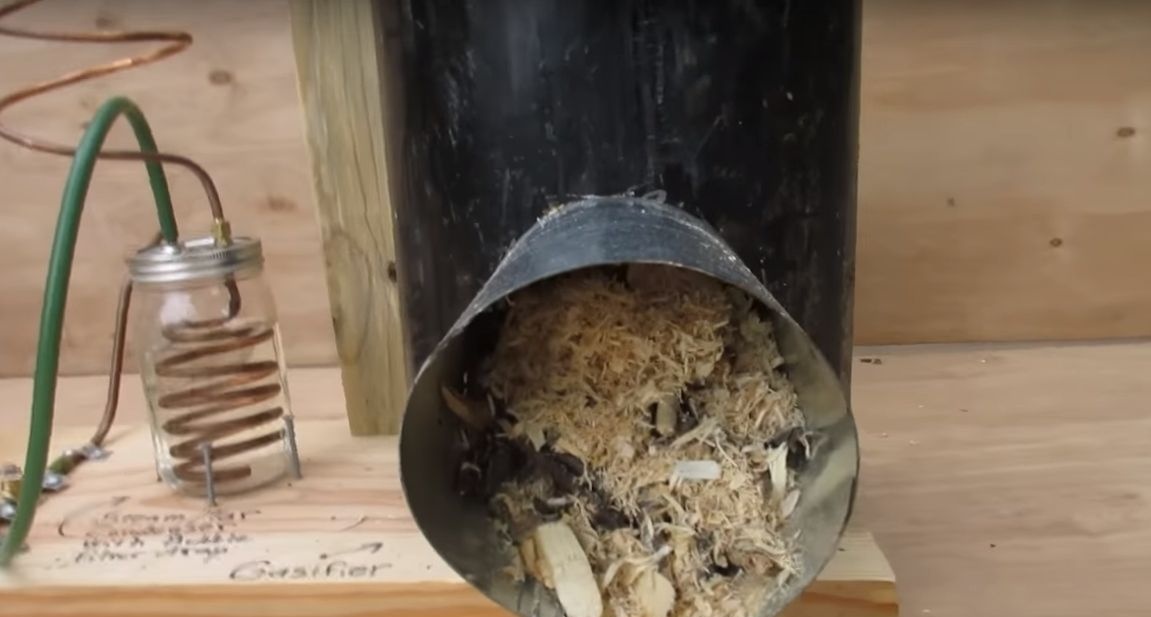
Now you need to organize the furnace, for this we cut out a round hole in the canister with a grinder. We install a piece of pipe there, on the other hand we bend the edges and get a securely fixed structure. The furnace is installed and the oven is ready.

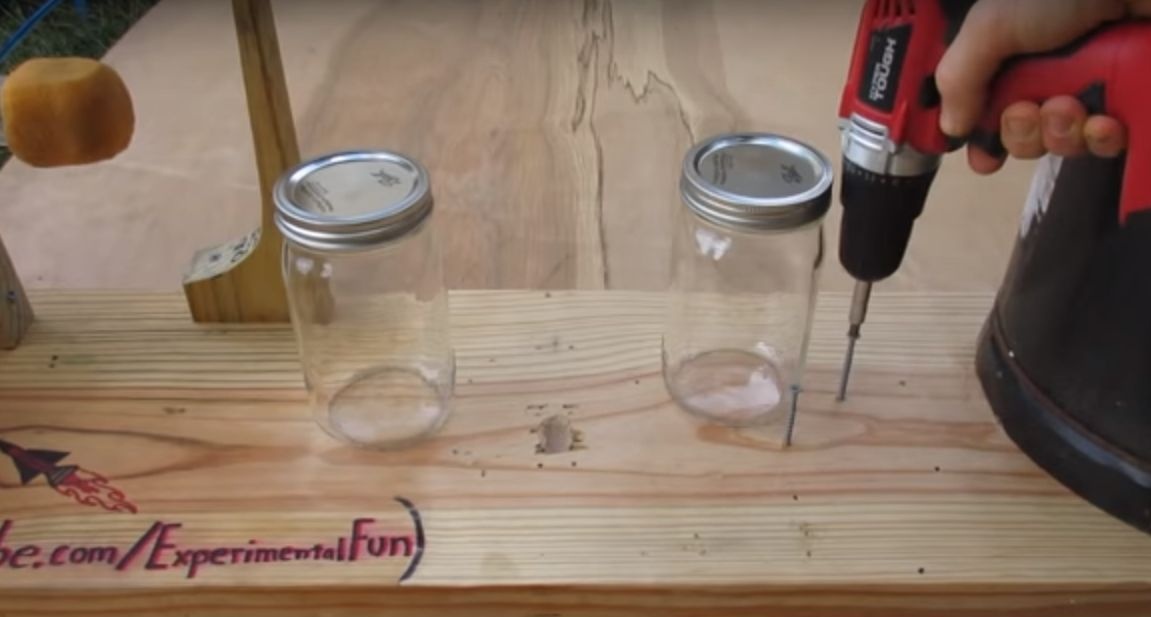
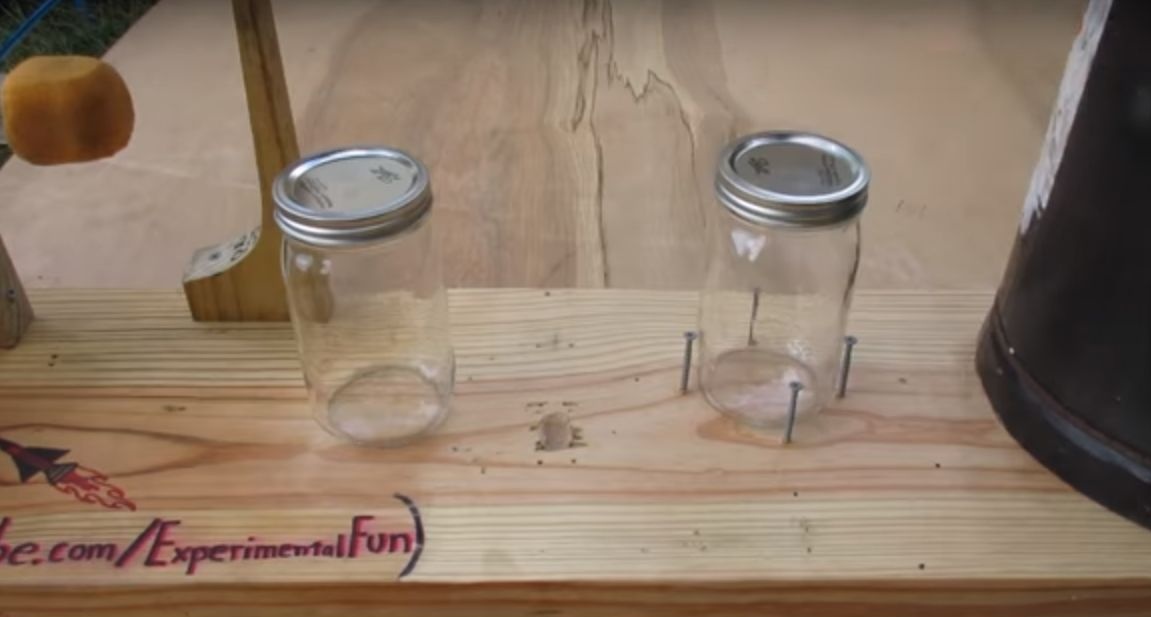
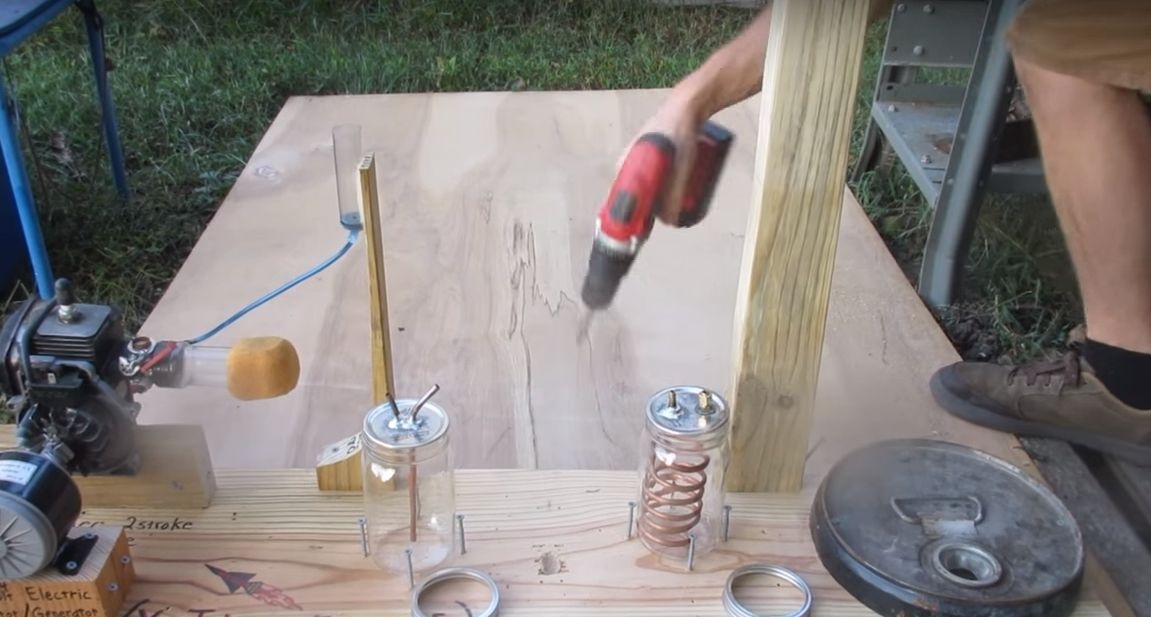
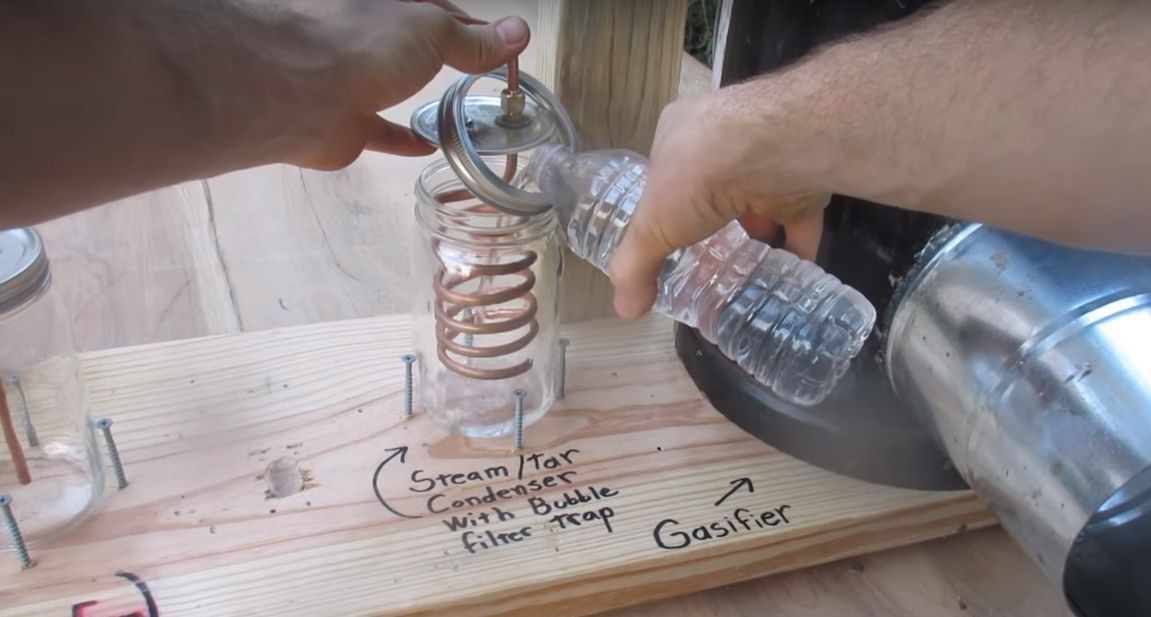
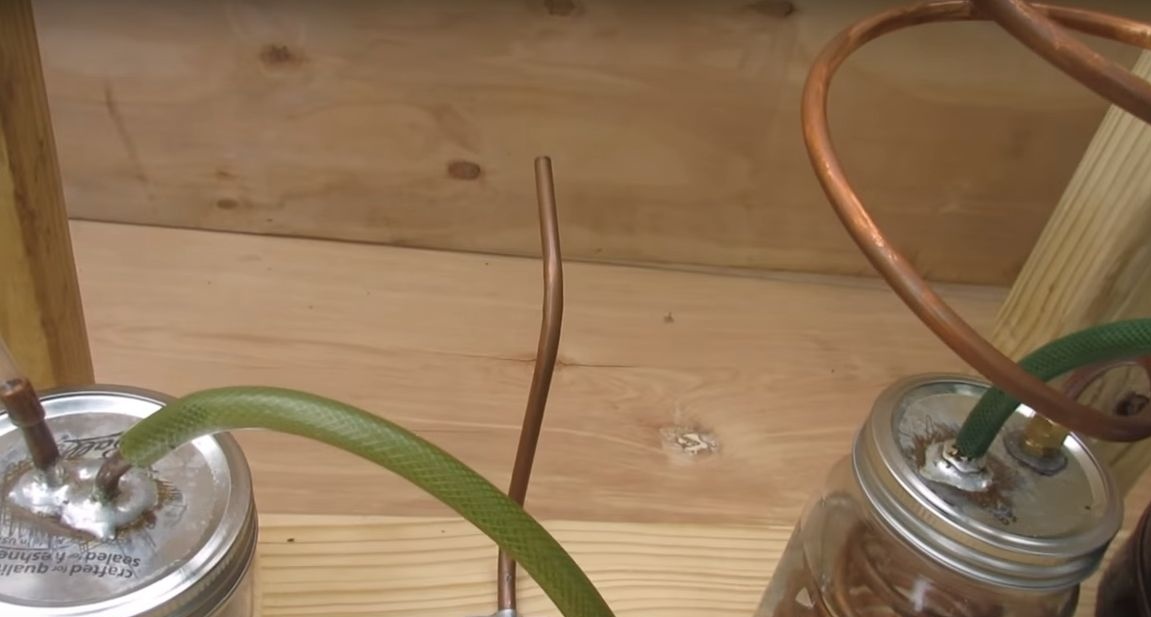
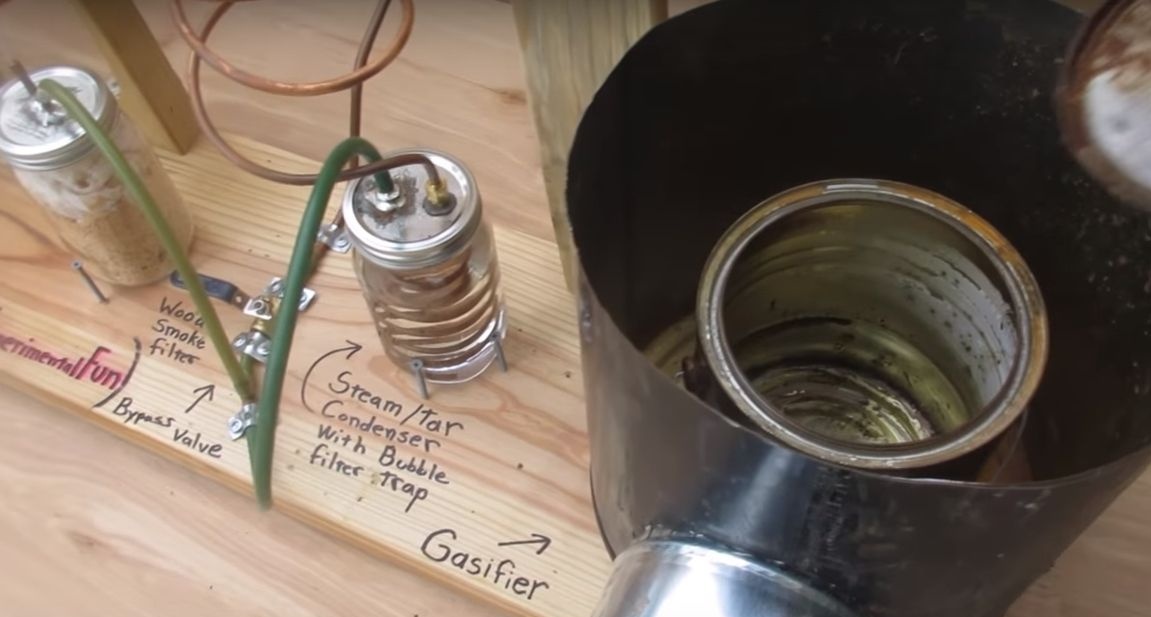
Step Two Install the "banks"
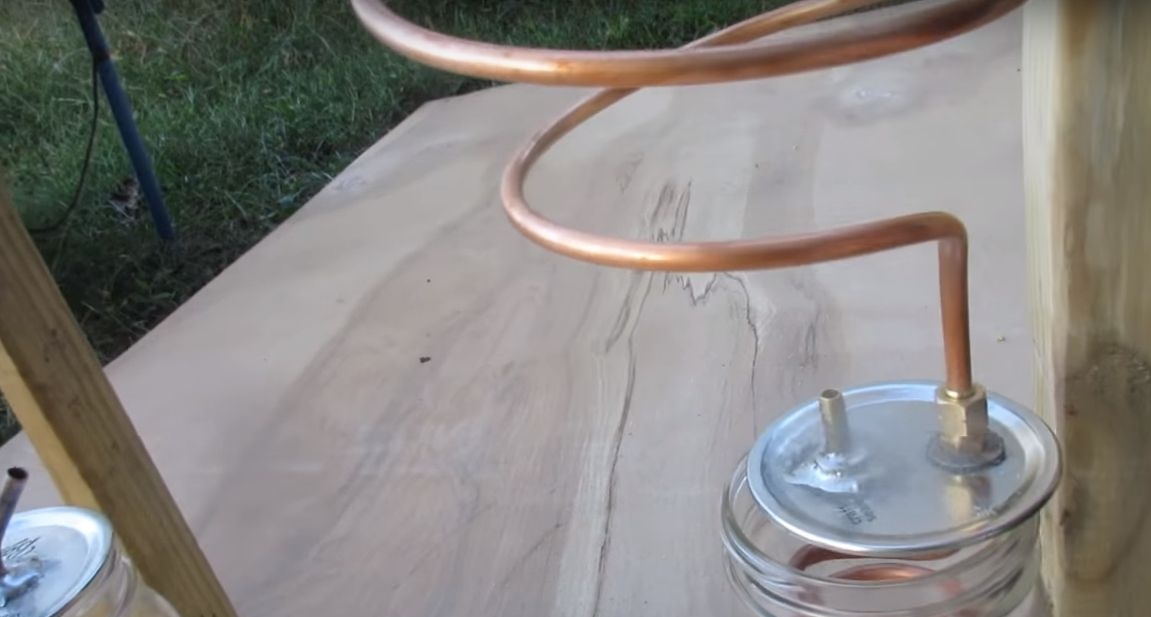
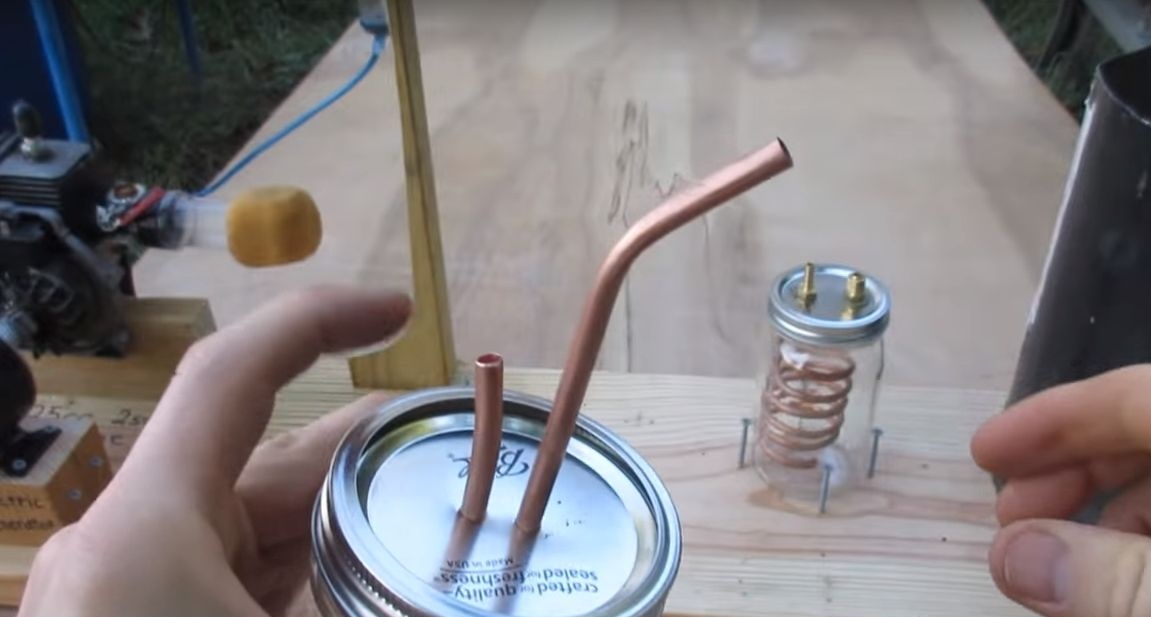
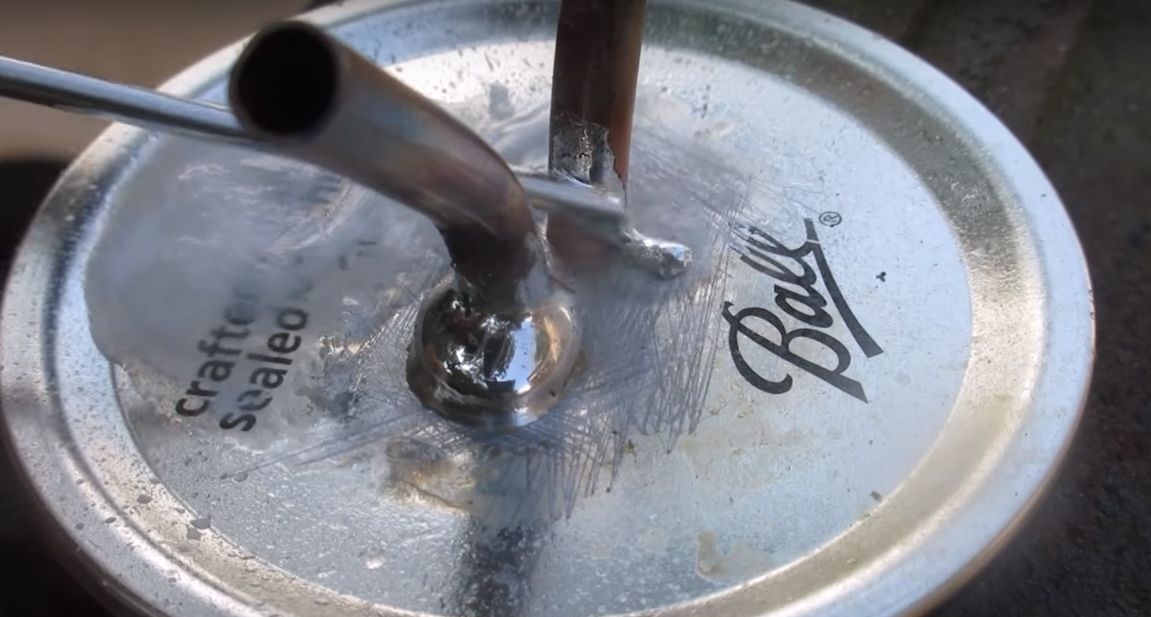
Install two cans on the platform, the author fixes them using self-tapping screws. One of the cans is a heat exchanger housing, and the second is a filter housing. We take one of the covers and drill holes. They have a fitting for connecting the hose and a fitting for connecting the copper pipe of the heat exchanger.
In another cover, we also drill holes and solder tubes of different lengths, this will be a filter.

Step Three Heat exchangers
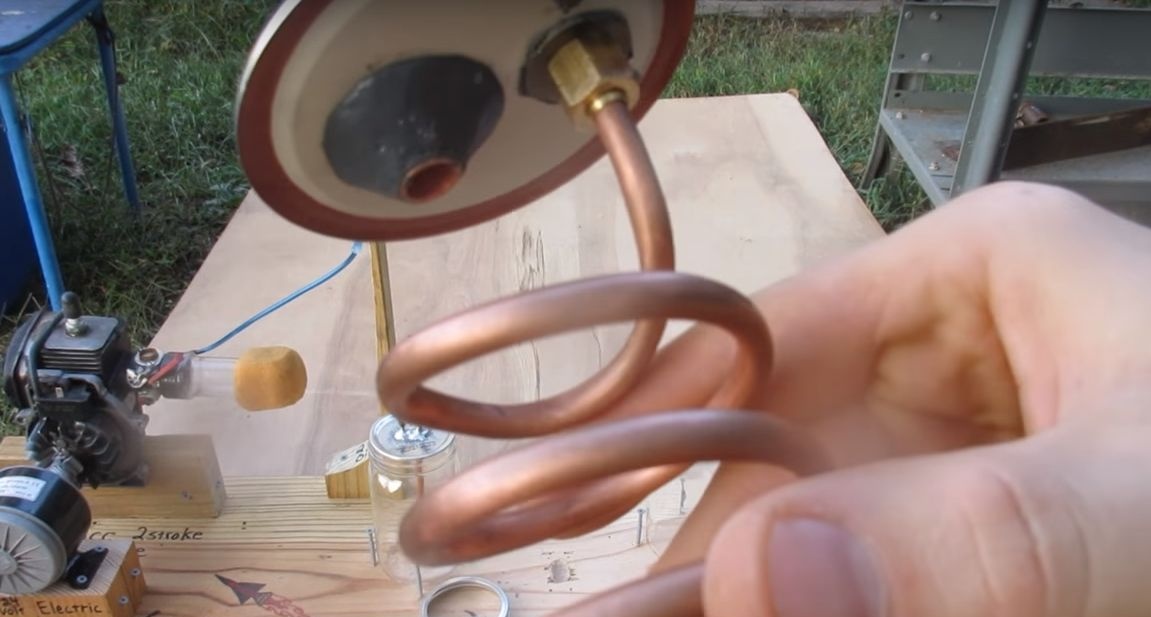
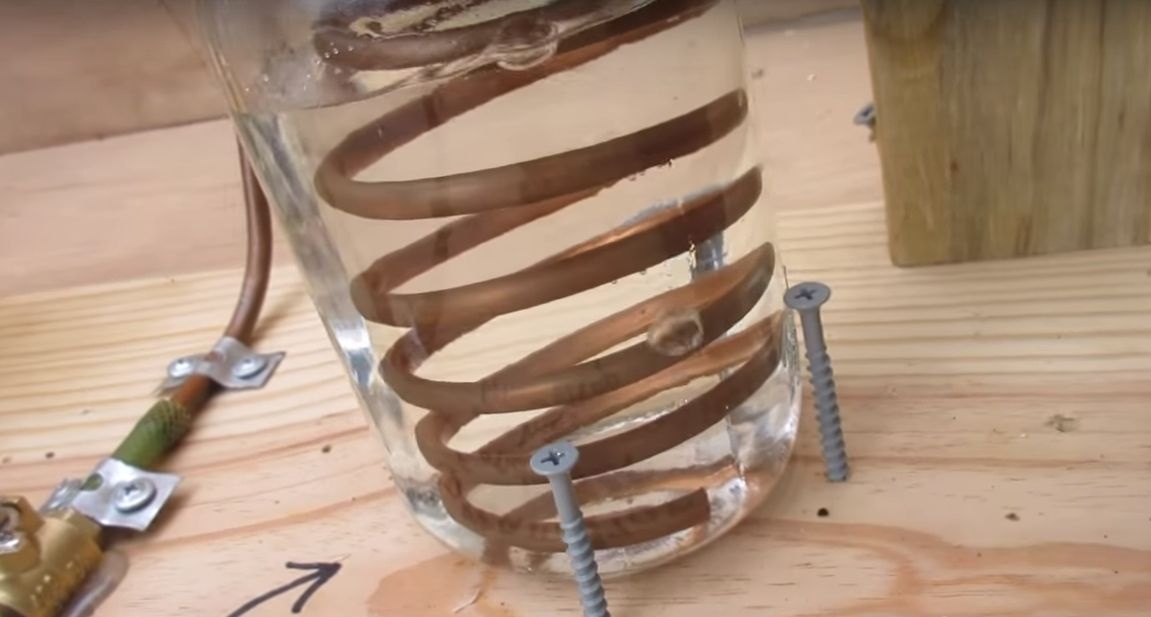
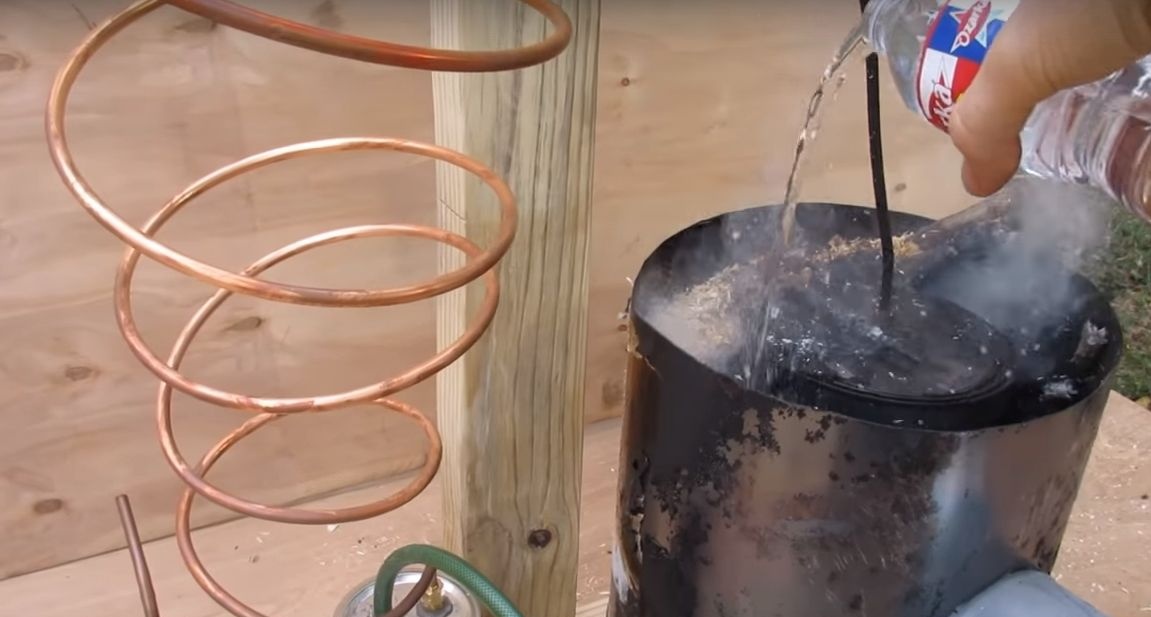
There are two pieces of heat exchanger. Let's start with a small one, it is installed inside the can, into which water is then poured. We wind the coil on a jar of a suitable diameter, then connect it to the fitting installed on the jar and install it inside the jar.
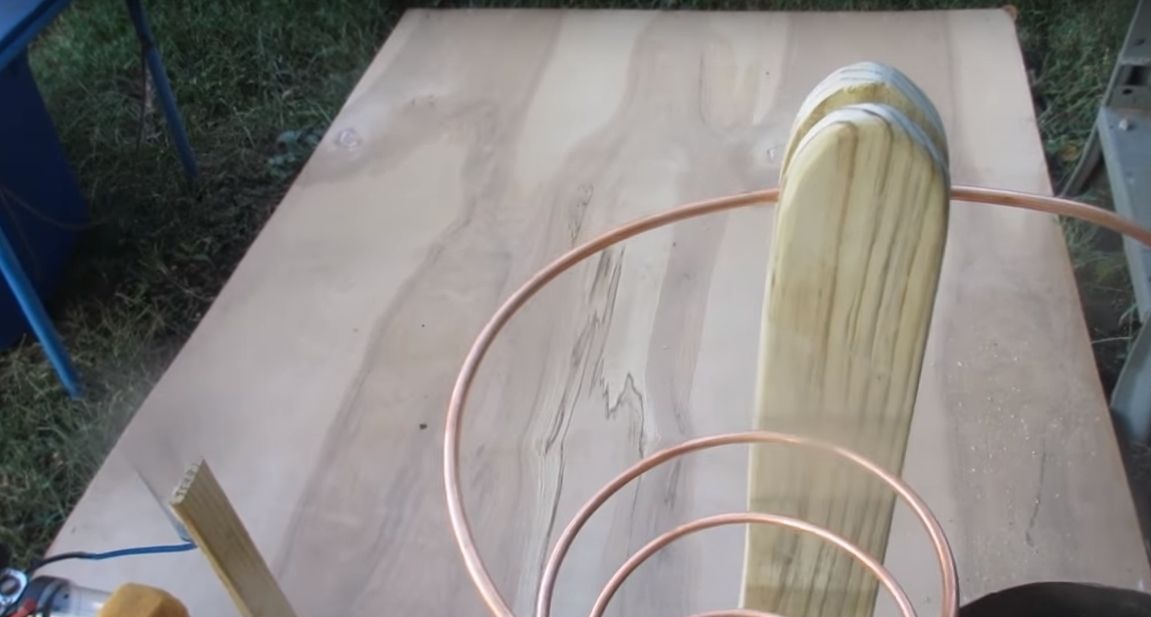
As for the larger coil, it is made by a similar technique, but with a larger diameter. The purpose of the coils is one thing - it is to cool the gas so that it does not melt the rubber hoses.
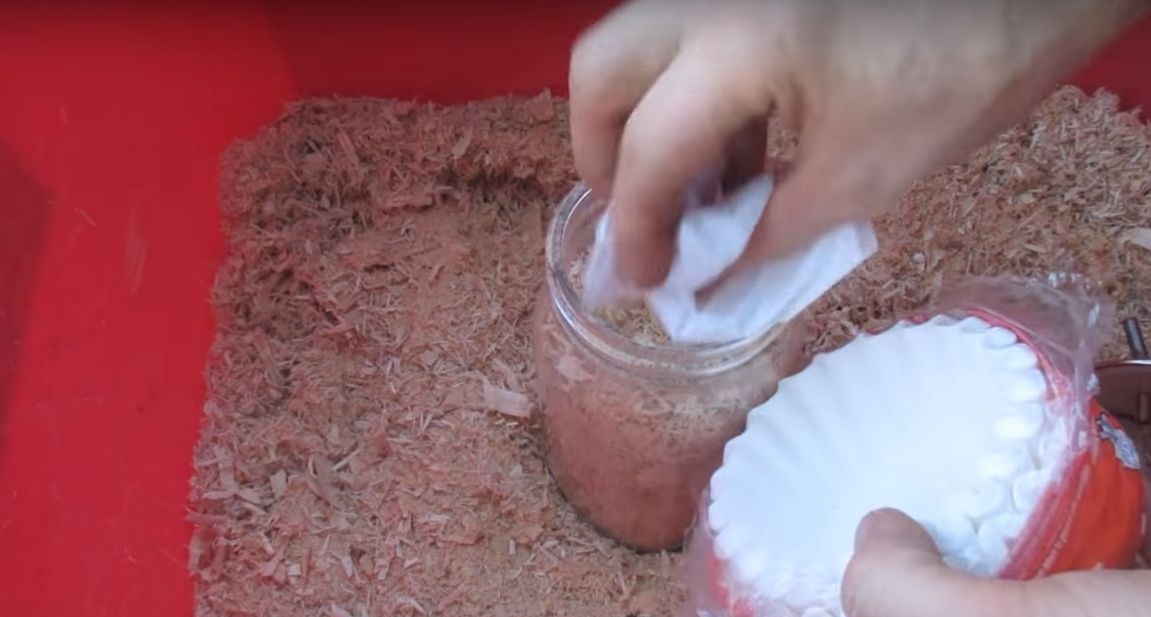
Step Four Filter
As a filter element, the author decided to use small sawdust. It is likely that such a filter element is used to absorb excess moisture.
Step Five We go for firewood!
Connect the necessary hoses to their places, gas is supplied at the inlet to the carburetor. You can adjust the number of revolutions using the damper, which is usually used to enrich the mixture, that is, "suction". Before starting the engine, pour a little oil under the candle so that it is well lubricated at least for the first time. Do not forget to pour oil into the container with which it is supplied to the carburetor. The oil should be sufficiently fluid. To quickly start the engine, you can pour alcohol, gasoline or a special fluid to start on the filter.
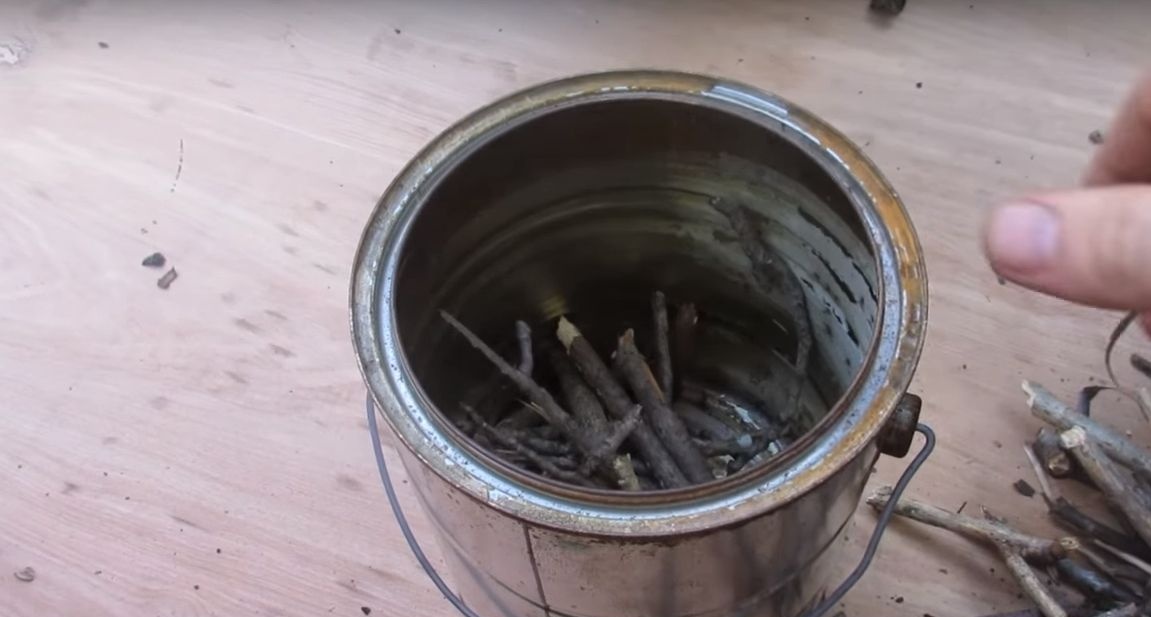
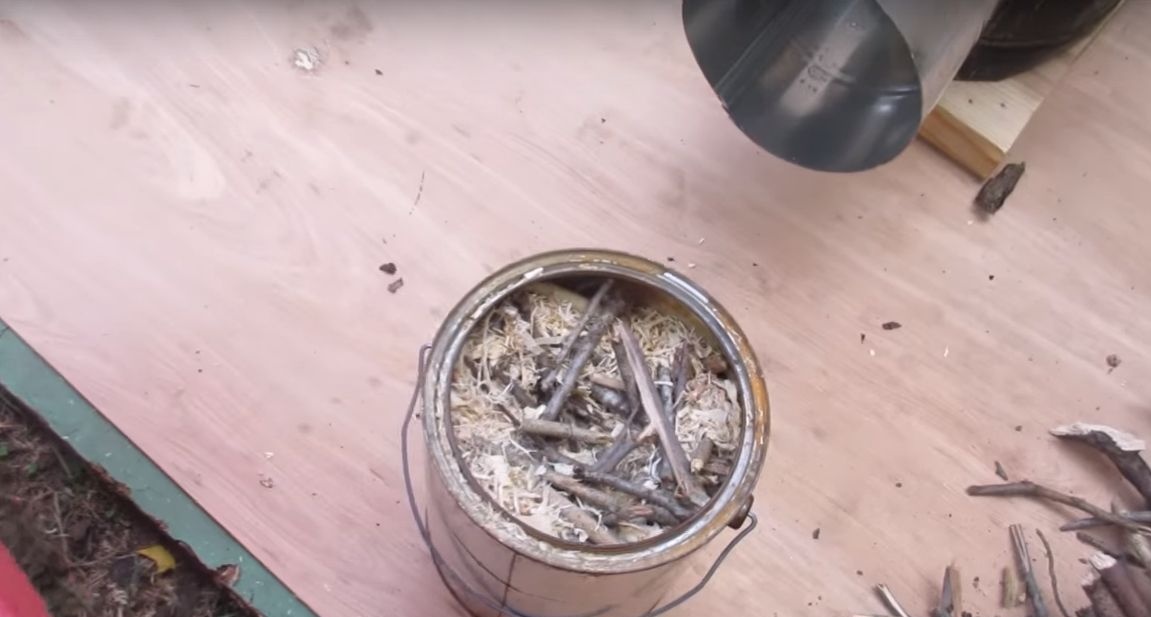
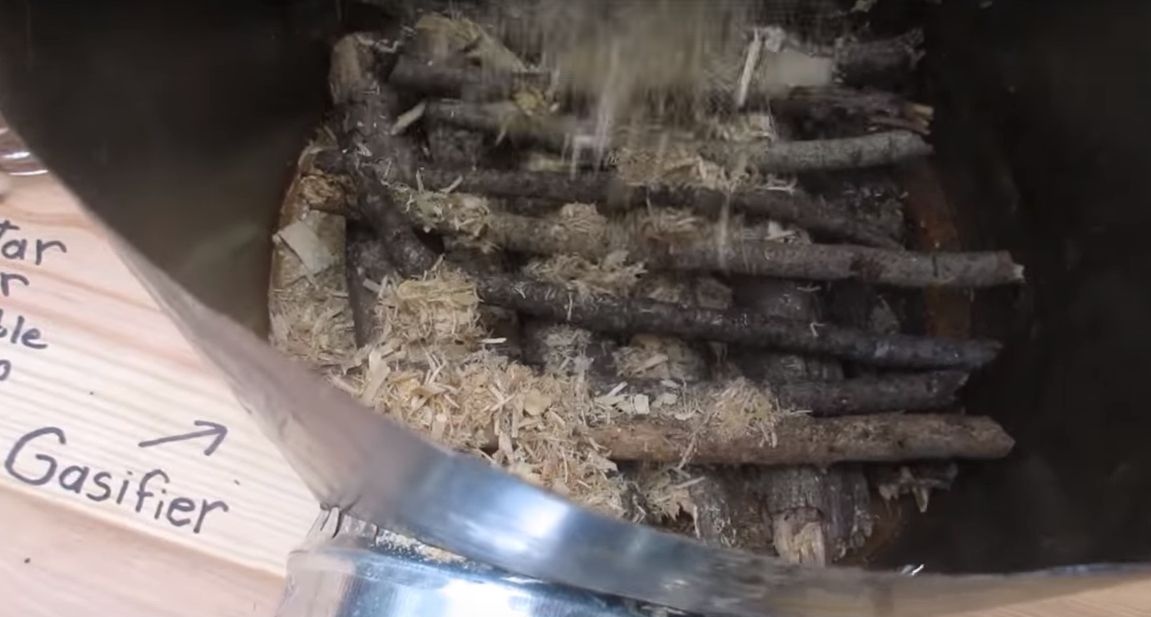
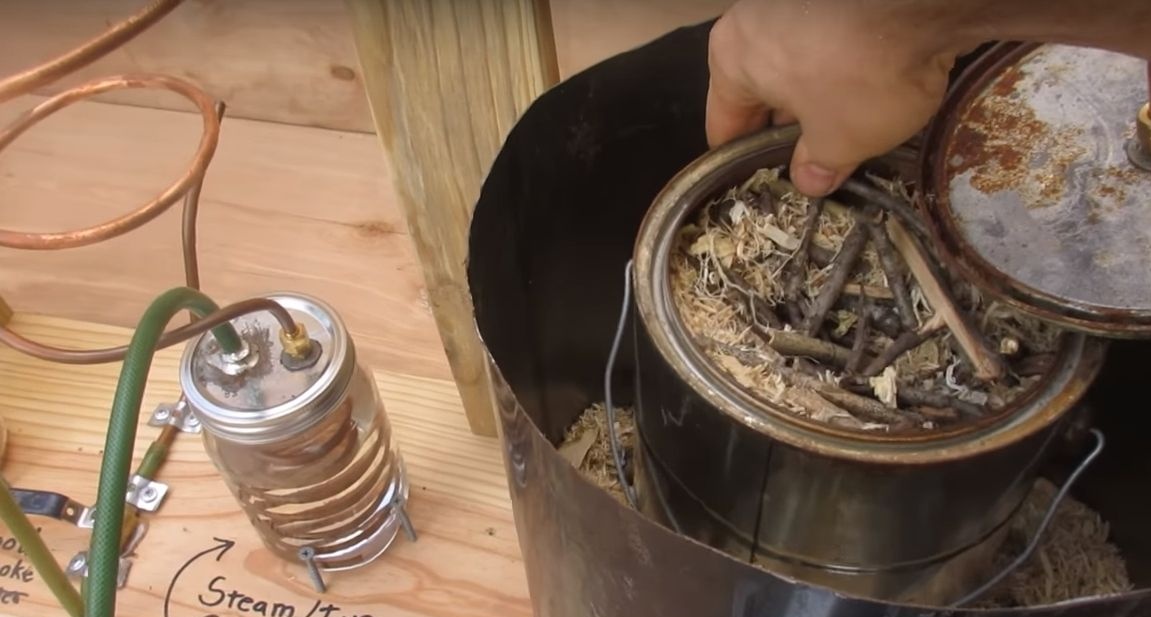
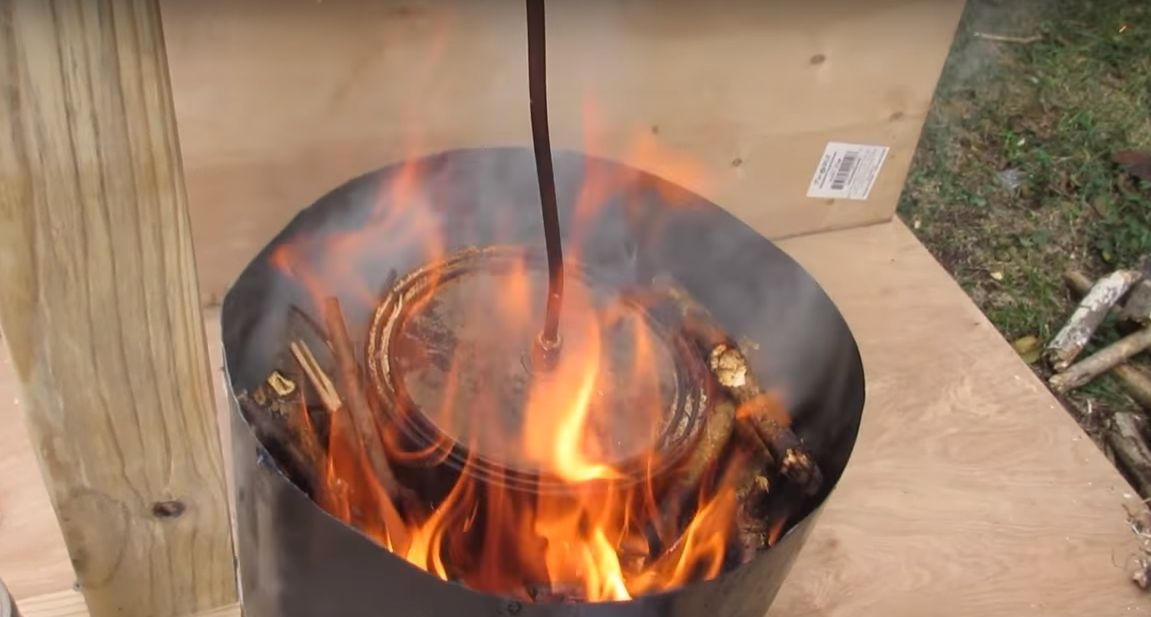
Now we need to find firewood, go to the forest. The author in this difficult matter was helped by his faithful dog. Choose fuel as dry as possible, so you will have fewer problems. We chop the branches into small pieces and stack them in a central container (reactor). The author also pours here a certain amount of wood shavings. In principle, the chips are the best suited as feedstock for the formation of gas.
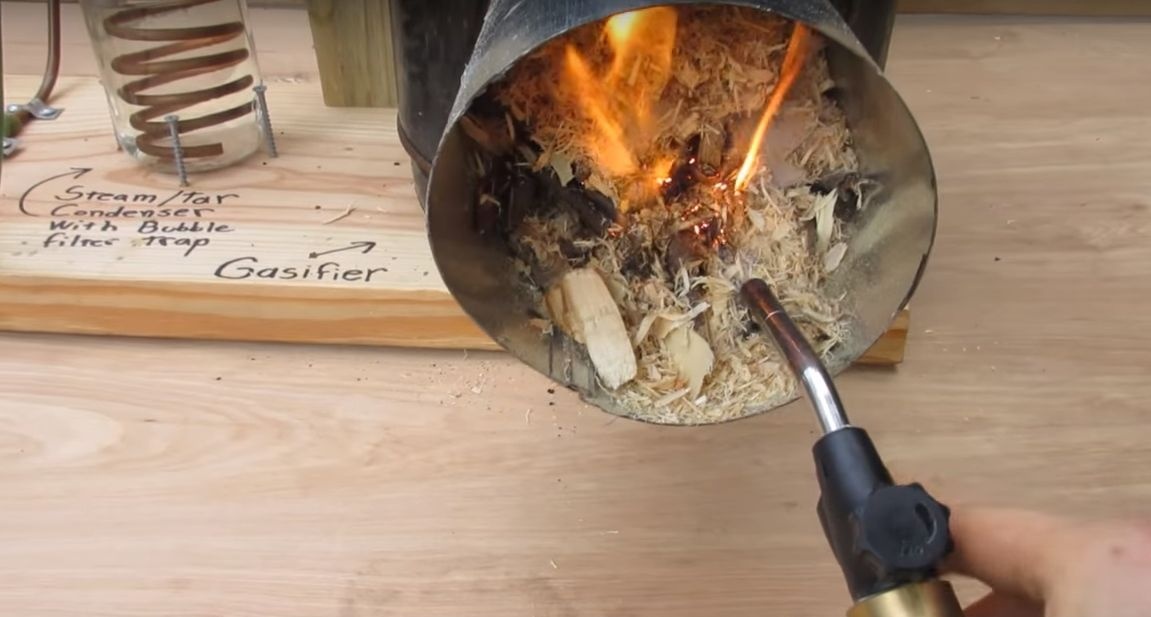
We also lay firewood around the reactor and pour chips for convenient arson. It's time to set fire! Preheat the oven thoroughly, literally immediately a few minutes after that you will see air bubbles in a small heat exchanger. But this is still not a combustible gas, but simply air expanding from heating comes out.

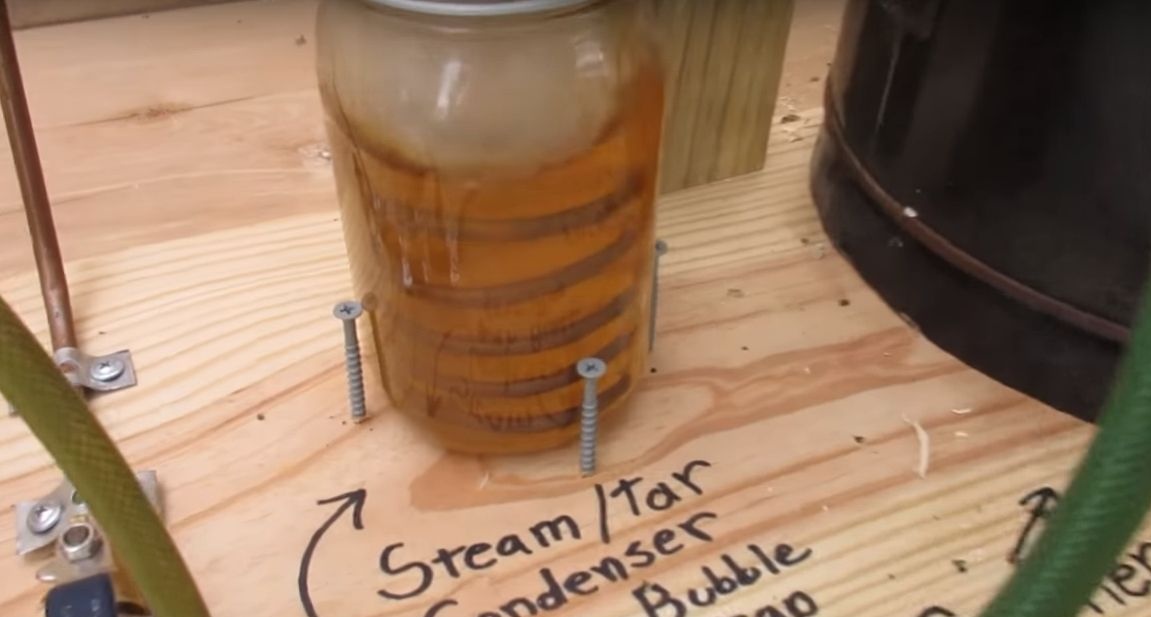
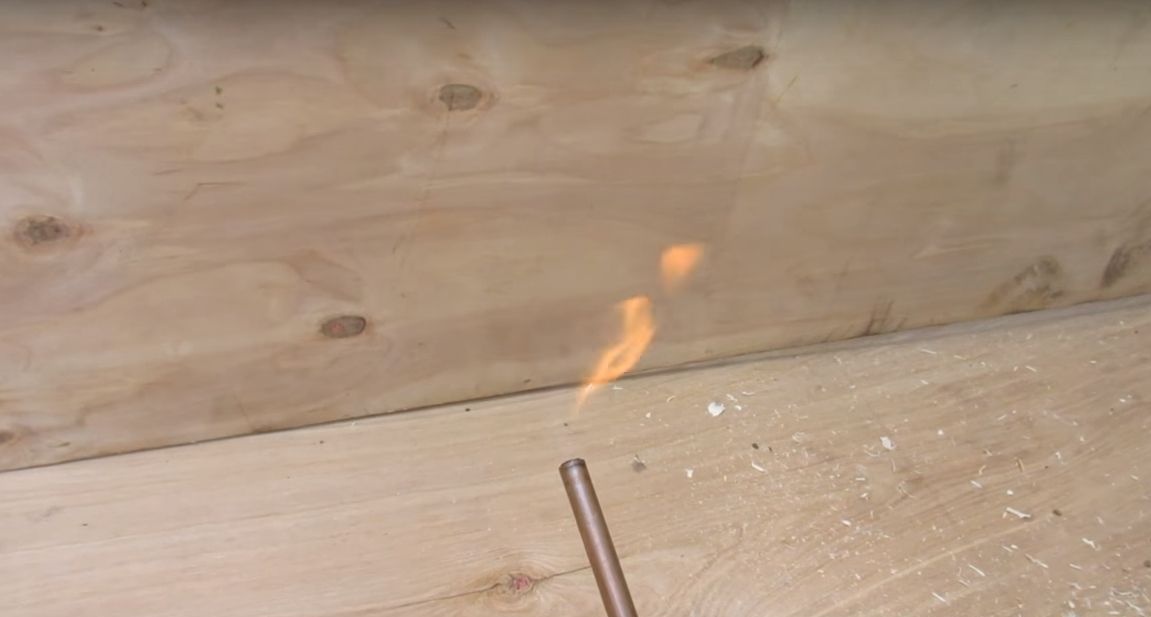
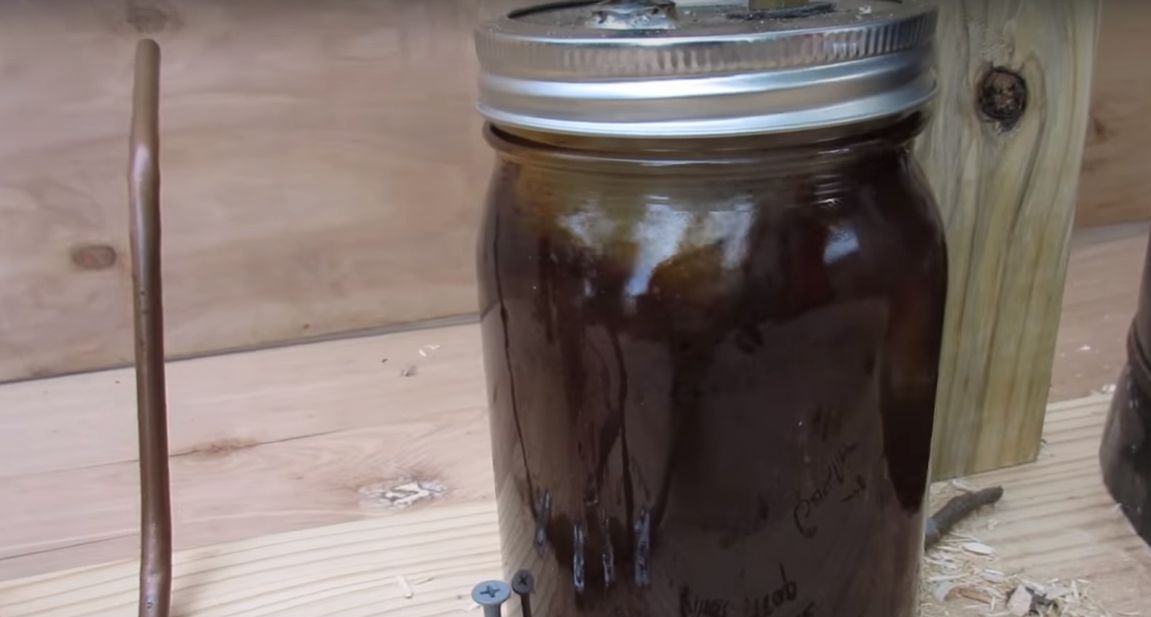
When something resembling a smoke comes from the burner, it will already be the innermost wood gas, you can try to set it on fire. For gas supply to the engine, the gas volume must be quite large. Over time, the water in the jar will darken, it is the resin that settles.As soon as you think that there is enough gas, you can apply it to the engine. We spin the engine to the desired speed by applying power to the “starter”. But do not get confused with the direction of rotation and turn on the ignition.
The author managed to start the engine not the first time, but even after that he was deaf. Well, further, this is already a technical issue, you just need to adjust the quality of the combustible mixture. As soon as the motor starts to work stably, try turning on the inverter and applying a load. The author has a trouble-free 110V fluorescent lamp. Without an inverter, you can power various 12V devices.
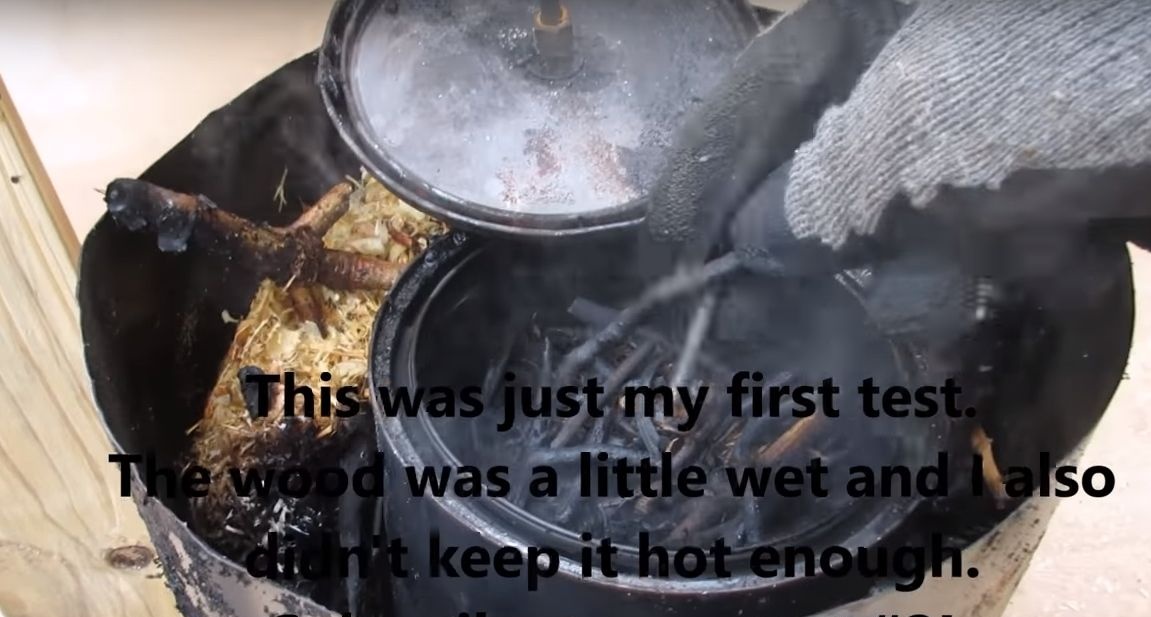
That's all, the homemade product is ready and has shown its performance. True, she did a little work for the author, after the autopsy it turned out that the fuel was practically not affected. As a conclusion, you will need a more powerful furnace to expand the “reactor” to the desired temperature. Ideally, the gas produced should heat the reactor itself, as a result, a chain reaction is obtained, everything can then be conveniently controlled. That's all, I hope you enjoyed the project. That's all, good luck and take care!