

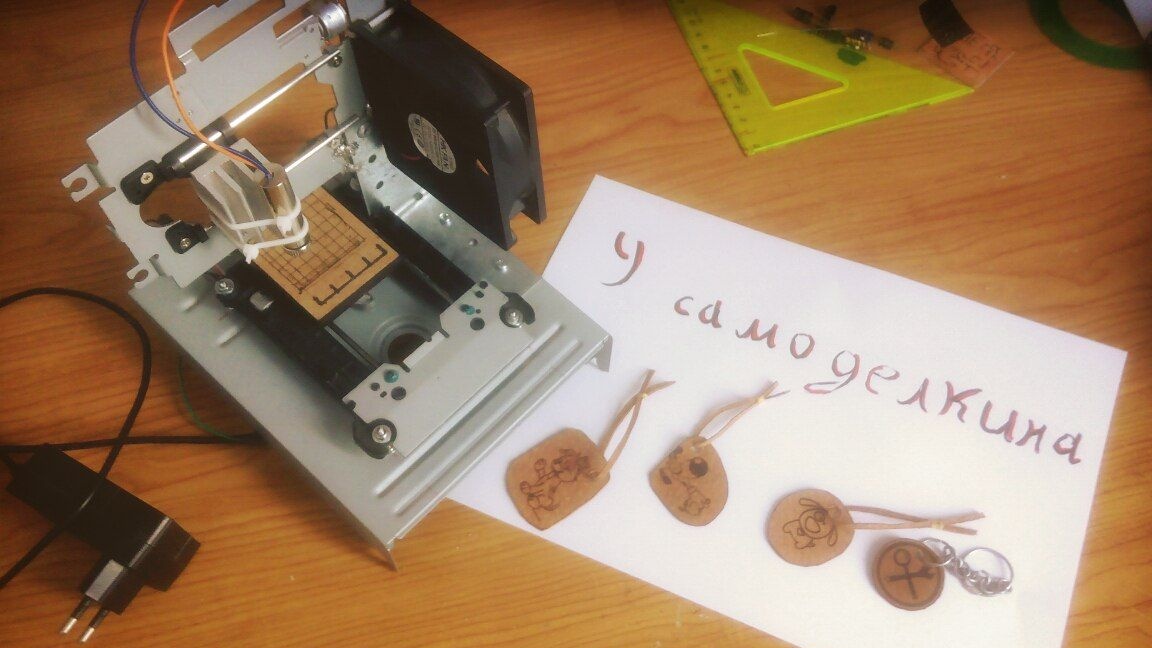
Good day to all! Today I want to tell you about how to assemble a CNC laser machine (numerical control, that is, control via a computer). It is made on the basis of CD-drives and Arduino UNO. It turns out quite small and weak, unlike other laser machines. But it is enough for burning on wood, leather, plastic and other fusible materials. So let's get started.
To create, we need:
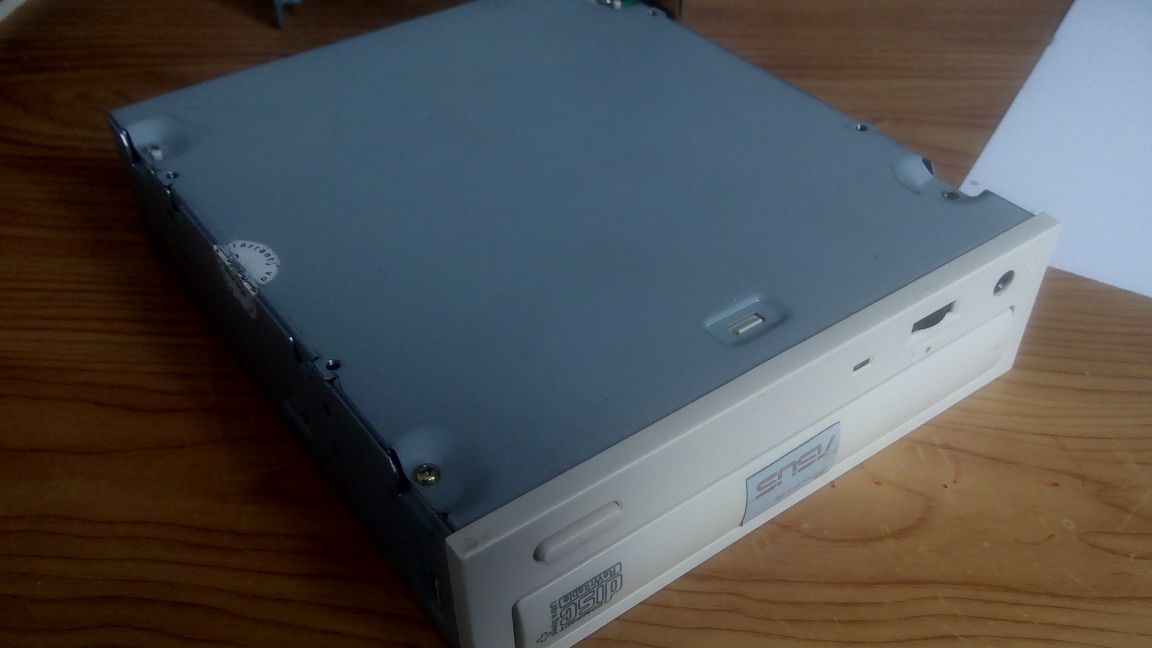
1 - two CD drives. You can find them in old stocks, or buy from someone else. Personally, I bought them on Avito for 150 rubles.
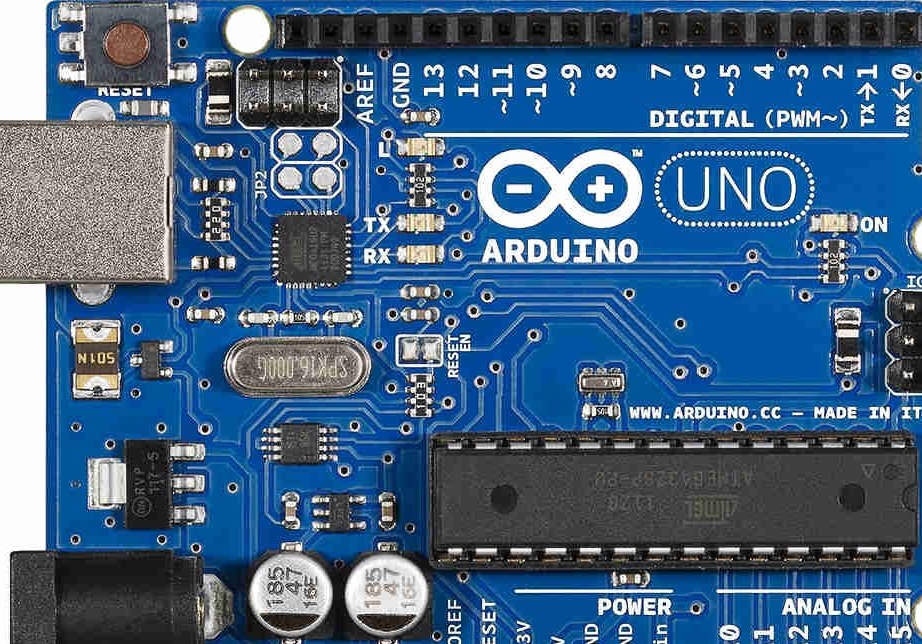
2 - Arduino UNO.
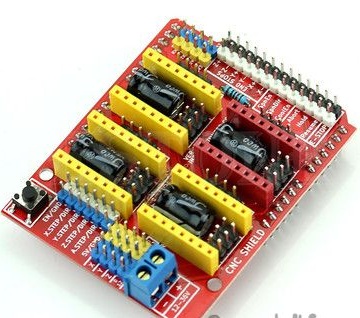
3 - CNC shield version 3.0 or another.
4 - two stepper motor drivers. I recommend using the DRV8825 drivers, as they have microstep mode up to 32.

5 - the most important part is the laser. A laser with a power of 200-300 mW costs about 500-700 rubles.
6 - power supply 12 volts and a minimum of 1.5 amperes.
Also, in the process of creation, you may need some materials that can be found in everyday life.
All of the above can be bought at some Chinese online stores at a low price.
The first step is the design of the machine. It all depends on your imagination and on the materials you have. I made the base of the housing from the drive. Can also be made from wood or plastic. The X axis must be fixed above the Y axis. It is very important to withstand all angles of 90 degrees.
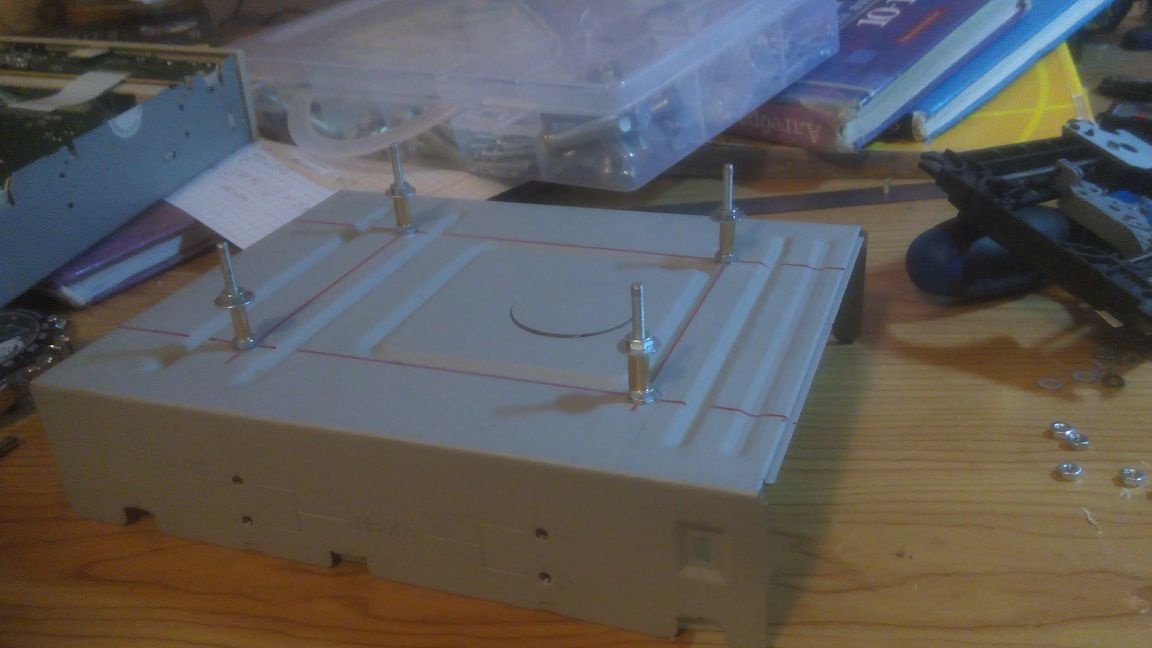
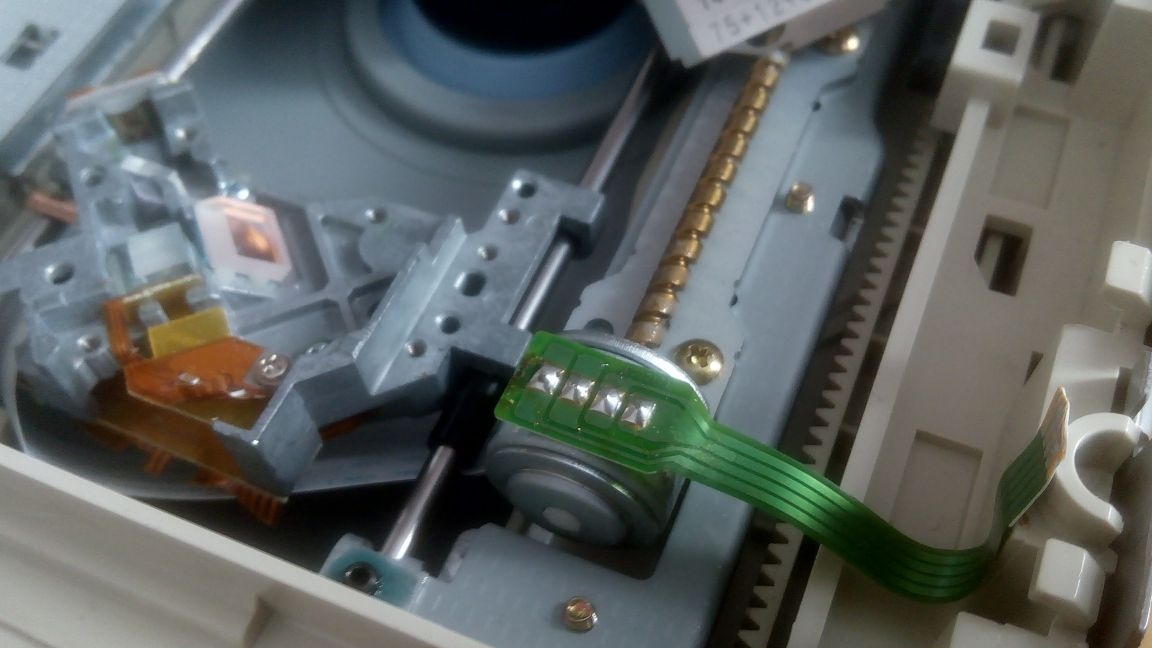
From the drives you need to get the carriage. Pay attention to the type of engine in the carriage. If it has 2 contacts, then it does not fit. The stepper motor has 4 pins.
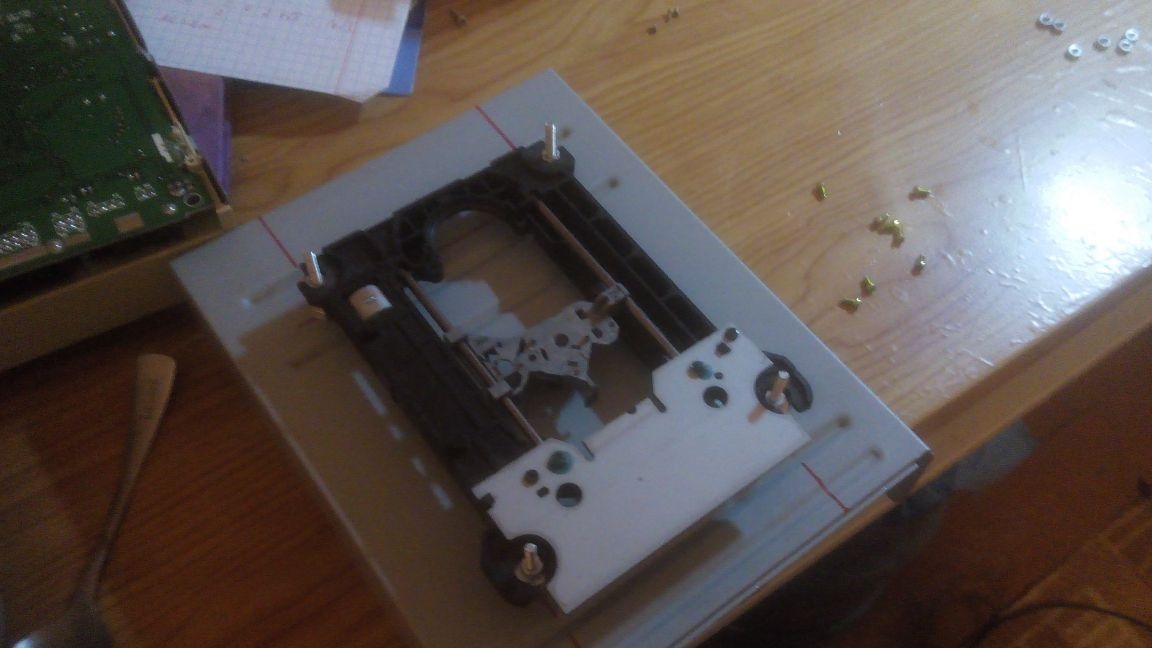
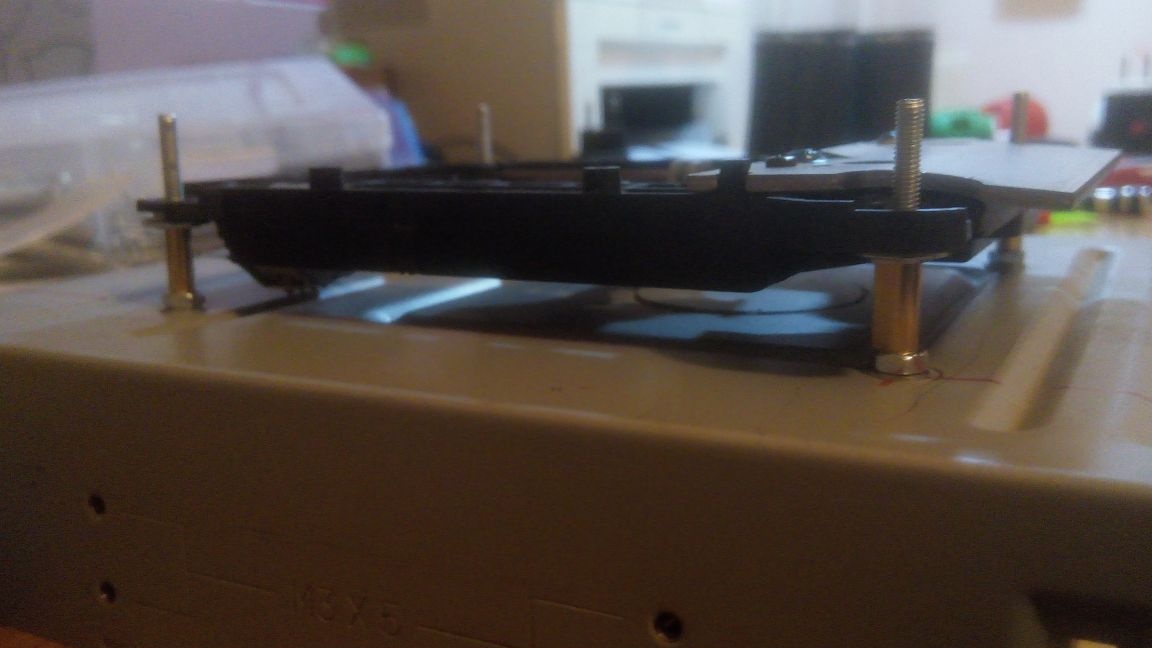
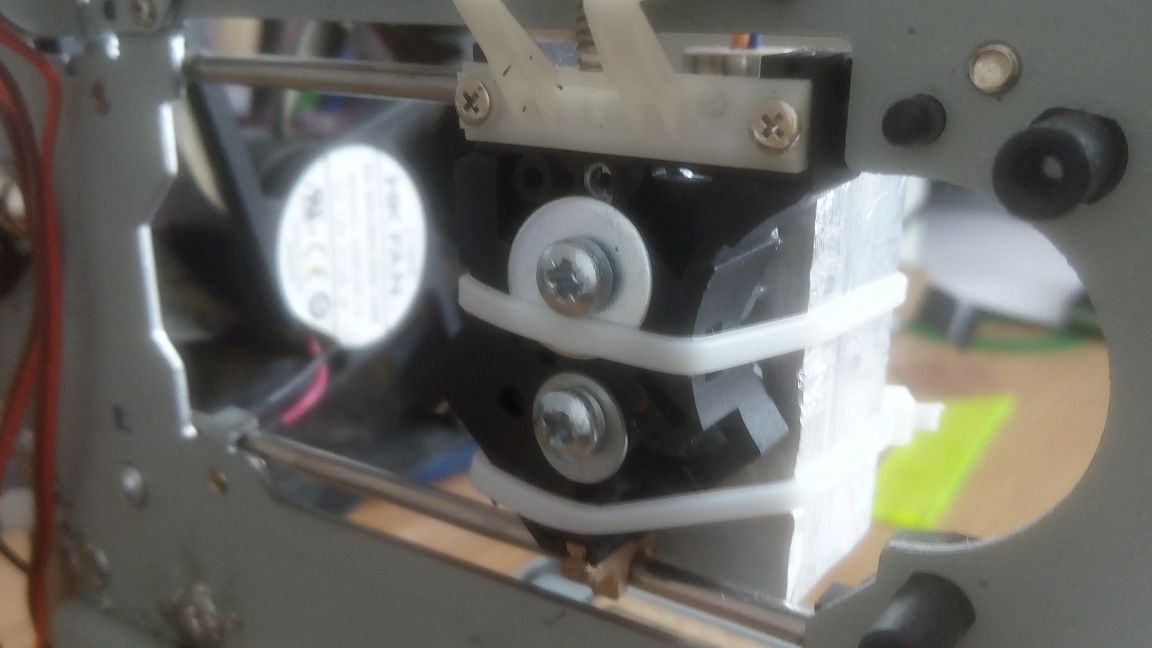
We fix the carriages as in the photo.
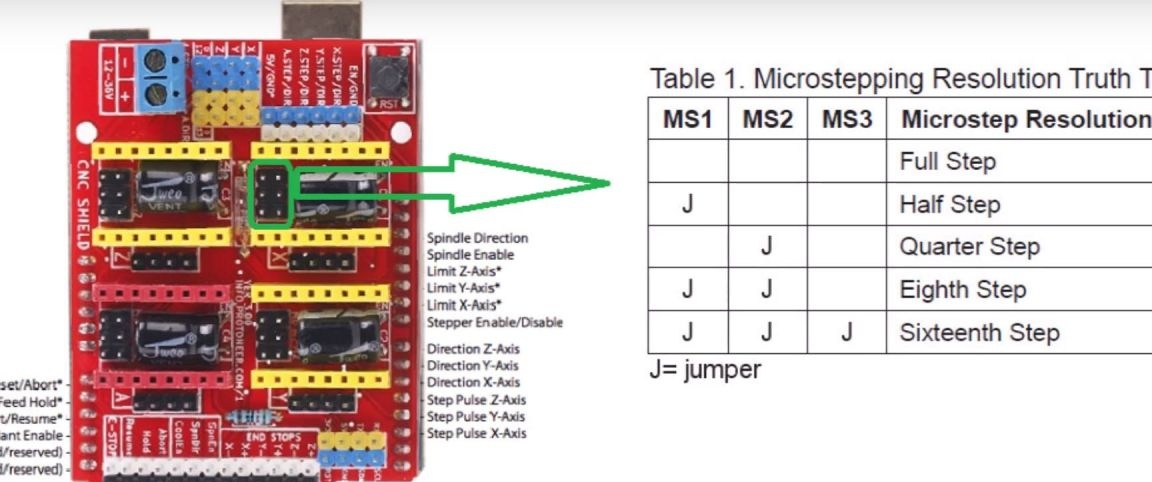
We connect the shield and arduino. There is a step division mode on the shield. To activate this mode, you need to install jumpers. Here are the photo modes:
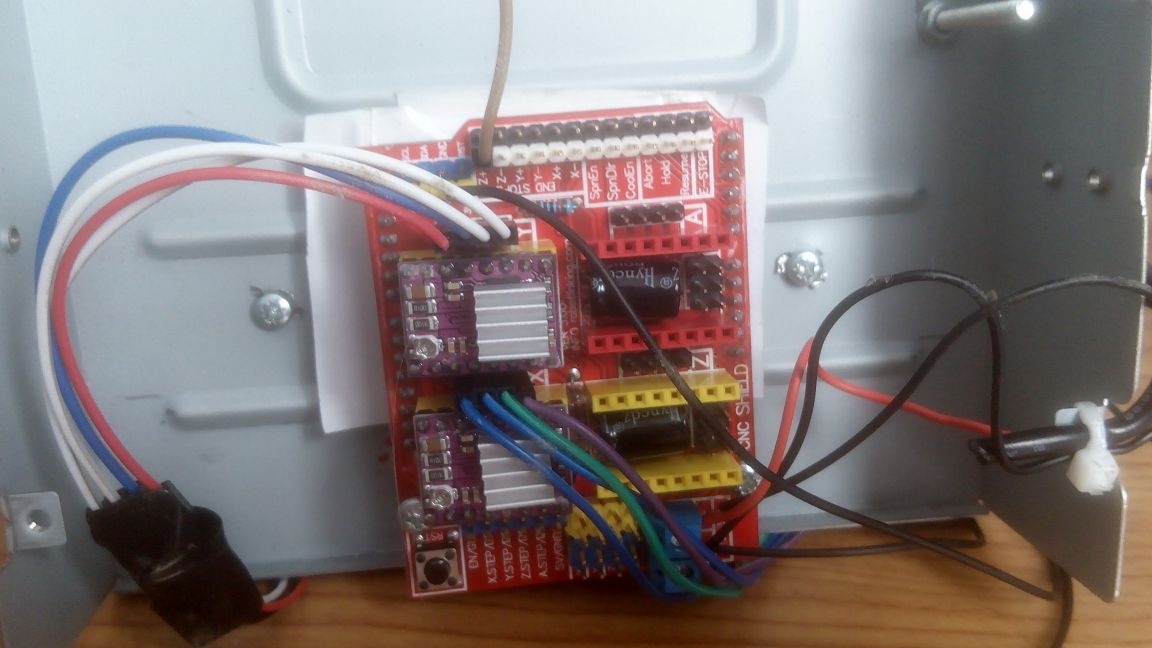
Install the drivers in their rightful place according to the key, that is, as in the photo:
We connect the engines. Near the seats there are 4 connectors to which you need to connect.
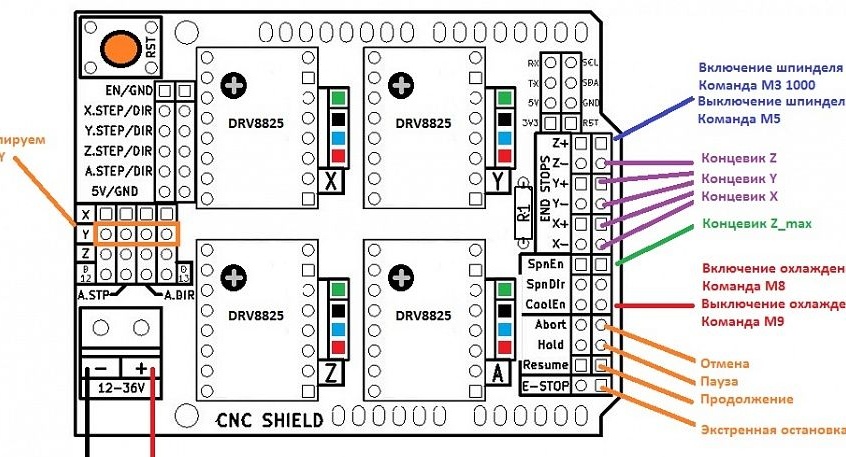
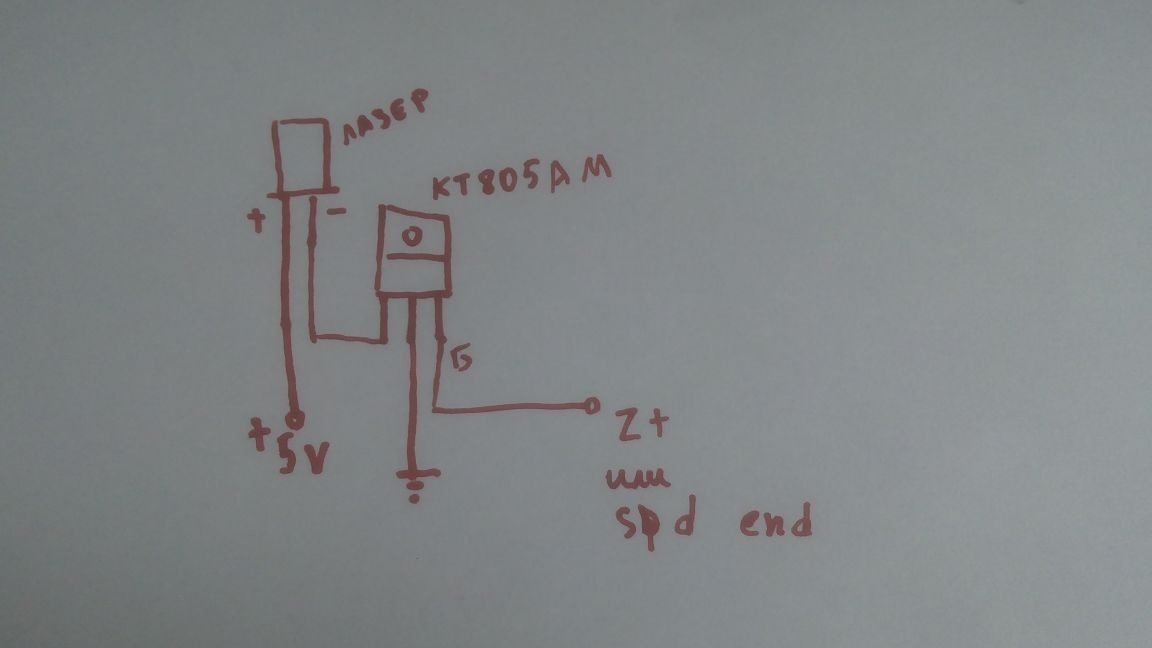
The laser is connected depending on the firmware. If in the description for your version of GRBL firmware the presence of a PWM is signed, then you need to connect to the Z + connector, otherwise to Spn En. Since the laser consumes current higher than the arduino produces, you need to power it from an external source.I connected using the KT805AM transistor to USB. Here is a schematic.
By the way, the shield needs to be powered by a 12 volt power supply. Everything is signed on the board (where to connect).
For compactness I posted all electronics under the machine body.
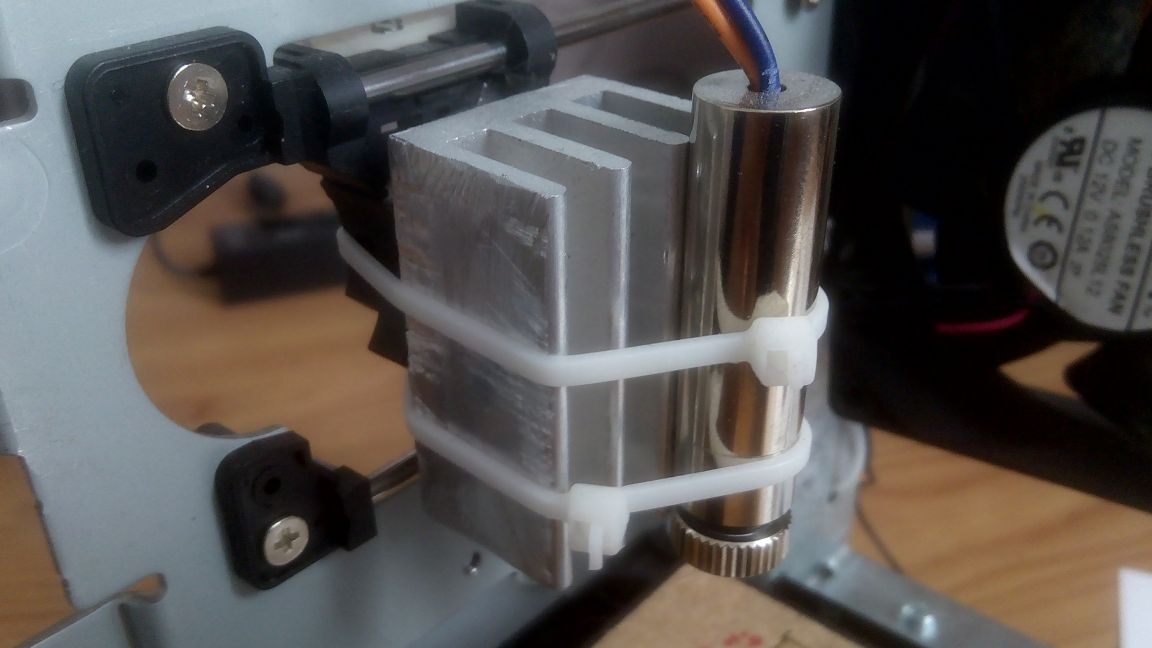
I fixed the laser with ties on a piece of the radiator, which, in turn, is fixed with screws on the moving part of the carriage.
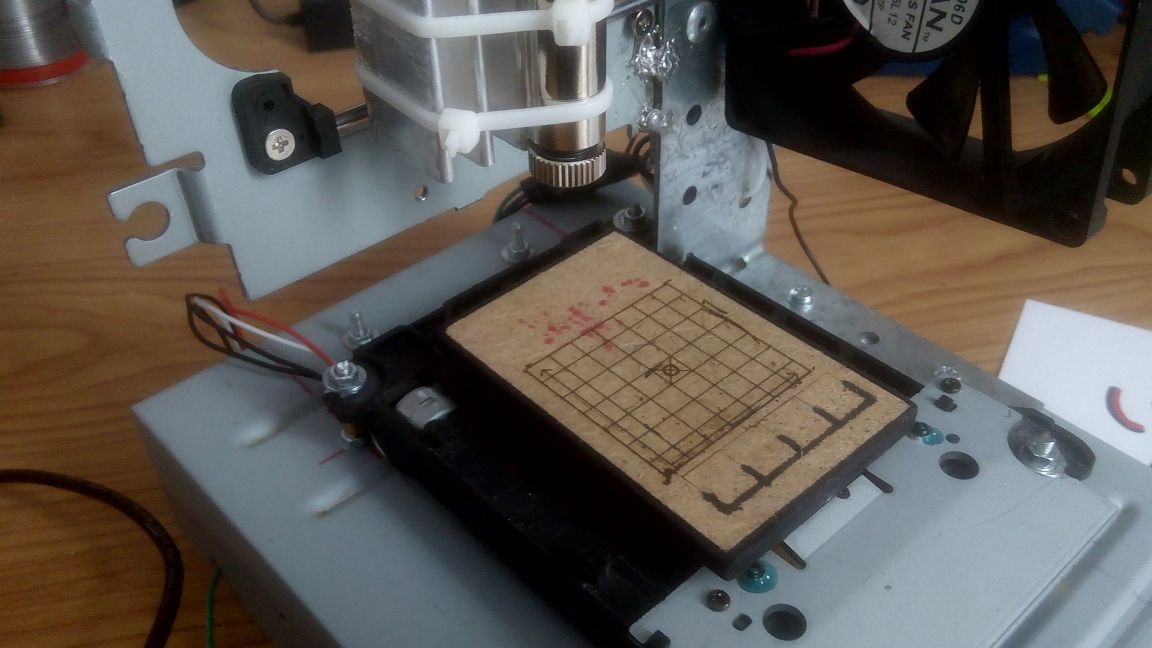
A working field needs to be attached to the bottom carriage. I have this piece of wood board.
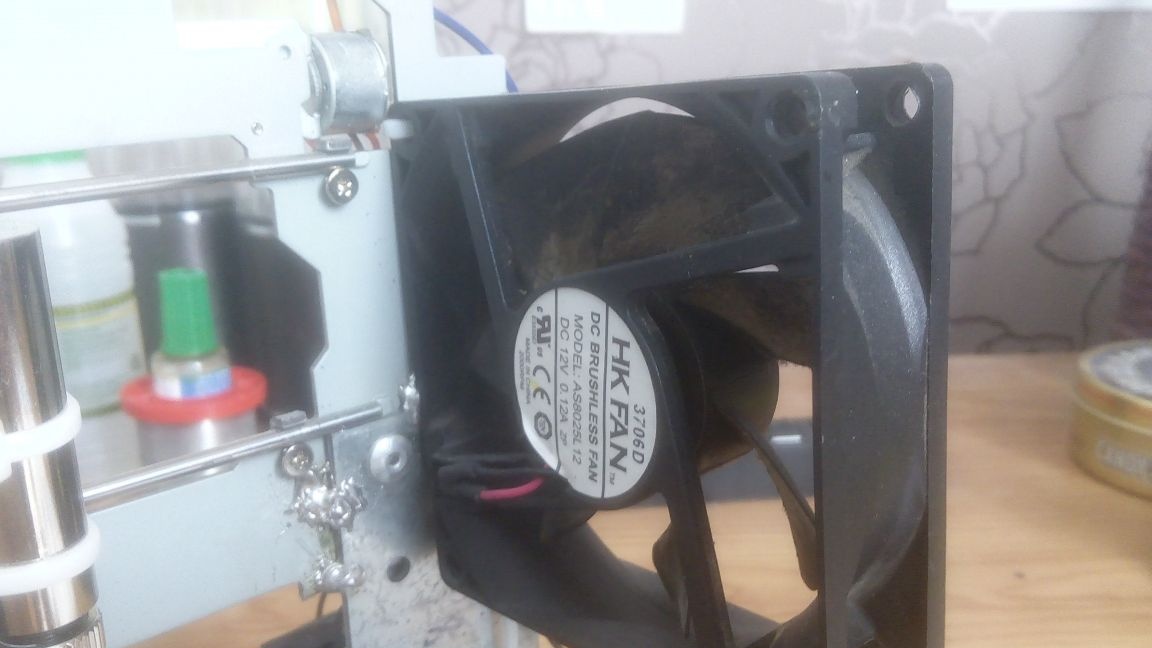
In order to prevent the laser lens from becoming smoky during operation, I attached a cooler (it blows off smoke).
We pass to the software part. Download the GRBL firmware of the desired version from the github in the form of an archive. Unpack and install Arduino IDE to continue (all software is provided free of charge). Copy the grbl folder from the archive and paste it into the lib folder (located in the root folder of the program). We start the program and in the settings we select the com-port to which the arduino was pre-connected. In the same settings, select the type of board UNO. In the “sketch” tab, select Connect library> GRBL. After that, click the download sketch button and wait. Congratulations, the board is stitched. Now you need to configure it. Open the serial port with the "port monitor" button. Choose the bottom speed of 115200 baud. Next, enter "$" in the line and send. In response, a list of all sewing settings is displayed. We are interested in points 100 and 101. There you need to choose the speed. It is calculated as follows: the number of steps per revolution is divided by the pitch of the screw. Then we multiply by a microstep. If you chose microstep 32, then the calculation is: 20/3 * 32 = 213.333. This value is written to the line: $ 100 = 213.333 and sent. Similarly for 101.
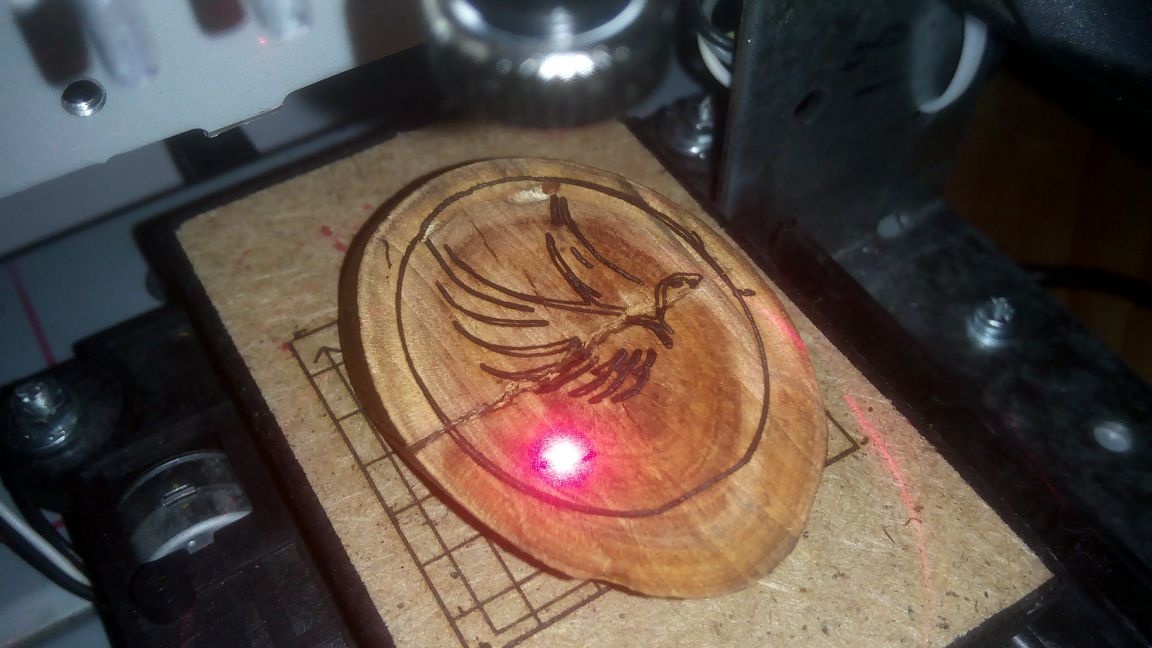
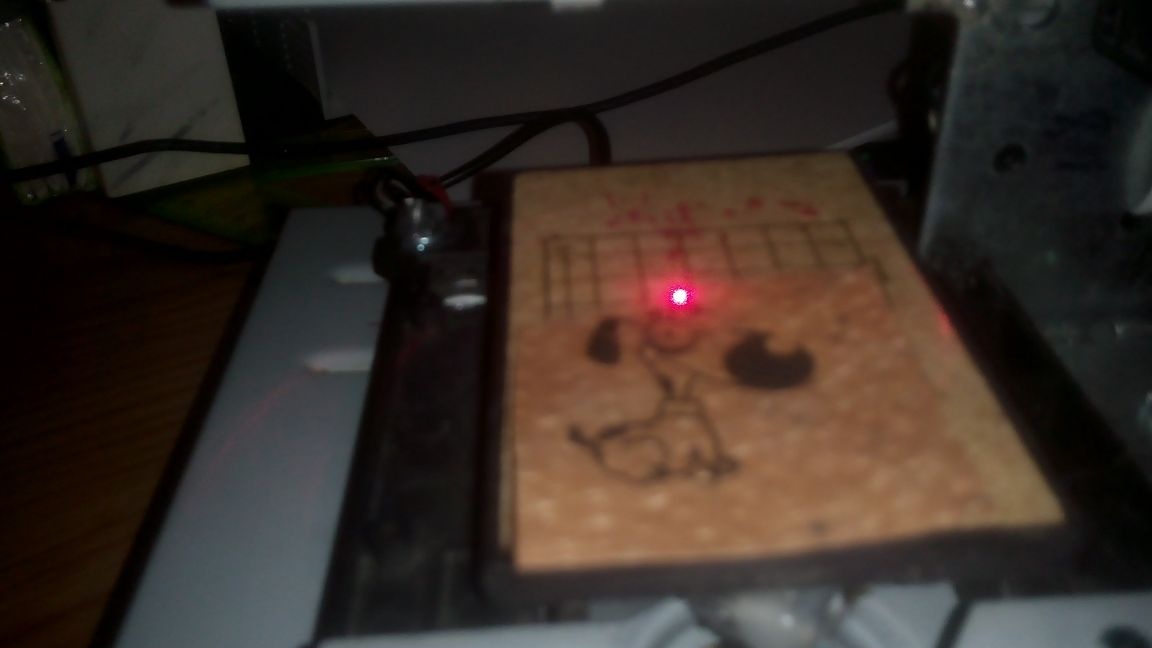
Getting ready to check. Download any program for working with grbl firmware. I recommend grbl controller or GRBLmaster. Instructions for using these programs can be found on the Internet, so I won’t dwell on this. Check how the carriages move. If their direction is wrong, then we interlace their wires on the board. That is, we put the first two wires in the place of the last two and vice versa. Now try to burn something! I burn on the skin. Before burning, we adjust the laser focus. This is done simply. In the program, turn on the laser and adjust until the point becomes small. Here are examples of my work:
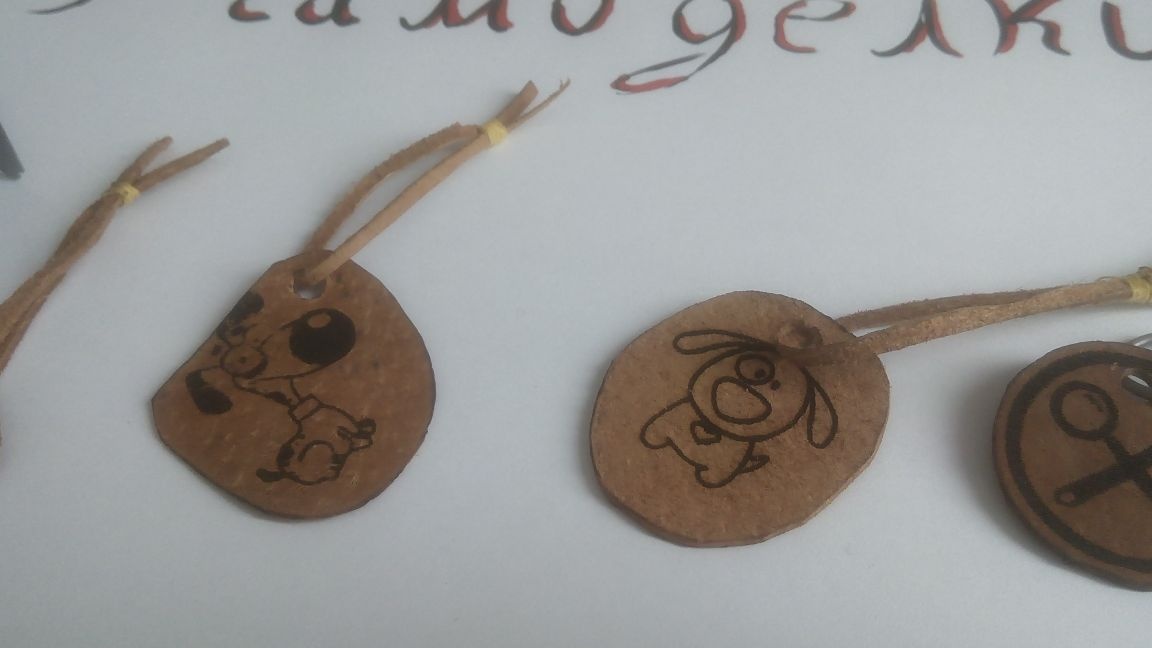
That's all! Everyone can repeat this, spending a minimum of funds and gaining a lot of experience. Also, this machine can be used for mini-business. You can do engraving on watch straps or on phone cases. Good luck to everyone and thank you for your attention!
p.s. Do not forget about security! In no case do not point the laser at a person, otherwise you may lose his sight. I recommend buying special glasses for working with a laser.