

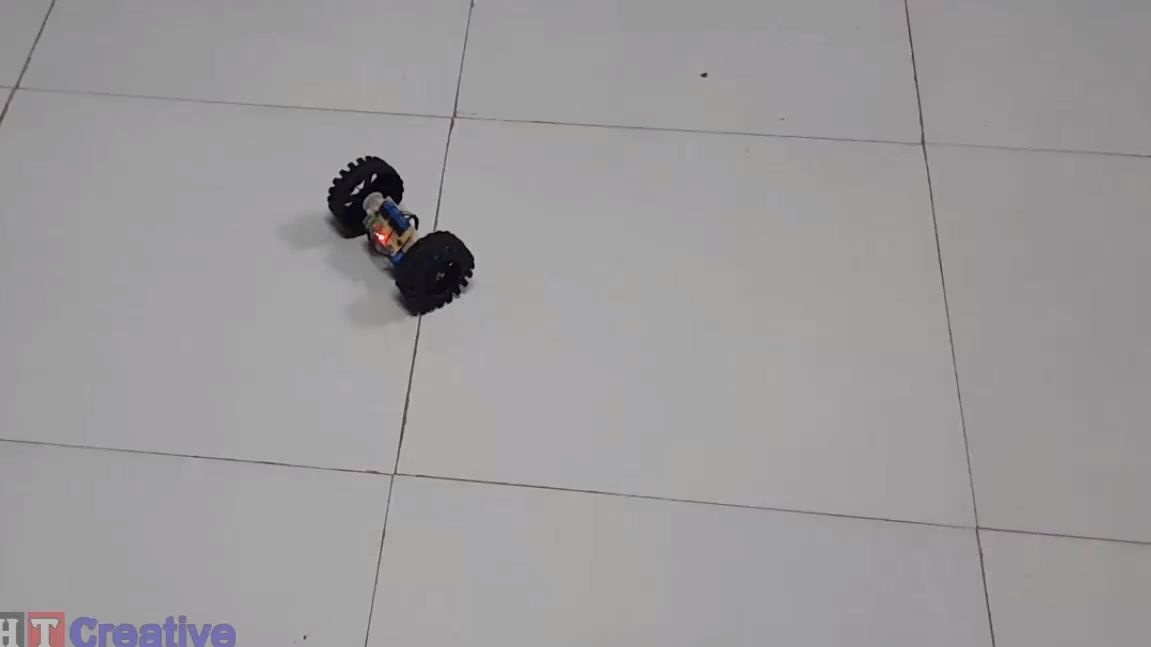
Greetings, in this instruction I will show you how to make a simple radio-controlled machine. The toy has only two wheels, each of which is connected to a separate engine. The engines operate independently of each other, so you have the opportunity to control each motor separately. Such a machine is very maneuverable, nimble. She is able to not only ride in a straight line and turn, but also knows how to spin on the spot and do other interesting tricks.
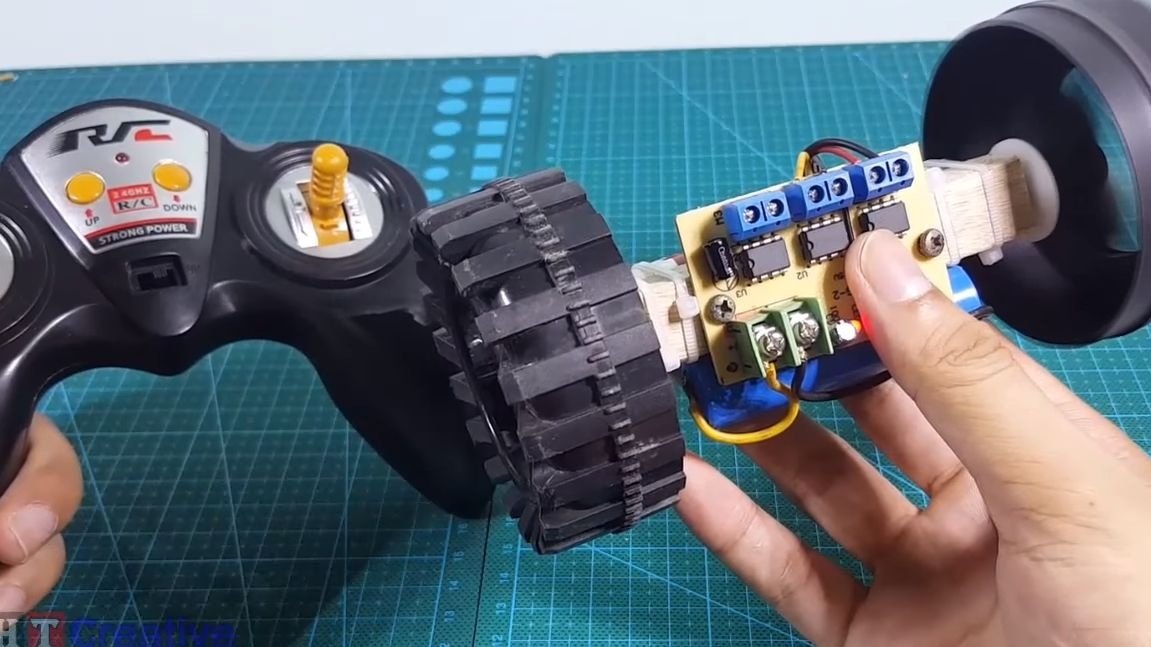
For assembly, the author used the simplest and most accessible materials. The most important thing is that you need to buy or find, or maybe even do do it yourself - This is a control panel, as well as a receiver that can control two engines. With all other spare parts there will be no problems, they can be found in old toys and so on. So, we proceed to the assembly of the machine.
Machine manufacturing process:
Material List:
- ;
- a thin wooden block;
- plastic ties;
- ;
- or similar;
- two wheels;
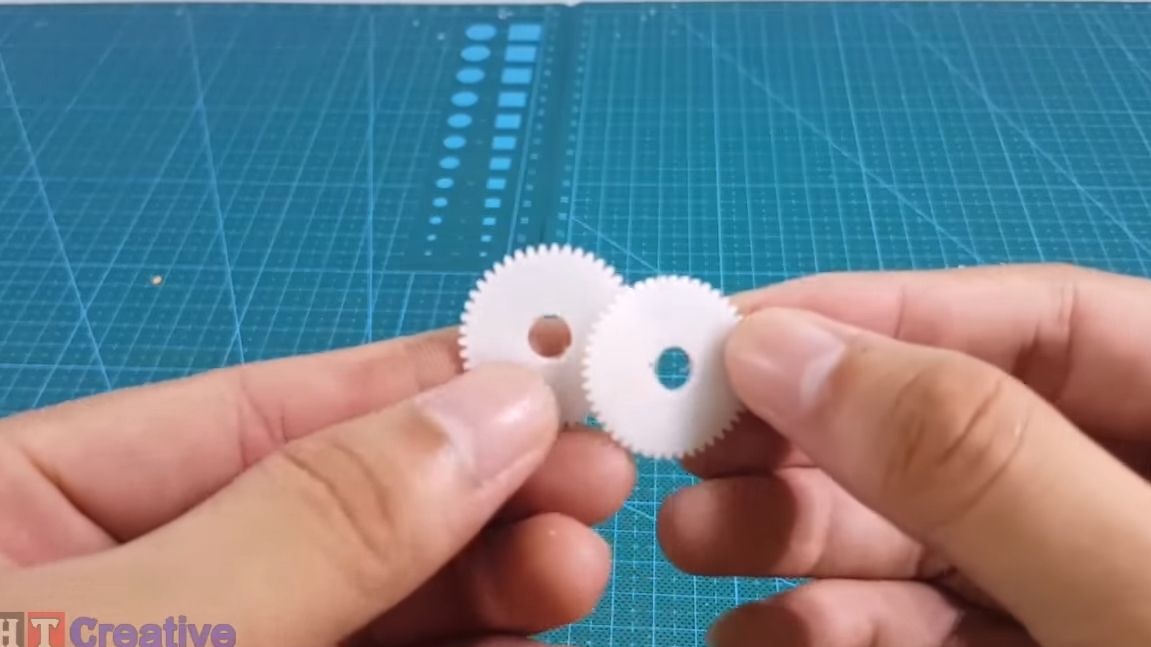
- two leading and two driven gears;
- switch;
- screws with nuts.
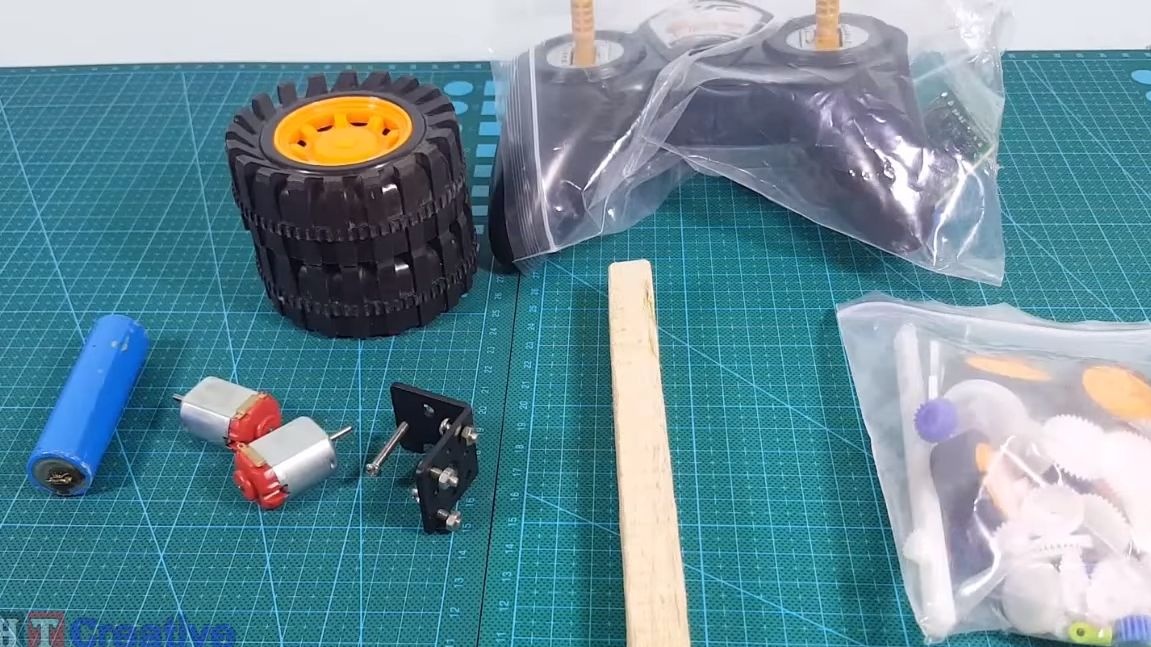

Tool List:
- drill;
- soldering iron.
Machine manufacturing process:
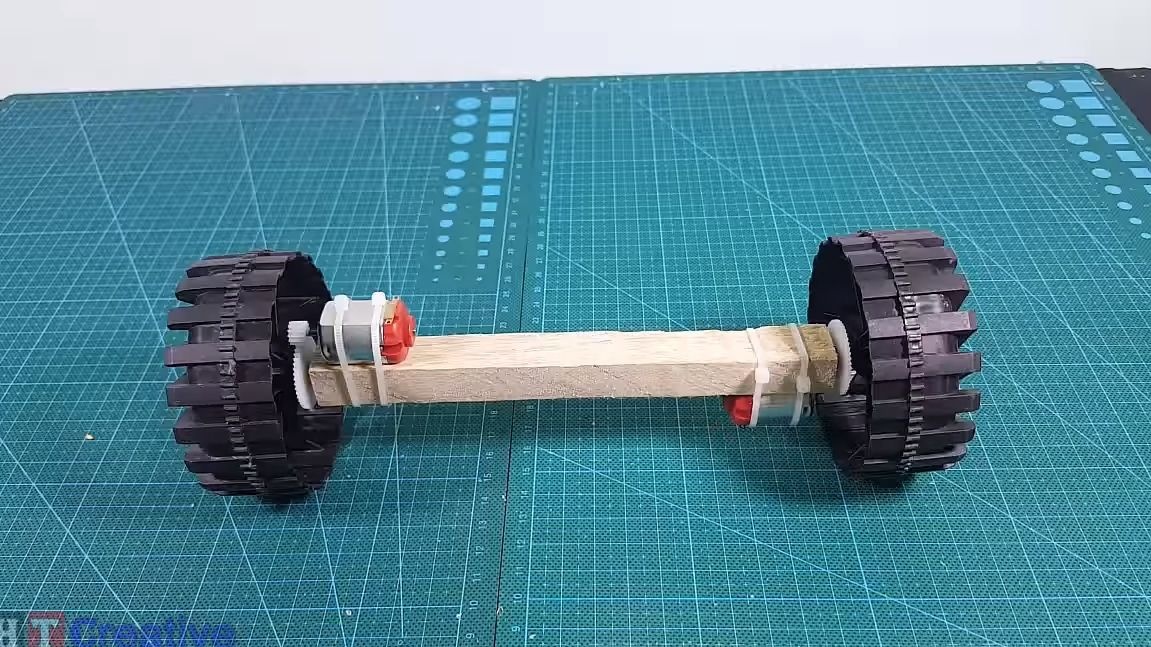
Step one. Foundation preparation
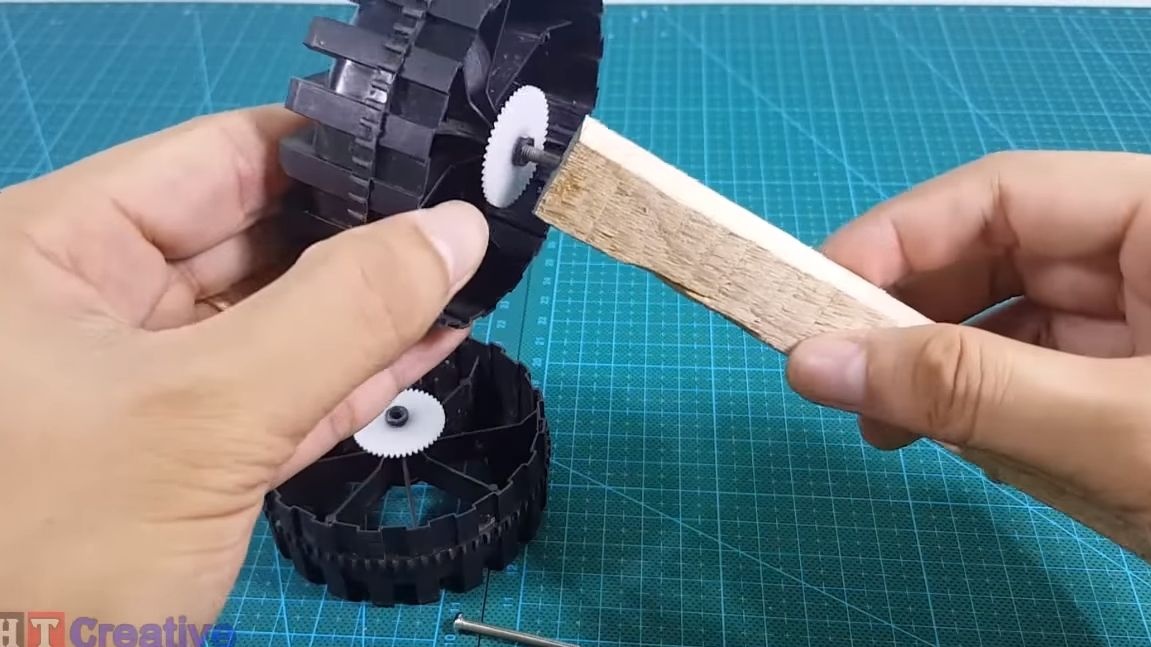
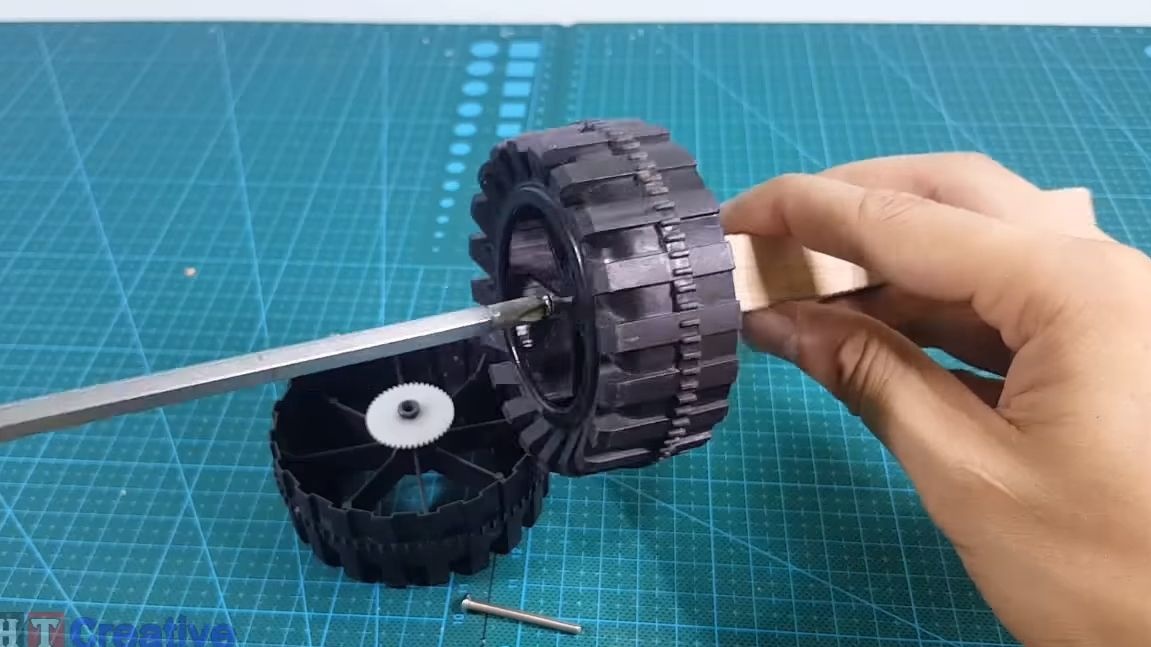
As a basis, the author used an ordinary small wooden block. It is simple, reliable and affordable. From the ends you will need to drill holes, using them we will fix the wheels. The author uses a makeshift drill for these purposes.
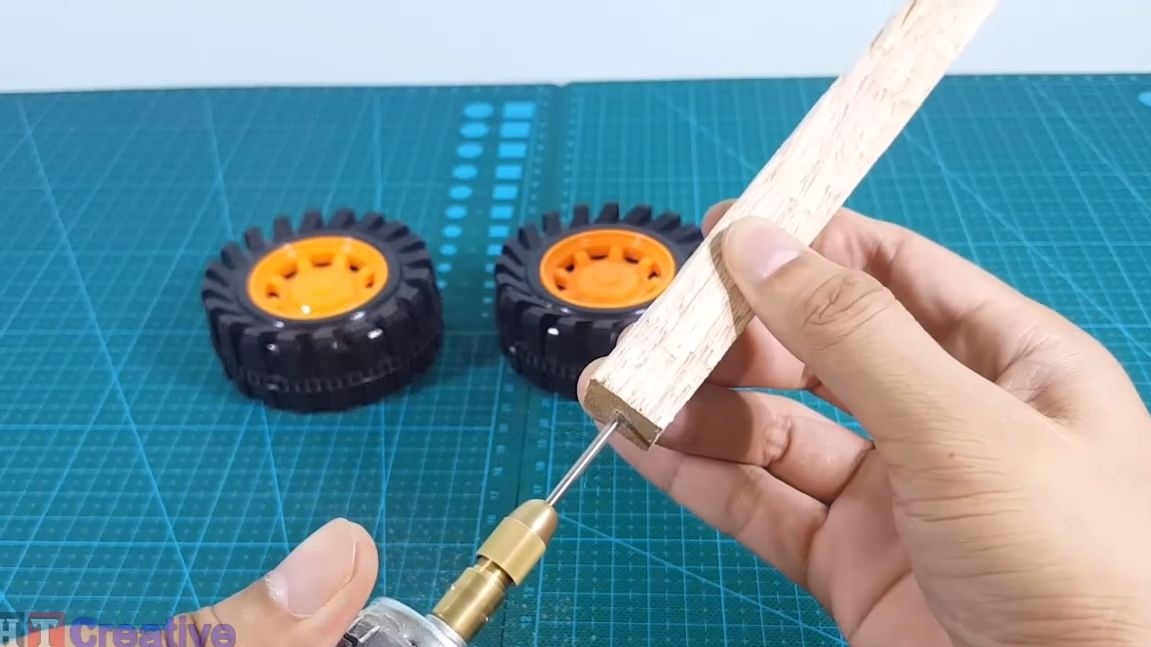
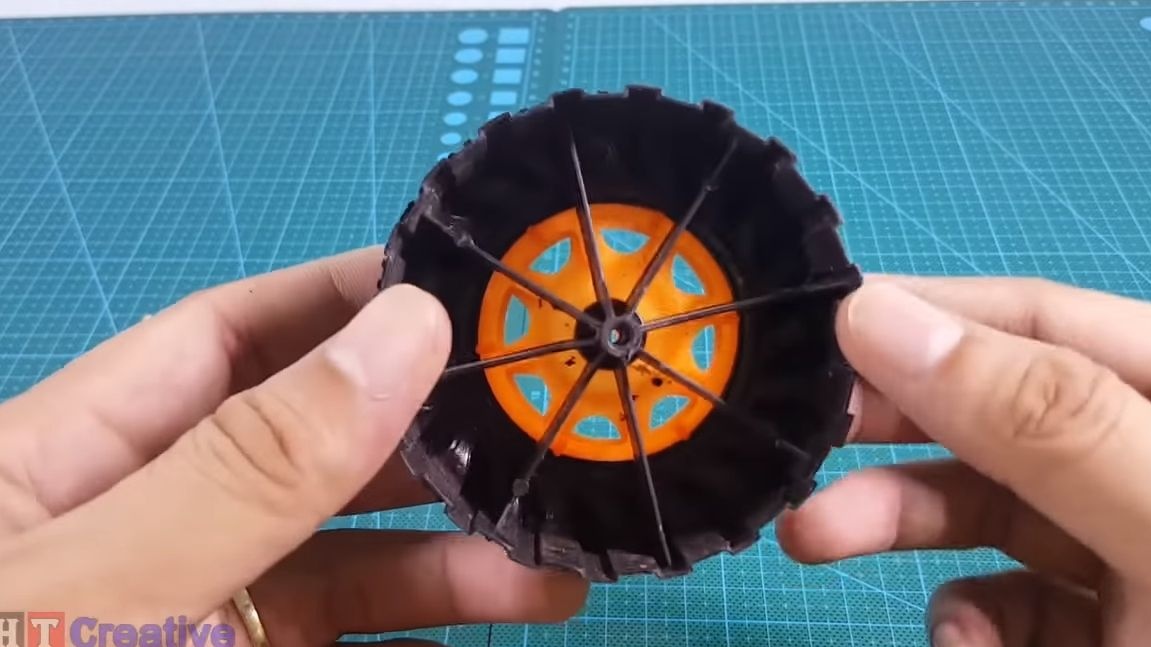
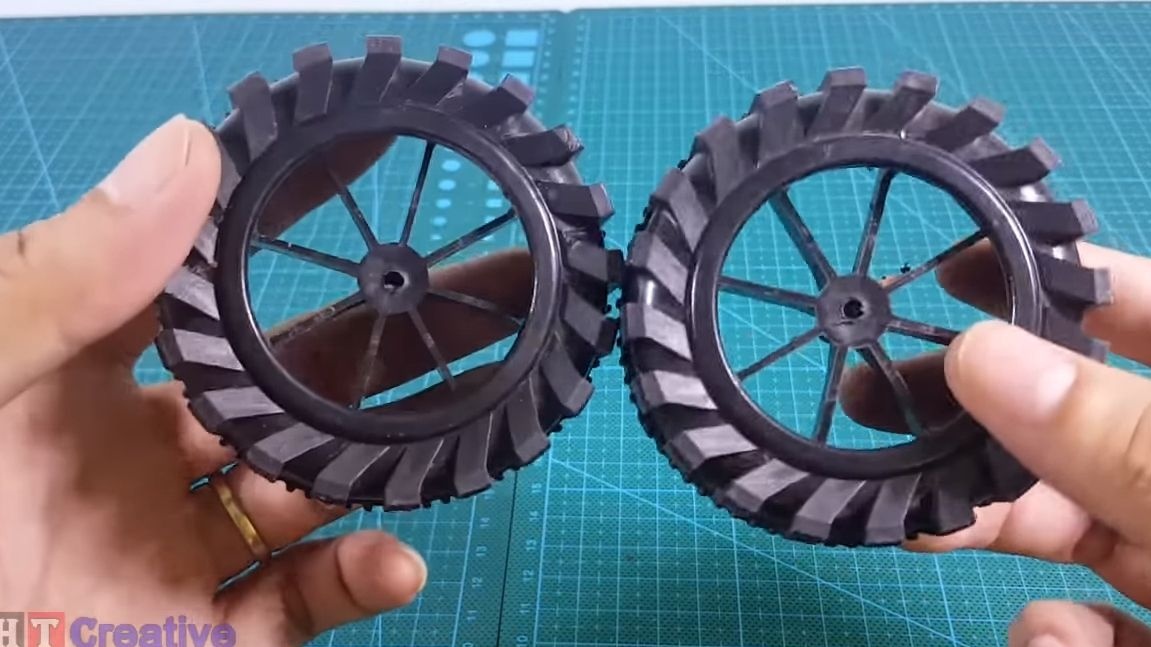
Step Two Wheel preparation
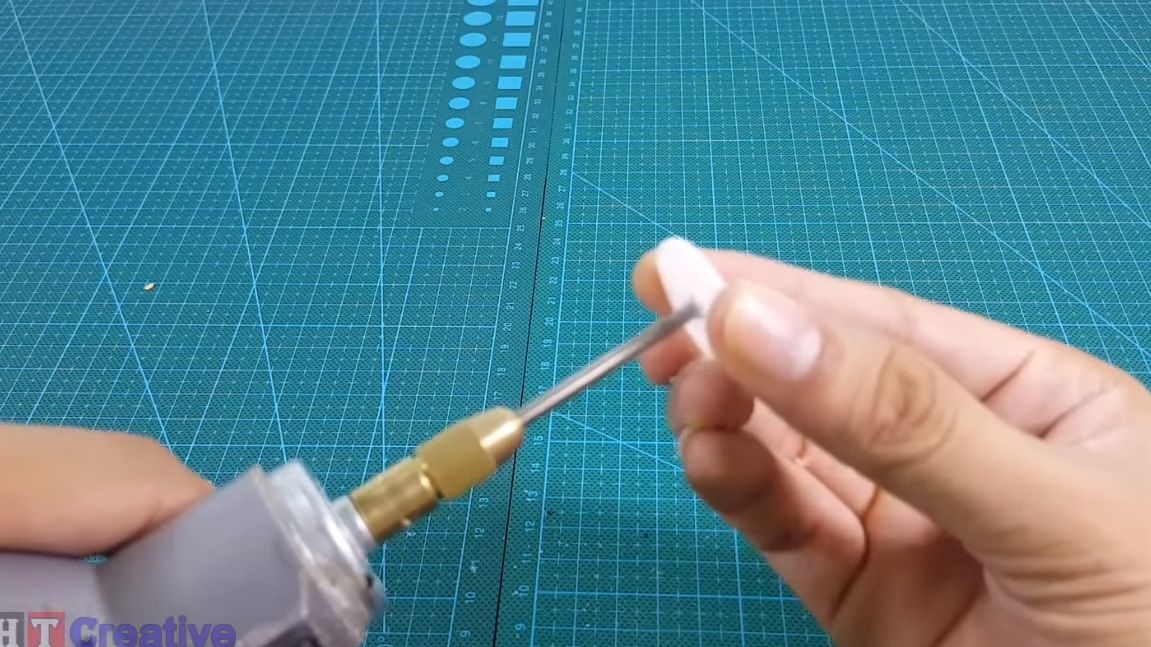
Next, we need to prepare the wheels, suitable for old toys. The author drills through holes in them. The diameter of the holes should be such that the wheels can easily rotate on the screws that are installed in them, but they should not hang.
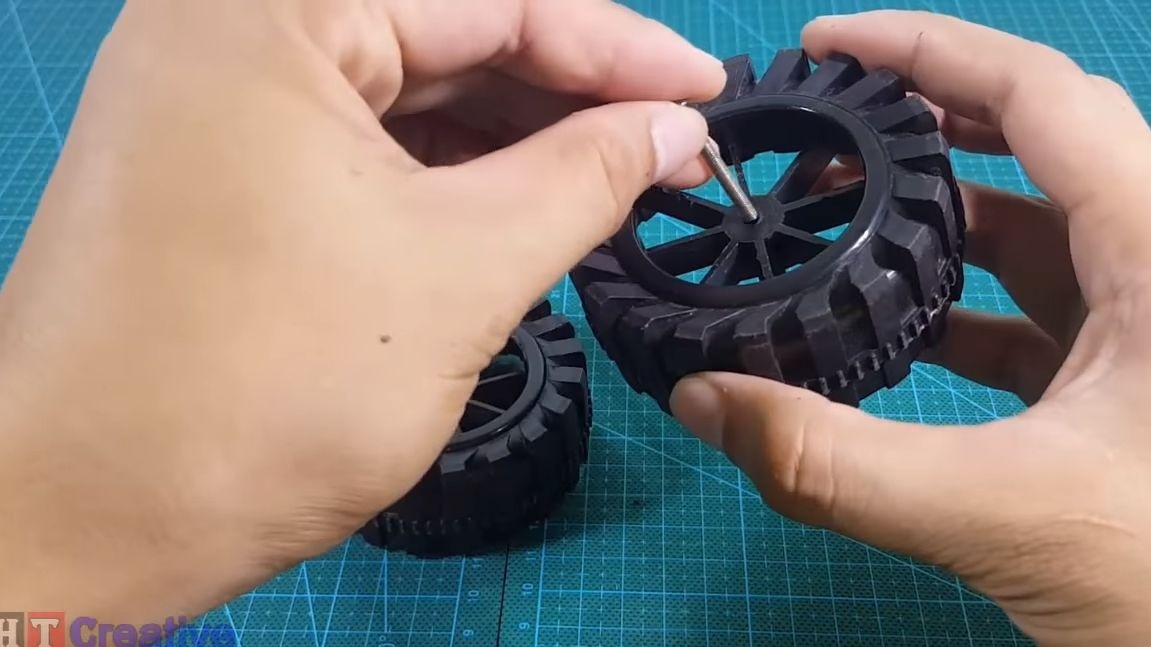
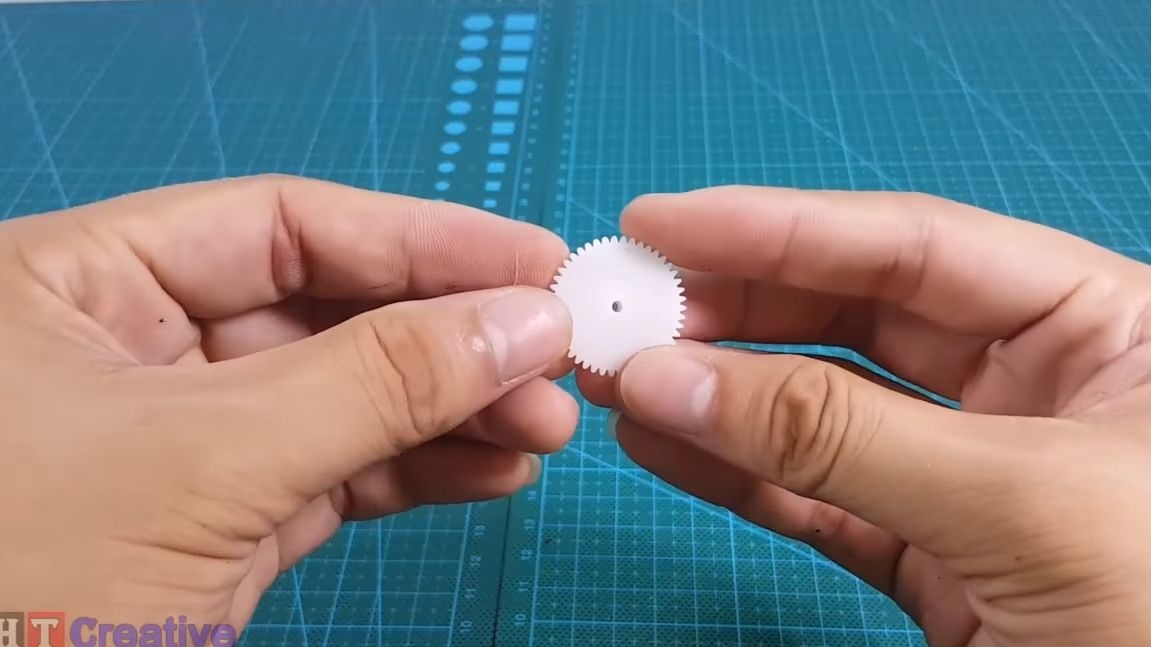
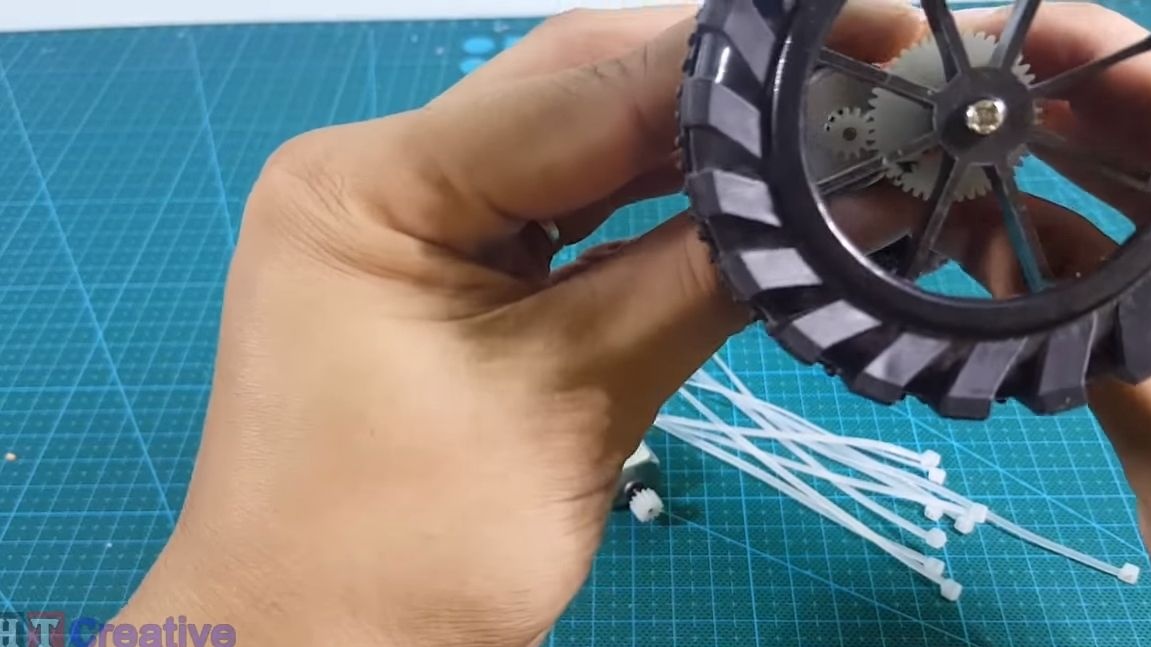
Step Three Install driven gears
Now you need to install the driven gears on the wheels. We select the necessary diameter and drill holes to such a diameter so that you can install the gears, as the author did. It is better to choose larger gears, so the machine will be more “high-torque”.Well, then just glue the gears using superglue.

Step Four Set the wheels
Now you can install the wheels, for this we take the screws, insert into the wheels and screw the screws into the holes that were previously drilled in the bar. Glue can also be applied to the screws to strengthen the structure. We do not fully tighten the screws; the wheels should rotate easily on the axles.
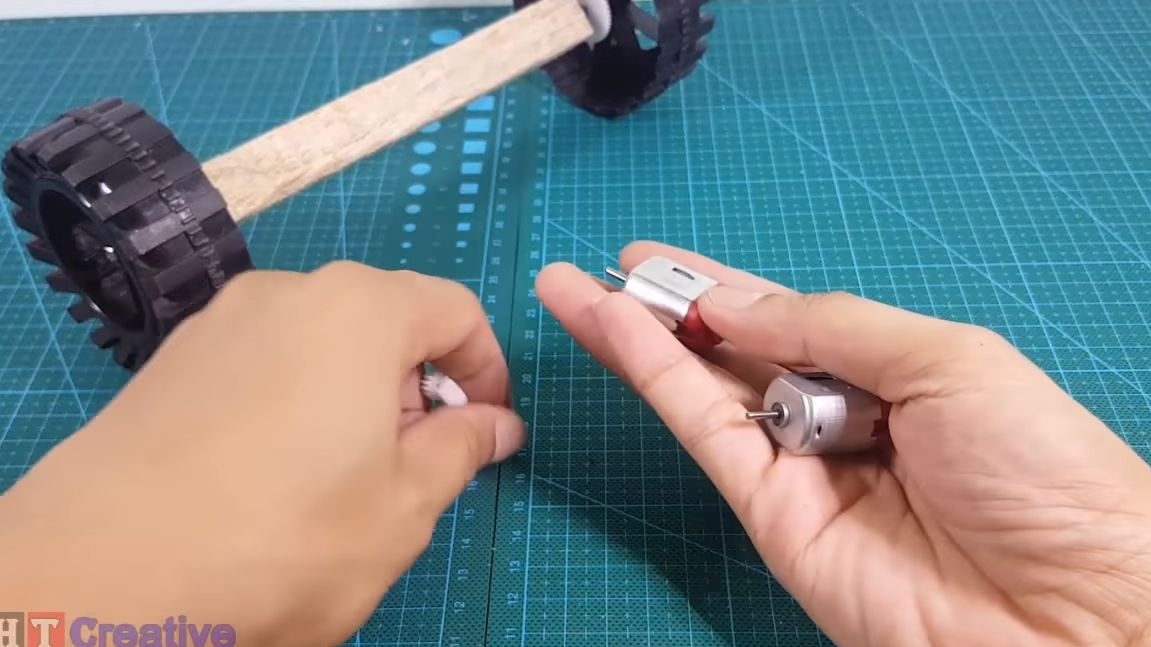
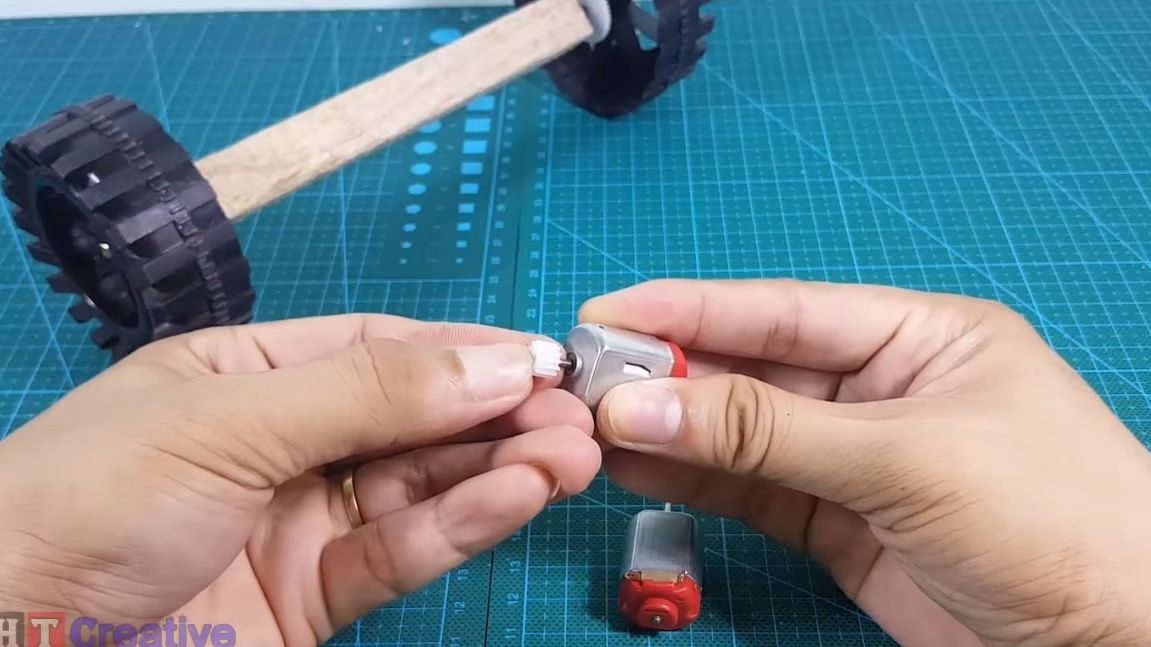
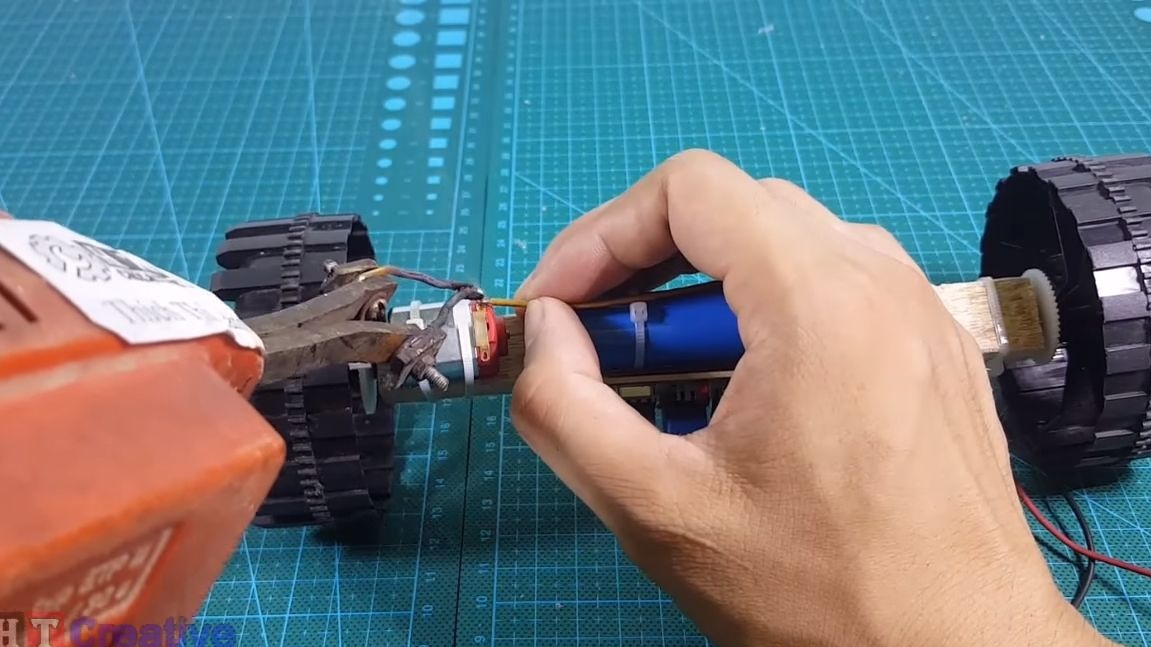
Step Five Installation of motors
You can start installing the engines. First of all, we install small gears on the shafts. The author used the most ordinary motors, which are often found in toys, cheap household appliances and so on. Their power is enough. But if you have something more powerful, such as drives from drives, then you can use them.
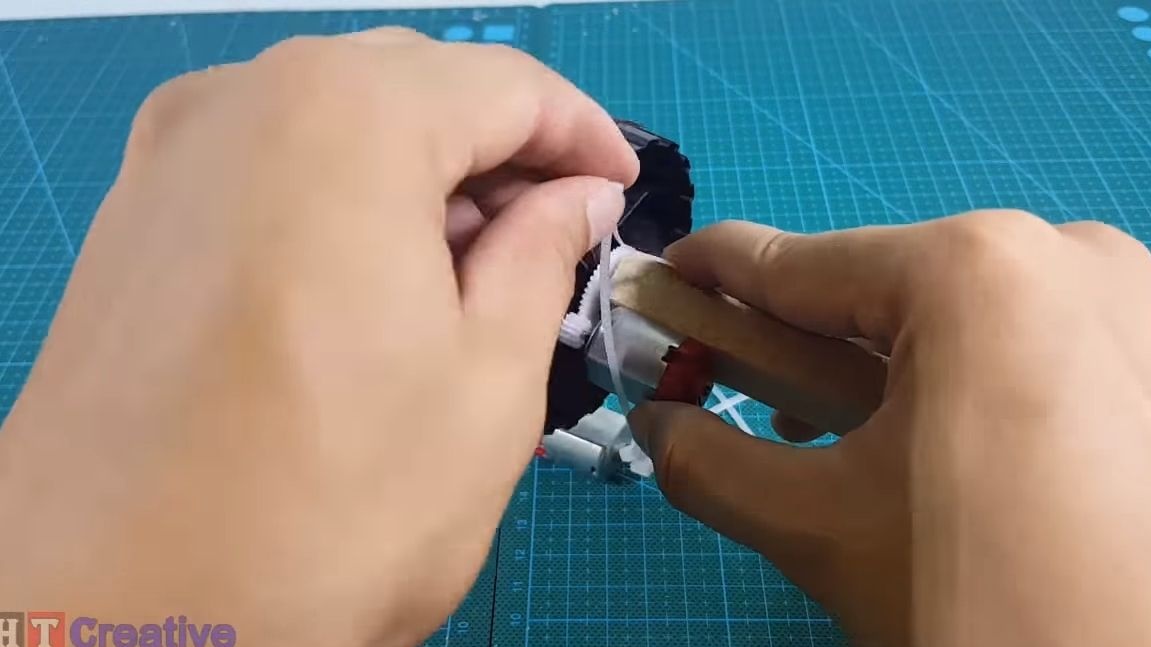
We fasten the engines using plastic ties. They need to be installed so that the transmission from the gear on the shaft to the gear on the wheel is obtained. We select the necessary clearance by placing paper or something similar under the engine.
Step Six Getting started assembly
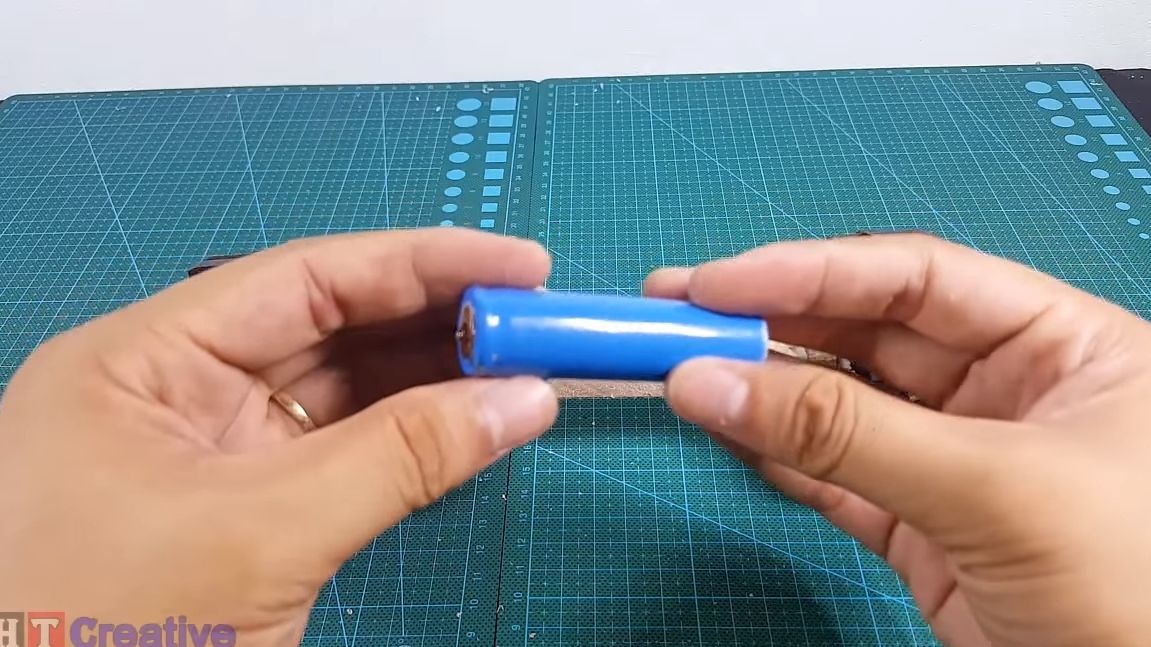
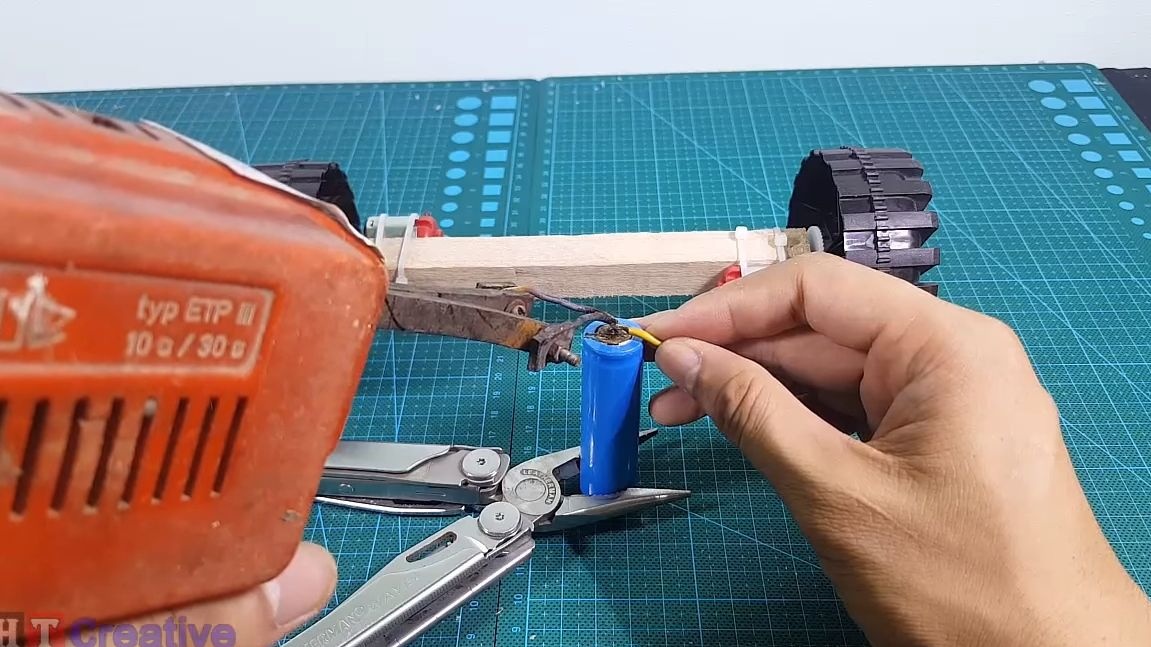
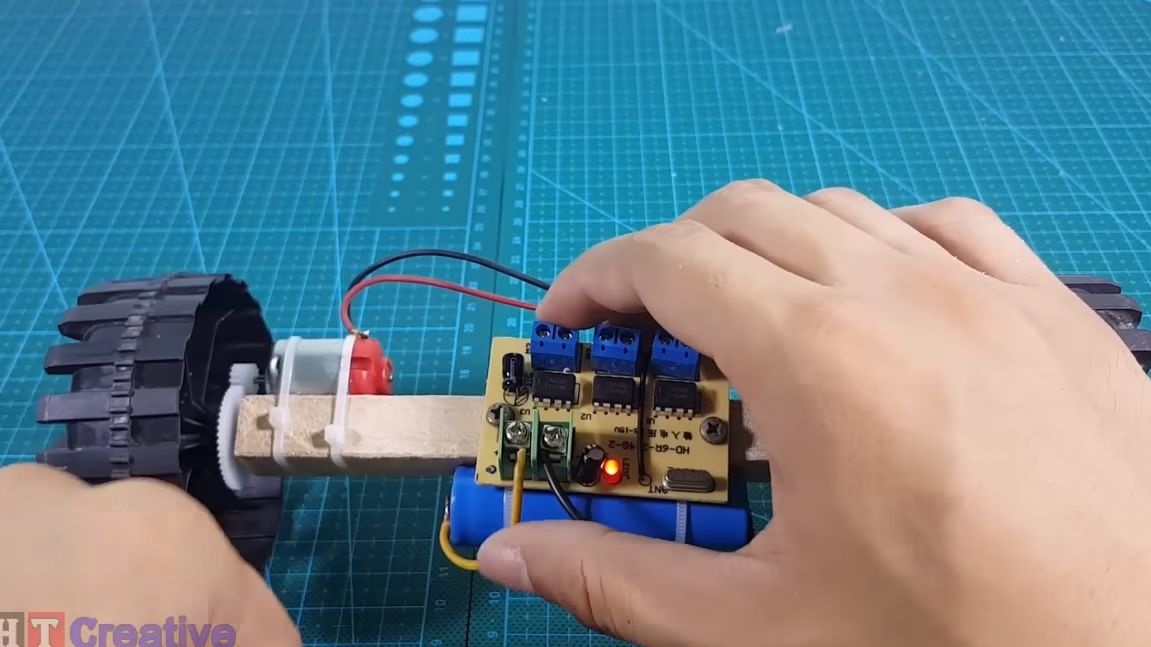
The first thing we solder two wires to the battery, the author used 18650. When using such batteries, note that they do not last long without a charge and discharge controller.
Secure the battery in the center of the bar using plastic ties.
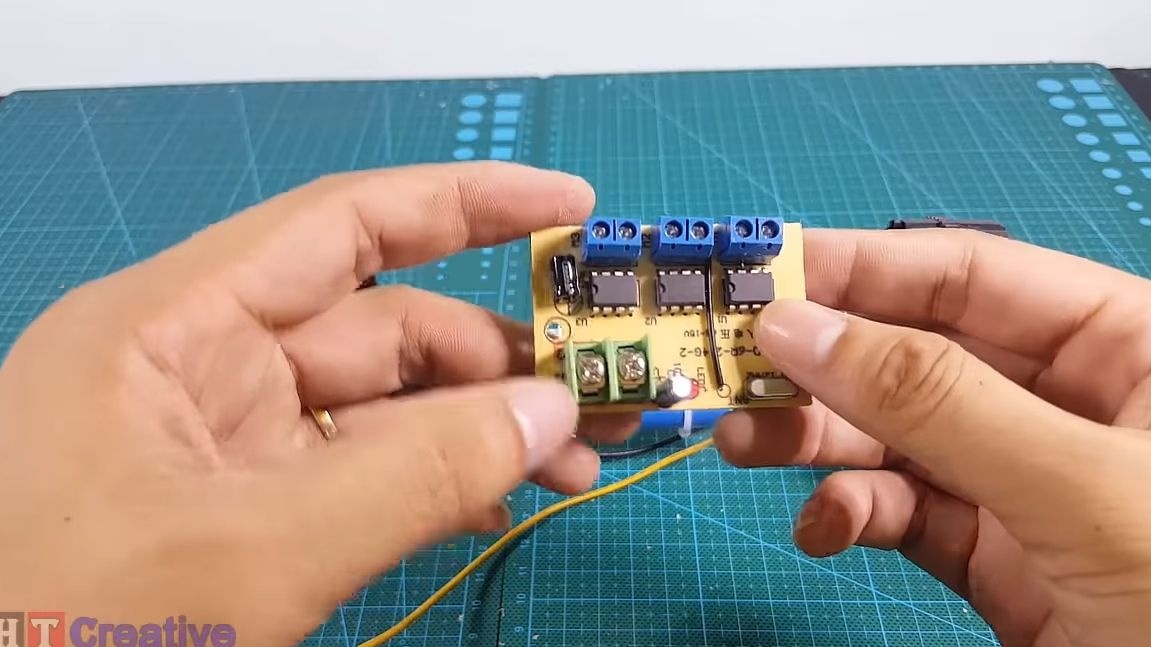

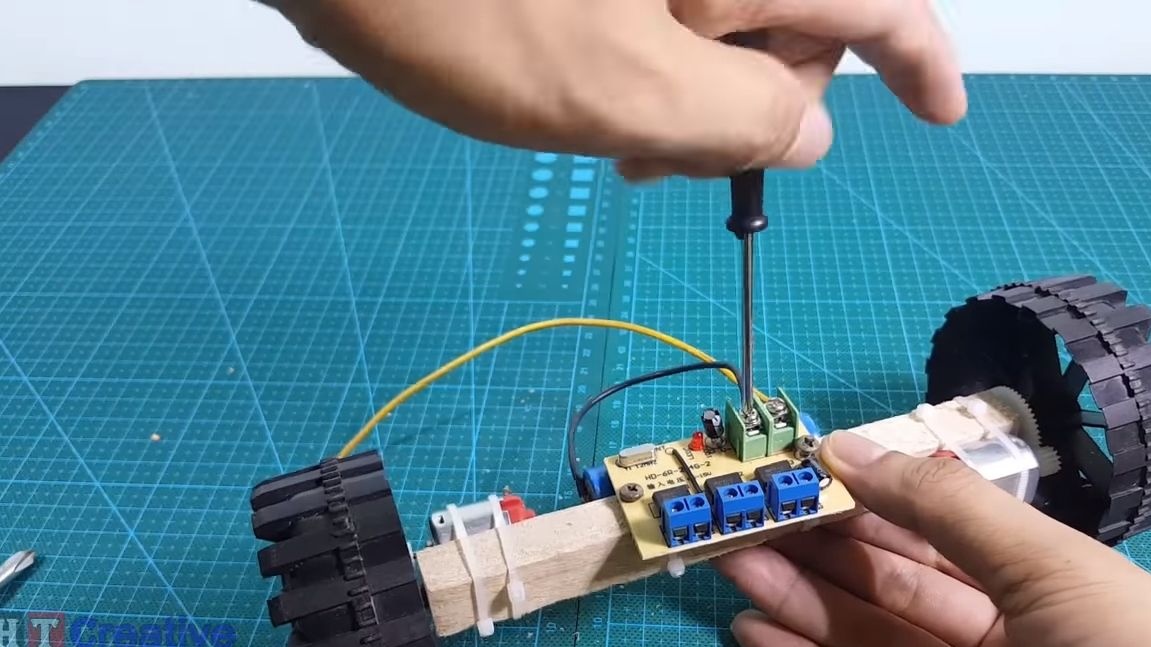
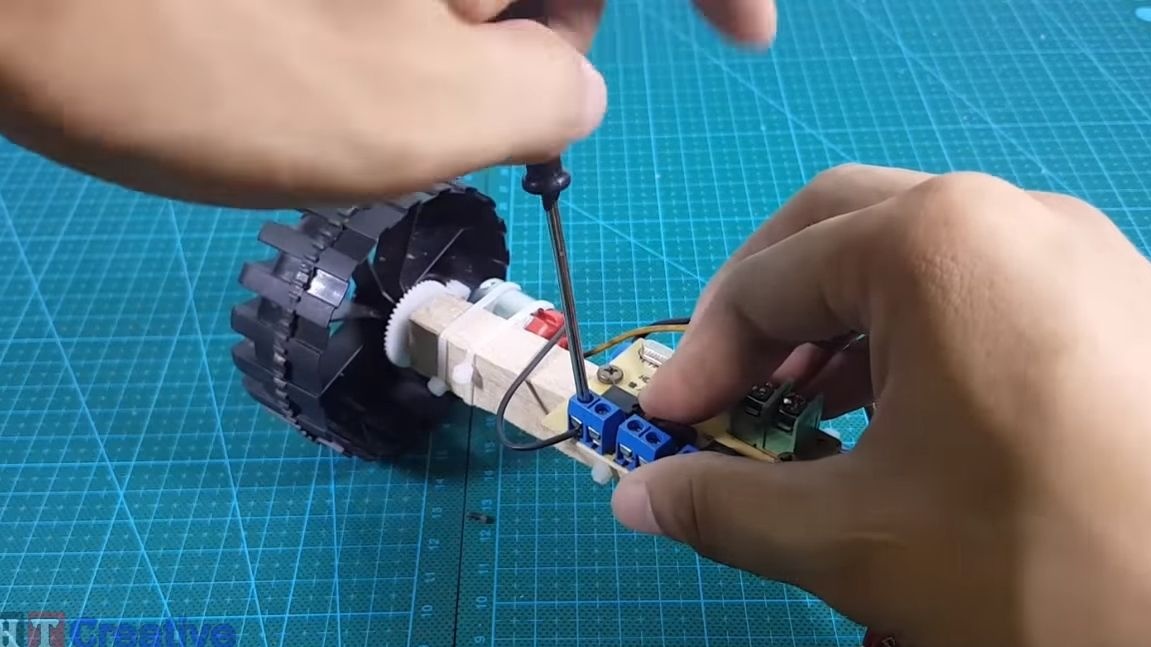
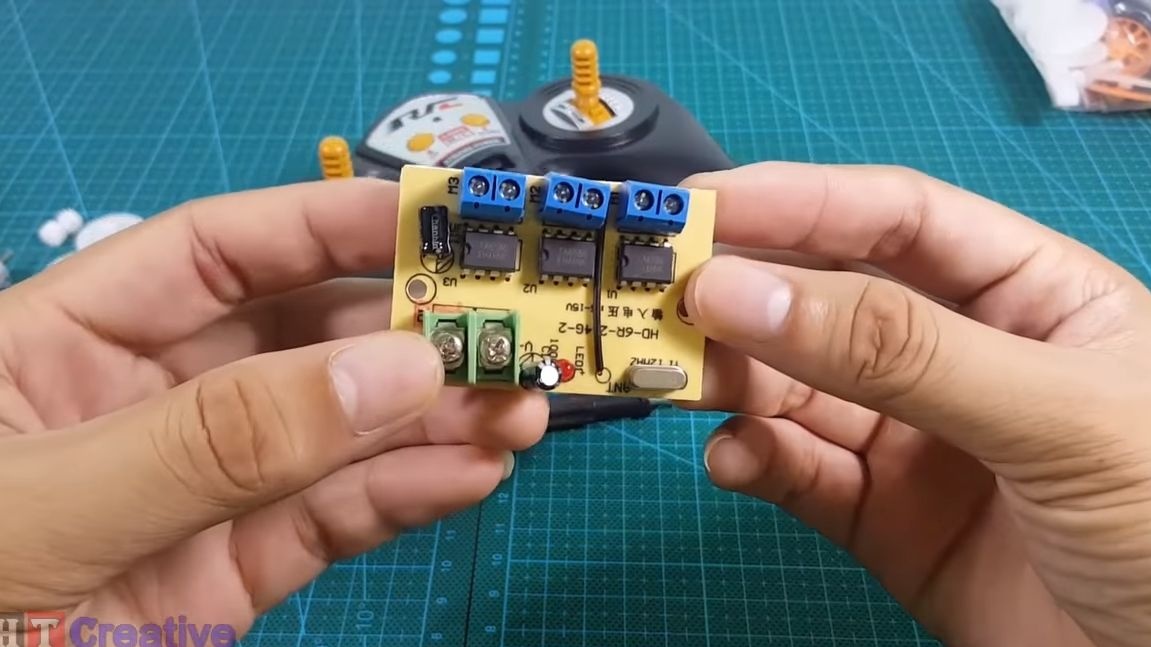
Now we need to install electronicswhich will drive the engines when you send a radio command. Fasten the controller using screws. All that remains for you is to connect the motor wires to the controller, and also supply battery power to it. Motors need to be connected to the controller equally. That is, when you turn on the remote control forward or backward, all wheels should rotate in the same direction.
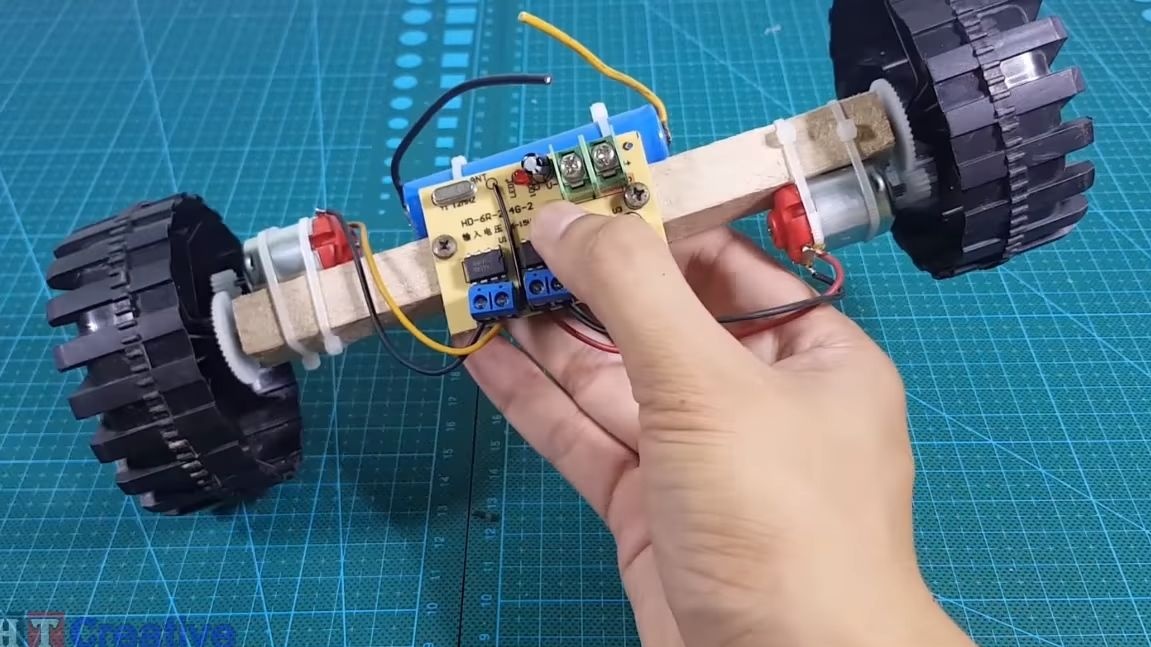
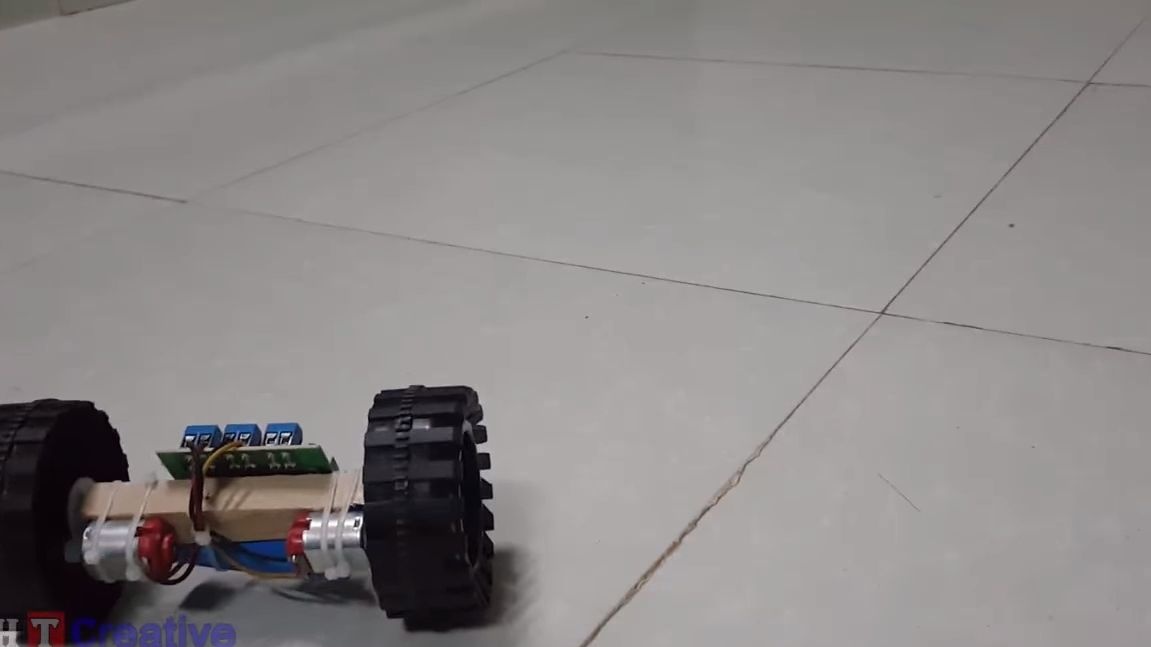
That's all, the machine is ready for testing! Watch the video, what a nimble beast we got! If you make such a toy for your child, he will be very pleased. In addition, if you do these things together, you can teach the child the basics in electricians and design in general. That's all, good luck and inspiration for self-made!