

Greetings to visitors to this site. Light is an integral part of our life. After all, without him, we are nowhere. In this article you will see how to make a five-volt LED lamp with sufficient brightness do it yourself from the most improvised materials. The body of the LED lamp will be made of a tin can of coffee, which means that homemade will be made of garbage, that is, of unnecessary things. Let's move on to the assembly process of this homemade product. And for the manufacture of the lamp we need:
1) Two tin cans of coffee of different volumes for the manufacture of a lamp housing;
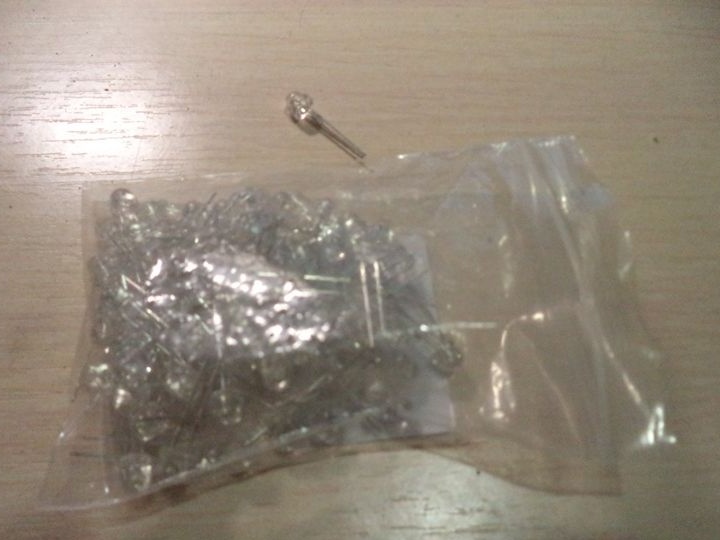
2) Bright white LEDs designed for a voltage of 3 volts (26 pieces);
3) CD disk for closing the contacts of LEDs;
4) Connecting wires for connecting contacts;
5) Heat-shrink tubing for insulation of bare contacts;
6) Resistors of the same resistance so that the LEDs can be connected to a voltage of 5 volts (3 pieces);
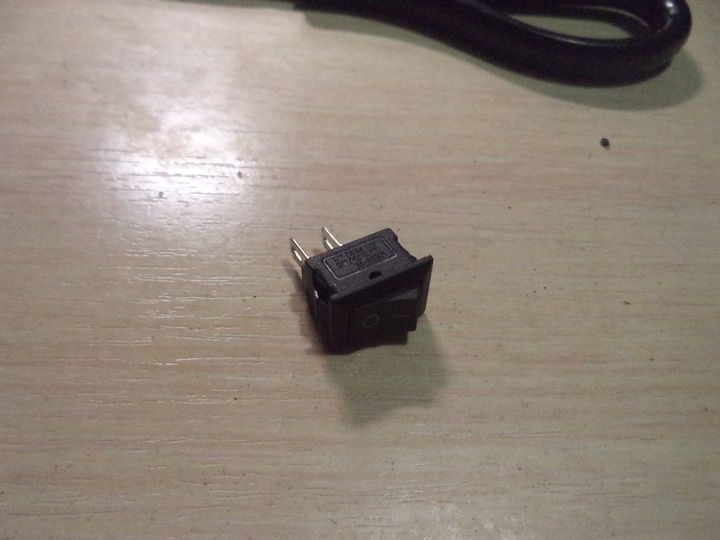
7) A switch to turn off the power of the lamp;
8) USB plug for connecting the lamp to a 5 V power supply;
9) A self-tapping screw for fixing the lamp to the wall.
1) Scissors for cutting cans;
2) A clerical knife for cleaning wires and cutting some holes on tin;
3) Any sharp object, whether it was an awl or a nail for drawing on the tin of different markings;
4) Ruler or square for drawings;
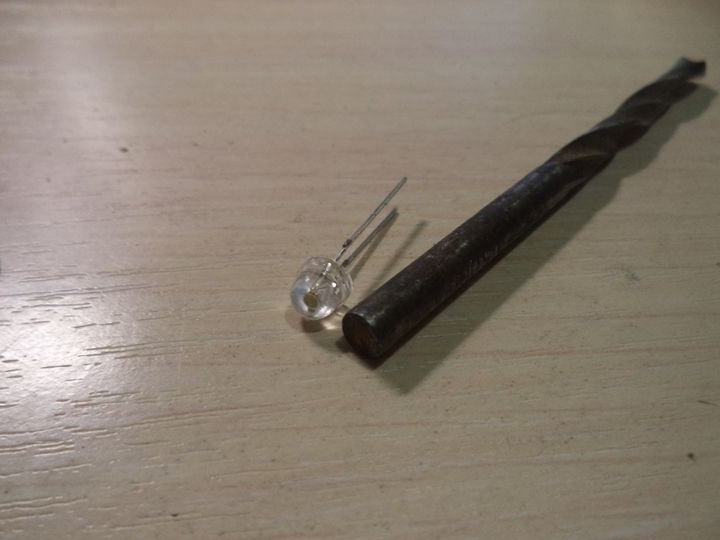
5) Electric drill and drill for drilling seats for LEDs;
6) Emery paper for grinding sharp and uneven surfaces;
7) Pliers for making body bends;
8) Glue gun and hot melt adhesive for gluing some parts and structures;
9) Electric soldering iron for soldering electrical contacts;
10) Nippers for cutting wires;
11) Lighter or matches for shrink shrink tubes.
The manufacturing process of the LED lamp.
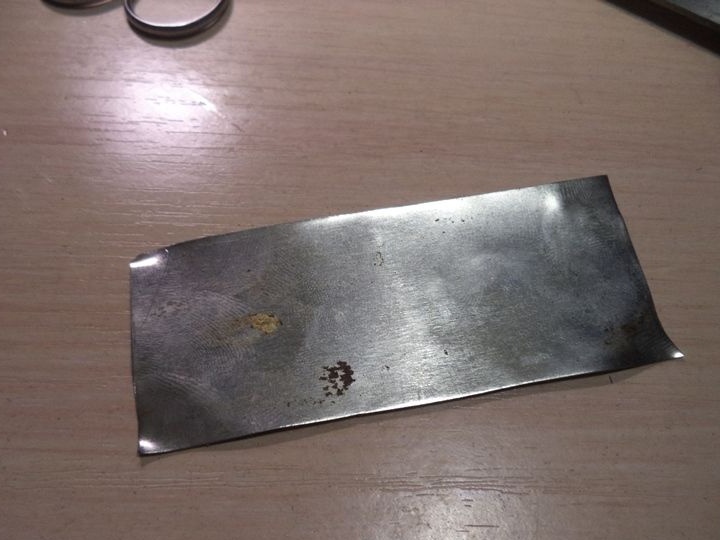
As I mentioned earlier, for the body of the LED lamp we will need cans of coffee.

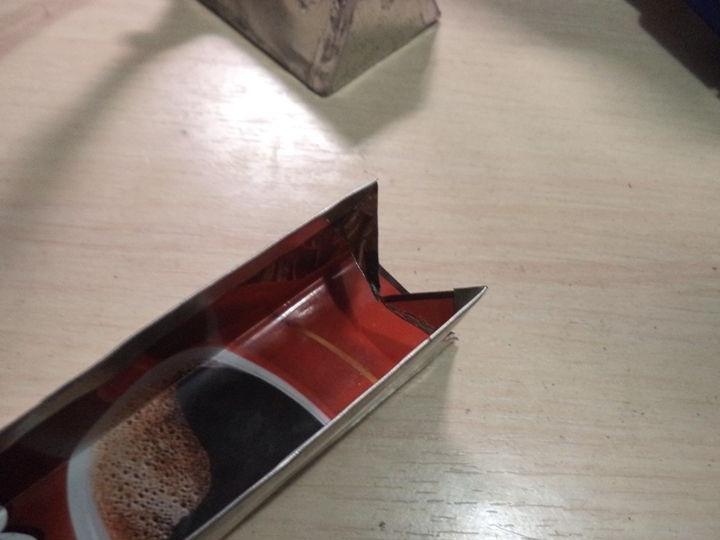
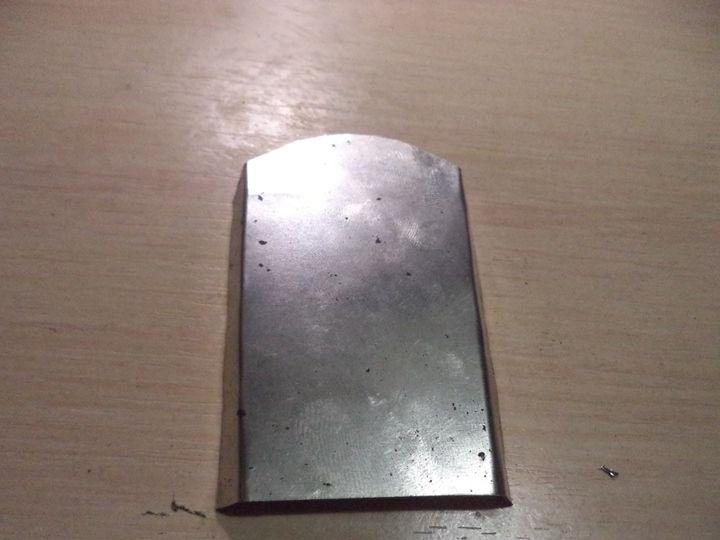
Using scissors, cut out the rectangular part from the can.
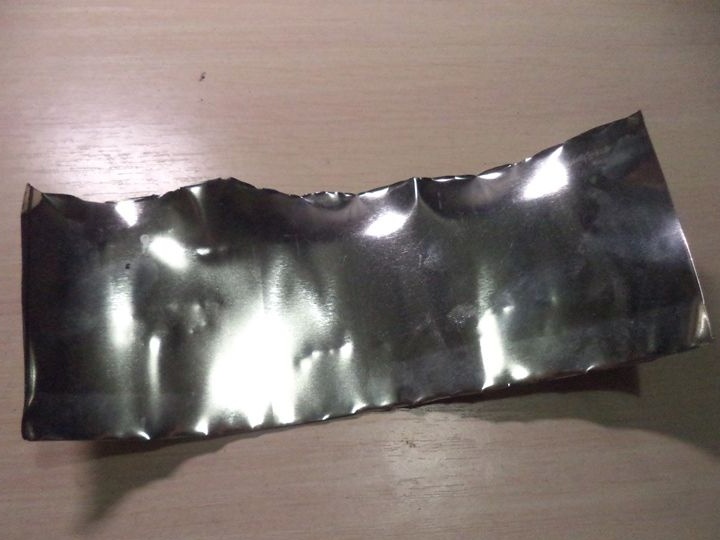
Cut off uneven parts with scissors from the tin plate.
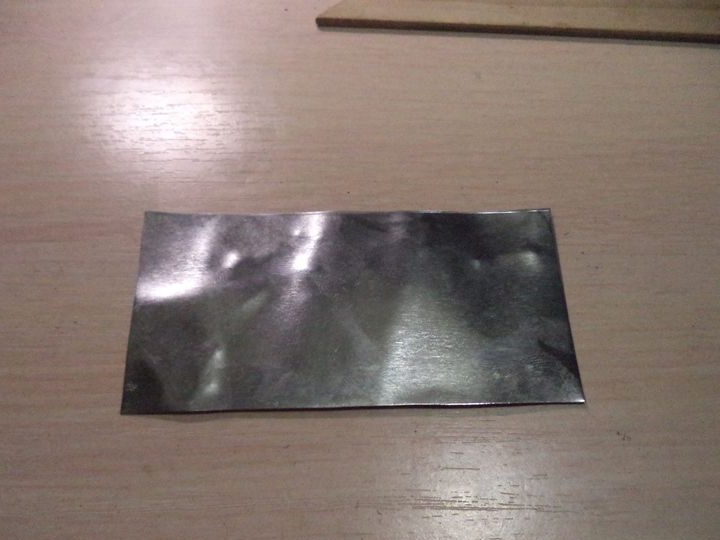
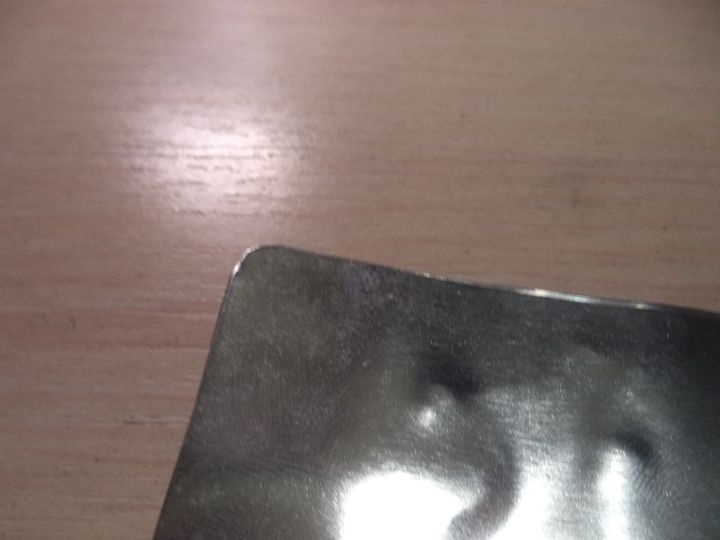
Sharp edges are rounded so as not to pierce your fingers.
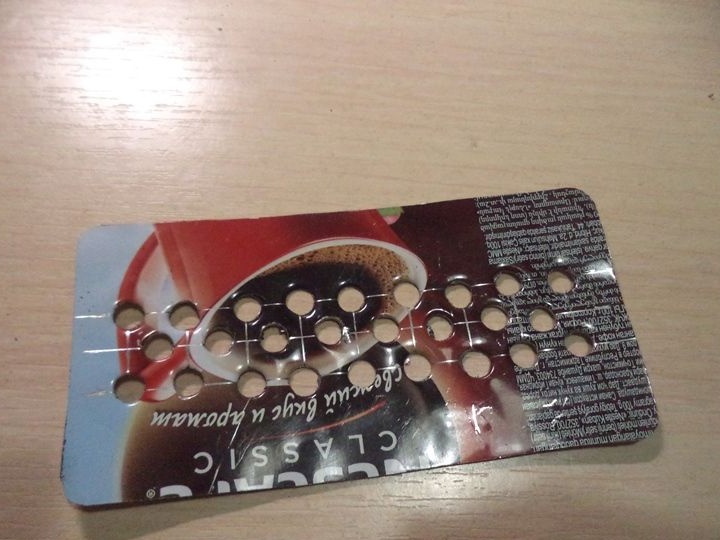
On the reverse side of the tin plate, where there are different inscriptions and illustrations with the help of a nail, we draw the following notes.


Now, at the marked places, that is, at some points where the lines intersect, we drill holes with a drill with a diameter equal to the diameter of the LEDs. For more convenient drilling, so that the drill does not drill anywhere, it is worth knocking out the recesses at the points of intersection of the lines with the same nail and hammer.
Grind rough and sharp surfaces after drilling holes with sandpaper.
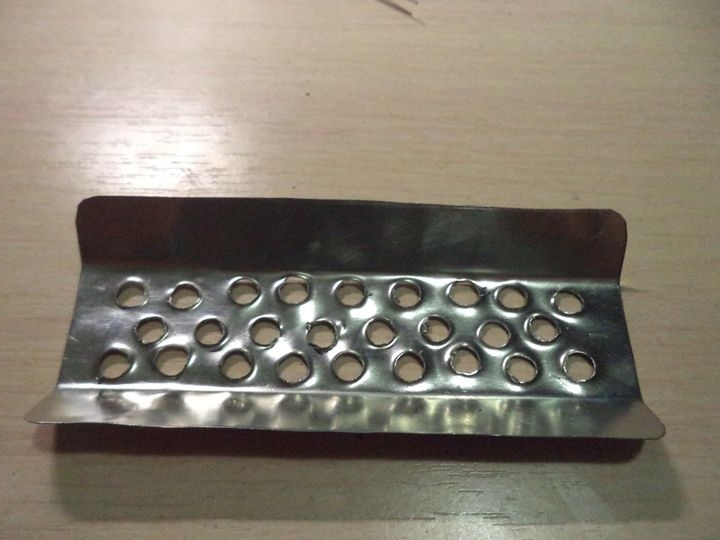
We bend the plate as shown in the photo.
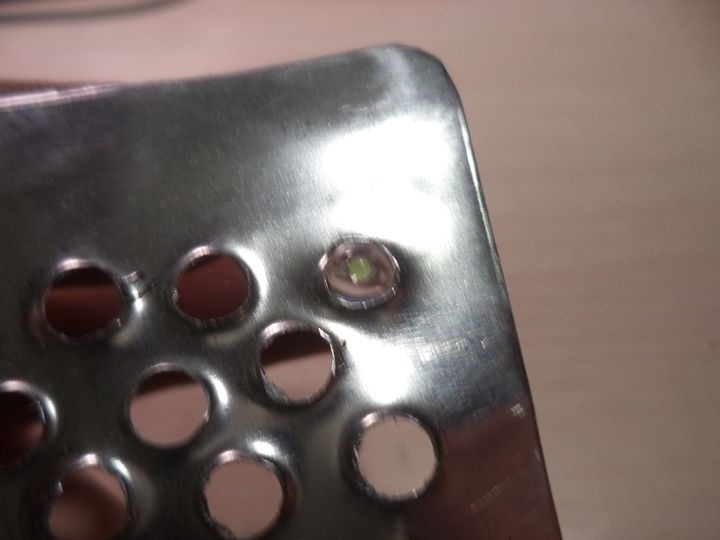
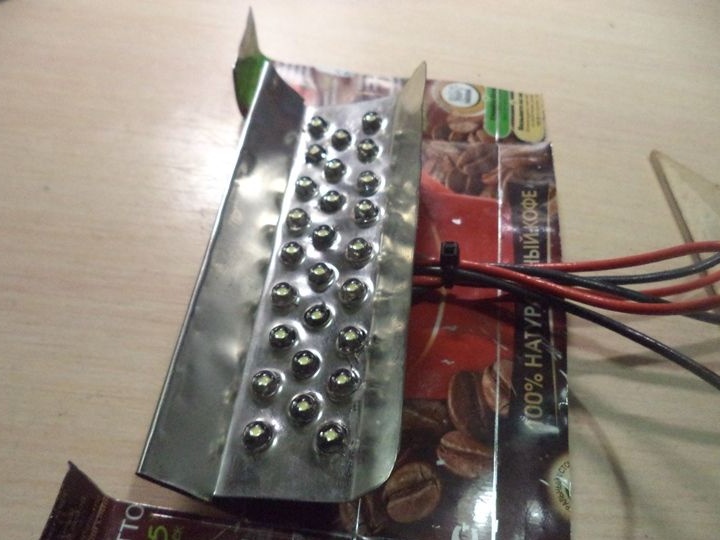
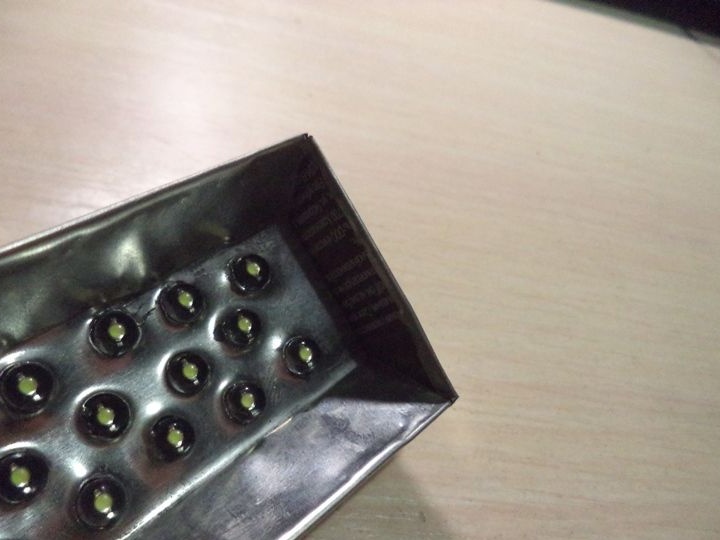
Now we take the LEDs and insert them into the early drilled holes on the tin plate. It is necessary that the minus of the LEDs is on the one hand, and the plus of the LEDs is on the other hand, so that later it is easier to solder together in parallel.
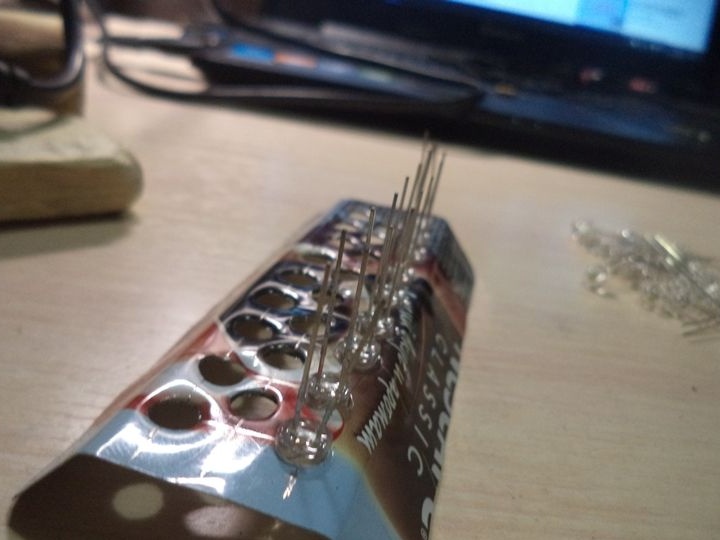
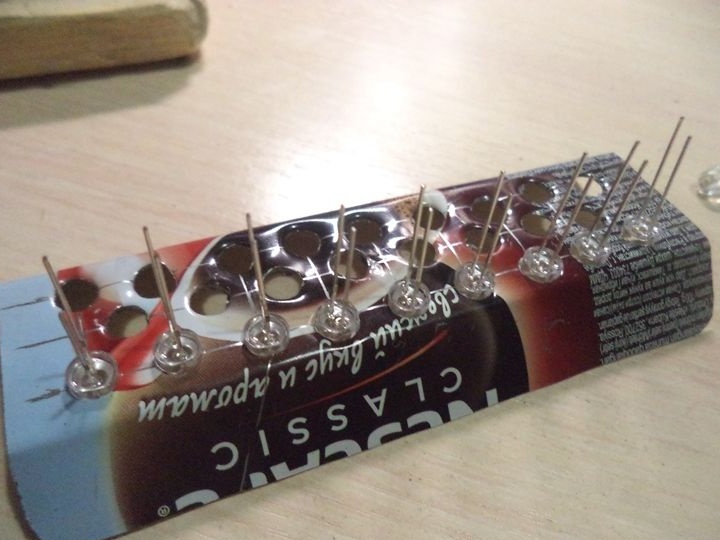
We attach the LEDs to the plate using hot glue.
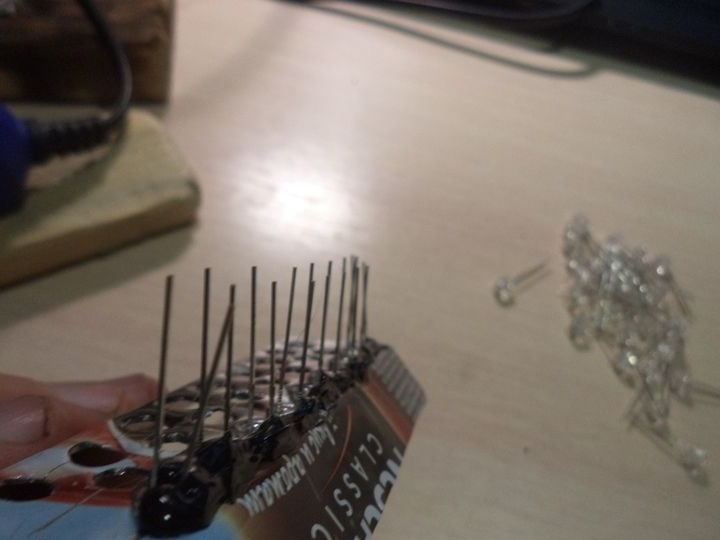
Now we bend the contacts of the LEDs so that the contact of one LED touches the contact of another LED.
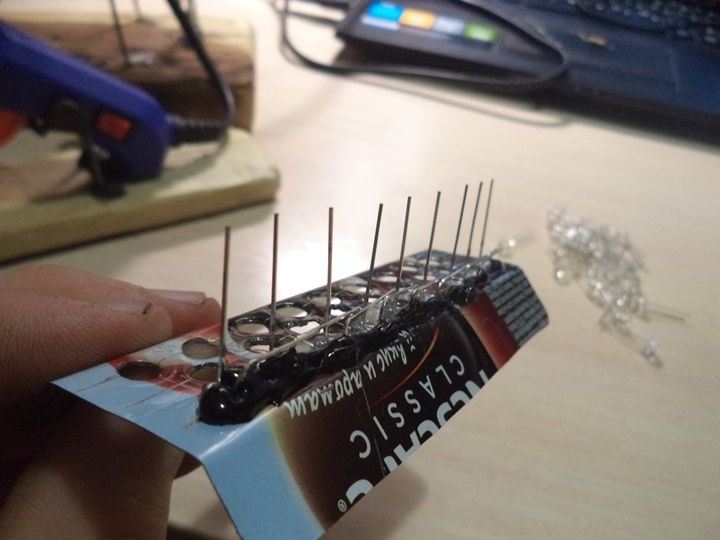
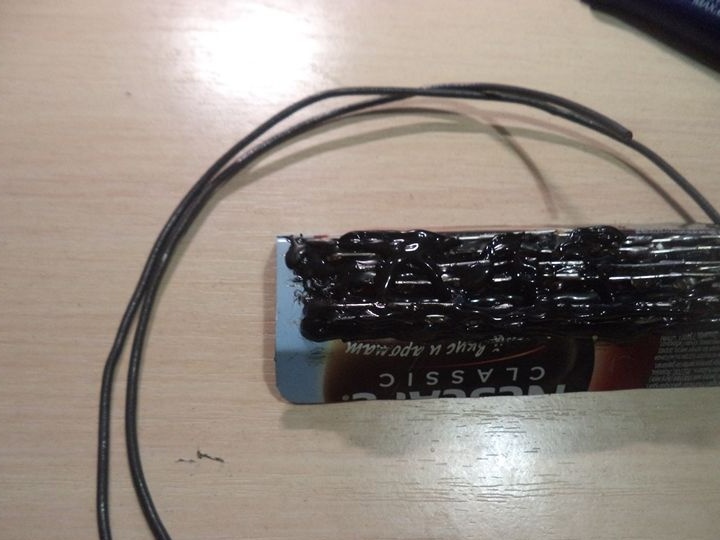
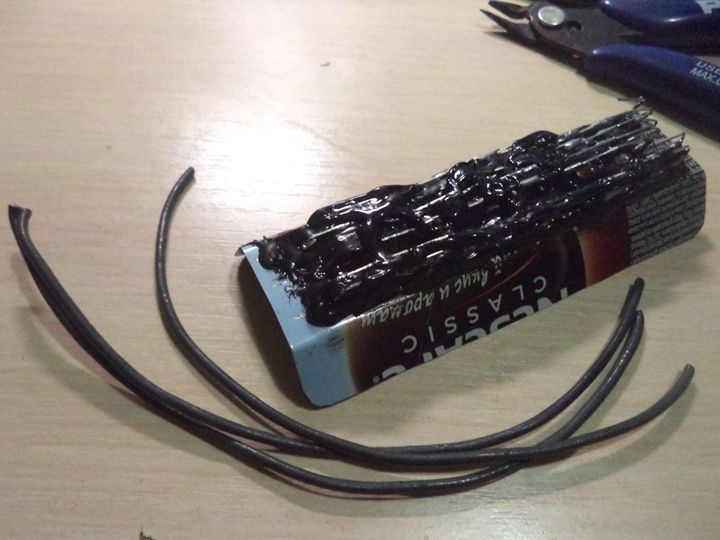
Solder the contacts of the LEDs together.
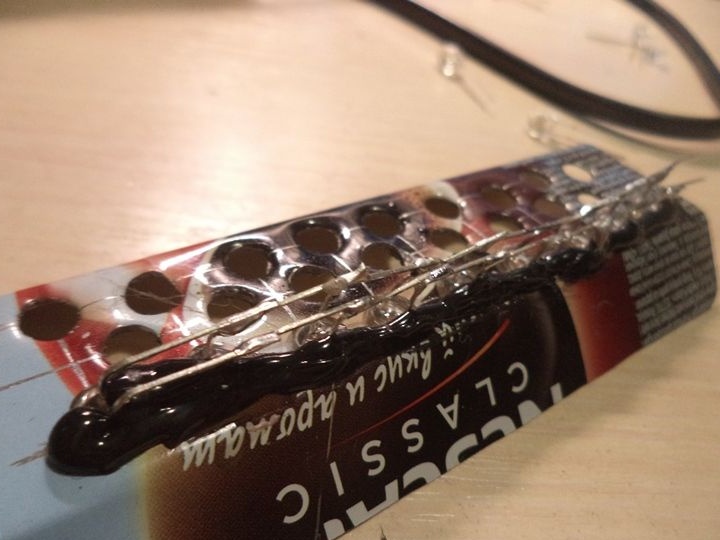
And so all the LEDs.

This is how the LEDs look on the front side of the future lamp.
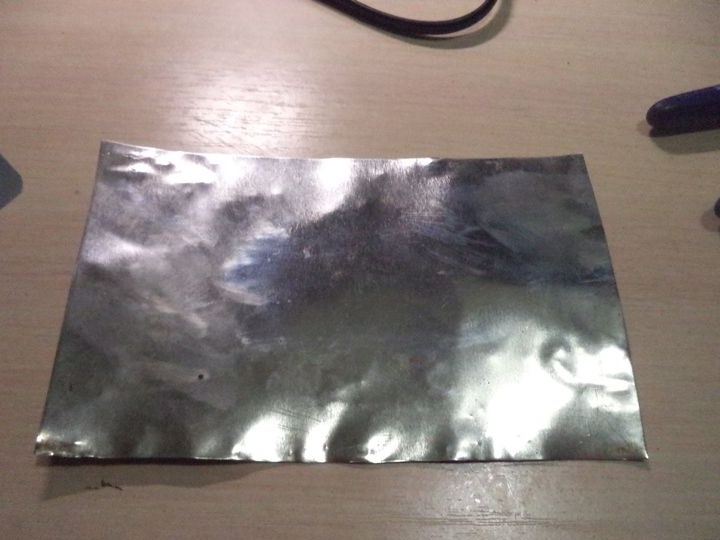
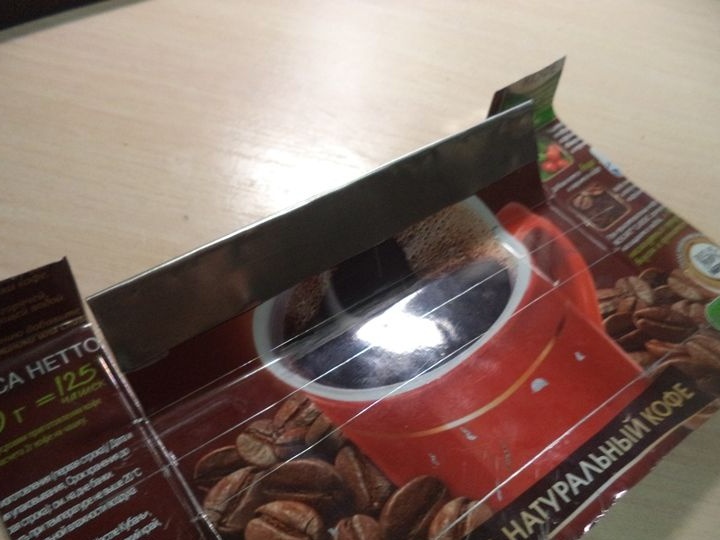
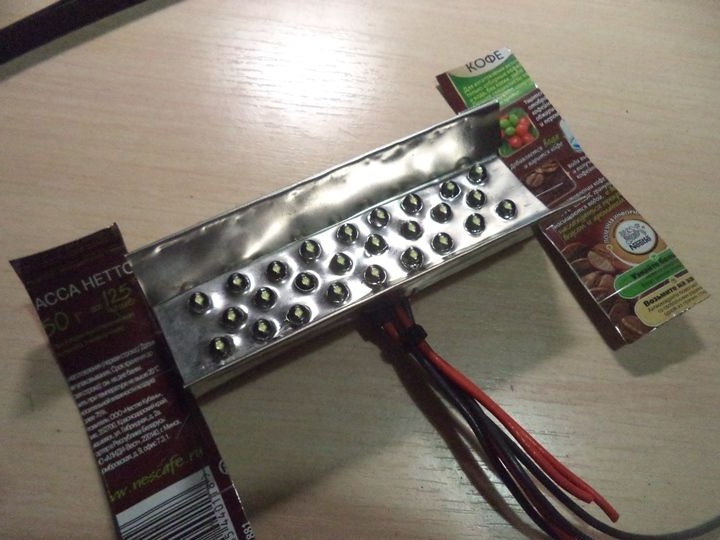
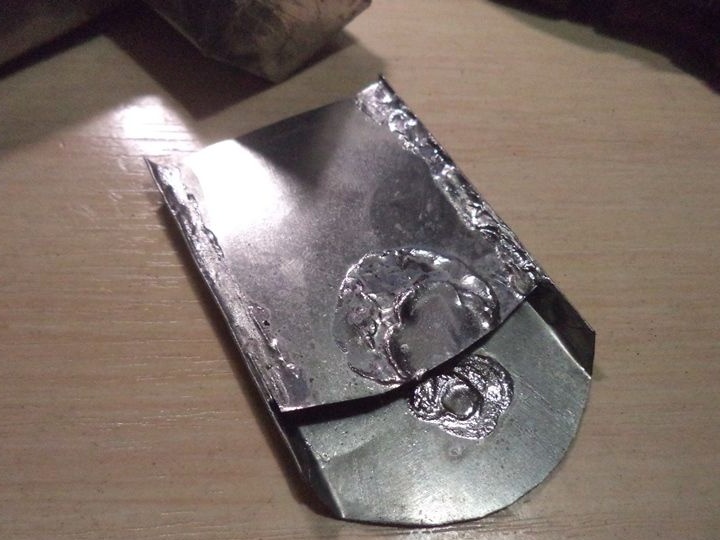
And to close the exposed contacts of the LEDs, we will use the old CD-ROM.
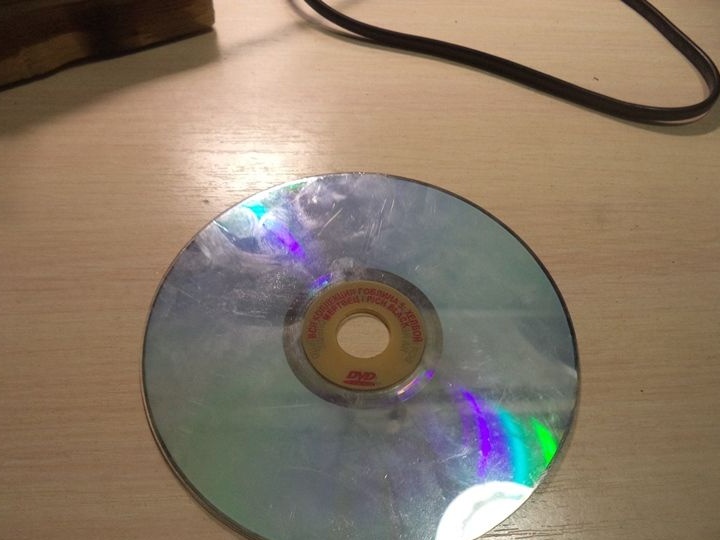
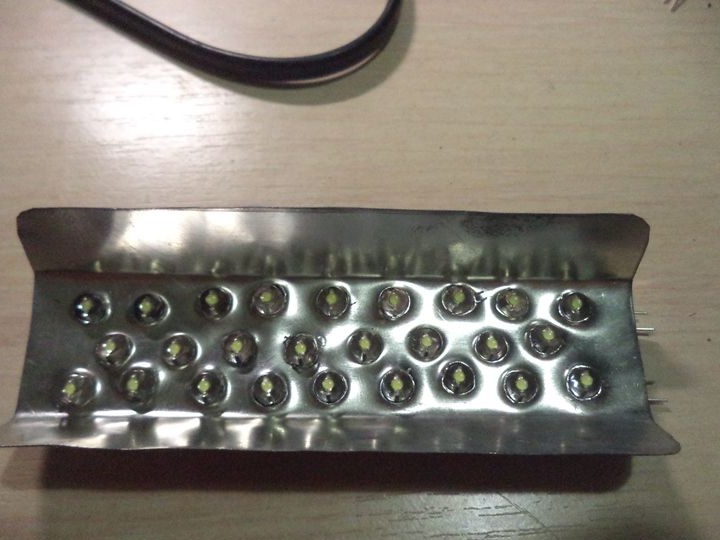
We divide this disk into two parts, that is, we divide the thickness of the disk twice.

But before closing the contacts, solder the wires to the LEDs.
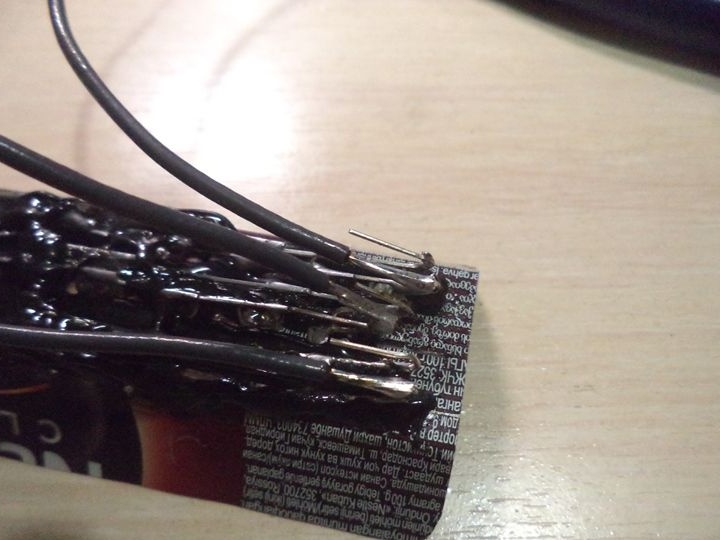
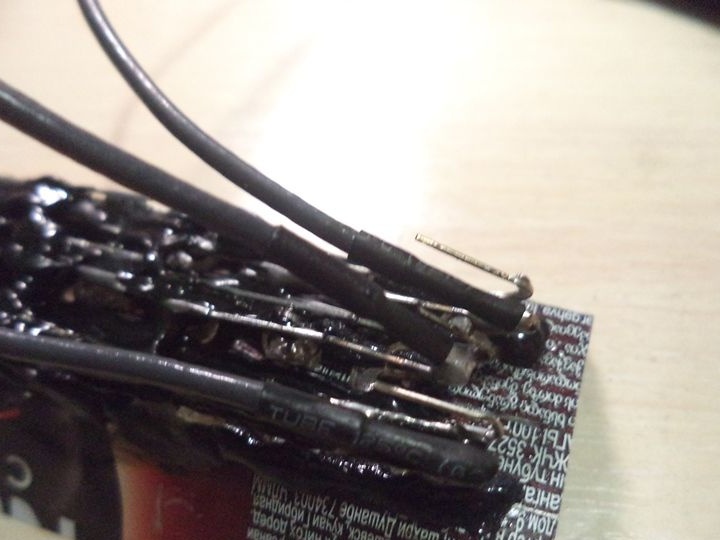
The sealed contacts of wires and LEDs are seated by heat shrink.
Now close the contacts of the LEDs with a rectangular plate from under the CD.
This plate is needed so that the contacts of the LEDs do not touch the tin case, which conducts electricity, and accordingly, so that there are no malfunctions in the operation of the lamp.
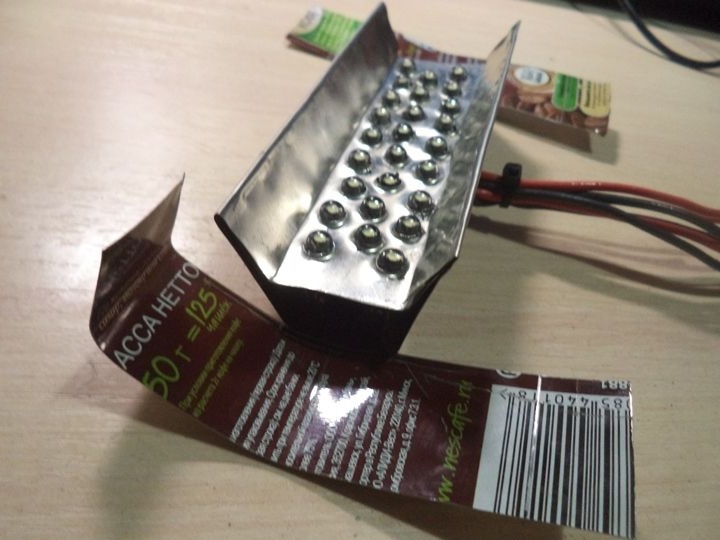
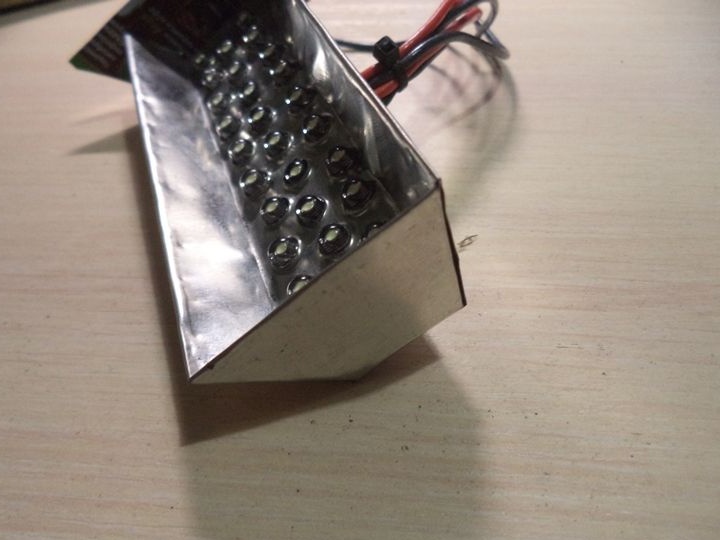
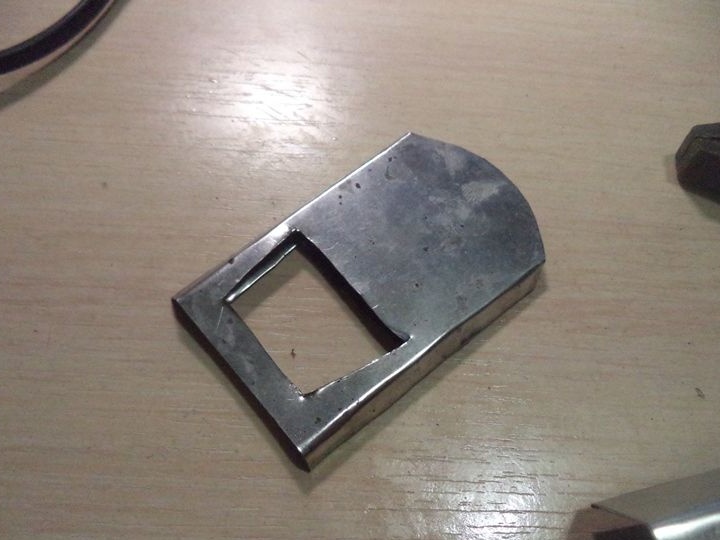
Now we will make the body of the LED lamp from another tin can with a larger volume than the previous one.

Cut a rectangular plate from it.
On the reverse side, we again draw the lines of the cuts and the cut lines with the help of a square and a nail.

We bend the tin plate as follows, as shown in the photograph.
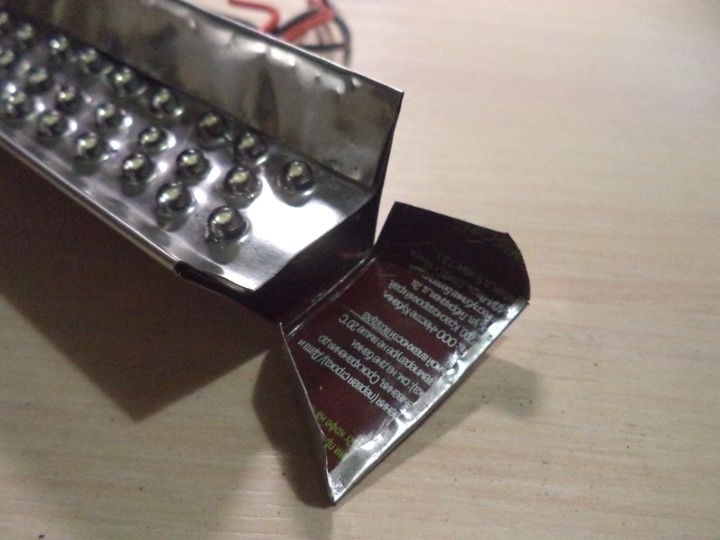
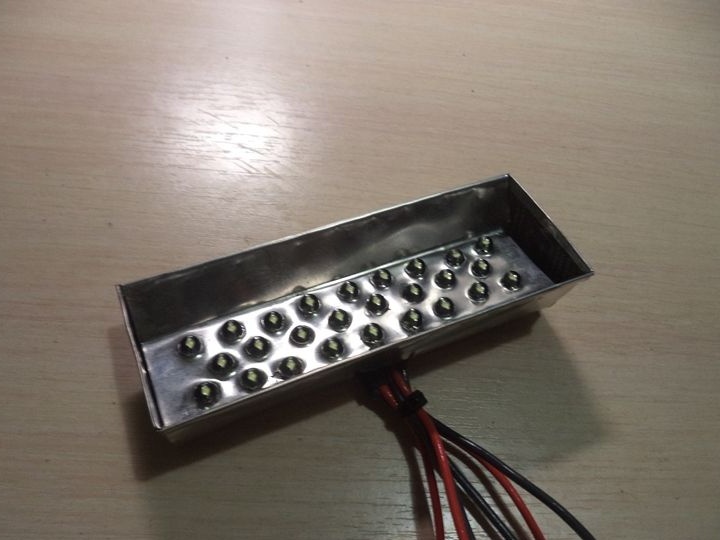
The plate with LEDs should enter the bend of the housing as follows:
But before you fully install the plate with the LEDs on the case, you need to cut a hole for the output of the wires. You can cut a hole with a clerical knife, as I did, or simply drill a small hole.

And now you can completely install the plate with LEDs in your case.
Now close the holes on the sides of the case. I did it as follows.
In my opinion, it turned out neatly and beautifully, didn't it !?
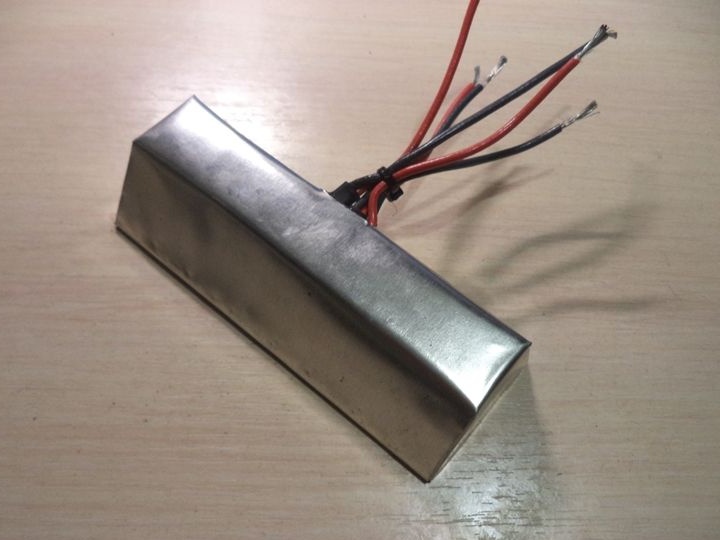
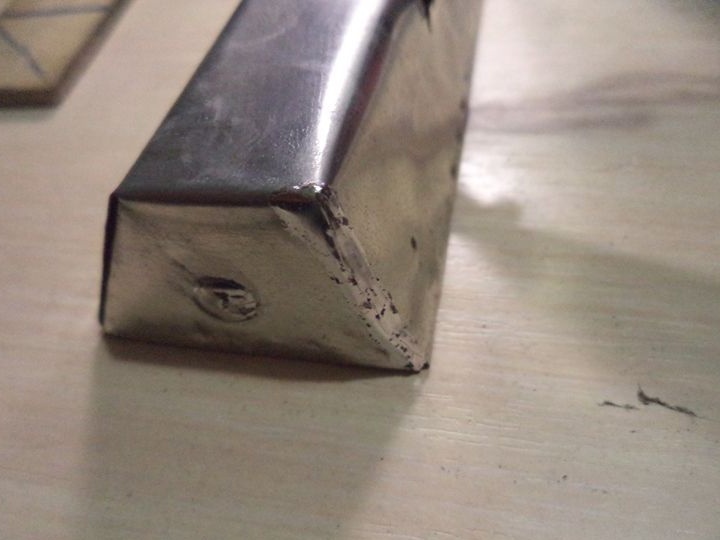
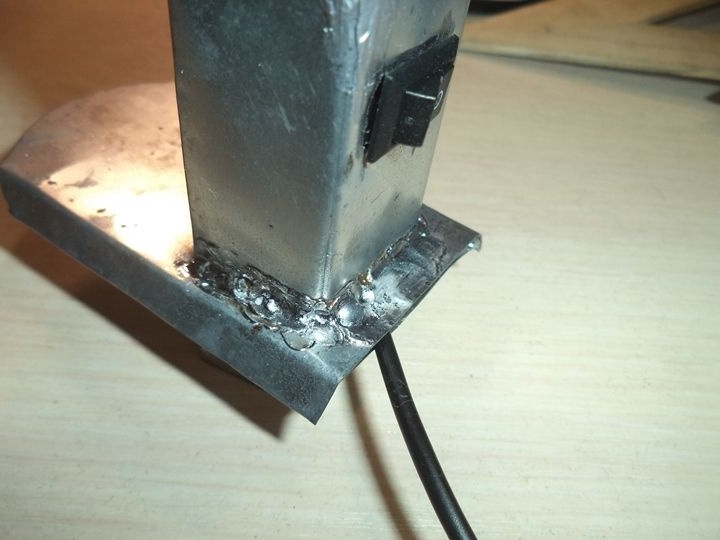
The material from which coffee cans are made can be easily brazed, not like aluminum, and for greater strength, I soldered some parts with an electric soldering iron and solder.

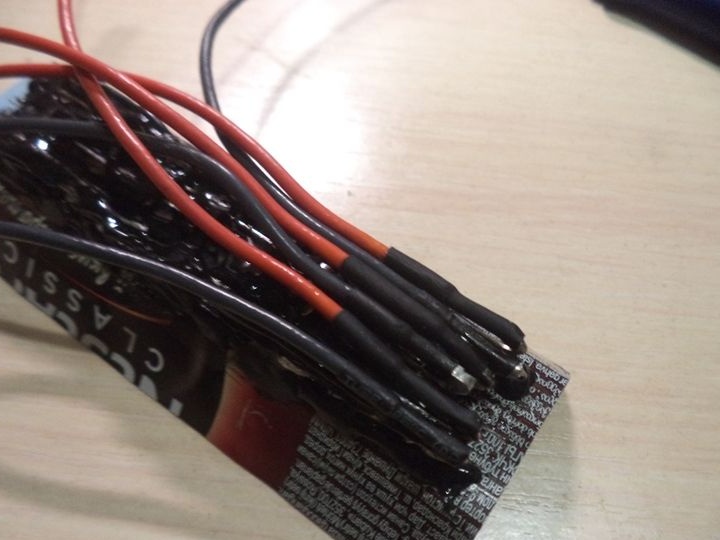
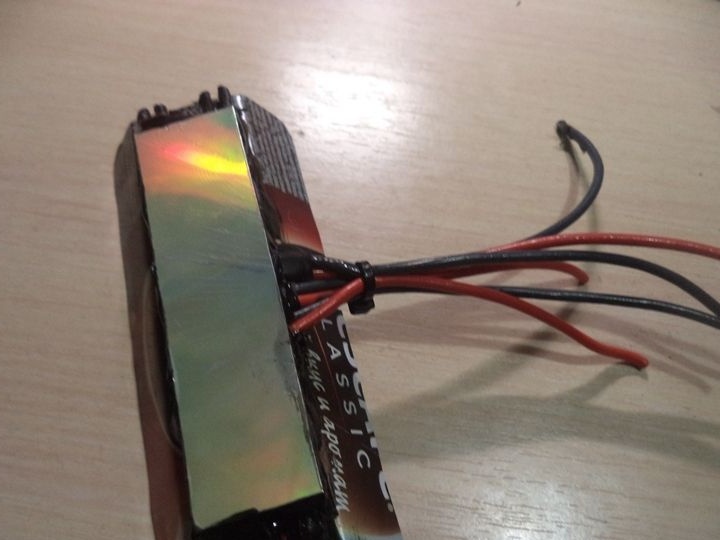
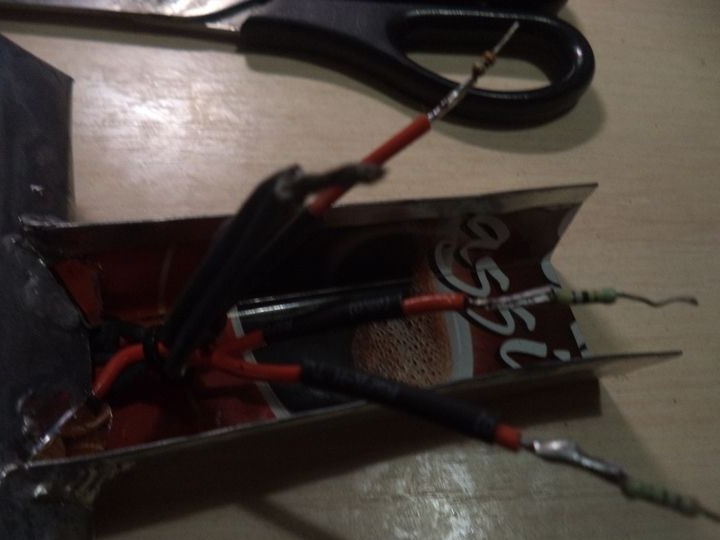
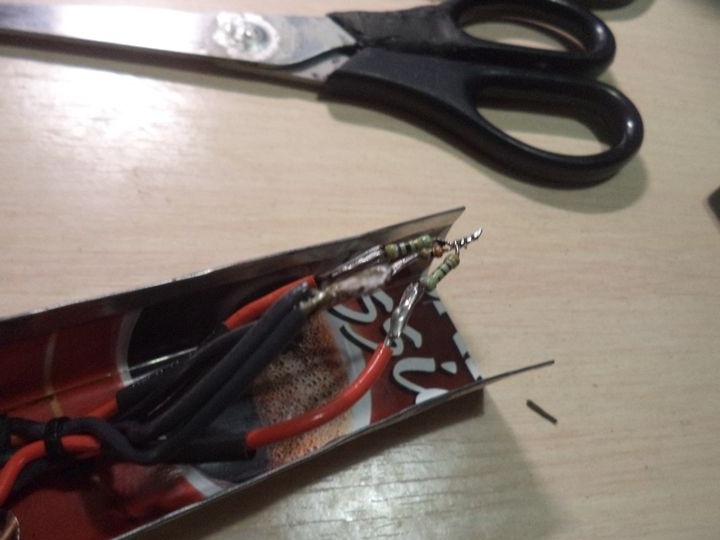
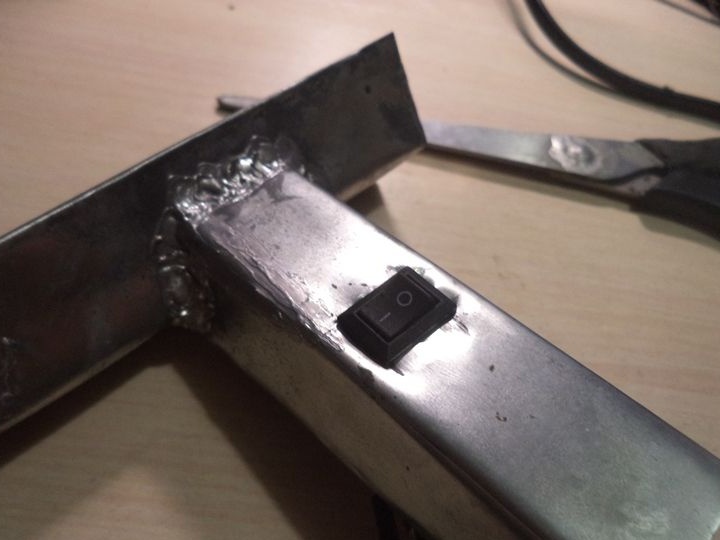
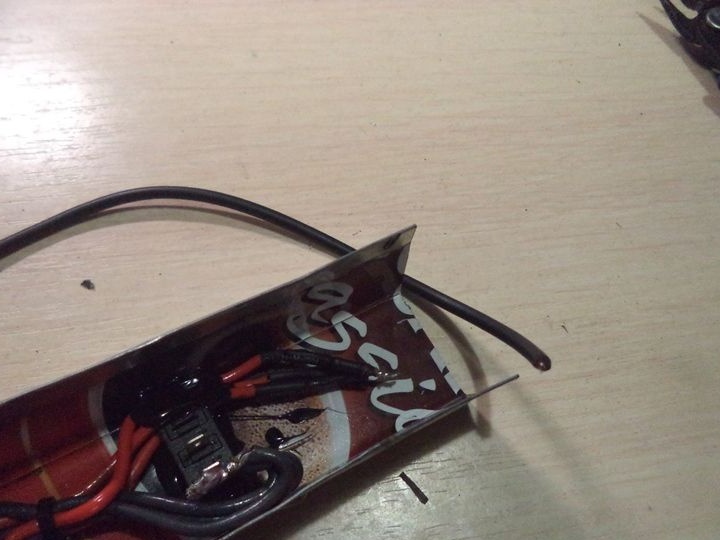
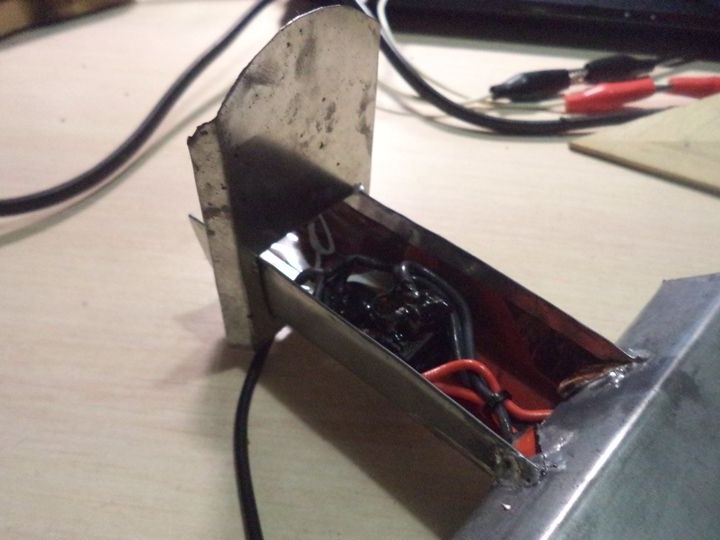
Next, we take another tin plate, and we will make a block out of it, in which there will be a switch, resistors and the main nodes of the wires.

We draw markings for bends from the back of the plate.

We begin to make bends using pliers.

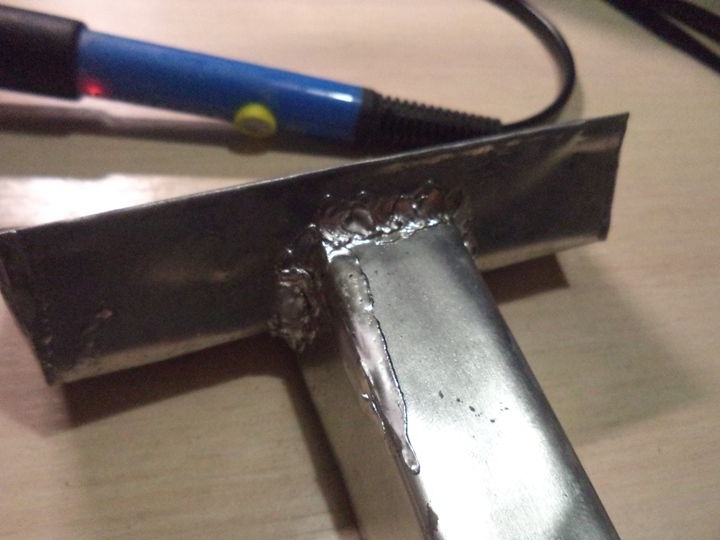
We solder this part to the chandelier of the lamp with the help of solder and an electric soldering iron.
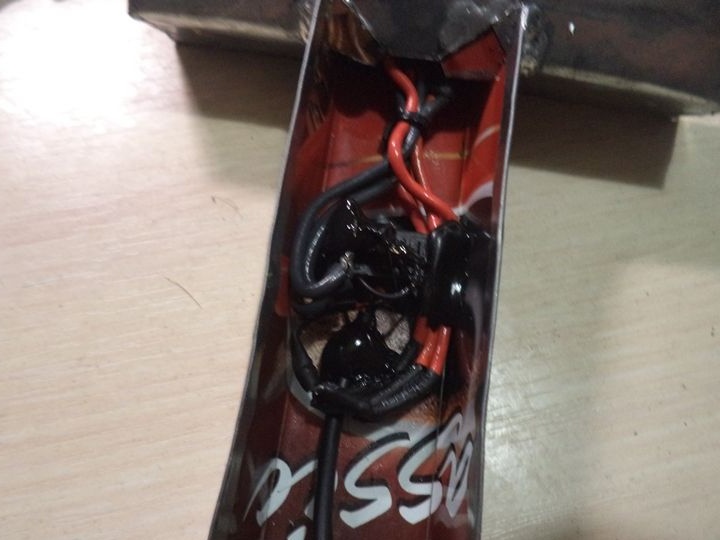
Now we solder one resistor to each red wire to drop the voltage for the LEDs.

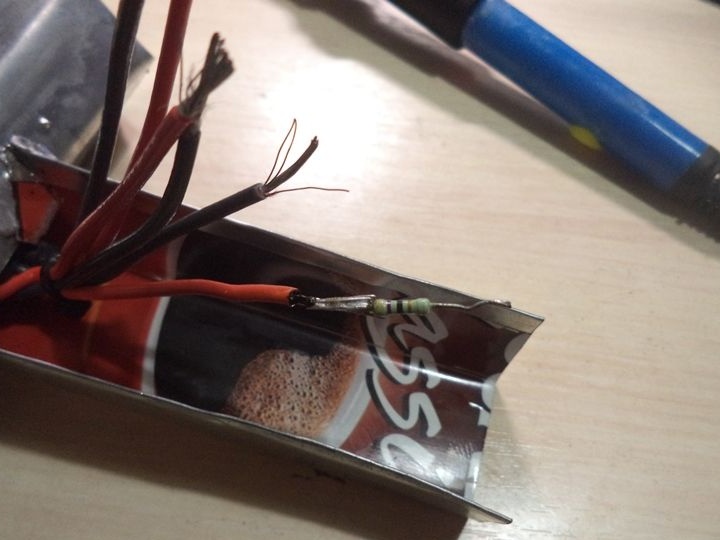
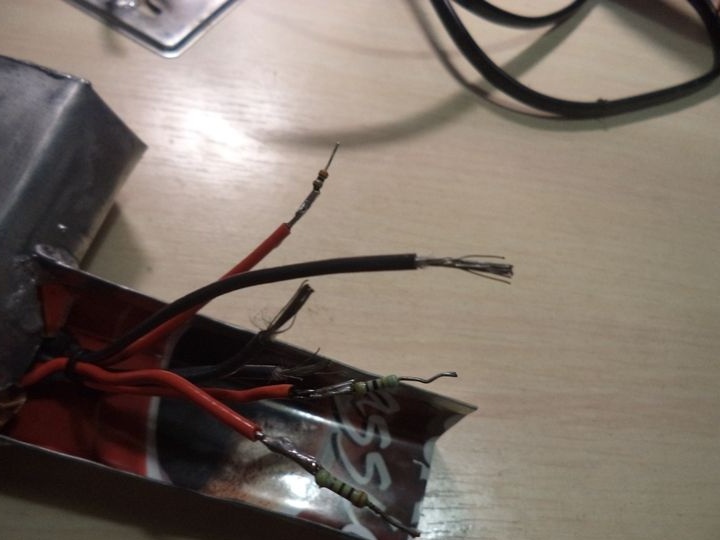
The resistors turned out to be different, but the voltage for all the LEDs is almost the same, the difference is only + - 0.2 volts, while the voltage for the LEDs does not exceed 3 volts, and not lower than 2.7 volts, so I think the LEDs will last a long time.
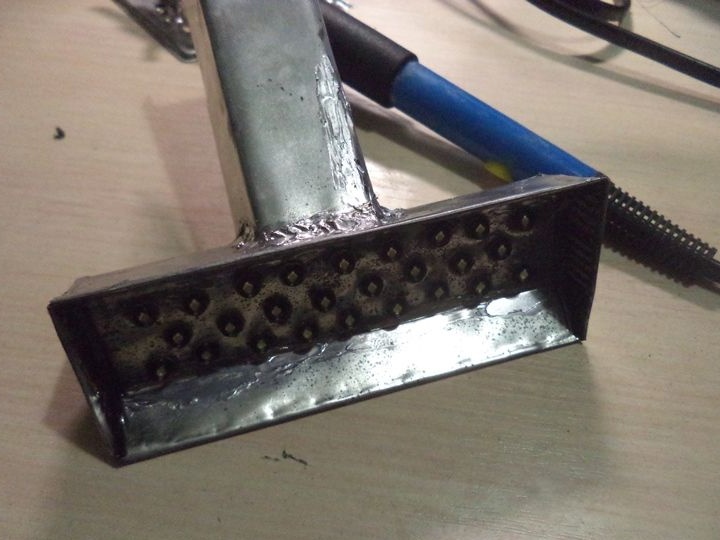
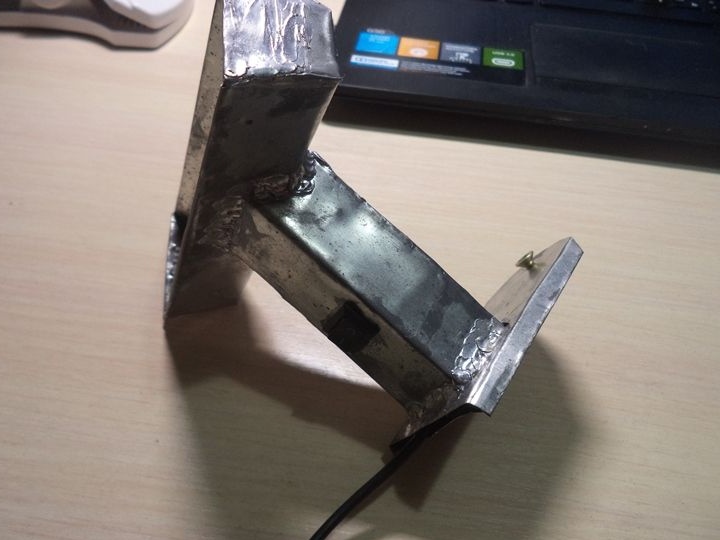
Now we install the switch, cutting off the footprint on the case under it.
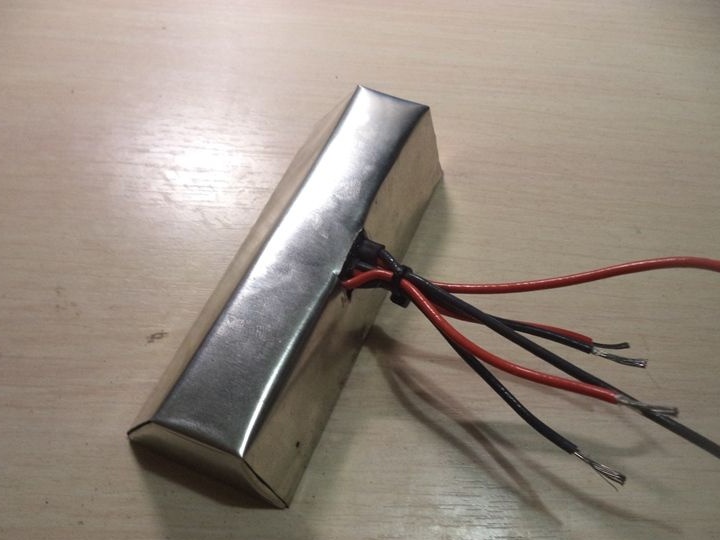
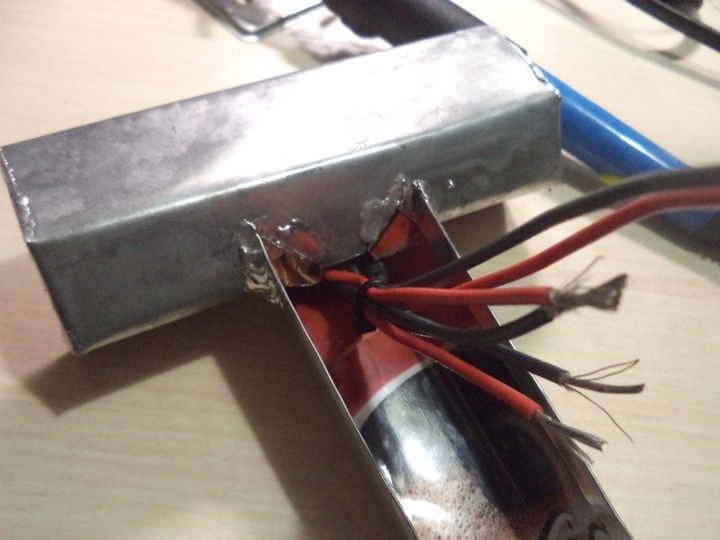
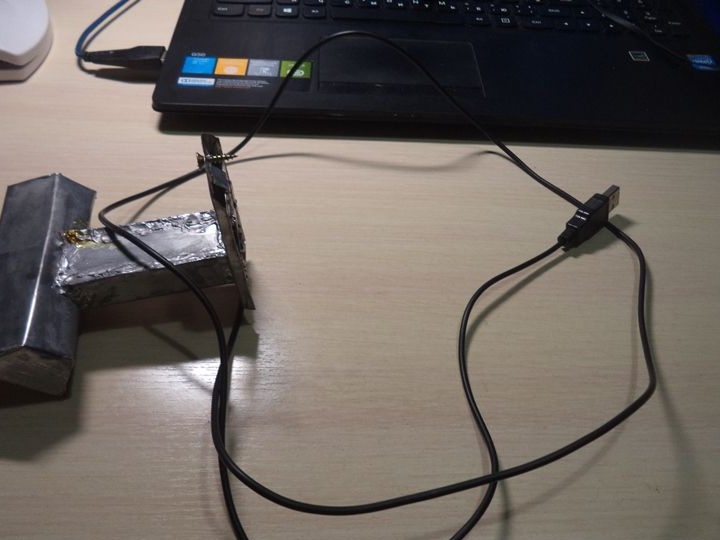
We solder the wires together and solder the power wire to them.
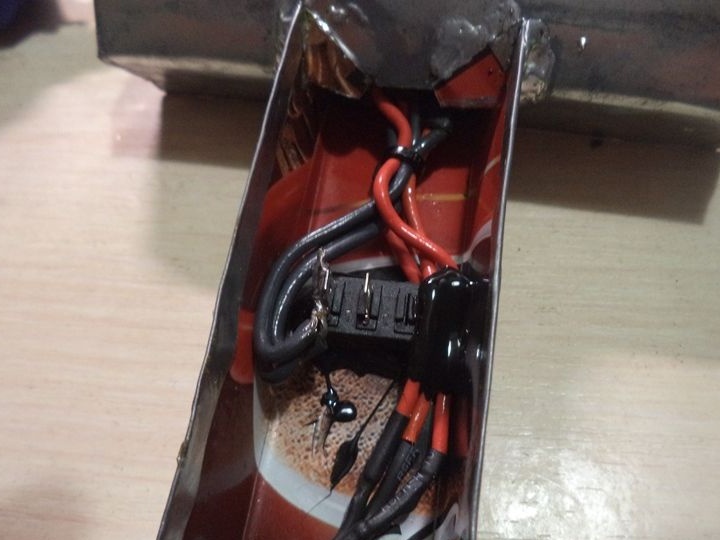
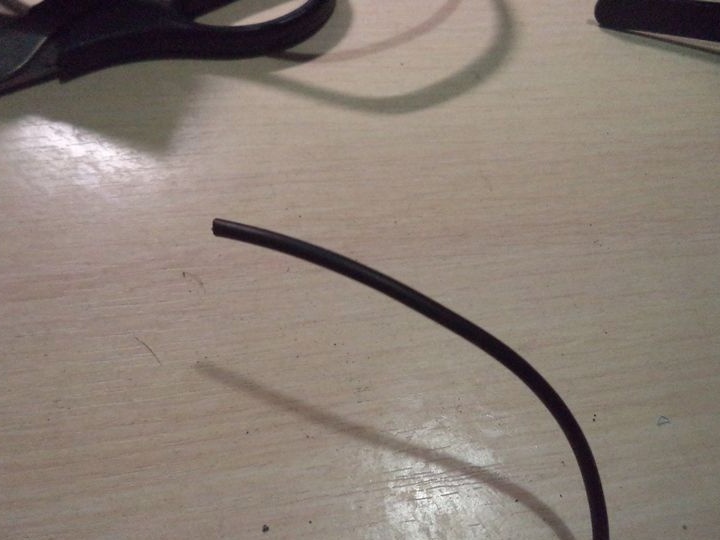
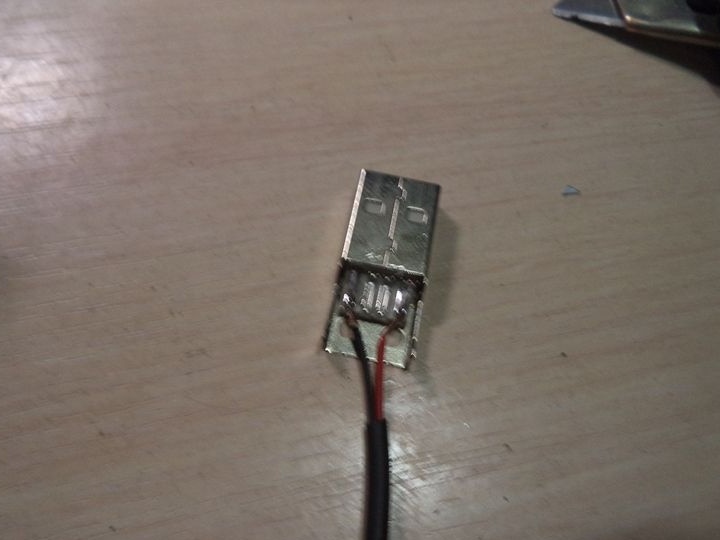
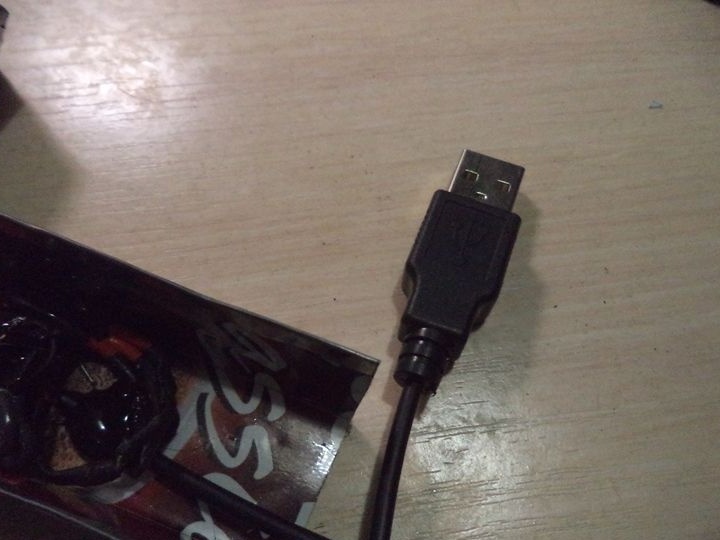
We solder the usb plug to the other end of the power cable so that the lamp can be connected to any device, be it a laptop, an external battery or an ordinary power supply.
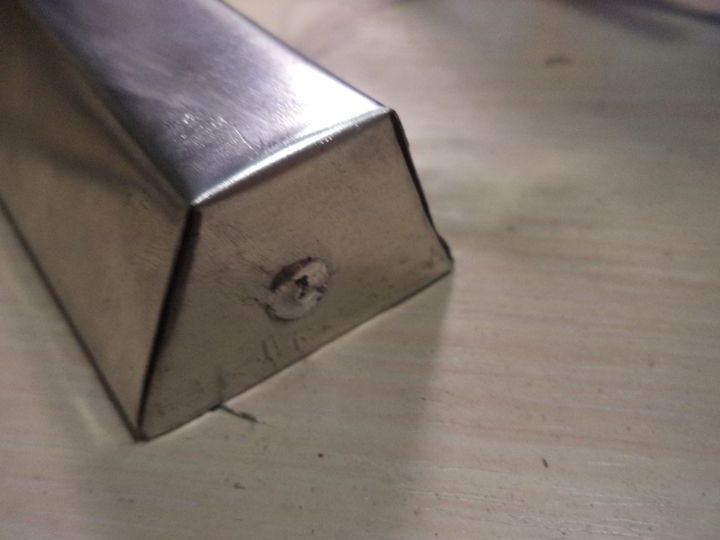
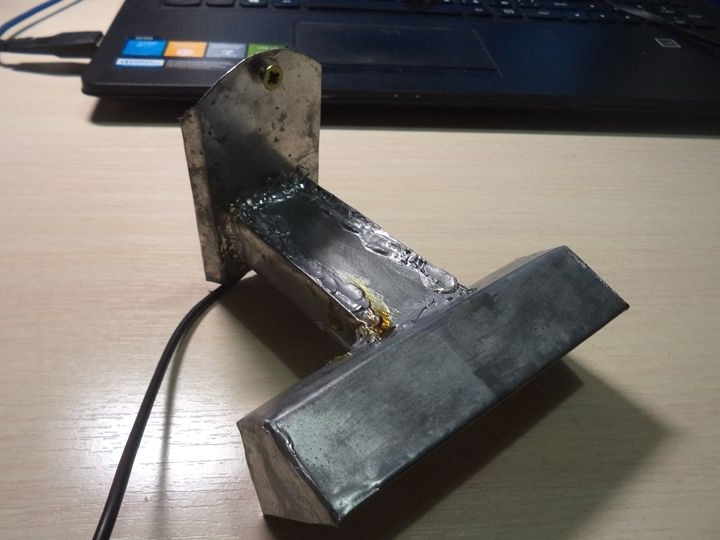
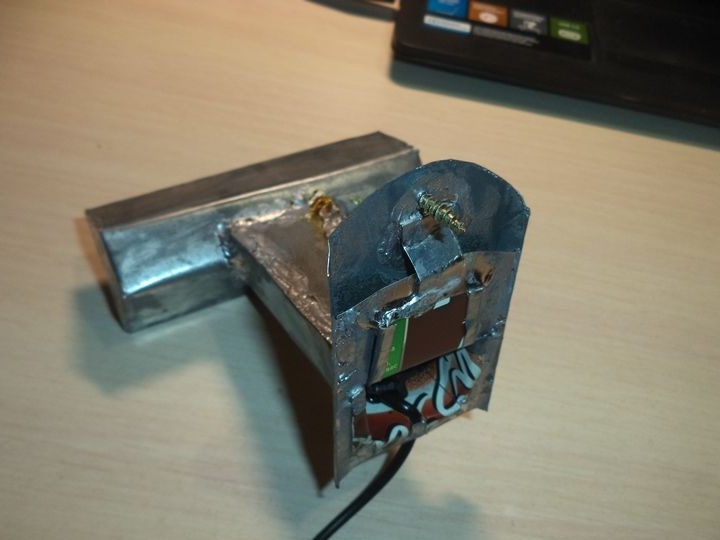
Now we make the part with which the lamp will be attached to the wall.For him, we take the bottoms of both coffee cans.
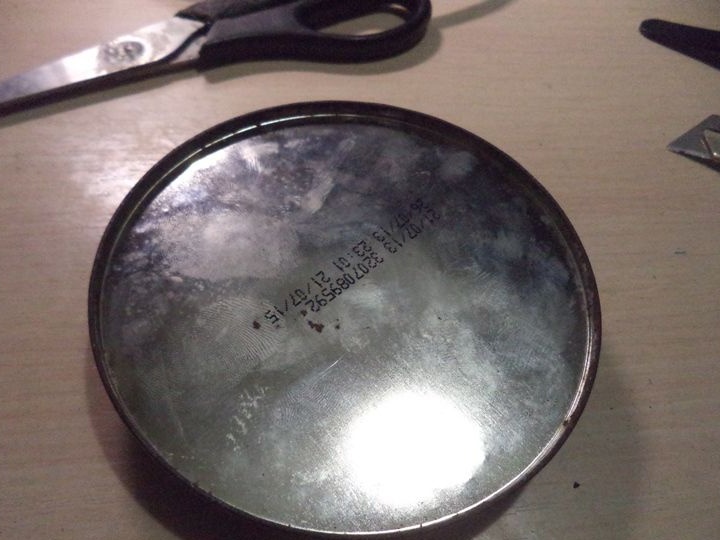
Cut off the circle and get rid of uneven parts.
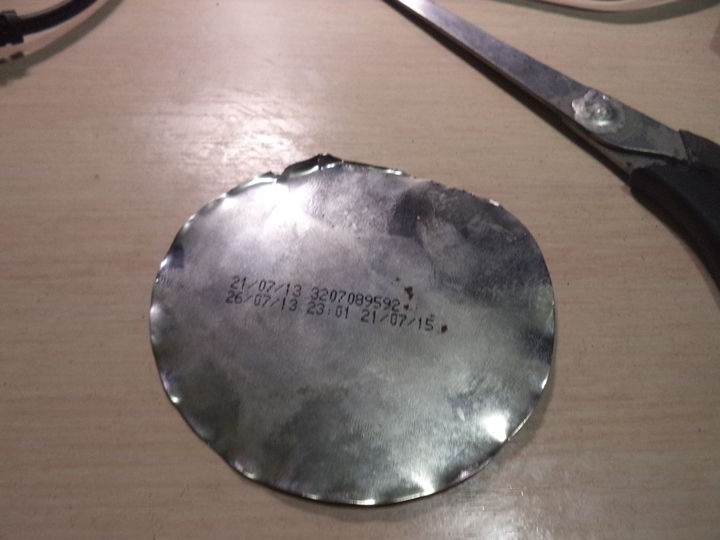
We draw markings and bend the plate with the help of pliers.
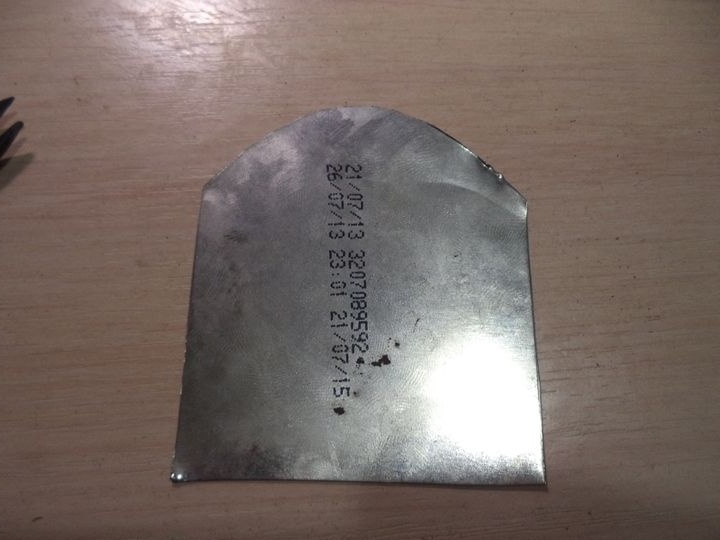
On the other side of the plate, solder another plate from under the bottom of another coffee can for greater reliability of the design.
Now we cut a trapezoidal hole on the resulting part.
We insert a block with a chandelier in this hole.
Pass the wire through the remaining slot.
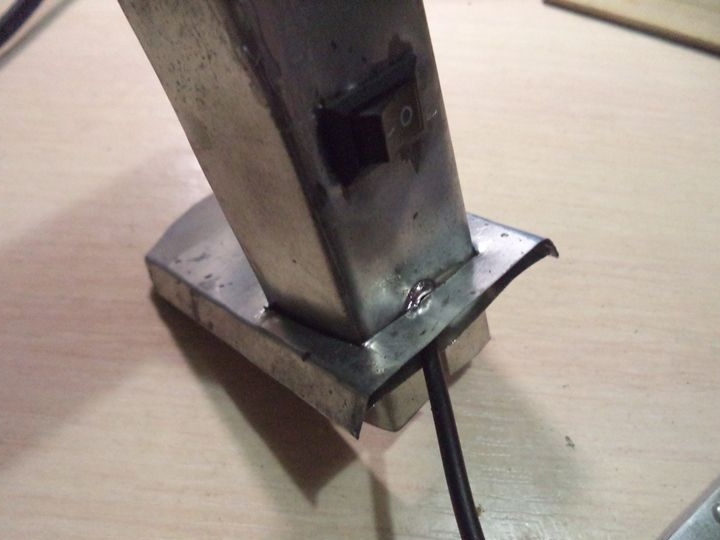
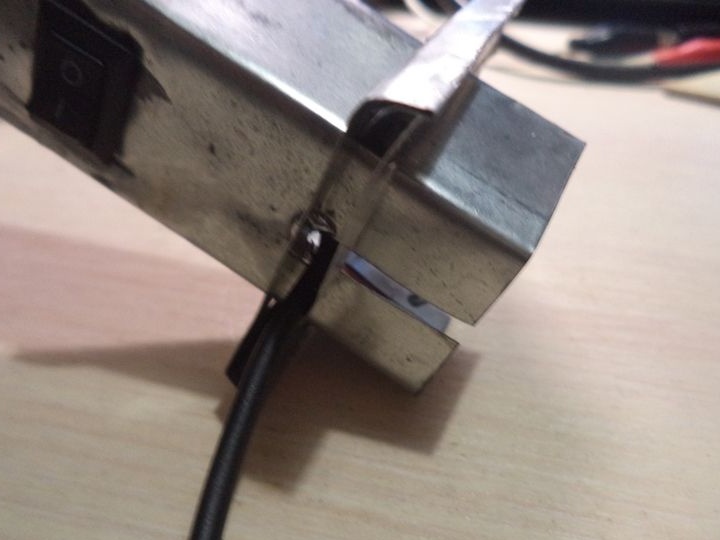
We solder the components among themselves.
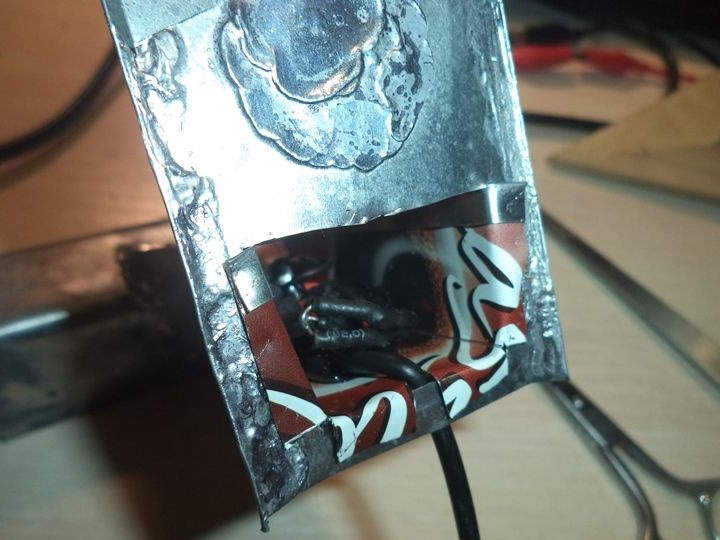
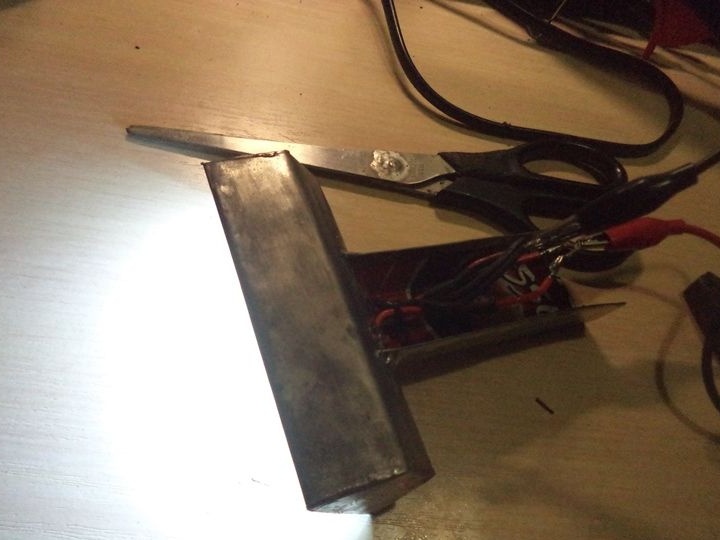
Again we take a plate of tin and close the unclosed part of the lamp with it.
Homemade, that is, the LED lamp is ready. It remains only to fix on the wall or on any other surface
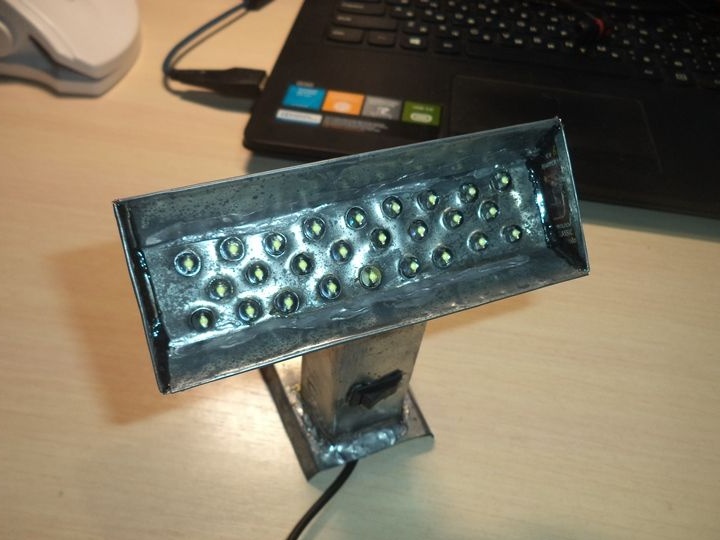
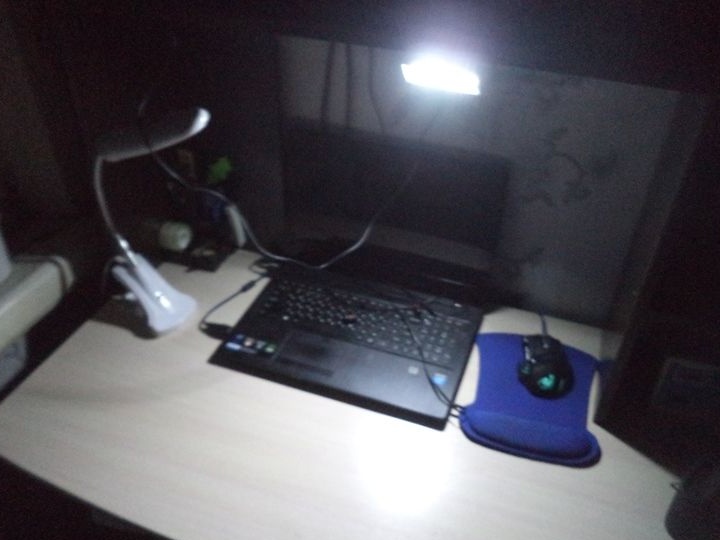
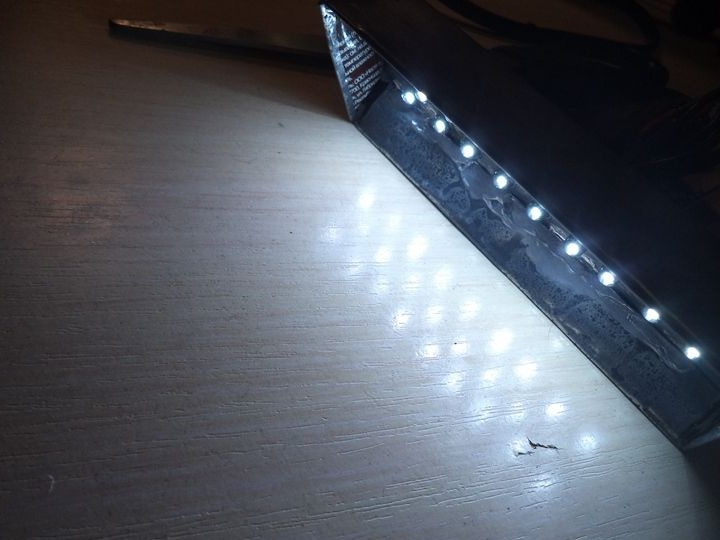
This is how the lamp shines.
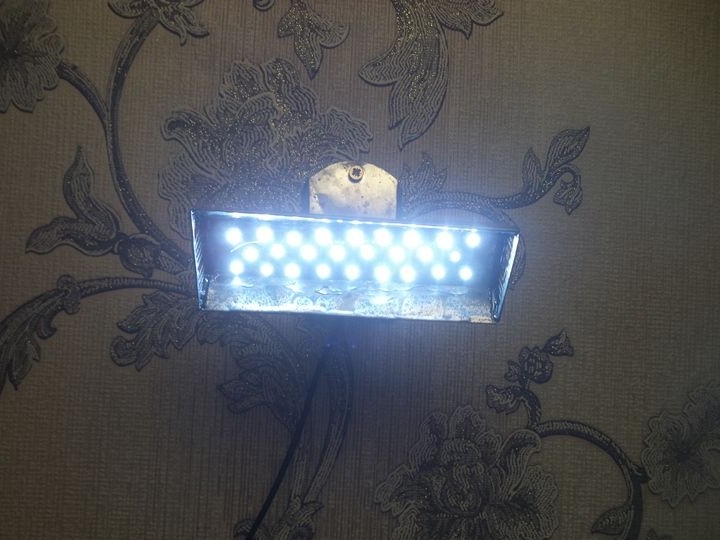

The lamp was not difficult to manufacture, it took me only a couple of hours of free time to make it. The parts were fixed together by soldering, not very strong material, of course, but the parts held tight. Homemade should be painted, for greater beauty, but in the manufacture of this homemade, I did not have the opportunity. Not the brightest lamp, but from five volts more than enough. To sit at night is the very thing, since sitting with a regular light bulb operating from 220 volts is not very convenient to sit at night, interfering with other excess light. Moreover, the cost of electricity is minimal.
This article is completed. Thank you all for your attention!