
If you want your child to understand electronics and mechanics, do not buy toys for him, make them yourself! Better yet, if you do them with your child. Today you can buy or even find a huge amount of spare parts for toys almost for free, these are various engines, gearboxes, control electronics, LEDs and much more. If you wish, you can build a real masterpiece that is not what you need to buy, but even they will want to buy it from you!
In this instruction I will tell you how to make the simplest all-terrain vehicle. The machine has four-wheel drive, and there are no differentials here, all 4 wheels rotate at the same time, this makes it very passable. As for the torque, despite the fact that the motors here are the most common at 5V, they are used in conjunction with good gearboxes. In total, the machine uses 3 motors with gears, one on the rear axle, one on the front, and another engine used for steering, but it can be replaced with a servomotor if desired. Of the most expensive that you need to find or buy is electronics for control. But if you wish, you can even do it yourself. So, we begin to manufacture.
Materials and tools used by the author:
Material List:
- (can be found in old toy cars);
- 4 wheels of suitable diameter (better larger);
- plastic or something similar (for the manufacture of a frame);
- ;
- motor with steering gear;
- battery;
- switch;
- two springs and hairpins;
- cogs, nuts and other little things.
Tool List:
- Super glue;
- soldering iron;
- stationery knife;
- marker;
- scissors;
- glue gun.
The process of manufacturing an all-terrain vehicle:
Step one. Make the frame
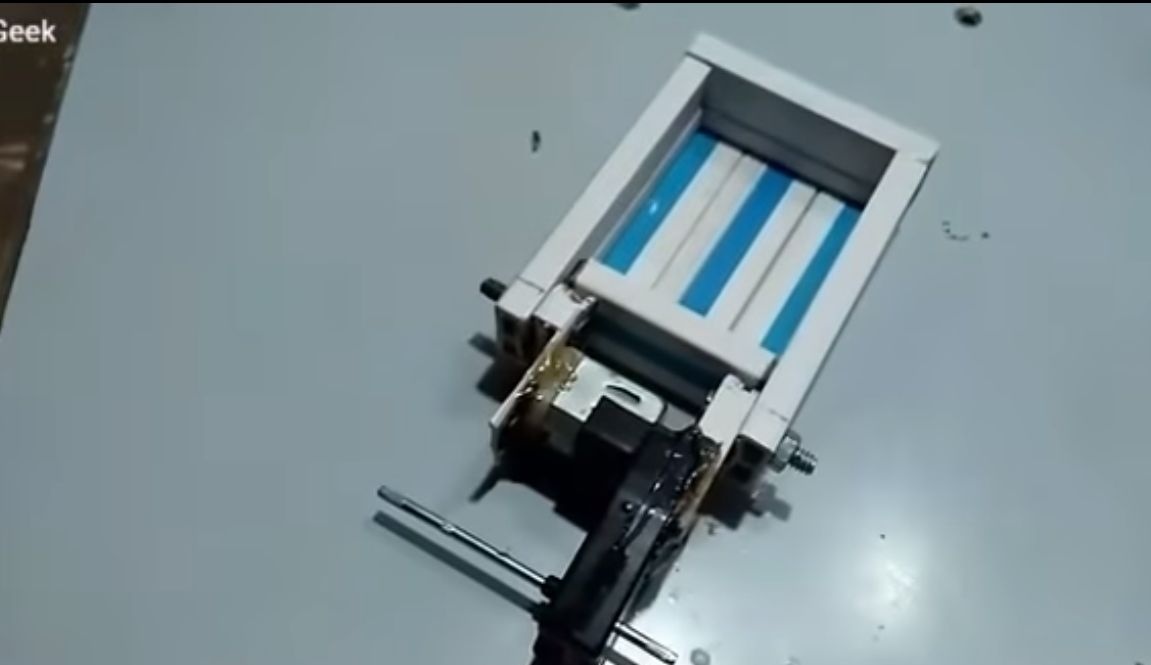
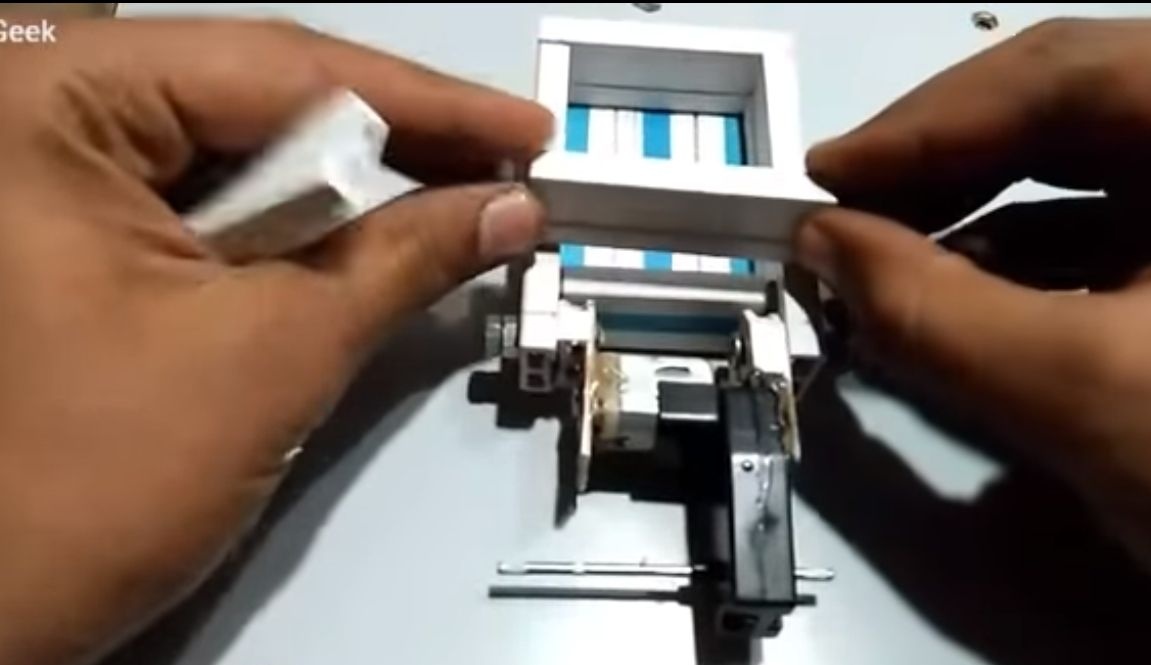
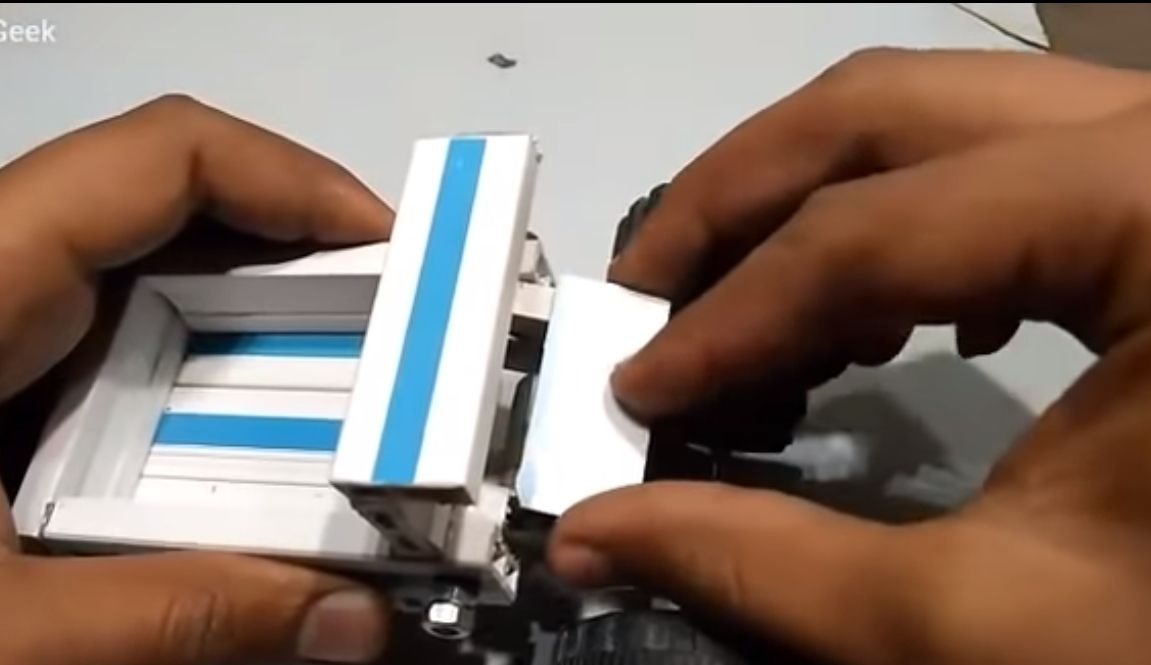
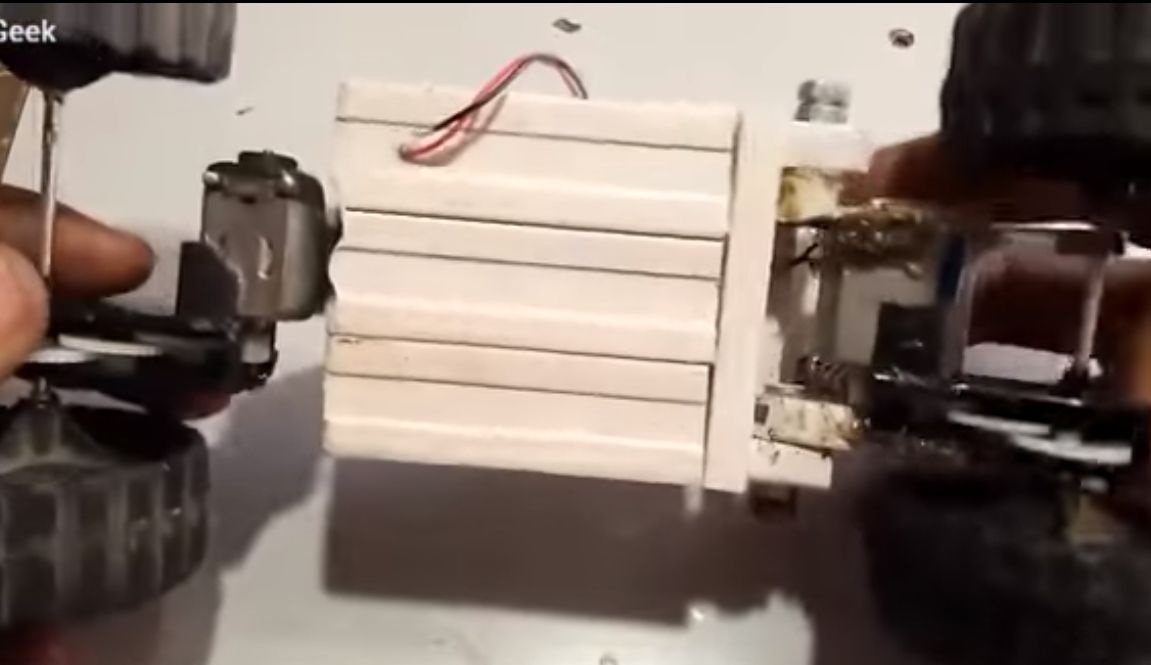
For the manufacture of the frame, you can use foliage plastic or something like that. The most important thing is that the material is durable and light. Some building materials intended for decoration can easily fit. You can make the frame exactly the same as that of the author, but this is not necessary and rather depends on what size the installed electronics, battery and so on will be. We cut the plastic into the necessary pieces, and then glue it. We use superglue to the maximum, since it weighs almost nothing, unlike hot glue.
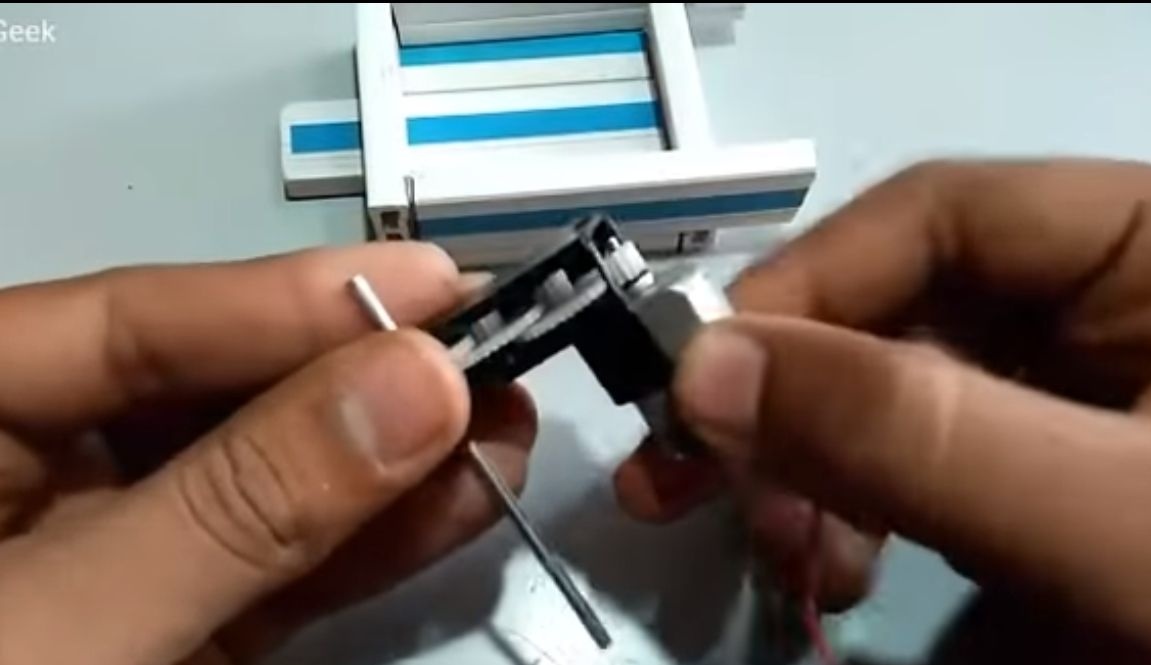
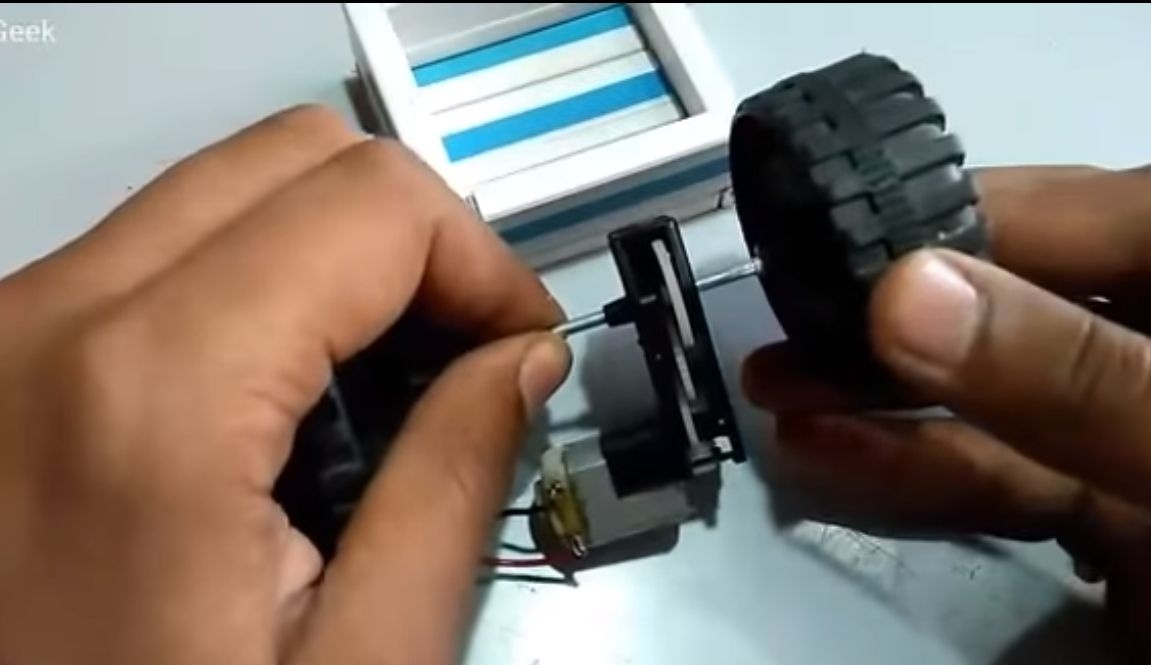
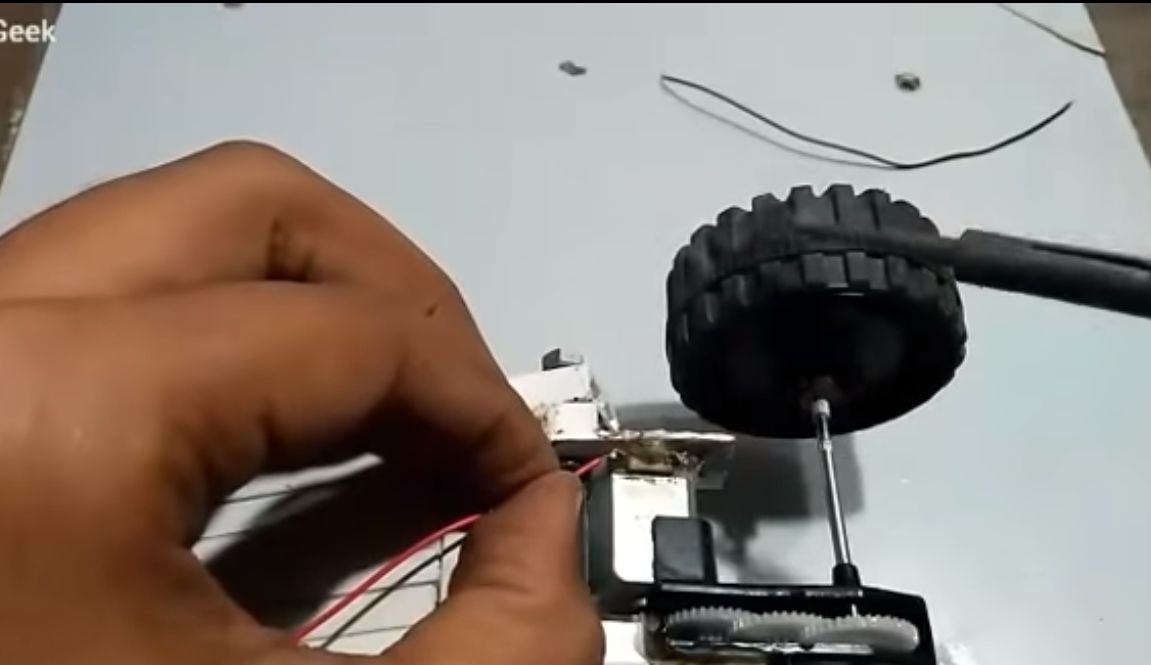
Step Two Prepare front and rear axle
For the front and rear axles you will need motors with reduction gears.Such parts can be ordered from China or found in old toys. On the axis you need to install the wheels. Choose wheels of large diameter and with a powerful tread to make a powerful SUV. Solder the wires to the motors.
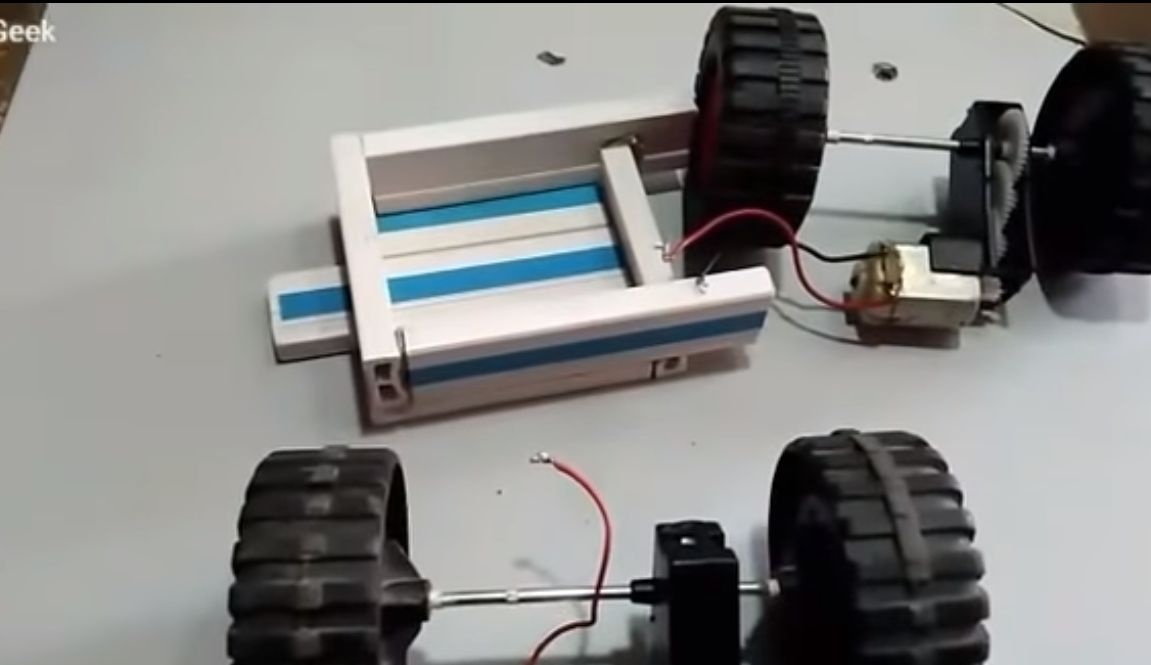
Step Three Install the rear axle
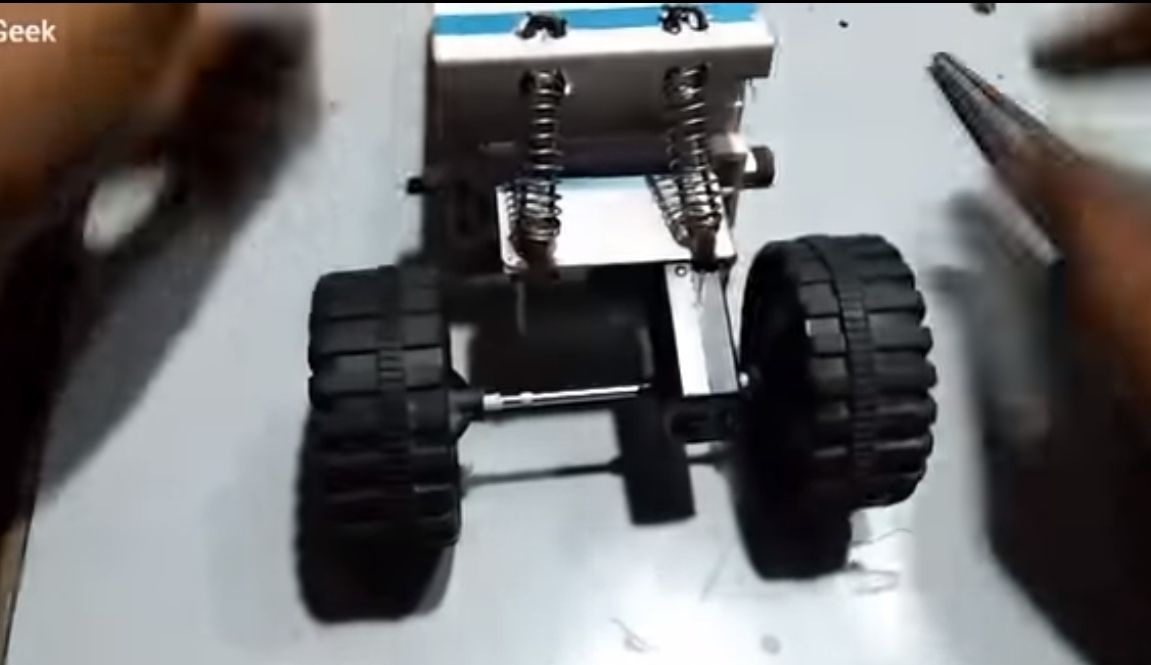
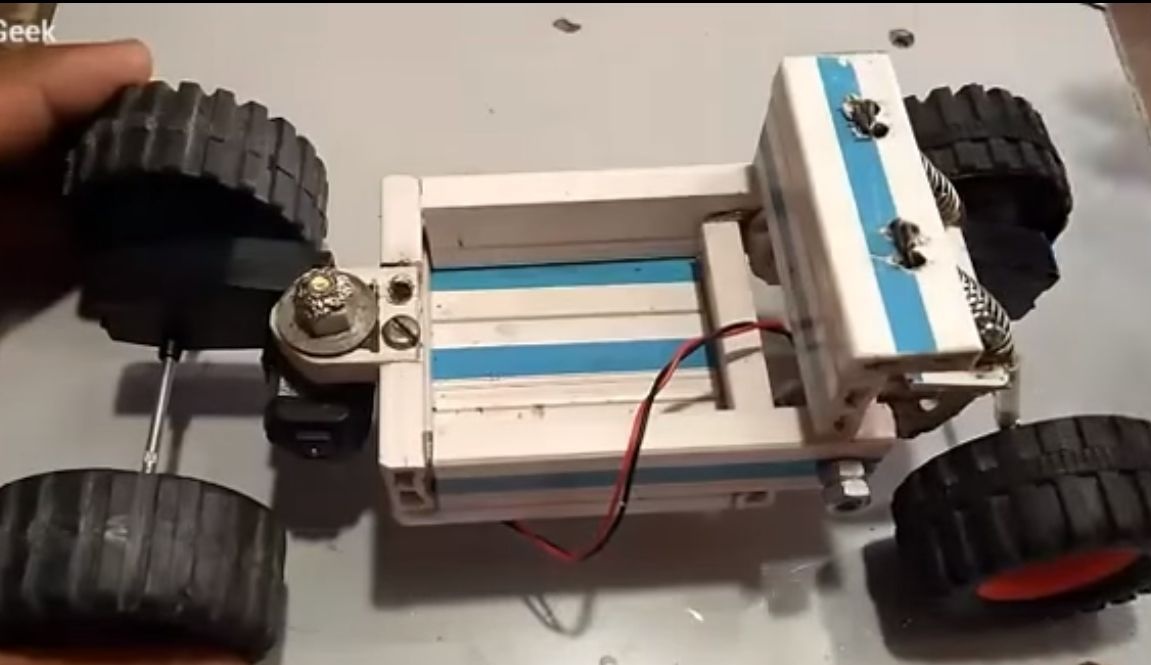
The author decided to make the rear suspension on shock absorbers, but this is not necessary at all, because there will be no passengers in the car, and this is unlikely to affect the cross-country ability. The only plus is its interesting appearance, which will cause envy among peers.
First, we attach the rear gear, for this the author uses a makeshift fork. The plug is attached to the frame movably using screws with nuts. As a result, you should get a rear axle moving in a vertical position.
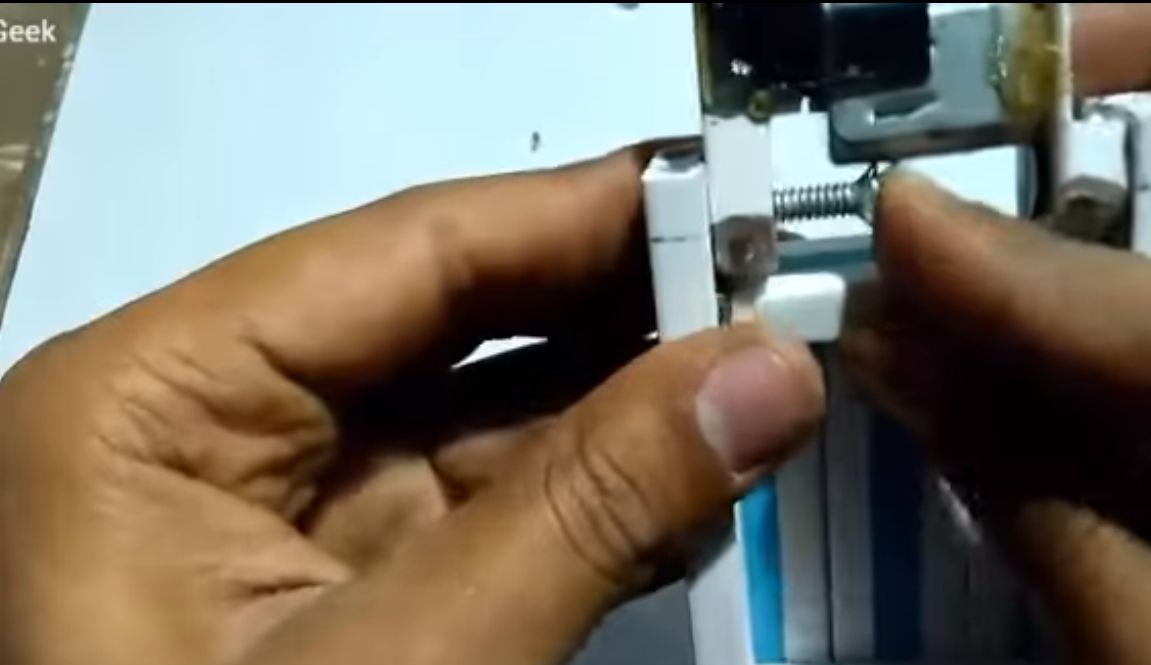
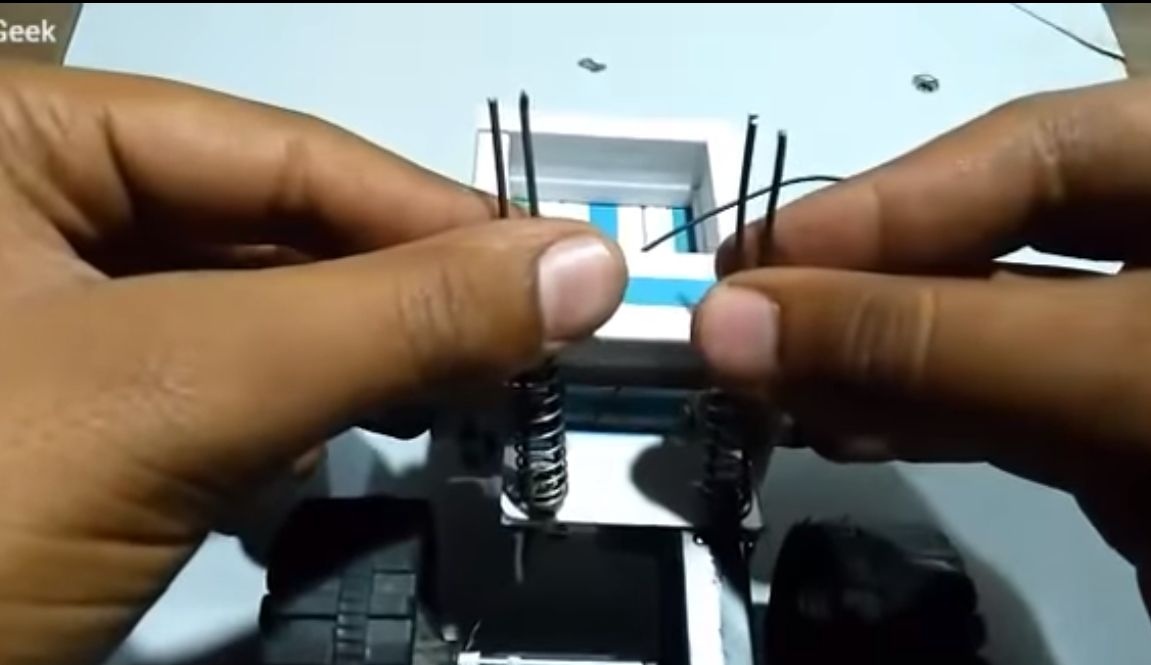
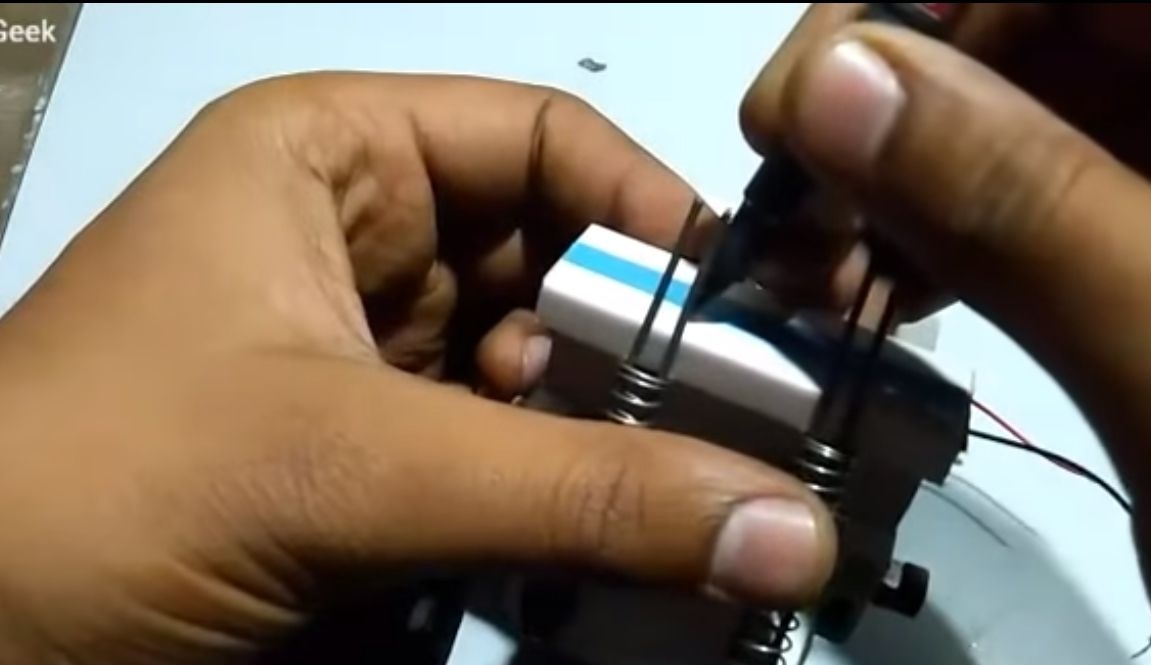
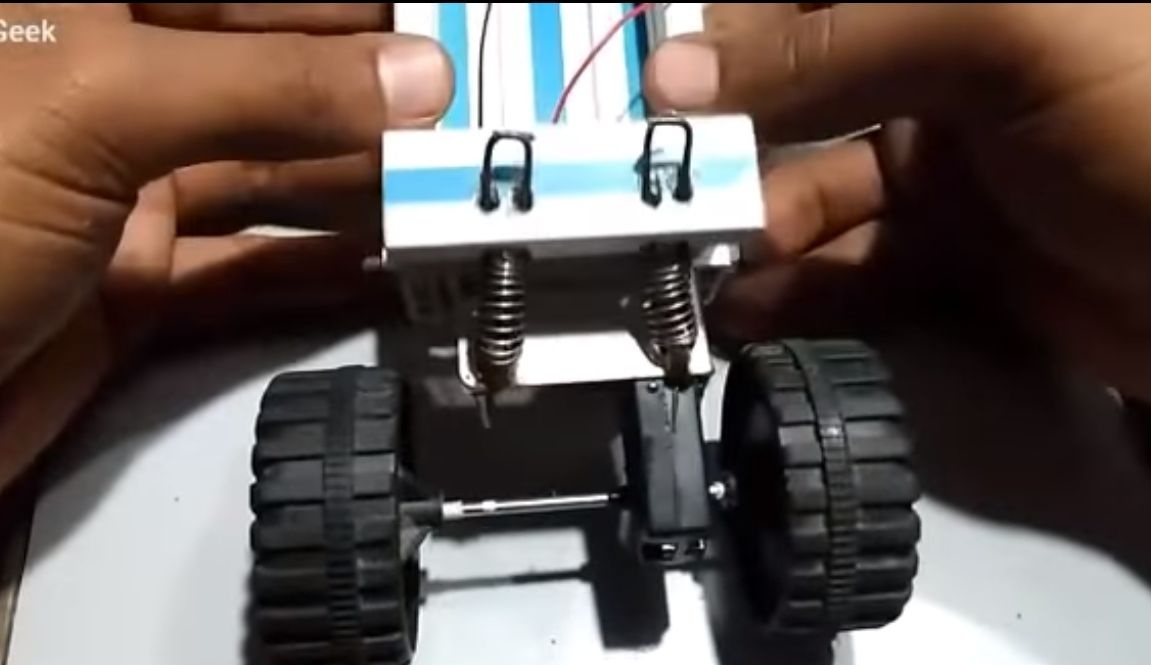
Now we turn to the manufacture of shock absorbers, for their manufacture you will need two springs and two hairpins. Fix on the gearbox and the frames the supports to which the shock absorbers will be mounted. Next, glue two pieces of tubing or something similar to the lower support so that you can have a hairpin. As for the upper support, in the right places we drill two holes for the ends of the studs. We assemble shock absorbers, insert the studs into the holes and bend the ends on the other hand. Rear suspension assembled!
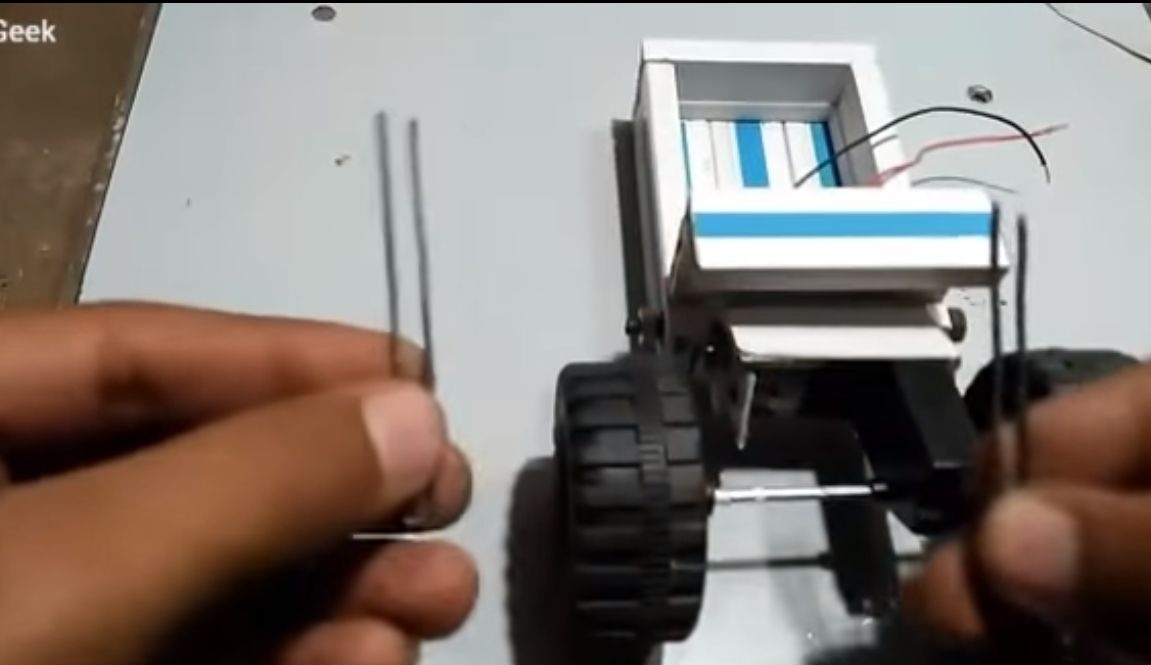
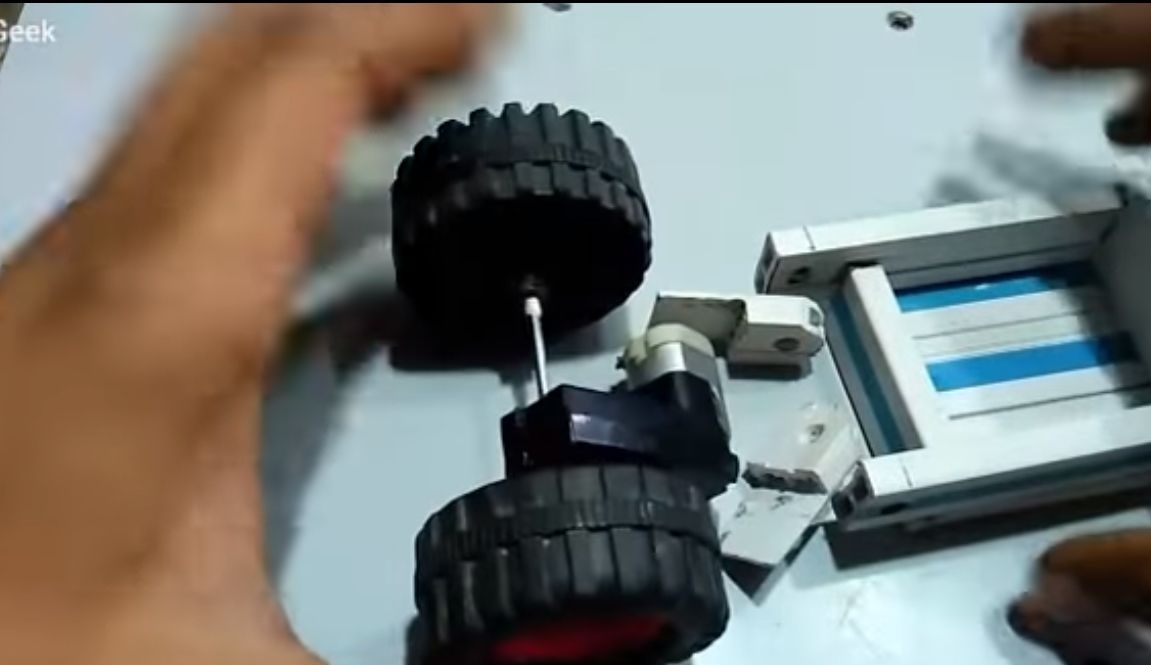
Step Four Front axle installation
The front axle should move left and right. To fix it properly, solder or glue a small bolt to the motor. All that remains for you is to fix the gearbox to the frame.
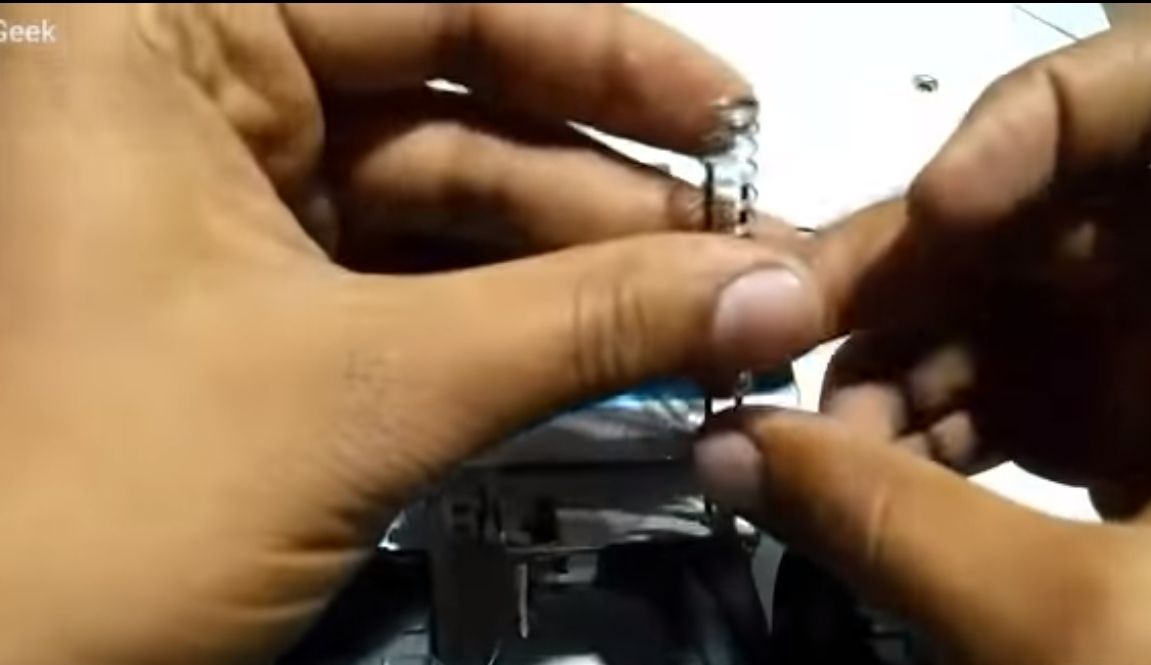
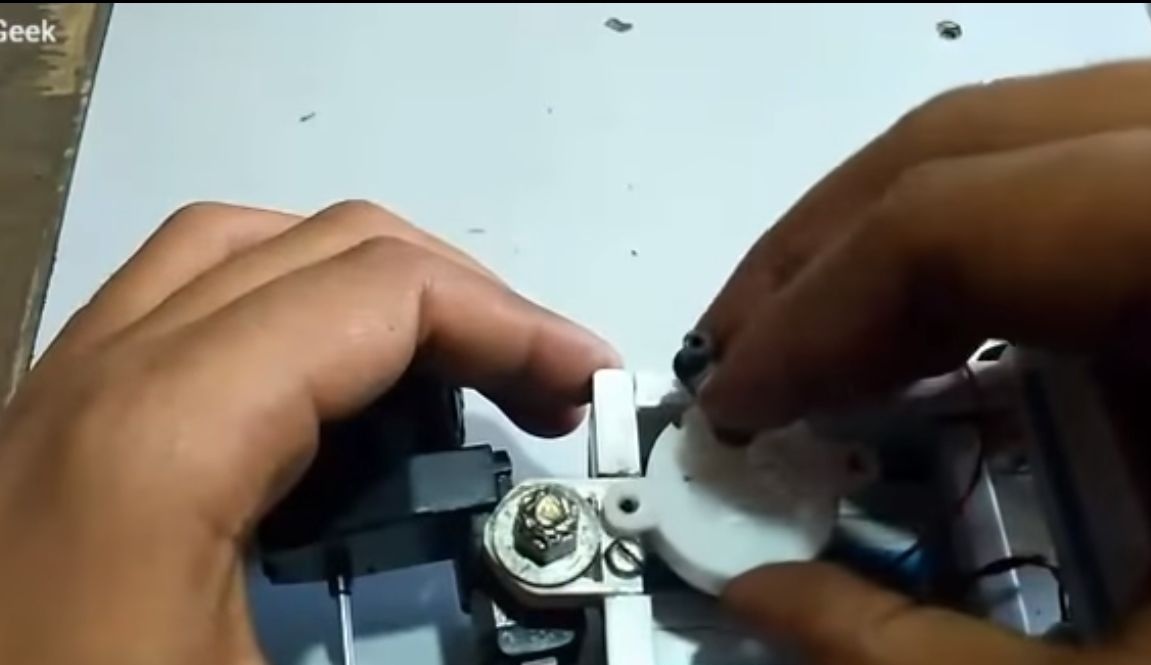
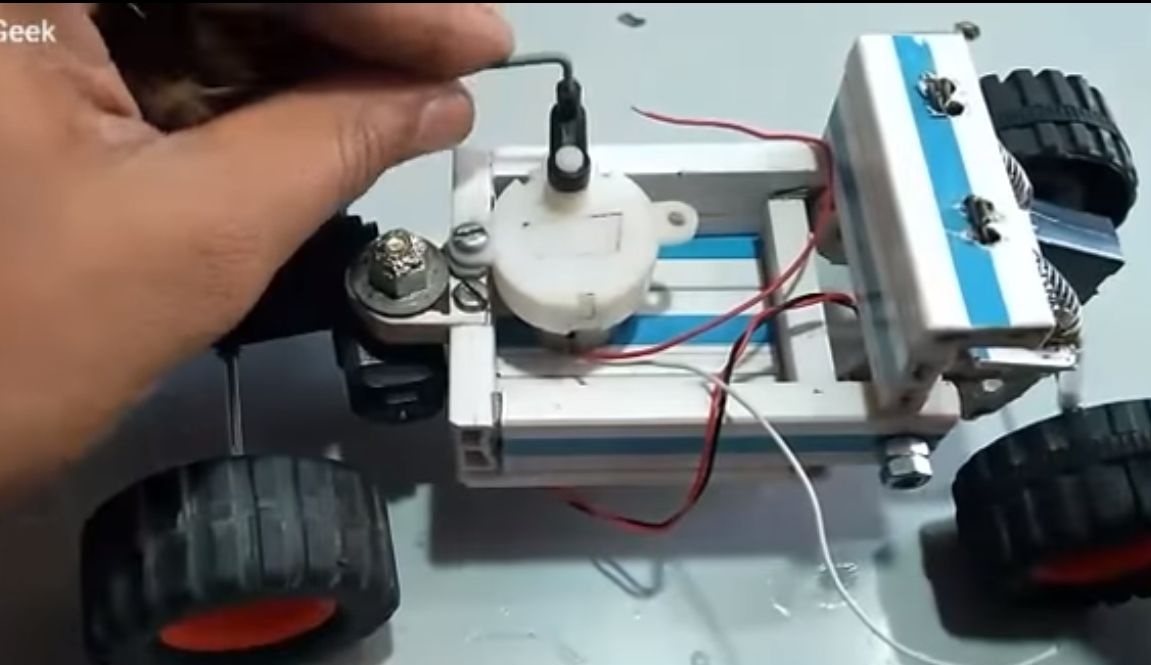
Step Five Steering gear
Now, from the mechanics, it remains to install and connect the steering. To do this, you will need an appropriate motor with a gearbox. We glue it to the base and additionally fix it with screws. Glue the part to the gearbox to which the steering link will be attached. As for the tie rod, you will need to do it yourself. To do this, take a pair of pliers, steel wire and form the necessary spare part.


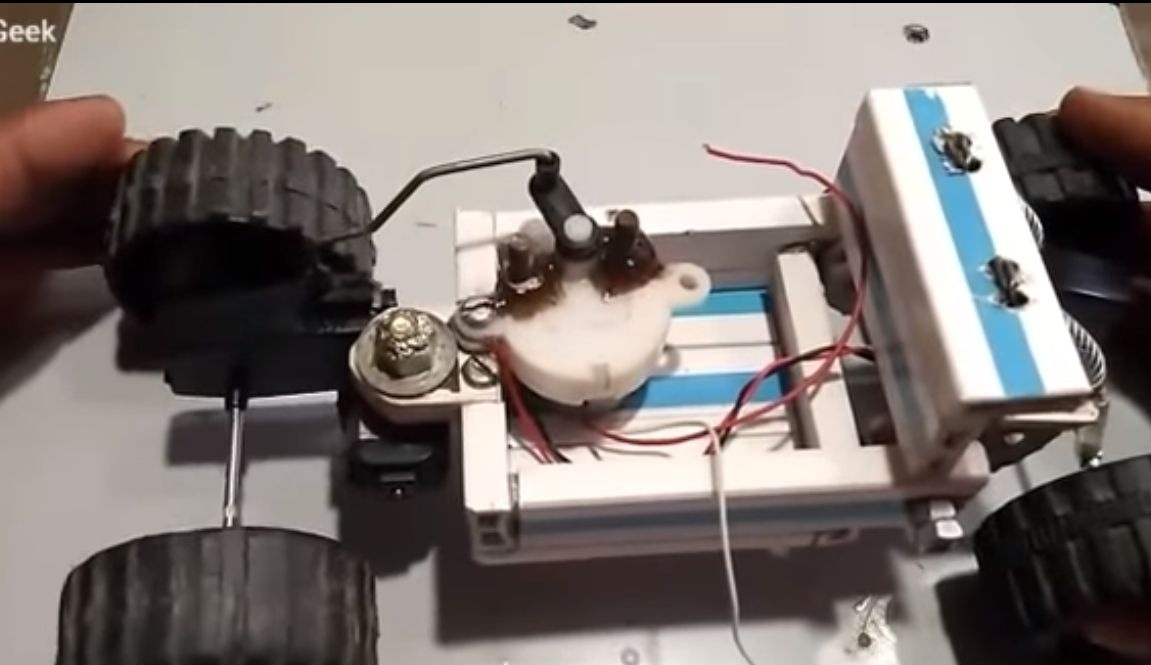
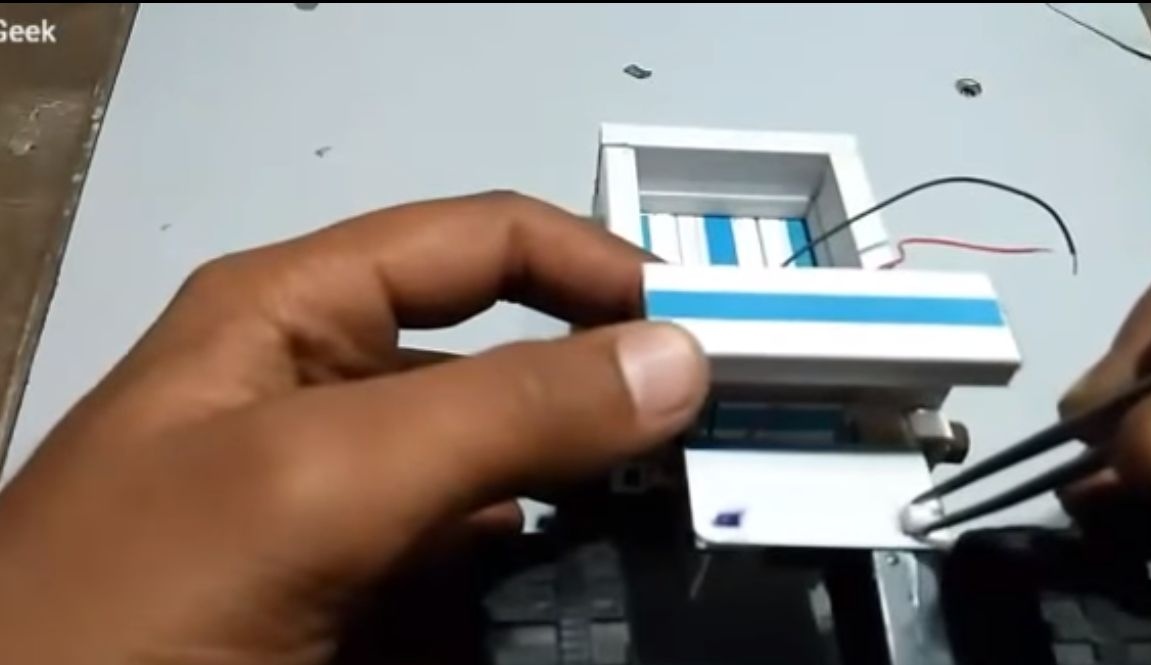
Step Six Getting started assembly
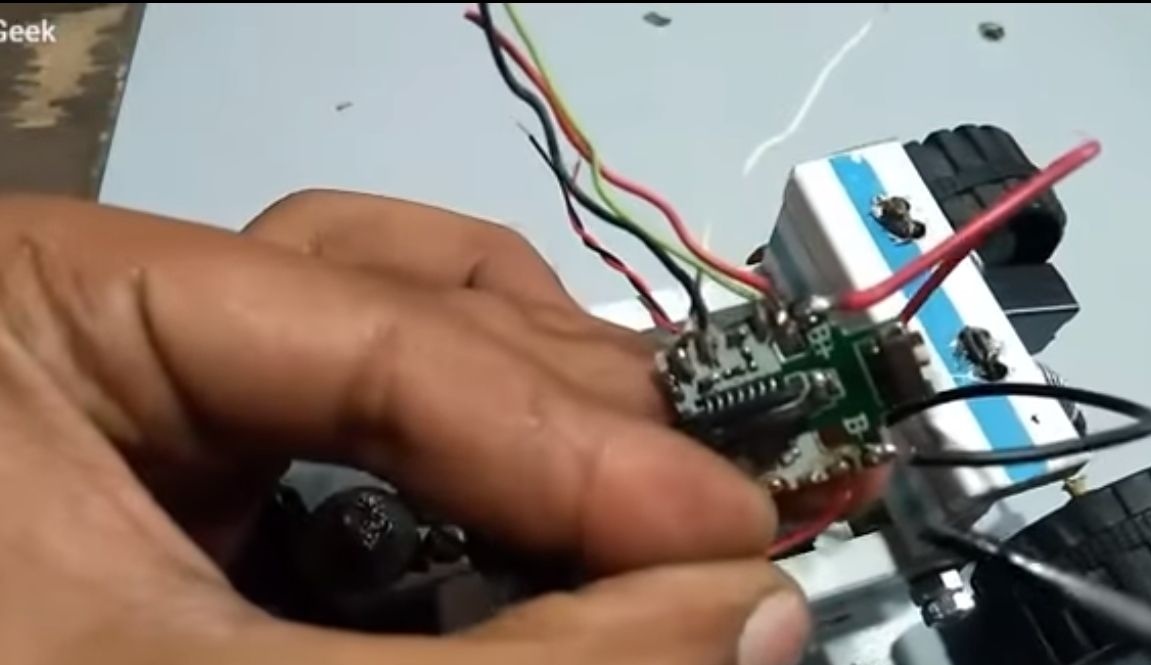
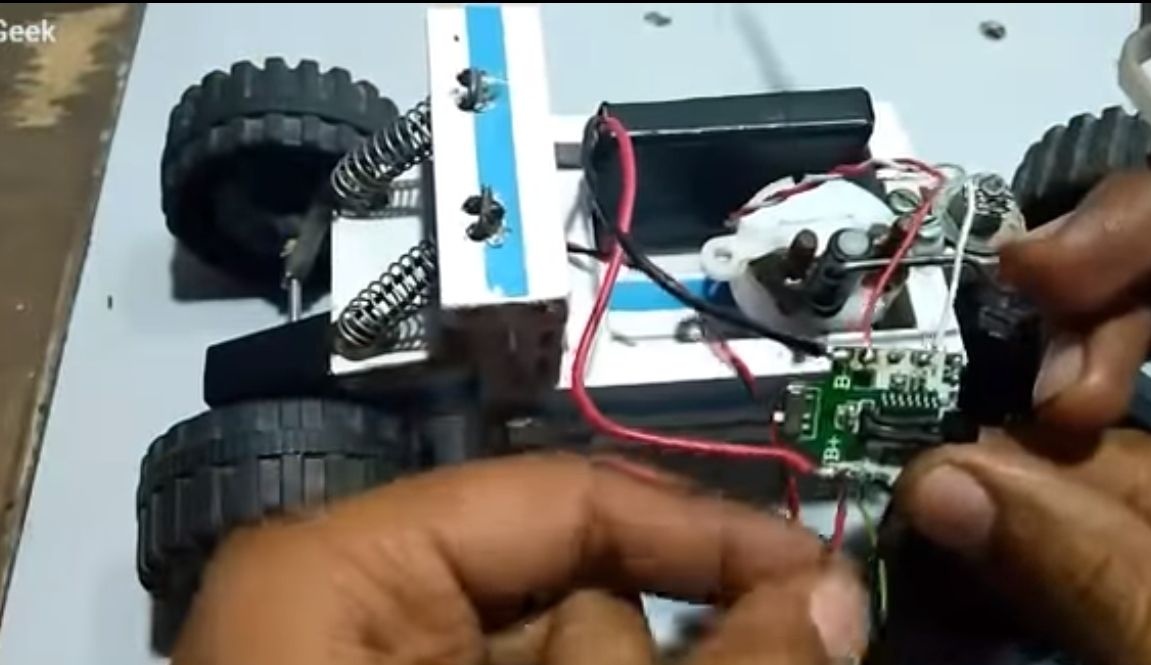
Now you just have to install the controller, which will control the engines when the radio command is sent. We solder the necessary wires in accordance with the instructions to the controller and carefully hide it from water and dust, it is advisable to make a separate case. You also need to install the battery, we connect it through the switch so that it does not discharge when the toy is not used.
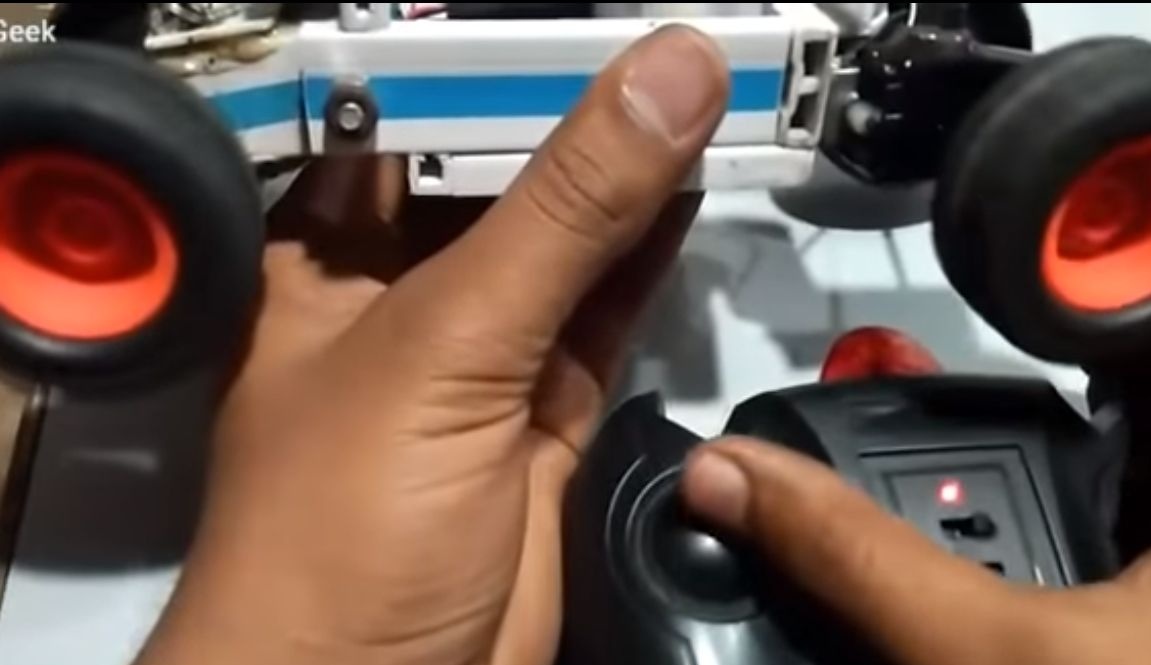
That's all, the all-terrain vehicle is ready. Watch the video of how smart “Lunokhod” turned out for our author. That's all, good luck and take care of yourself.