Today it has become possible to make models of various cars, aircraft, boats and other equipment. The most affordable material you can make model car, is cardboard. It is easy to cut, glue and so on. The only drawback of this material is that it is afraid of water, but this is not at all critical if you are not thinking of wetting your creation.
In this guide, we will look at how to make a model car Dodge Challenger SRT on the radio.
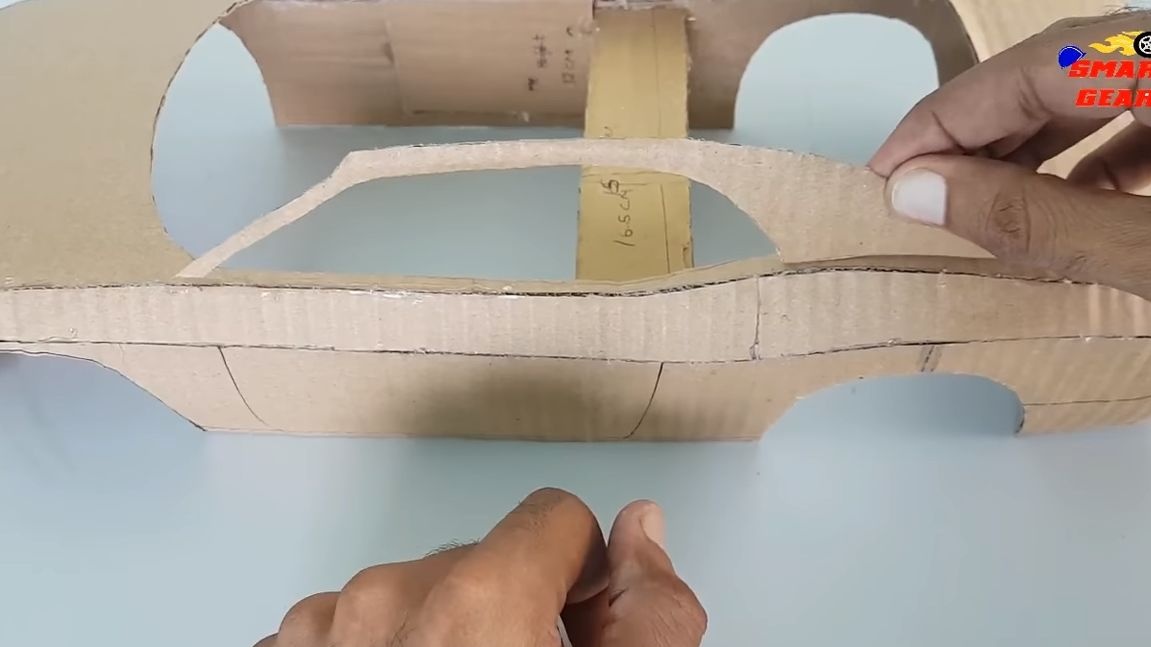
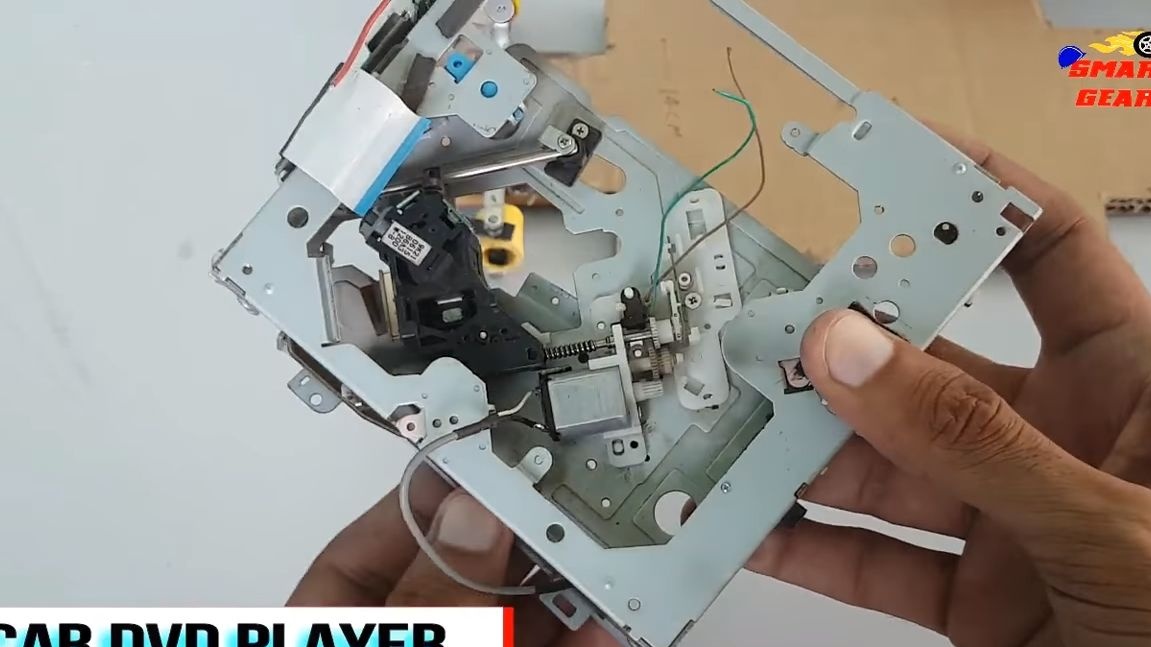
The body, as well as the frame of the car are assembled from cardboard. The author uses a glue gun as glue; it is fast, simple and reliable. Electronics, engines and other components are used inexpensively and these parts are publicly available. Most parts can be found in old toys. The author decided to make the steering based on parts from a computer drive. It used a design that moves the laser.
As for the leading engines, there are two of them, each equipped with a gearbox, as a result, we get a fairly powerful car that can even “sideways”. So, let's get down to manufacturing.
Materials and tools used by the author:
Material List:
- ;
- spare parts from the drive (or similar equipment);
- ;
- switch;
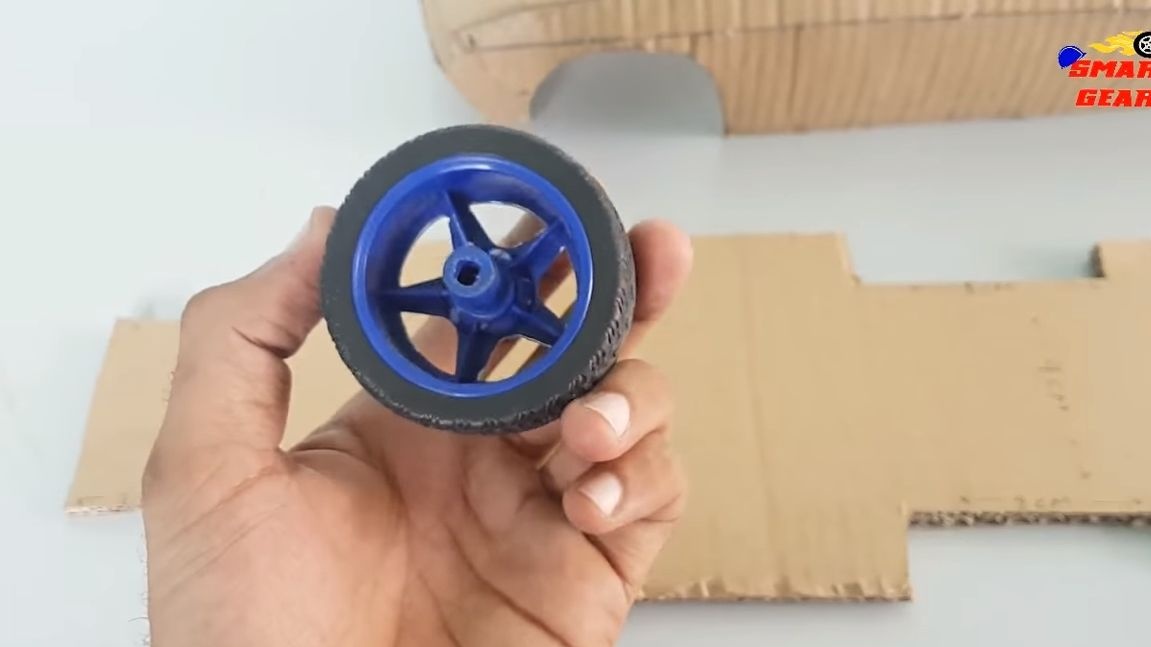
- 4 wheels;
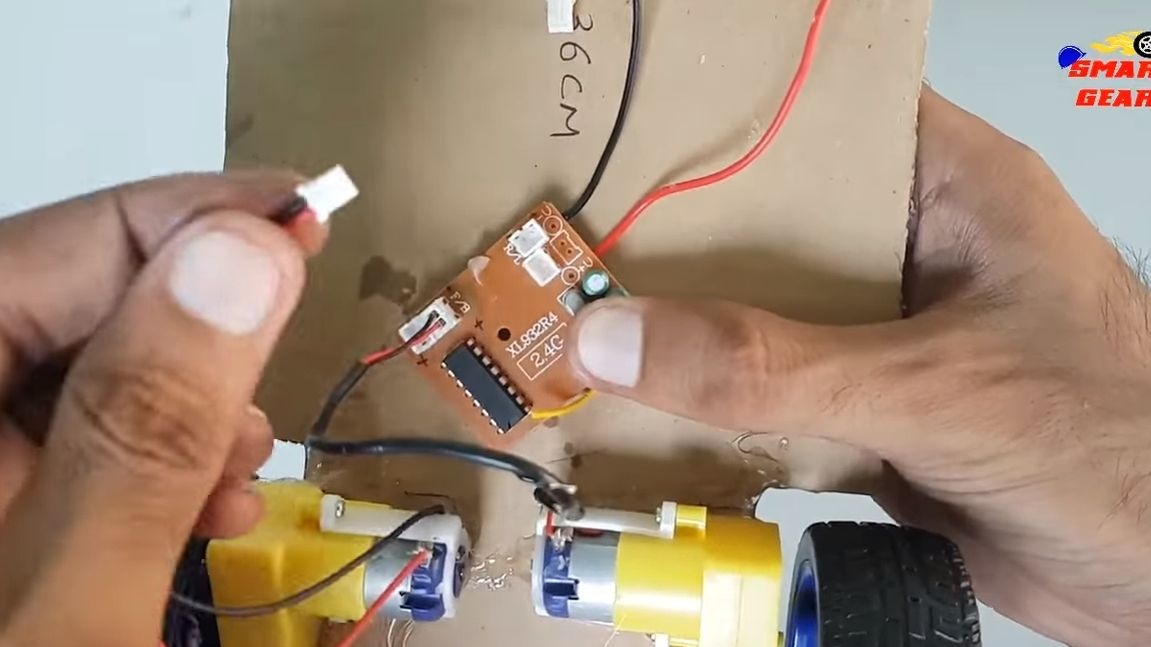
- (the author used the receiver xl932r4);
- cardboard;
- aluminum plates, plastic tubes, screws with nuts, wire, etc. (for the manufacture of the steering system);
- LEDs;
- plastic bottles (to cut windows);
- self-adhesive film (for decoration);
- a socket for connecting a charger;
- wires and other little things.
Tool List:
- soldering iron;
- glue gun;
- scissors;
- stationery knife;
- ruler;
- pencil, etc.
The process of making a car:
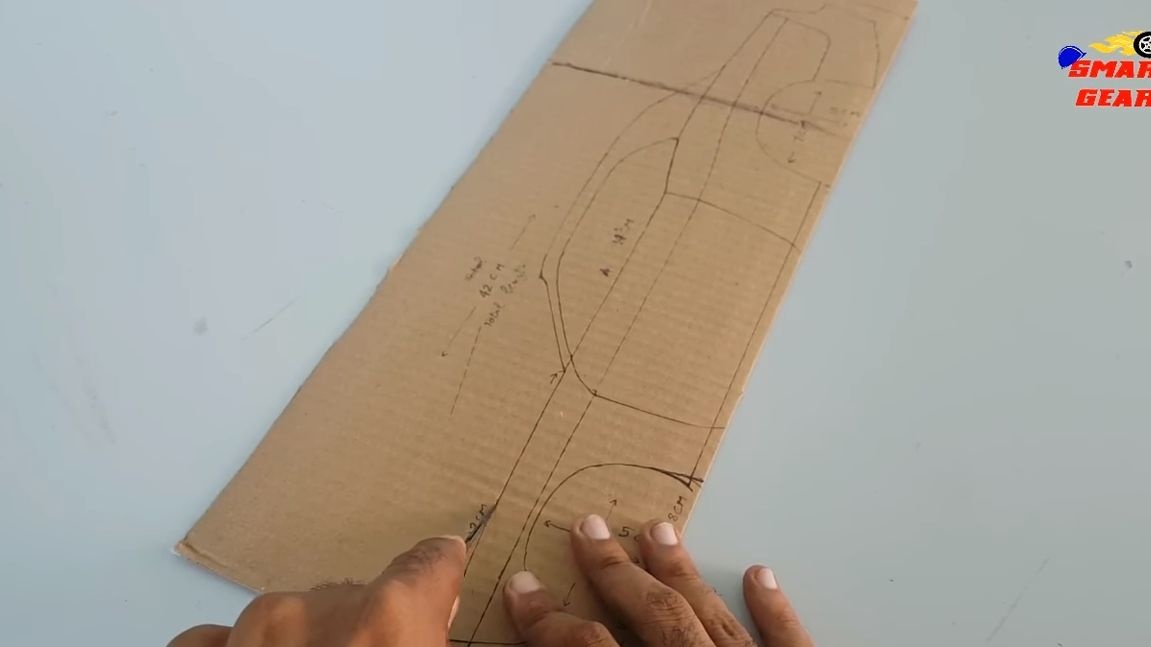
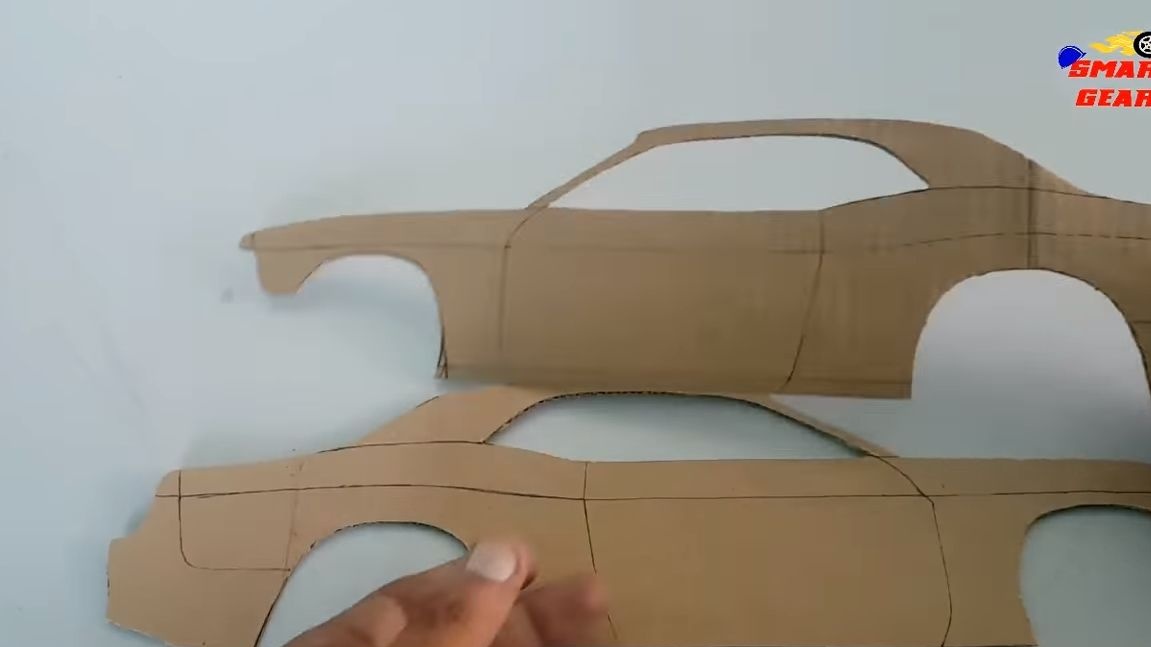
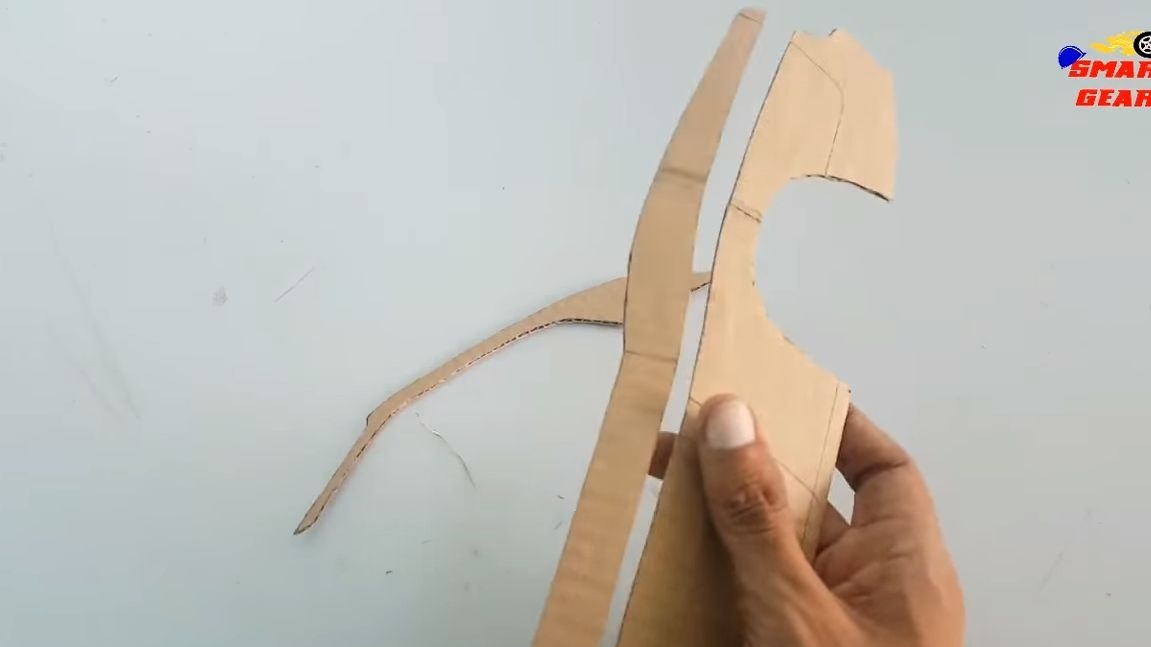
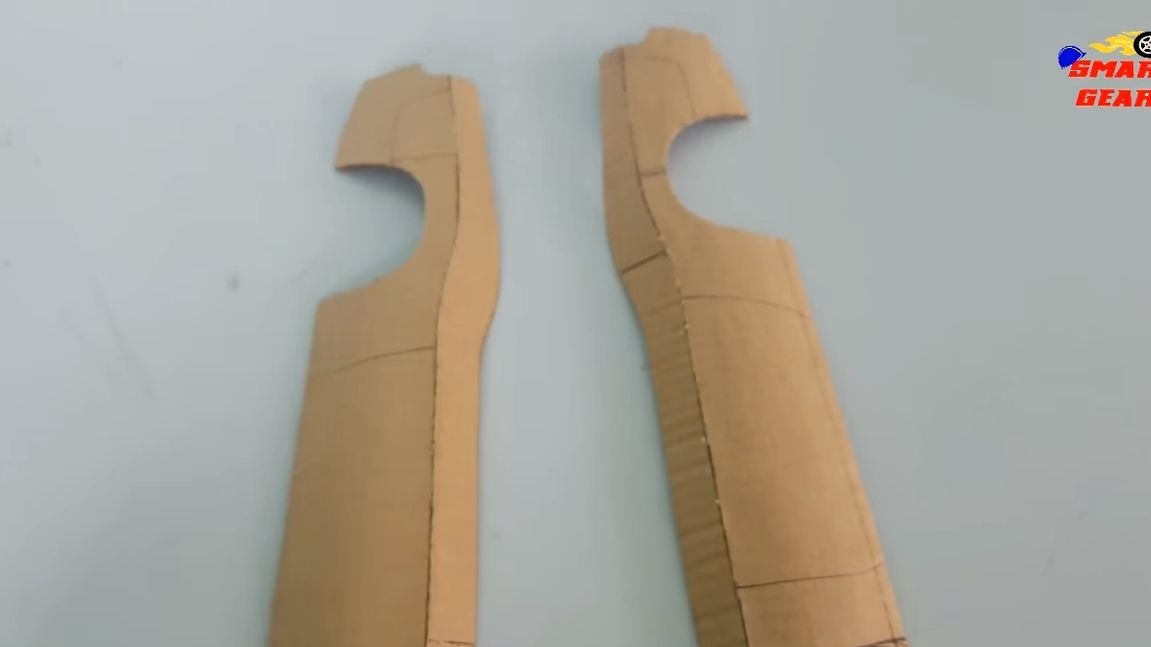
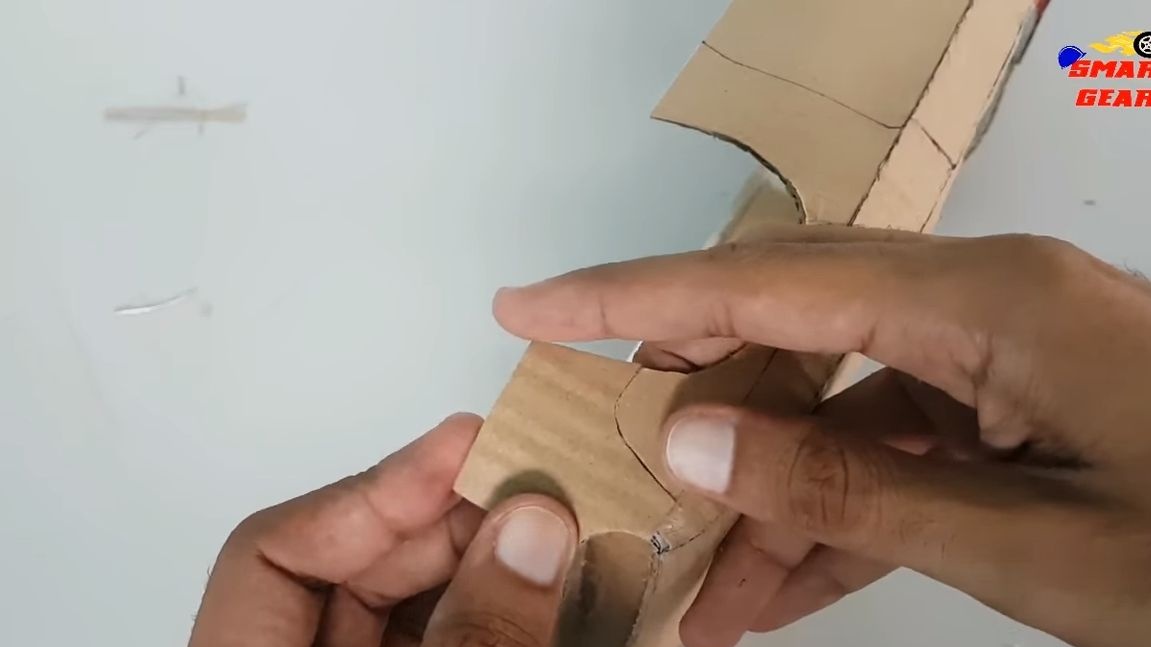
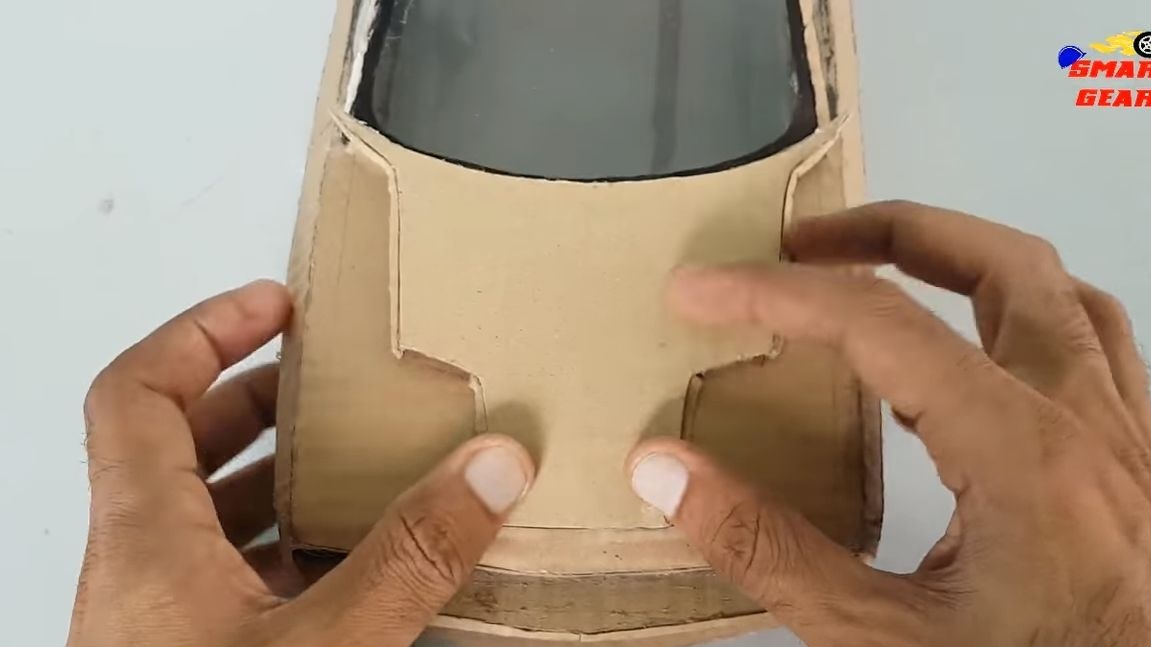
Step one. Getting to the body assembly
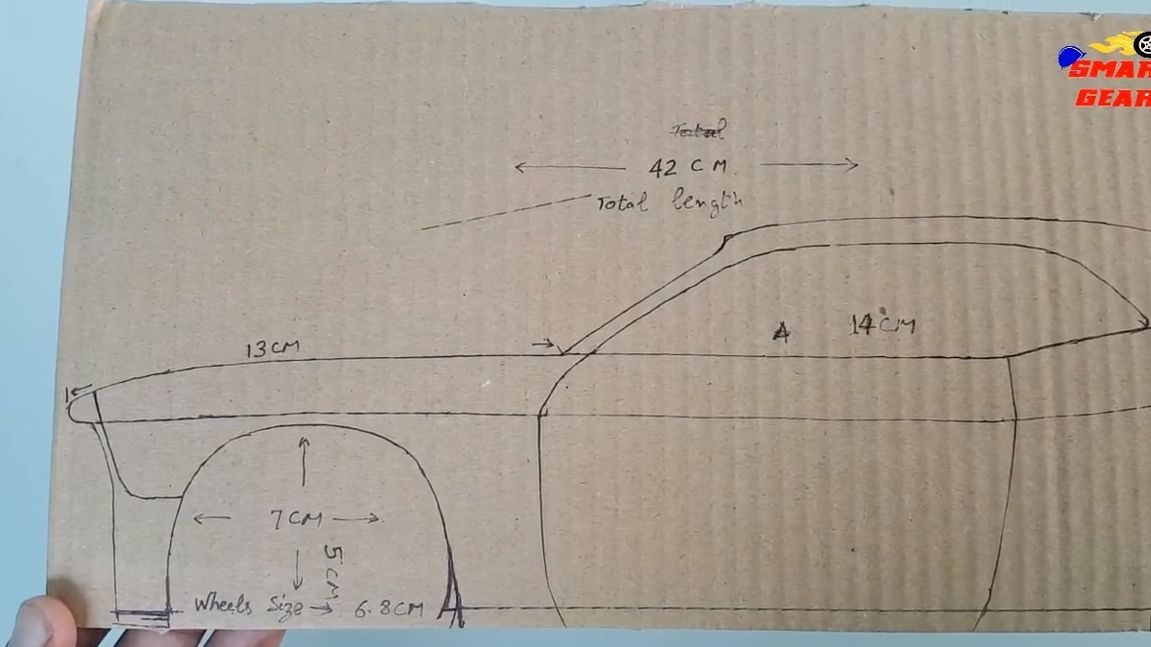
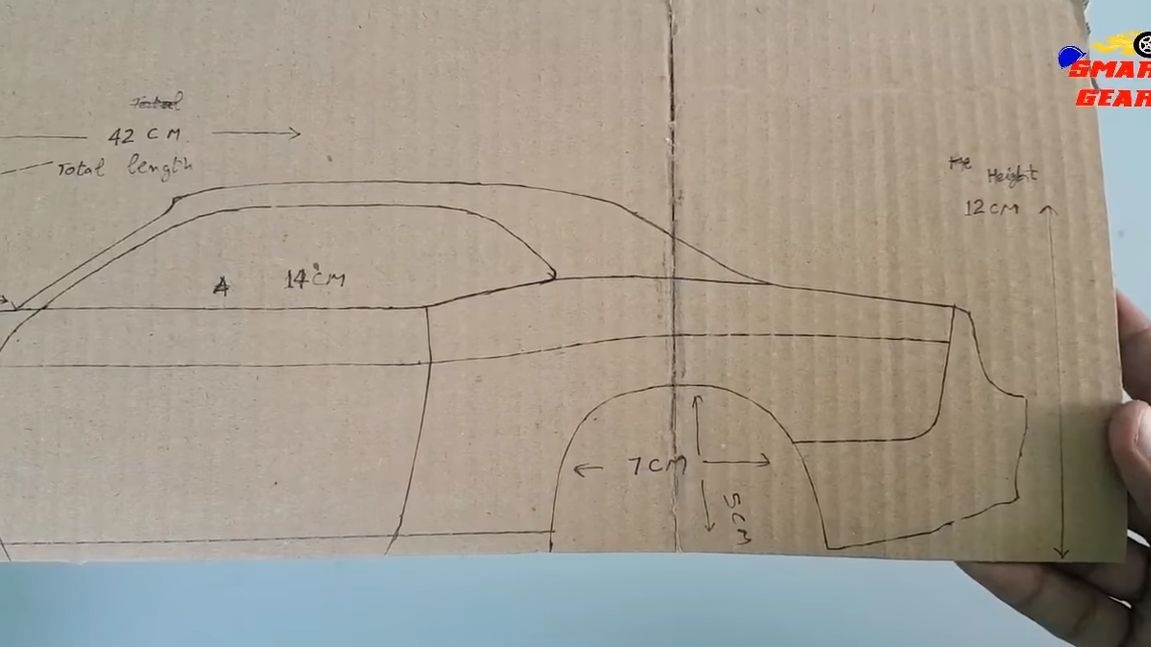
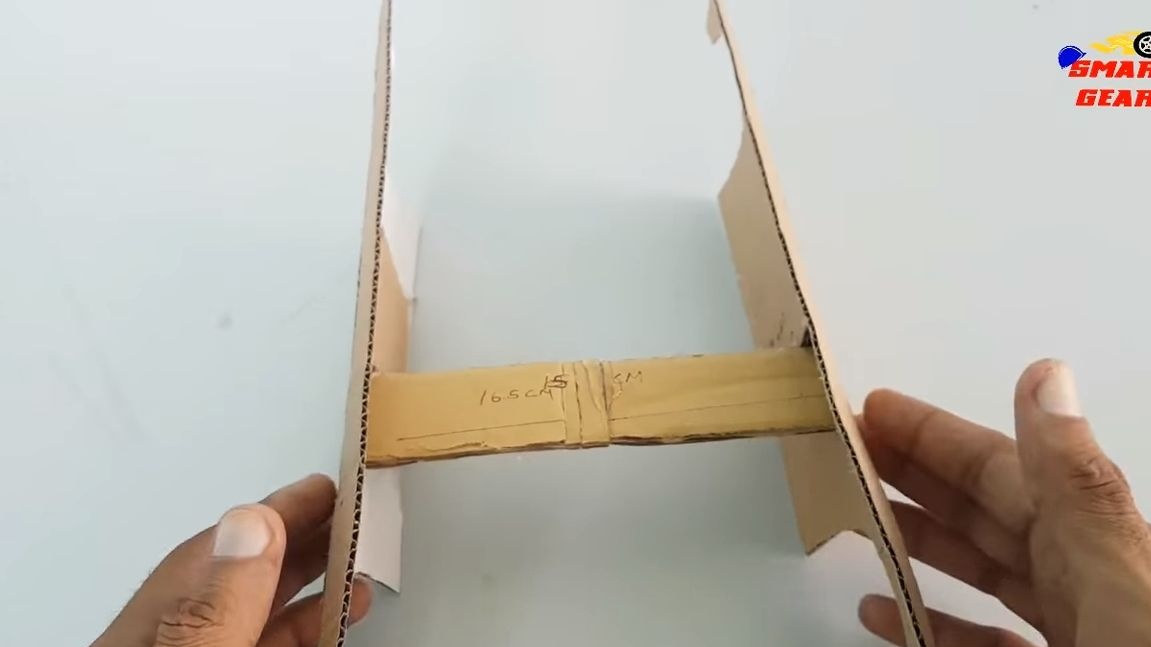
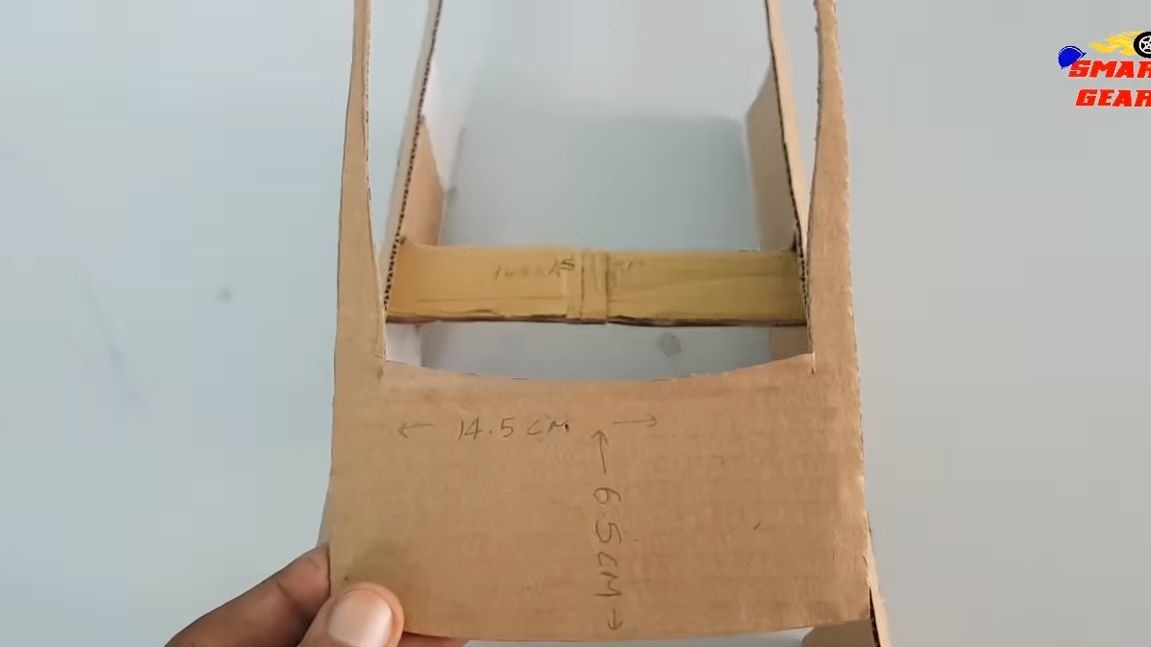
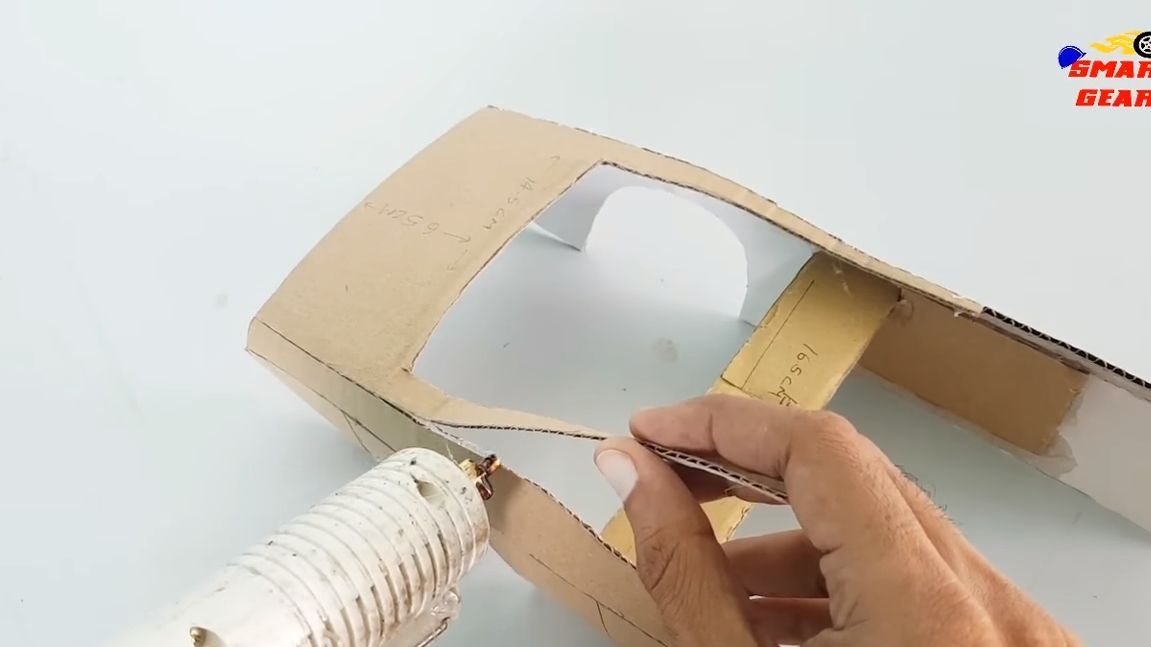
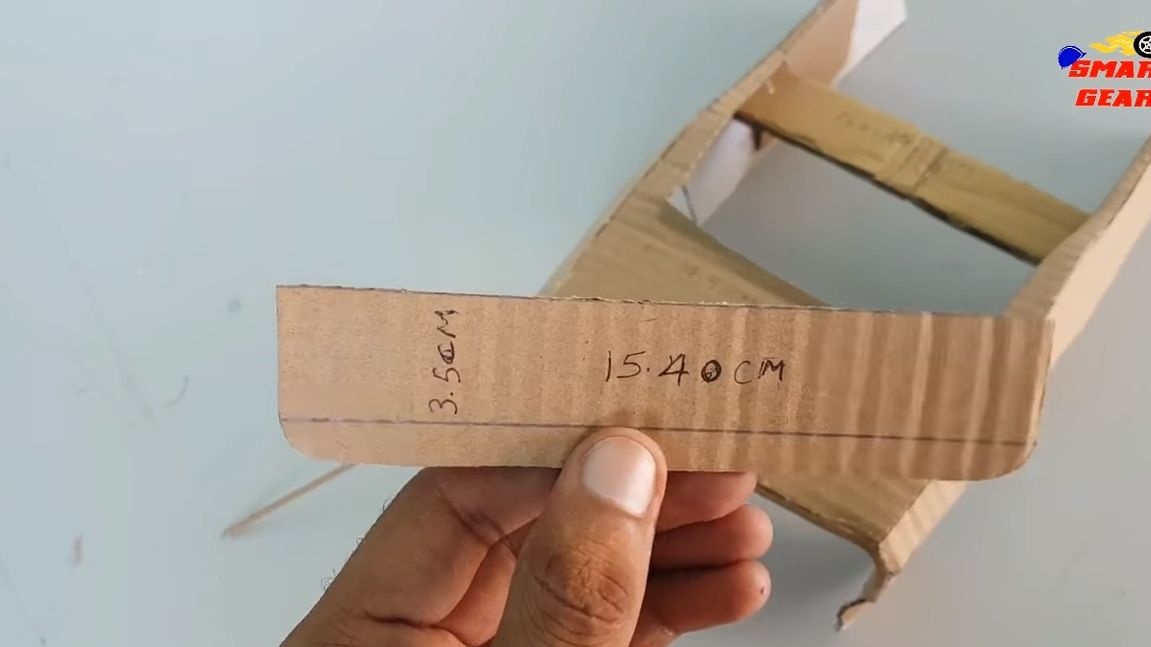
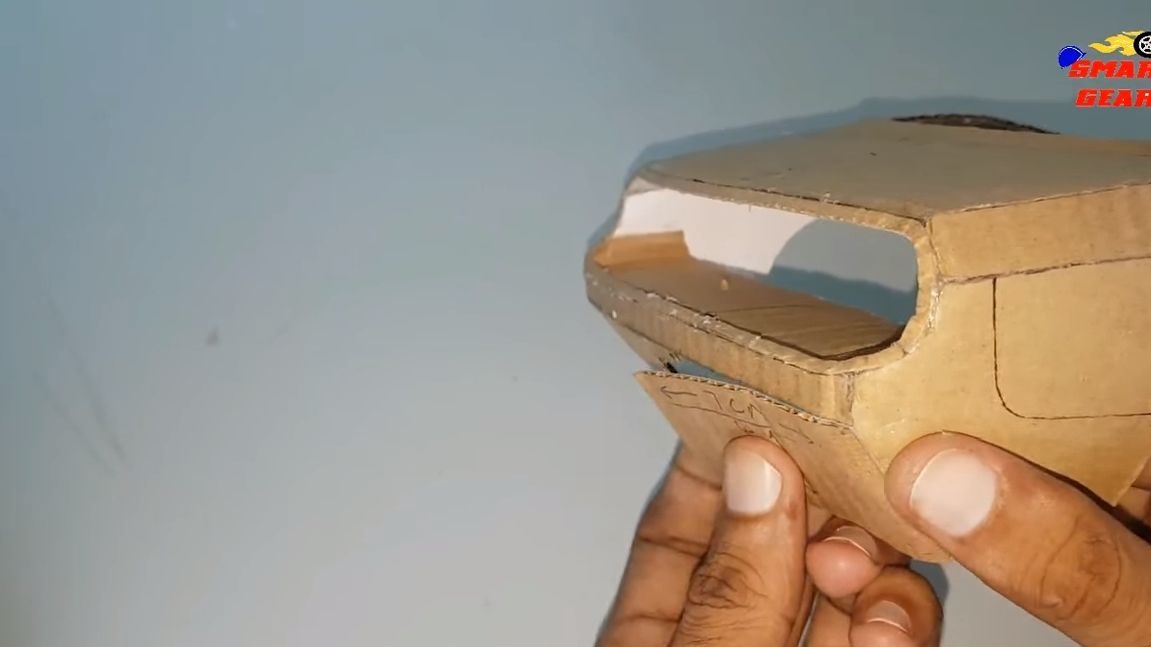
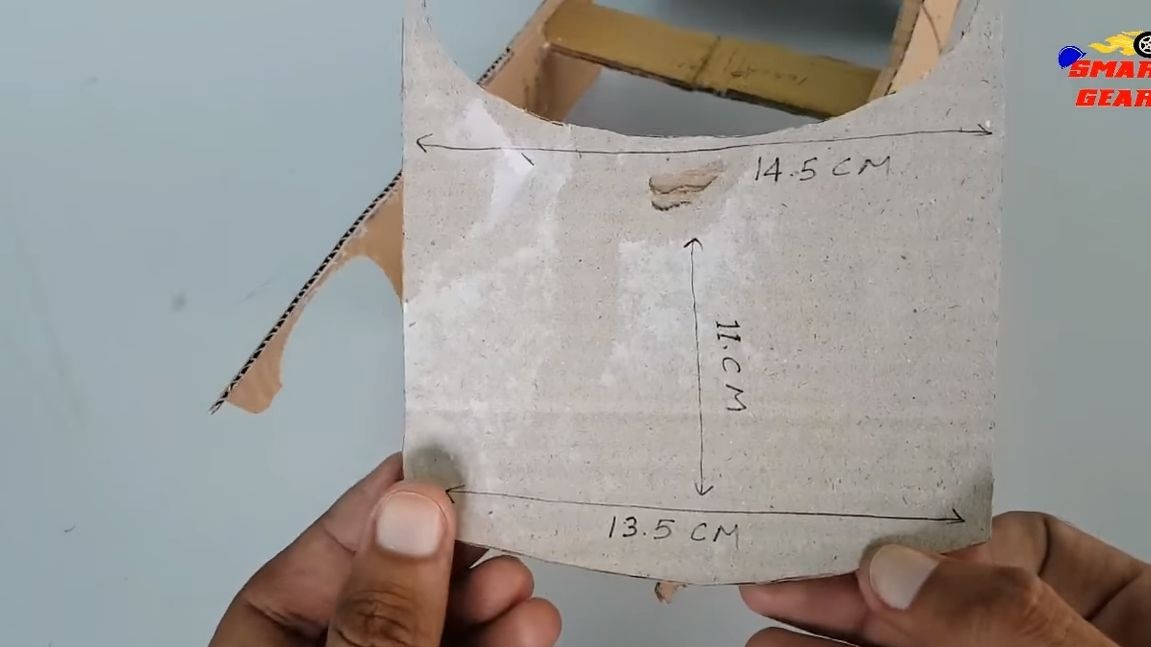
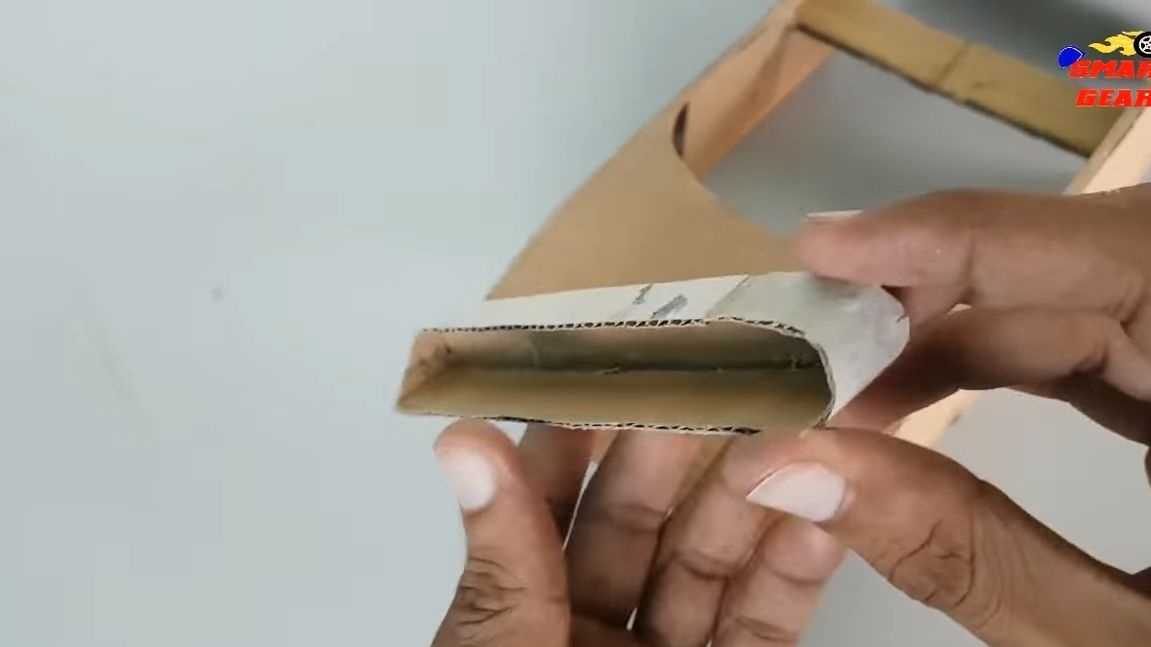
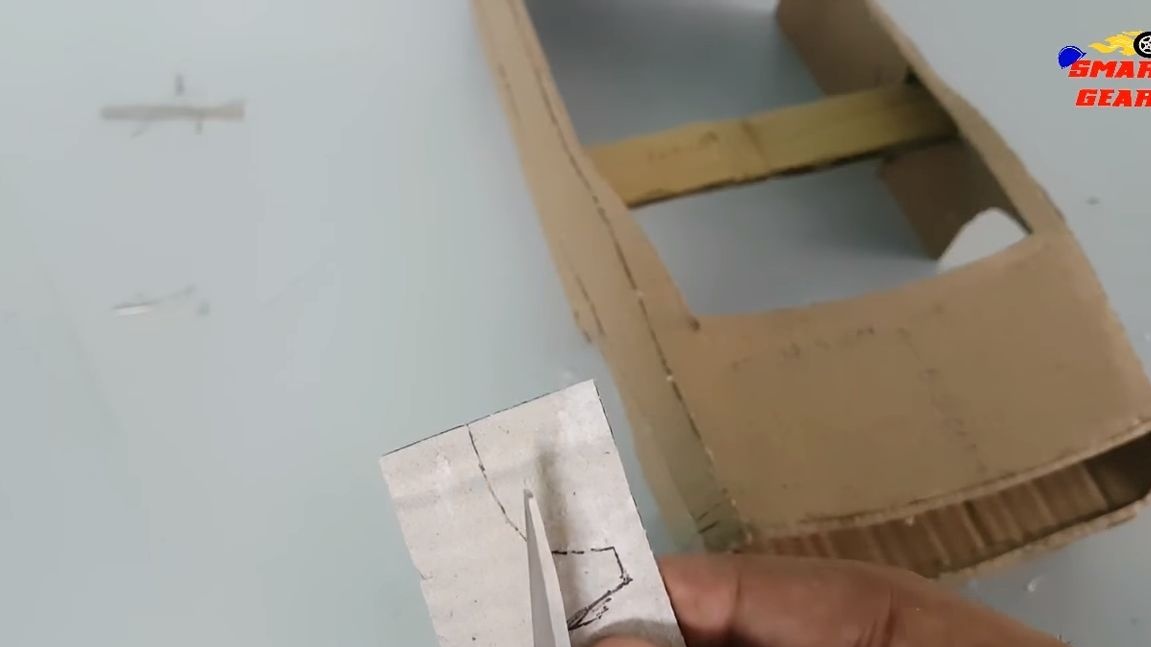
The body is made of cardboard, and all parts are glued together with hot glue. First you need to carefully mark everything on cardboard and cut out the necessary details. Well, then slowly, step by step, we collect the body. There are a lot of details, you won’t write about everything, which is not clear, look in the video.
Step Two Installing the front suspension on the base
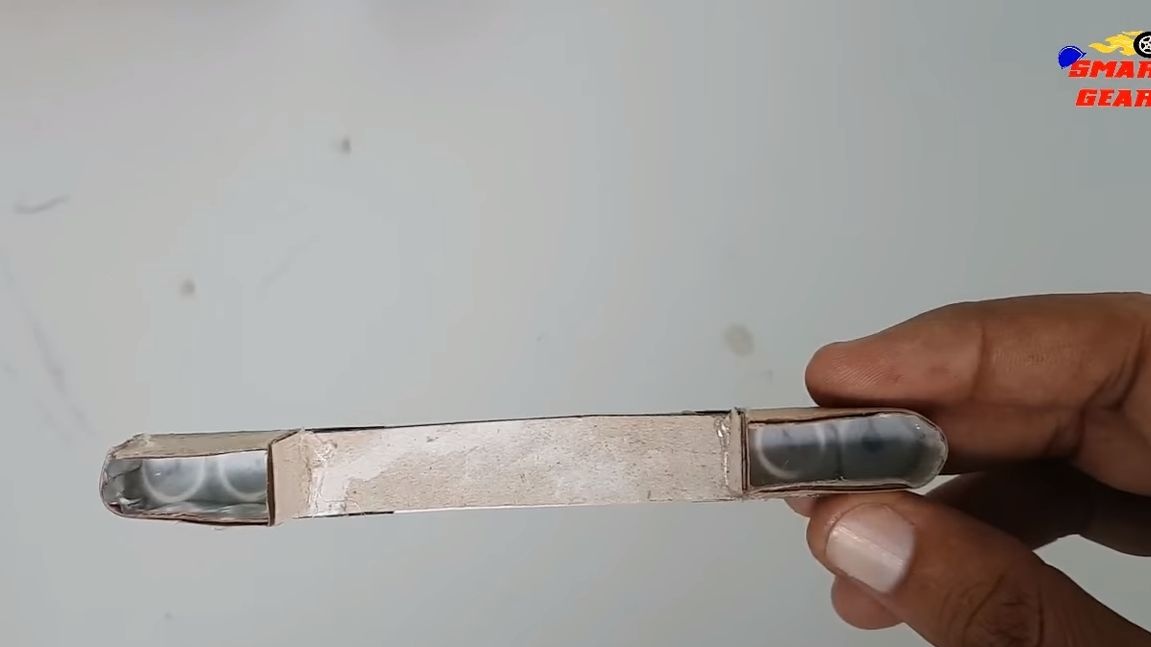
Wheels are installed on the front suspension, they must be rotated. For its manufacture, the author used aluminum plates, two pieces of plastic pipe, wire, bolts with nuts, and also thin sheet steel. In more detail, as everything is arranged, look at the photo.
To fix this whole structure, the author uses small screws with nuts, and also fixes everything in addition with hot glue. The base we have is also made of cardboard. But it’s better to find something more durable.
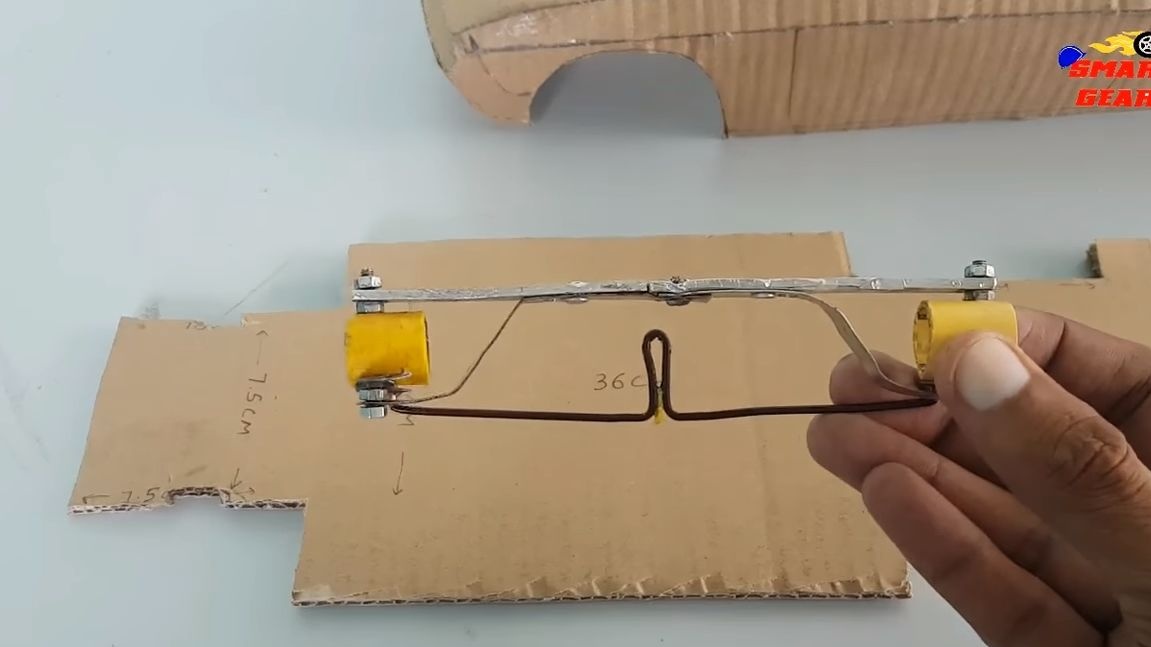
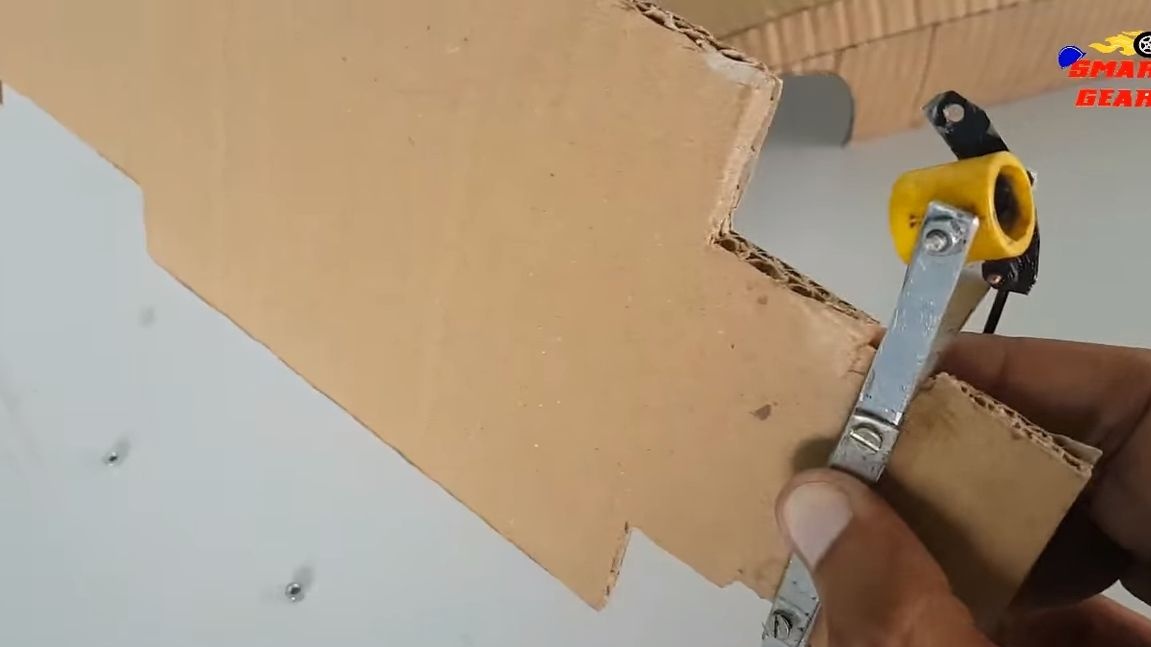
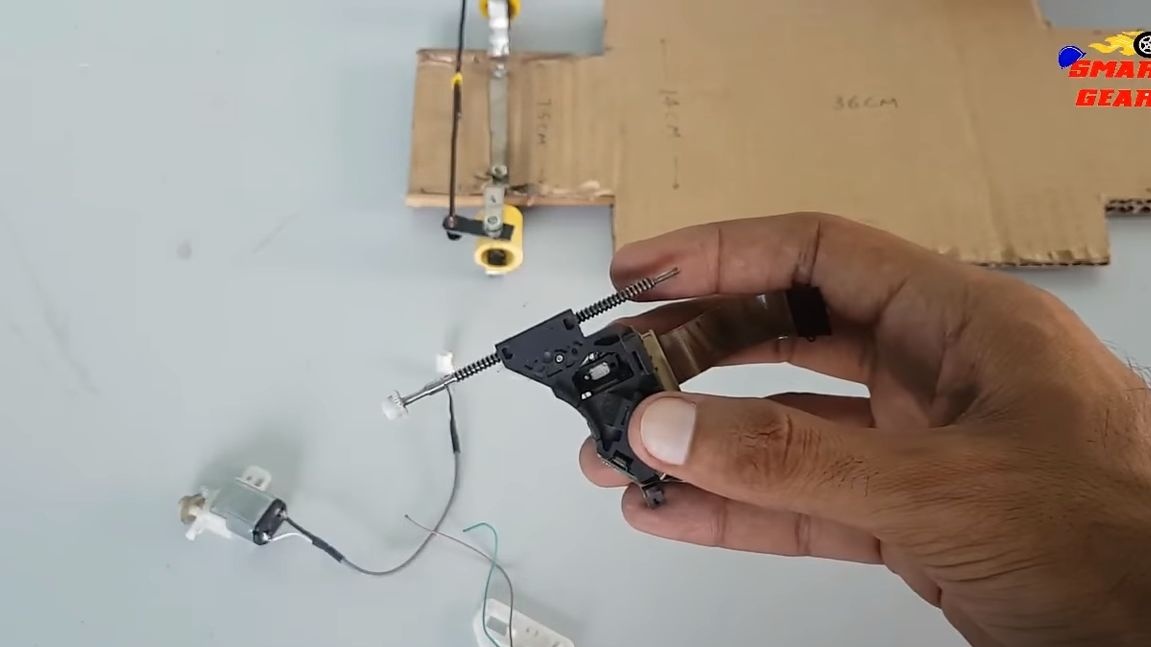
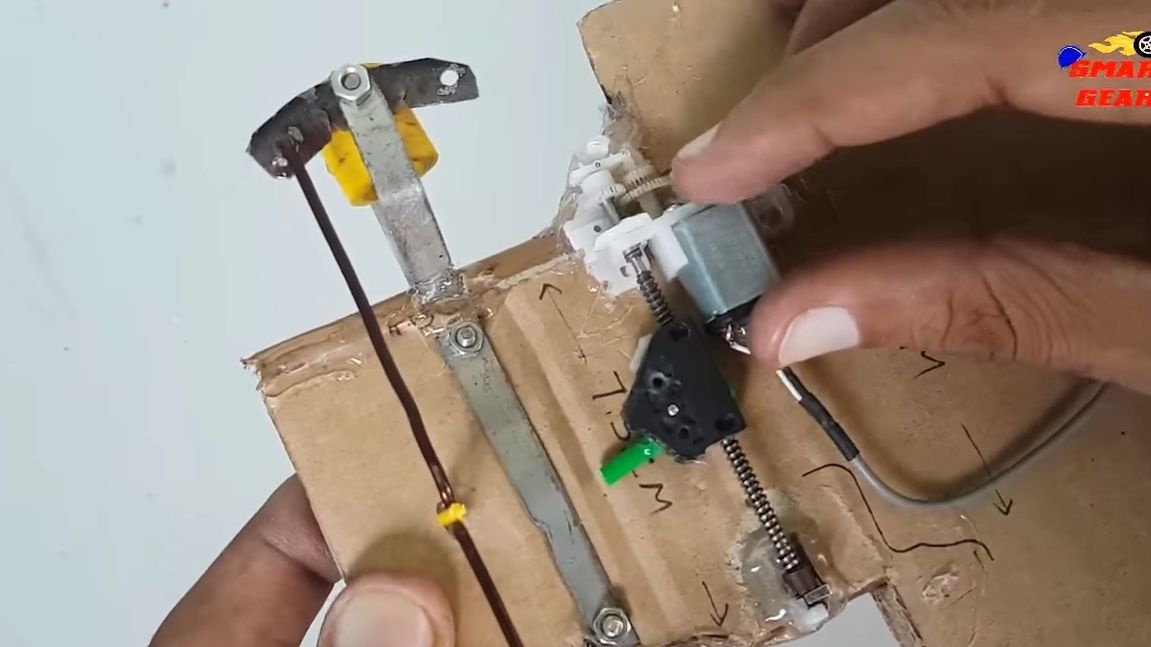
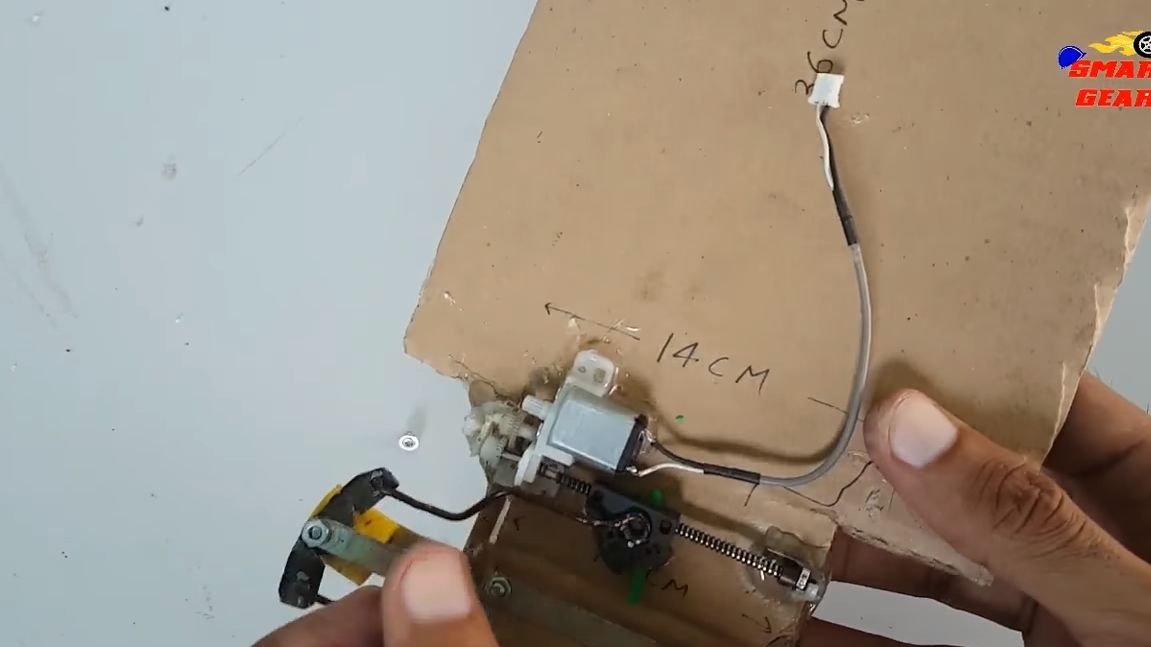
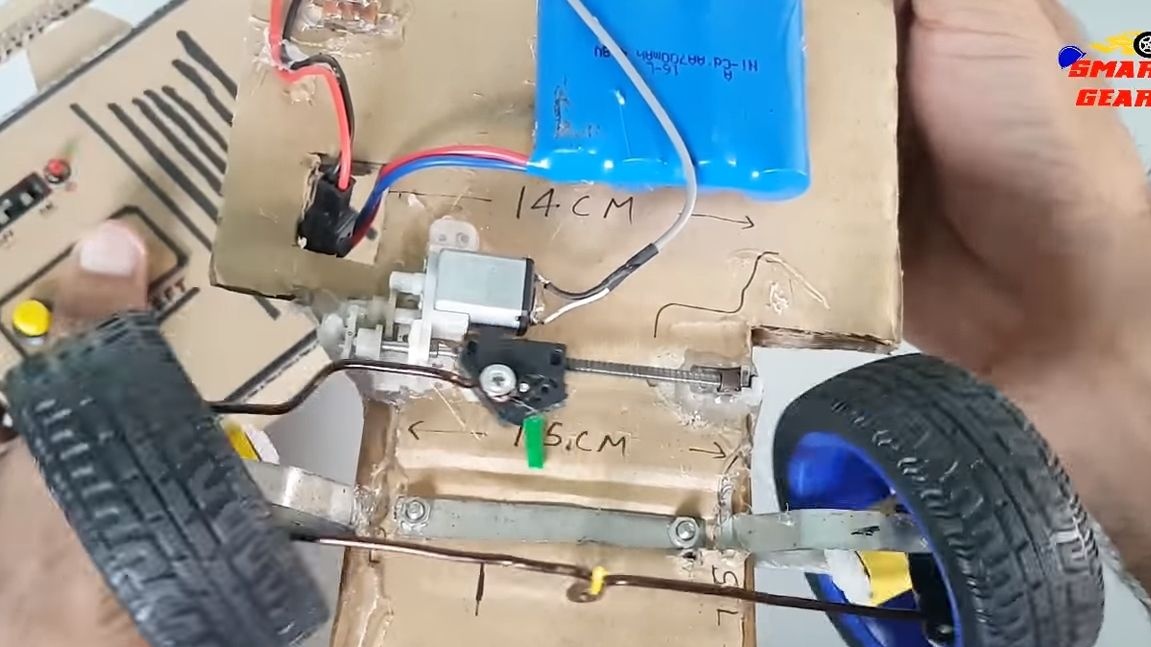
Now you can install the steering gear, it is driven by an electric motor. You can find such details in the technique that reads CDs. As a rule, this is an engine, a screw rod, as well as a bracket with a laser that moves along the threaded rod back and forth.
Everything is simpler in modern technology, where the screw shaft is the shaft of a small motor, that is, no gearboxes are used. We get the necessary parts and fix them to the base using hot glue.
All that remains for you later is to make and install the steering rod. It is simple to do, you will need a piece of wire, which needs to set the desired profile. At the end, install the front wheels.

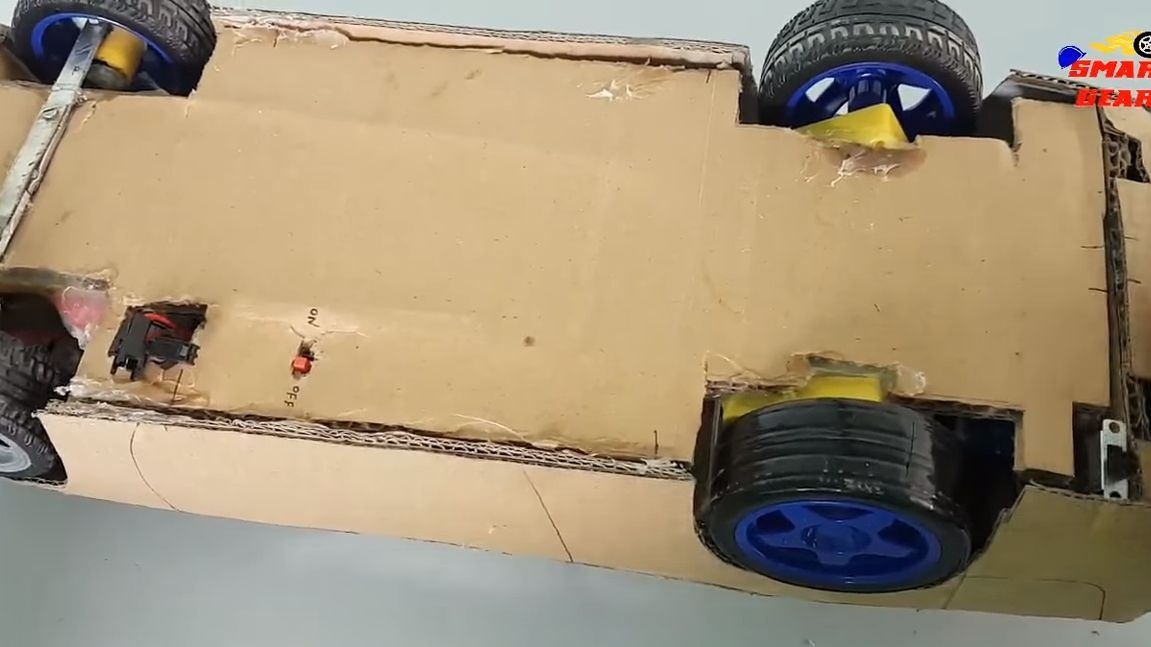
Step Three Rear wheel mounting
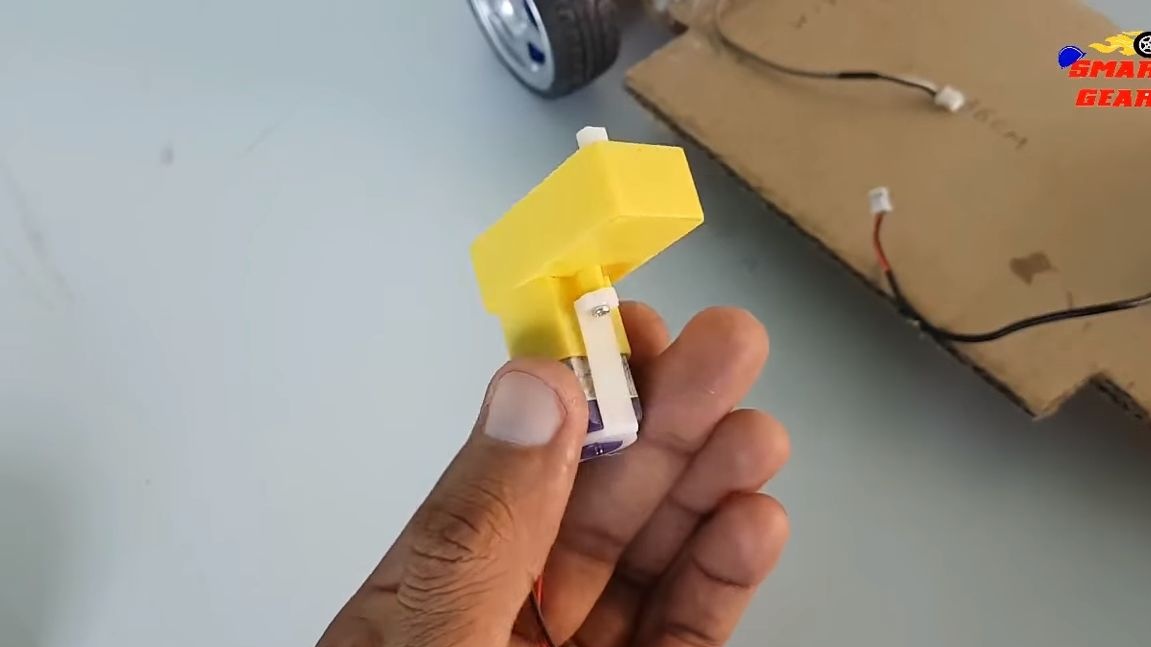
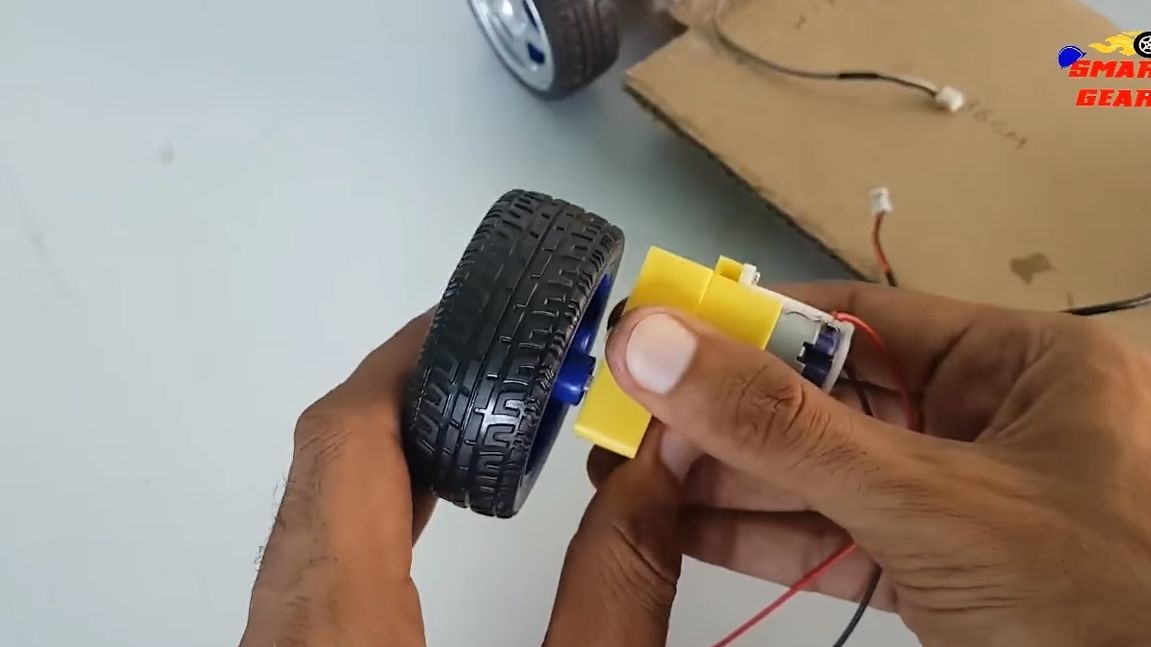
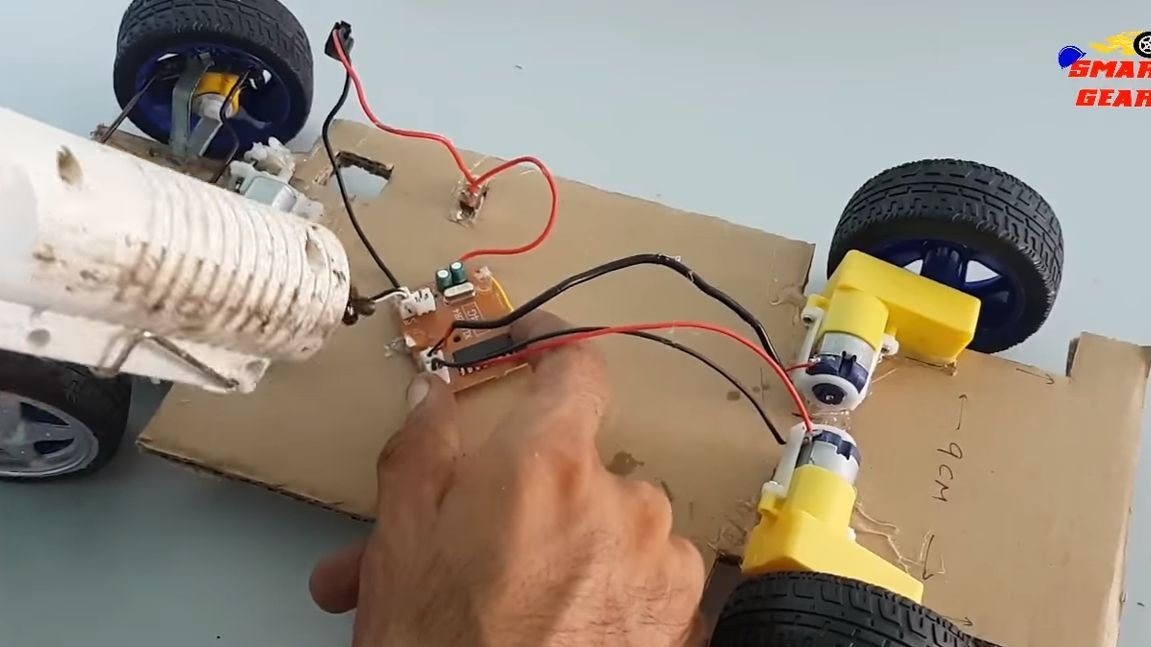
The rear wheels are driven by two gear motors. Similar parts can be found in old toys and so on, if desired, everything today can be ordered from China. We install the wheels on the shafts of the gears, and the gears themselves are fixed to the base using hot glue.

Step Four Installing electronics and battery
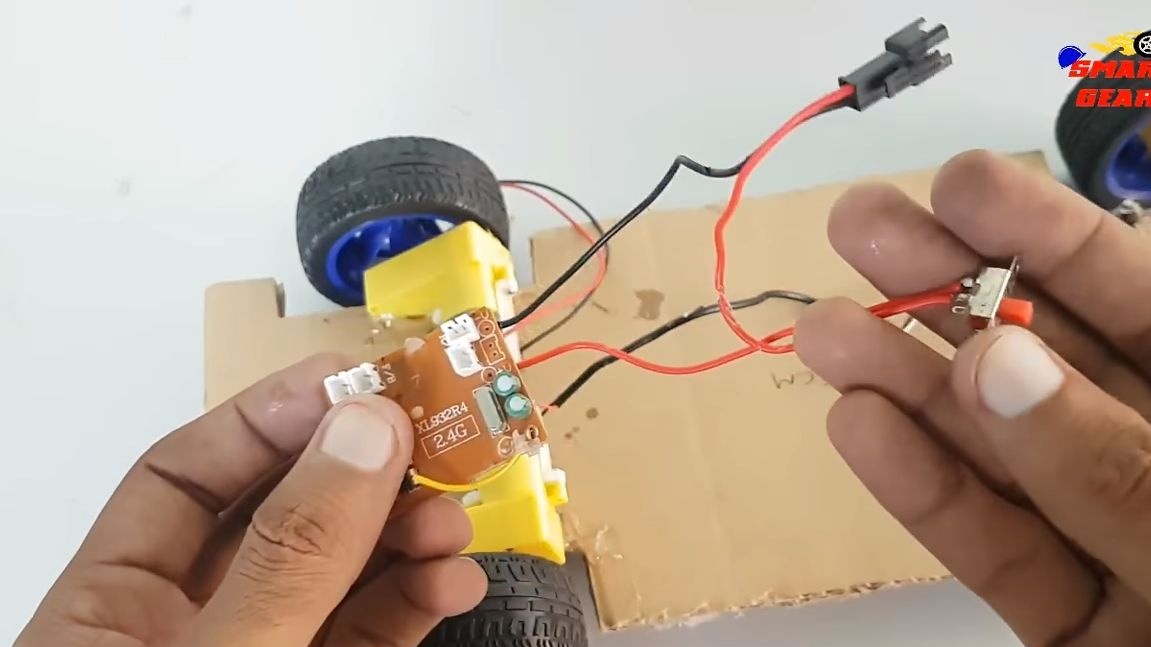
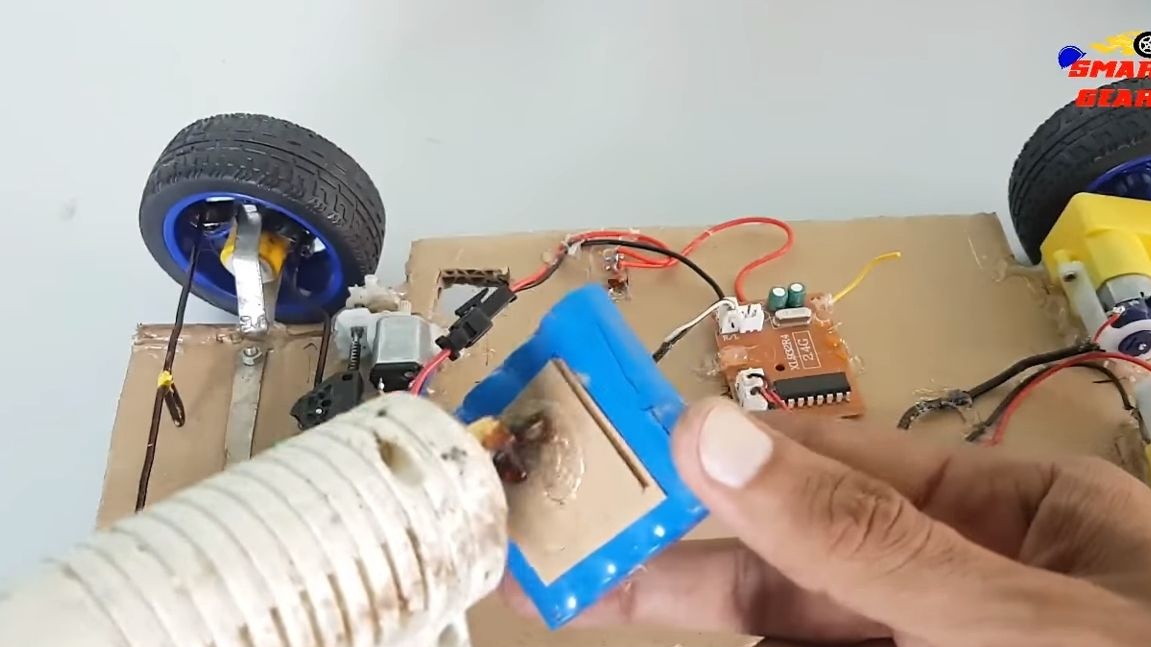
On the basis of the machine, we install a receiver, the electronics must have at least 3 outputs for controlling three engines. However, two is enough if you connect the rear motors in parallel to each other. The author fixes the board with hot glue.
Now you can install the battery, install a switch between it and the electronics so that the battery does not waste the charge, and the machine could always be turned off. Also solder the wires to the battery and install the charging connector. When everything is ready, take the remote control and check that the machine responds to commands. At the end, the bottom will be glued to the body and getting to the insides will be problematic.
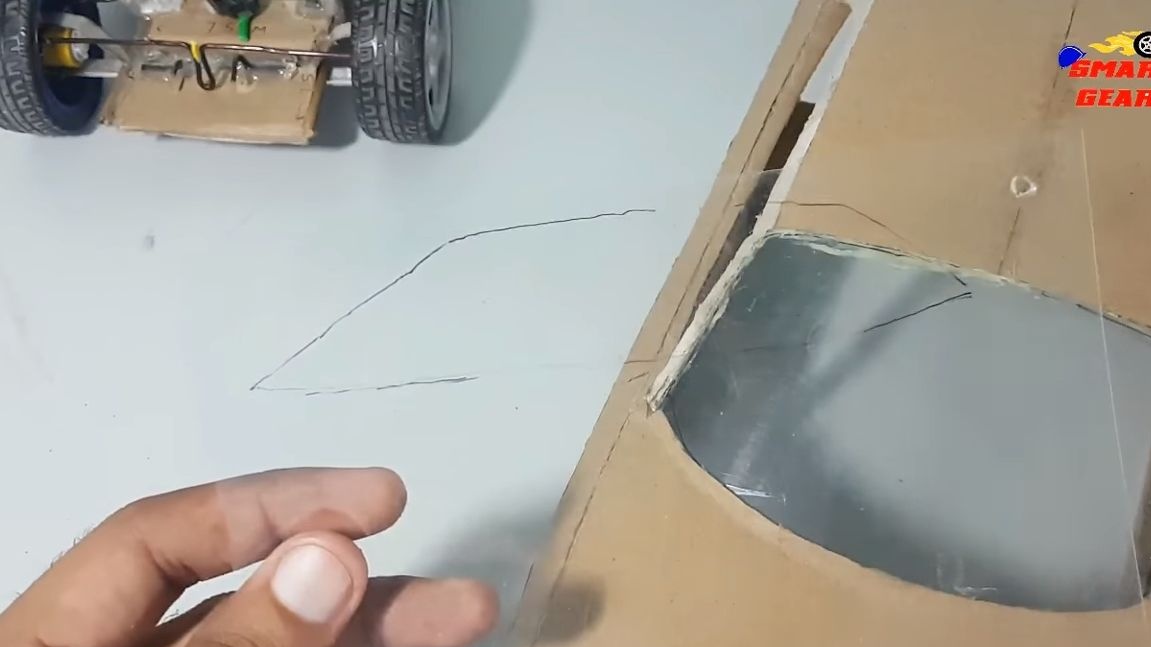
Step Five Glass installation
We proceed to install the glass on the body. To do this, you need a thin transparent plastic, a plastic bottle is quite suitable as a source, you can even choose the desired tint.
We cut out the necessary blanks in shape and paste them into place.

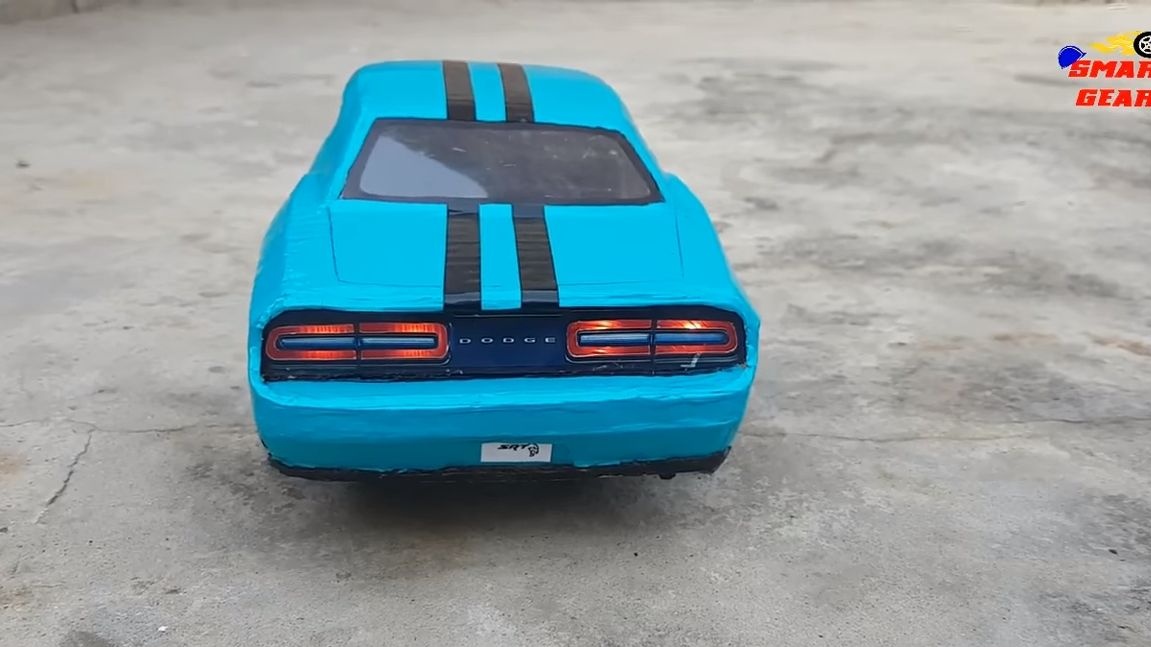
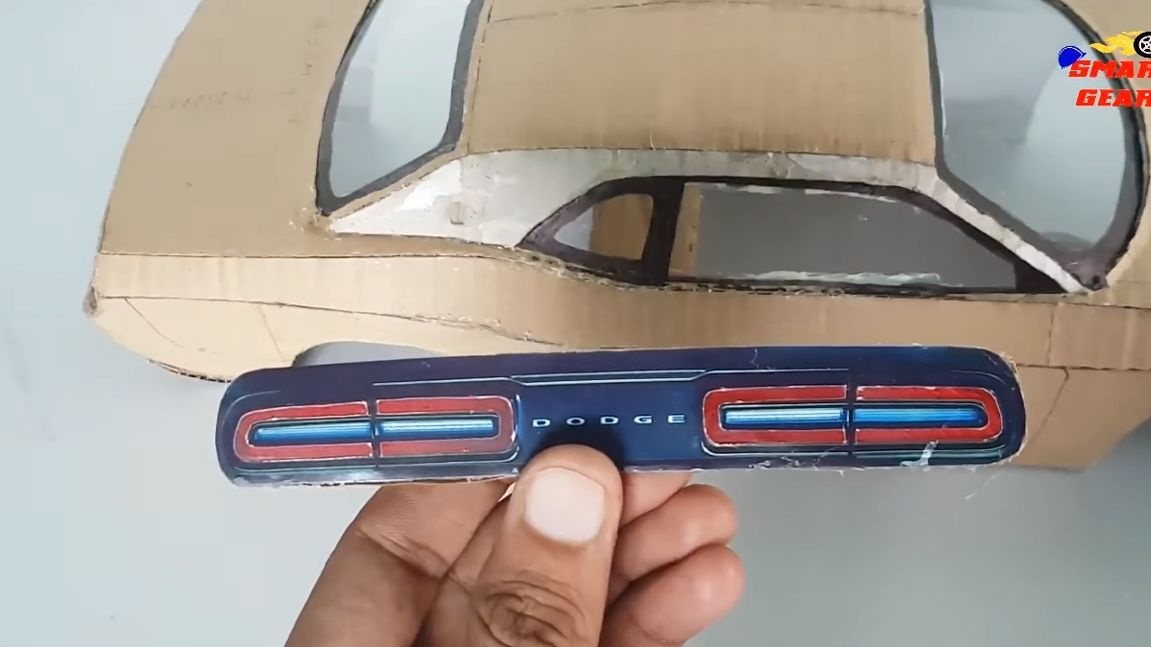
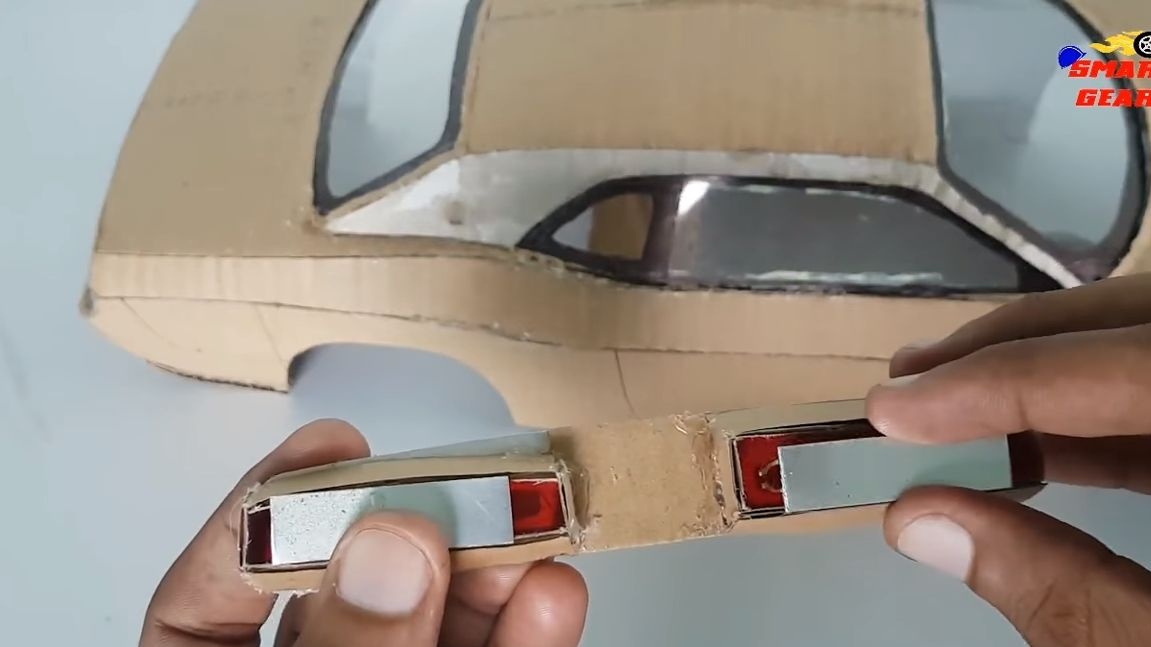
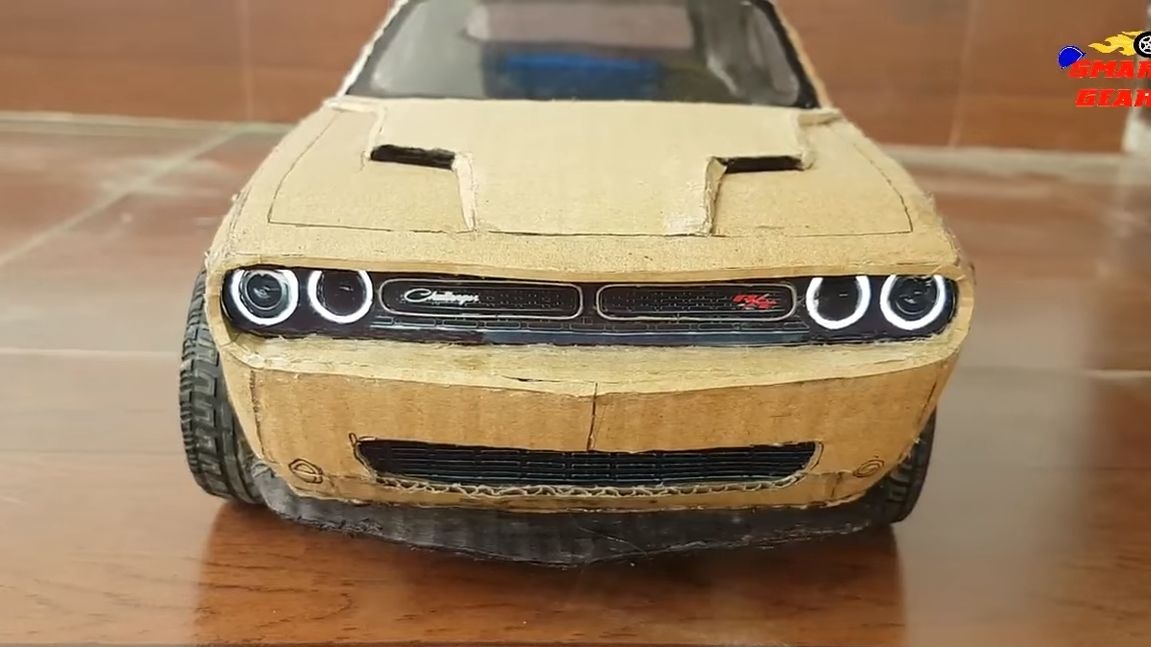
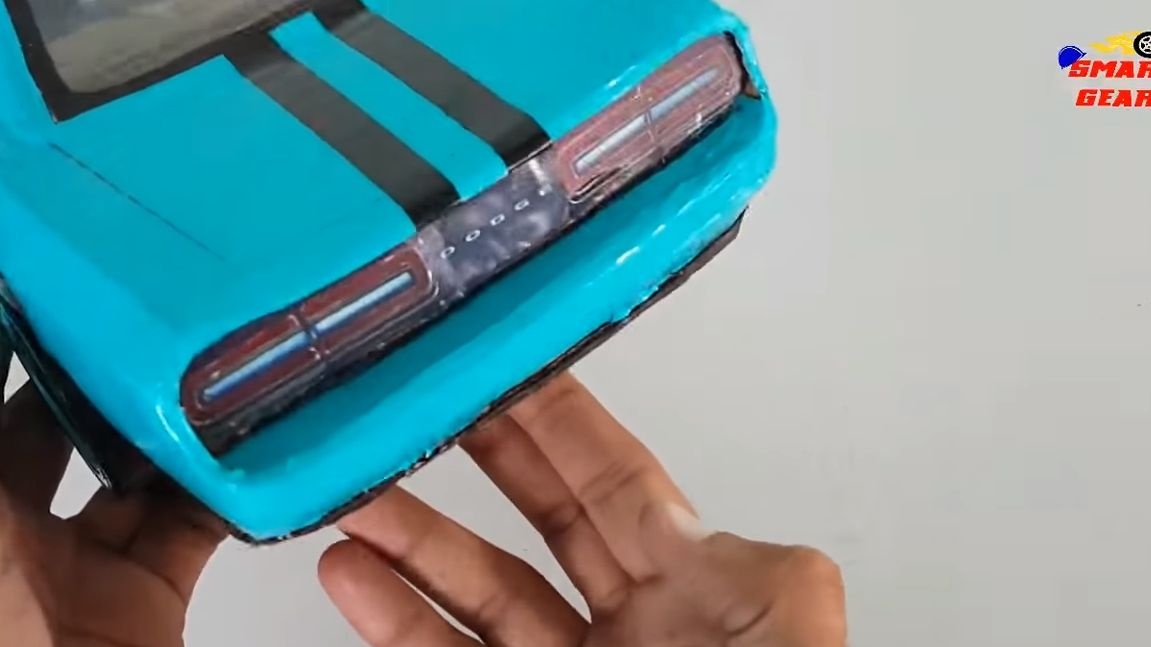
Step Six Taillights and headlights
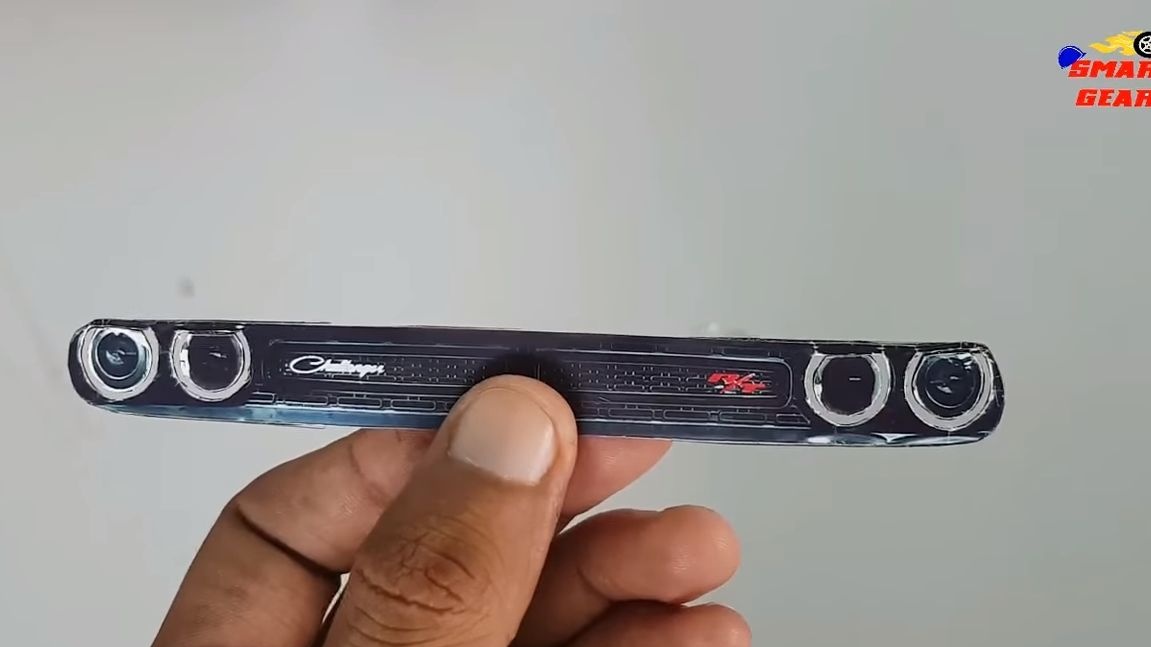
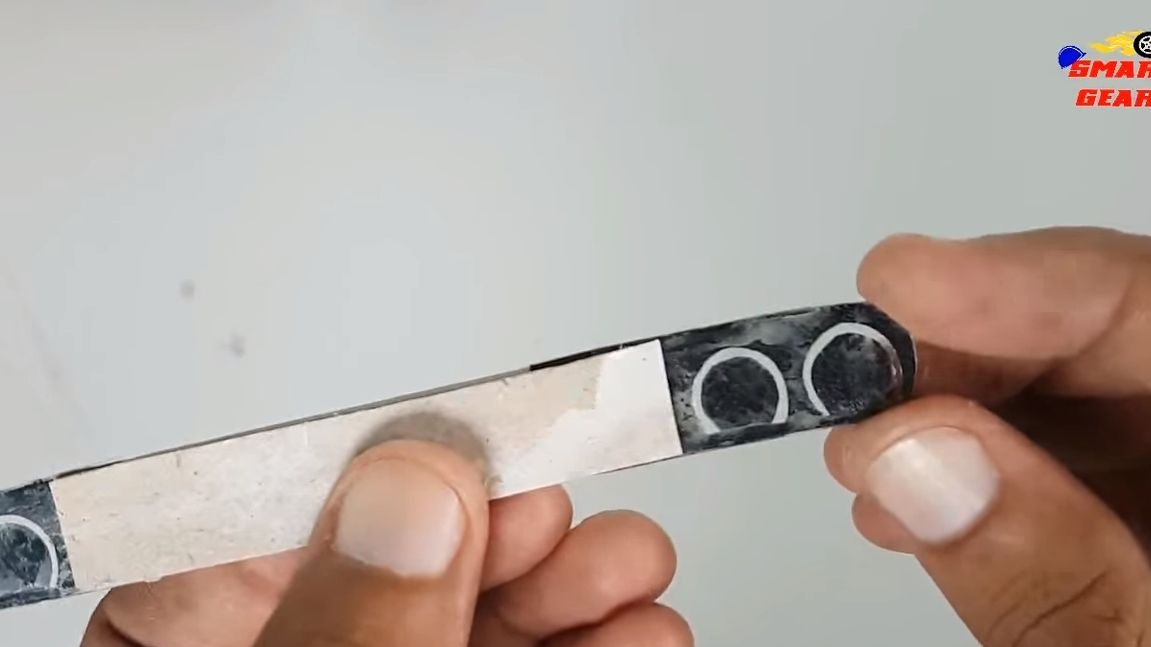
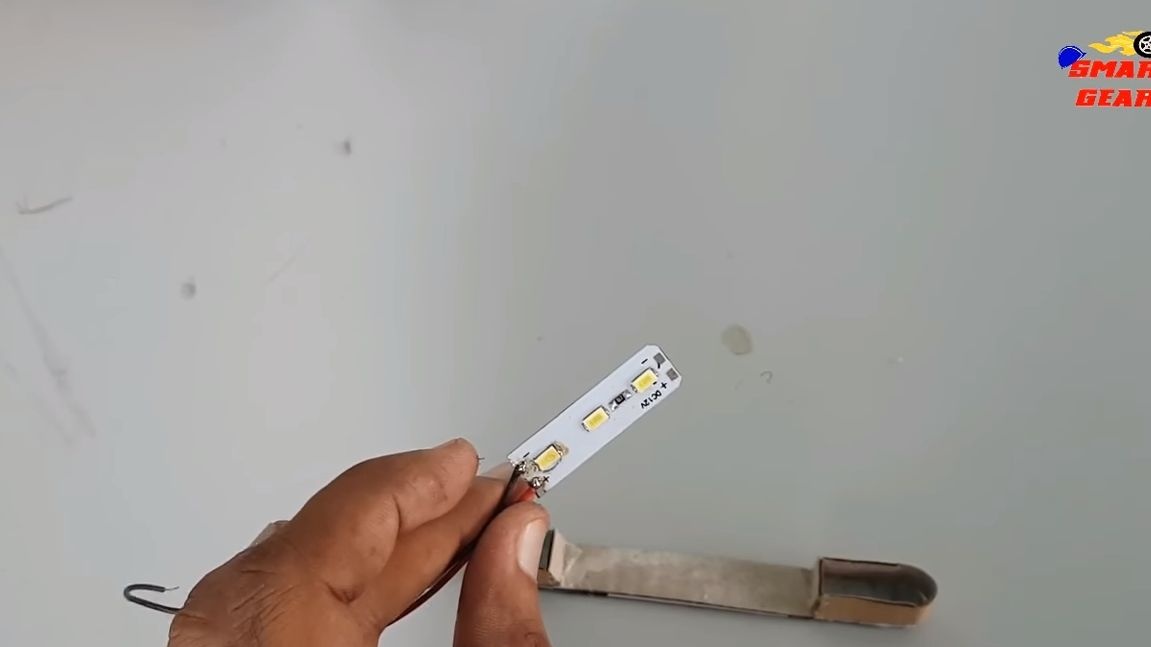
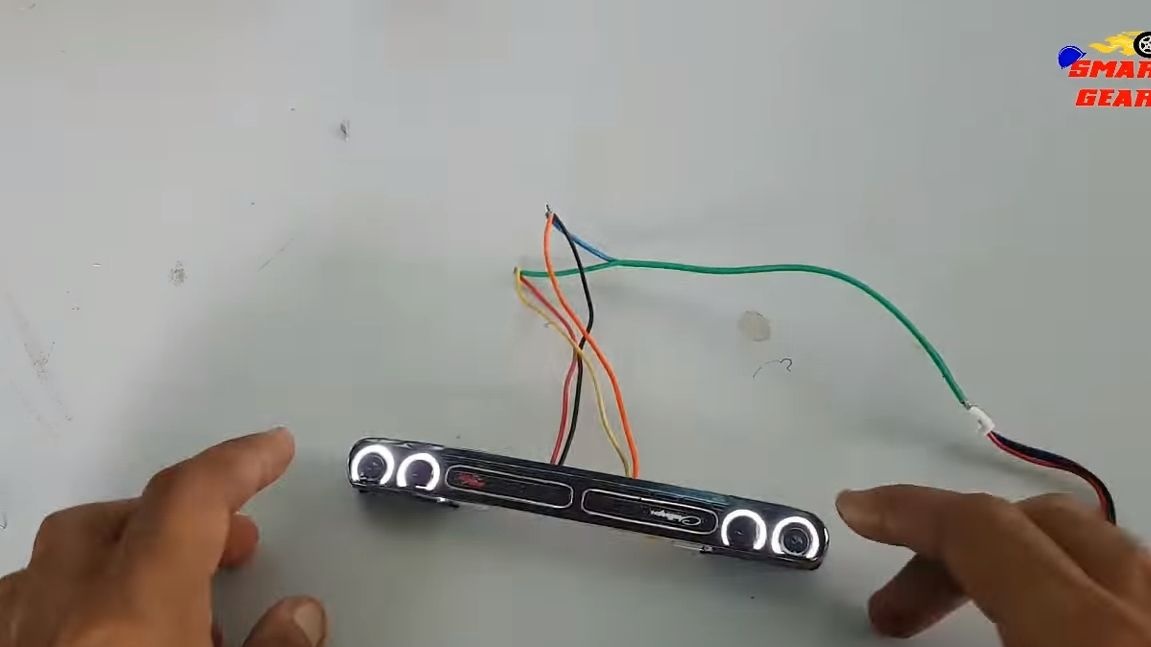
Make taillights, cardboard is the base. As for coloring, labels, badges and other things, then you can print the necessary details on the printer, and then cut and paste. The main nuance here is the glass, for their manufacture plastic will be needed in a suitable color. Cut the glass and paste them into place. From above we install a “box” of cardboard for attaching LEDs. The author's LEDs are located on the board, a resistor is already installed right there. We paste the boards into place and try to turn it on.
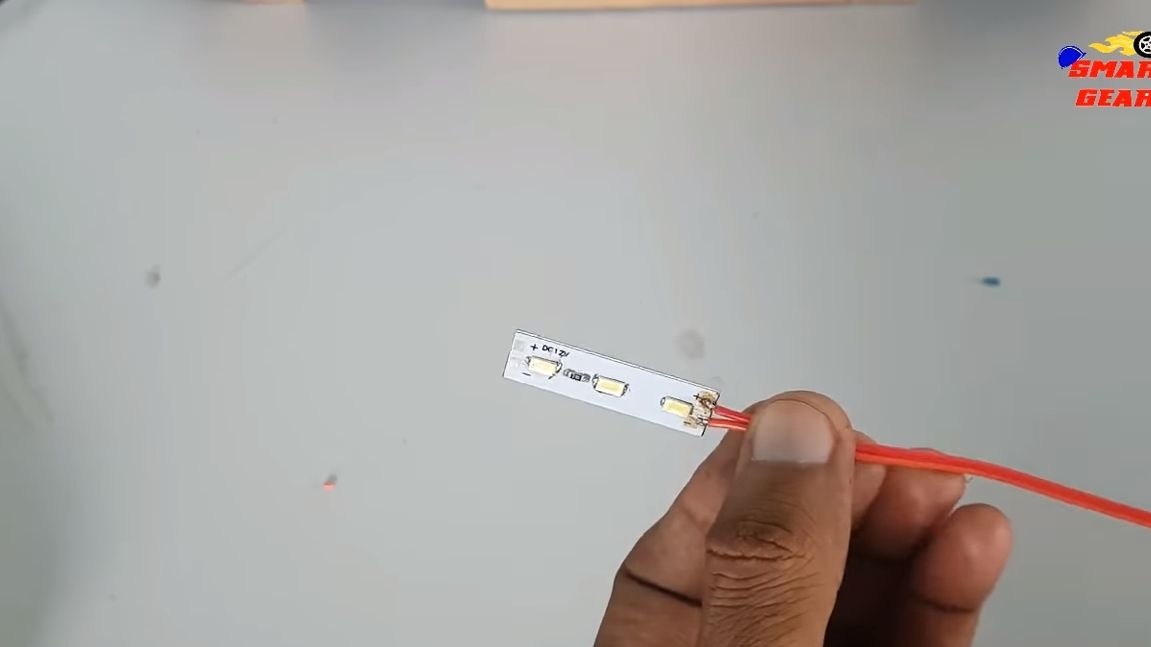
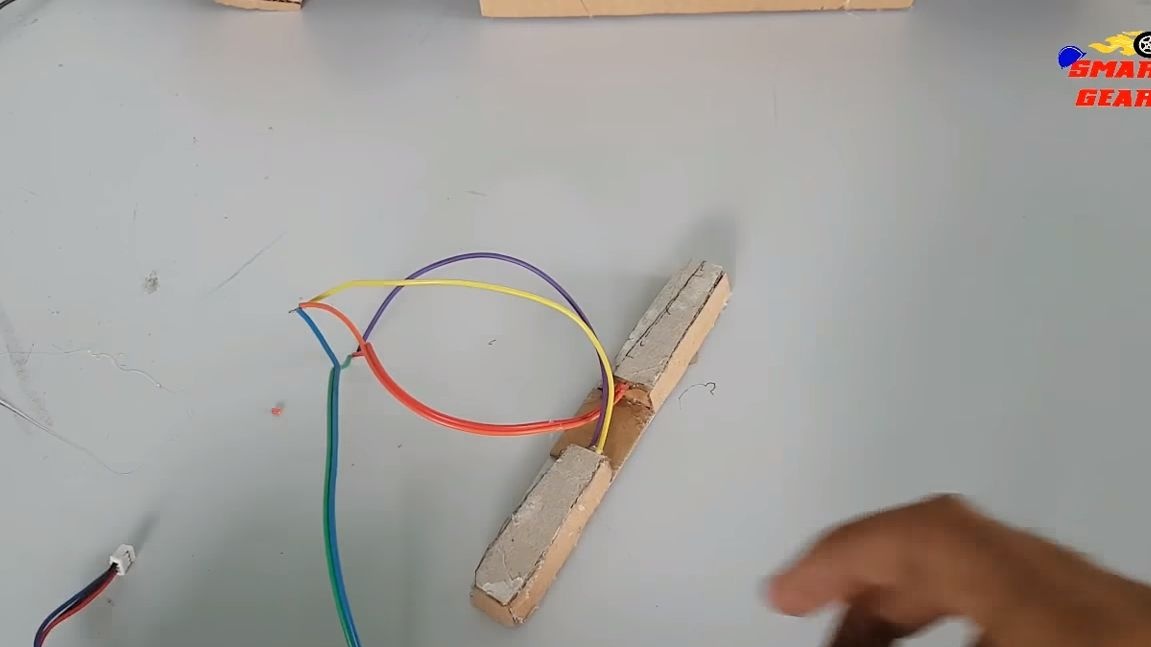
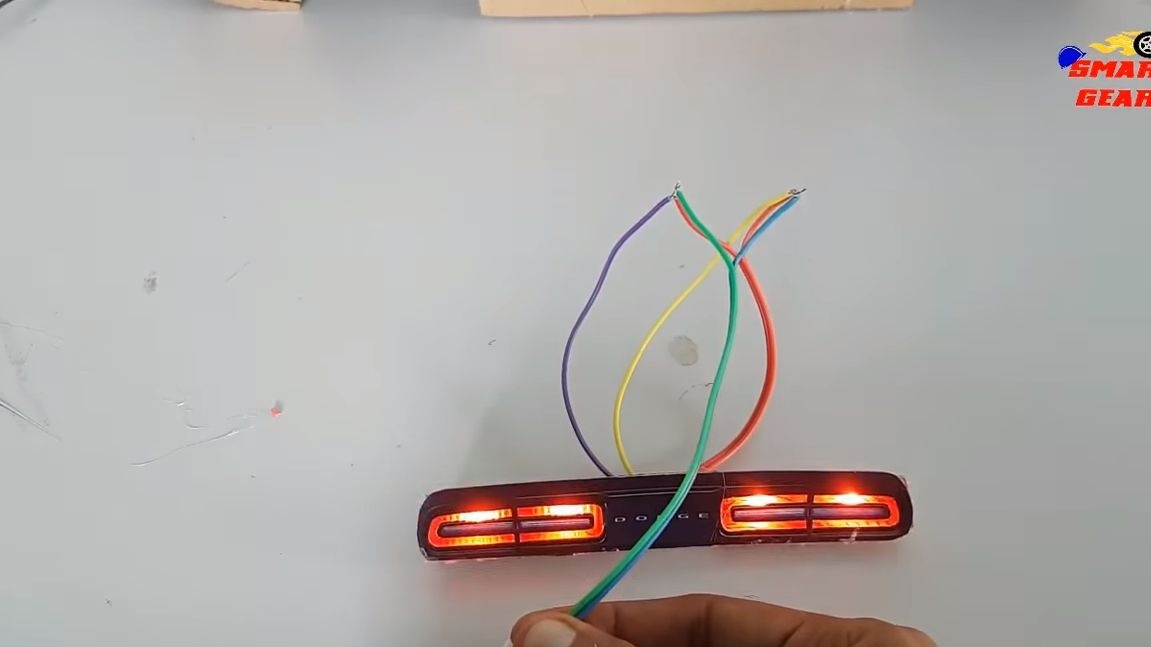
Now you can make the headlights. They are made according to a similar principle. To form oval details, the author used a thin steel wire, paper clips are suitable for this. We install the LEDs in their places and check.
At the end, install the rear and front panels in their places in the body. LEDs can be connected to the same connectors as the motors so that they turn on when the machine is moving. Well, or you can use a separate output, if any, so you can separately turn on the lights when required.
Seventh step. Body finishing touches
We glue the bottom to the body, not forgetting to connect the LEDs. We fix everything securely, not sparing hot glue.
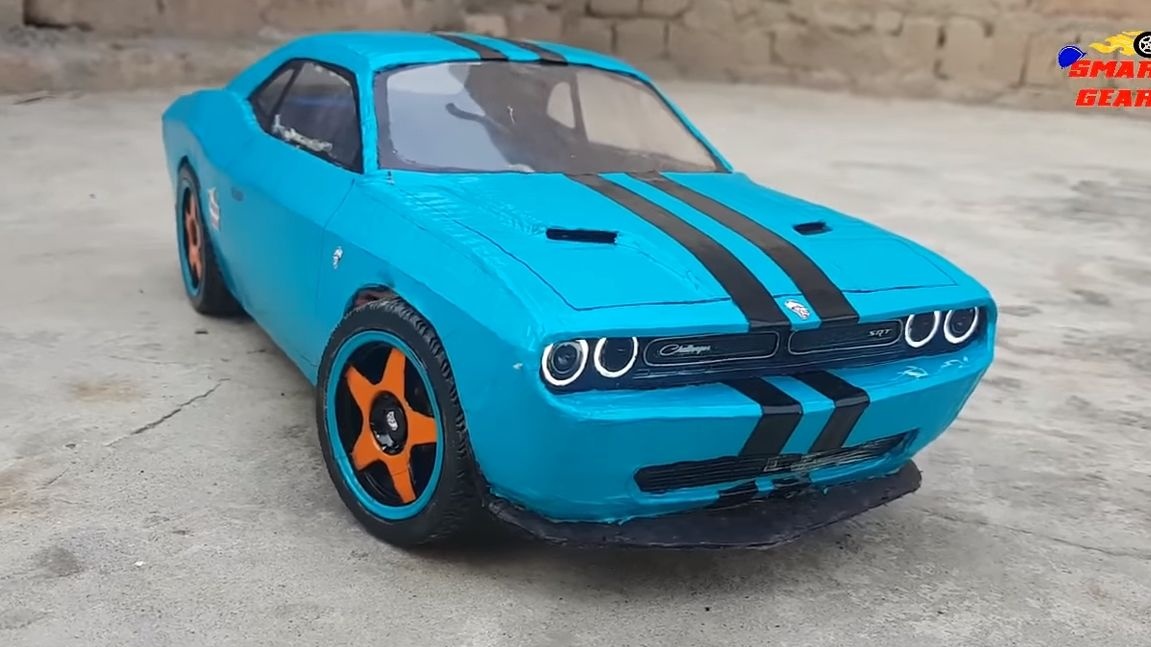
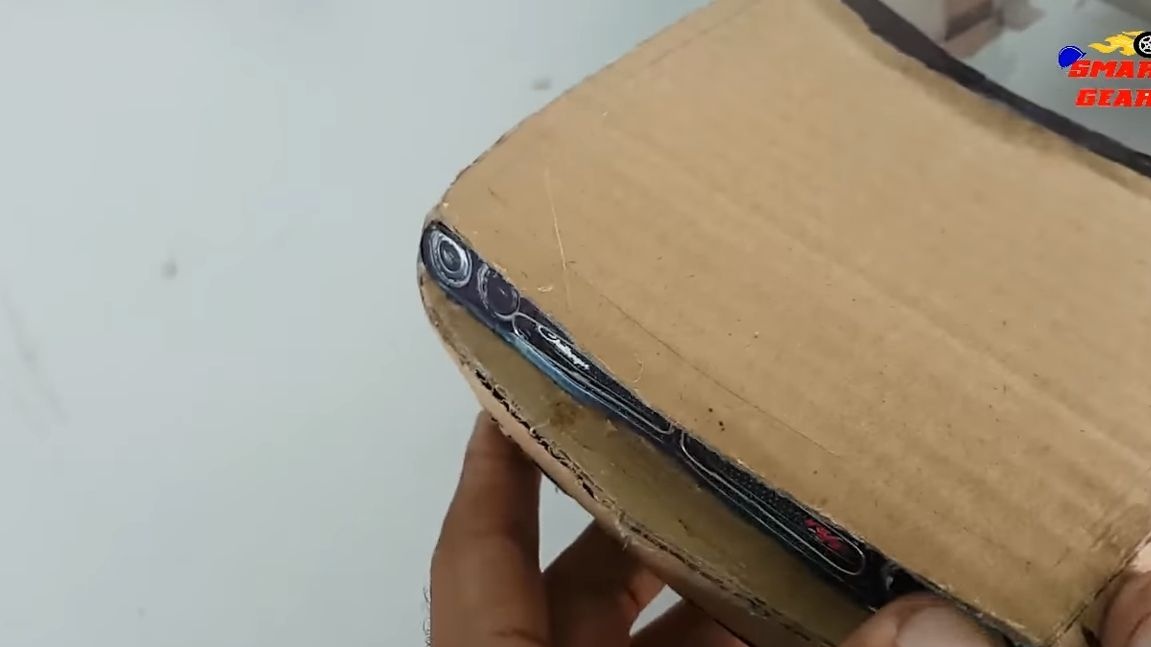
It remains to install an air intake on the hood, this will make your car more aggressive, and it should be a real Dodge! On this assembly of the machine you should already be completed, there will only be finishing work.Already now you can try your brainchild in action!
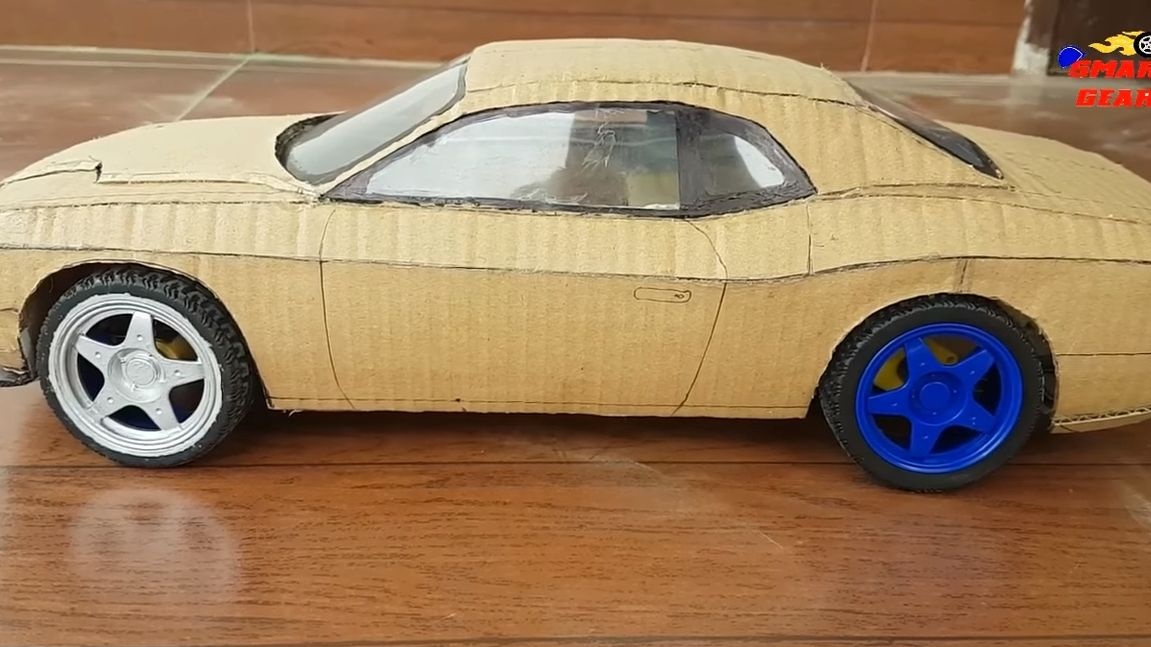
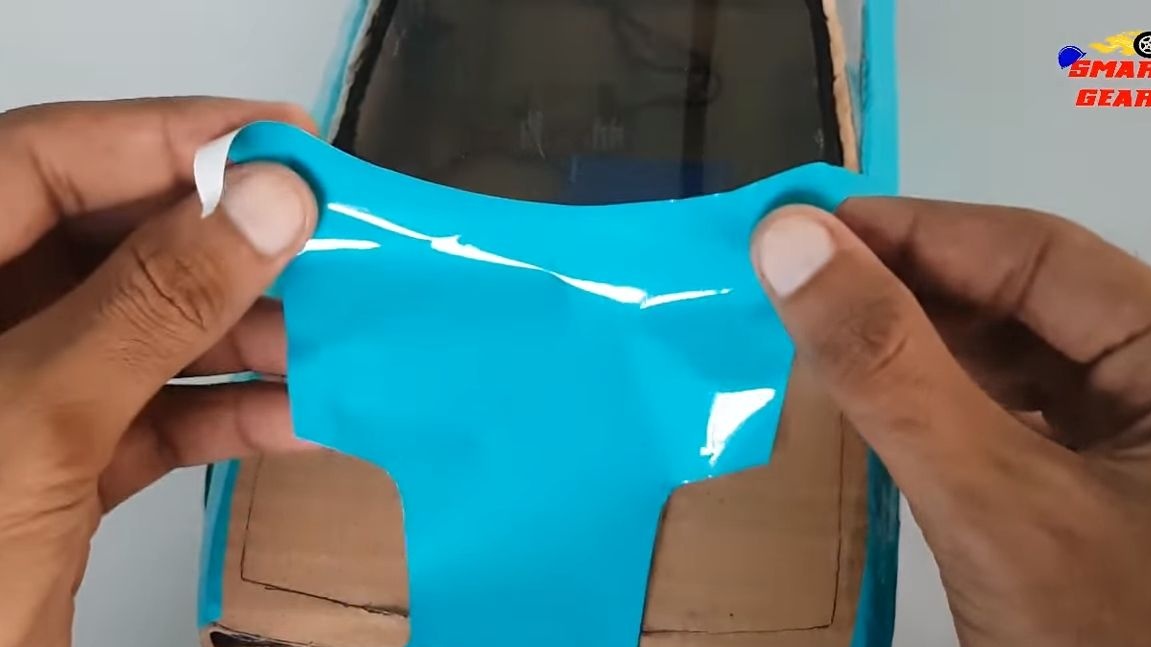
Step Eight. Body trim
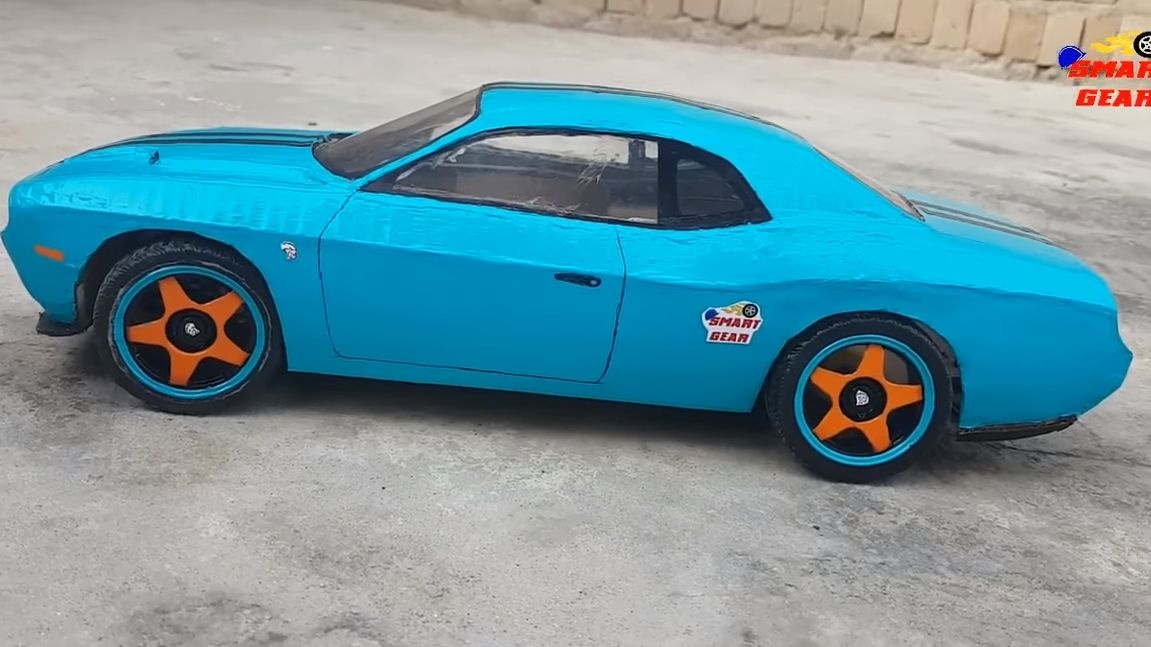
The best way to finish a cardboard body is to paste it with self-adhesive tape. Thanks to this, bumps are smoothed out, a beautiful even coating is obtained, and the body is additionally strengthened. Also, the film will protect the body if water accidentally gets on it. We cut the necessary blanks and glue the body, the author decided to choose a fashionable blue color.
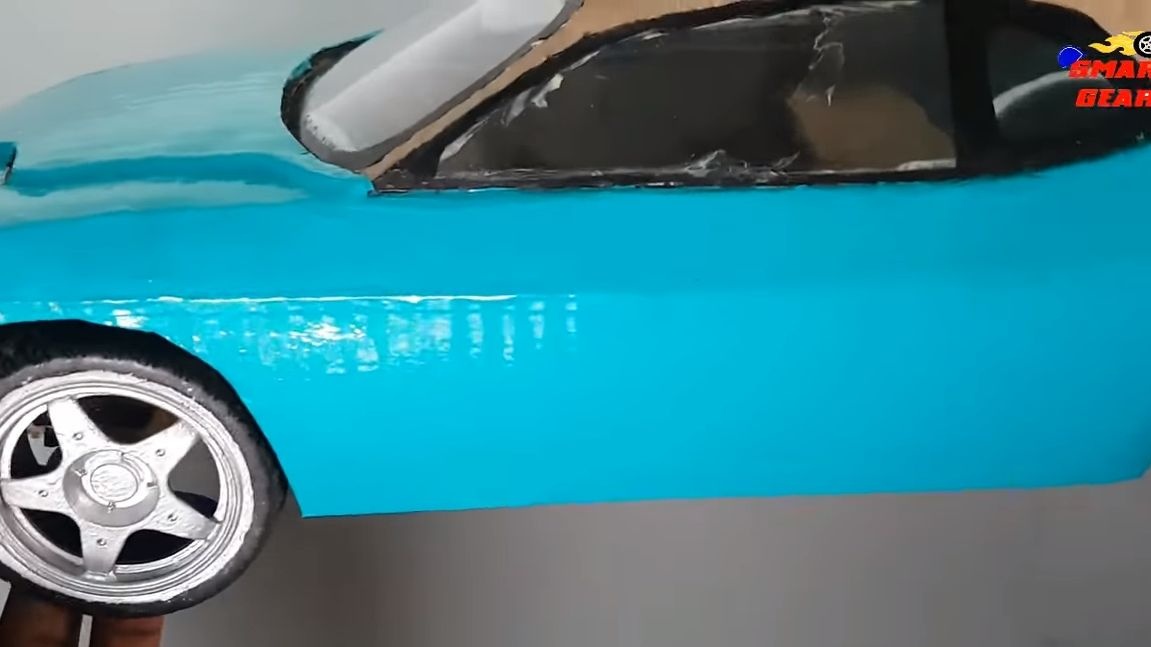
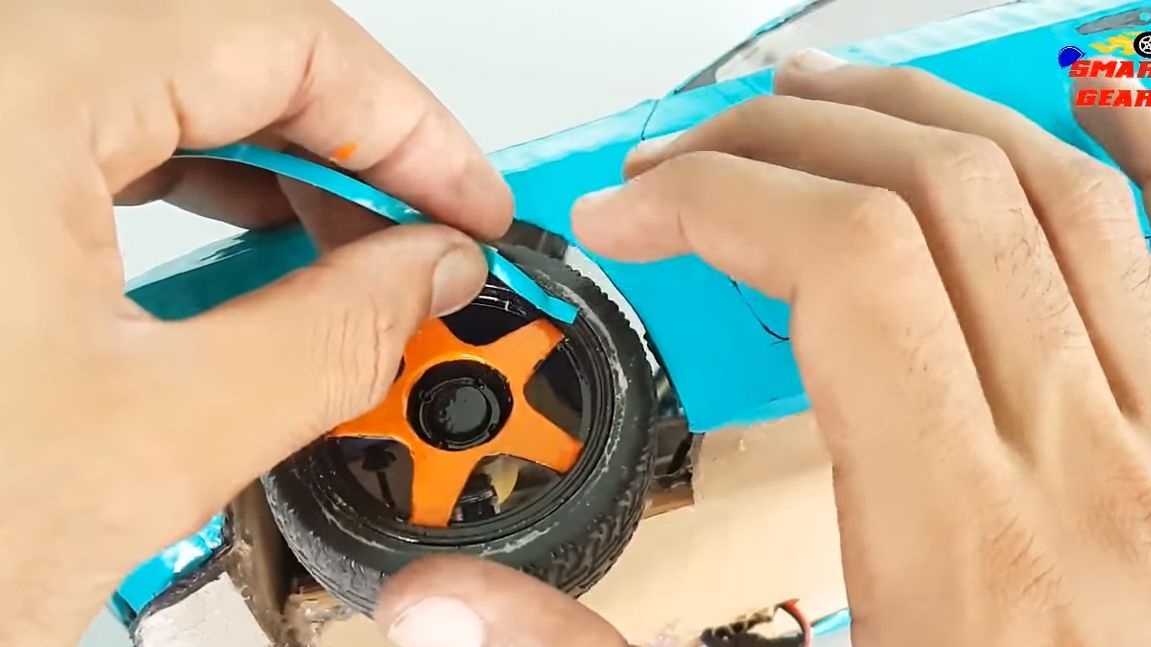
Then you have to refine the small details. The author, for example, decided to paste over the tape and wheels of the car. If desired, they can simply be painted, it will also look good. Since we make a sports car, traditionally sports lanes should be on it. Take the black tape, cut out the strips and glue it. Touch up the remaining parts with paint or a marker.
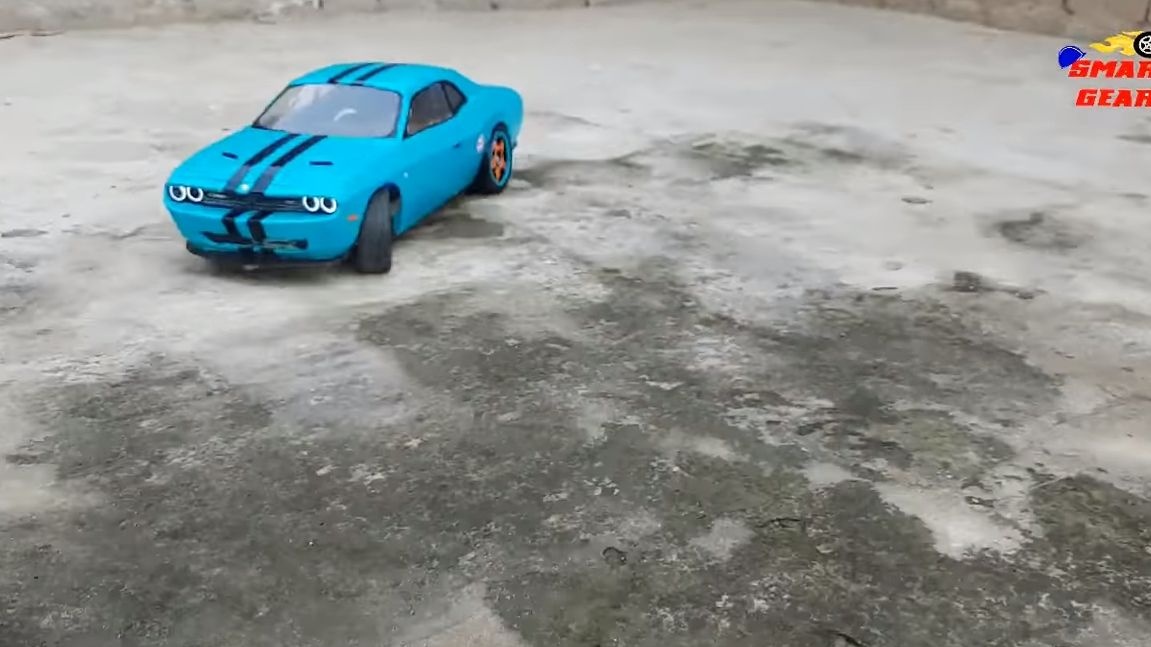
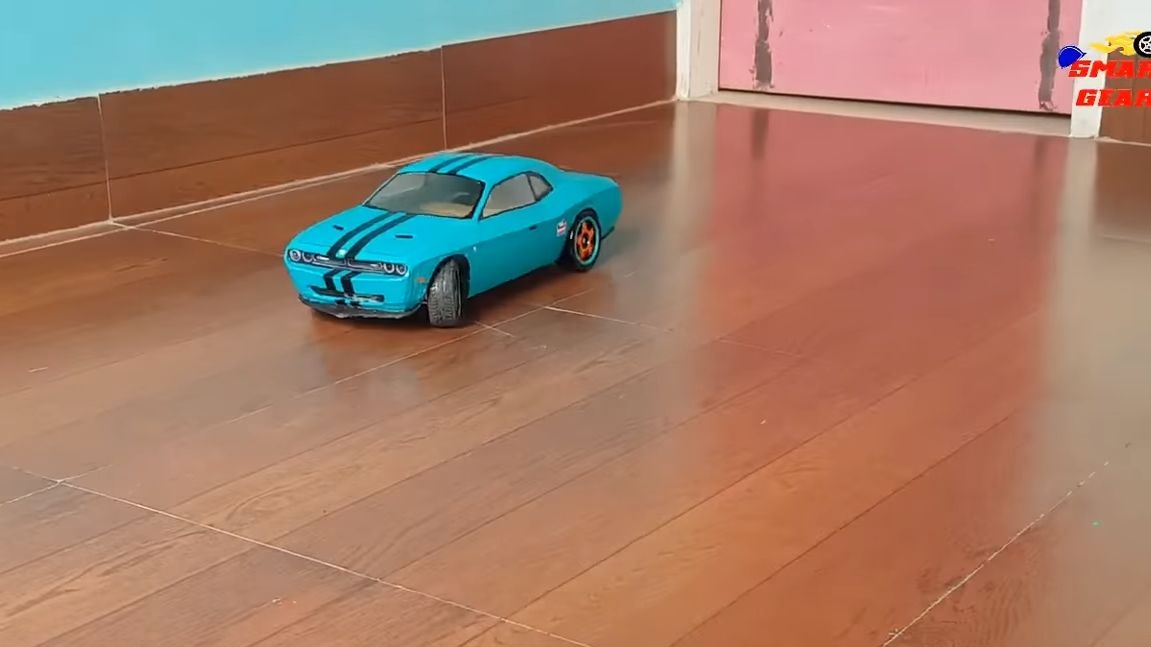
That's all, the machine is ready for testing! In fact, she showed herself excellently. The machine turned out frisky, effective and powerful. That's all, good luck and inspiration for new homemade!