

Hello everybody! For this homemade it took a couple of hours of free time, a minimum of materials and tools. The main detail is the presence of an old, stationary blender, which, after a small alteration, has turned into a table grinder.
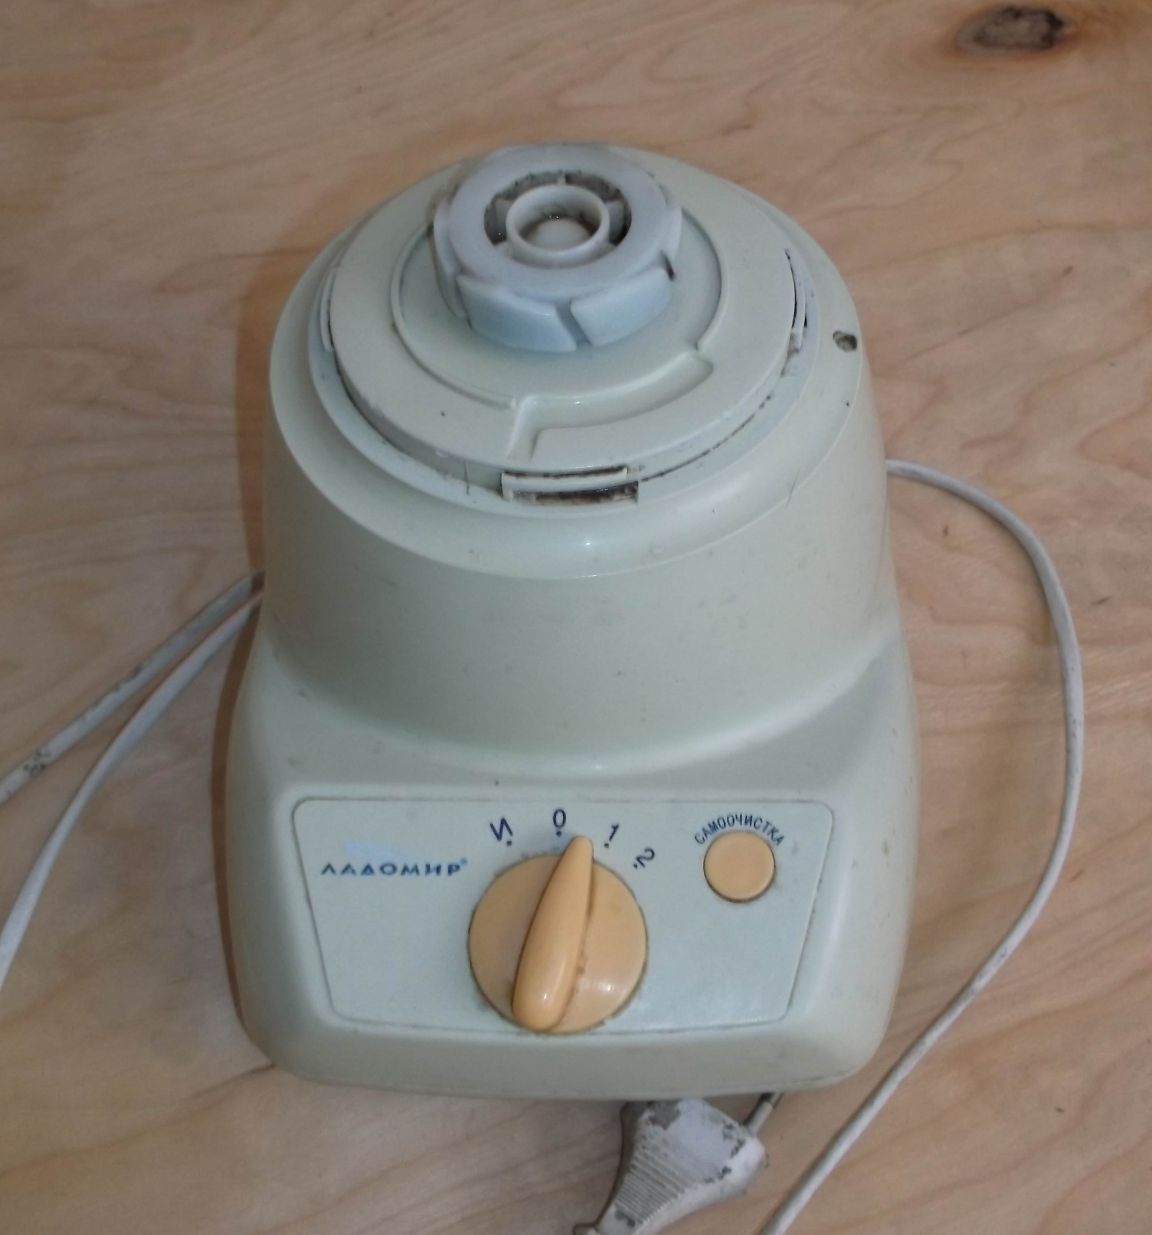
Here's a blender safely gathering dust in the barn for more than one year. The bowl has long been lost, and the motor itself is safe and sound, for this reason it avoided disposal. Lying idle is not the case, for this reason it was decided to benefit from this unit.
Required minimum materials and tools:
The stationary blender which is not a pity
2kW dimmer with Aliexpress
Slice of plywood 6 mm
4 metal screws 3.5 * 25 mm
3 bolts with a head in the pot 4 * 20 mm and nuts
Wood crowns 89 mm and 127 mm
Drill
Drill
2kW dimmer with Aliexpress
Slice of plywood 6 mm
4 metal screws 3.5 * 25 mm
3 bolts with a head in the pot 4 * 20 mm and nuts
Wood crowns 89 mm and 127 mm
Drill
Drill

With the help of wood crowns, 89 mm and 127 mm, the dimensions are not critical and may vary.
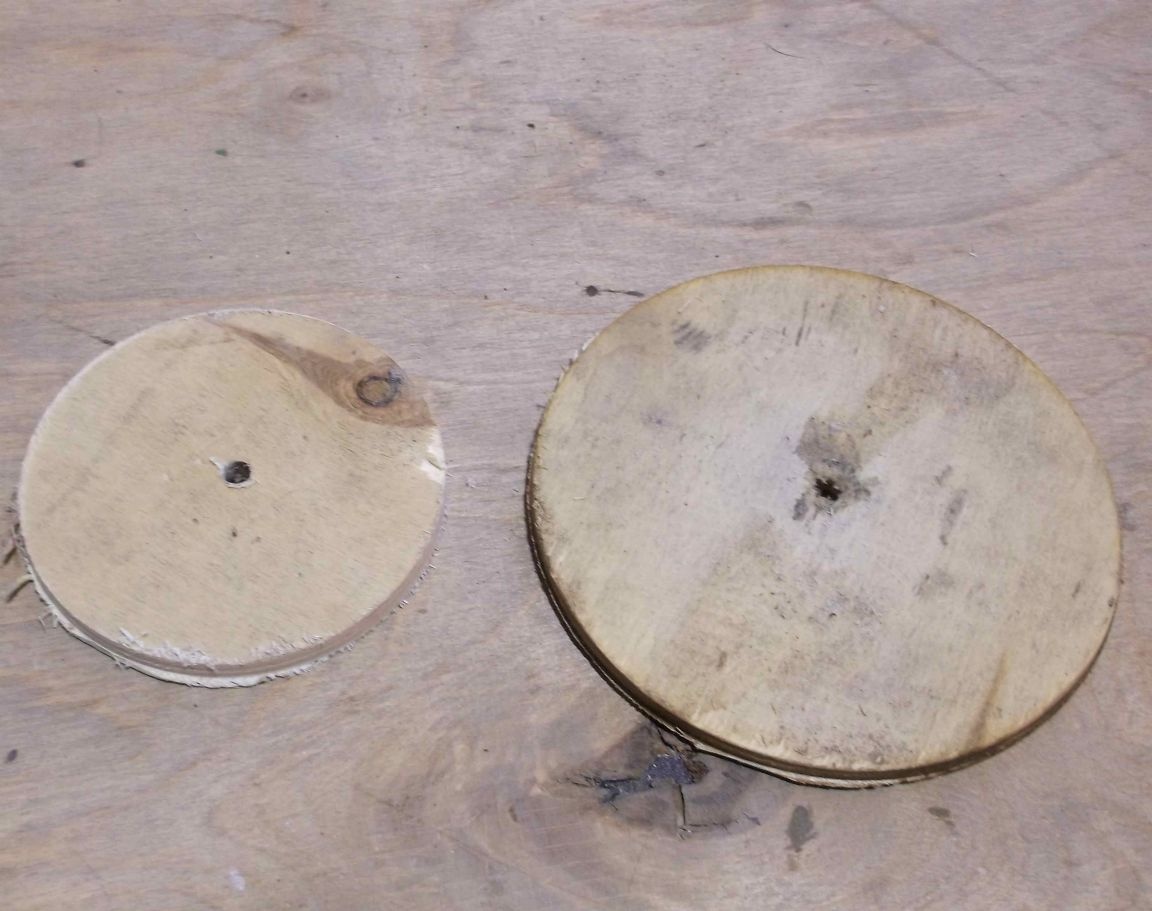
I sawed two disks from 6 mm plywood. This thickness of plywood provides the necessary rigidity and the possibility of drilling for fastening with bolts in the pot.
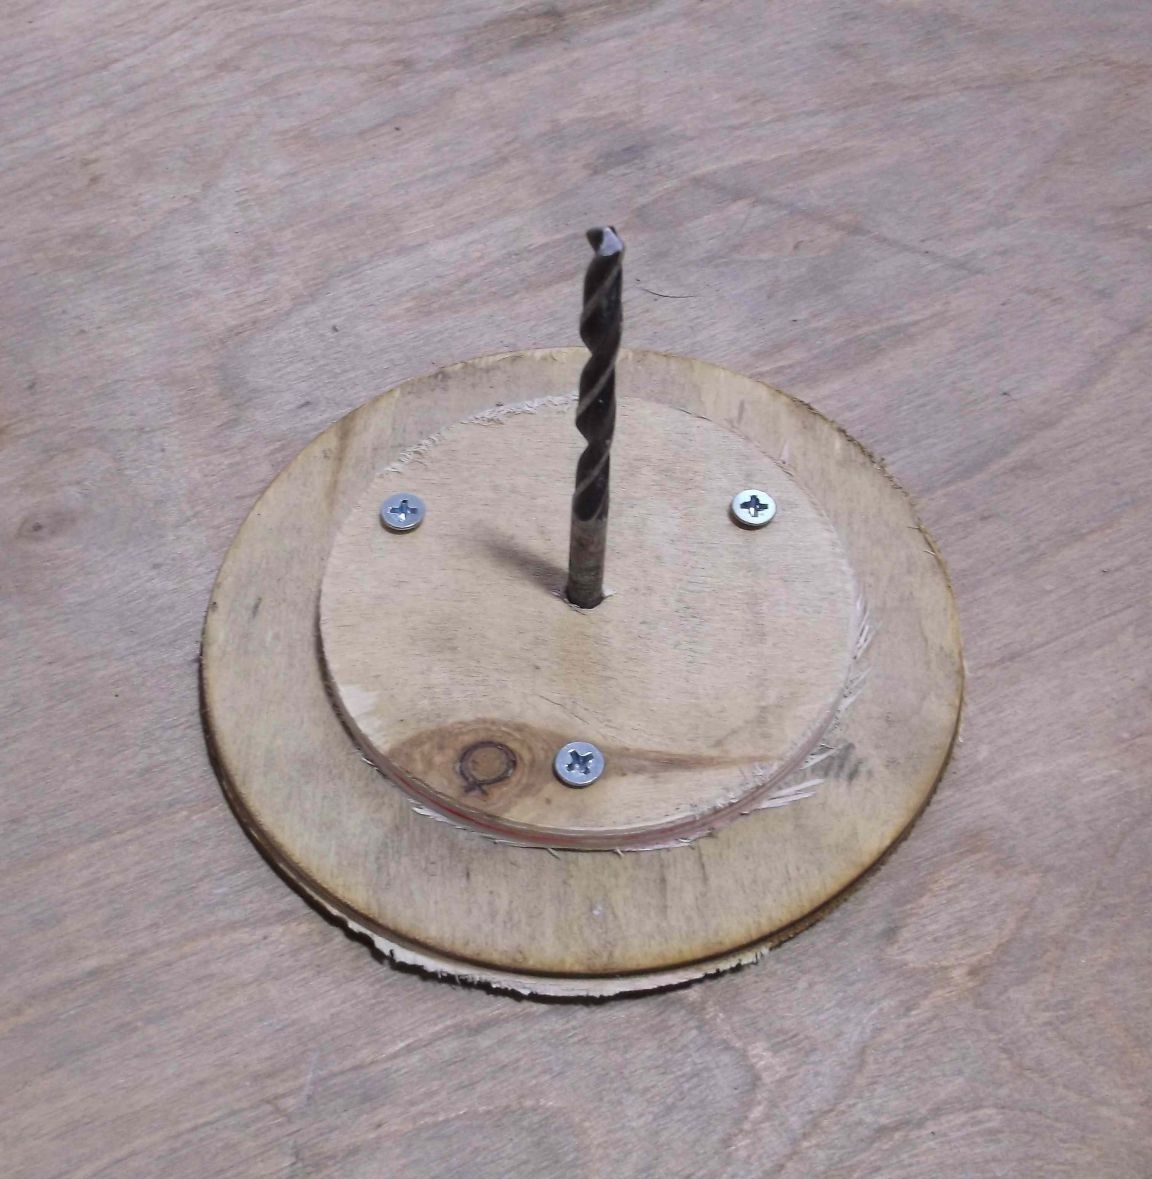
Both discs are aligned in the center using a drill of suitable diameter. Marked and connected both discs with three bolts.
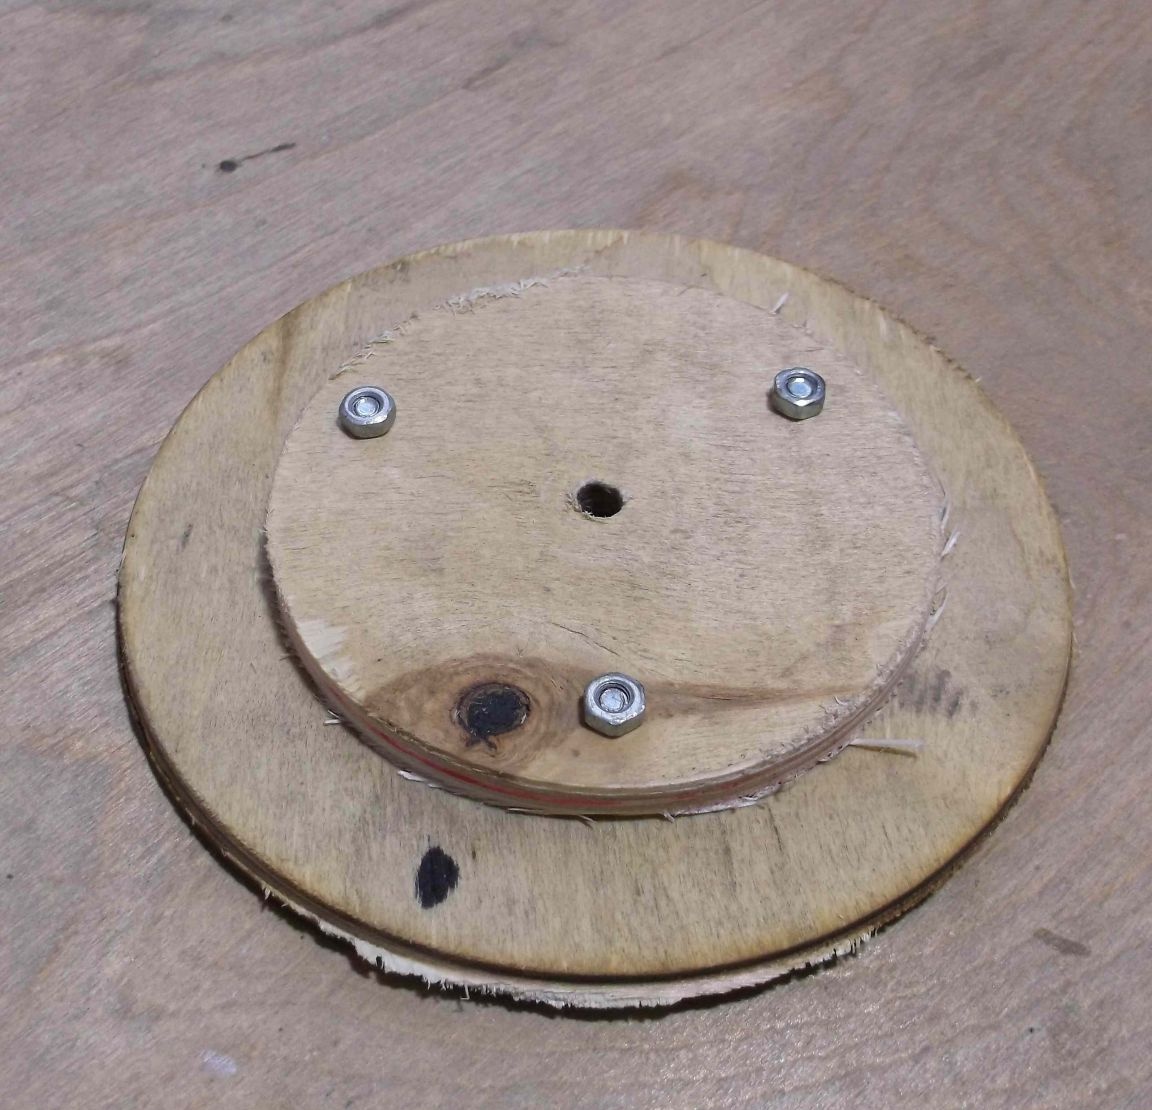

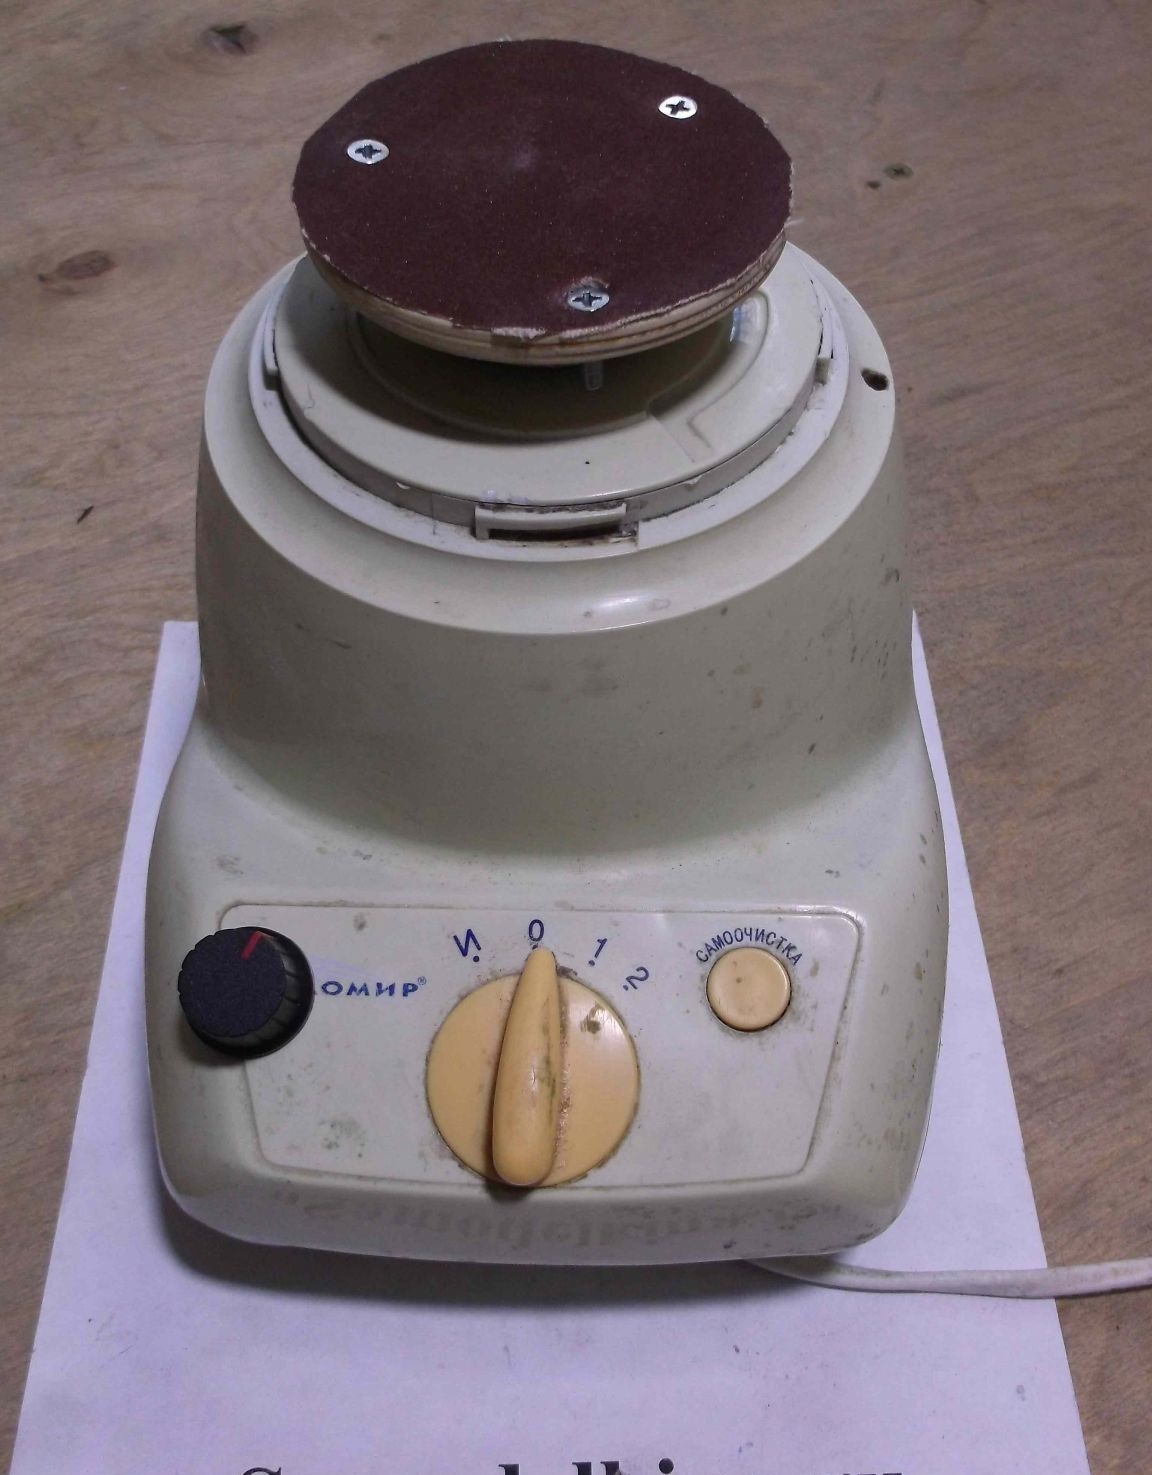
As a result, it turned out as in the photo. All connections are made in secret, there should not be any protruding parts on the plane of the disks.
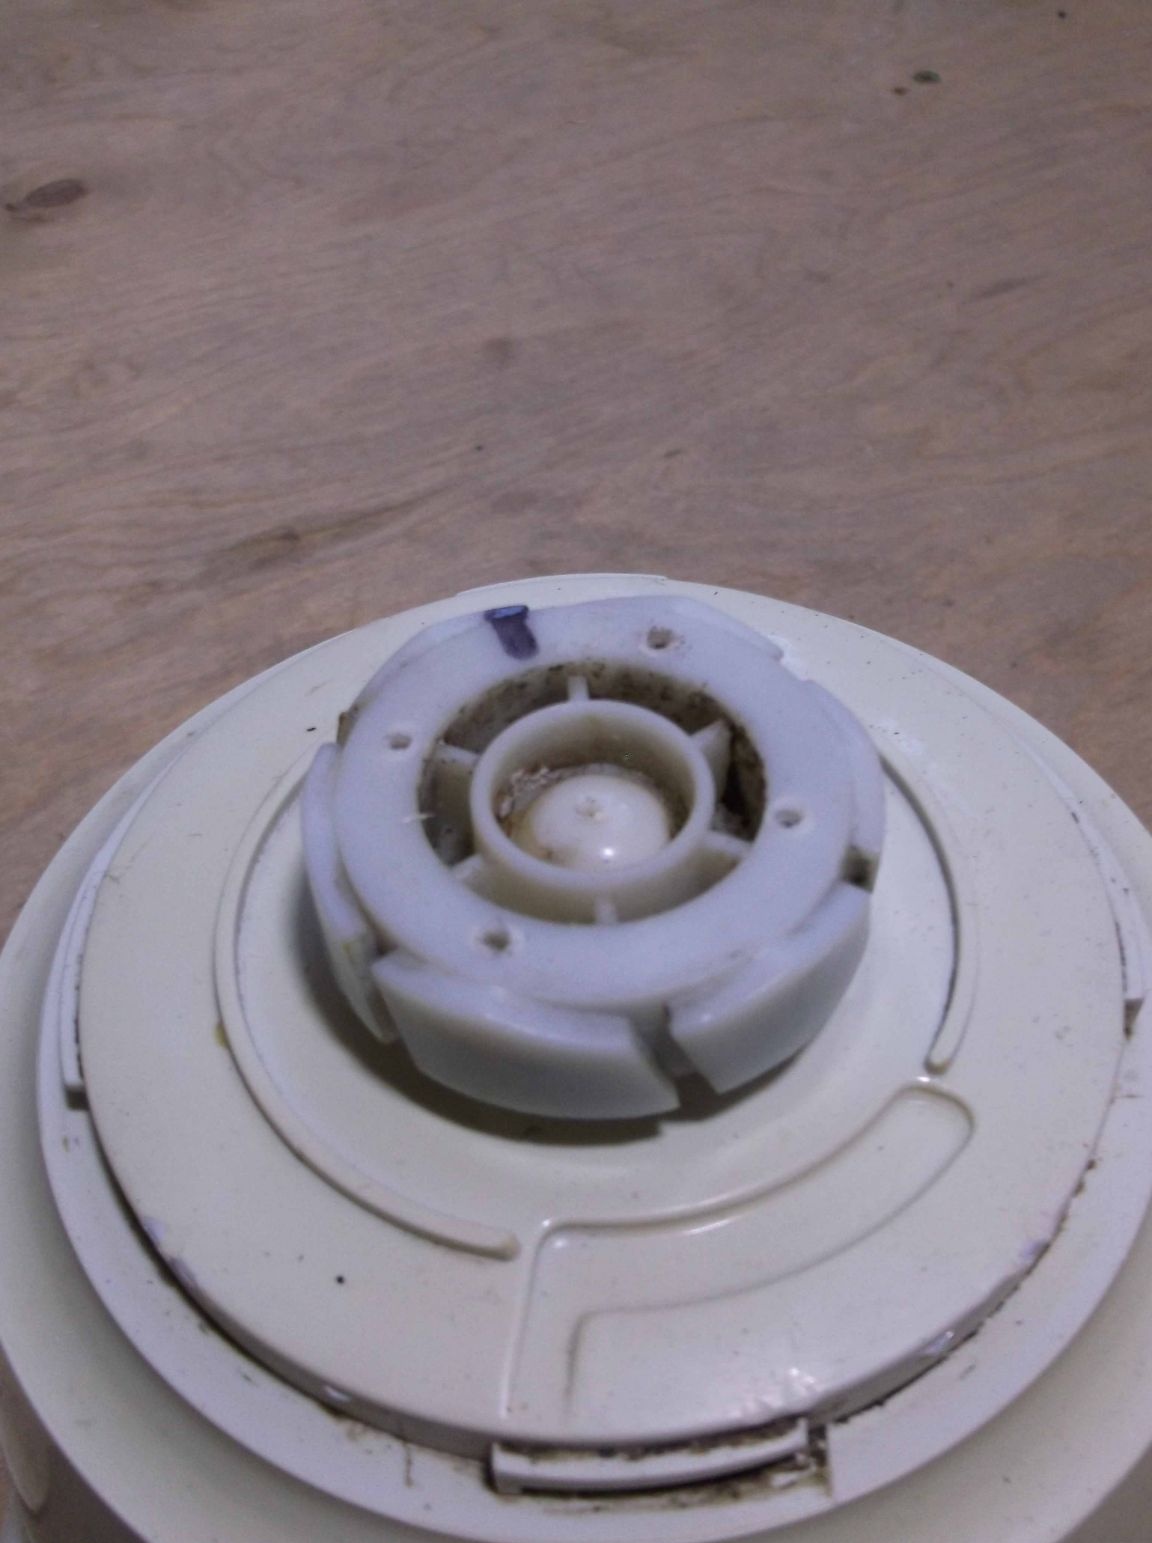
The protruding rotating part of the blender is made of plastic, and a disc made of plywood of a smaller diameter was fixed to it using four self-tapping screws for metal, with preliminary drilling.
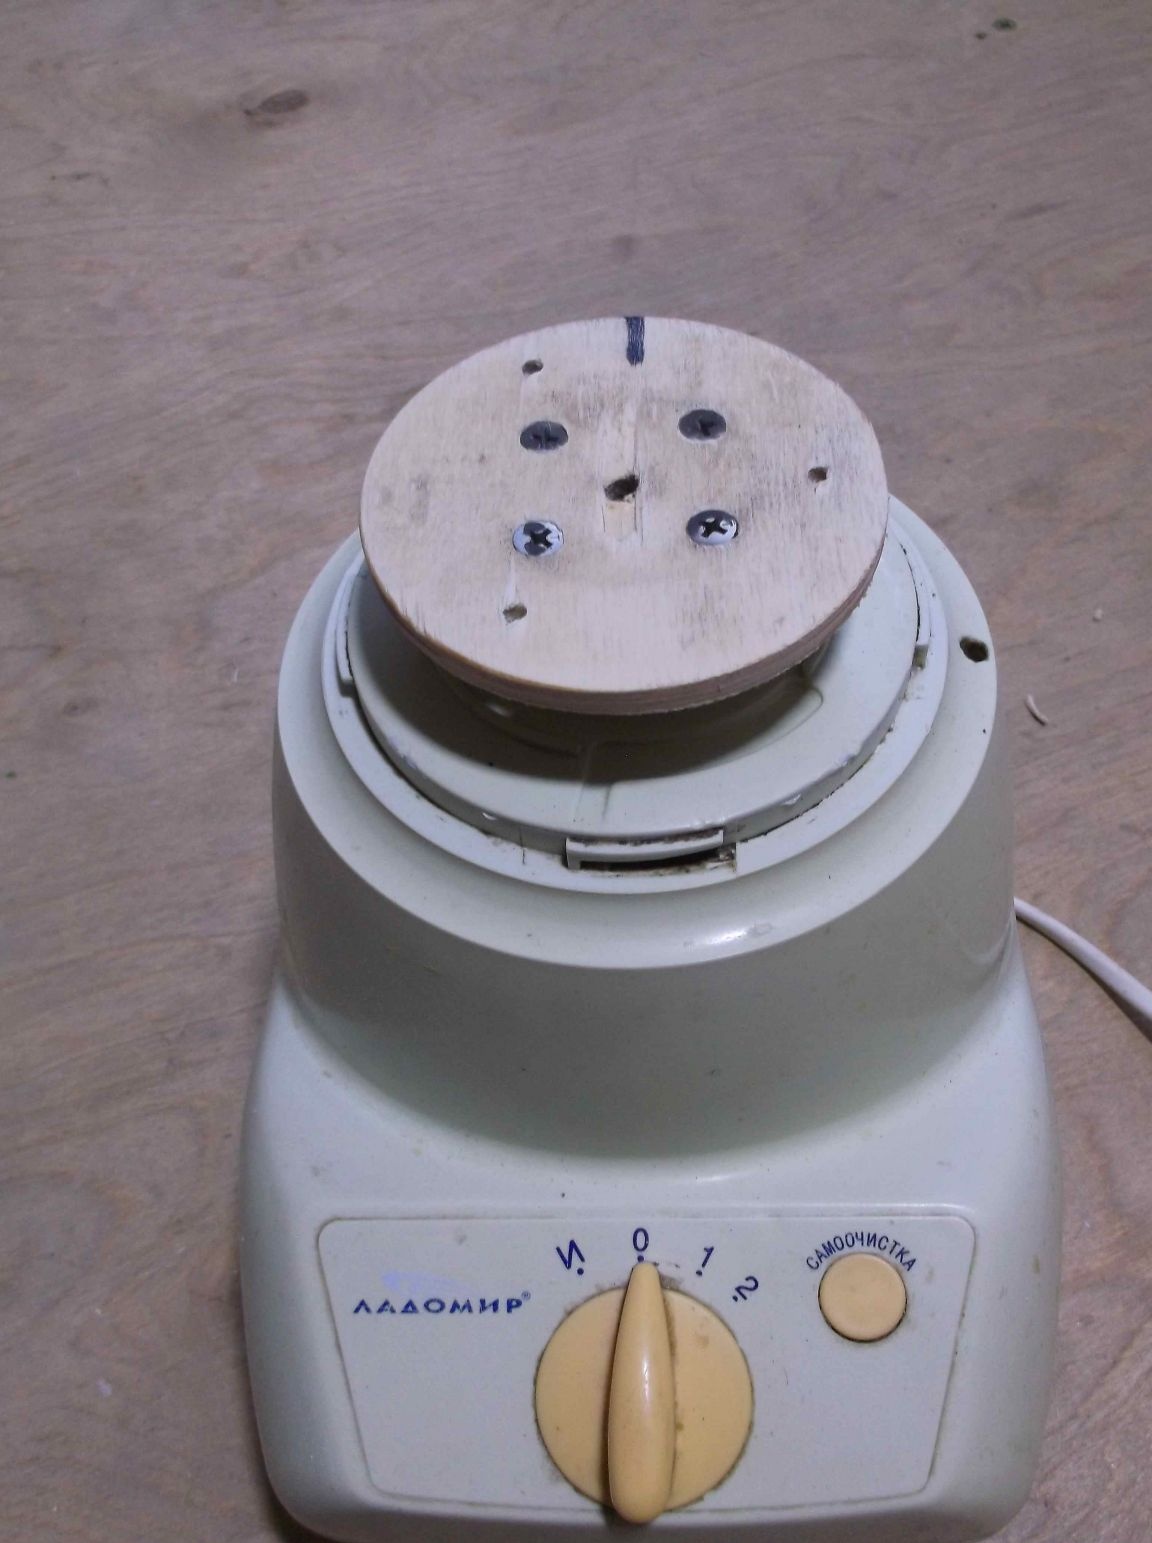
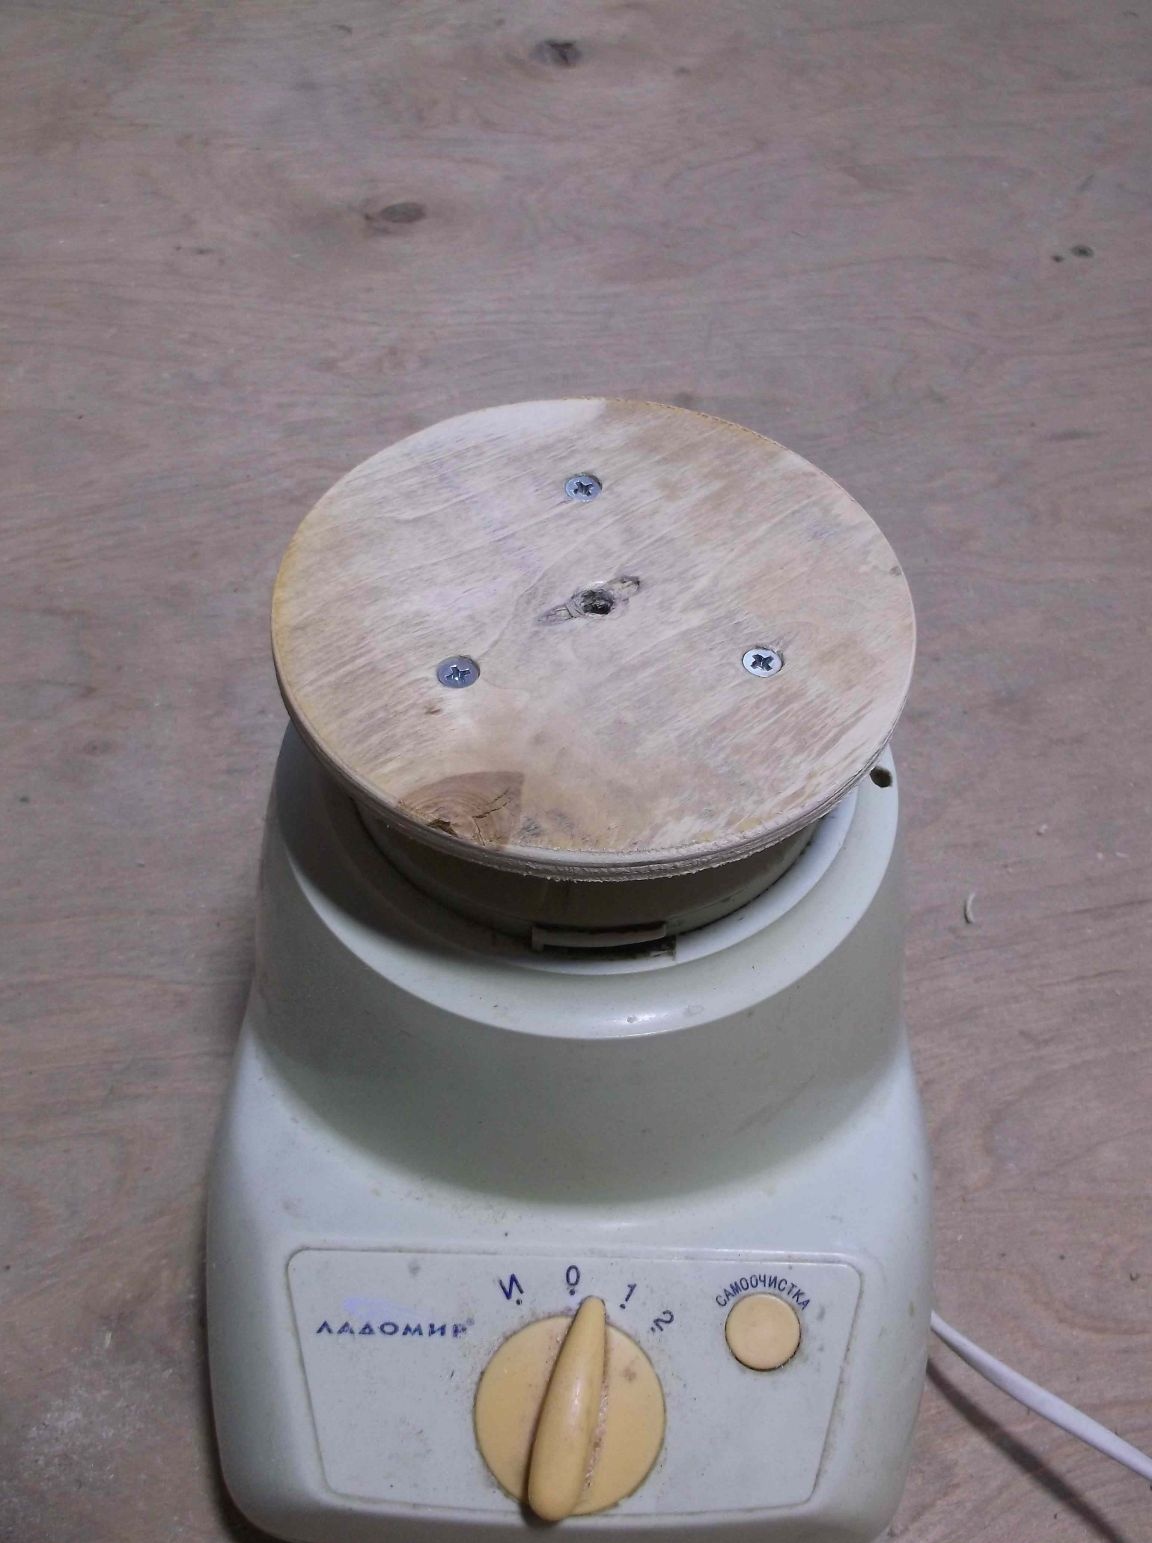
It was decided to leave the disc mounted on the blender using self-tapping screws as non-removable, since frequent loosening and twisting of the self-tapping screws will lead to a weakening of the threaded connection in the plastic. And already attach a larger diameter disk to this disk, if necessary.
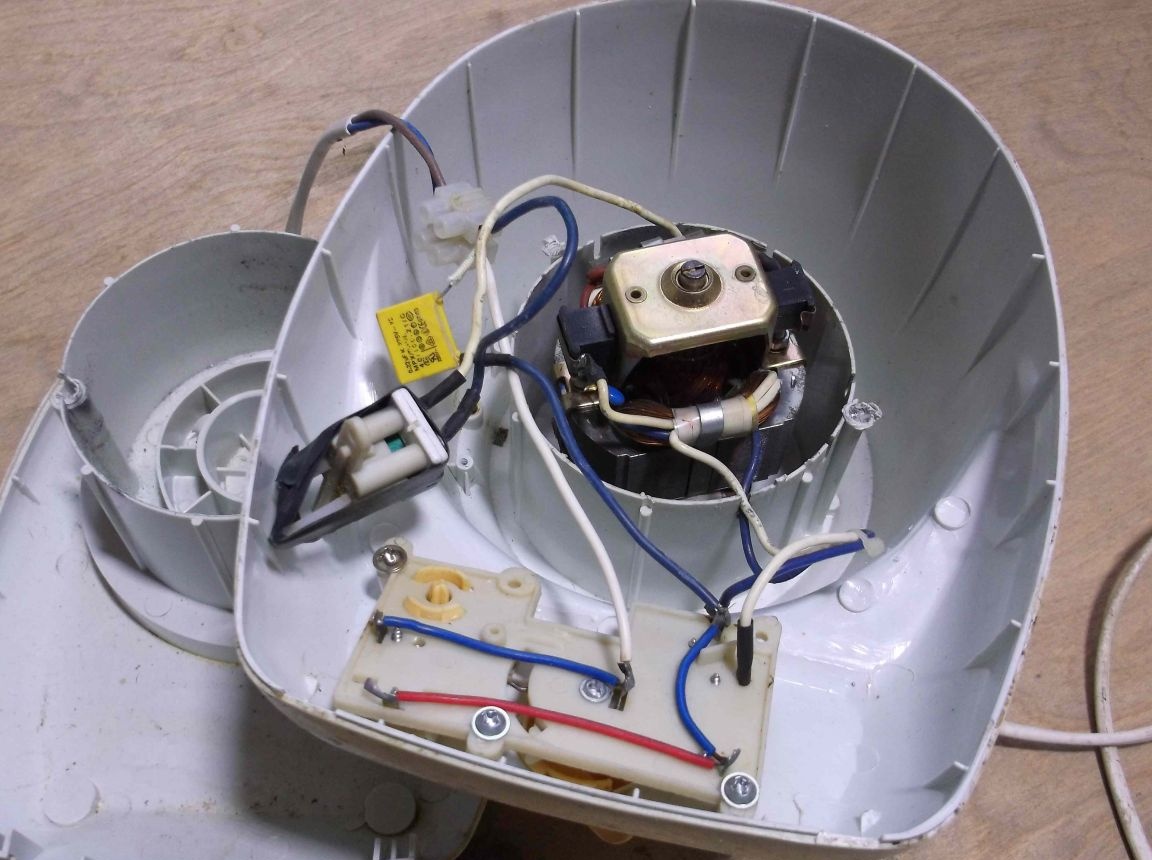
Launching this unit just doesn’t work out, since in all blenders there is protection against erroneous inclusion and in the absence of the original bowl it just does not turn on.Usually, this is a mechanical button that closes the contact when installing the bowl. You just need to disassemble the case, find this switch, and either bypass it, or, as in my case, remove the fastener and fix it with the insulated tape in the pressed state. You can turn it on, and if there is a beating of the disk with the engine turned on, slightly grind the end of the disk using a large file. This is done to balance the disk, a properly balanced disk should spin smoothly, without beating, and the body of the device should stand motionless on the table with the motor turned on.

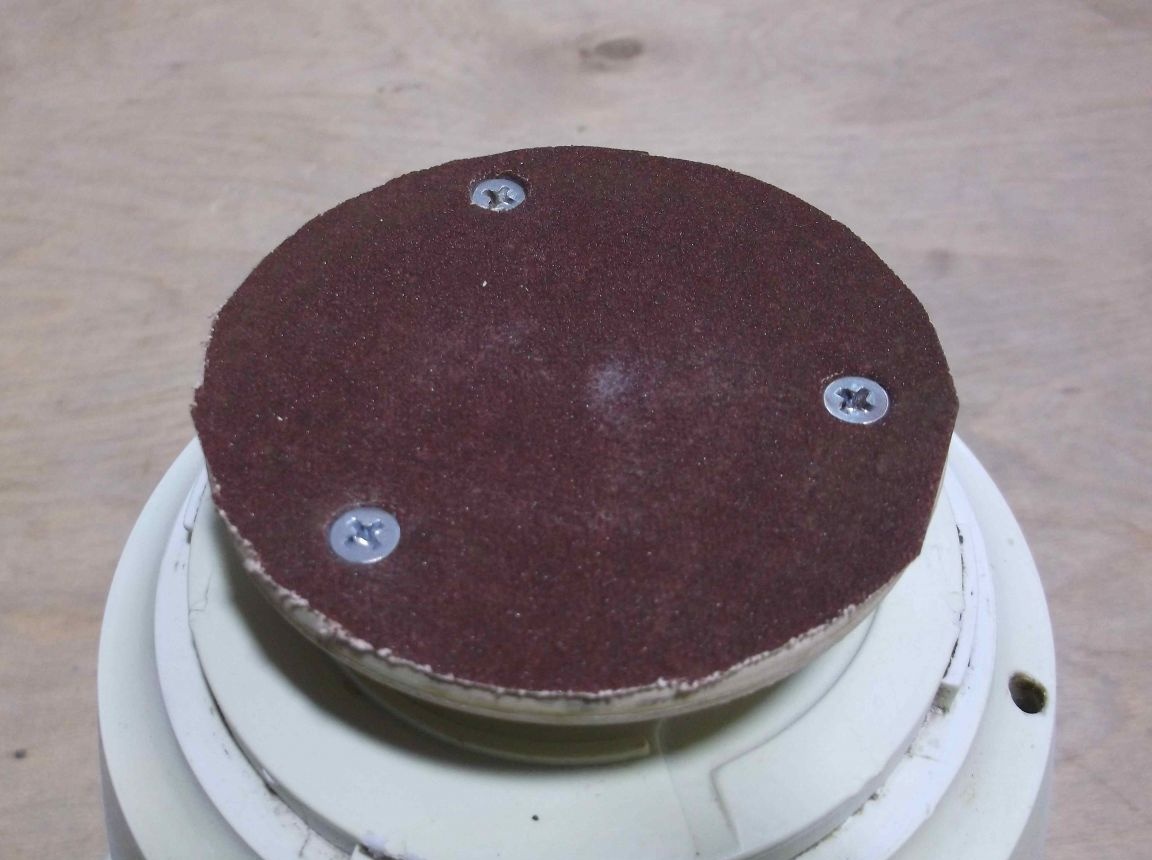
Mounting the “sandpaper” on a fabric basis is carried out using the same 4 * 20 mm bolts. The fastening holes in the abrasive are made slightly smaller than the head of the bolt, and when fixing the bolts are recessed into the pot, securely fixing the abrasive. Paper-based sandpaper can be fixed with PVA glue, and after use it is moistened and removed with a scraper or small spatula.
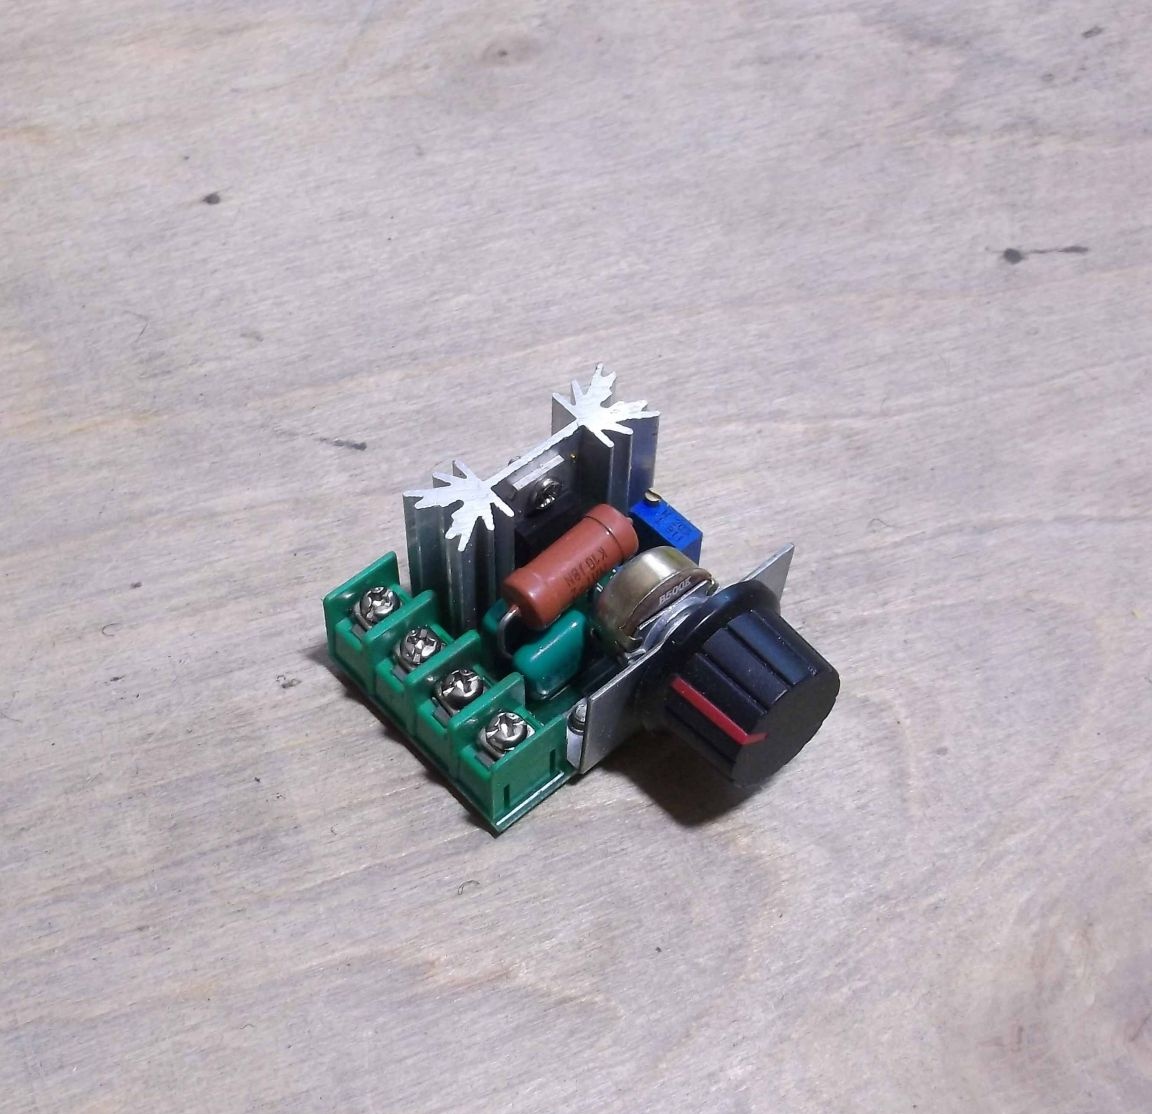
It remains only to install a dimmer, which was once successfully purchased on AliExpress. Since in this blender model a 300-watt motor produces “crazy” turns, which is not always good and with the help of a dimmer it will be possible to smoothly control the turns. According to the seller, the dimmer is designed for voltages up to 600 volts and power up to two kilowatts, this is enough for this homemade product with a margin.
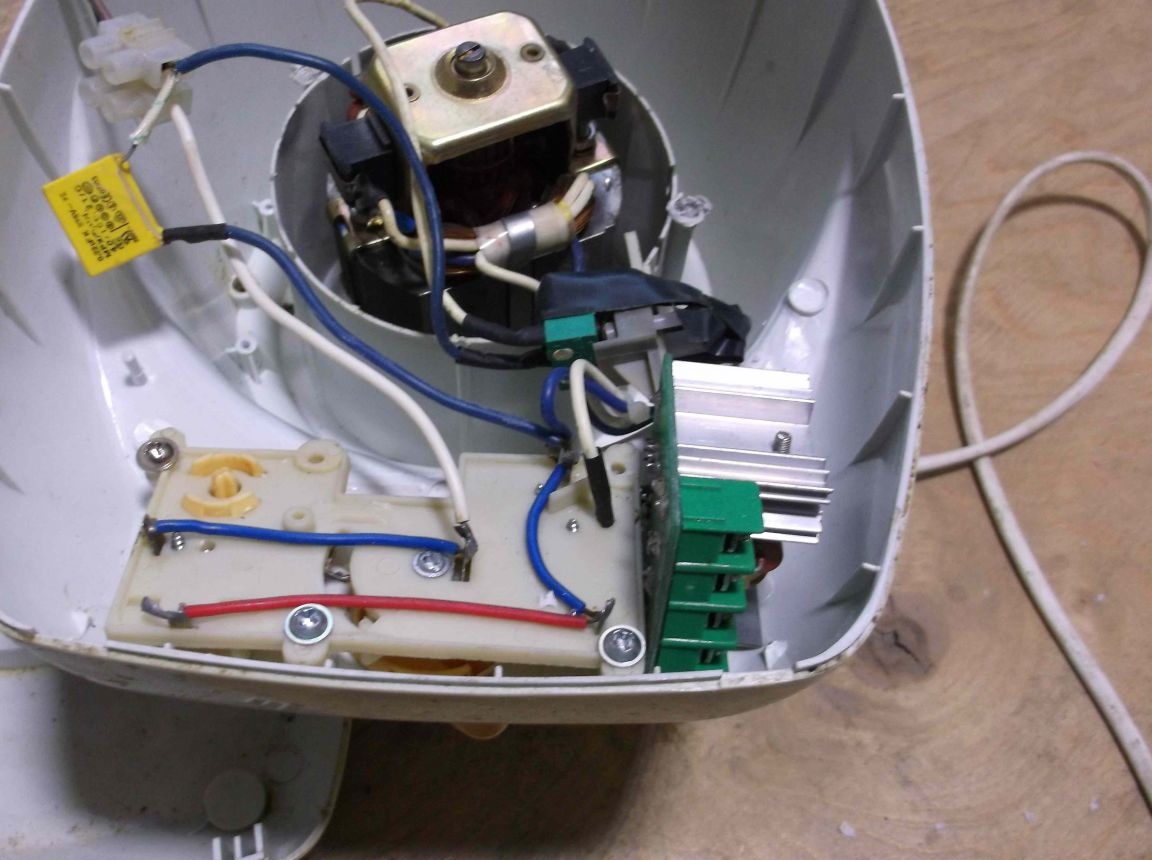
When disassembling the case on the control panel, there was just a bit of empty space for installing the dimmer board. We connect according to the inscriptions on the terminals of the board and everything can be tested.
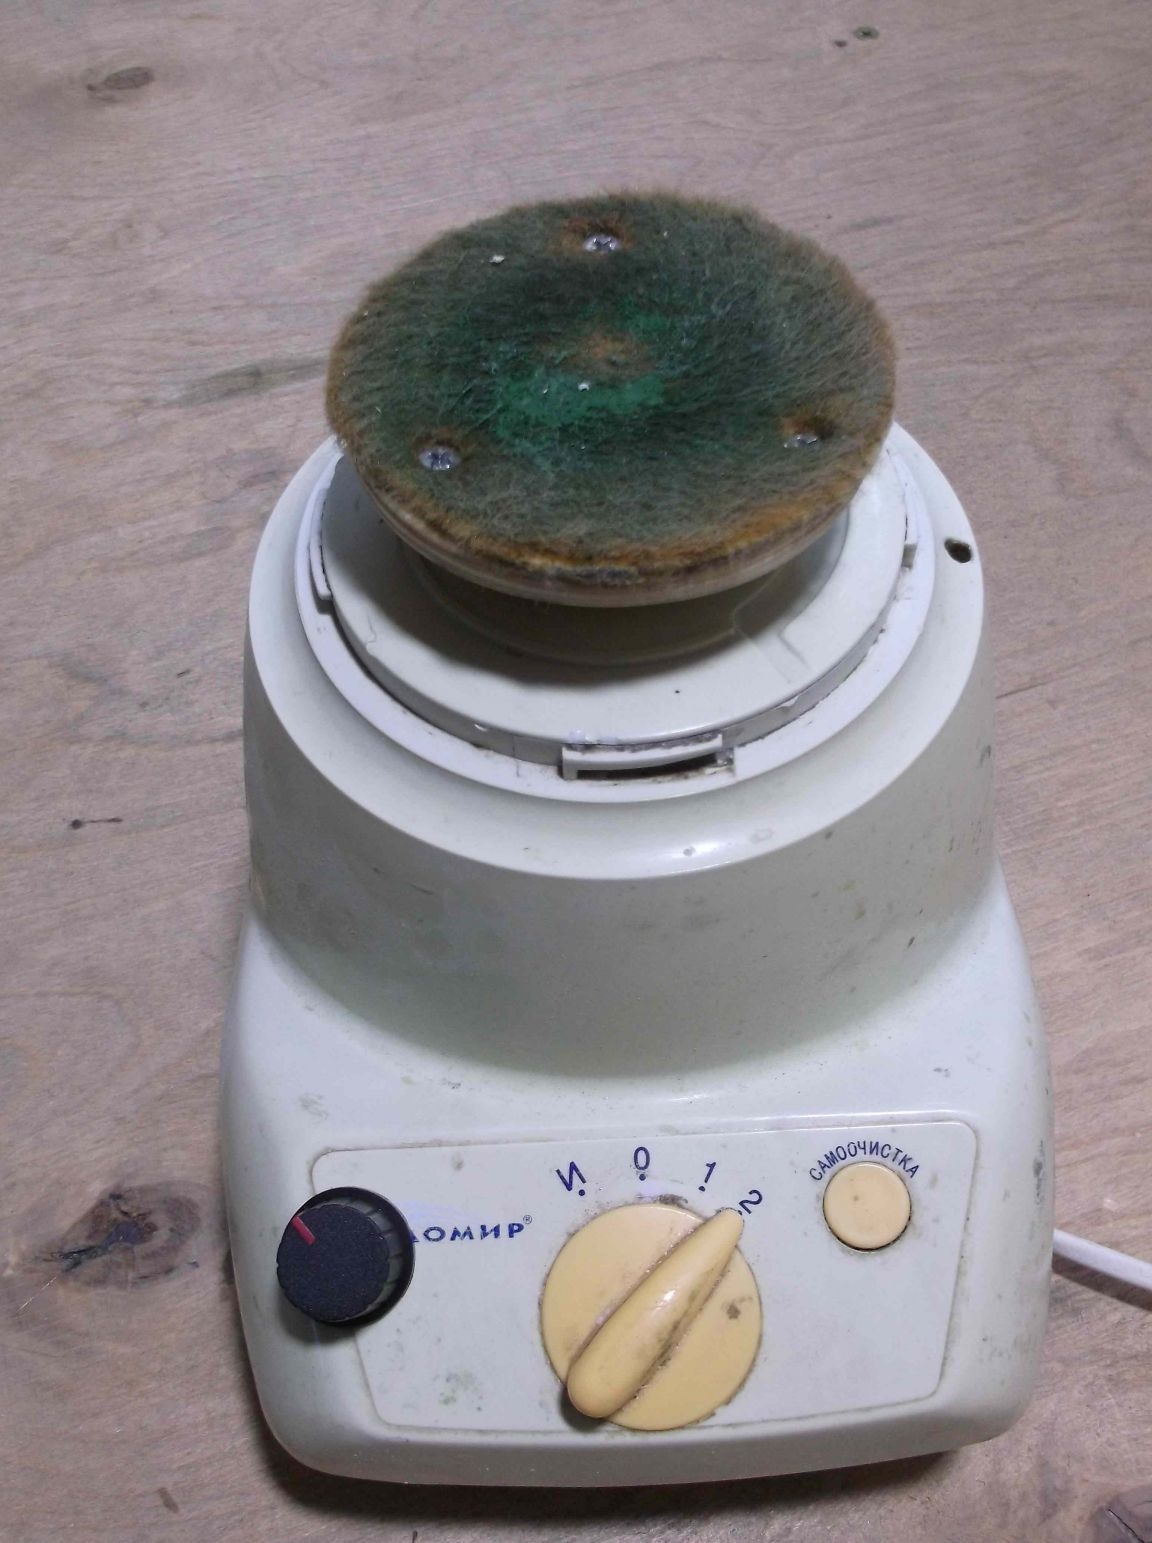
Having installed a felt circle instead of sandpaper, you can start polishing. From a kitchen unit that has served its time, with a slight alteration, it turned out to be a thing useful in the household. This unit is most likely suitable for small jobs and short use.