In this instruction, we will look at how to make a very simple quadrocopter. There is no complex electronics, sensors, or anything else. The only electronics is the controller, with which you can control the quadrocopter over the air. Its power is enough to raise a small camera. Lifting power will largely depend on the materials used, engine power, and propeller sizes.
To facilitate the design, hot glue can be replaced with superglue, in some places cut some parts of the frame, make the engine brackets narrower and so on.
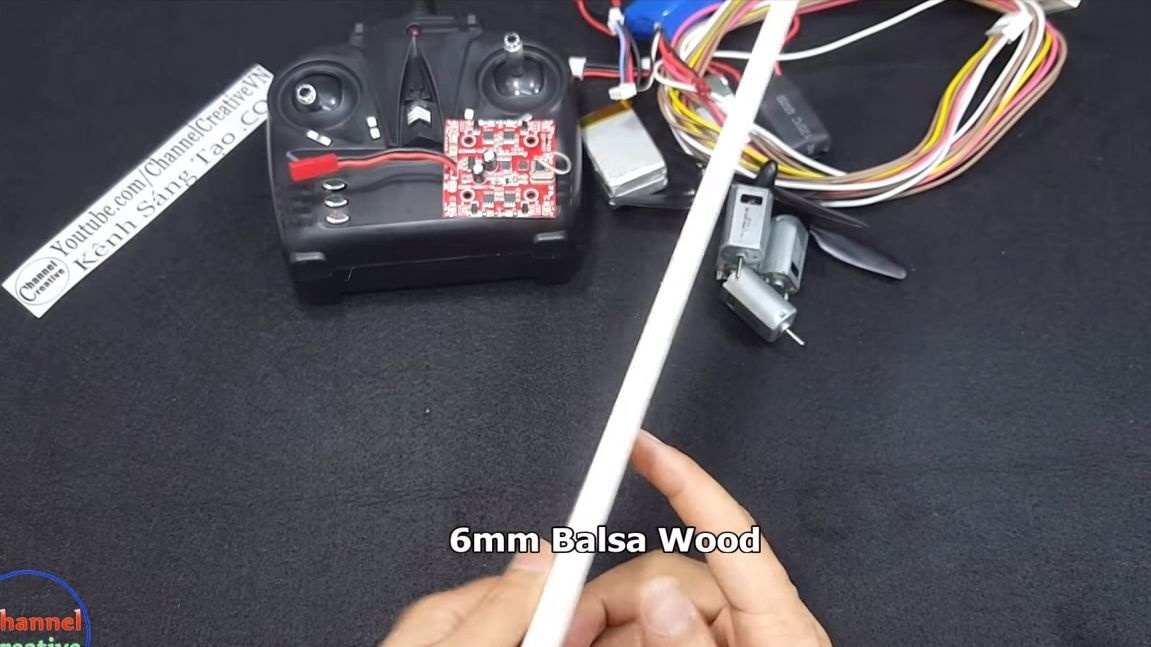
The author used balsa as the main material for the manufacture of the frame. This tree is light, easy to work with, and the material has sufficient strength to make homemade. Engines are mounted on brackets made of sheet aluminum.
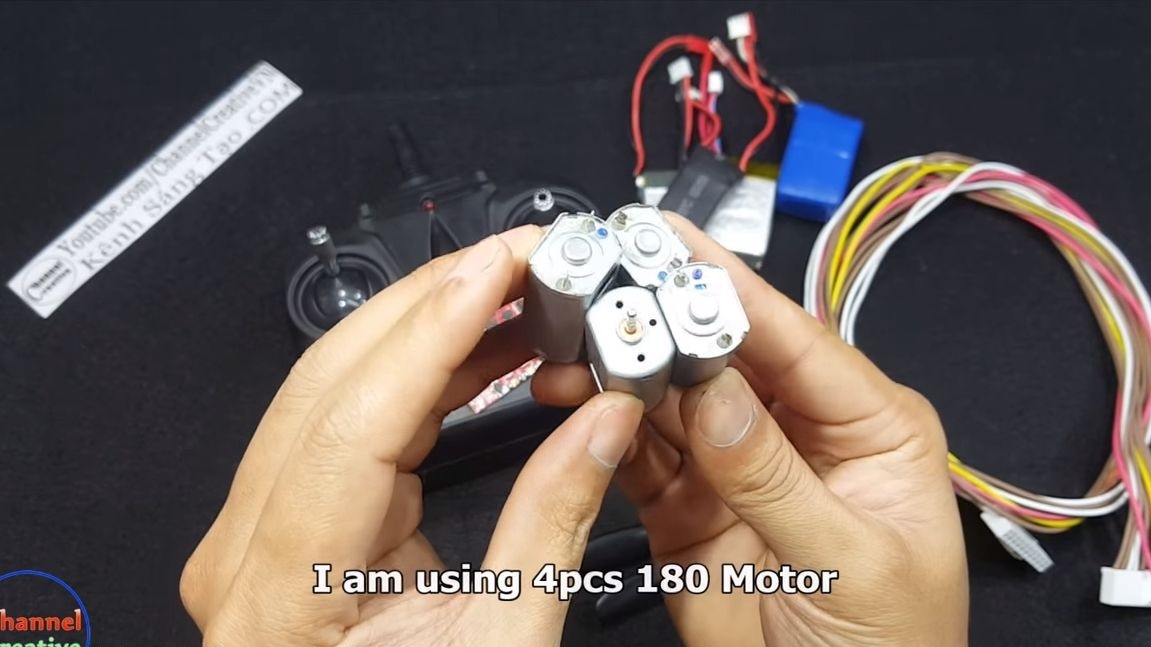
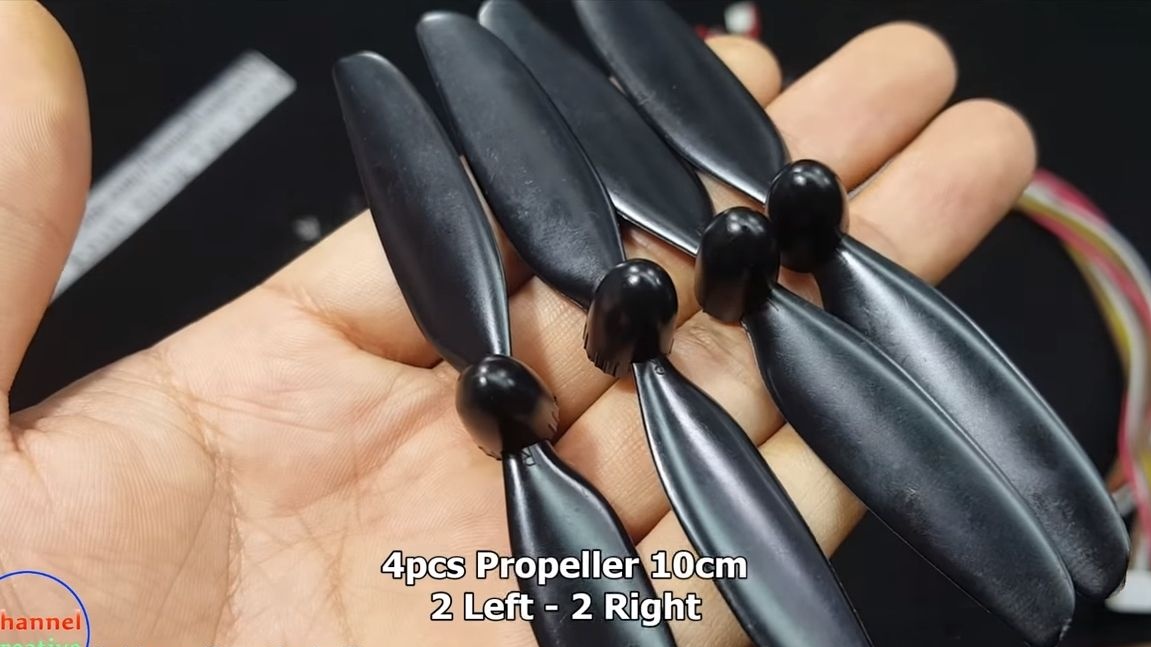
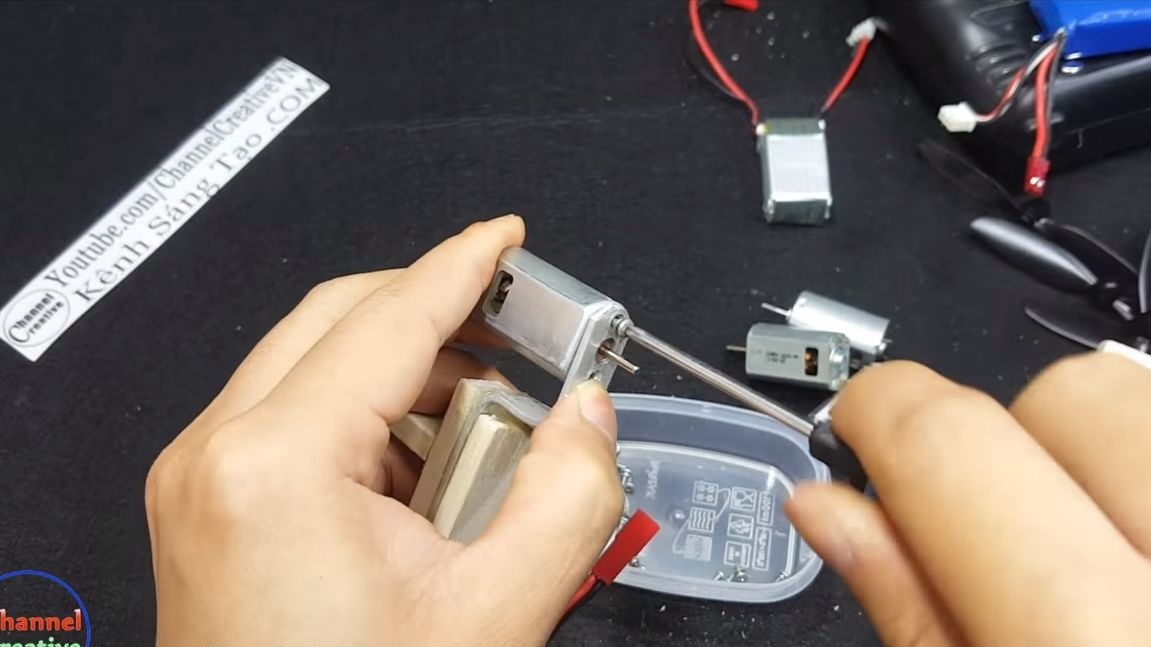
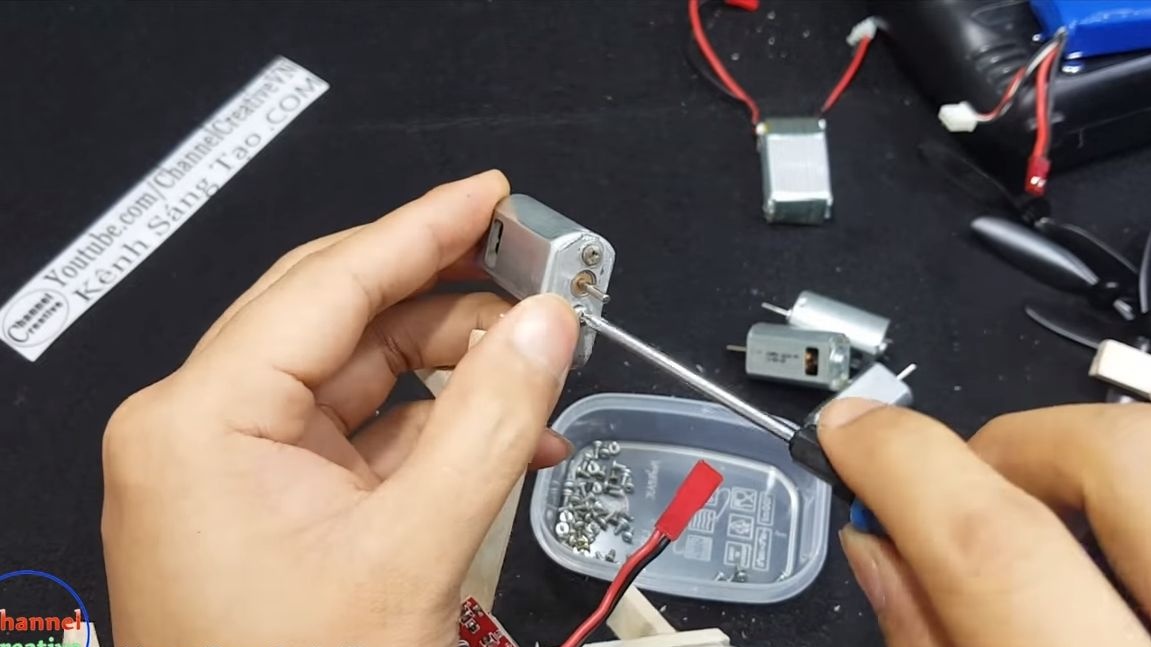
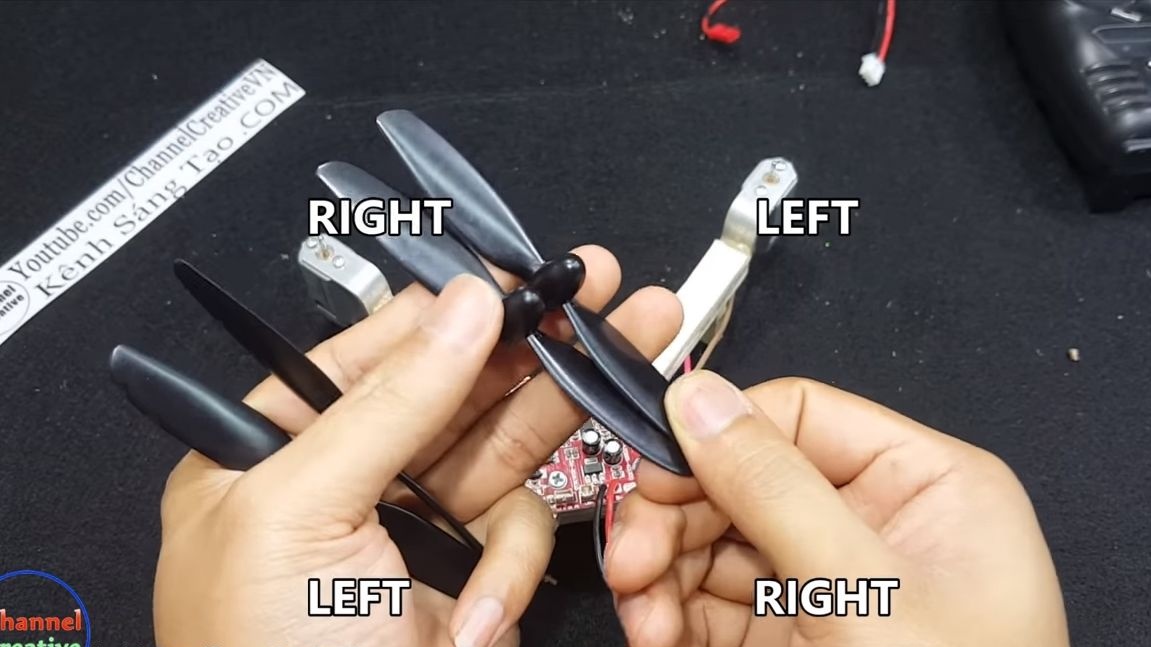
Four engines of model 180 were used as engines here, they work together with 10 cm screws. Two “right” and two “left” screws are used in the design, they are installed diagonally.
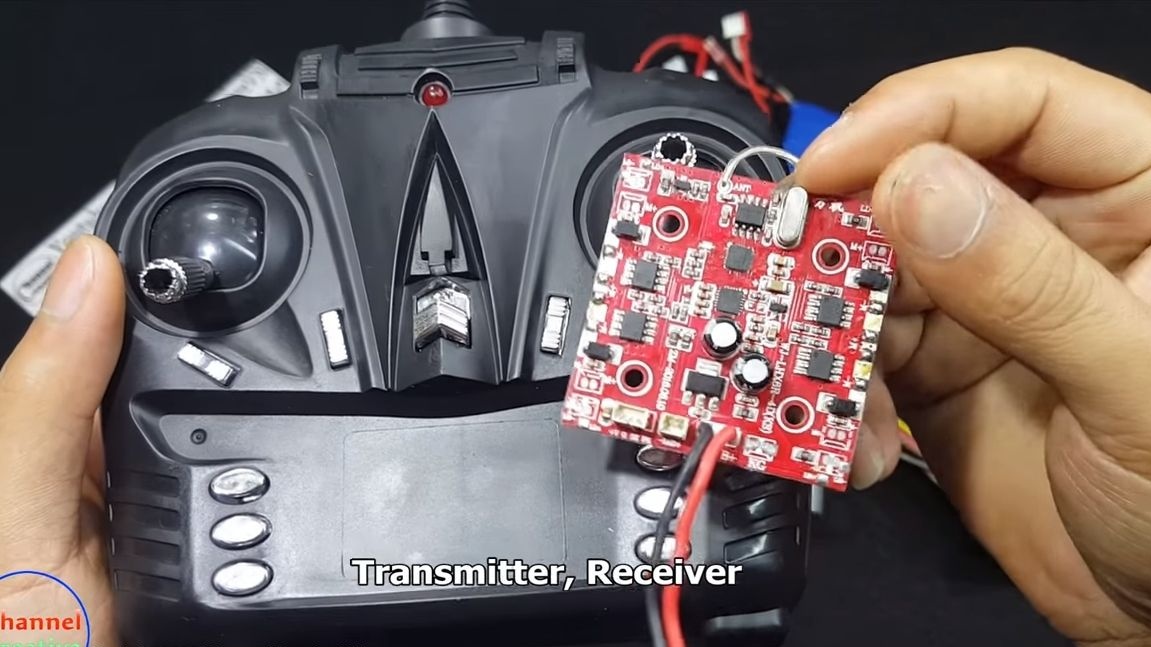
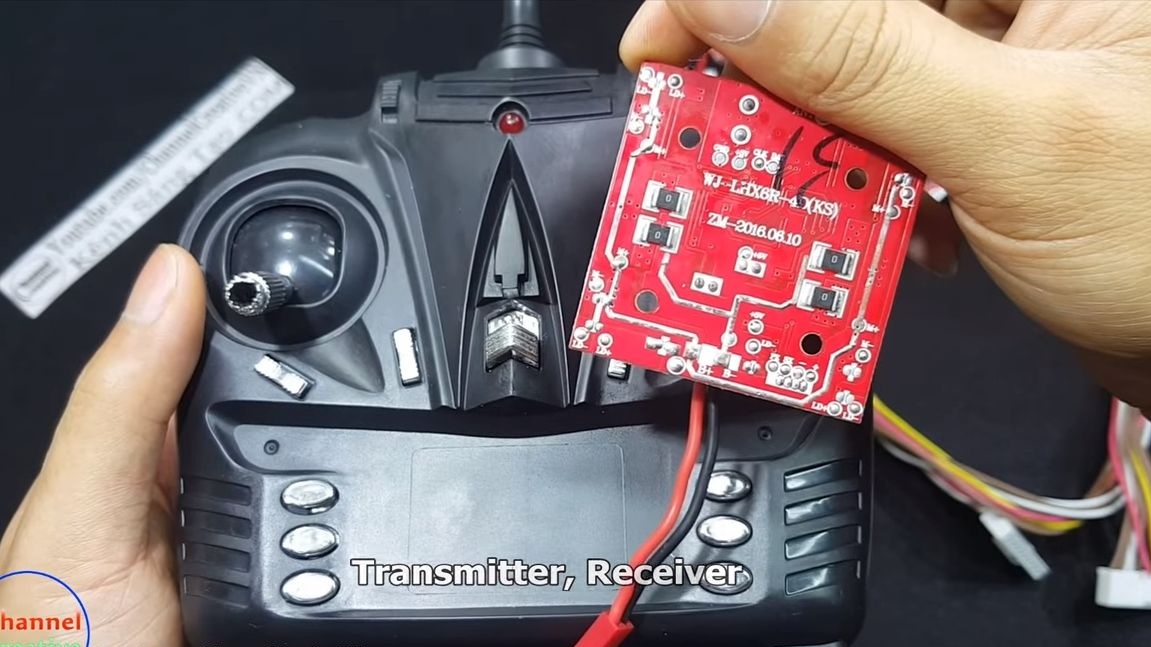
As control electronics, it was decided to use the WJ-LHX6R-40 board.
So, we begin assembly.
Materials and tools that were used by the author:
Material List:
- balsa board with a thickness of 6 mm;
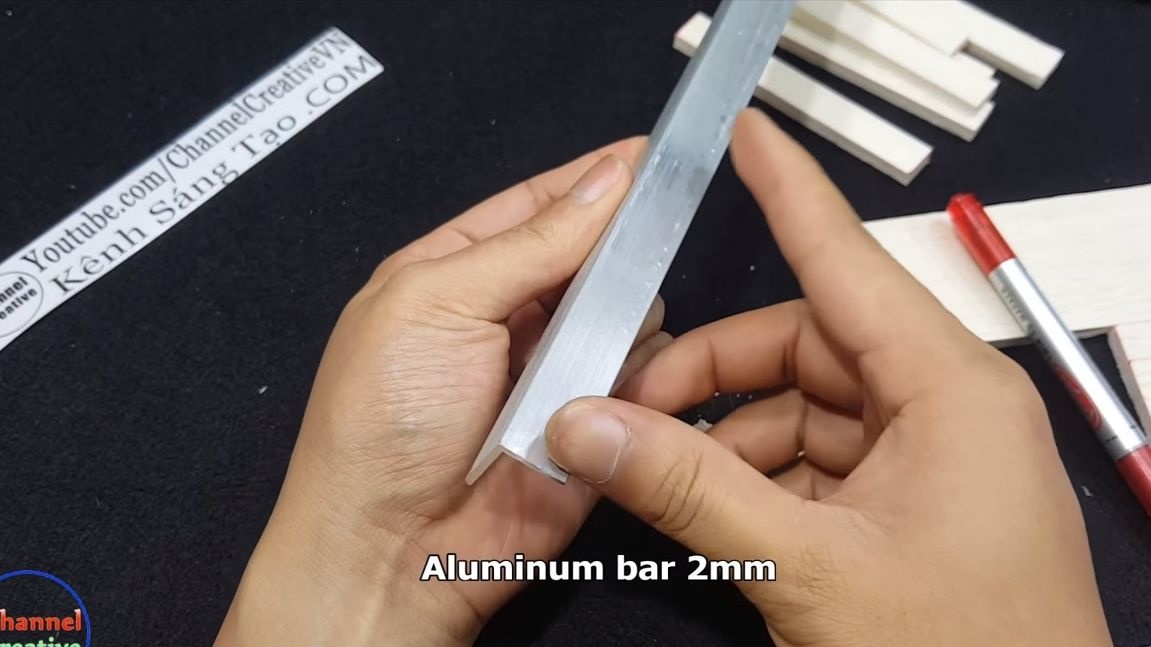
- aluminum corner (as a source of sheet aluminum);
- ;
- (two right and two left 10 cm);
- (WJ-LHX6R-40);
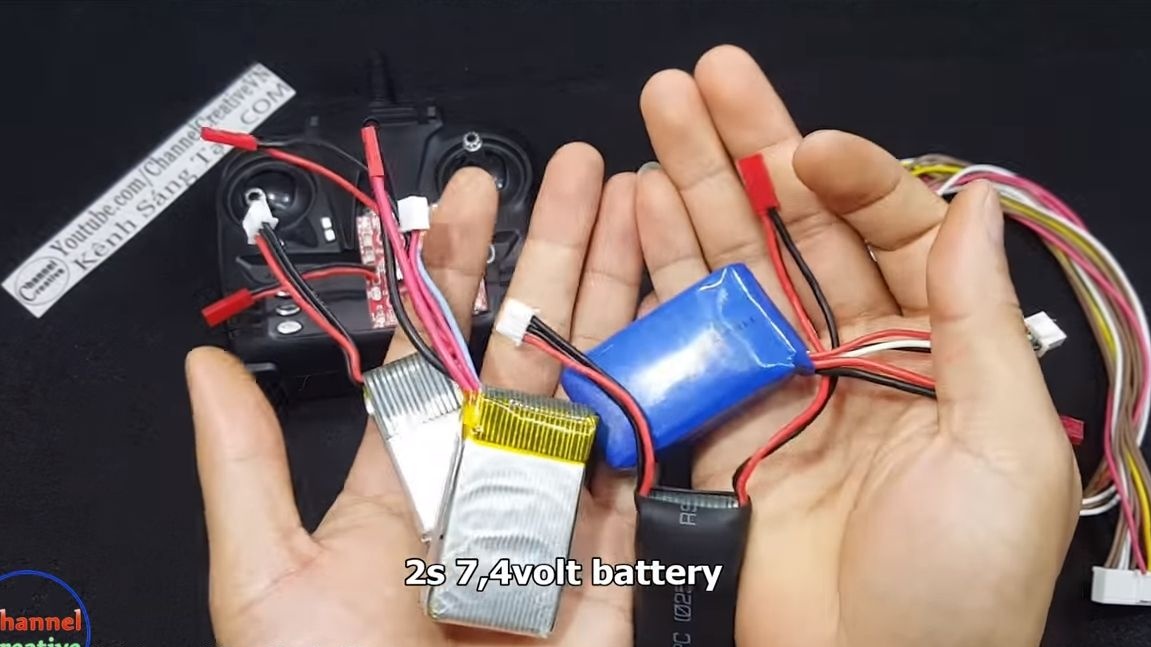
- batteries;
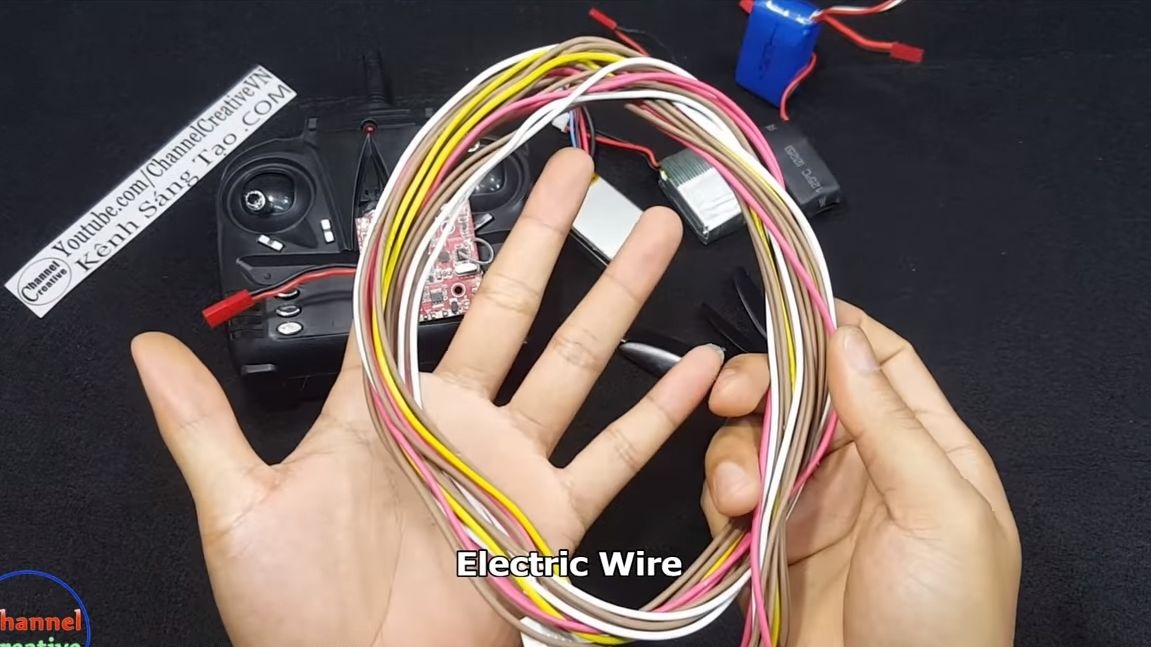
- wires;
- plastic ties;
- cogs and stuff.
Tool List:
- drill;
- a hacksaw for metal;
- stationery knife;
- ruler;
- a pencil;
- glue gun;
- scissors;
- soldering iron.
Quadrocopter manufacturing process:
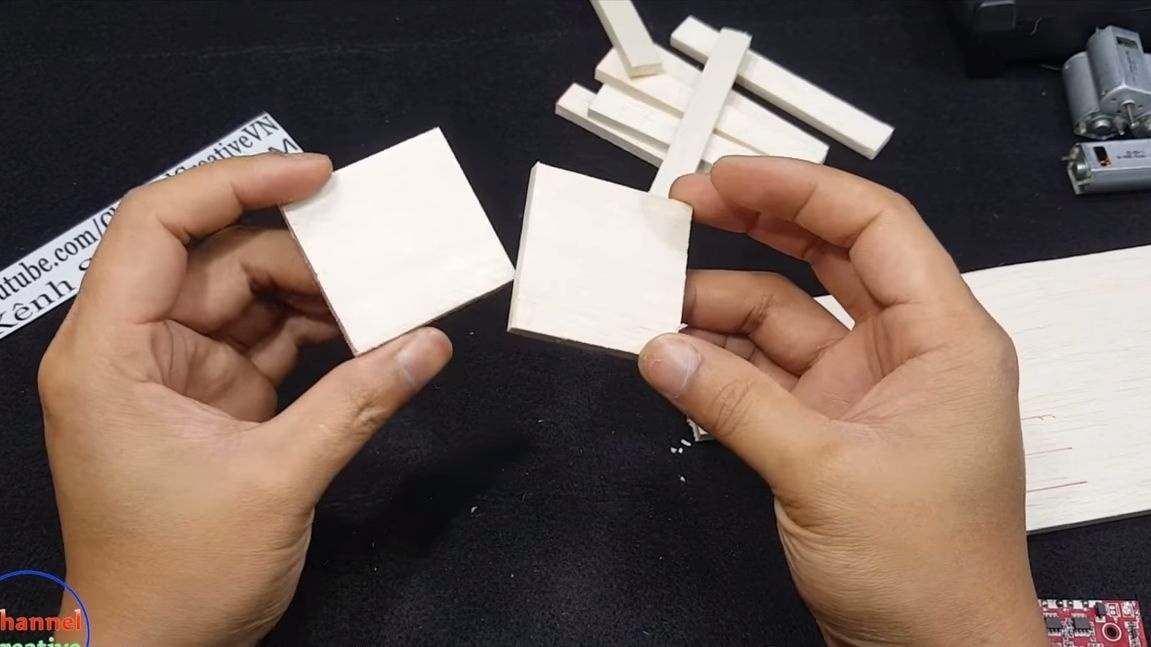
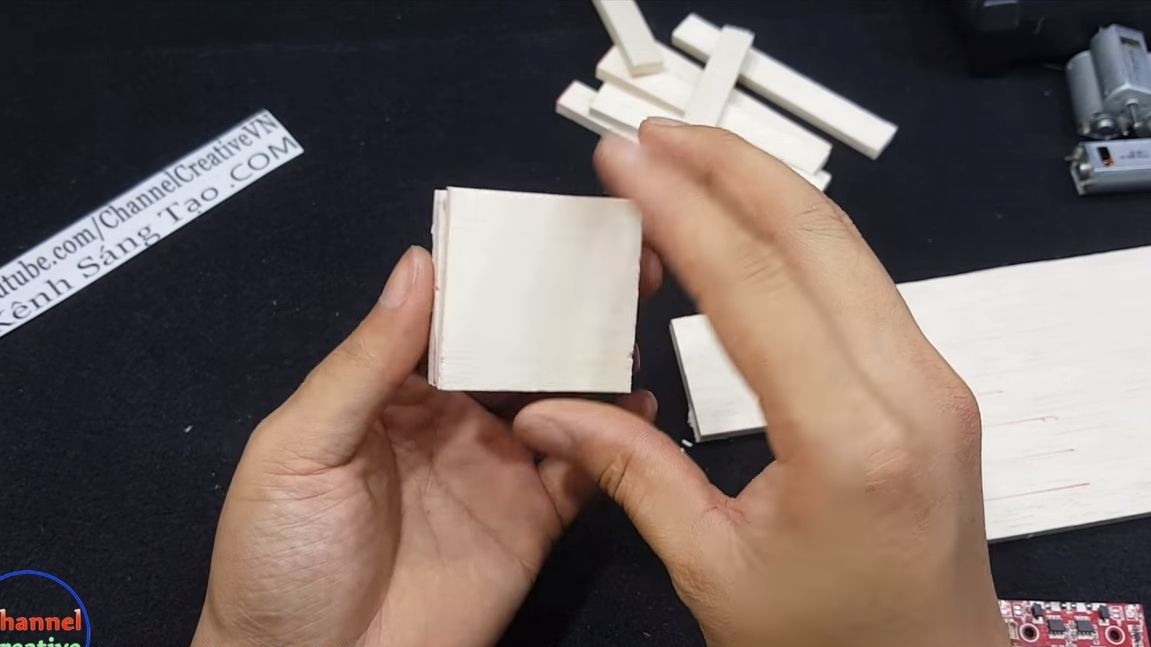
Step one. Production of the central part of the frame
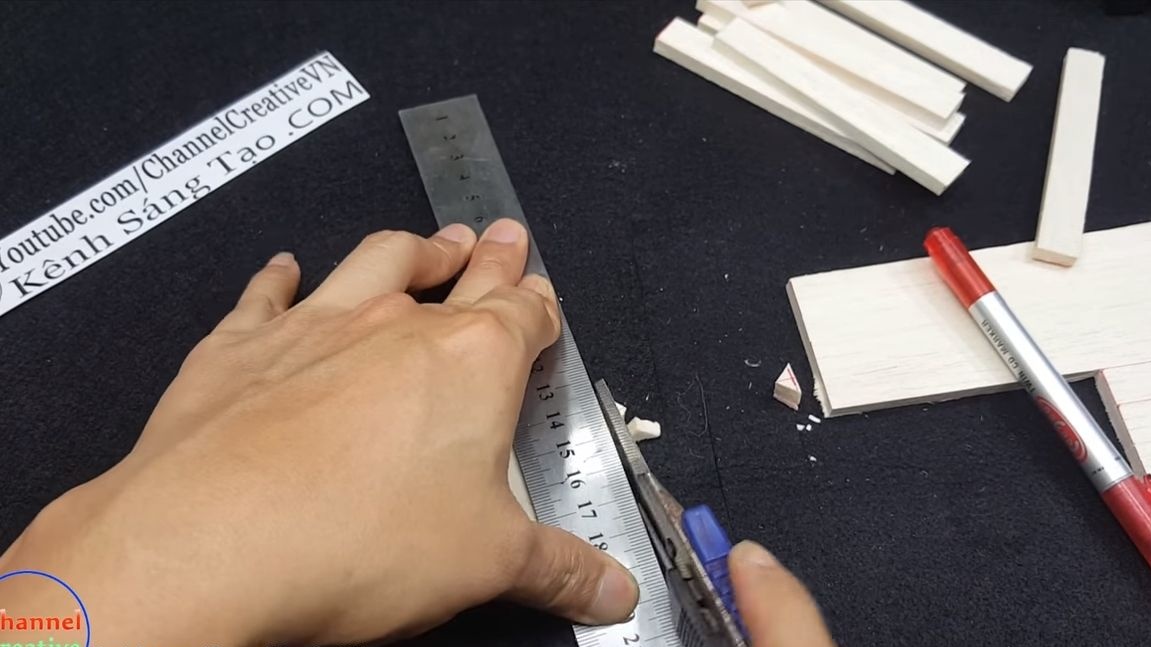
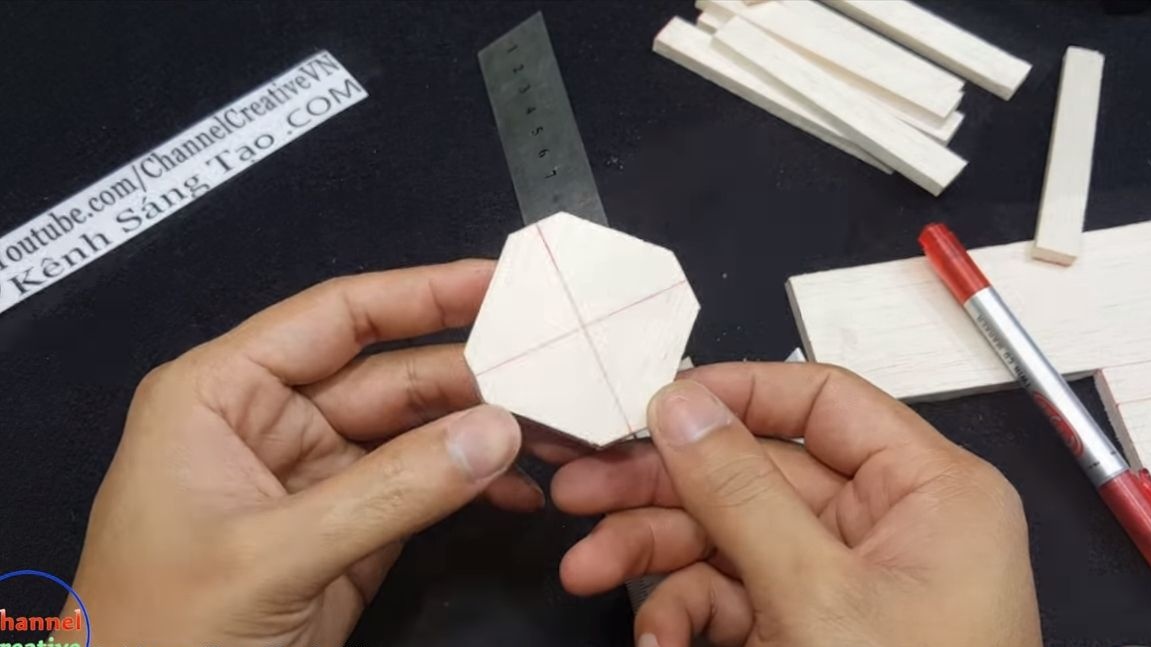
To make this part, you will need to cut two squares out of balsa and glue them together using hot glue. The size of the part is selected depending on the dimensions of the controller used, and the batteries. The quadcopter must be well balanced, all the payload is located clearly in the center.
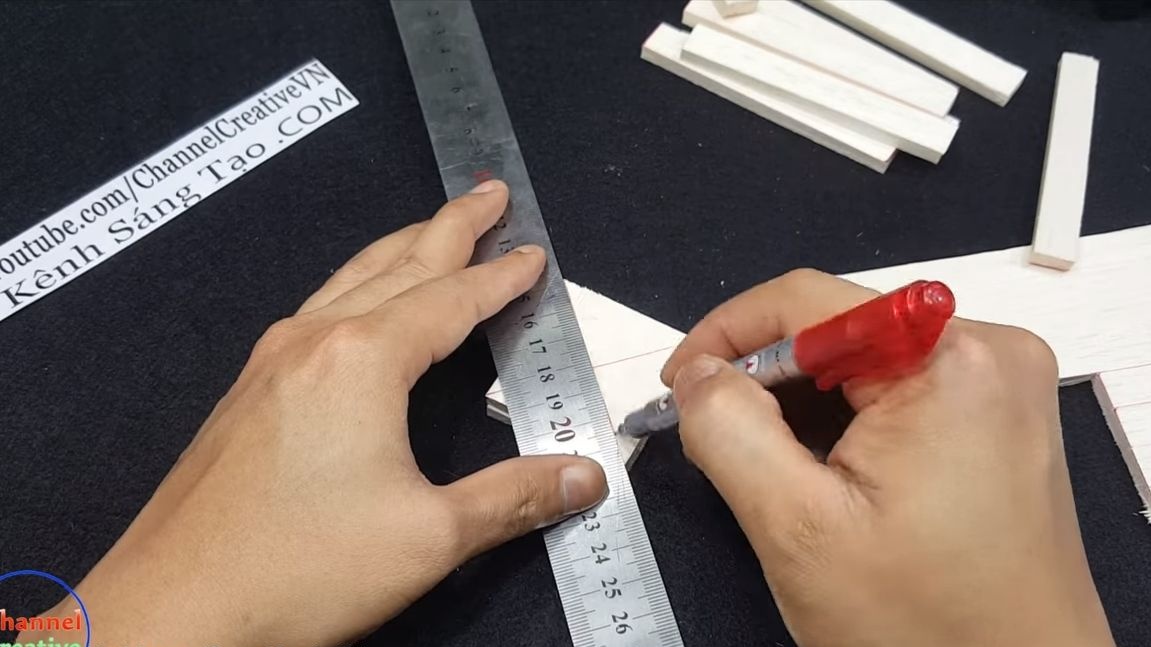
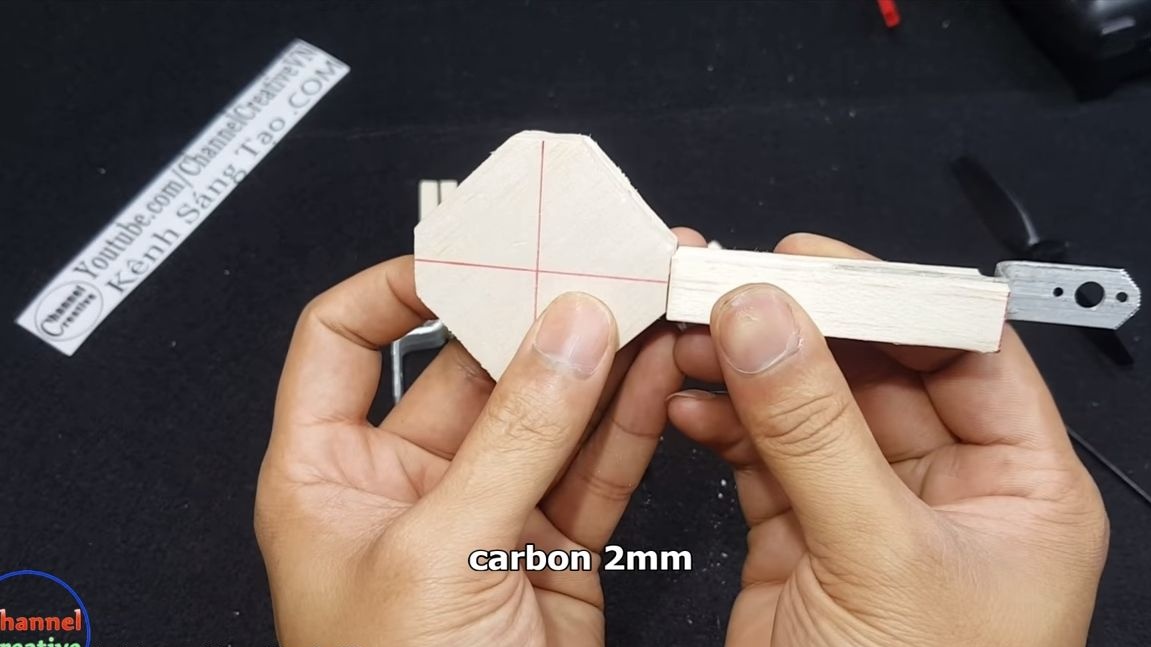
Next, cut the corners of the square so that you get an 8-gon. This will allow the levers on which the engines are mounted to be fixed to the central part.
Step Two Manufacturing engine brackets
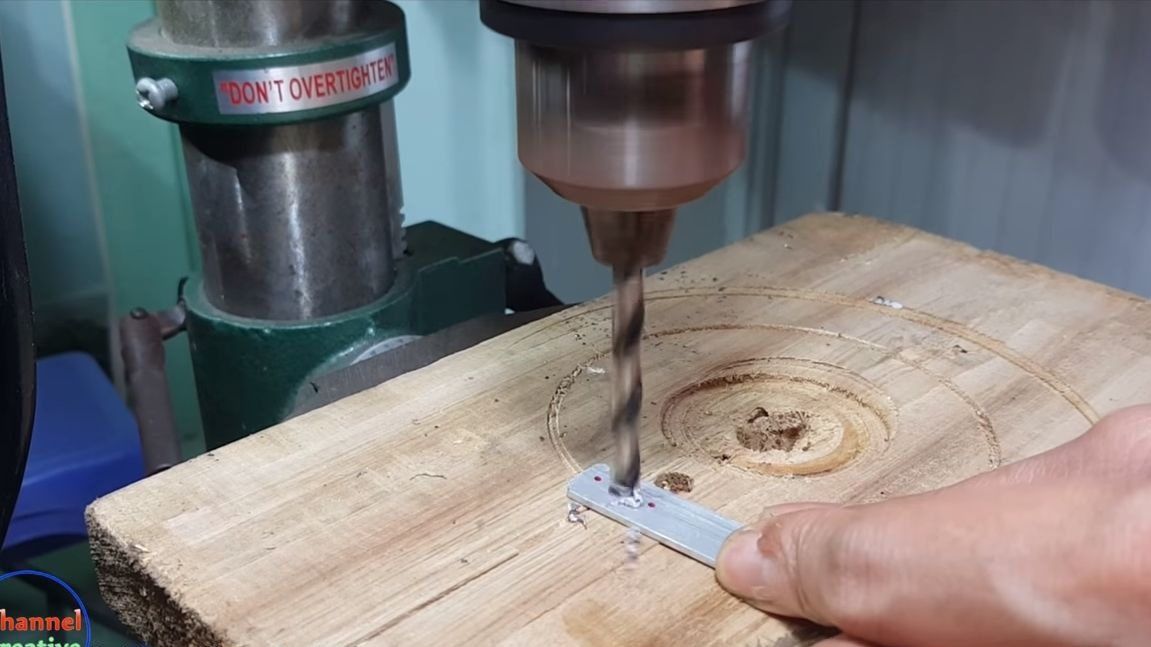
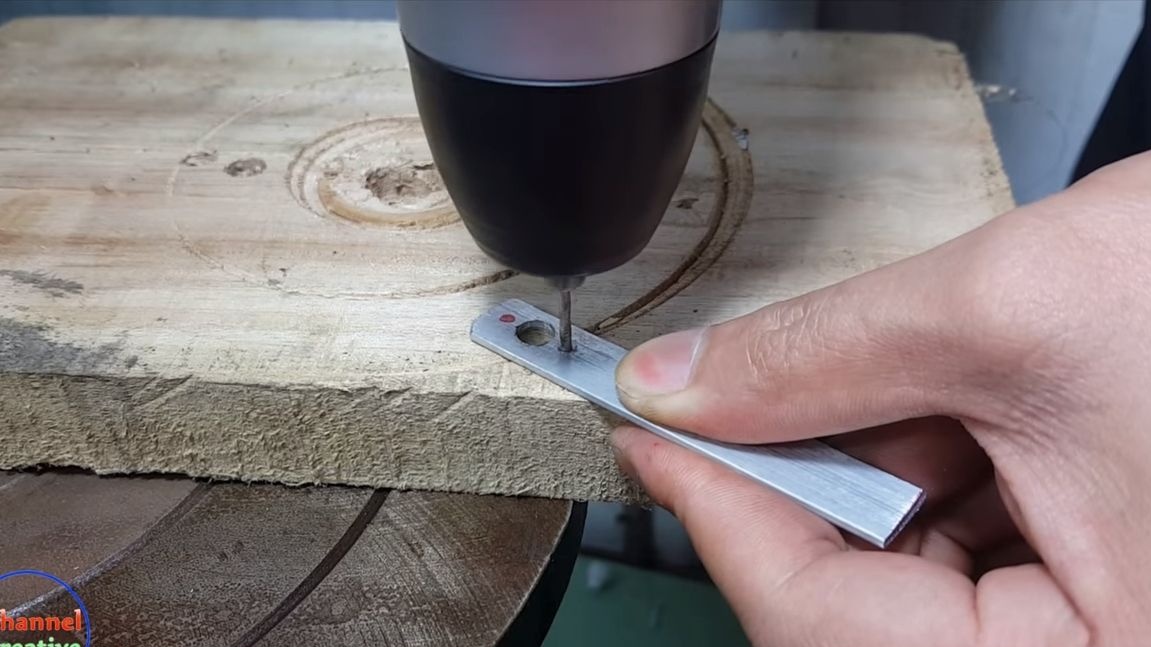
Engines must be firmly fixed; for these purposes, the author decided to make brackets from sheet aluminum.The source of the material was an aluminum corner, cut off the plates necessary along the length, using a hacksaw for metal. Next, you will need to outline 3 holes on each plate, one central for the motor shaft and the protruding part of the housing, and two others for the fixing screws.
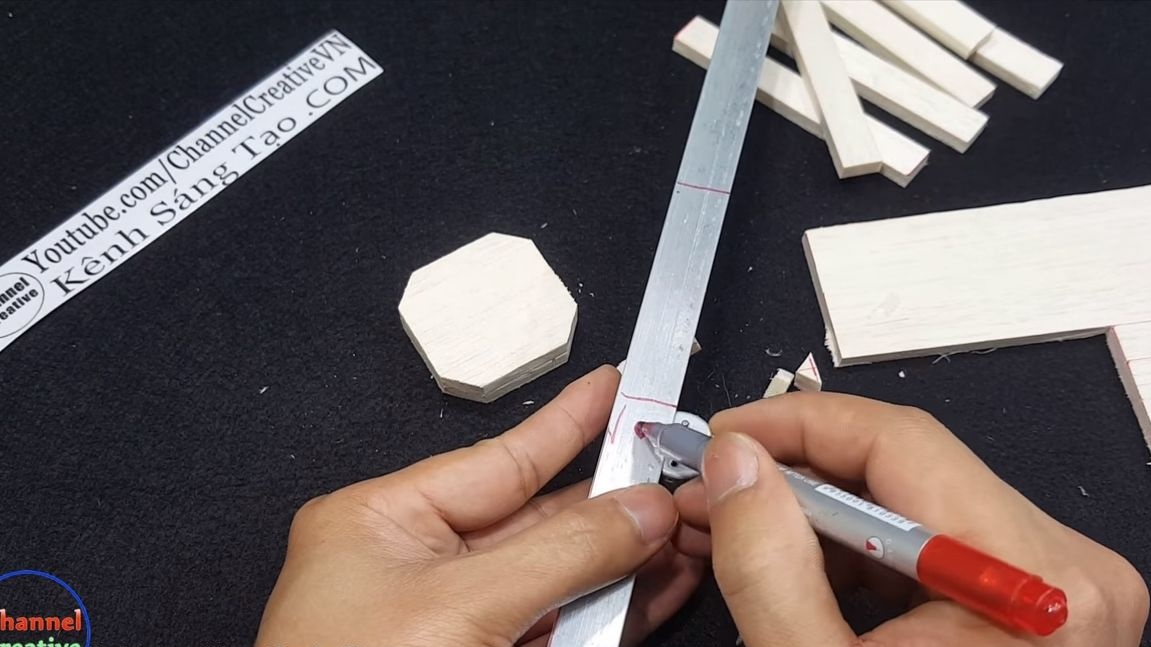
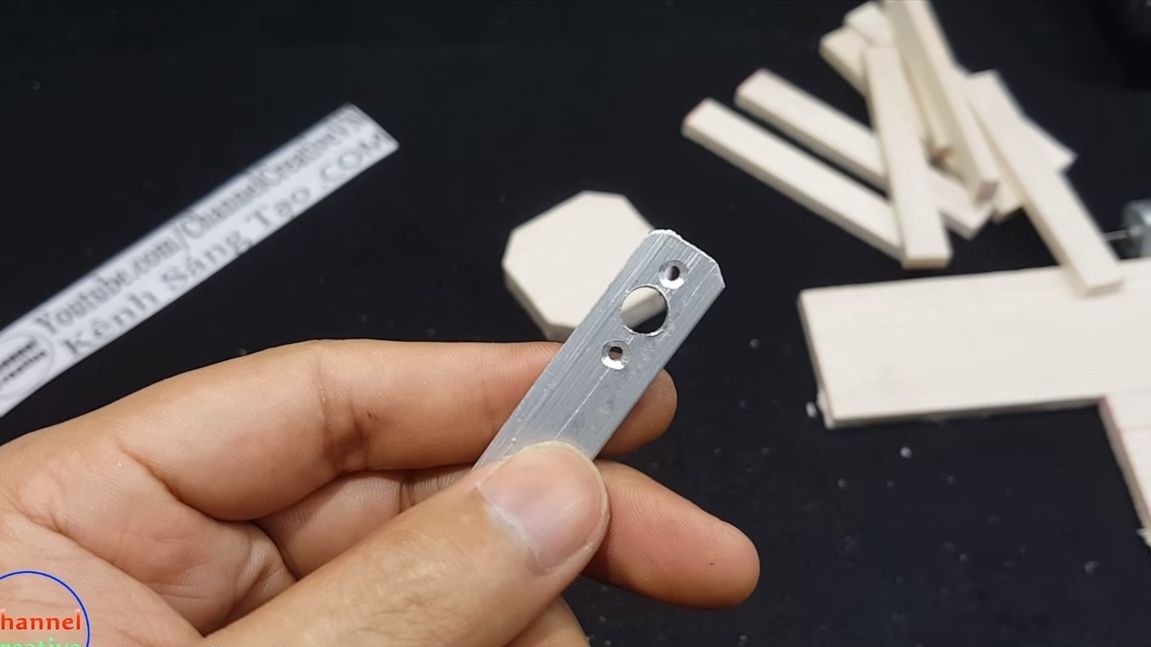
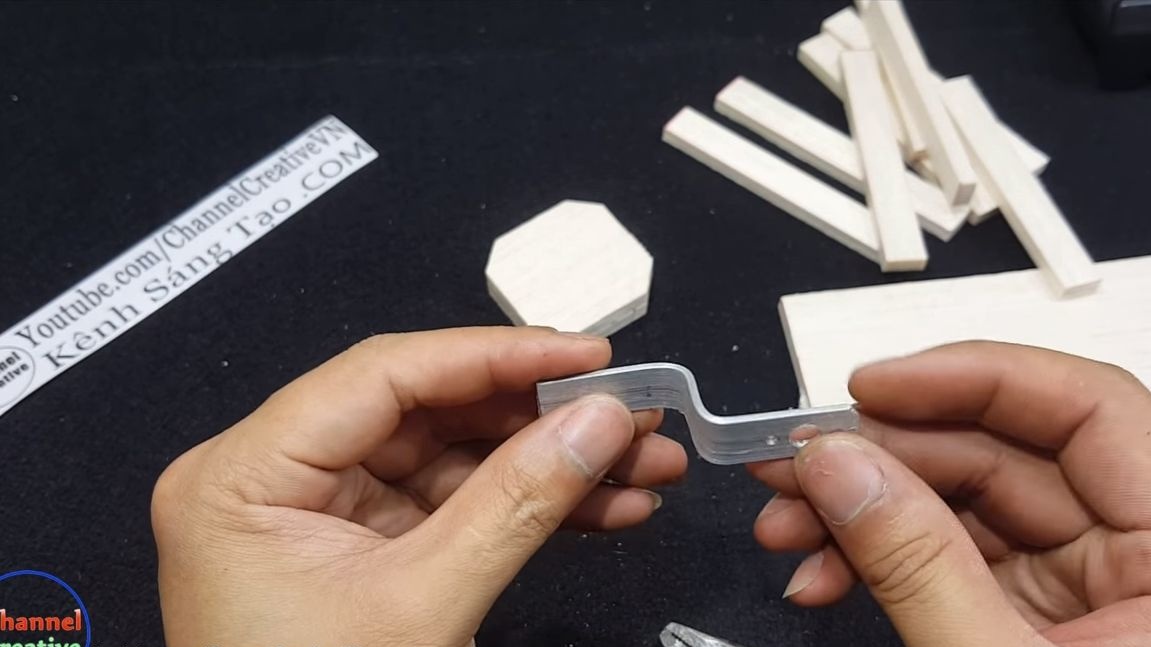
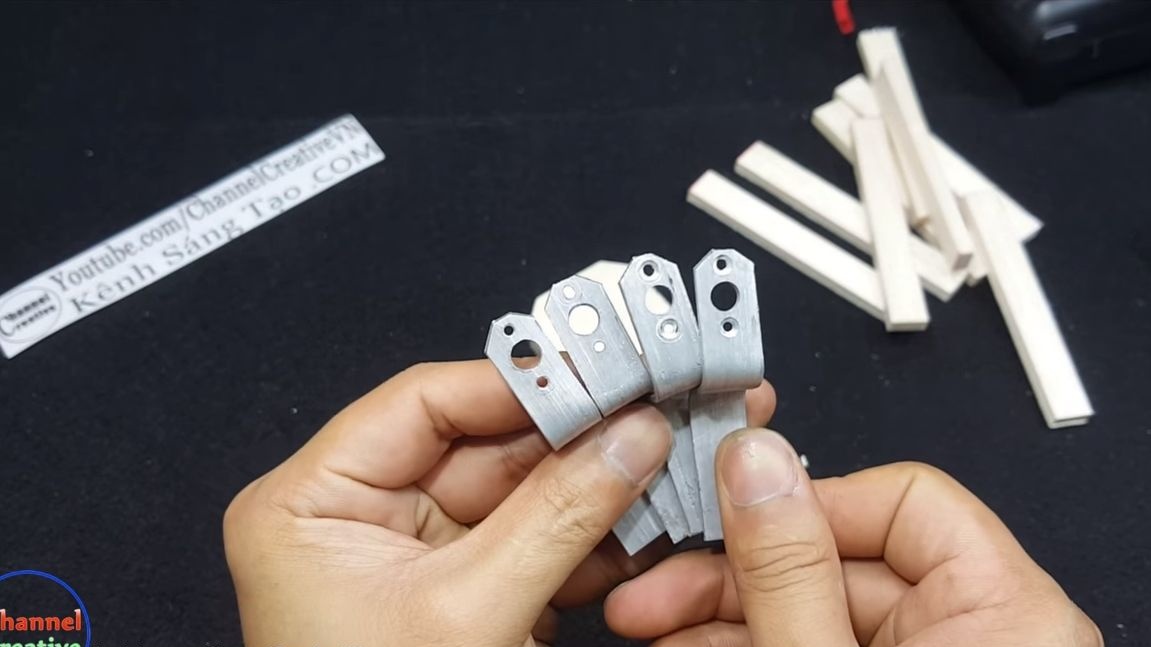
Next, give the plates a shape like the author did. The brackets made should be exactly the same length, otherwise the quadrocopter will have an imbalance.
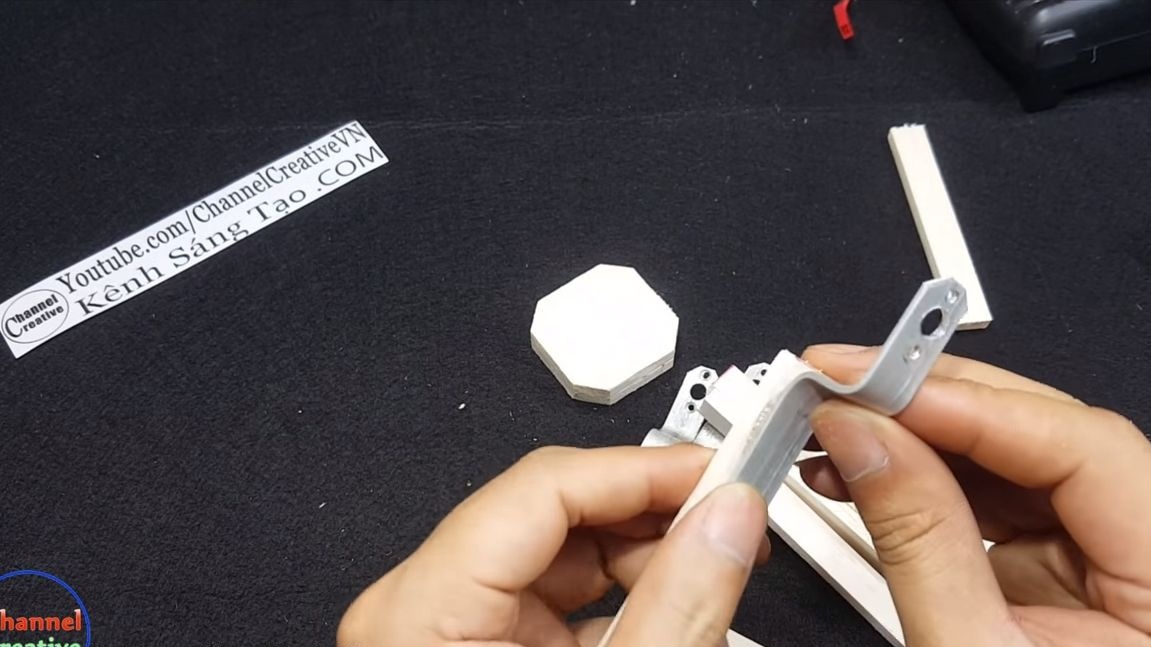
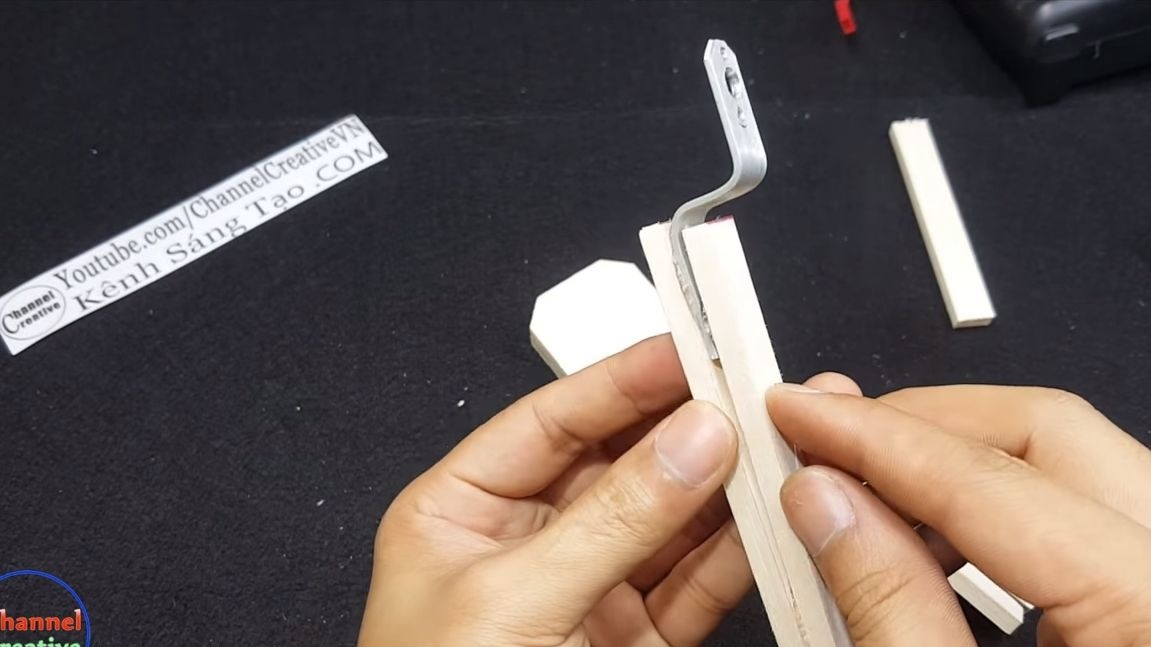
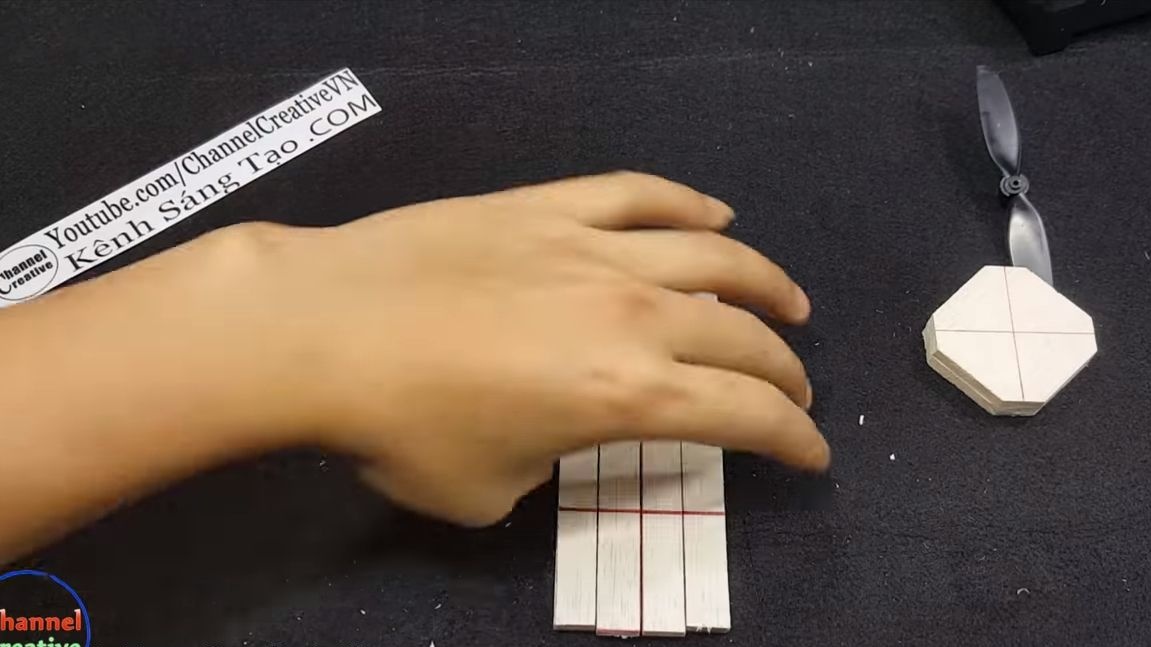
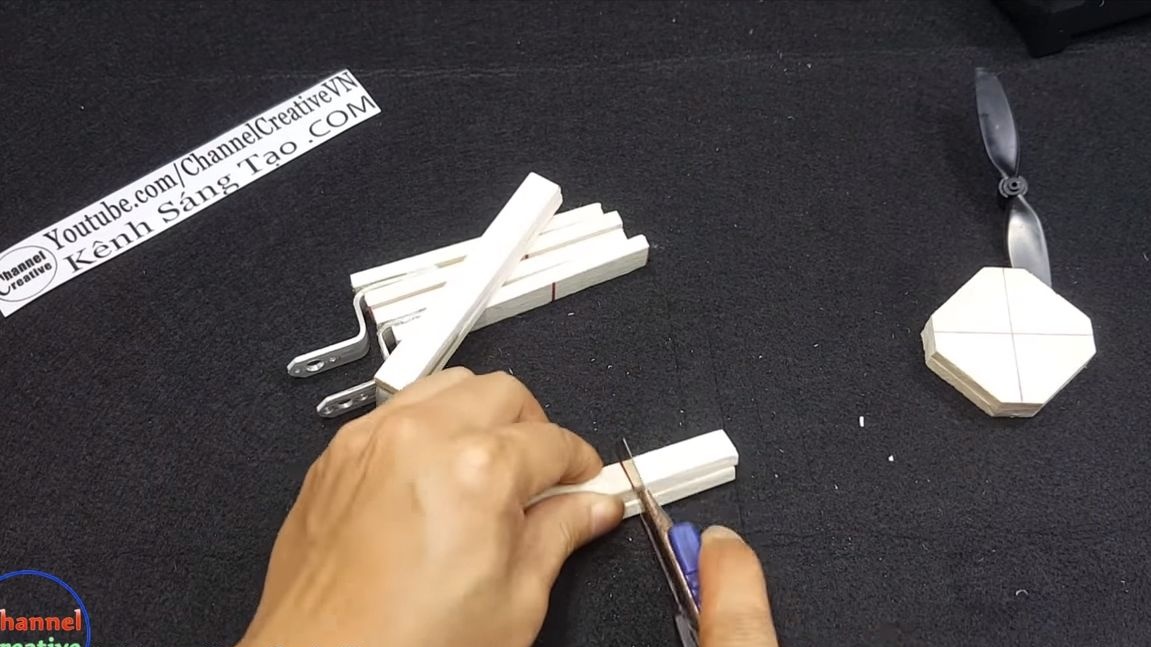
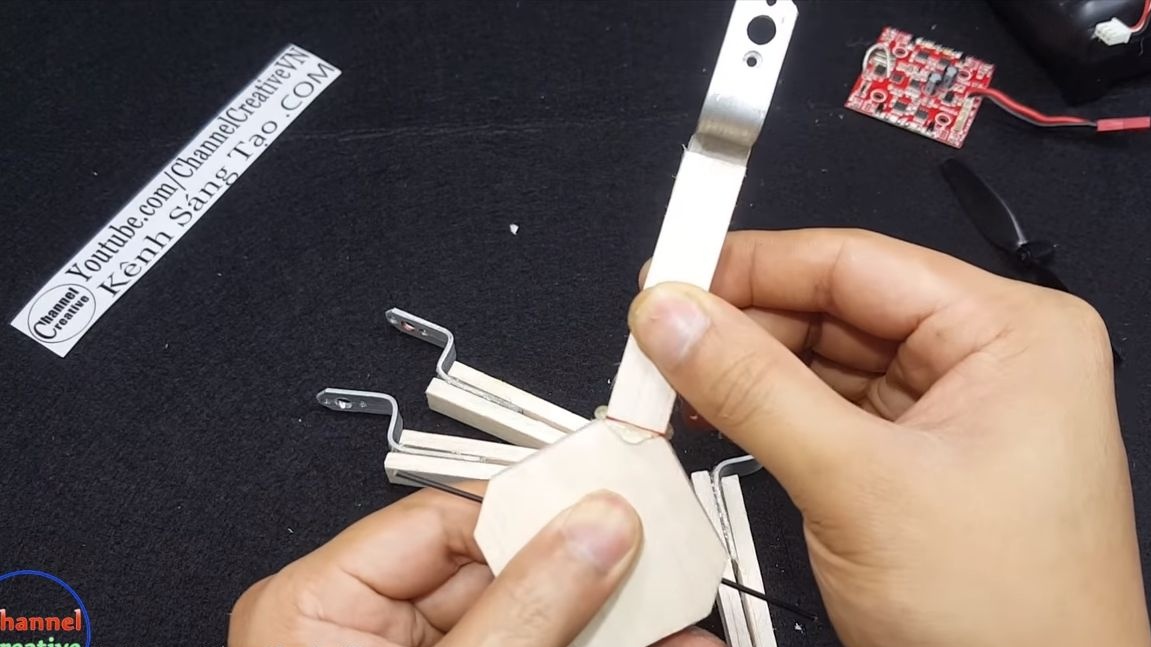
Step Three Making Levers
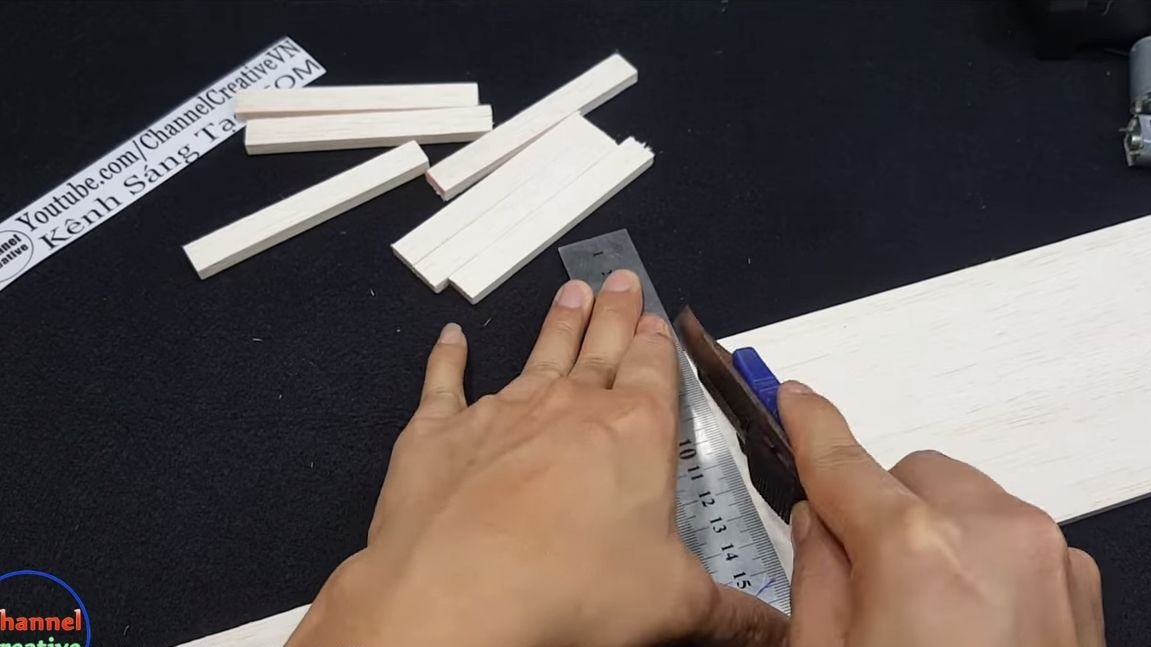
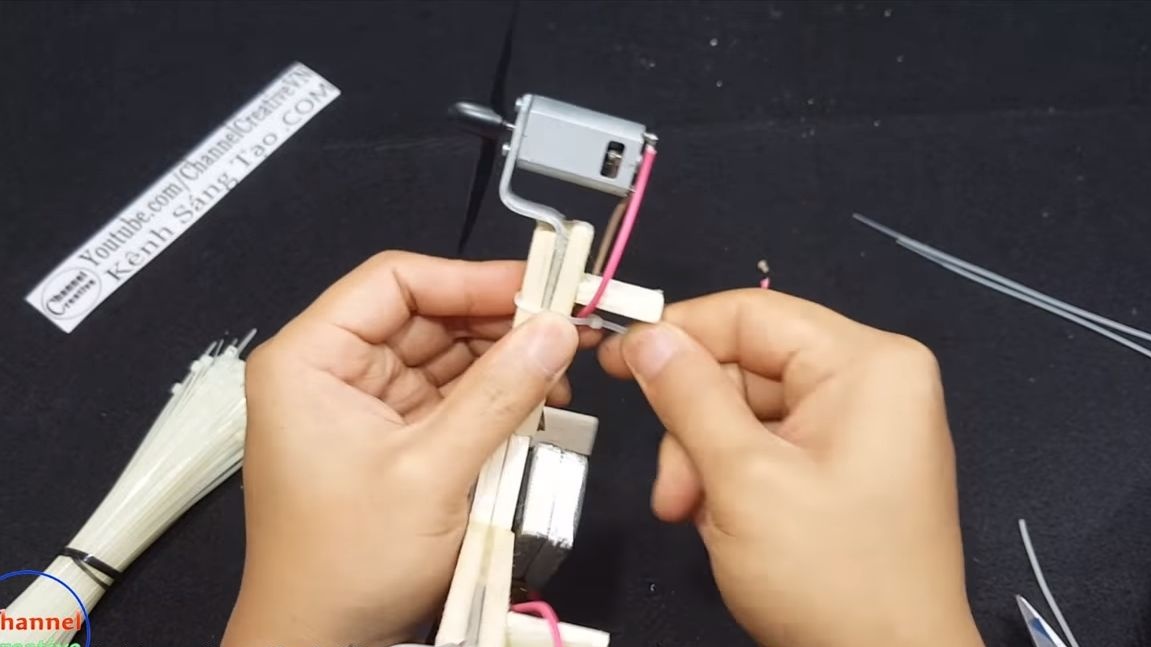
4 levers are attached to the central part in the form of an 8-gon, at the end of each of which an engine is installed. We make levers of balsa, each lever is two-layer, that is, 8 pieces are needed in total. We mark everything on a balsa board and cut it out with the help of an office knife, this wood is cut very easily.
We take hot glue and glue the bracket to the lever. But here accuracy is extremely important, it is better to mark the place for installation in advance with a pencil. Then we again use hot glue and set the second pad on top. As a result, our bracket is firmly sandwiched between two pieces and secured with hot glue. Similarly, the remaining three frame parts are manufactured.
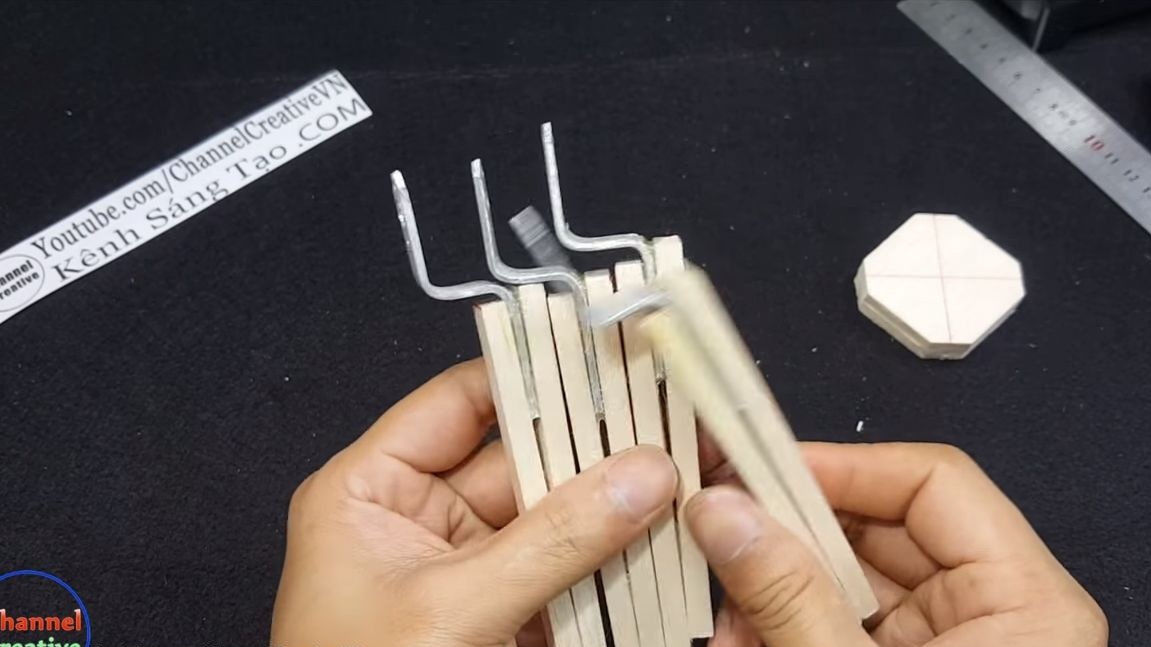
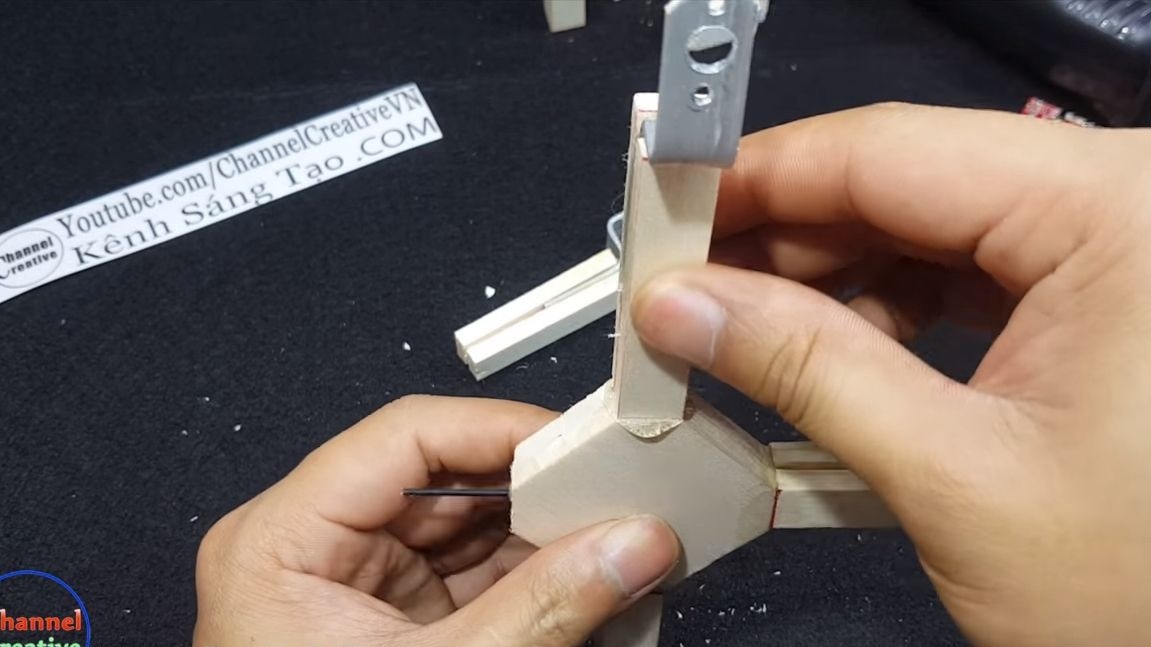
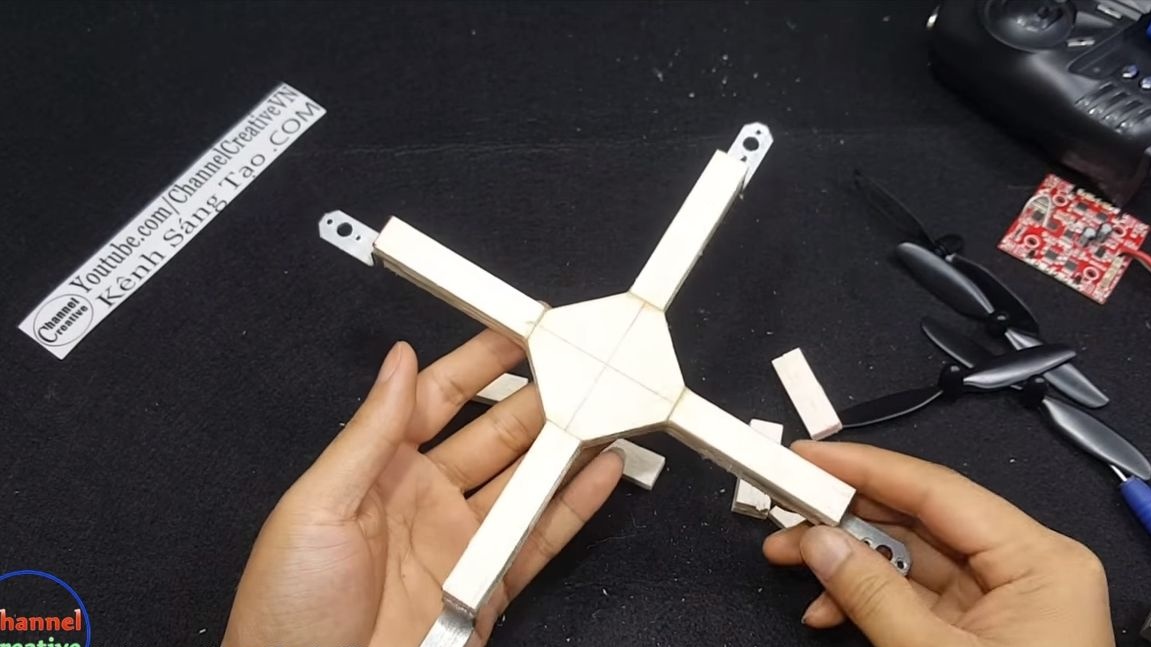
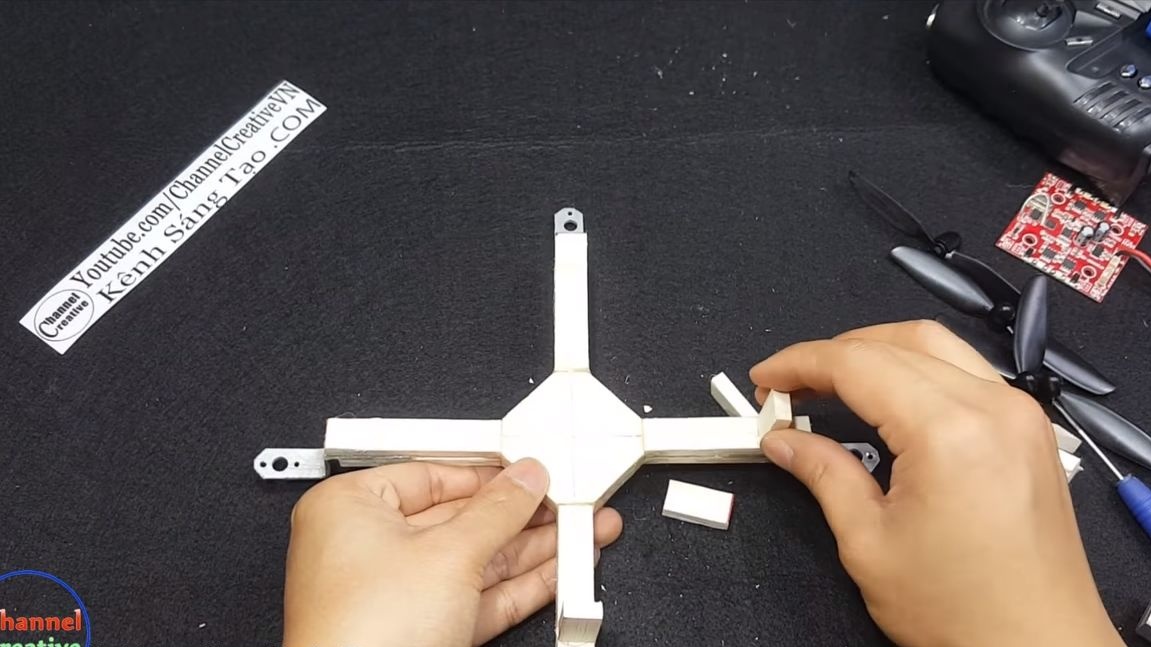
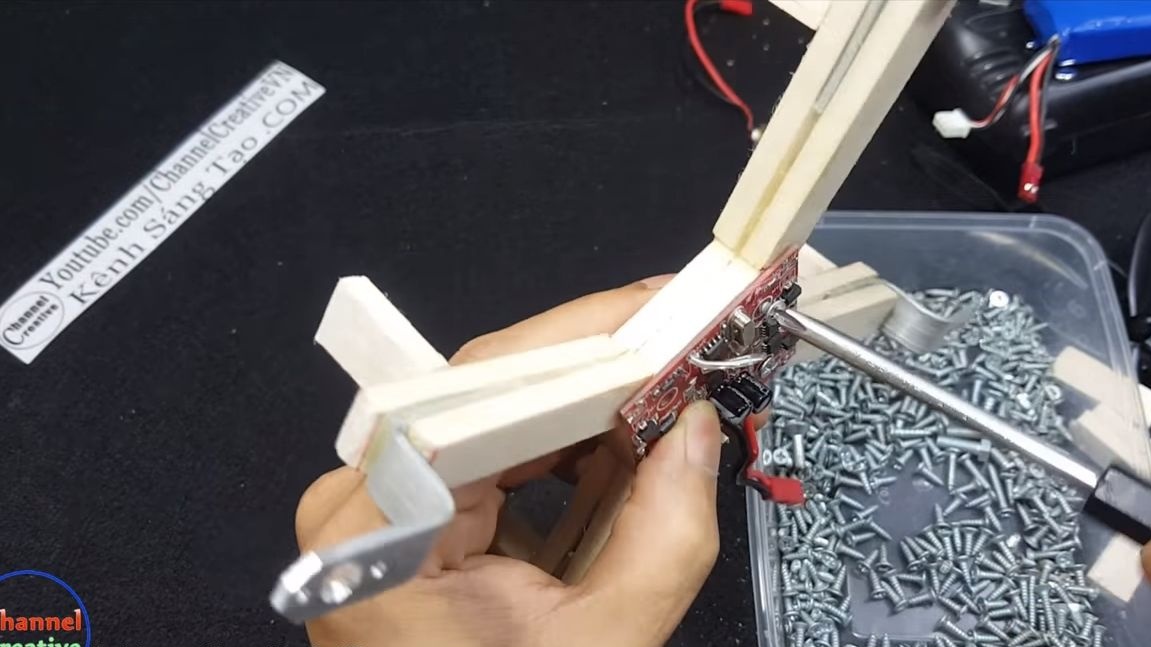
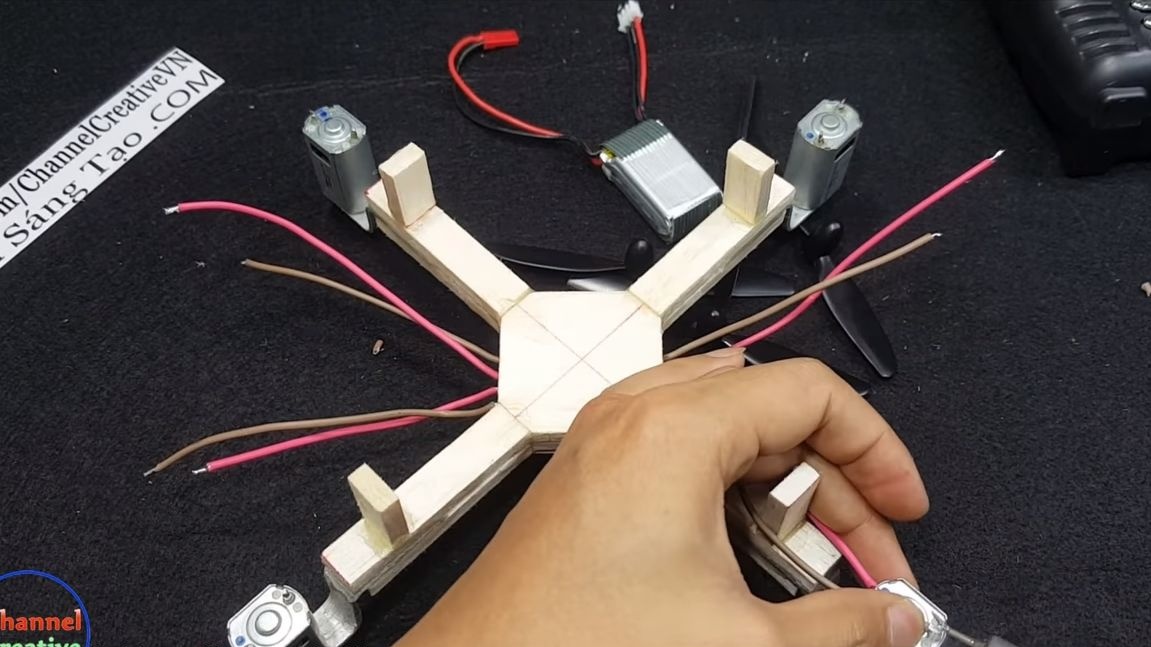
Step Four Frame assembly
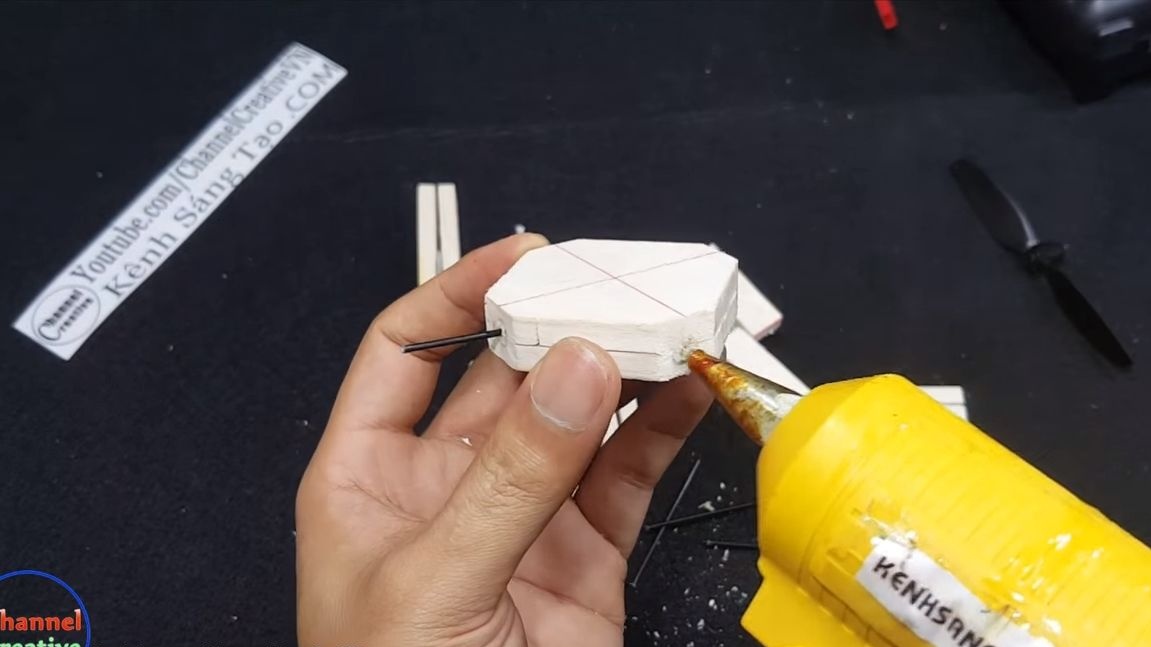
Align all 4 “levers” to the same length, and then drill holes at the end. It will also be necessary to drill holes in the central part, one for each lever. The levers are attached to the central part using hot glue, and the carbon fiber core reinforces the design. You can also use ampoules from pens, toothpicks or something like that.
At the end of the frame, glue 4 legs to the base. They will be needed so that the quadrocopter can land without damaging the frame. We make legs from balsa. You can also be smart and stick a kitchen sponge or something like that so that the quadrocopter lands softly.
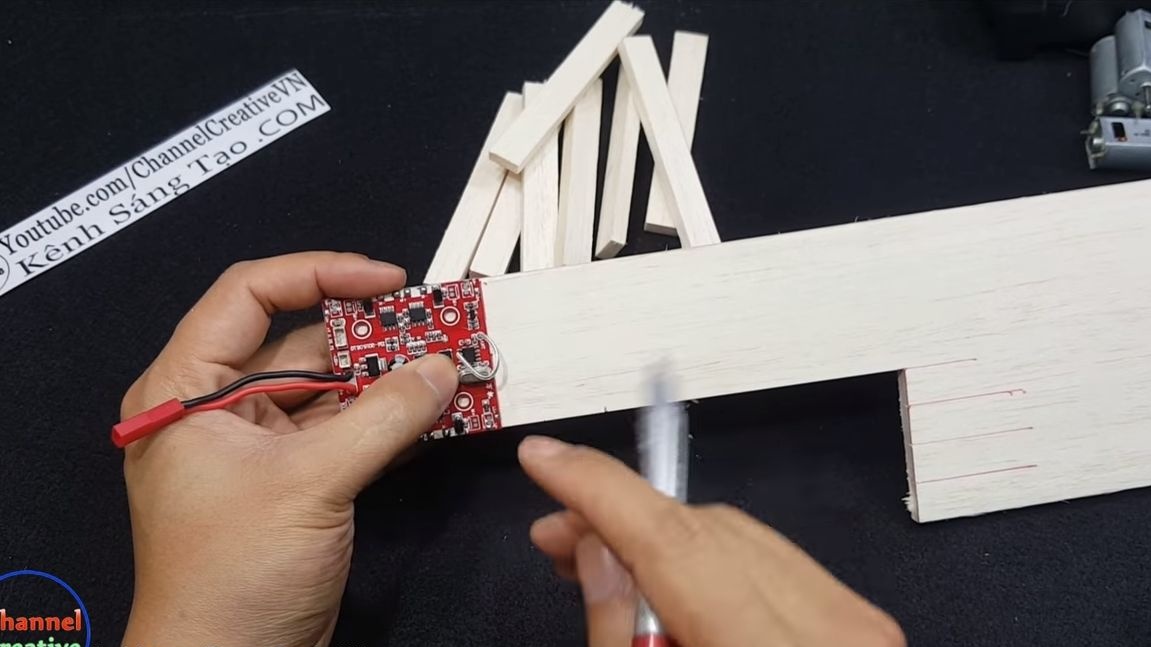
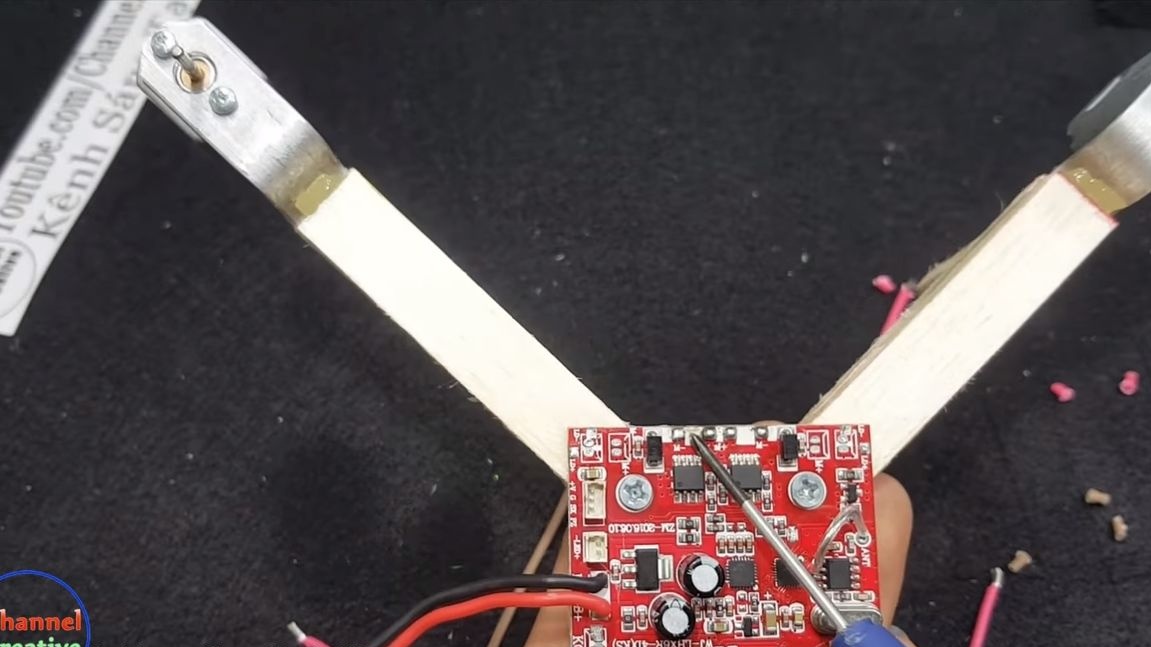
Step Five Install the controller
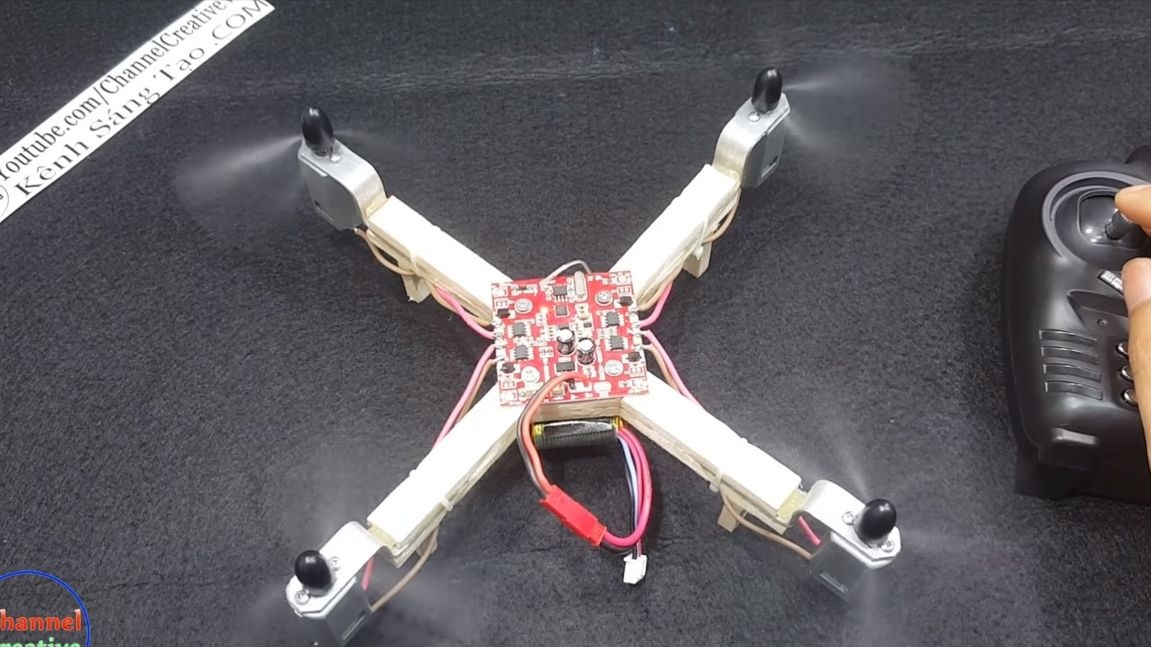
The controller will need to be fixed in the center at the designated site. The author fastens it using screws for wood. In the future, the controller must be protected from moisture and dust, as there are many small components that can easily fail if dirt gets in.
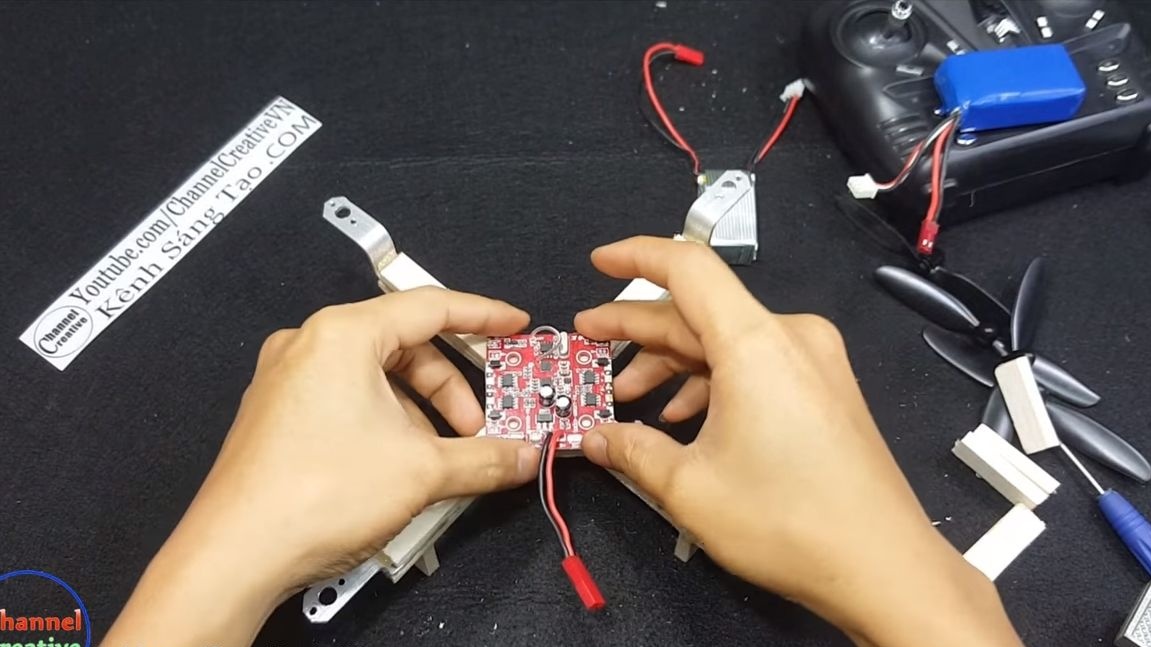
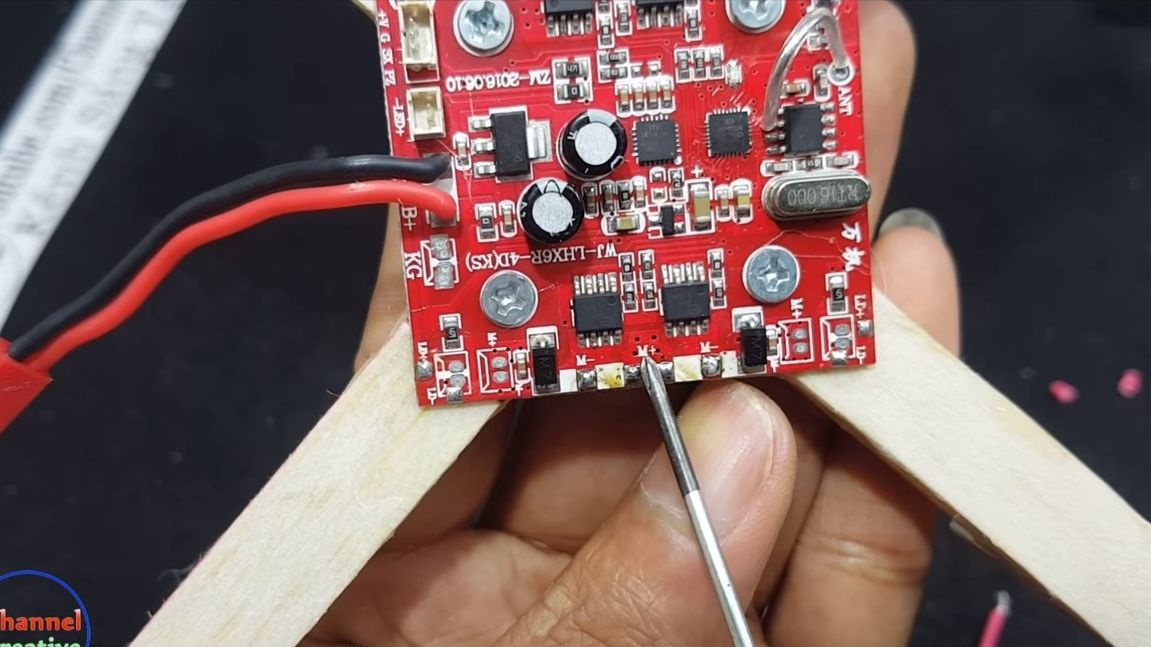
Step Six We install and connect the engines
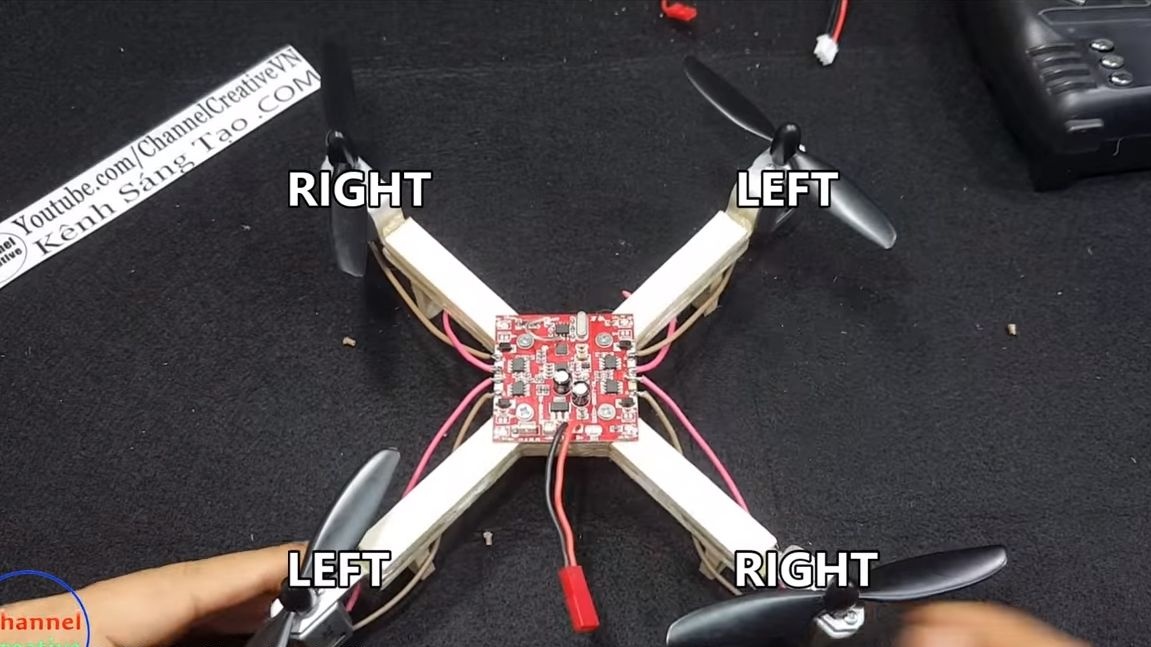
Fasten the motors to the brackets using screws. Now the most crucial moment has come - connecting the engines to the controller. In total, there are 8 outputs on the controller, that is, for each motor there are two contacts separately. Solder the wires to the board and motors, observing the polarity. You can see the connection diagram in more detail in the photo.
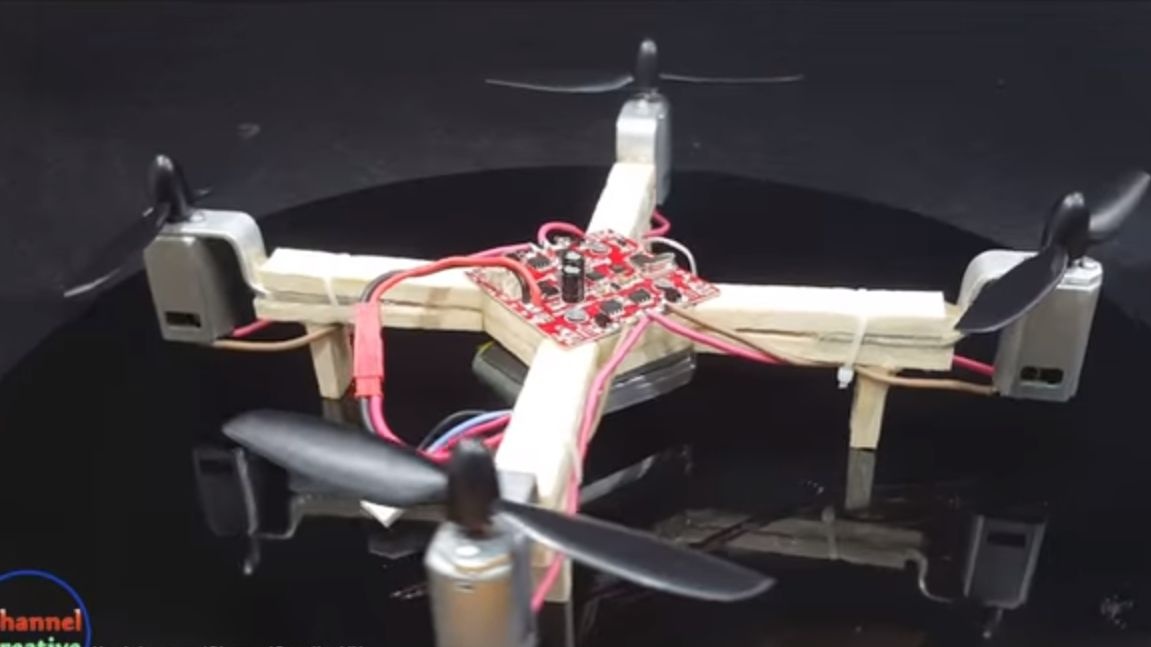
Now it remains to install propellers on the motor shafts. We have them right and left, and they need to be installed diagonally. That is, the right opposite the right and the left opposite the left diagonally across the frame. This will avoid the effect of rotation of the quadrocopter around its axis.
Seventh step. The final stage of assembly
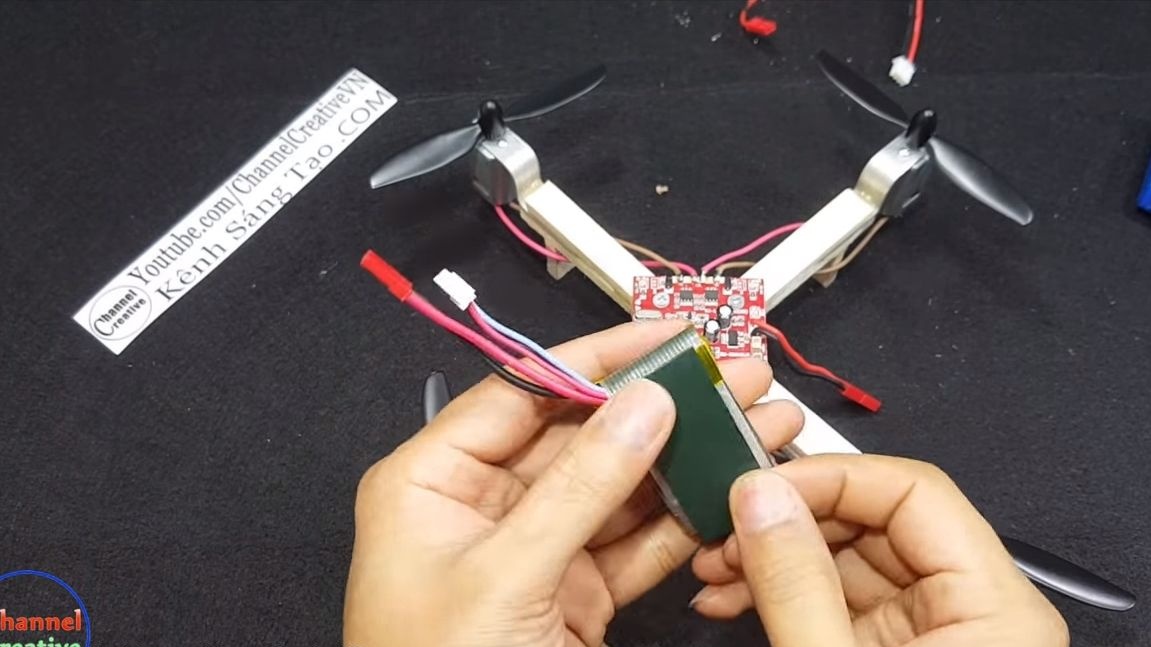
The quadrocopter is almost ready, the finishing touches remain. You will need to install a battery, there may be several, it all depends on the power and needs of the device. The author used two batteries with an operating voltage of 7.4 Volts, their capacity remains a mystery. First connect the batteries to each other, they can be wrapped with tape or glued with double-sided adhesive tape. Next, take a double-sided tape and glue the battery to the base of the quadrocopter. This should be enough to fix the battery.
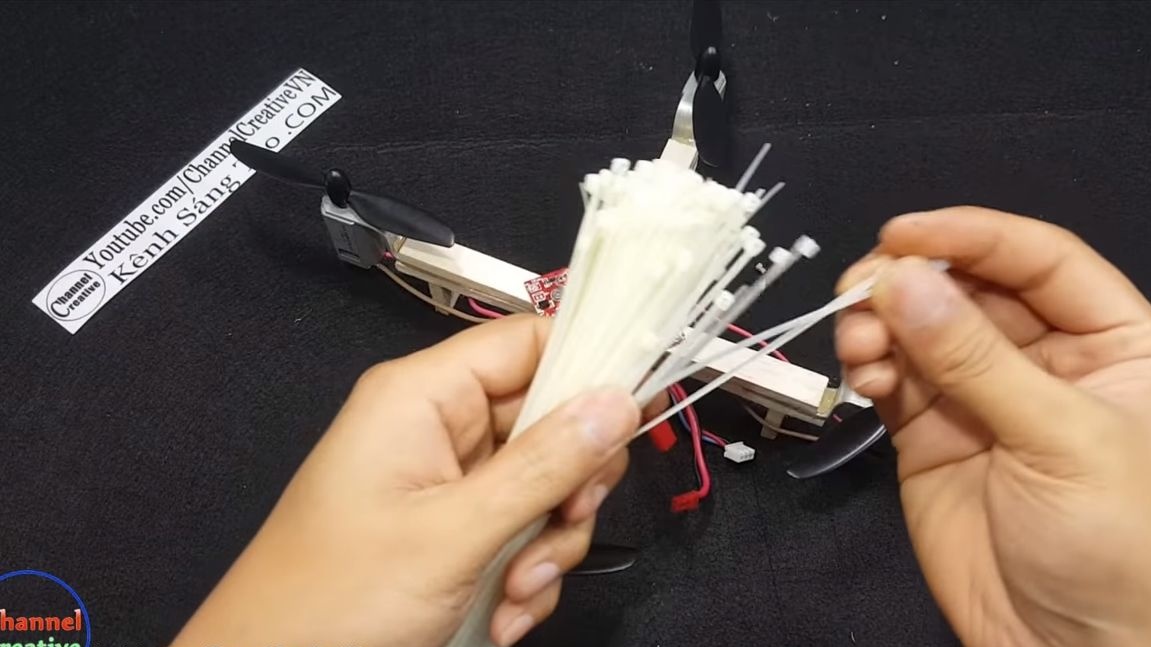
You will also need plastic ties. Using them, fix the wires going to the engines so that nothing hangs anywhere. If the wires hang, over time they will fall off the attachment points.
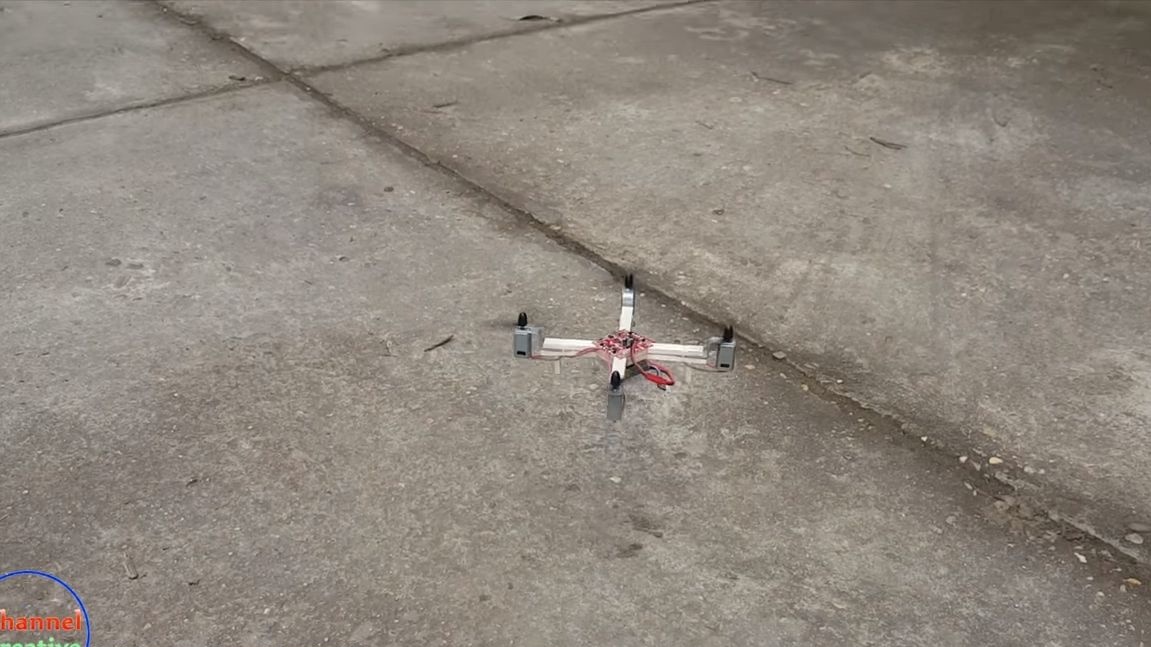
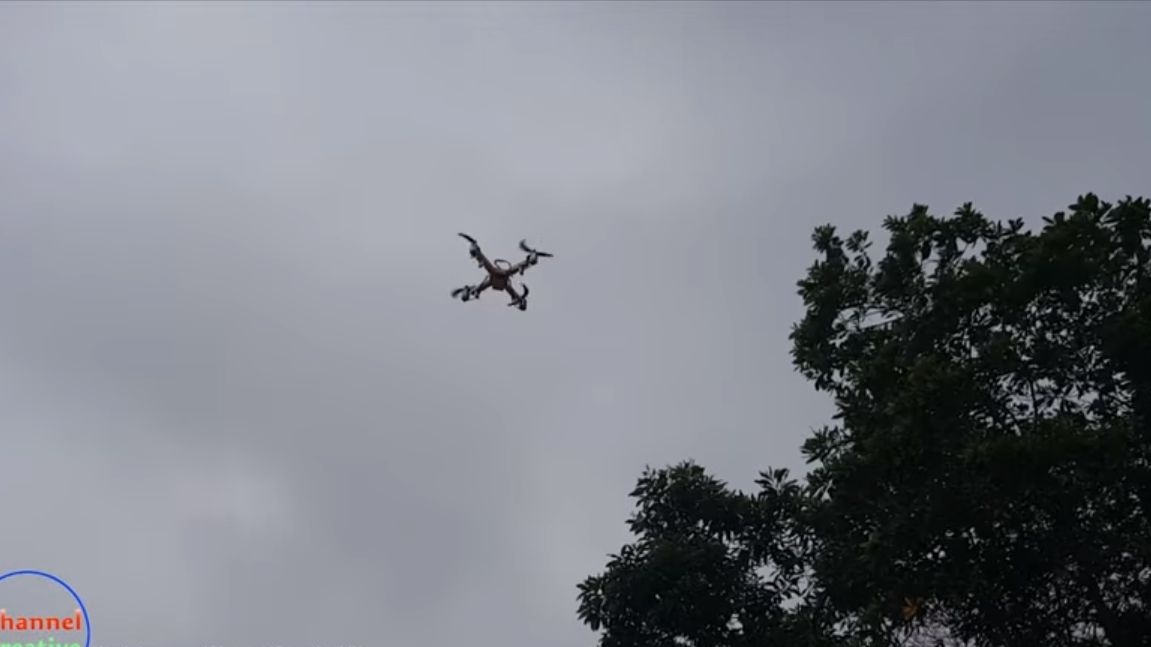
At this manufacturing quadrocopters can already be considered complete. You can proceed to the tests, but do not forget to charge the batteries well first.At the author, the quadrocopter flies quite briskly on the video, and is perfectly controlled. And all this despite the lack of sophisticated electronics to control. Of course, the device was not very powerful and light enough, so it is not recommended to test it in windy weather. That's all, good luck and inspiration in making homemade products!