
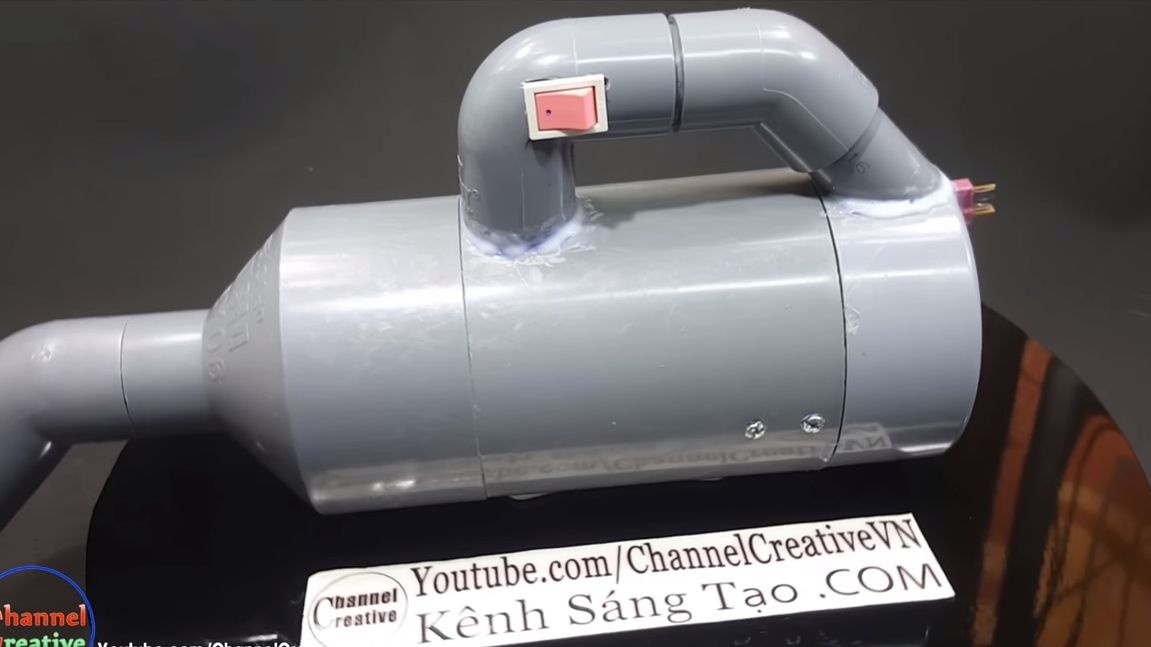
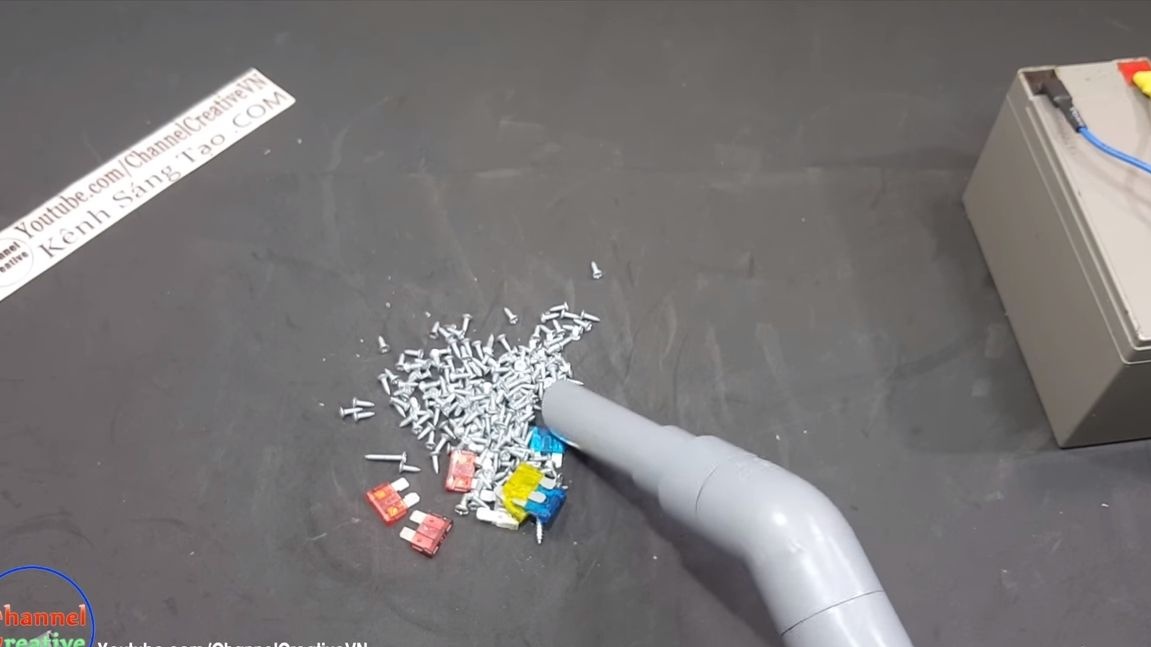
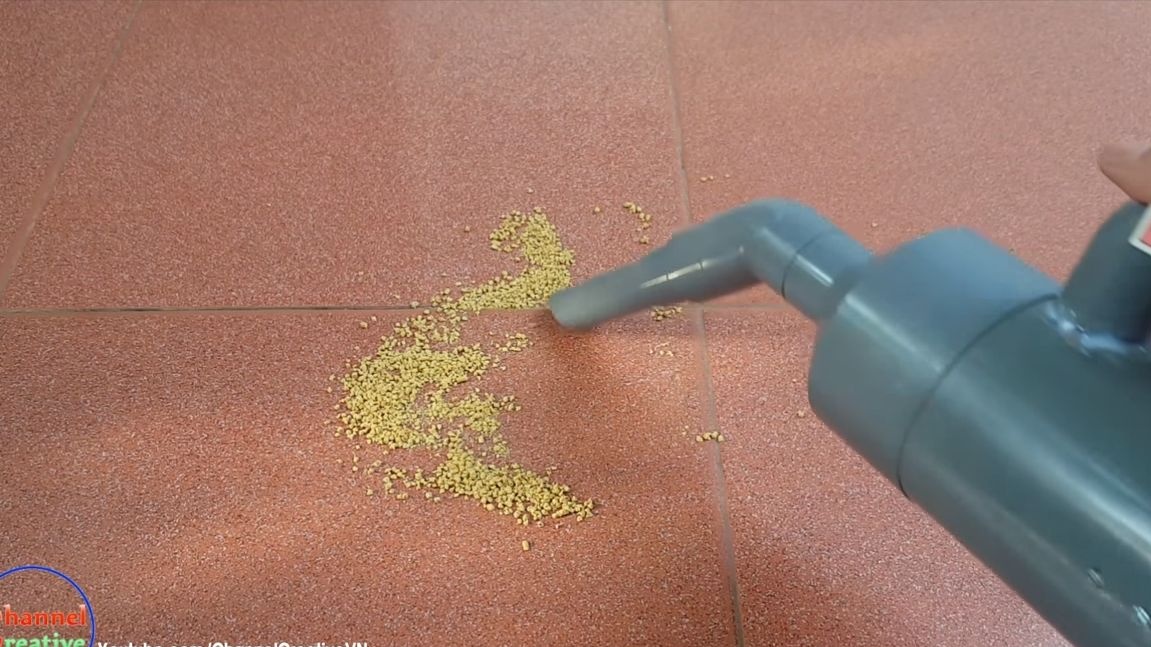
Greetings lovers to craft! Admit, often in your life there was a situation when you need to quickly collect small items. It can be cogs, electronic components, as well as various kinds of garbage like chips and the like. Manually doing it all is very sad and long. I bring to your attention a solution to this problem - a homemade vacuum cleaner! Now you can instantly collect small parts or clean. This vacuum cleaner is not able to pick up dust, since there is no fine filter. It is designed to assemble larger items.
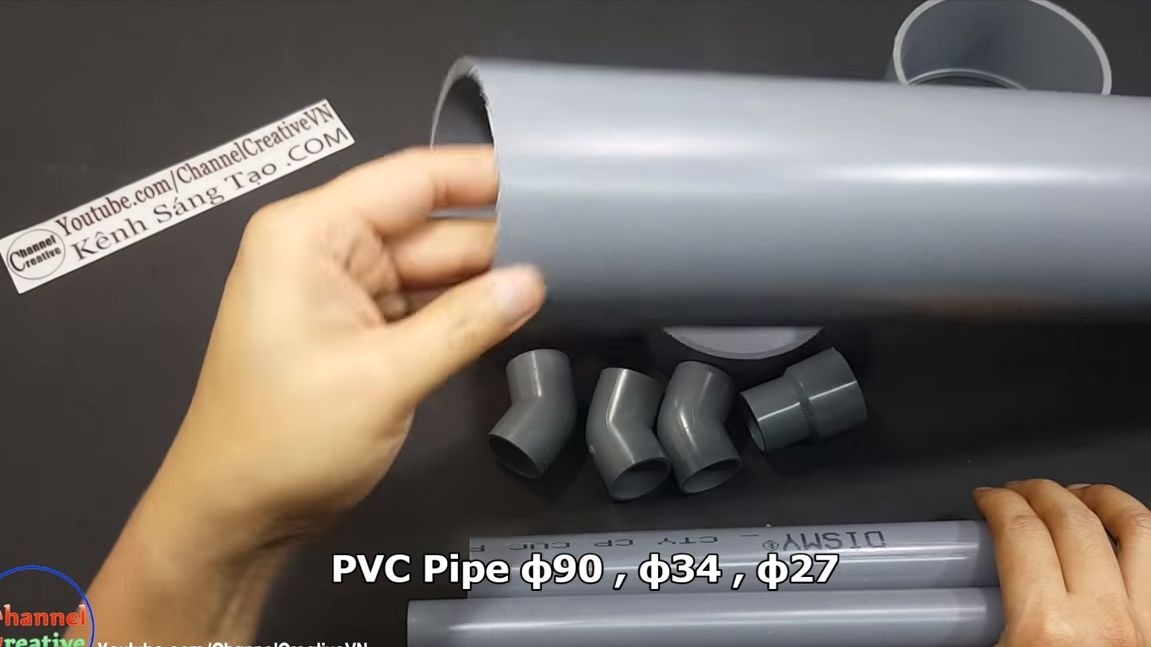
Almost all homemade assembled from PVC pipes, as well as accessories for them. As a power unit, use or similar. The required power may well be given out by engines with an operating voltage of 12V. You can power the device from the battery, as a result, the tool we get is mobile. Of course, instead of the battery, you can use the power supply if necessary.
Such a vacuum cleaner will work without problems from a car battery, if you suddenly come in to clean the cabin auto. So, let's get down to manufacturing.
List of materials and tools that the author used:
Material List:
- or similar;
- sheet steel for the manufacture of turbines;
- tulle or other similar material for the manufacture of a filter;
- switch;
- wires;
- sheet aluminum;
- cogs, washers, nuts, etc .;
- ;
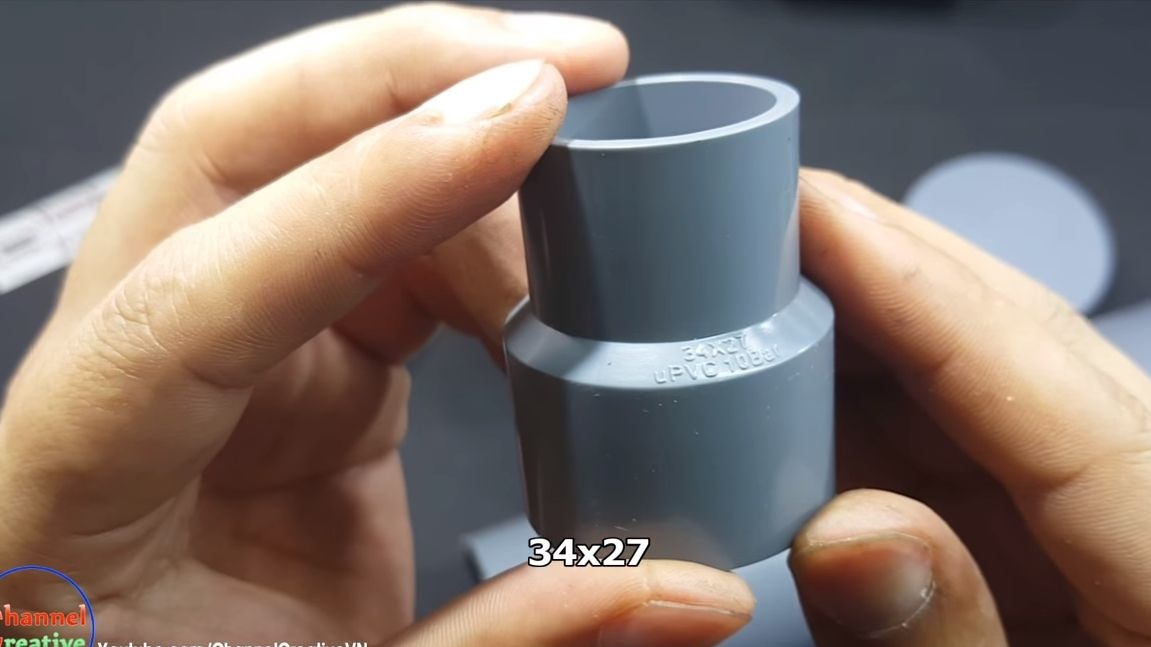
- plumbing components (see photo);
- “plug” for connecting a power source or connector.

Tool List:
- a hacksaw for metal;
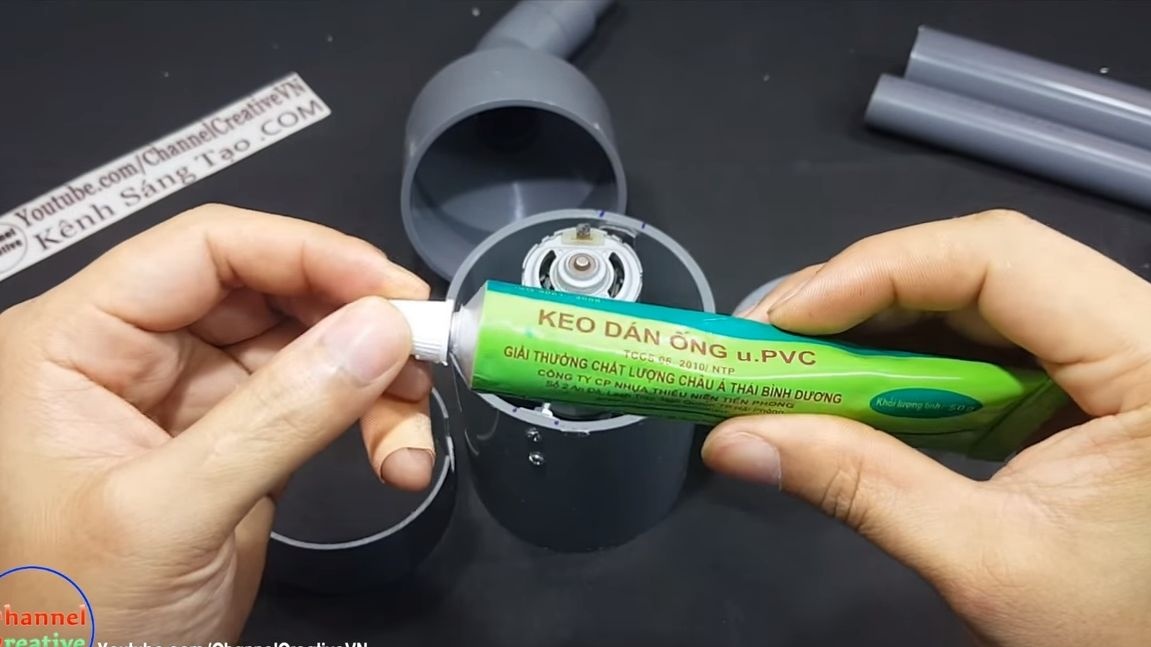
- glue for pipes;
- epoxy adhesive;
- ruler;
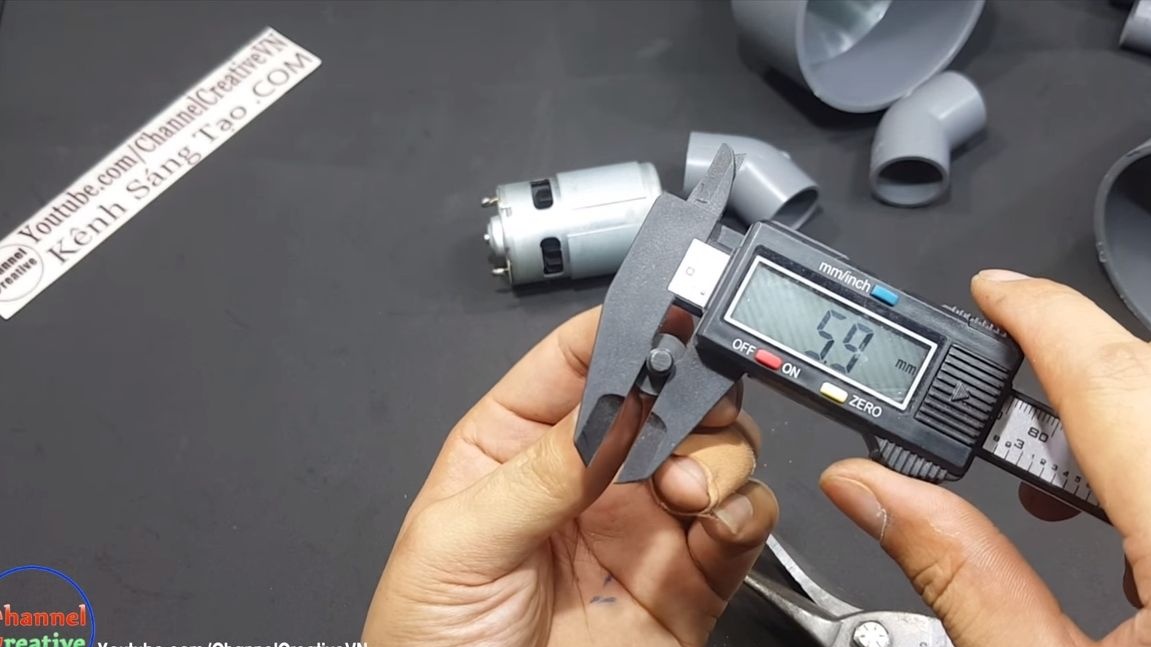
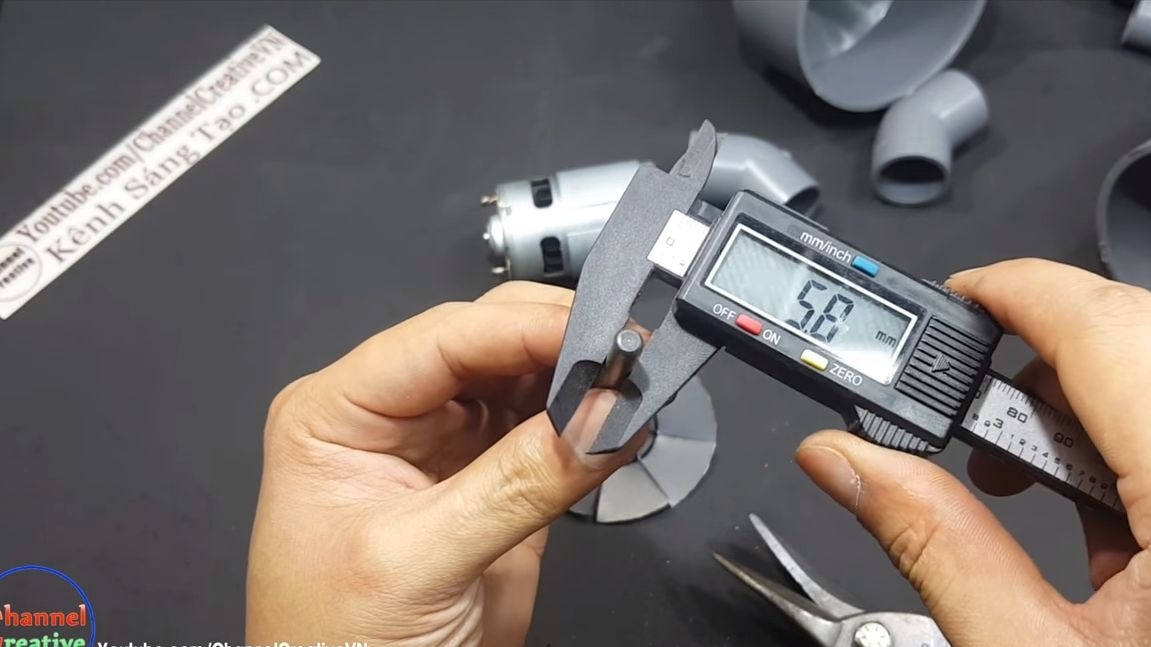
- vernier caliper;
- compass;
- marker;
- scissors for metal;
- pliers;
- device for cutting pipes;
- grinder;
- a drill or a drilling machine.
Vacuum cleaner manufacturing process:
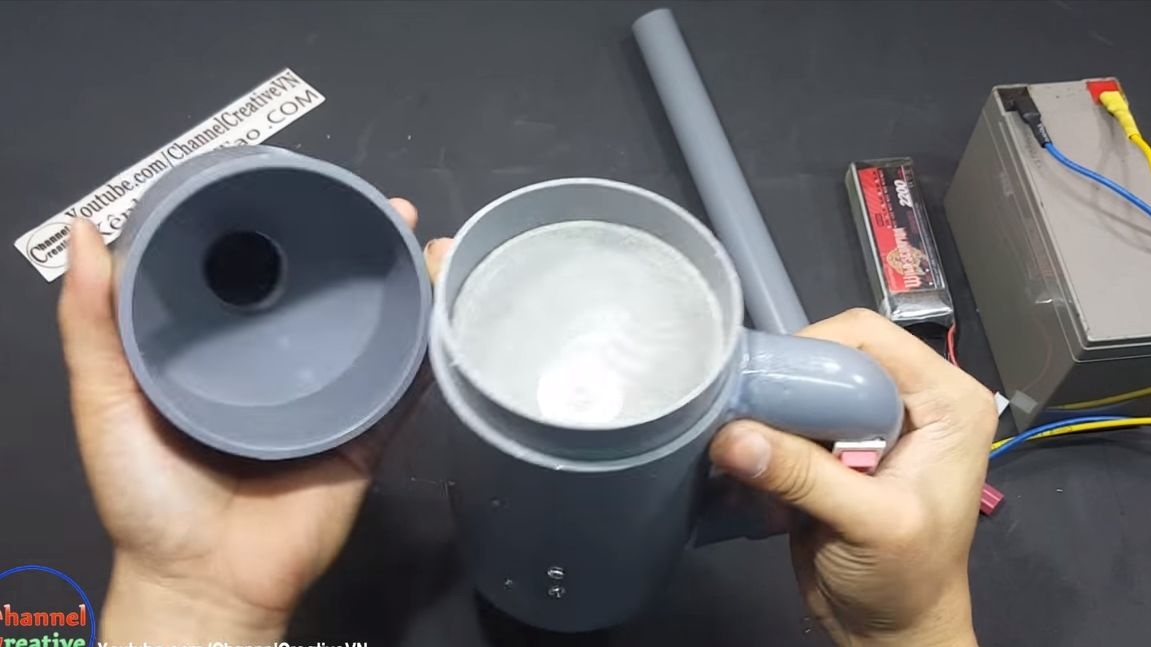
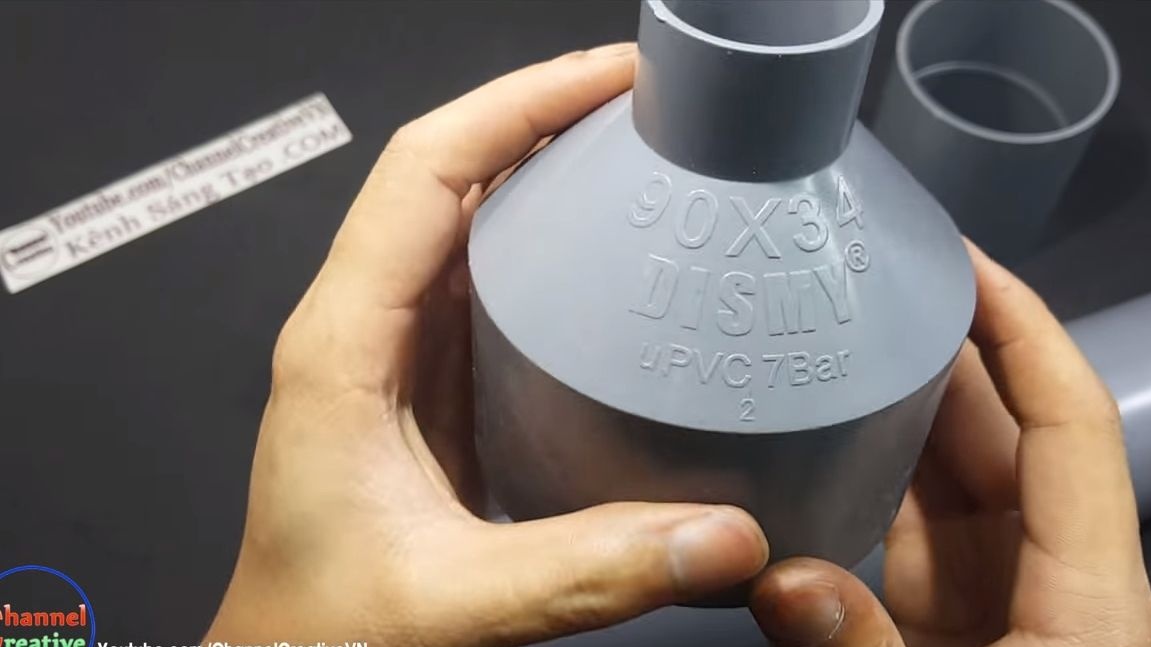
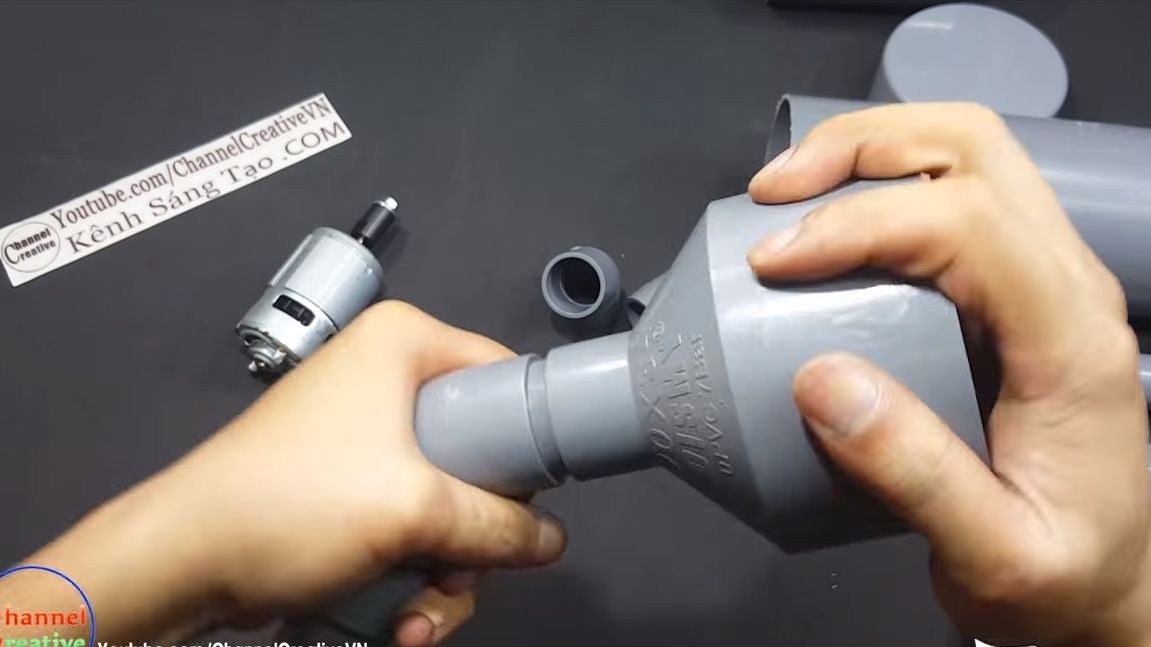
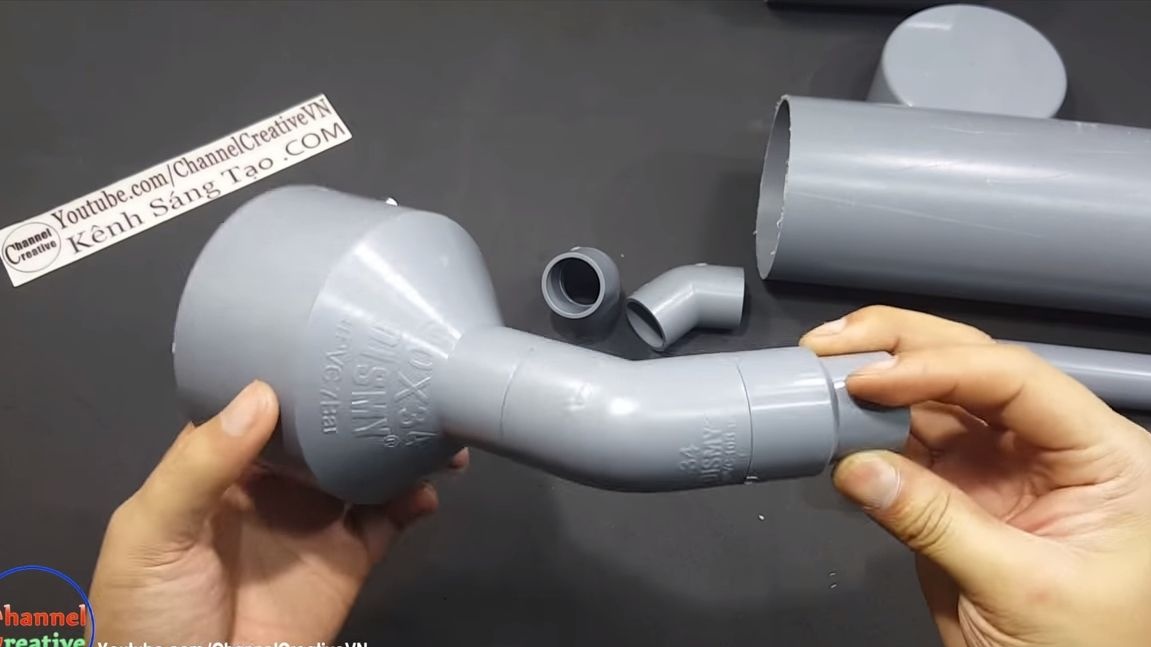
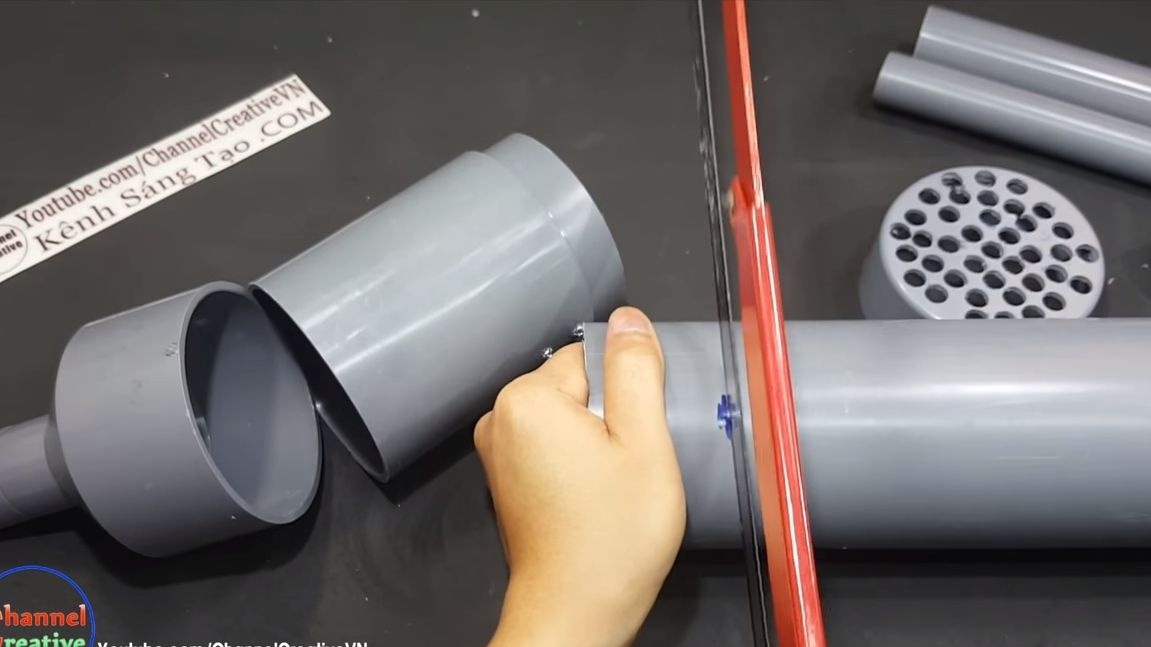
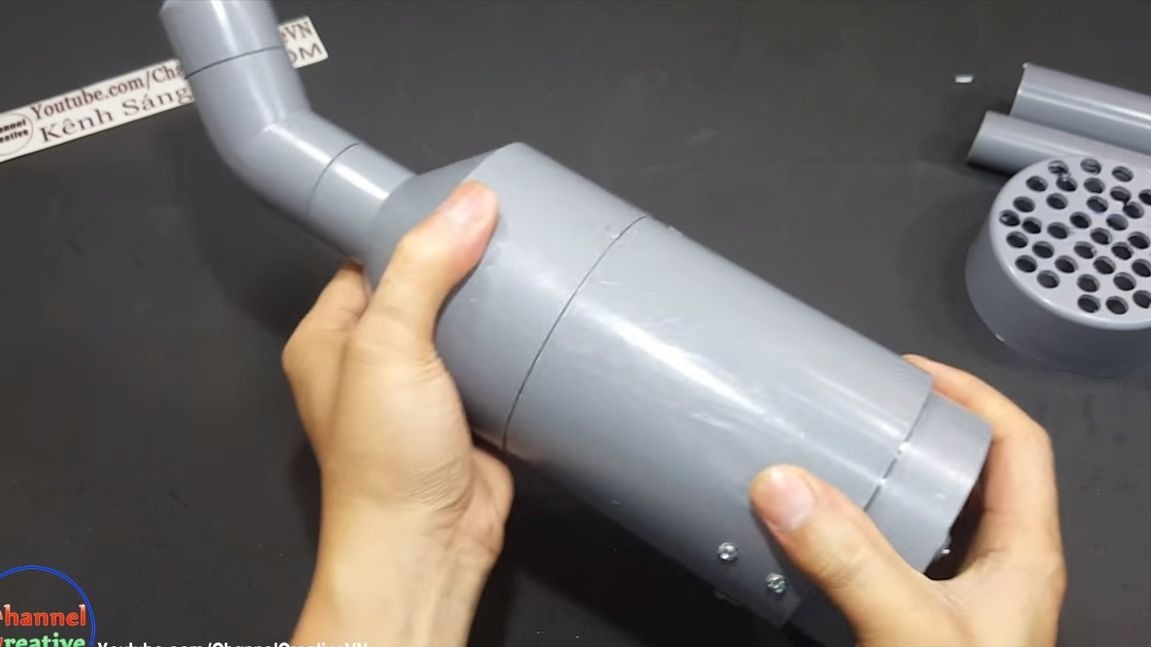
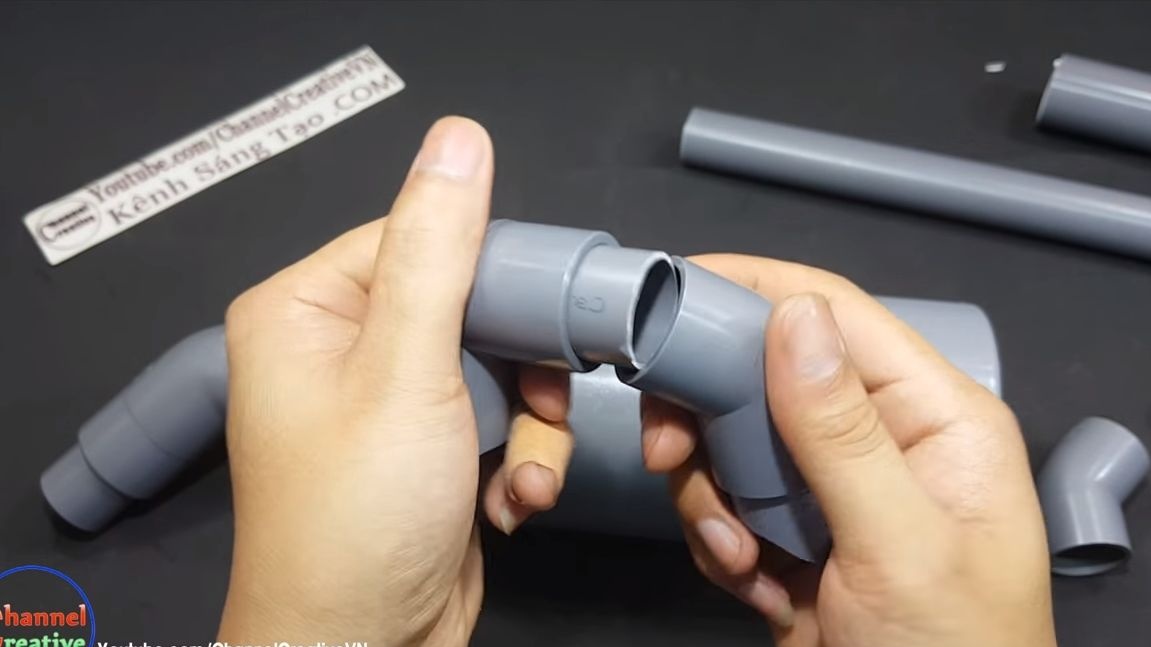
Step one. Making the nose of a vacuum cleaner
The nose is made of part 90X34 in the form of a cone. It will be necessary to make a “trunk” to it, on which you can then attach various nozzles that are made of pipes. To make the part, you will need another pipe corner and several pieces of pipe for connection. We collect everything on glue for pipes.
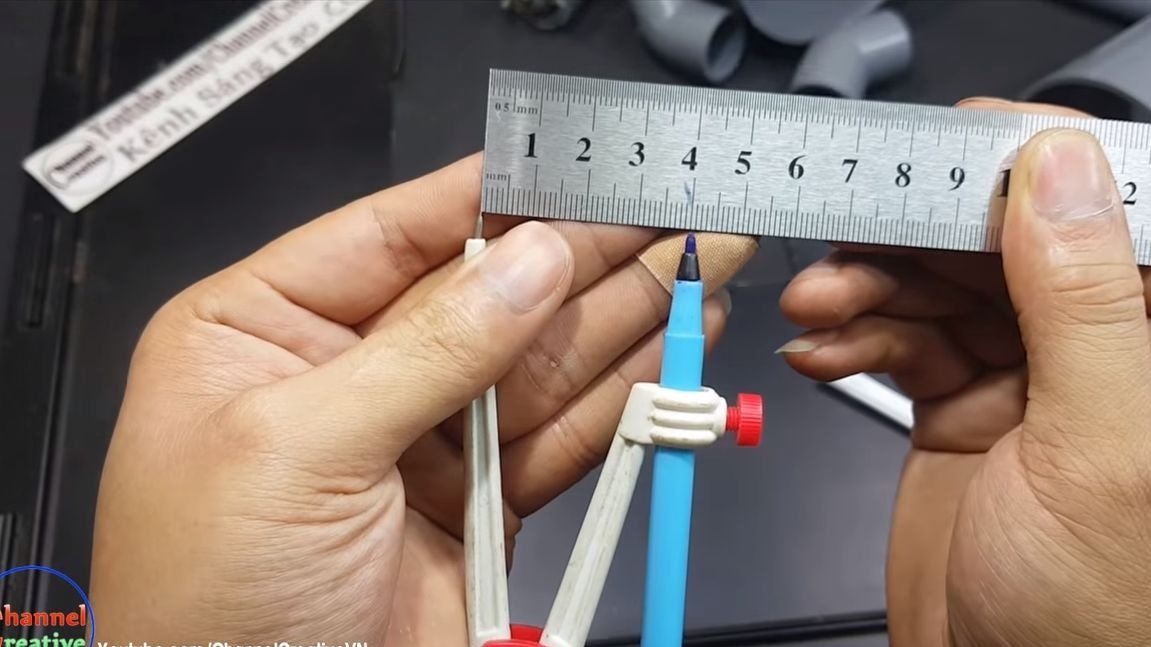
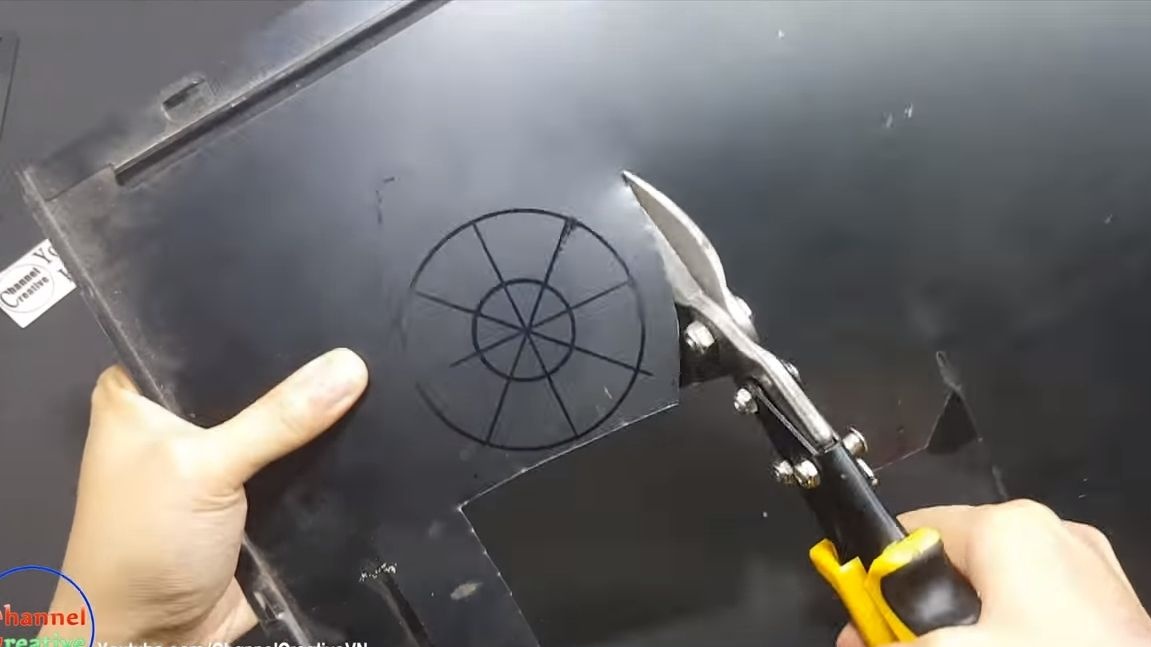
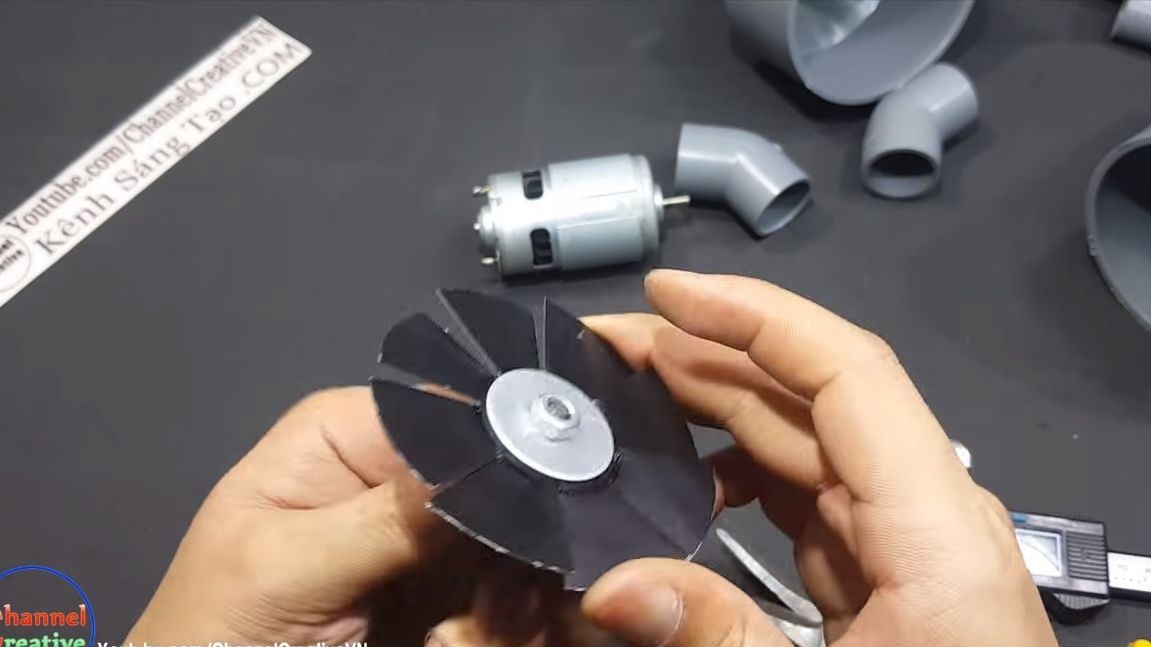
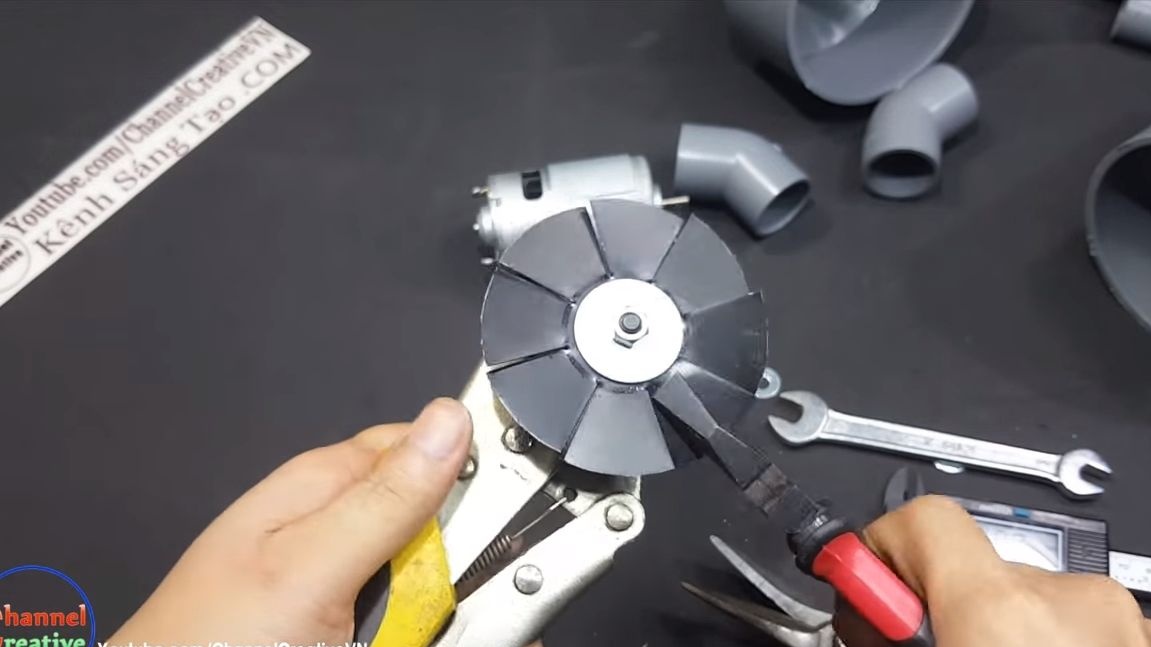
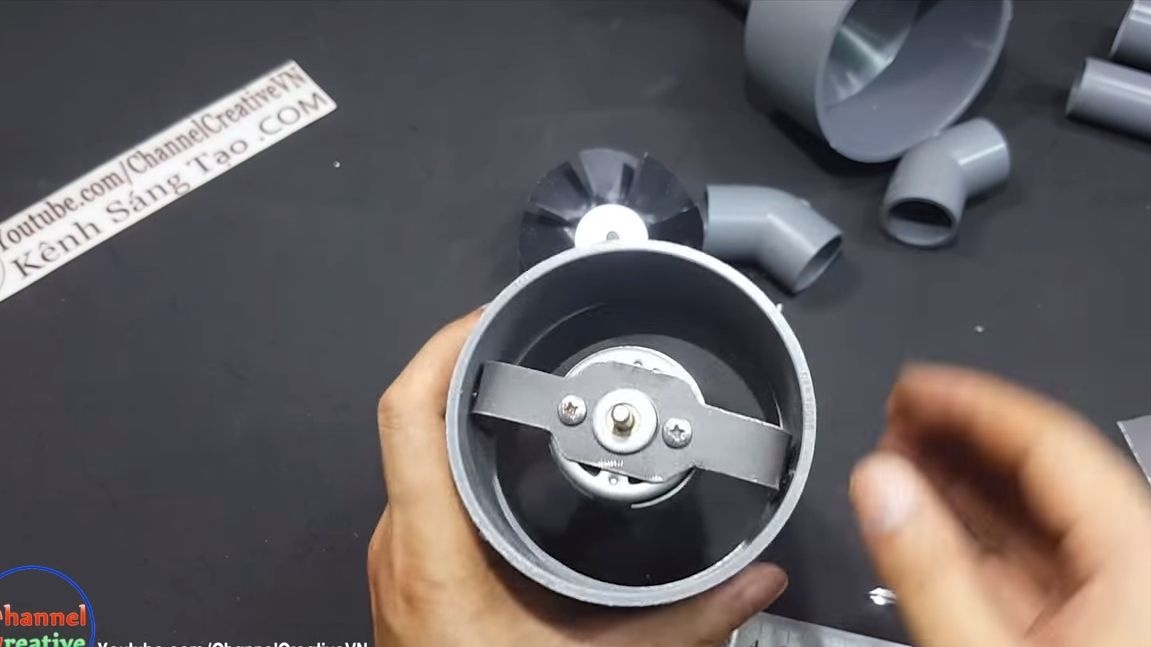
Step Two We make an impeller
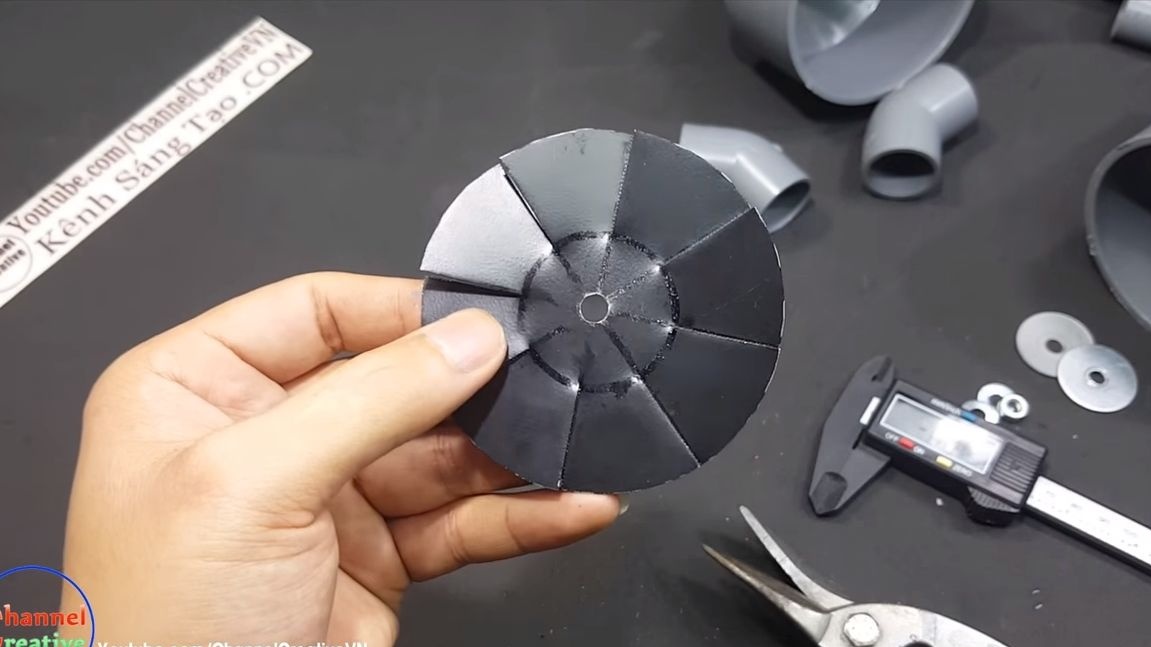
For the manufacture of the impeller, sheet steel is perfect. Measure the inner diameter of the pipe from which the vacuum cleaner body is made, and then draw a circle of slightly smaller diameter on the steel sheet.Divide the circle into 8 parts, exactly how many blades the author has an impeller.
Well, then you can cut it, metal scissors are suitable for this.

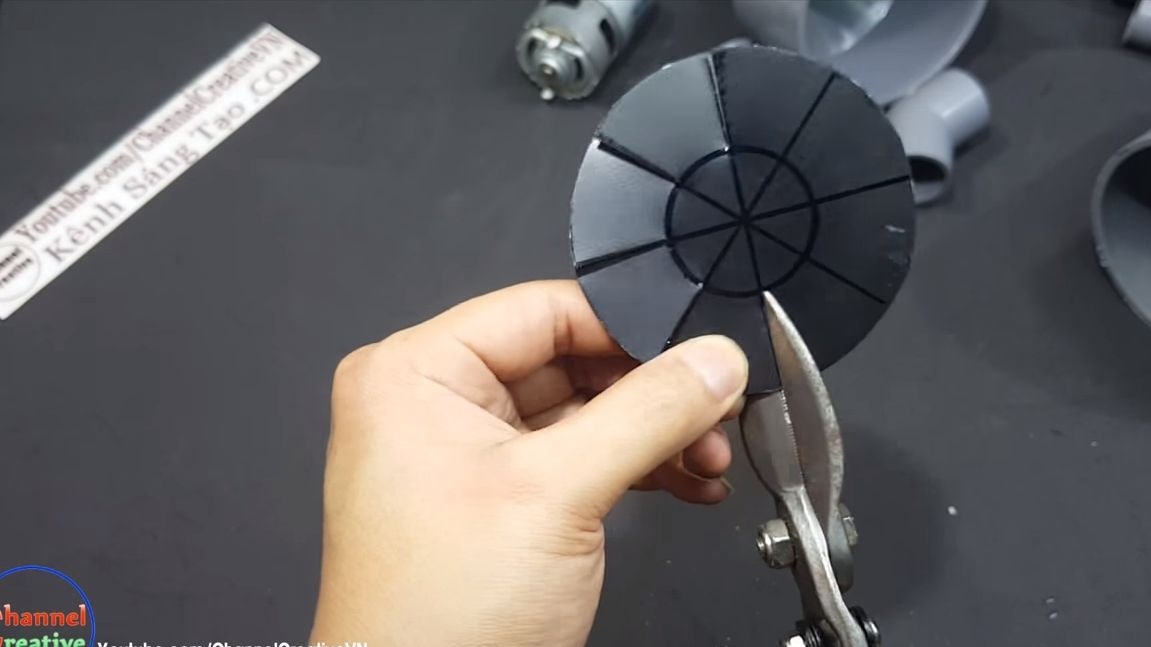
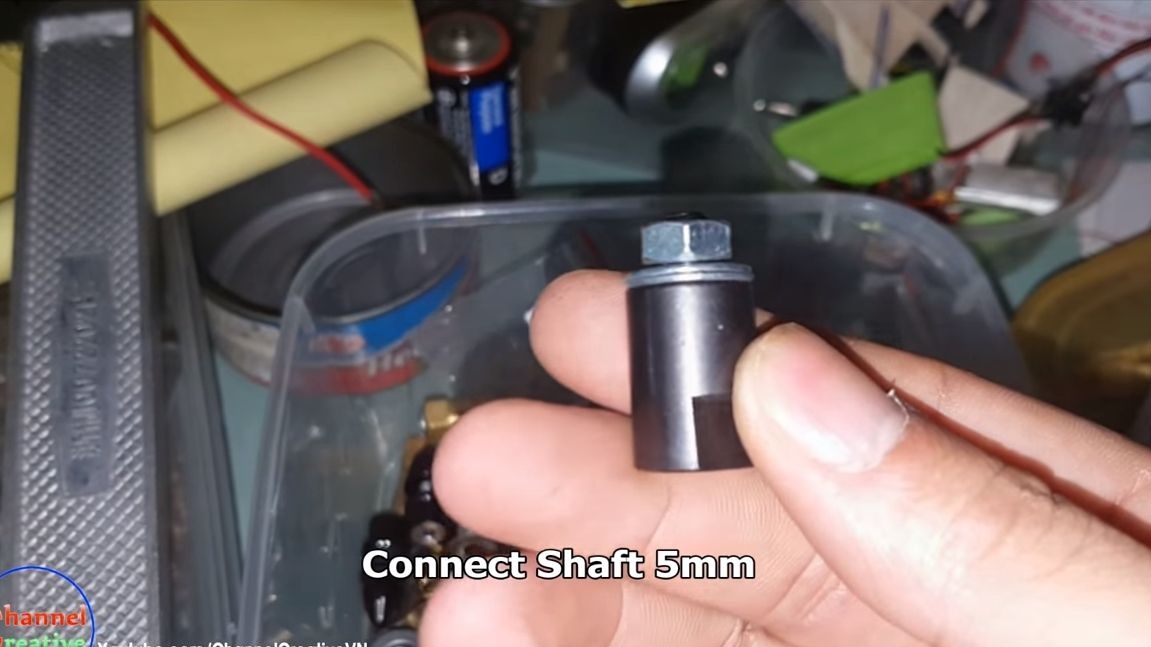
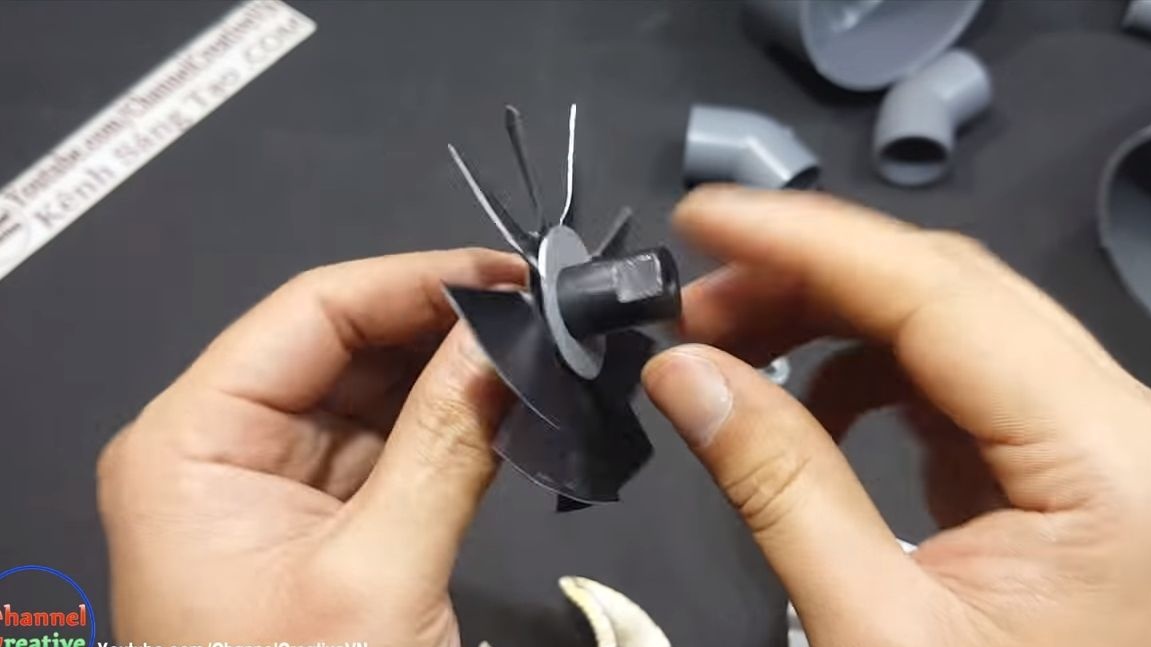
When the part is cut, drill a hole in the center. It must be of such a diameter that it is possible to screw the impeller to the adapter, which is mounted on the motor shaft. The clearance between the mounting bolt should be kept to a minimum.
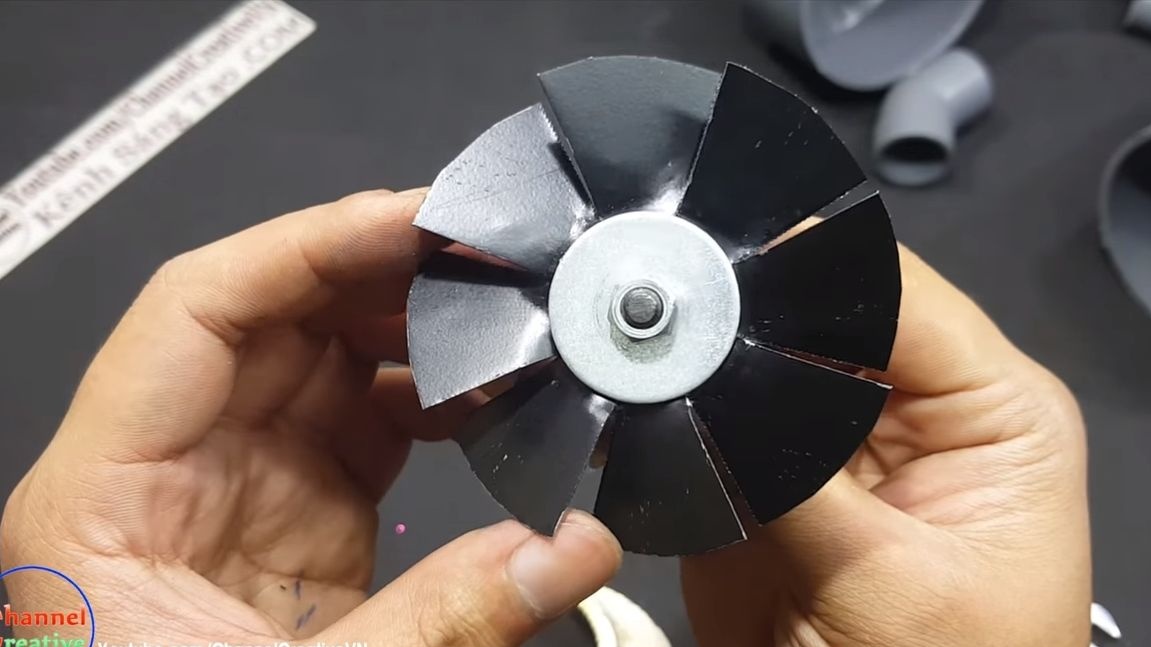
At the end, install the impeller on the adapter, placing washers on both sides. Now take the pliers and carefully bend each blade at an angle of about 45 degrees. That's all, now you have got a great turbine!
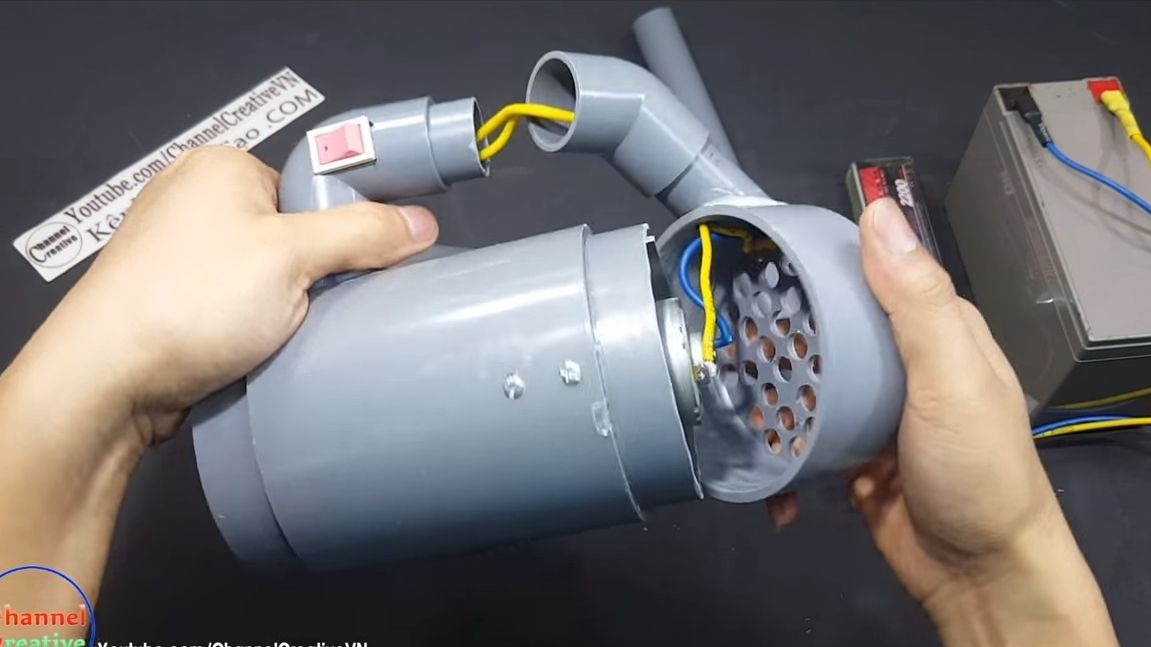
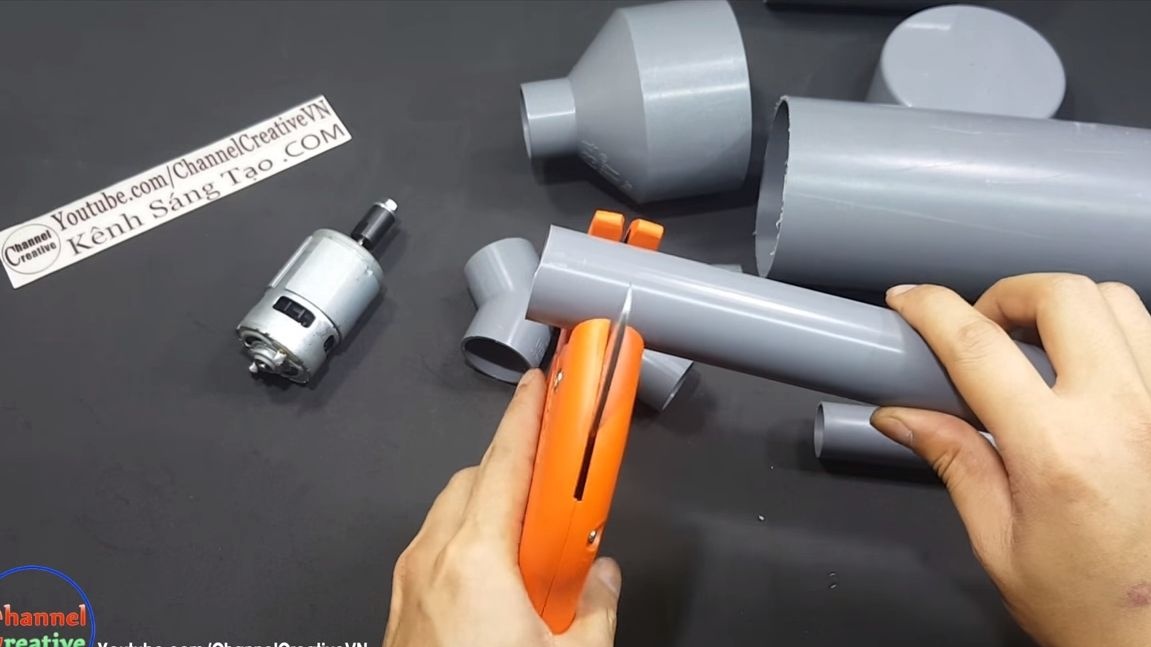
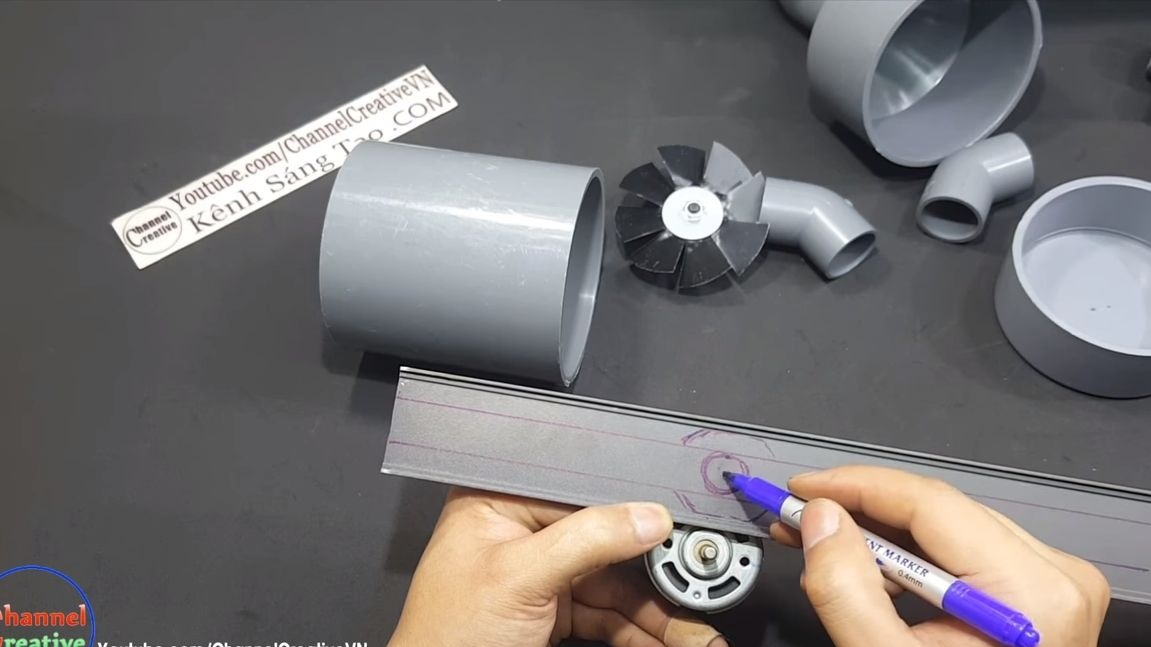
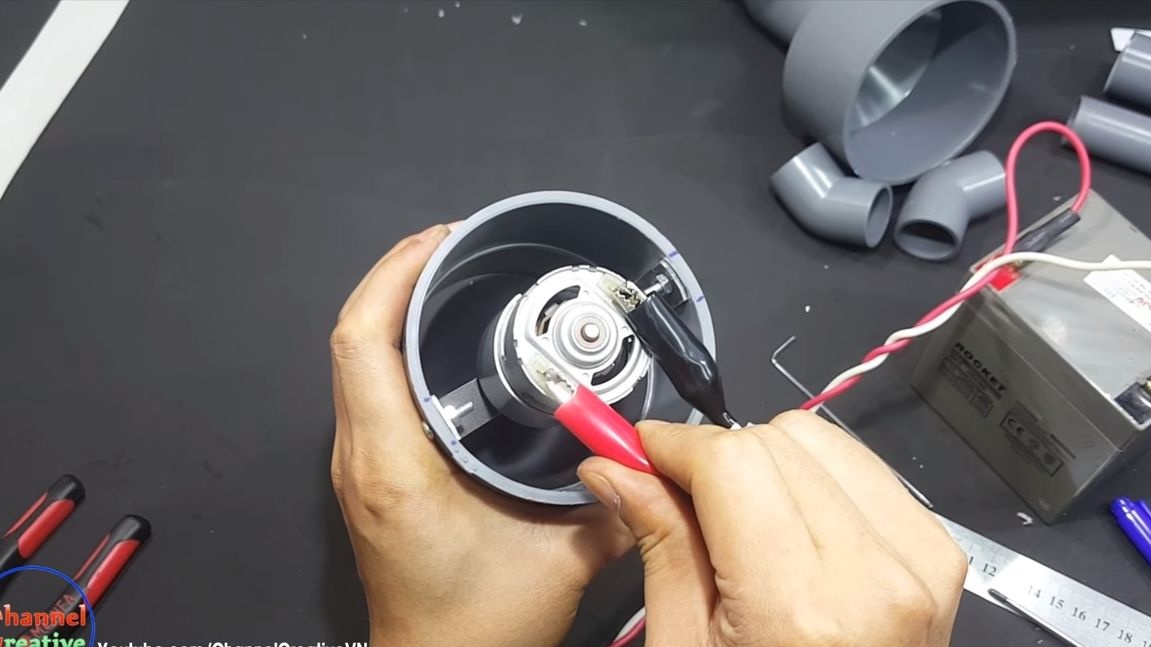
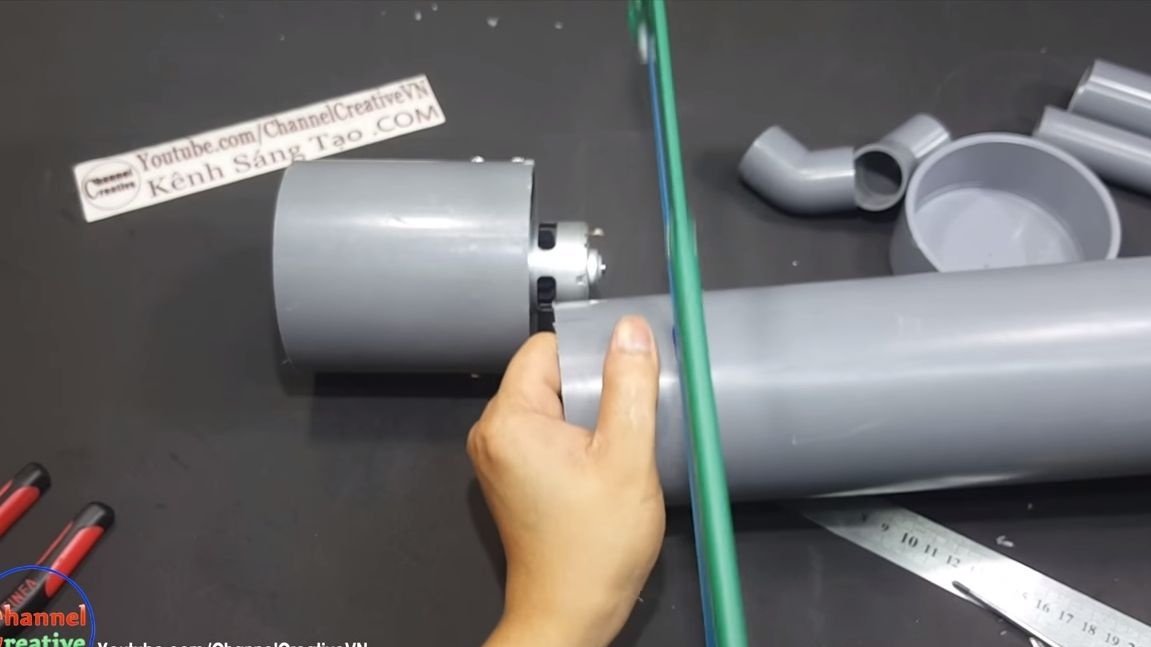
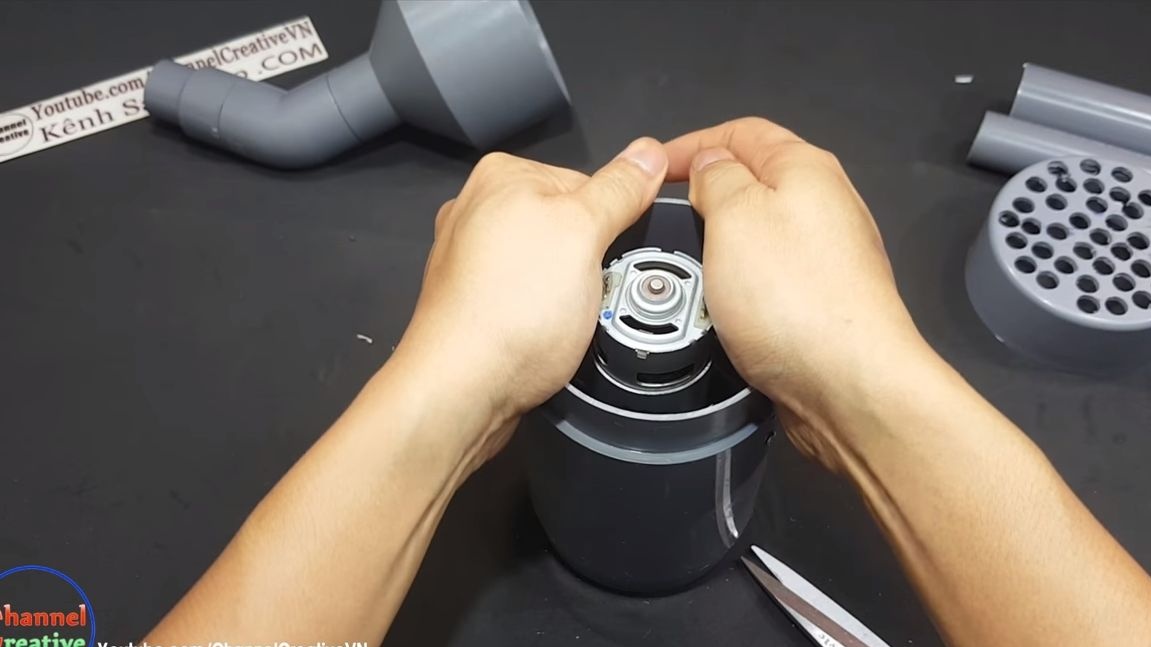
Step Three Engine mount
Our engine is quite powerful, so it should be fixed securely. It is necessary to make a bracket for it, for this the author used sheet aluminum. First, we mark the places for the holes, and then we cut out the plate that is necessary in length and width. We drill holes and fasten the engine using screws.
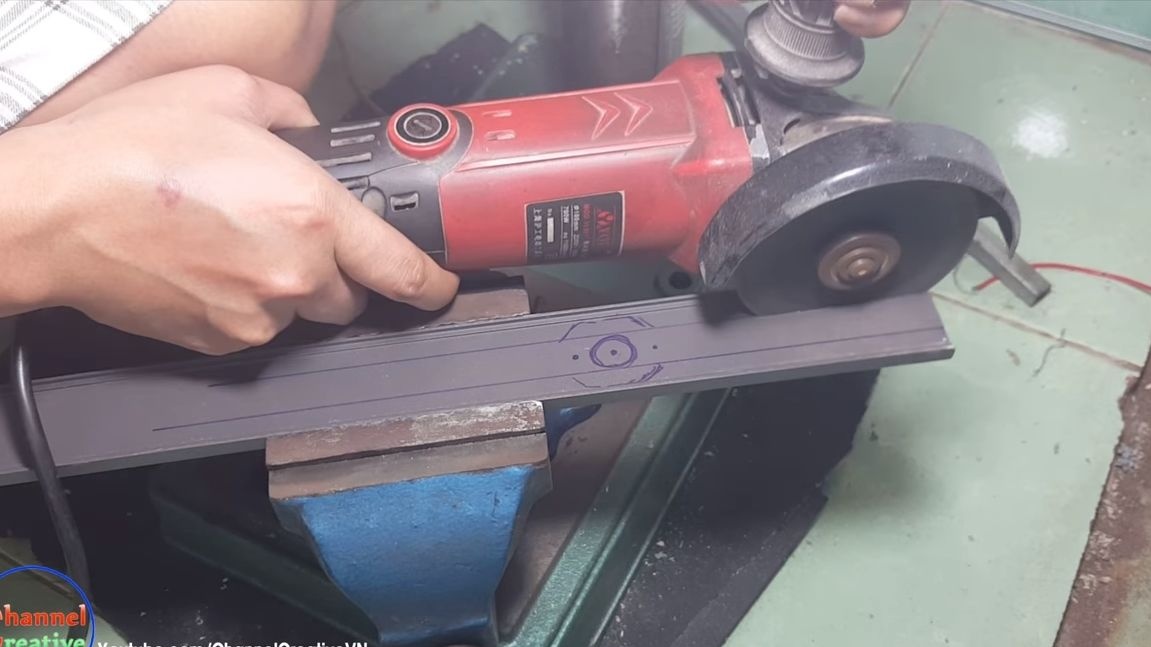
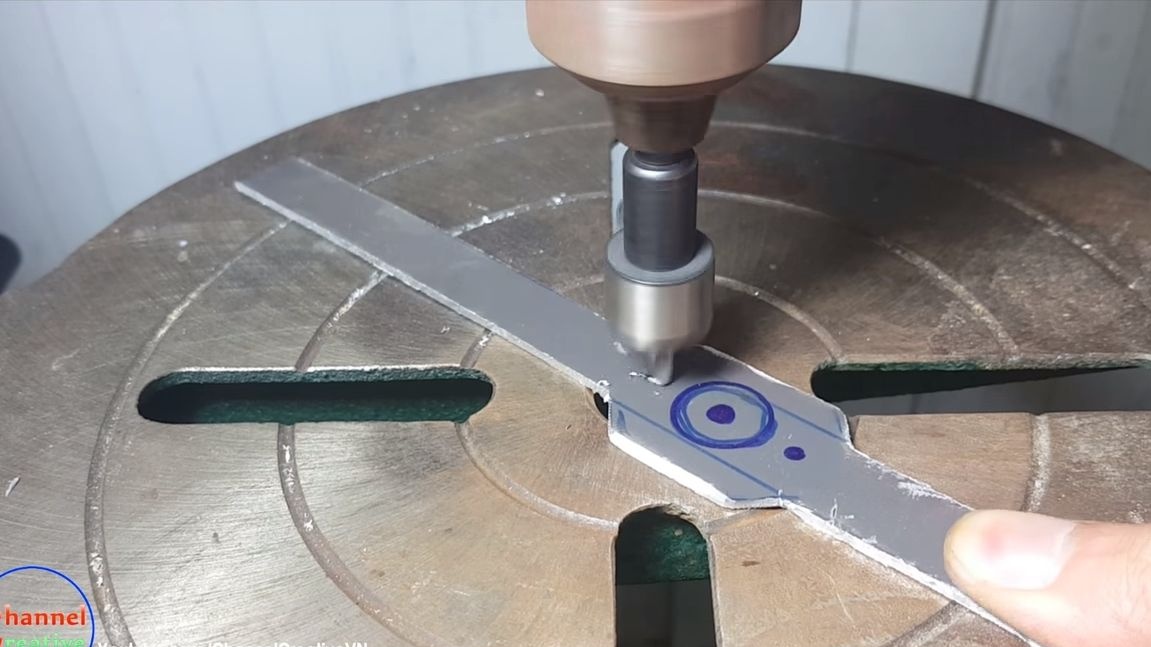
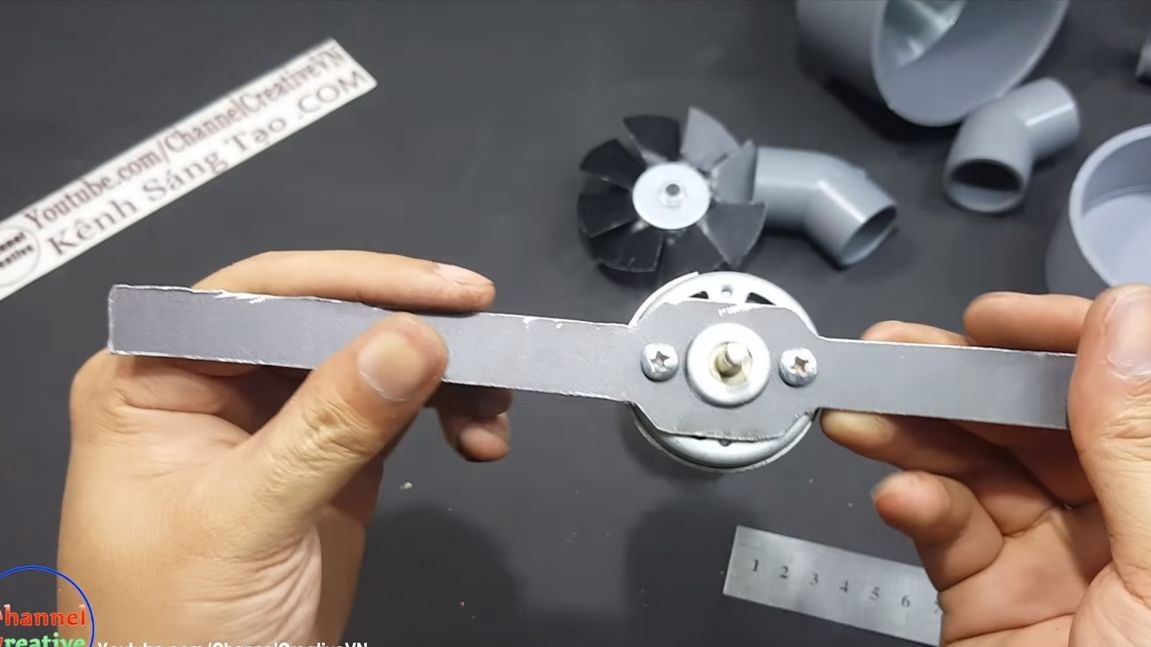
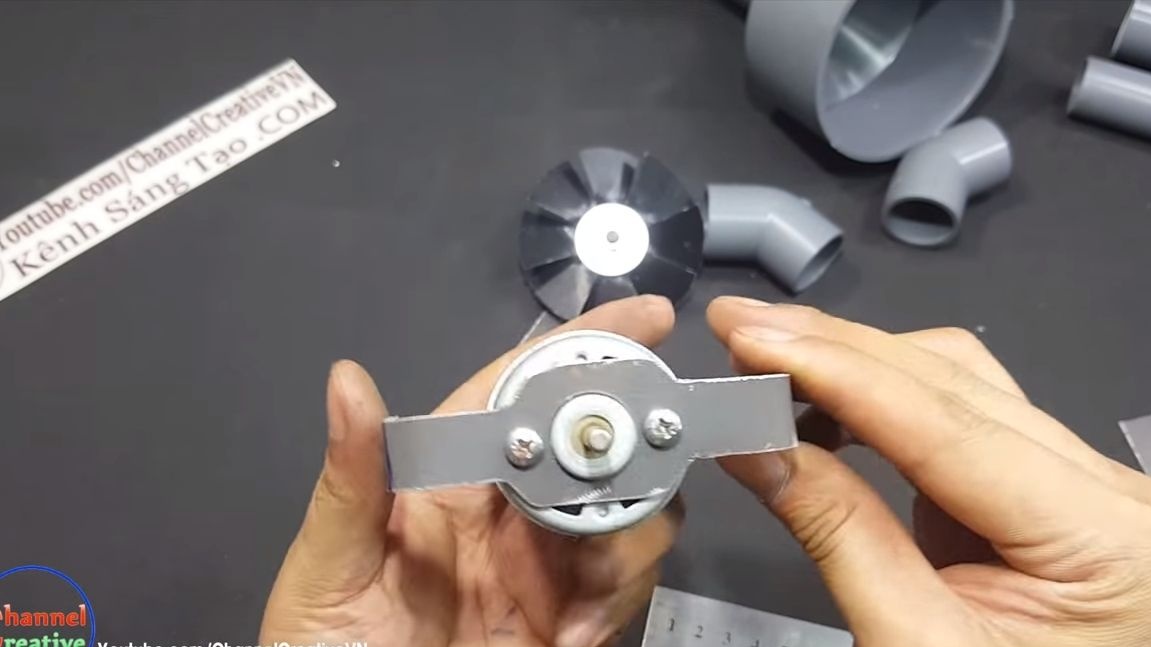
Now we bend the resulting plate in the form of the letter "P". We drill at the ends of the mounting holes, in the end we get an excellent bracket. Install the engine inside the housing, which is a piece of pipe. For fastening we use screws with nuts. It is better to use a grower, as the nut can unscrew from vibration and make a lot of noise. After that, you can immediately try to turn on the engine! Just decide on the polarity. It should work on air intake.

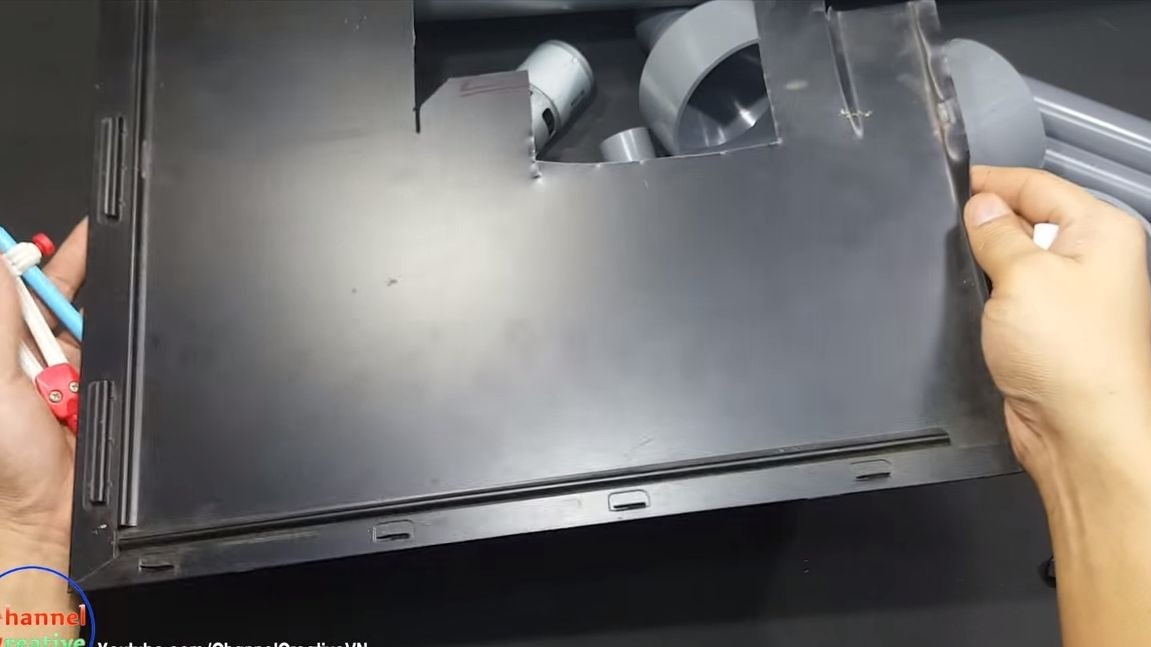
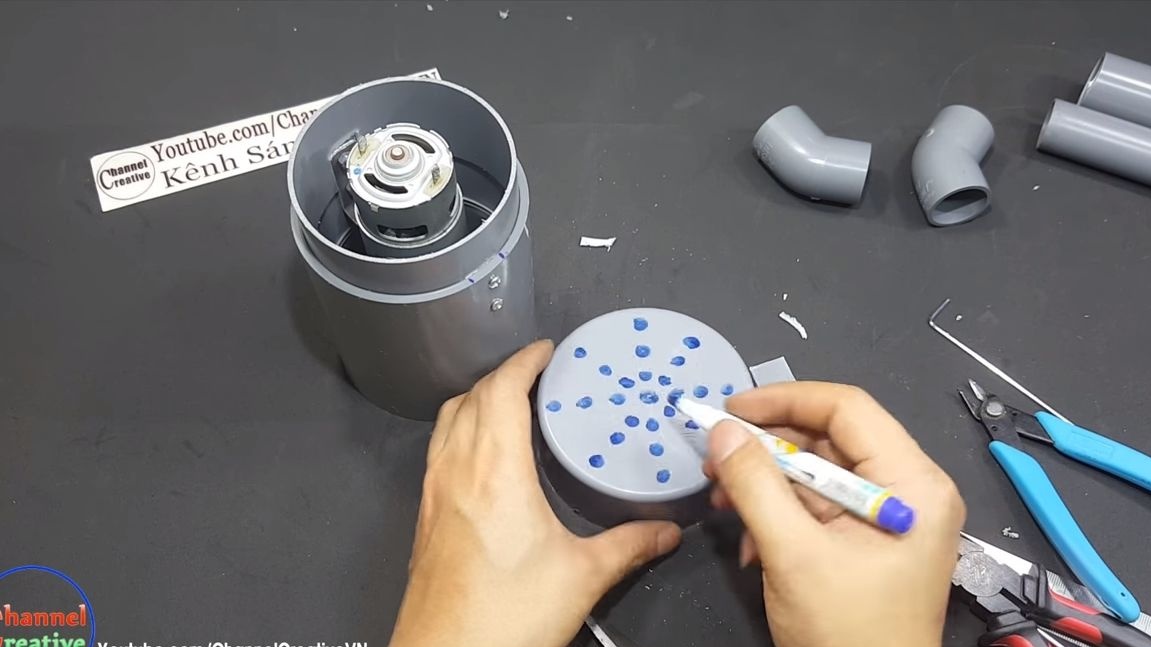
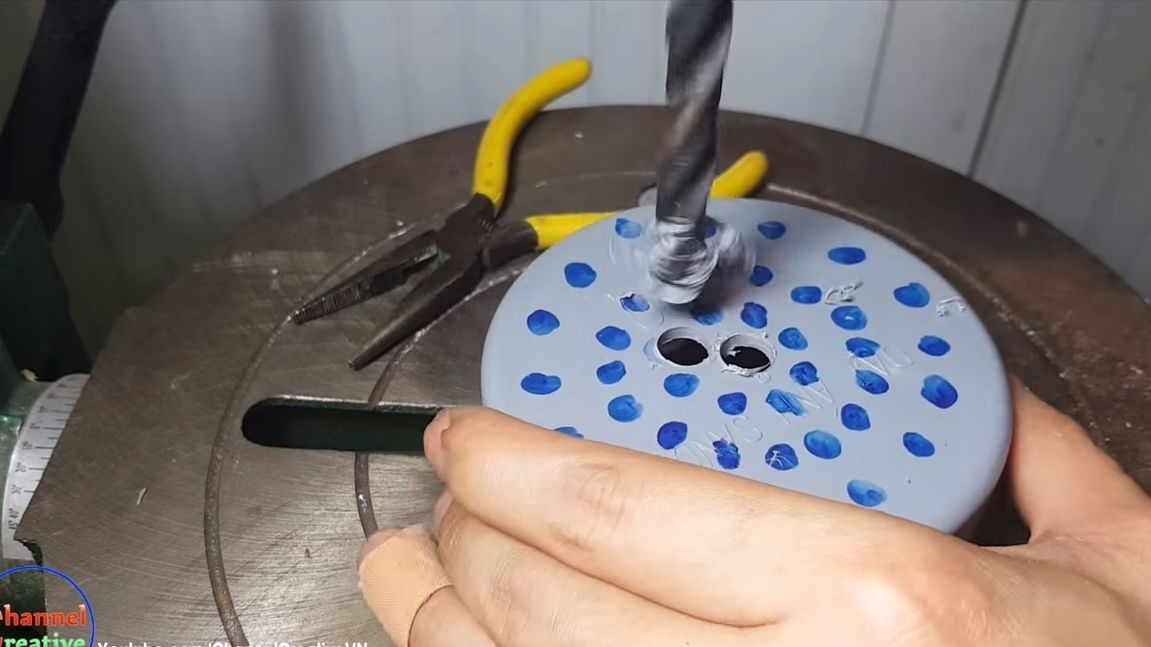
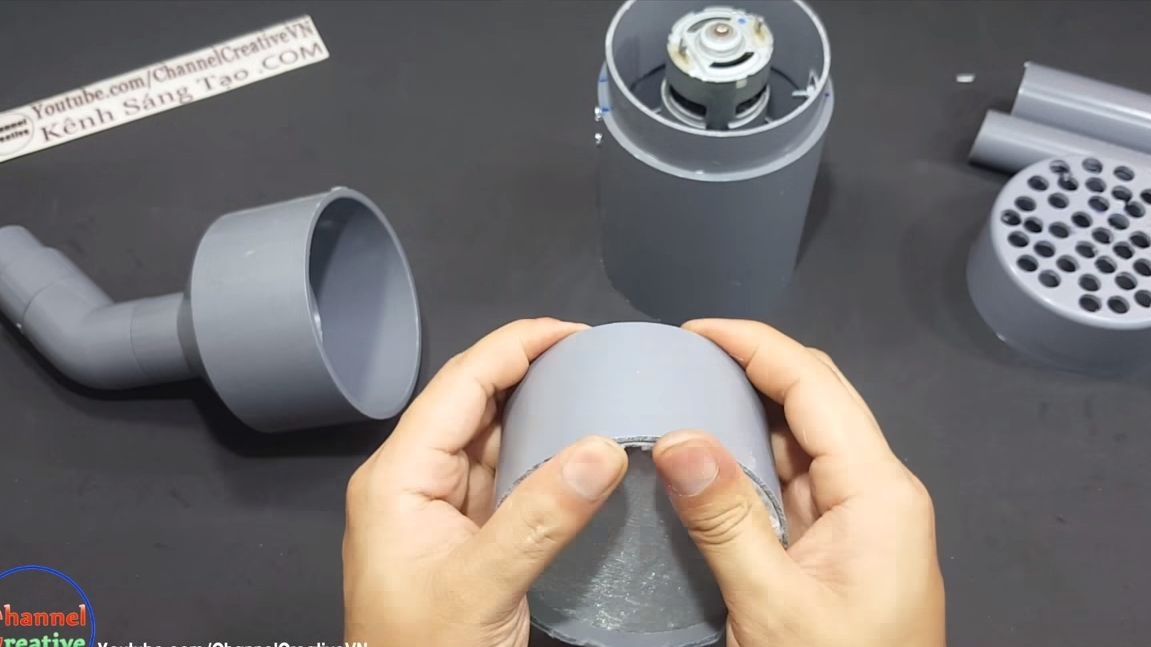
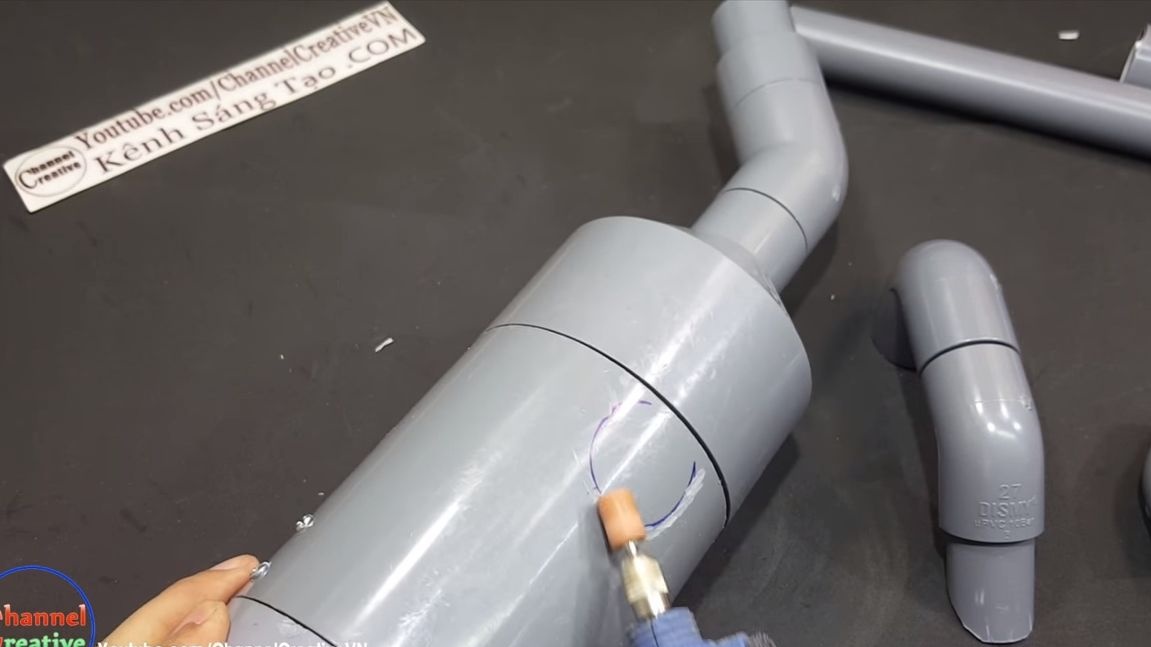
Step Four Back cover
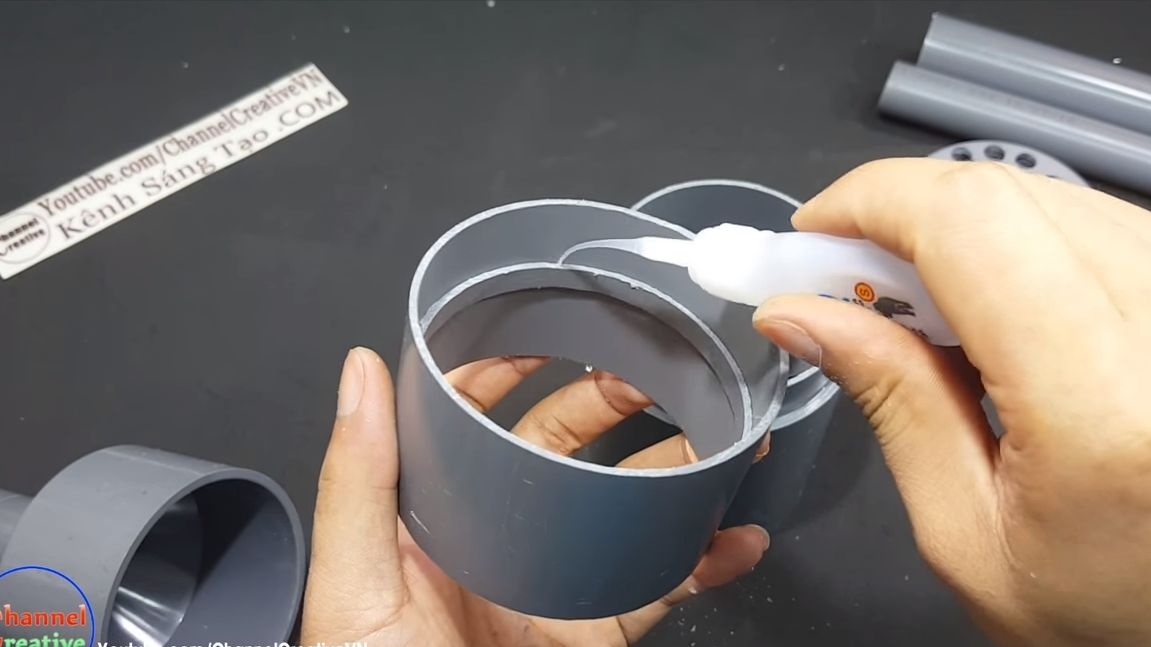
As a back cover there is a cap for pipes. To install it, you will need another piece of pipe of a smaller diameter than the body. Cut off the desired piece and glue it in the back of the case.
The plug must be finalized, namely, to drill more holes in it. Through them, the air drawn in at the front of the pump will exit, and this air will cool the engine.
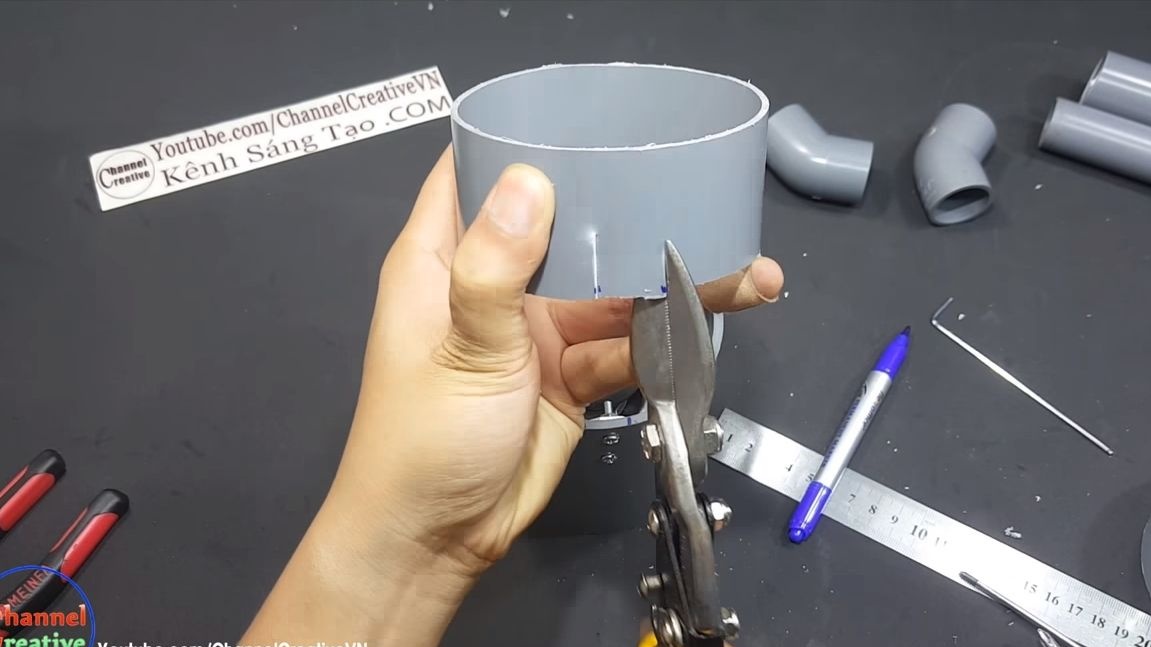

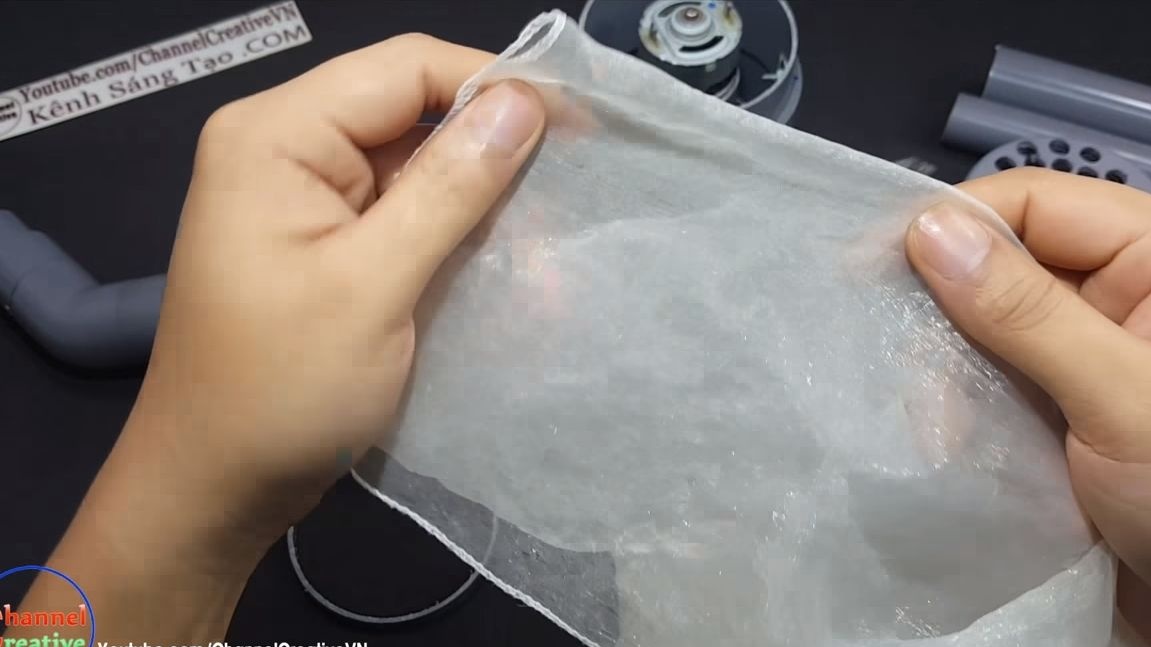
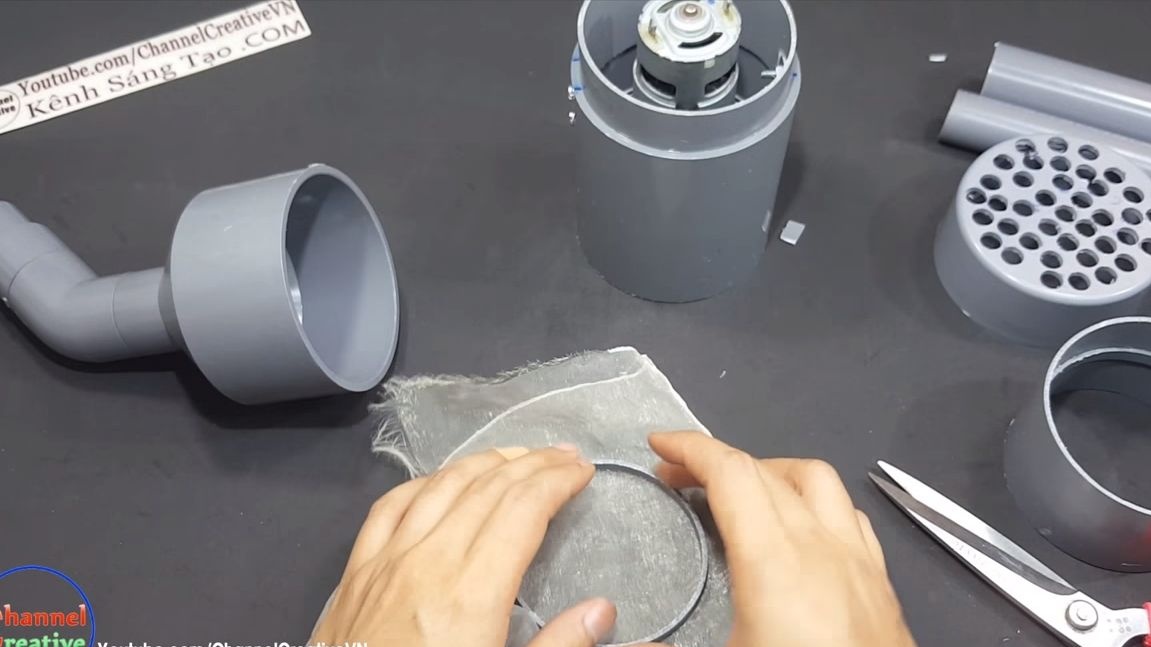
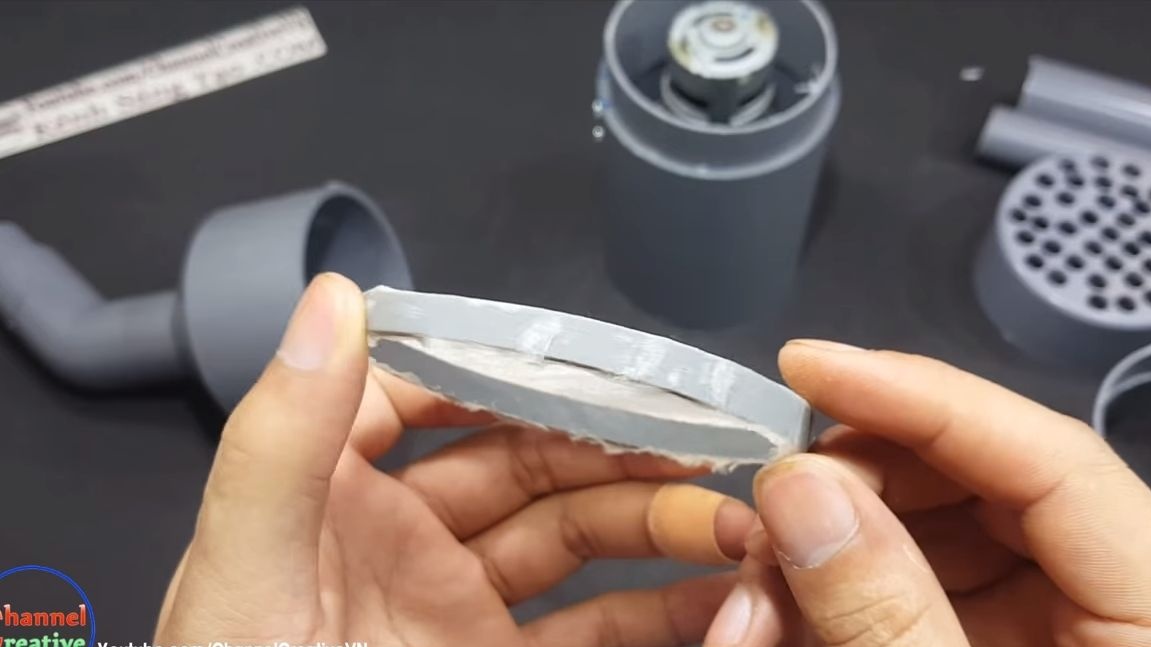
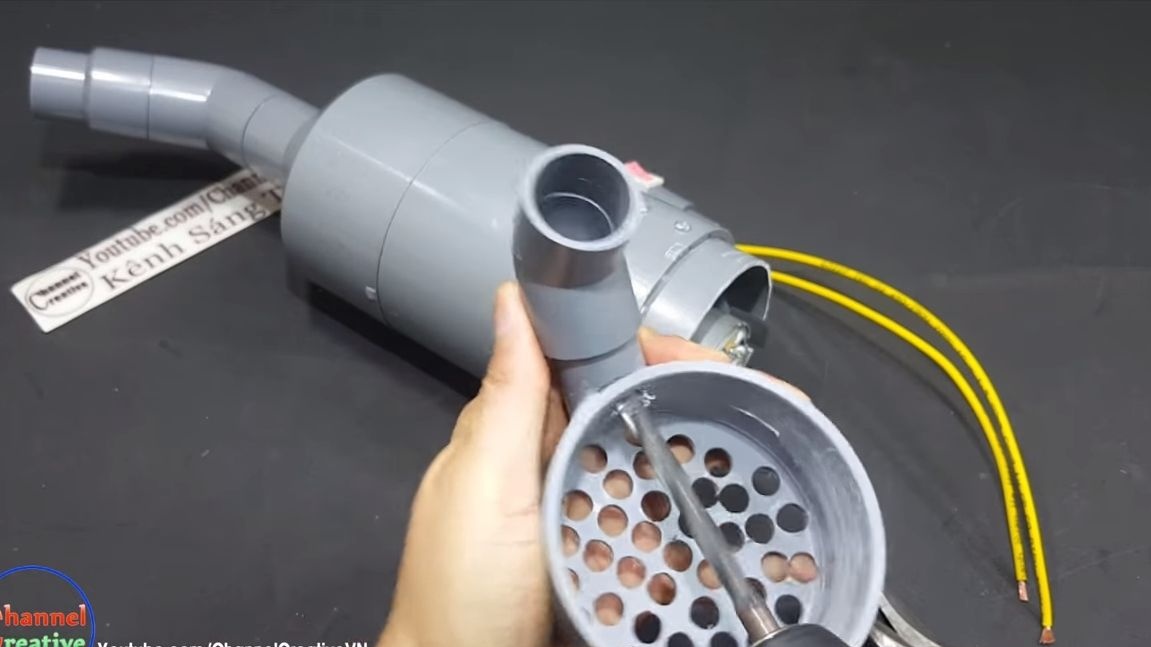
Step Five Filter Making
To make and install a filter, cut two thin pieces from a pipe of the same diameter as the body. Cut both rings and cut a piece inside so that the rings fit perfectly inside the case. We install one ring in the casing in front of the impeller; it must be glued. Thanks to this, we get an emphasis for the filter, and it will not fall into the impeller.
As for the second ring, glue its ends with superglue, from it we will make the filter itself. A fine mesh tulle or other similar material is suitable as a filter element. Fold it in half or three, depending on the desired filtration level, and then glue it to the ring. We cut off the excess and install a filter inside the housing.


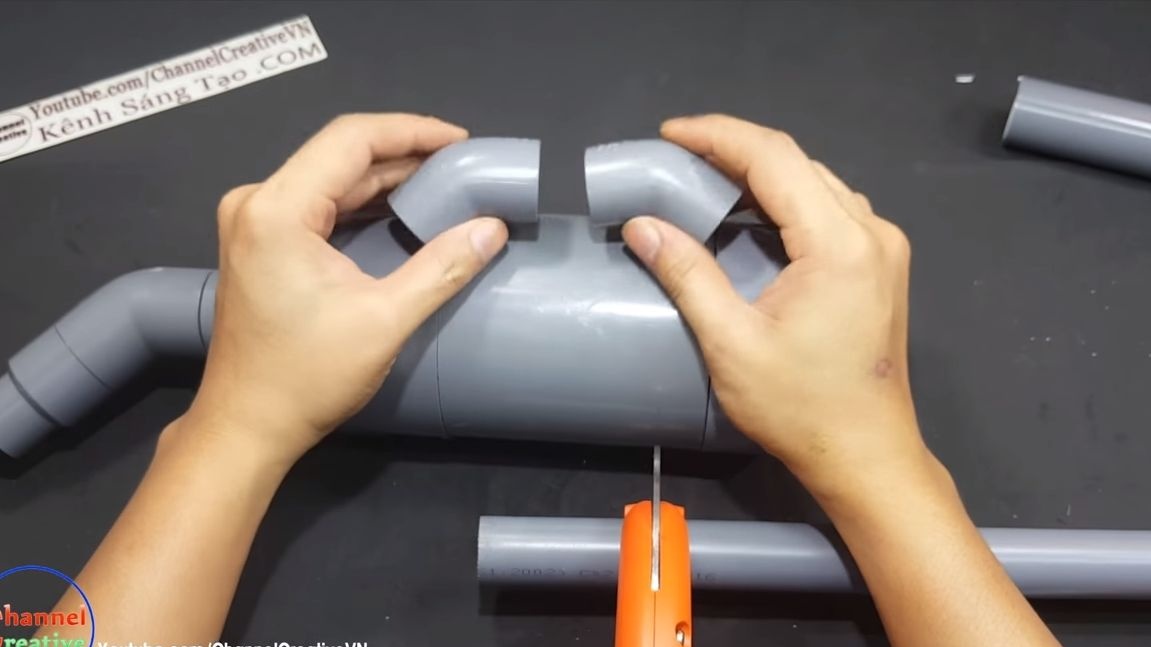
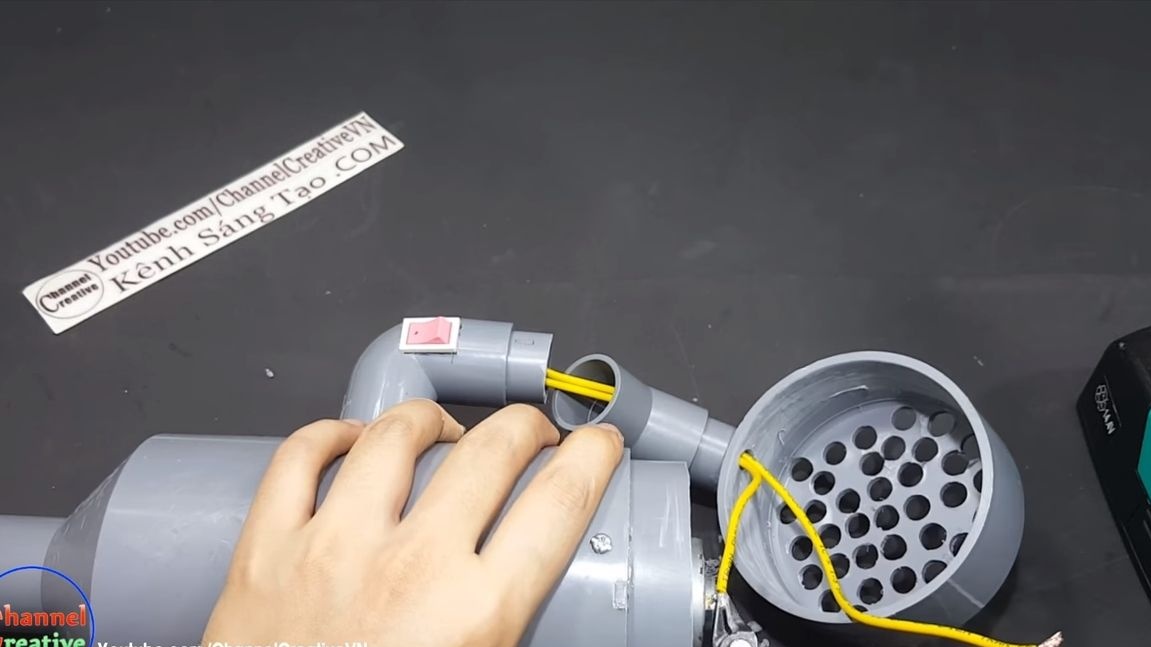
Step Six A pen
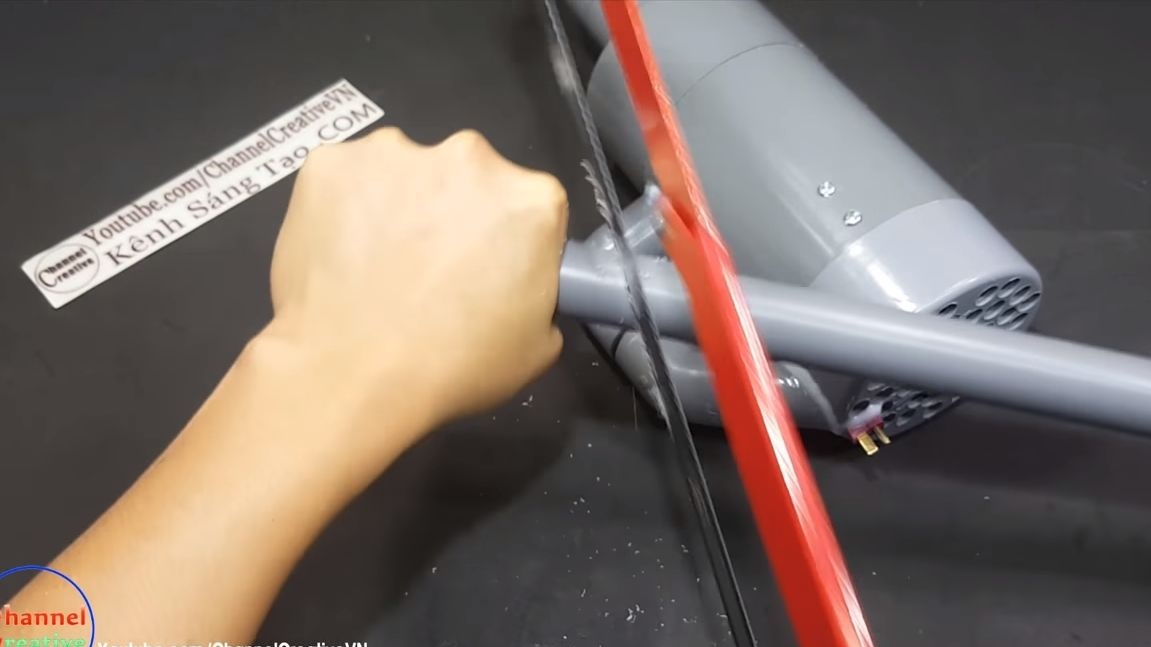
For the manufacture of the handle you will need two corner joints made of PVC, as well as a piece of pipe. We adjust the parts to size, and then glue to the body using epoxy glue. First we carefully clean the bonding places, so the glue will stick to the surface reliably.
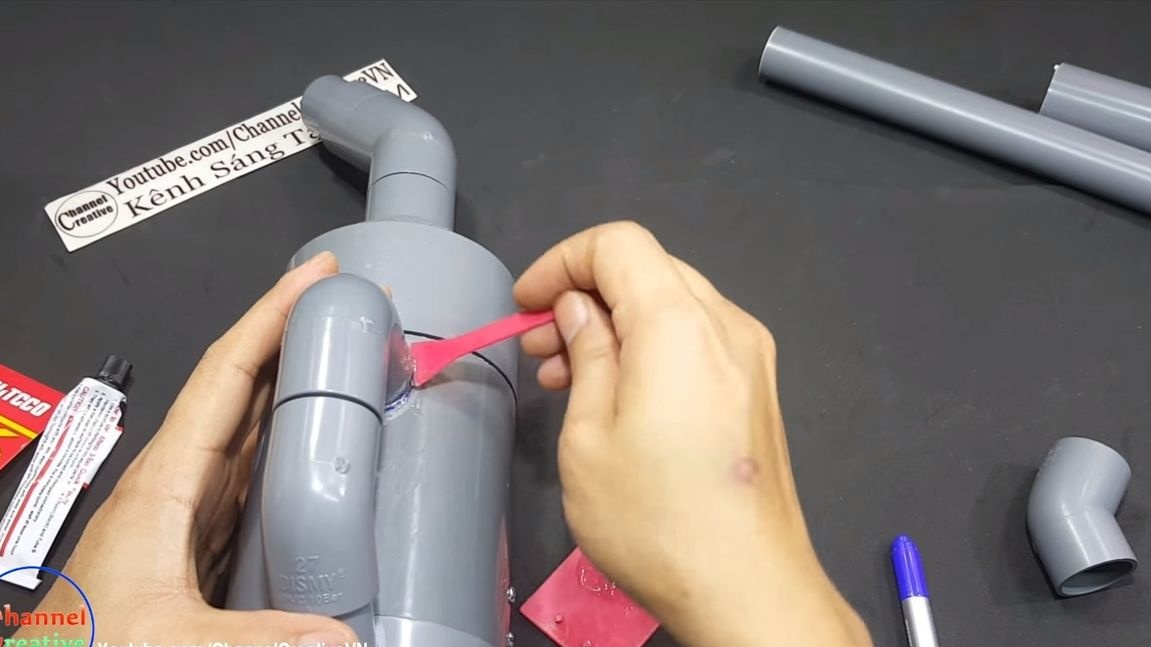
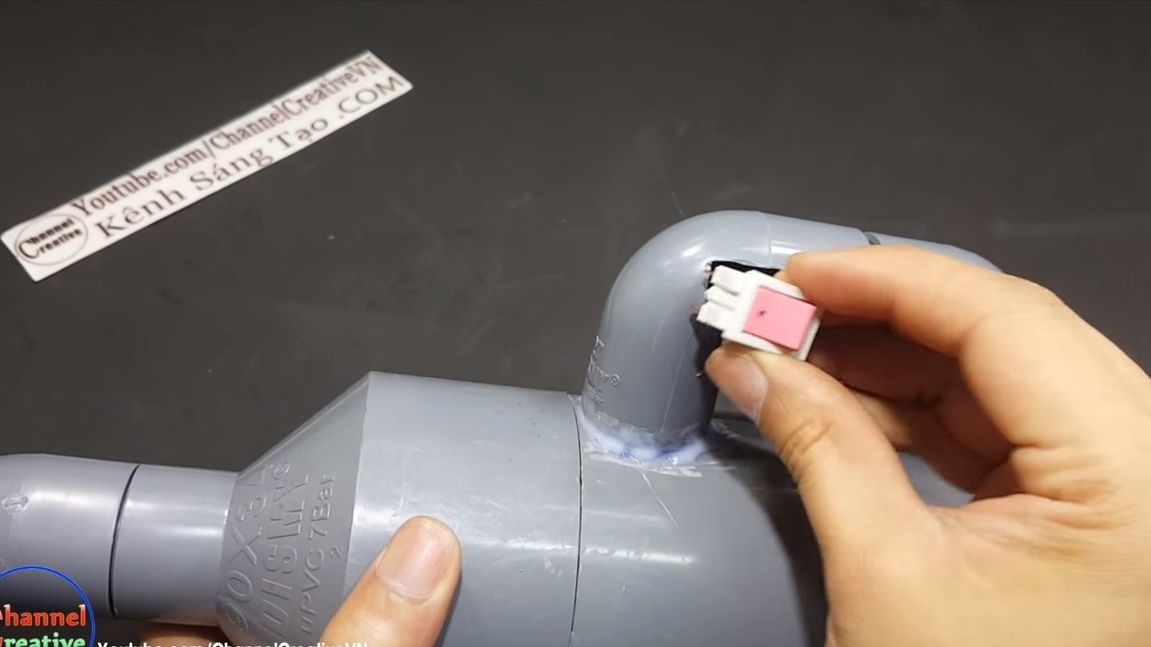
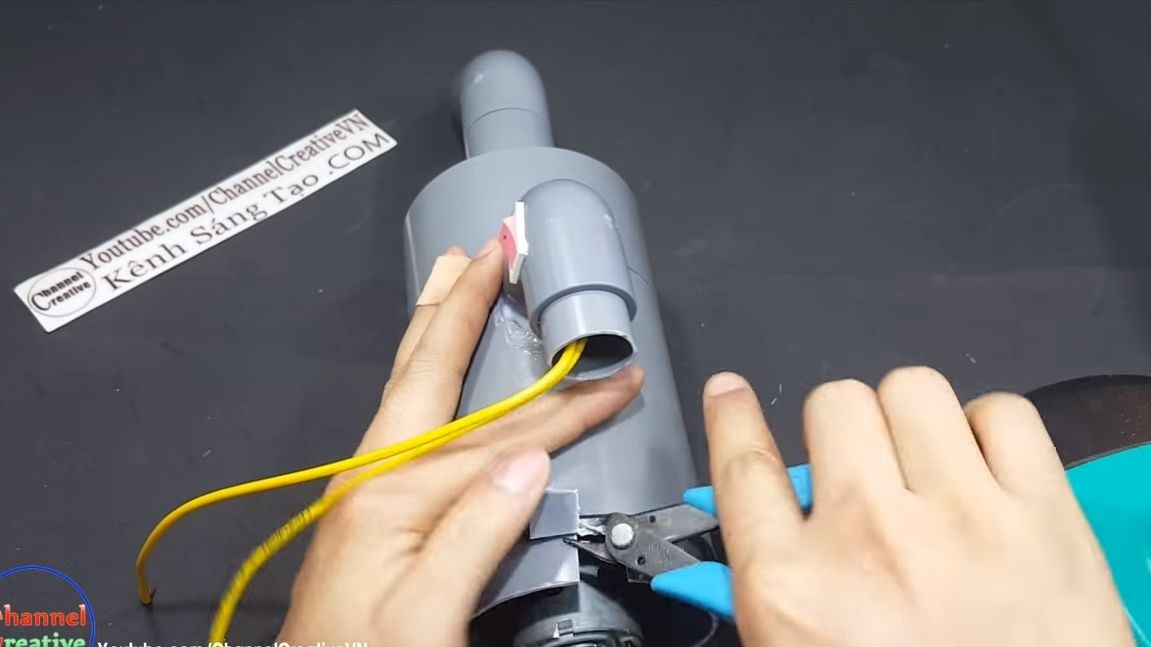
Step Seven Posting
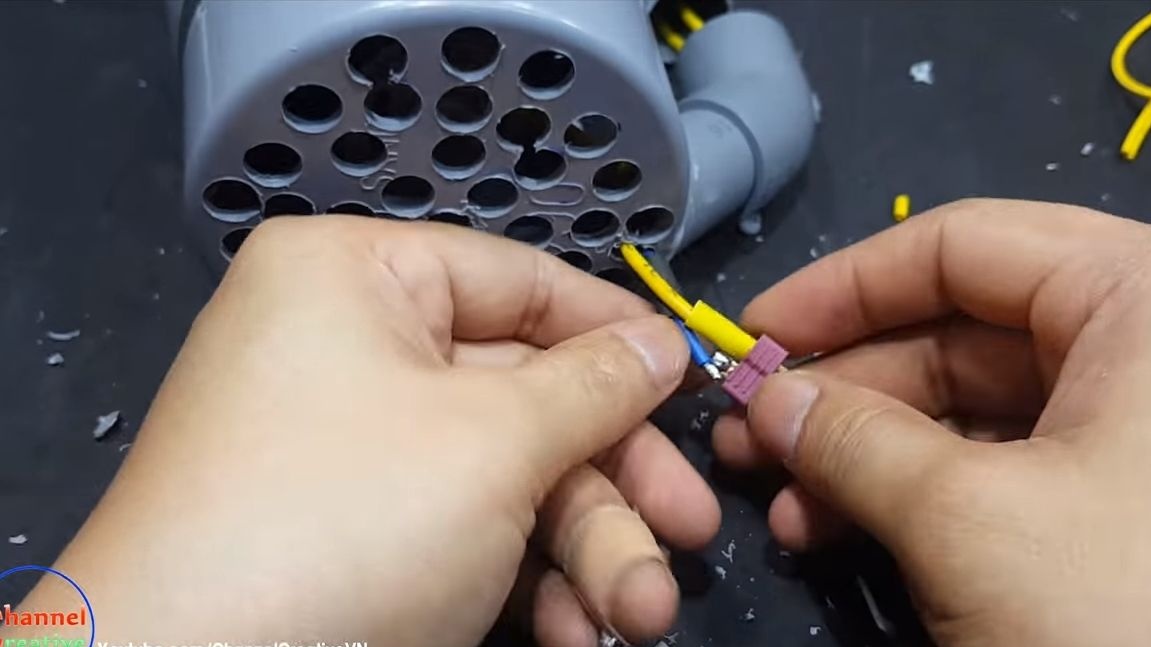
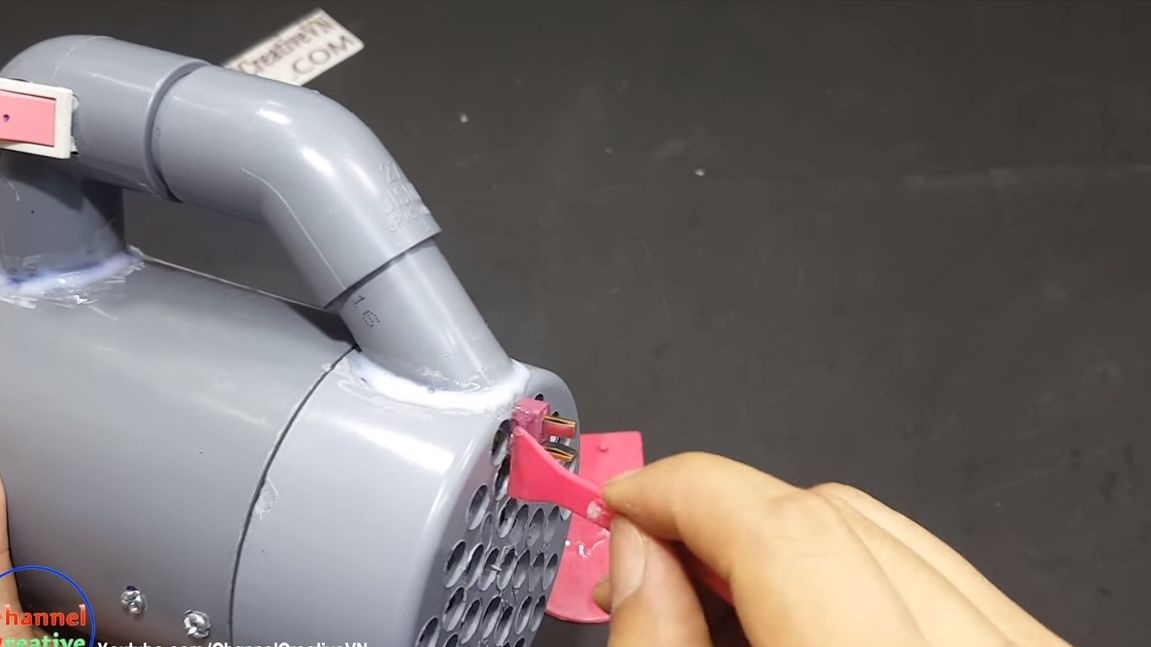
Technically, the vacuum cleaner is ready for us, it remains to conduct and connect the wiring. First of all, cut a hole in the handle for the switch, it should be in a convenient place. We drill holes in the handle, through them we conduct wires to the engine and solder it. You will also need to solder the connector to connect the power source. The author of this "connector" is more like a plug. This is quite safe, since there will be no voltage here before connecting.
Step Eight. Nozzles and tests
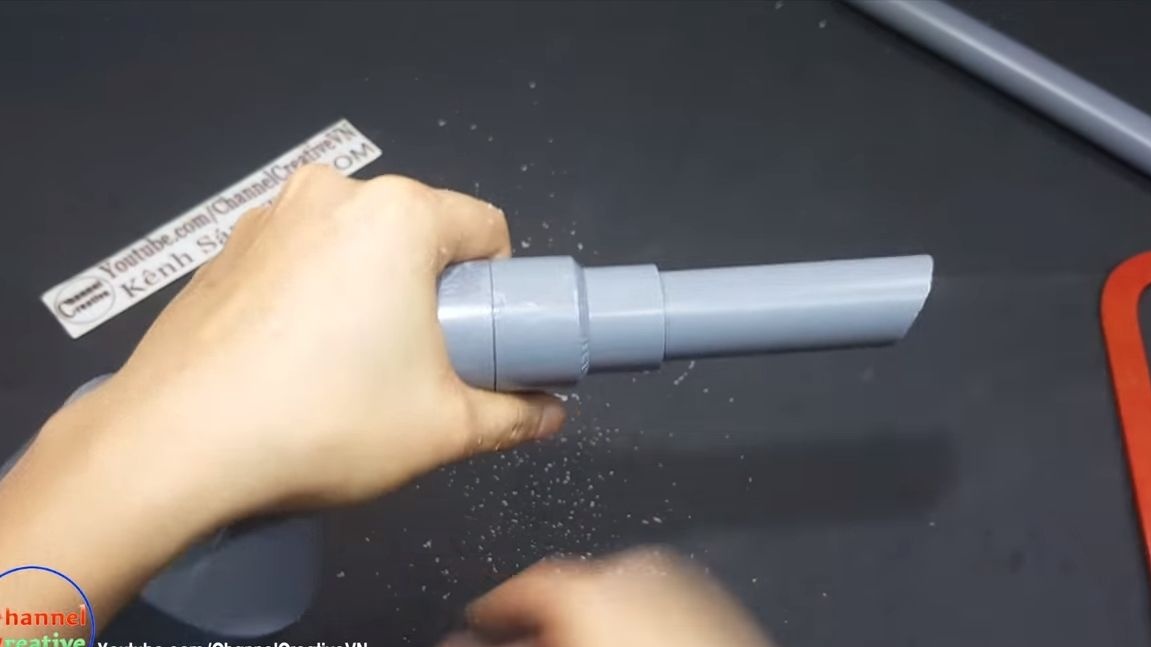
At the end, make the necessary nozzles for your vacuum cleaner. They are made of pipes. You can make nozzles of various lengths and cut them at any convenient angle.
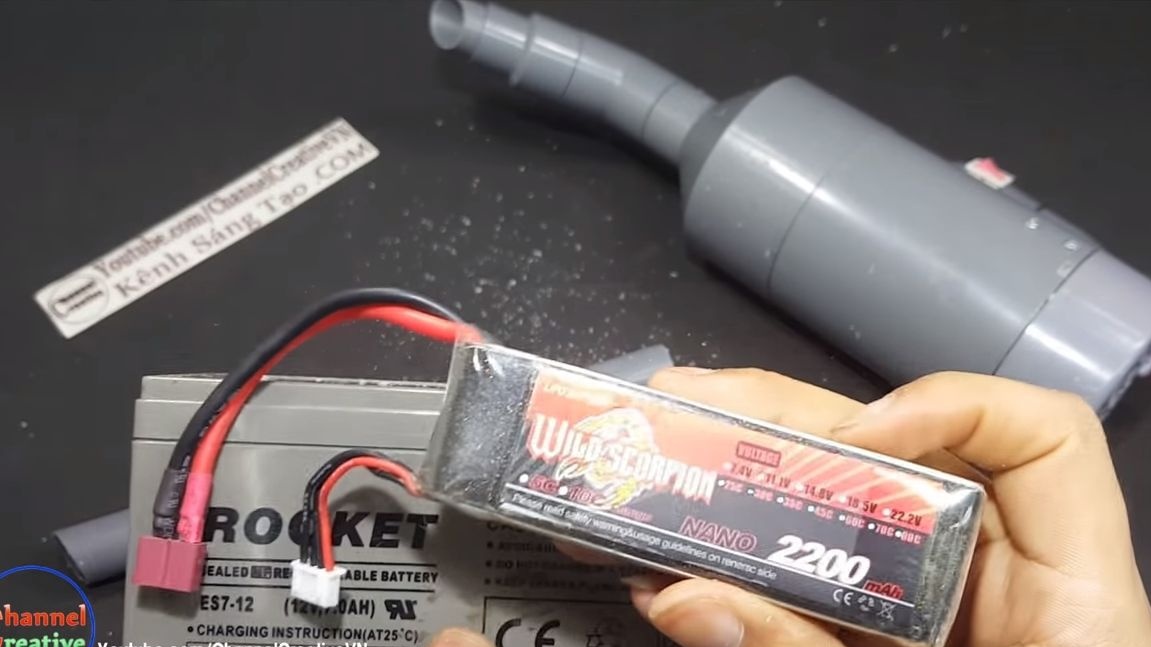
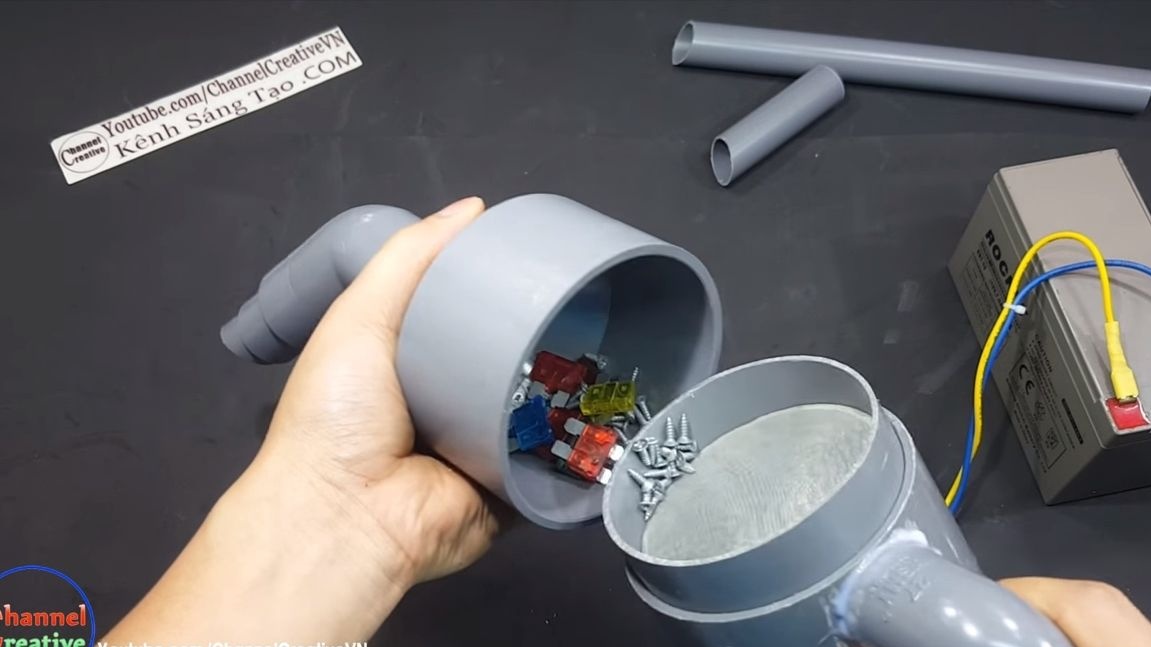
That's all, the vacuum cleaner can be tested! To do this, connect the battery or power supply to it. Judging by the video, the unit turned out to be quite powerful.Not even every household vacuum cleaner will be able to cope with such a task as vacuuming cogs, radio components and other spare parts without consequences. The nose of the vacuum cleaner easily opens, and you can pour the collected parts into a box and so on.
That's all, I hope you liked the project. Good luck and inspiration in making homemade items!