
And so our hero will make Tesla from an old ax using the technology of welding difficult to weld steels.
1. Annealing the part before welding.
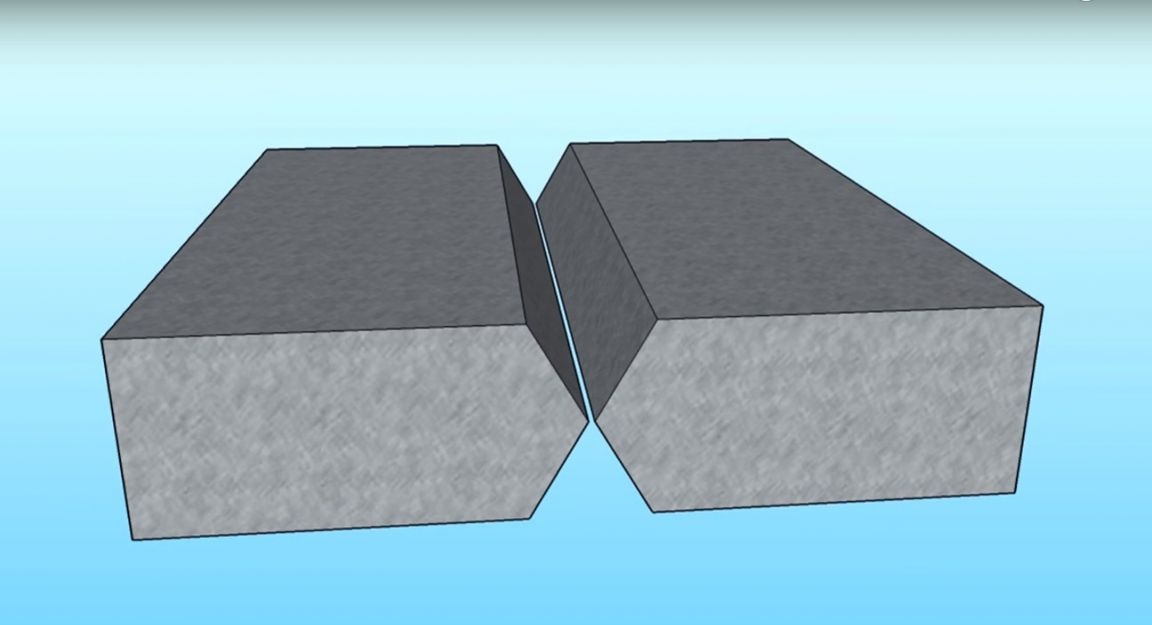
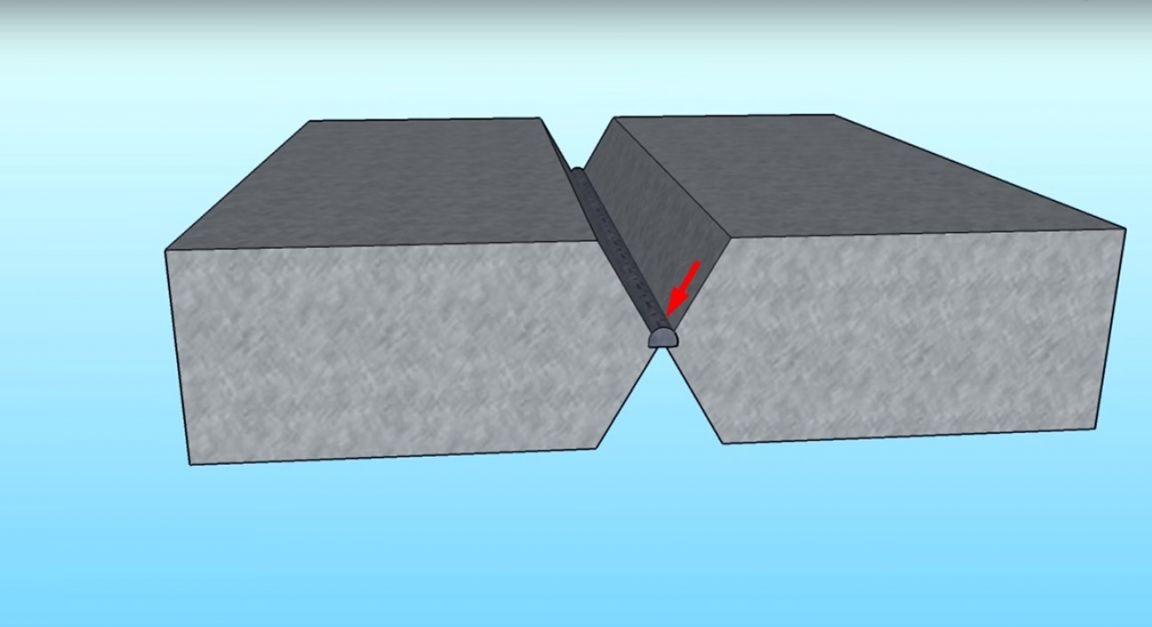
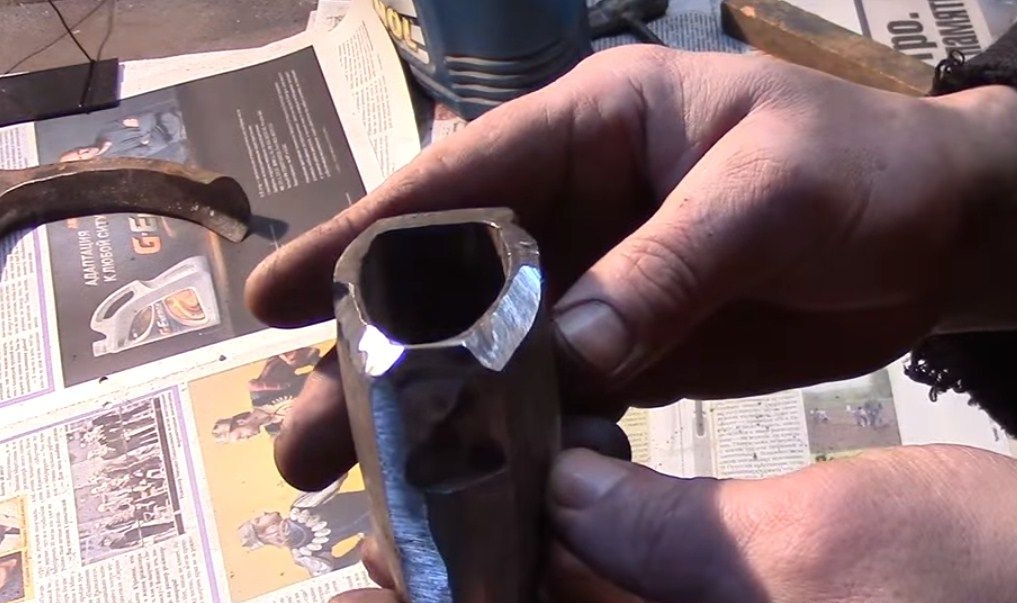
2. Deep cutting of the seam.
3. Heating parts before welding up to 200 - 300 degrees.
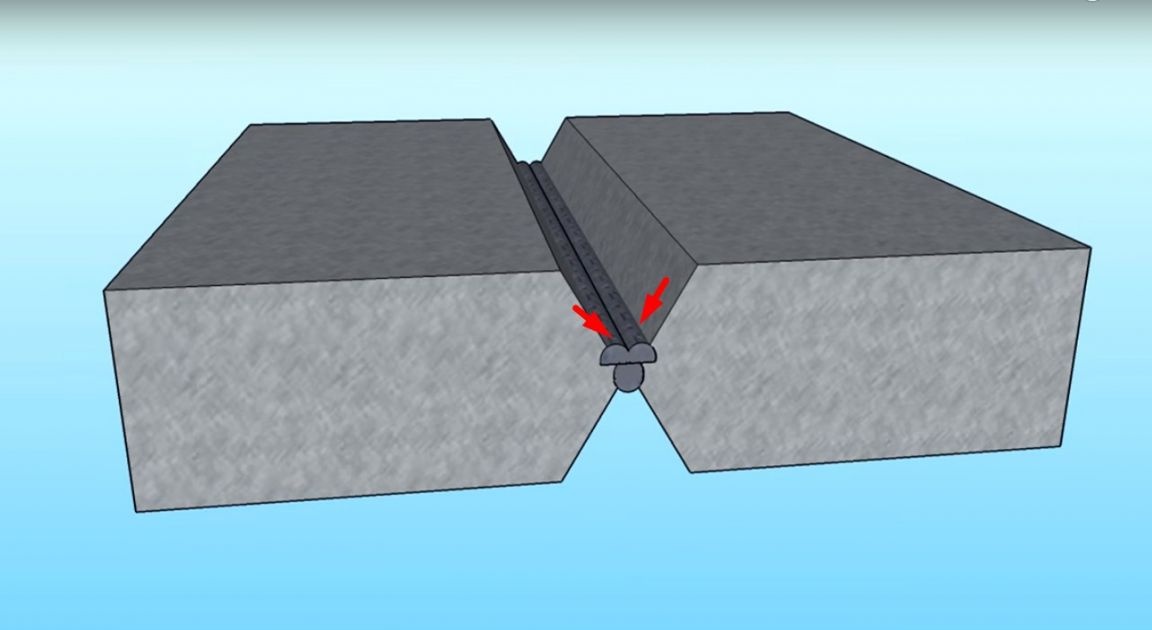
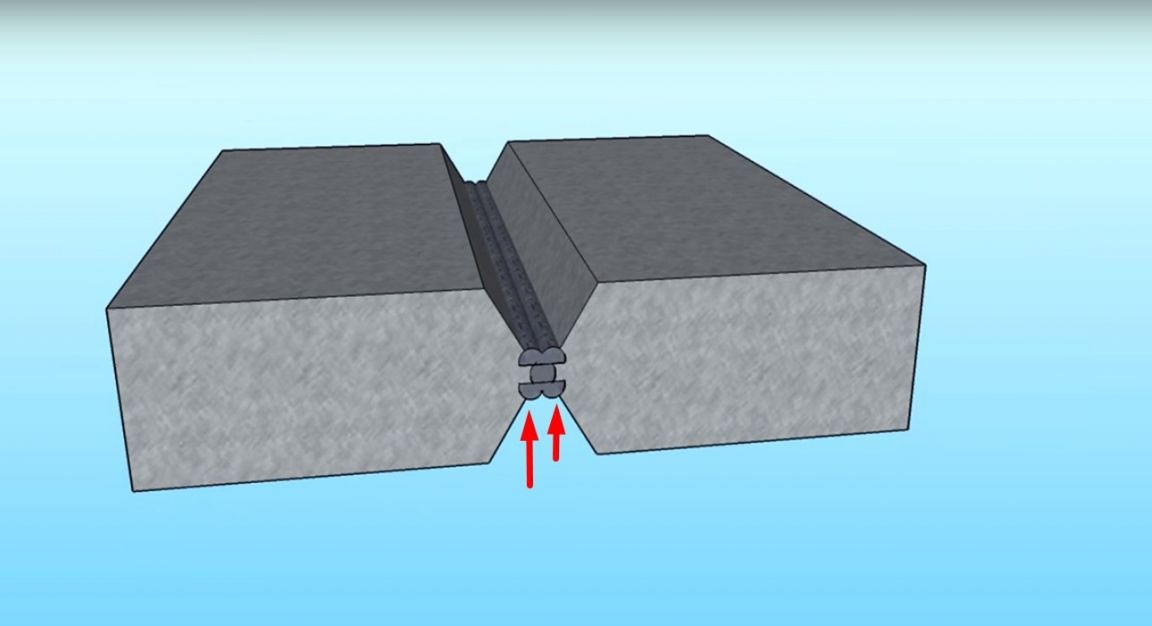
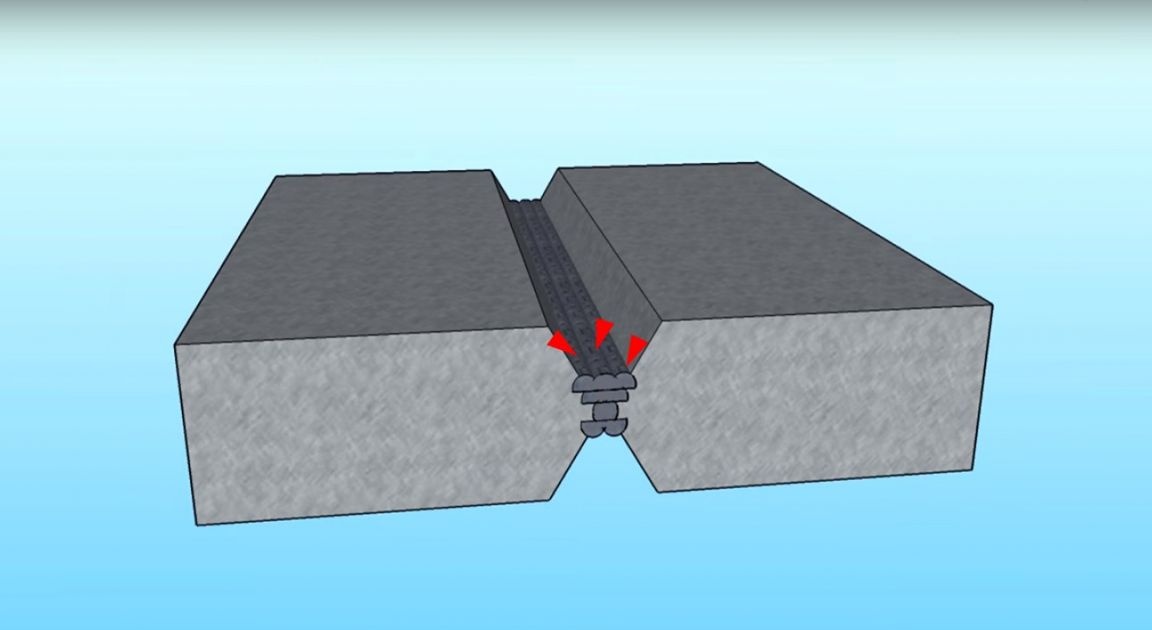
4. Layer-by-layer filling of the seam with removal of slag from each welding seam.
5. Annealing the finished part.
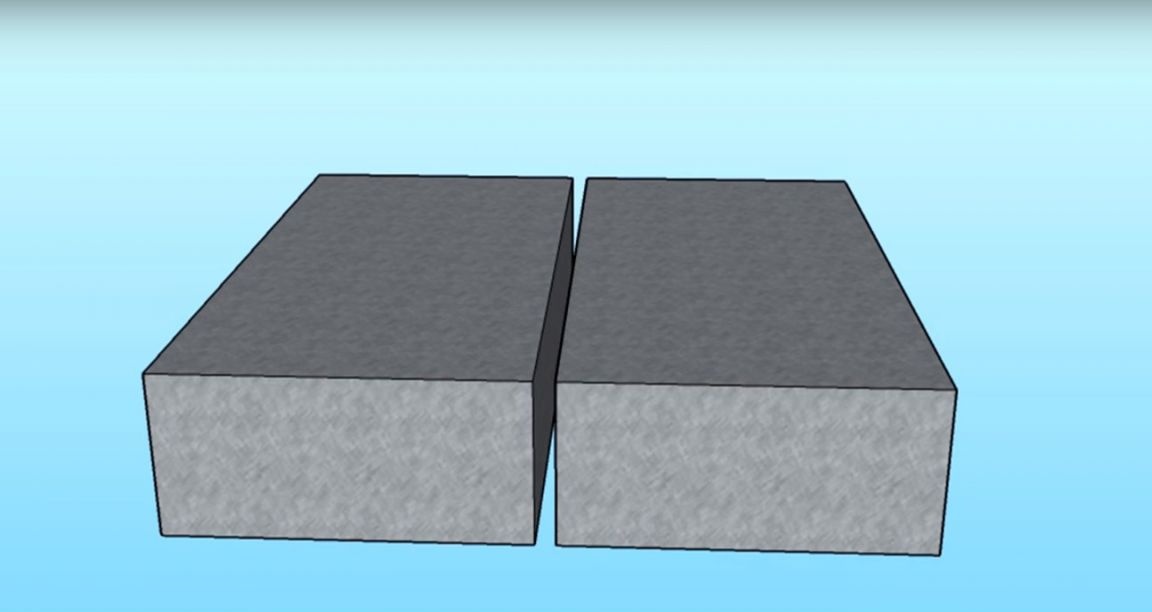
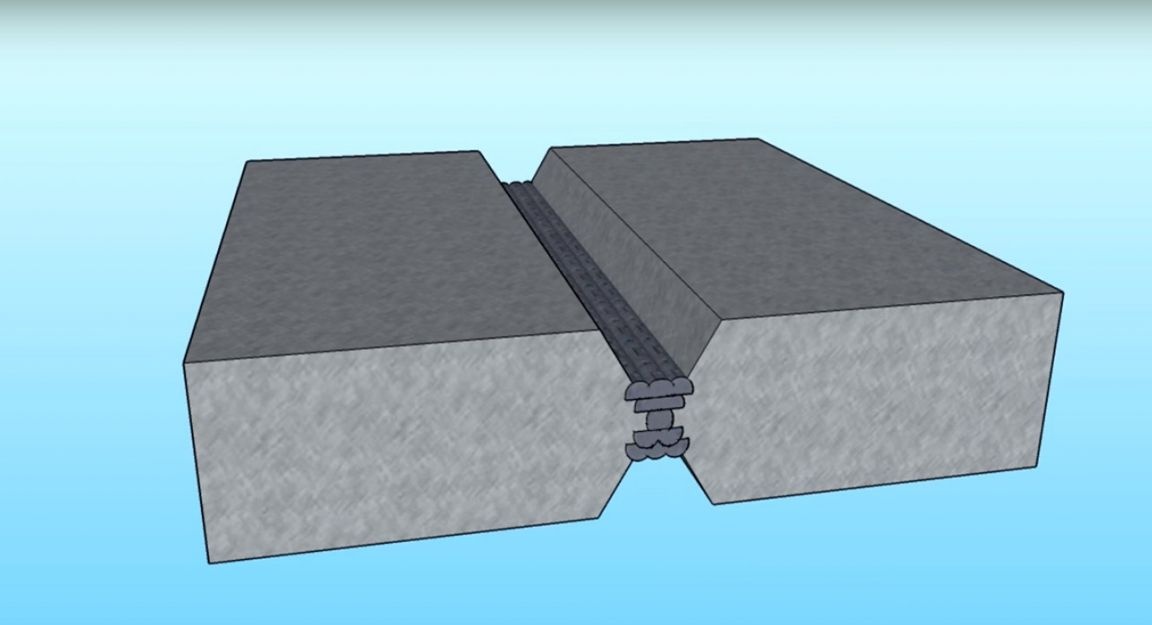
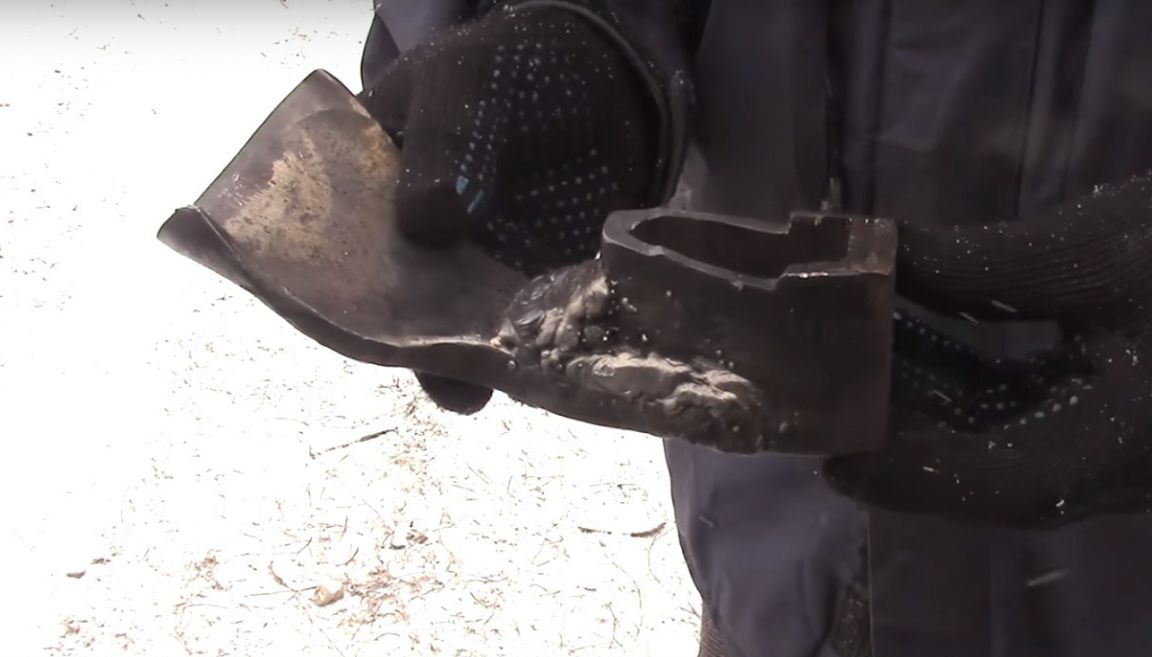
A bit of theory from the author. Two parts to be welded.
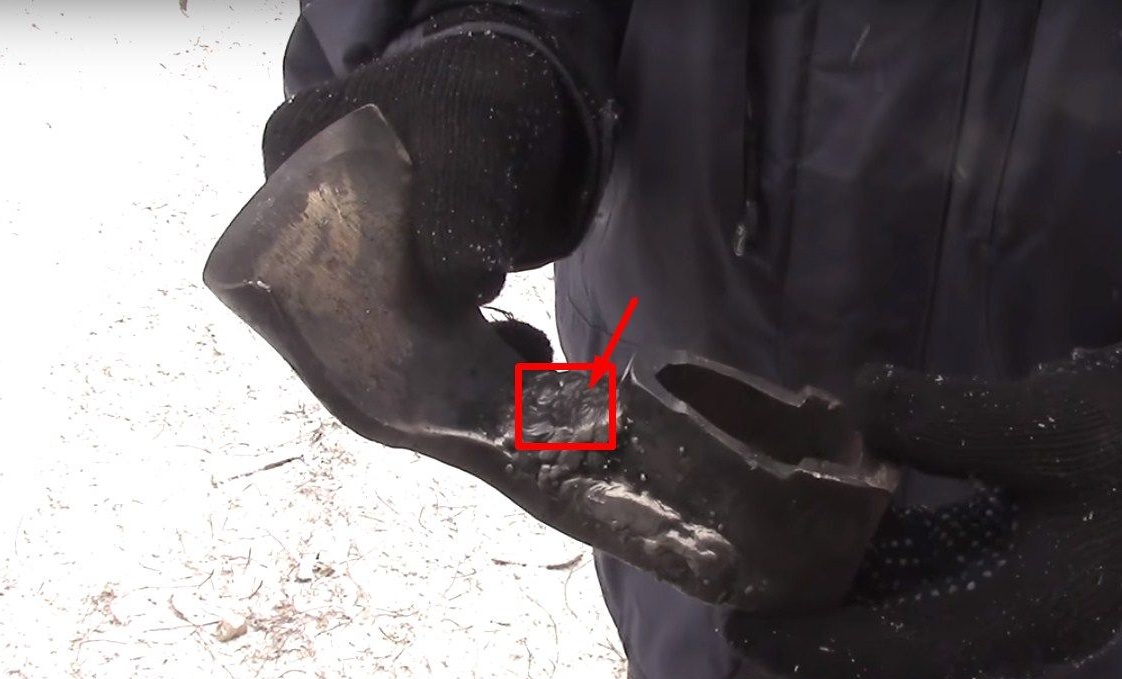
Deep cutting of the seam.
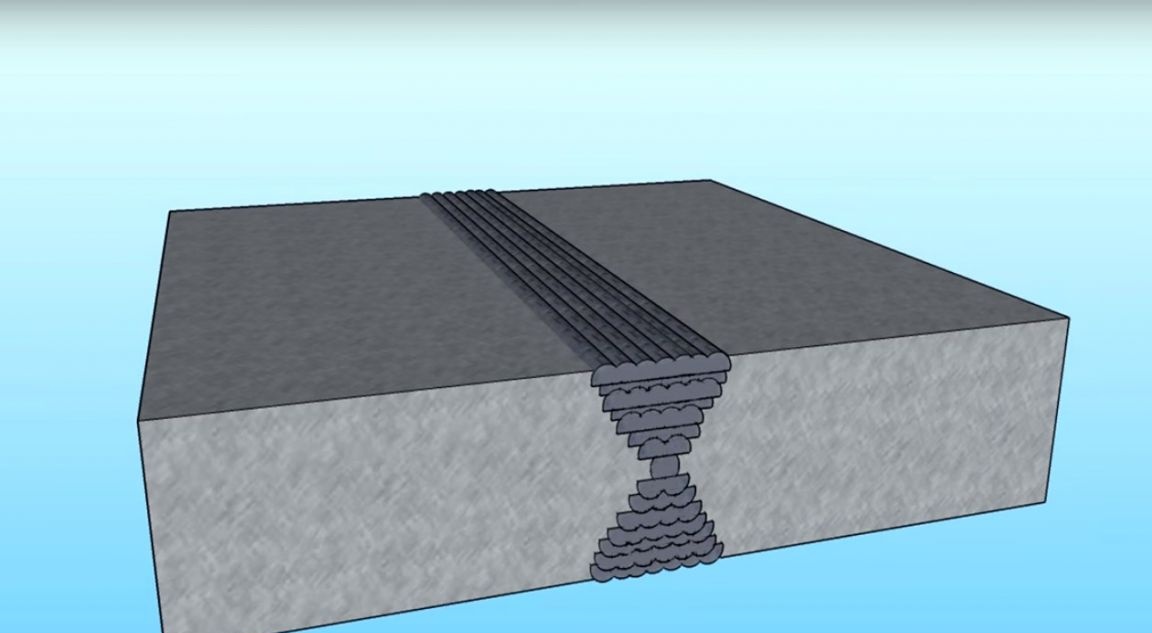
Seam-by-layer filling.
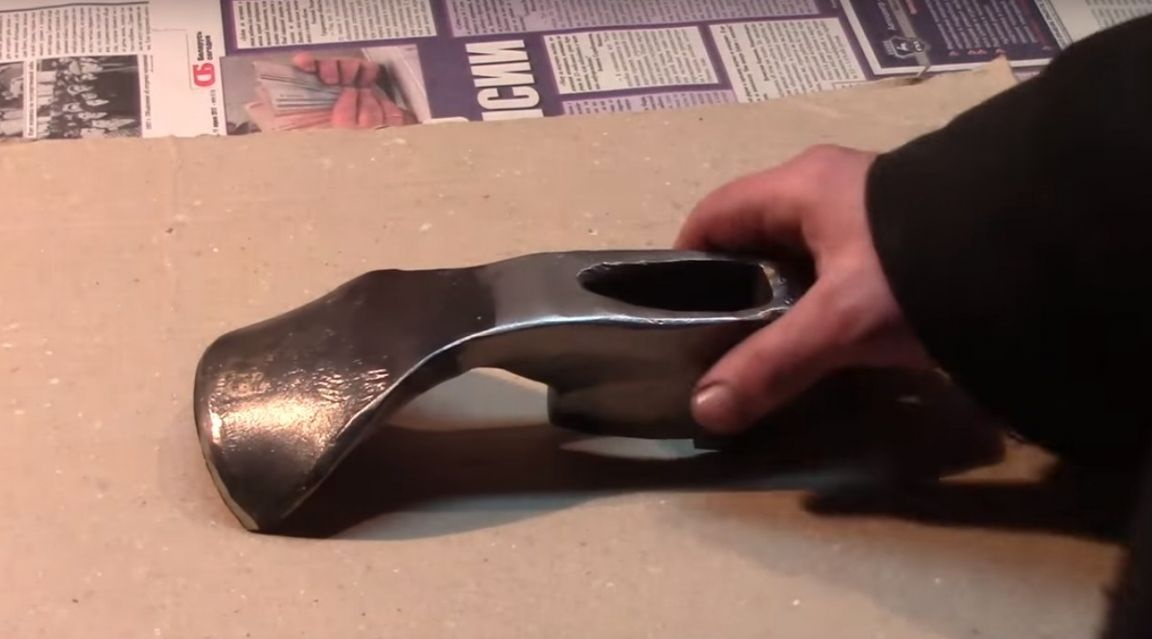
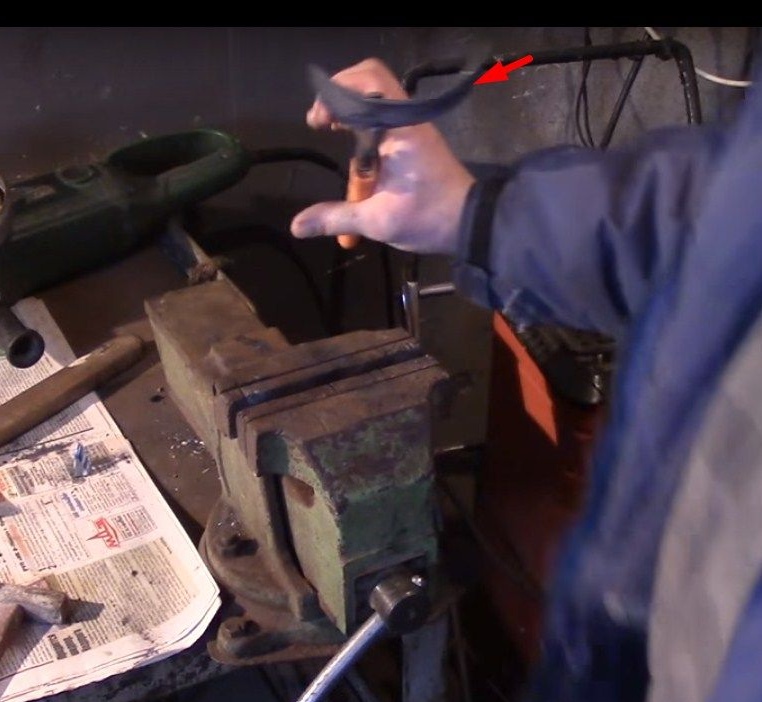
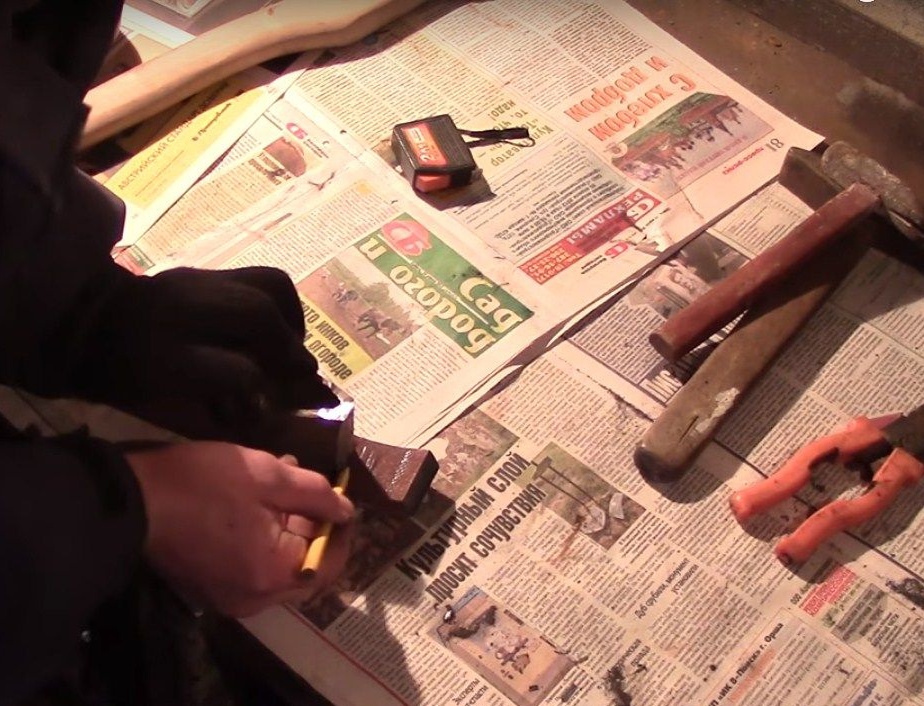
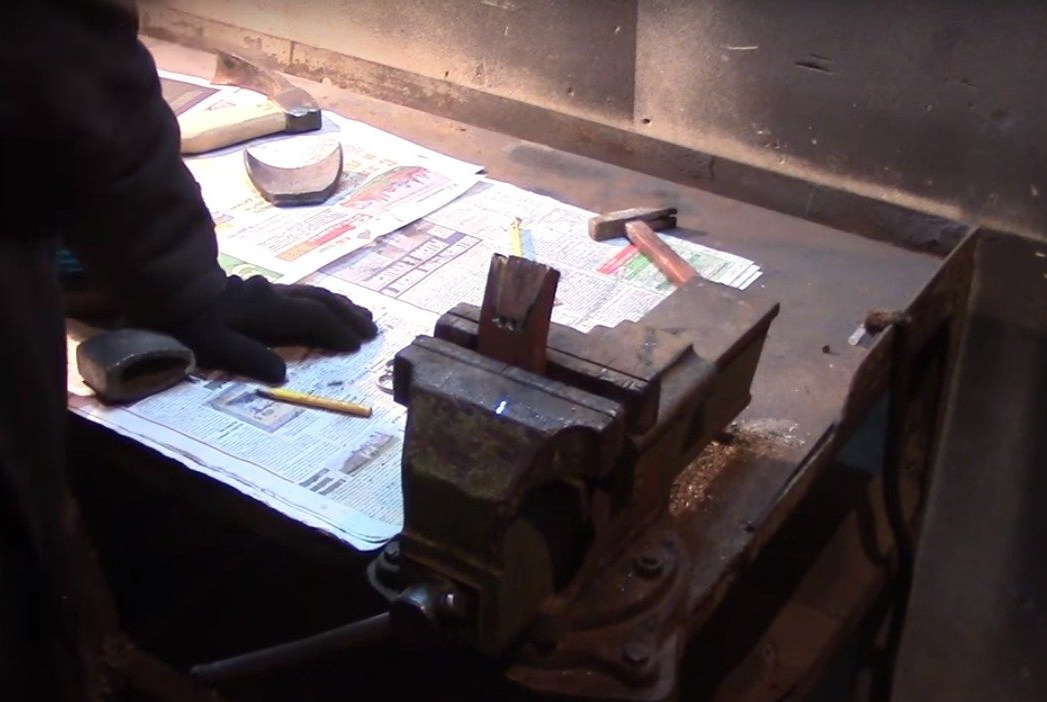
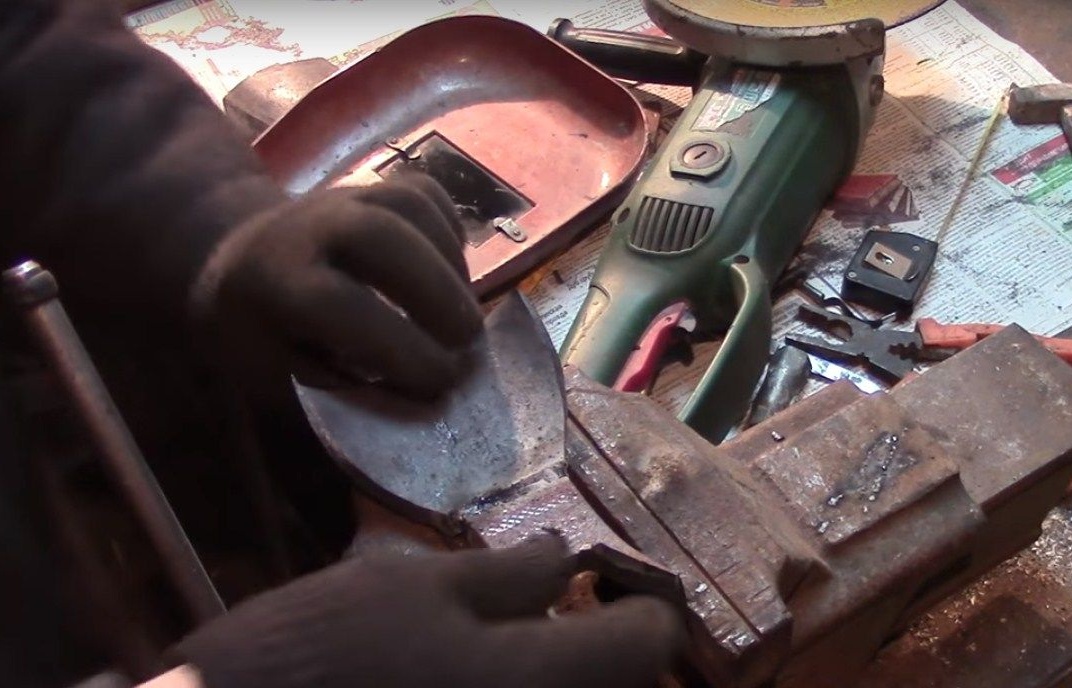
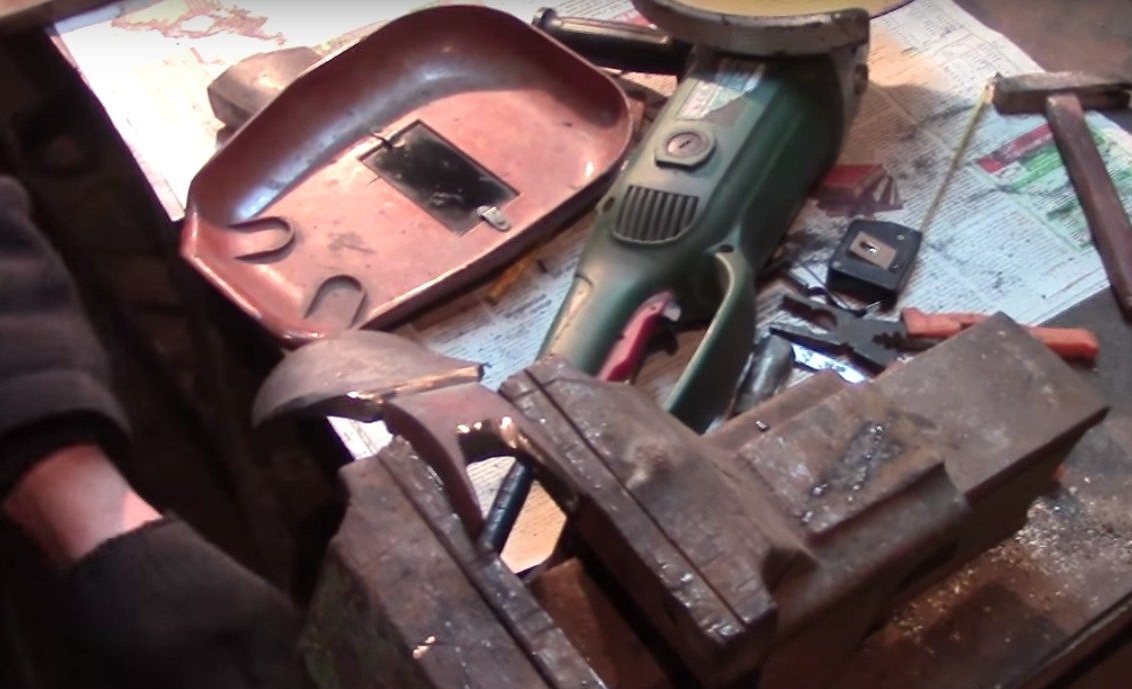
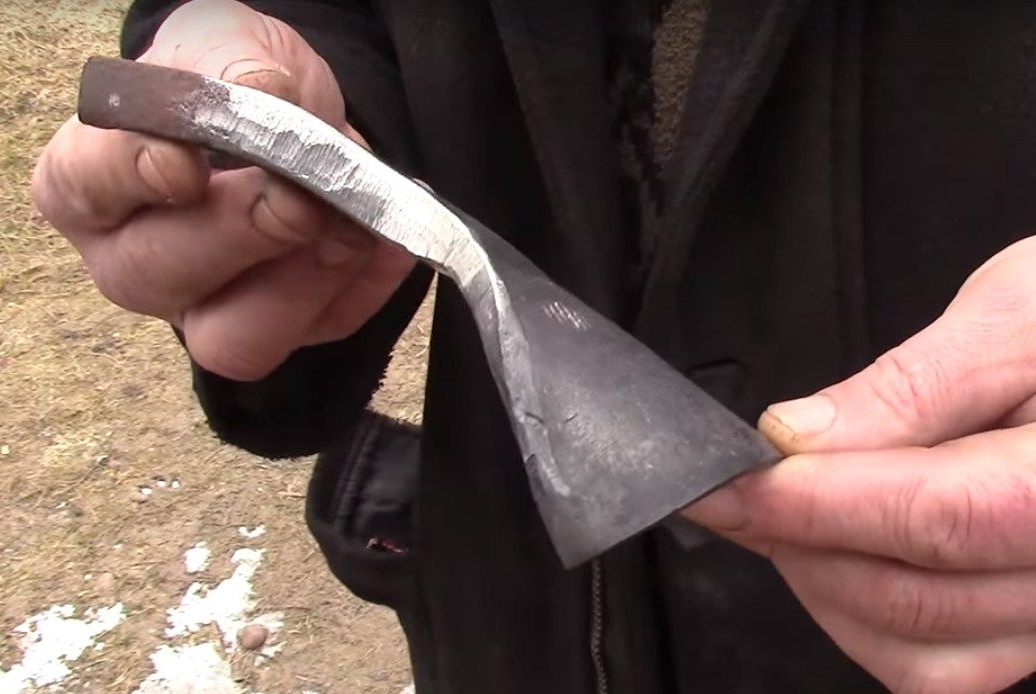
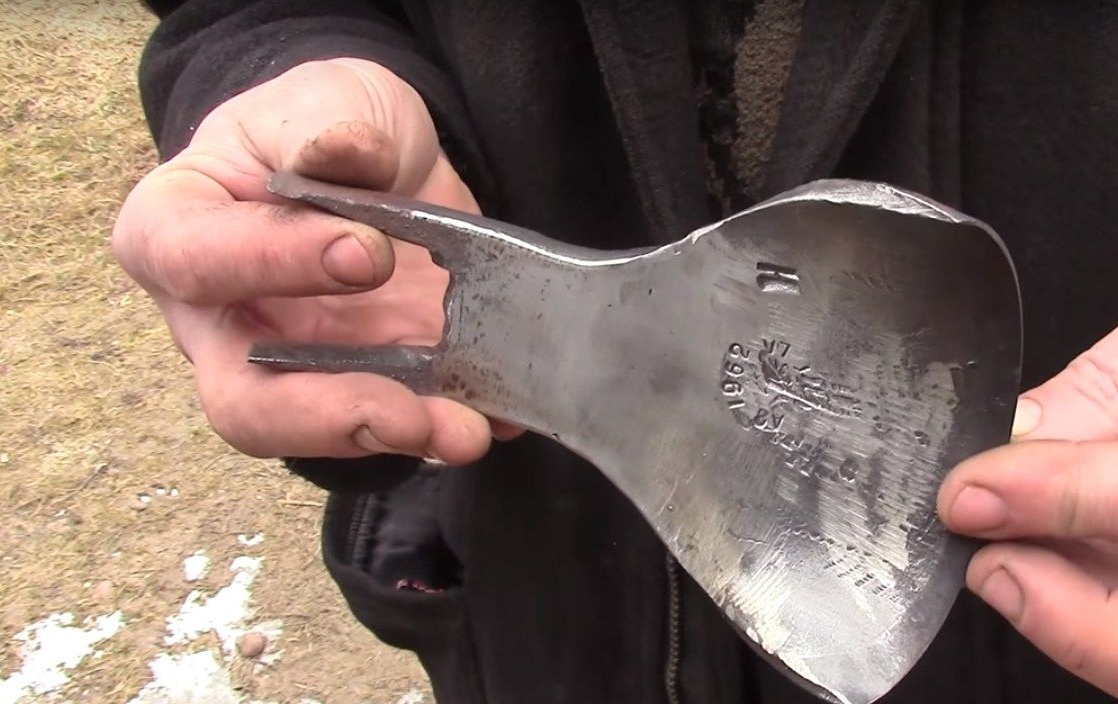
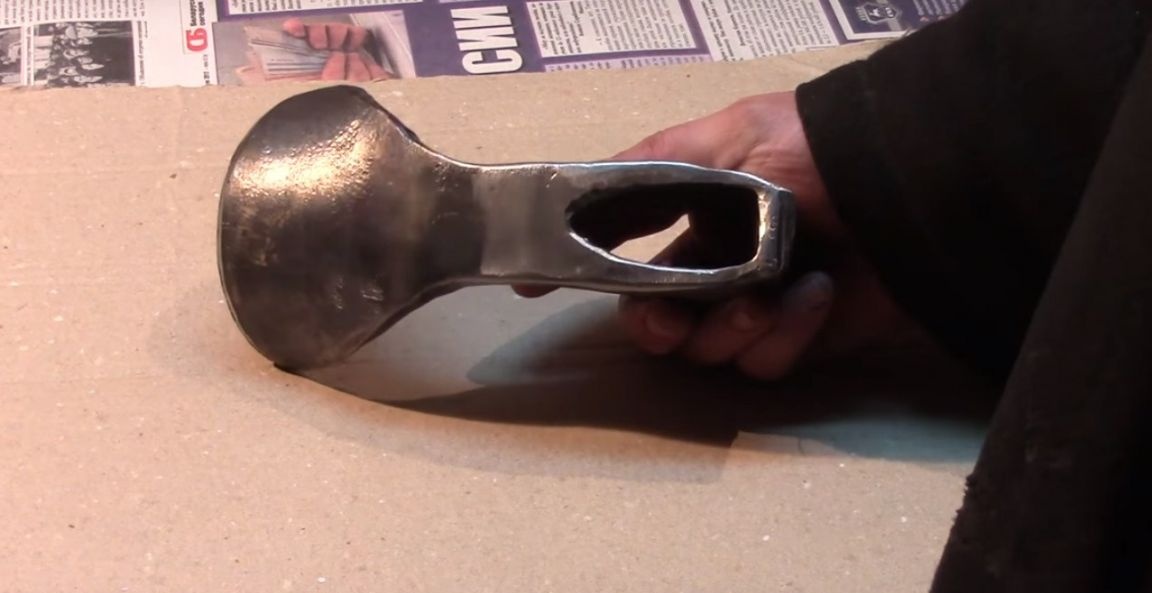
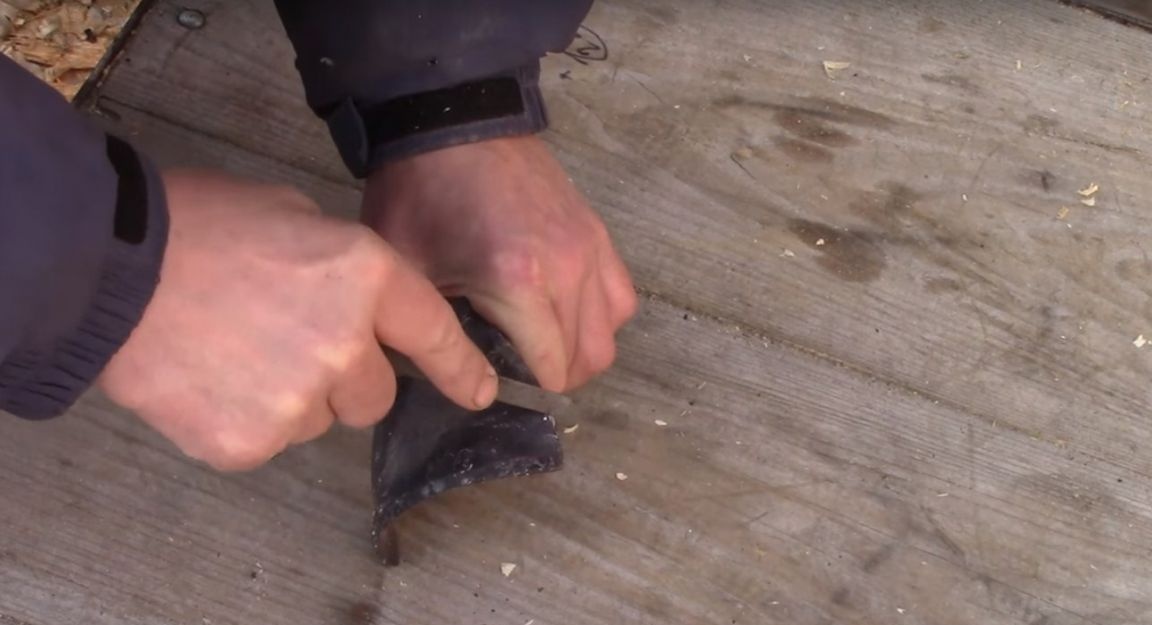
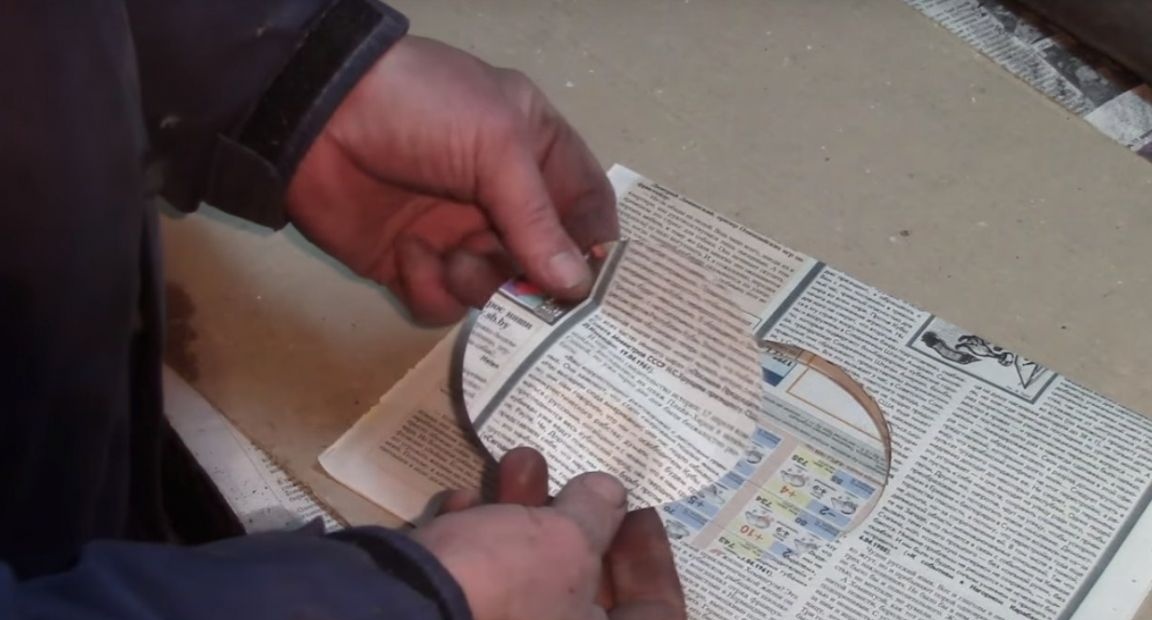
Well, now the author begins to manufacture the tool. To do this, he will cut the canvas from the old ax.
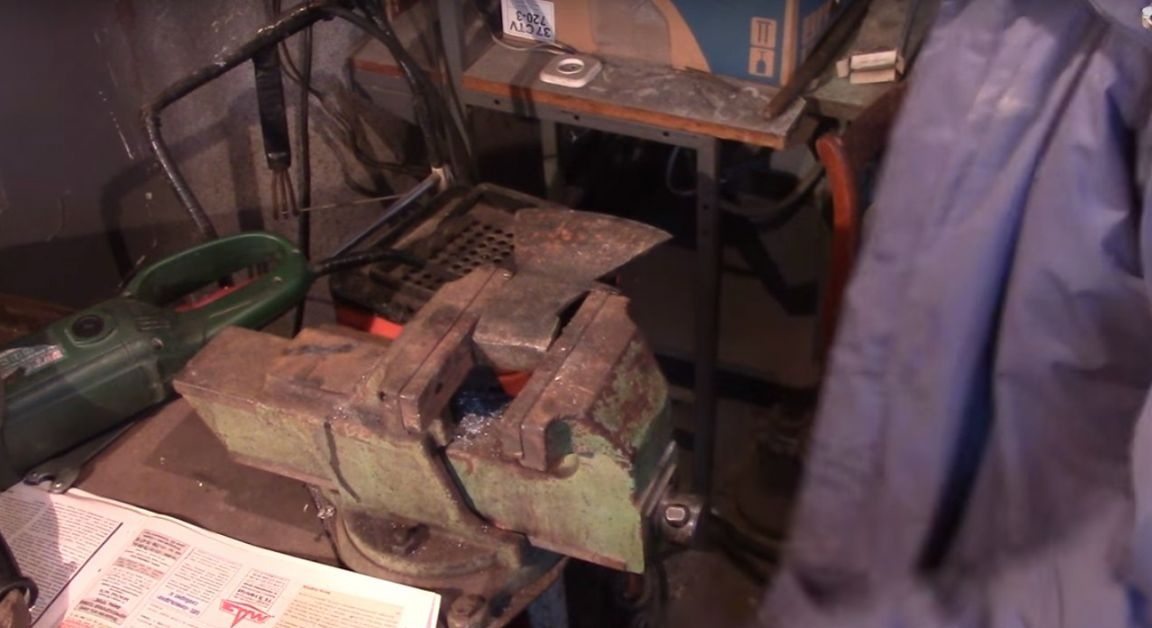
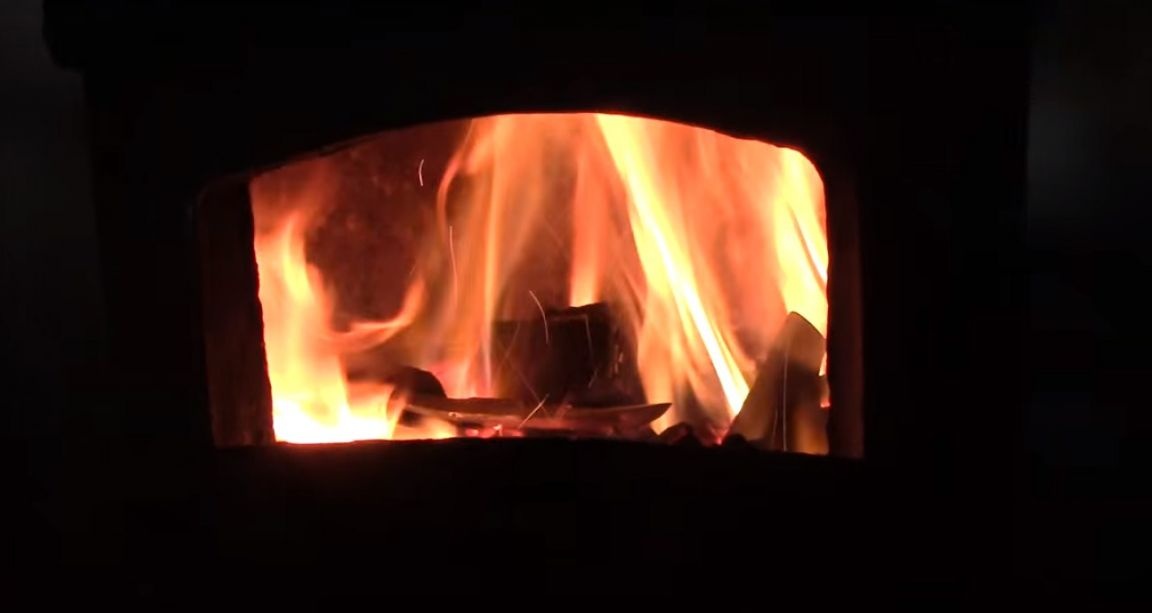
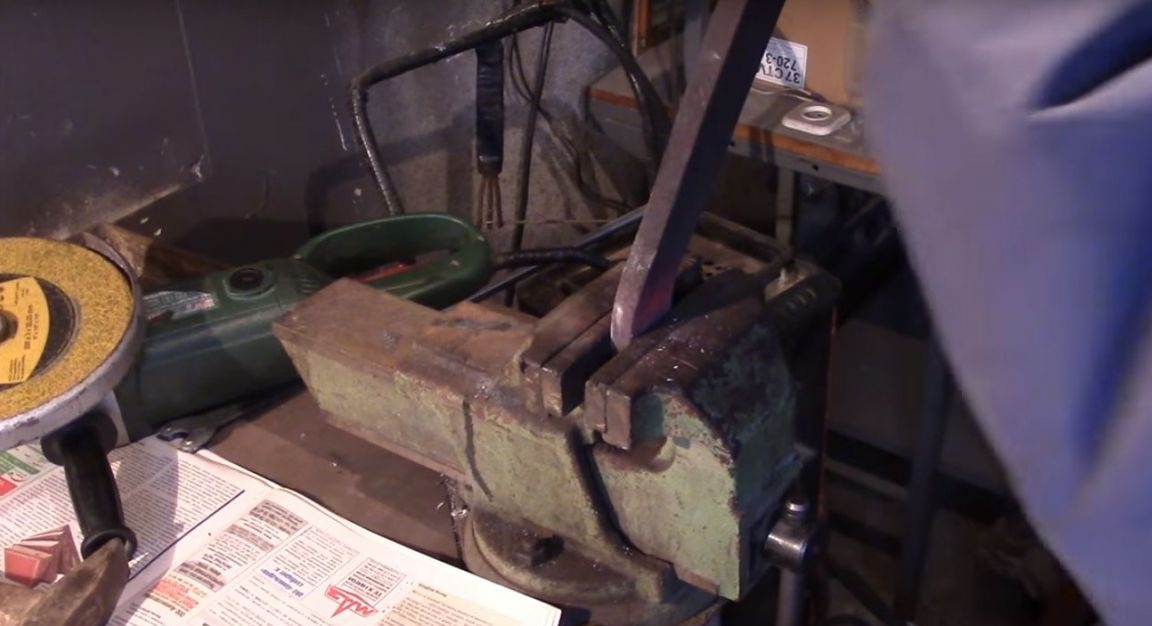
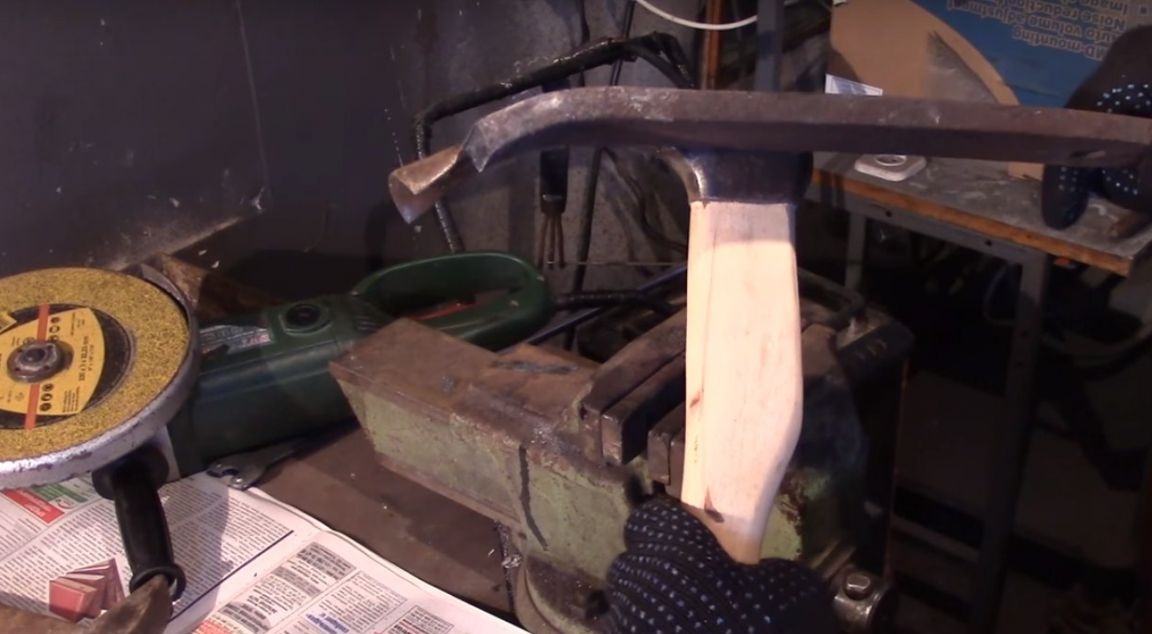
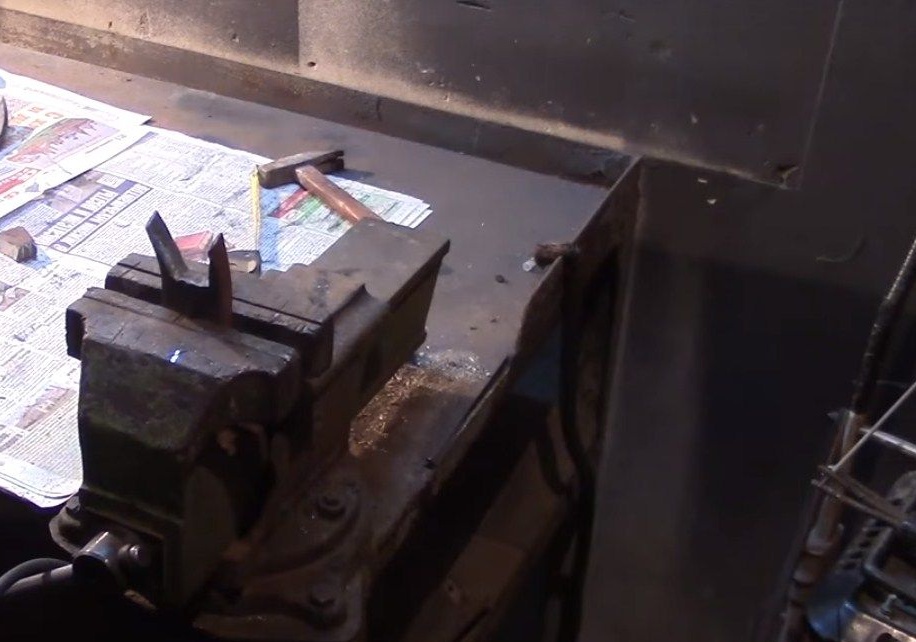
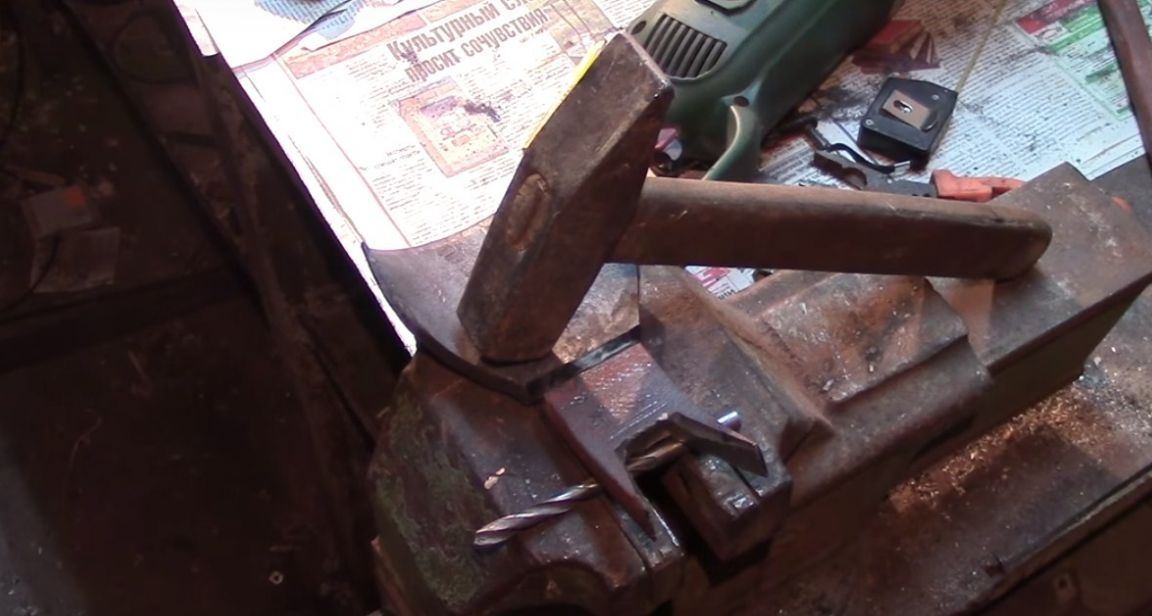
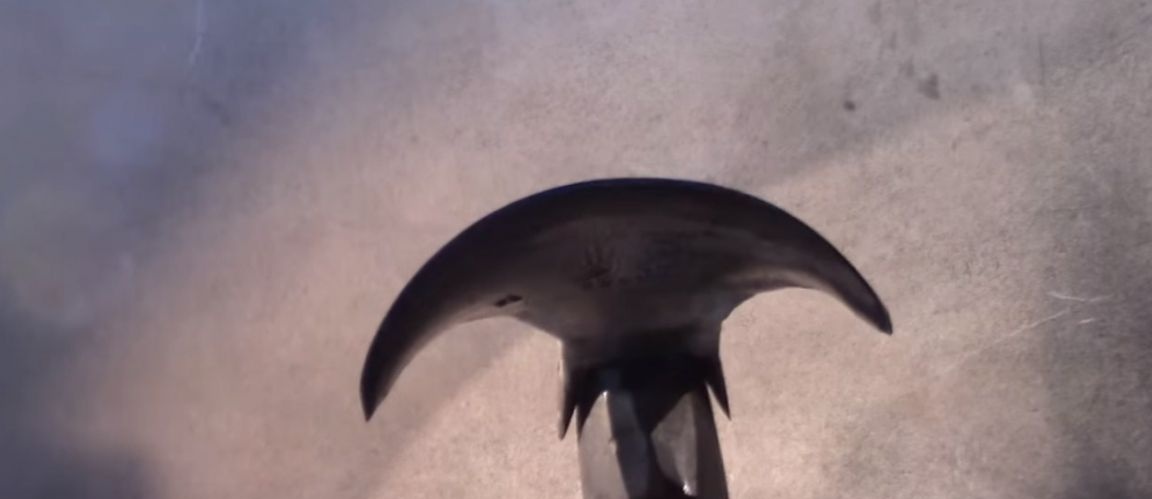
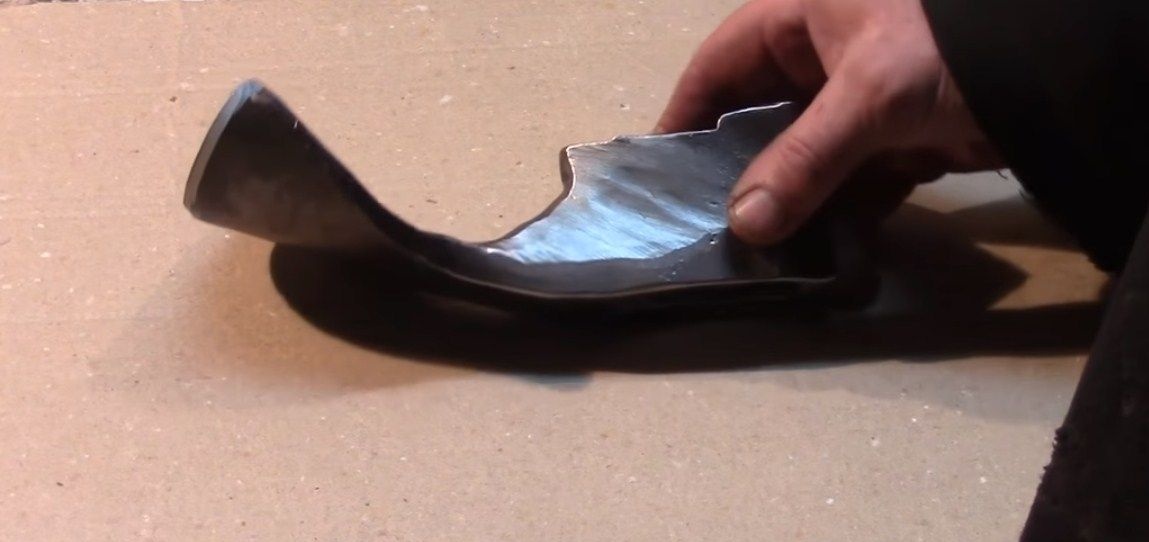
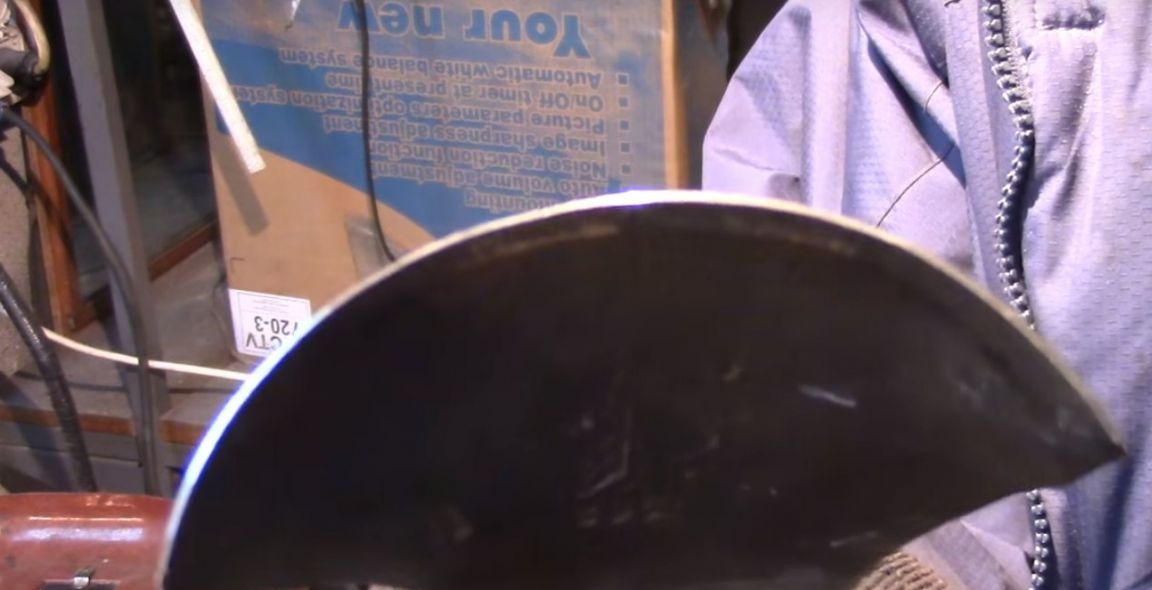
After that he heats the canvas in the furnace and holds the red-hot metal in a vise, bends it with a hammer, the bending radius is 6 cm.The metal in the vise cools quickly, so the author warms up several times until he bends the canvas to the desired radius.
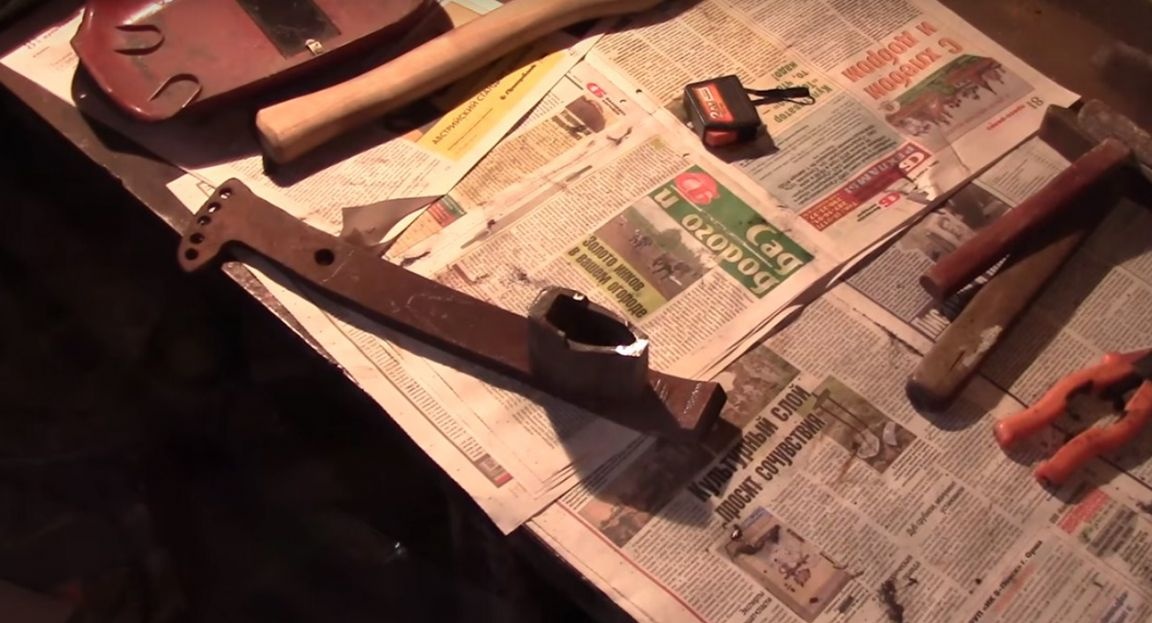
Teslo is longer than an ordinary ax, so the author needs to lengthen the curved canvas. He will make an insert from a thick steel strip. Pre-heating it and making a bend, like an old cooper tesla.
Further on this strip, the master will make markings for the butt and cut off all unnecessary.
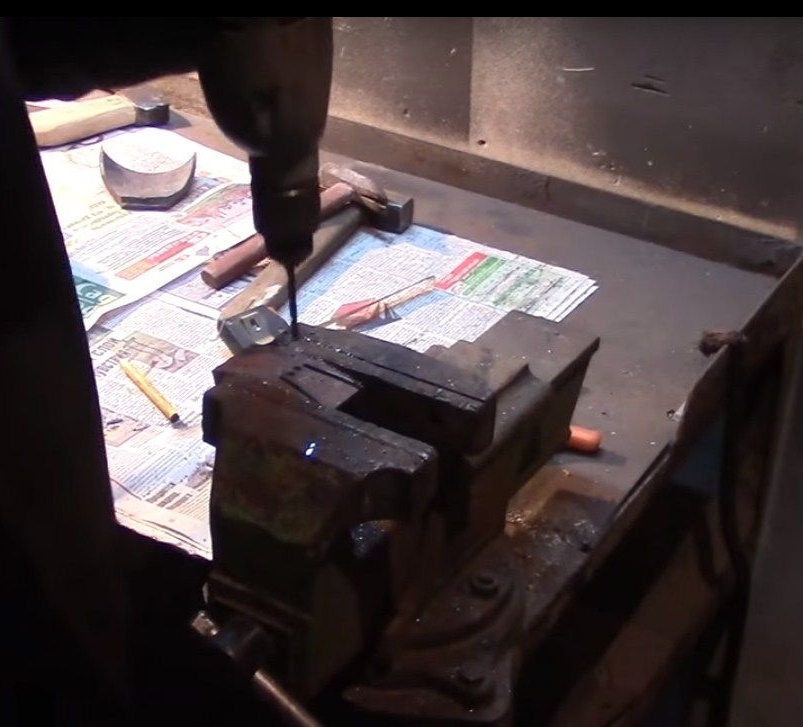
In order to make it easier to break out an unnecessary piece of metal, the author will make drilling. After holding the part in a vise, it breaks off the piece with a hammer.
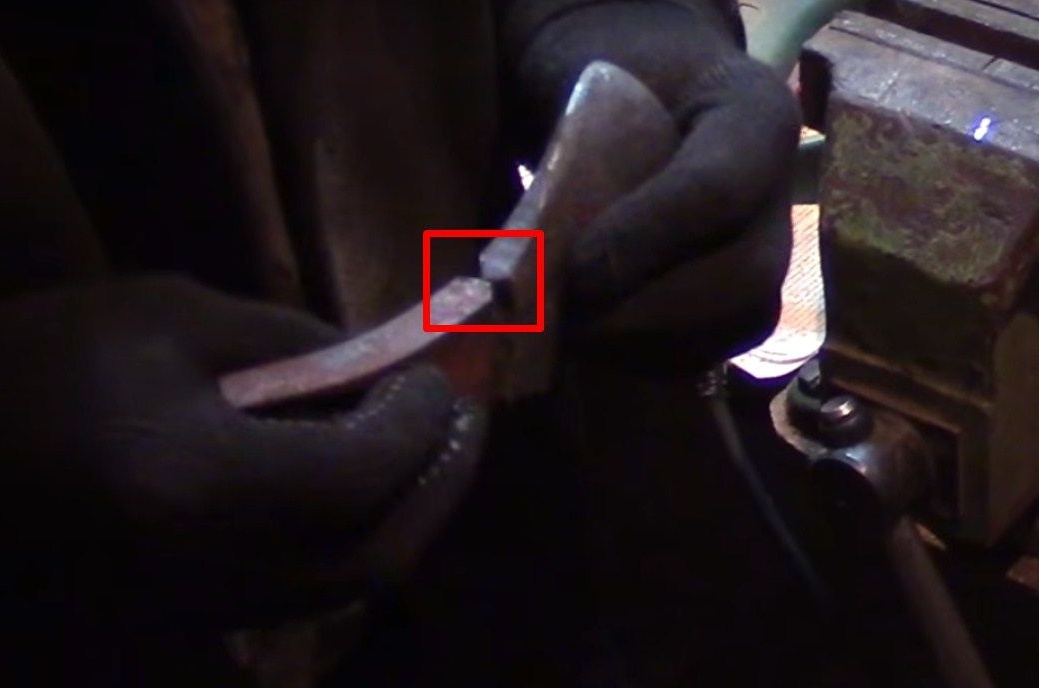
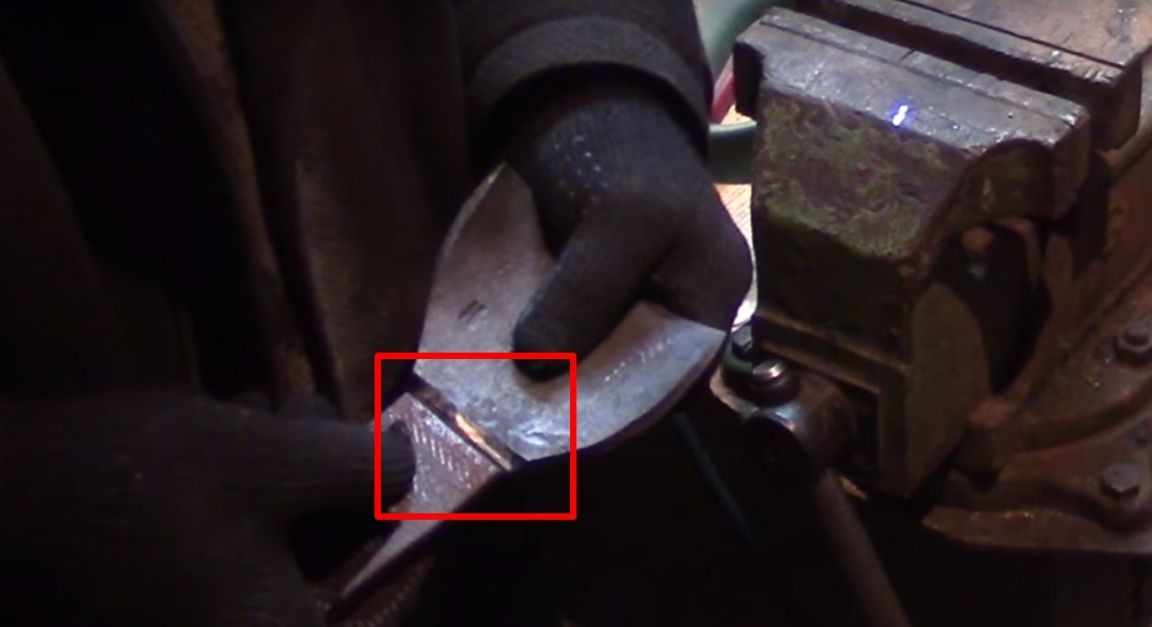
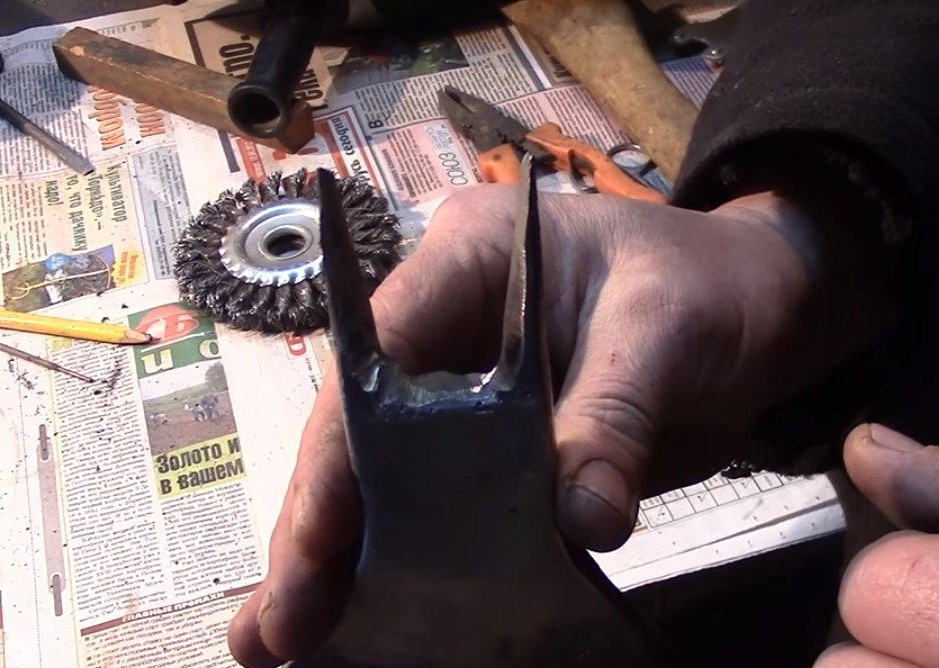
Next, it cuts off the edges for cutting the seam.
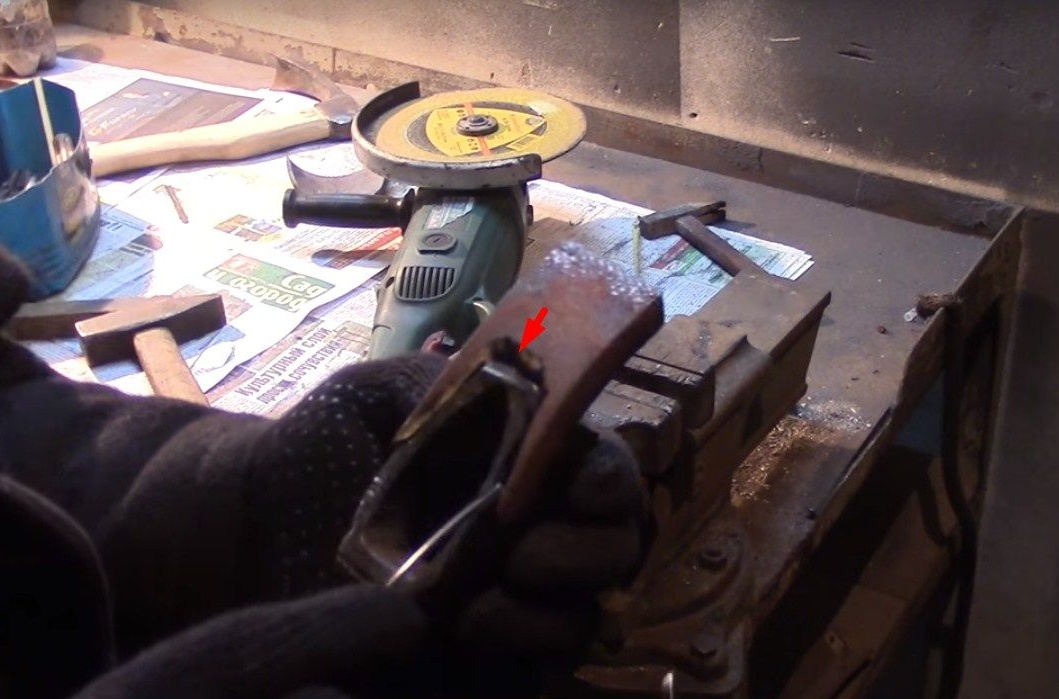
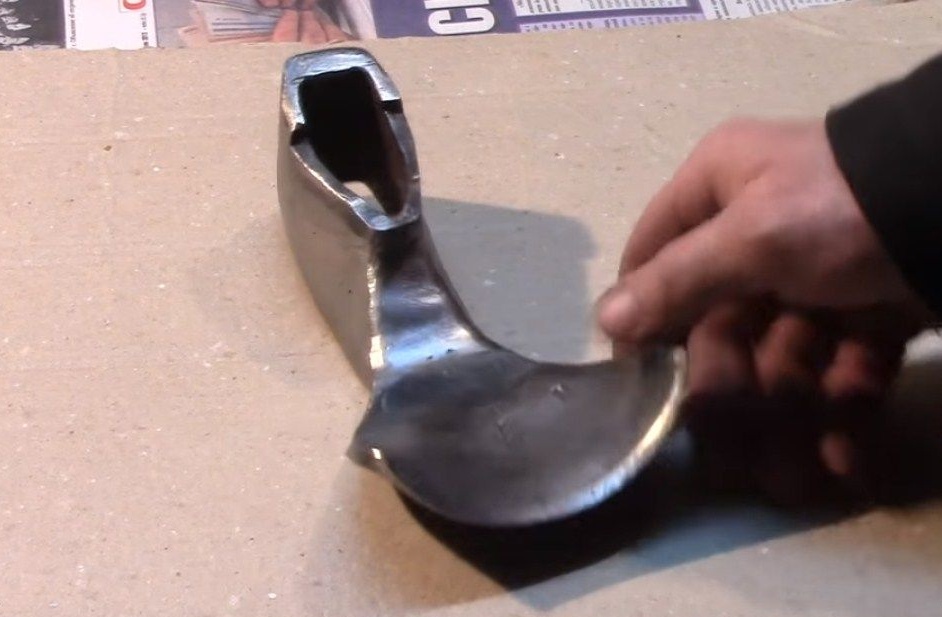
And it looks like cutting the canvas with an insert.
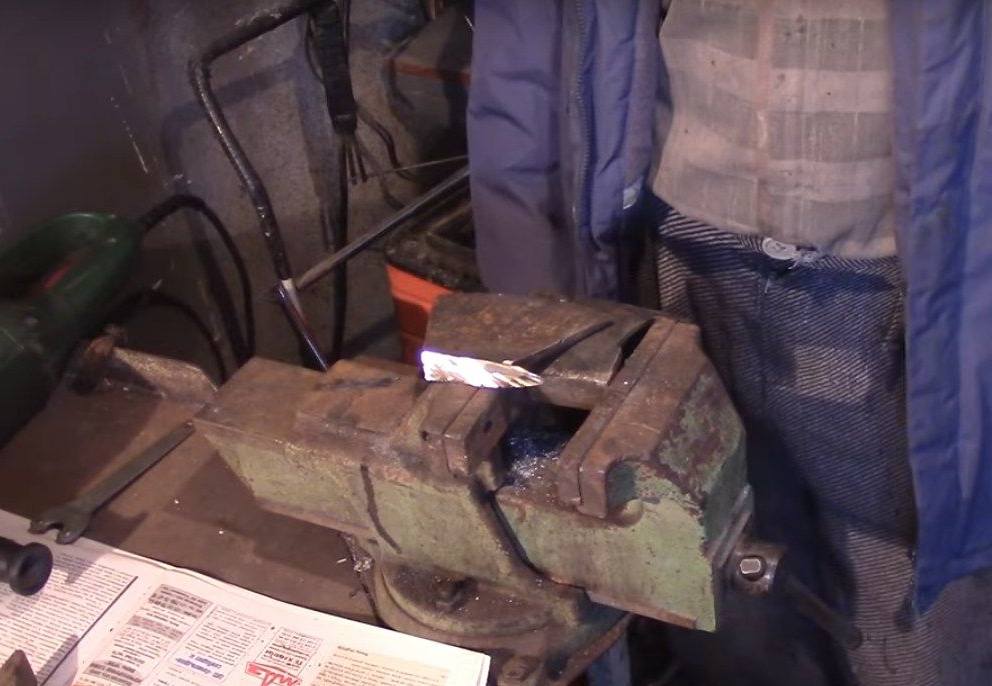
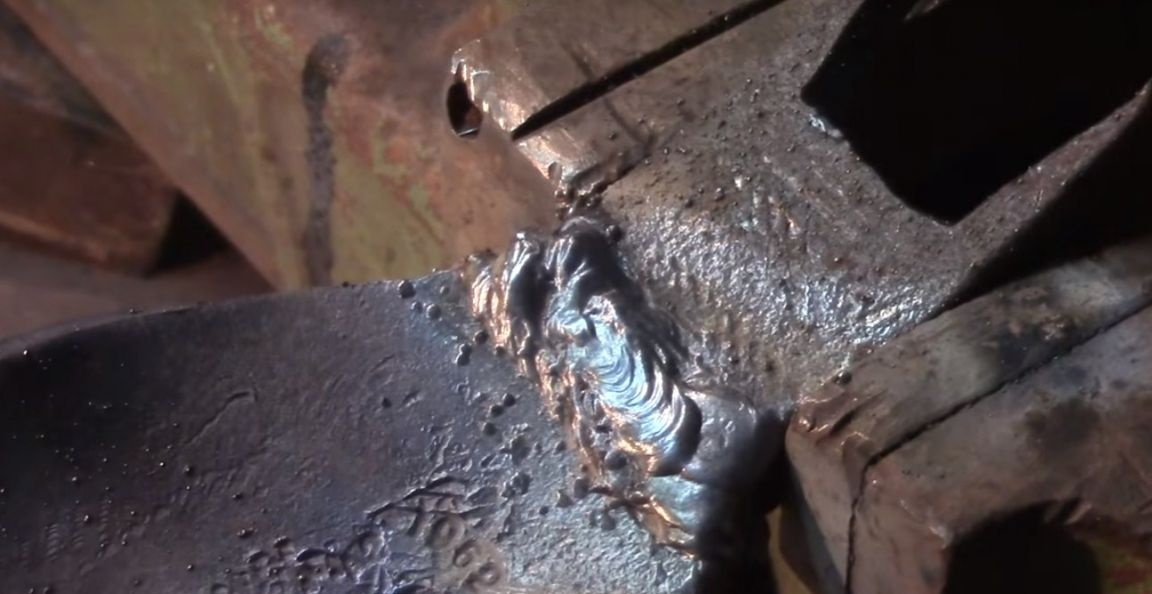
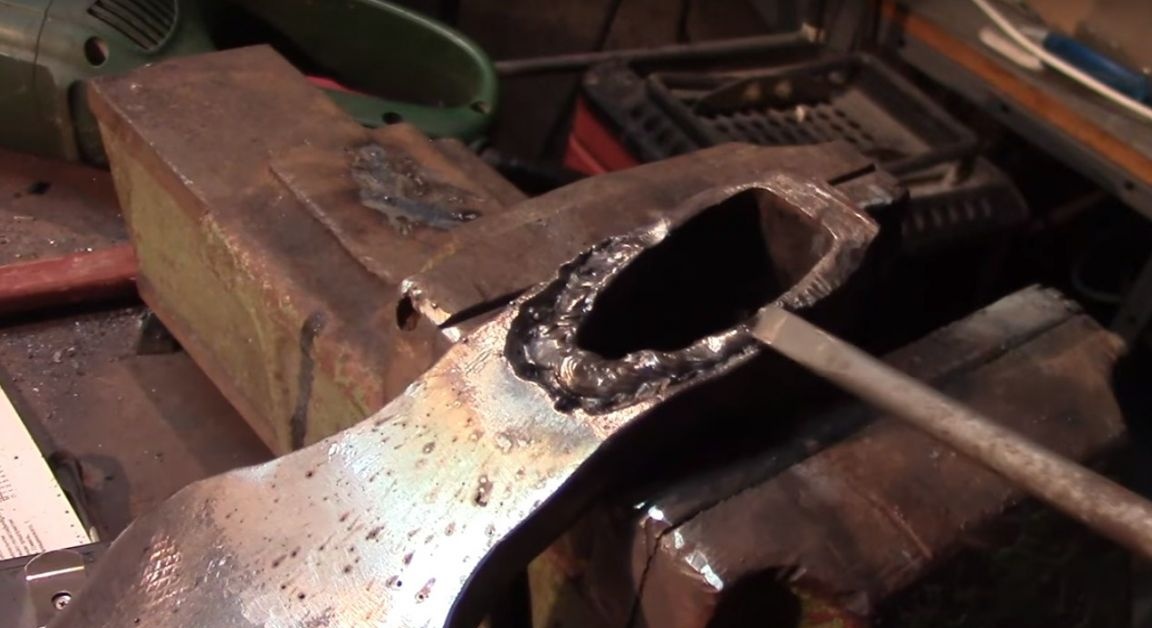
Then it welds the parts one by one, applying and cleaning each seam.

The author makes cleaning the seams with a wire circle for angle grinders.
For welding, the author used MP-3 electrodes., For a root seam, a diameter of 2 mm, and for the rest of the seams 2.5 mm.
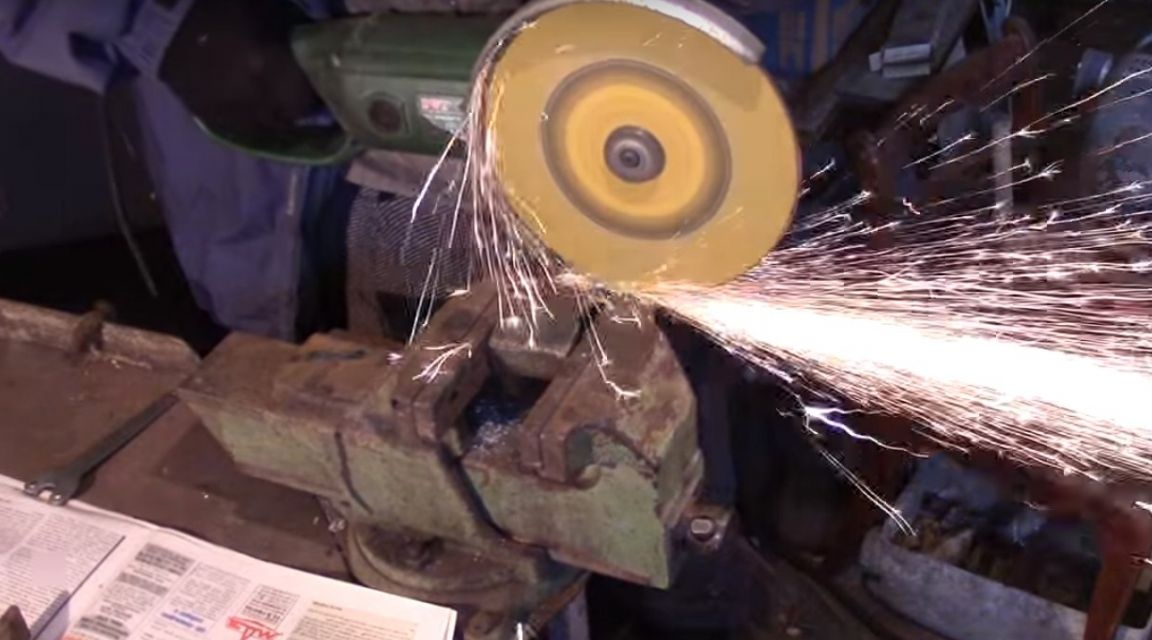
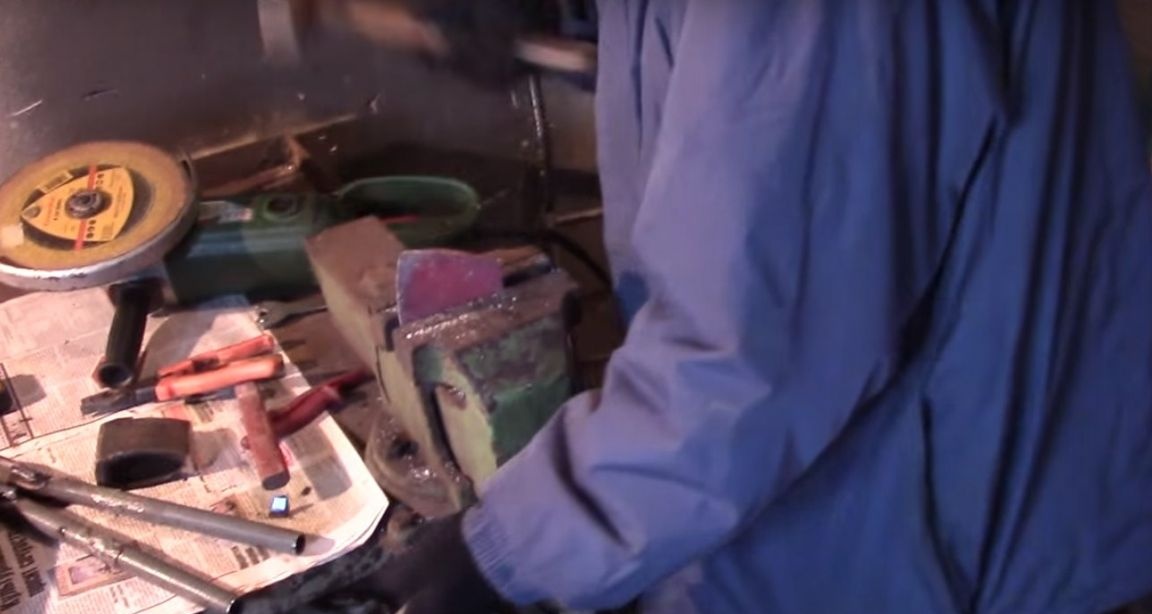
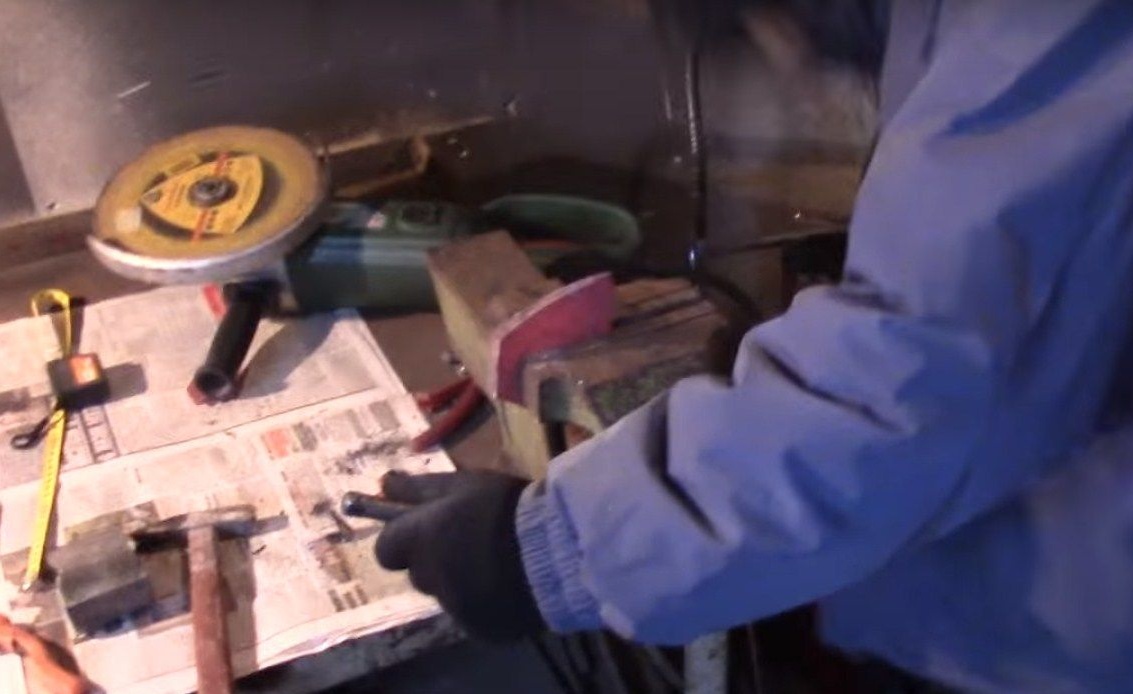
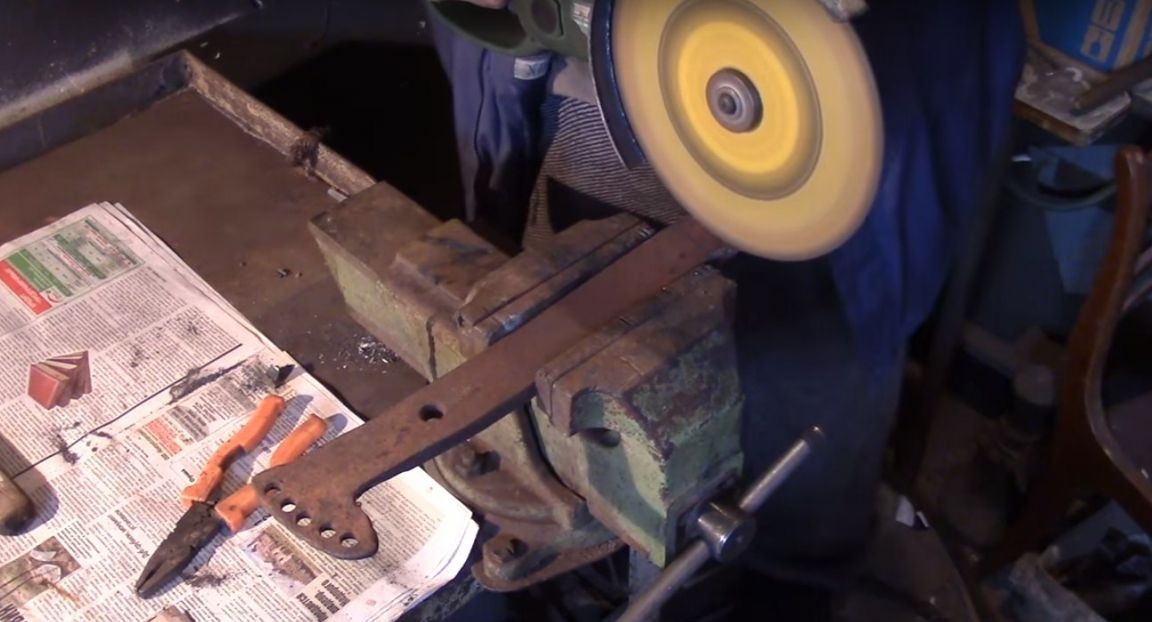
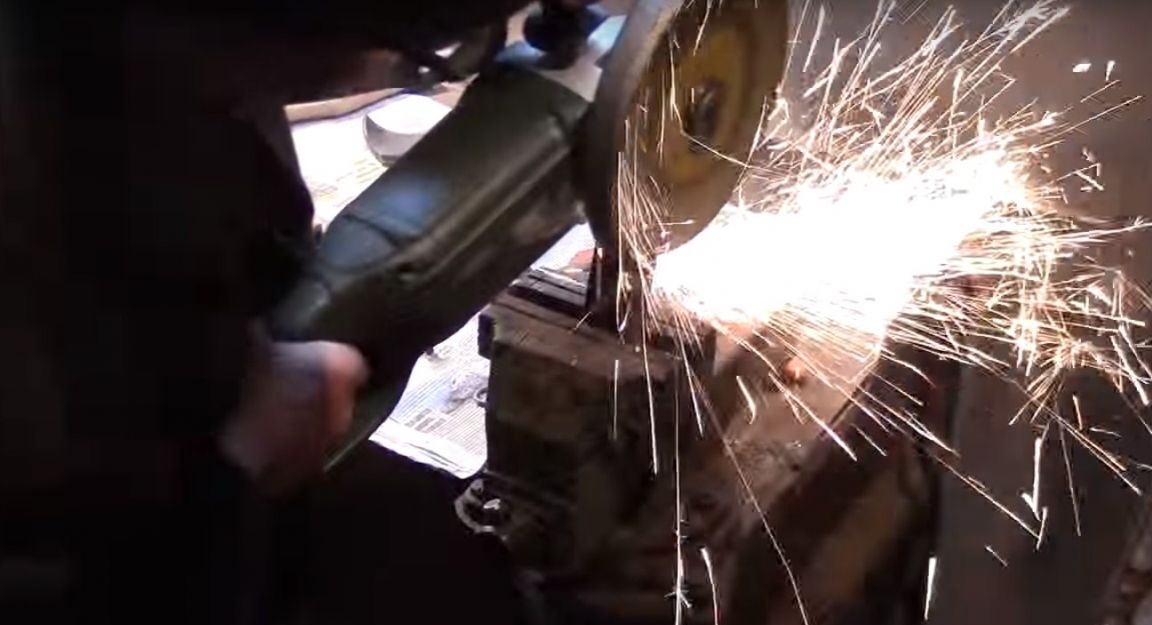
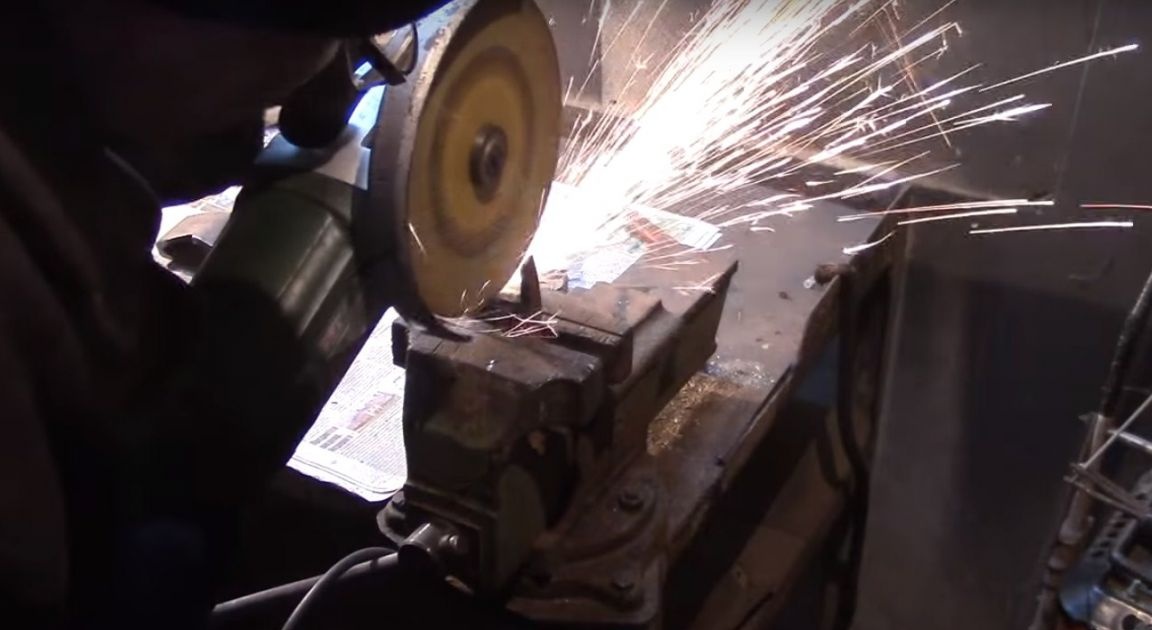
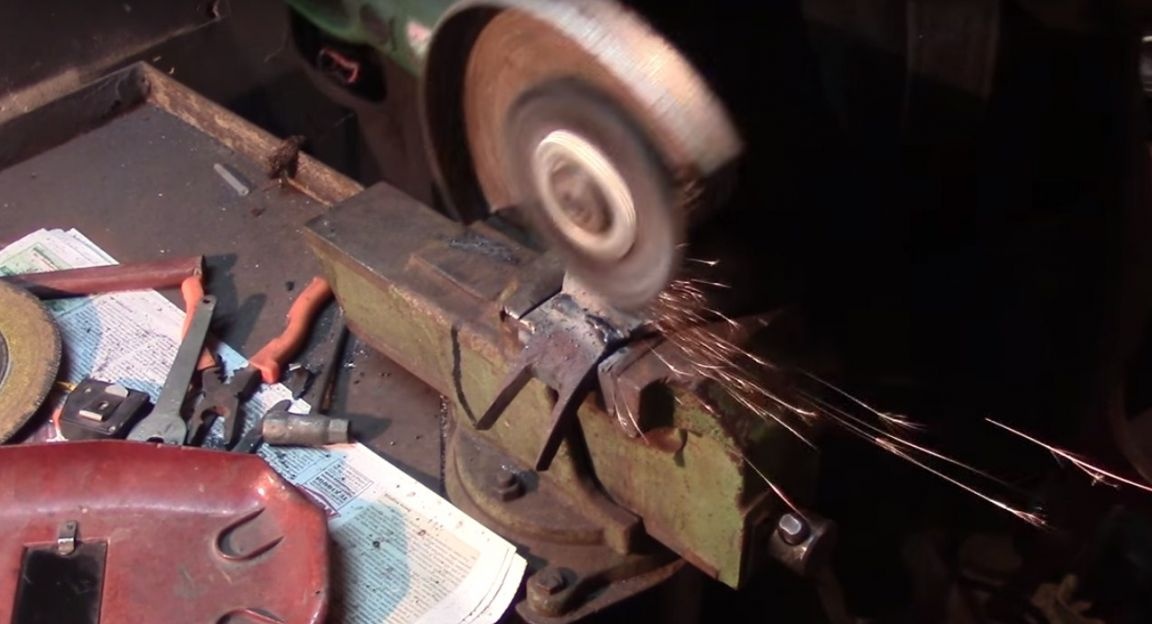
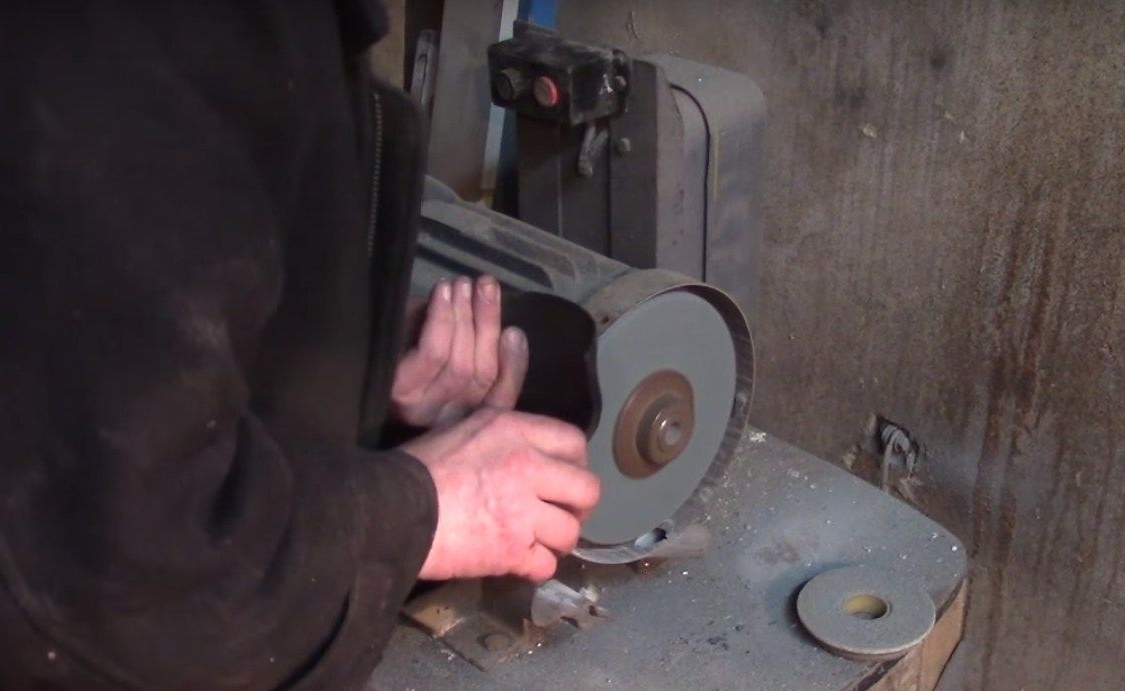
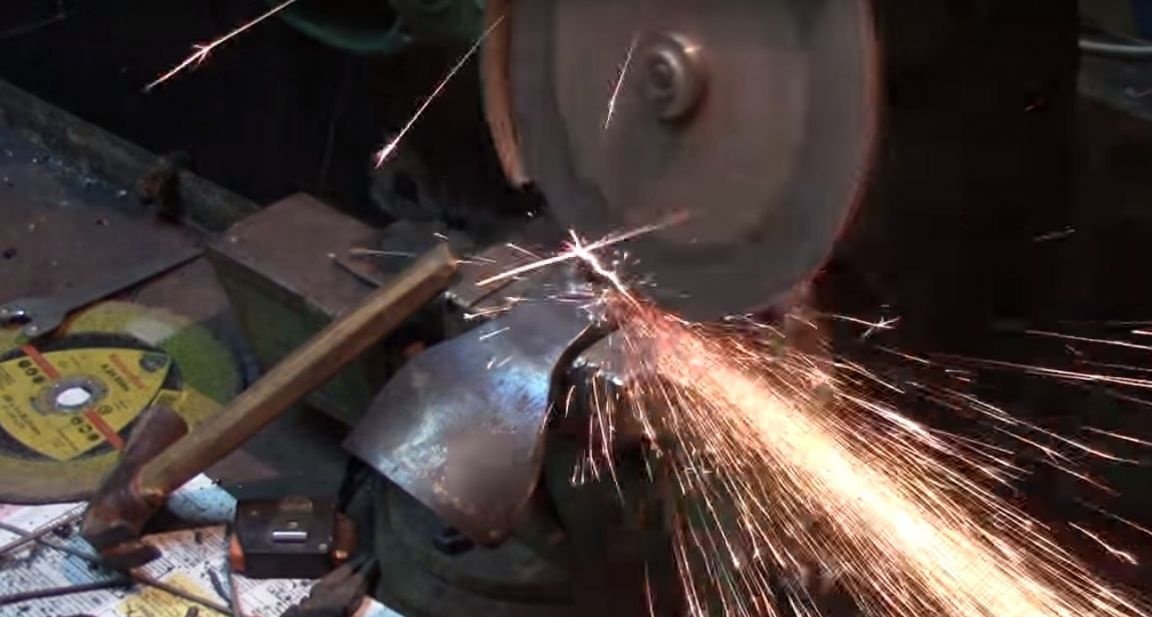
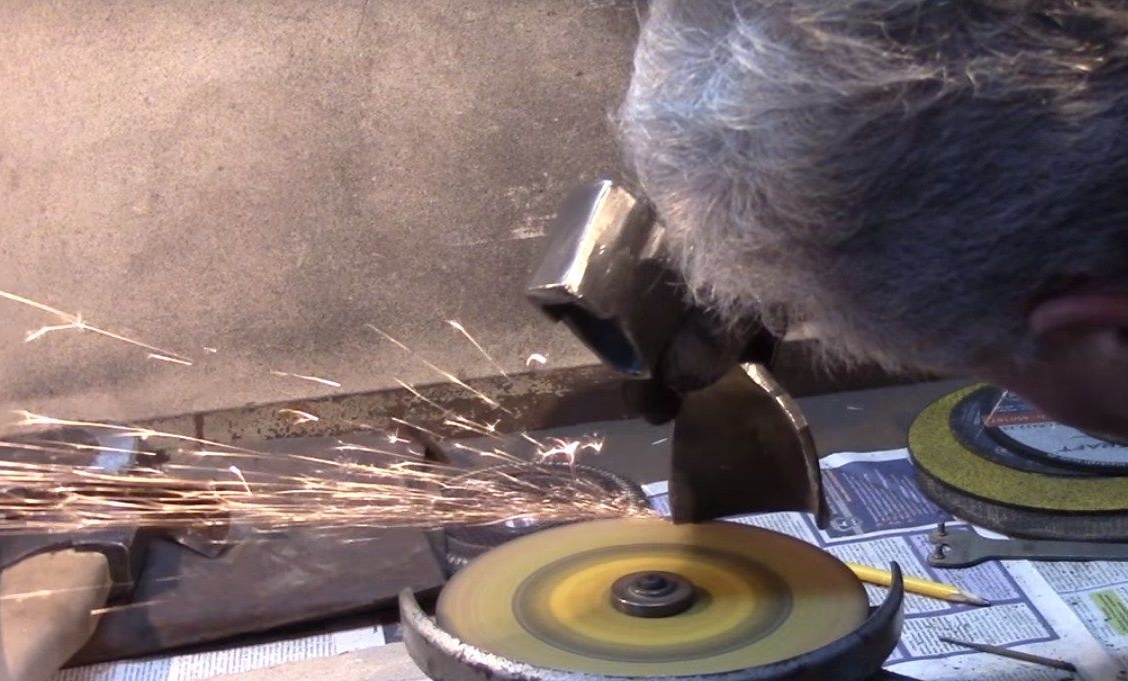
Next, the master removed the excess surfacing using an emery abrasive.
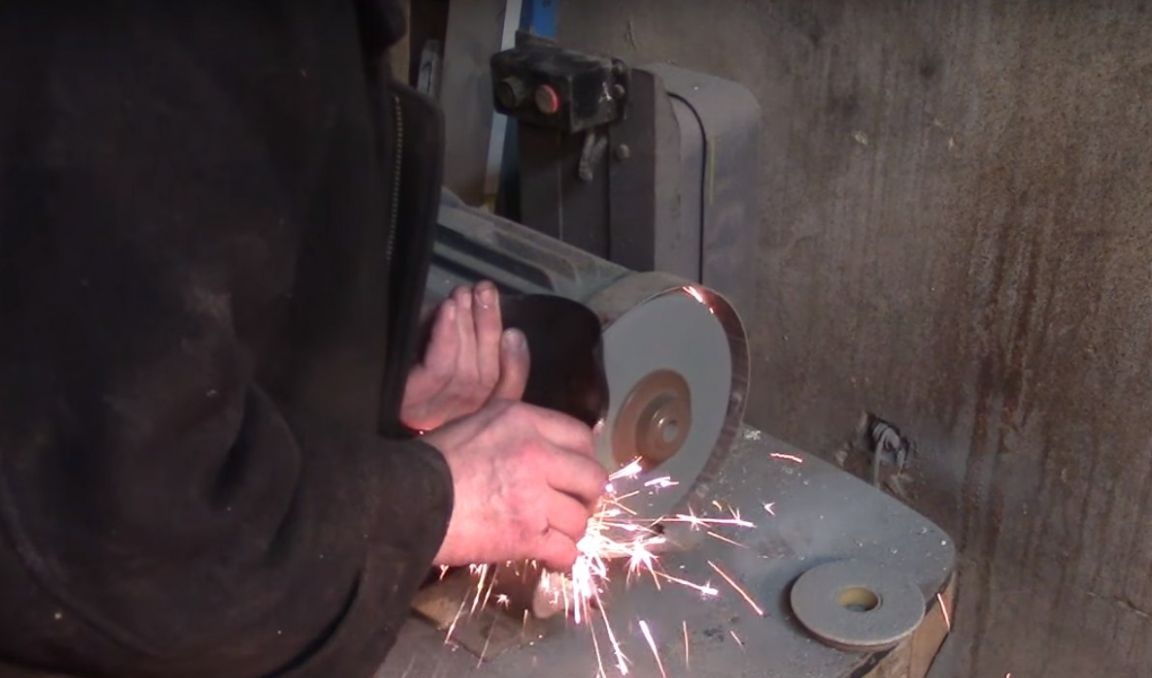
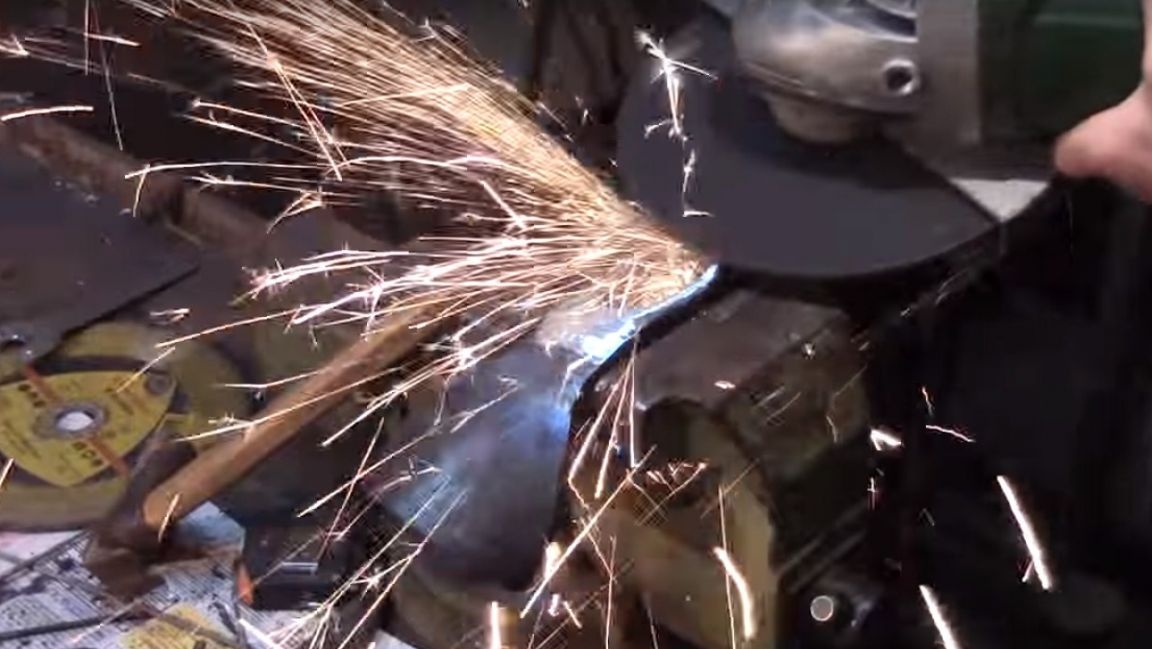
And grinding wheel on angle grinder.

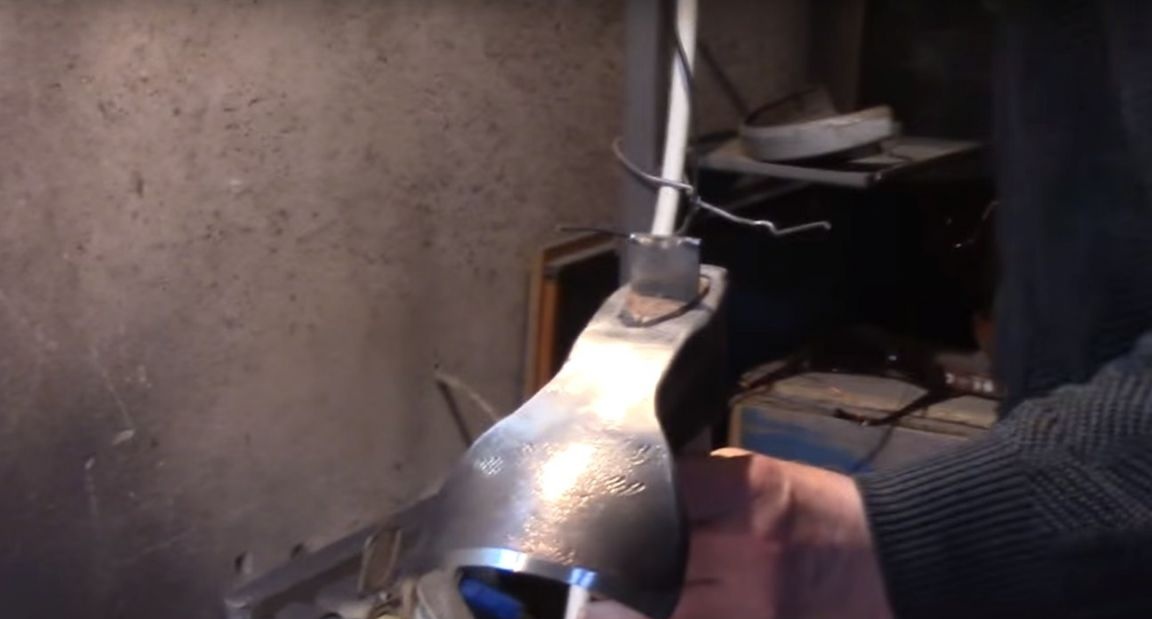
Further, the author prepared for welding a cloth and butt.
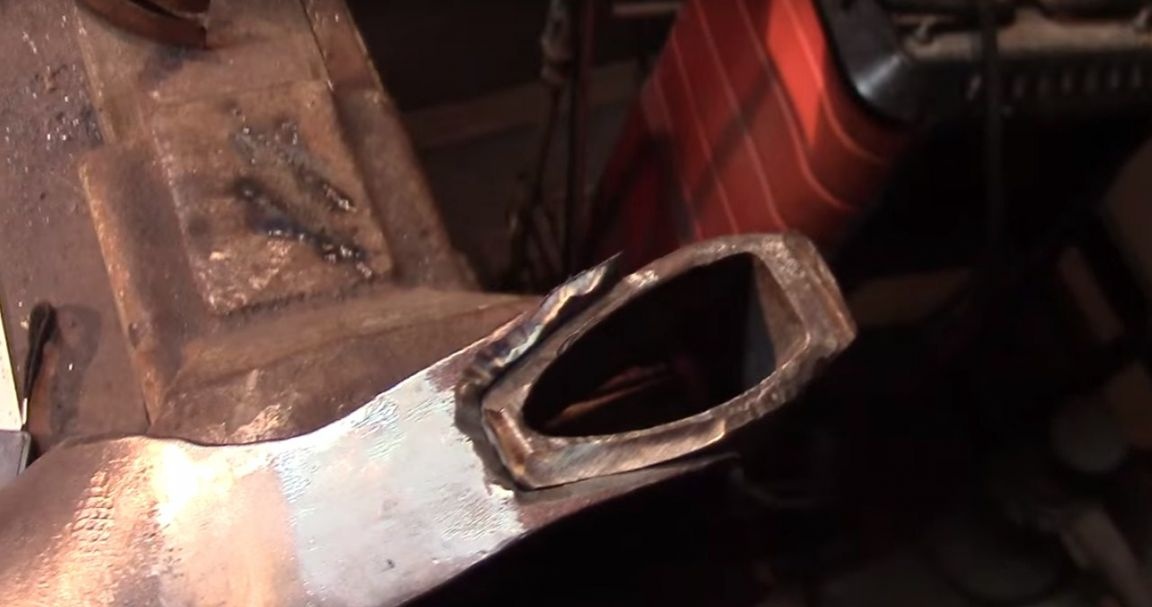
Then he put on an old hatchet put up an angle and removed the curvature.
And he started welding.
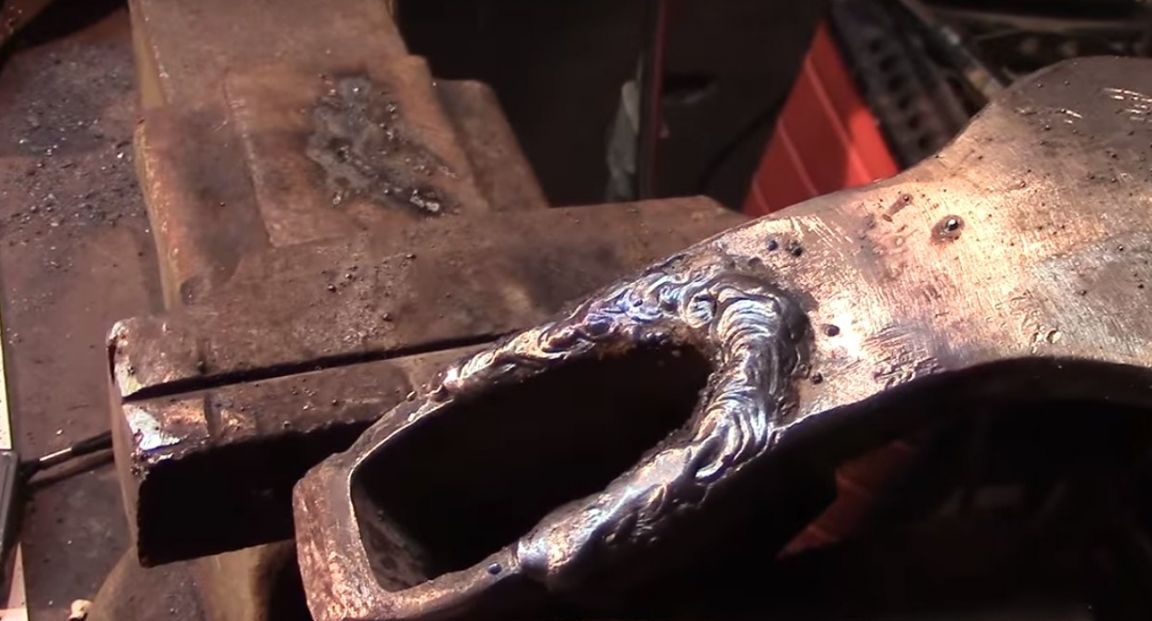
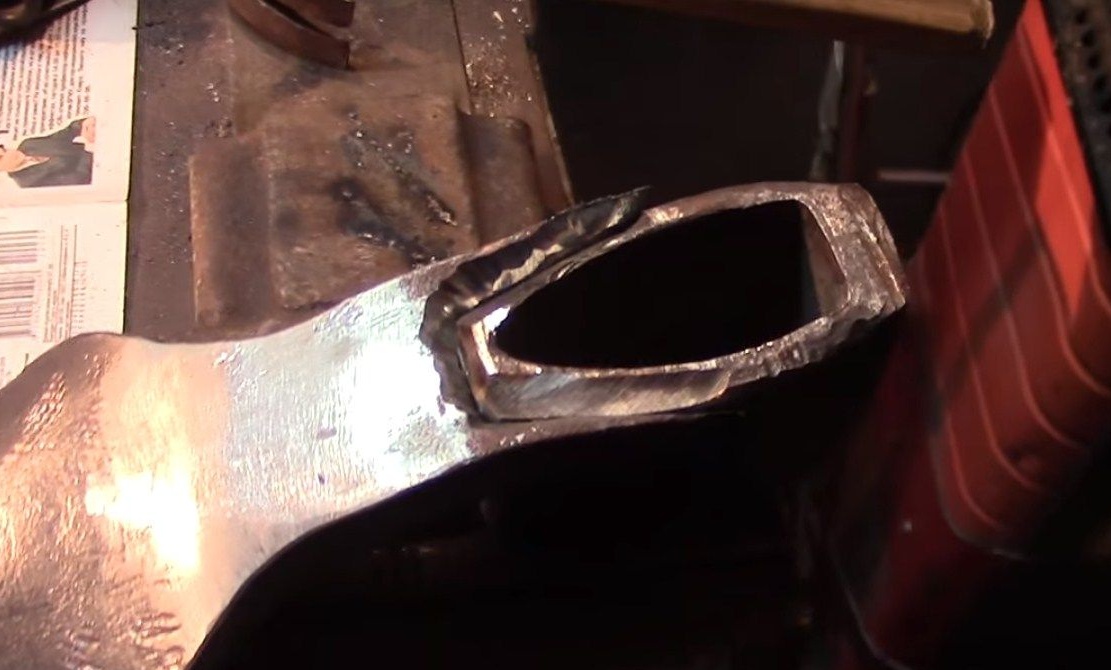
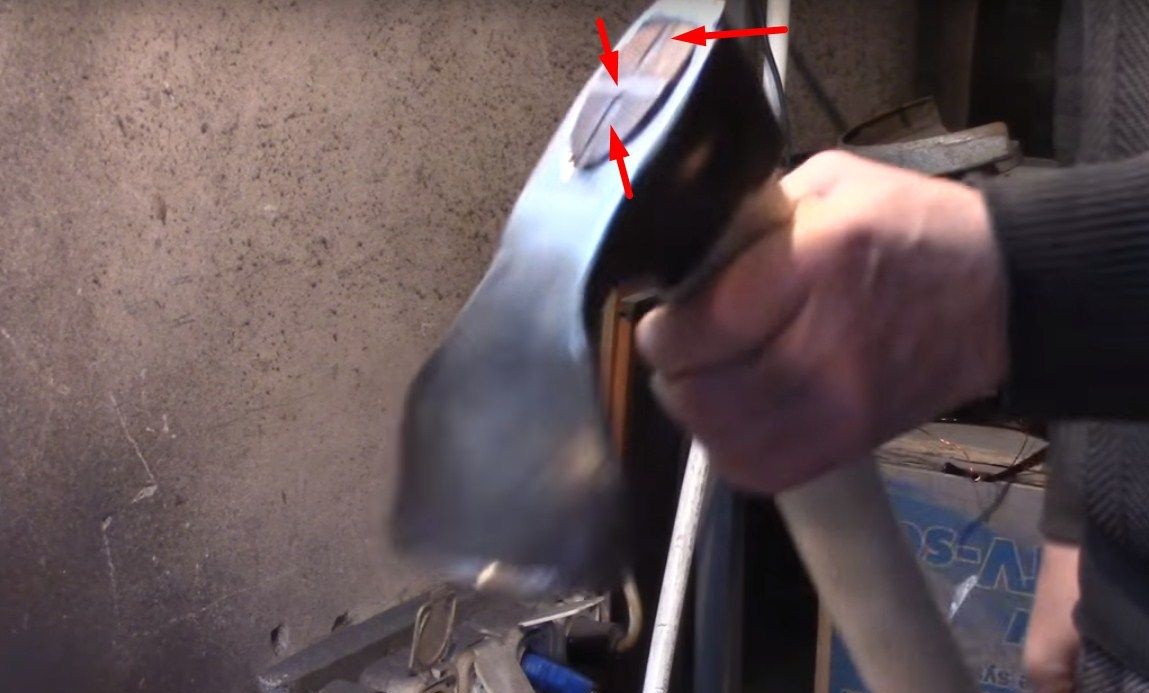
Also, the author made surfacing in this place for the strength of the tool.
Next, I removed all the excess.
Next, the author will do the heat treatment of the tool. The author divided this stage into three parts 1) Annealing. 2) Tempering. 3) Vacation. Before starting the heat treatment, the author blunted the cutting edge to a thickness of approximately 1 mm.
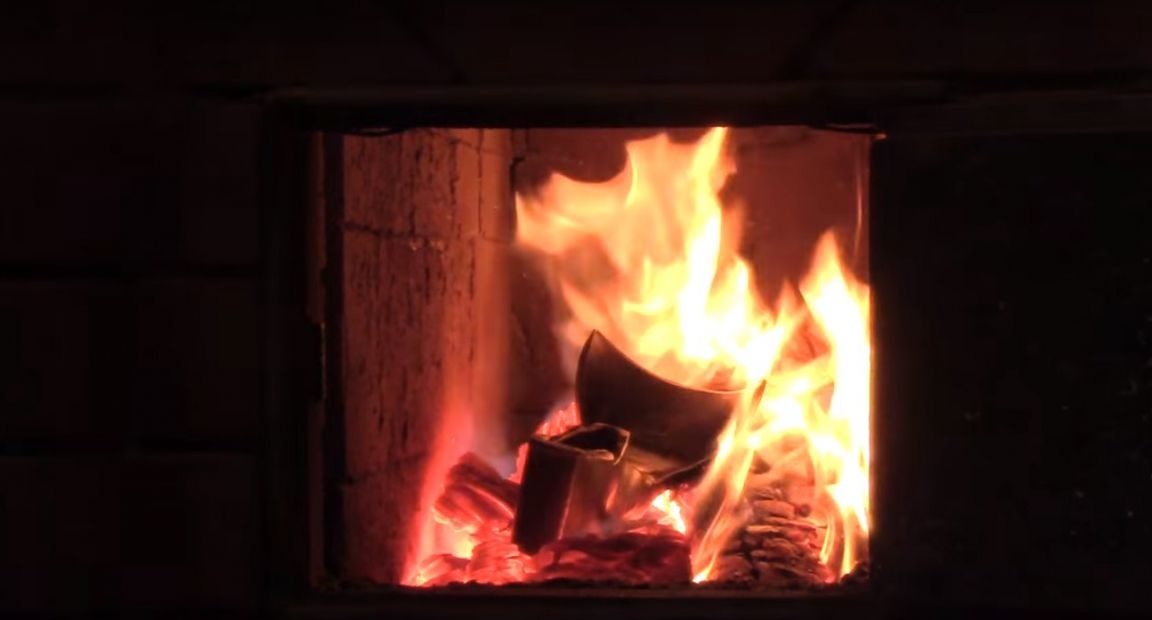
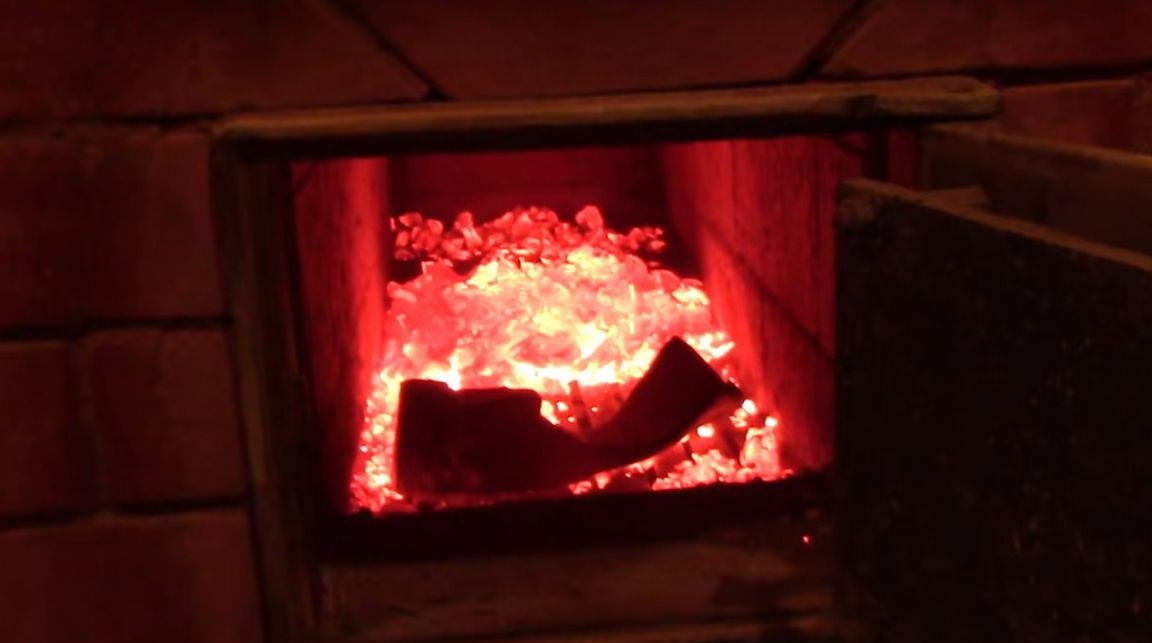
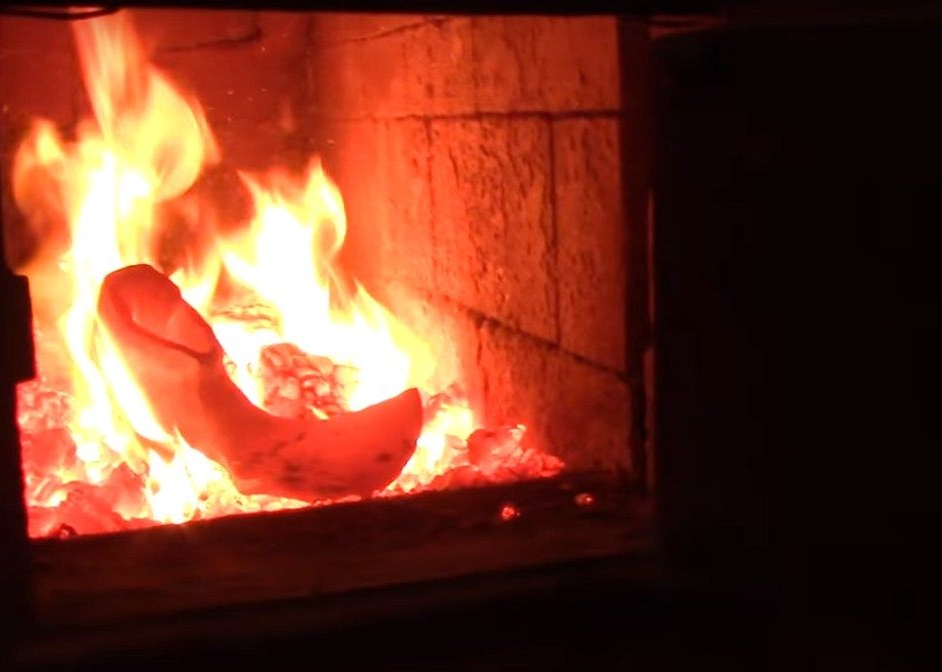
1 Annealing. He places the tool in the furnace and heats up, the author checks the temperature with a magnet, if the metal is not magnetized, then the temperature is more than 768 degrees. After the desired temperature is reached, the author rakes the coals to the side, closes the furnace and waits until it cools completely.
After annealing, the metal is easy to file.
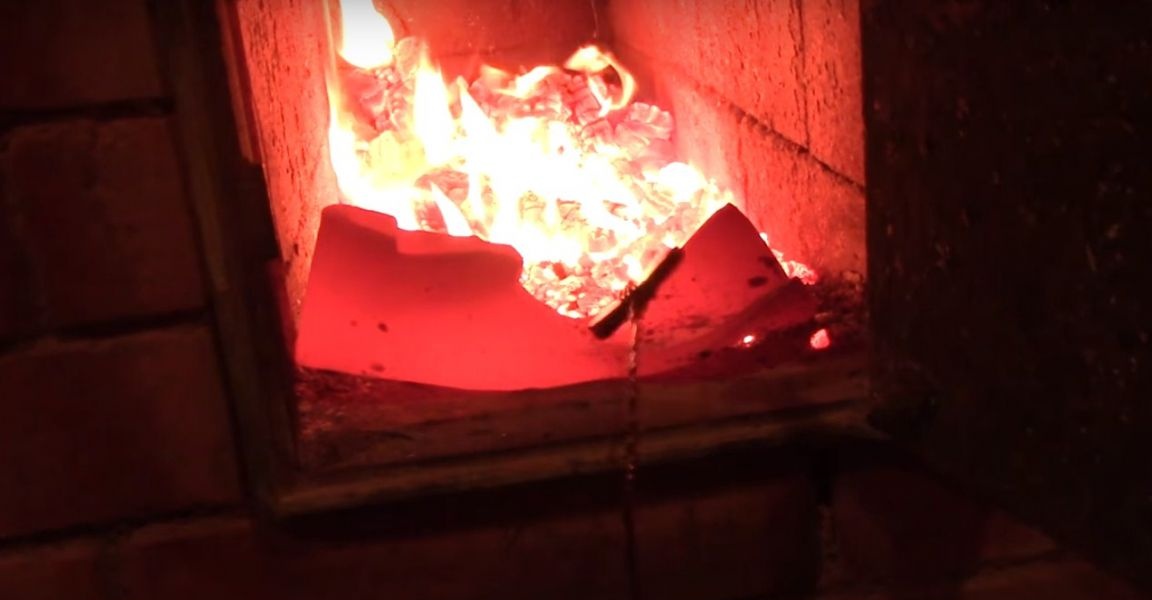
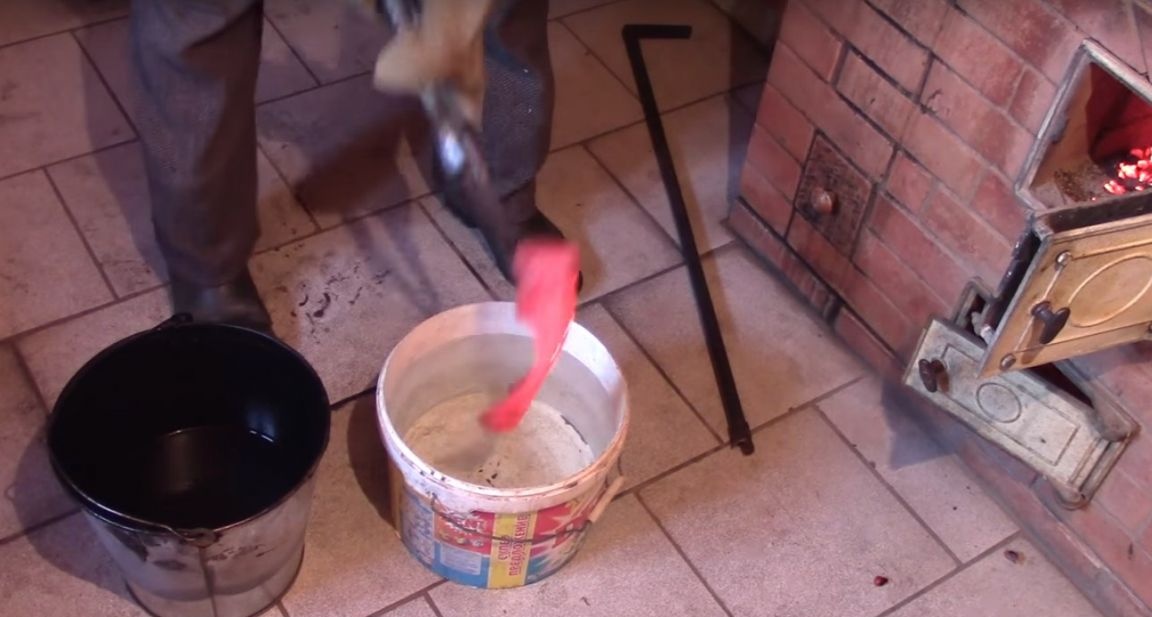
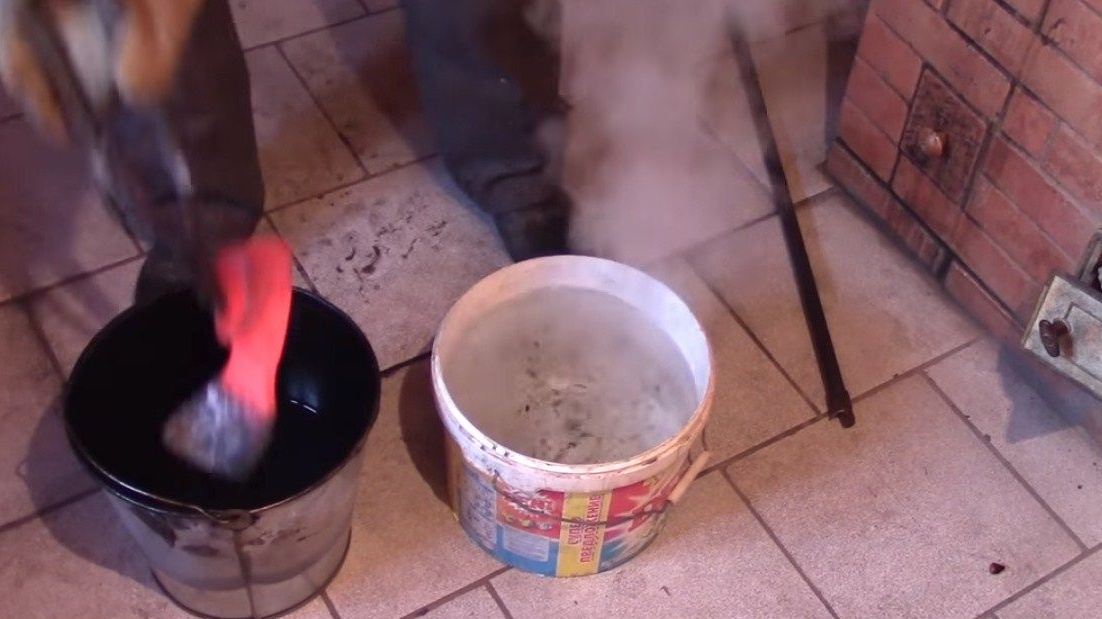
2 Quenching. Heats up the instrument again by controlling the temperature, as soon as the magnet stops sticking to the metal heats another five minutes and takes it out.
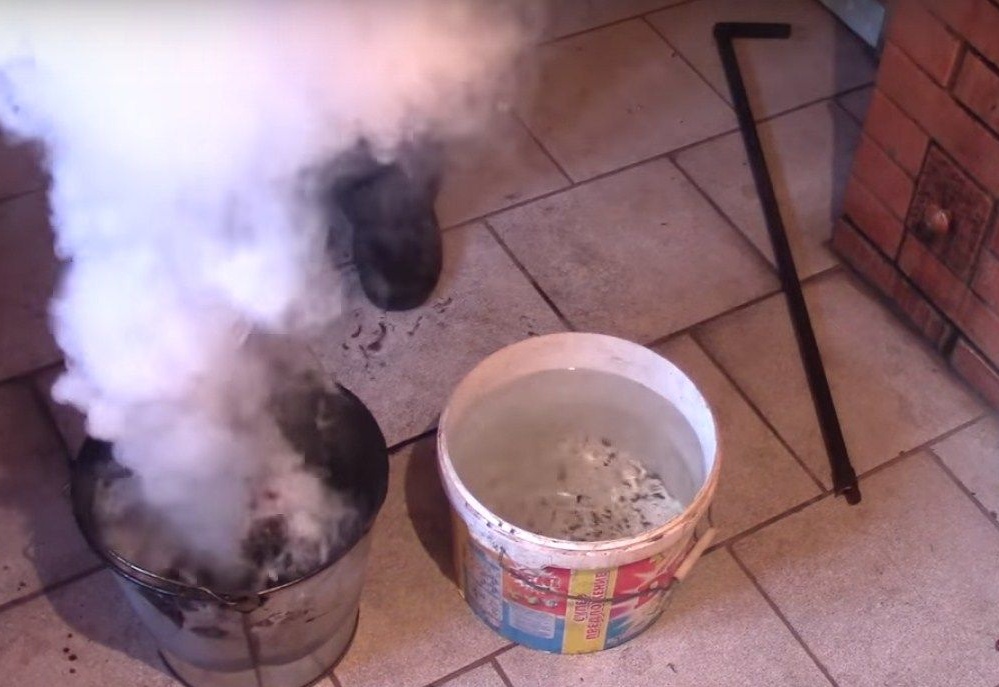
First immerses 3 cm of a hot tool in water heated to 30 degrees for 3 seconds, and then the entire tool in oil until it cools completely.
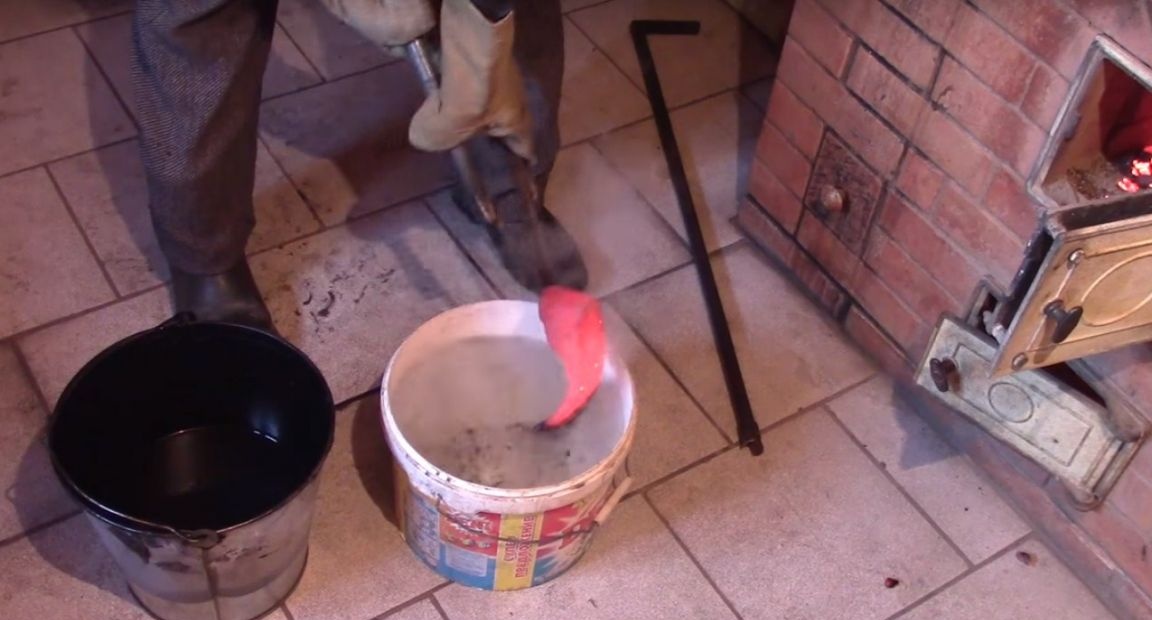
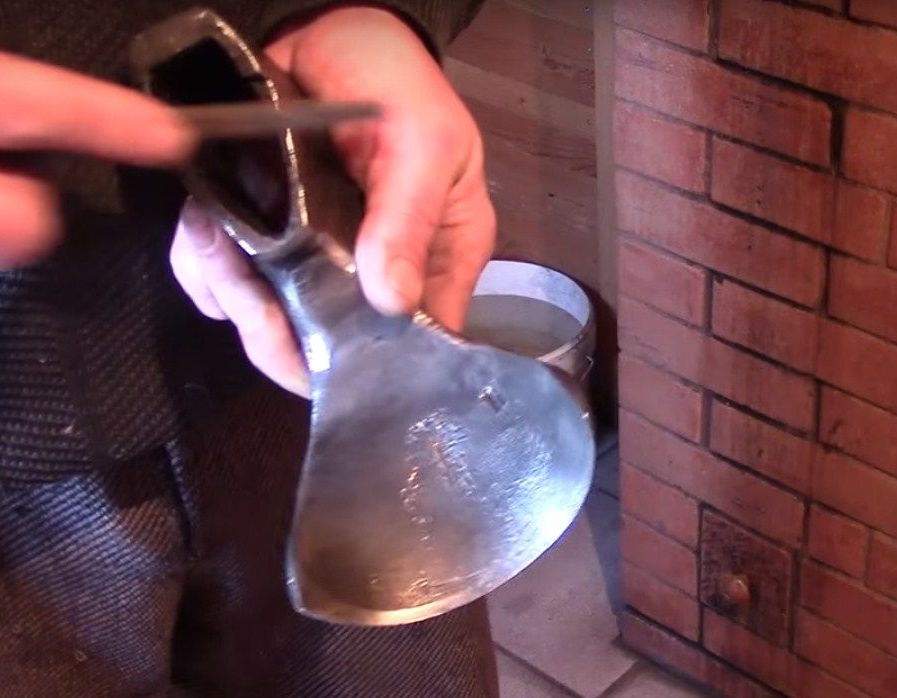
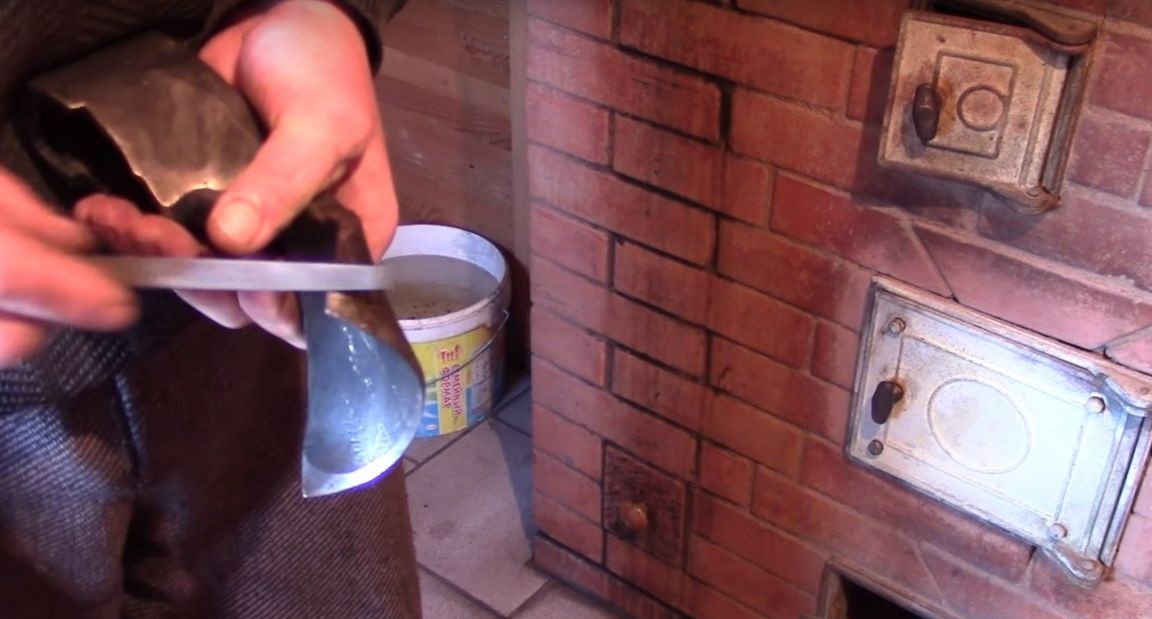
The result of hardening.
3 Holidays. Its author made in a conventional gas oven, keeping the tool in the oven for one hour at a temperature of 300 degrees.
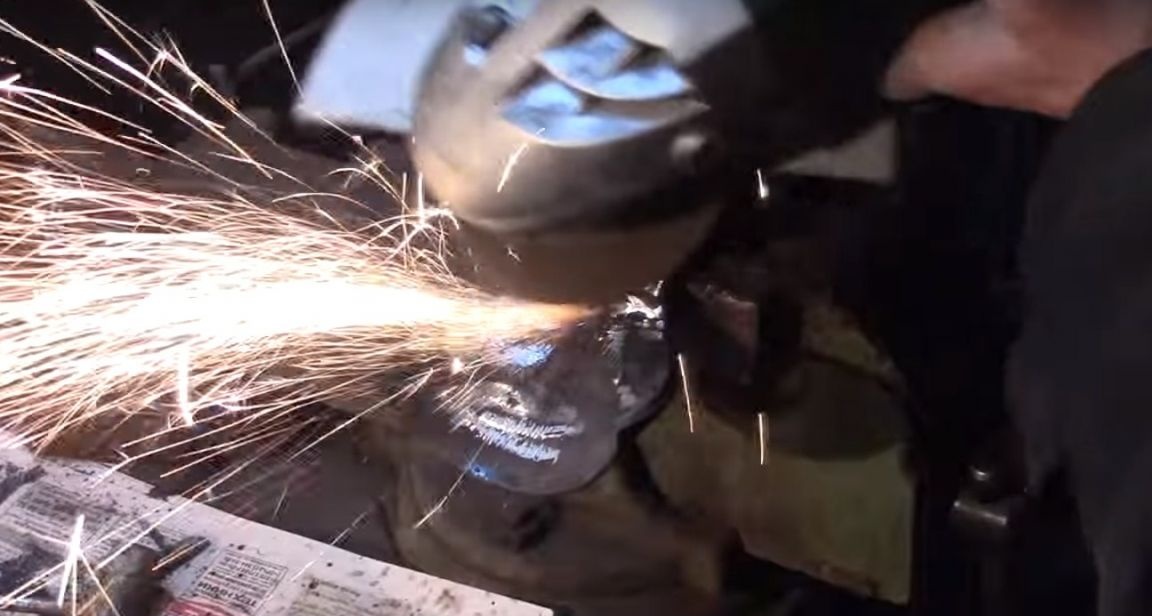
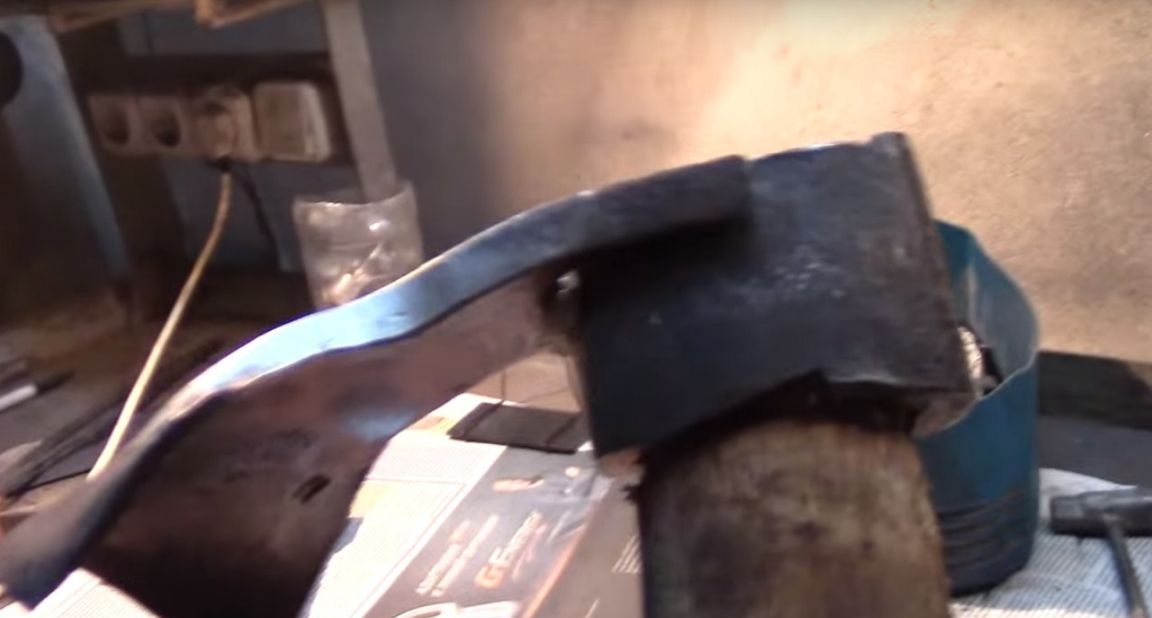
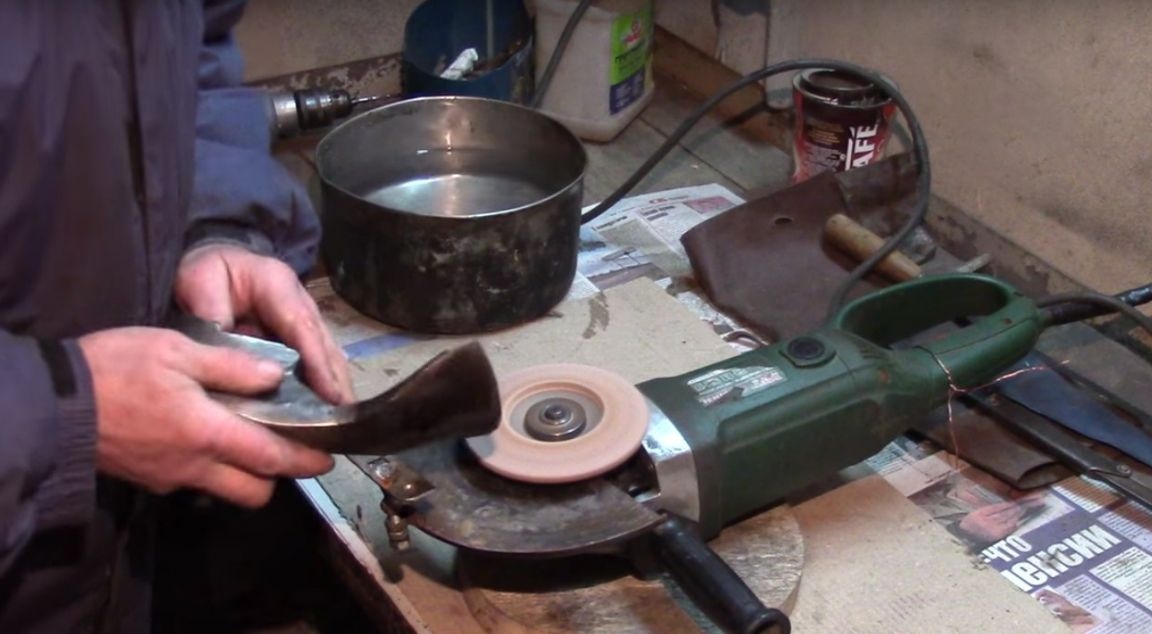
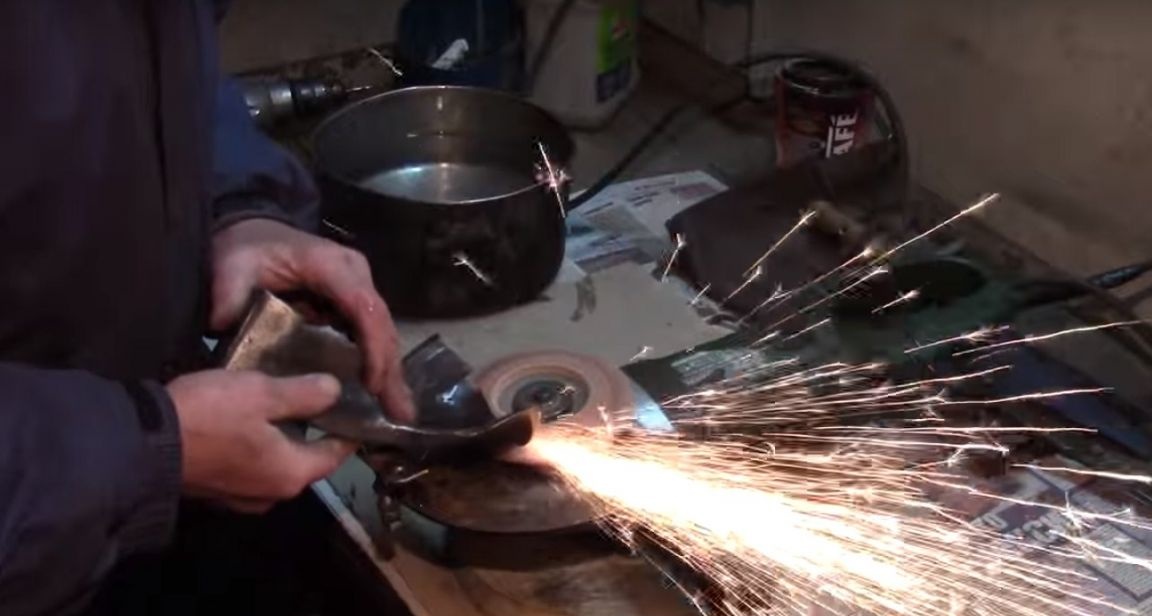
The master makes sharpening with a petal circle on the angle grinder. External sharpening at an angle of 30 degrees.
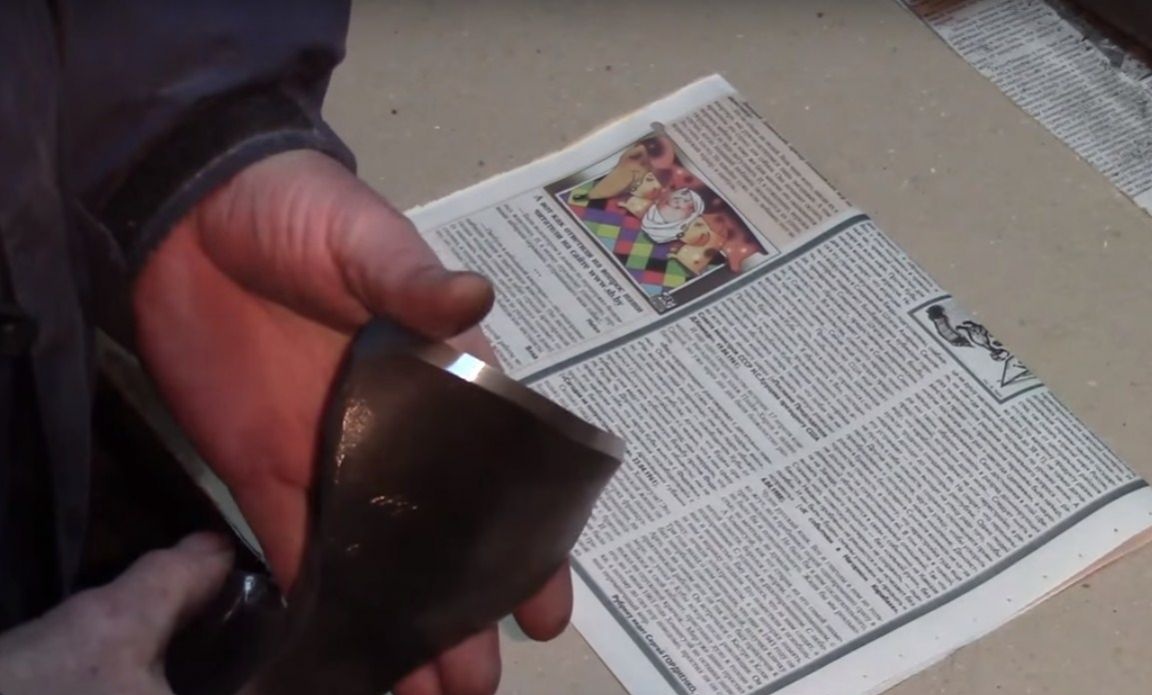
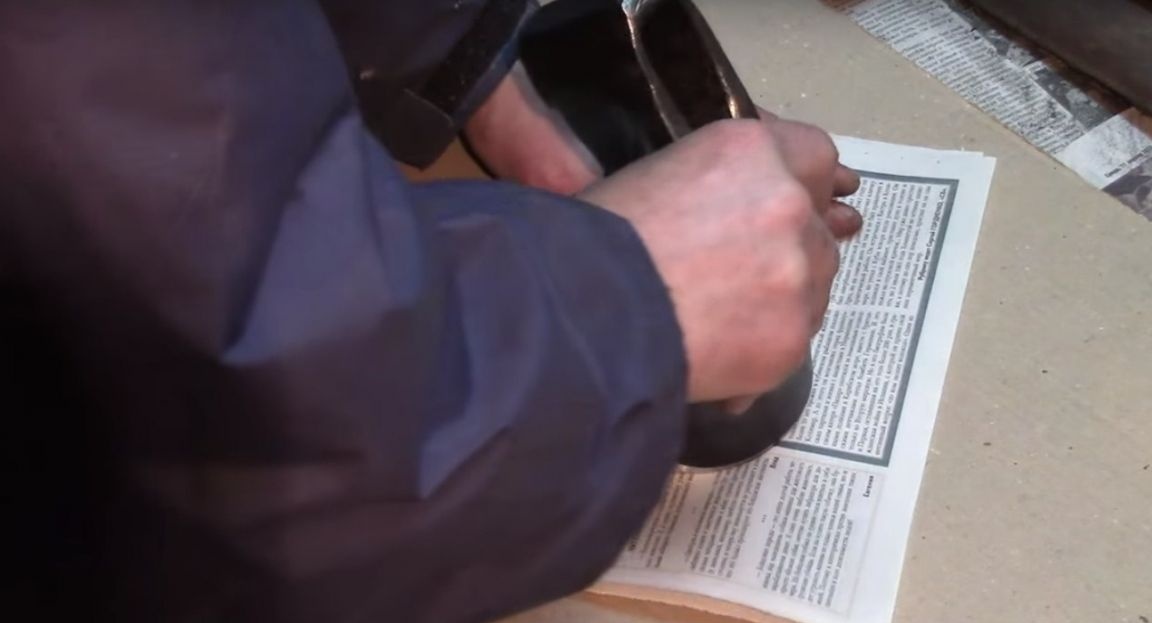
The result of sharpening.
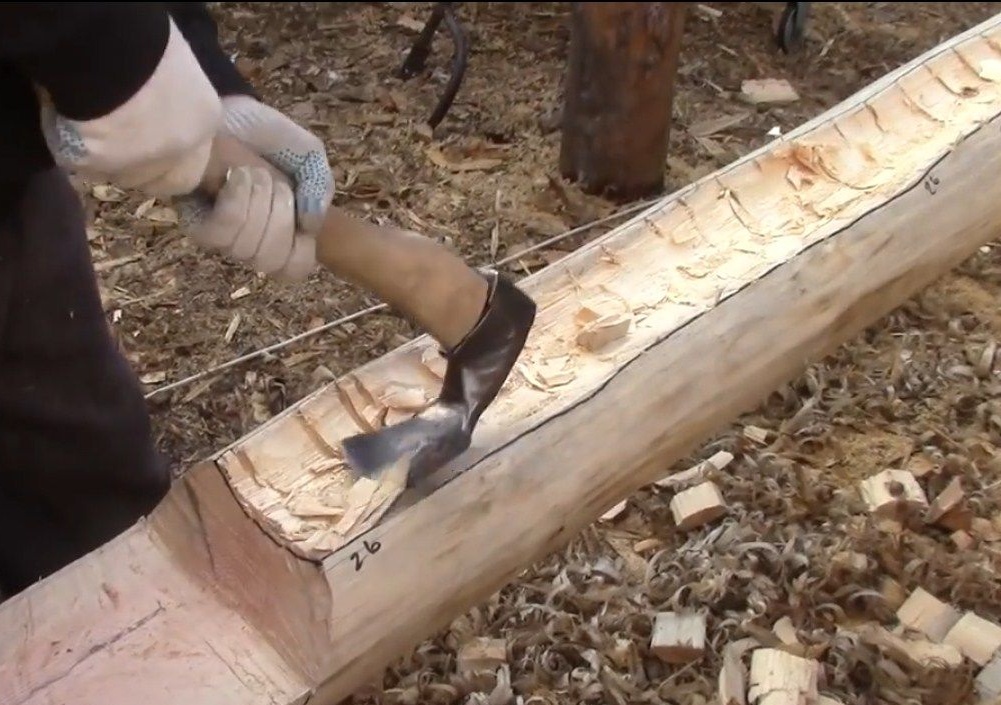
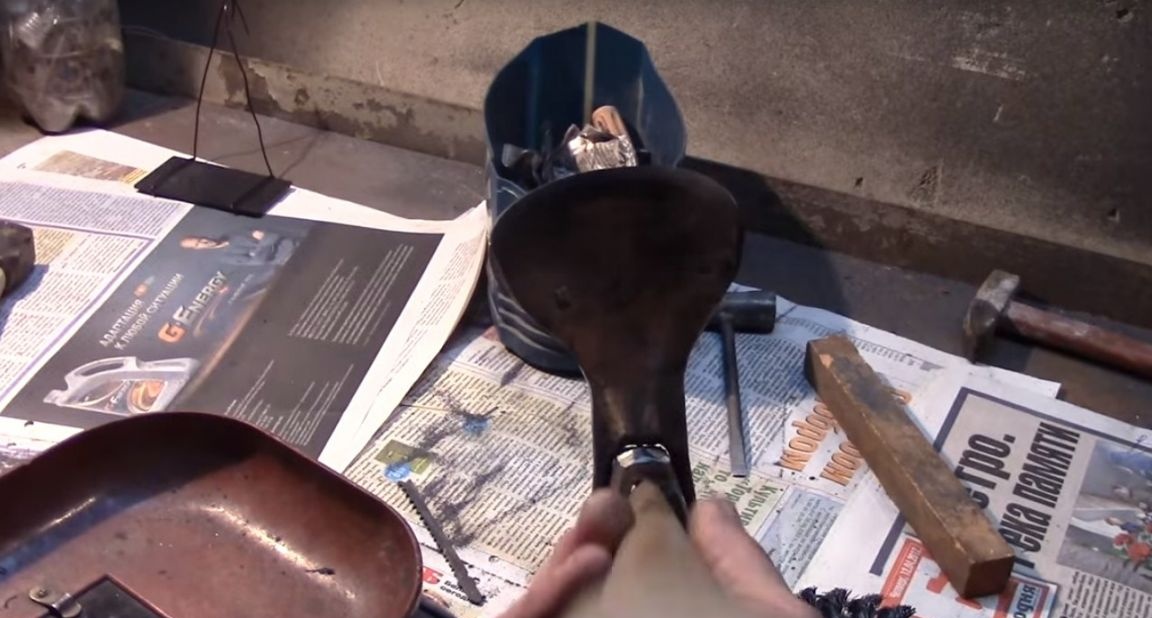
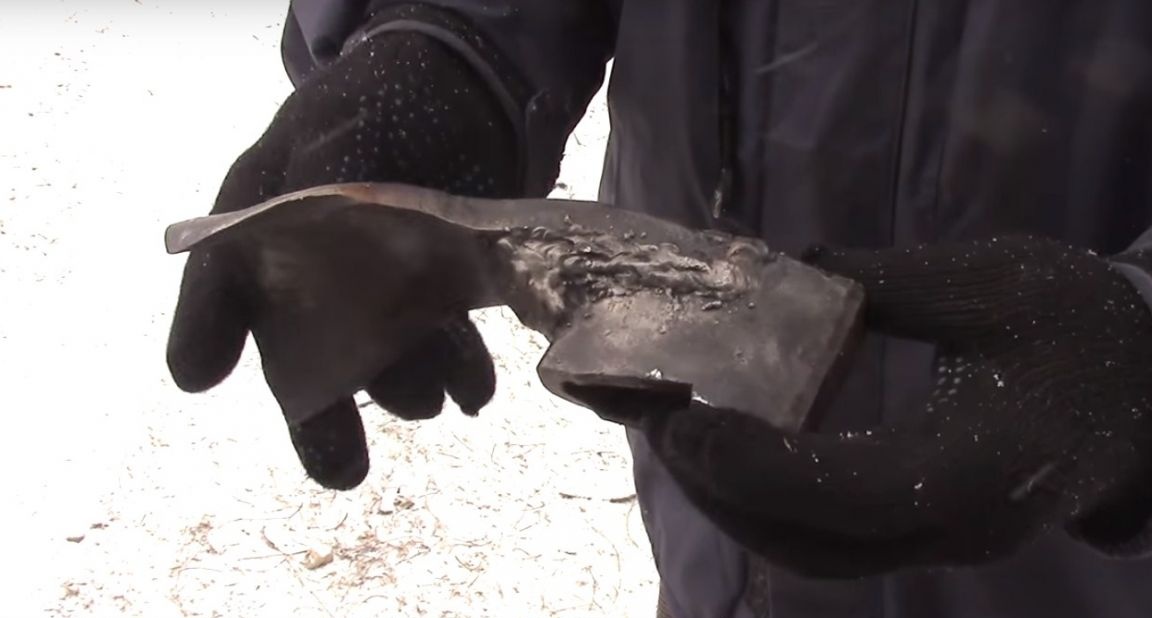
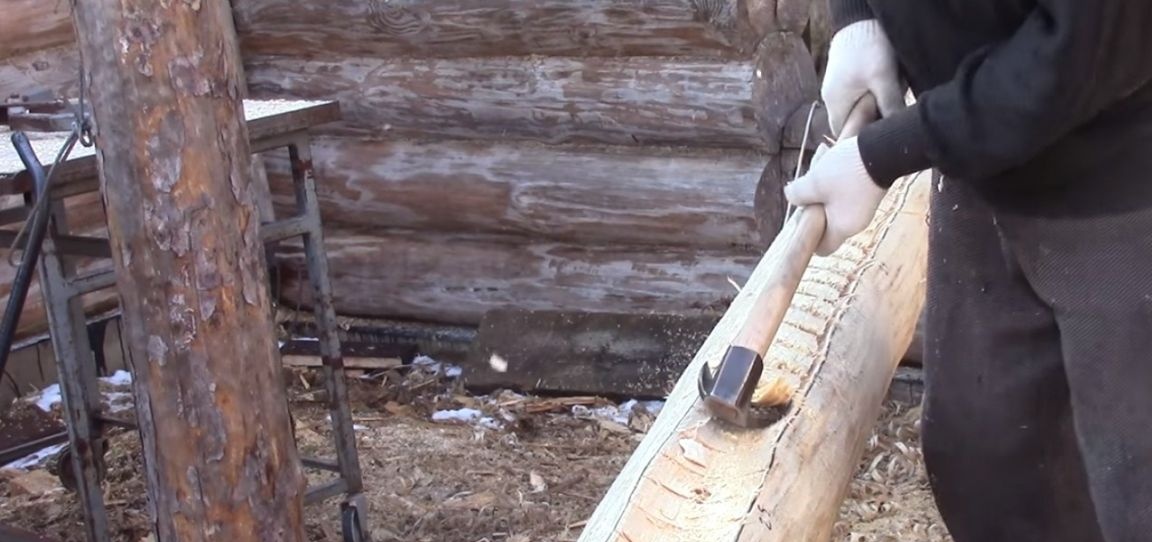
And in the end, the author made a tool nozzle on an ax.
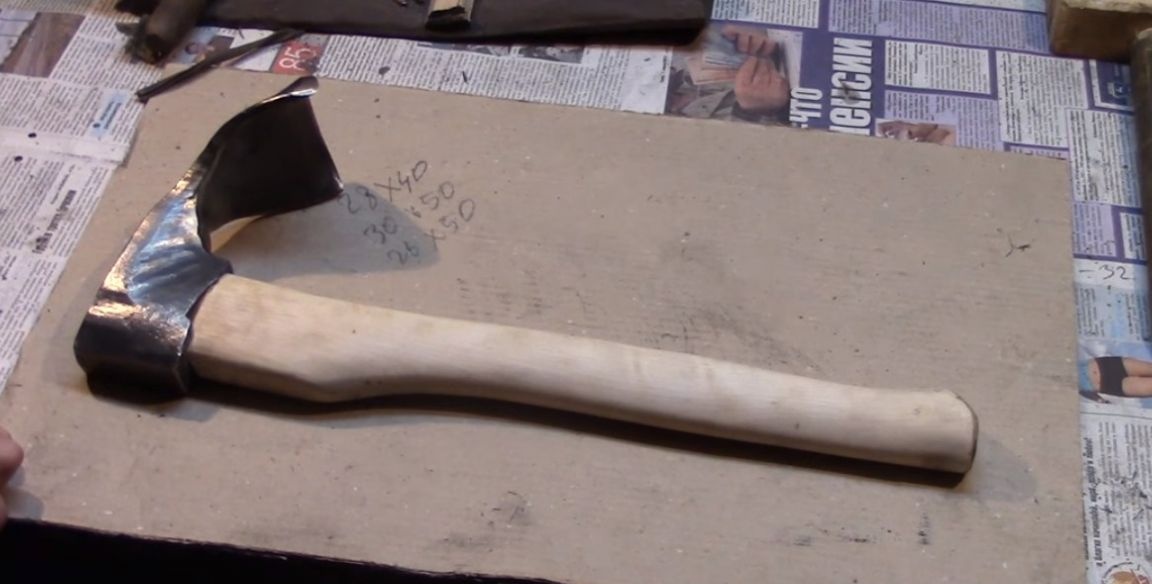
The author is very pleased with the tool. The author has been working with the tool for almost 5 months. In the places of welding there are no changes.
Thank you all very much! And see you again.
Ax author video: