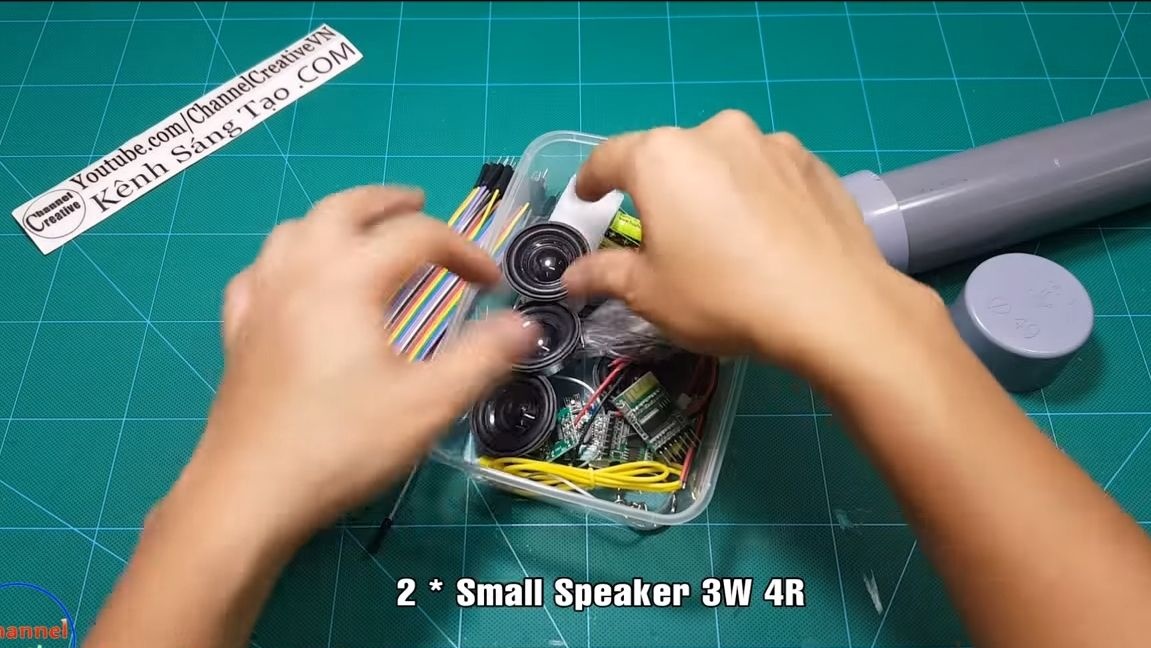
Greetings to the masters! This instruction will allow you to make a simple bluetooth speaker. Of course, today it’s not difficult to buy such equipment, but if you do do it yourself, it will be cheaper, in addition, you will gain experience with electronics, which can not be bought for any money. Our author’s speaker turned out to be quite powerful for its size, here we used two speakers of 3 watts each. The device is powered by a built-in lithium battery, which is charged via USB. All necessary components can be ordered for a penny from China.
The author decided to use a piece of PVC pipe and two plugs for it as a body. Holes are drilled in the plugs and the speakers are glued. The only perplexity that the design caused me was a closed system inside the case. When the speakers work, the membrane will move forward and backward. In this case, a vacuum will occur in the case, then the pressure will increase. These factors can muffle the sound and reduce its quality. To solve this problem, there should be openings in the casing, which will equalize the pressure. But you think, you decide. And while we start manufacturing!
Materials and tools used by the author:
Material List:
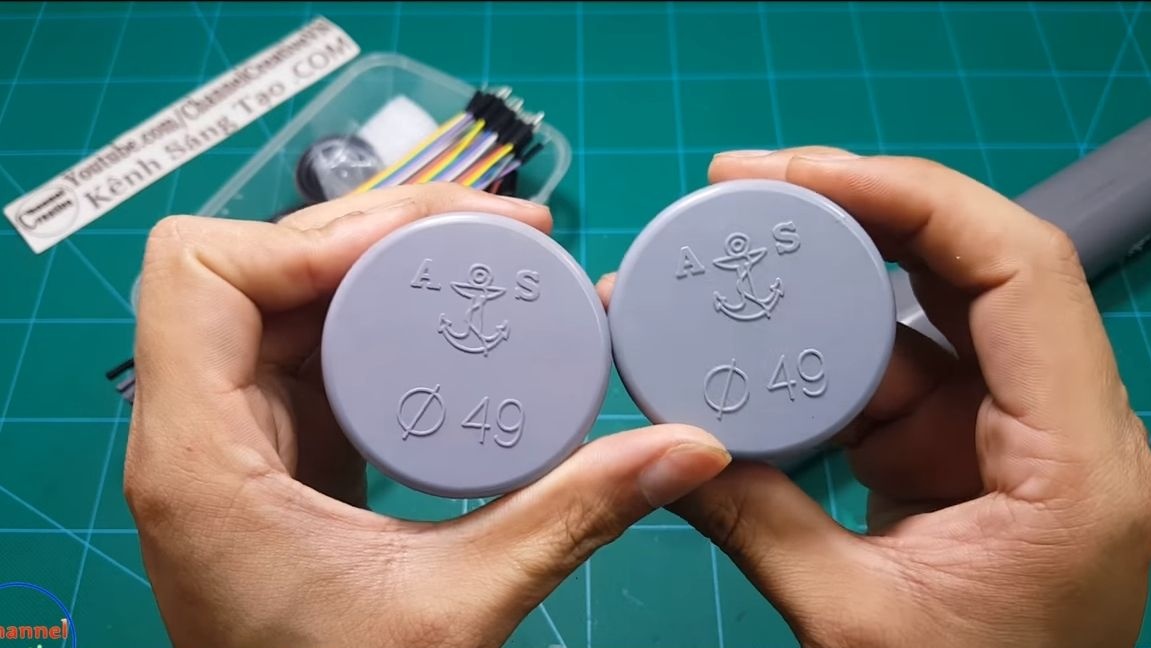
- a piece of PVC pipe and two plugs;
- bluetooth module ();
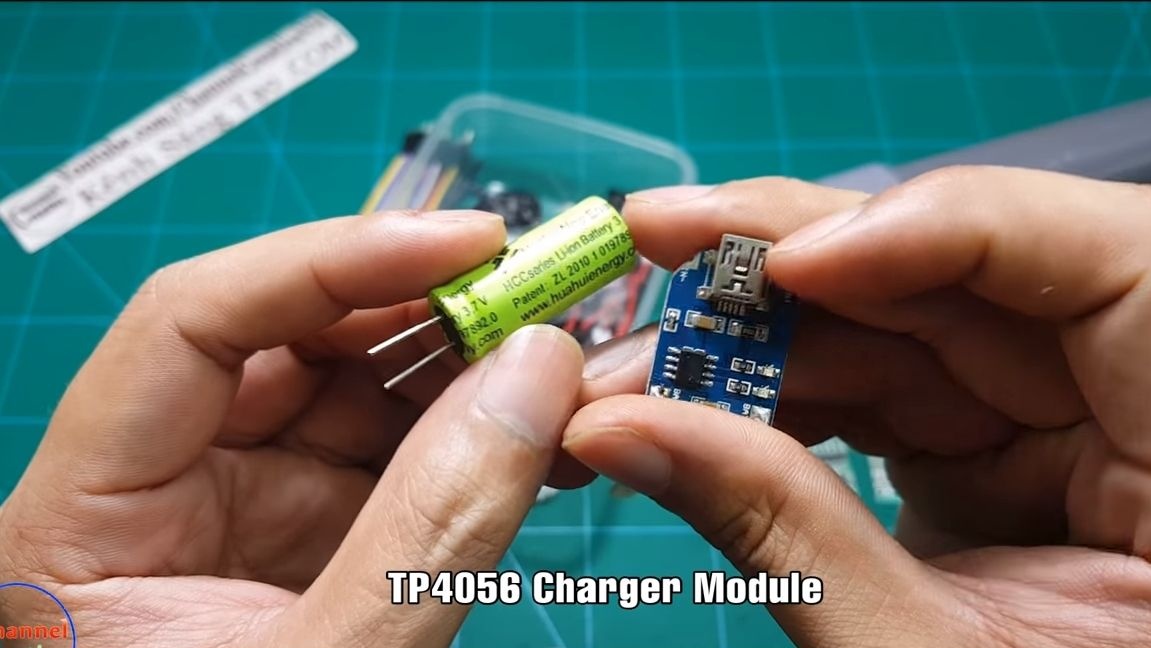
- (TP4056);
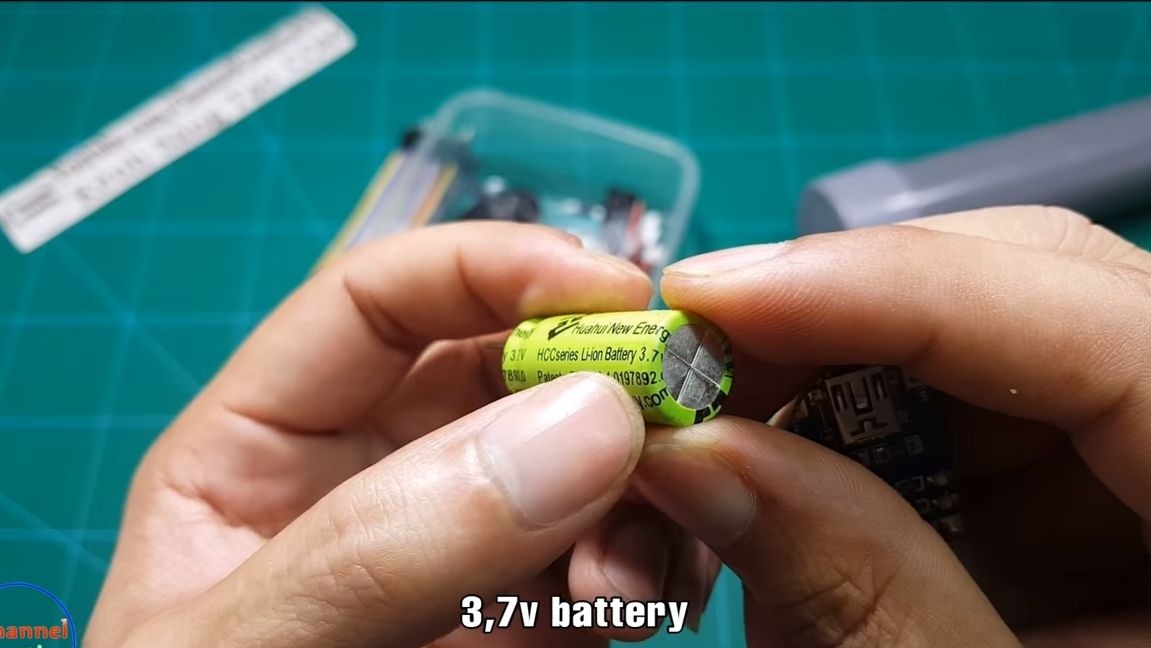
- lithium battery;
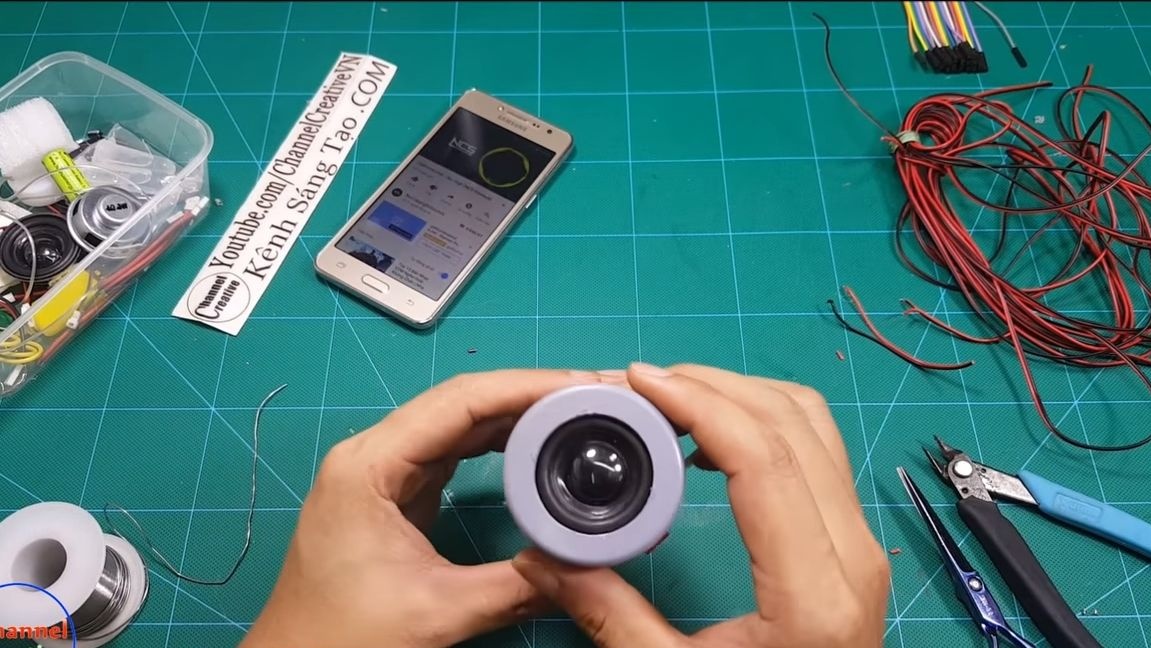
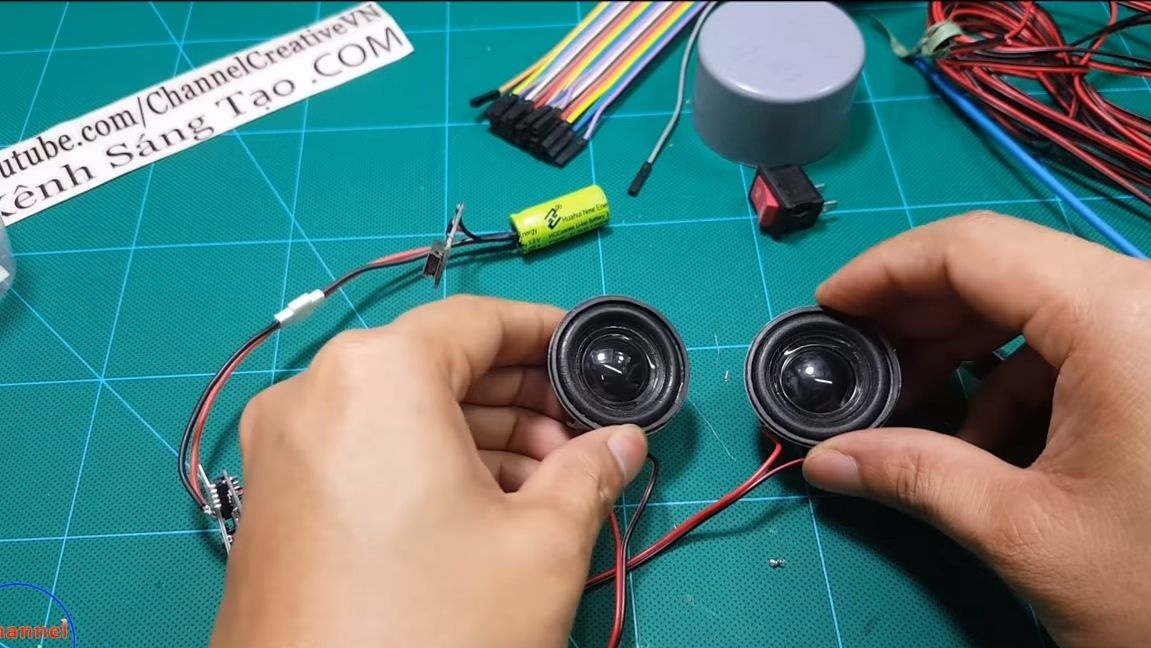
- two 3V speakers or others as desired;
- switch;
- wires;
- heat shrink;
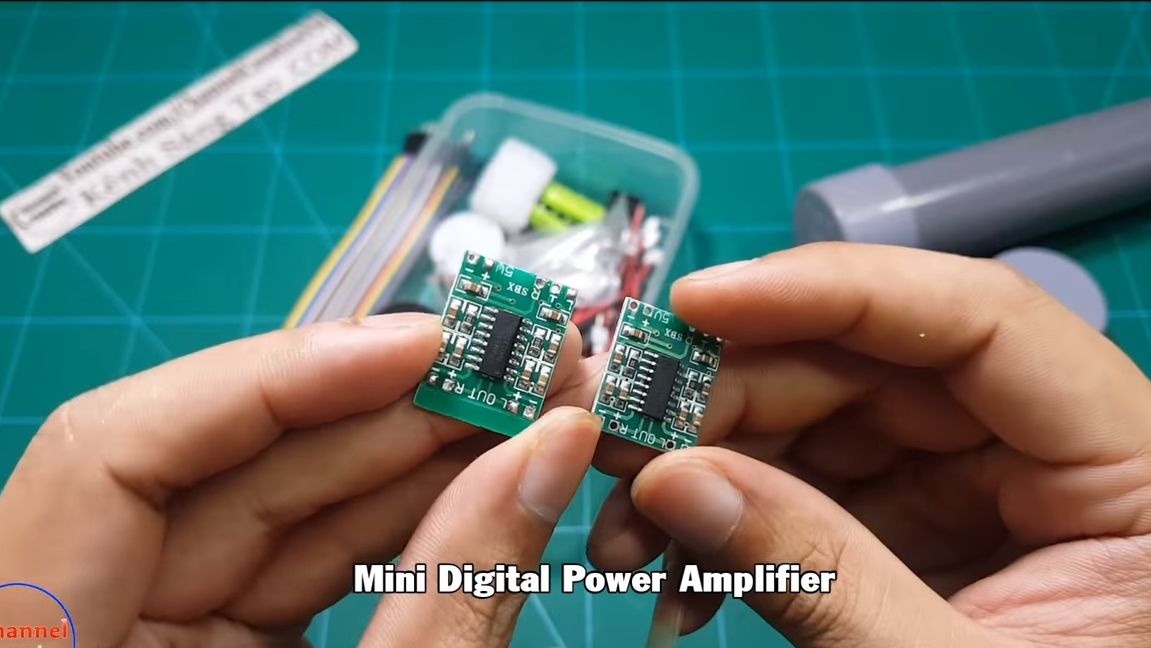
- (amplifier);
- glue for PVC.

Tool List:
- soldering iron;
- a hacksaw for metal;
- marker;
- ruler;
- glue gun;
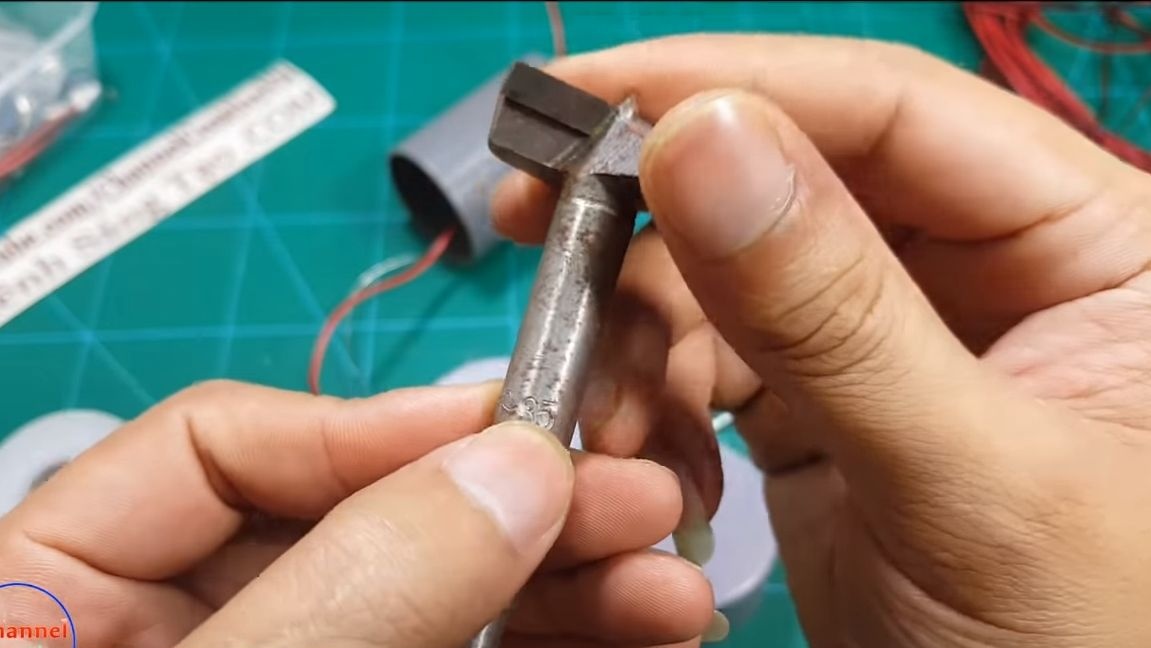
- a drill with a bat at 35 (to drill holes for speakers).
Column manufacturing process:
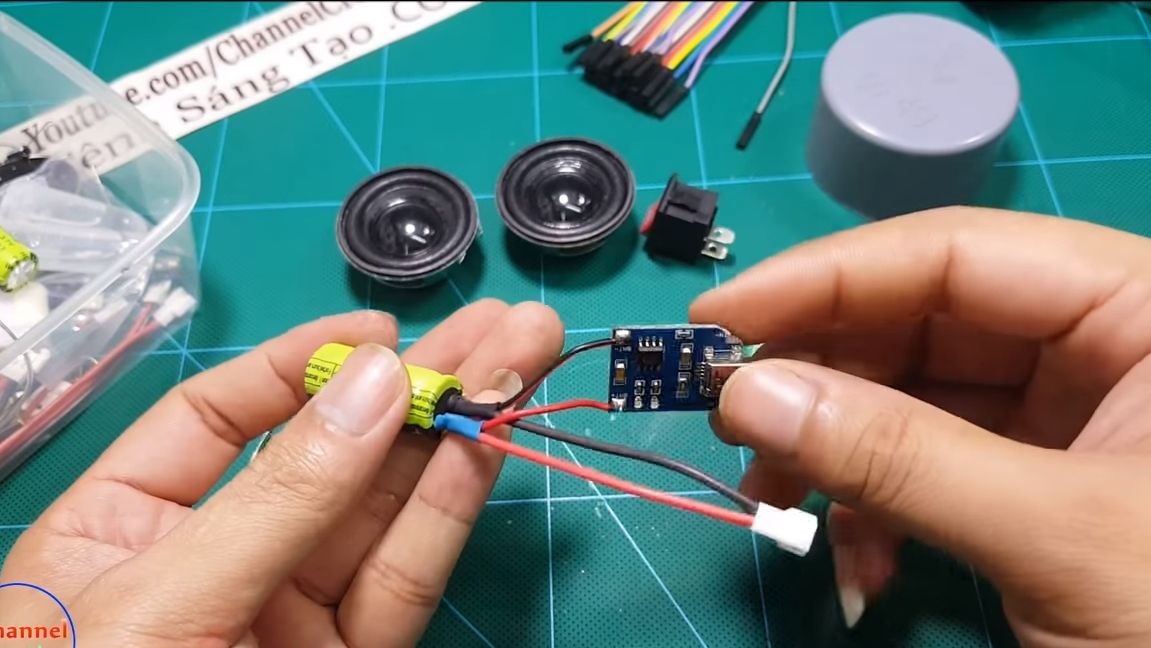
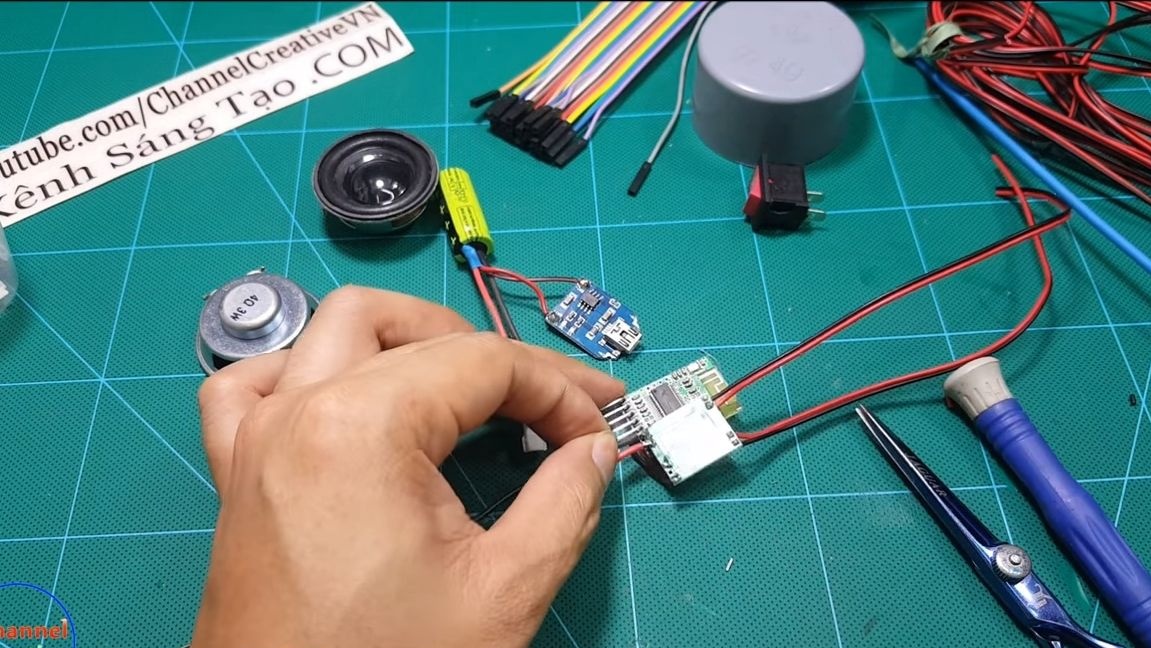
Step one. We connect the charge controller to the battery
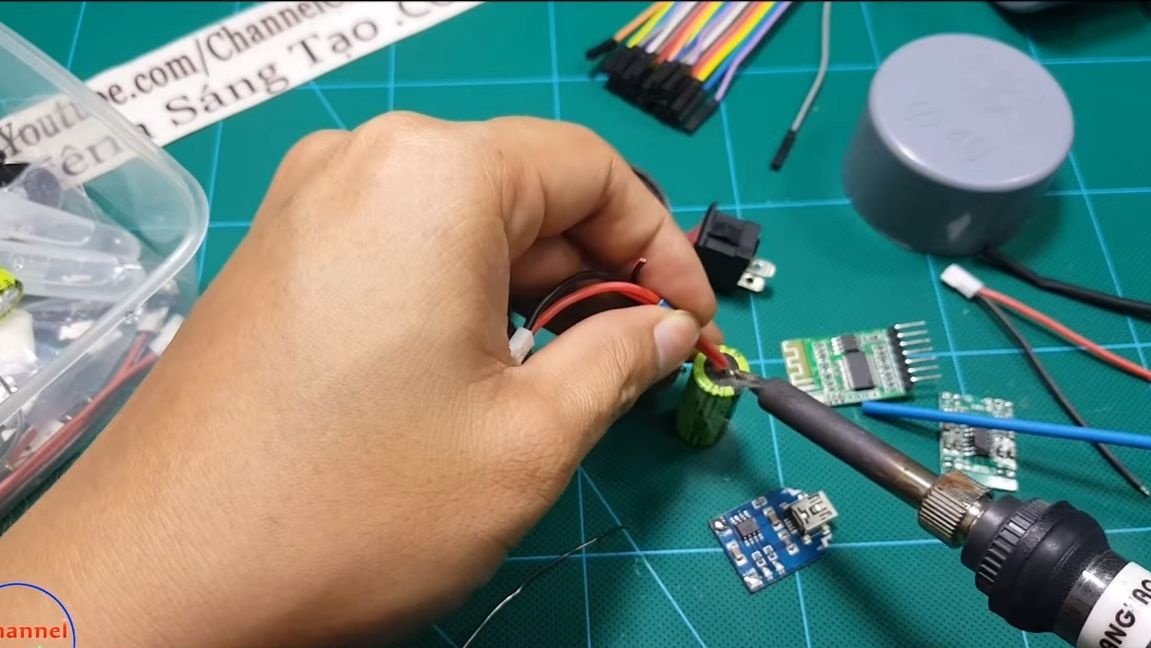
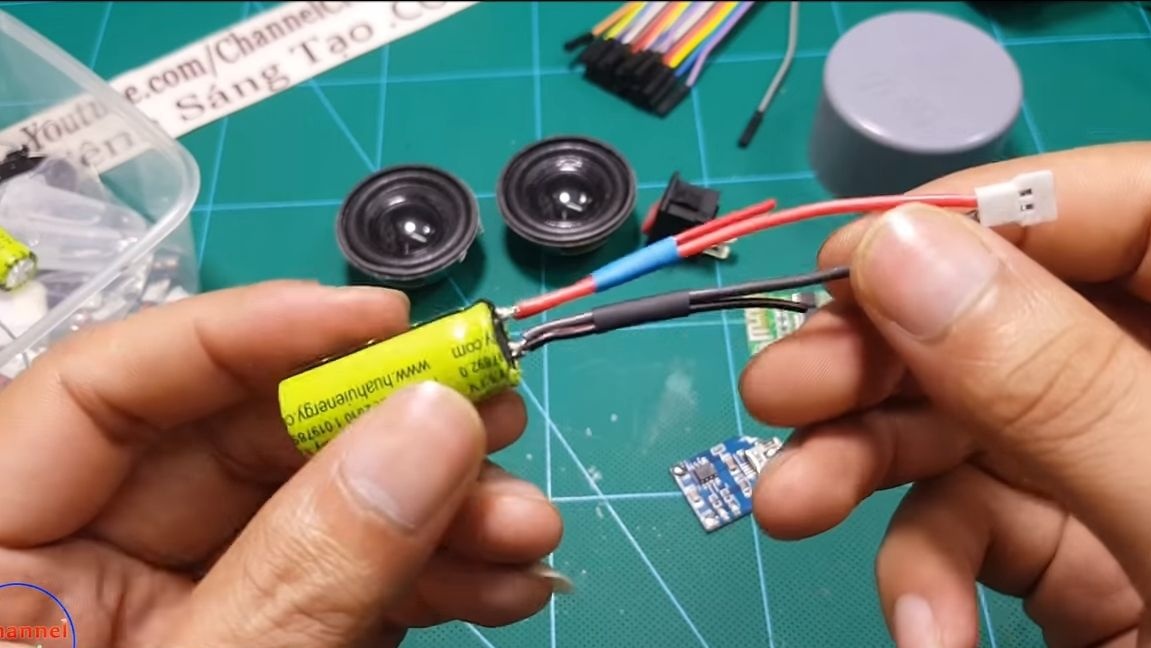
To conveniently recharge the battery when necessary, we need a small controller TP4056. We solder 4 wires to the battery contacts, two of them we use to connect the charging board. Observe polarity. Insulate soldering with heat shrink. Try to connect the charger after that, the corresponding color LED should light up.
As for the two second wires, a “socket" is installed at their ends for connecting the bluetooth module.
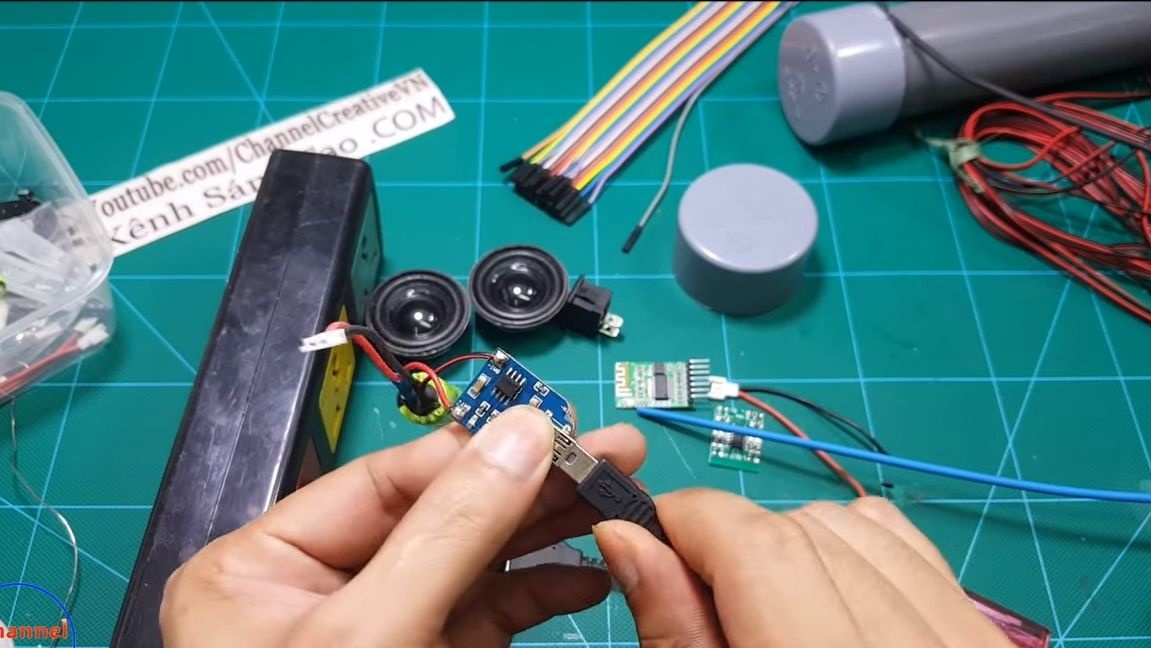
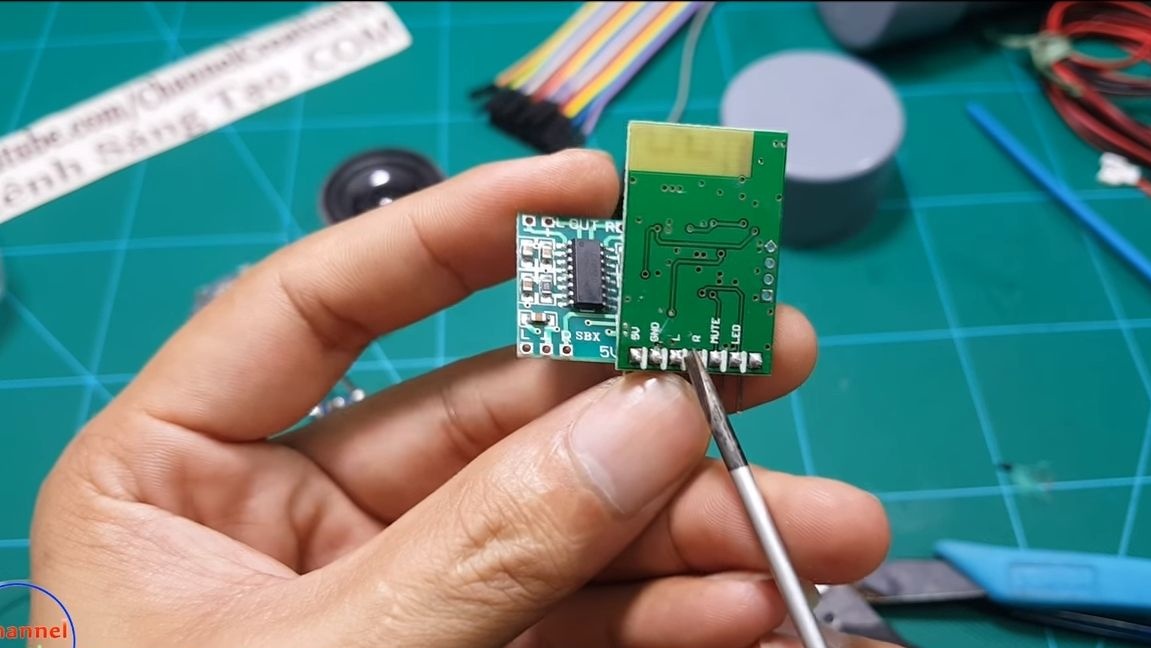
Step Two We connect the amplifier to the bluetooth module
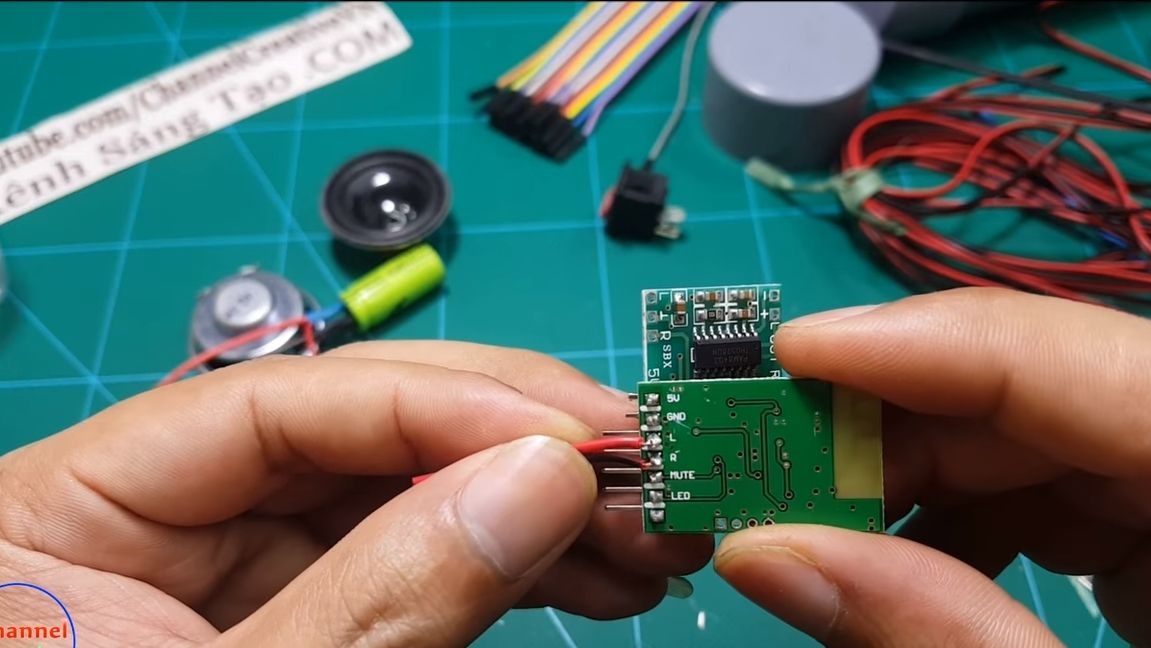
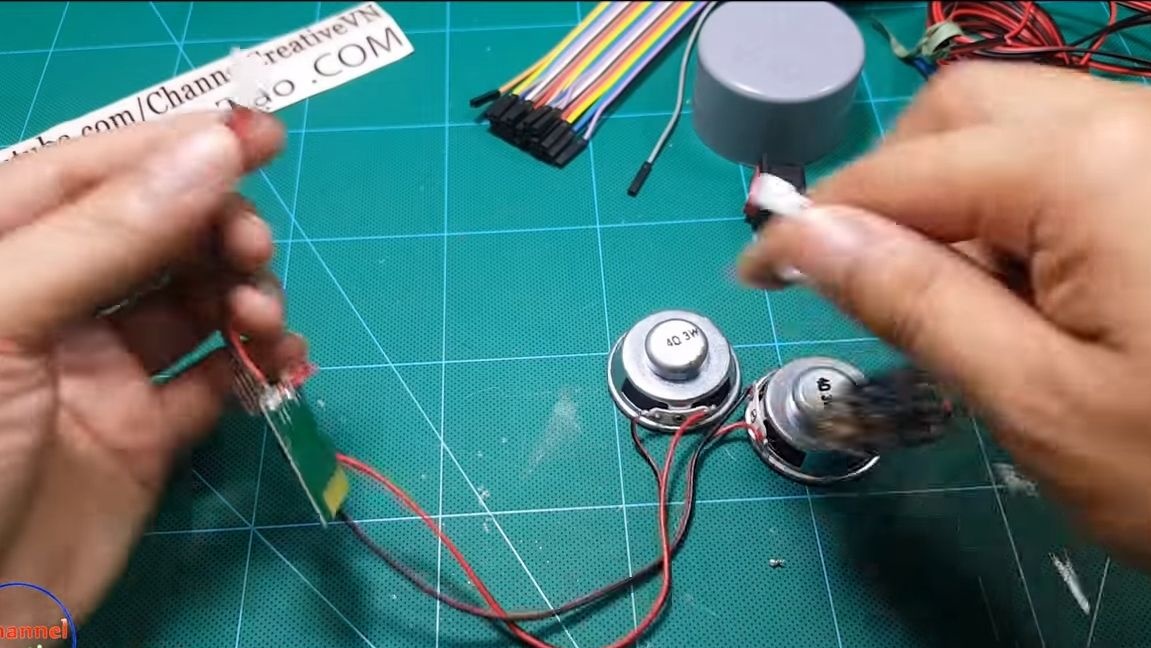
At this step, take the Power Amplifier and connect to the bluetooth module, as the author in the photo. That is, in accordance with the marking, we connect the + 5V contacts, as well as GND (ground).
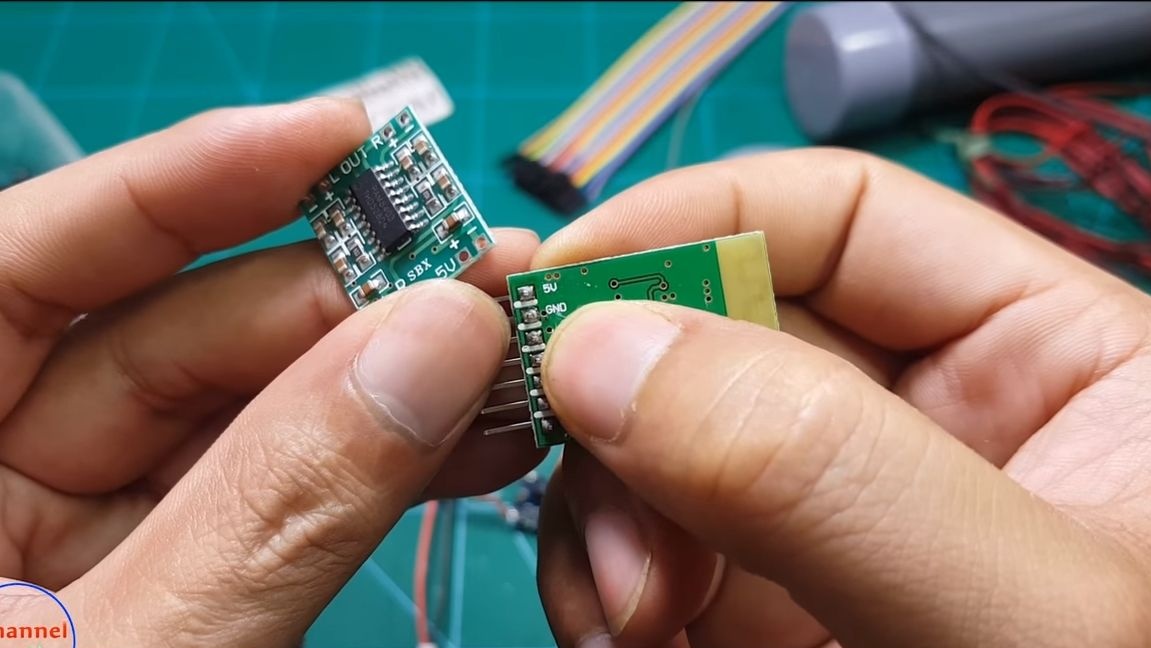
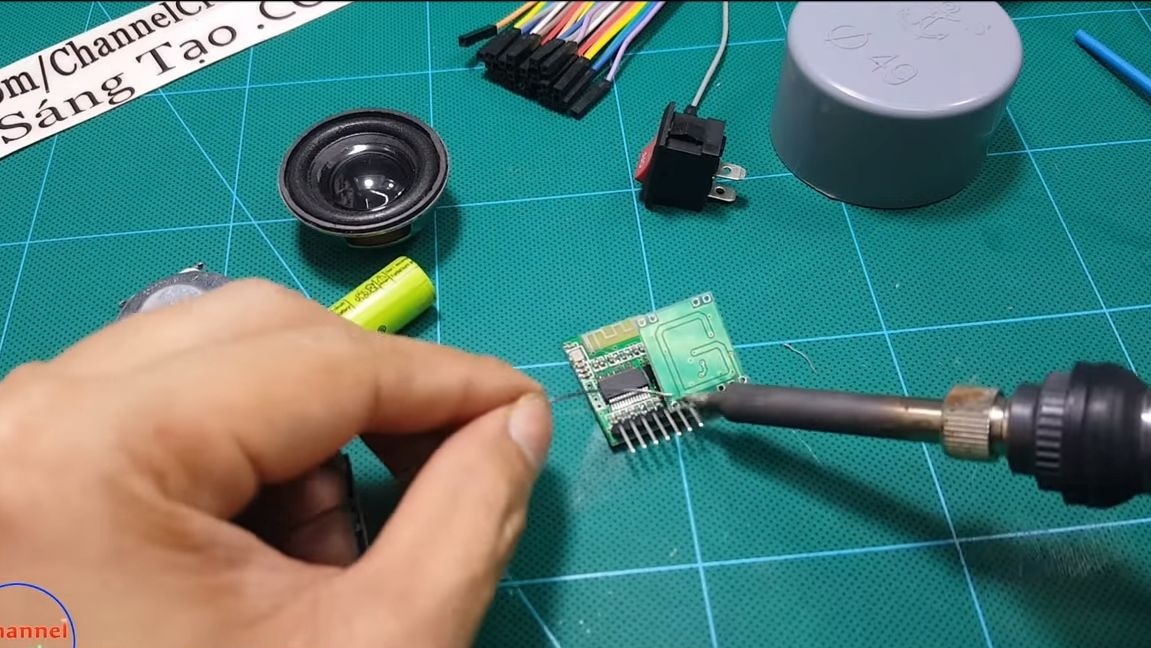
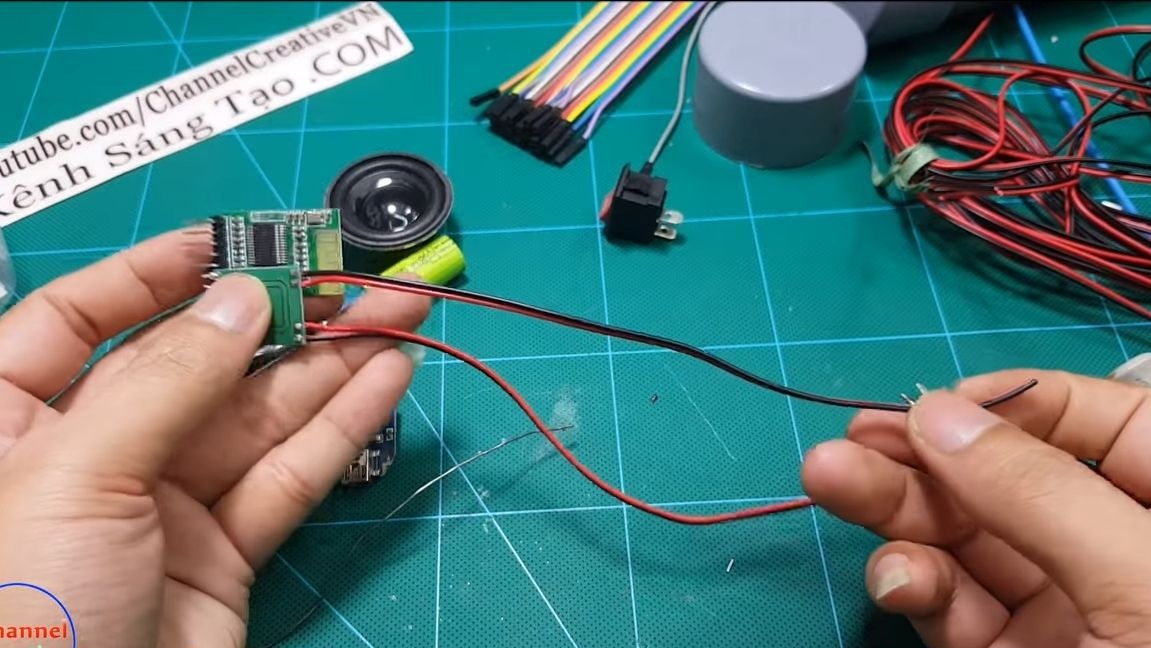
Next, you have to solder two wires to the outputs on the bluetooth speakers of the controller. Solder their other ends to the corresponding contacts "L" and "R" on the amplifier. Well, we solder another 4 wires to the amplifier to connect the speakers.
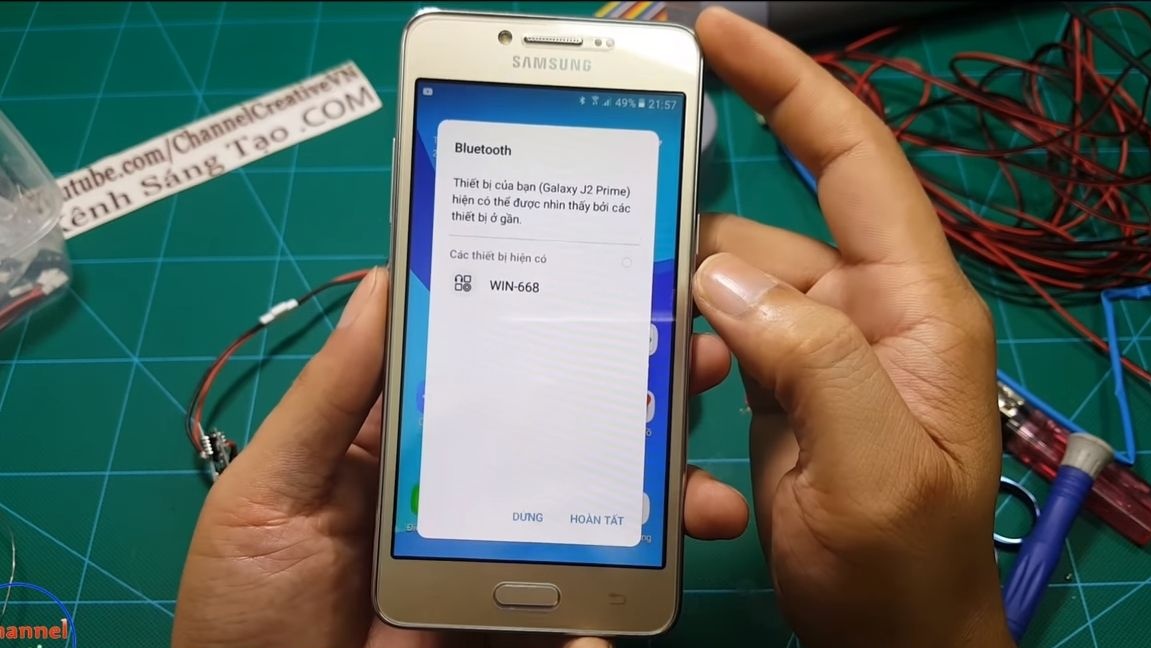
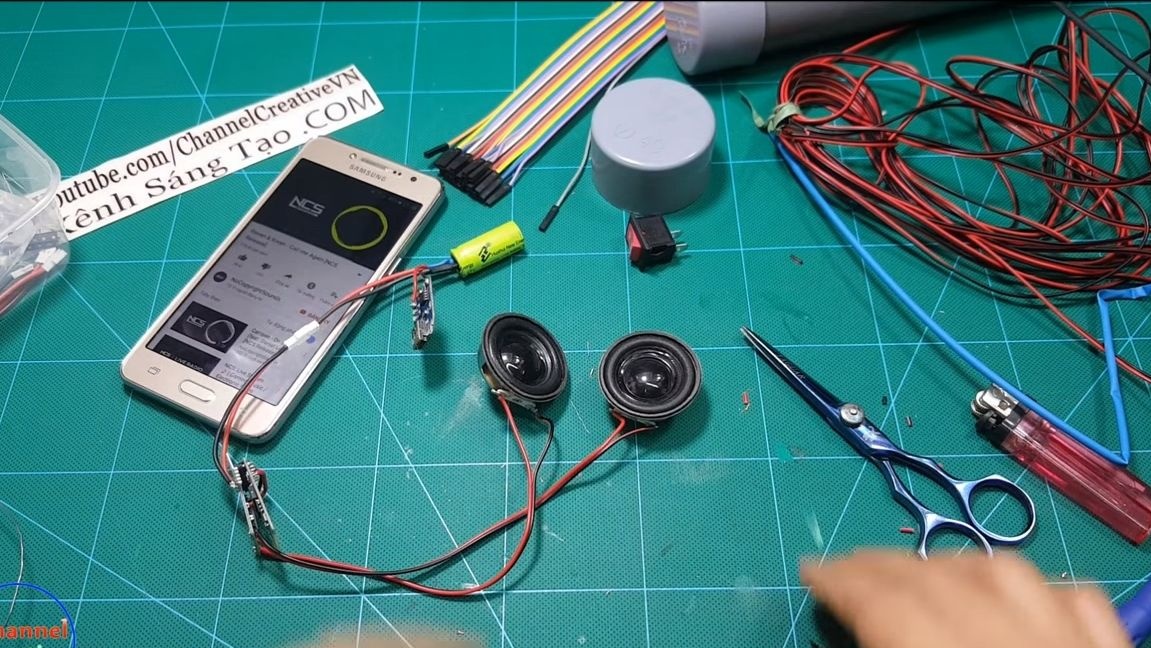
At the end, solder the power cable, speakers and try to turn on the device. We turn on bluetooth on the smartphone and look for devices. The author identified the device as WIN-668. If the music is playing, everything is fine, now you need to shove all this beauty into the case.
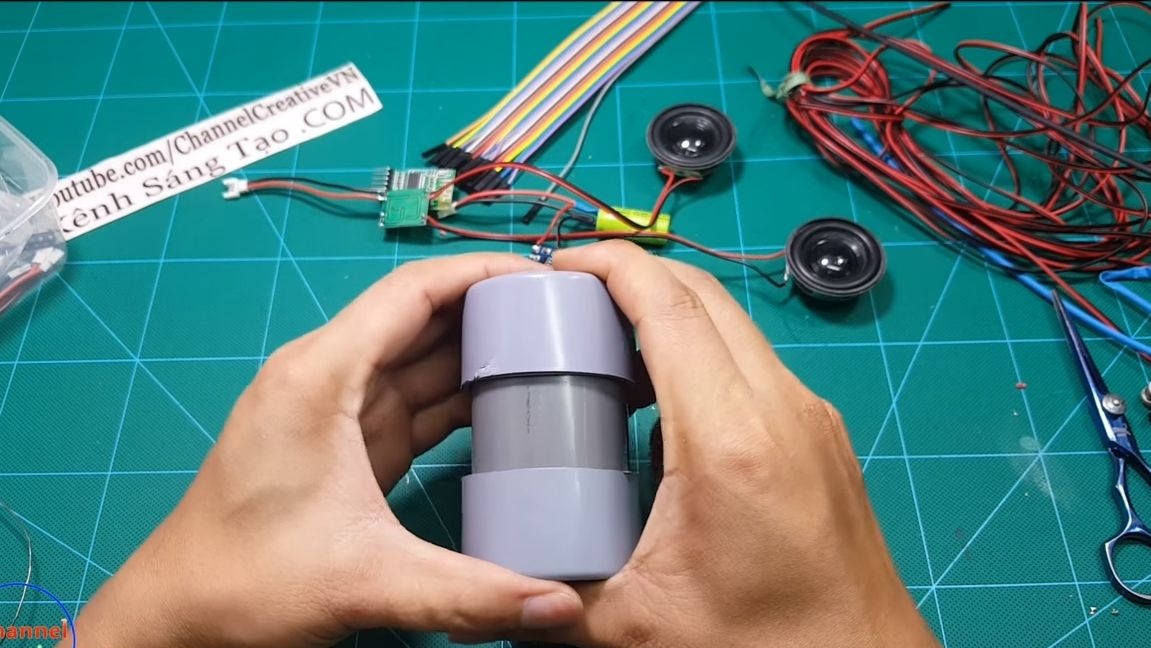
Step Three We make the body and assemble the column
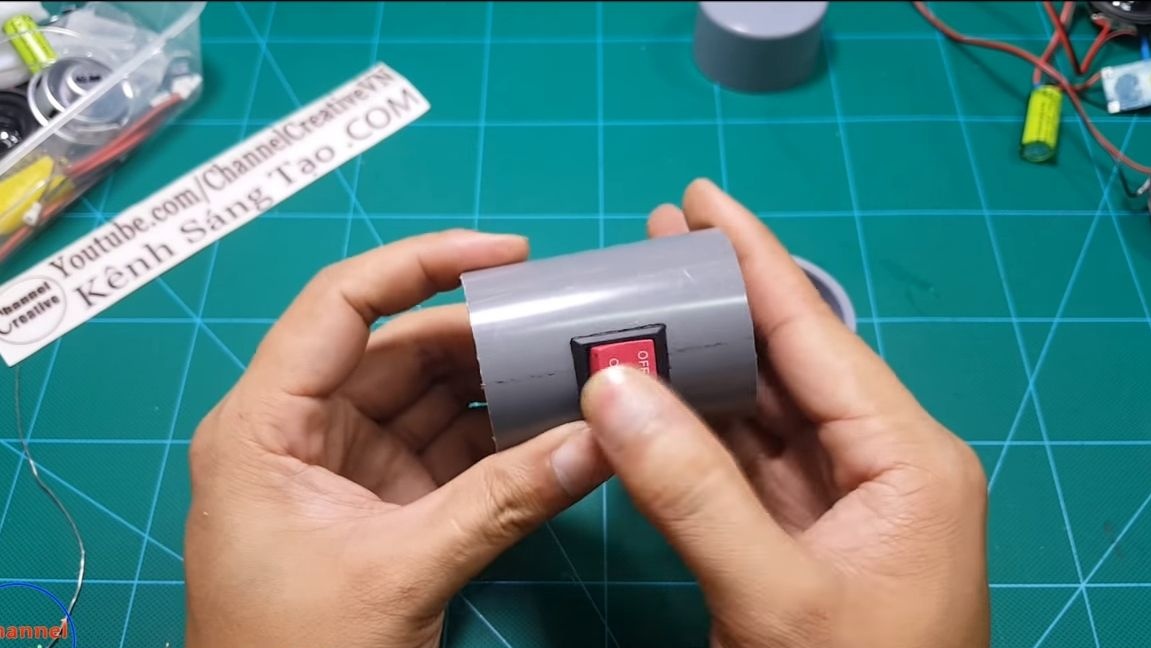
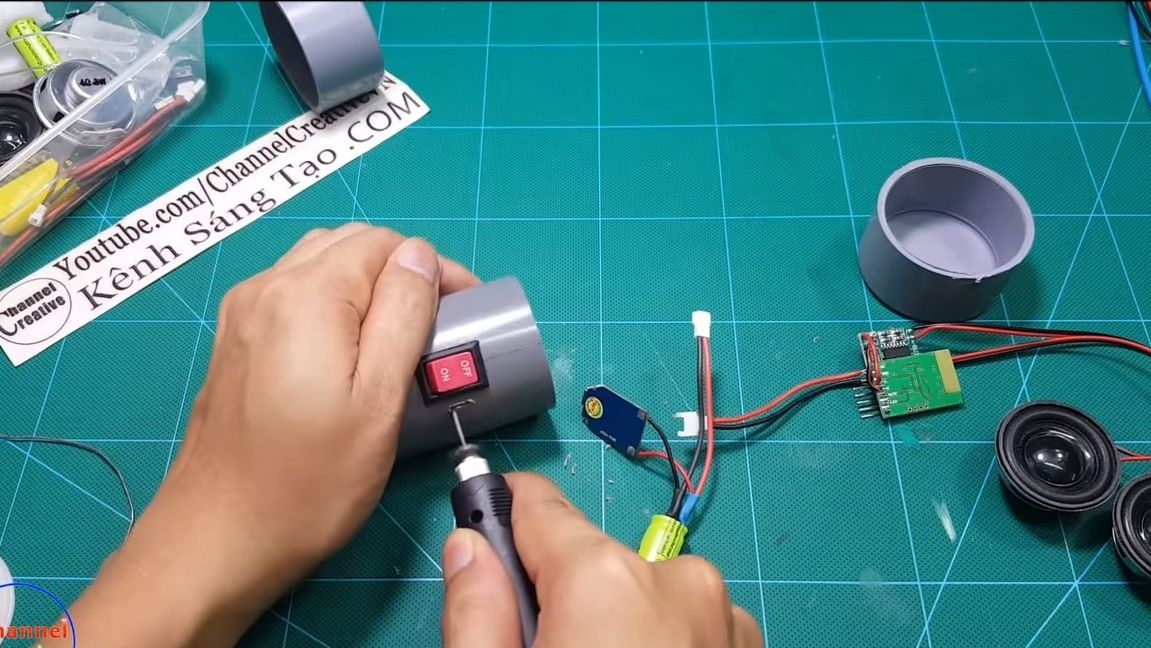
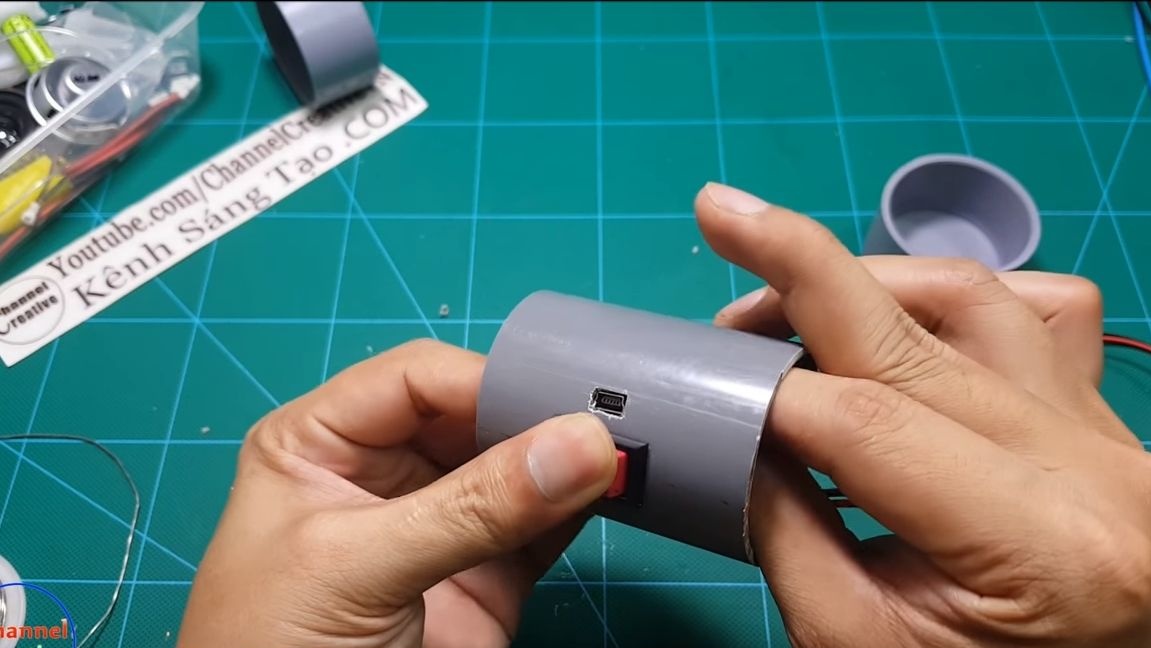
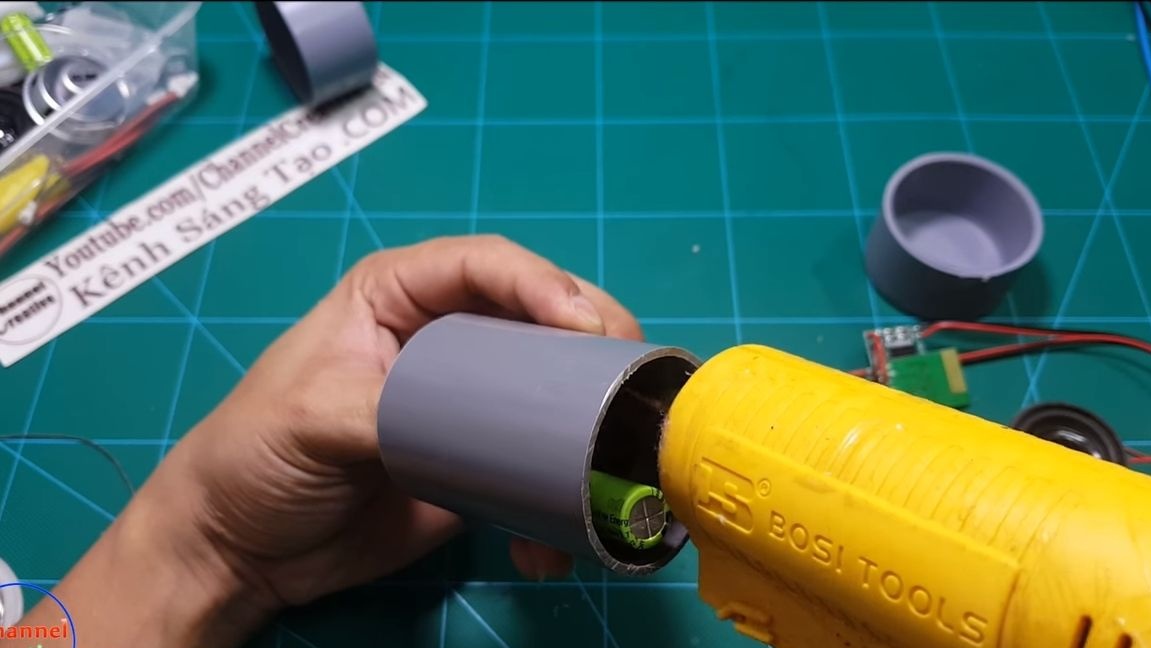
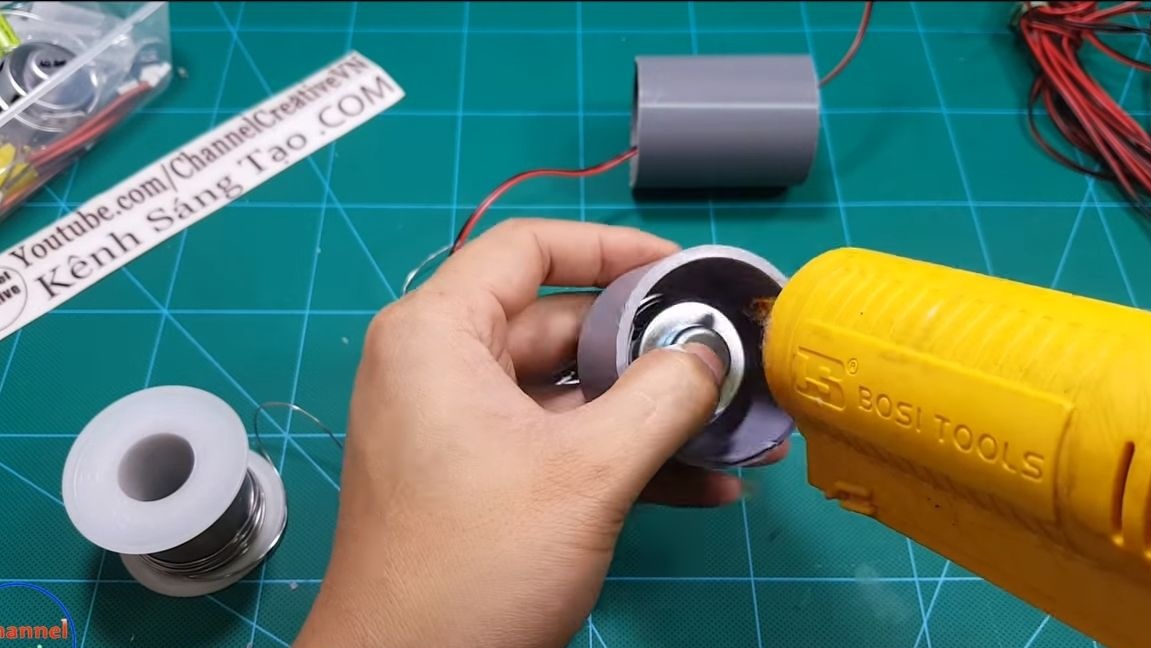
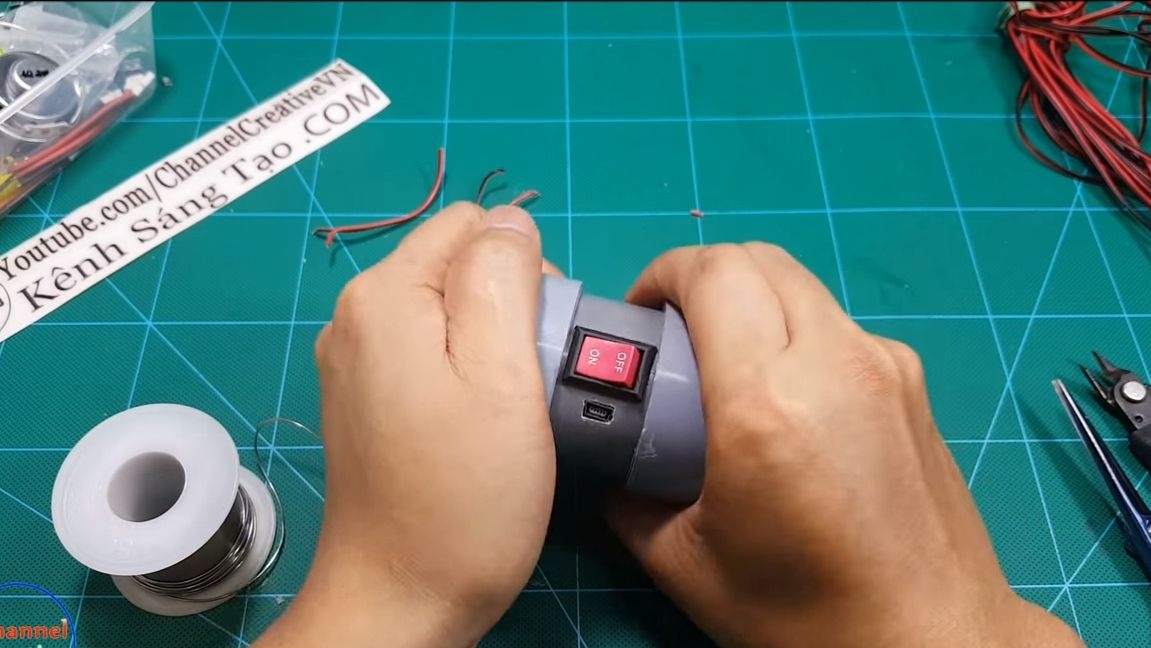
For the body we take a piece of PVC pipe of the desired length and two plugs. In the pipe, cut holes with a drill for the switch, as well as the charging socket. We fix the nest with hot glue, like the whole electronics. We do not regret glue, everything should be fixed securely.

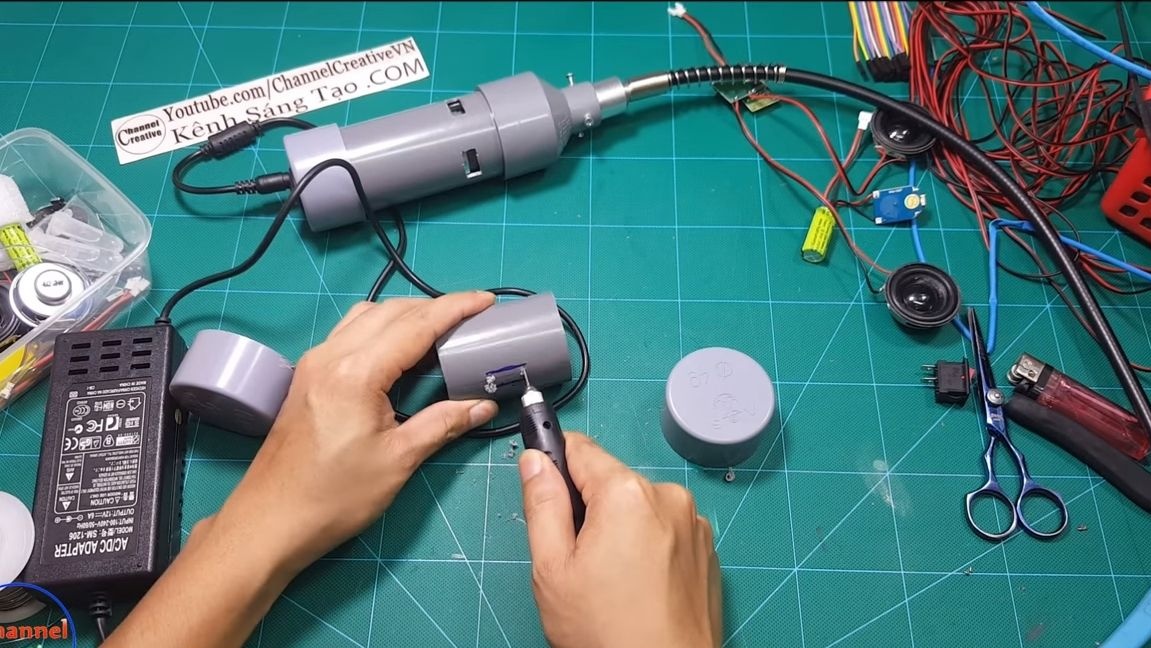
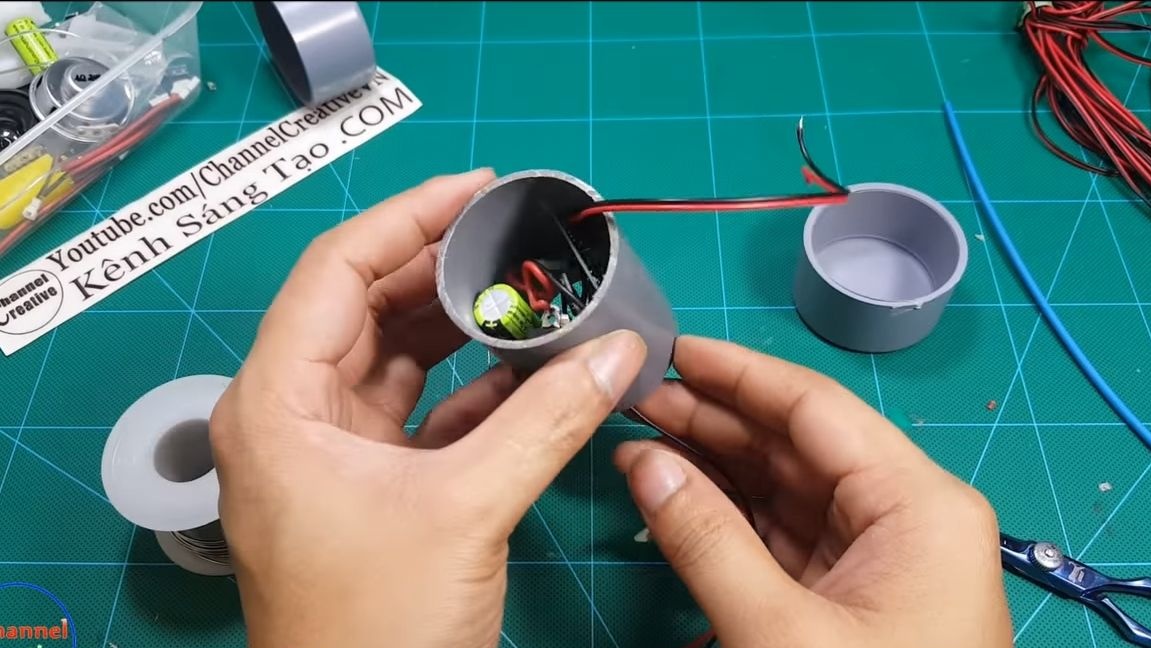
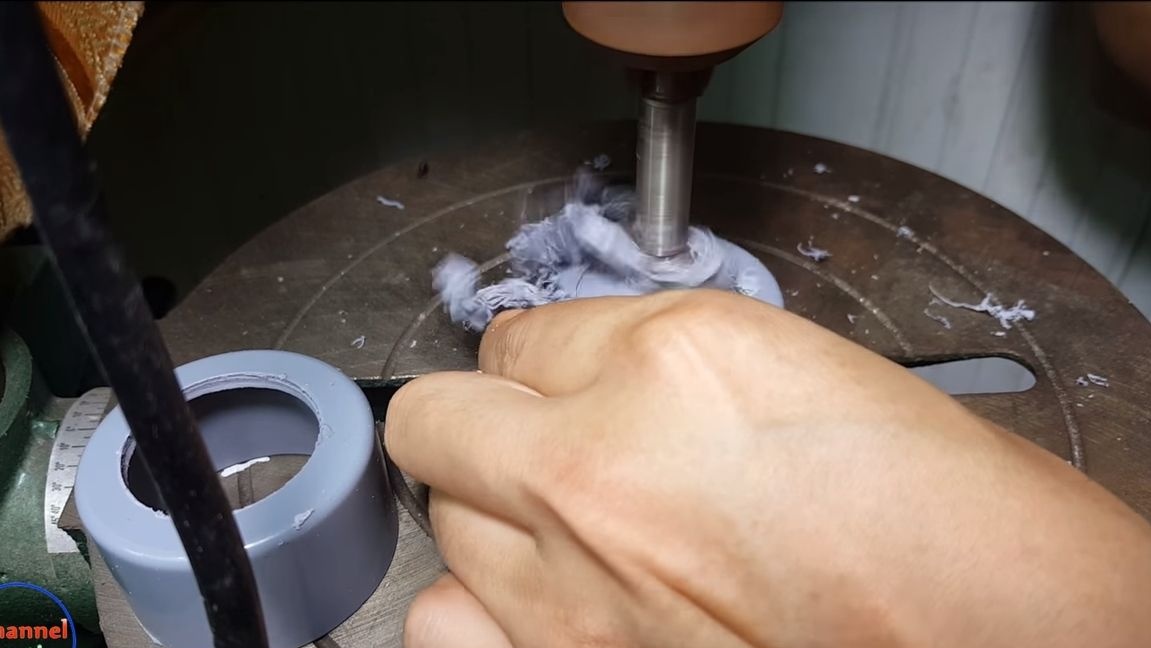
It is time to install the speakers. To do this, you need a drilling machine or drill, as well as a bit of a suitable size. We drill holes and install speakers. The author fixes them with hot glue. At the end, solder the wires to the speakers and install the plugs in their places, it is advisable to stick them. The column is ready, you can experience it!
In principle, the speaker turned out to be not bad, the case is strong, and if desired, it can be made waterproof. Such a column can be safely taken with you, going to nature. With good sealing, she will be able to swim in the water and play!
As for the improvements, it is advisable to display an LED that informs about charging. So you will know when the battery will be charged and whether it is charging at all. That's all, I hope homemade you liked it. Good luck and inspiration in making homemade items!