

Hello to all lovers homemade. It is no secret that energy can be obtained not only by converting mechanical into electrical energy, but also by converting thermal energy. Why such transformations, you ask, everything is simple, this method is well suited for hiking and other places where there is no electricity and there is no desire to twist the handle of the generator. In this article I will tell you how to make a heat generator at the lowest cost and secure a charge for your phone or any other low-power gadget in traveling conditions away from the outlet.
Before reading the detailed assembly of this homemade product, I suggest watching a video where the whole process and testing of the finished device are clearly shown.
To make a heat generator do it yourself, you will need:
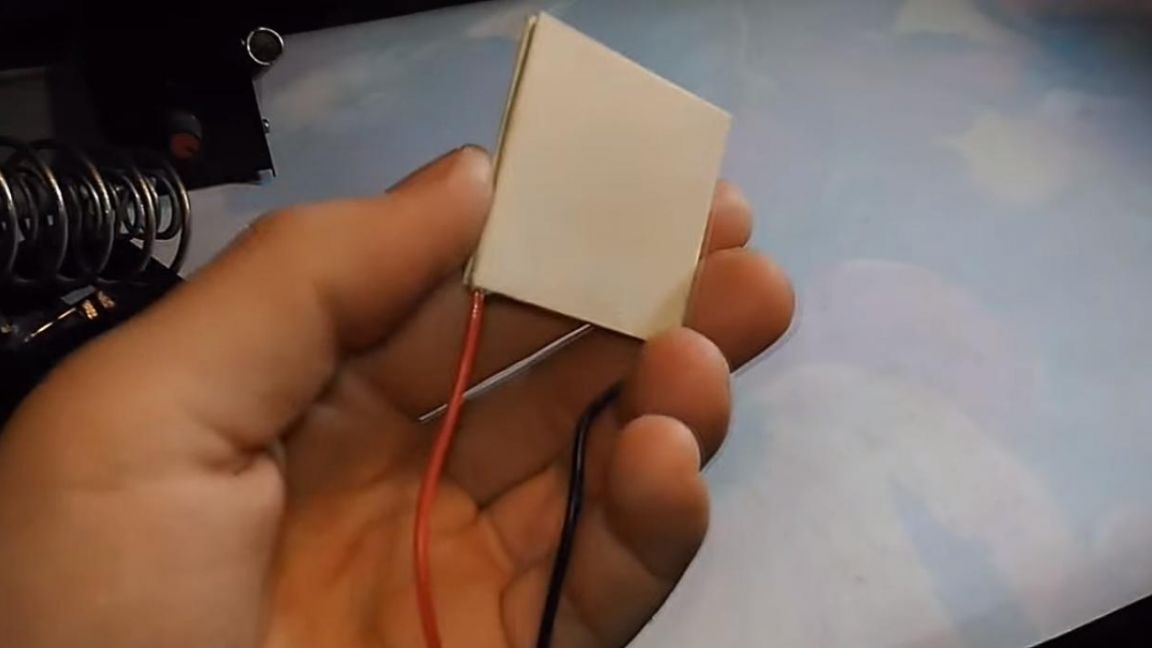
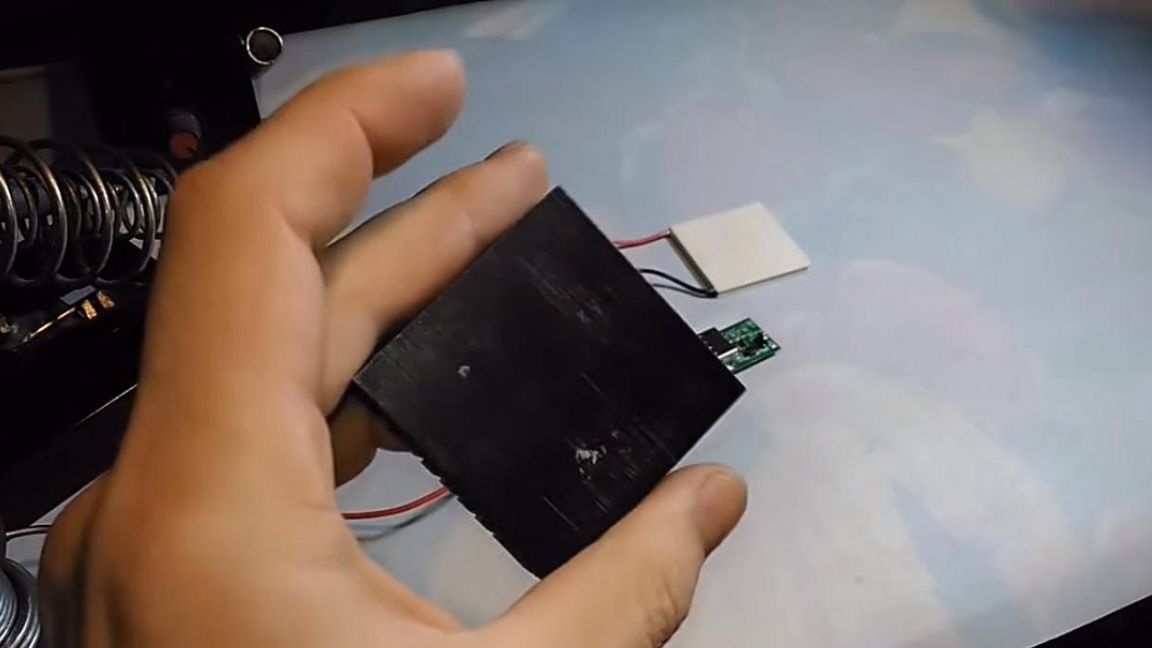
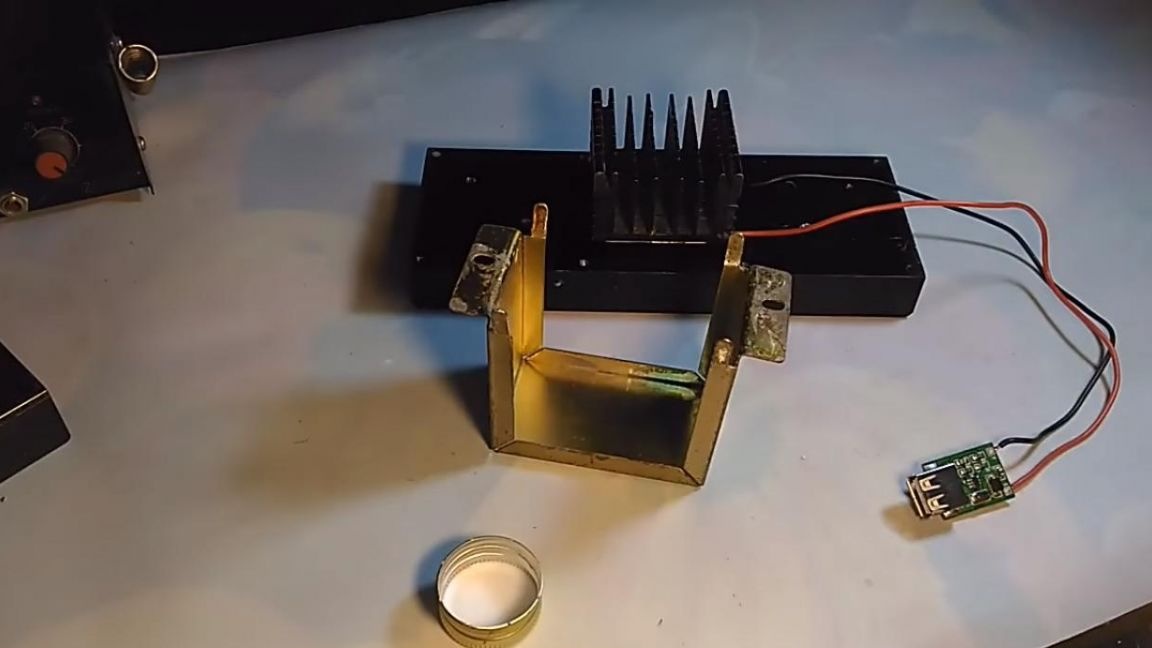
* The Peltier element
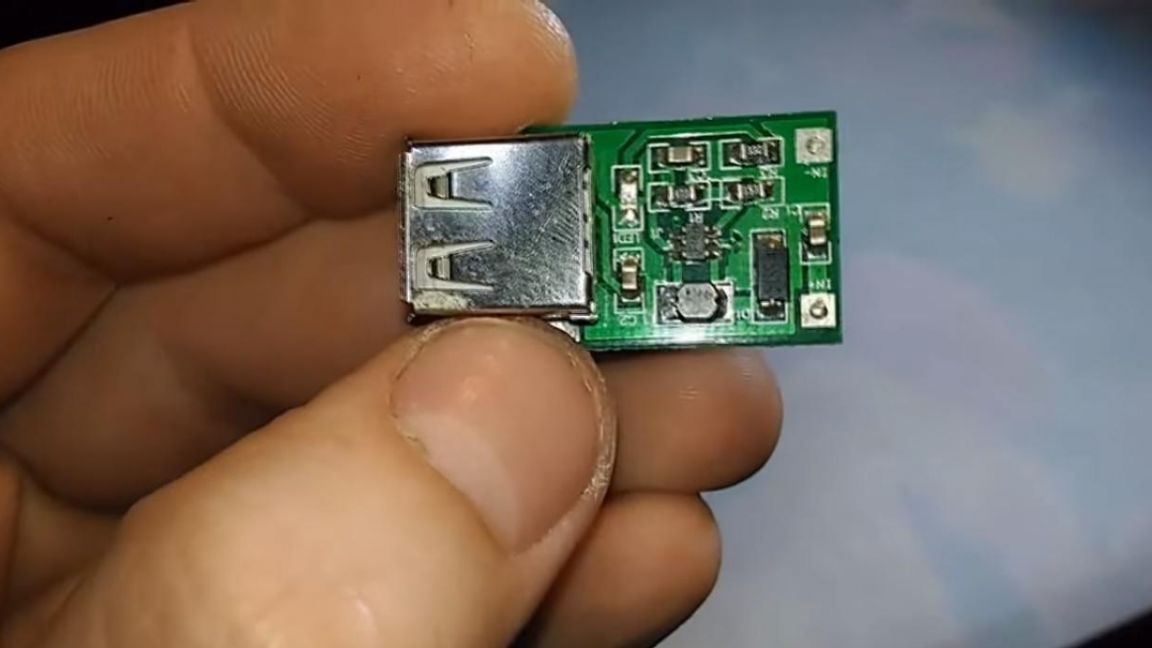
* DC converter, which will increase the voltage to 5 volts
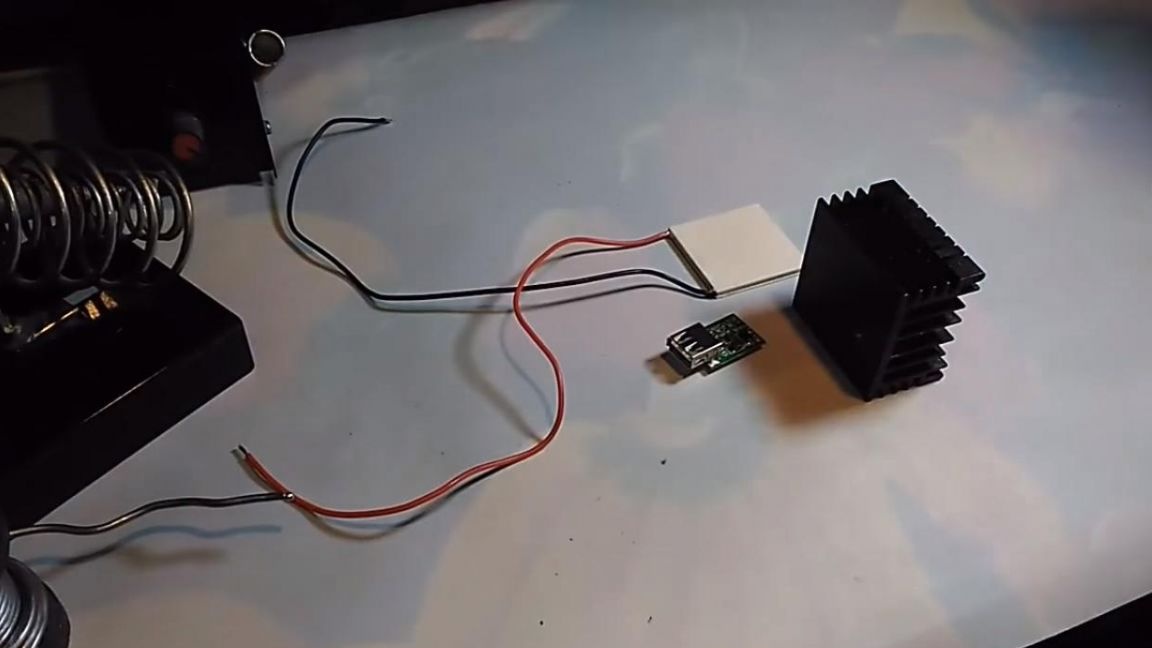
* Two aluminum radiators, one smaller, the other larger
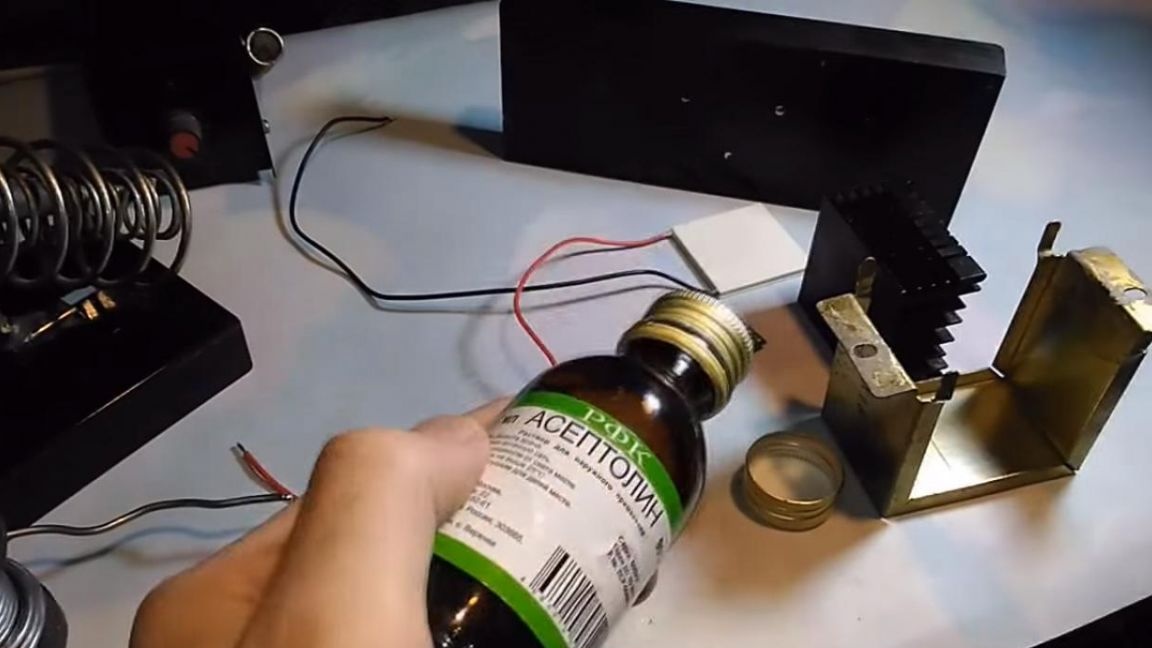
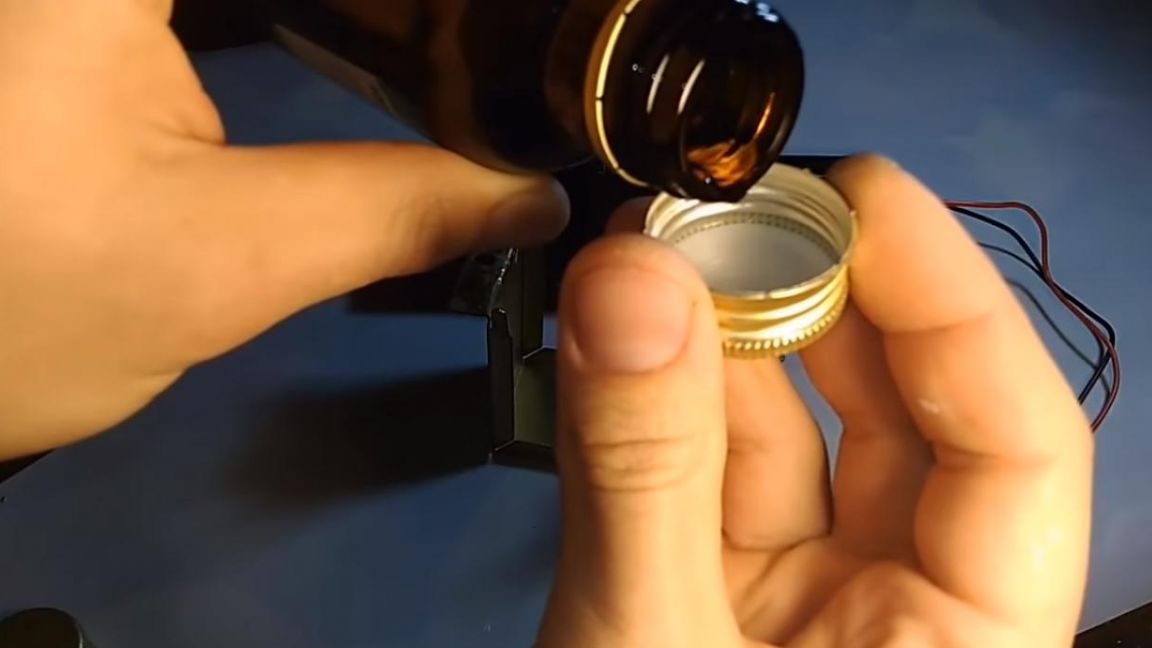
* The source of thermal energy, in this case, alcohol
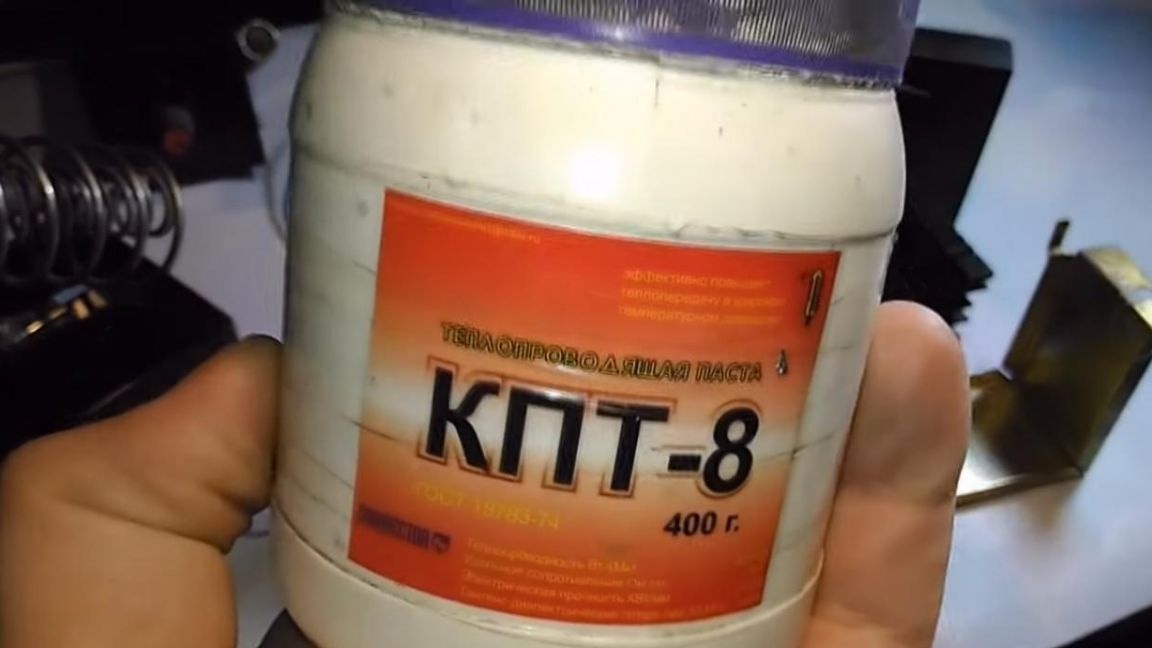
* Thermal conductive paste KPT-8 for better heat transfer
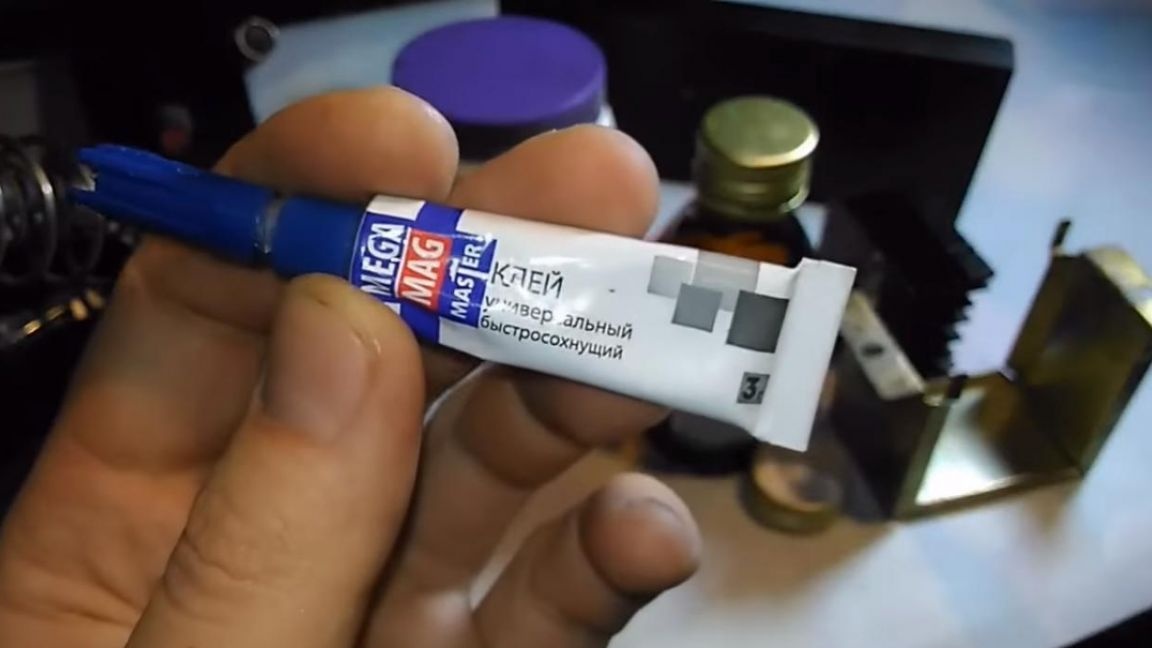
* Universal adhesive, type "second"
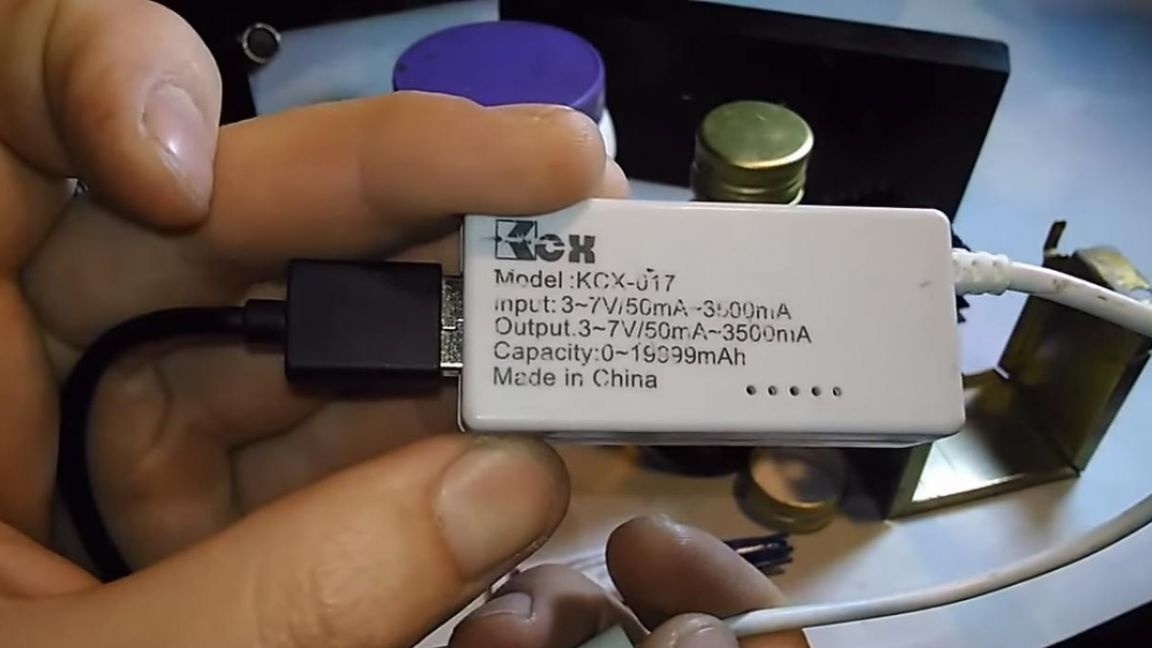
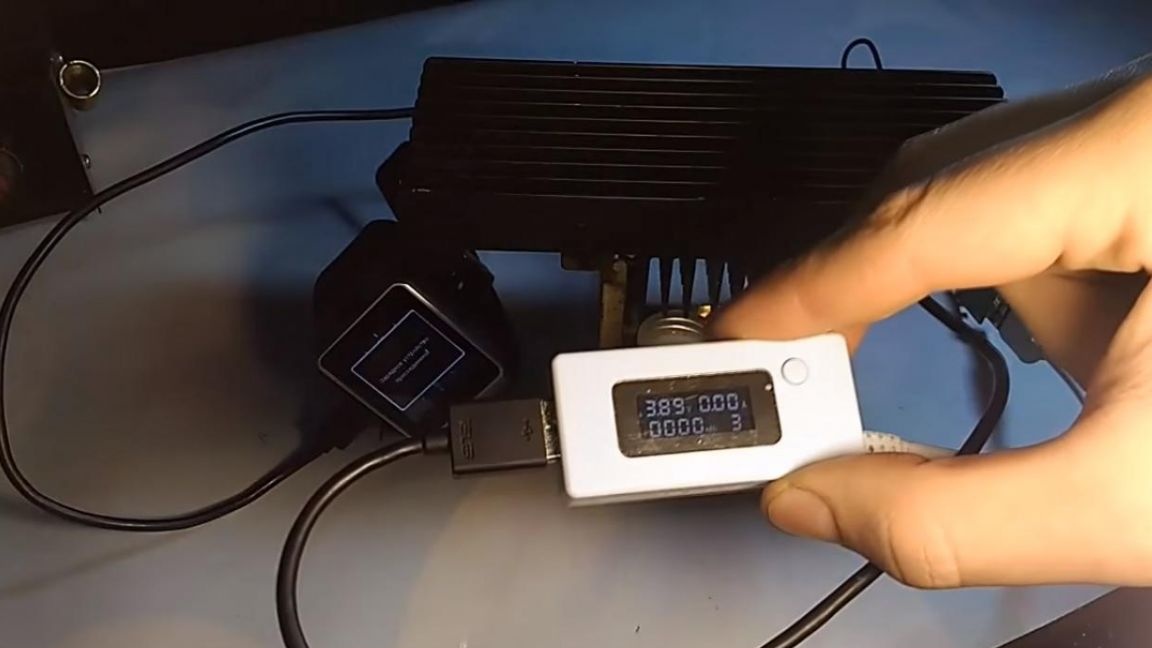
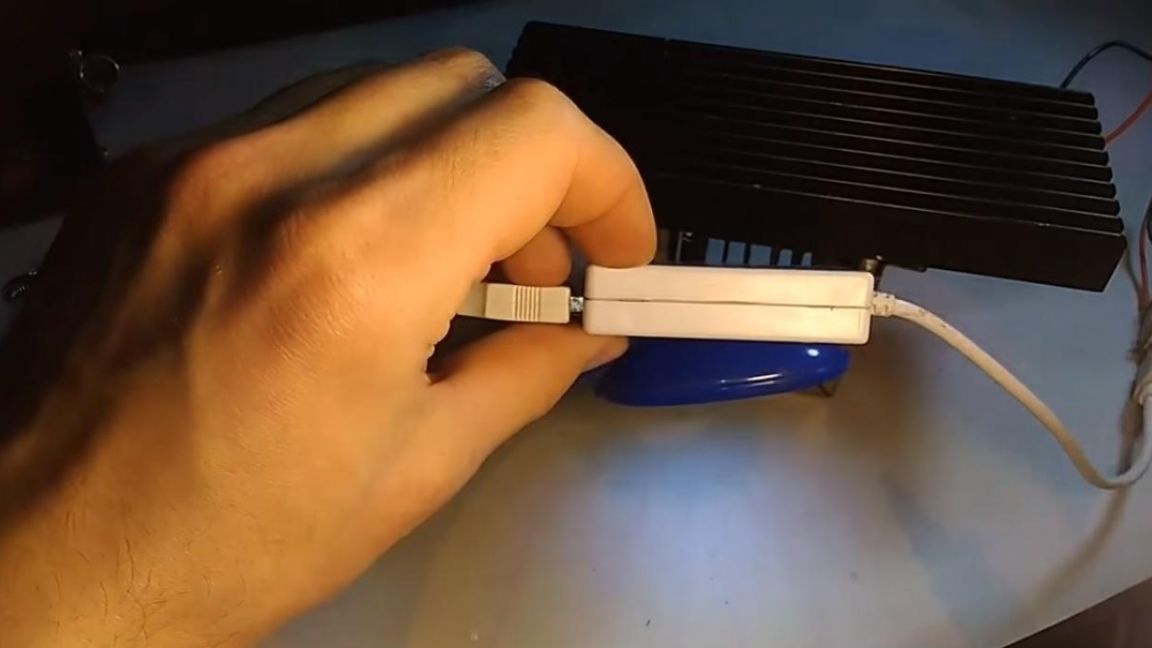
* USB power meter
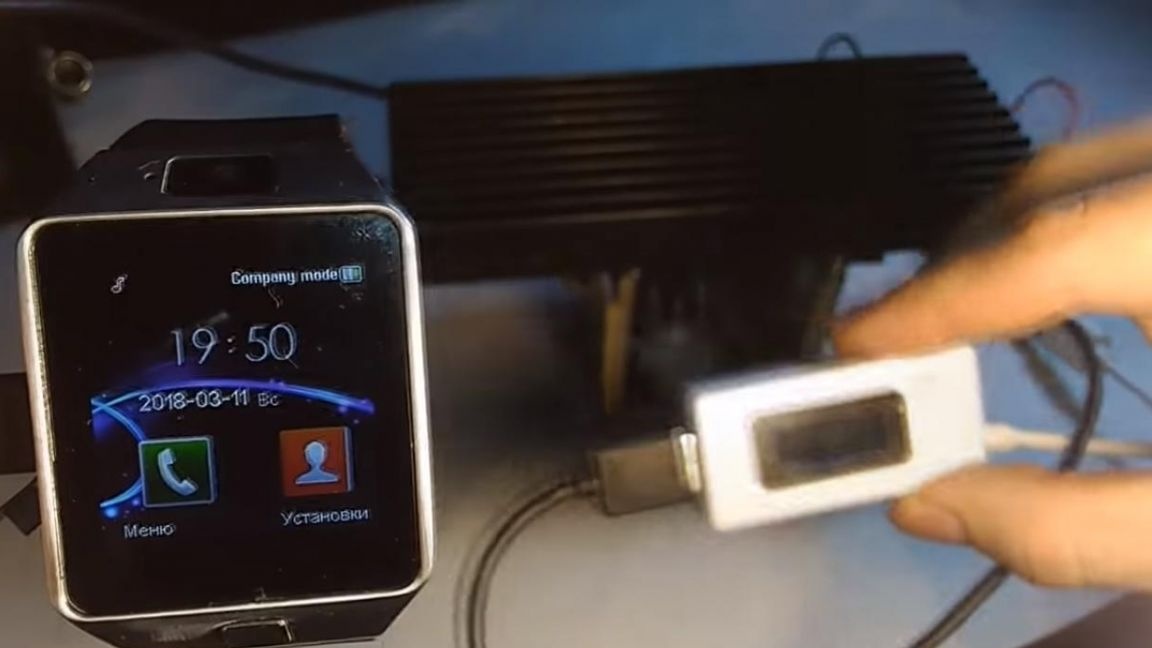
* Load to verify operation, in this case a smart watch
* Soldering iron, solder
That's all you need to build this homemade product, everything is quite budgetary and will cost you about 300 rubles if you order everything in China.

Step one.
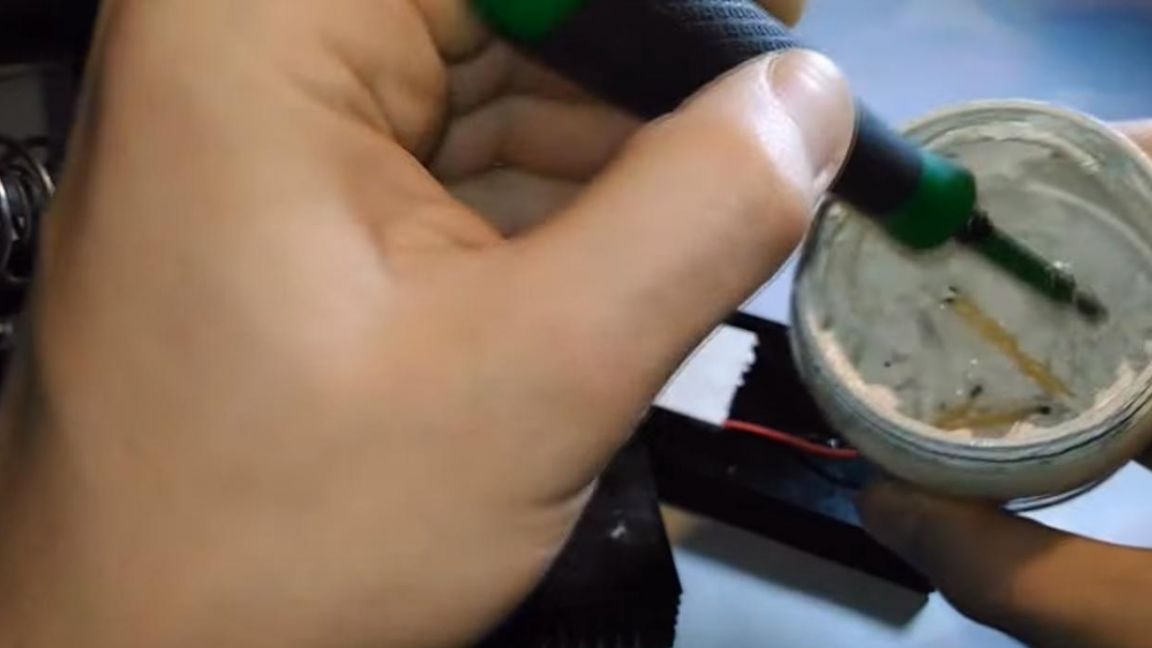
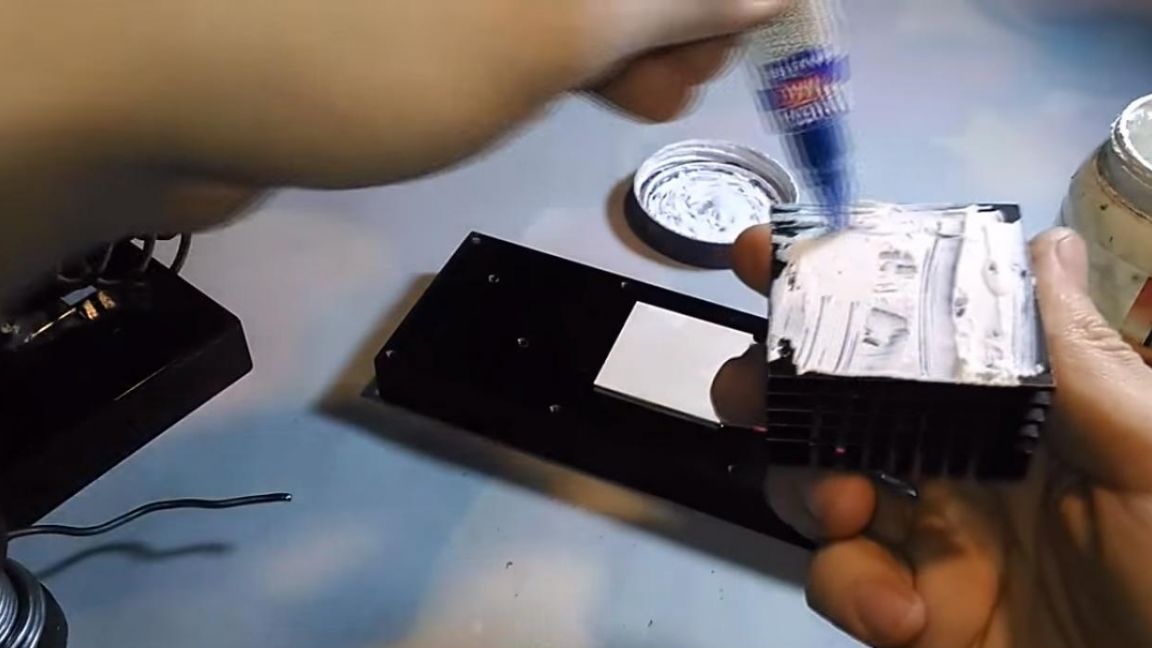
First of all, we apply a little heat-conducting paste KPT-8 to the Peltier element and mix it with glue.
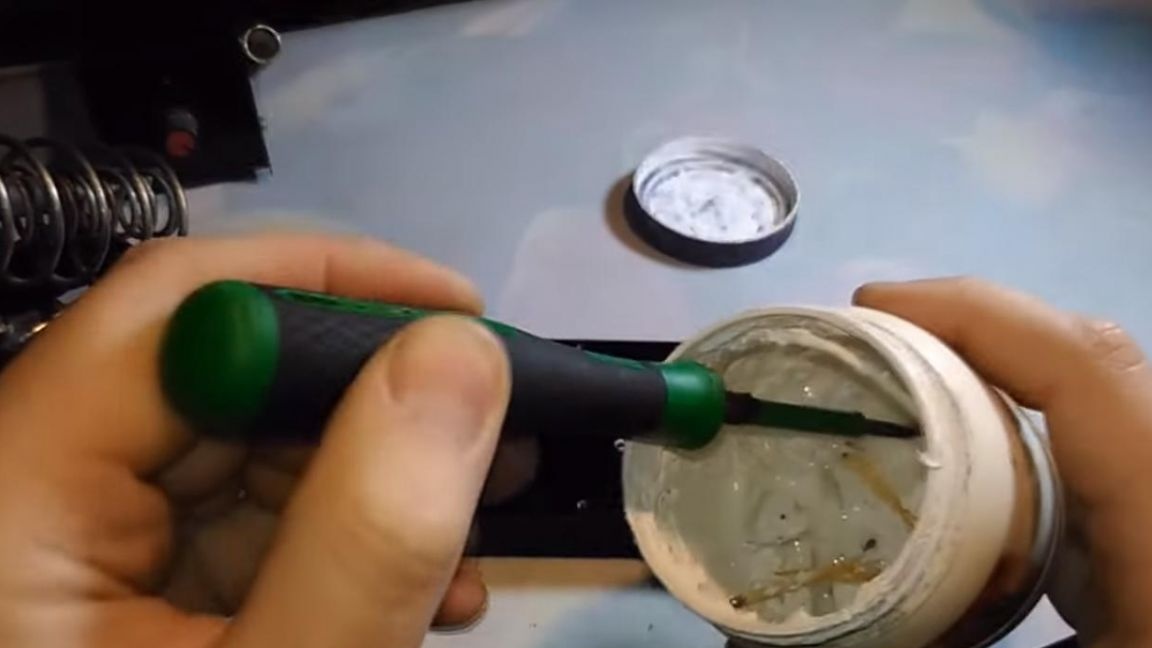
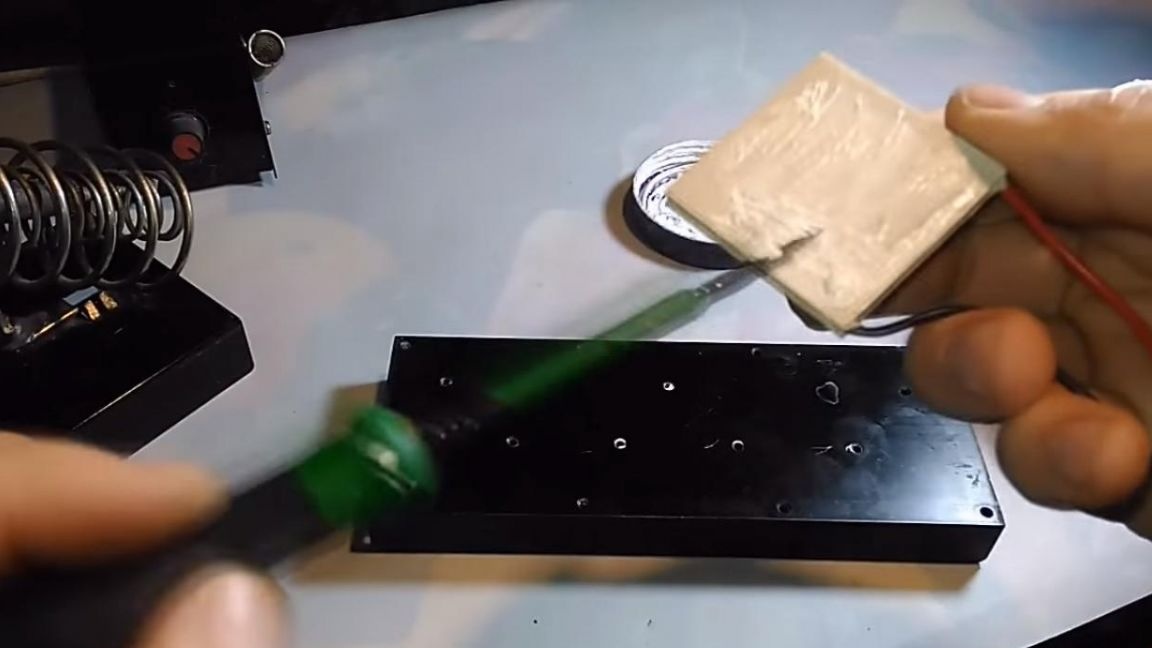
Evenly spread the resulting consistency over the entire area of the Peltier element, thereby increasing heat transfer, and therefore efficiency. After that, glue to the radiator, slightly pressing the element so that the thermal grease is evenly distributed.
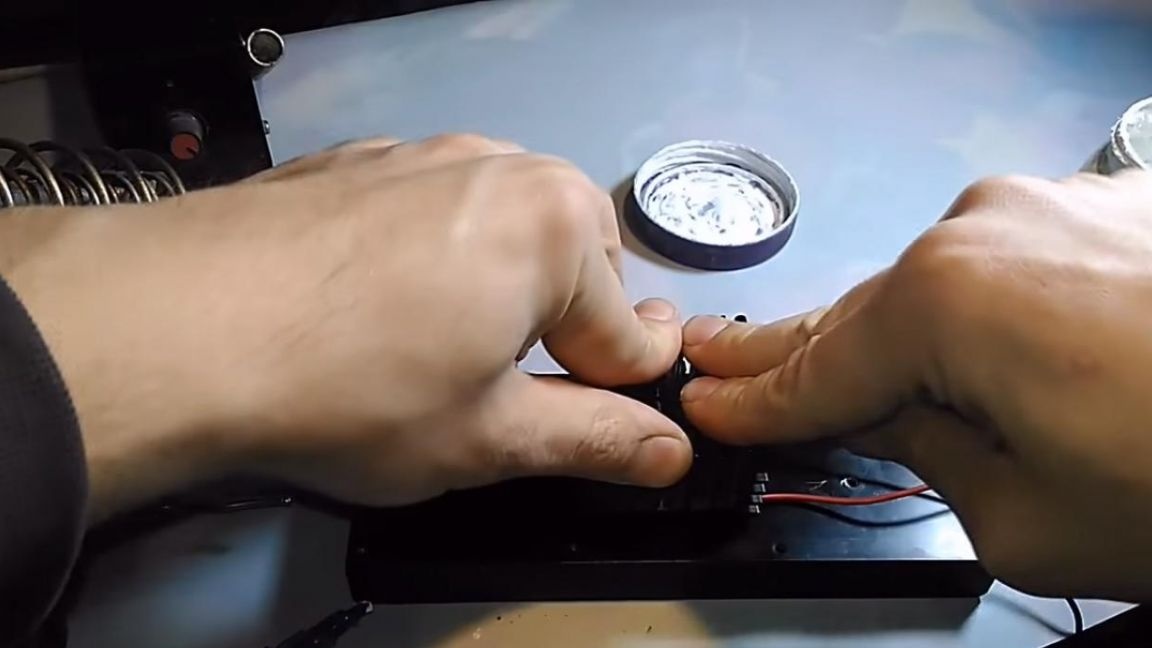
Leave the glue to dry, it only takes a couple of minutes.
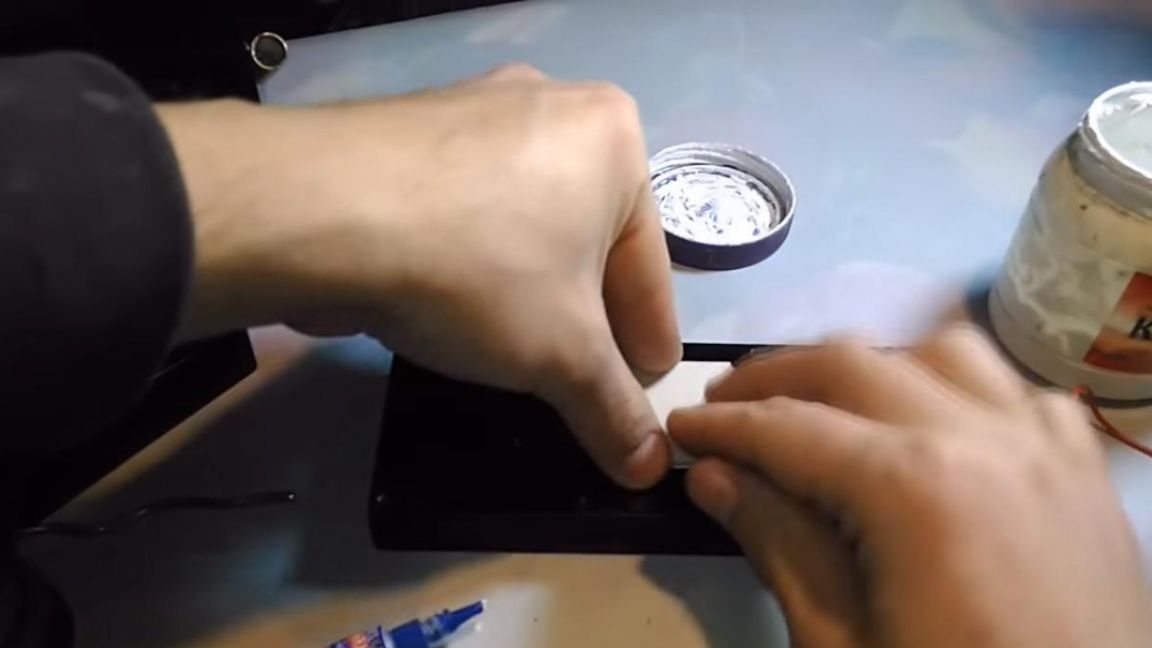
Step Two
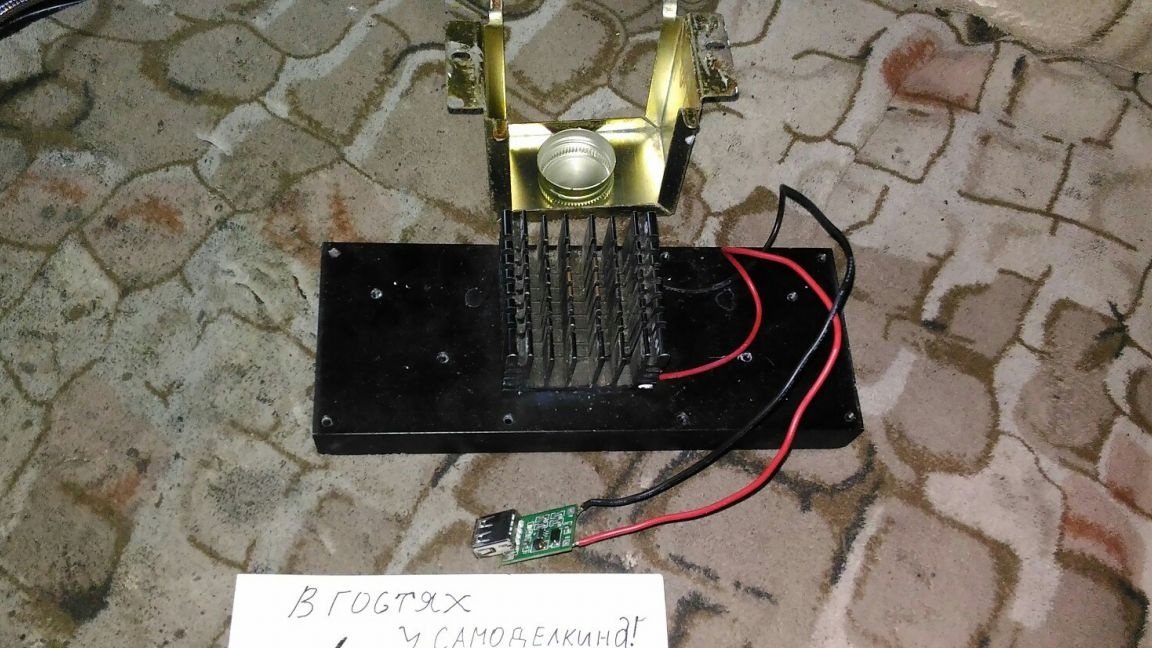
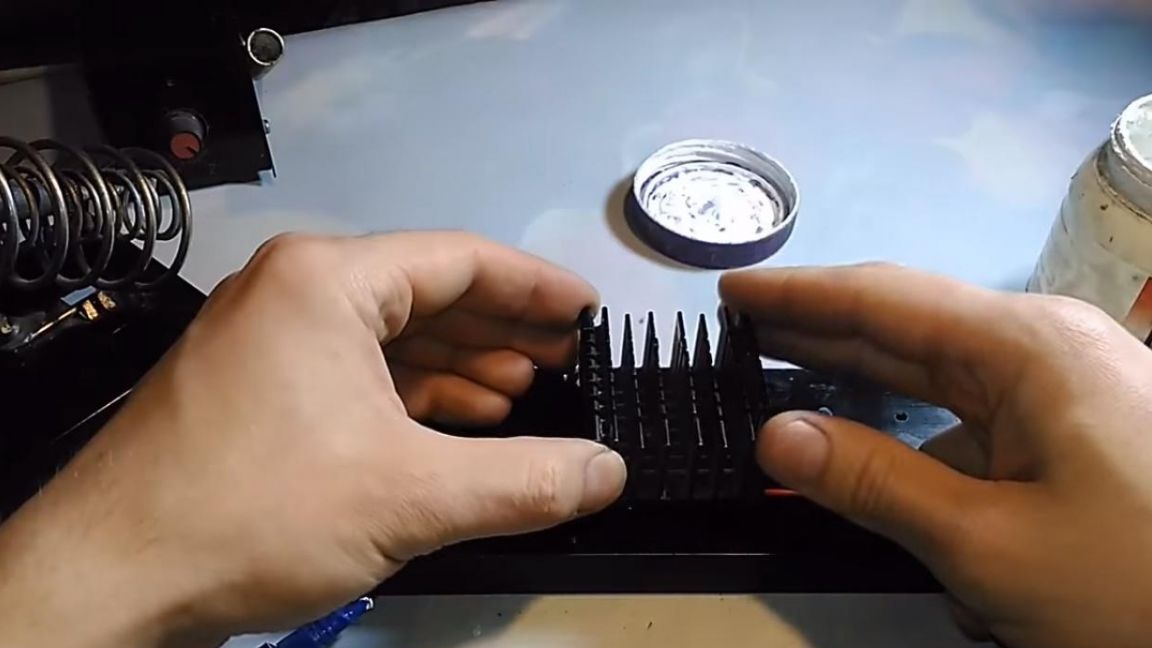
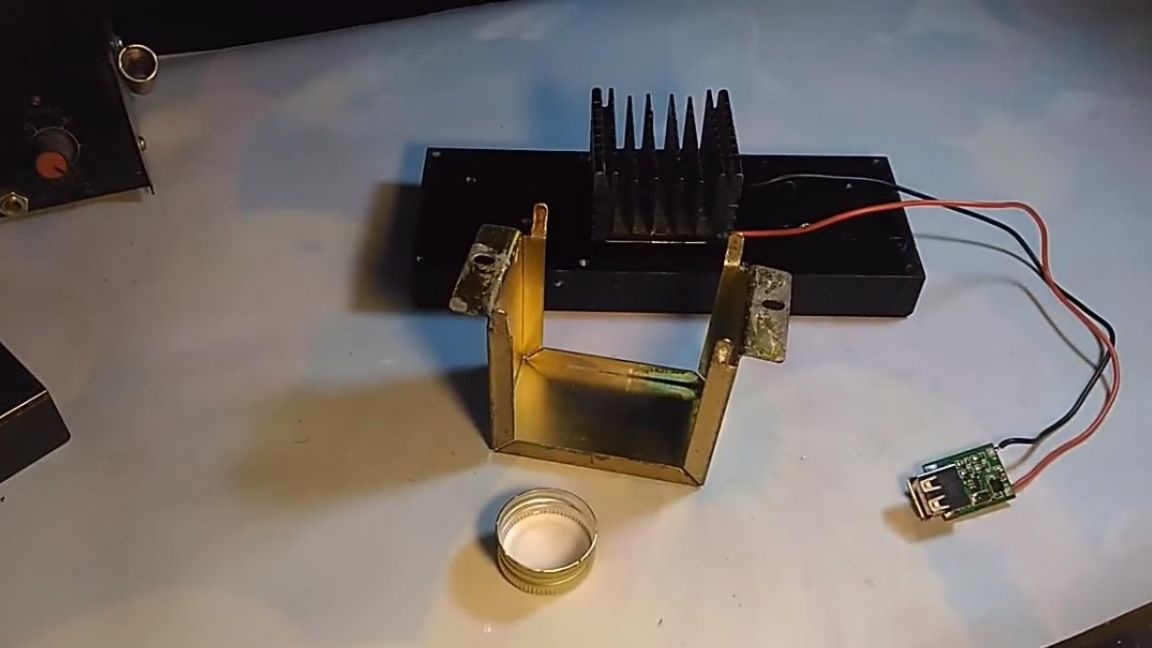
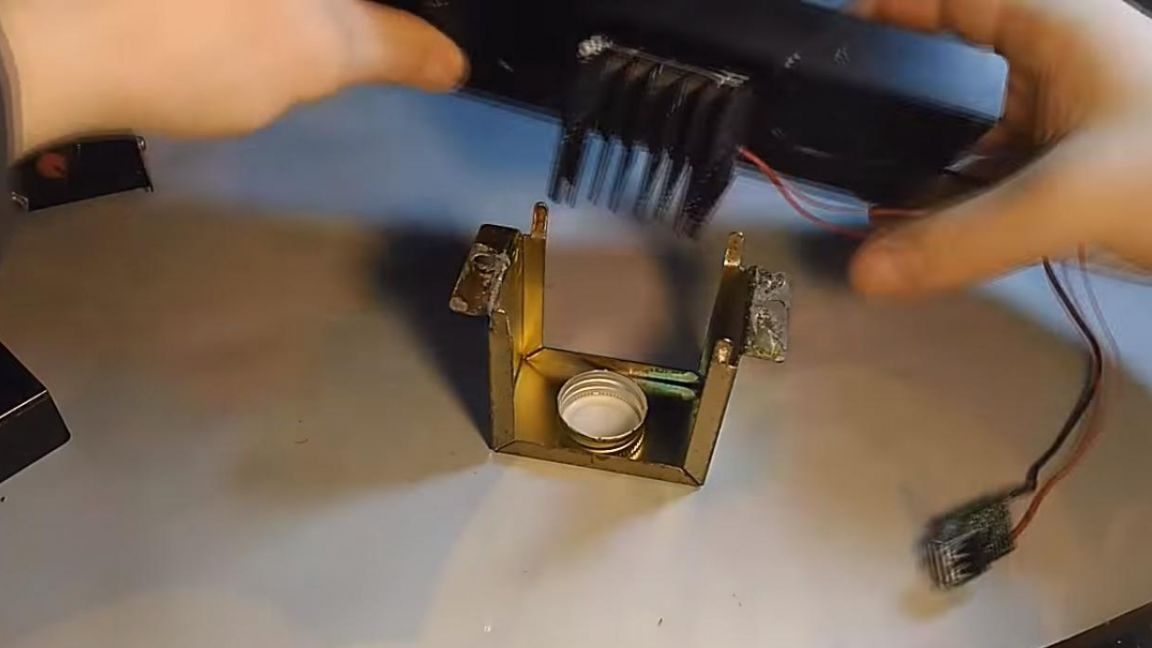
Since the whole principle of operation of the thermogenerator is based on the temperature difference on the Peltier element, therefore, one more radiator must be glued to its second side. We apply thermal grease and glue and, similarly to the first radiator, glue to the element, slightly pressing the radiator.
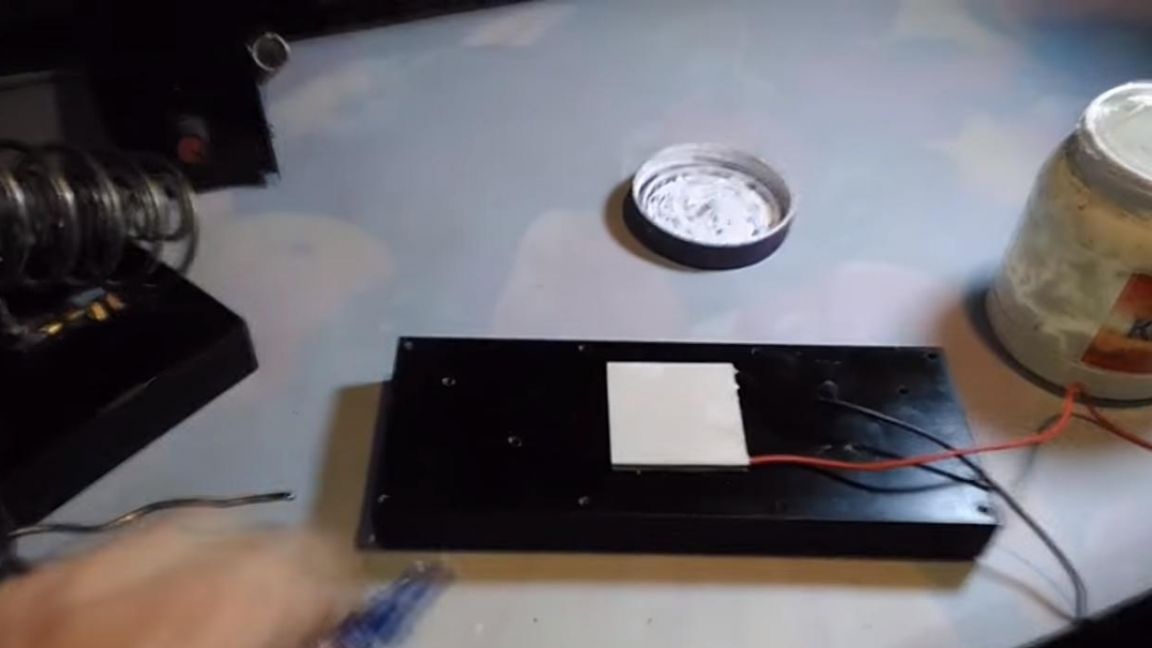
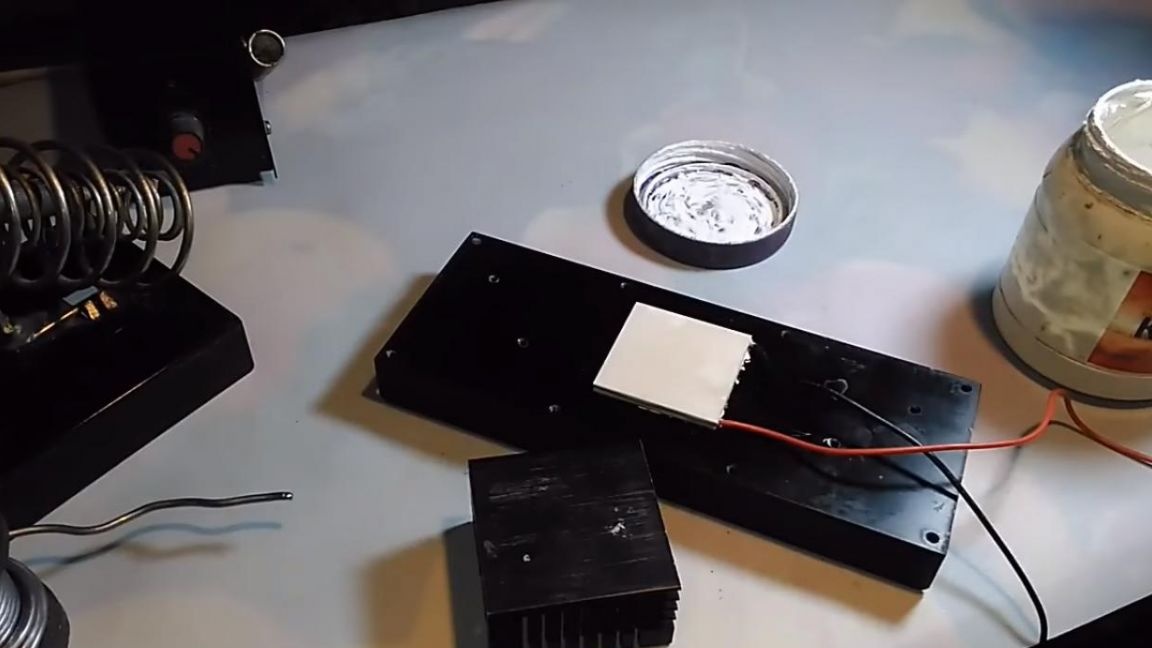
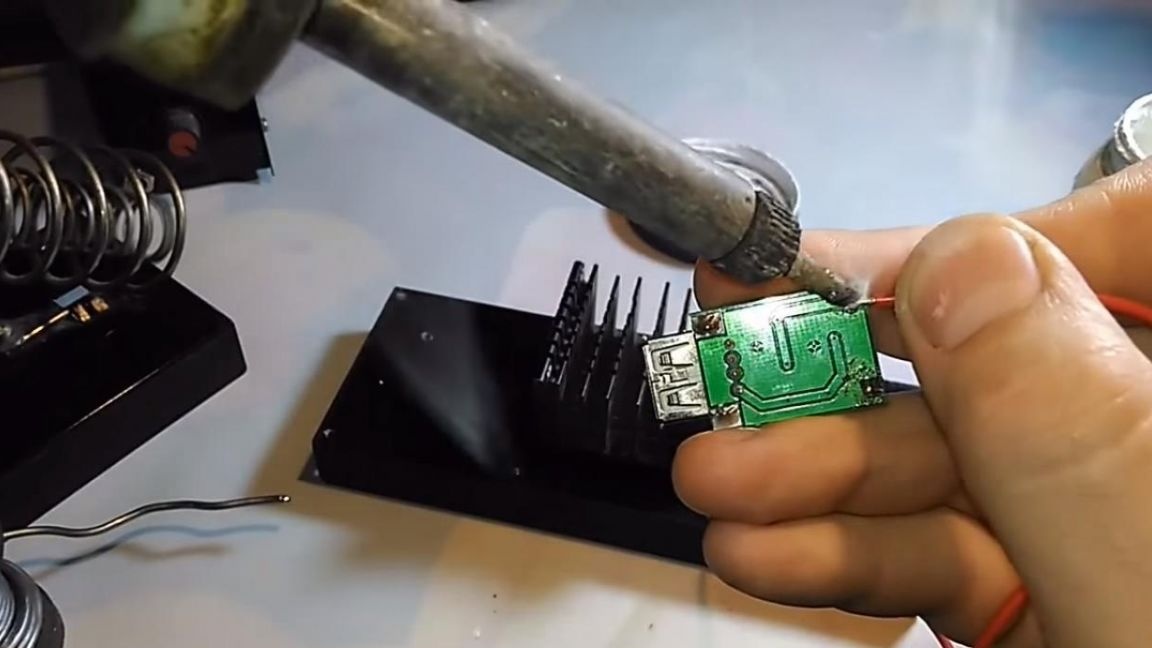
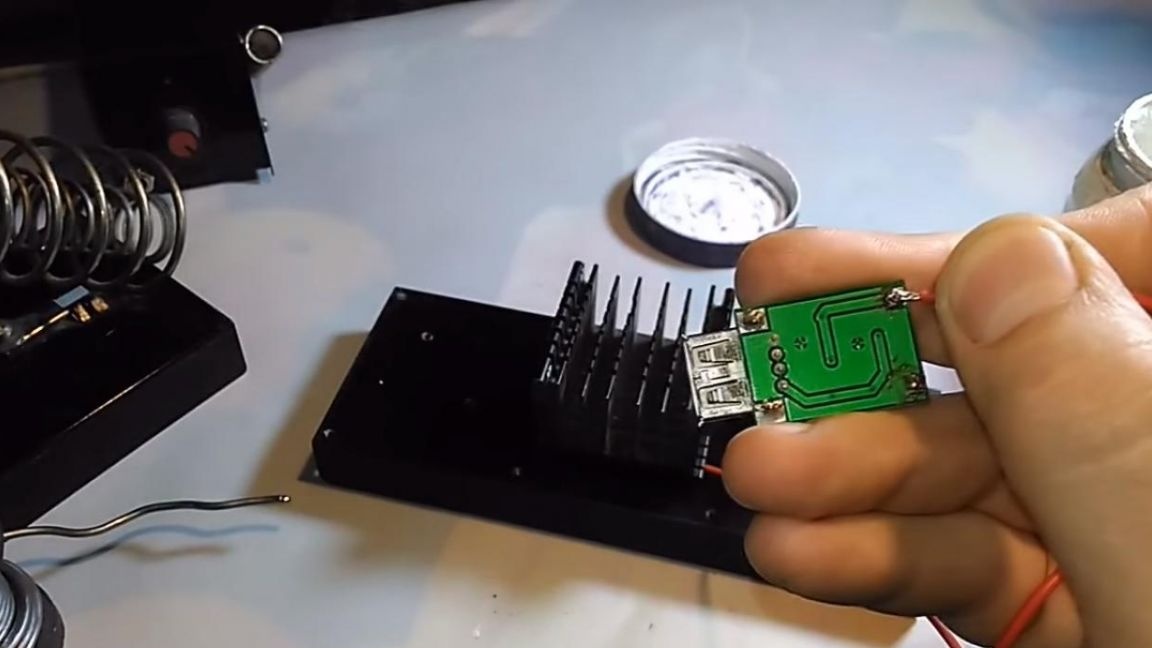
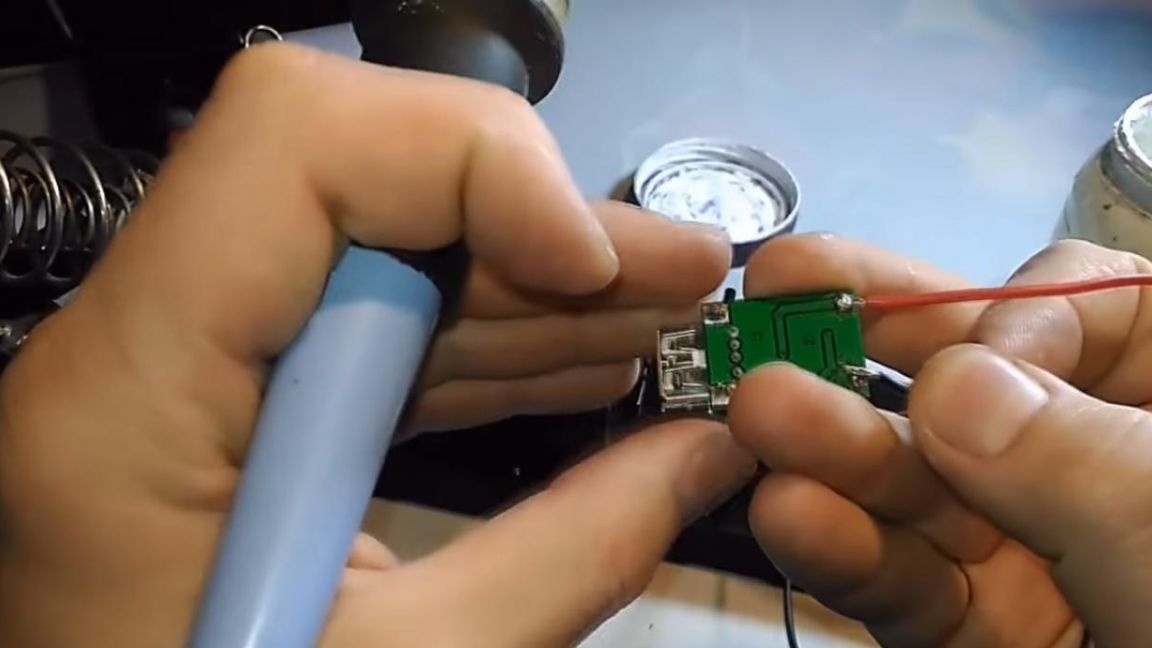
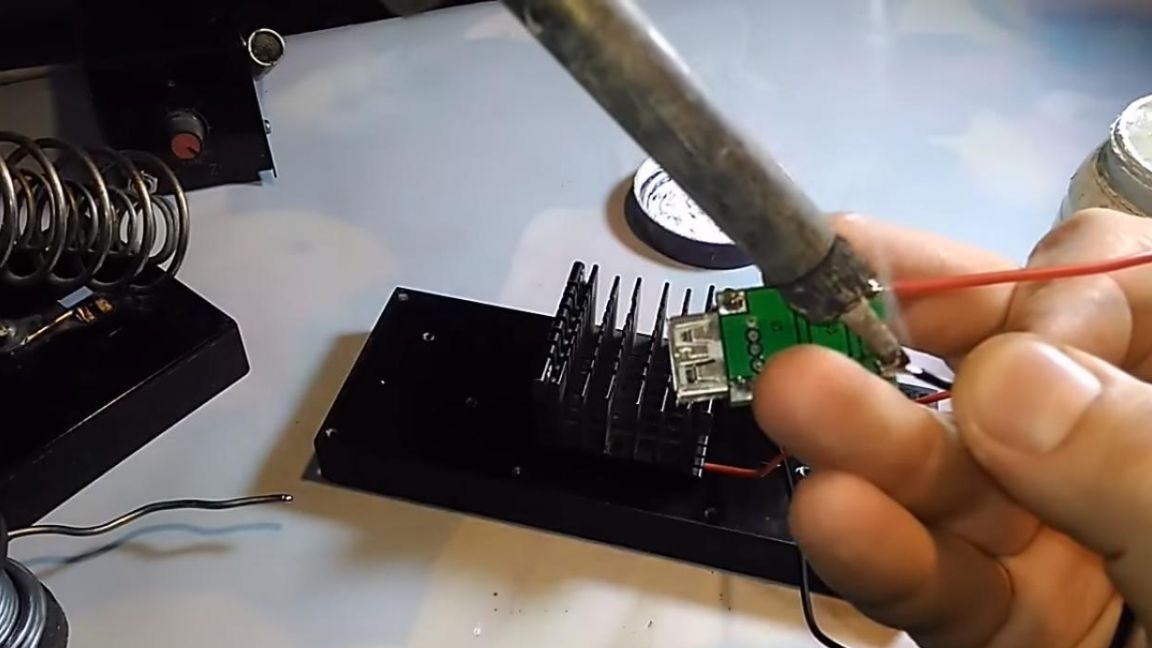
Step Three
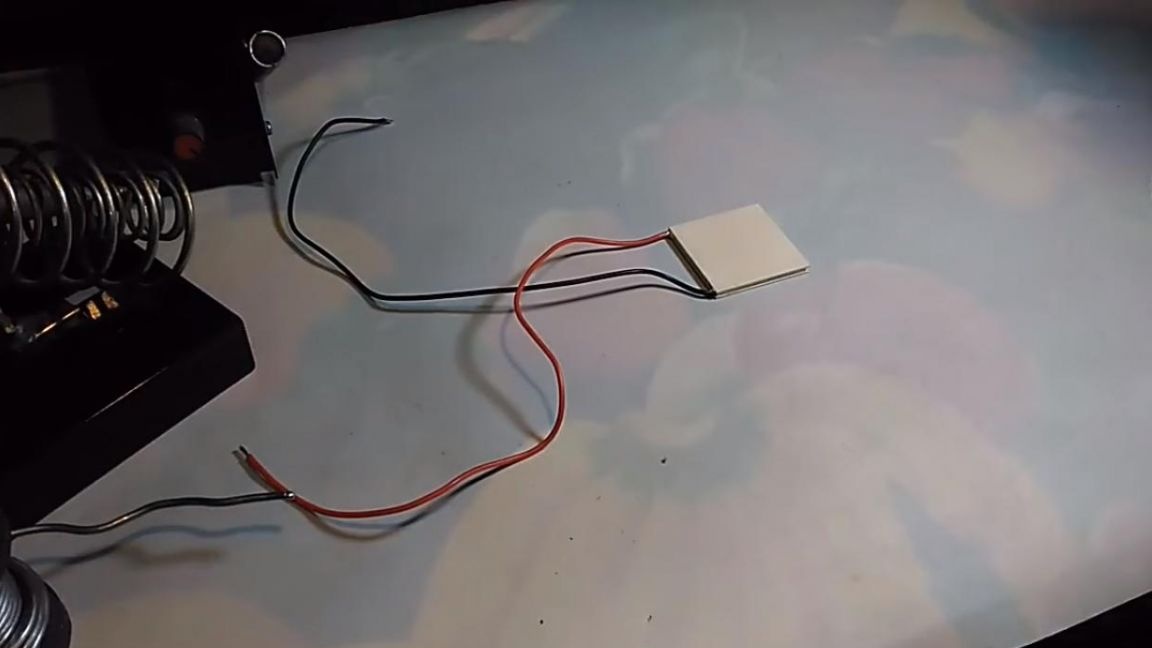
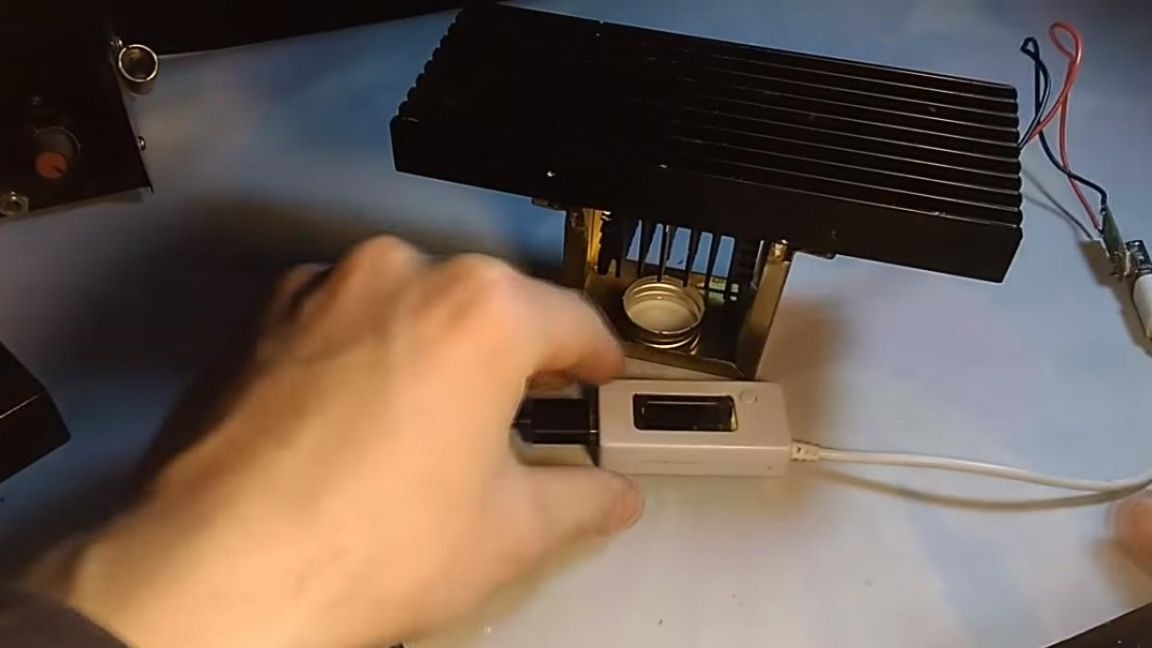
And now a little soldering, just a little bit.We solder to the terminals of the Peltier element a DC converter, which will maintain the voltage at the required value, namely 5 volts, which is required for charging low-power gadgets. When soldering, we observe the polarity.
Step Four
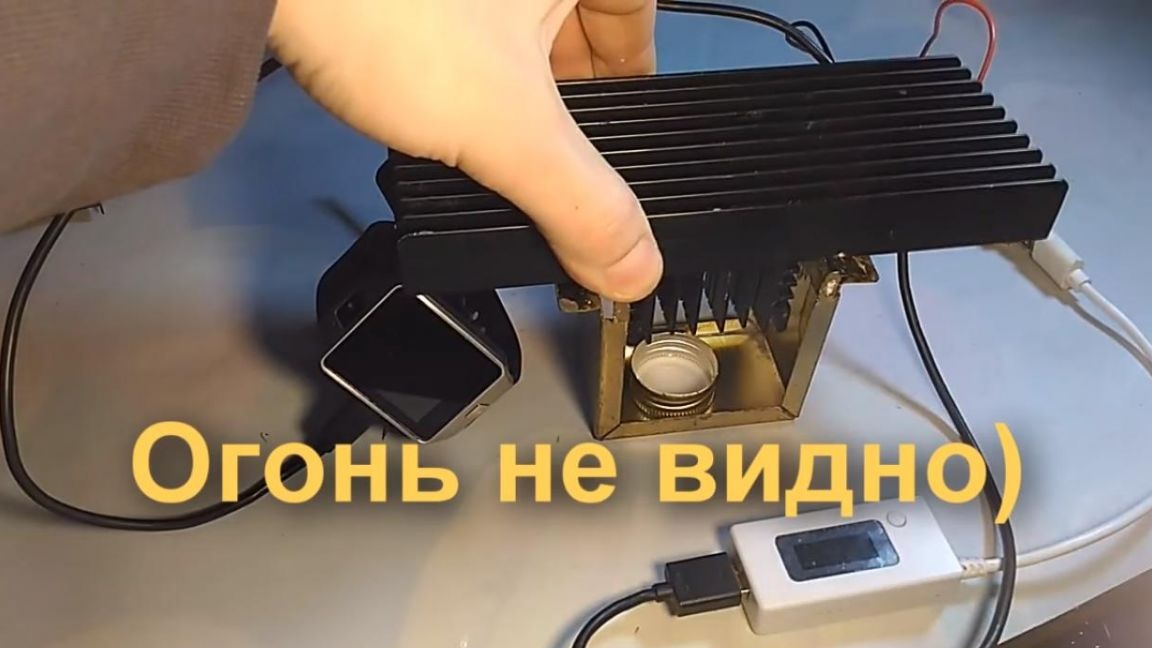
The device is ready, now it's time to try homemade work. A source of thermal energy can be anything, even a candle. In this case, coping well with alcohol poured into an aluminum cover, which we place over a small radiator with a spacer, which can be done simply by disassembling the transformer coil body.

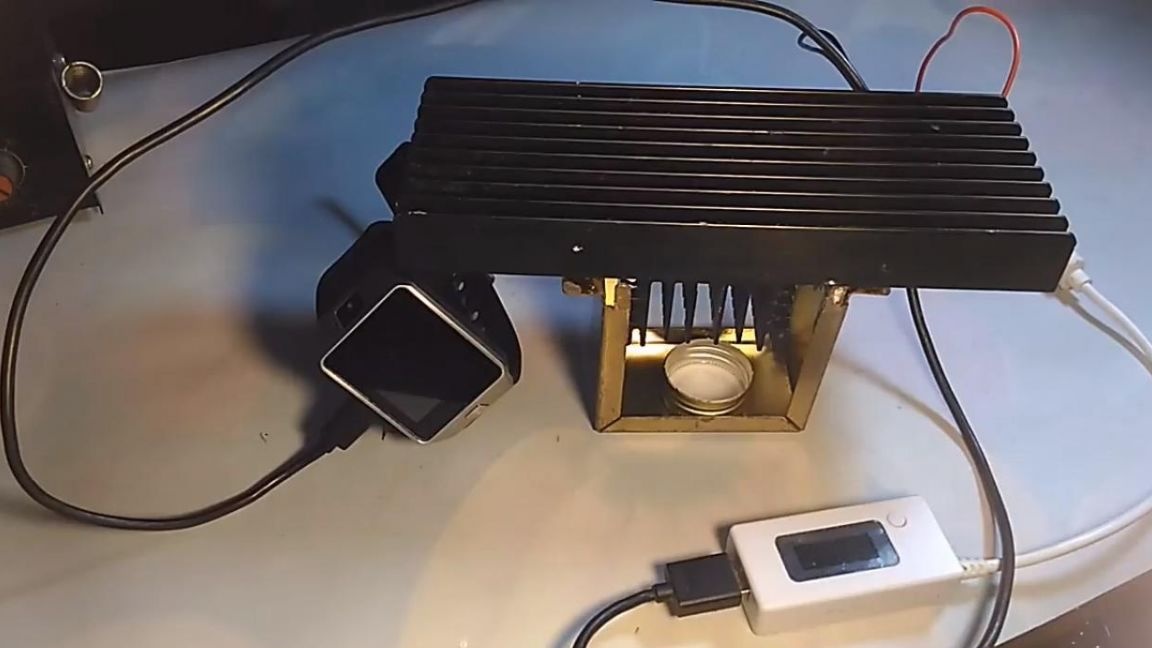
After warming up the Peltier element on the USB-Wattmeter, numbers appear, the voltage is about 5 volts, and the current strength is about 50 milliamps, which will be enough to charge, for example, a smart watch or an MP3 player.
Also, from this thermo-generator it is possible to power the LEDs, they will burn at full power if a light is applied.


That's all for me, thank you all for your attention, repeat this homemade product, if it seemed interesting and creative success to you.