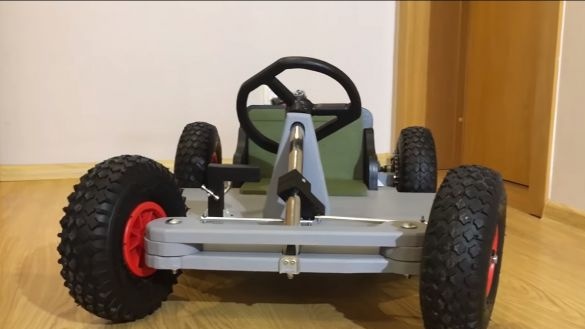
If you want to pamper your child, the vehicle will be the best toy for him, especially if you have a boy, however, the girls are also not uninterested in this. The best option in this case is to do karting with an electric drive. In this instruction, I will tell you how to make the easiest thing to do.
We will use plywood as the basis - this is a material accessible to many and it is easy to work with it. And we will drive the car. As for the wheels, wheels for garden trolleys and so on are quite suitable for these purposes. So, we begin to manufacture.
Materials and tools used by the author:
Material List:
- plywood;
- 4 wheels;
- bearings;
- plexiglass;
- two stars from a bicycle and a chain;
- carriage from cycling wheels
- ;
- a cable from a bicycle;
- screws with nuts and washers;
- self-tapping screws;
- paint;
- metal tubes (for steering rods);
- bolts, cogs, mounting brackets and other little things.
Tool List:
-;
- drill;
- screwdriver;
- wrenches and screwdrivers;
- drawing accessories;
- hacksaw for wood;
- clerical knife and more.
Manufacturing process homemade:
Step one. We make the basis and all the necessary details
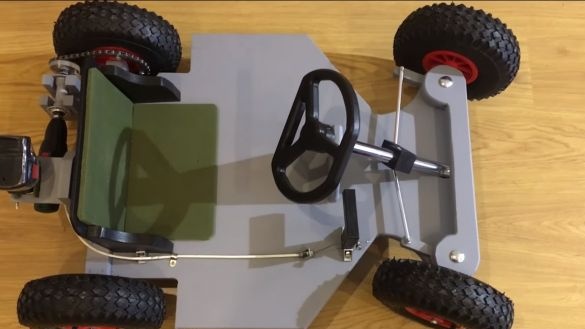
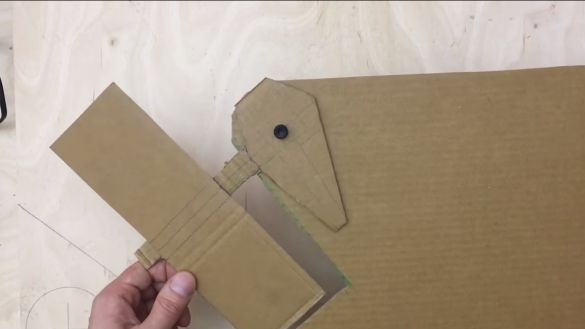
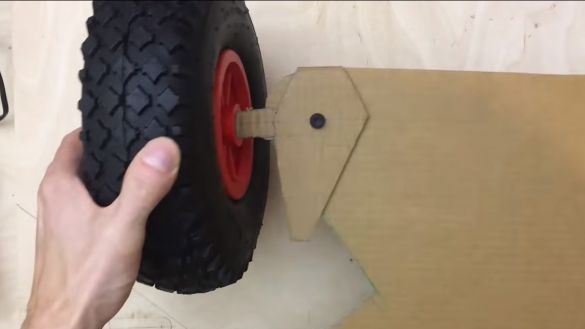
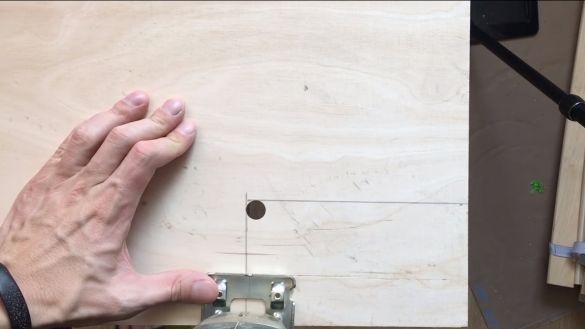
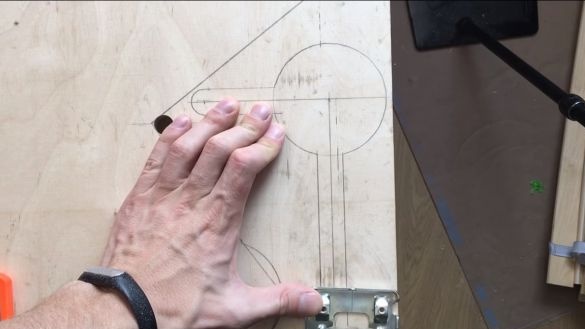
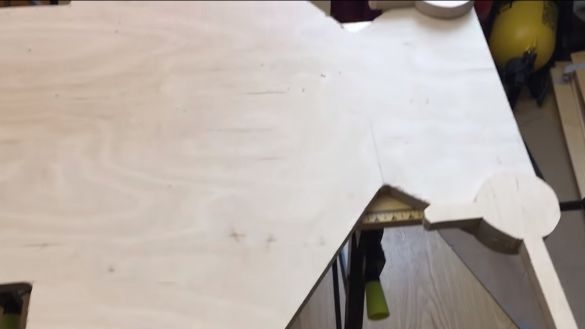
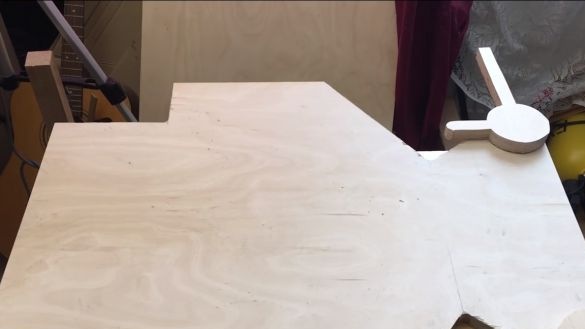
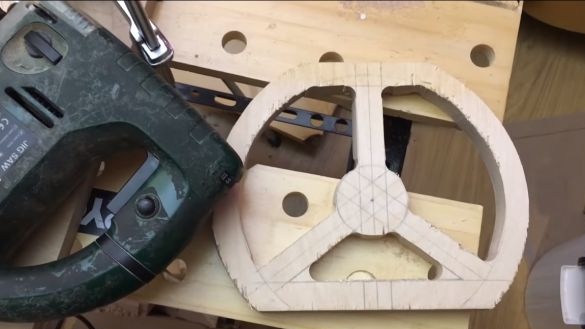
The base is made of plywood. First, the author made a cardboard layout to make sure how everything will work. Then we transfer the drawing to plywood and cut it out using a jigsaw.
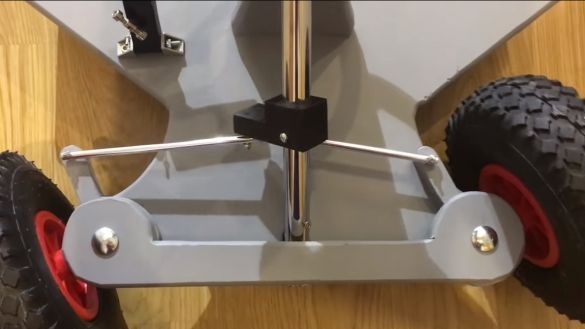
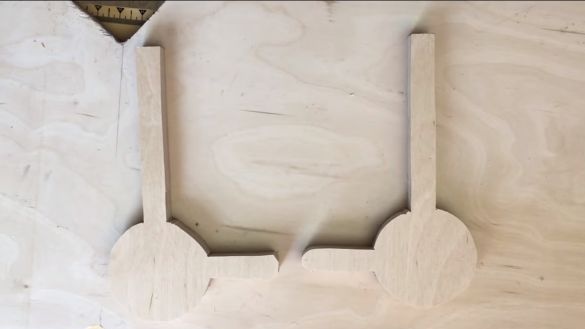
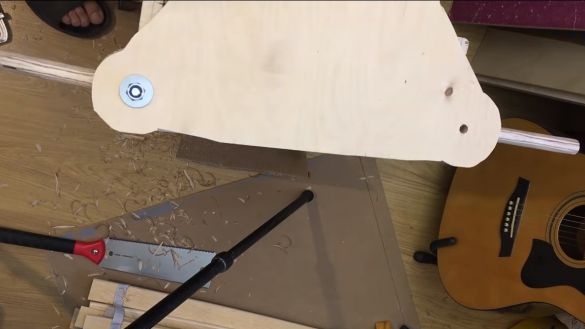
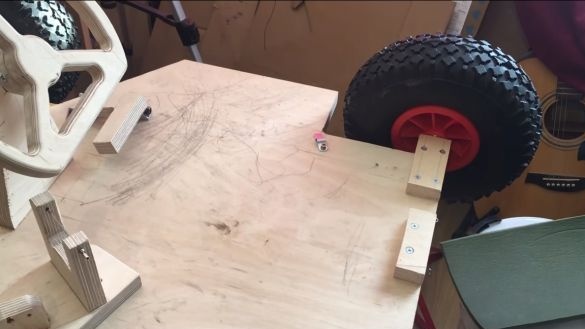
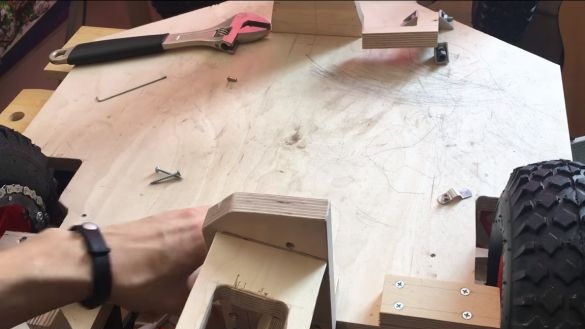
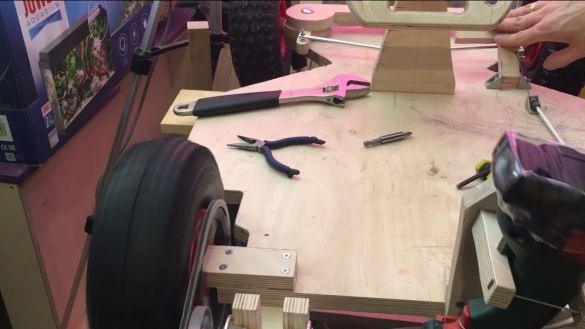
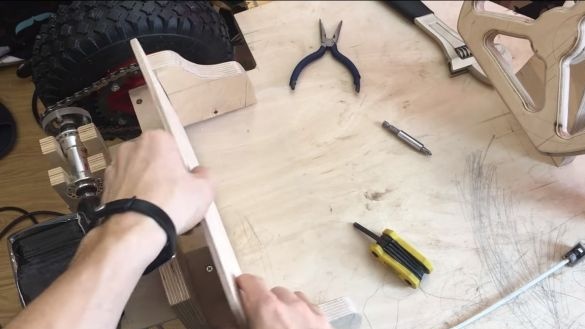
You will also need to cut out the parts on which the wheels will be held. The rear part is cut out whole, but the two front ones must be separate and each rotate on its own axis. So we will do the steering. Fasten these parts to the base using nuts and screws.
Step Two Steering installation
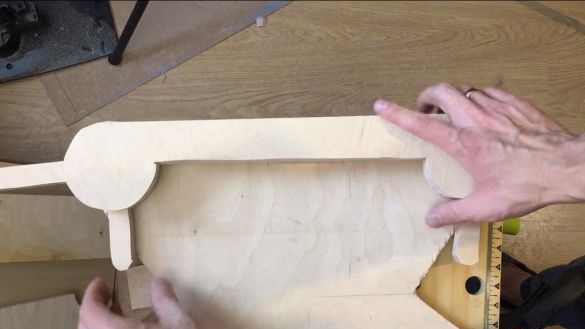
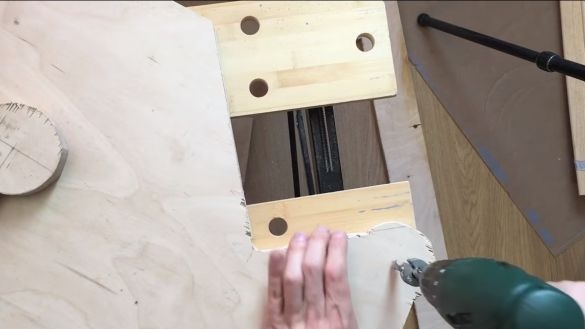
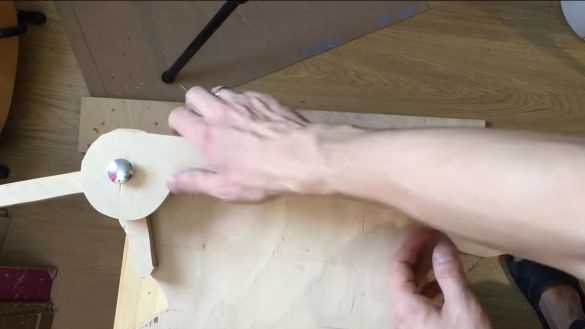
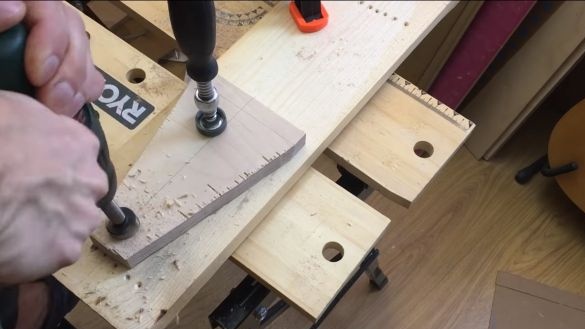
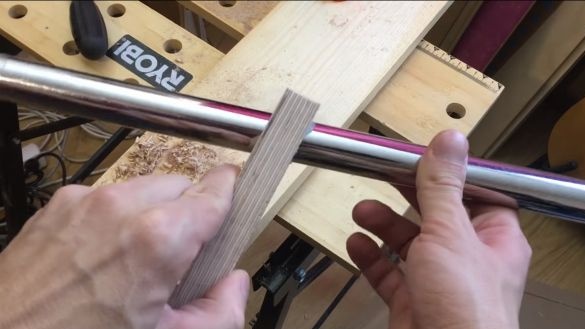
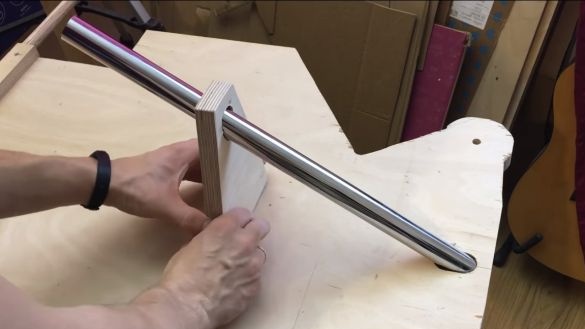
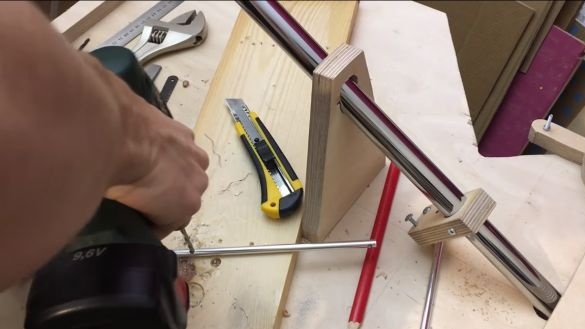
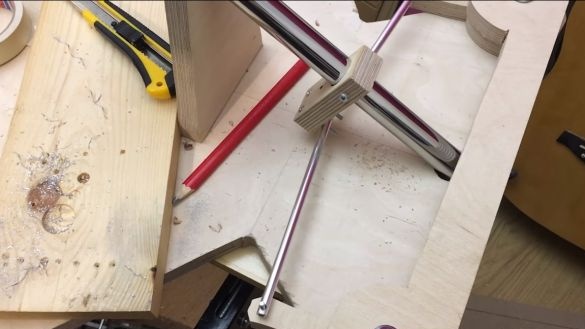
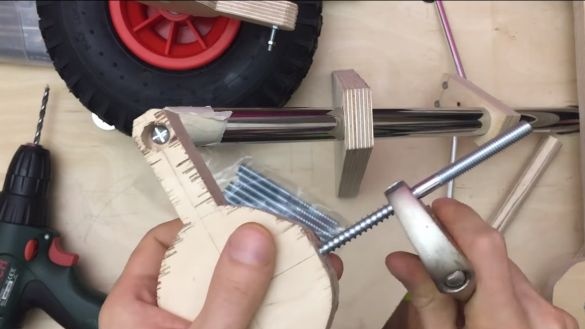
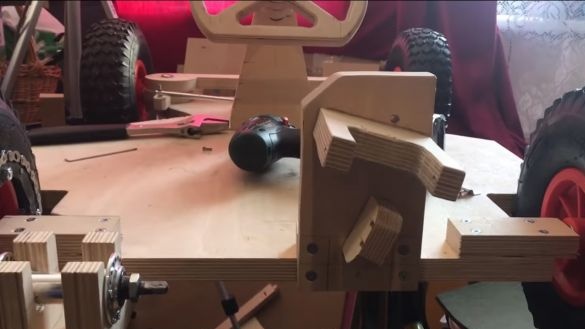
For the manufacture of steering you will need three pipes, two small diameter will be used as tie rods. Under the “shaft” of the steering wheel, we cut out the bracket from plywood, with the author it looks like a trapezoid.In the part, we drill a bat hole at an angle and then fasten it to the base with screws.
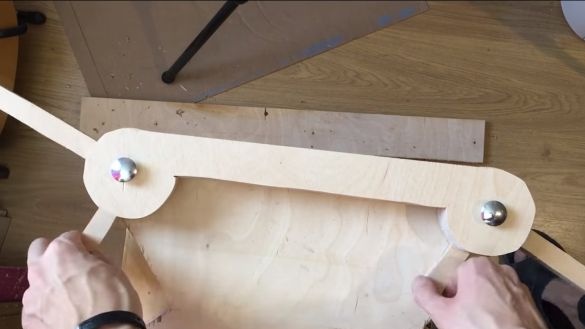
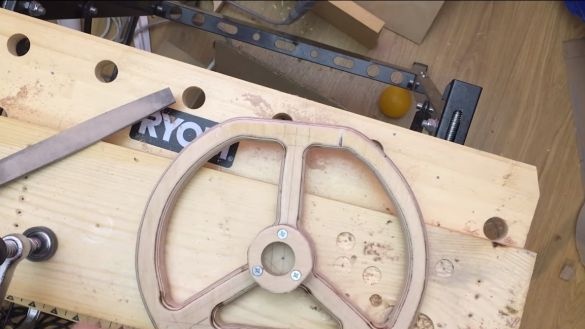
Next, we install a bracket on the steering shaft, to which we connect the tie rods. It is also made of plywood. The steering wheel is also cut out of plywood. What in the end should turn out, look at the photo.
Step Three Prepare the wheels
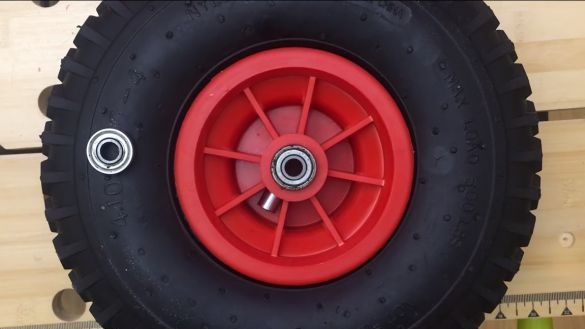
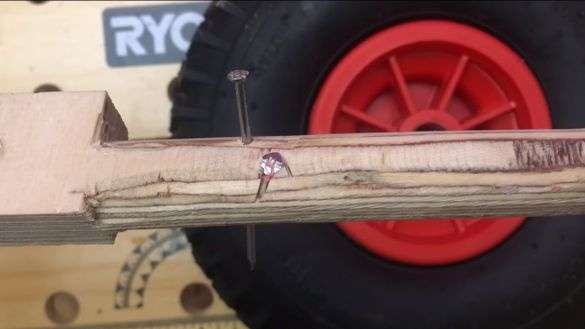
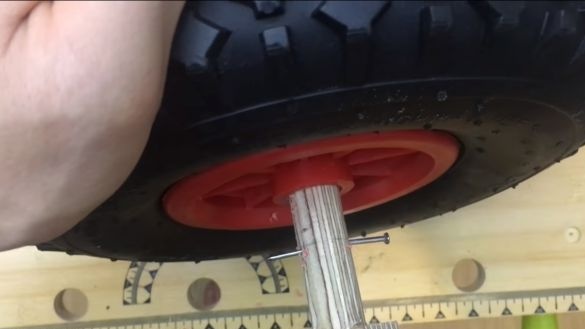
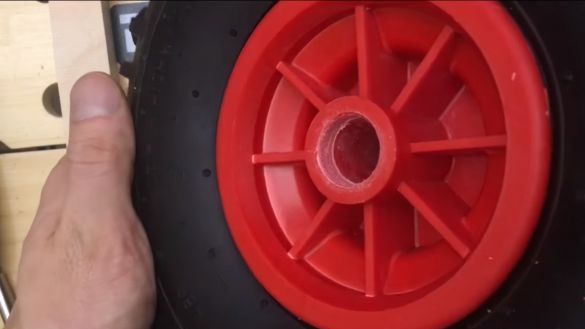
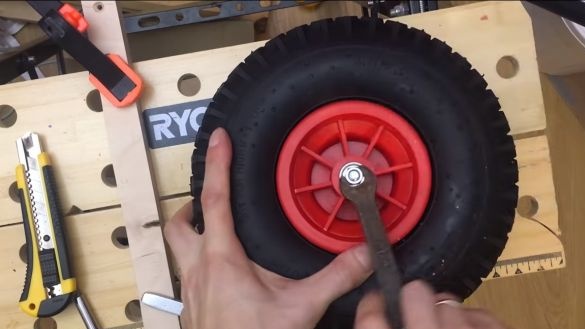
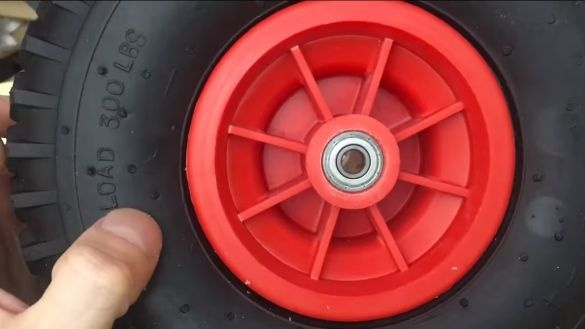
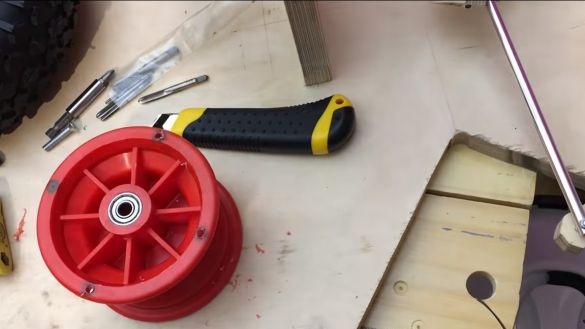
Bearings must be installed in the wheels, as the plastic bushings will not last long. The author decided to get bearings from the skateboard wheels. To make seats, the author hammered a nail into a stick, cut to the desired length and squandered the seat. To accurately install the bearing in place, use a bolt with a nut and washers. Bearings need to be installed in all 4 wheels, do not forget to grease them.
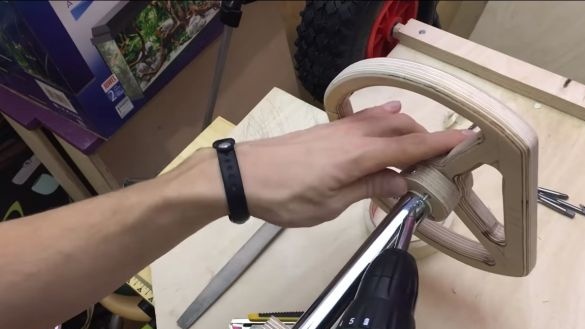
Step Four Fasten the steering wheel
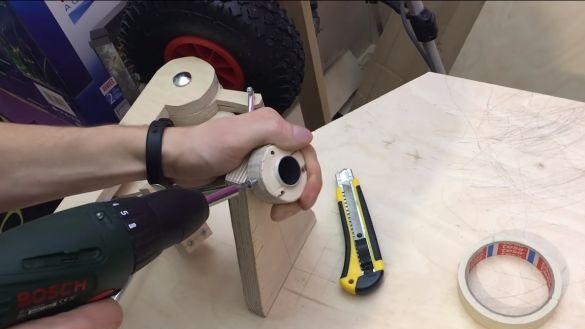
First, mount the bracket made of plywood on the steering shaft. We fix it to the shaft using screws or screws that are screwed perpendicular to the shaft. Next, we already install the steering wheel on this bracket and fasten it with screws to the bracket.
Step Five Set the sprocket on the wheel
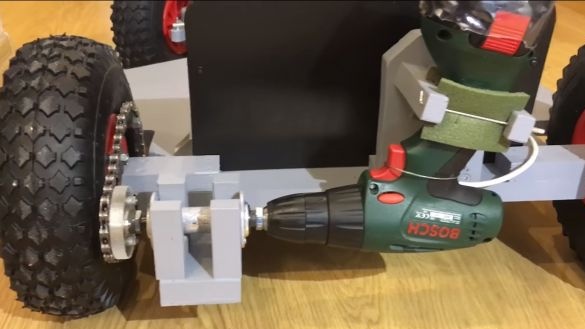
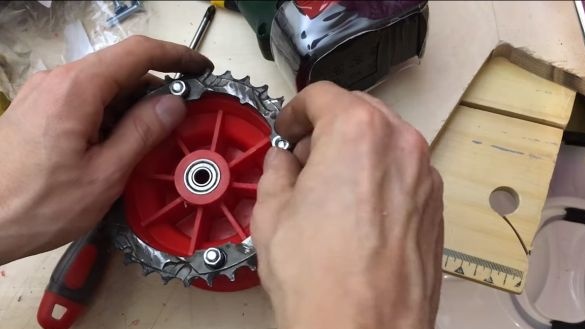
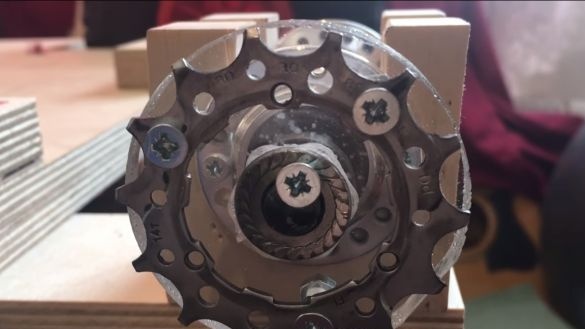
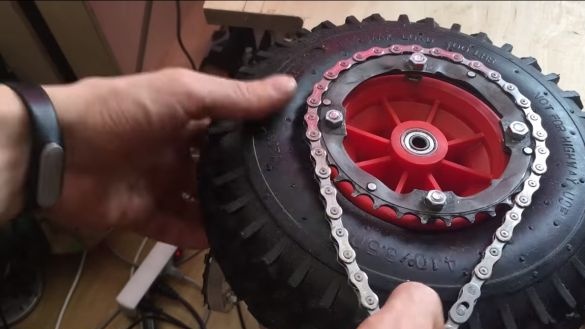
We take an asterisk from the bicycle and drill holes for fastening it with bolts to the wheel. In the wheel drive, we also drill holes in the appropriate places. Well, now just screw the asterisk to the wheel.
Step Six Setting the drive sprocket
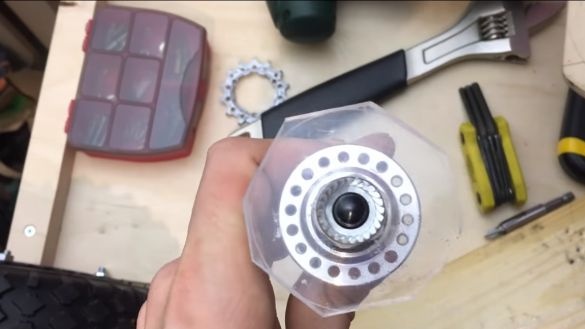
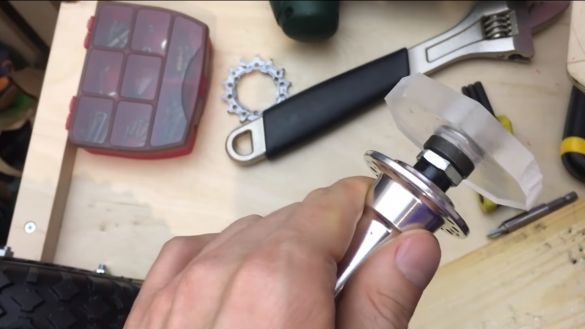
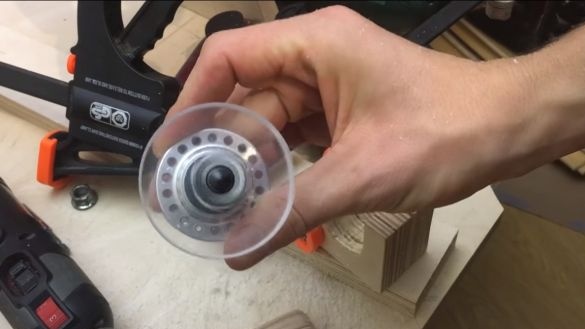
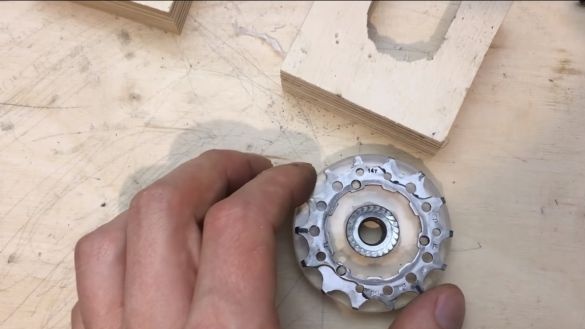
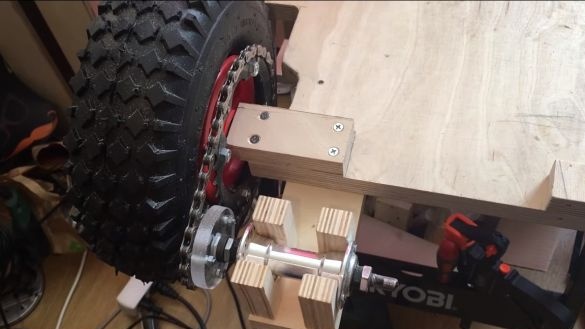
The drive sprocket is attached to the axis of the bicycle wheel. For fastening you will need to make a special adapter, it can be made of PCB, plastic or other similar material.
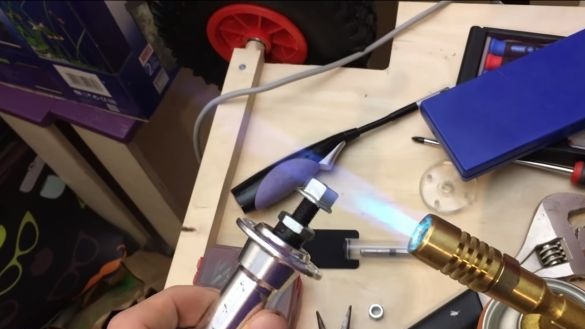
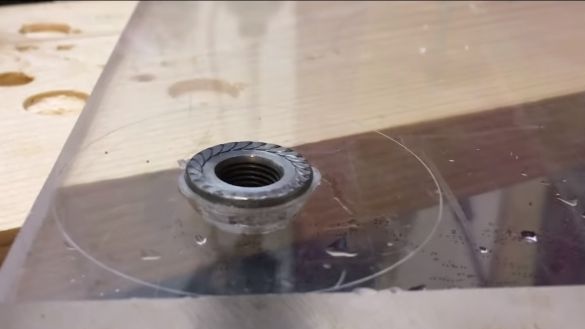
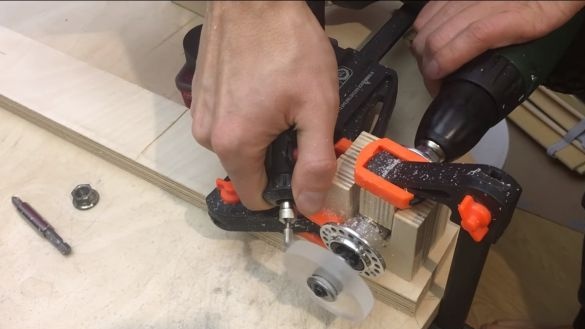
Glow the mounting nut with a burner, and then press it into the plastic sheet, as a result, it will melt its seat. Draw a circle around the center and cut it out. Next, we clamp the part into the drill chuck and with the help of files or a drill we form a circle.
At the end, we drill holes in the manufactured part and fasten the sprocket with screws and nuts.
Seventh step. Final assembly steps
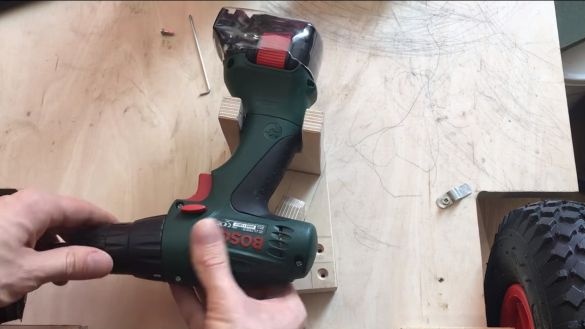
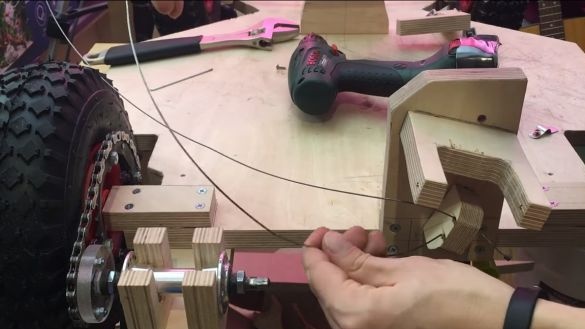
Now you can install the drive wheel in its place, put on the chain, and also install the axle with the drive sprocket. Connect the screwdriver to the axis and try turning it on. We fix the screwdriver with the help of a special bracket, which is also made of plywood.
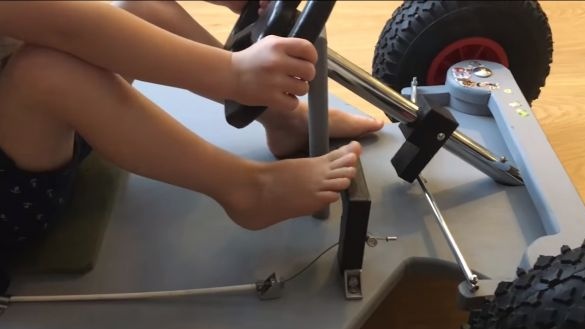
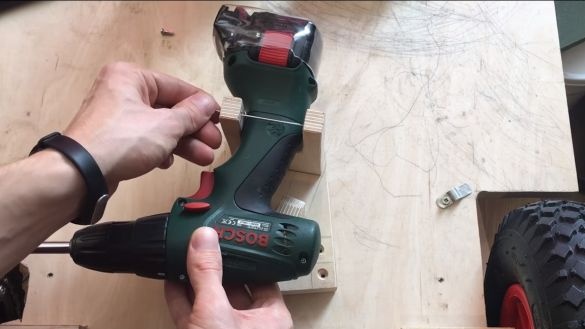
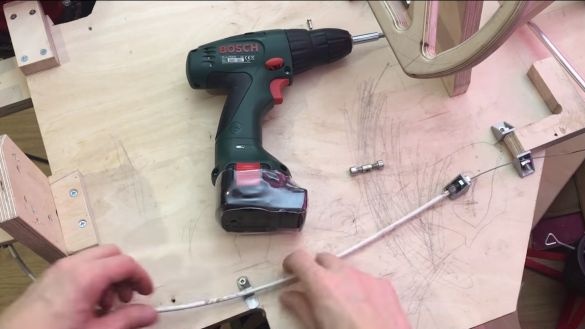
To control the card, make a pedal from plywood. To connect it to the "shurik", you need a bicycle cable. We attach it to the screwdriver trigger with a loop that will be tightened when you press the pedal.
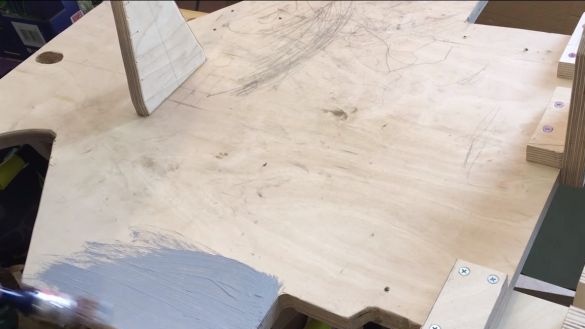
Now it remains a matter of creativity, we take a brush and paint go-kart in any colors to your taste. When the paint dries, it will be possible to present this cool surprise to the child.
That's all, the assembly is over. Of course, on the street you can’t go far using such equipment, but you can ride around the big house or small courtyard with a bang. However, if you put powerful batteries on the car, then karting will completely cover a distance of several kilometers. To save power when driving long distances, it would be nice to do so that the car could go coasting. But in this case, you have to make a brake system. That's all, I hope you liked the homemade. Good luck and inspiration in the manufacture!

