I greet the fans of the wonderful film "Back to the Future." This homemade just for you, and more precisely, for your children. In this instruction, I will tell you how to create what we dreamed of as children in childhood - about my car. And it will not be just a car, it will be a real flying DeLorean! Your child will be delighted with such homemade products.
If you wish, you can modify the cards, equipping it with an engine, the easiest screwdriver is suitable for this role. Specifically, this instruction is a kind of scooter, that is, you can only ride from a hill, well, or if someone will drag. It is certainly sad, but fixable!
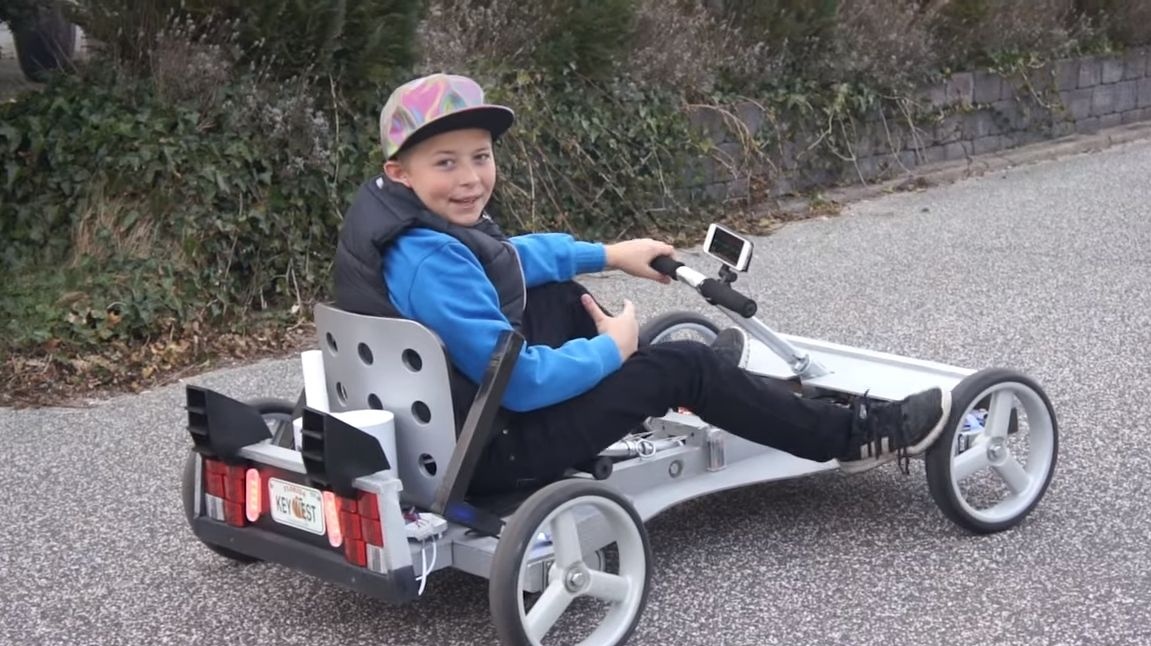
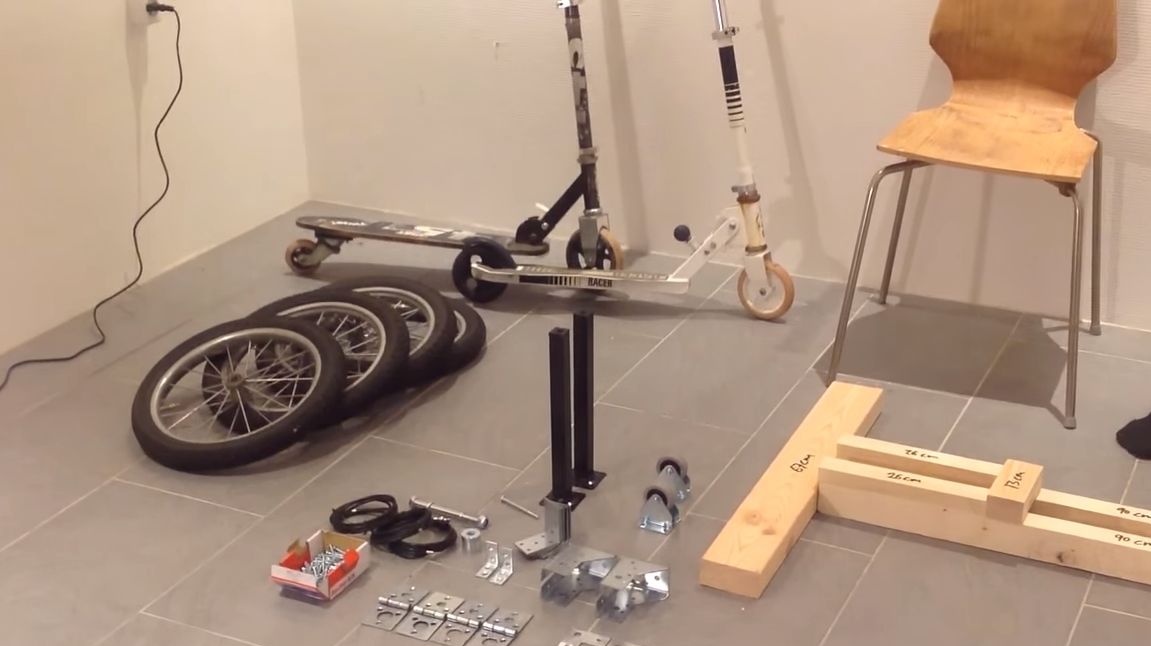
Almost all homemade products are assembled from wood, the frame is made from timber. Also here you will need plywood, supplies and other materials that can easily be found. As for the wheels and other parts, then you need old scooters, wheels from children's of bicycles or strollers and more. The car is assembled quite easily, the child will also cope with this task, it will be especially interesting and useful to assemble such a machine together. Passers-by homemade will cause a lot of delight. So, we begin to manufacture.
Materials and tools used by the author:
Material List:
- wooden beam;
- boards;
- fixing corners;
- wheels from children's bicycles or the like;
- two old scooters;
- wheels from carts, skateboards or the like;
- aluminum corner;
- door hinges (stronger);
- cables from a bicycle;
- bolts, nuts, washers, screws and more.
Tool List:
- ;
- drill;
- ;
- spanners;
- screwdrivers.
If desired, we use paint, LEDs, etc. for detailing the machine.
Vehicle manufacturing process:
Step one. How is everything arranged?
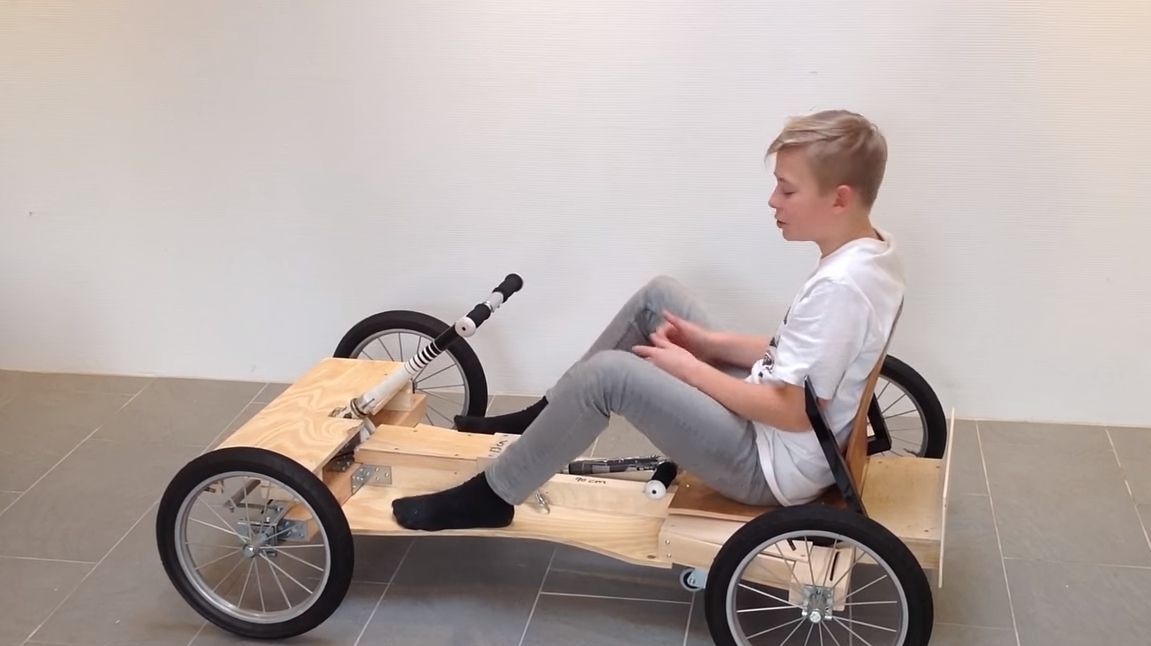
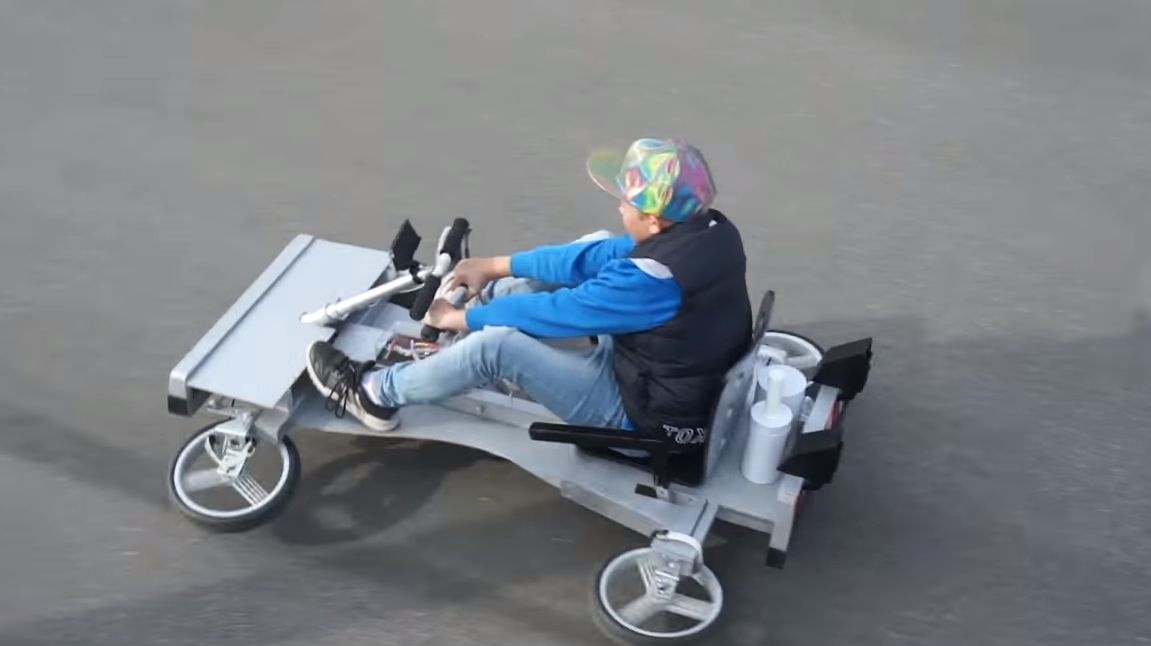
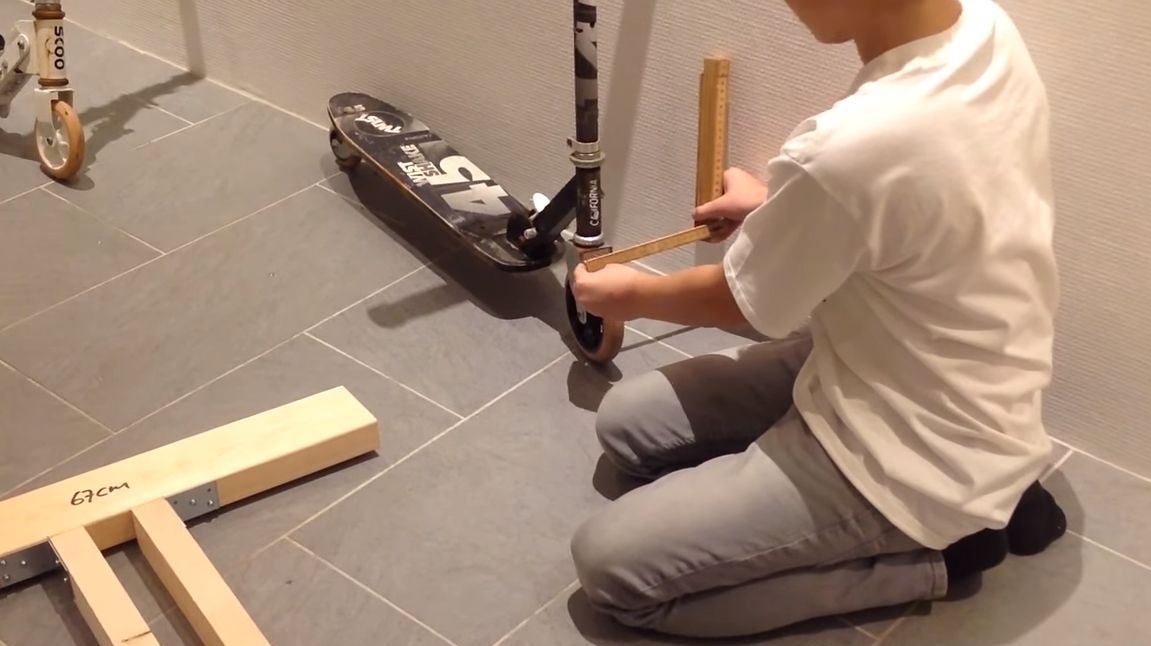
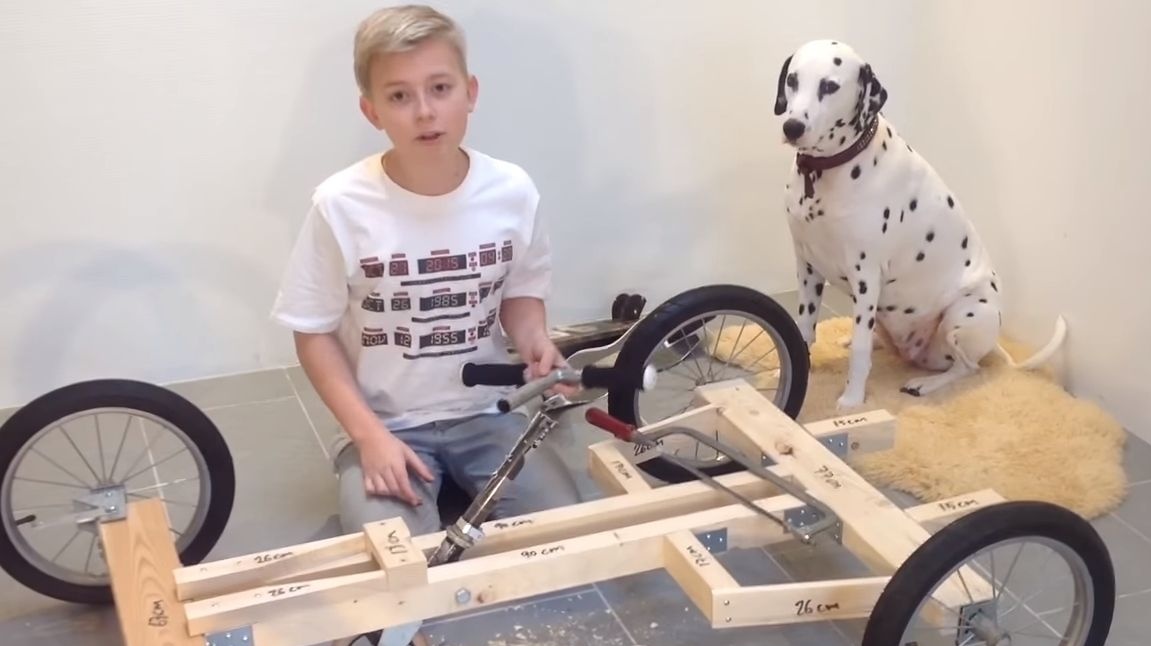
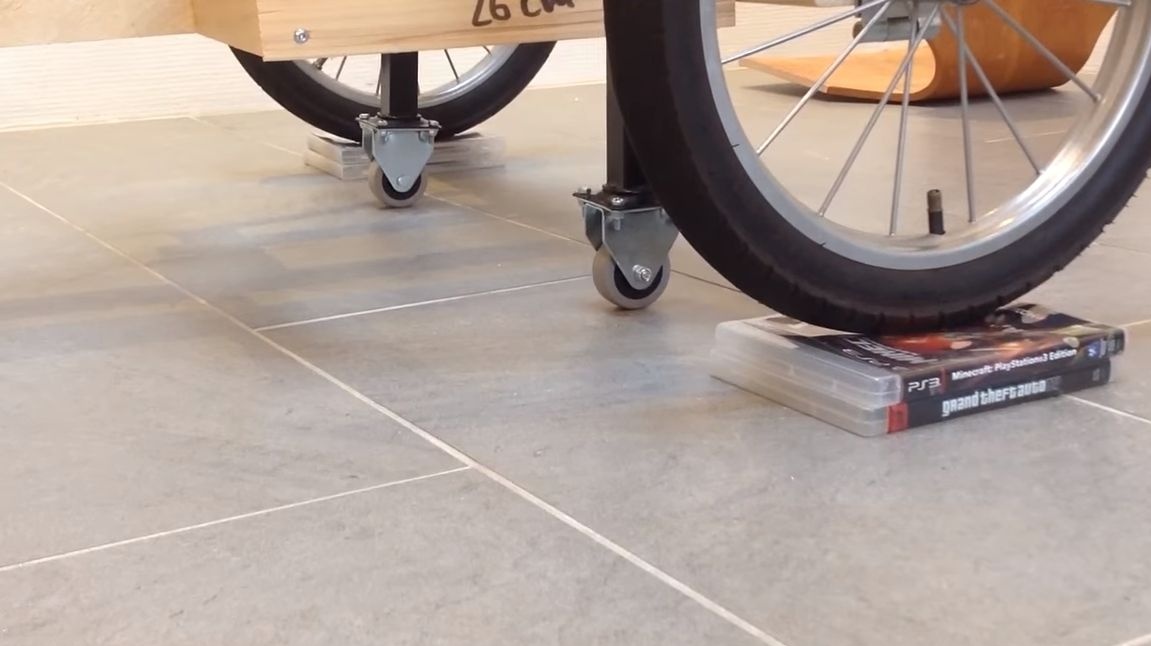
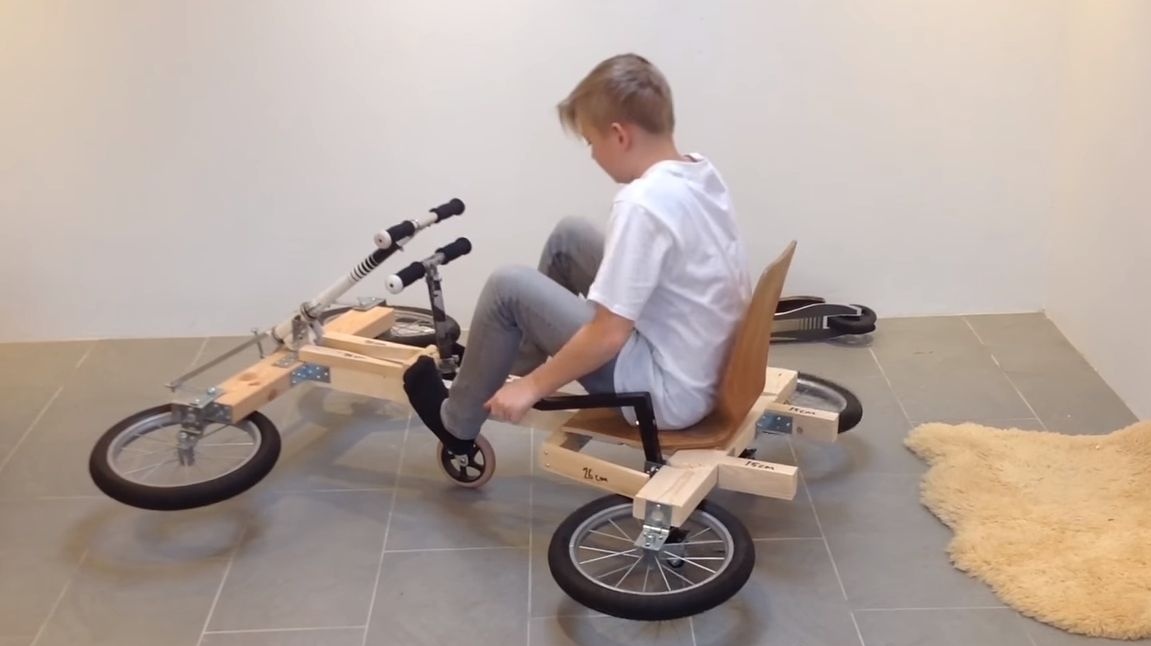
The principle of operation is very simple. The main wheels are fixed to the frame through loops, as a result, when the frame is raised up, the wheels automatically fold. You can return them to their original position using the cables that are connected to each wheel. When the car "flies", it actually continues to drive on secret wheels. Then the author needed wheels from a skateboard. And up the body rises with human power thanks to several levers.
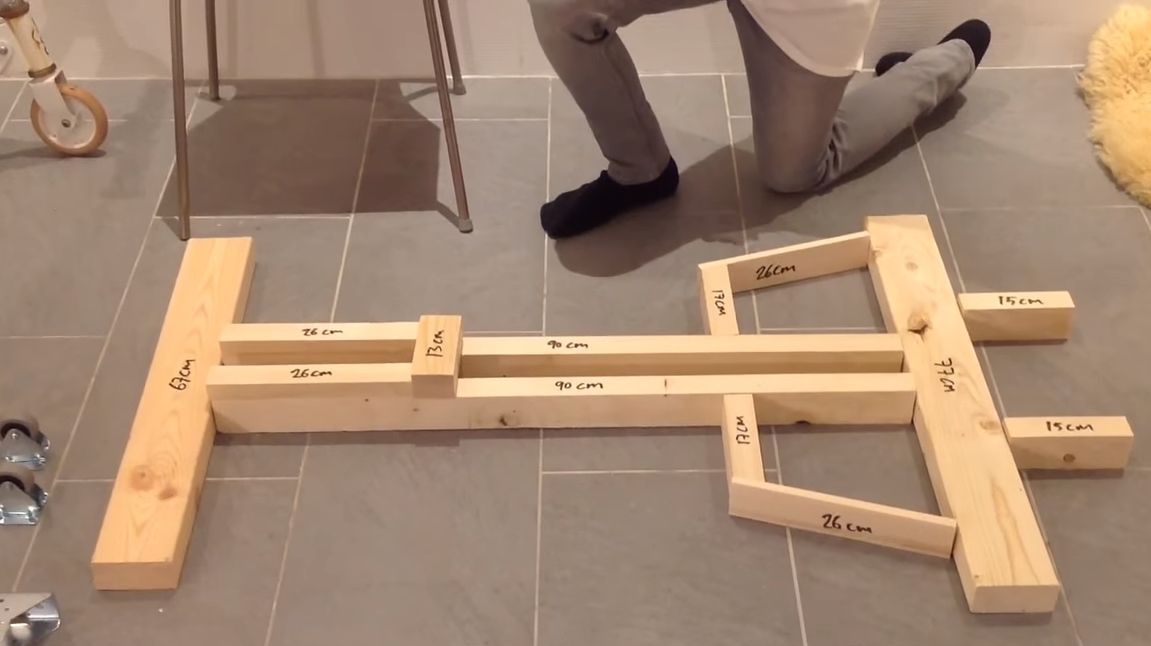
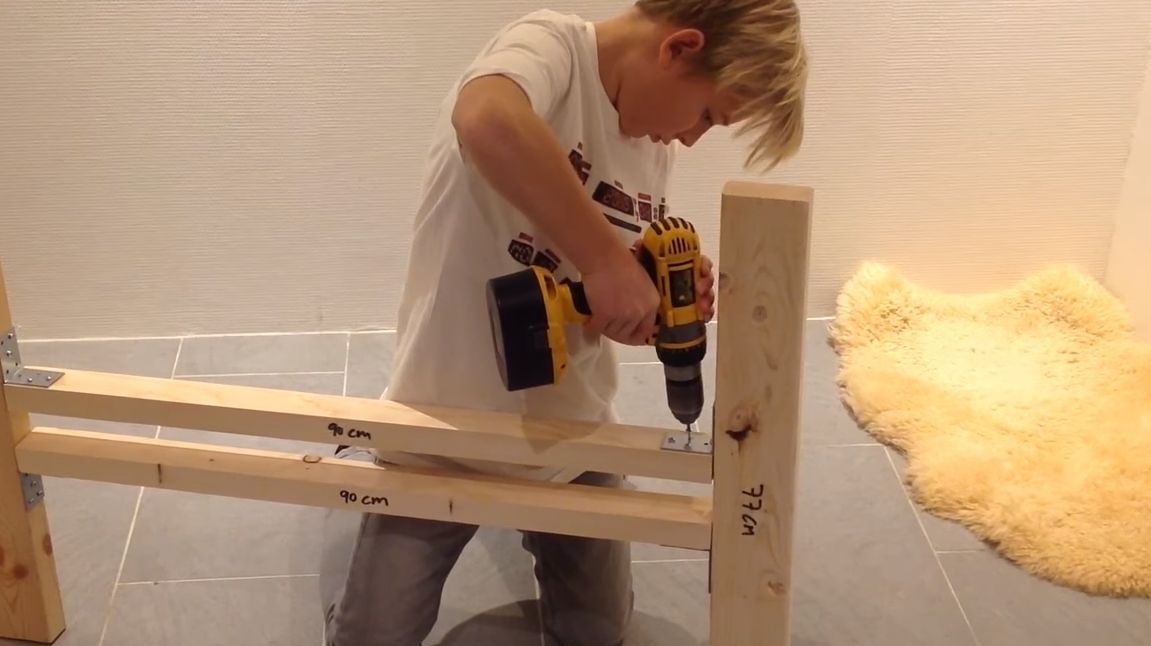
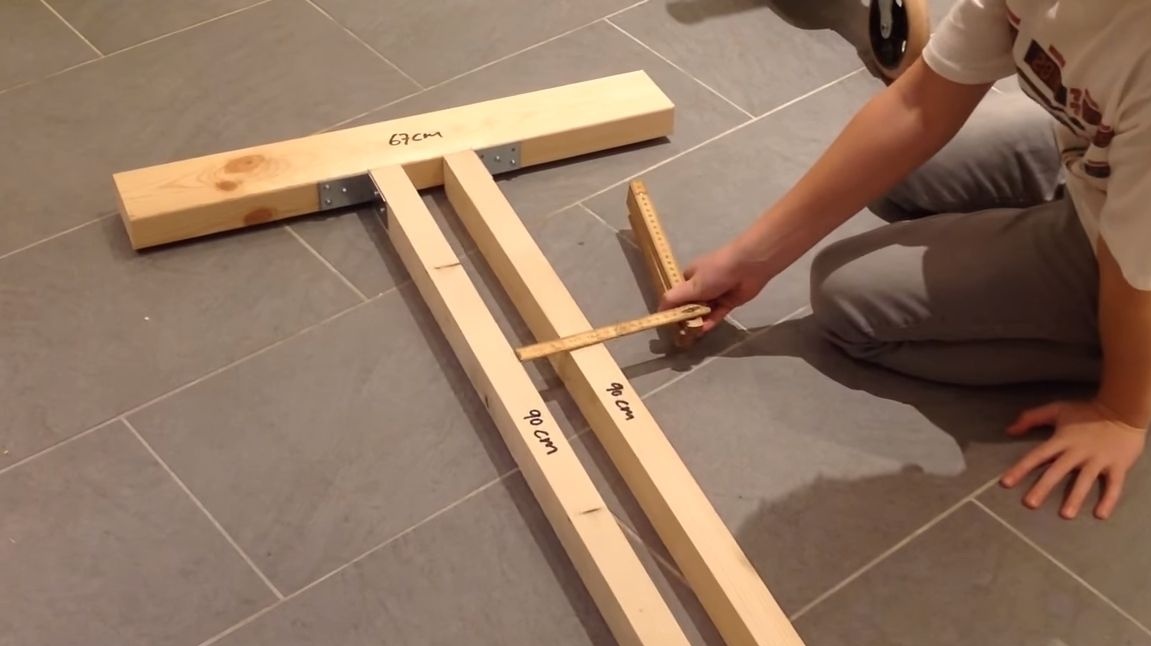
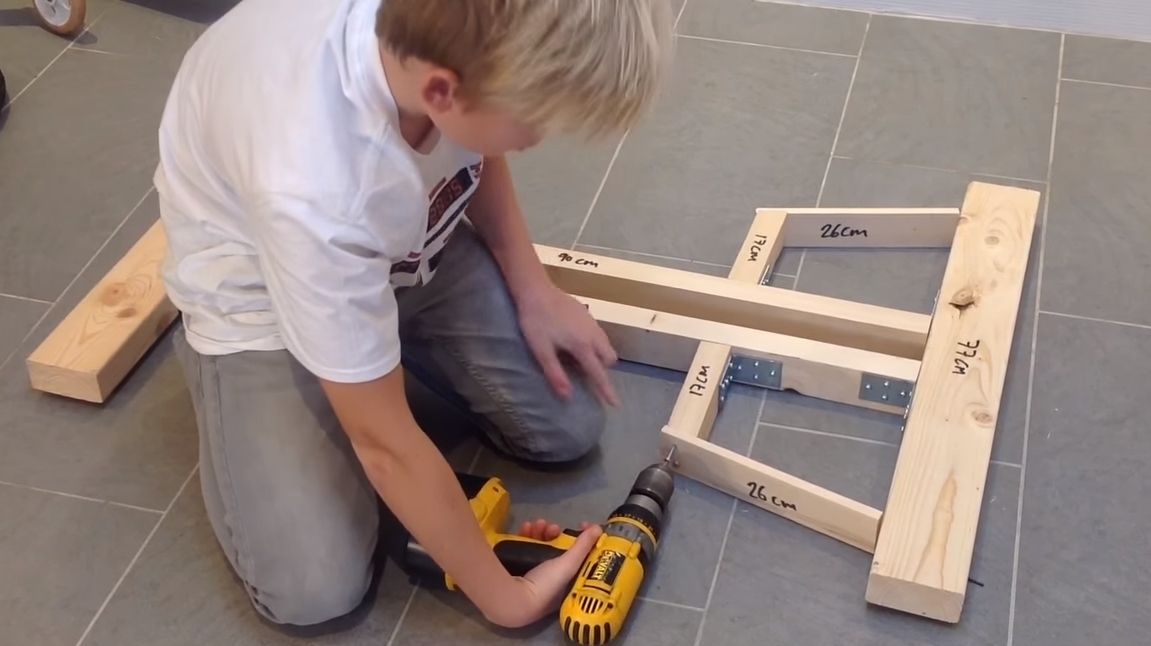
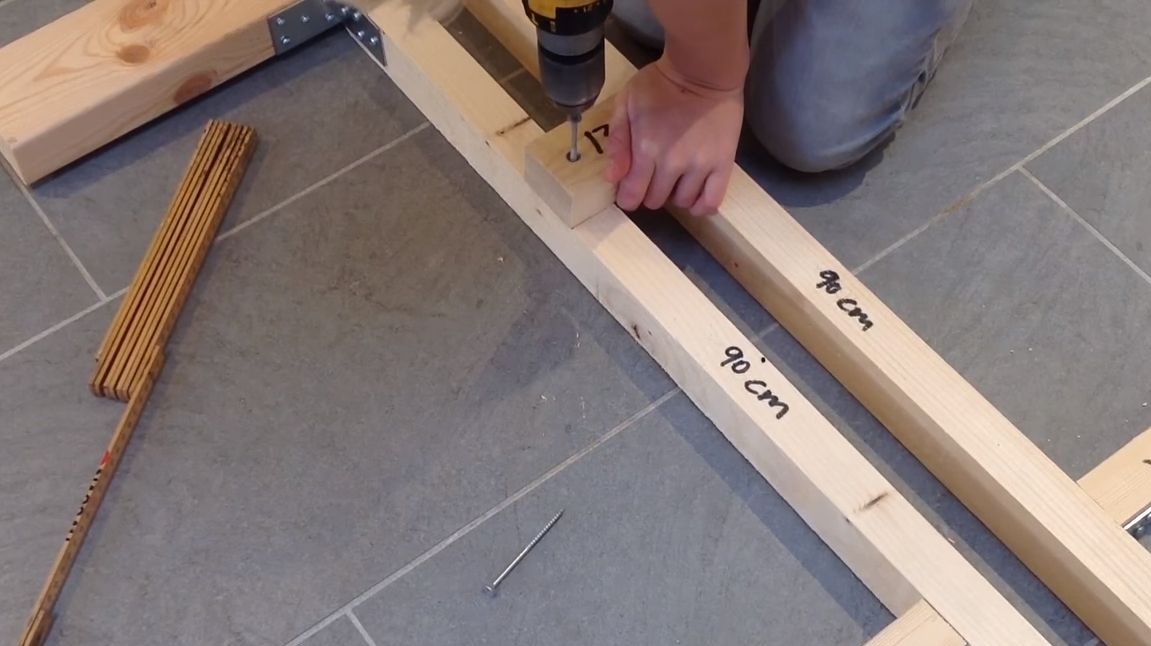
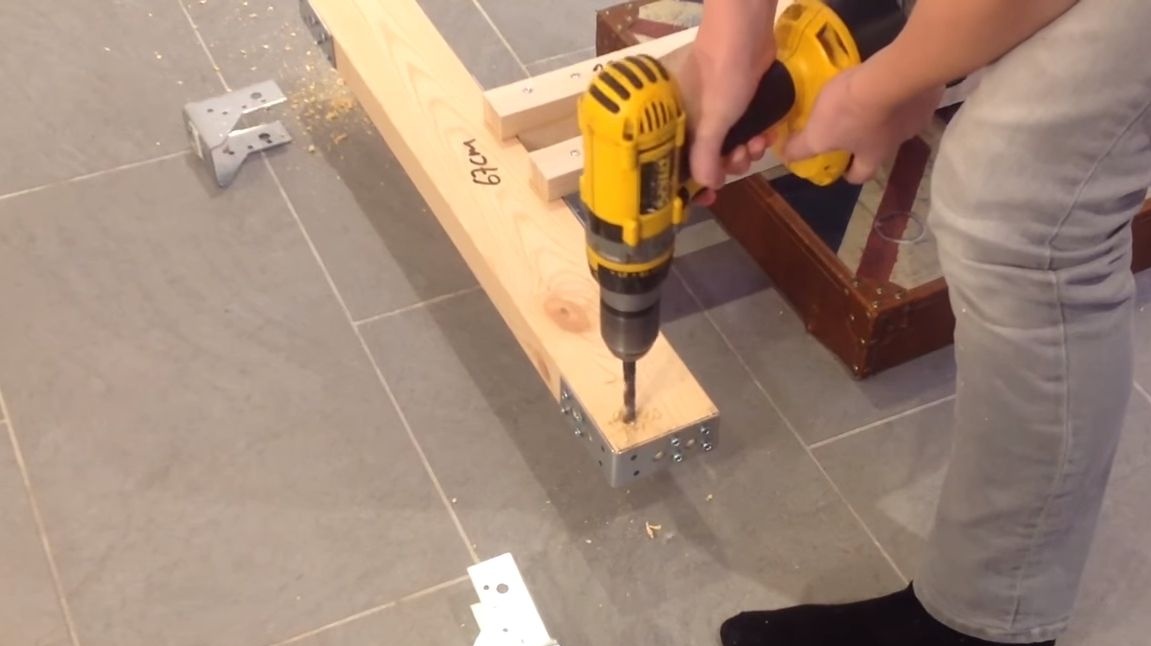
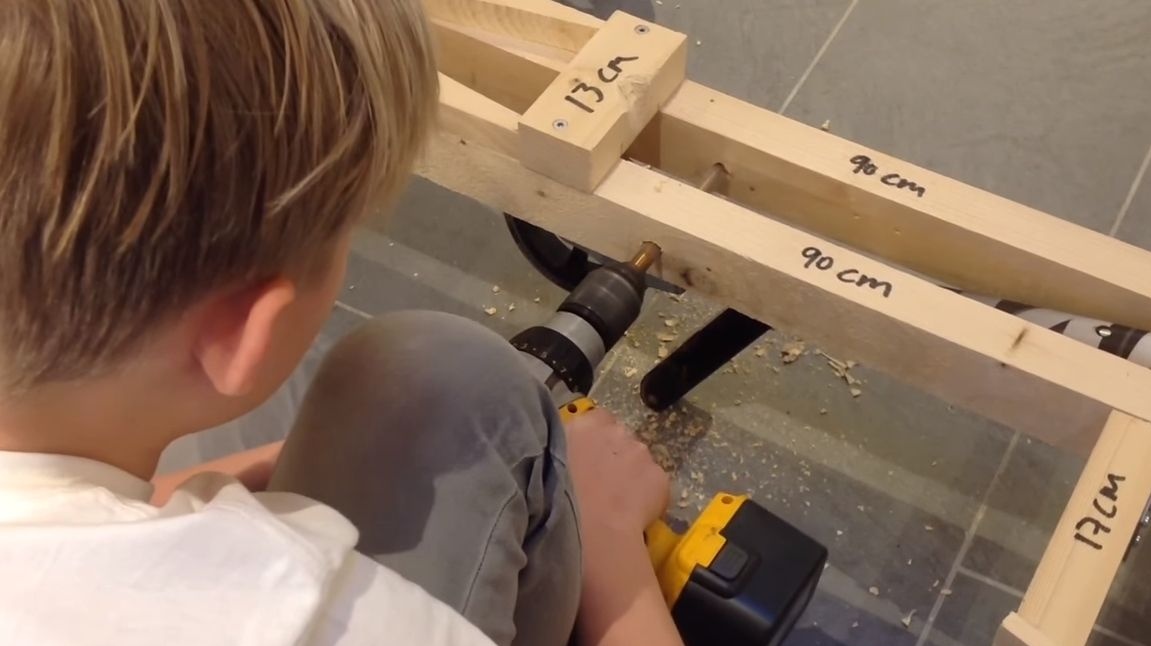
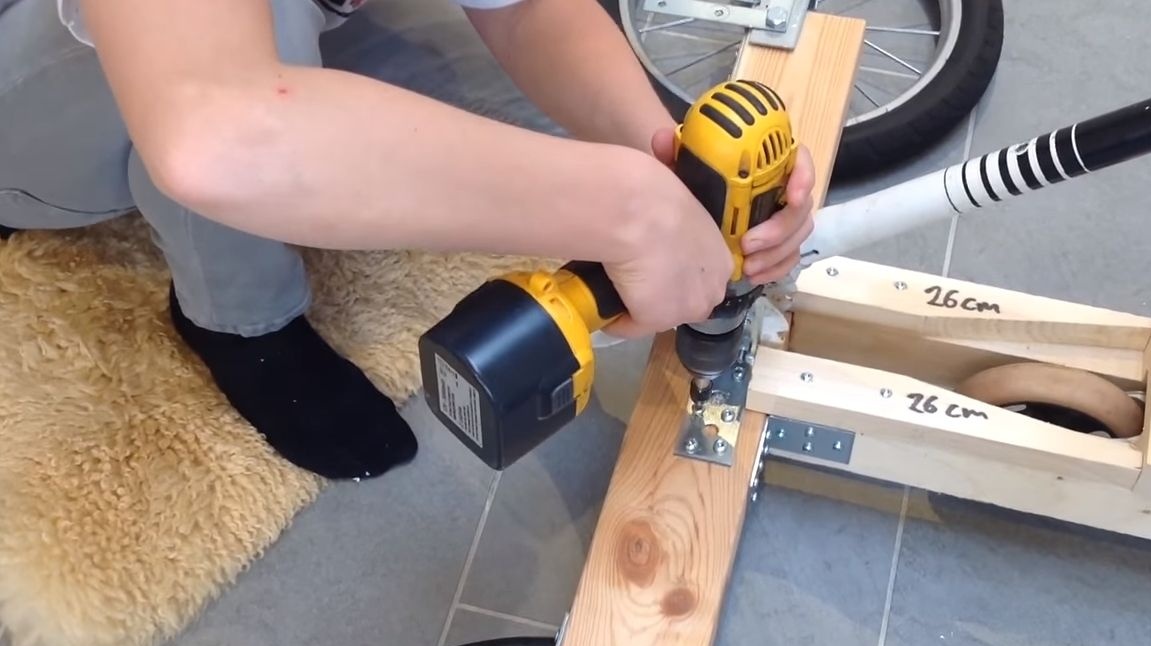
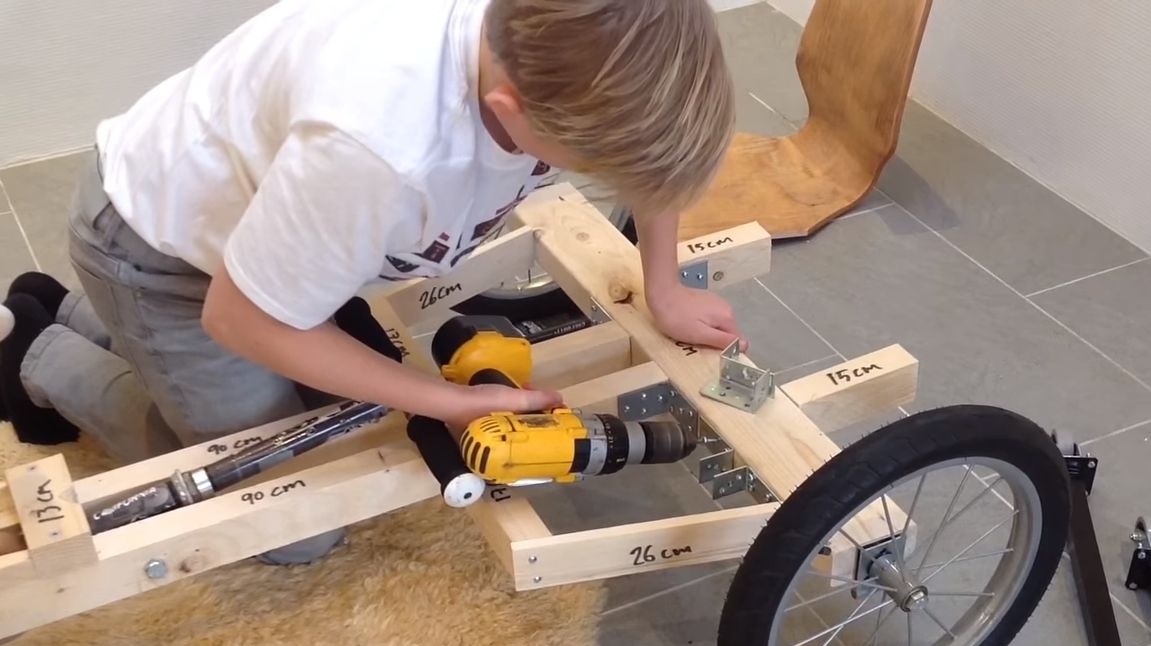
Step Two Assemble the frame
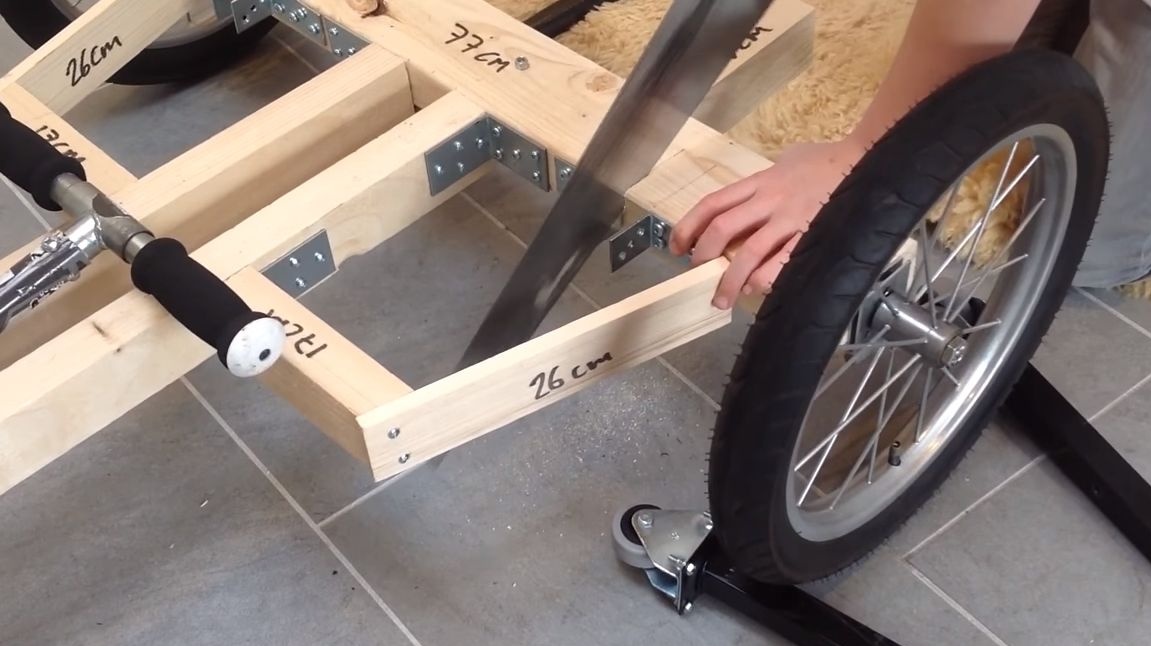
The frame is very simple, it is made of timber. Cut the desired workpieces, and then assemble the frame using self-tapping screws. As well as steel corners. Do not spare the screws, the frame must be strong, the safety of the child will depend on this!
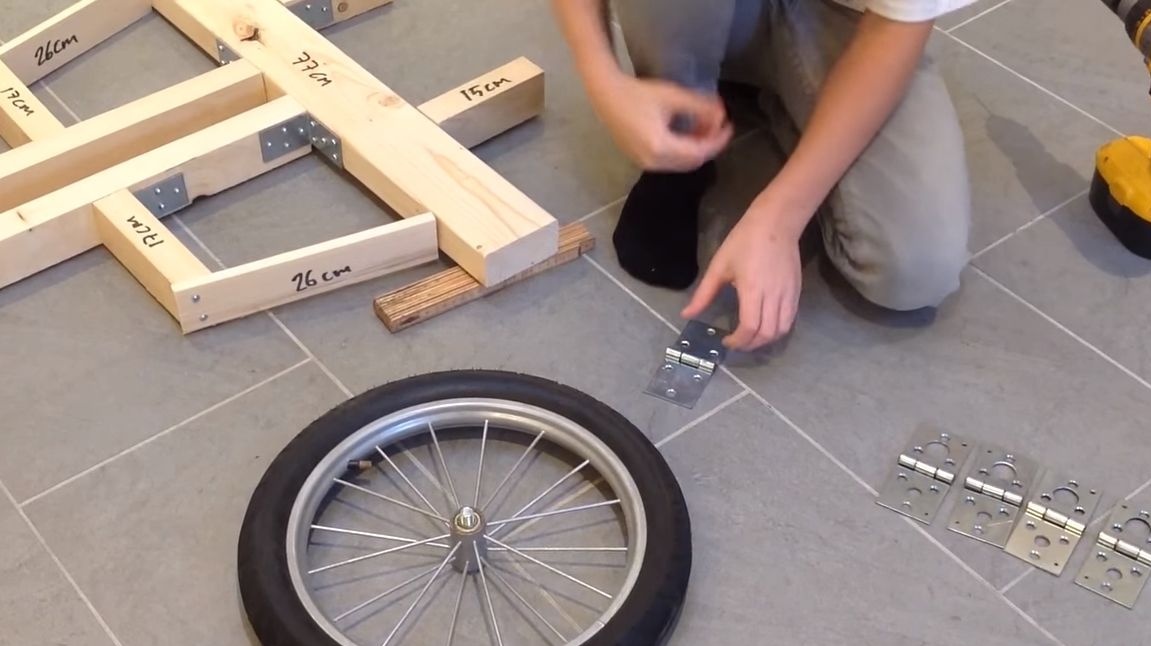
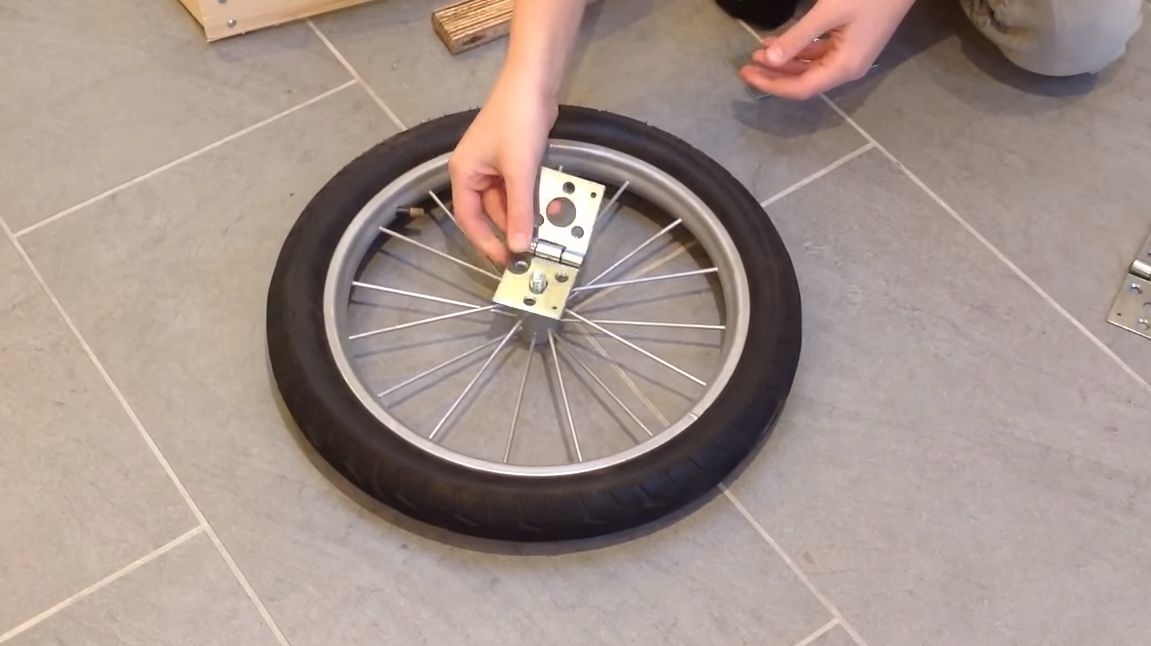
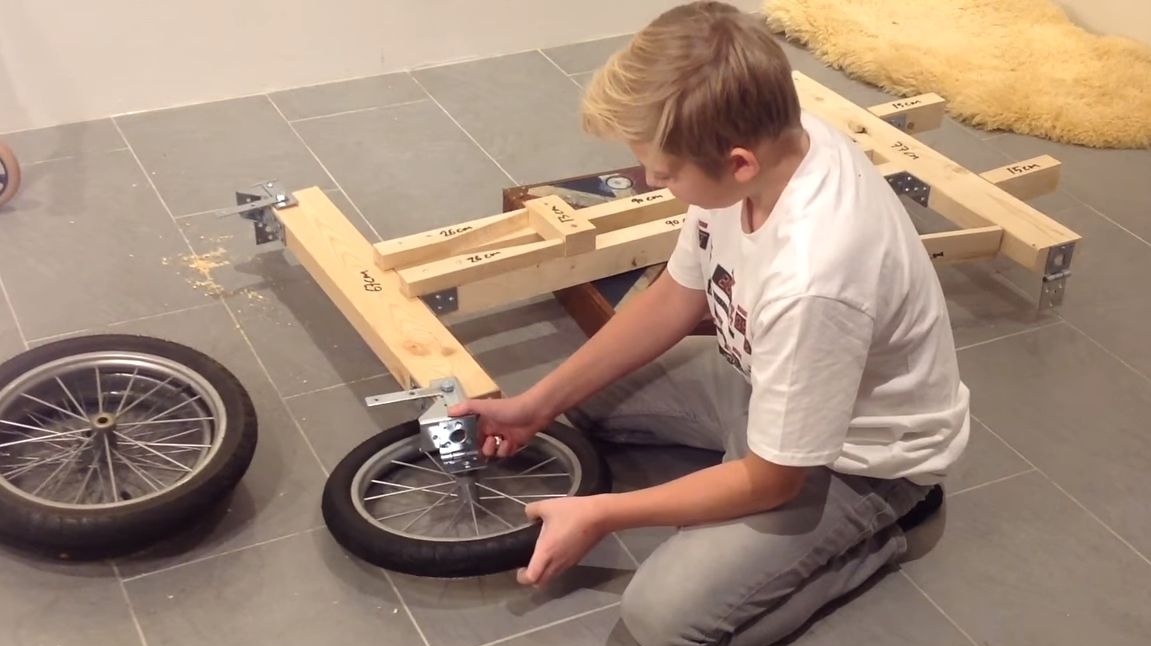
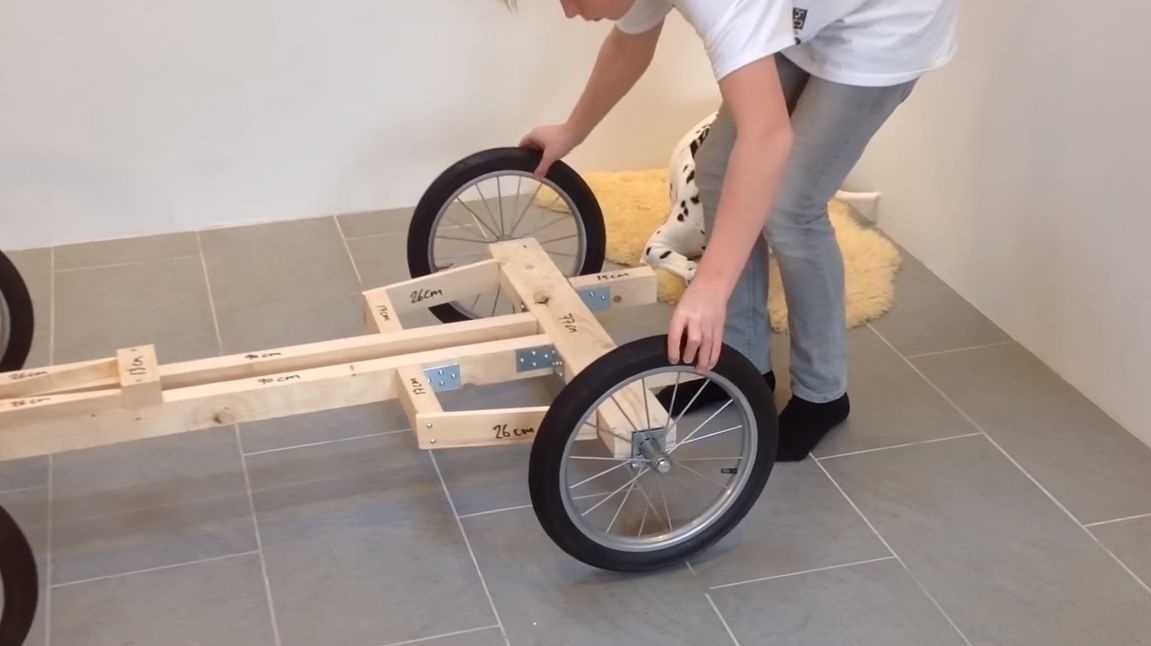
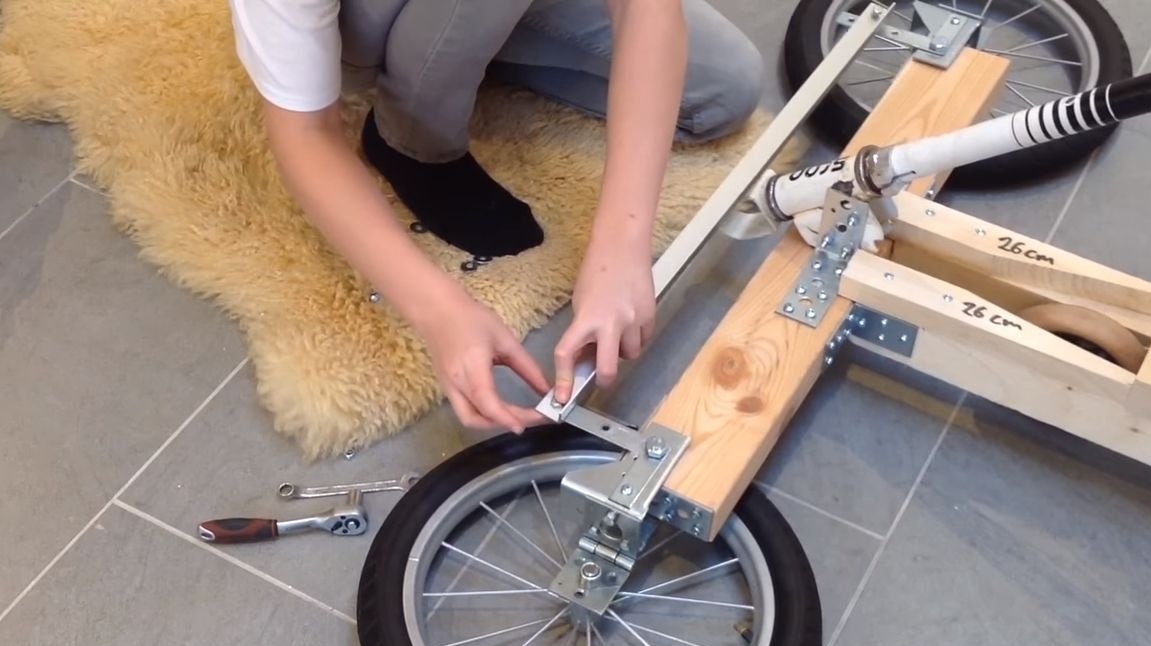
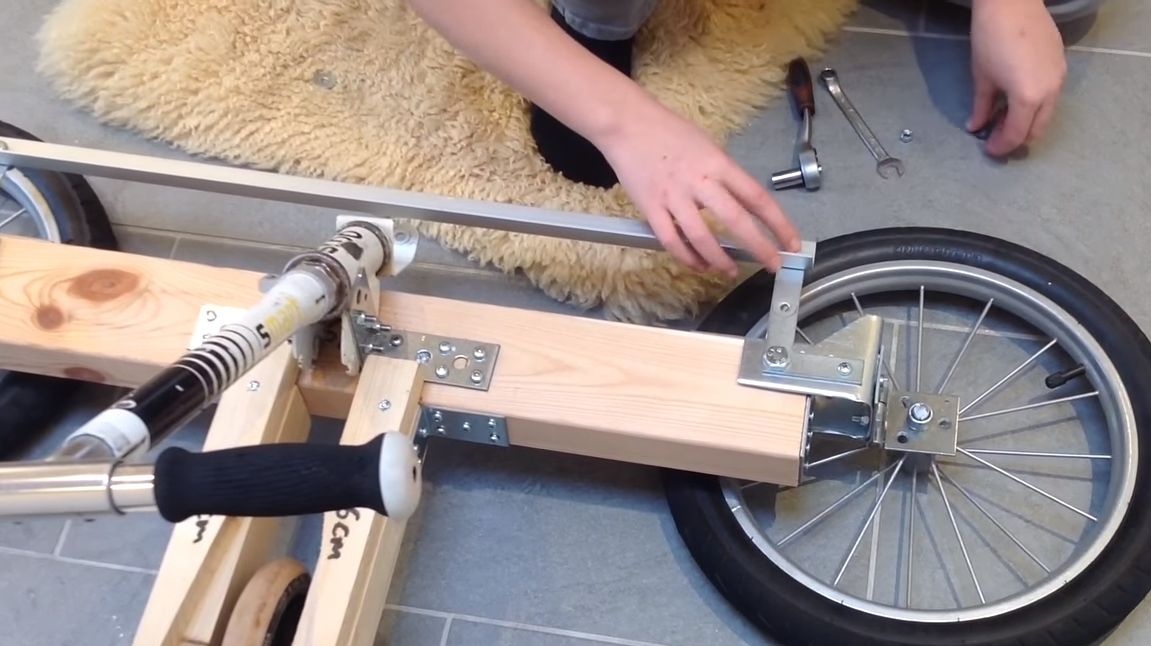
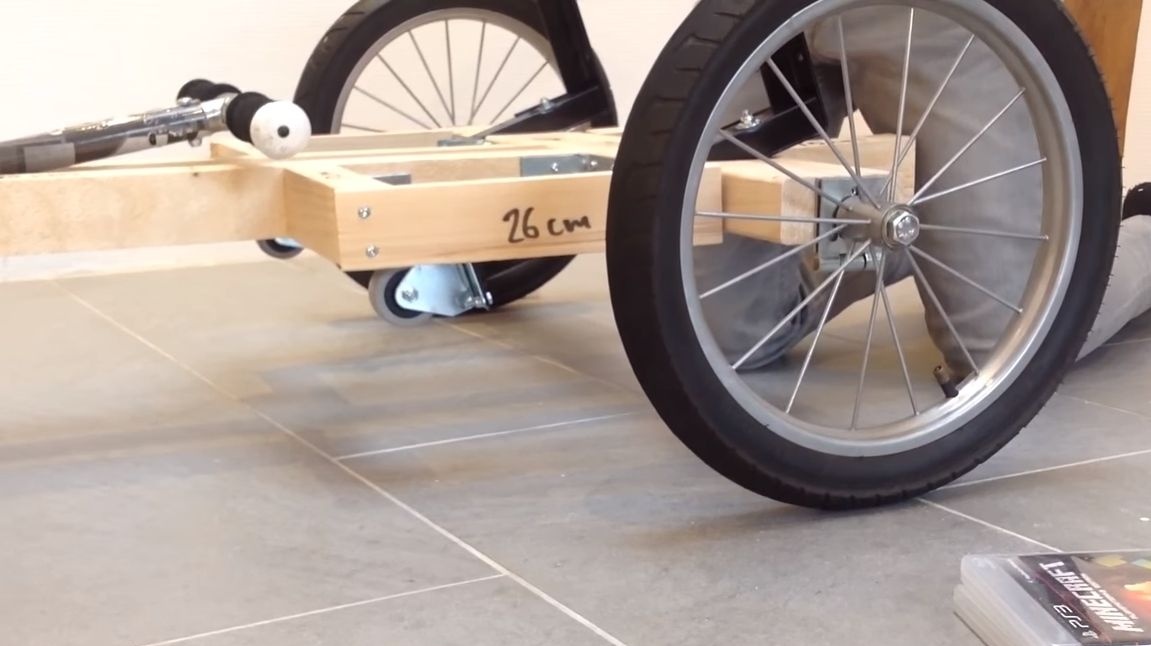
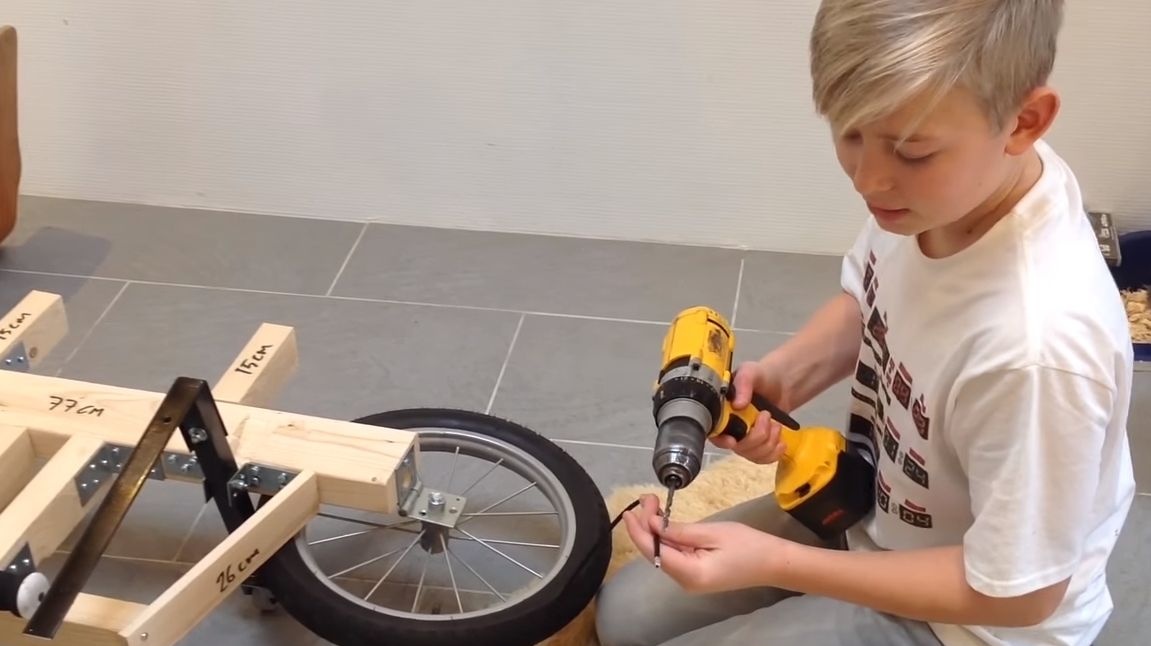
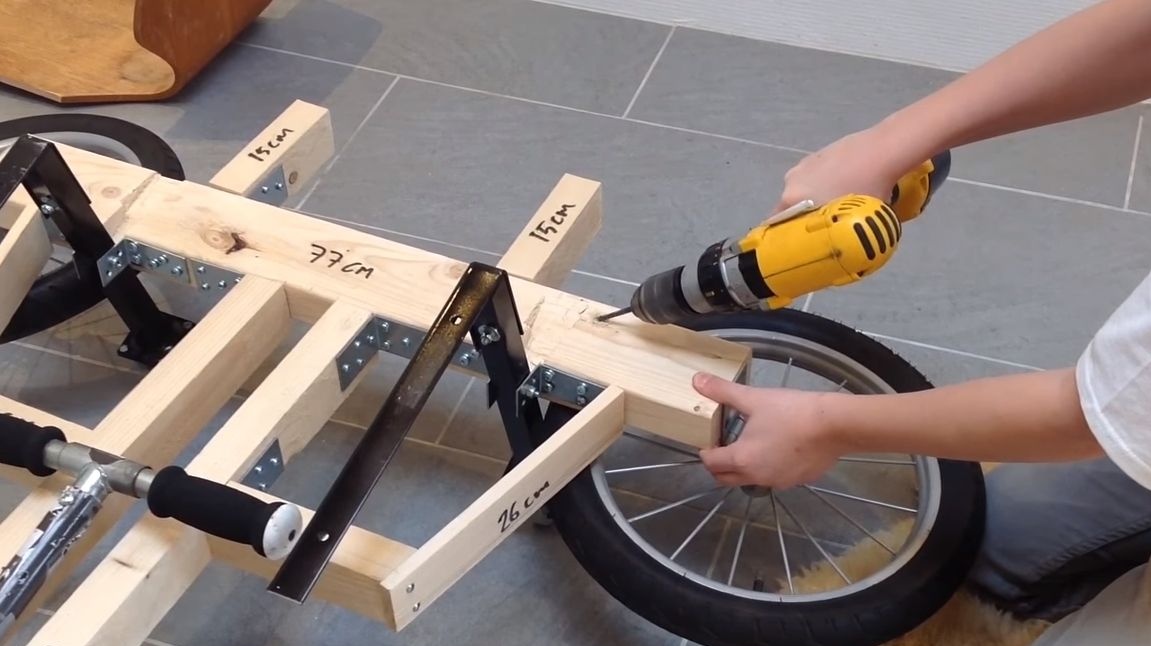
Step Three Set the wheels
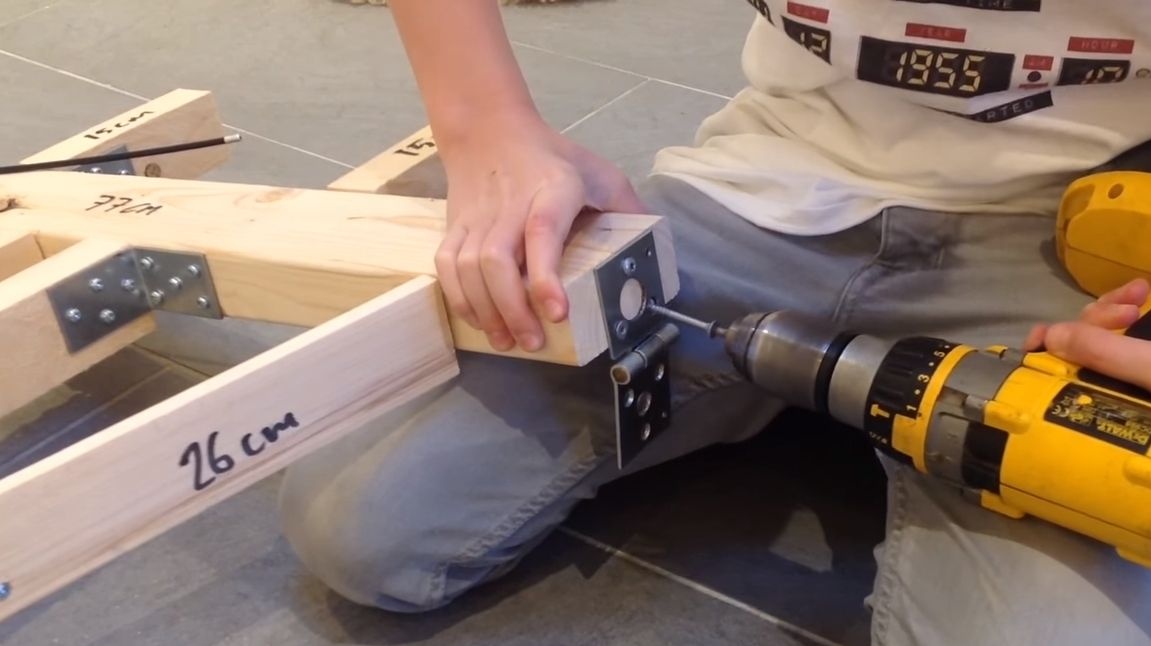
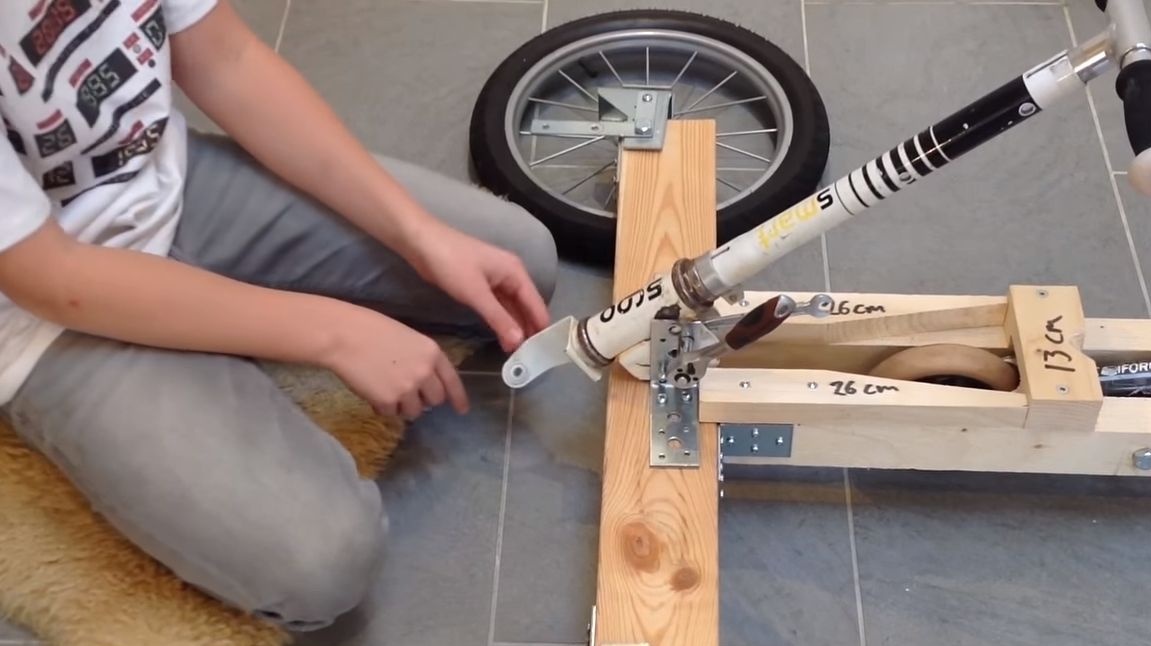
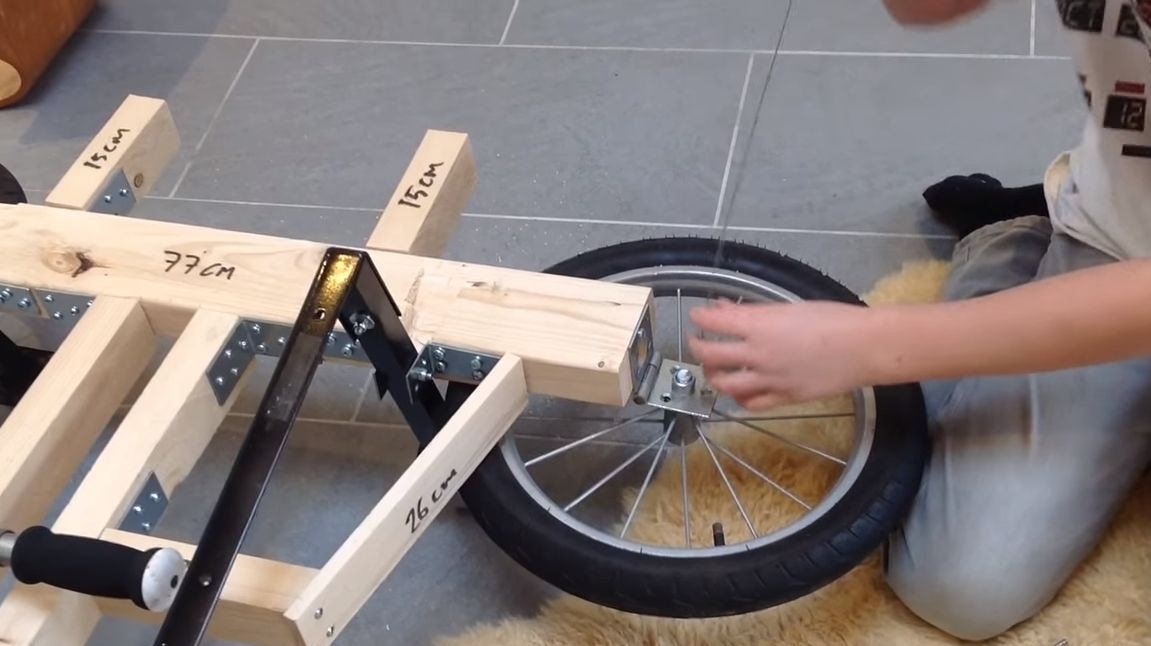
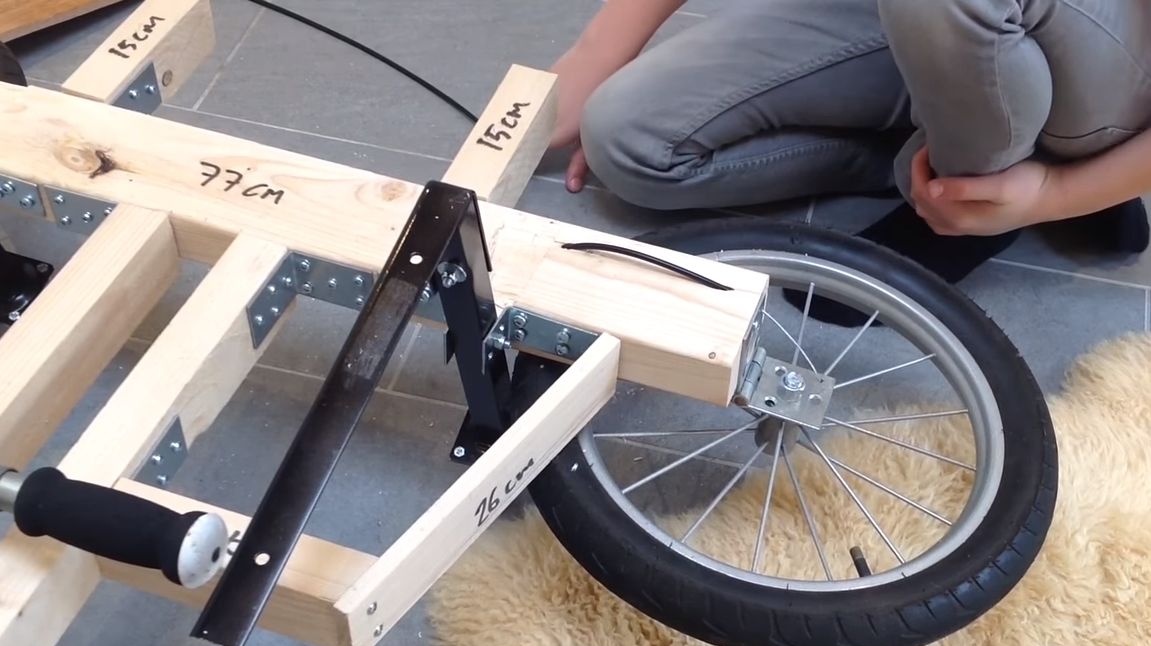
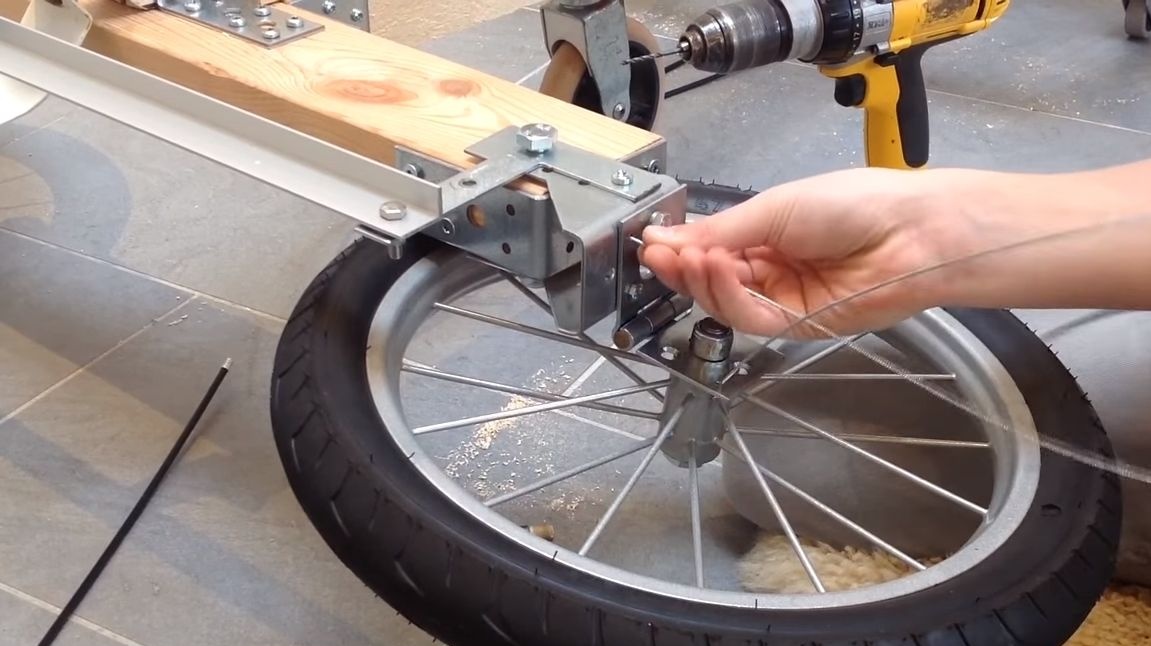
To install the wheels you will need 4 strong door hinges. Fasten them to the frame with good screws, and then fasten the wheels to the hinges. As a result, when lifting the frame, they should be folded horizontally.
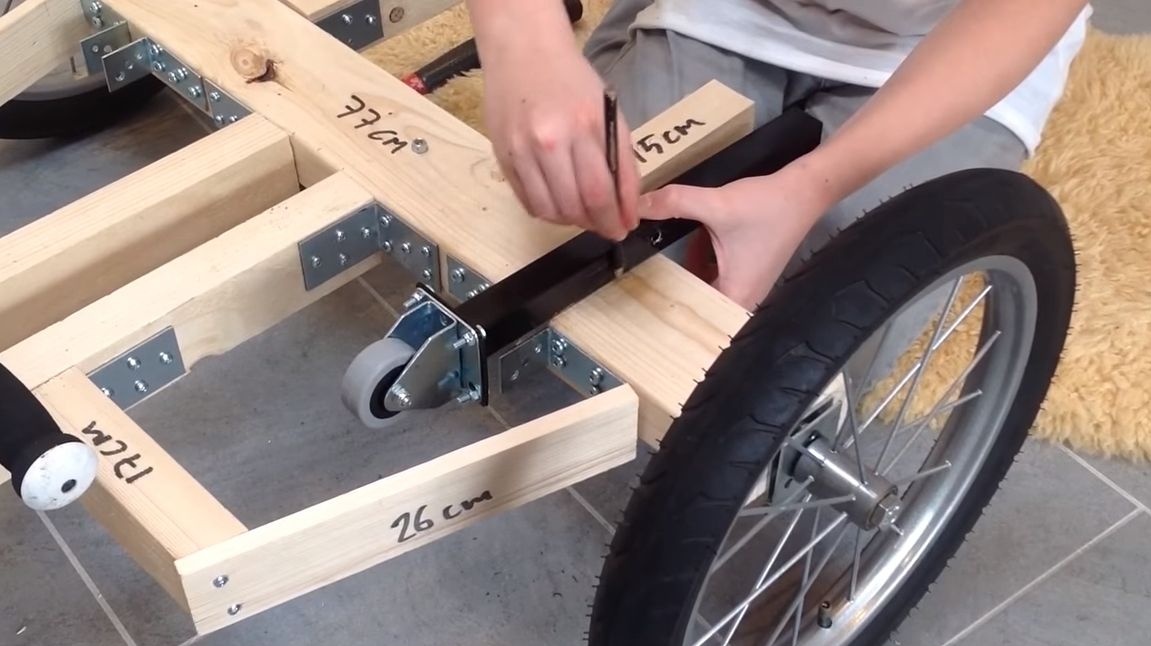
As for the front wheels, they must turn. Here you will need metal brackets or something like that. What is at stake, look at the photo. At this step, we get a frame with wheels.

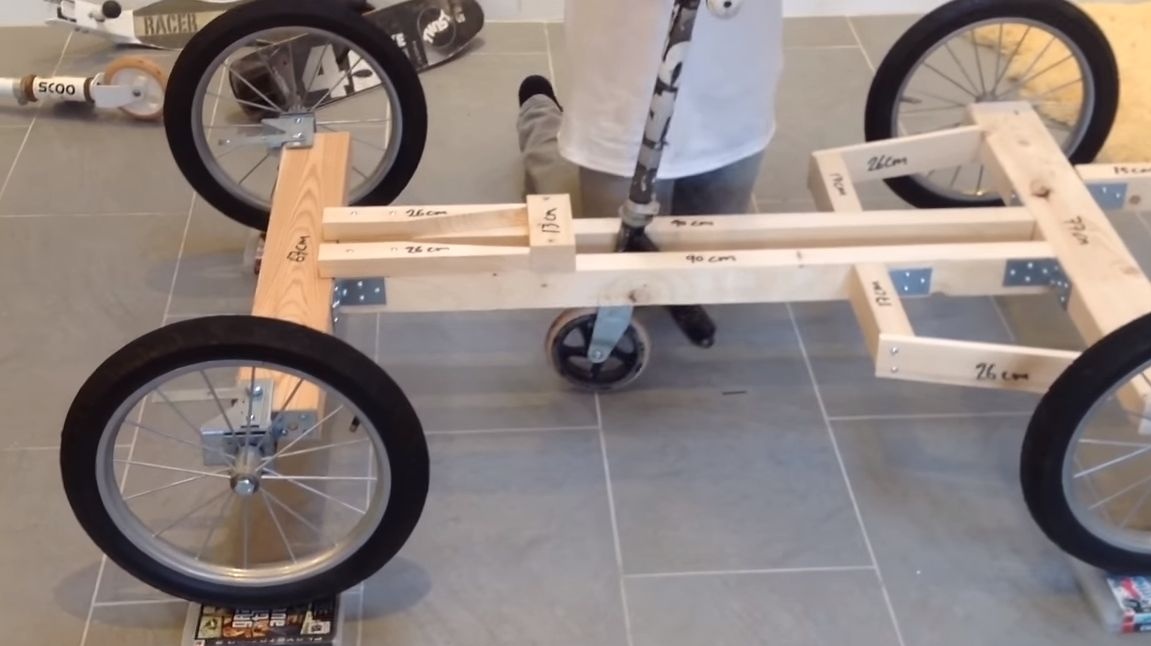
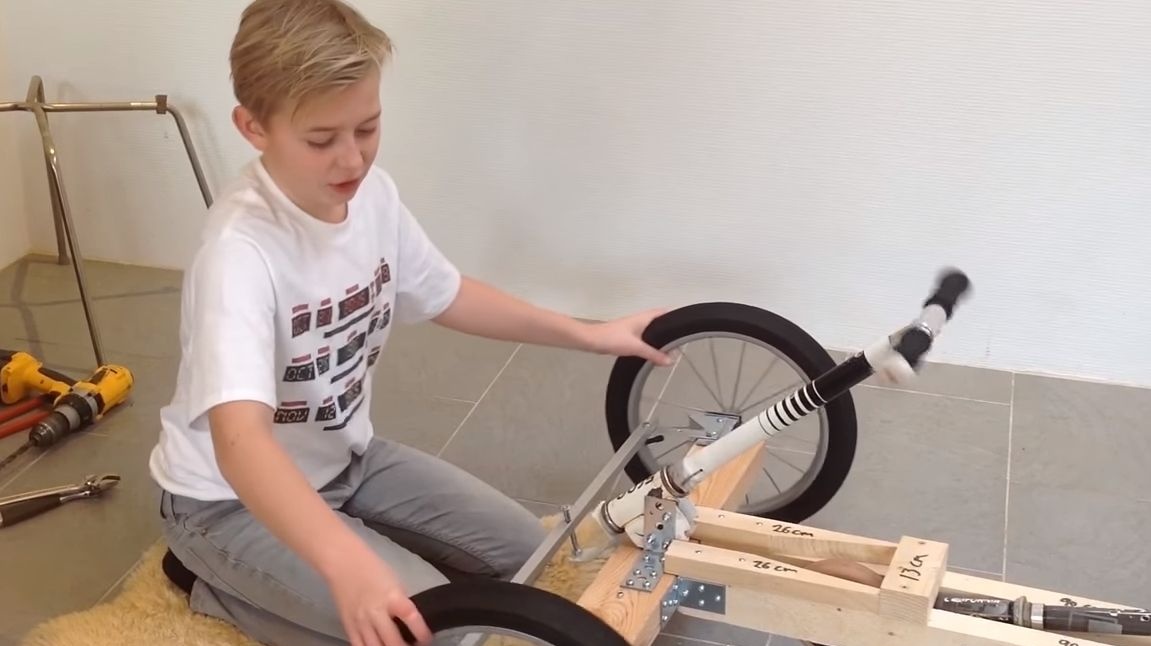
Step Four Front Secret Wheel Installation
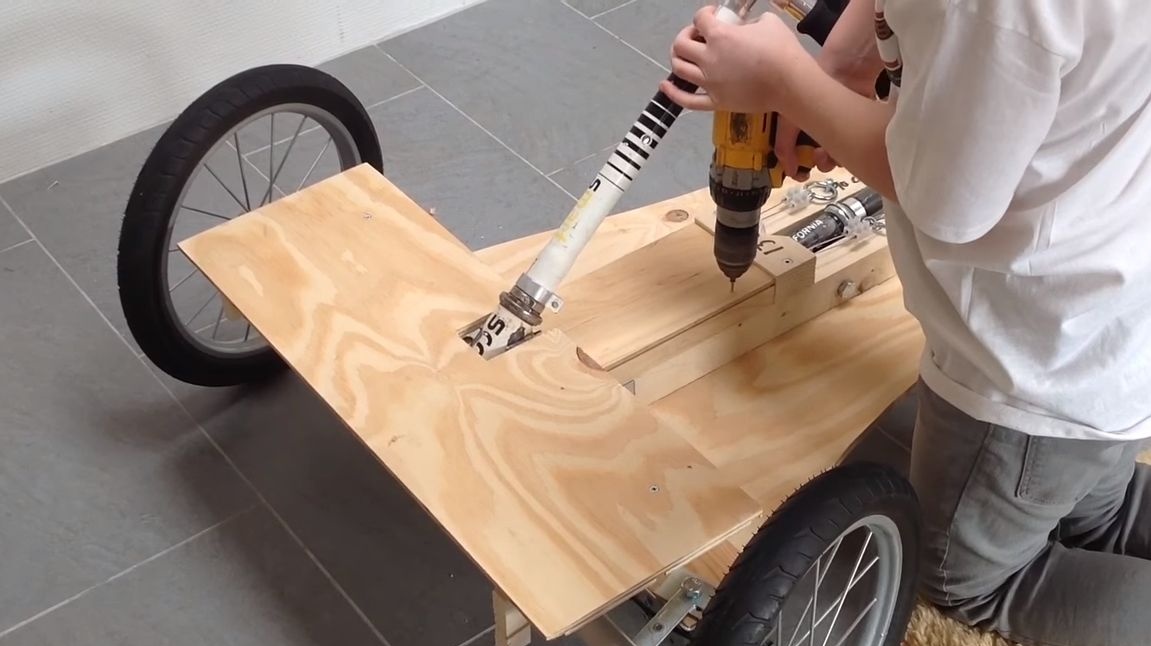
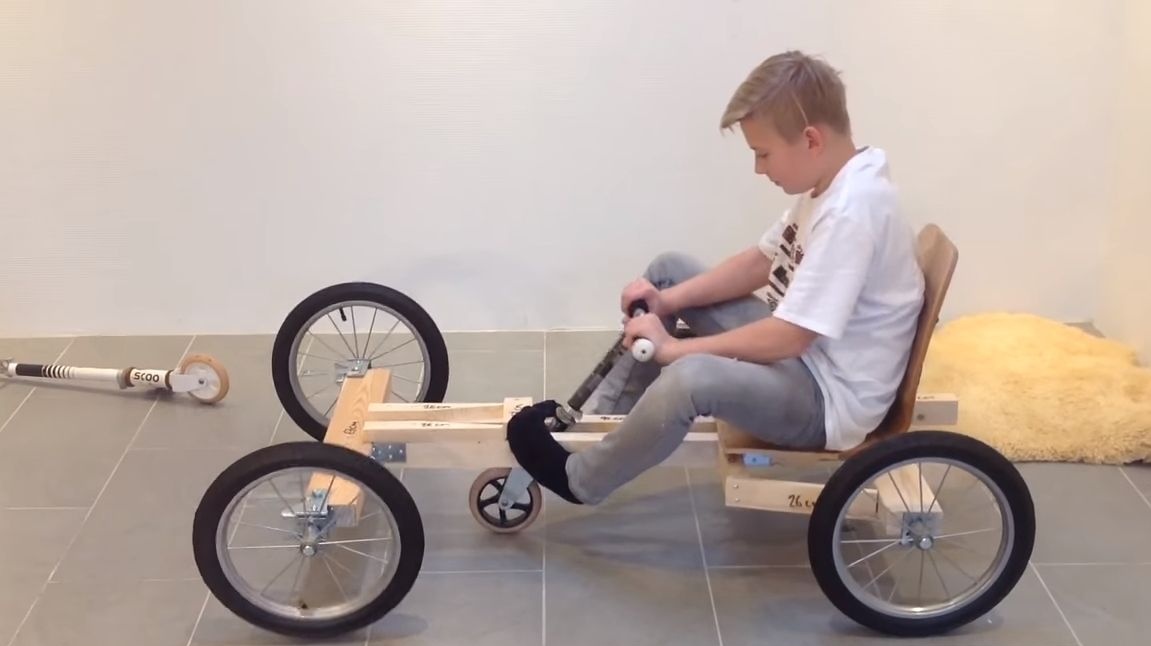
For this step, we need the steering part of the scooter. We fix it with a bolt and nut, as the author in the photo. As a result, we get a ready-made steering wheel, which will allow us to control the machine when it "soars". To raise the frame and “fly up”, the steering wheel will need to be pushed forward from itself.
Step Five Steering installation
To control the main front wheels of the map, you will need steering from another scooter. Remove the wheel from it and cut one part of the fork. We fix the steering to the frame using metal mounting angles.
After that, you can install the steering lever. Here you will need an aluminum corner or something similar. We fasten the lever to the "knuckles", and in the center, using the bolt and nut, connect it to the steering shaft. Make sure the steering is working and nothing is wedging anywhere.

Step Six We establish back persistent wheels
To make the rear thrust wheels, you will need two steel square pipes, as well as two wheels from the cart or something suitable. To install the levers, we fasten the corners to the frame, and then fasten the levers to the corners with the help of bolts. Now we attach the handles to the installed levers as the author’s. As a result, when you grab the handles and push down, the back of the frame will rise.
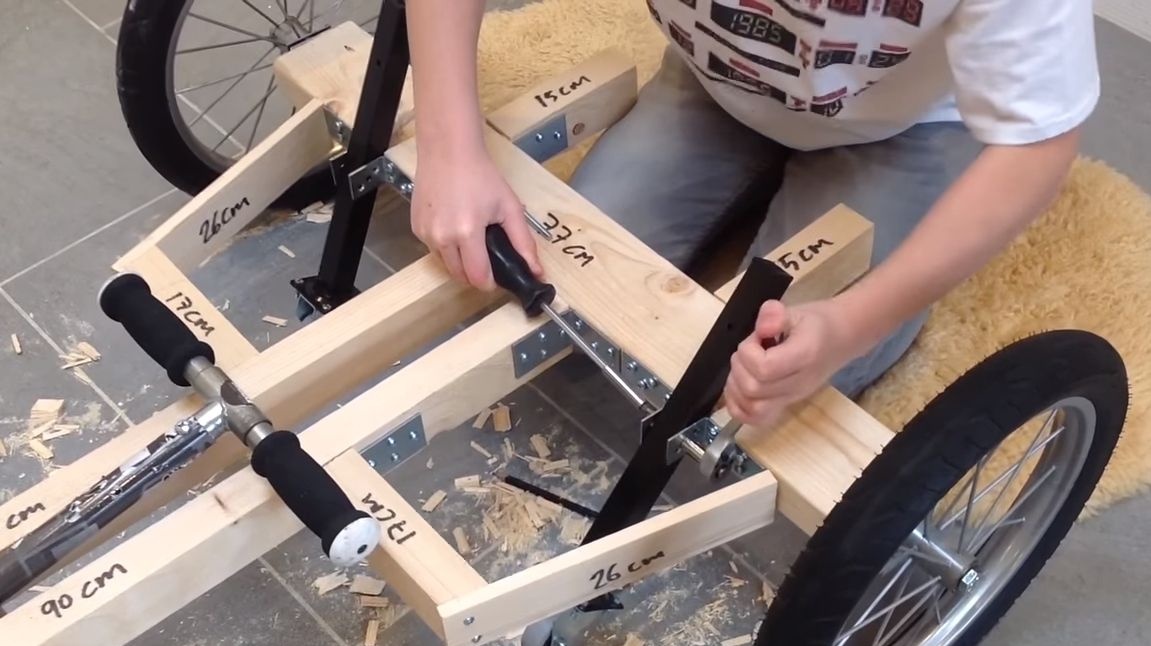
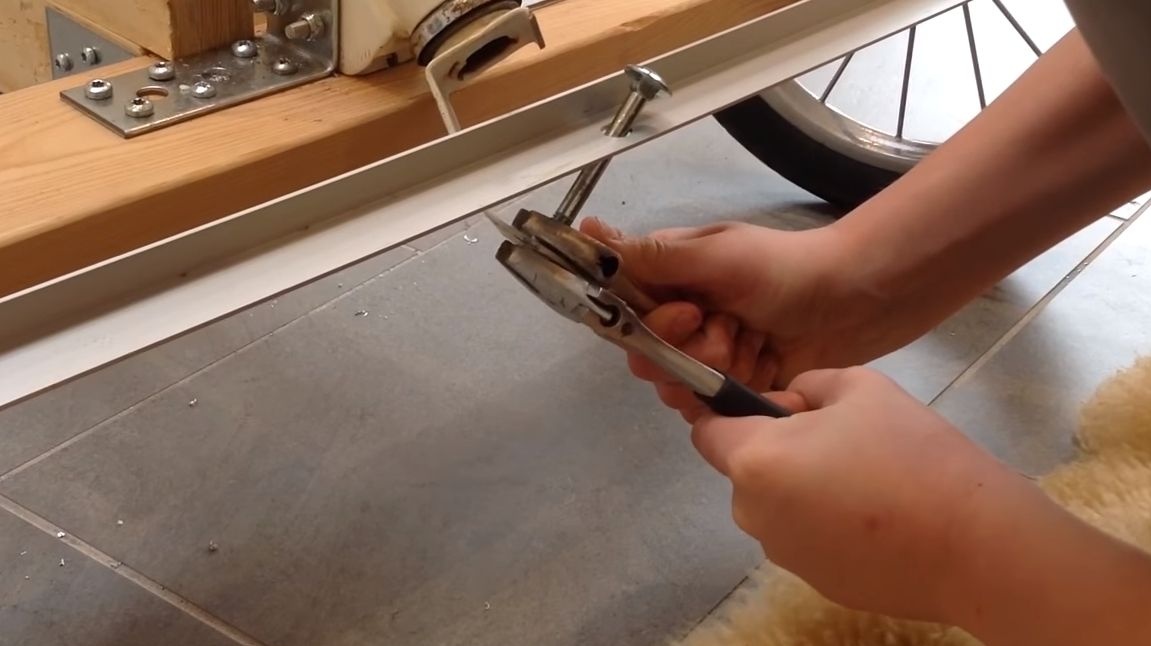
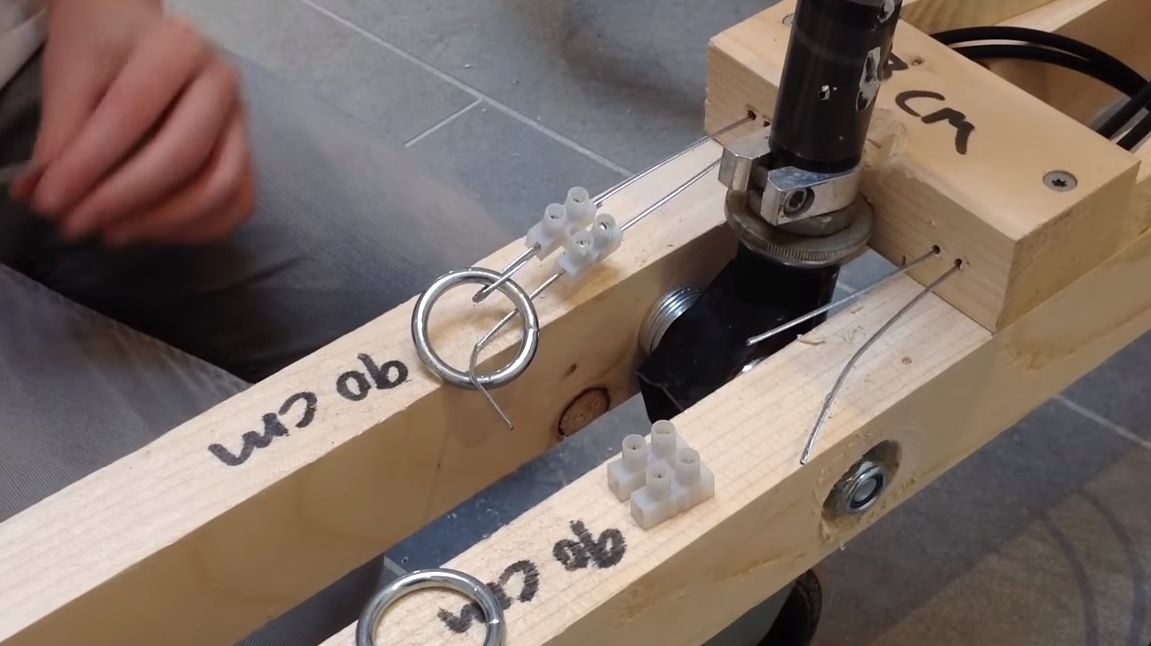
Seventh step. Installation of cables
To return the wheels to their original position and “land”, we connect the cables from the bicycle to each wheel. How exactly to draw them along the frame can be seen in the photo. We connect the cables from the rear and front wheels in pairs and install on the end of the ring, so that it is convenient to take with your hands. The author fixes the loop of the cables with screw clamps.
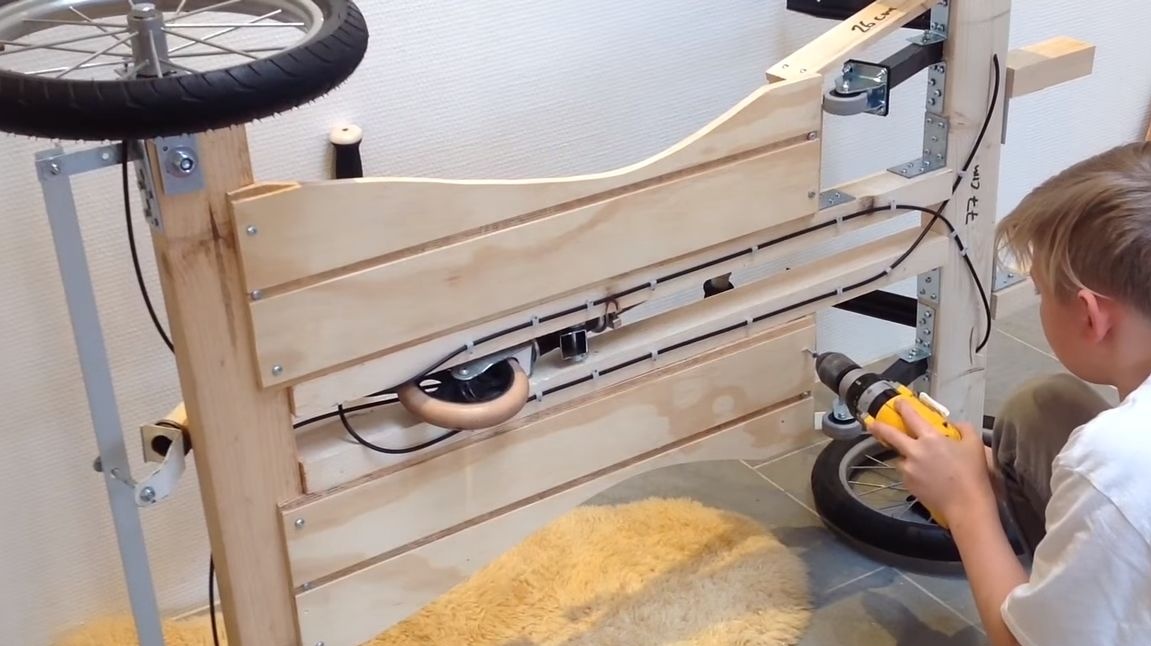
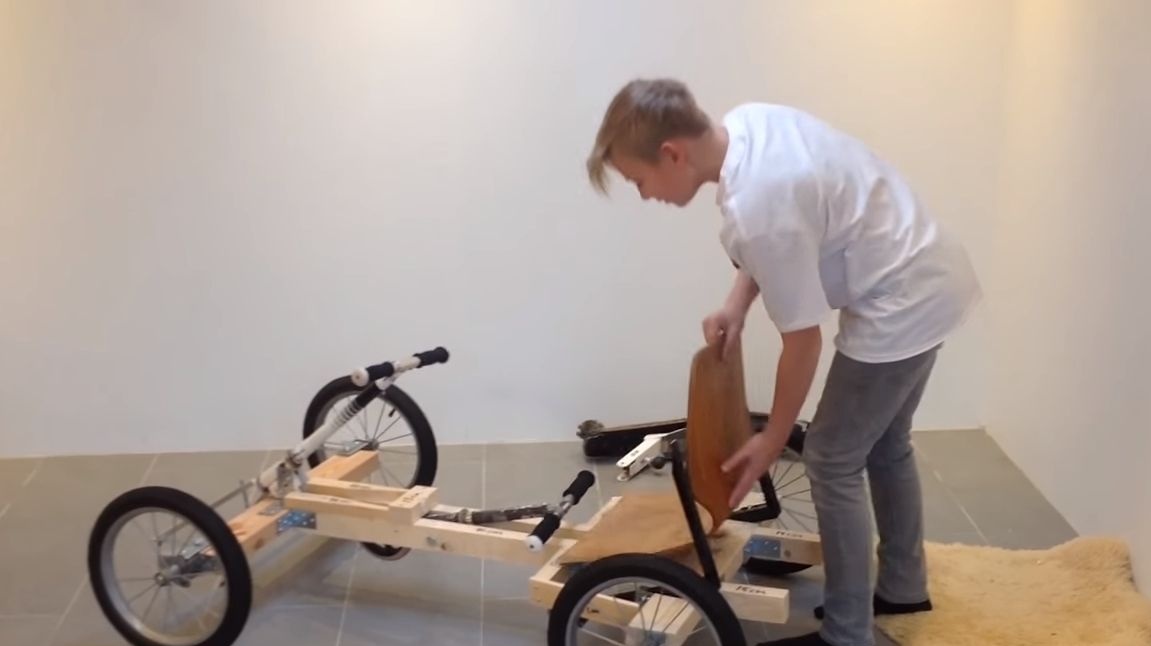
Step Eight. Finishing assembly homemade
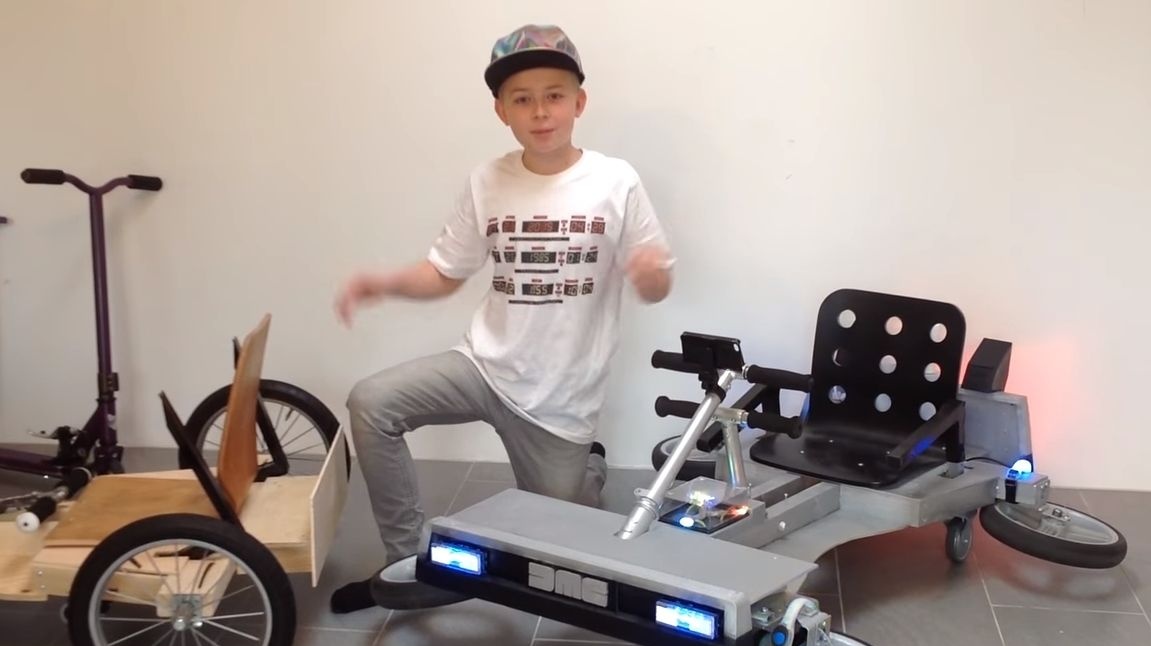
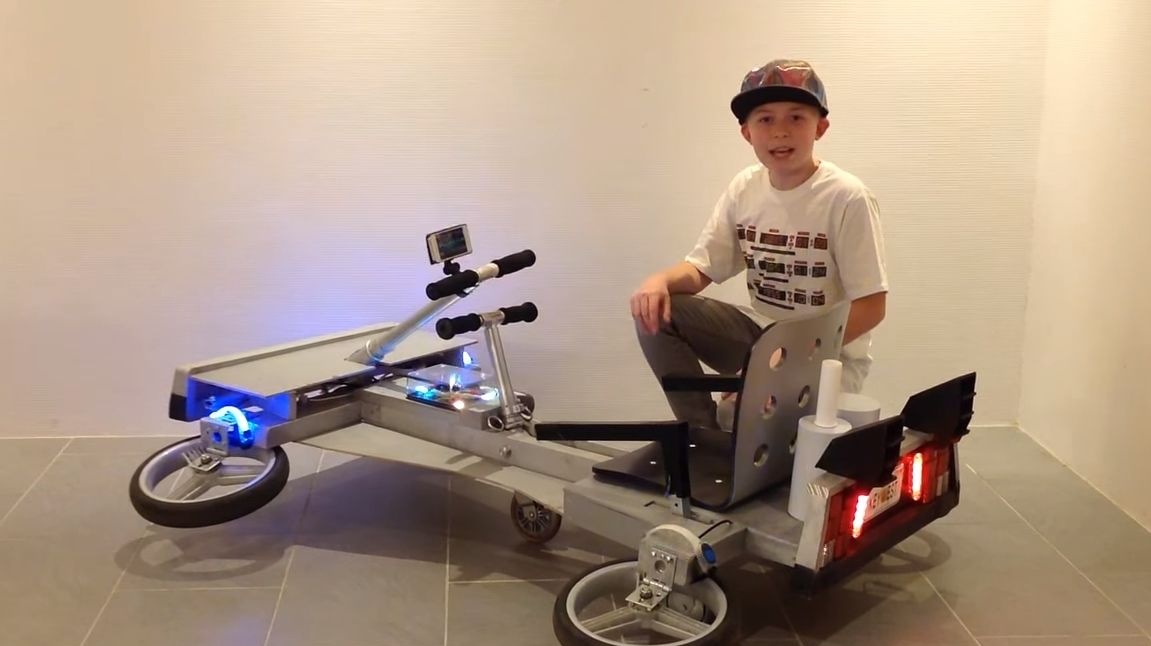
At the end, we fix the remaining parts and proceed to painting. After that, you can install various electronics, it can be various headlights, lanterns, an impromptu “flow condenser” and so on to make the car as realistic as possible. And if you try very hard, you can install a battery on the car and make the drive from the engine directly to the wheel.
That's all, I hope you liked the project. Good luck and inspiration in making homemade items!