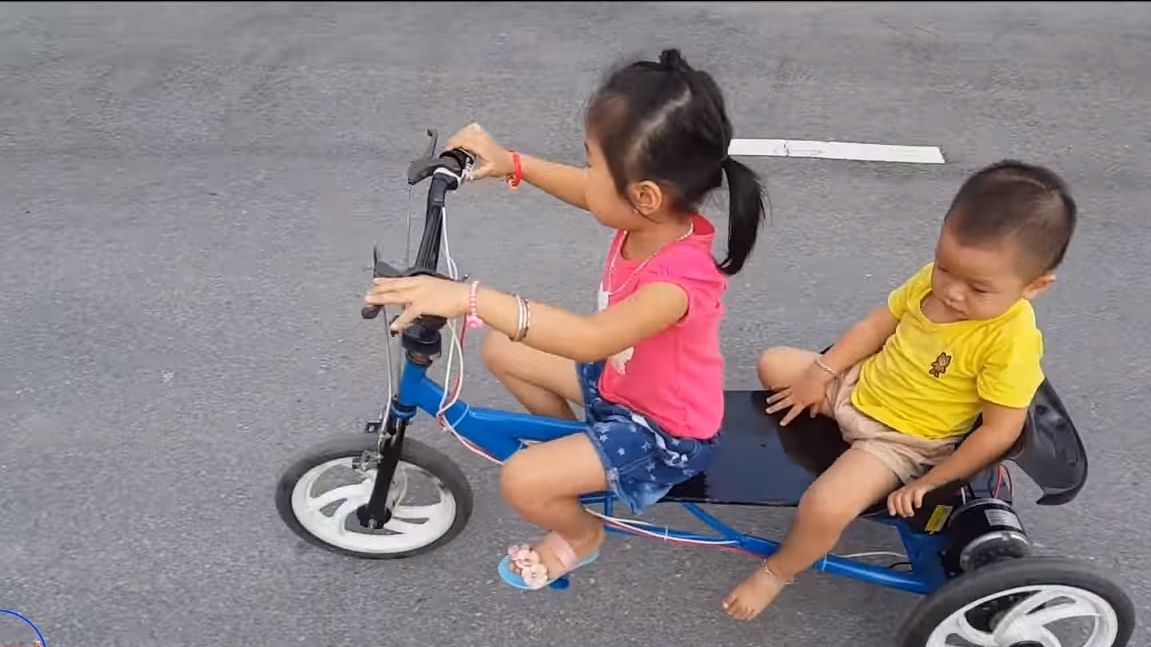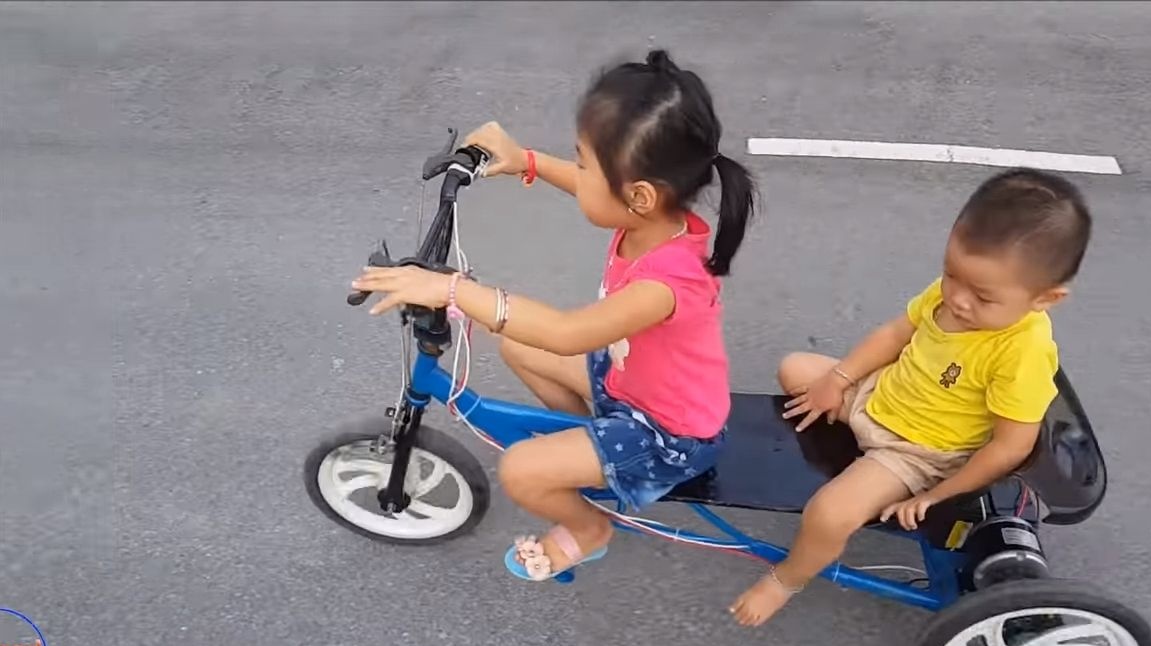
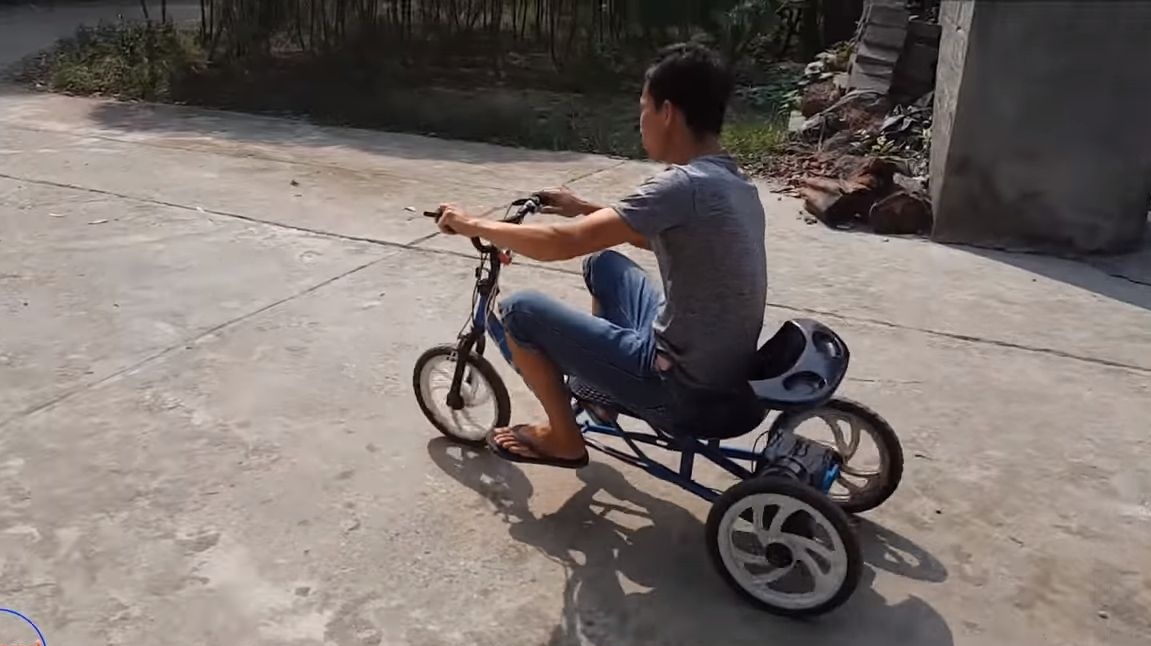
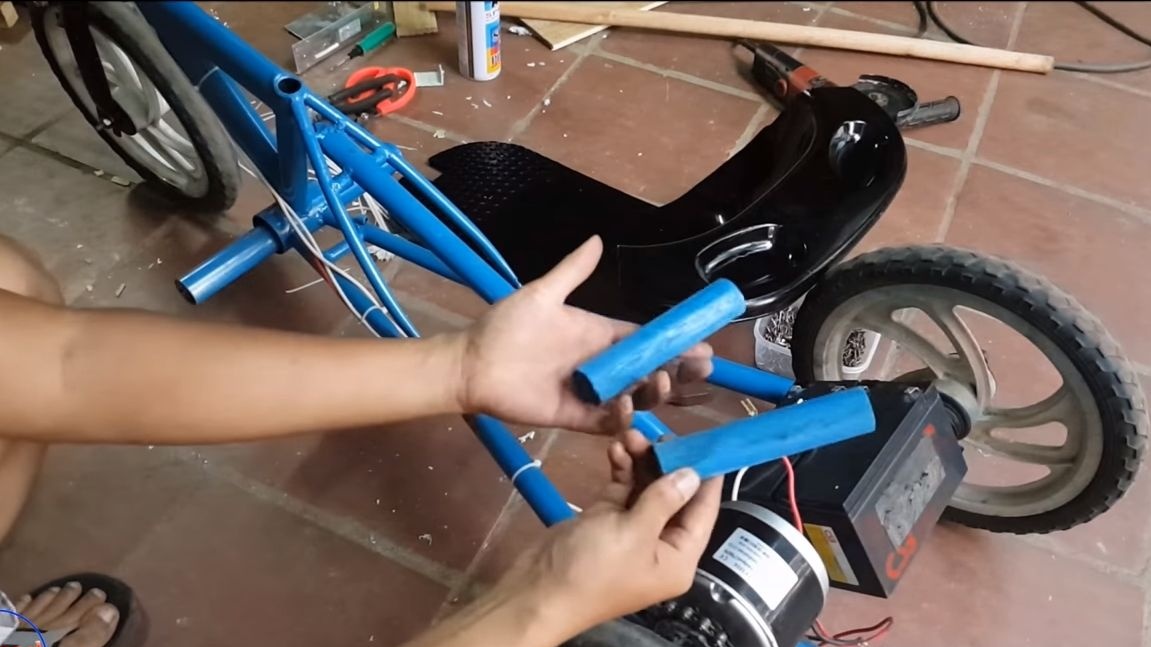
If you want to pamper your child, make your own for him. car! In this instruction I will tell you how to make powerful cards on electric traction. The car turned out so powerful that it easily pulls two children or even one adult. The design is quite simple, the materials are easy to get, and everything is going to be quite simple. Riding it will be interesting not only to the child, but even to an adult, if you make more maps. The card has two operating modes, it is powered by 12V and 24V, as a result, it turns out a sports mode and economical.
The machine is powered by a 24V engine, which, in fact, makes the cards quite powerful. True, he does not travel fast, so it’s quite safe, but he has enough power to drive into any hill, even with two passengers. There is no special electronics, the machine is driven simply by closing the circuit. If you install a controller for the engine and more powerful batteries, you can significantly increase the range homemade. As for the frame, it is mainly made from old bicycle parts. So, we begin assembly.
Materials and tools used by the author:
Material List:
- ;
- two batteries of 12V;
- spare parts from old children's of bicycles;
- wires;
- sheet metal;
- a piece of board;
- plastic ties;
- a baby bath or something similar to make a seat;
- cogs, nuts, washers and other little things;
- paint.
Tool List:
- ;
- hammer;
- vise;
- welding;
- spanners;
- screwdrivers;
- pliers;
- drilling machine.
Card manufacturing process:
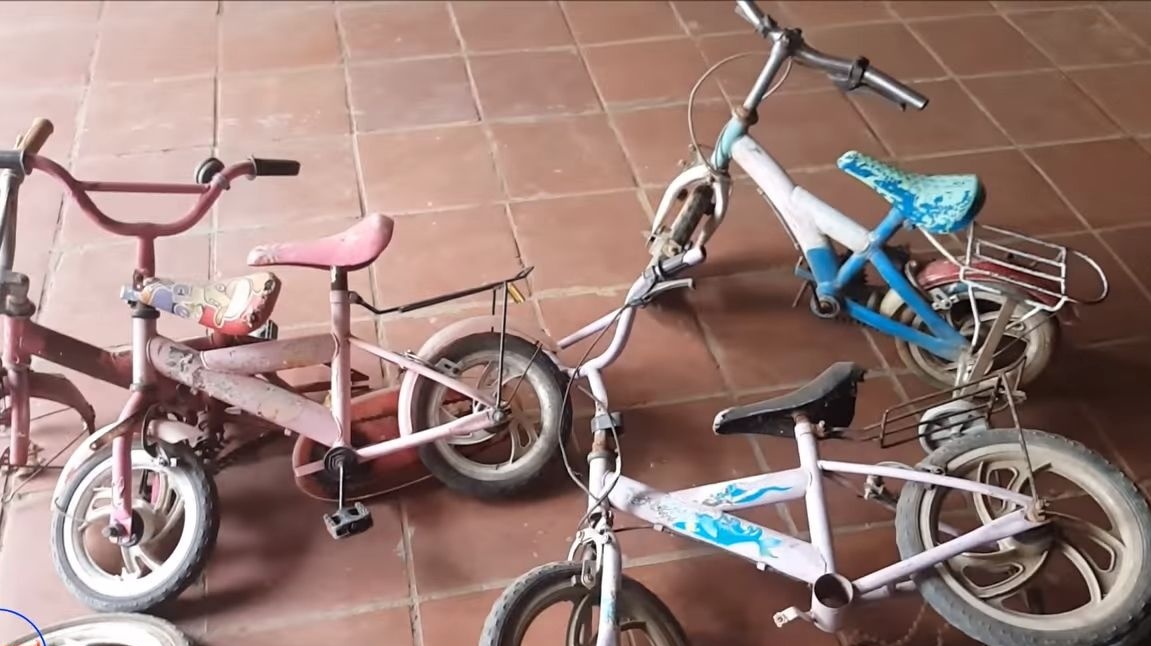
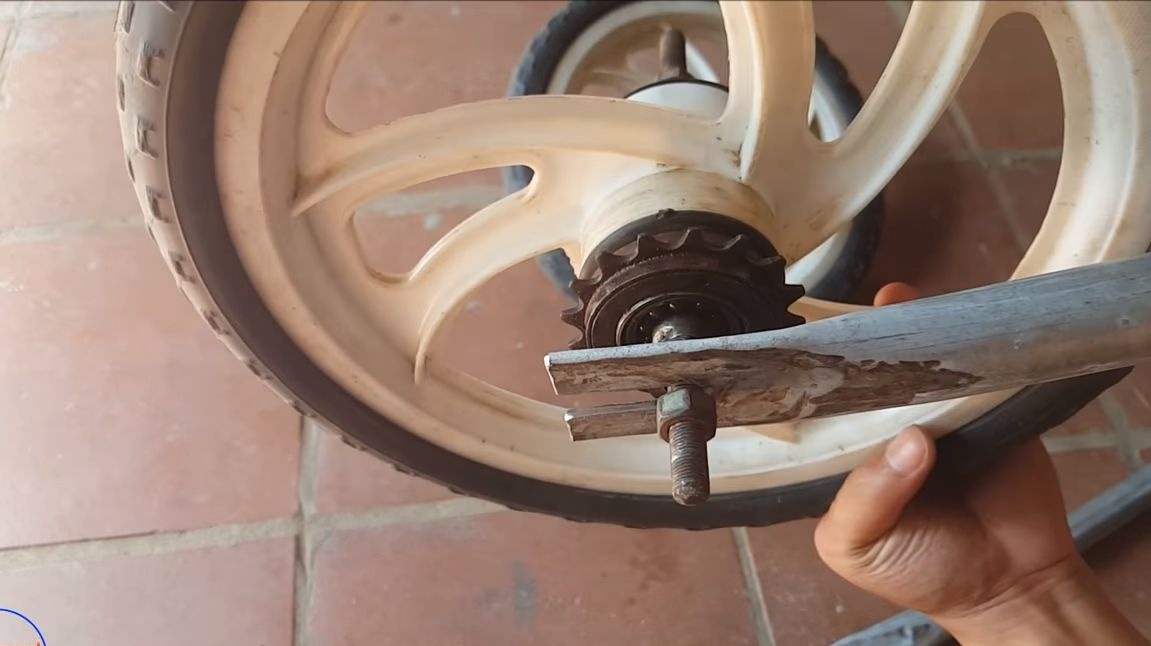
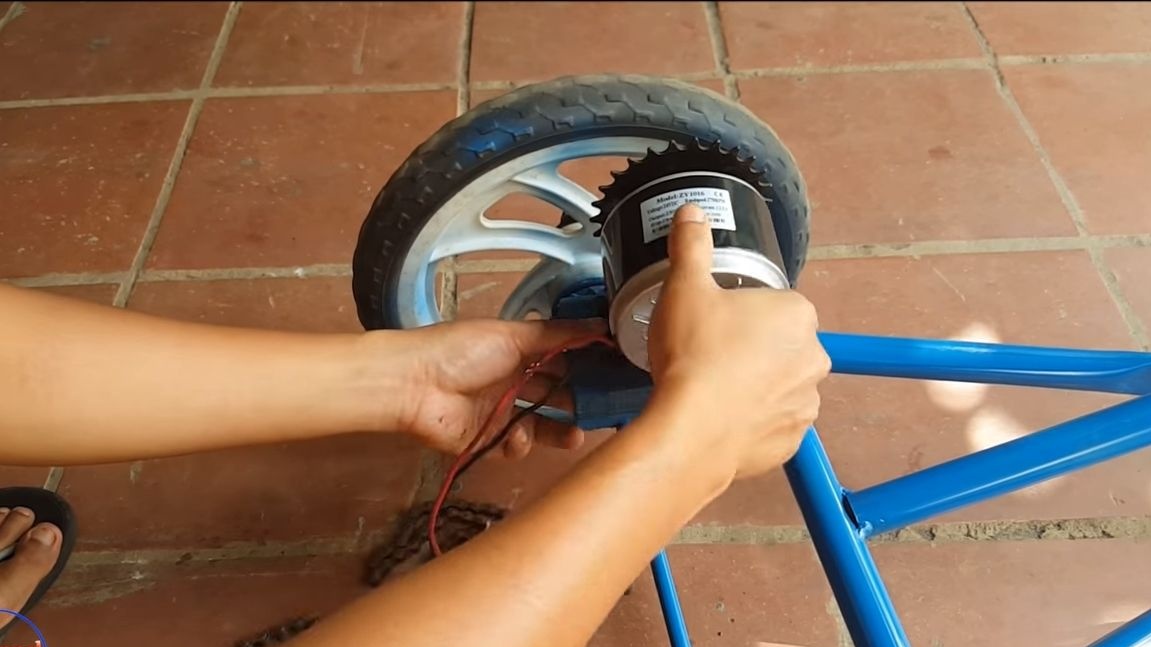
Step one. We get spare parts and install an asterisk
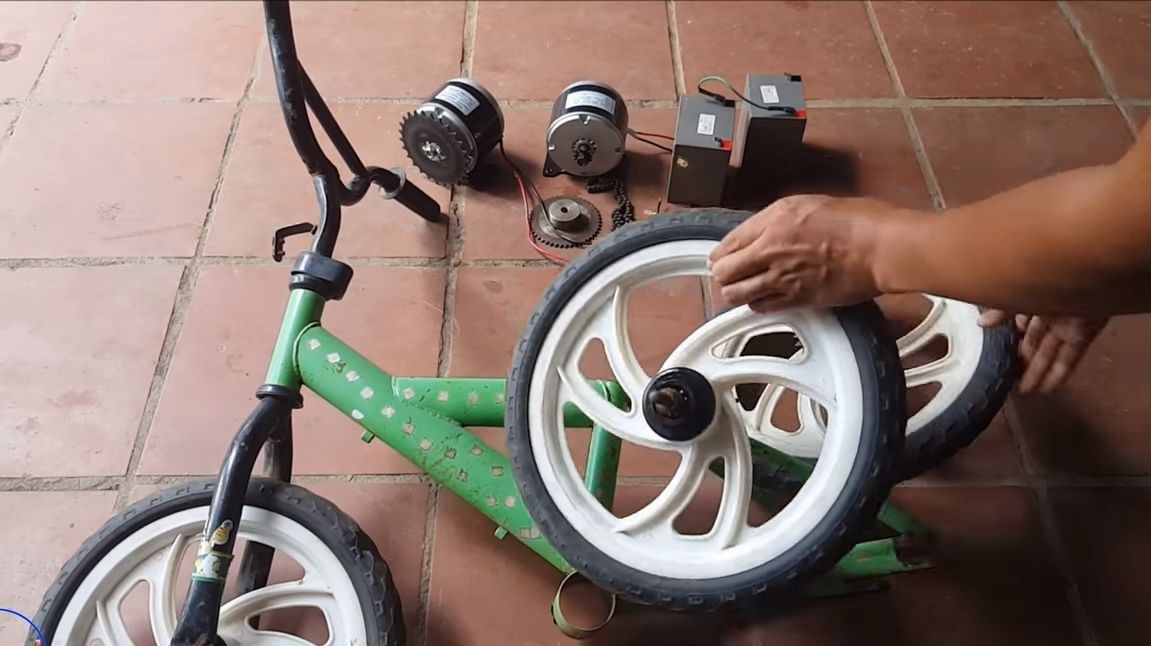
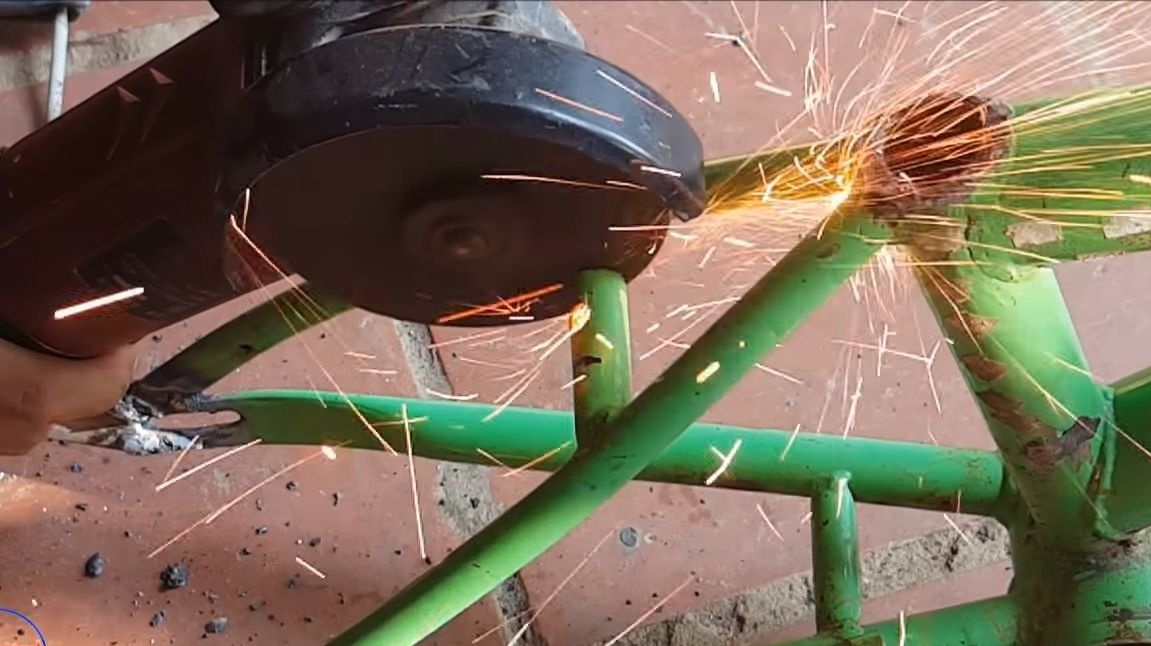
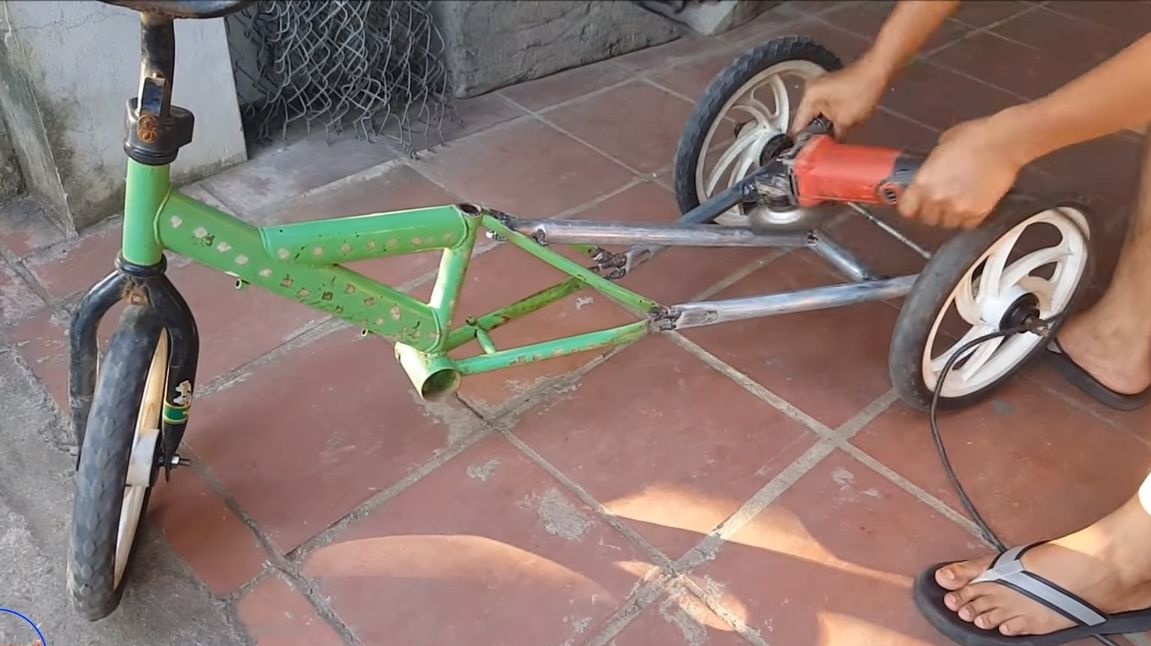
Ideally, you will need two children's bicycles, as we get a three-wheeled car. On the back you will need two forks from the bike, but you can assemble them yourself. Well, on the front piece of the steering frame. We take the grinder and get to work.
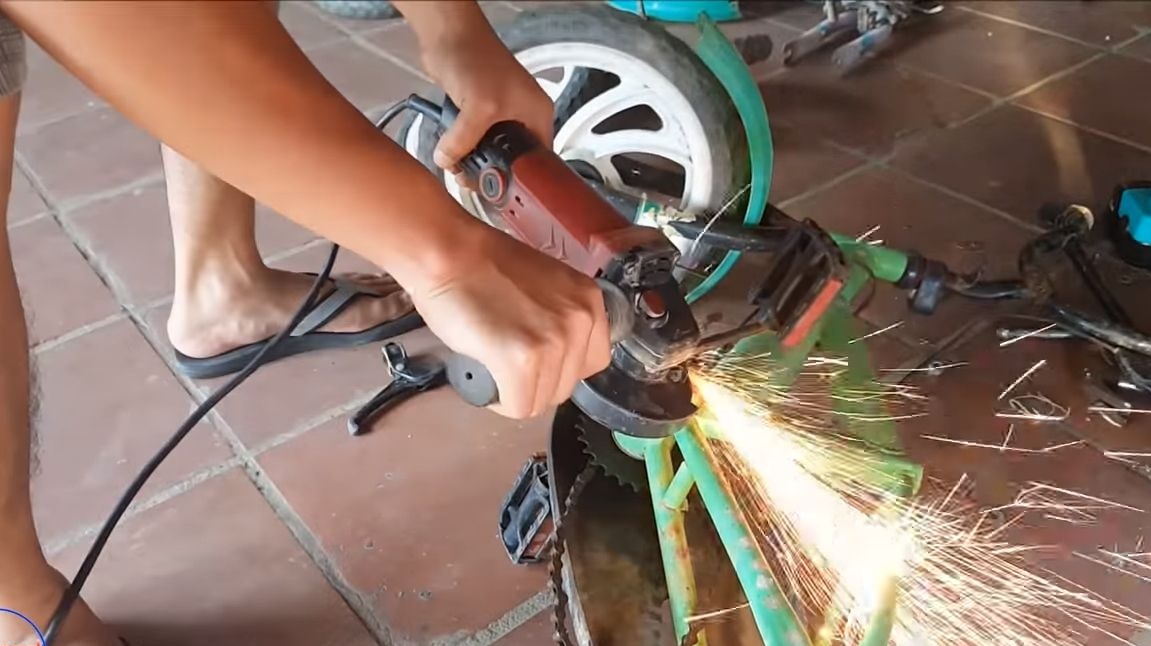
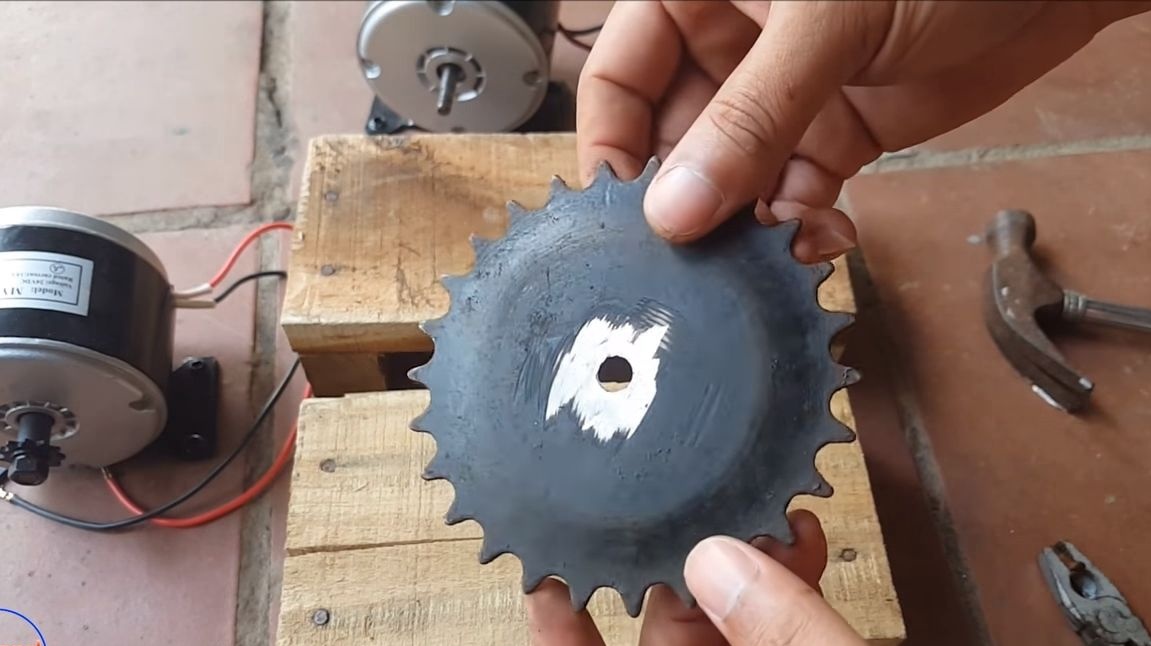
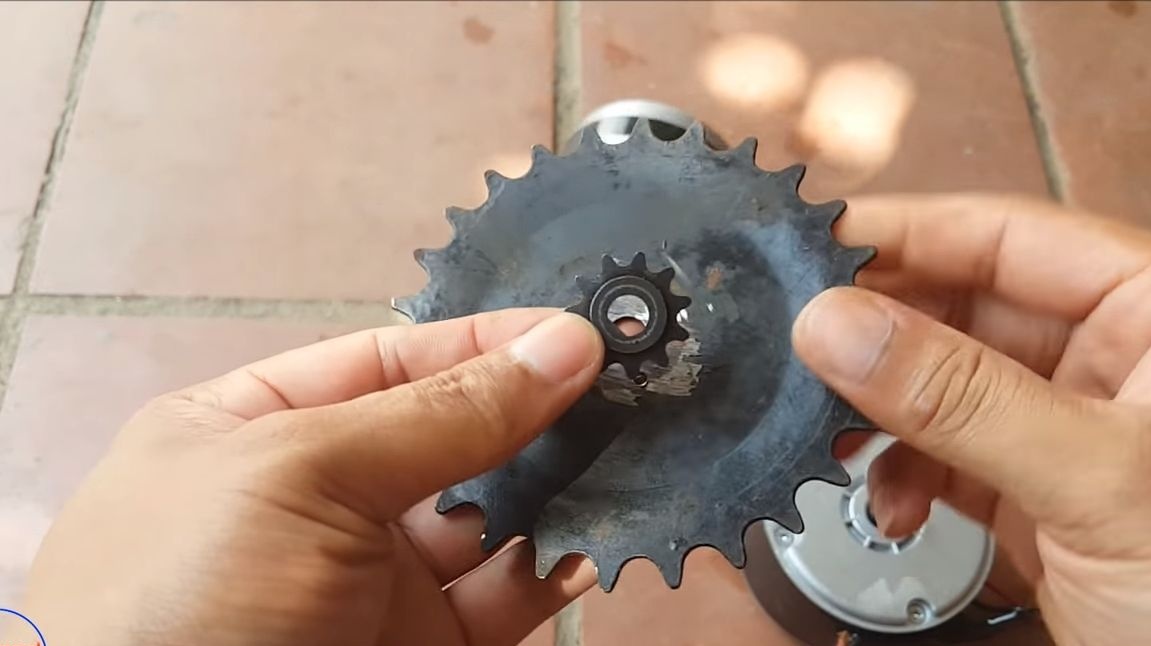
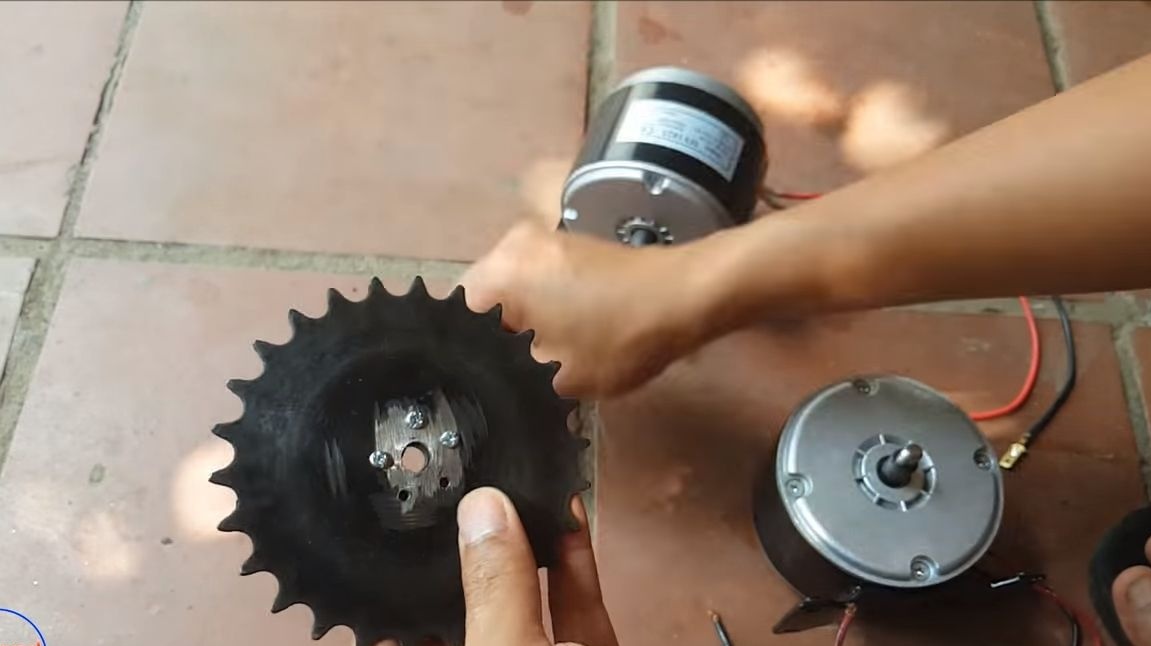

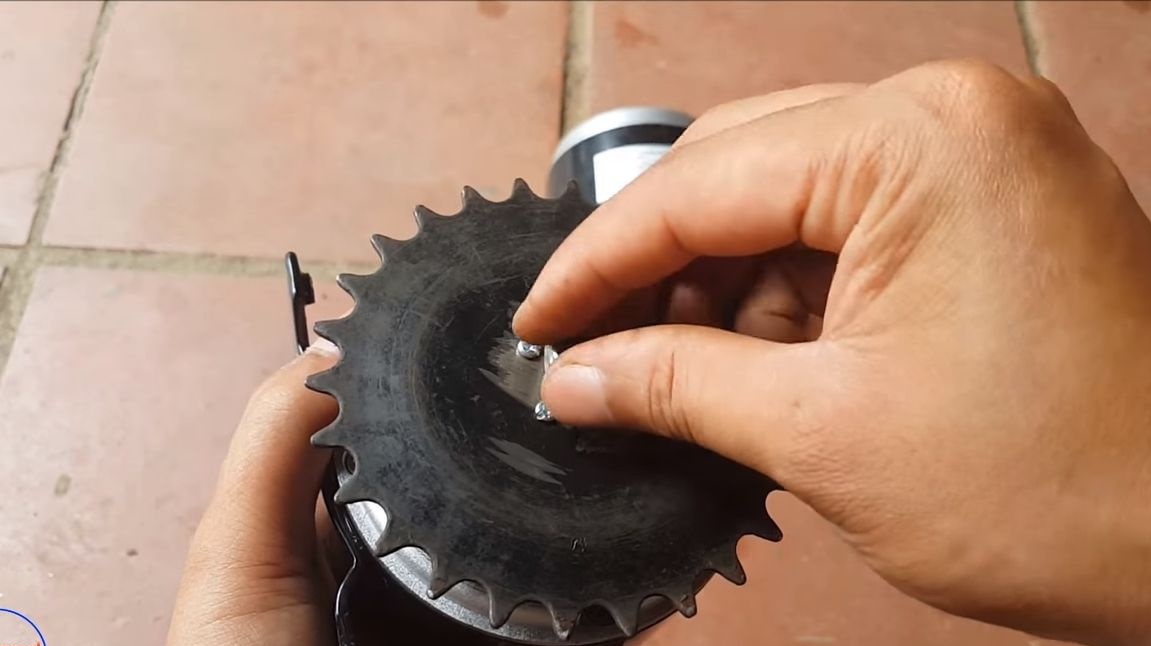
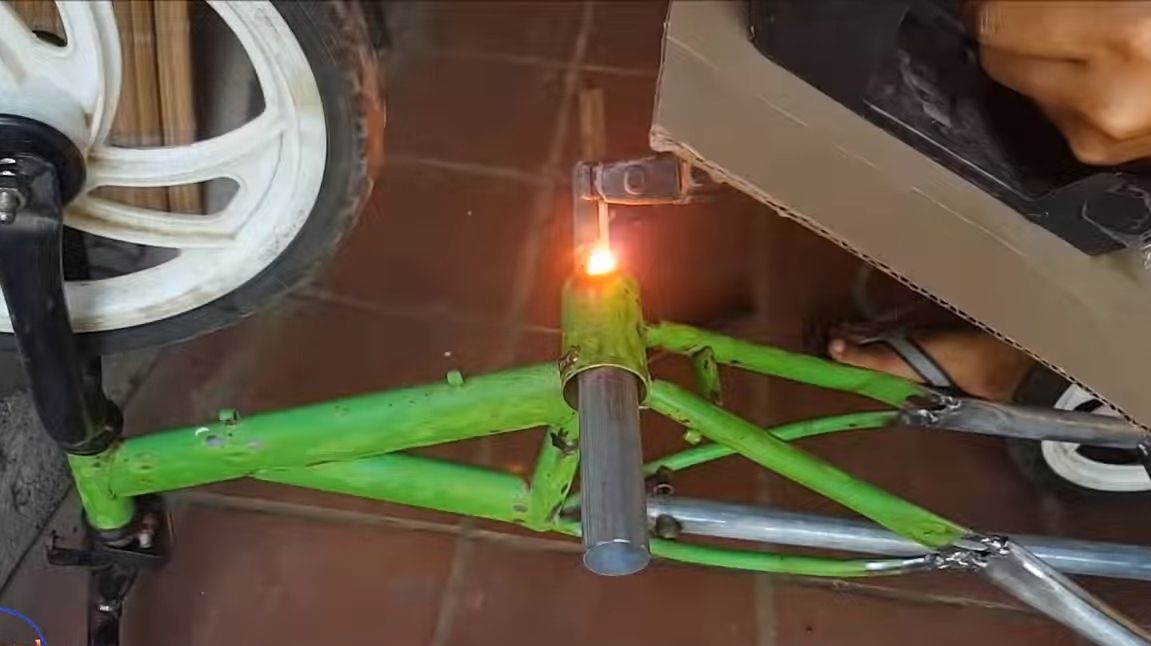
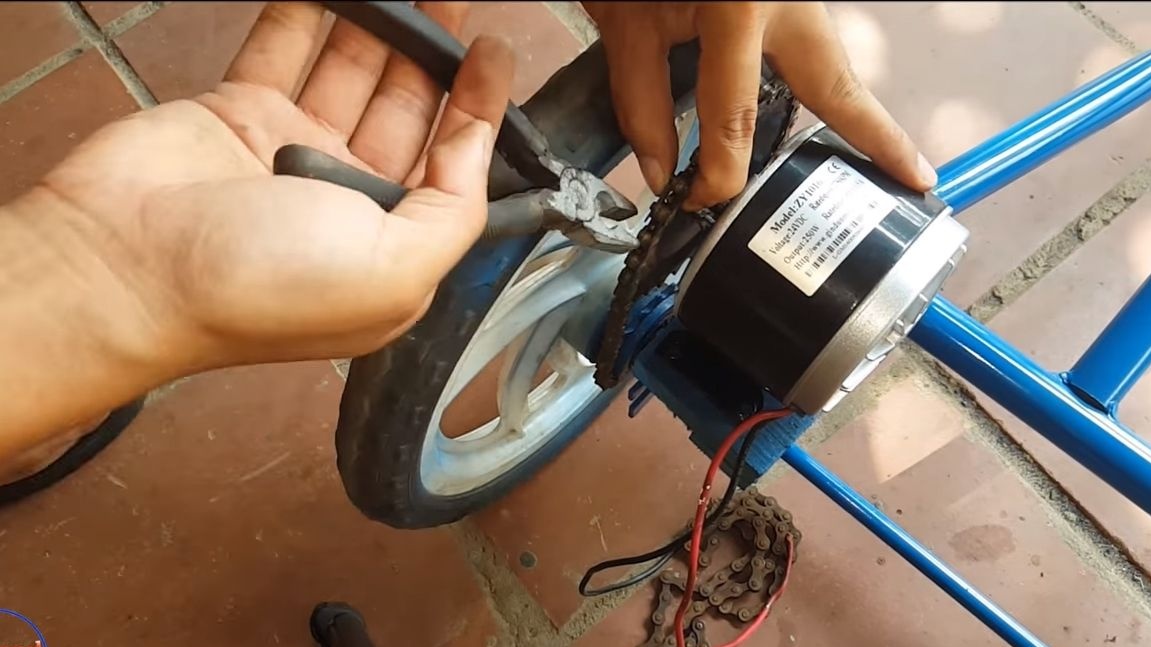
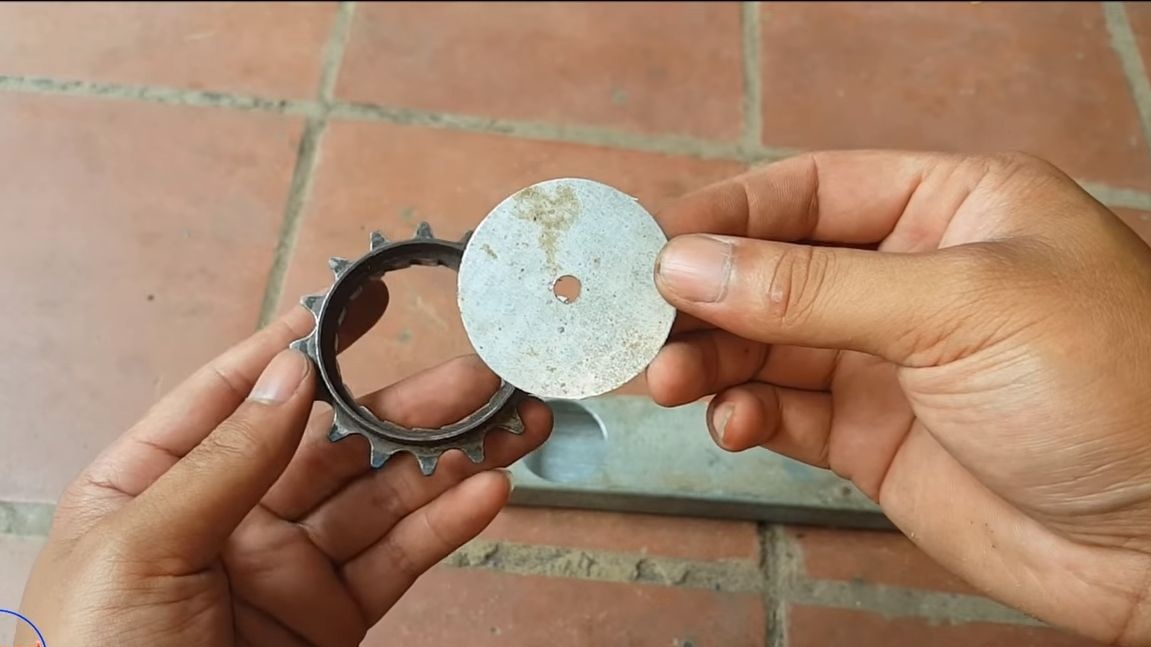
The first thing that the author decided to do was to establish a leading asterisk. We will need asterisks all from the same bicycles. To attach a bicycle sprocket to the engine shaft, you will need a small sprocket that is mounted on the engine shaft. The author simply twists the two stars together, using screws with nuts. But the easiest way would be to simply weld one star to another. Here, alignment is extremely important.After installing the sprocket, check the motor for vibration. The 24V engine will also work from 12V, however, the speed will not be as high as from 24V. If you have two 12V batteries, just connect them in series and get 24V.
Step Two Cook the rear fork
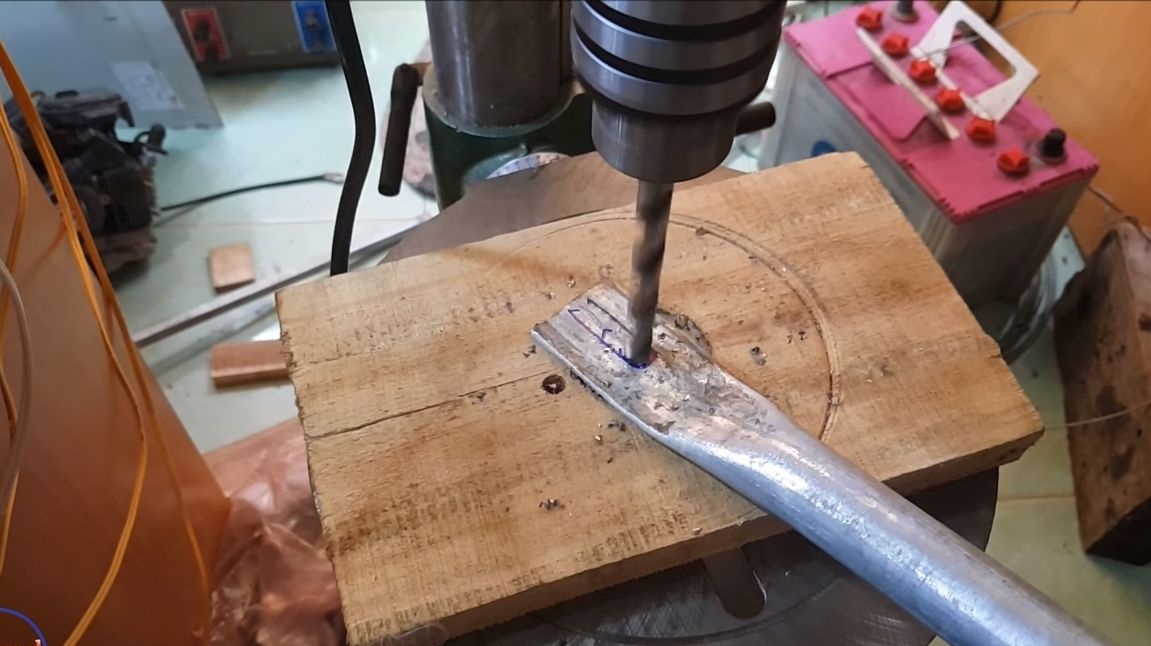
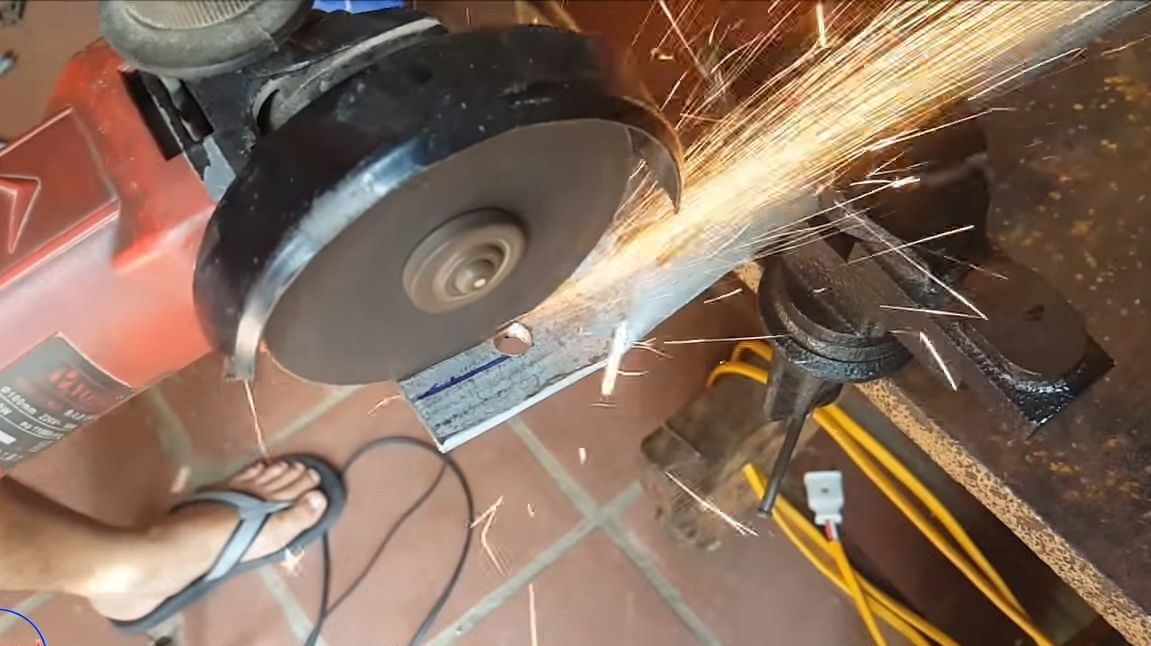
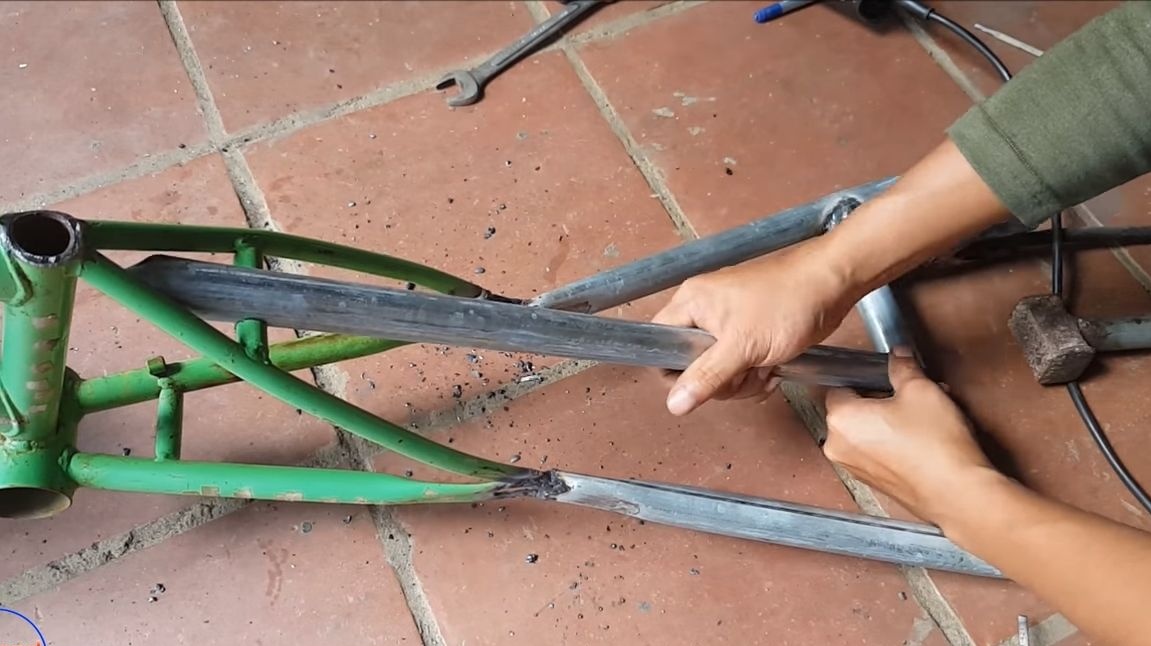
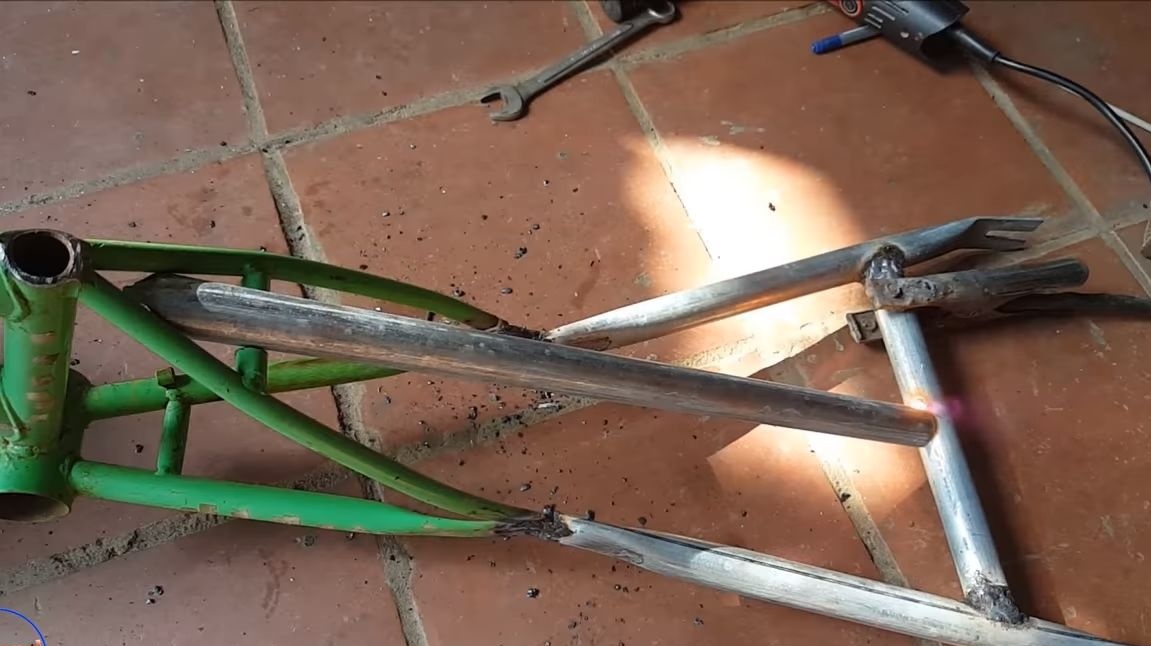
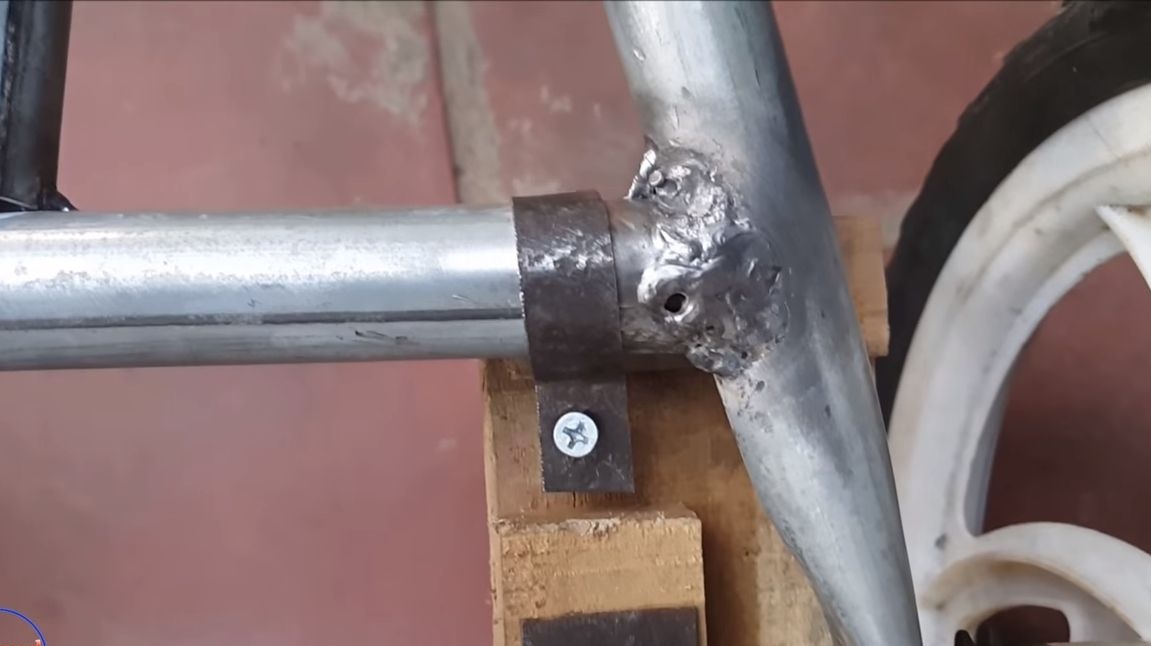
The author decided to weld the rear fork himself, for this you will need strong steel pipes. Cut the workpieces of the desired length, and then rivet the edges so that they become flat. Drill holes at the ends, and then cut the grooves to the holes. As a result, you will get fasteners for the wheels, which will allow you to adjust the chain tension.
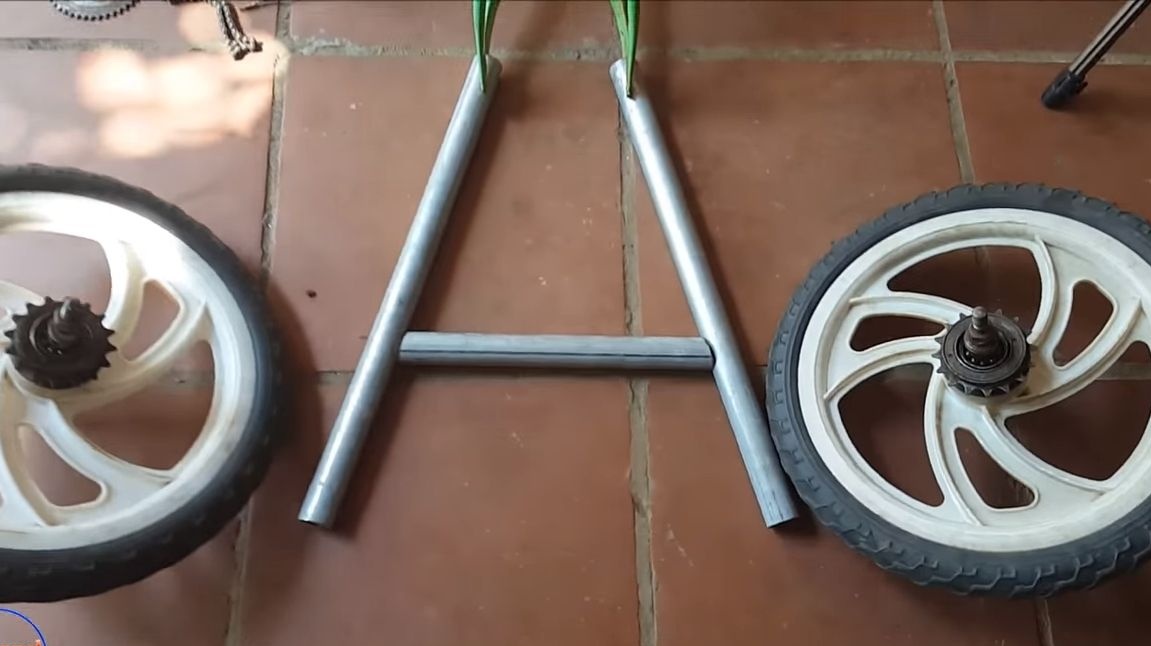
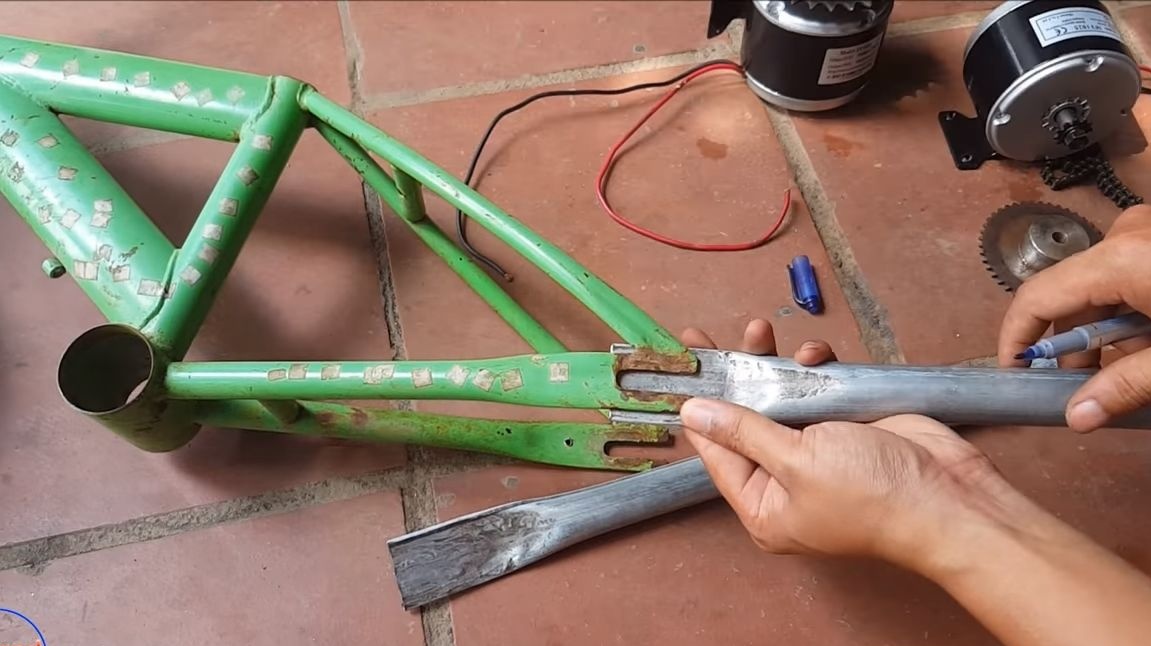
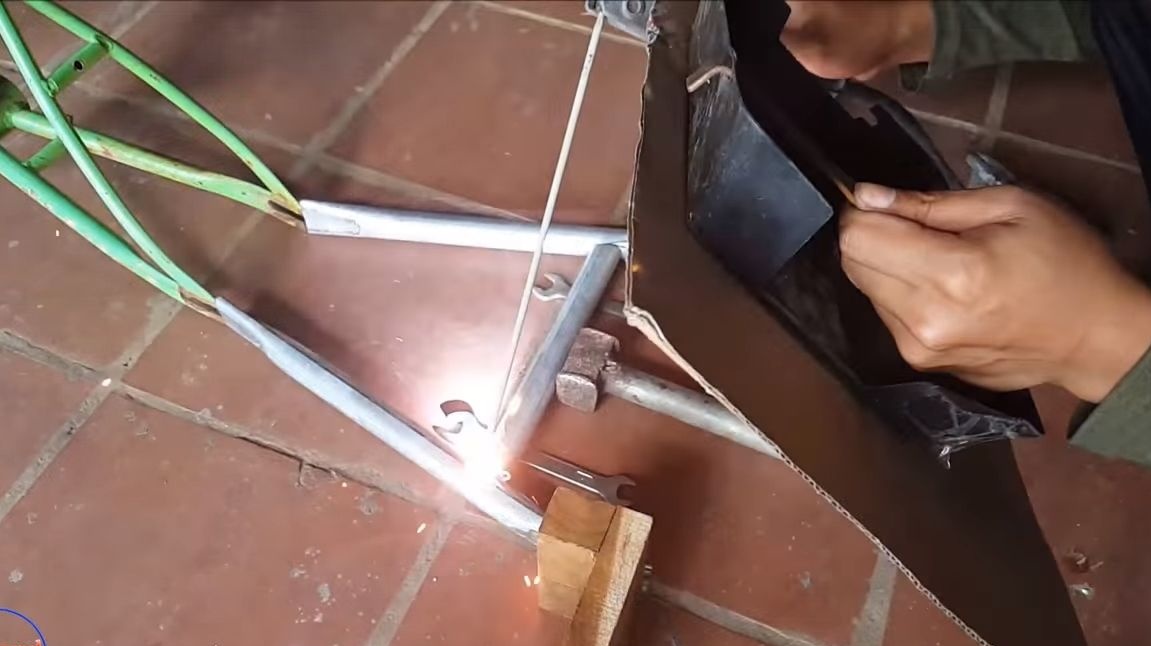
After that, the plug can be welded. We will mount it to the rear fork of a children's bicycle. Of course, fastening in two places will not be enough, since the lever turns out to be quite long and the load here will be large. To strengthen the structure, weld another pipe between both forks. That's all, our plug is ready, it turned out pretty hard!
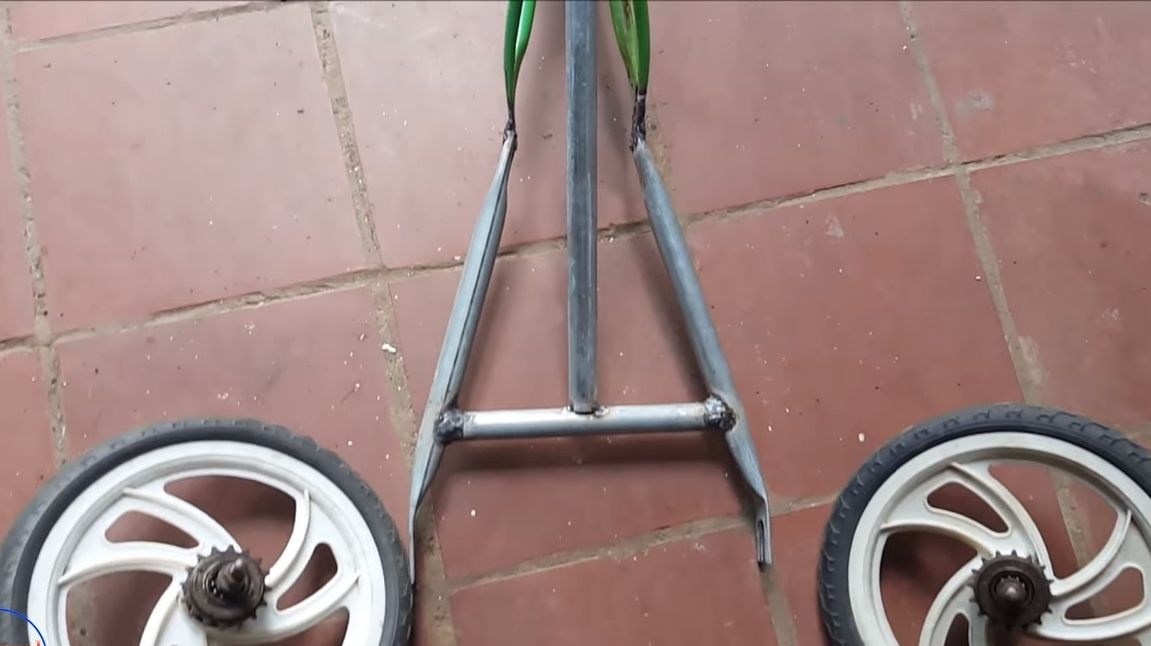
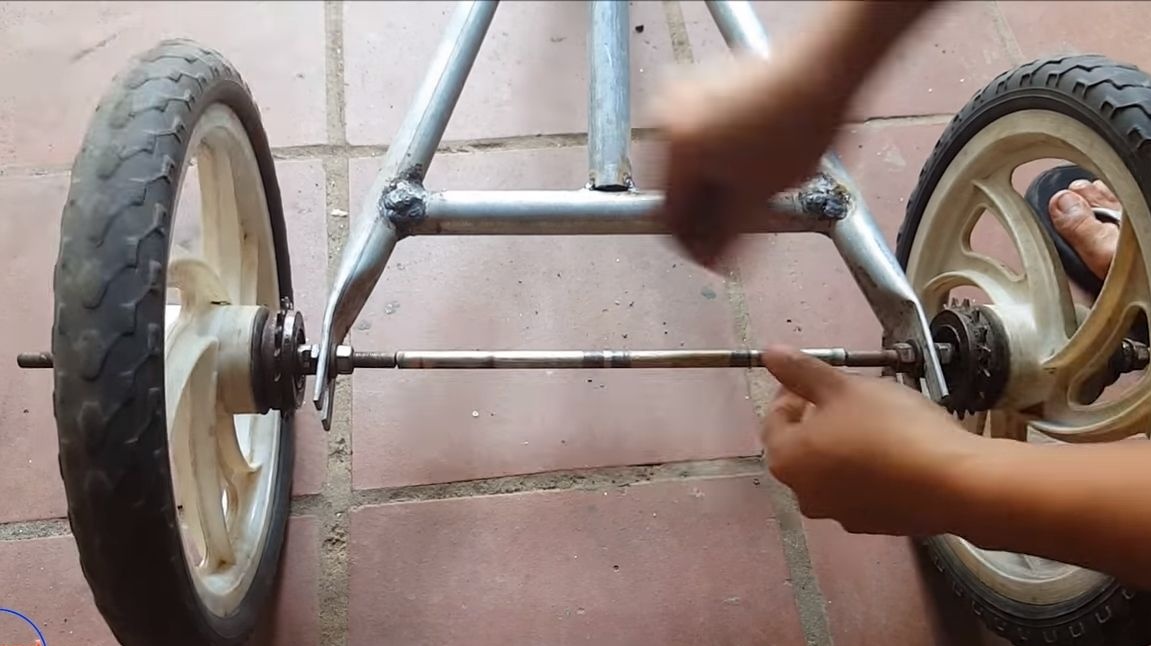
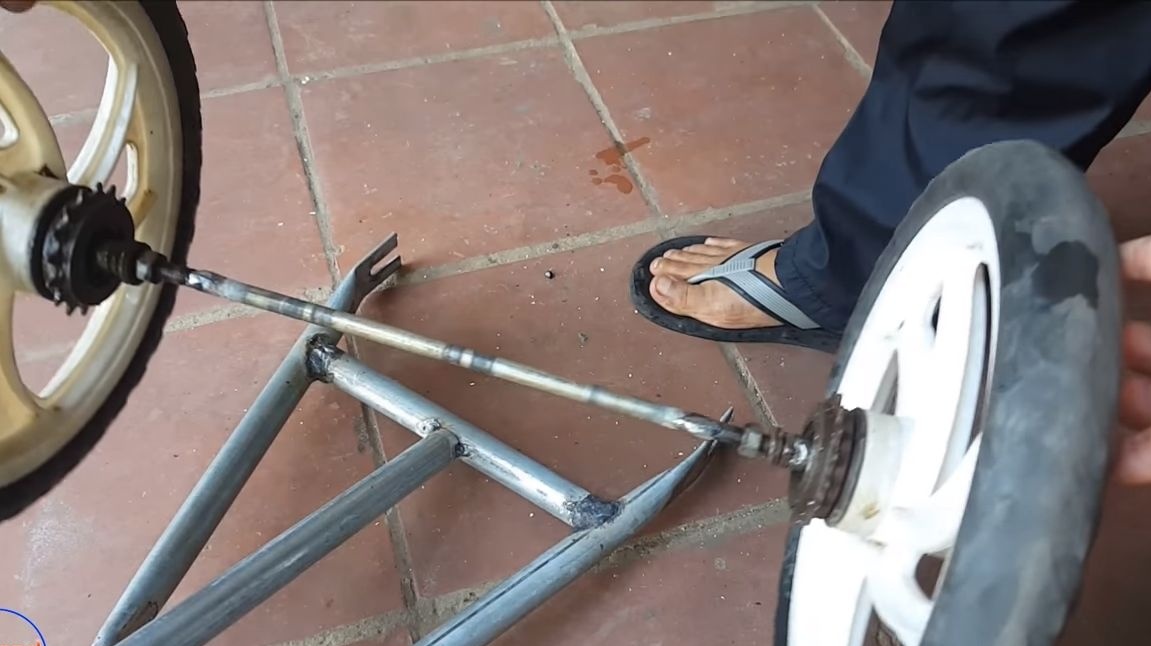
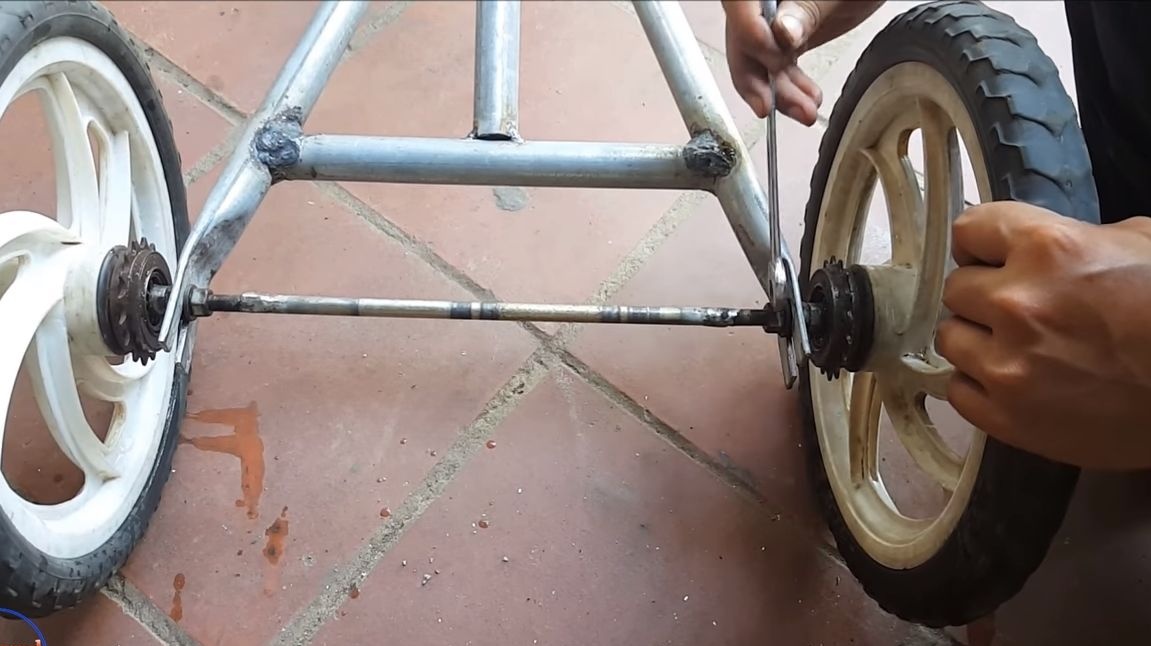
Step Three Set the wheels
We will fix the wheels on one side, that is, with one nut. But this is not all, such a fastening will not withstand a large load. To make everything more reliable, you need to weld a steel rod between the two axes. As a result, when loaded, the wheels will no longer squint sideways. Tighten the nuts well with a wrench.
At the end, the author welded a footboard, which he used as a piece of steel pipe. You also need to remember to fix the platform for installing the engine, it is made of boards.
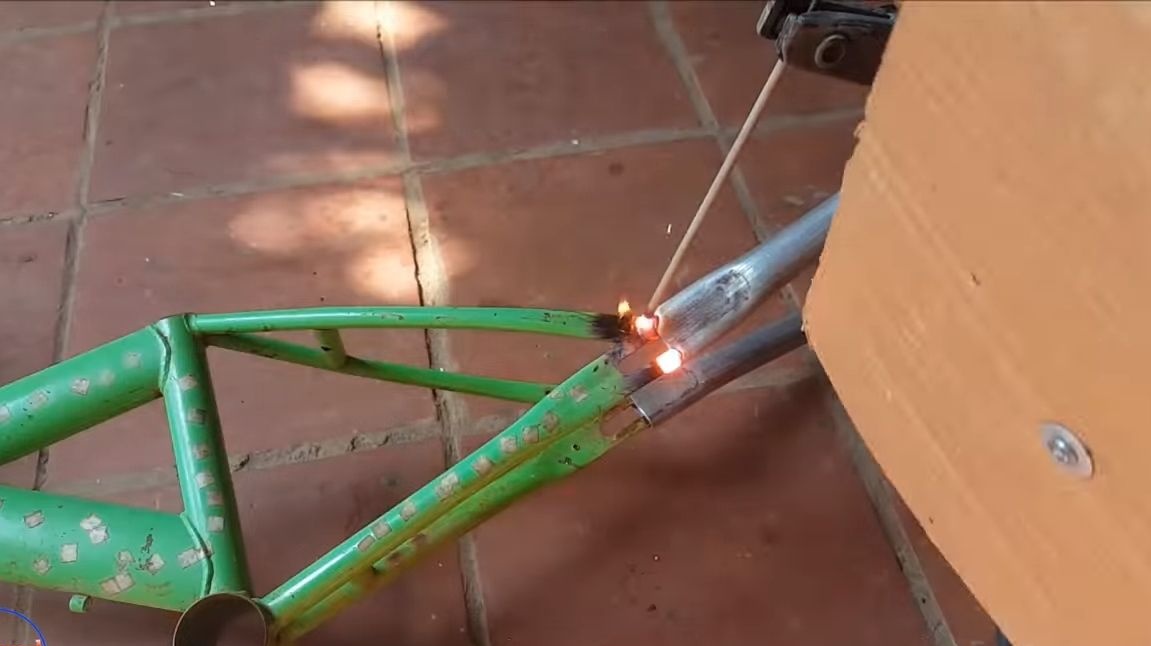
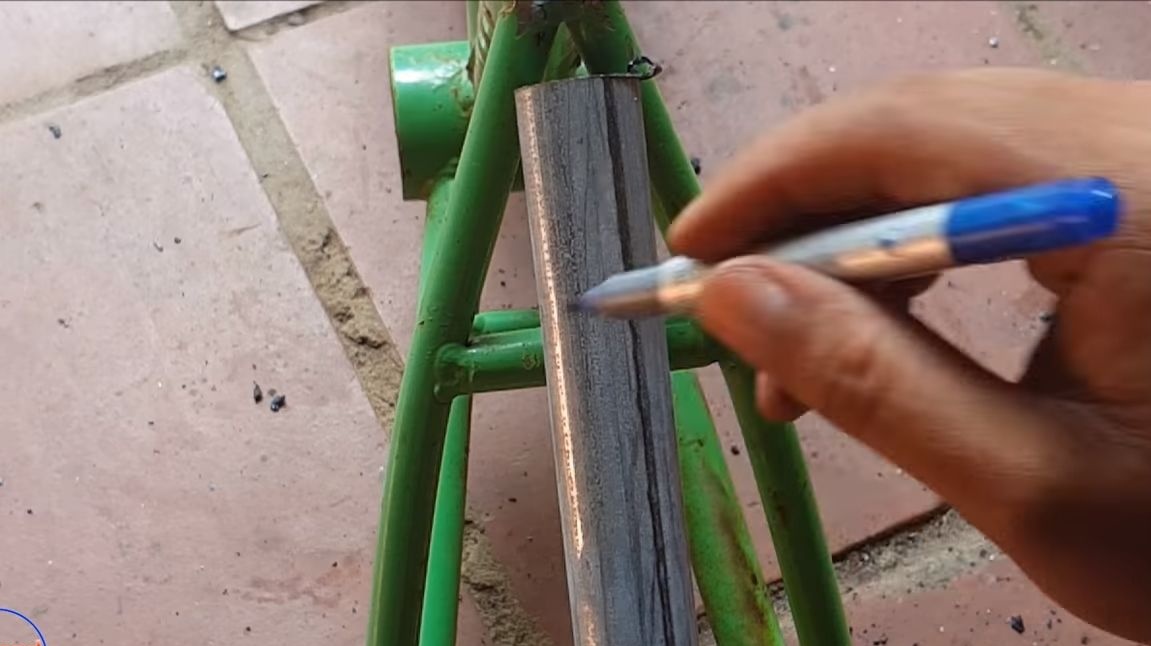
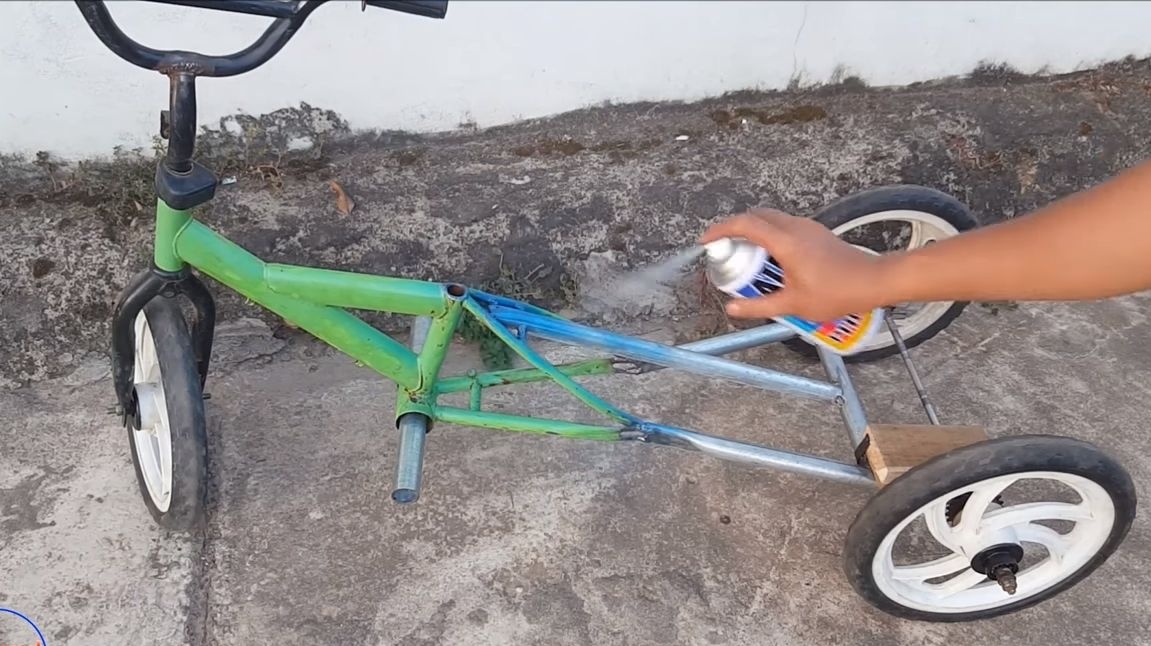
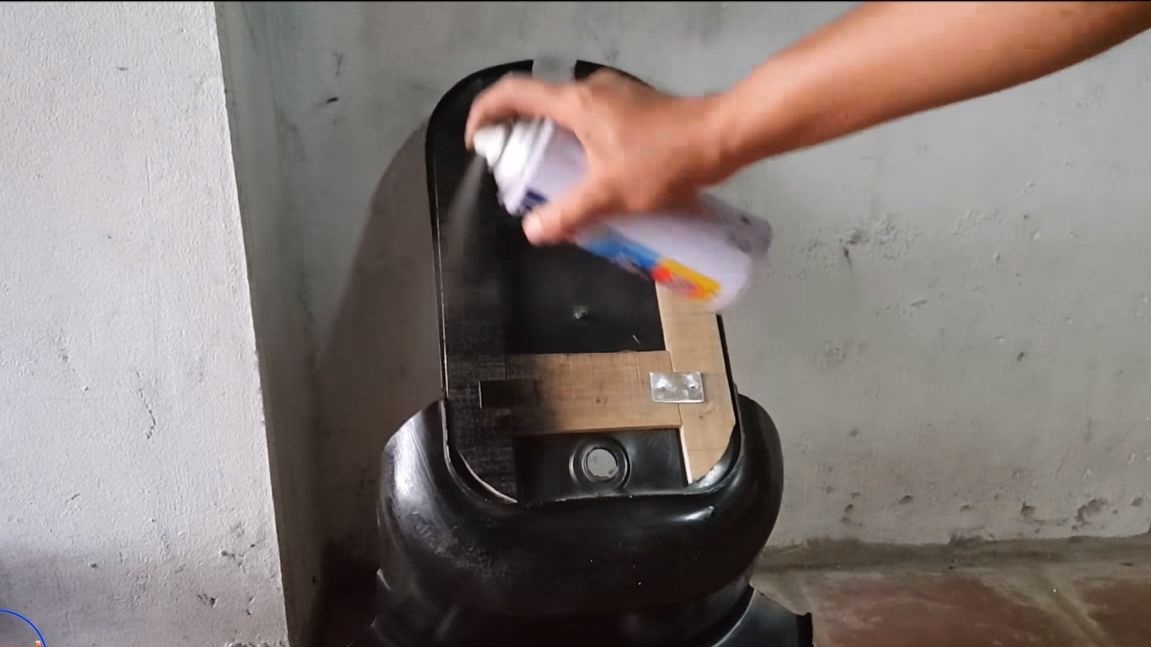
Step Four Stripping and painting
We clean the whole frame with a grinder with the appropriate nozzle. If everything is done perfectly, you can go with sandpaper. You can start painting. For these purposes, it is most convenient to use spray cans.
Step Five Install the engine
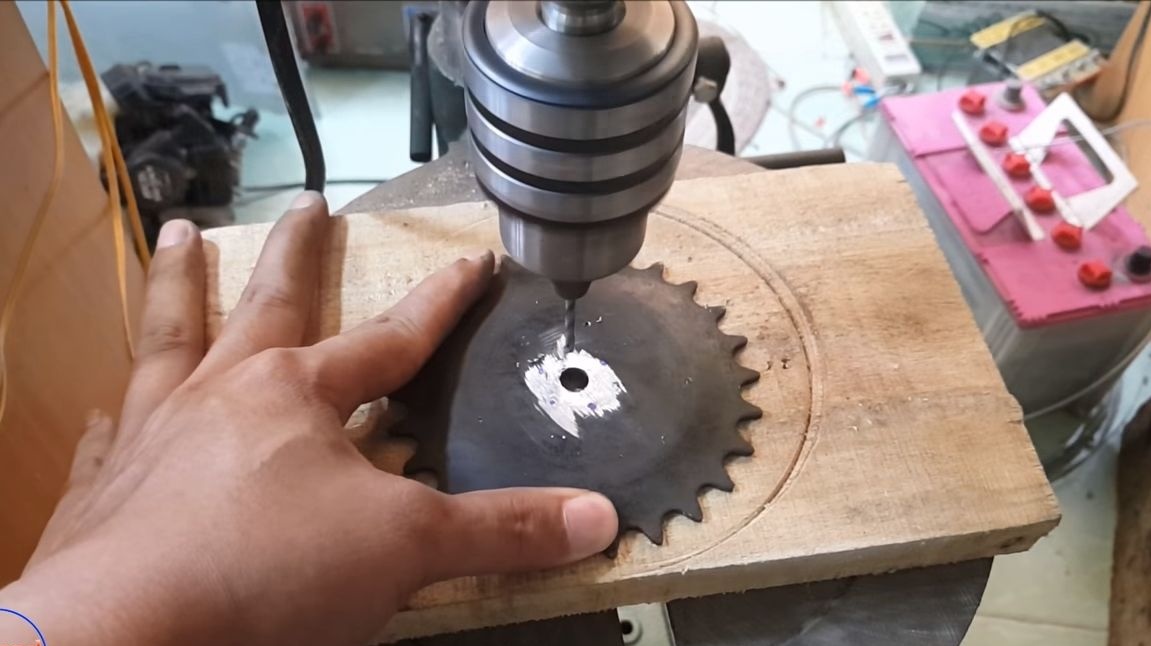
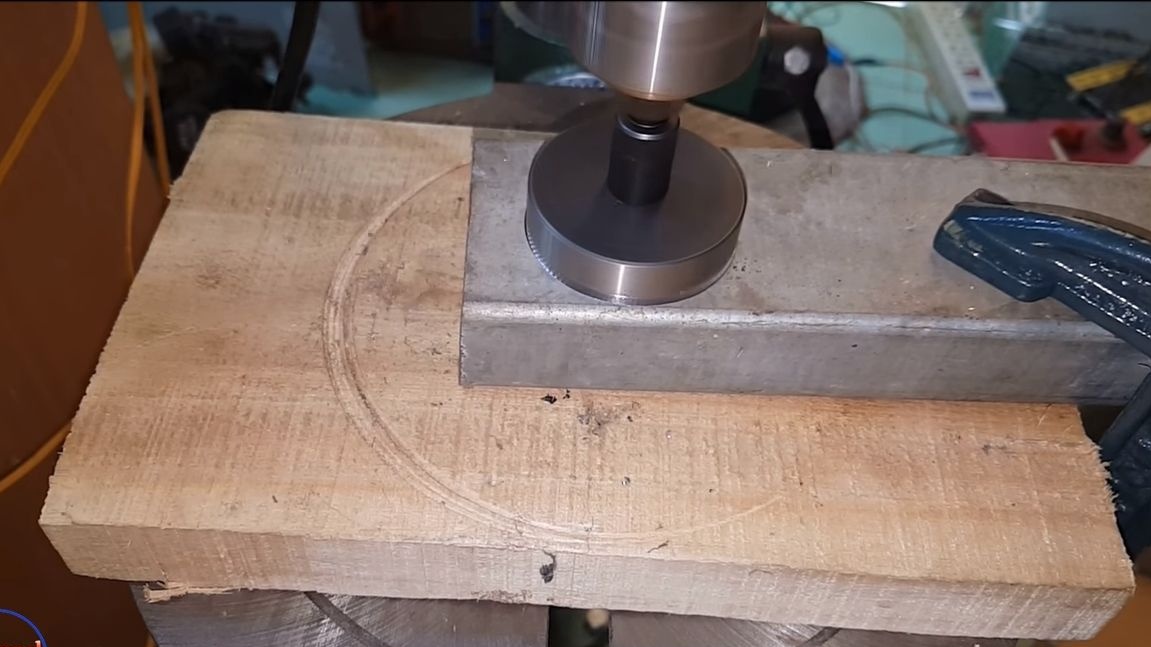
When installing the engine, the author had a problem - his power was not enough to drive a car. In this regard, the leading sprocket was replaced by a smaller one. To fix it, the author cut a steel circle with a drilled machine and welded it to the sprocket. Well, then we fix the whole thing to the shaft with a nut.
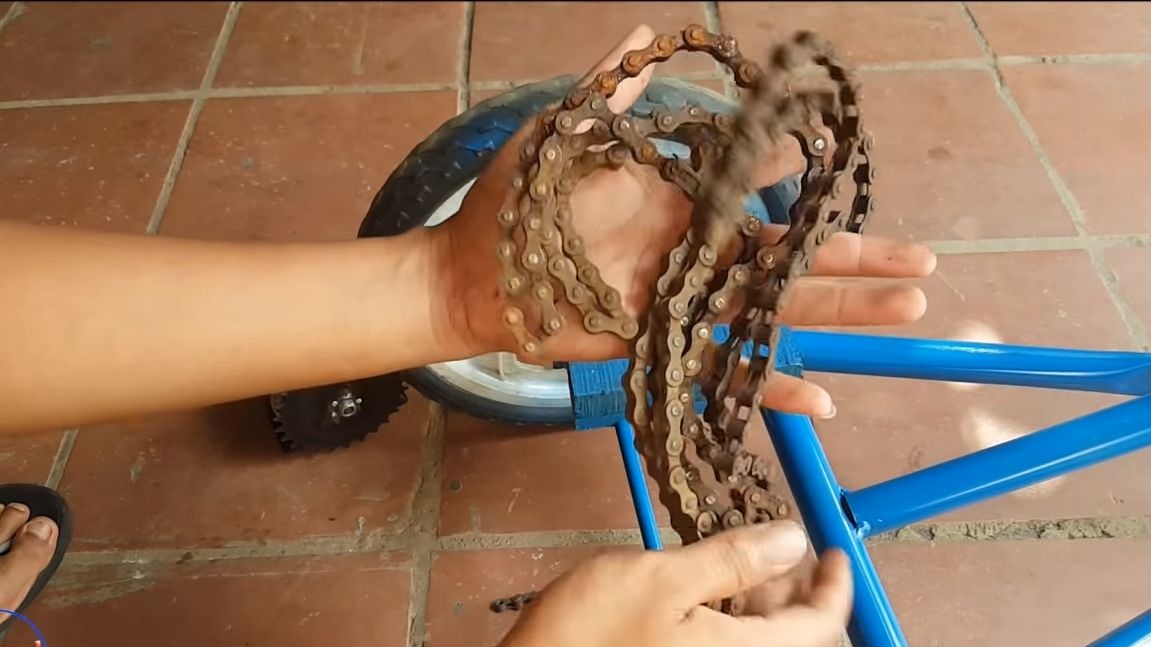
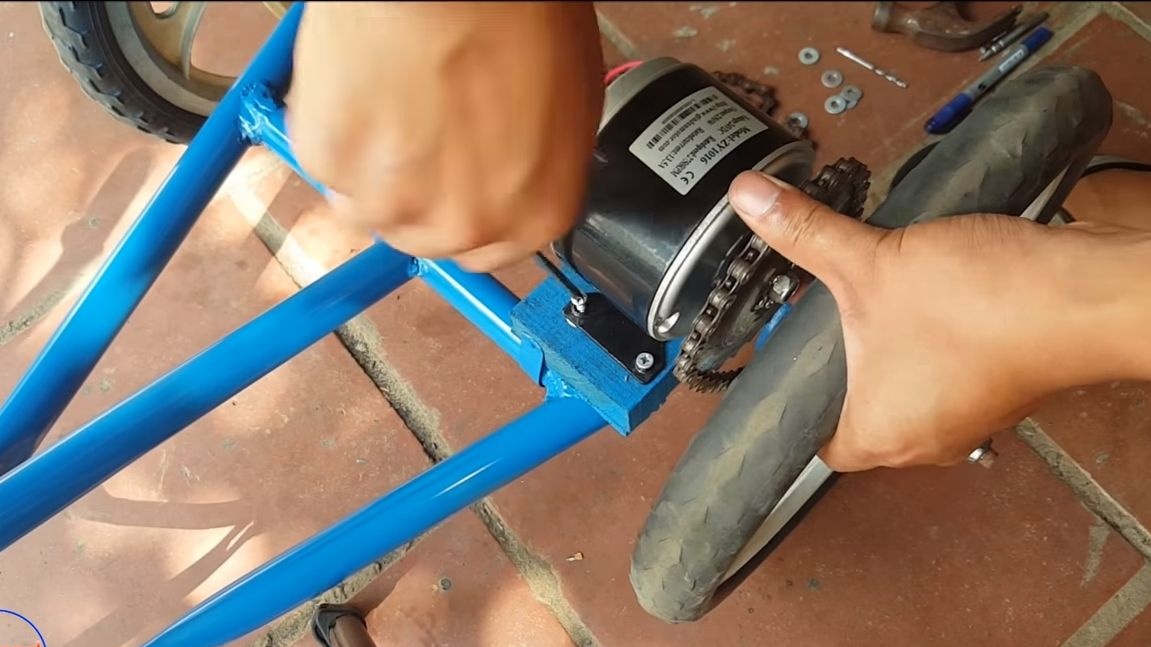
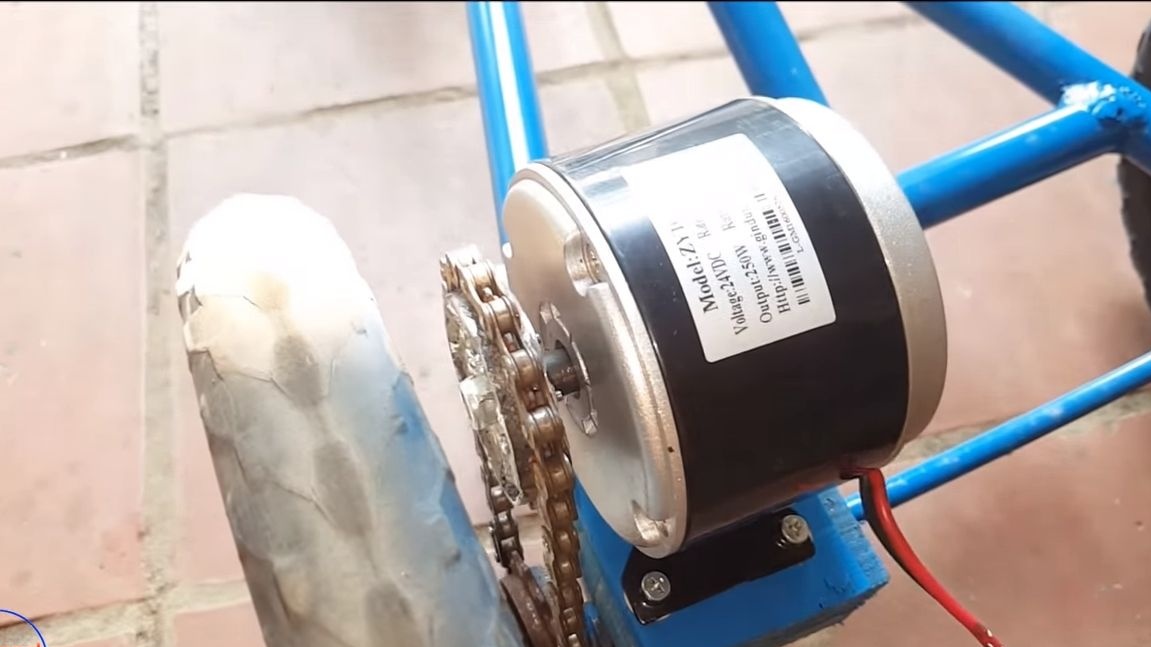
You can install the circuit. Cut off the desired piece, then you will still need a lock. As for mounting the engine, it can be screwed on, and it is better to use bolts with nuts. The engine is mounted on a wooden platform.
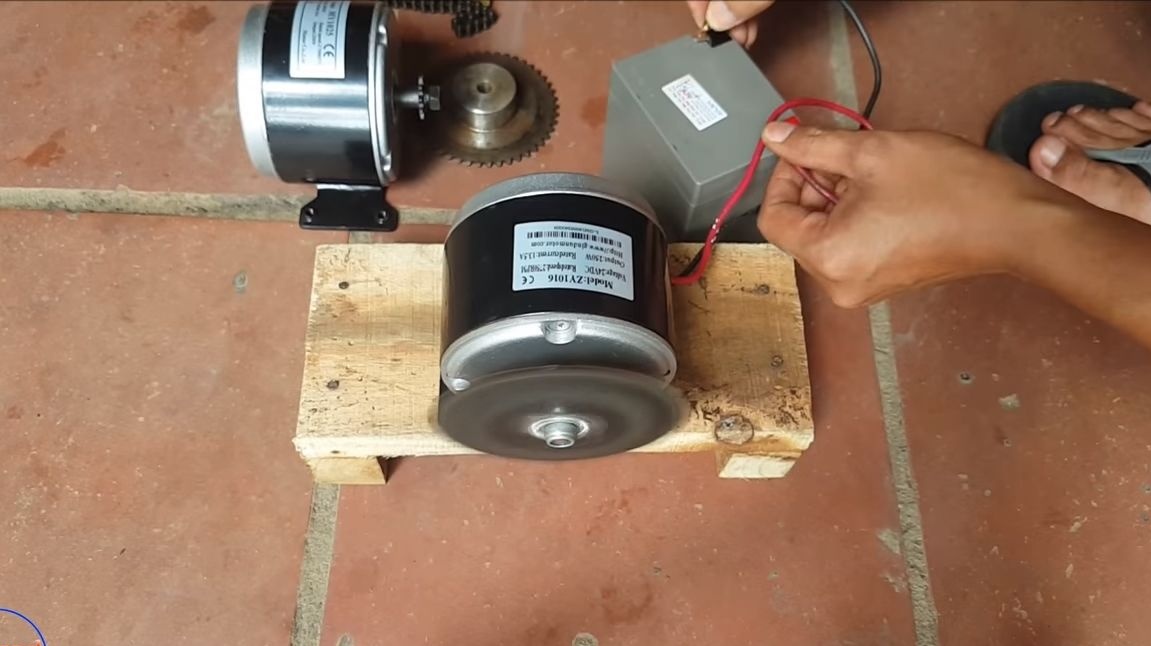
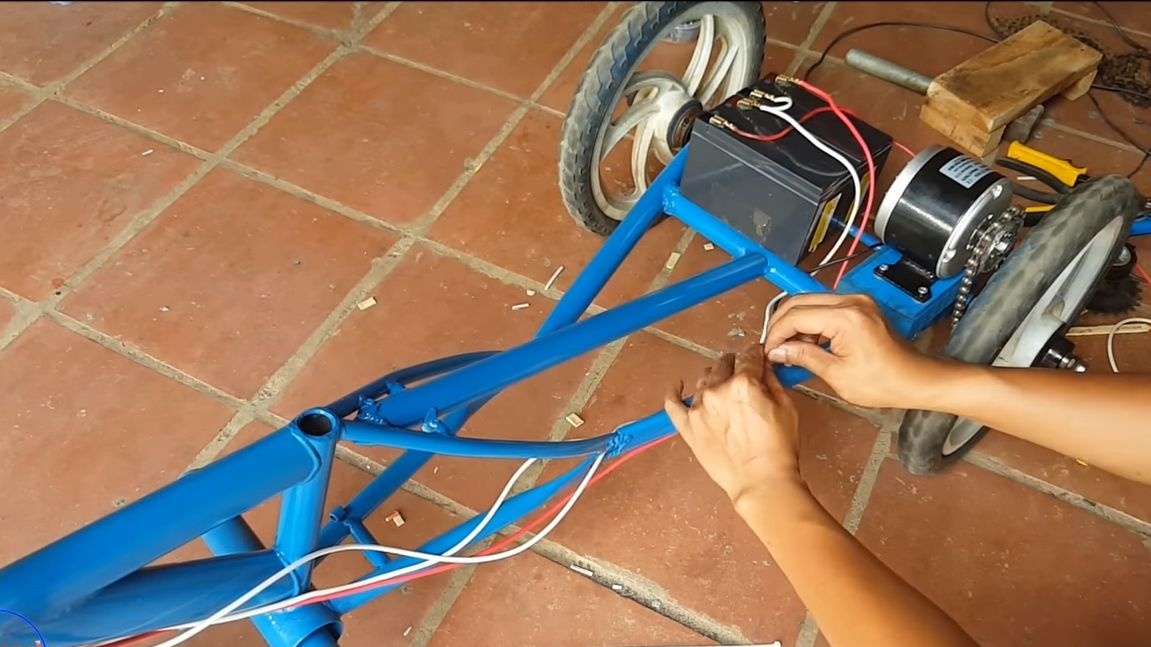
Step Six Wiring
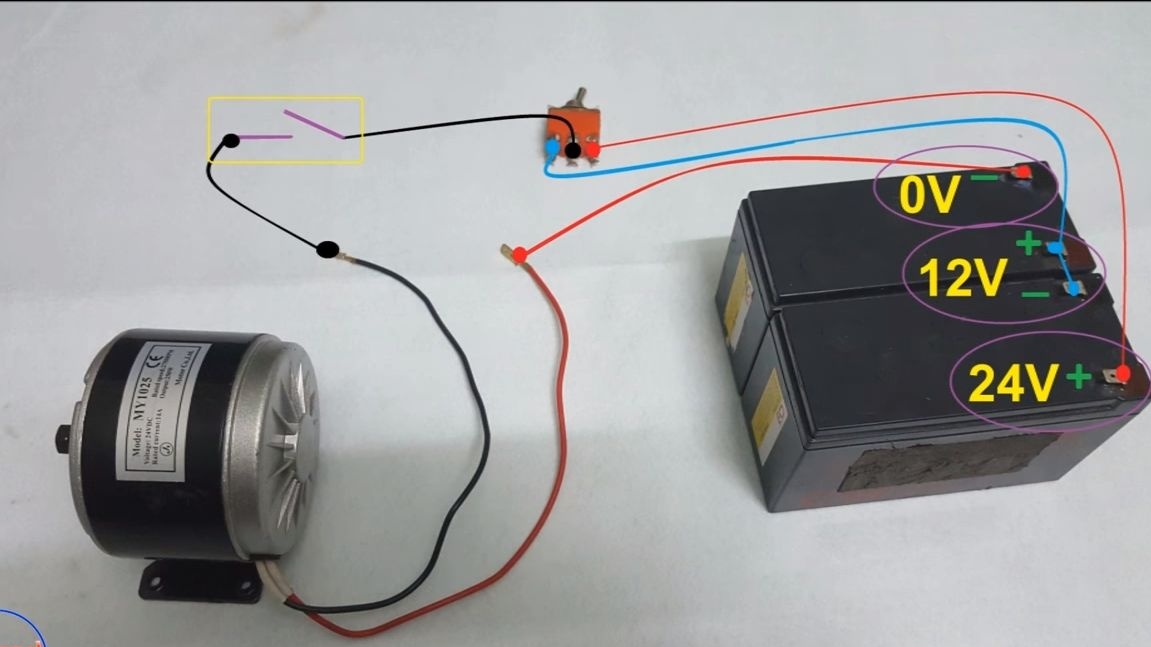
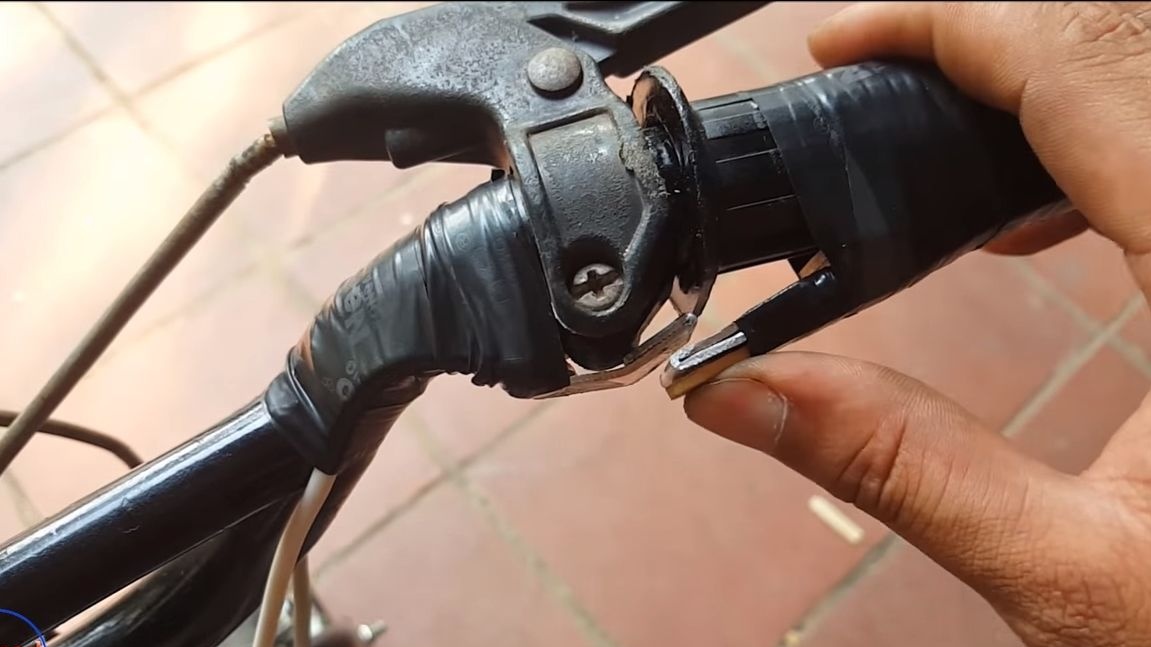
How to connect the engine, see the photo. A switch is installed in the circuit, depending on the position of which, 12V or 24V will go to the engine. That is, you will get two driving modes, one is aggressive and the other is calm.
The engine will be turned on only while you hold your finger on a makeshift keyboard switch. This is a safety feature. But this approach is extremely undesirable, since even 12V can lead to burns. It is best to make a pedal for the car, it will be safe and interesting.
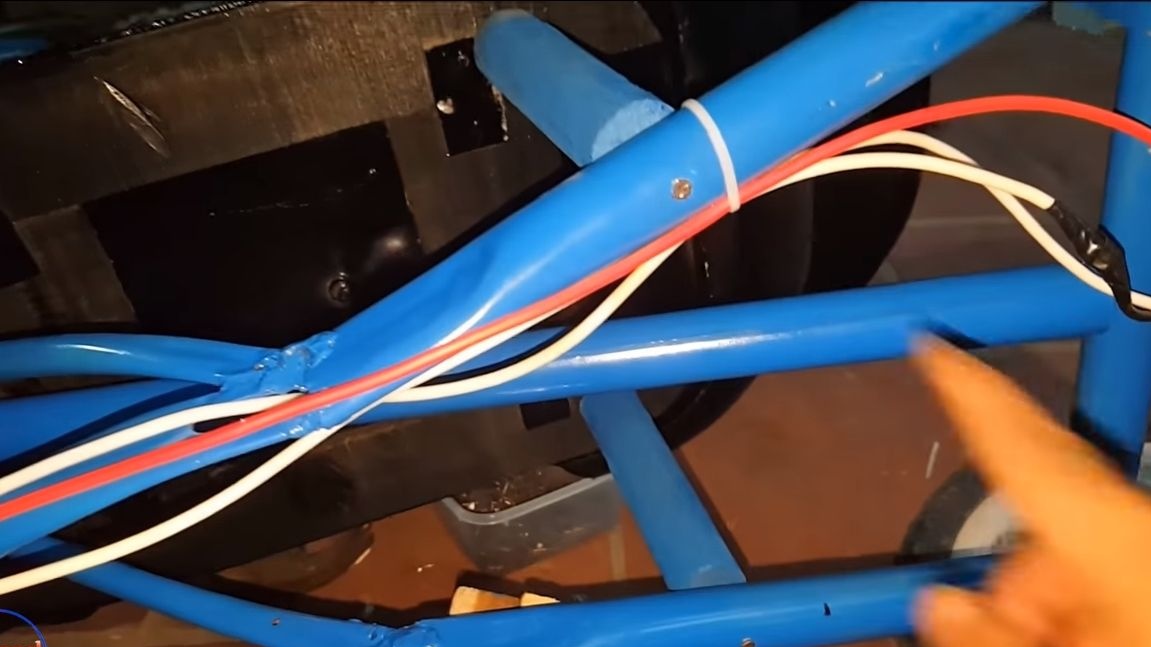
Secure all wiring to the frame using plastic ties. Cables must withstand high currents and have no insulation problems to avoid short circuits.
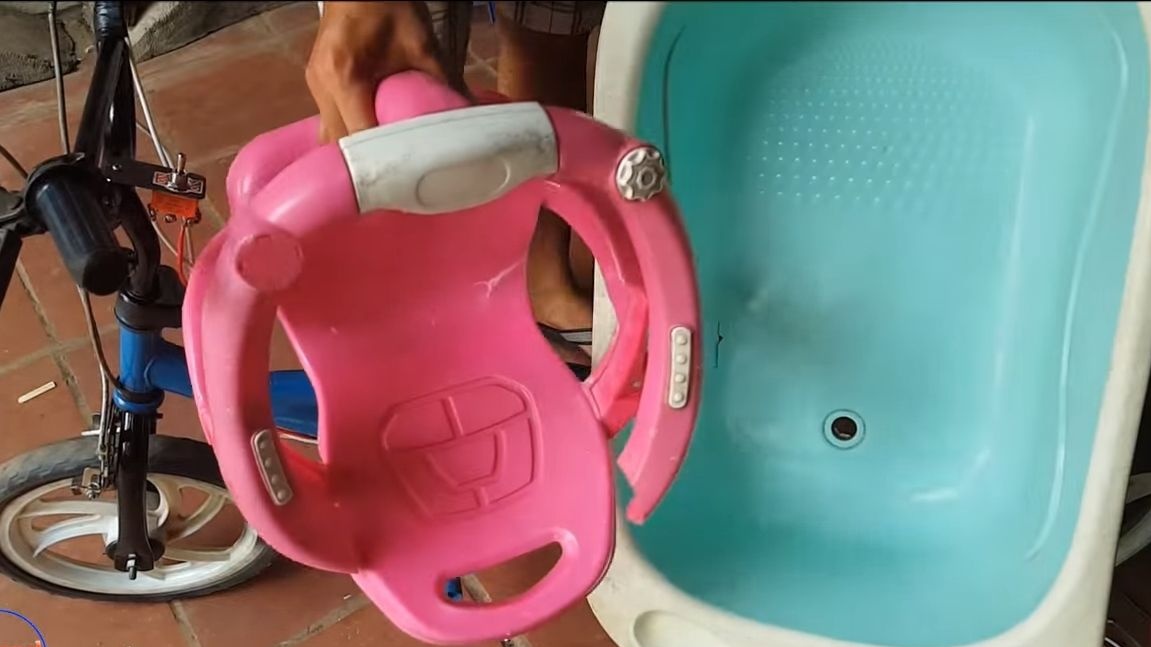
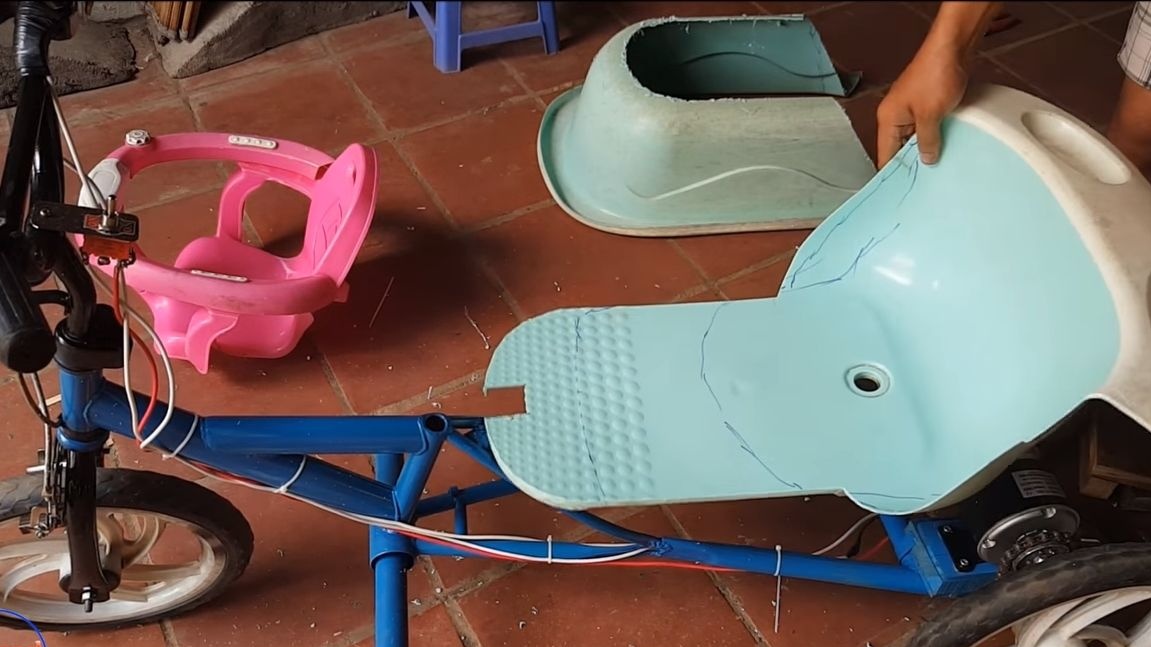
Seventh step. Making a seat
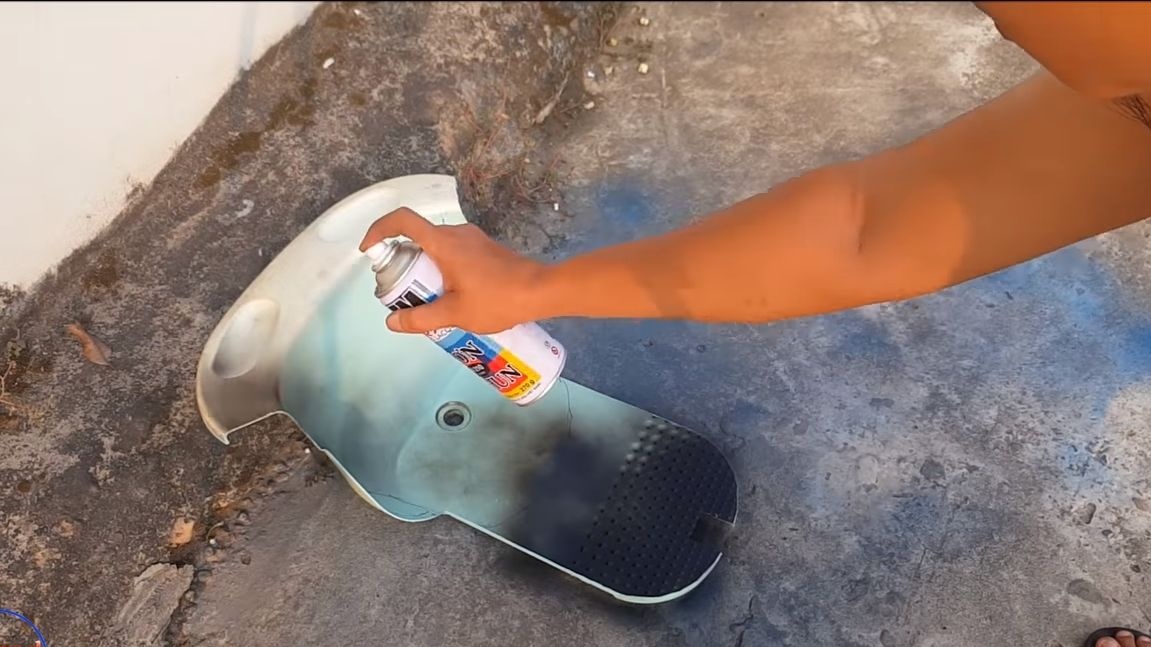
The author made a rather large seat; two children can sit on it without difficulty. The source of material here was an unnecessary baby bath. We cut the desired profile with a grinder and paint from the spray can.
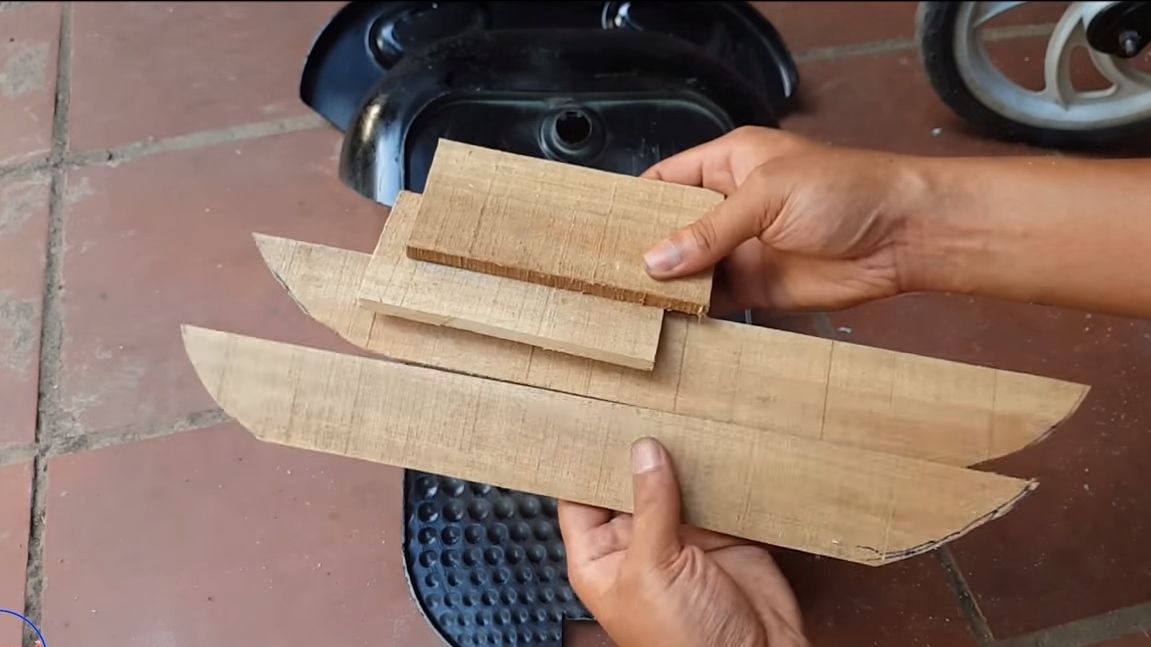
Additionally, the seat needs good support, as the material is not very strong. The author made a frame for sitting out of thin boards, connecting them with metal plates and nails. We fasten the seat to the base with screws or nail it with nails. Also, this part must be painted so that the tree does not rot.
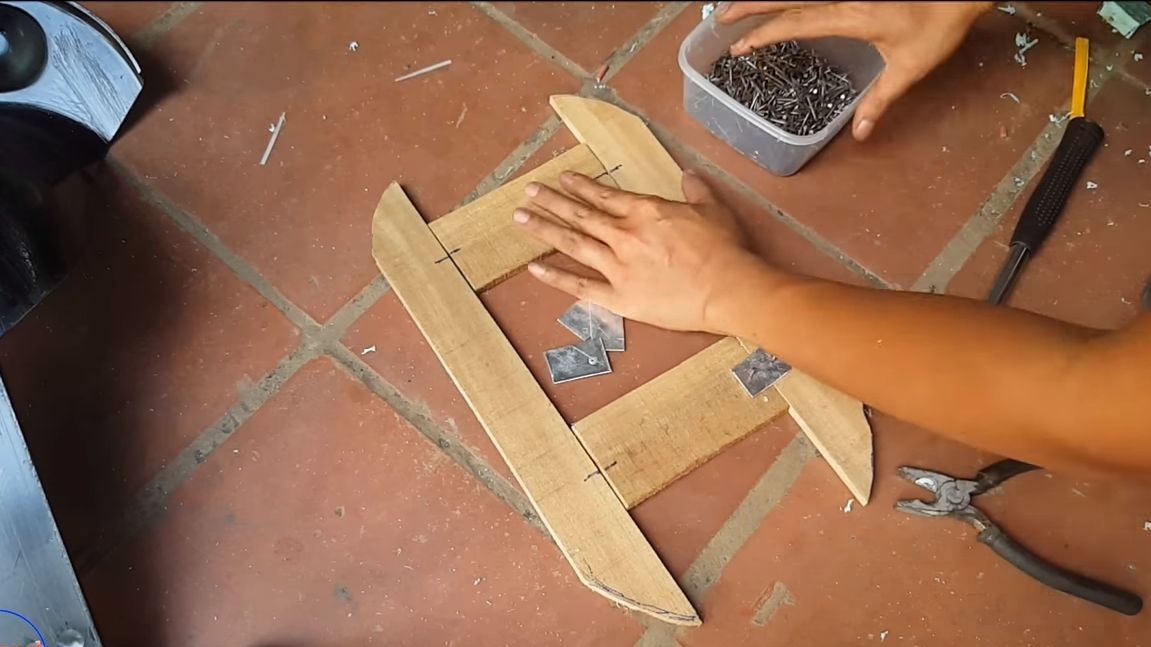
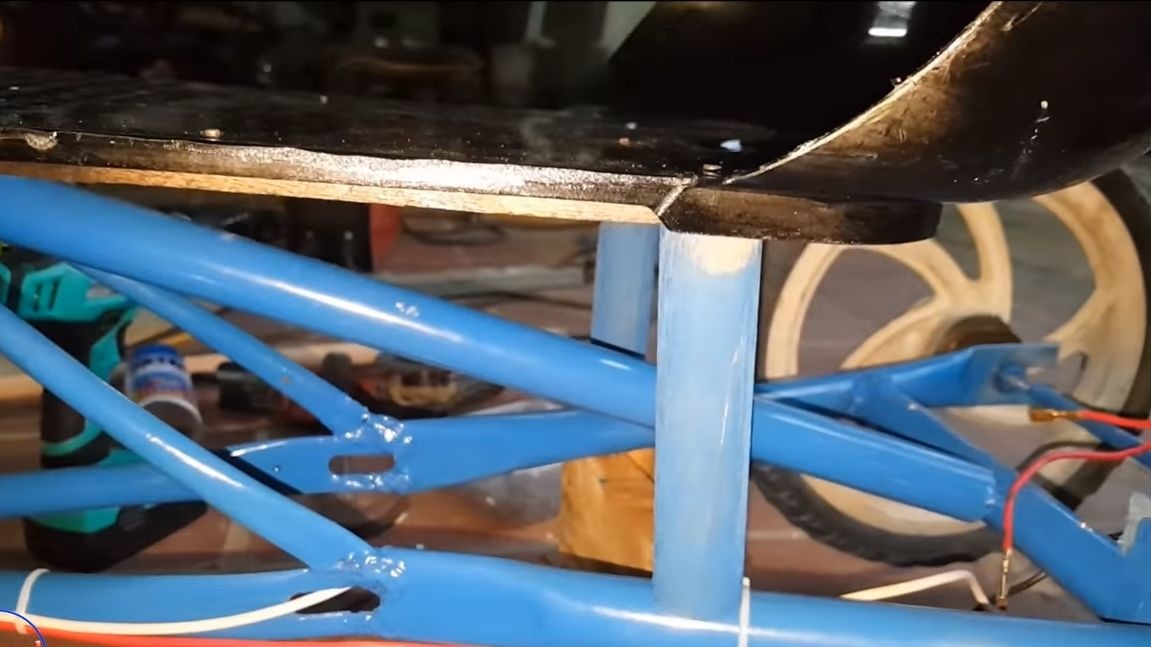
We fix the seat in at least three places. In the back you will need to install two supports, for this you will need two bars or something like that.The author secures the supports using nails. But this is not very reliable, since they can come out, it is best to use self-tapping screws.
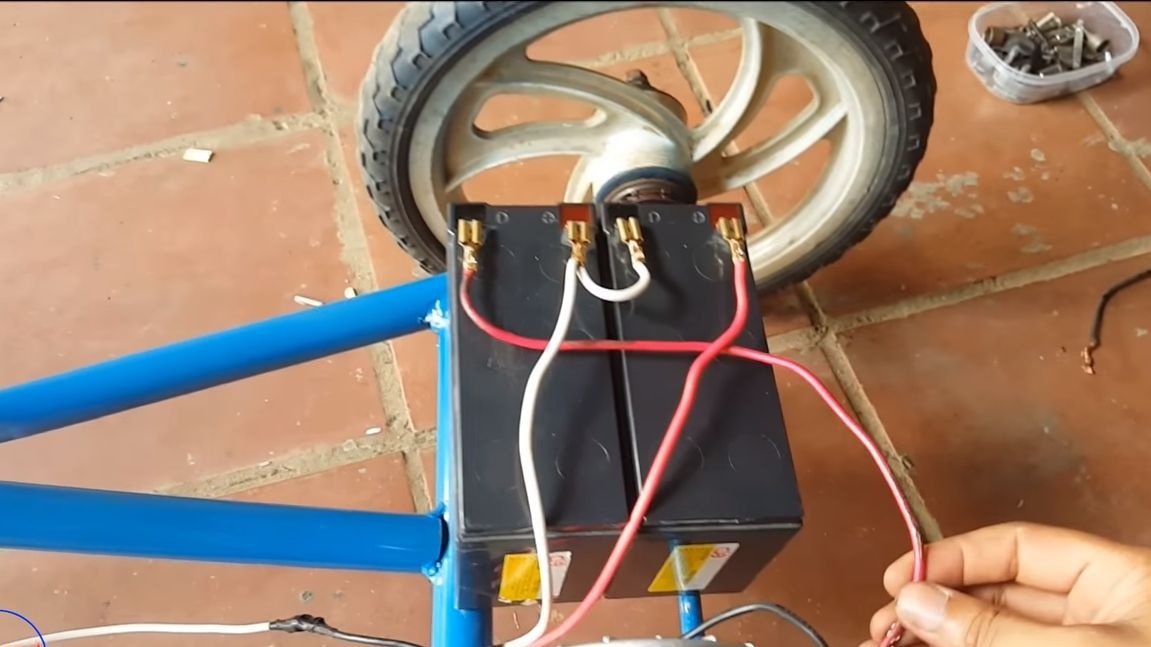
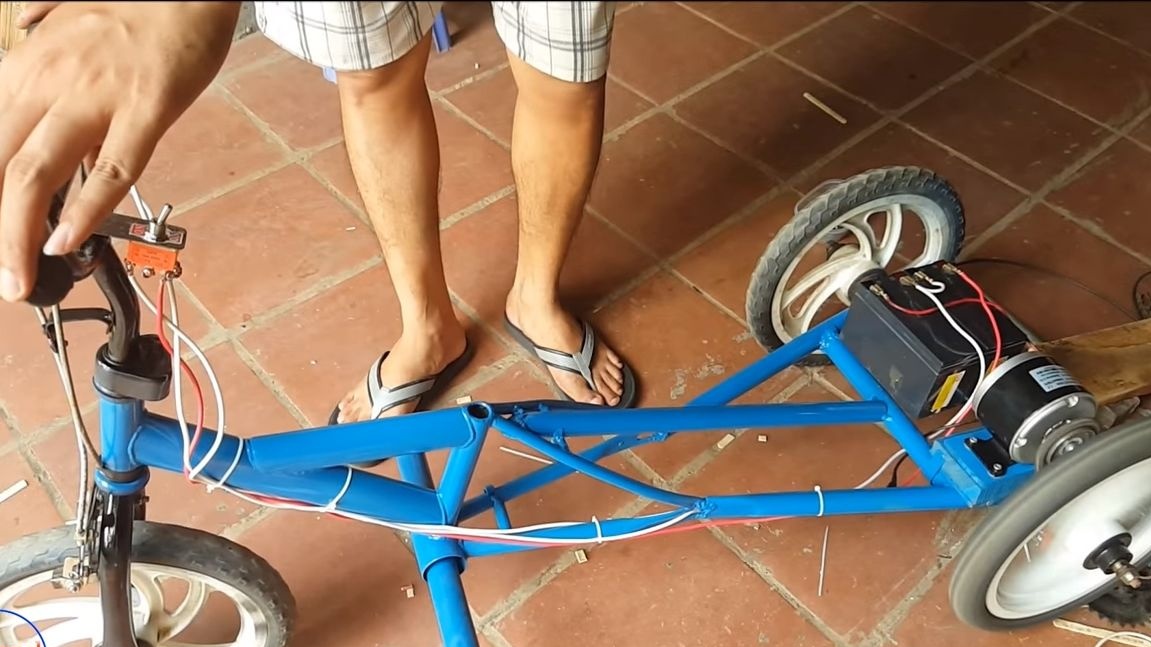
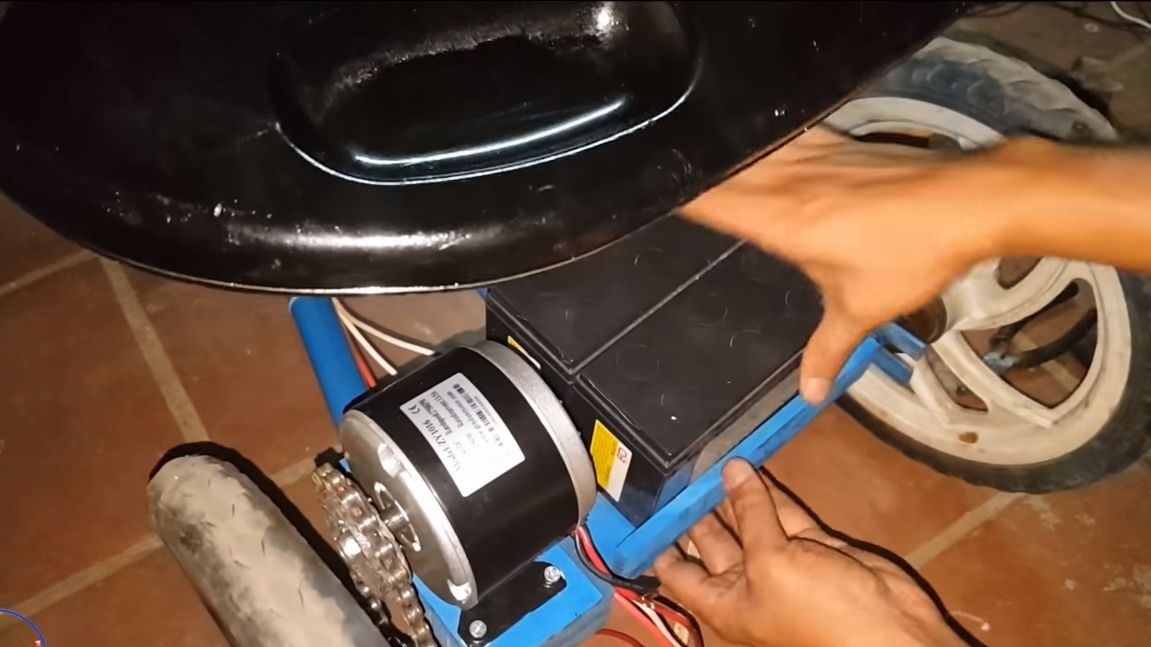
Step Eight. Install the batteries
Batteries must be installed at the rear of the vehicle. For this, the author establishes a special support made of wood. As for the additional fixation, it will not be needed if you drive a car on a flat road. As for off-road, pits and other troubles, for such purposes fasten the batteries with a piece of rubber from the car camera or in another way. Do not forget that they need to have access to charge.

Step Nine. Testing!
That's all, the cards are ready! Try all its modes in practice. First, try to ride it yourself to make sure that everything works well. Turn on the 12V power mode for the child so that he is used to driving. Remember to also adjust the brake system well. The brake is manual, front, like a bicycle. I hope you enjoyed the project, that’s all, good luck and inspiration in making homemade products!