
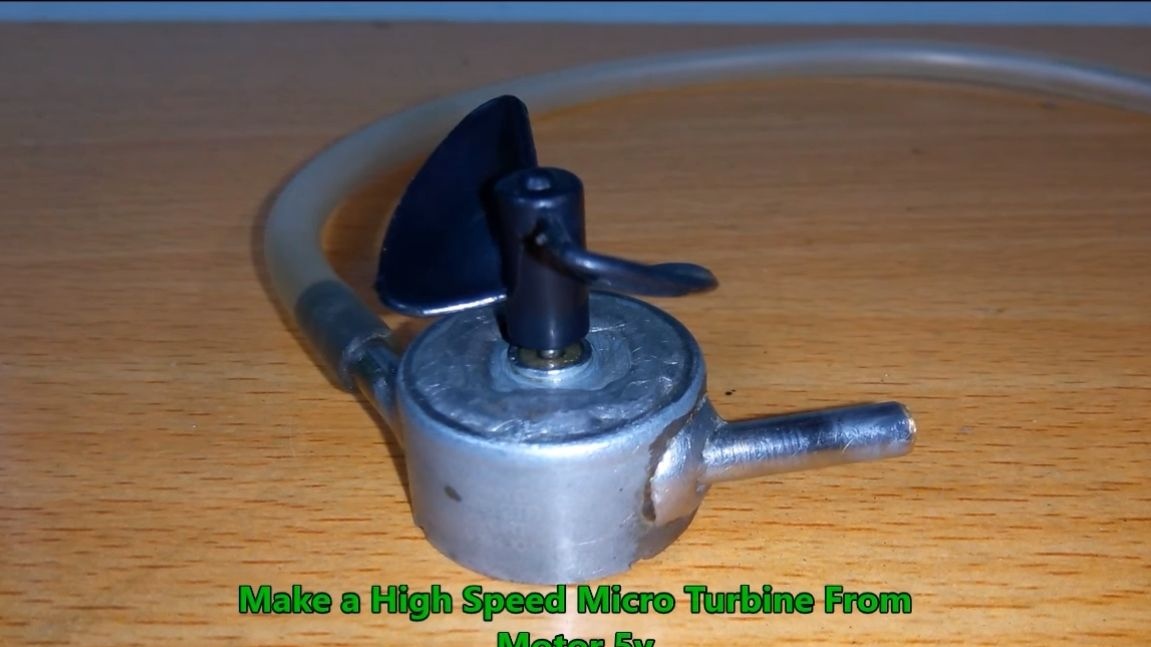
In this instruction, I will show you a unique lafhack - how to convert a small 5-volt engine into a pneumatic one. You can connect it to the compressor and get a small powerful engine. How to use it? For example, you can make a miniature drill, a very small drill or something like that. The power of such an engine will be many times greater than the electric of the same size. Theoretically, the impeller will work not only from the air, but also from the flow of water and so on. By this principle, you can make yourself a more powerful turbine from a large engine and make a power plant, as an example.
Going to homemade quite simply, basically here you need to work with a file. To make one impeller, you will need to find anchors from two identical engines. From them we will make one powerful impeller. You will also need two tubes of copper or another metal that can be soldered. But I’ll tell you all about this later. So, we begin assembly.
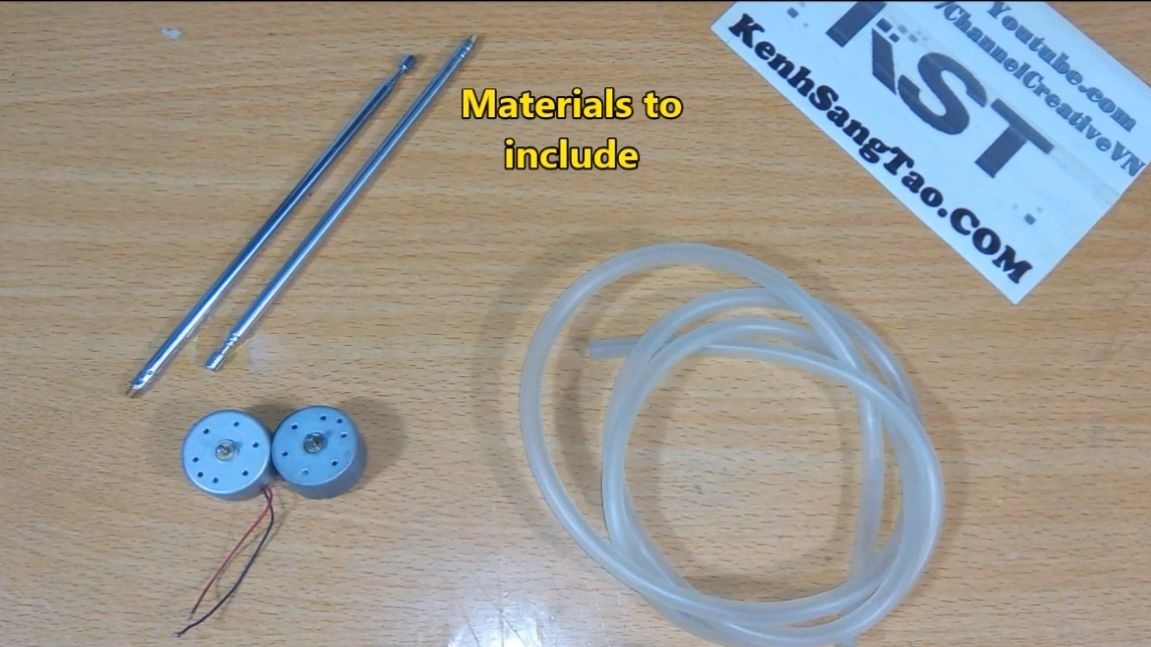
Materials and tools used by the author:
Material List:
- two identical motors;
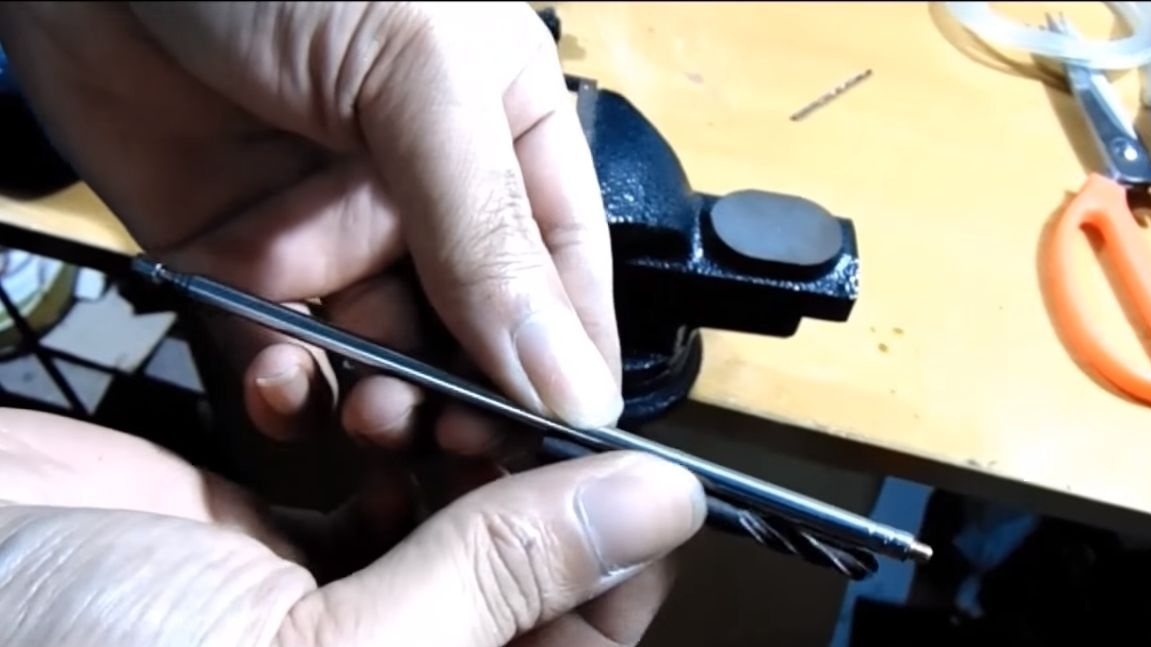
- two copper tubes (the antenna from the radio is suitable);
- rubber tubes (for connecting a turbine).
Tool List:
- ;
- vise;
- grinder;
- pliers.
Turbine manufacturing process:
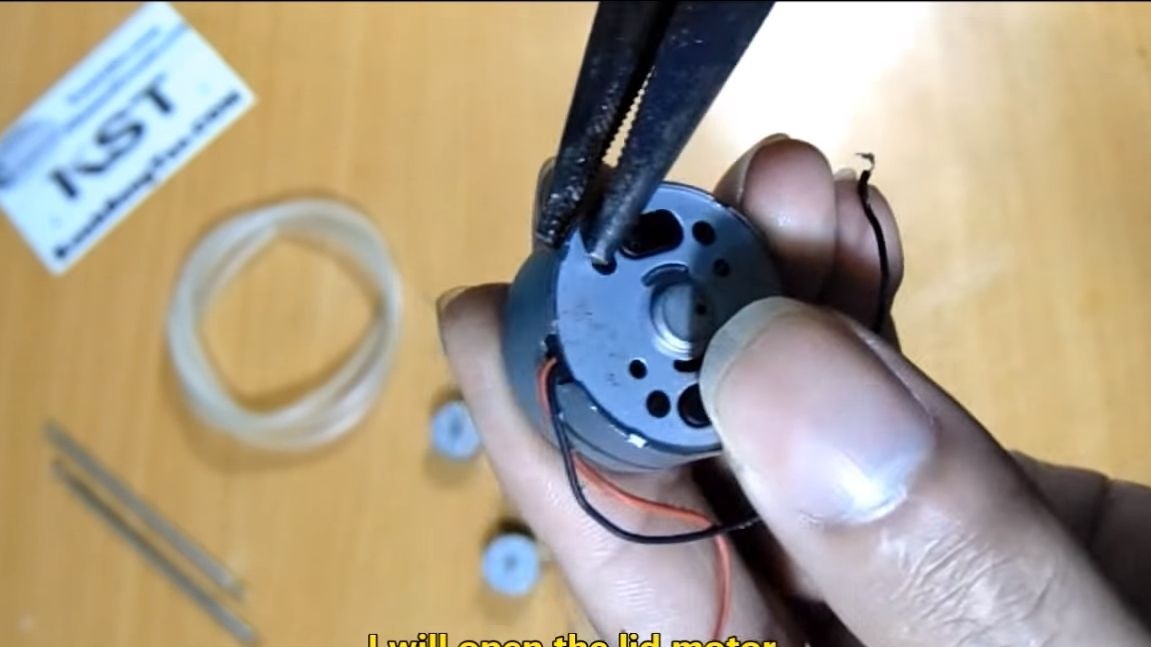
Step one. We disassemble the motors
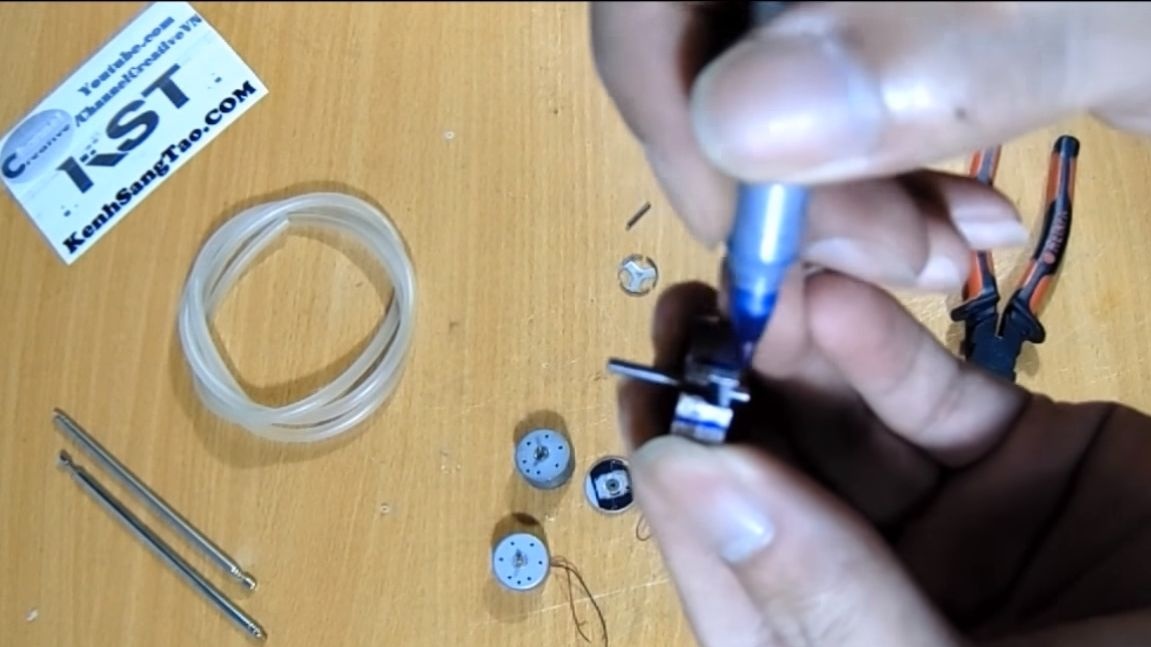
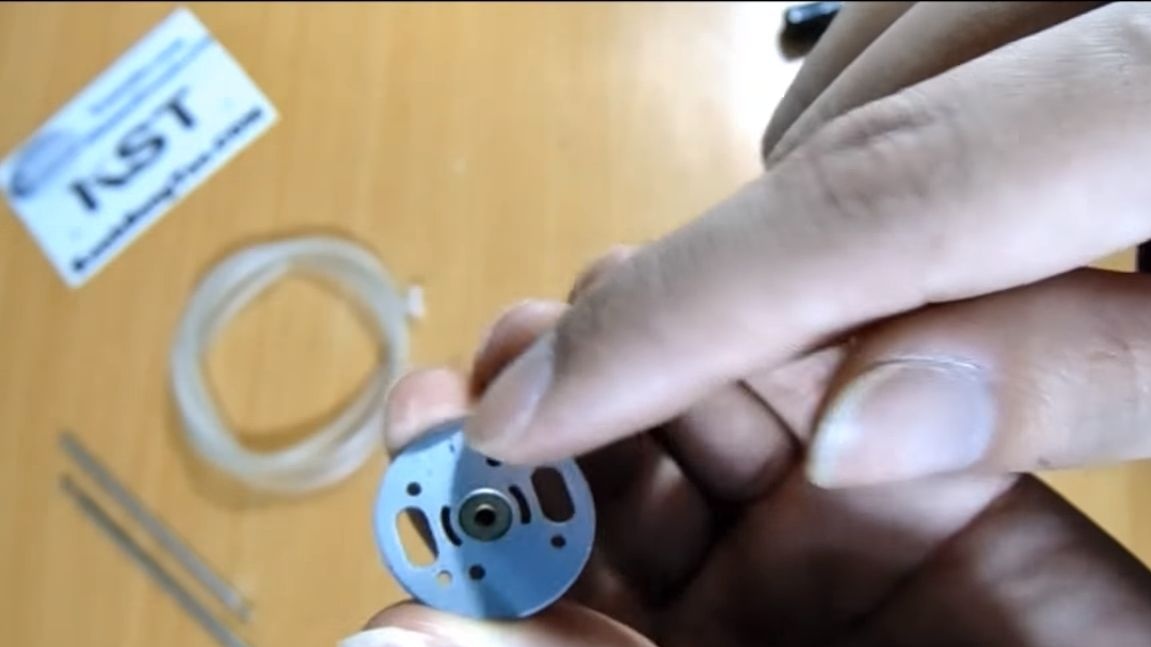
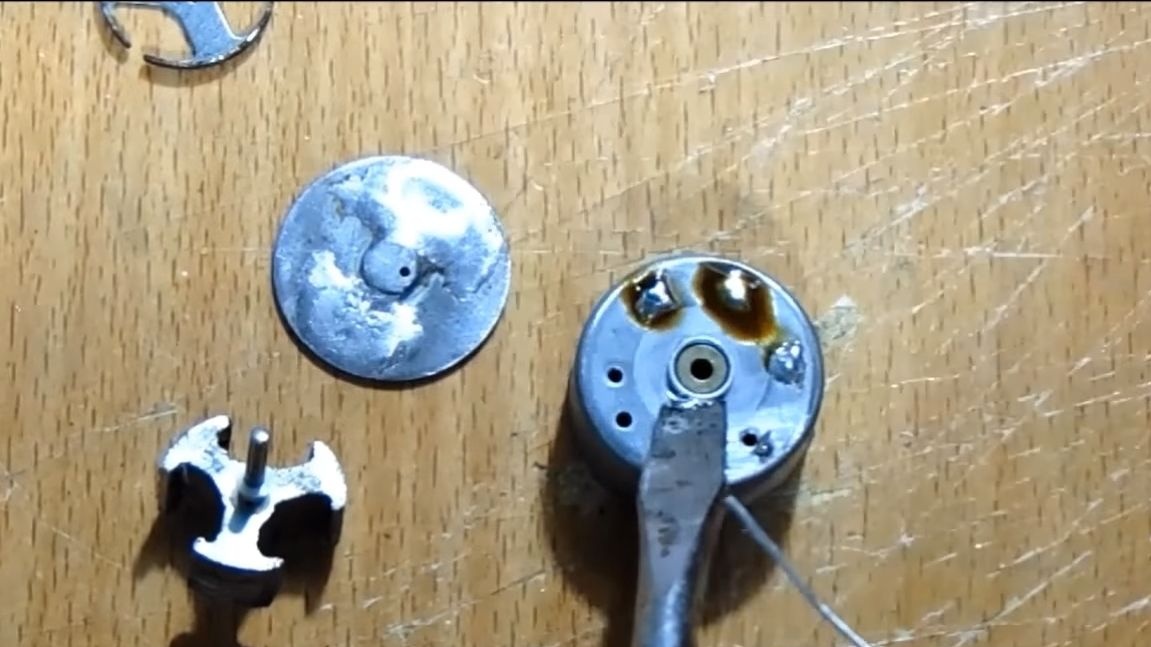
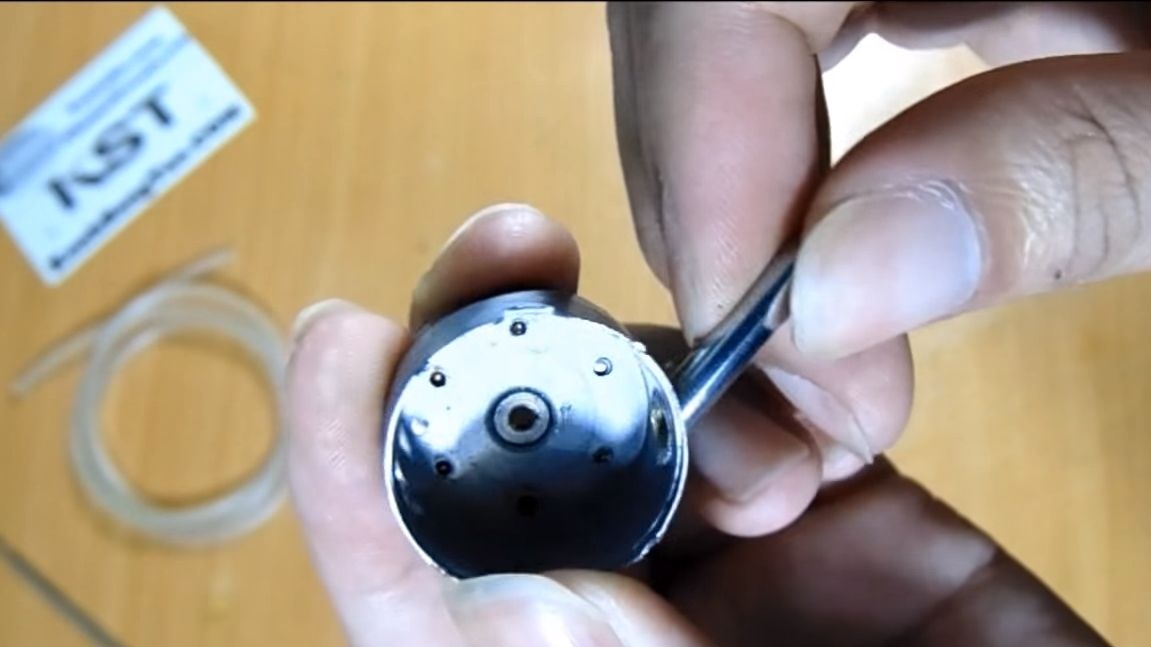
First, we will disassemble two motors, for this you need to unscrew parts of the body with pliers. Pull the magnets out of the cases, prying off with a screwdriver, we won't need them.
Now you need to prepare the anchors, remove the plastic thrust washers from them, but do not lose, they are very important and necessary.
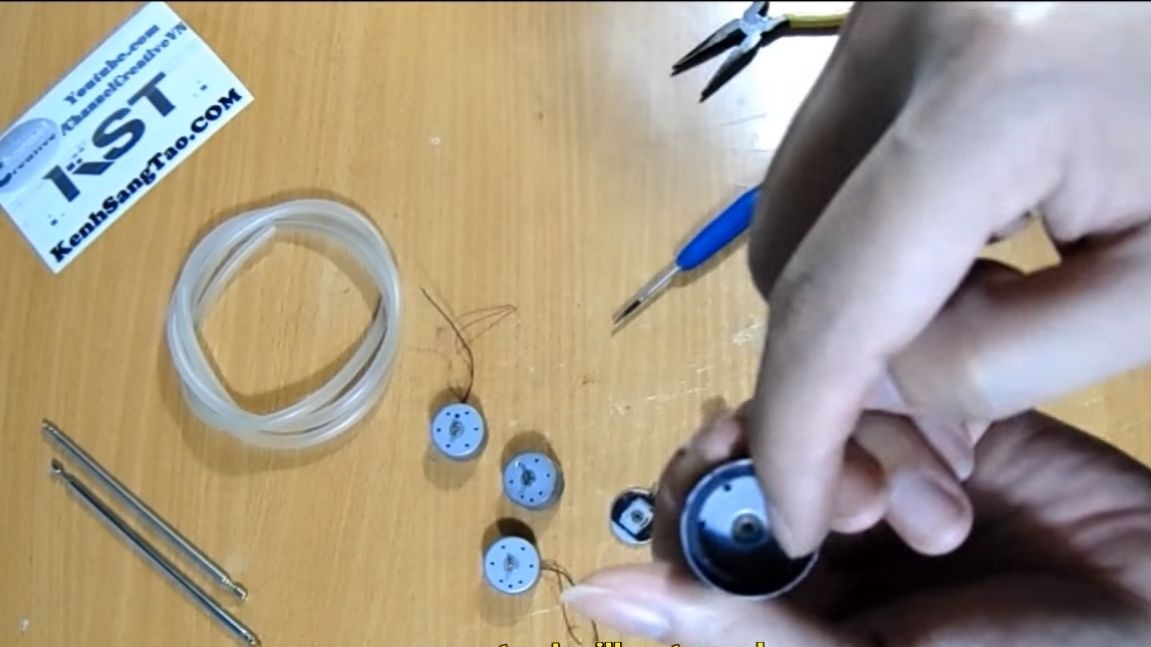

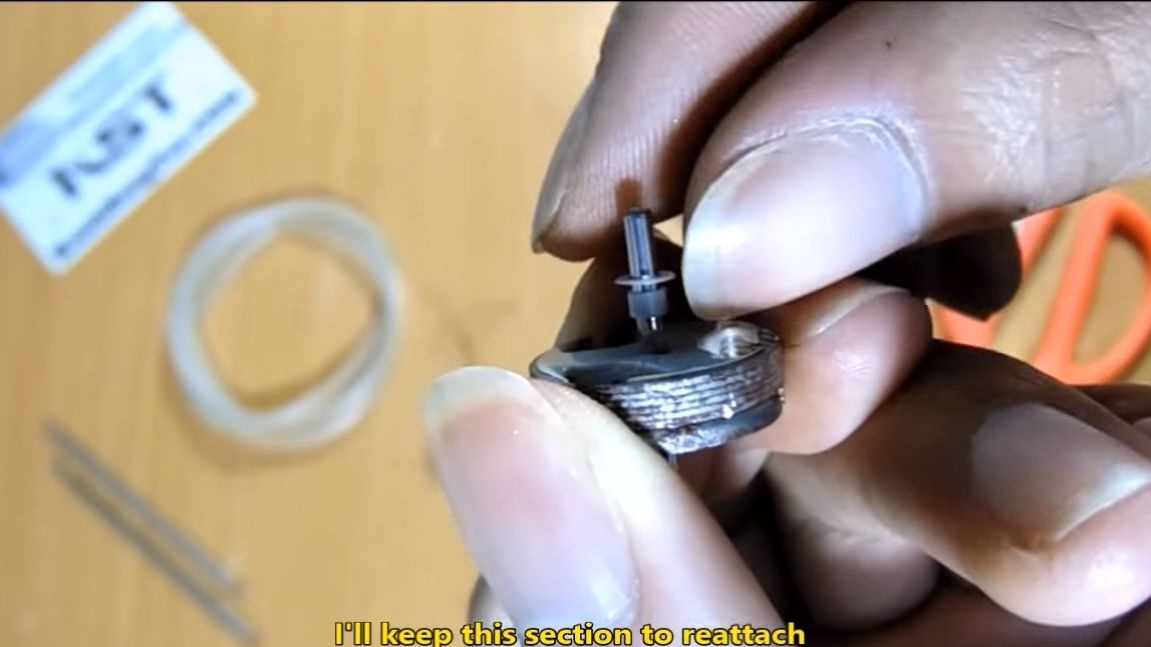
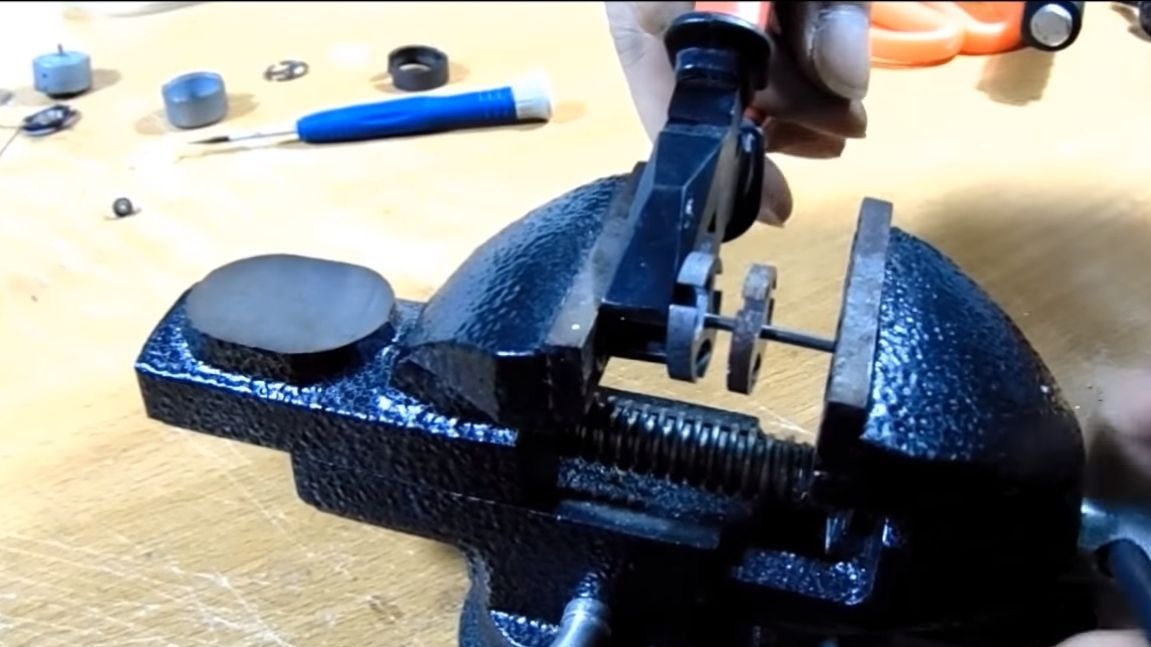
We cut off the winding from the anchors and remove it, it is also not needed. And to get more benefits, it’s better to carefully rewind the wiring, such a thin wire is actively used electronicsespecially reels. Now you need to pull the axis from one of the anchors, for this the author uses a vise and pliers. Carefully extrude the axis with a vise, and then pull it out with pliers.
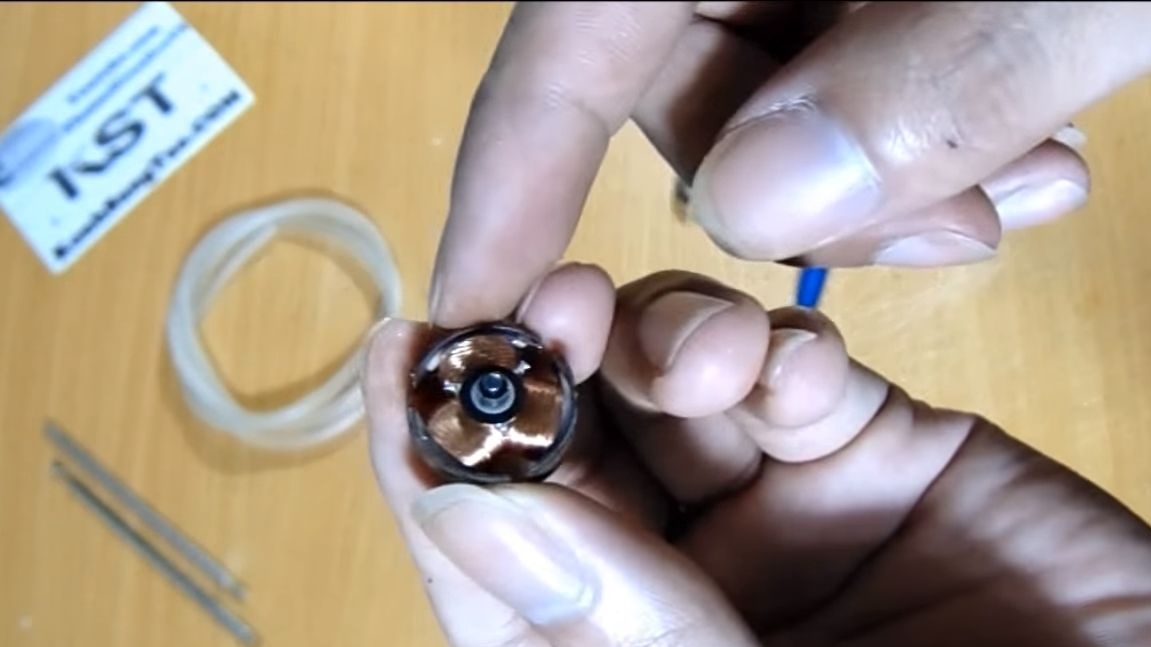
Step Two Impeller manufacturing
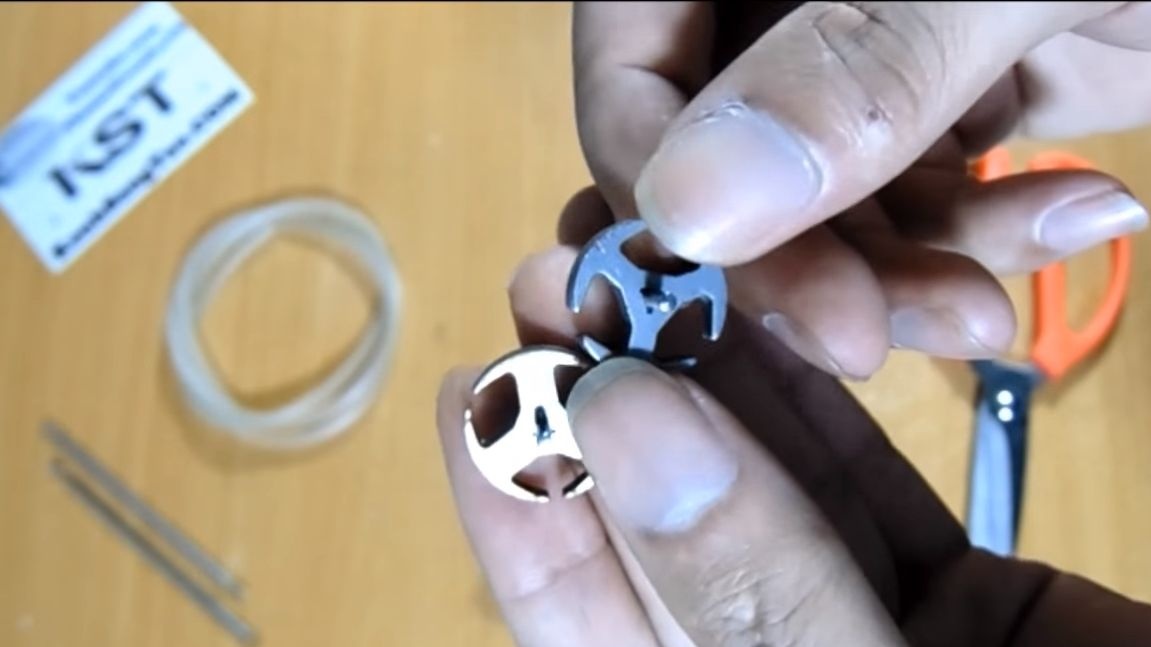
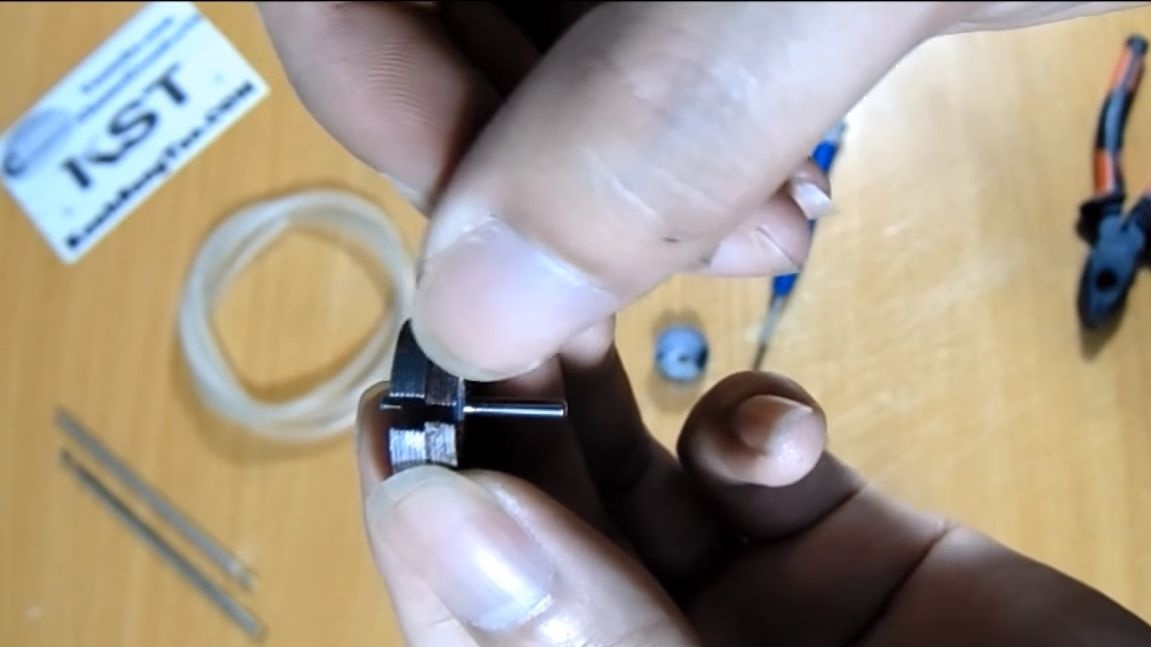
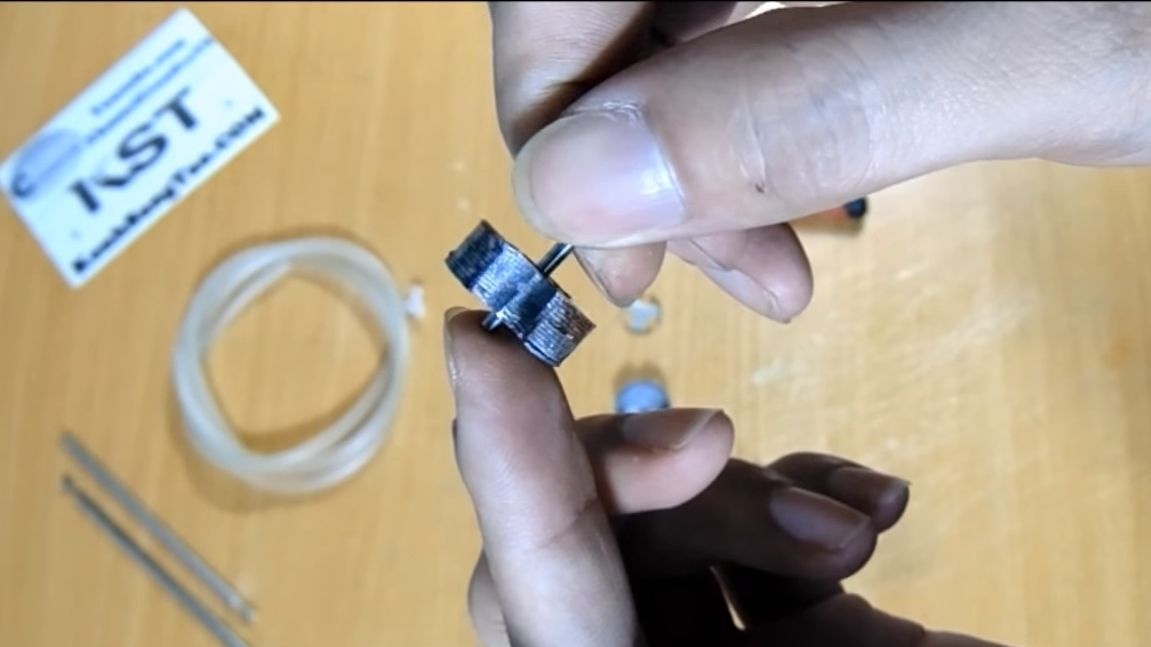
For the manufacture of the impeller, we set the cores of the anchors together. After installation, glue them with superglue just in case, so as not to move. Better yet, apply glue between them, and then assemble.
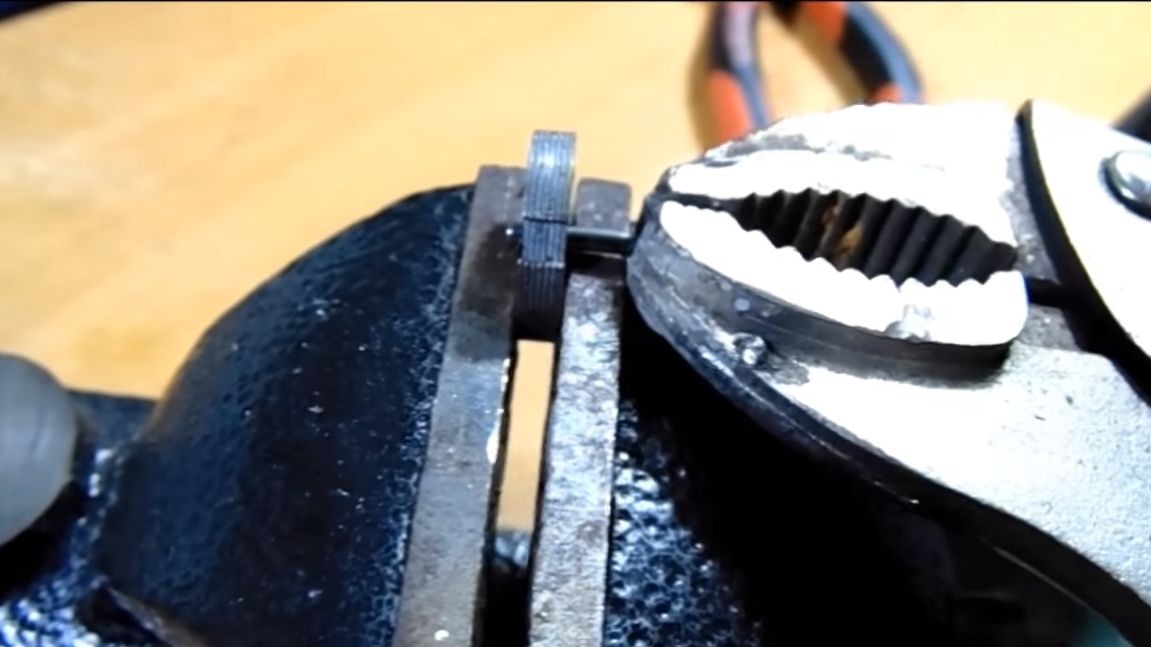
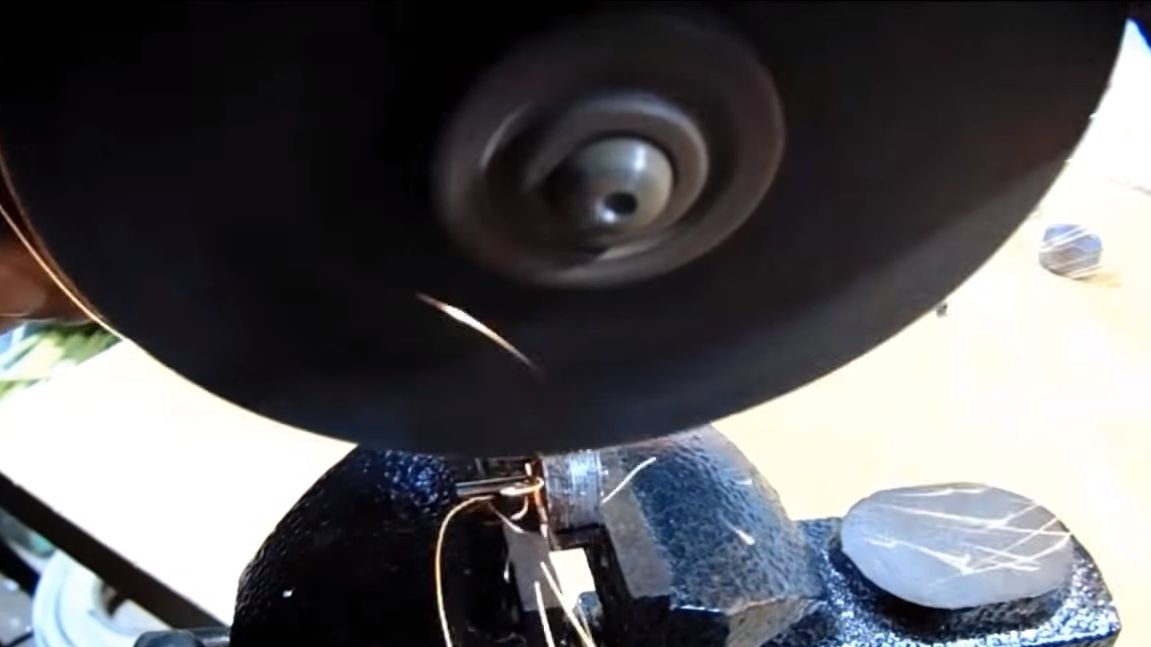
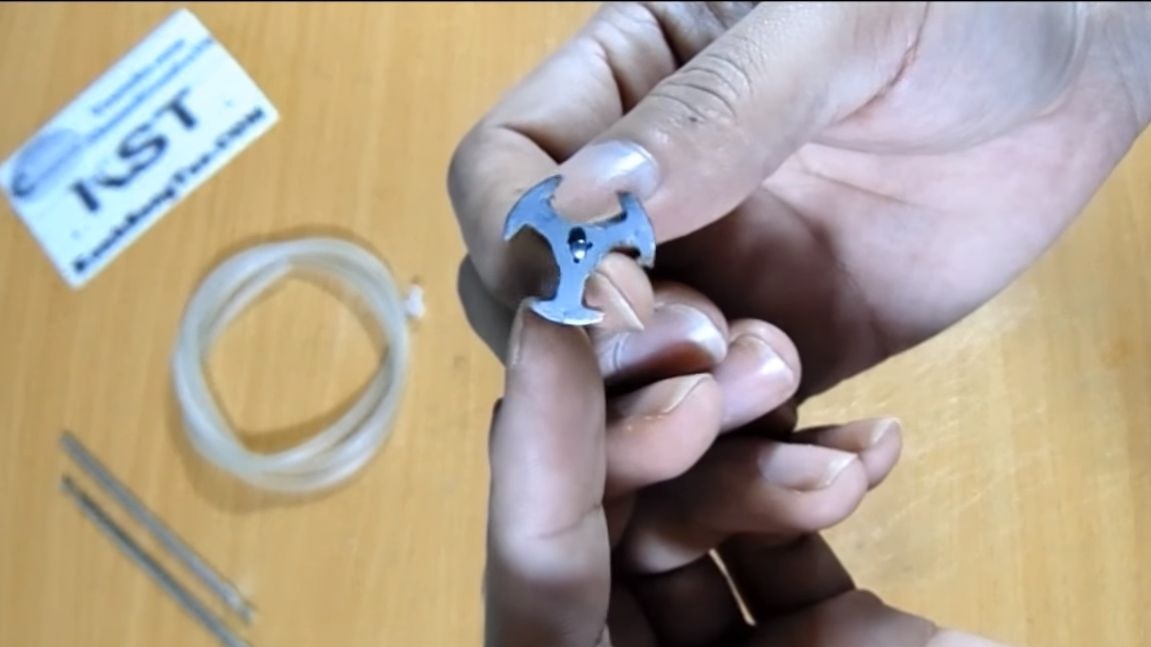
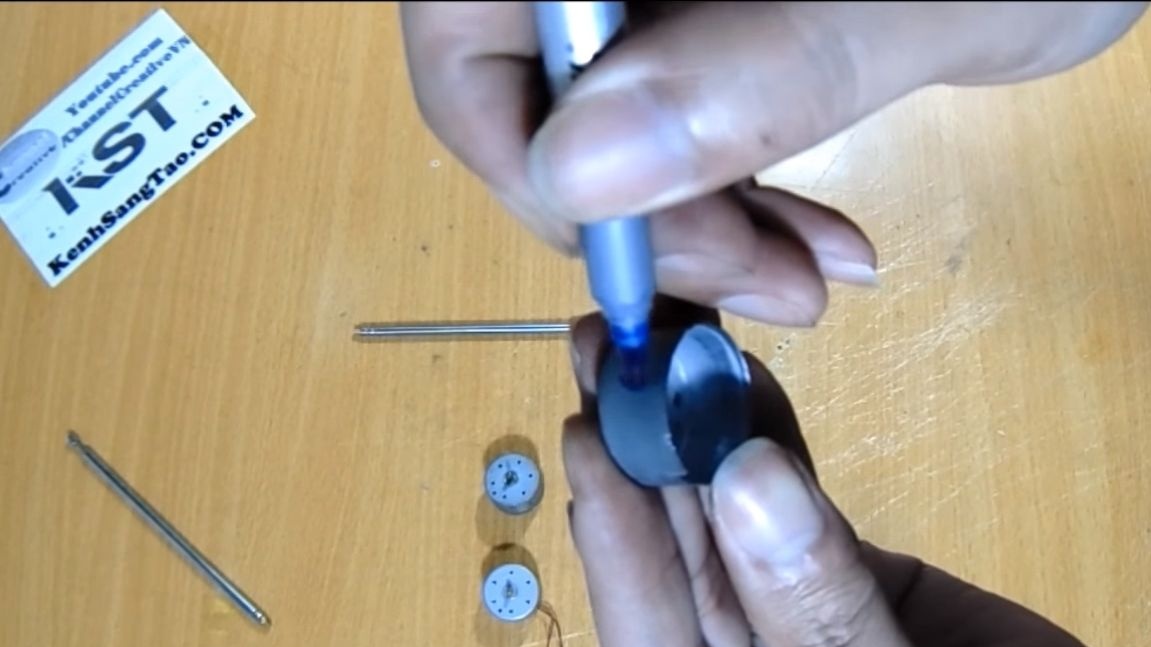
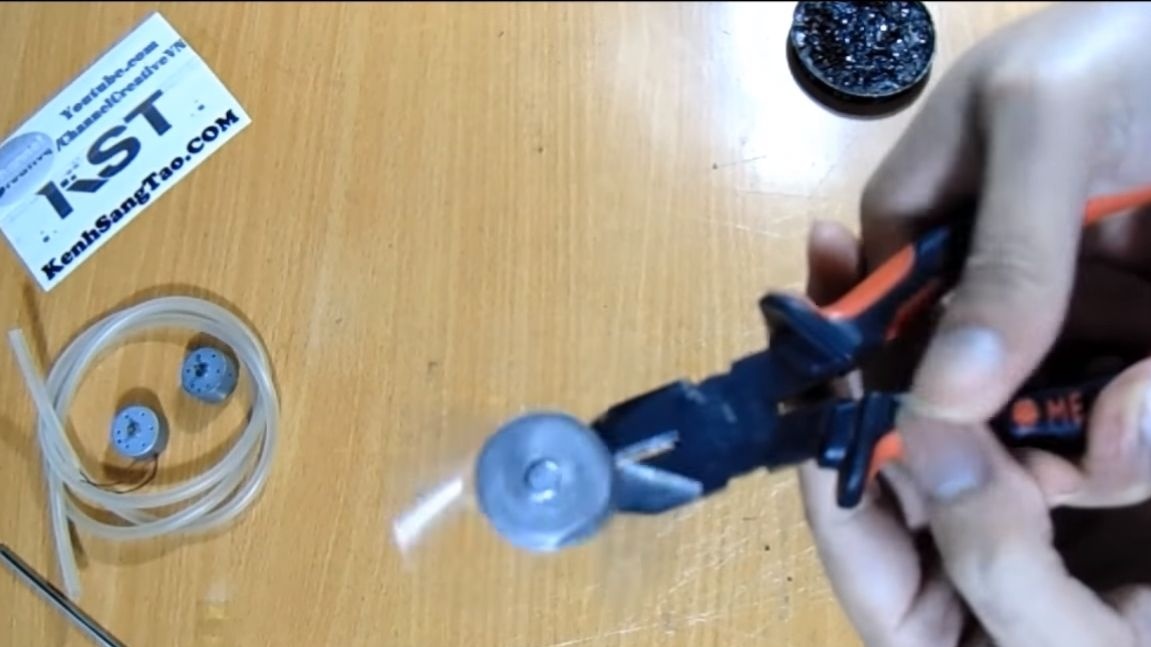
At the end, we make markings and clamp the anchor in a vise. In it, using a grinder, you need to cut through such grooves as the author's photo. The air flow will “abut” here and spin the impeller. Finally, install thrust washers made of plastic onto the impeller.
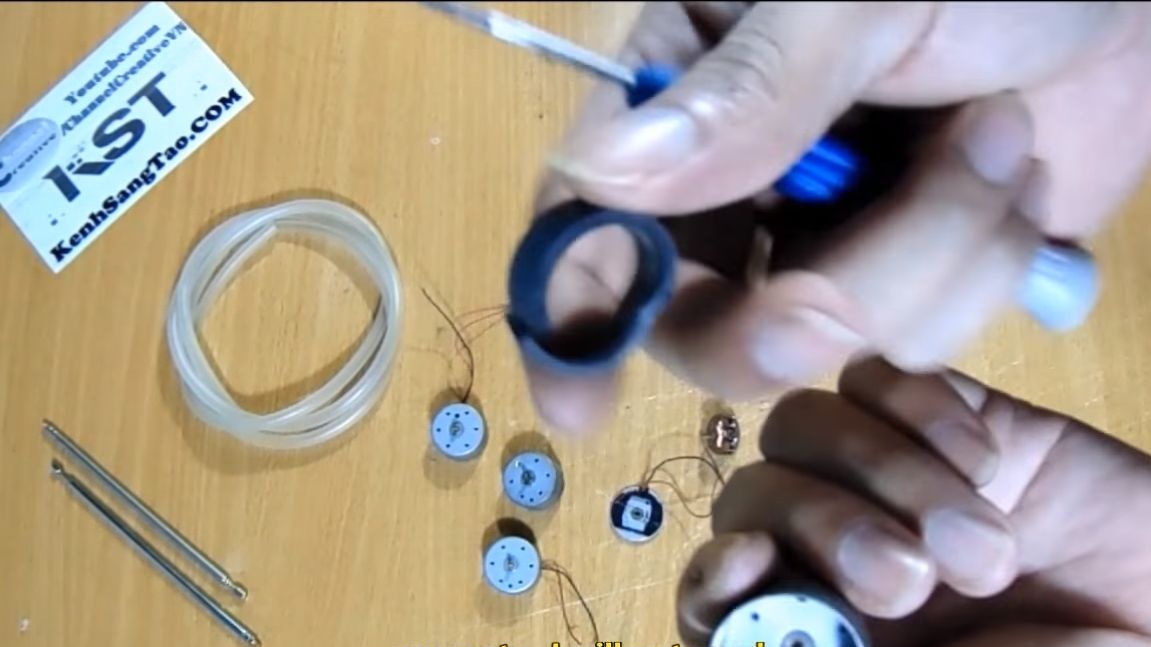
Step Three Cooking case
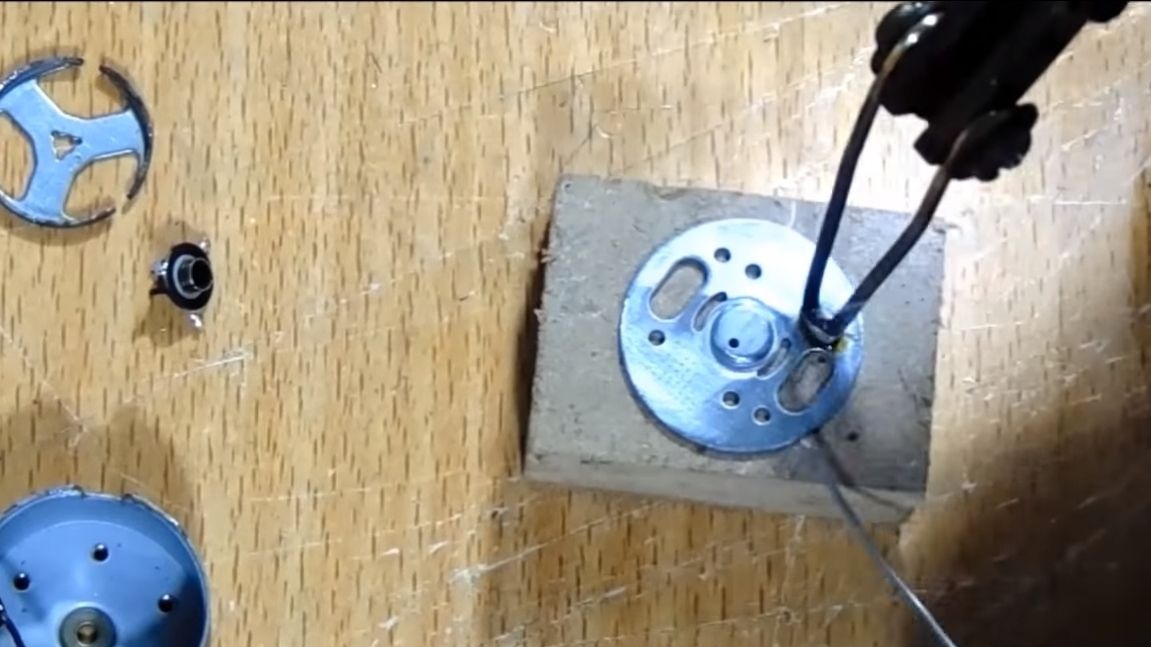
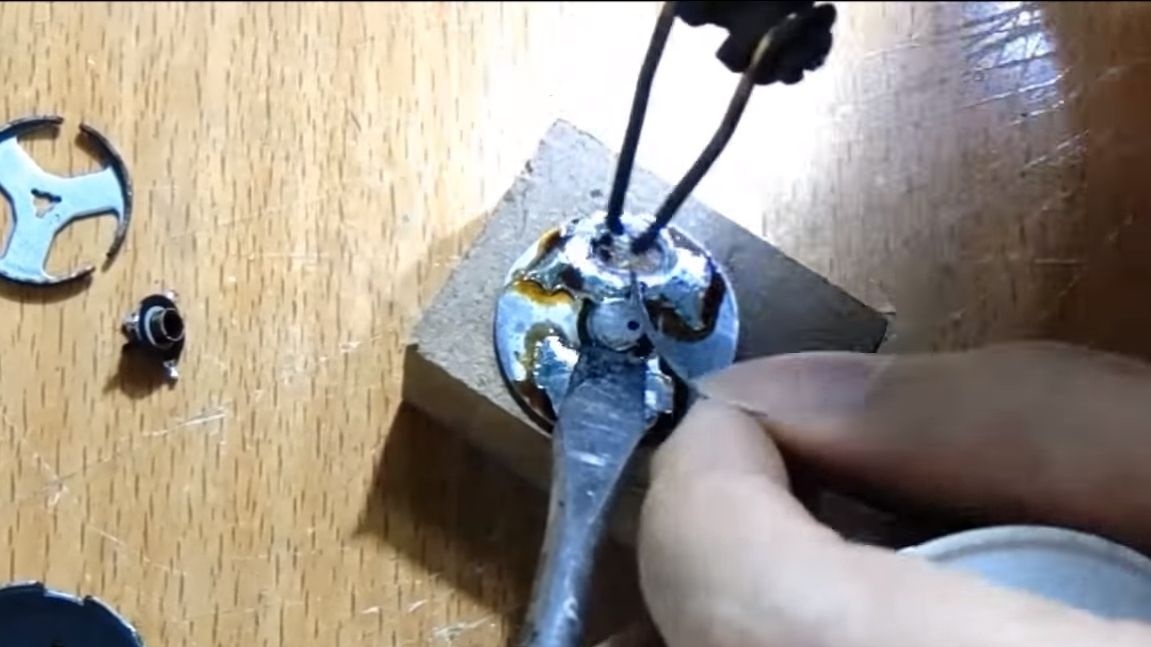
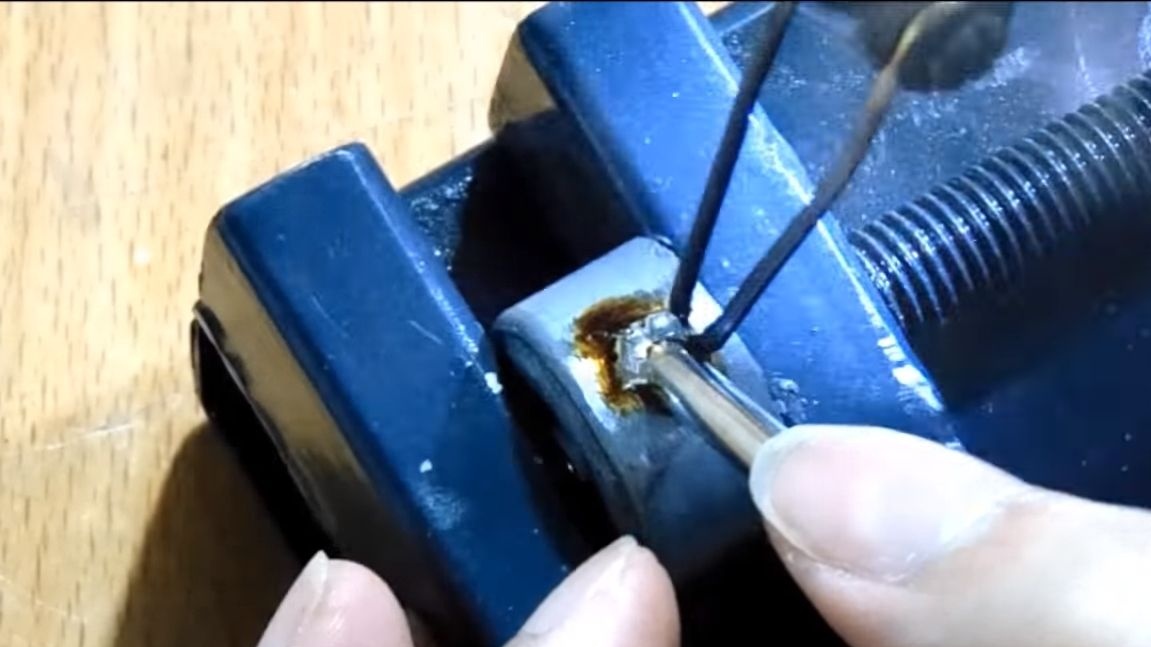
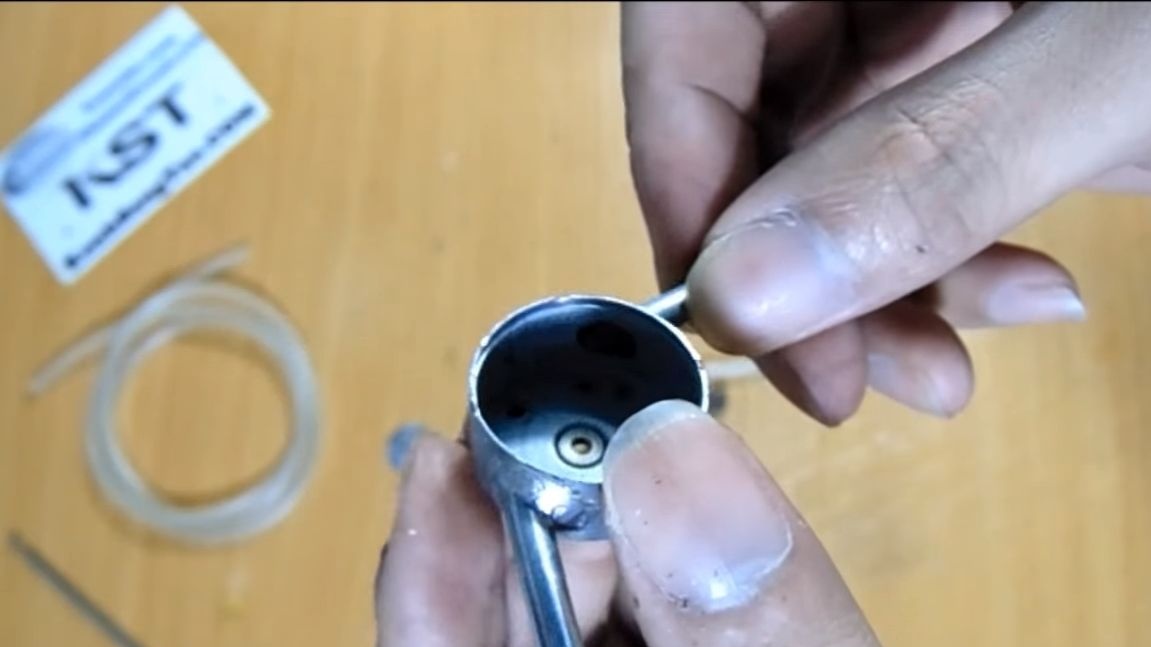
An important step in the assembly is to carefully solder all the holes in the case so that there is no air leak anywhere. We take the back cover and remove everything superfluous from it. The resulting holes are sealed by putting the lid on a brick or other object that does not burn. There should not be any problems.
You also need to solder all the mounting holes on the body in front of the engine (where the shaft is).
Step Four Install tubes
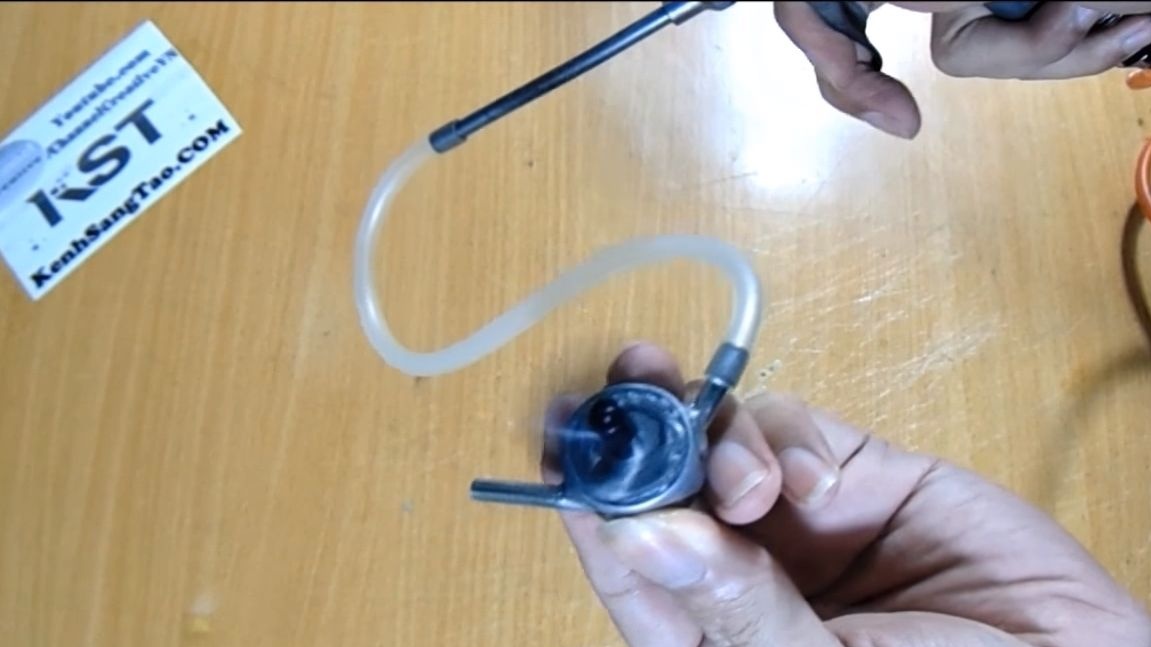
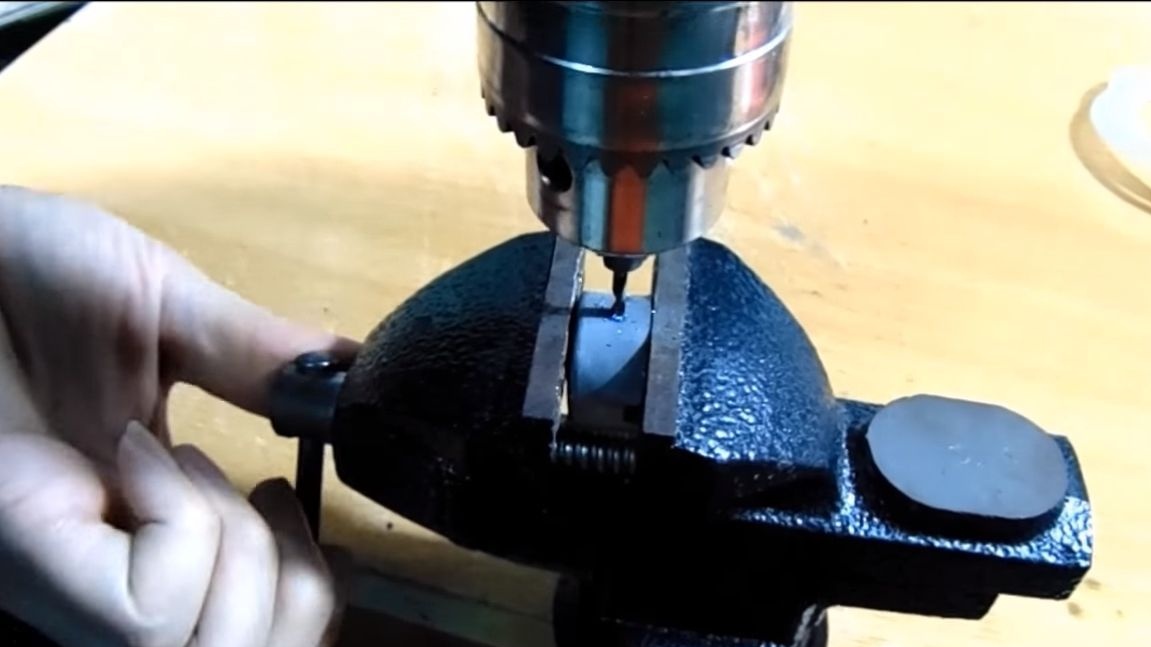
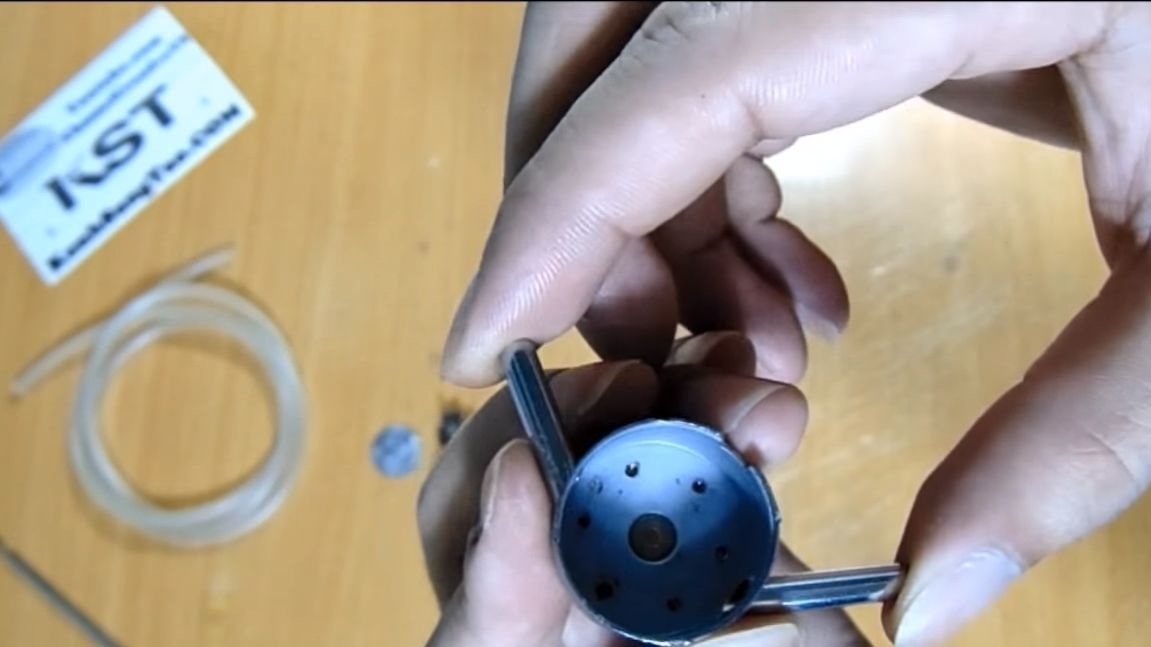
In the engine housing, we drill holes for the tubes, they are drilled one opposite the other (180 degrees). The tubes should be fixed at an angle of approximately 45 degrees. As a result, the engine can rotate in any direction, depending on which tube to supply air.
As for the tubes, the author decided to use the radio antenna as the source. They are made of copper and perfectly solderable. We cut the tubes at an angle, and then install them in the drilled holes and solder them well.
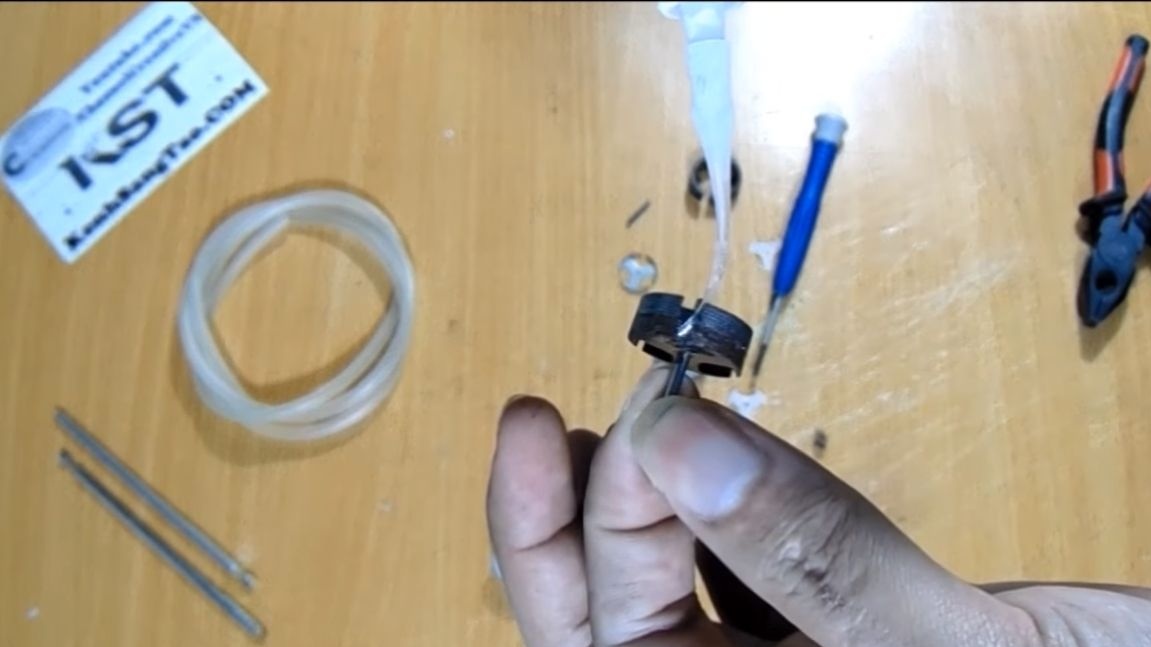
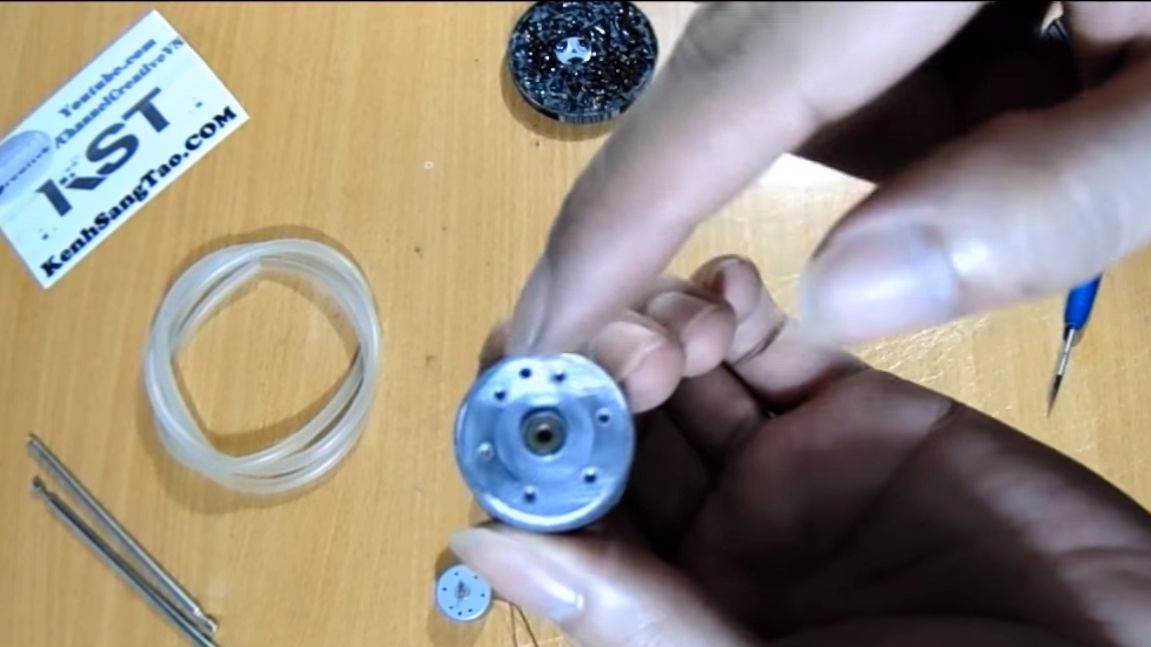
Step Five Assembly
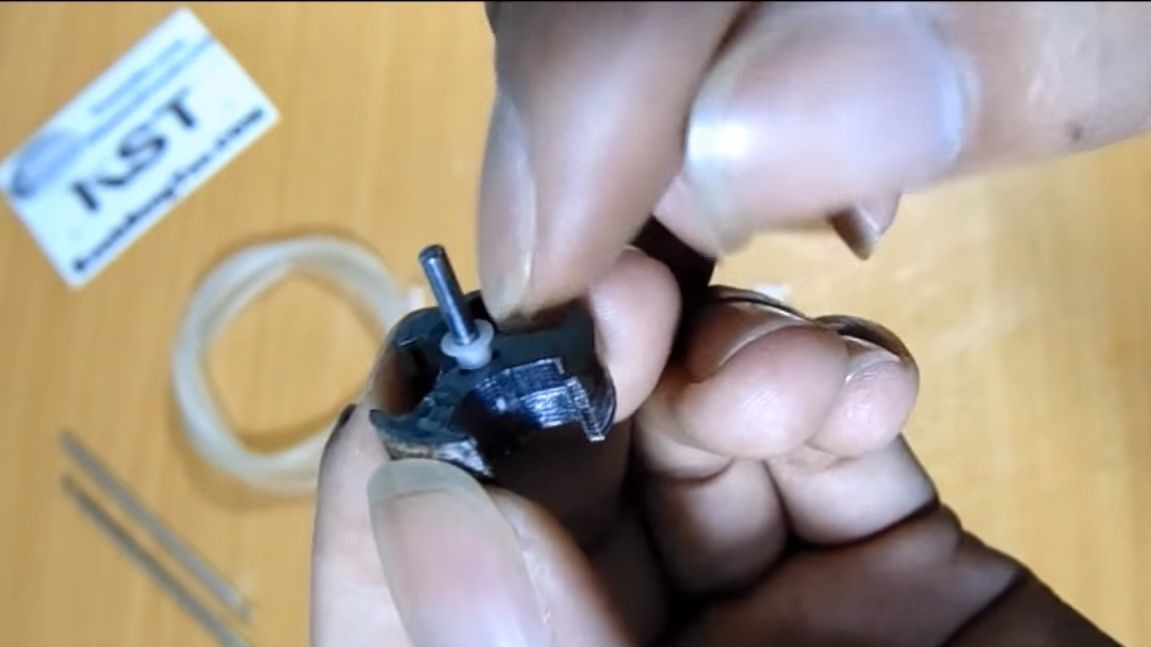
You can start assembling the turbine. Here you need lubrication, well lubricate the thrust washers and bushings. It is advisable to use a thick grease so that it stays in place longer. However, the engine is collapsible and, if necessary, can be lubricated. We install the back cover and bend the body parts with pliers.

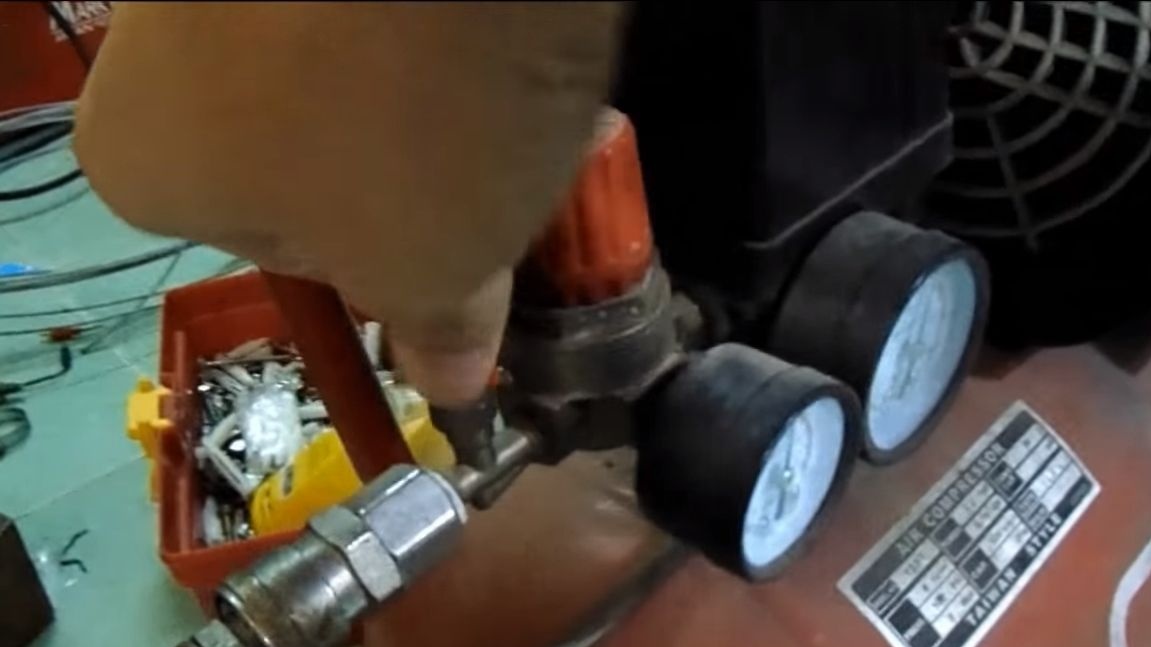
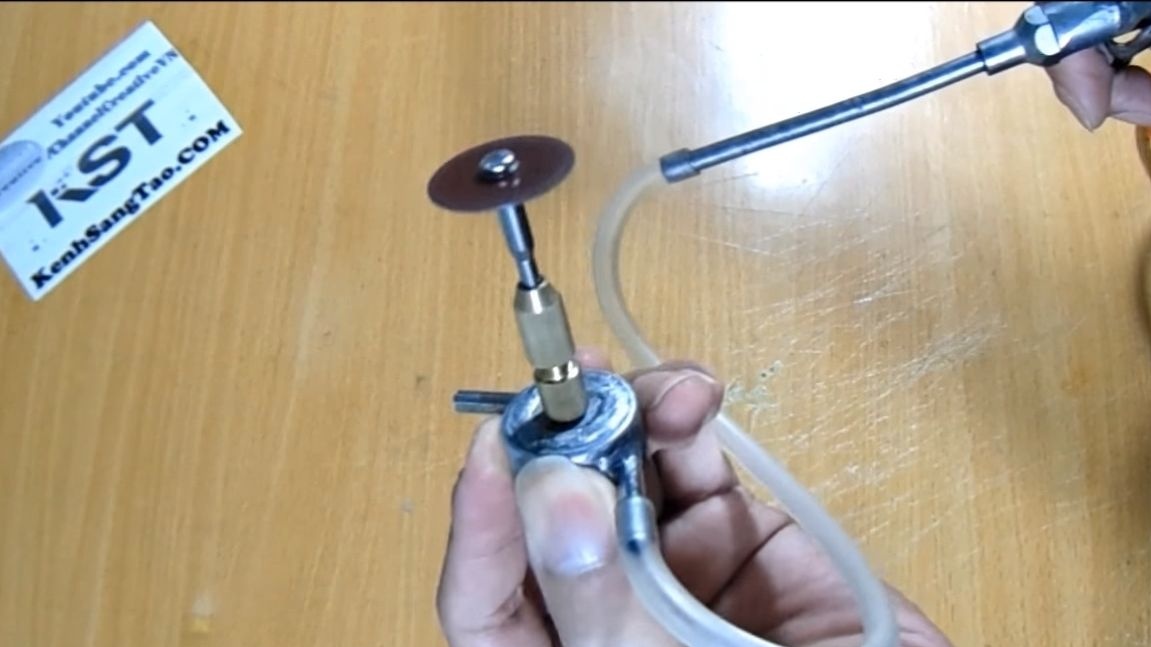
That's all, the "turbo engine" is ready, you can connect to the compressor. Depending on which fitting you supply air to, the engine will rotate in one direction or another. The author installed a drill chuck on the motor shaft, which allows you to put various small nozzles from the drill. That's all, I hope you enjoyed the project. Good luck and inspiration in making homemade items!