
Hi the inhabitants of our site! Very soon country season, and for sure many of us will go to the country outside the city for the whole summer, and some live in the country. And many have a problem with the speed of the Internet. And immediately comes to mind the purchase of a 3G antenna for the modem, and having seen the cost of such sets, we understand that it does not hurt. But the desire to increase the speed of the Internet does not disappear. So in the article I will try to describe the assembly of a simple antenna from improvised materials that are likely to inflate in the garage or in the country.
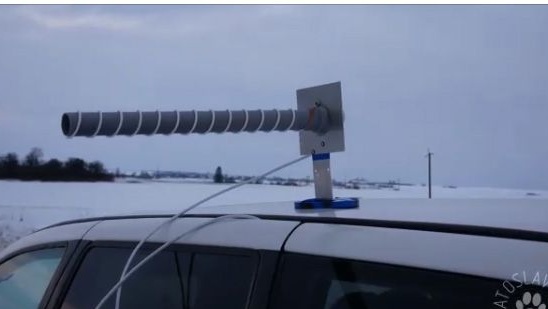
This homemade product can serve as an antenna for Wi-Fi, 3G, 4G networks. The antenna will be directed so-called "gun".
To make the antenna we need:
1- Plumbing PVC pipe.
2- A small aluminum sheet.
3- Copper wire with a cross section of 2.5 mm.
4- Ruler.
5- Scissors for metal (grinder or something that can cut aluminum).
6- Two component adhesive.
7- Super glue.
8- Ruler.
9- Drill with various types of drills.
10- File or sandpaper.
11- Thin sheet of copper.
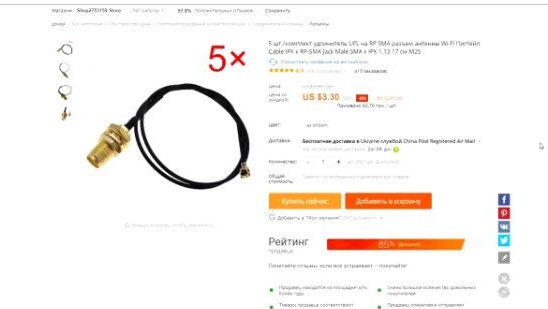
12- Connector for cable.
13- Soldering iron solder.
14- Adapter for modem (optional).
15- Marker.
16- Compass.
The manufacture of the antenna.
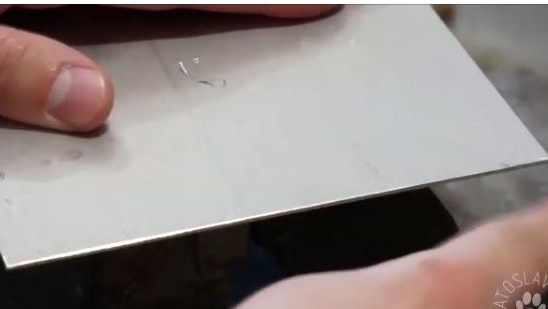
1- First we make a reflector for our antenna. To make the reflector we need an aluminum sheet.
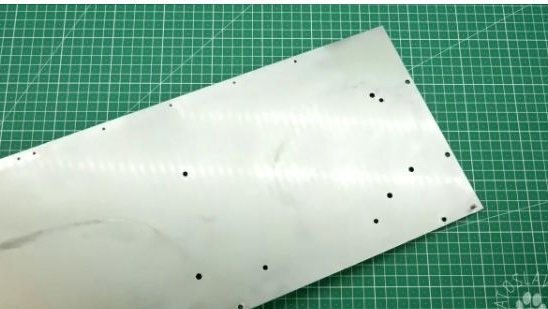
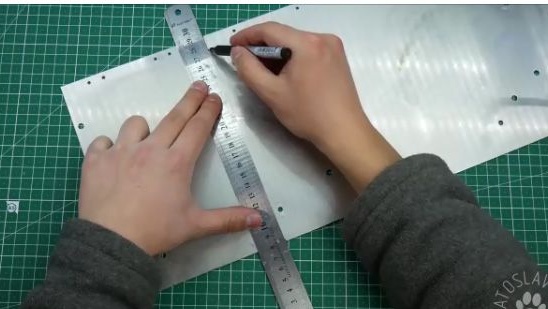
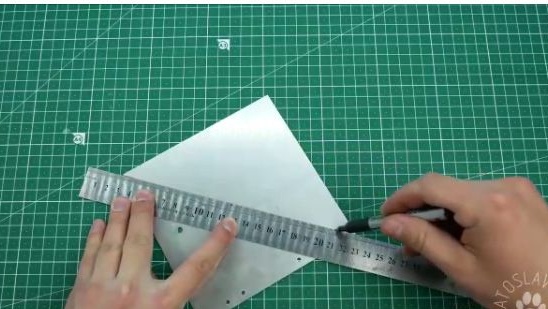
2- On a sheet of aluminum, mark a square with sides of 14 cm.
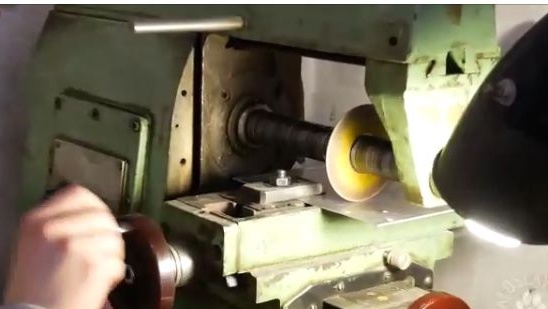
3- After which we cut it out. You can cut anything, but the author decided to do it using a milling machine.
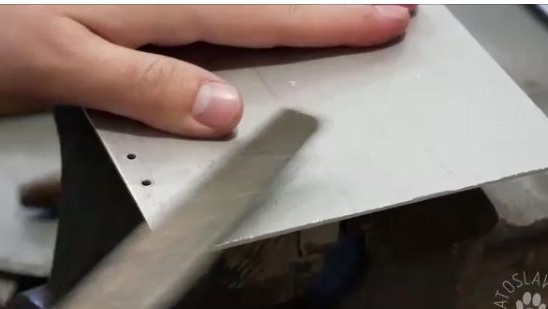
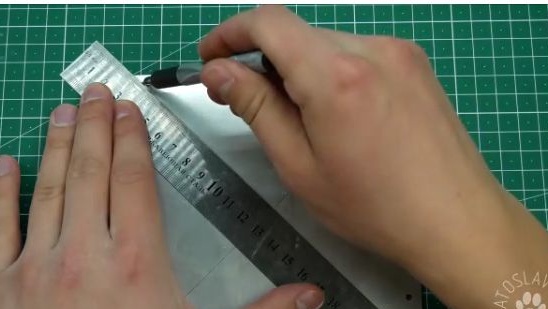
4- Now we will process the edges of the cut aluminum square with a file or large sandpaper.
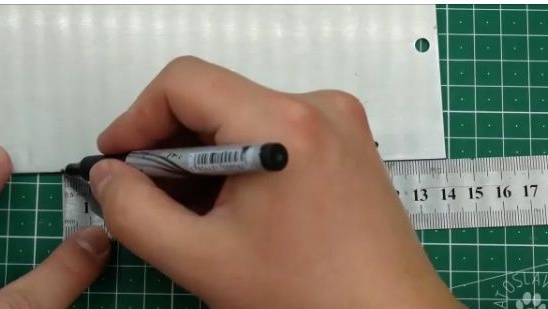
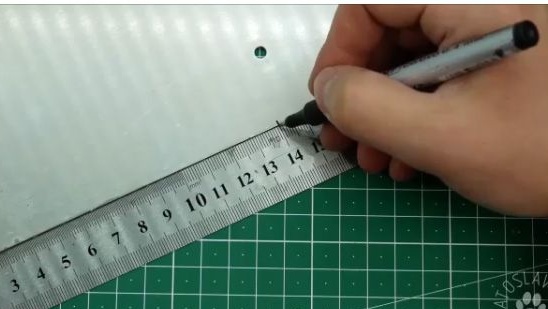
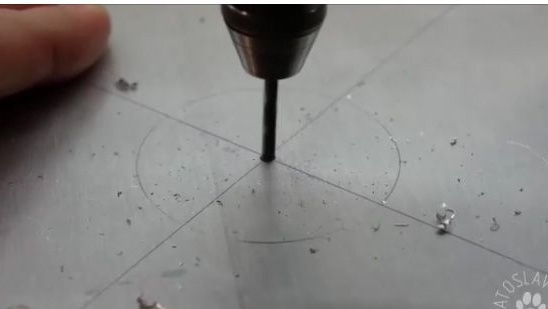
5- Using a marker and a ruler, mark the center on a cut out aluminum square.
6- In the center of the aluminum square with a compass, mark a circle with a diameter of 40 mm.
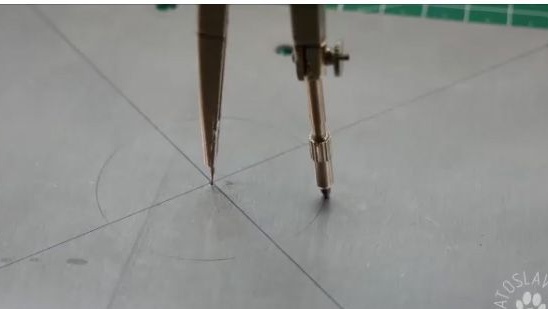
7- Drill a hole in the center.
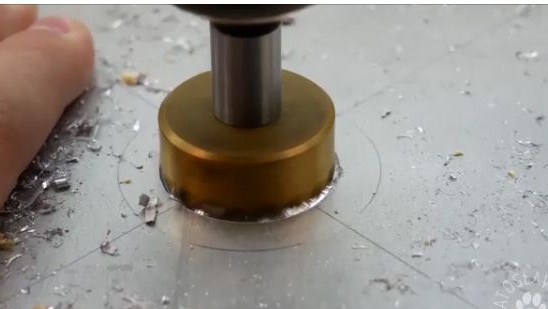
8- And then with a ring cutter we drill a circle in the center. But the author didn’t have a 40 mm ring cutter,
so he decided to finish the hole with an ordinary hand jigsaw.
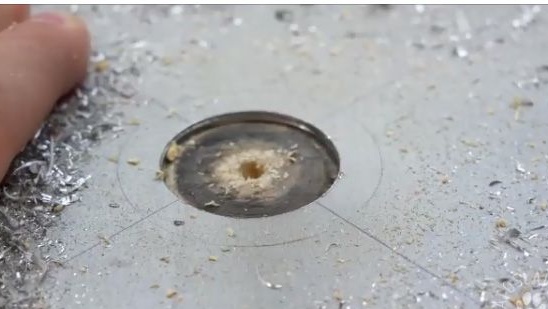
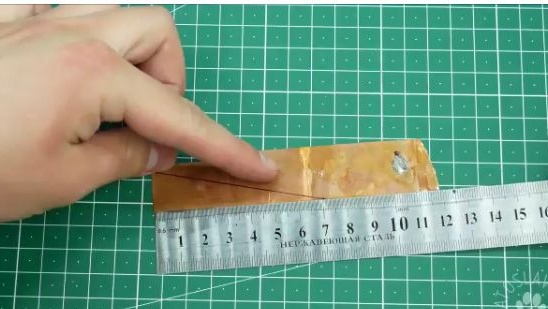
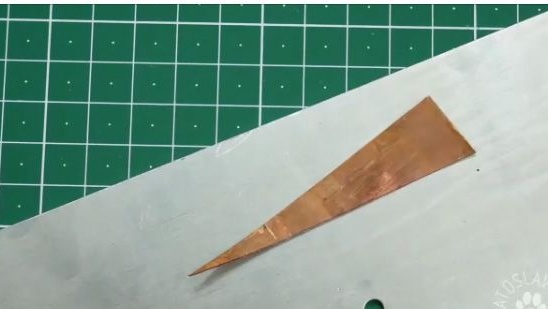
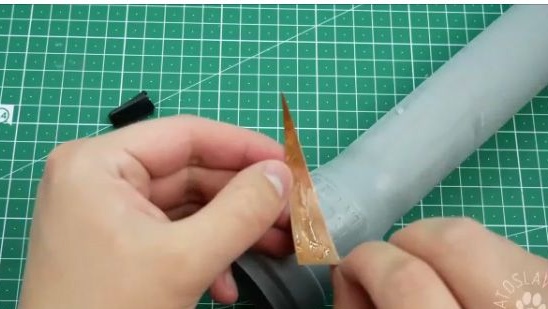
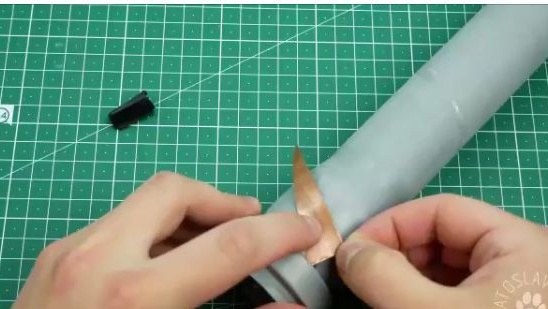
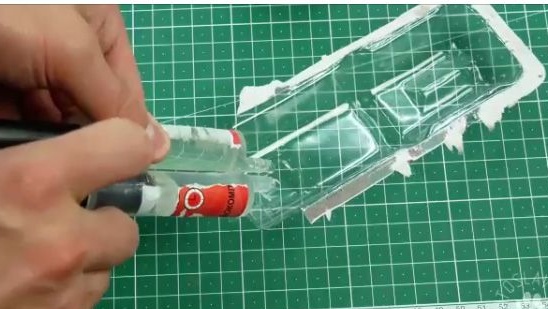
9- The reflector is made. Now it is worth cutting a triangle with dimensions of 71 mm from a small copper plate
17 mm (see photo below). Since the input impedance of the antenna is about 140 Ohms, it follows
coordinate with 50 OM coaxial cable. This triangle will be the matching line.
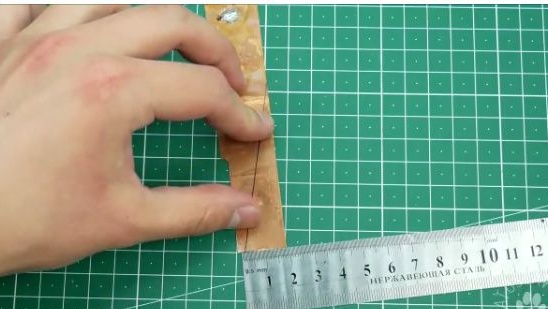
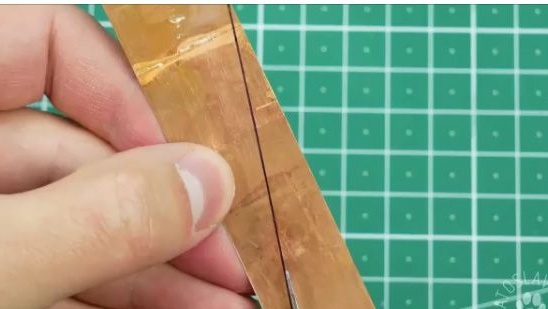
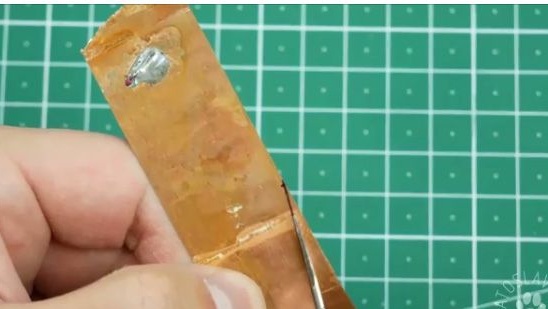
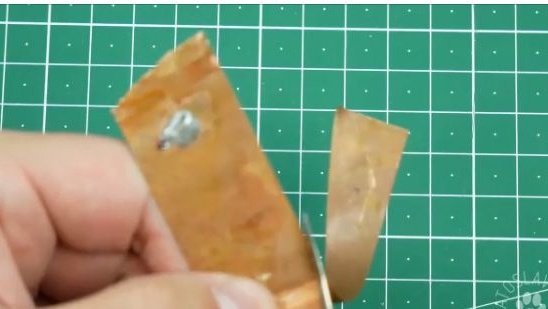
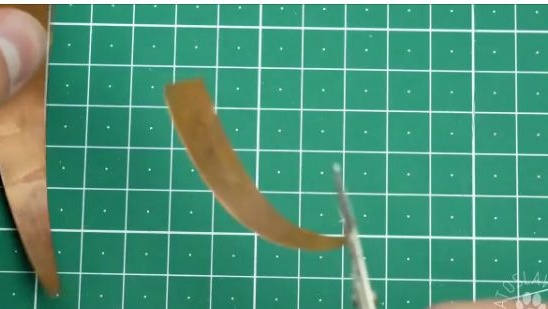
10- After the triangle has been cut, it is worth straightening it.
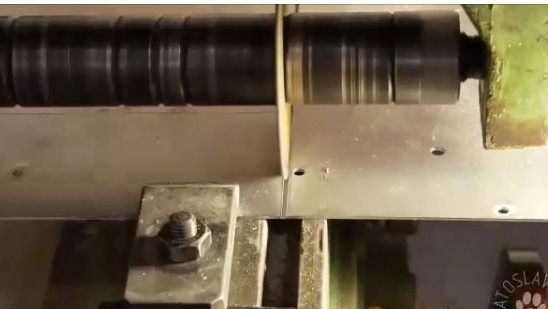
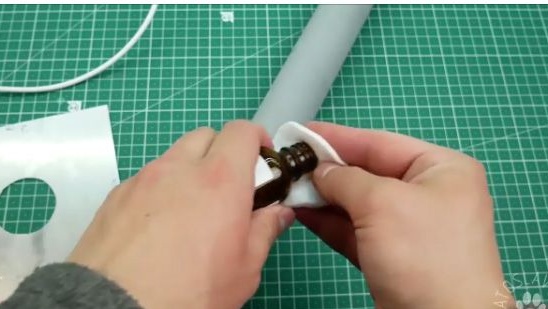
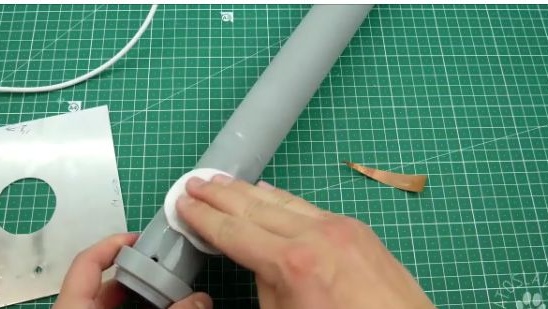
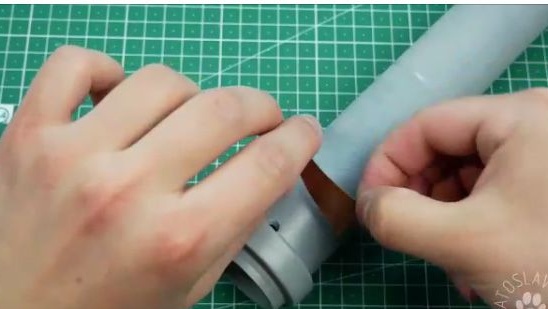
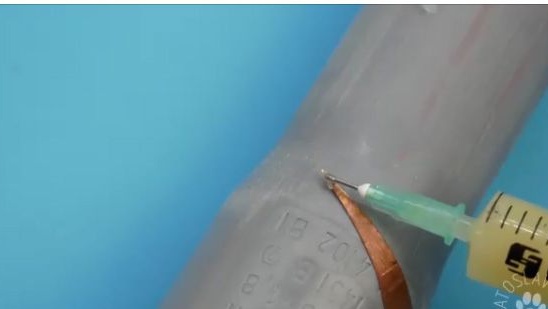
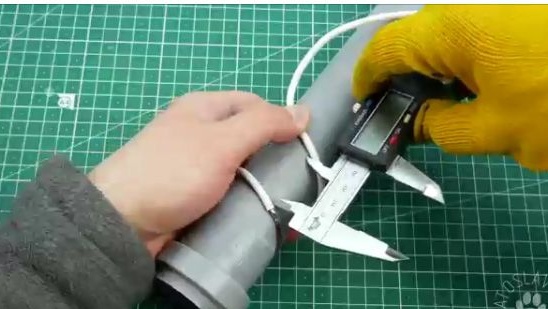
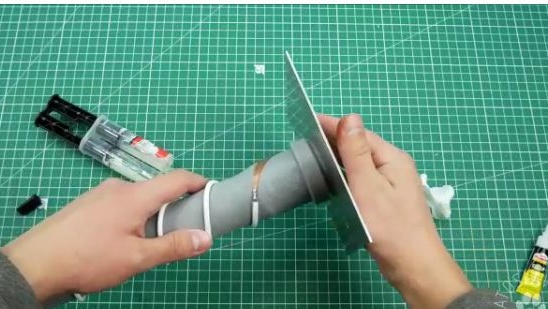
11- After which we take sandpaper and a little clean the PVC pipe.
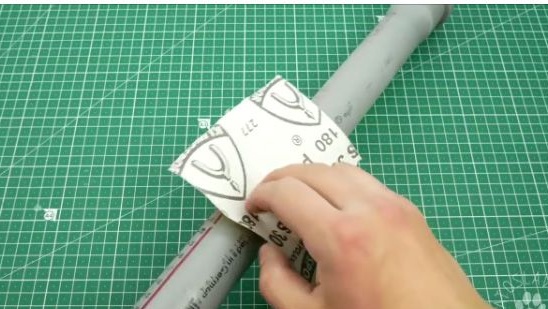
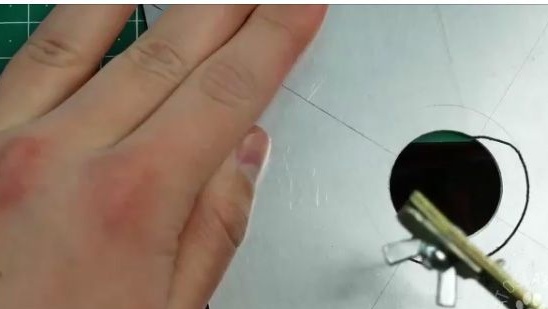
12- We drill a similar hole in the indicated place (see photo below).
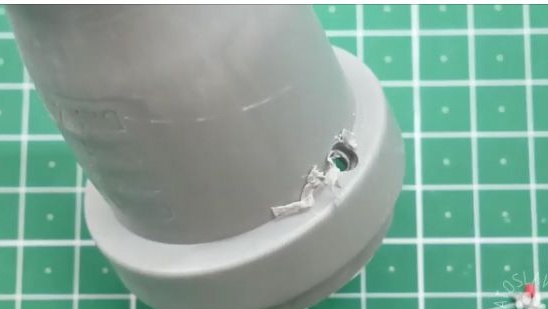
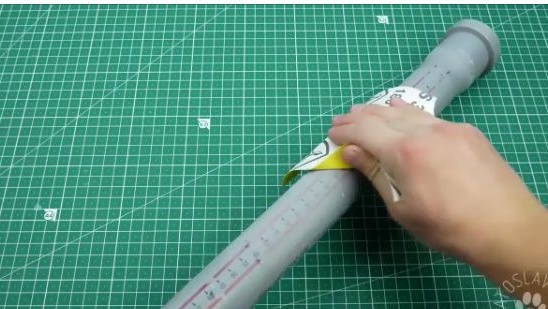
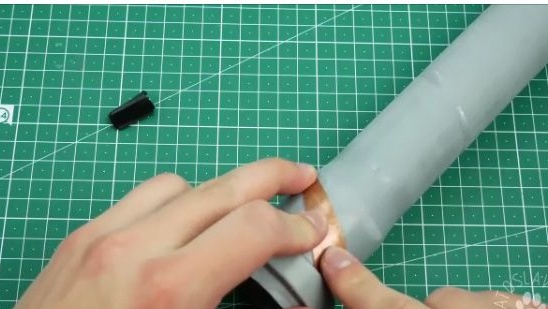
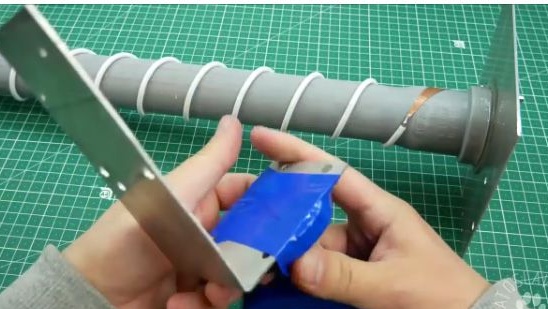
13- Alcohol degrease the pipe, triangle, and wire.
14- We apply quite a bit of super glue to the copper triangle and glue it to the specified location (see photo below). Let the glue harden for about 5 minutes.
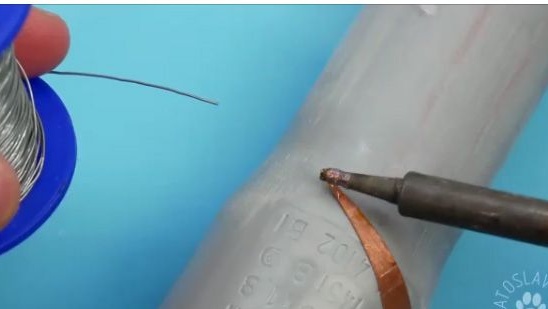
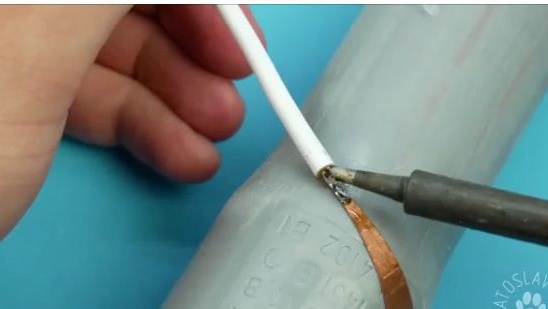
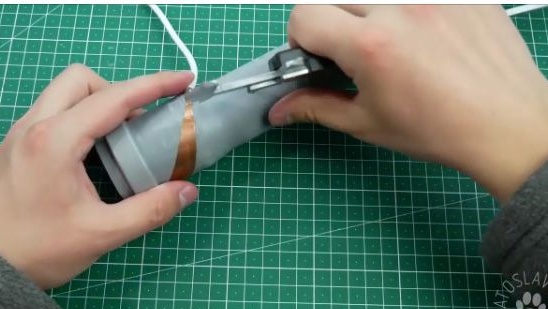
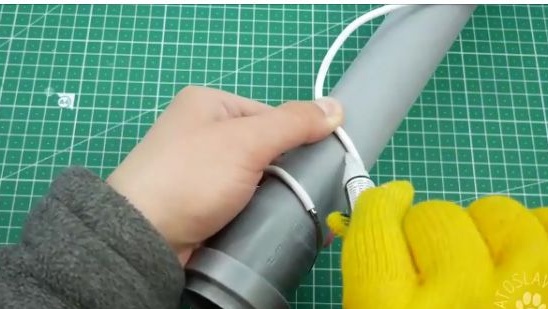
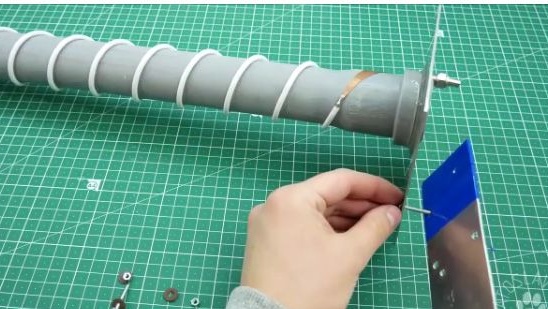
15- Next comes the tin wire and the copper triangle.
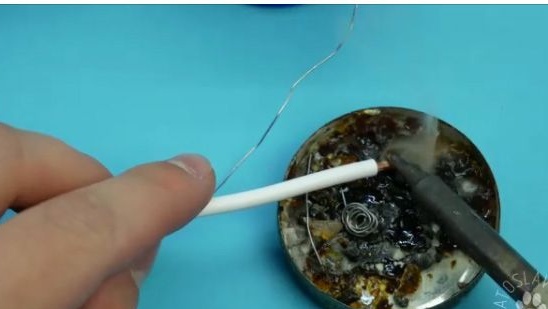
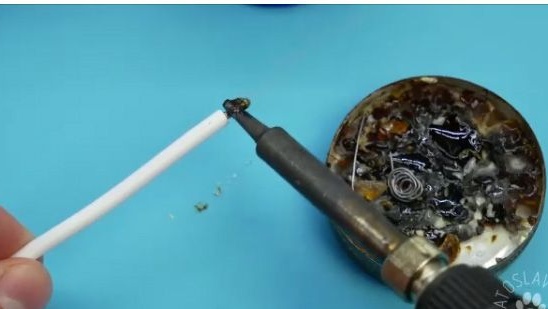
16- After the copper wire is tinned, it should be soldered to the copper triangle as it is shown in the photo below.
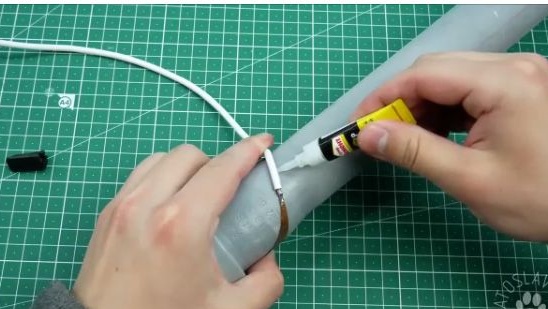
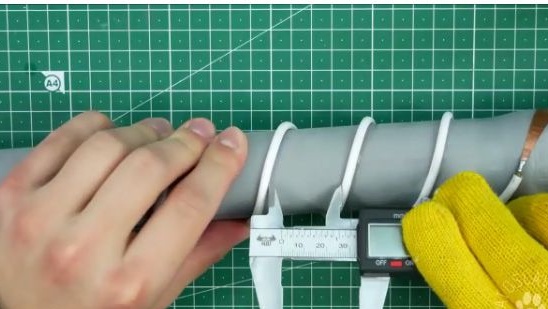
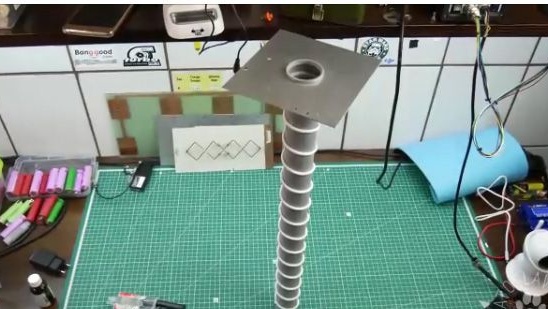
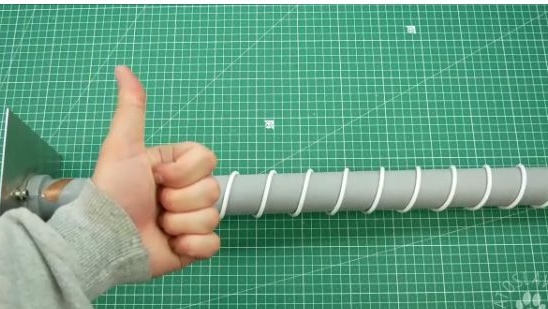
17- Now the most important and crucial moment. It is necessary to mark a distance of 3 mm and make one turn, fix it with super glue and repeat the steps again, and so on until 12 turns are obtained. I advise you to stick the wire to the pipe with gloves, otherwise it will be very easy to glue your fingers with super glue.
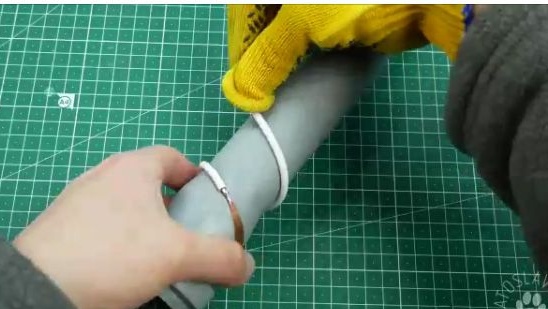
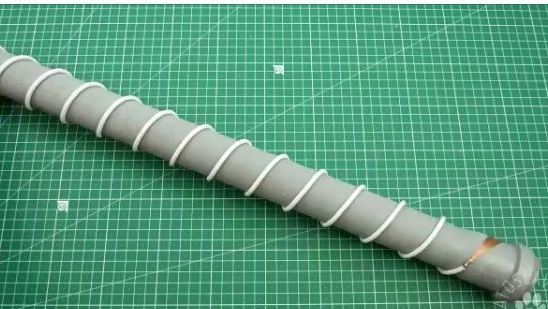
18- After we wound 12 turns of wire onto the pipe, it should look something like the photo below.
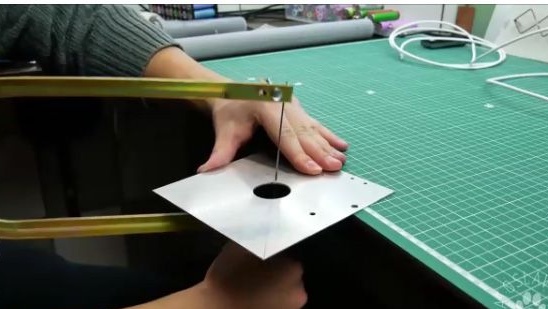
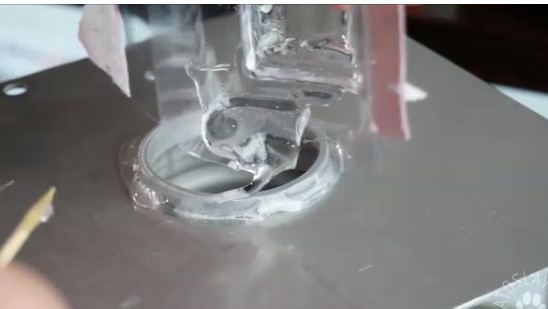
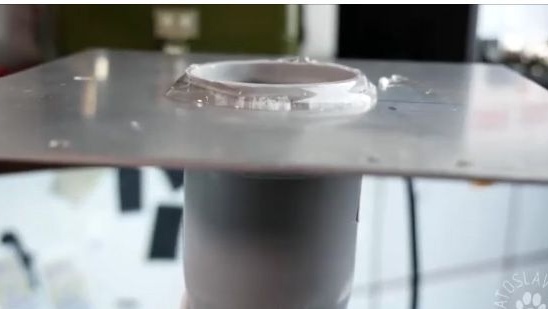
19- Then you will need to fix the reflector.

20- First, grab the pipe to the reflector for super glue.
21- Well, then fill in the place of joining of two component glue (epoxy). And we wait 4-5 hours until the epoxy is fully cured.
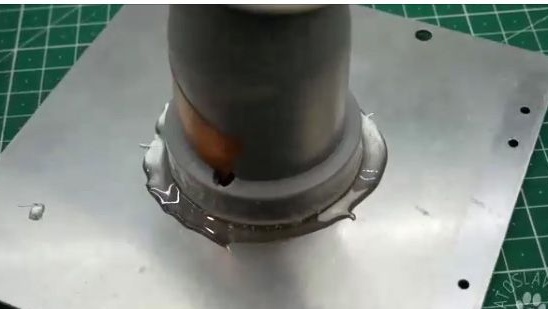
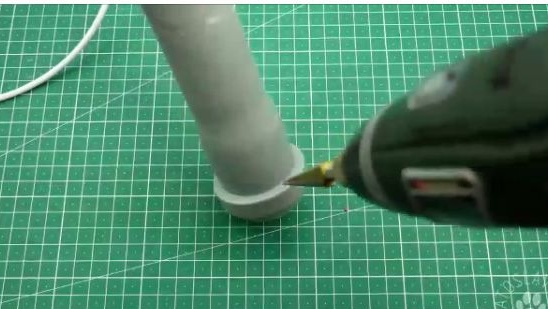
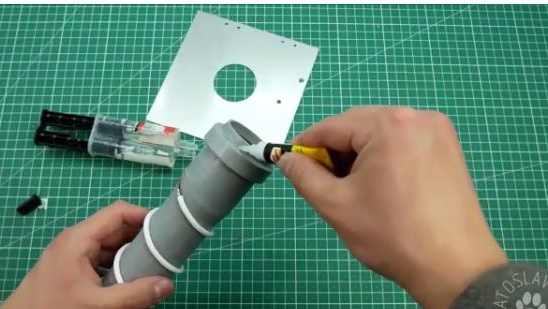
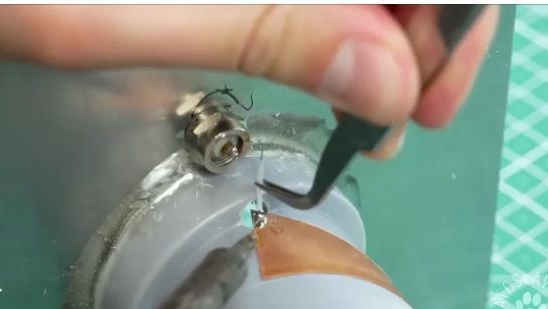
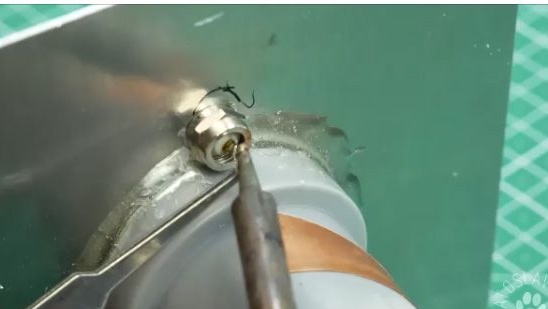
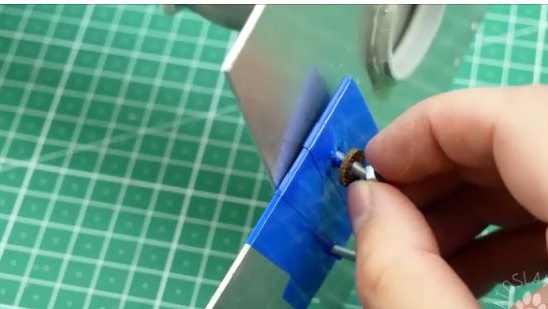
22- We drill a hole for the cable connector (the cable should be 50 OM).
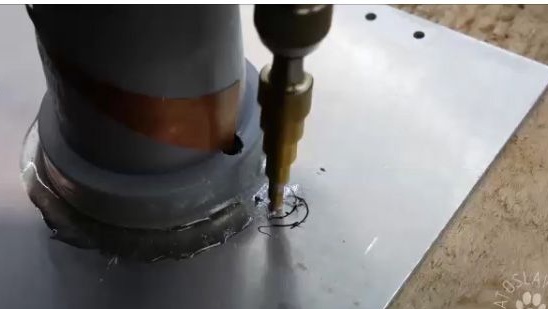
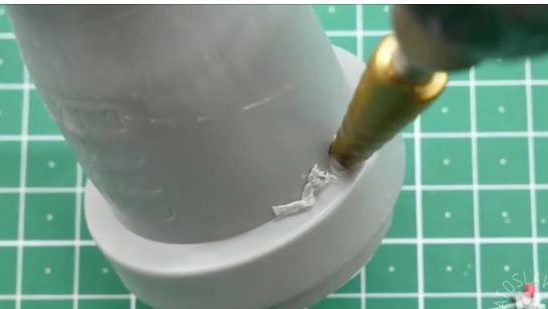
23- Screw the connector into place.
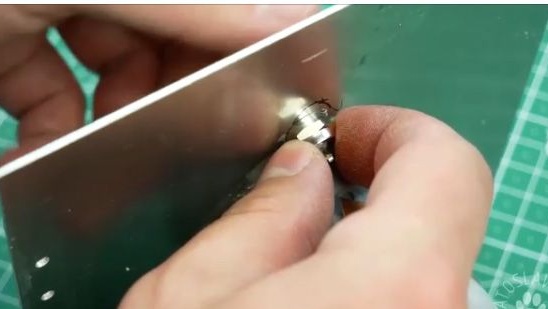
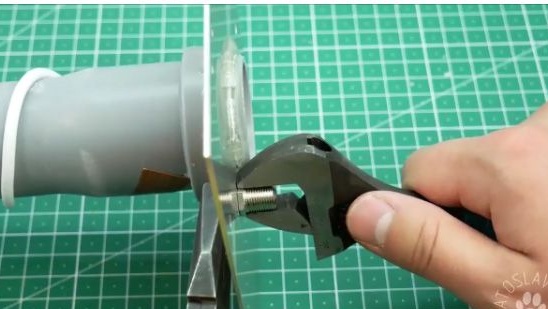
24- Solder the central contact of the connector to the copper triangle.
25- After which we should make a bracket for attaching the antenna. The bracket should be done based on your own needs. The author decided to make a bracket that can be fixed to the roof of his car.
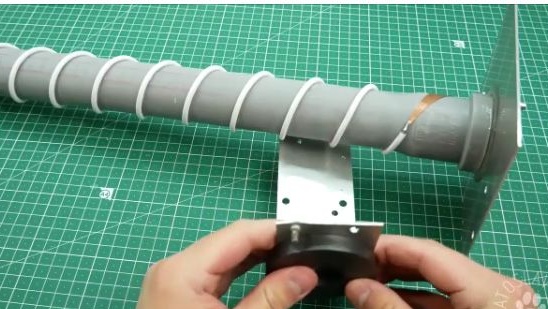
26- The antenna is ready.
Tests and conclusions:
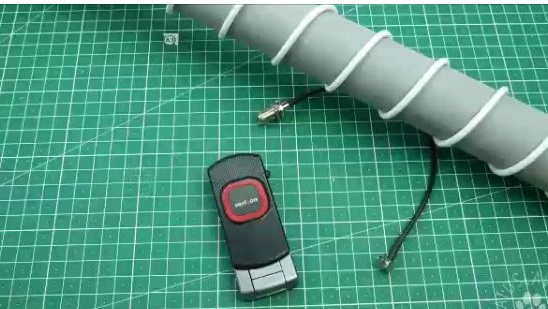
We will connect the antenna to the modem using the adapter that we purchased in advance. But the adapter is not necessary to use, you can just solder to the modem.
Tests will be carried out 15 km from the nearest village.
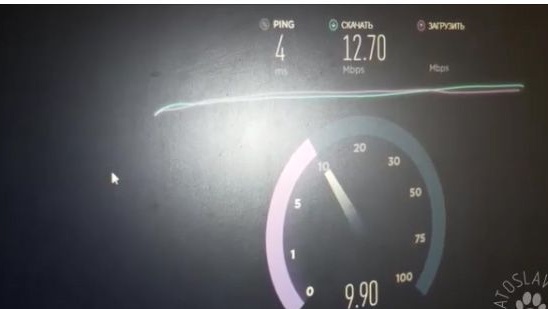
For comparison, we connect a modem without an antenna and measure the speed using various applications.
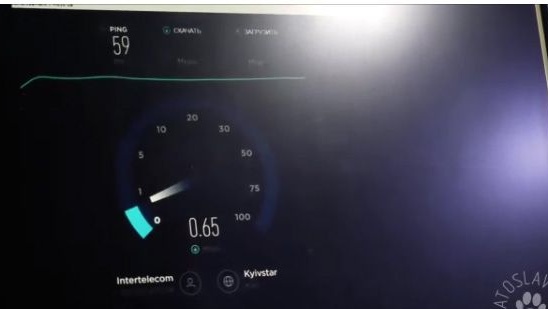
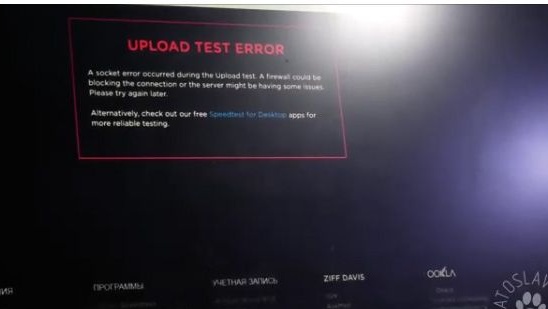
As we see the signal is very bad and very often disappears.
And now we measure the speed of the Internet with an antenna connected to the modem. The antenna itself should be directed strictly to the signal source. To find out the location of the nearest signal source, go to the website of the provider to which you are connected.
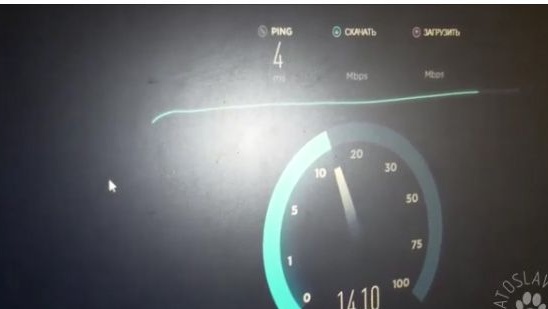
And we see that the speed of the boarding school has increased many times.
As a result, we got a very powerful antenna, which will certainly be able to help you cope with the problem of slow Internet in the country. The advantage of this antenna is that its cost compared to the factory antenna is several times cheaper, even if you buy all the materials in the store.
Well, that's all thank you all for your attention, I hope this article was useful to you. And also you have a wonderful opportunity to see the video assembly of this homemade antenna.