
Hi the inhabitants of our site! Surely everyone knows about such a thing as Power Bank. Nowadays, it is simply necessary. And many already have it, and those who do not have it probably want to buy it. The talk here in today's article I will try to describe in as much detail as possible the assembly of an inexpensive and very large Power Banka in terms of volume. Absolutely everyone can collect this homemade product, since you will not need to solder any circuits. Power Bank will be assembled already on the finished board.
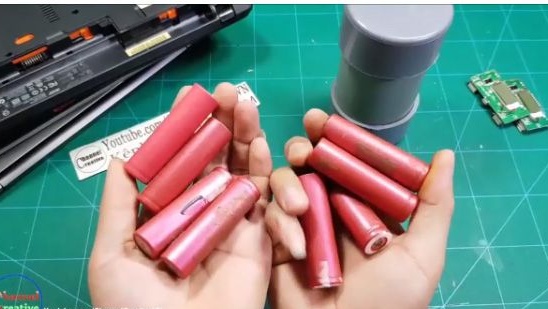
For the board that we chose, you will need 7 rechargeable batteries of the 18650 format, but you can also use less rechargeable batteries, you can find all possible connection schemes from the seller from whom you bought your board.
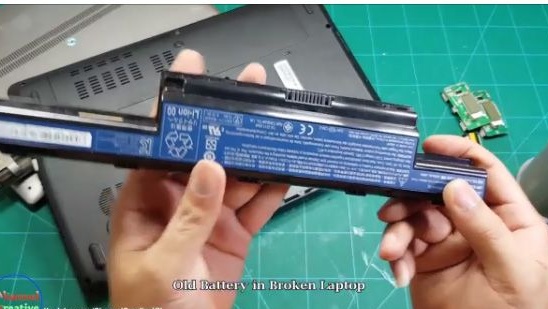
Our assembly can have a volume of up to 35A, this is if we will use new and expensive batteries. But the author of this homemade product decided to save even more, and will use old batteries from the old laptop battery. Such batteries can be found in workshops of household appliances and sometimes you can negotiate and pick up such batteries for thanks. Using old batteries from laptops can achieve up to 10A, which is also not bad.
To make Power Banka you will need:
1- Sewer fittings.
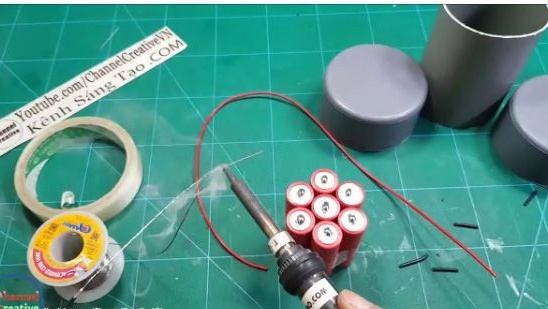
2- Rechargeable batteries format 18650 7 pieces.
3- Modular board.
4- Wires.
5- Solder.
6- Soldering iron.
7- Scotch.
8- Nippers.
9- Switch.
10- Marker.
11- Ruler.
12- Drill.
13- Drills.
14- Stationery knife.
15- Terma glue.
16- Sandpaper.
Power Bank Assembly:
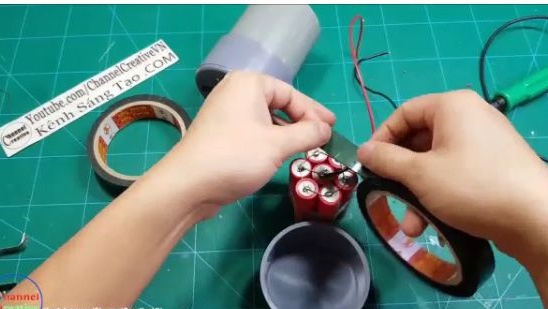
1- First you need to get a battery for Power Banka. As I already mentioned, the author will take batteries from an old laptop battery.
2- The author was covered up with thermal insulation for the battery, and he decided to update it with the batteries he had taken. Of course, this is not necessary.
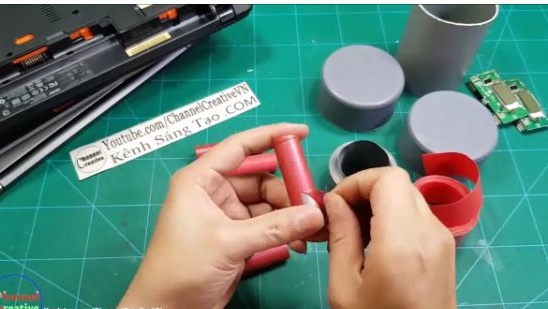
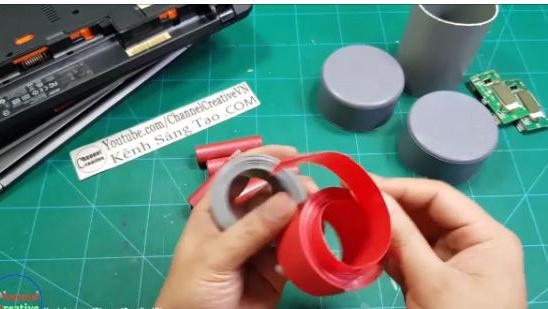

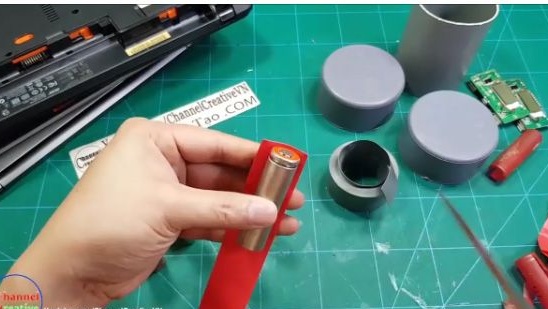
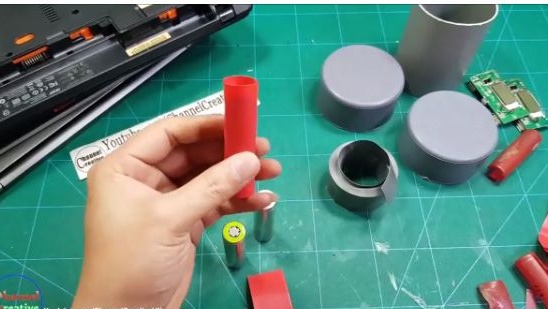
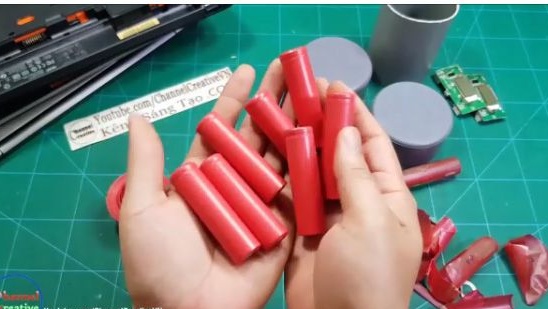
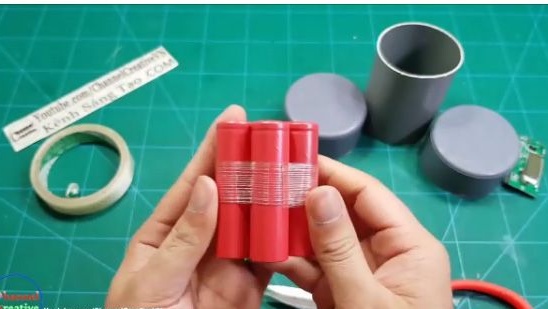
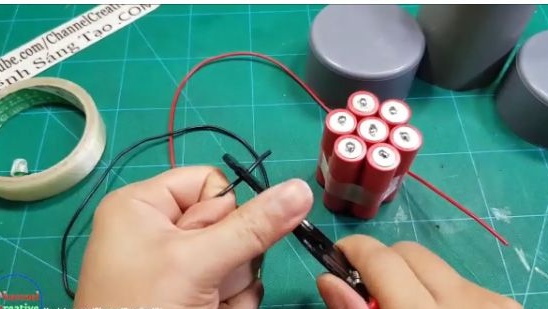
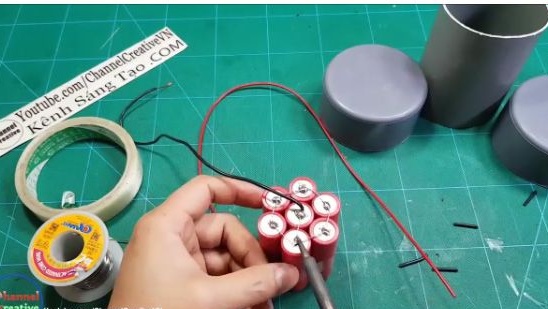
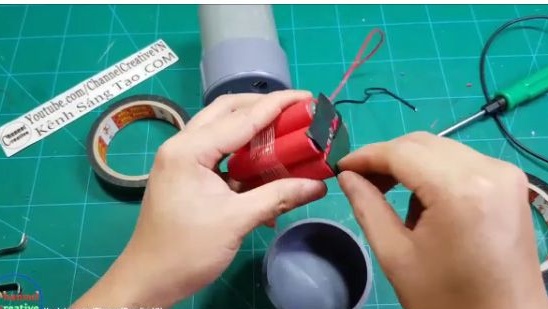
3- Batteries should be connected using tape or tape, as shown in the photo below.

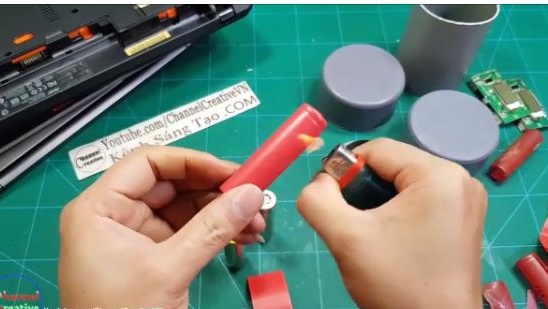
4- Next, clean the solder spots of the batteries with sandpaper. But the author of the homemade product decided to do this with the help of a bor machine.
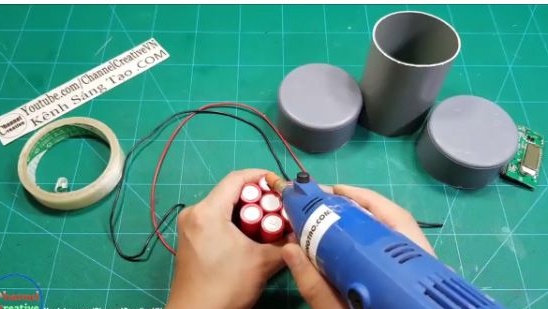
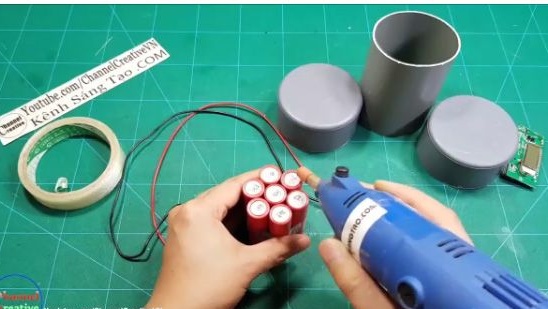
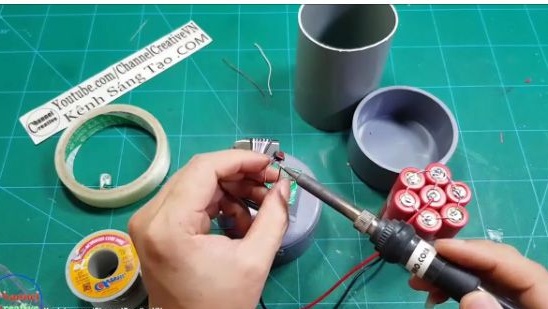
5- After which we move on to the most important, battery soldering. In general, batteries should not be soldered with a soldering iron, since it is very dangerous, and you can just ruin the battery. And it is advisable to use contact welding, but not everyone has it, we will take risks and solder with an ordinary soldering iron. So we take a well-heated soldering iron, and it will be necessary to tin the batteries very quickly, and then let them cool.
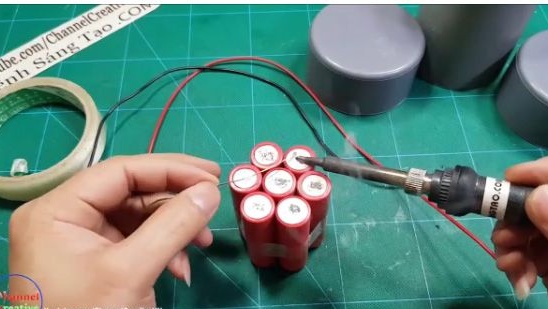
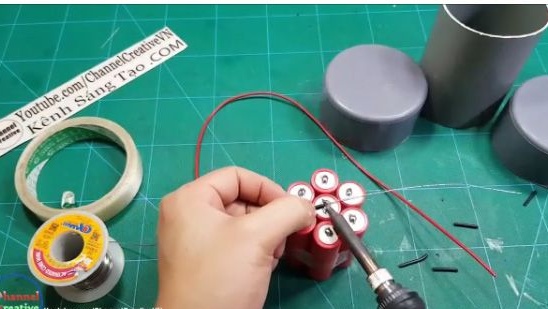
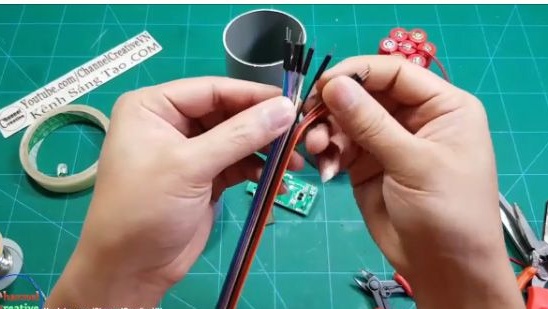
6- Next, you need to take the power wire and remove insulation from it about 15 cm.
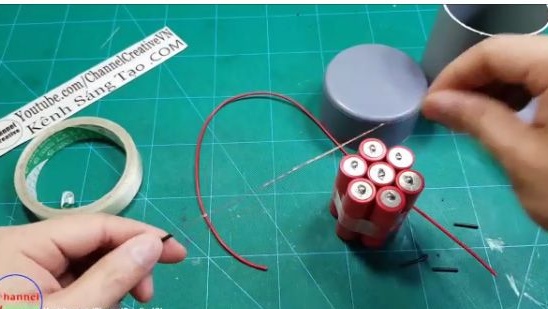
7- After removing the insulation from the wire, it will need to be fully tinned.
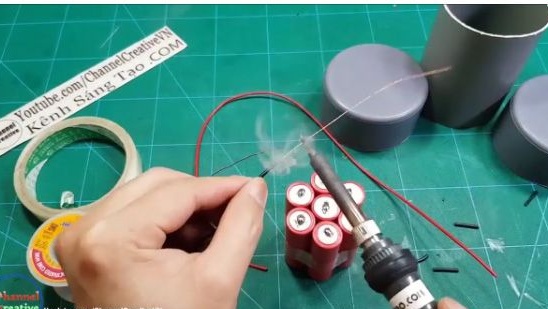
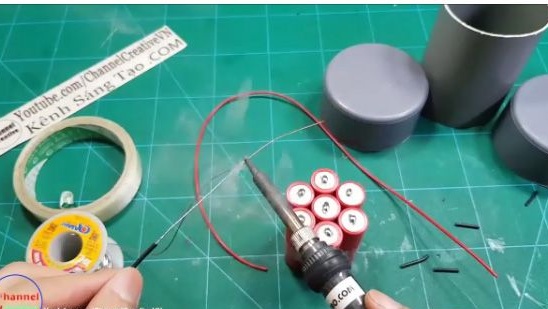
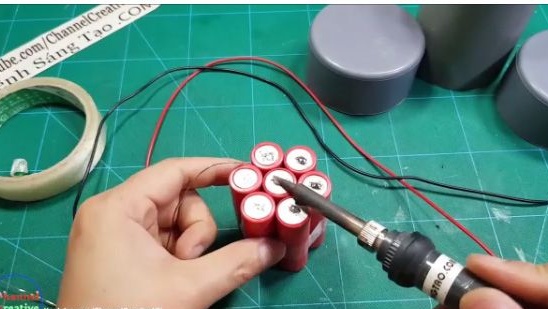
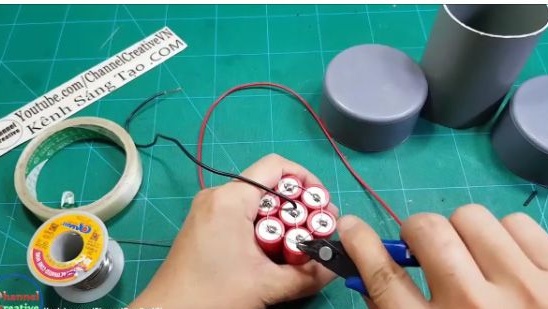
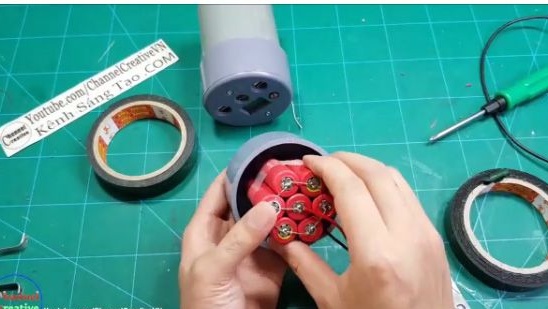
8- And then we connect the batteries with a pre-prepared wire, as it is shown in the images below. But it should be remembered that soldering the batteries should be a well-heated soldering iron, and very quickly allowing the banks to cool.
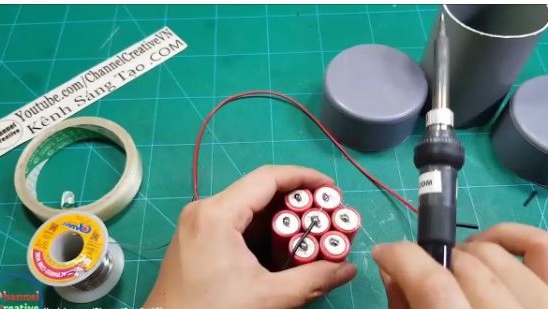
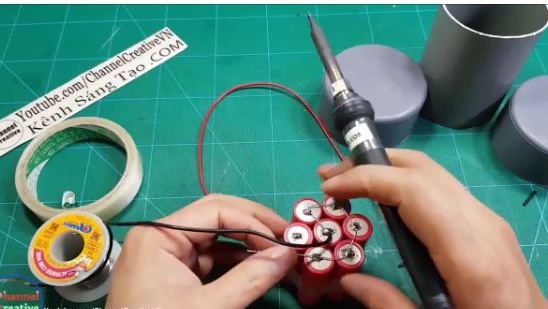
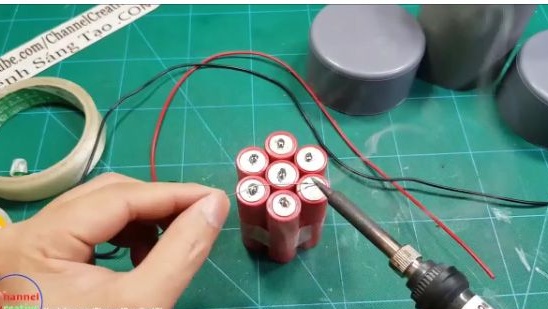
9- We bite off the sticking wire with the pliers.
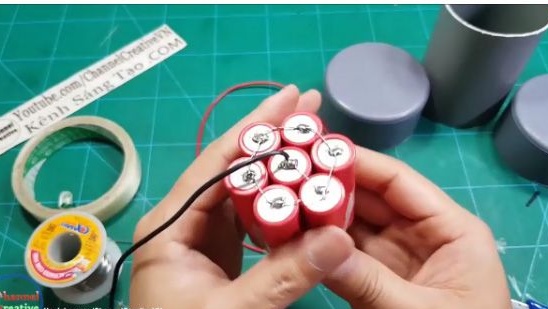
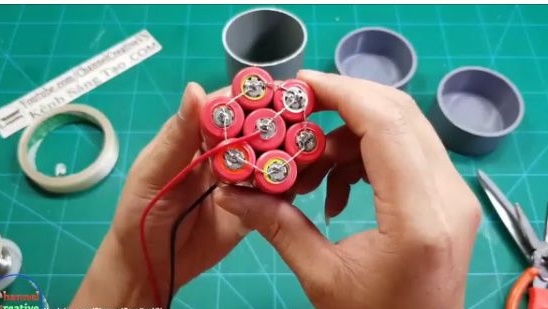
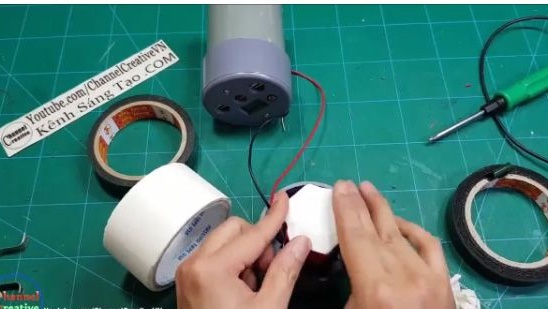
10- On the reverse side of the battery pack, we do the same actions that we did before.
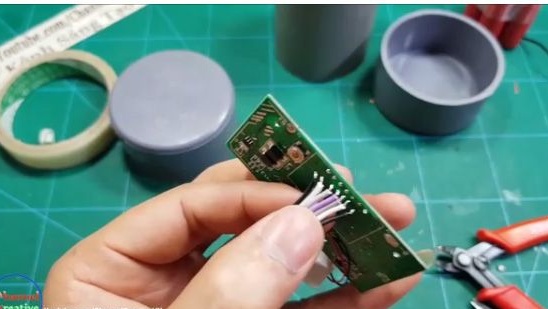
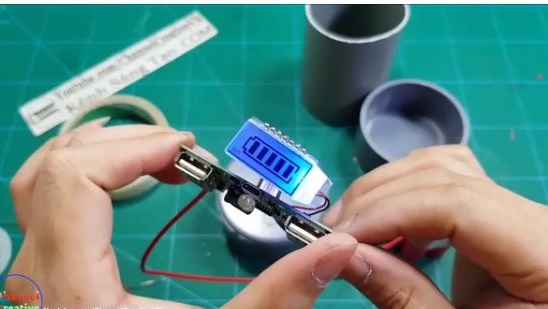
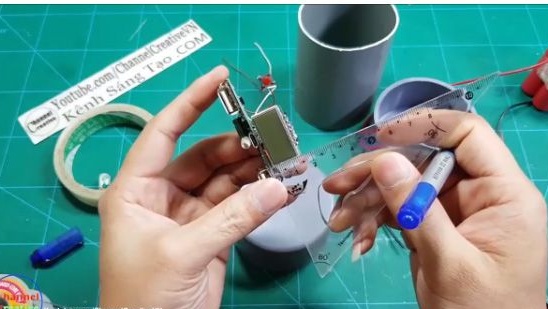
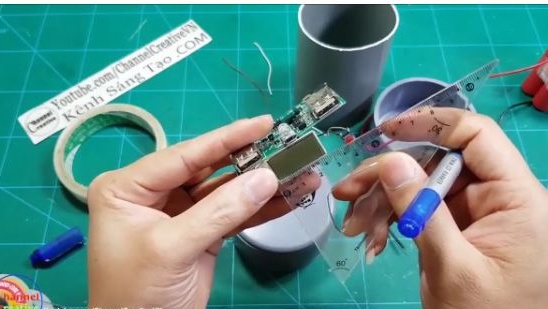
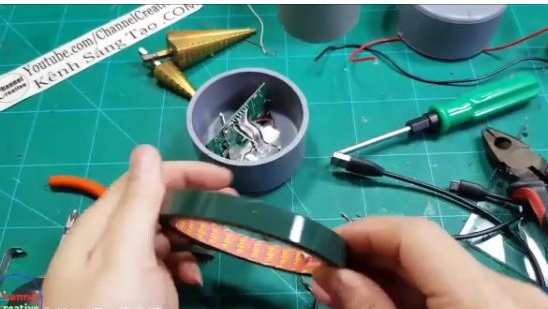
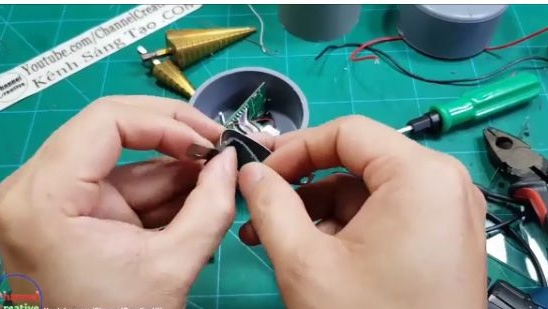
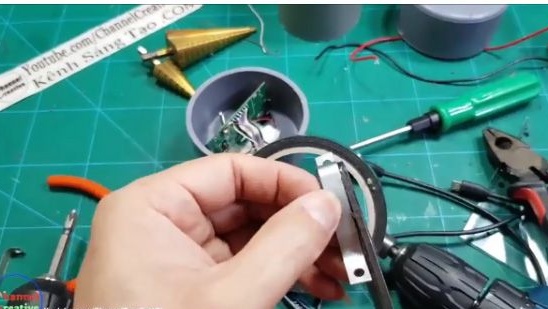
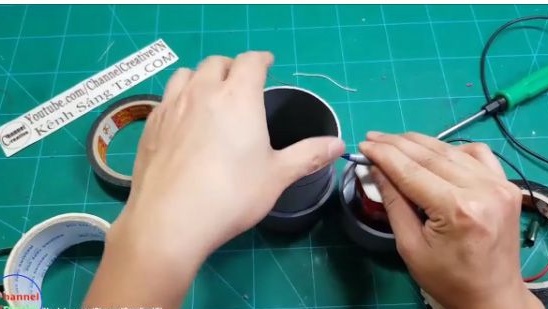
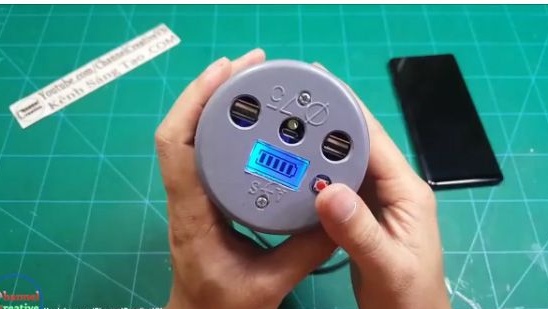
11- Next, bite off the display from the main circuit board. This is necessary in order to transfer the display to the case.
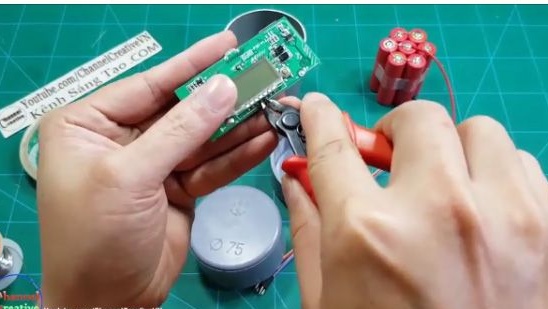
12- Then you should tin the contacts on the displays.

13- And solder the cable from the arduino to the display and to the main circuit board.
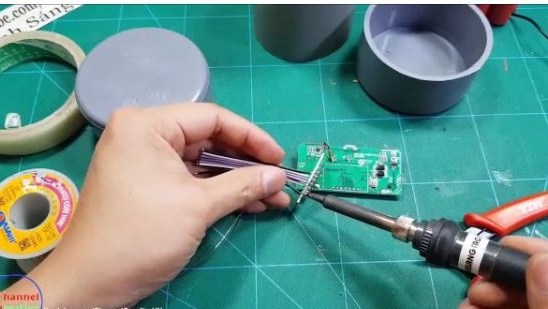
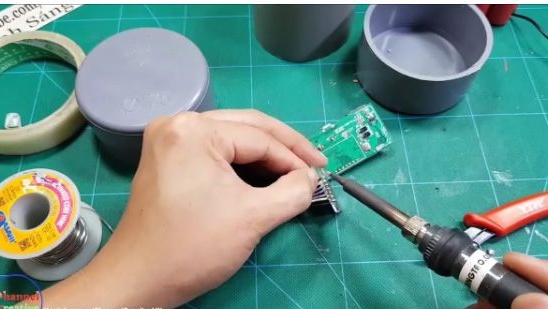
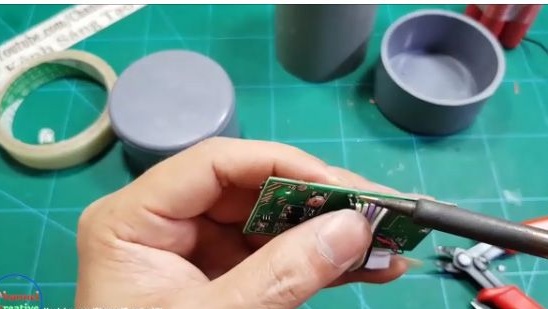
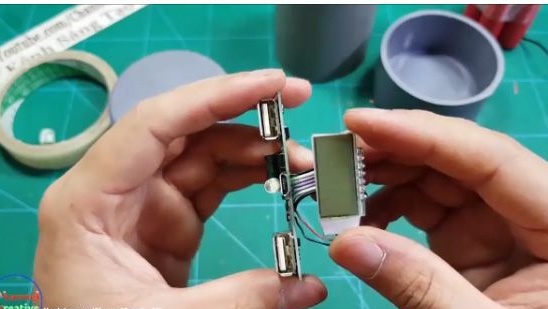
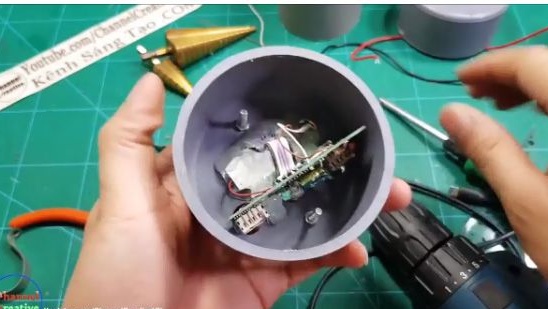
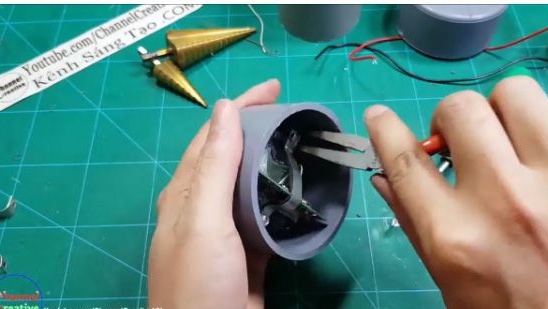
14- This is what the main circuit board should look like after we soldered the display.
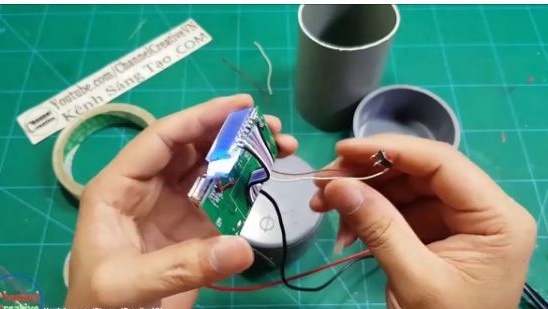
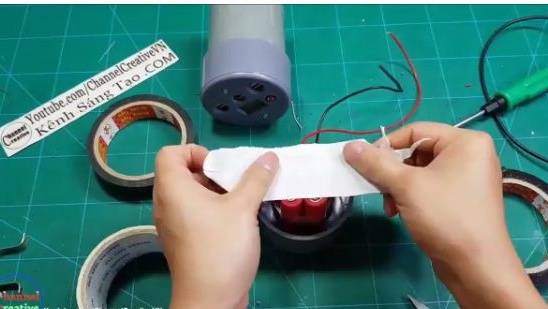
15- Solder the battery assembly to the main circuit board. There is nothing complicated plus to plus minus to minus.
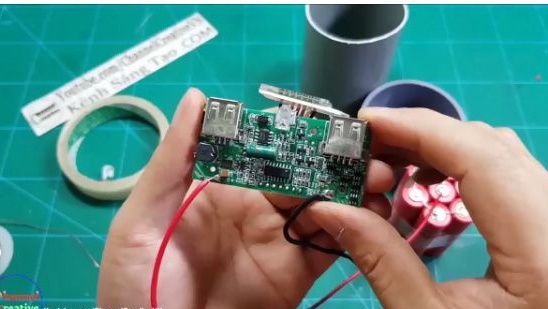
16- And we check the performance of the assembly. If everything works, then continue to build.
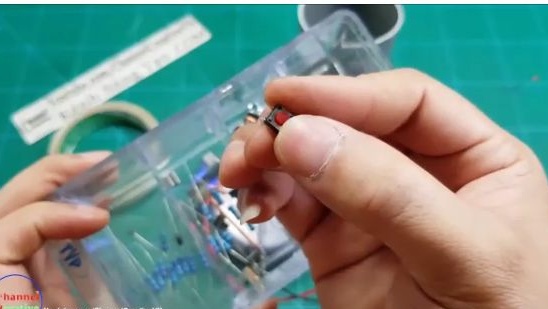
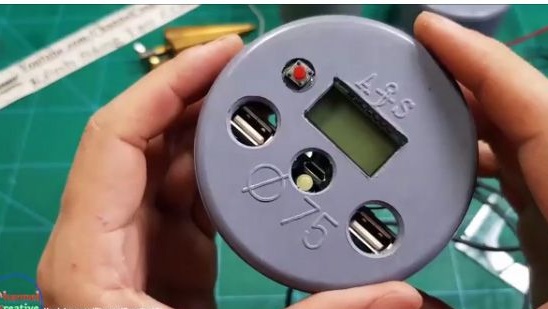
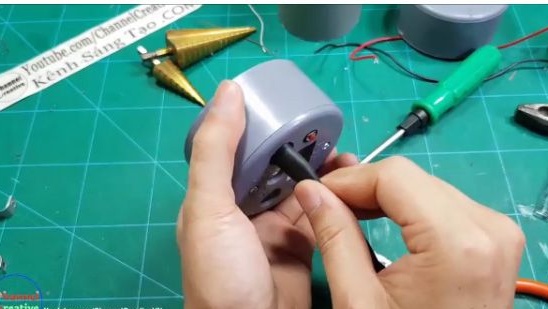
17- Also, the author decided to re-solder the standard button on the printed circuit board, for more convenient operation of the device.
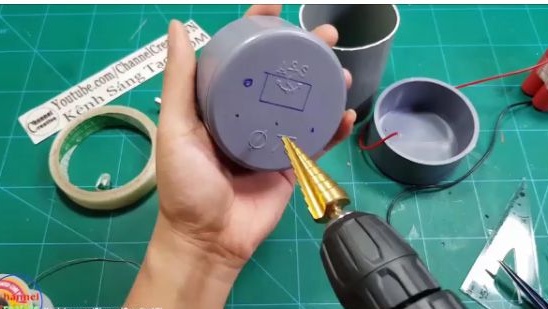
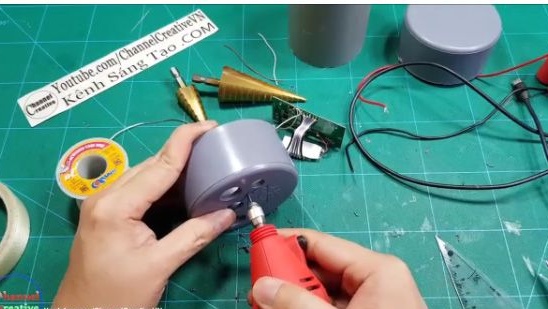
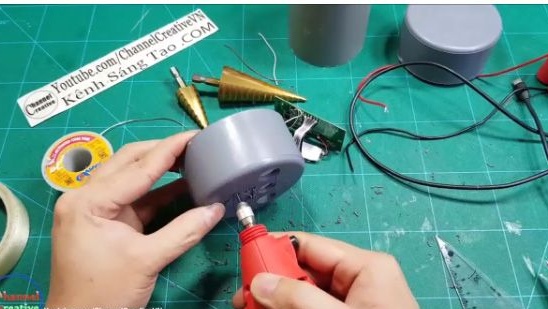
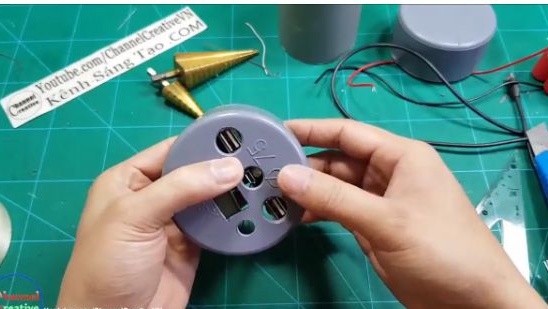
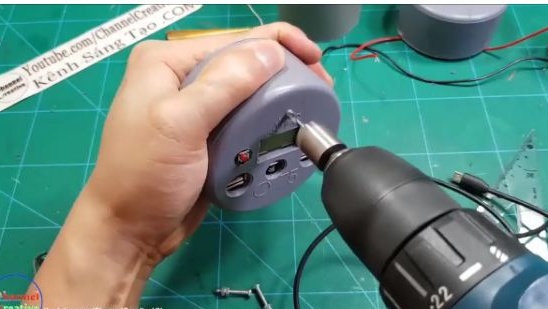
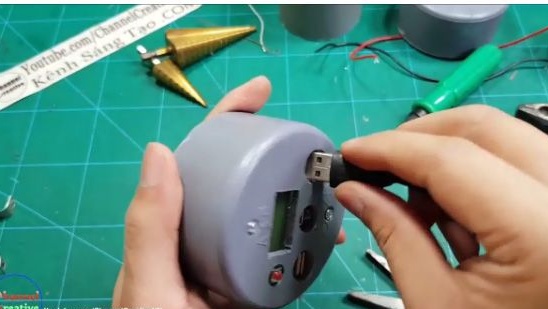
18- Next, on the case cover, note all the holes for the printed circuit board.

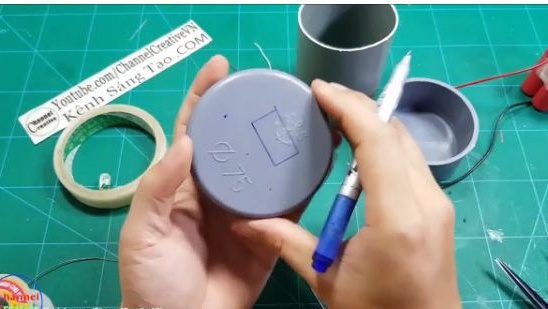
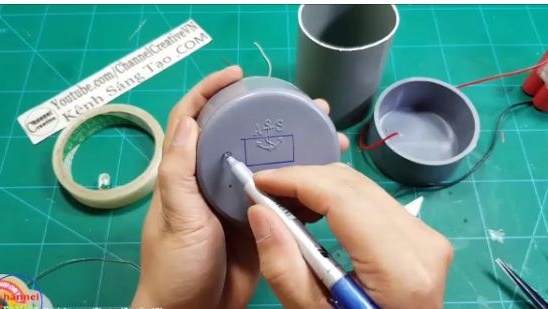
19- We make holes on the marks that we just made.


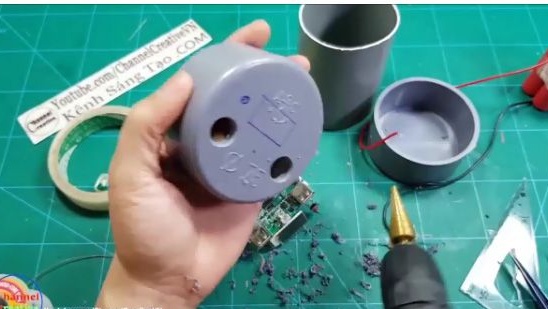
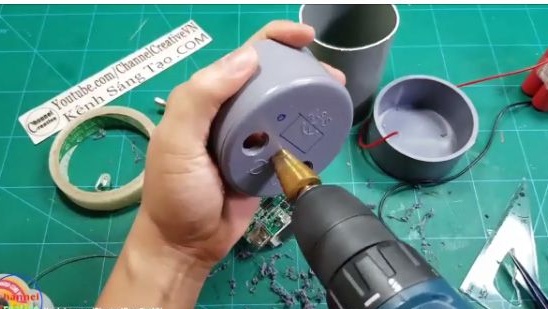
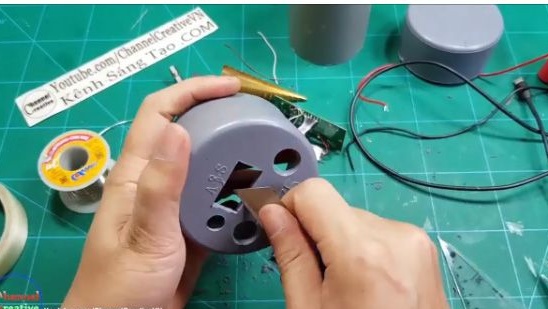
20- Using a bur machine or a hot knife, make a square hole for the display.
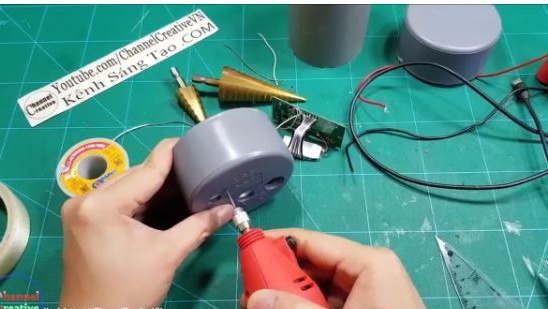
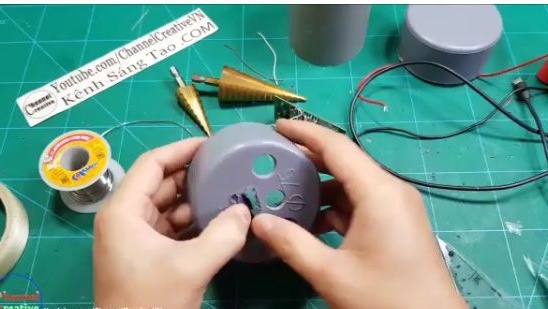
21- And we remove the burrs with an office knife.
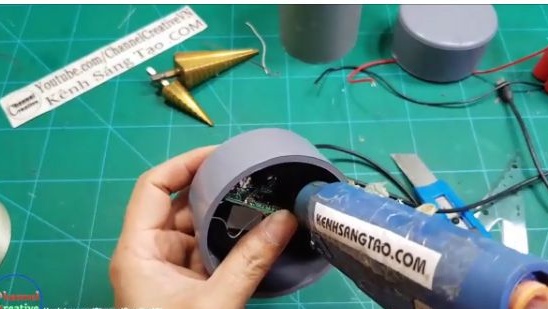
22- Insert the board in its place.
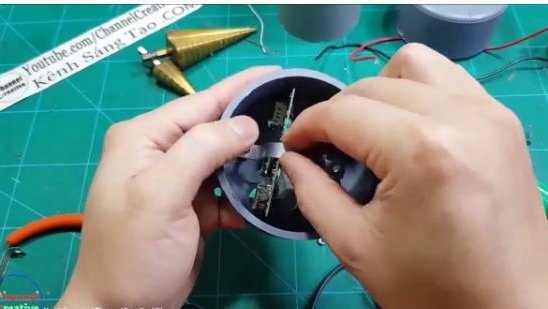
23- We fix the main printed circuit board with a glue term.
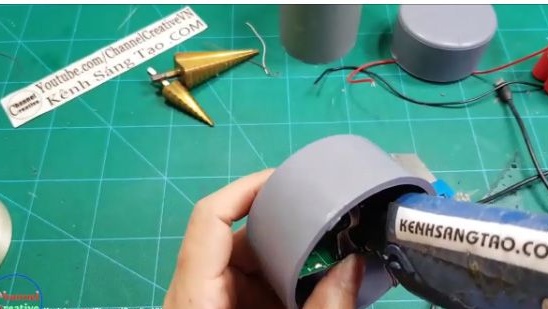
24- Something like this should happen (see photo below). As you can see, the author of the homemade product did not bother
over the fittings of the holes under the head start of the connectors.
25- Also, the author decided to strengthen the connection of the board with the case. To do this, drill a couple of holes and screw a kind of aluminum clamp.
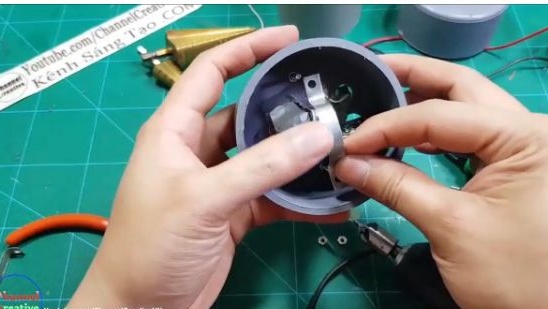
26- But in order for the metal screed not to deform the printed circuit board, double tape can be used as a gasket.
27- And fix on the screw connection.
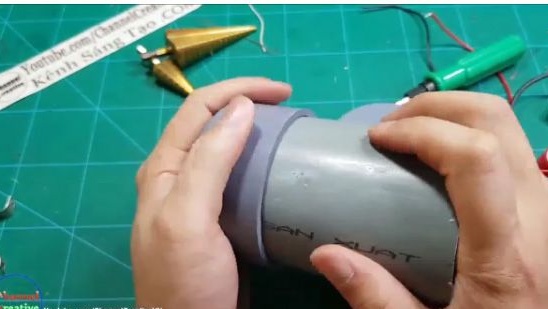
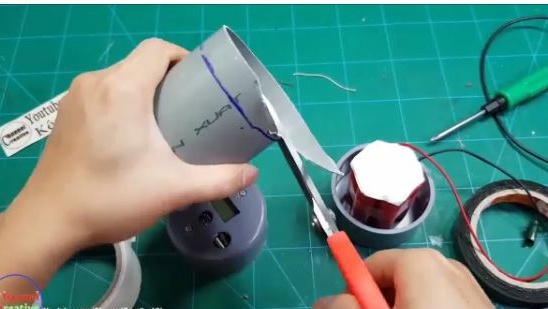
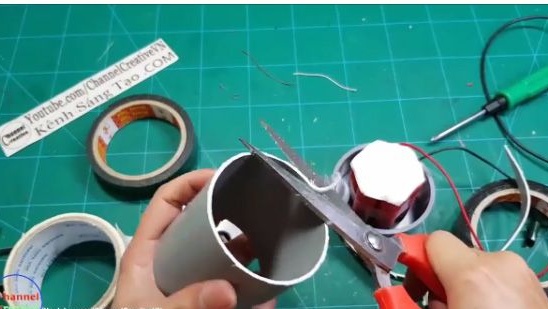
28- Check if the case is interfering.
29- Insert a pipe section into the plug.
30- Using the same double tape, isolate the battery contacts, and on the same double tape we attach the battery to the second plug.
31- And on the other hand, isolate the molar tape, but you must understand that you can isolate the term and insulation and just ordinary electrical tape.
32- Using the marker, leave marks, as it is shown in the photo below.
33- And cut off too much.
34- After which we finally assemble the body, also for reliability, the joints of the parts of the body are glued with adhesive.
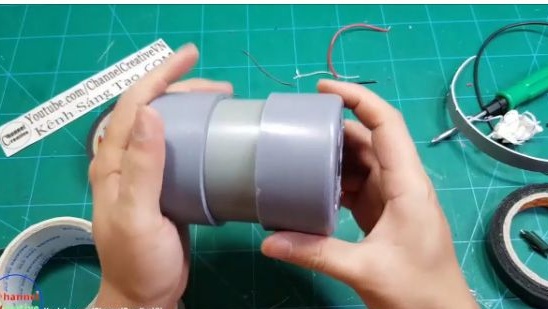
35- Done!
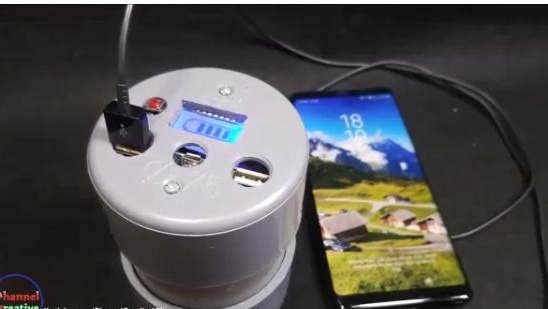
Tests and conclusions.
As a result, we got a not expensive external battery for the phone for only 200r for the main board. This homemade product can charge the phone 3-4 times. But you can use new batteries, which can increase the number of charges on your phone and other gadgets many times over.
.
.
.
Well, that's all thanks for attention, I hope this article was useful for you, and also you have the opportunity to see the assembly of this homemade product.