Hello!
In 2015, after buying a house, there was a need to create a garden infrastructure. Funds for these purposes were limited. Based on this circumstance, as well as because of the architectural education, I didn’t want to do something trivial, all the more so. He began to monitor options until he came across a dome structure, or rather a geodesic dome. This design has an important quality: strength, can withstand any snow and wind load. The platform also came under a round structure. The structures offered on the market were mainly made of wood with complex hinged fasteners and cost as a cast-iron bridge, so I decided to find a simpler and cheaper solution. To begin with, it was necessary to calculate the dome, or rather the edges of the dome. Finding information about this was not so simple, so I guessed to download 3d-model geodetic sphere in skp format for SketchUp, there are enough of them in the public domain. In SketchUp, I dimensioned the edges and started the calculations.
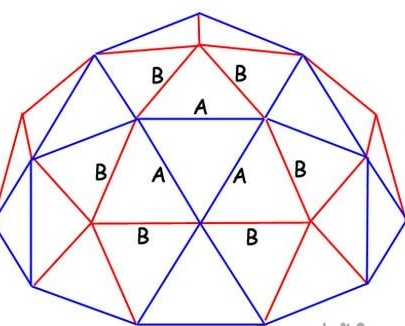
This is how the dome scheme looks like. Ribs A form the outline of the pentagon, and B - its "inner world". The dome consists of six pentagons: five around the perimeter and one on top.
In principle, everything is simple ... At first glance.
In terms of design, the design looks like a decagon, with a diameter in the wide part of 4.3 m. Rib A - 1.33 m, B - 1.2 m. Now we had to choose a way to make five identical pentagonal "umbrellas" and one pentagon without filling for entrance group. The rays of the pentagon are located relative to each other at a certain angle in two projections, to dock them ... In general, it is difficult ...
As the material for the frame, I chose the cheapest square thin-walled pipe with a side of 20 mm. It is easy to process and strong enough for this design. I decided to join by welding. Frankly: I didn’t know how to cook then, my father gave me a little welder and a mask then, so I decided to study this craft during the greenhouse construction.
For the manufacture of "umbrellas" came up with this:
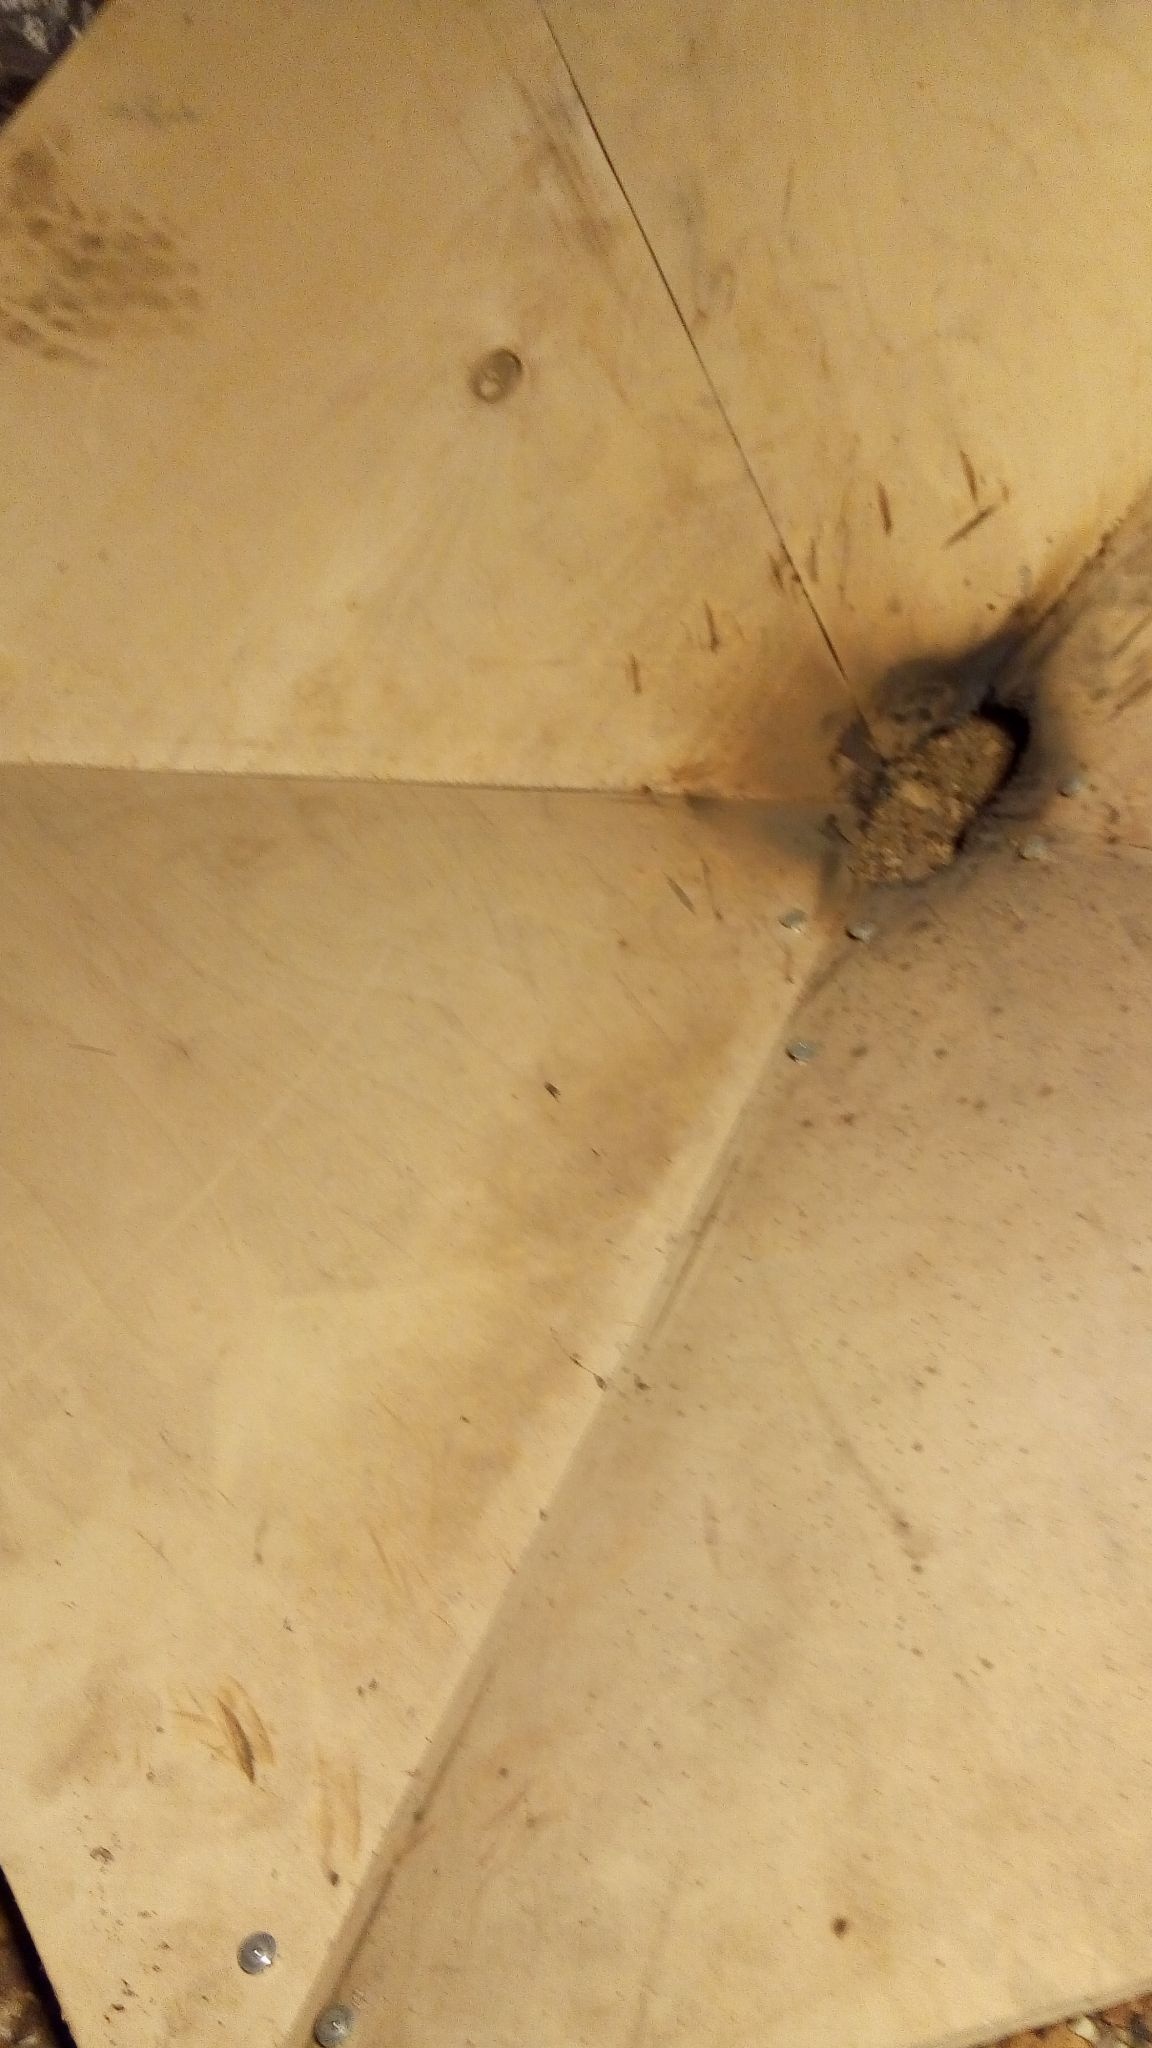
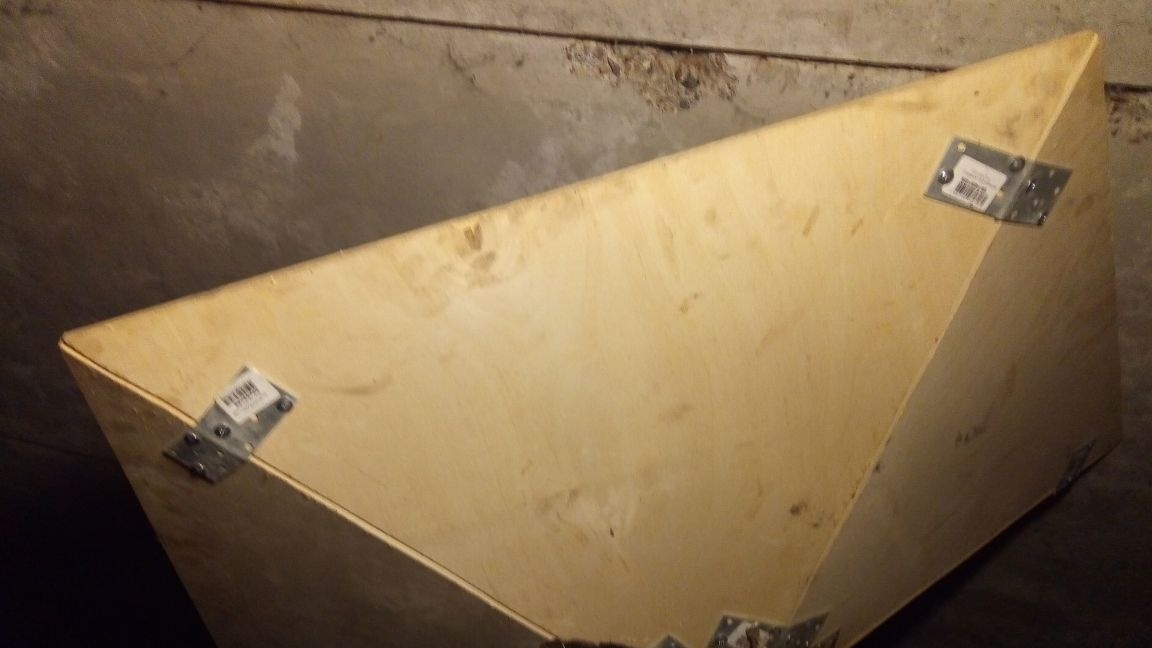
In the same proportions of the triangles of which the "umbrellas" are made, but the smaller ones saw the triangular petals from the plywood and assembled the so-called conductor or template from them. Now the conductor ribs set the desired angle and position in space for the frame of the elements of the greenhouse. To fix the pipes during welding in the desired position, screwed two screws on each side on two adjacent ribs and began to cook. Frankly, at first it didn’t work out very well, but then I got used to it.I inserted two pipes between the self-tapping screws, welded them, took them out, turned them, rearranged and welded the third element and so on until all five rays formed the correct flower. Plywood, as expected, burned out at the welding site, but it didn’t matter, the main conductor didn’t. Welding a five-beam design, I scalded them around the perimeter. I apologize for the lack of photos directly from the production process, then I did not think that I would decide to share this.
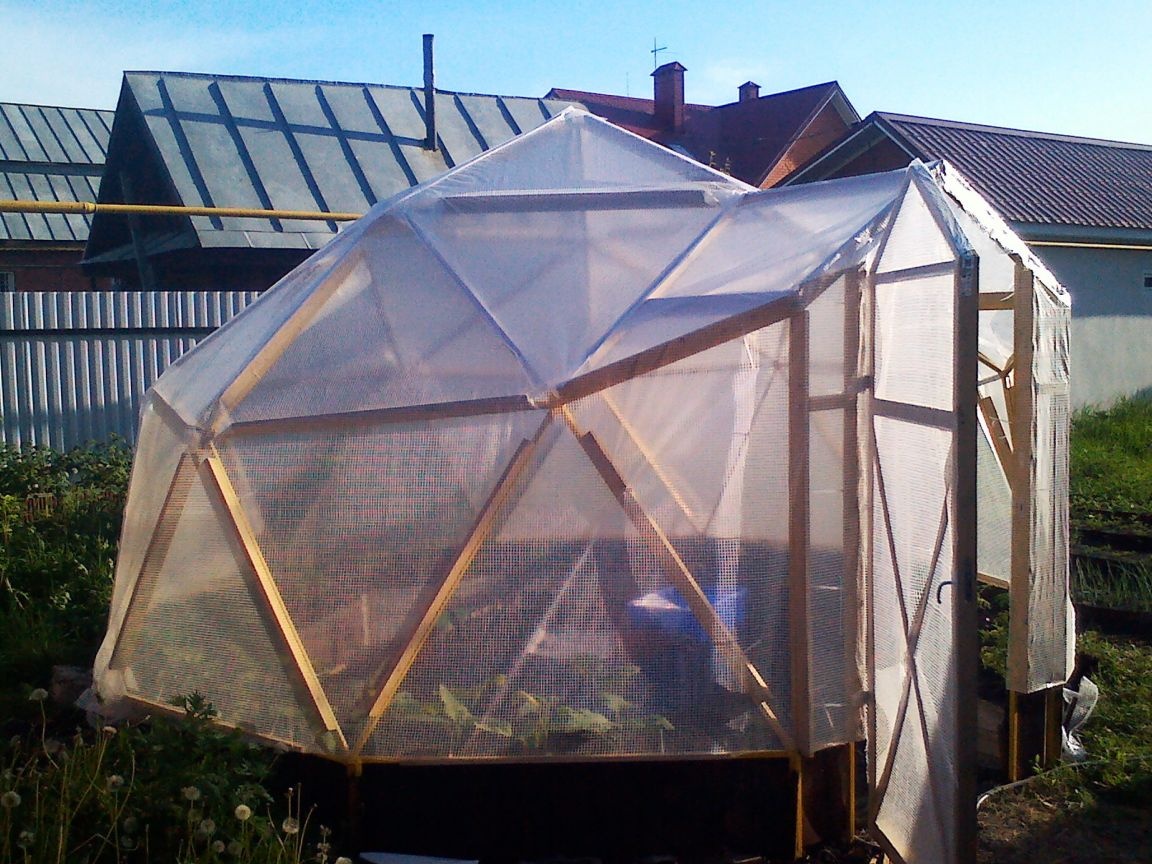
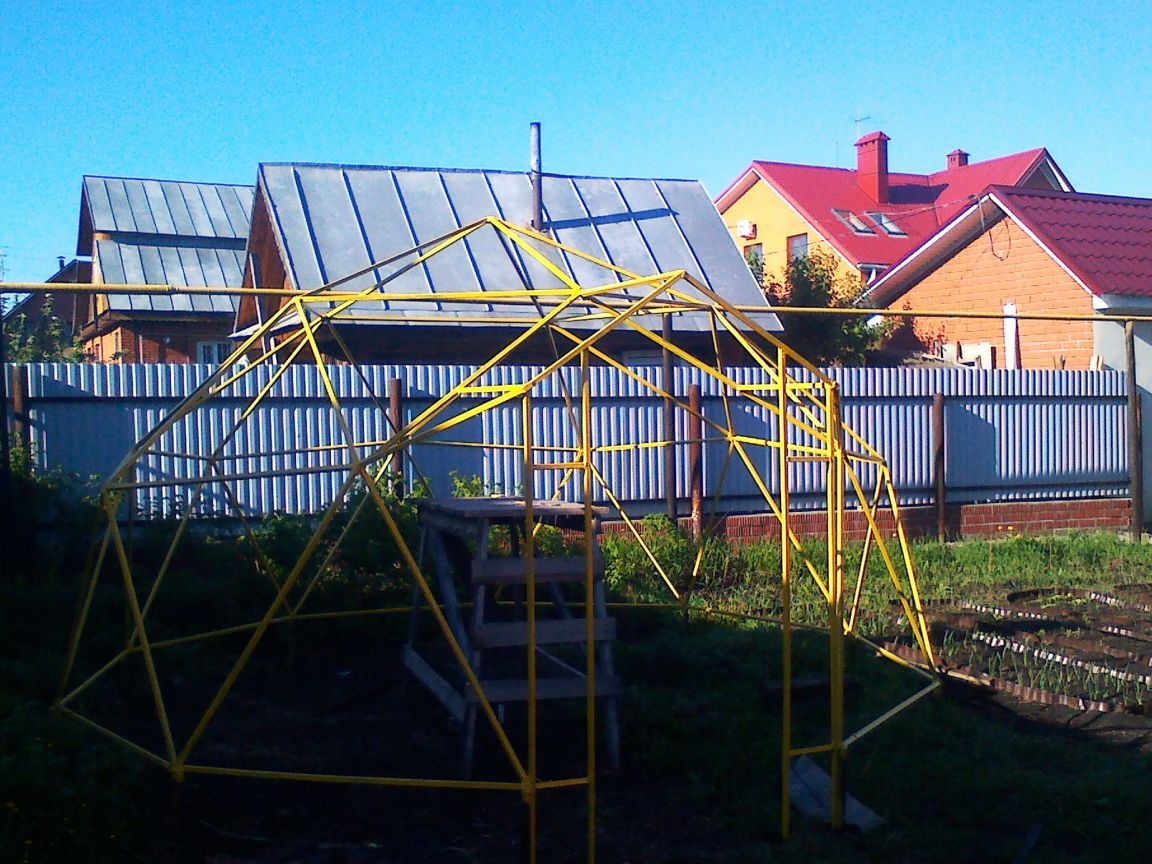
Here is what happened when I assembled everything on the site only with plastic clamps:
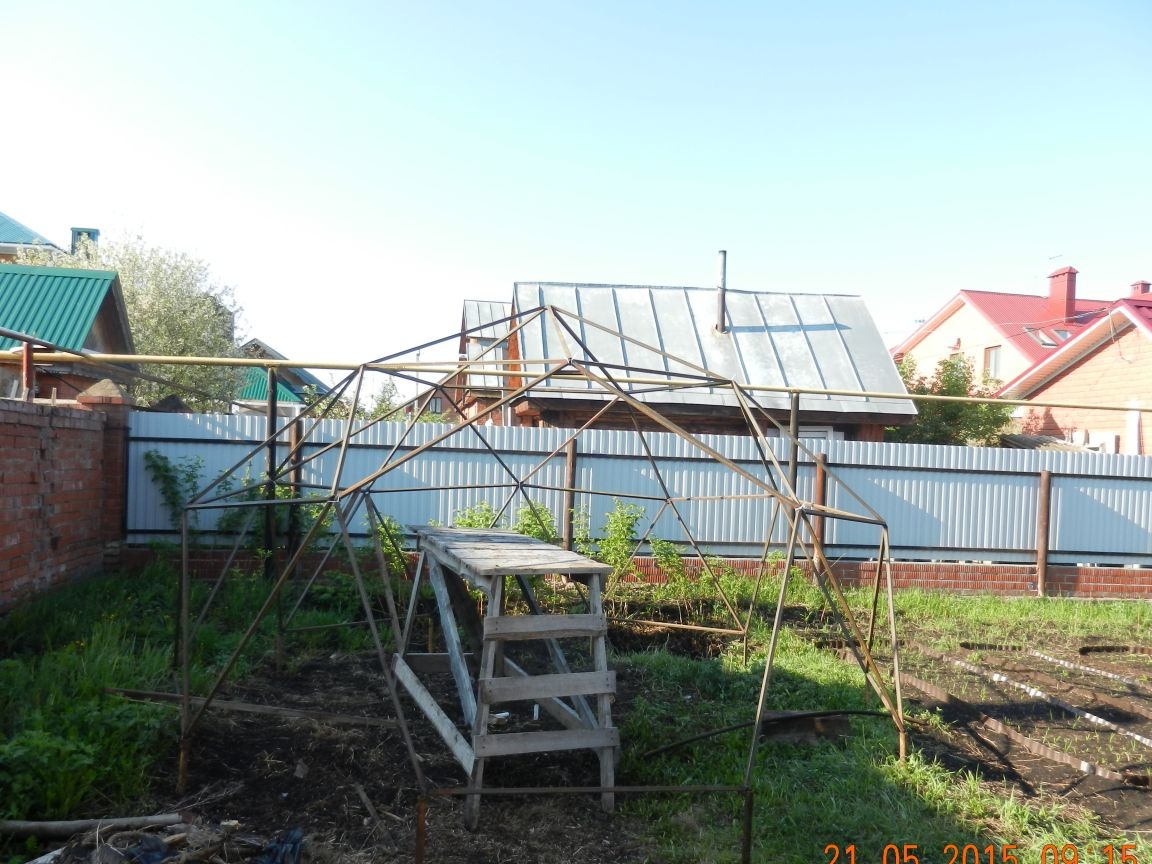
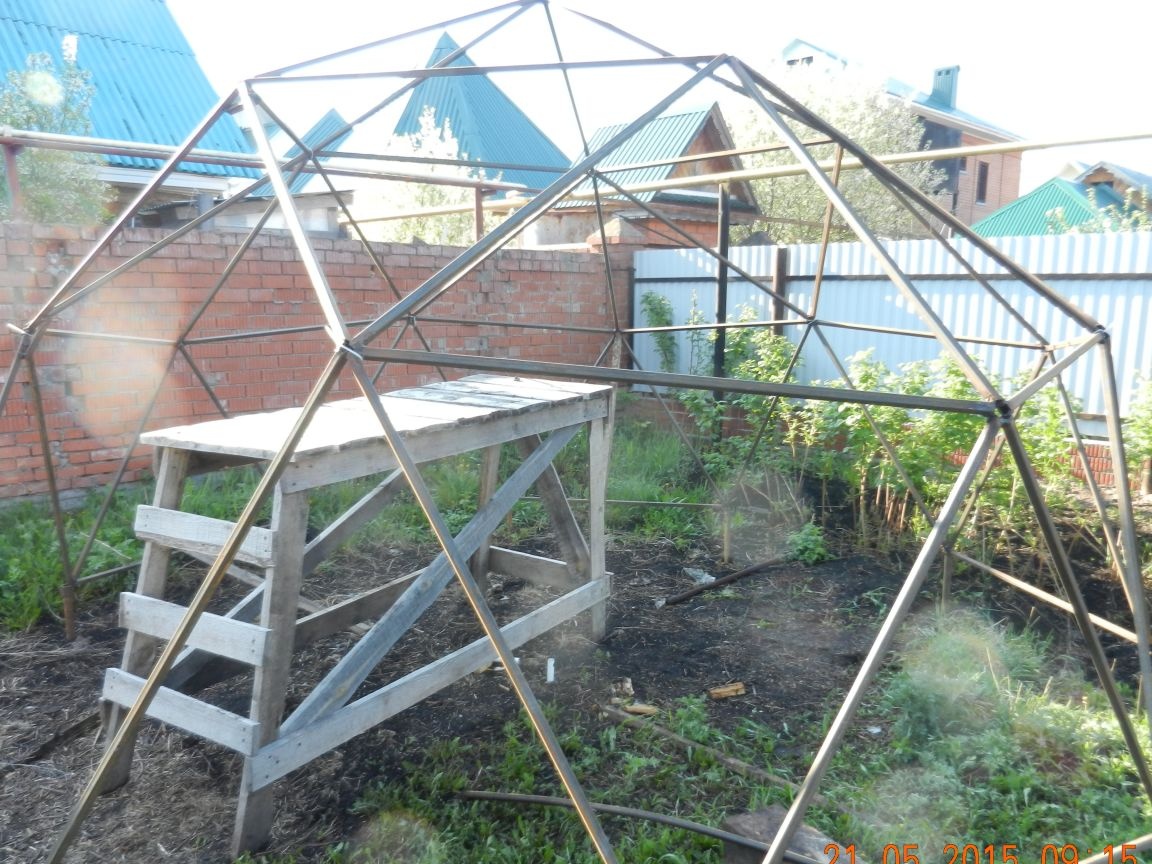
In this form, the construction held me when I hung in the center.
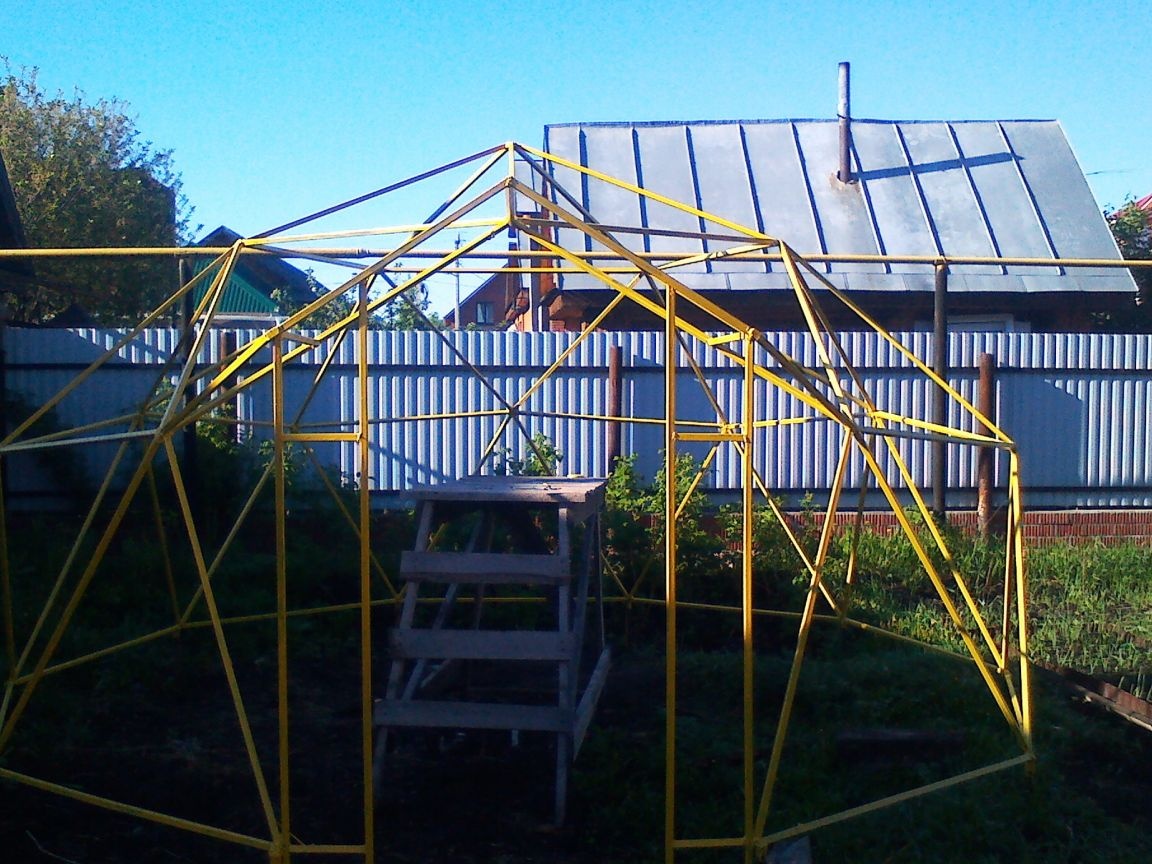
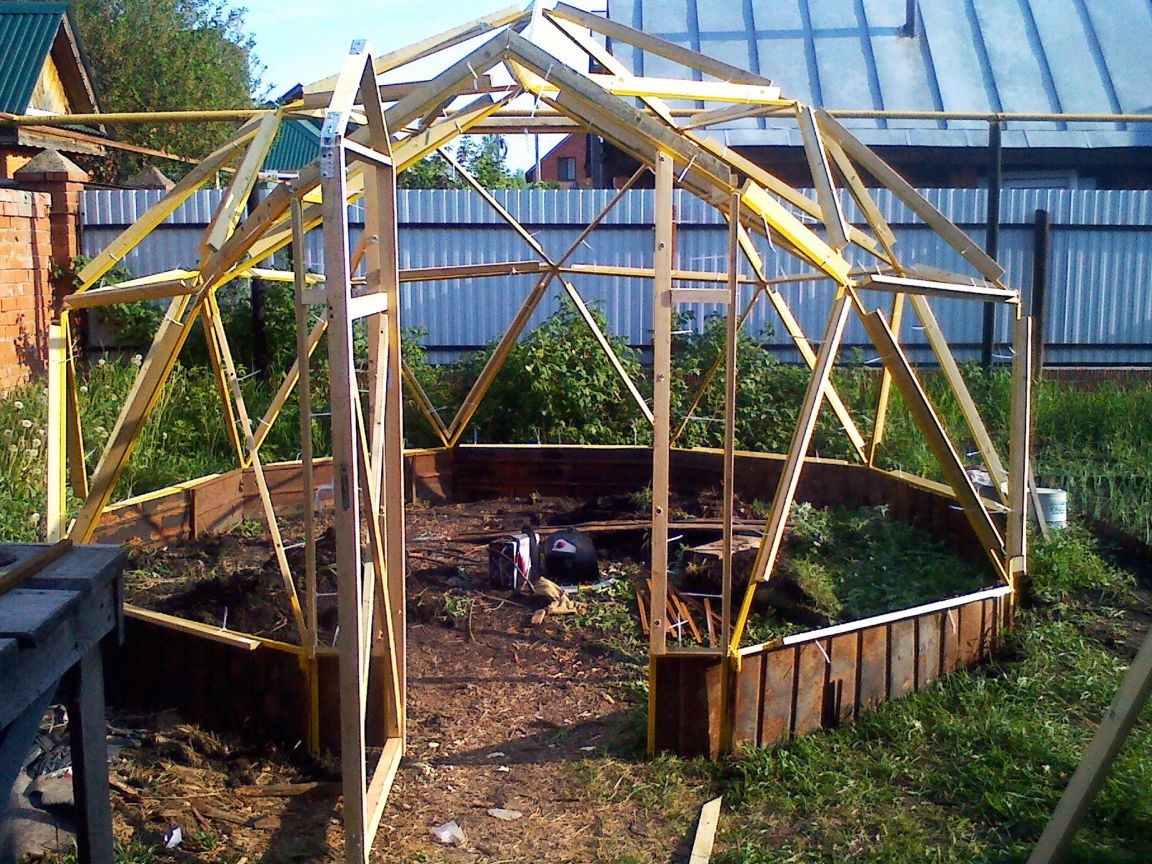
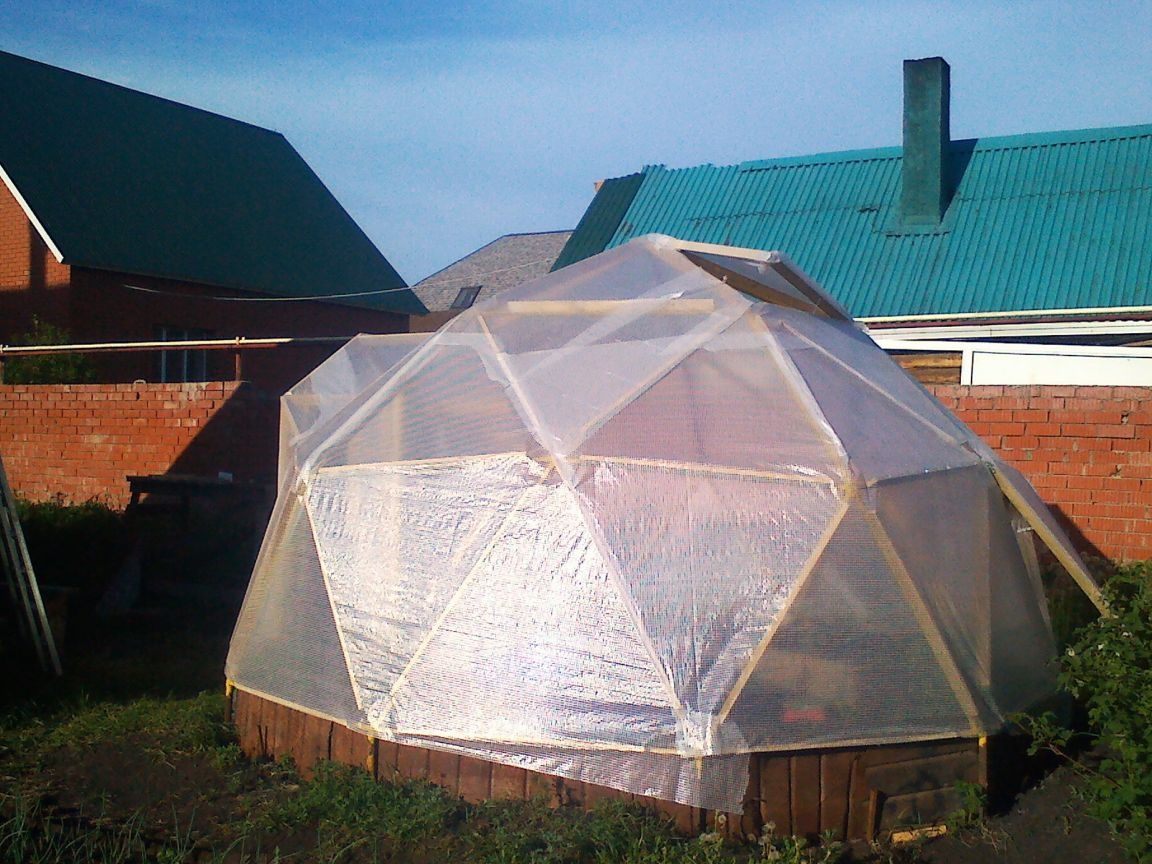
Then scalded the entire structure, formed the entrance group and painted.
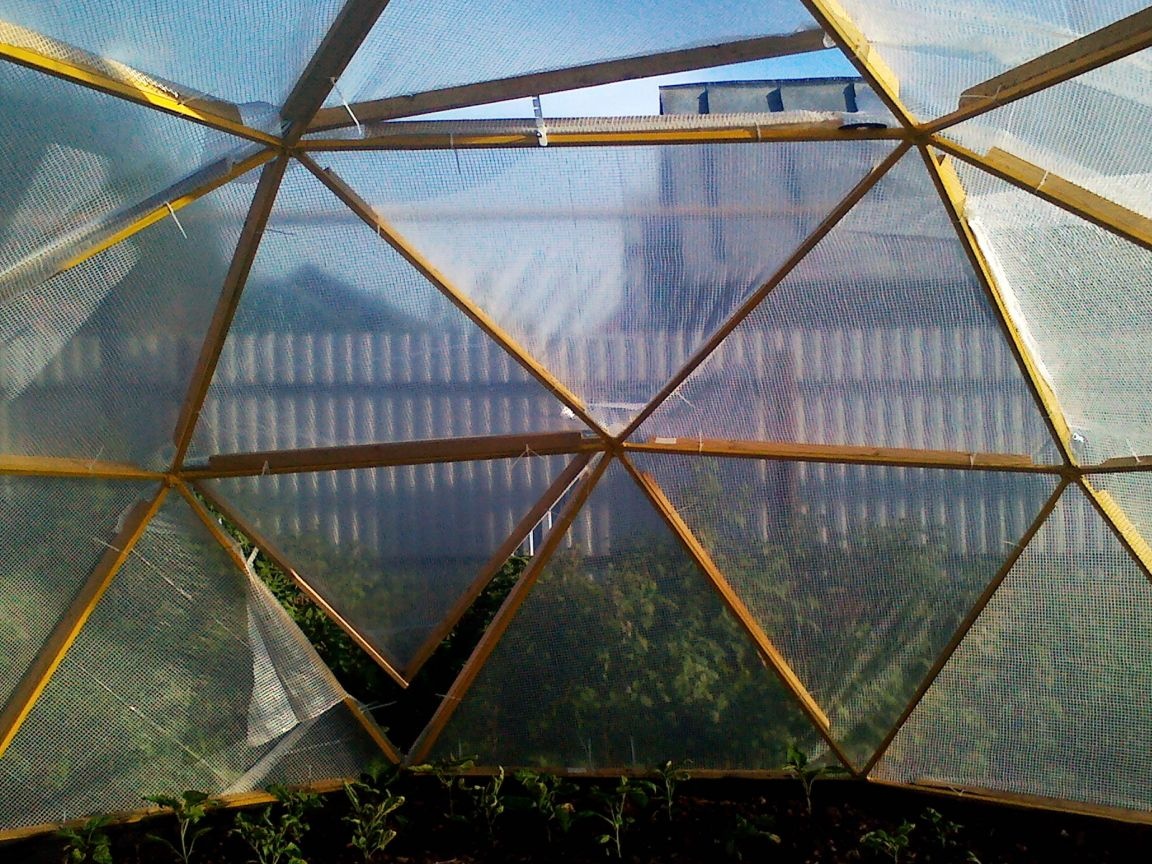
It was already May, it was necessary to plant seedlings, so I decided to fit the frame with reinforced polyethylene. But it would not be possible to attach to the pipes, therefore, a compromise solution was wooden bars, 40x20, treated with an antiseptic and fixed in two places with plastic clamps.
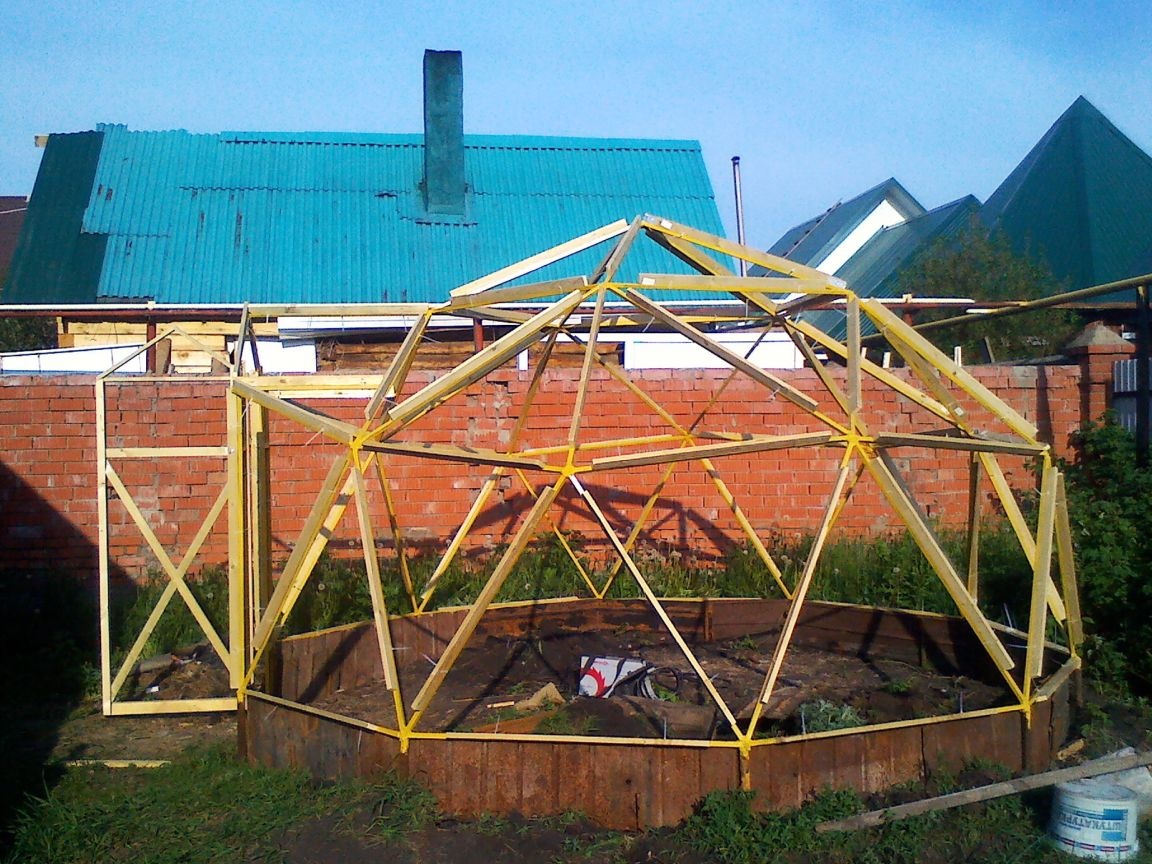
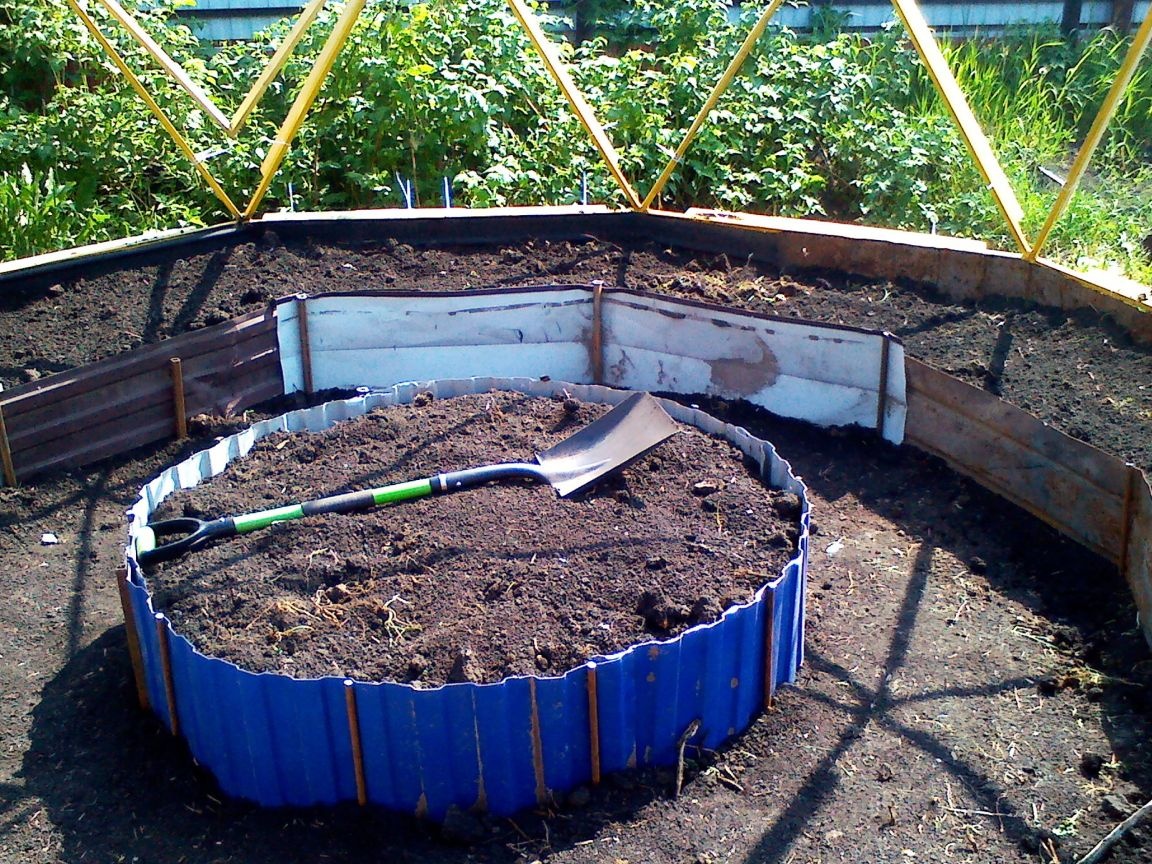
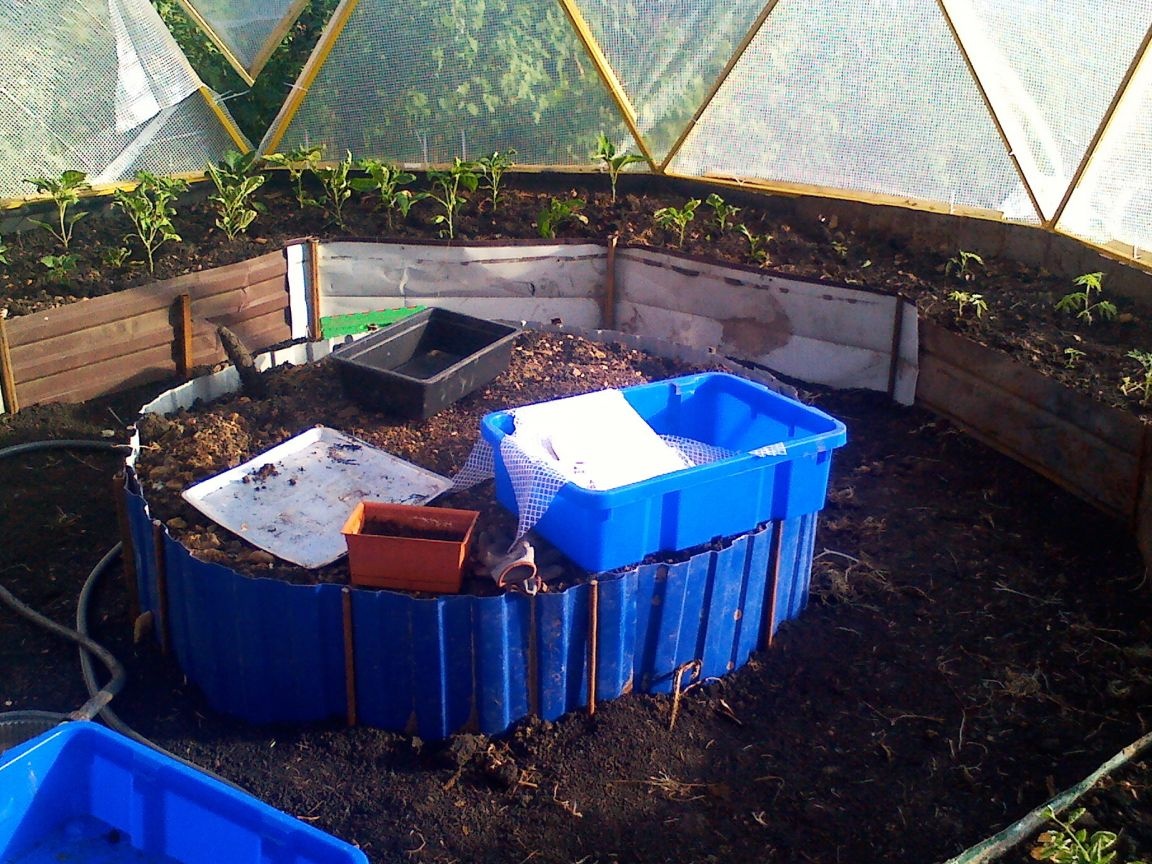
There was no time for foundation and beds with concrete sides, so I filled the space with a professional sheet that I could find.
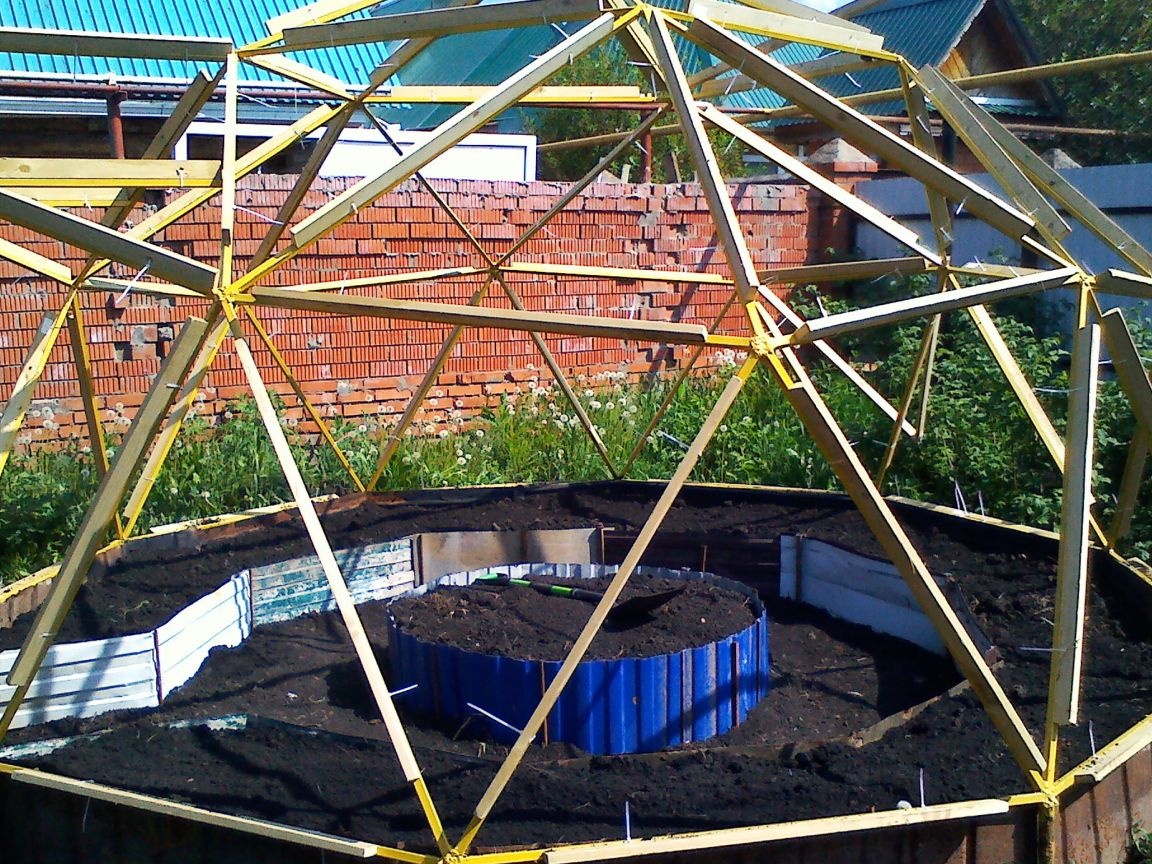
He made vents from the same bars.
The film was fixed with a construction stapler.


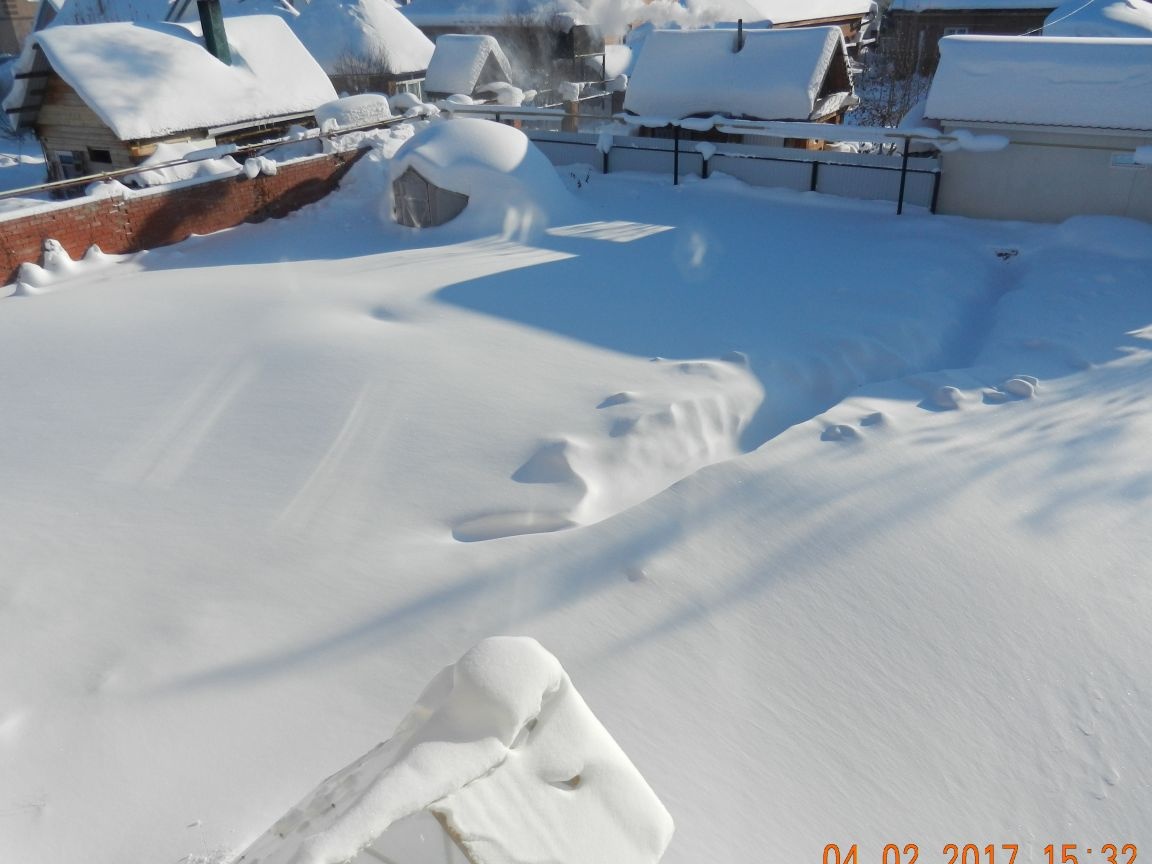
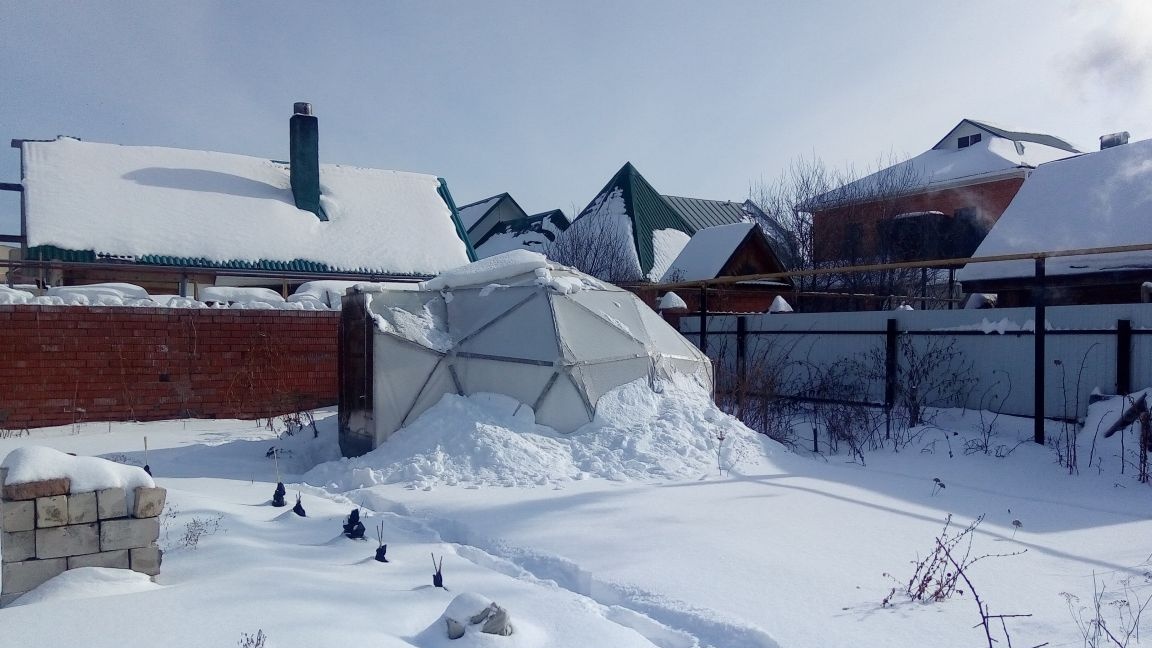
Winter 2016-2017 with an abnormal amount of snow withstood without problems, there was snow on it up to half a meter, the film was out of breath, but withstood.
In 2018, I hope to finally make a concrete base and lay pipes under the beds to heat the soil.
In 2016, he built another greenhouse over the septic tank, about this next time.
Good to all!