
And so for this homemade product we need:
- empty aluminum can
- two springs
ice cream sticks
- wooden spatulas
barbecue skewers
- strong thin thread
syringes
-tube for cocktails
- a tube from a dropper
bottle cap
-marker
-little gum
Of the tools we will also need:
thermal glue
nippers
-scissors
-stationery knife
-electric drill
mini electric saw
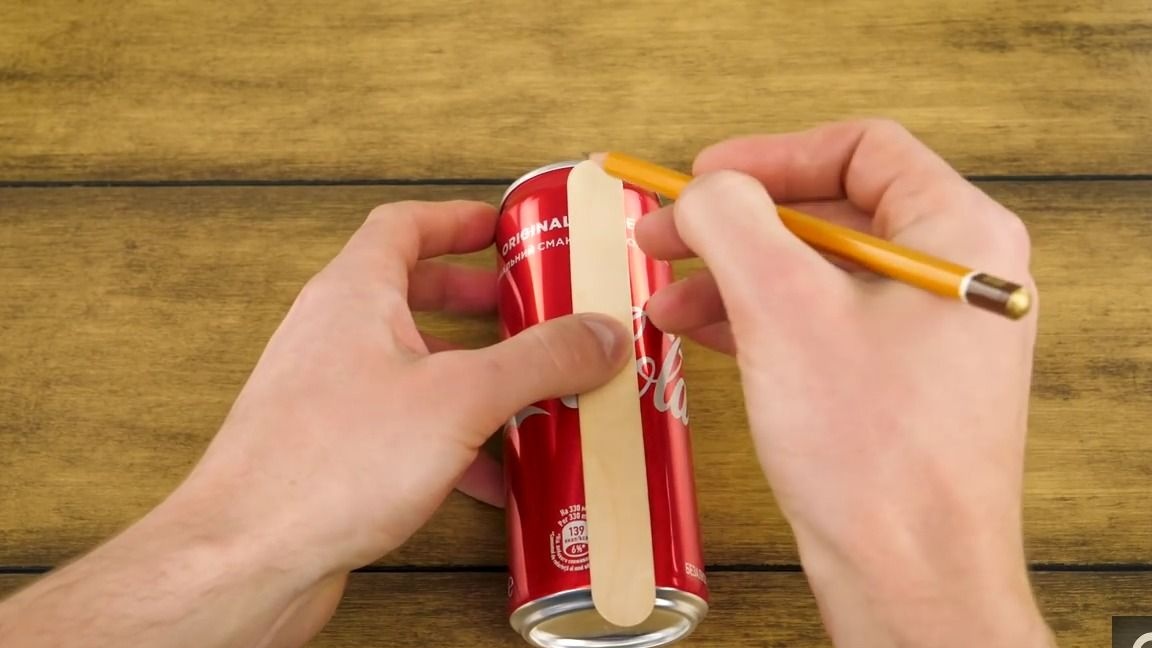
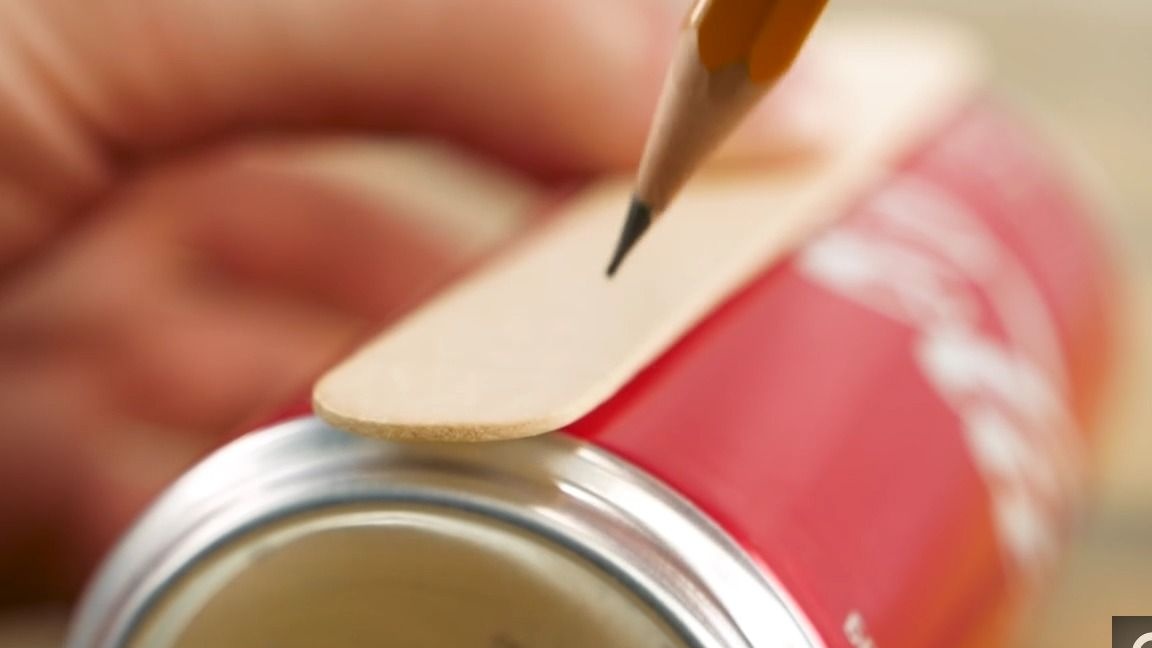
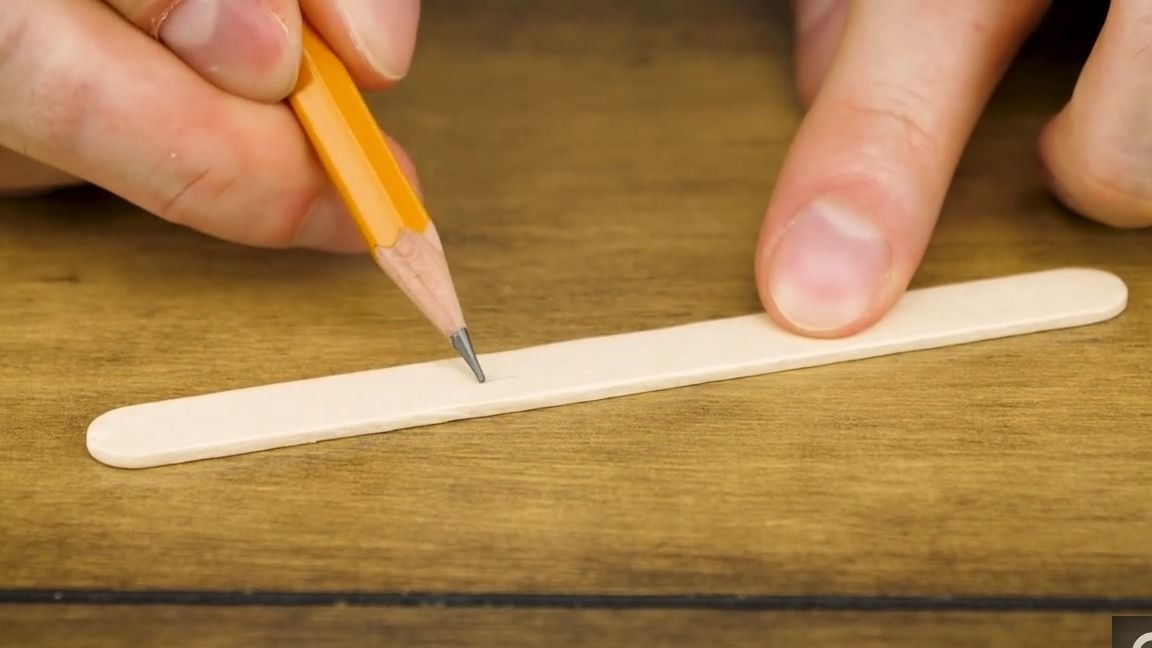
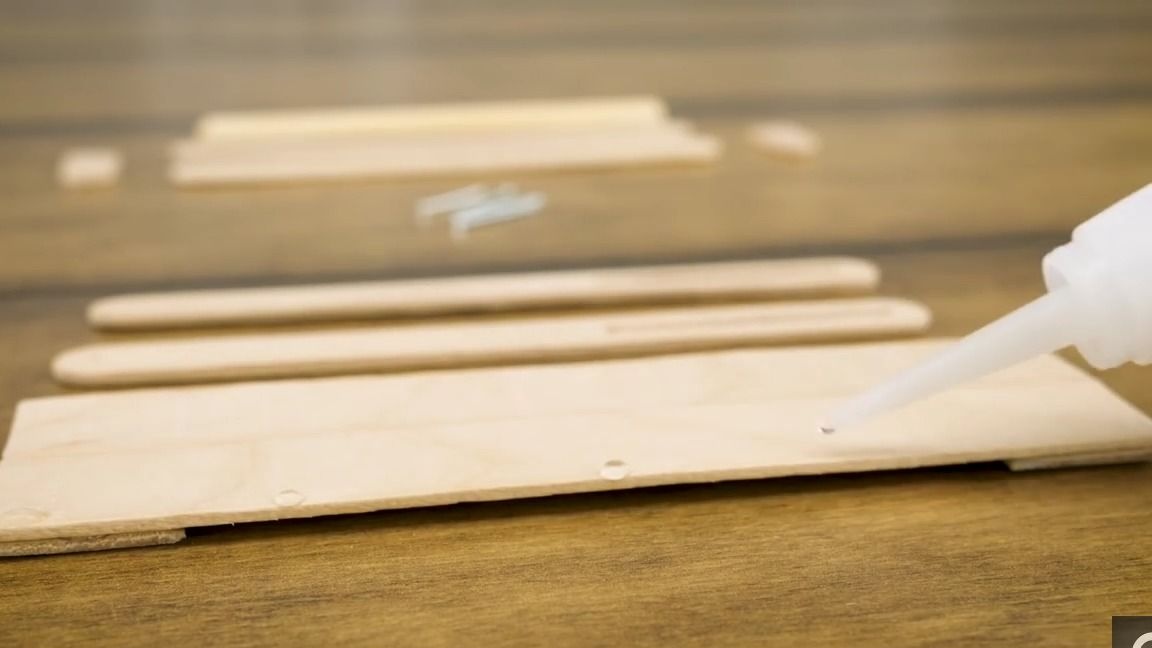
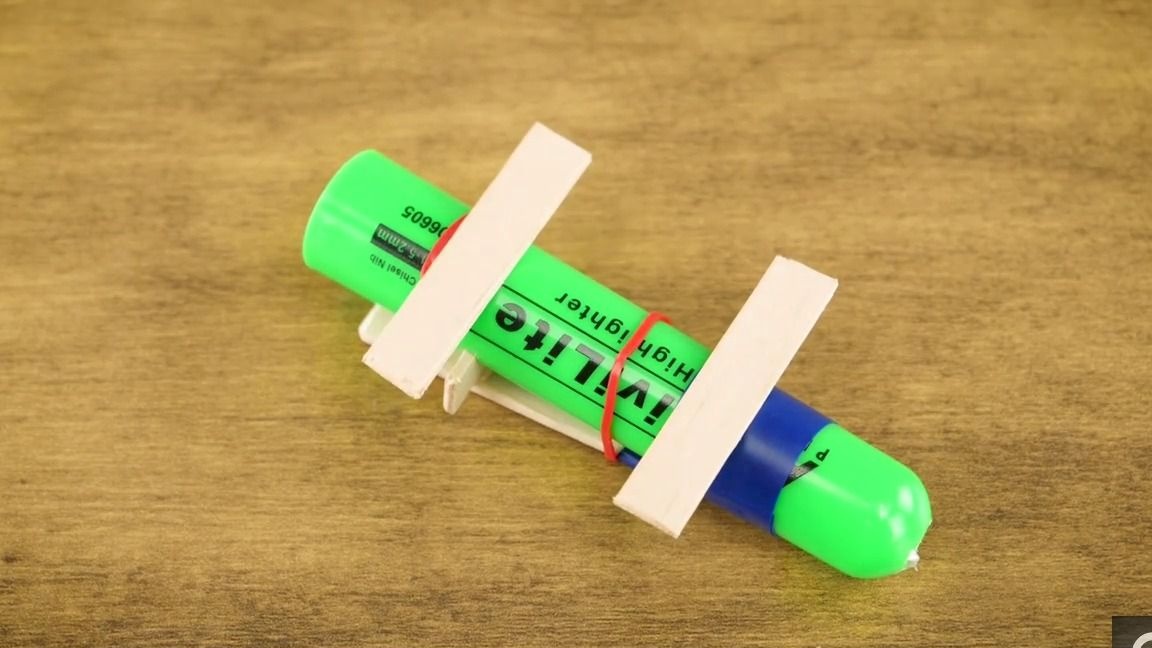
And so, first of all, you need to take a spatula and a jar, and mark the edges of the jar on the skewer:
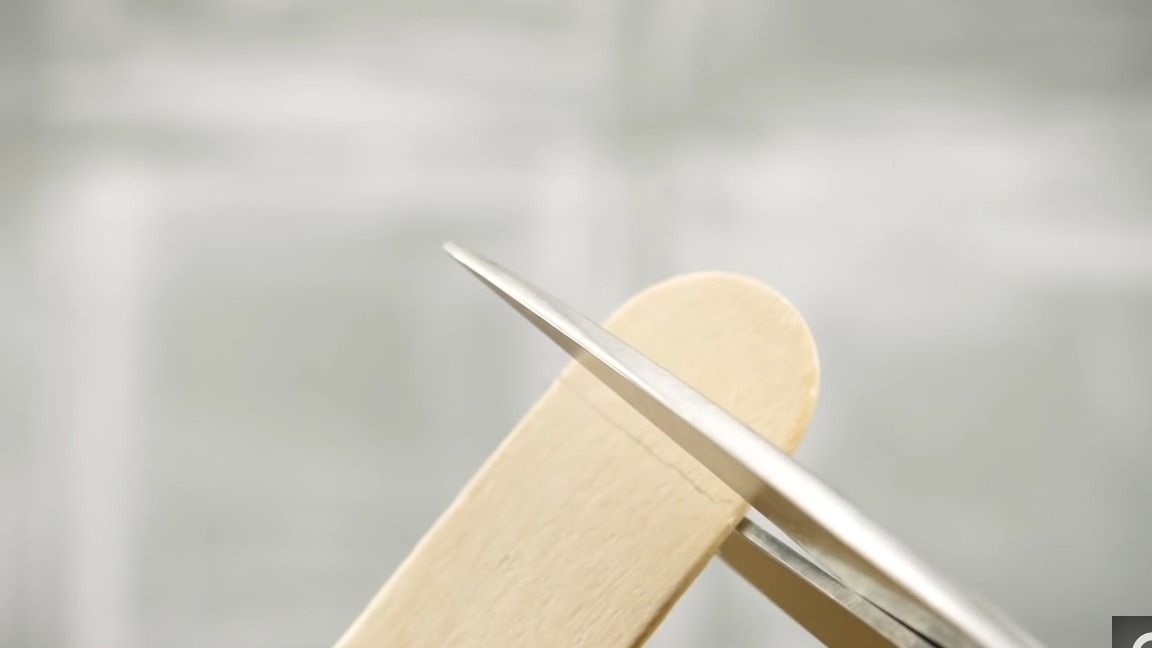
Cut off:
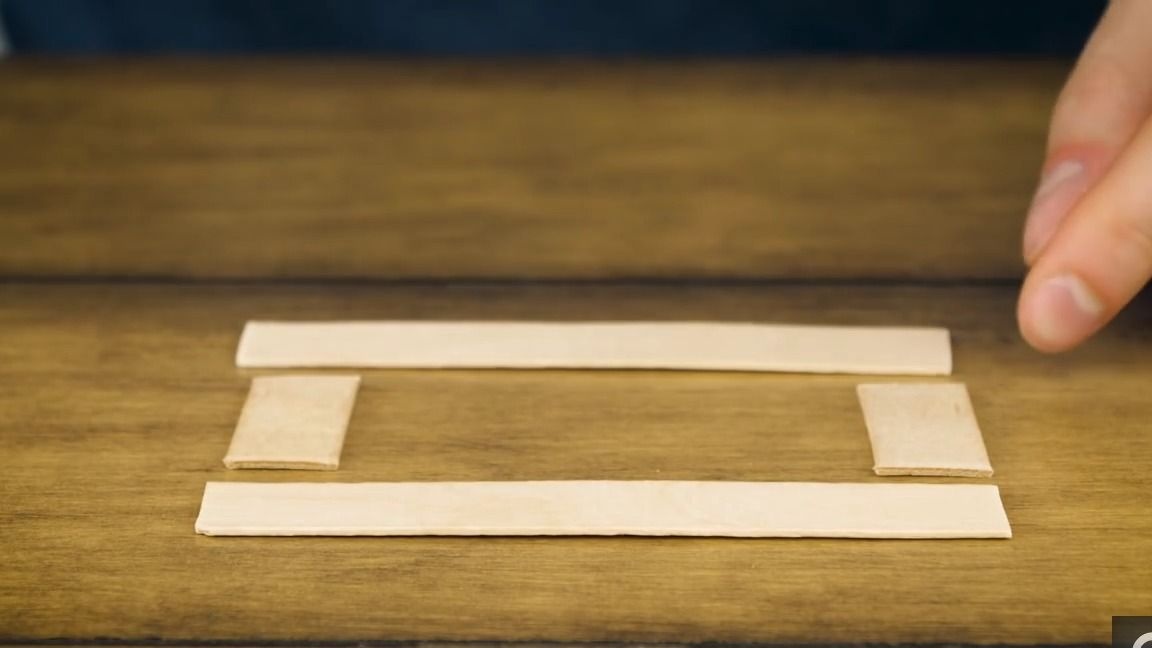
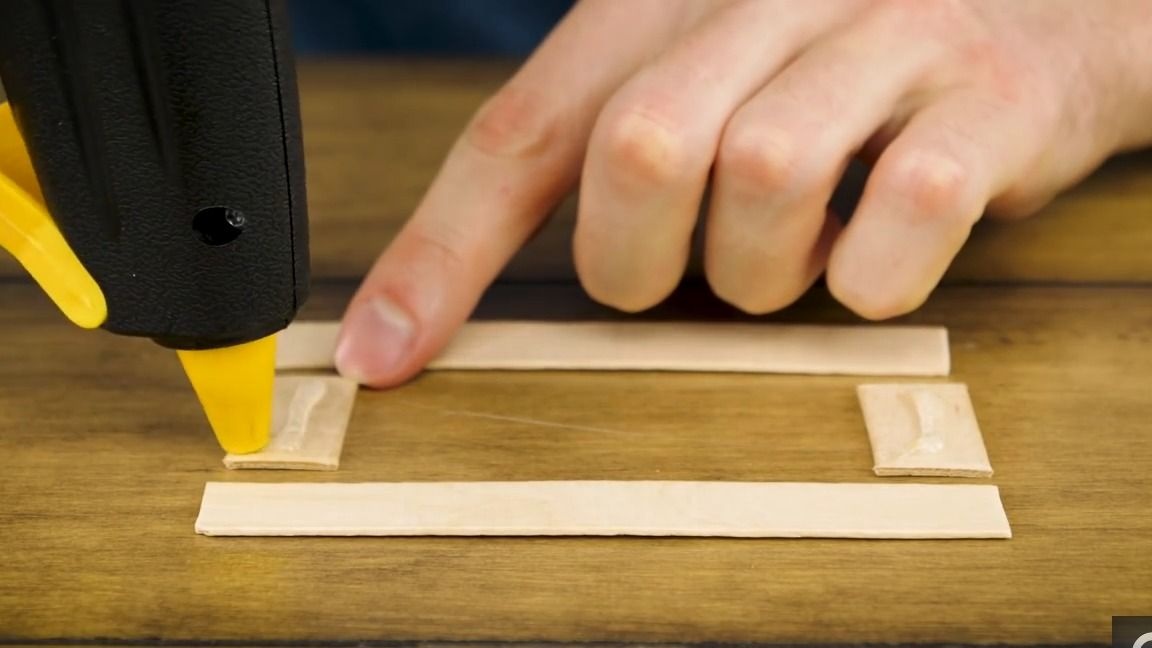
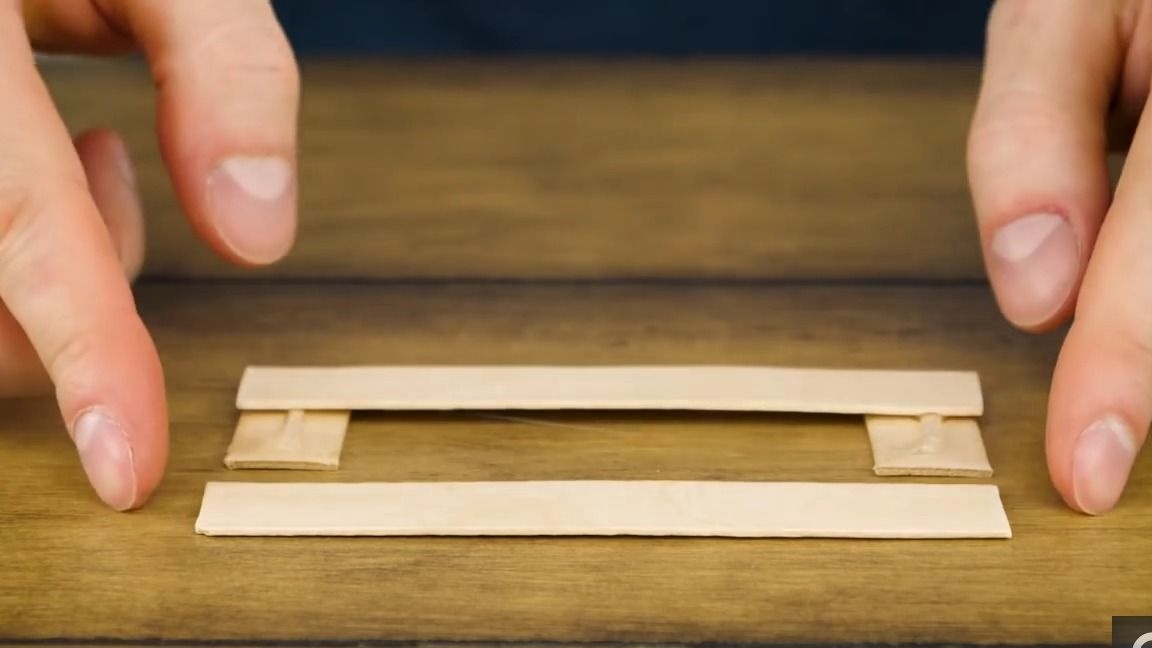
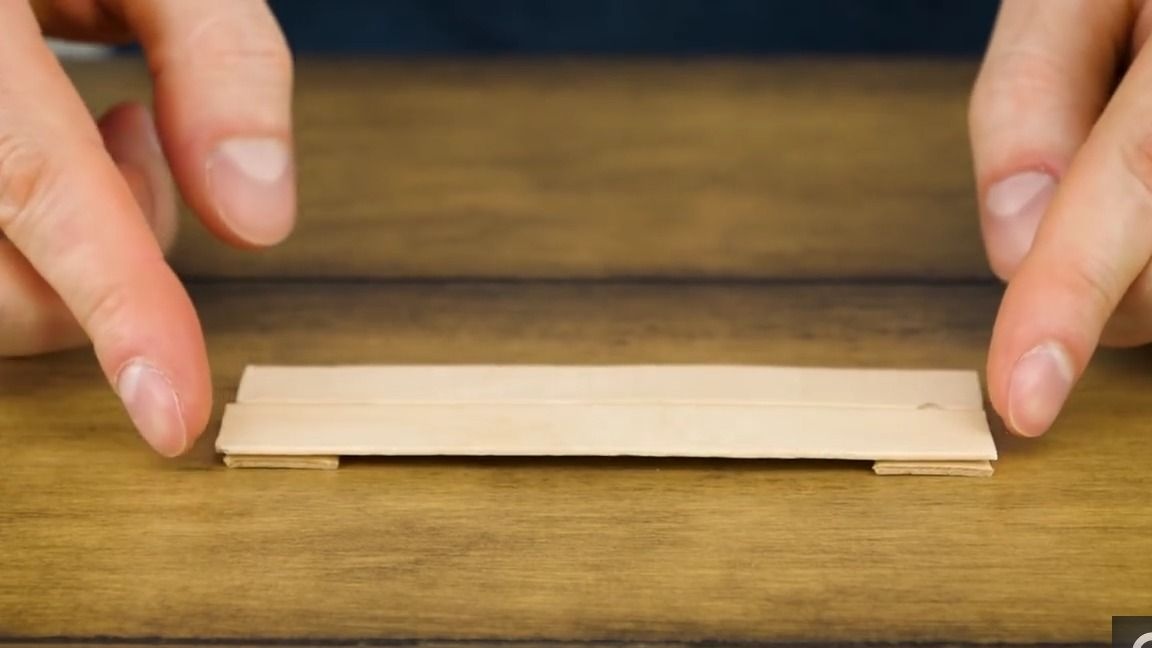
In total, we will need to make two such blanks and two more small details, in general, as shown in the photo:
We apply thermal glue to small parts and glue them as follows:
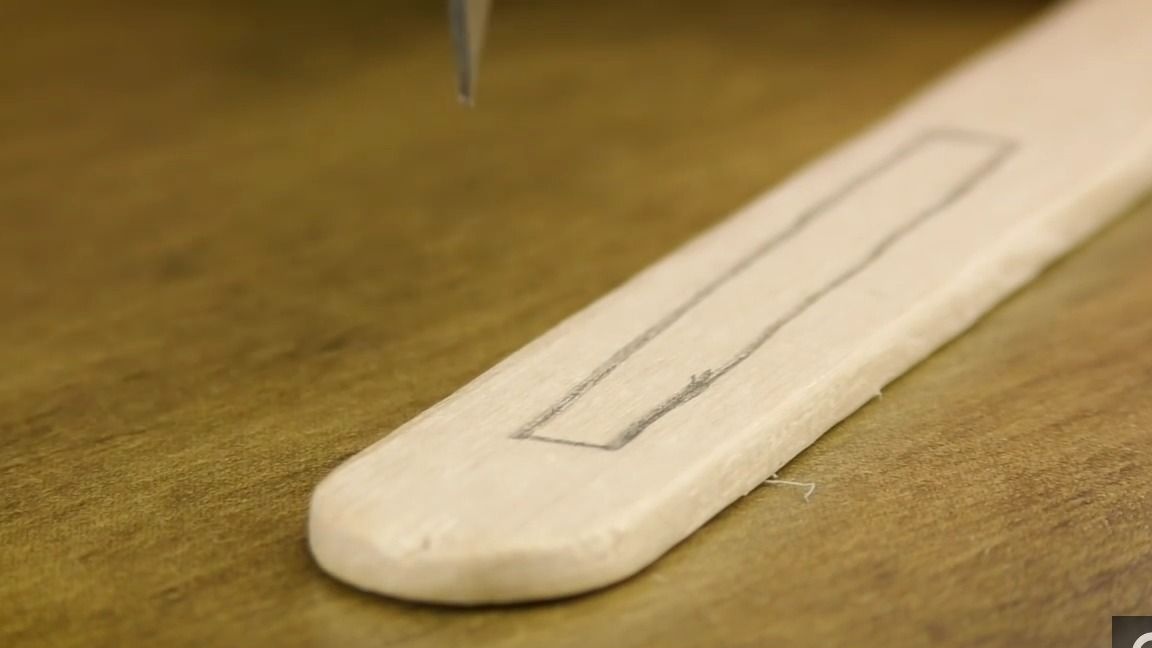
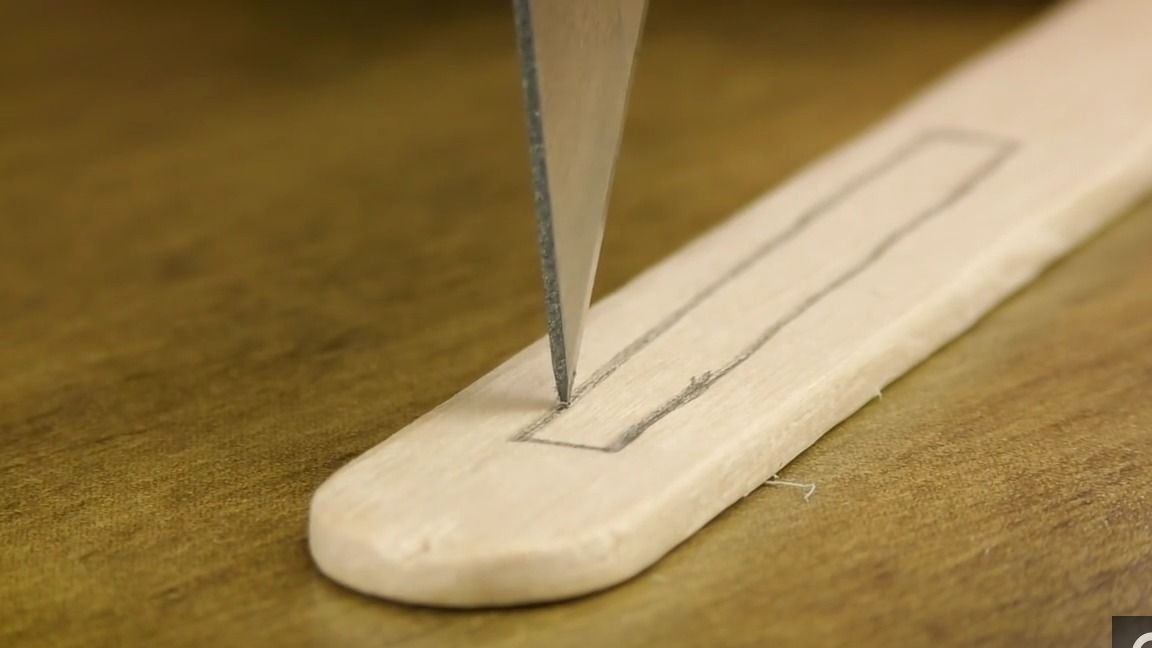
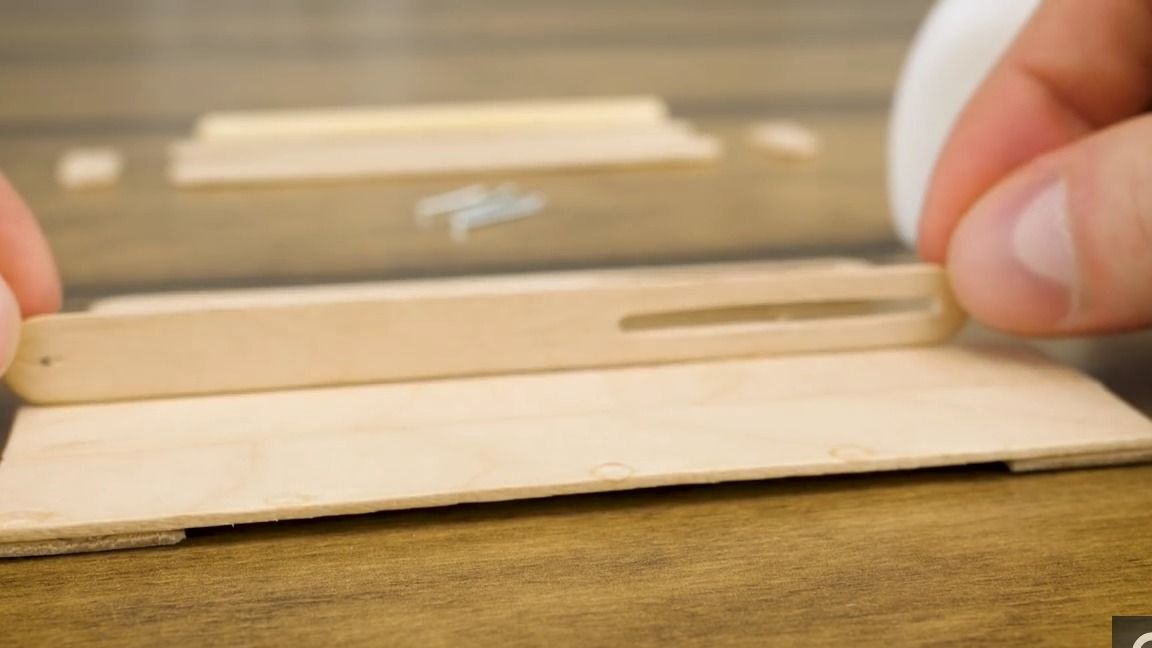
On the ice cream stick, draw a small rectangle, about half the stick, then cut out:
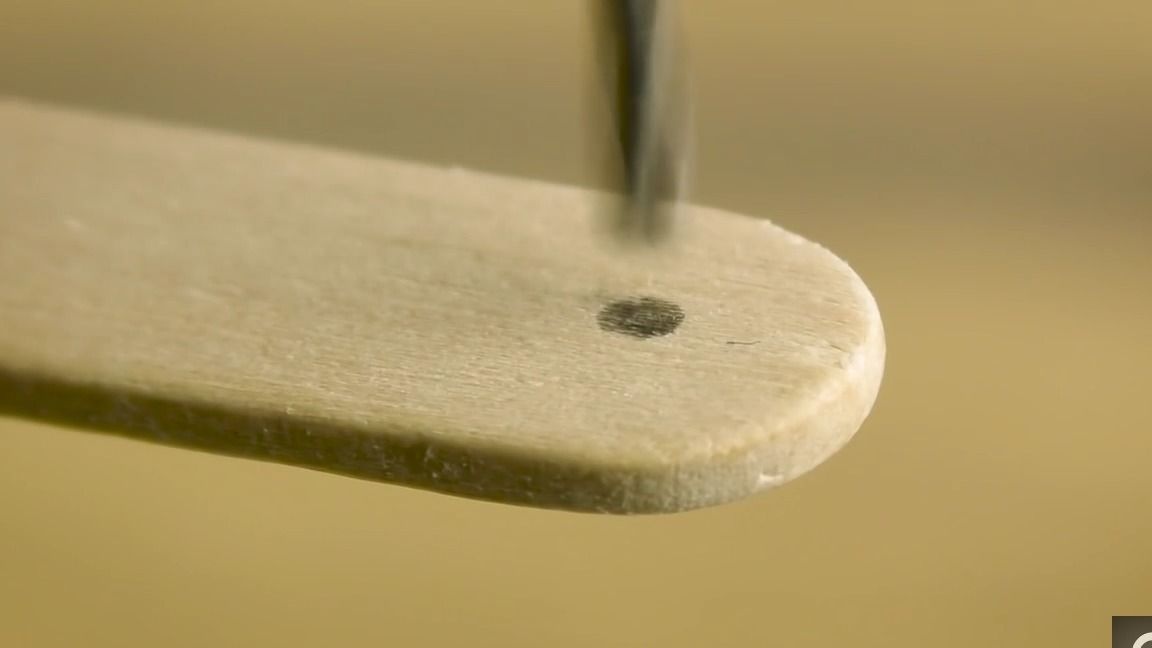
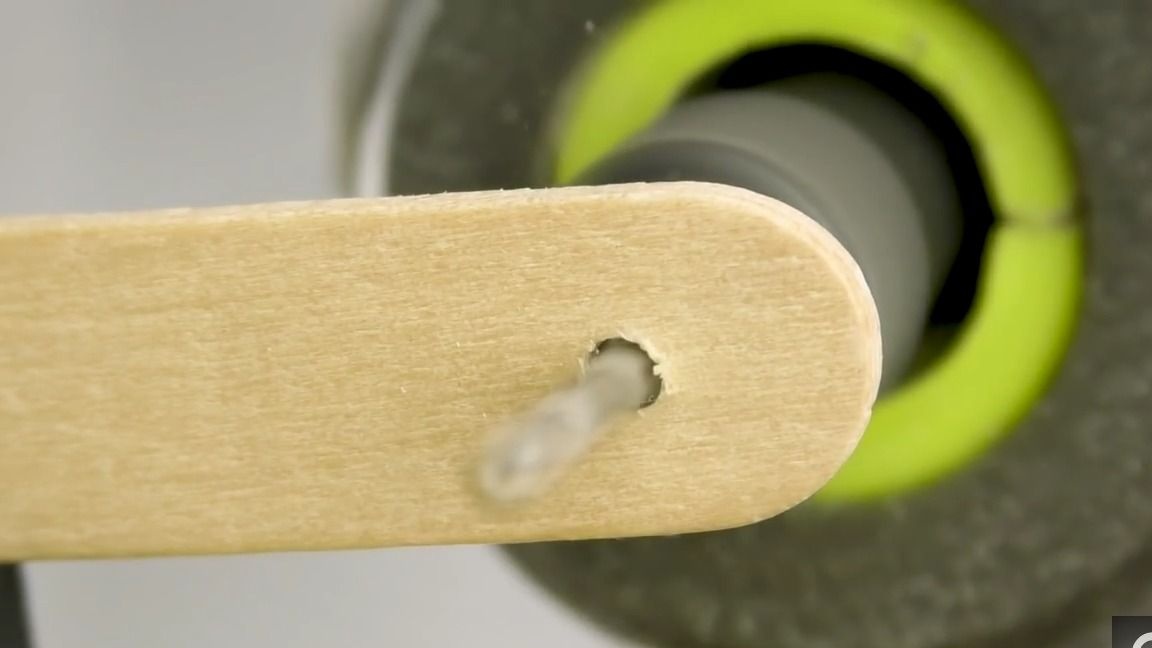
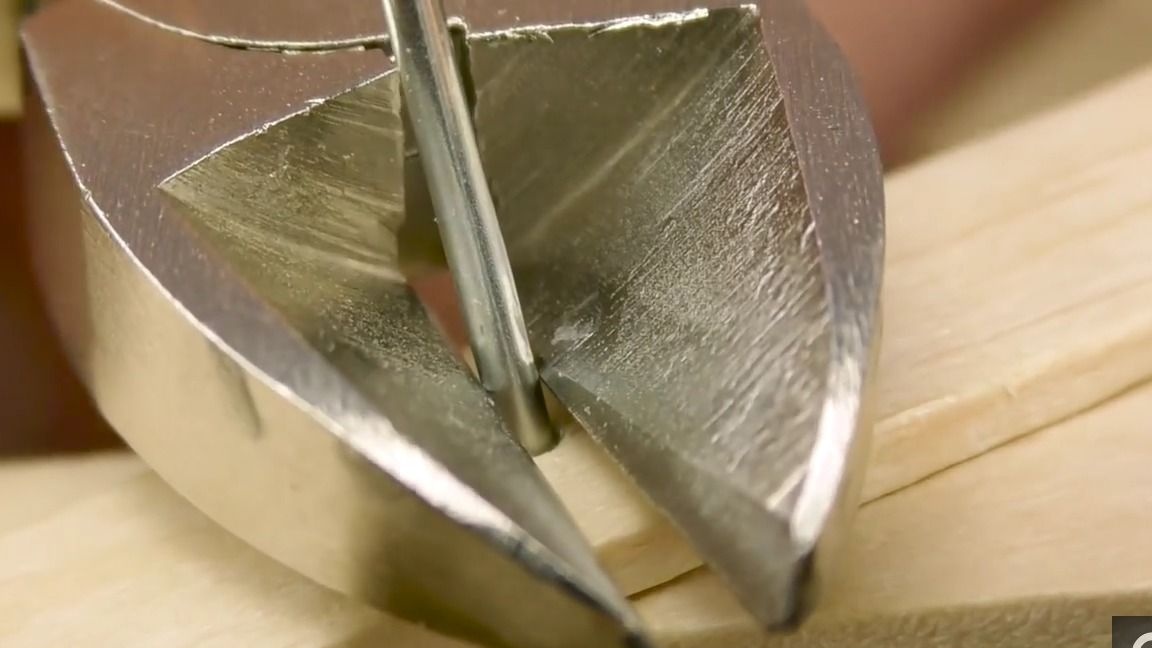
On the opposite side we drill a thin hole:
On our first blank we apply super glue and glue the ice cream sticks with the holes made:
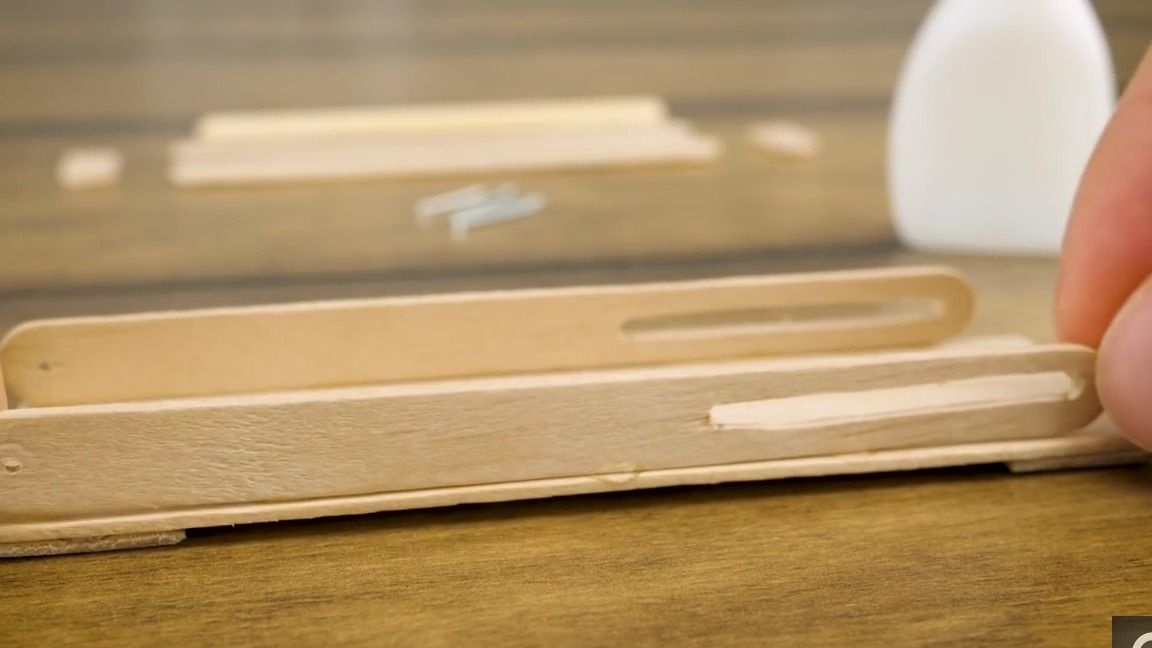
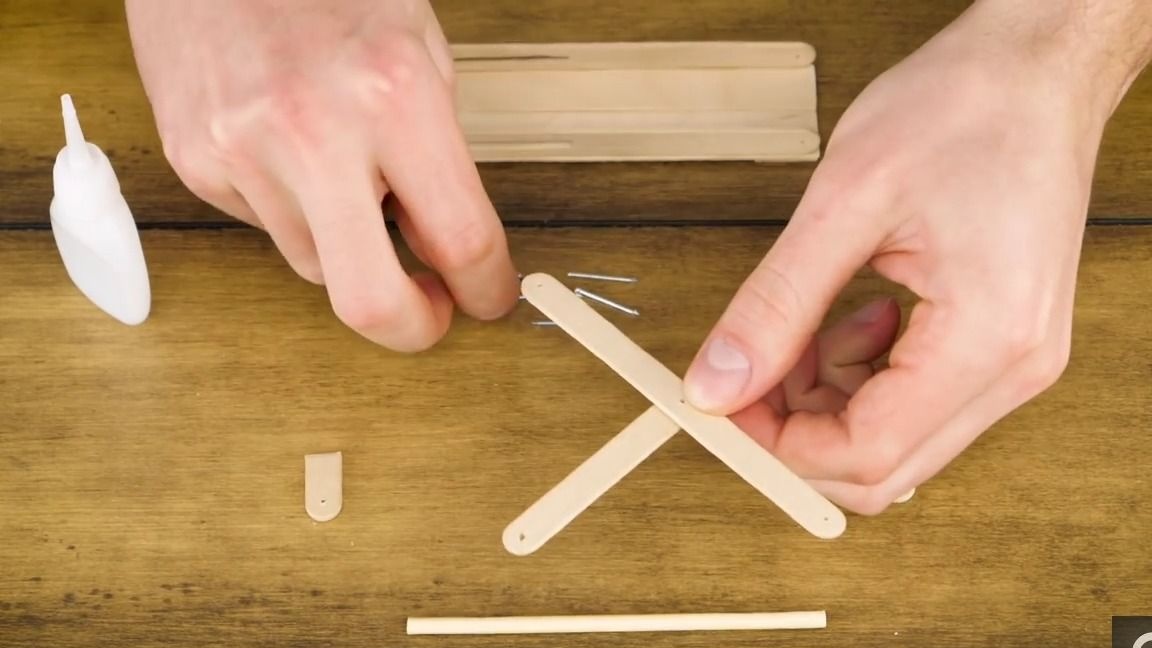
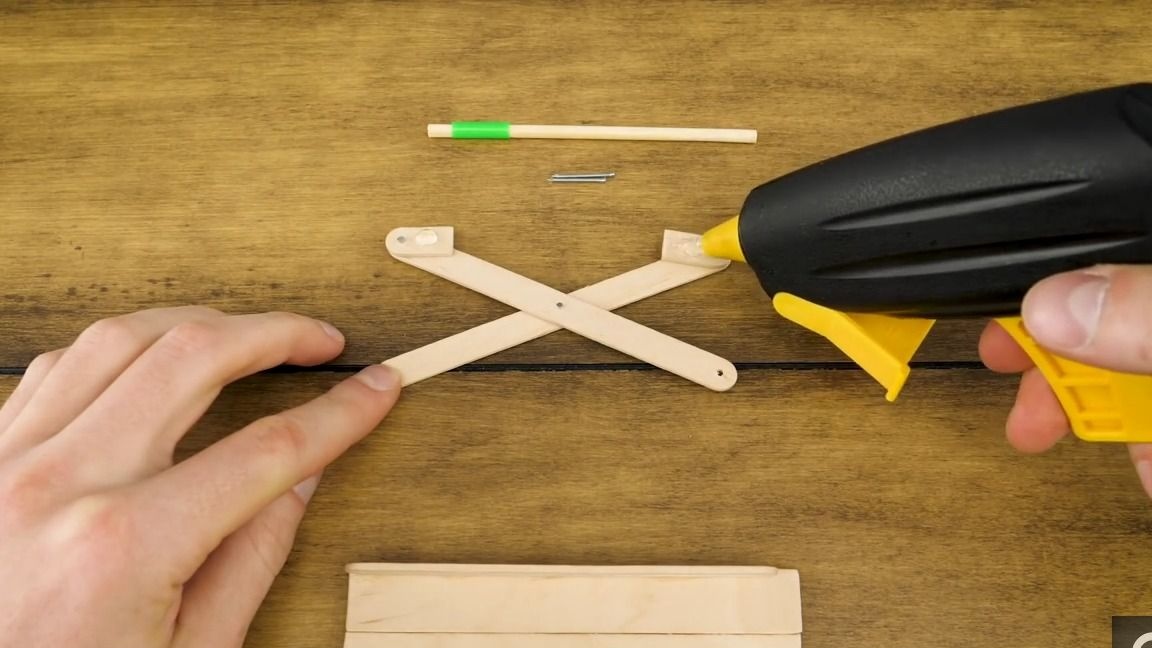
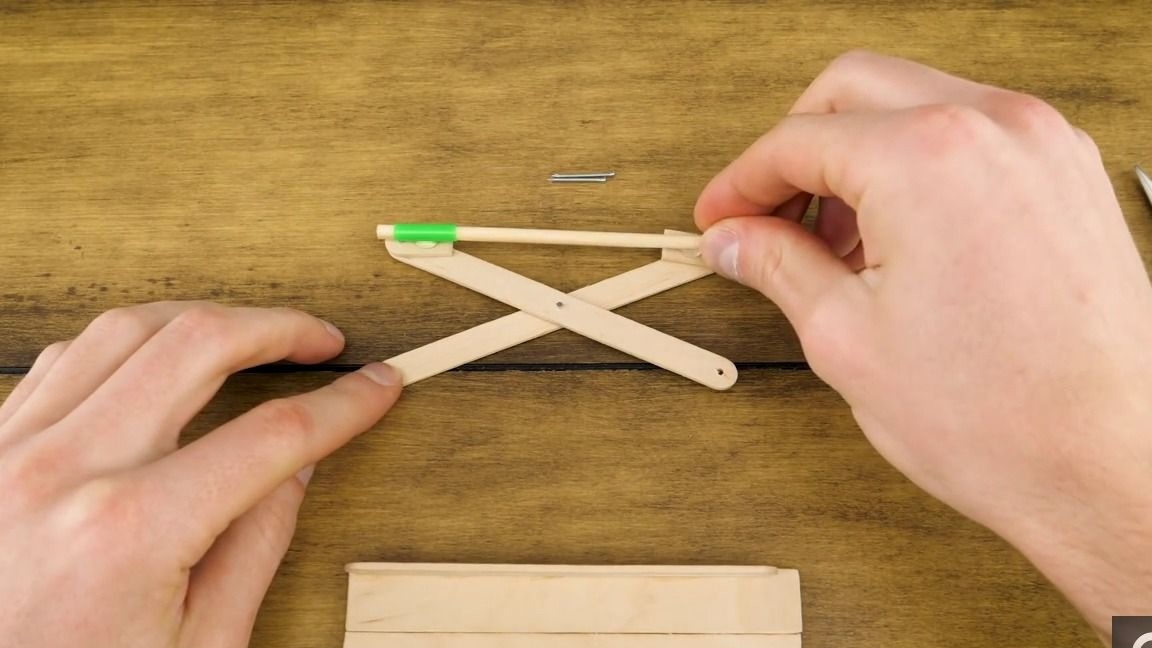
Then, from the ice cream sticks, we need to make the following details:
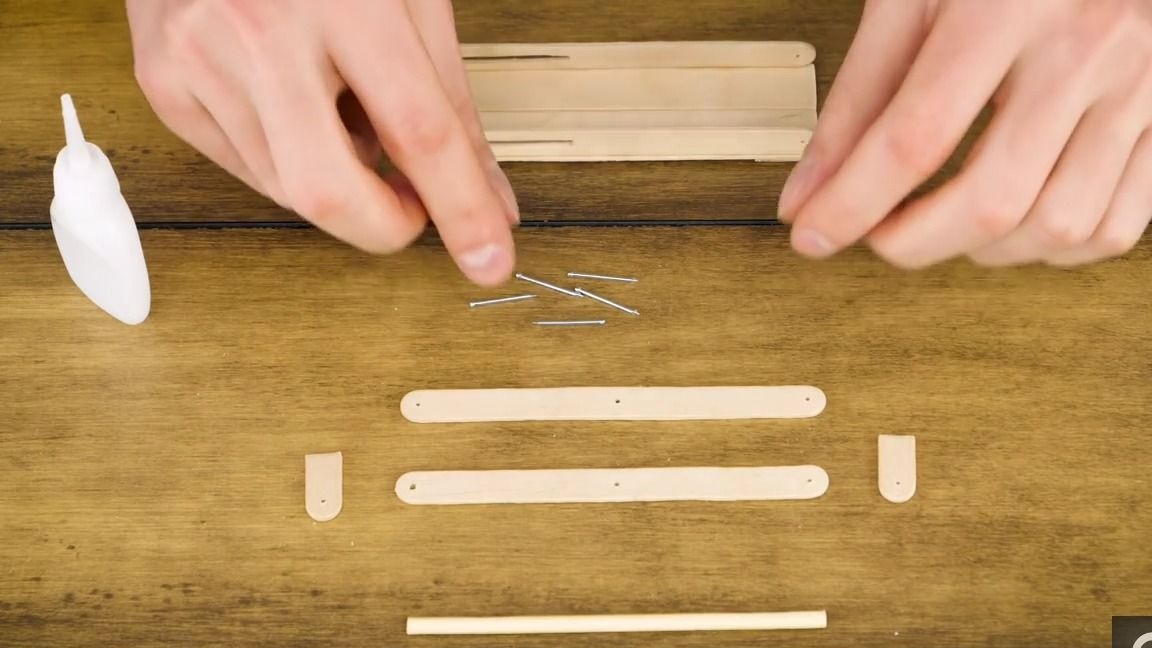
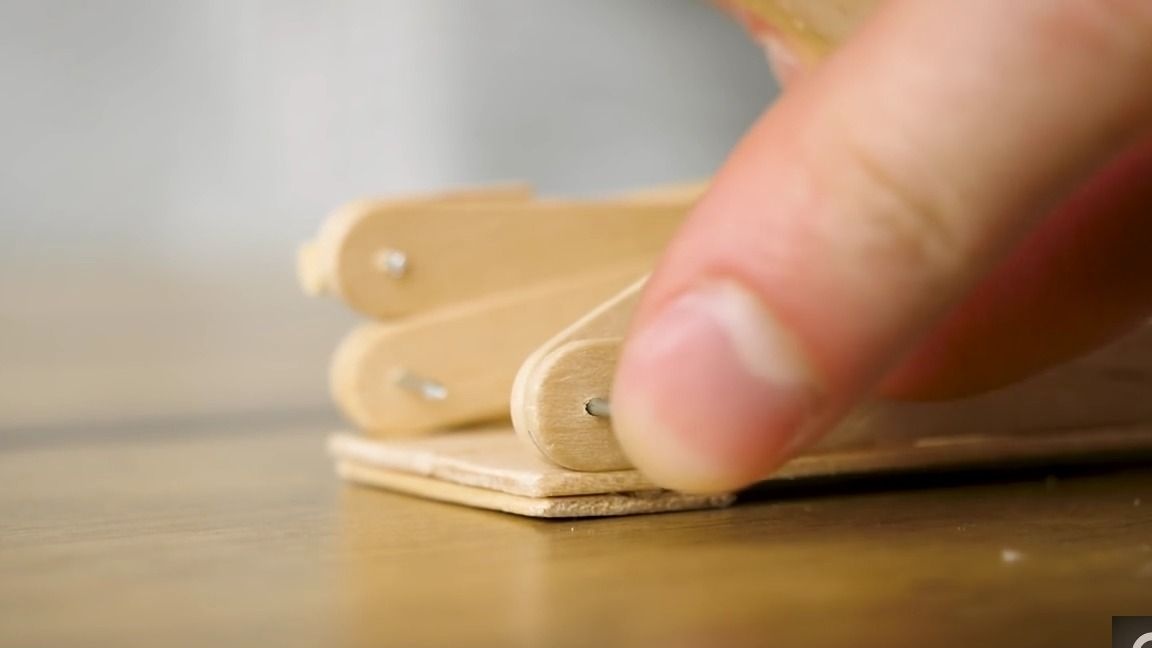
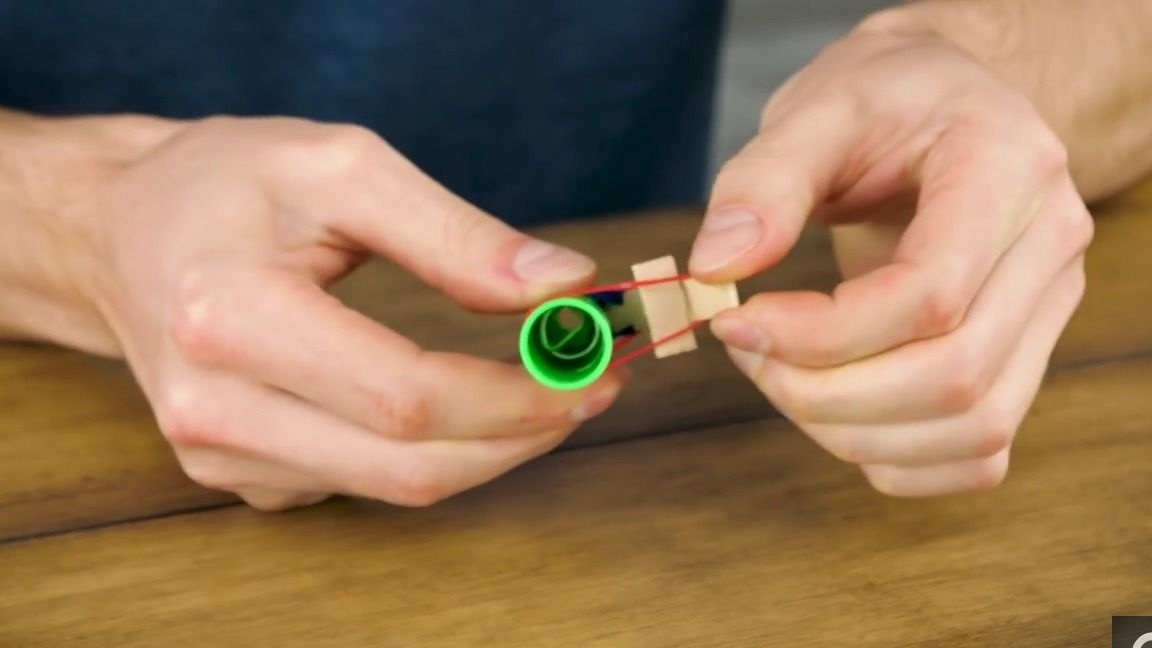
Now we take two sticks with enlightened holes and fold them crosswise onto the cross, after which we insert a nail into the central hole and bite off the excess with the help of cutters:
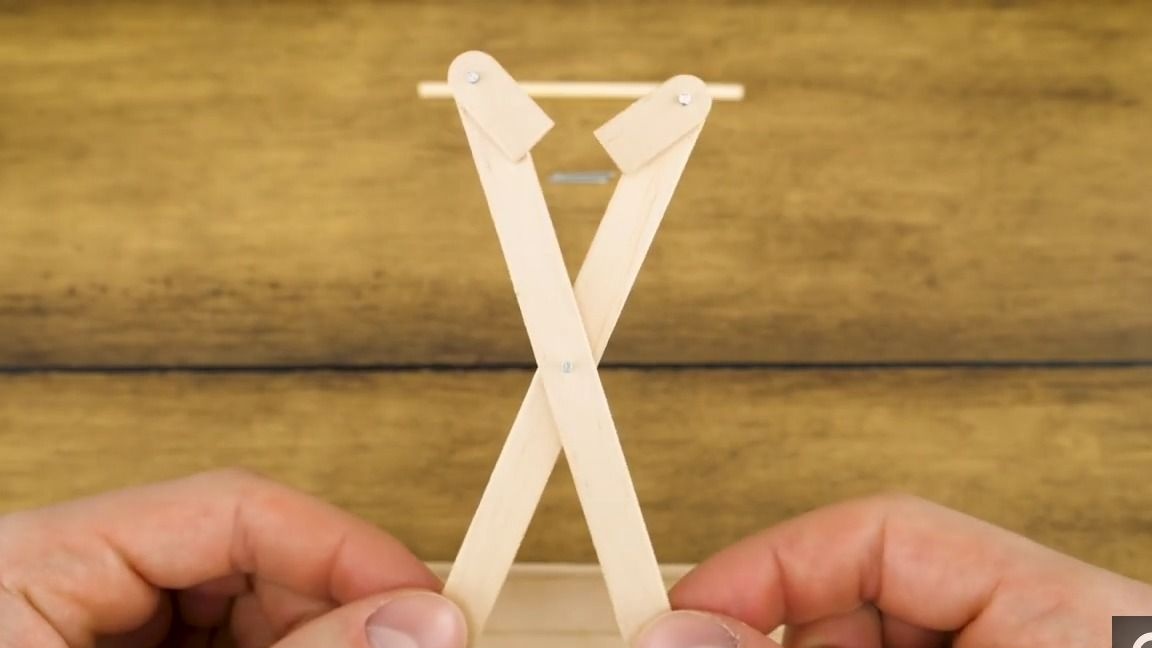
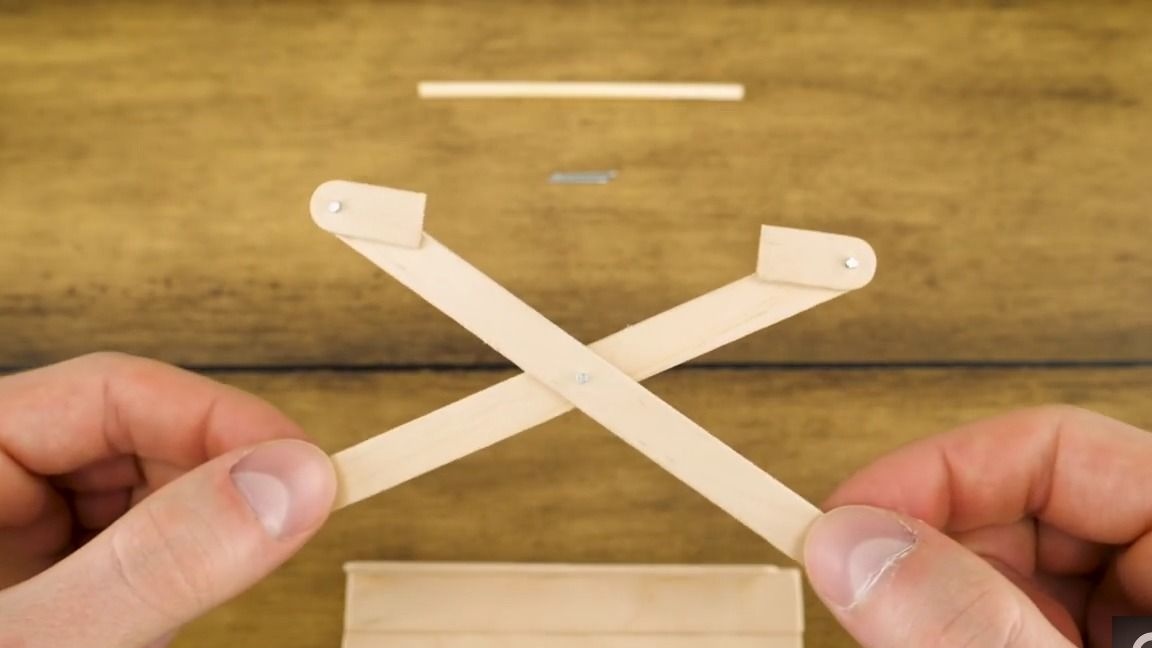
After that, we attach the remaining parts to the extreme holes in the same way, in general, we do as shown in the photo:
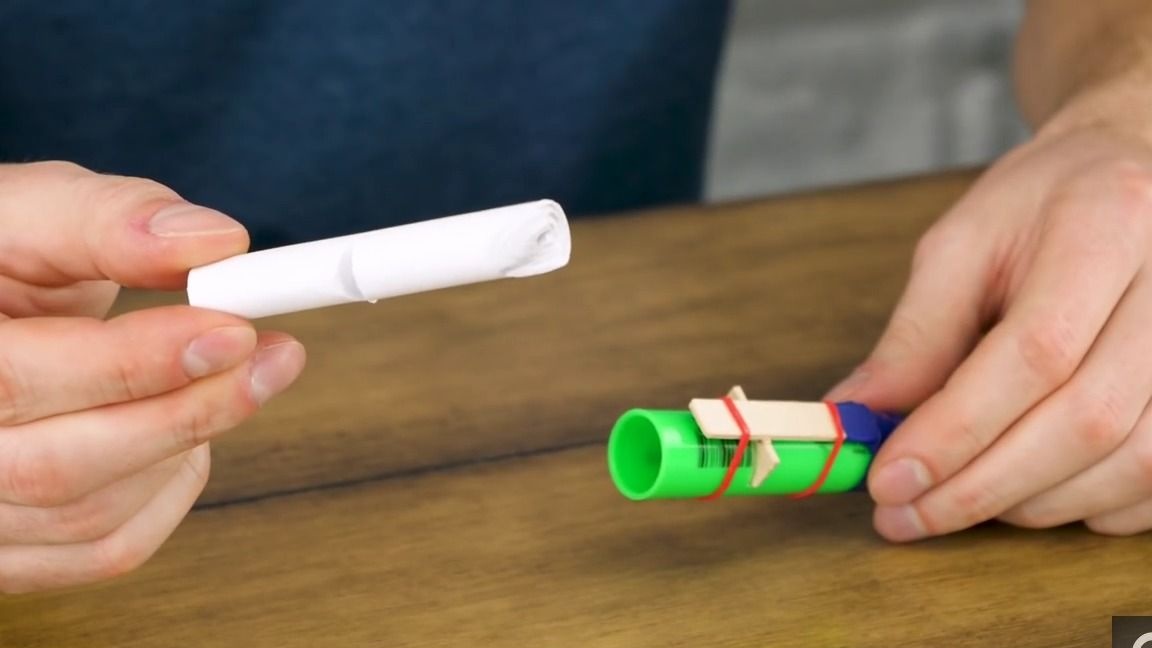
Take a tube for cocktails and cut a piece of it 1.5 cm - 2 cm long from it:
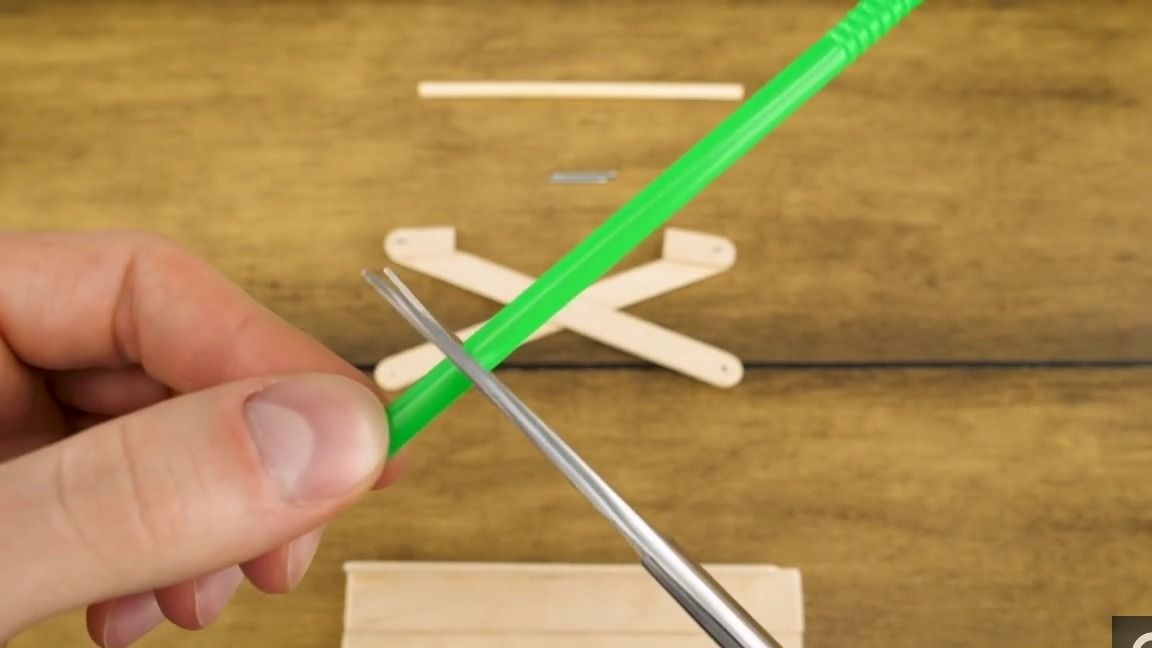
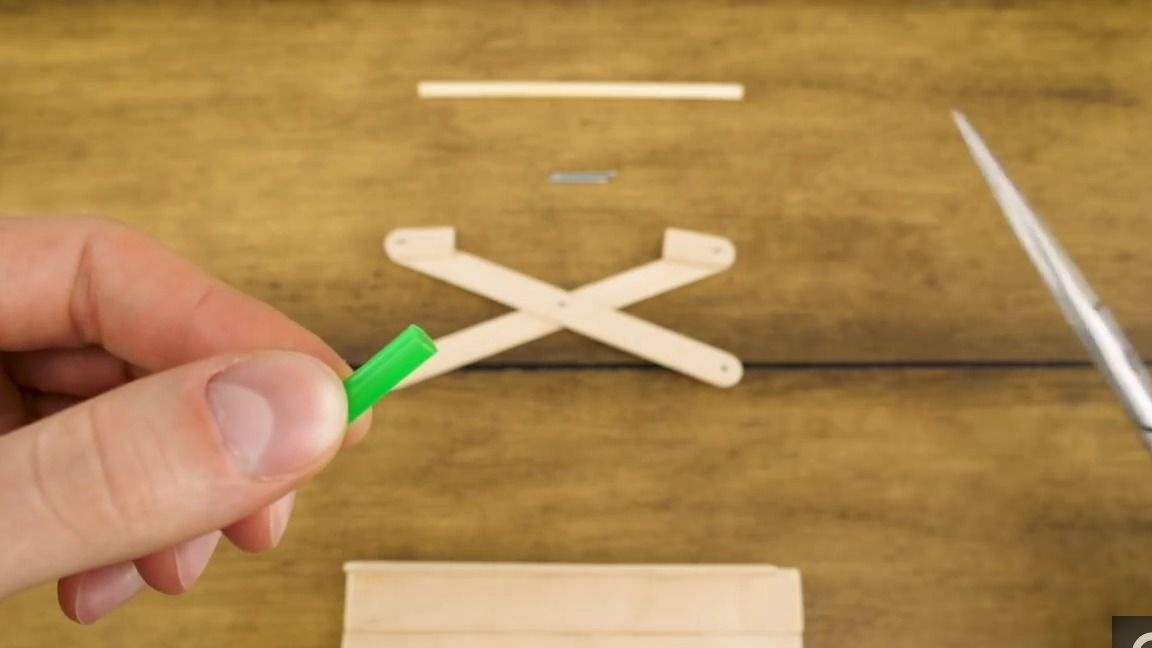
We put it on a piece of barbecue skewers:
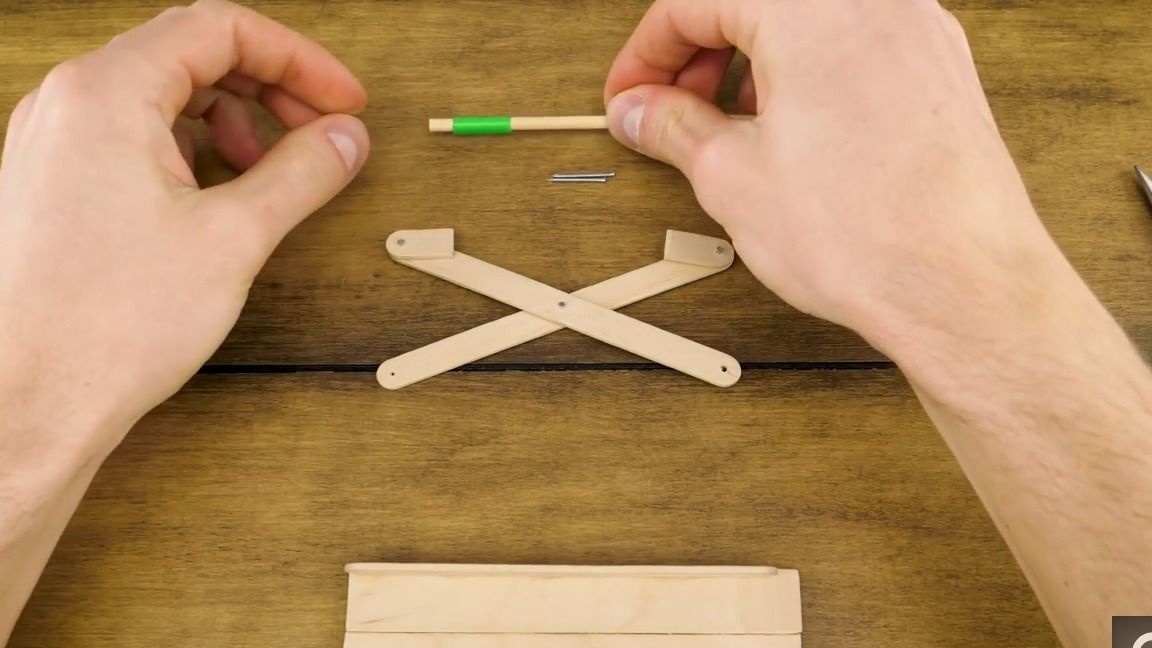
We apply thermal glue to the extreme parts and glue the skewer with the tube on them, so that the skewer moves inside the tube. In total, we need to make two such blanks:
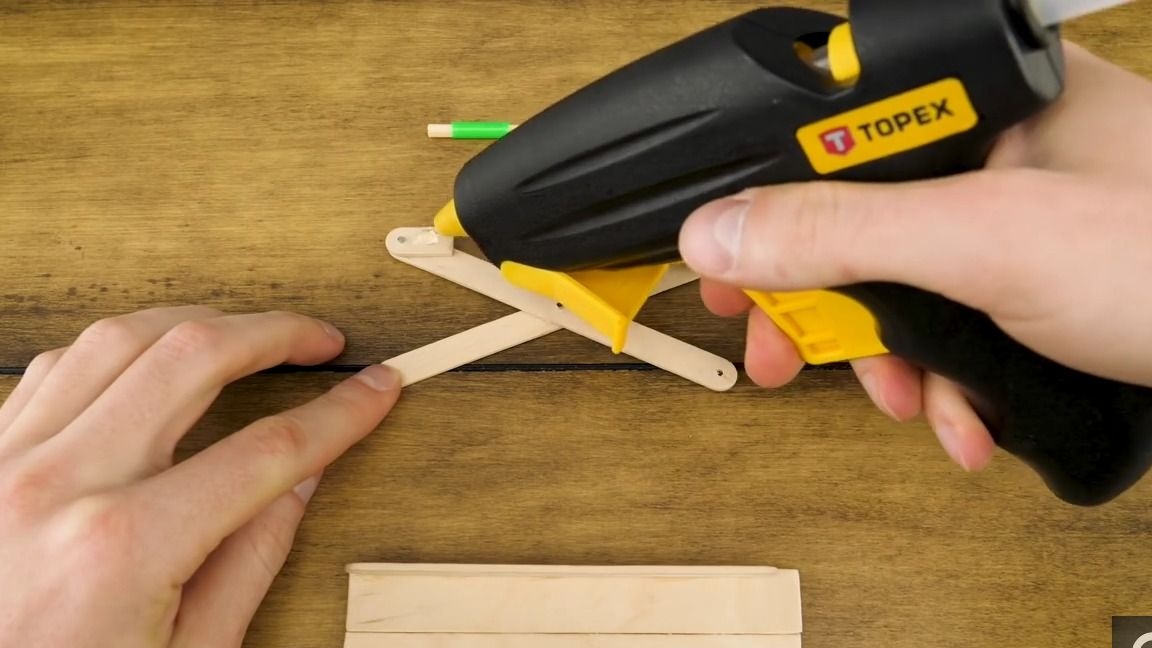
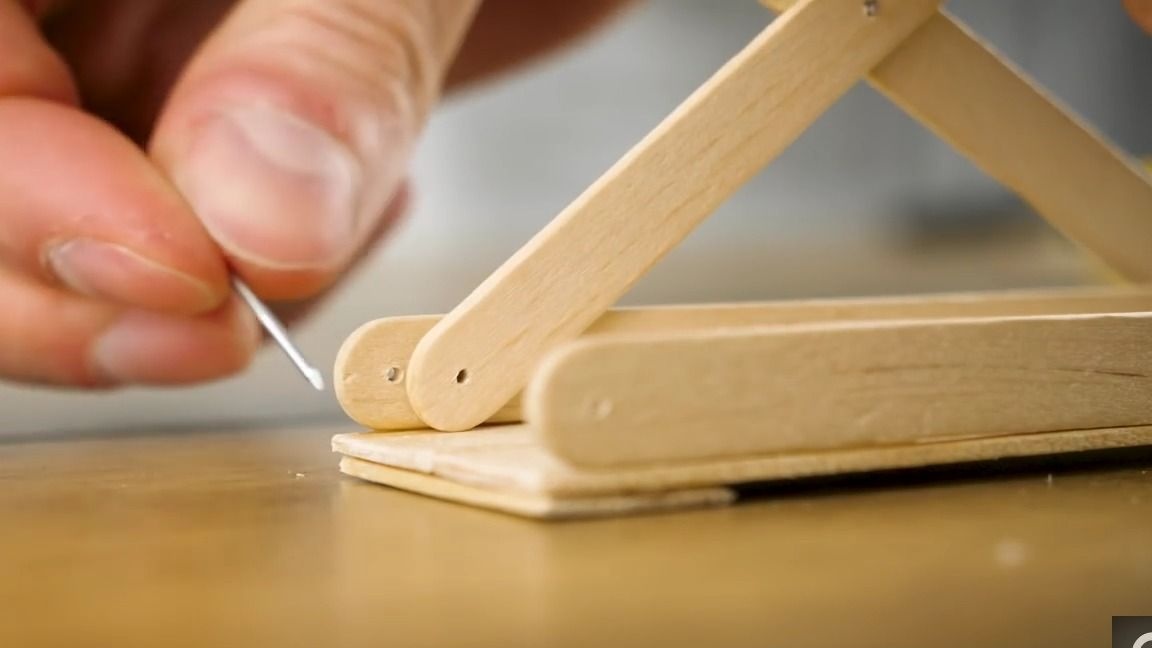
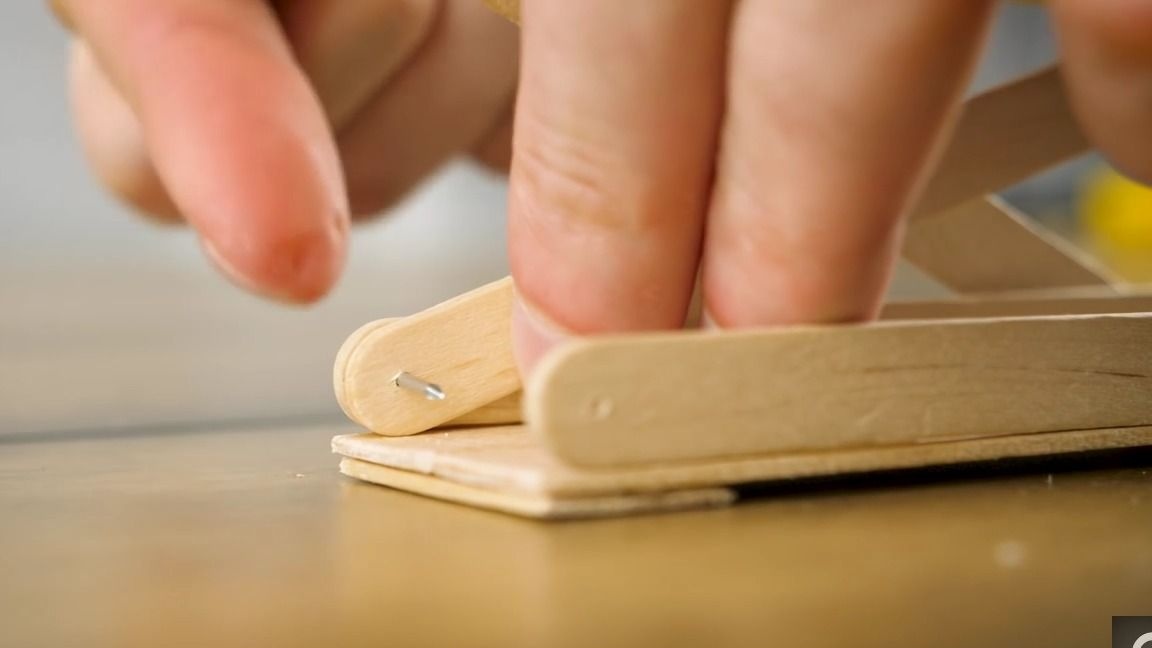
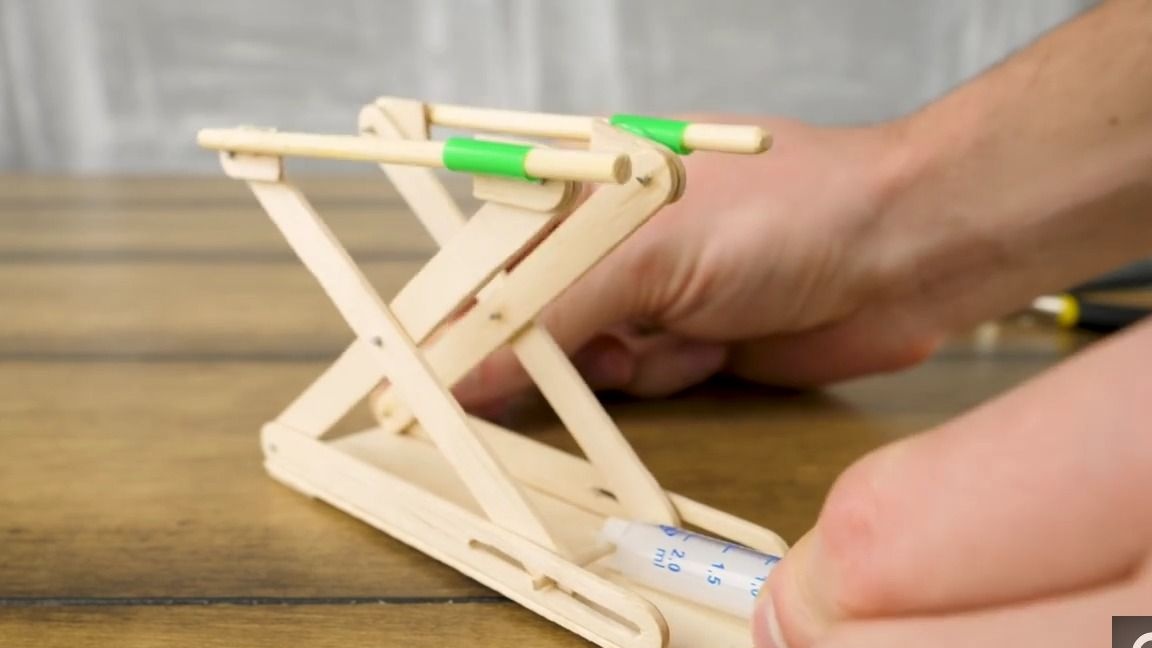
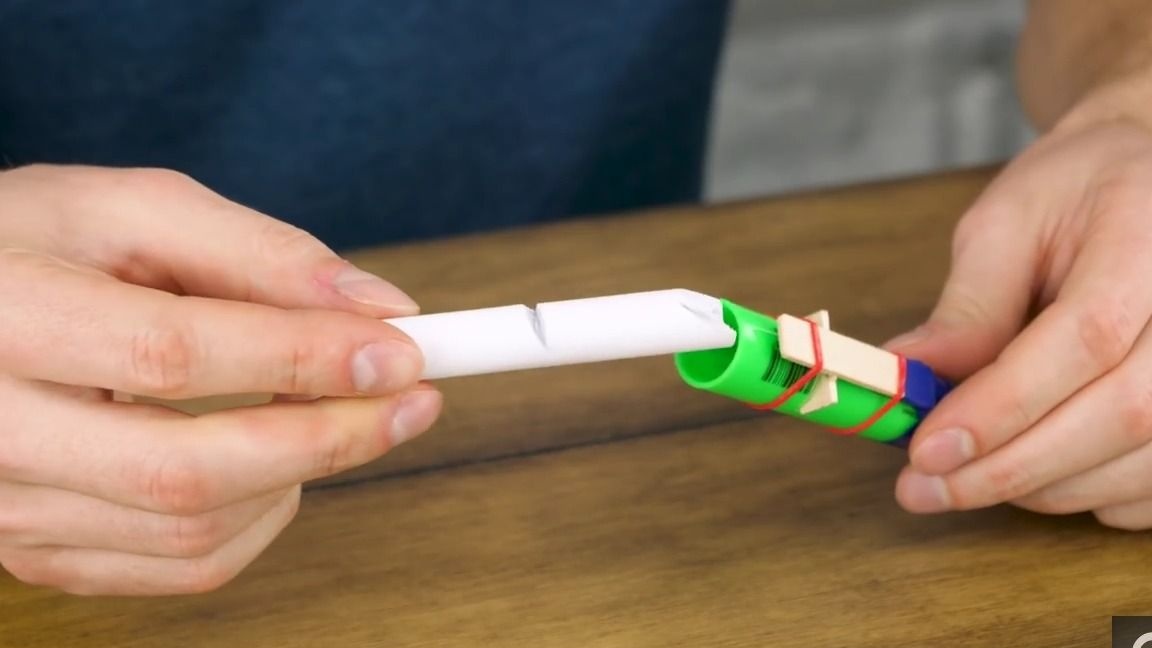
Now, with the help of cloves, we attach our blanks to the base:
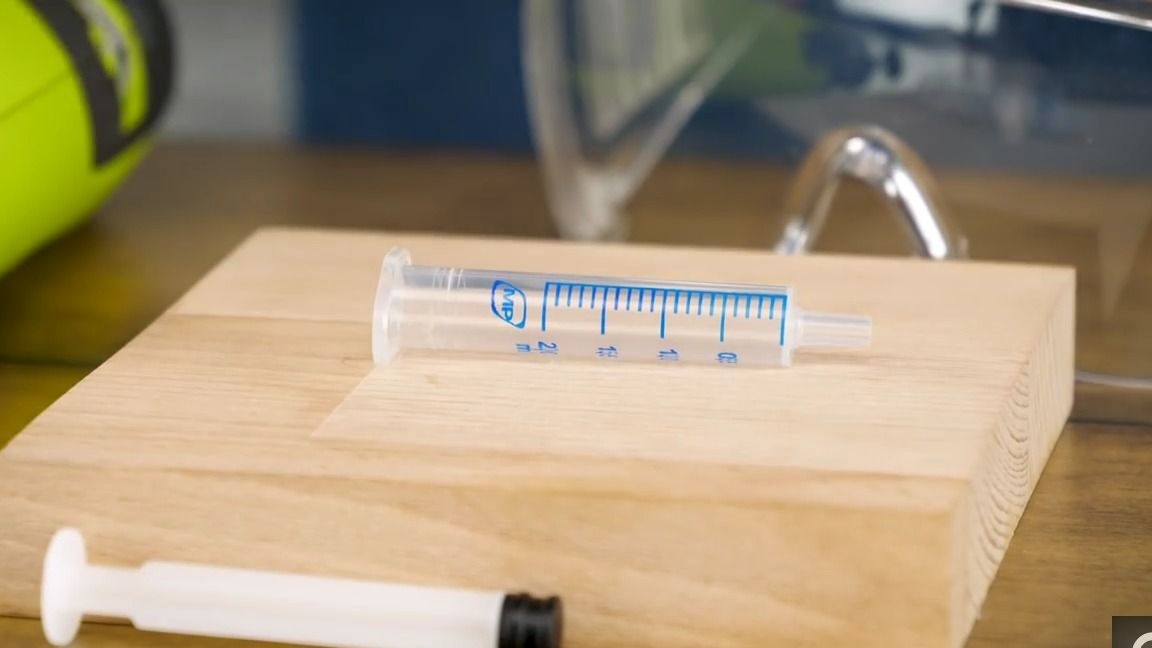
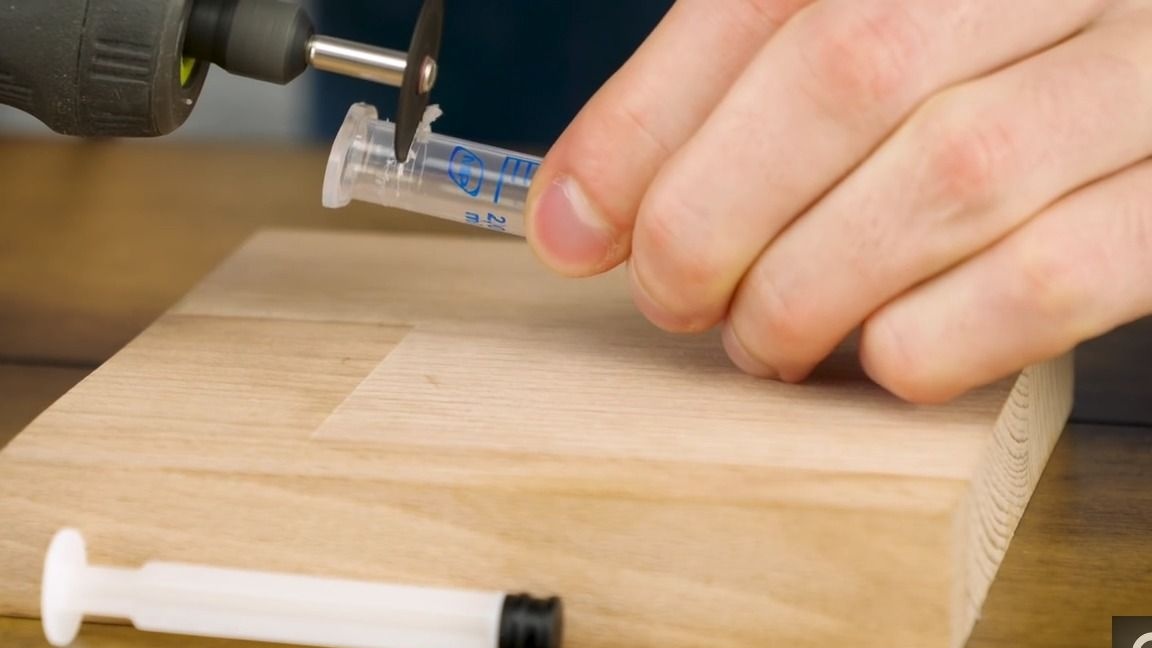
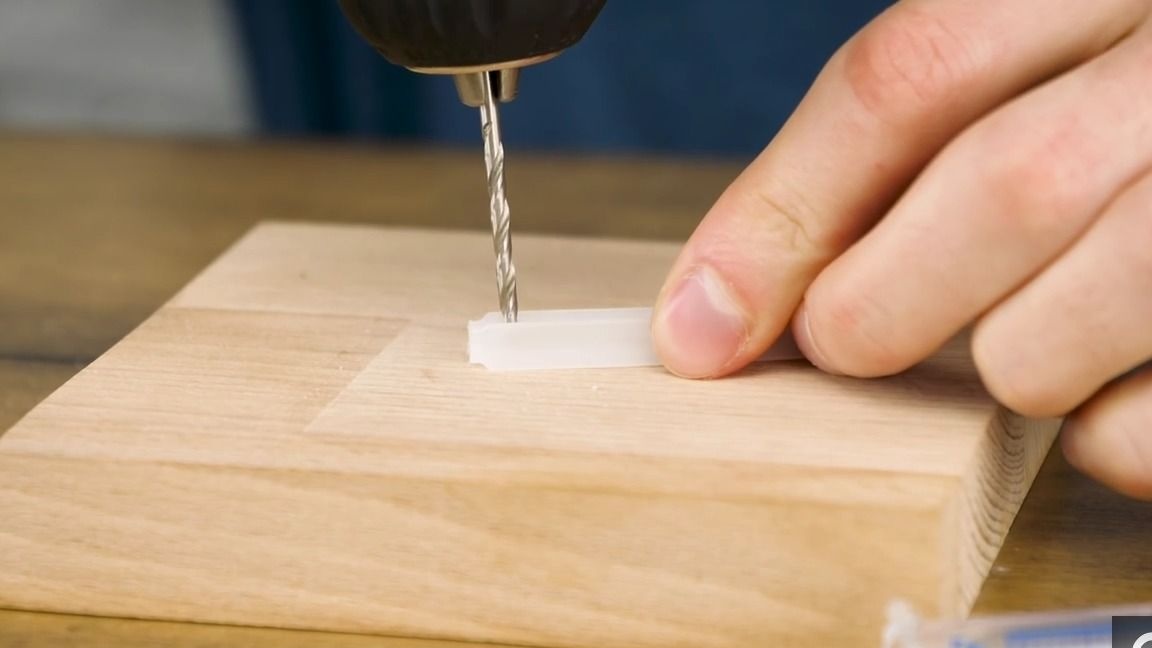
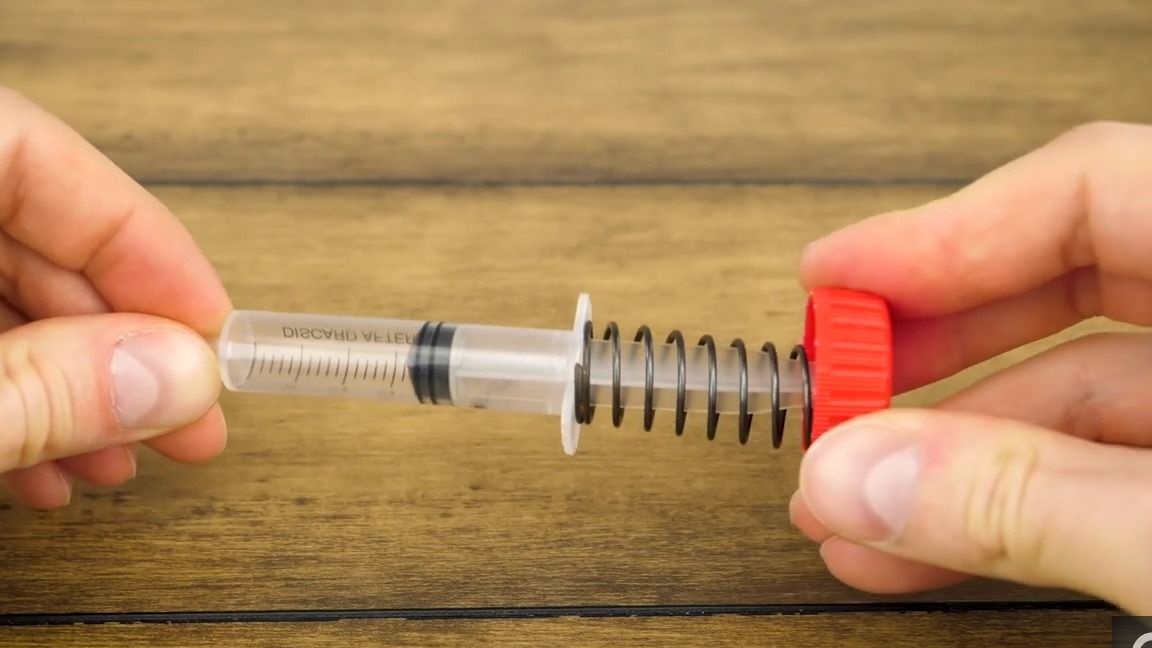
We take the syringe and disassemble it, then with the help of an electric saw we cut off the back of the syringe barrel, and then the back of the piston:
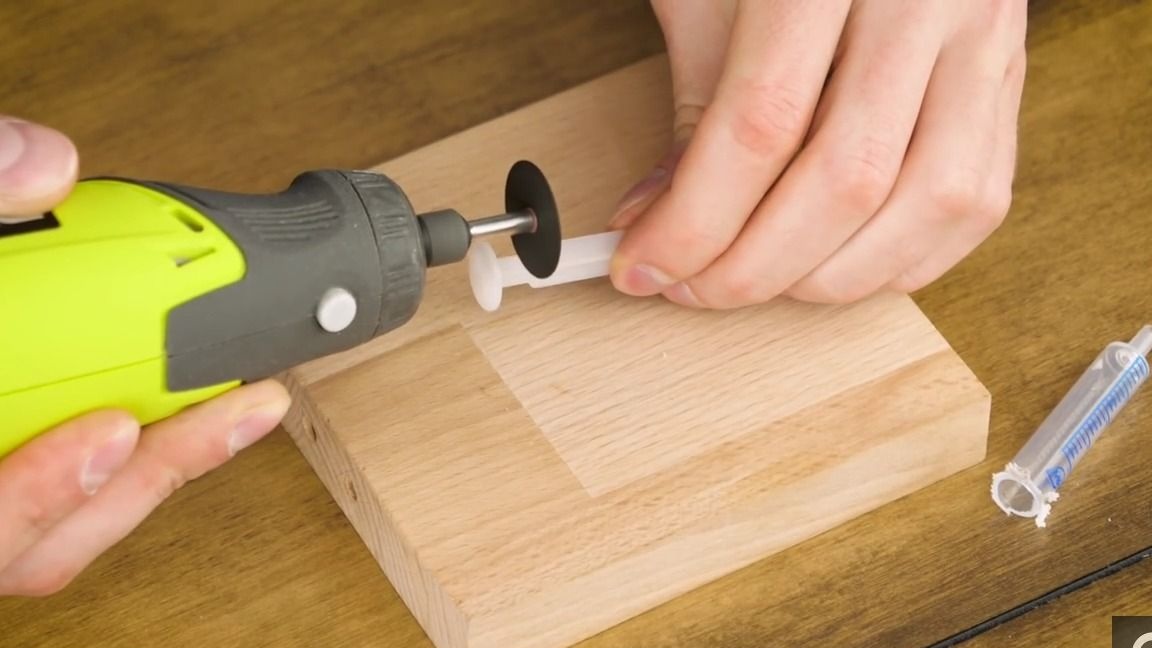
Now take a drill and drill a thin hole 3 mm - 5 mm from the piston cut:
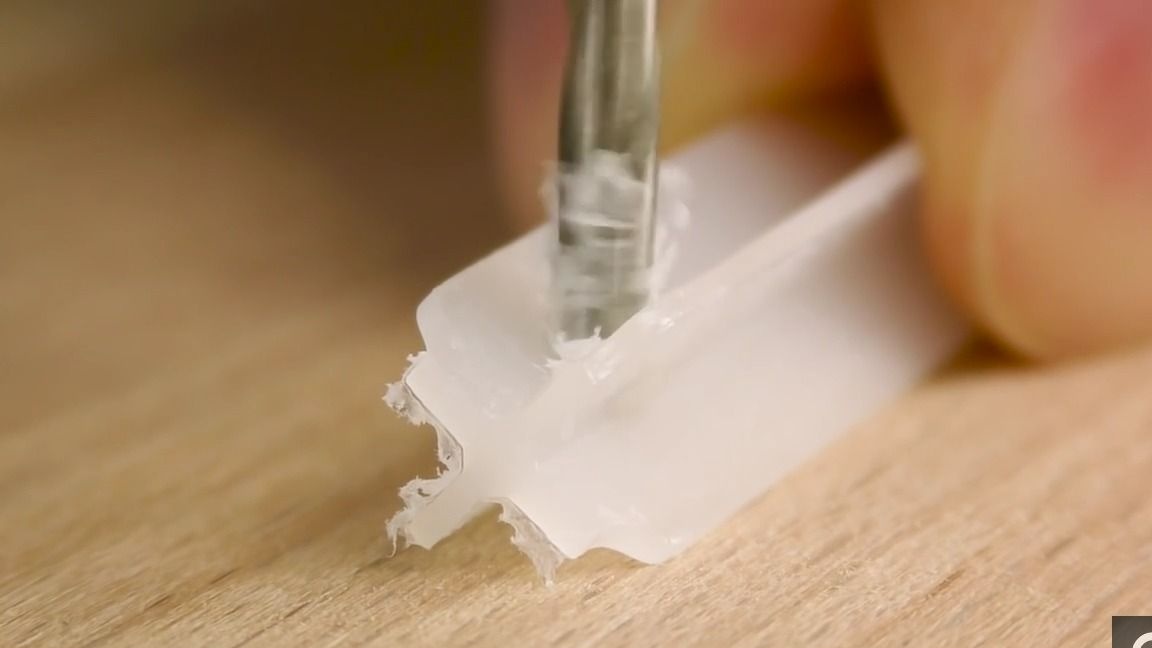
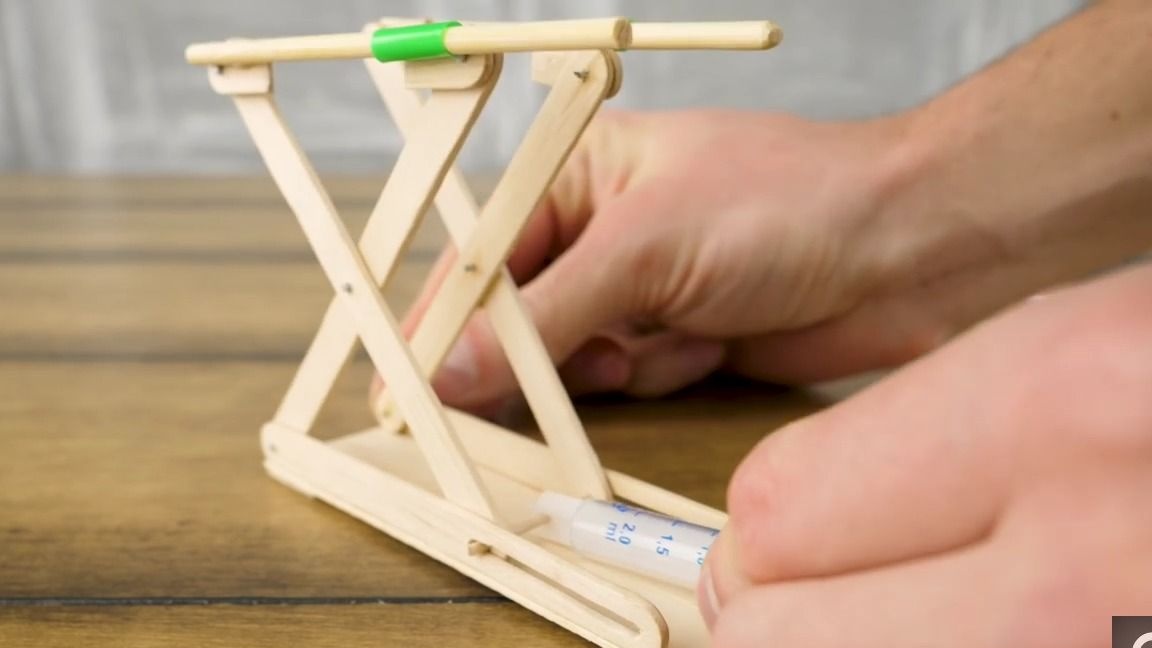
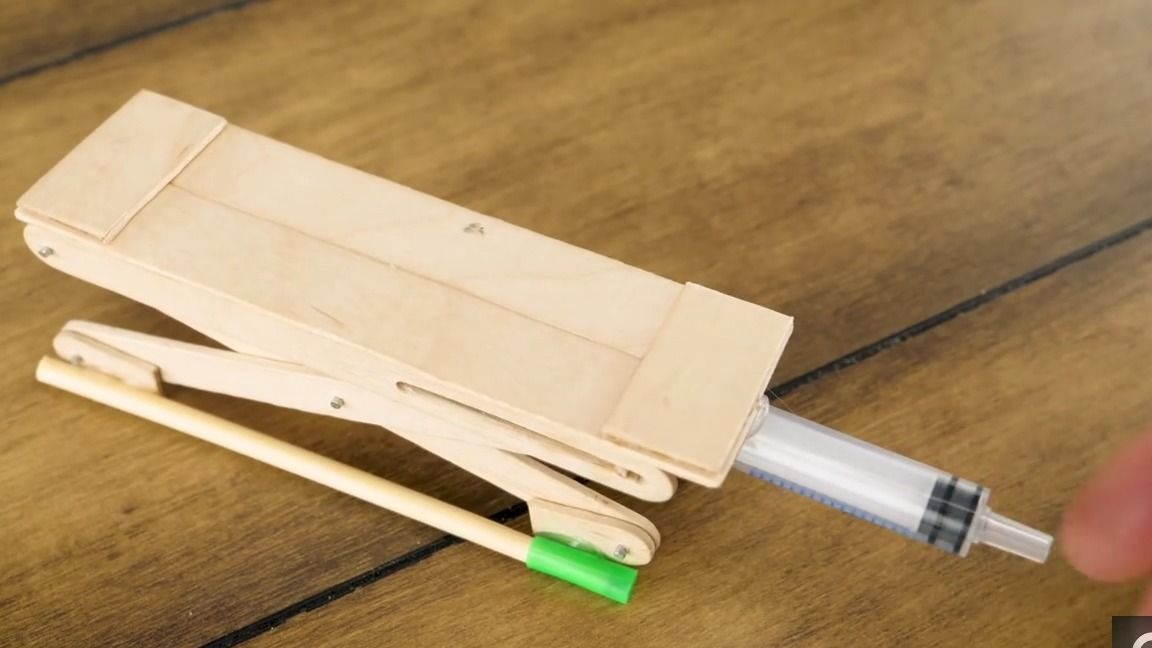
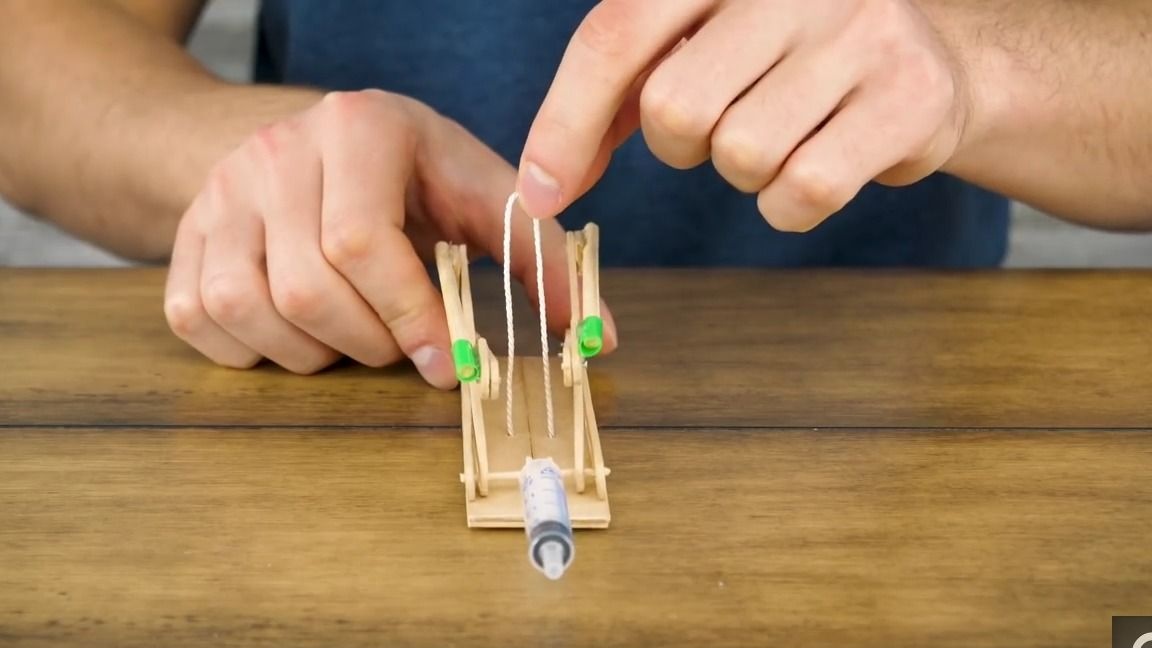
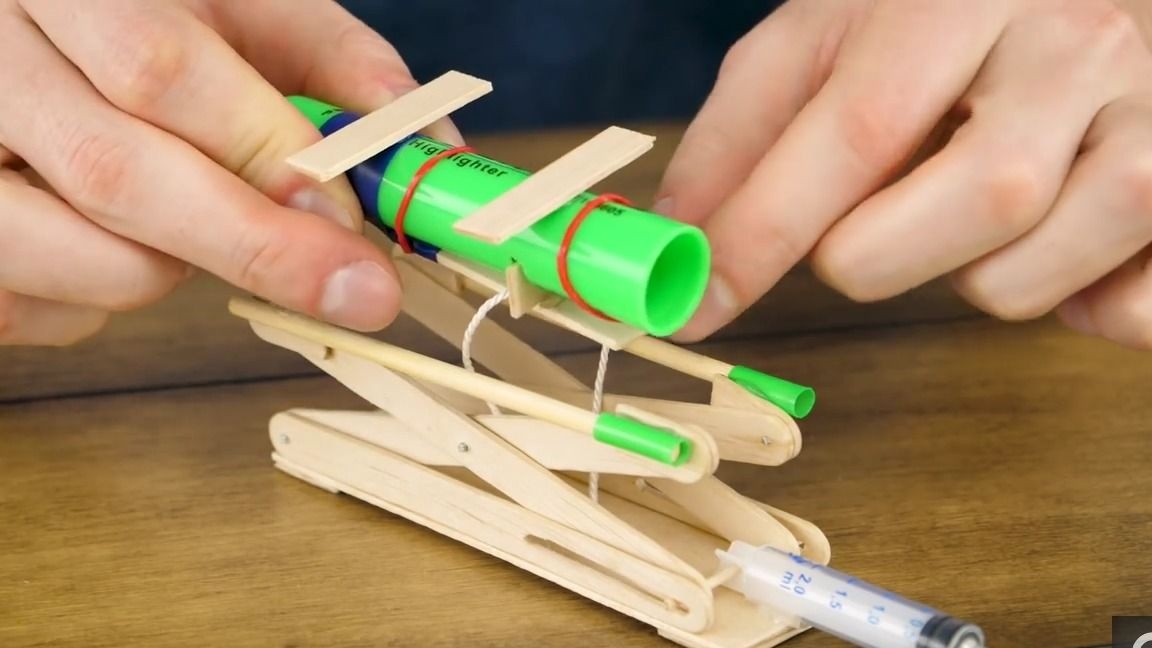
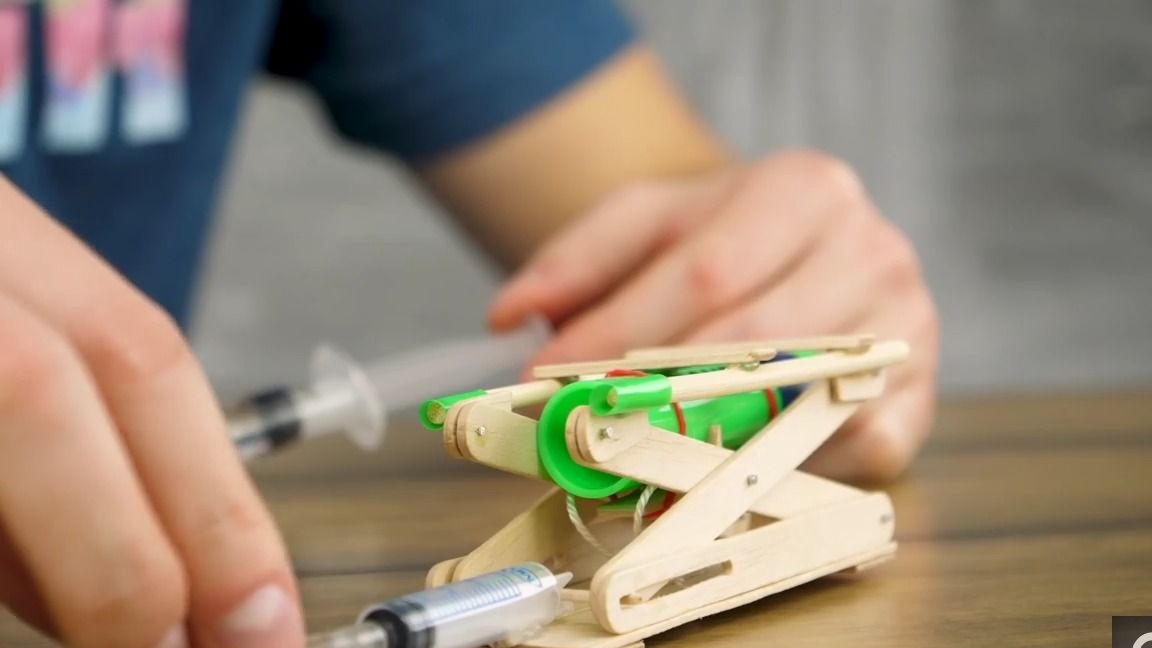
Assemble the syringe back and assemble our structure as follows:


Testing:
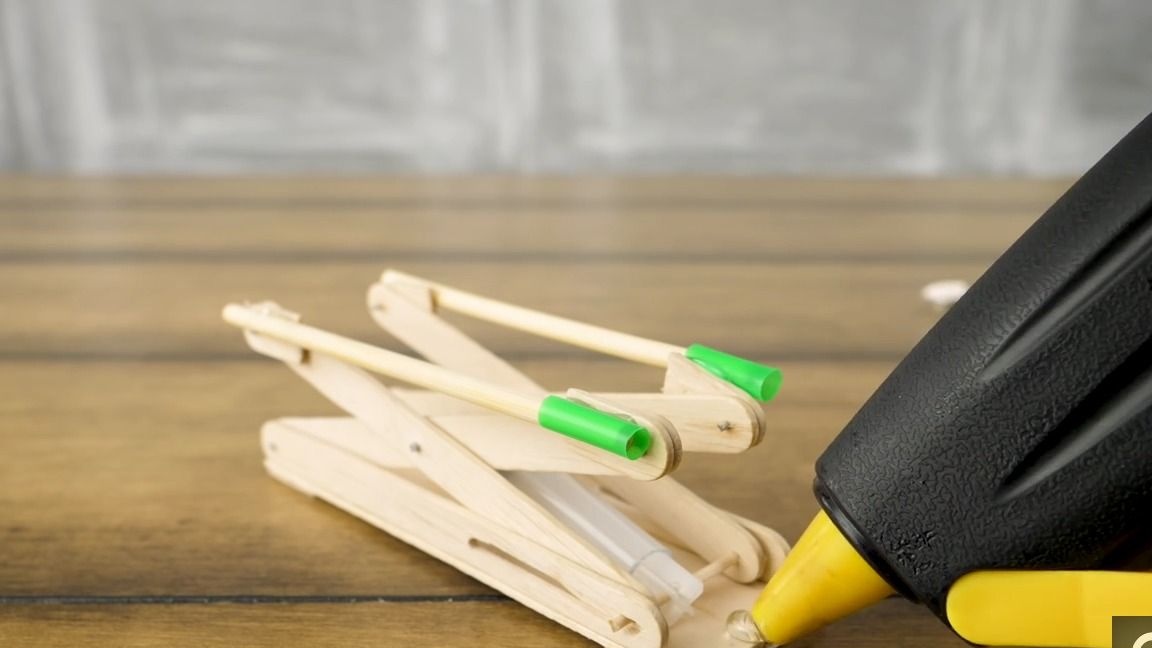
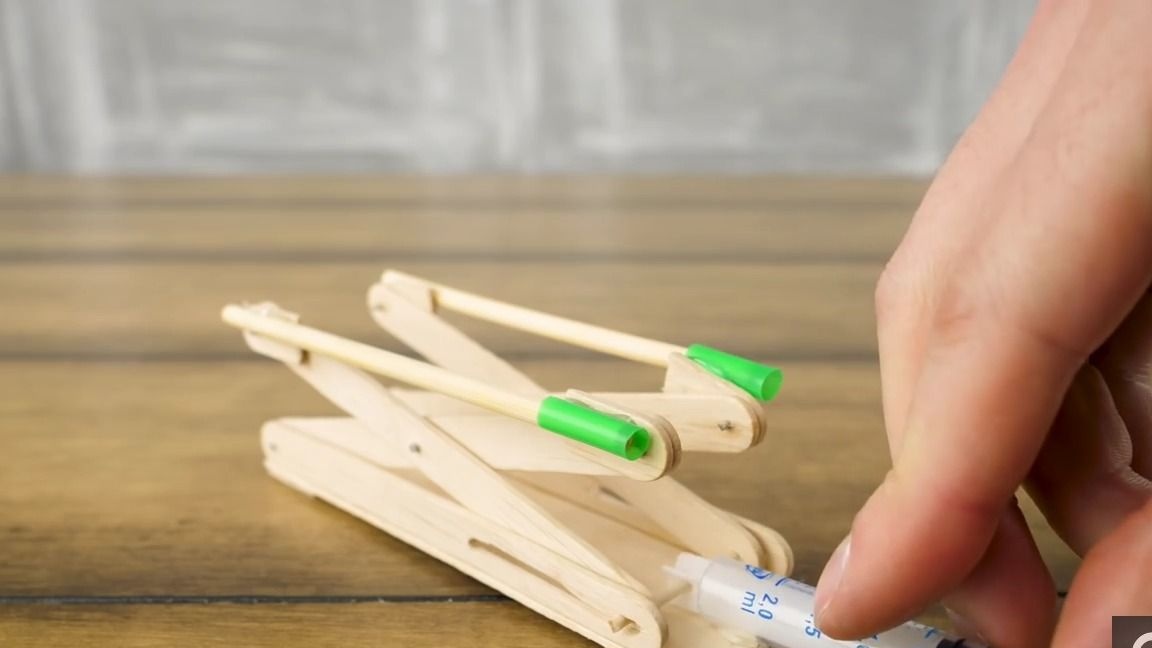
Now glue the syringe to the base using thermo glue:
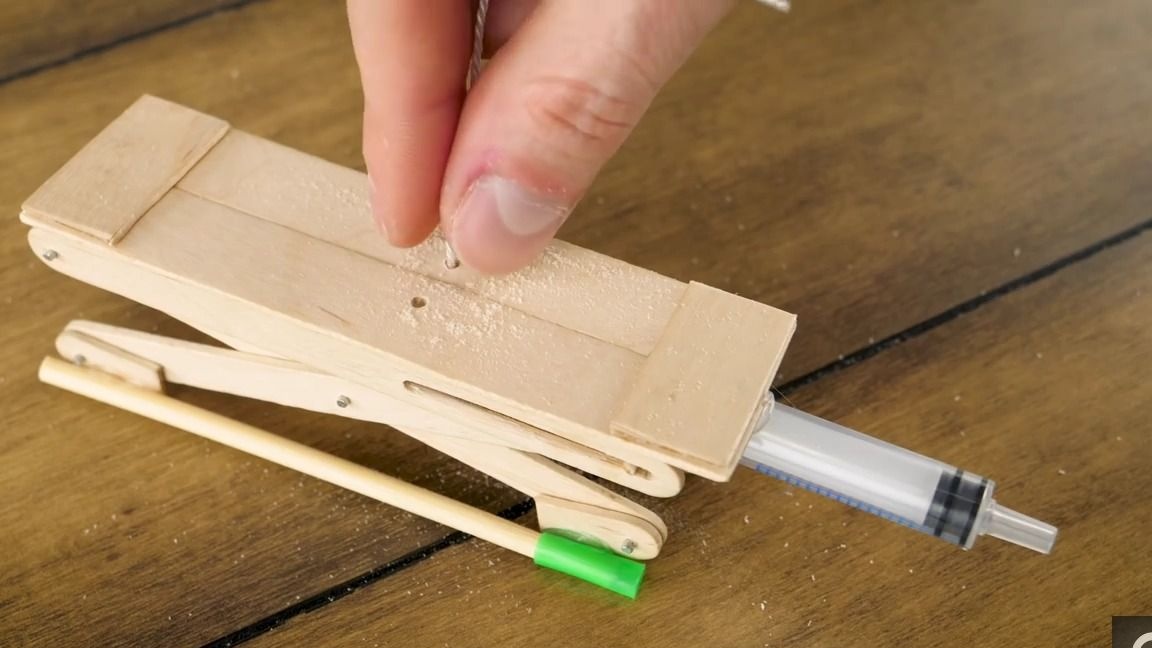
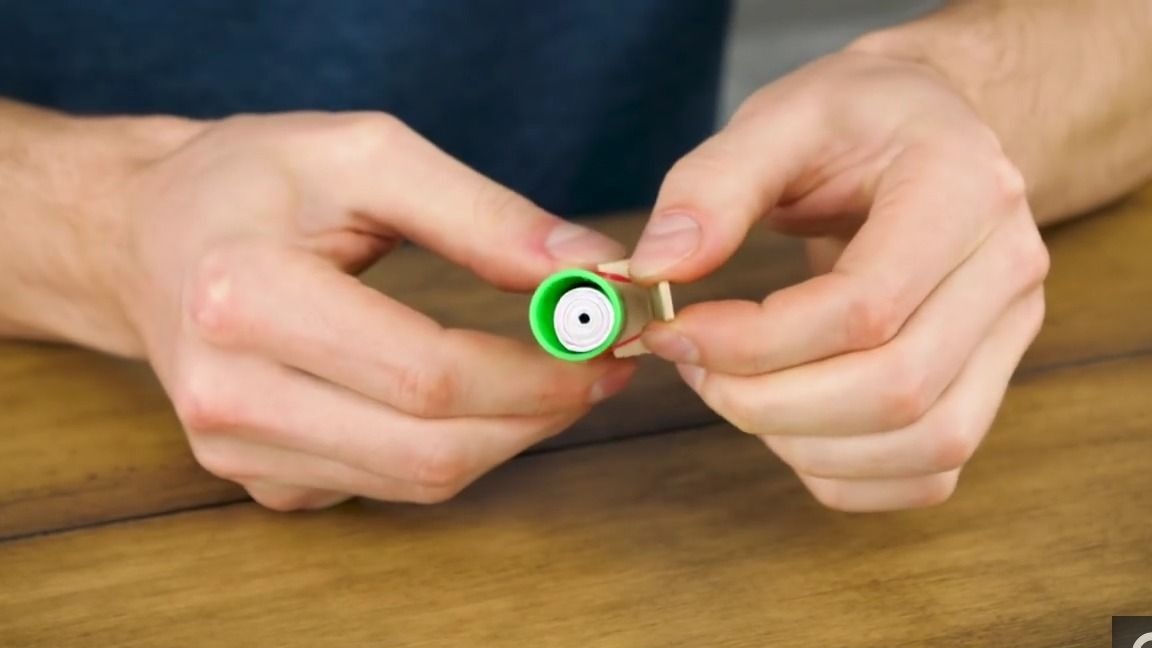
We turn over our design and in the center we compare two through holes:
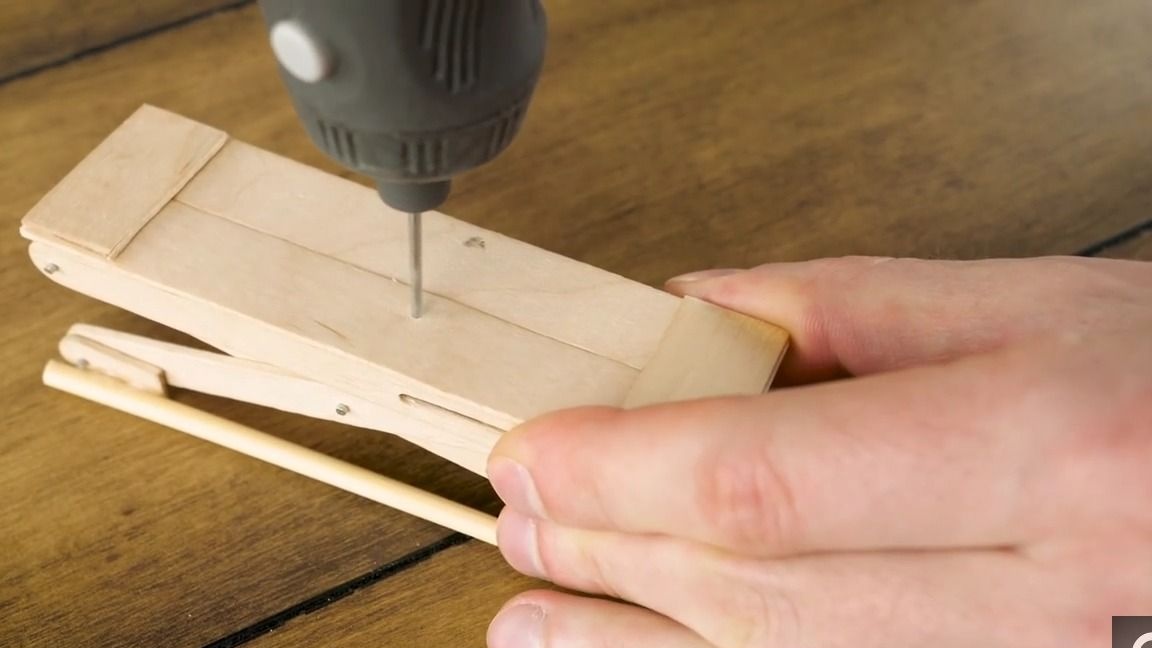
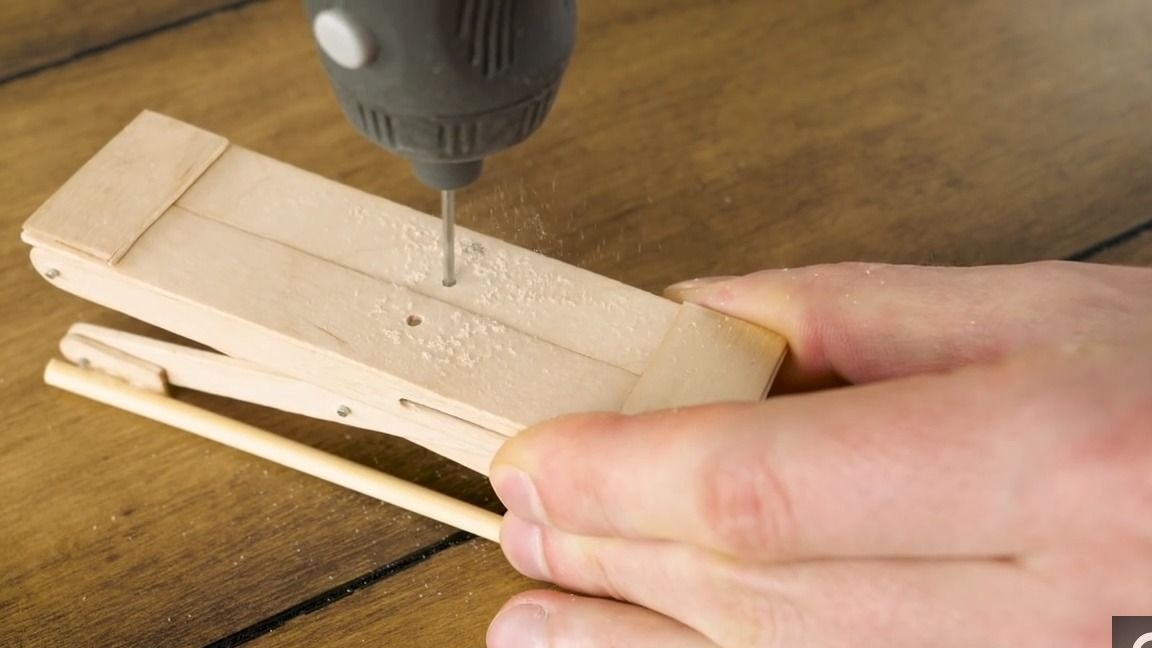
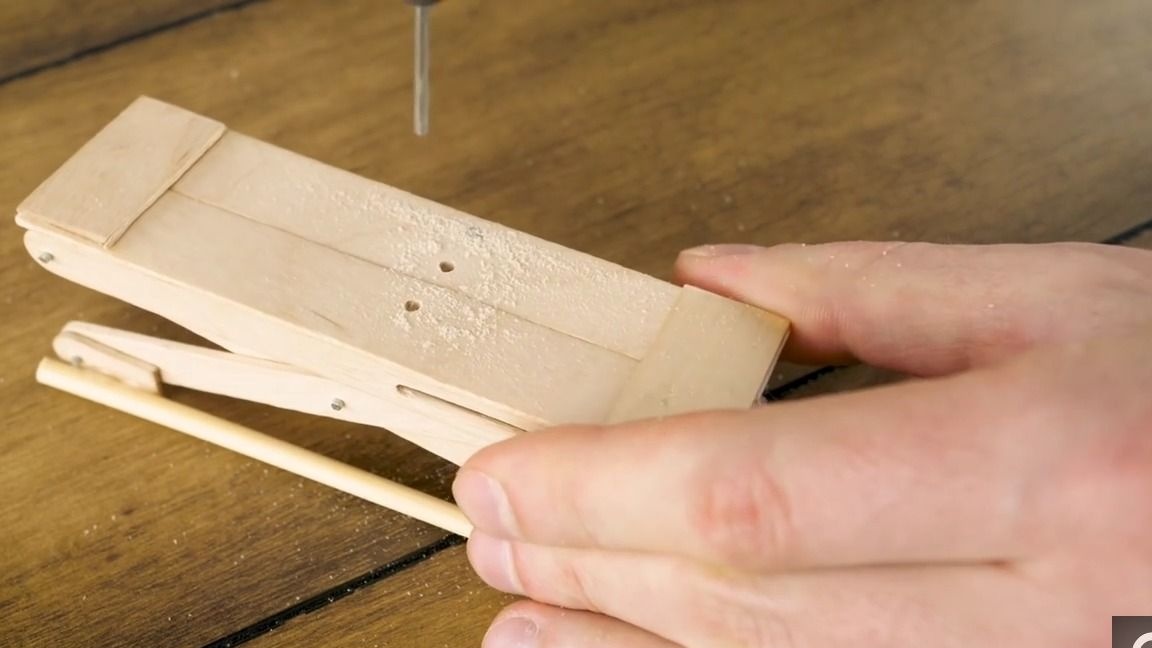
Through them, you need to thread a piece of thread, so that its tip after threading was slightly higher than our entire structure in its original position, after fitting, we tie the ends of the thread together under the structure:
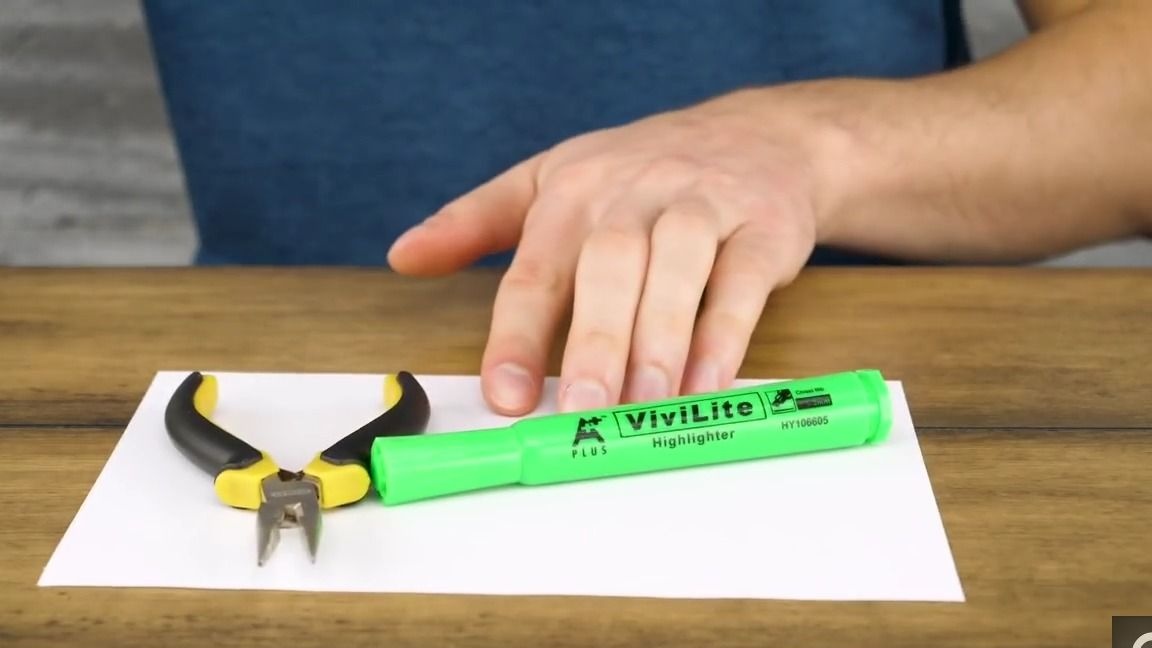
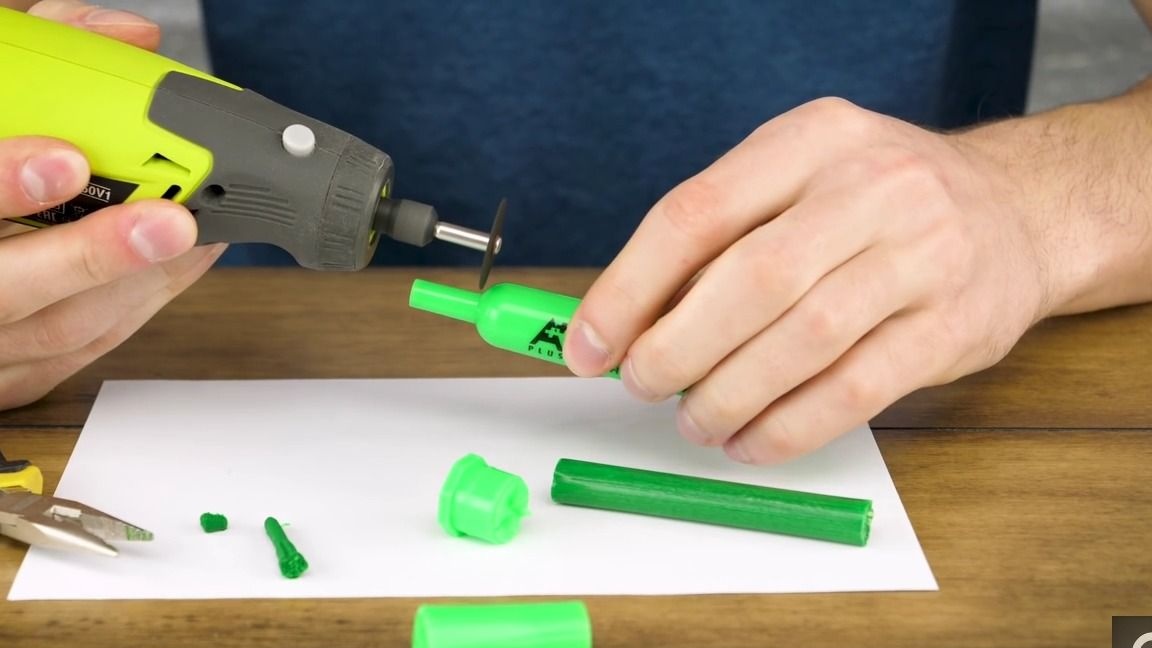
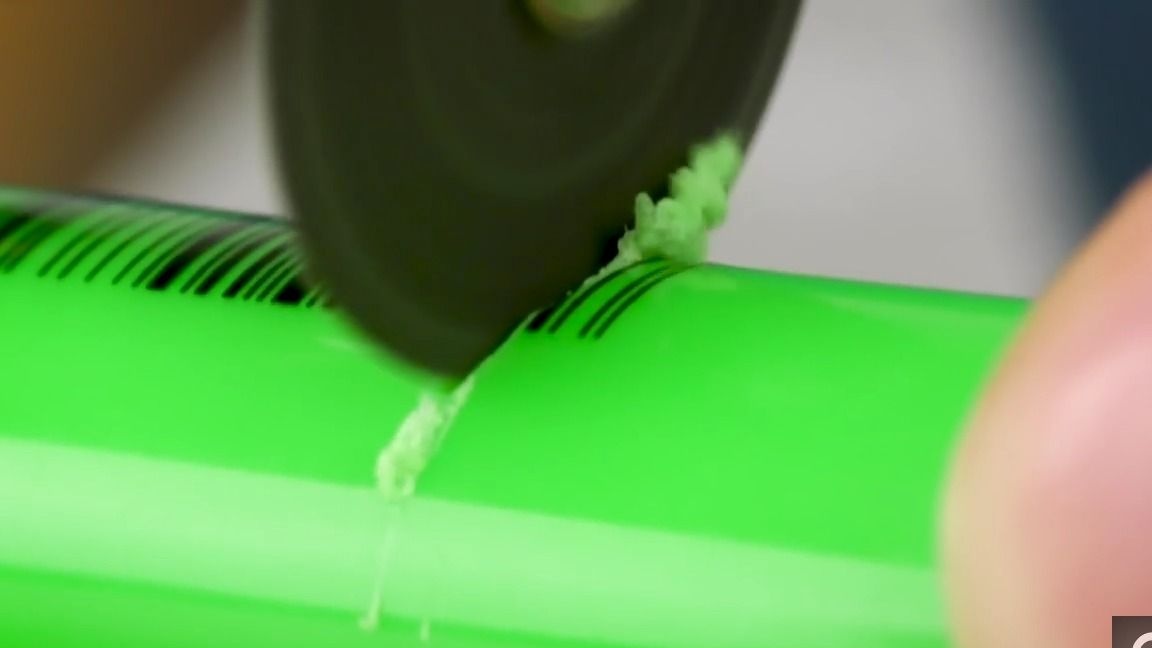
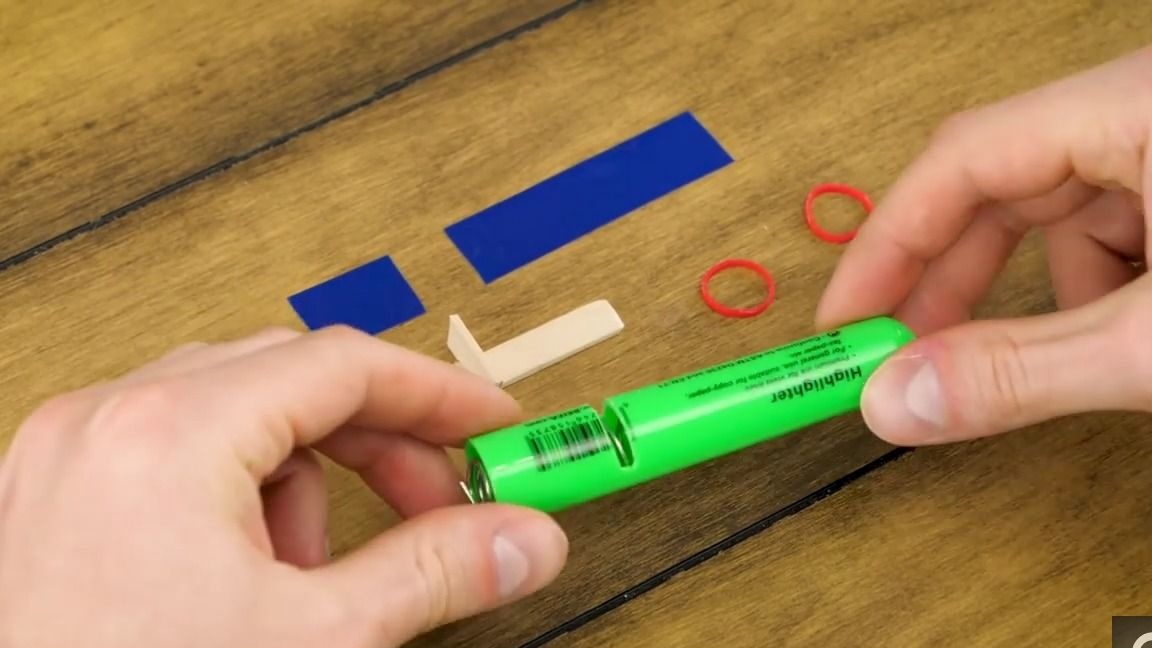
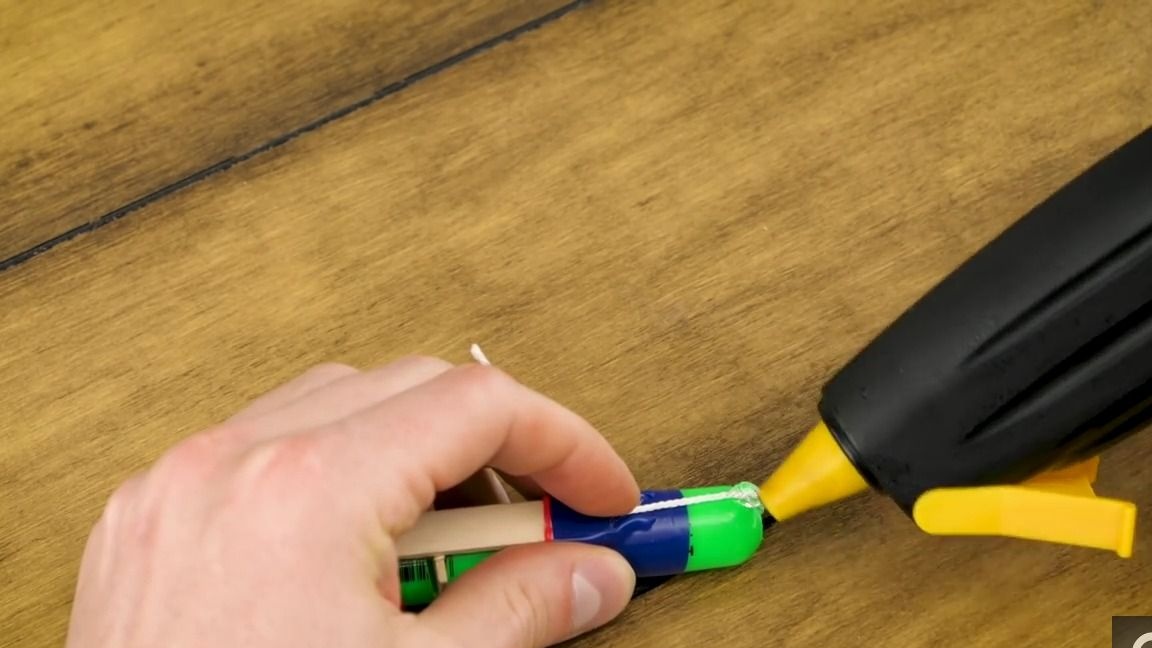
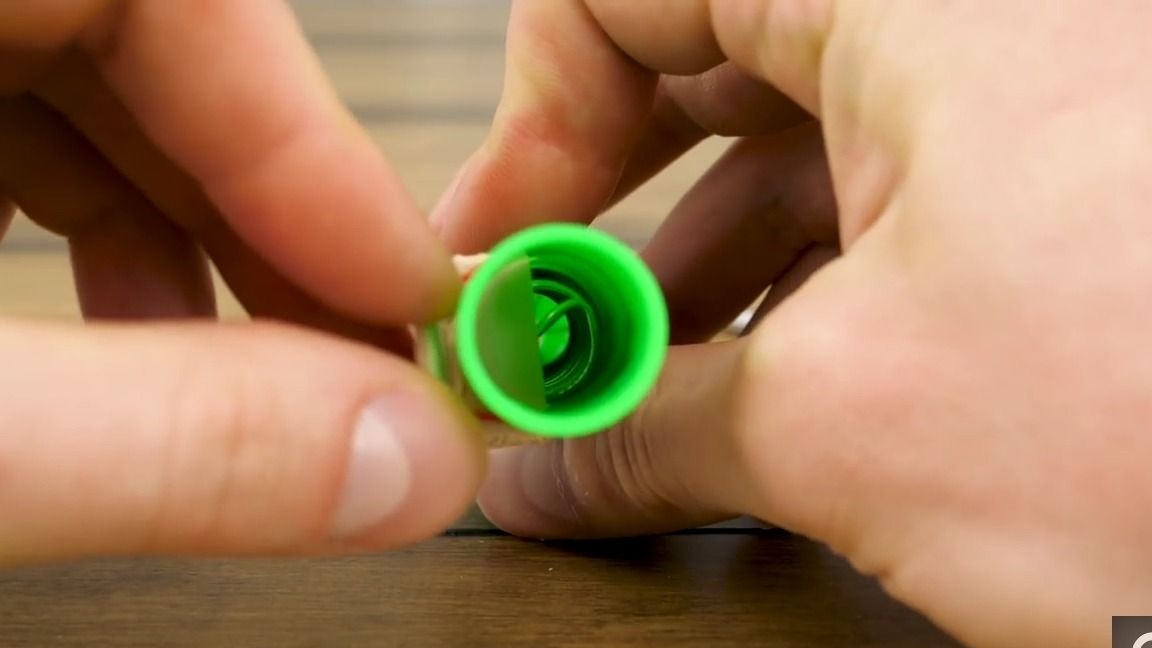
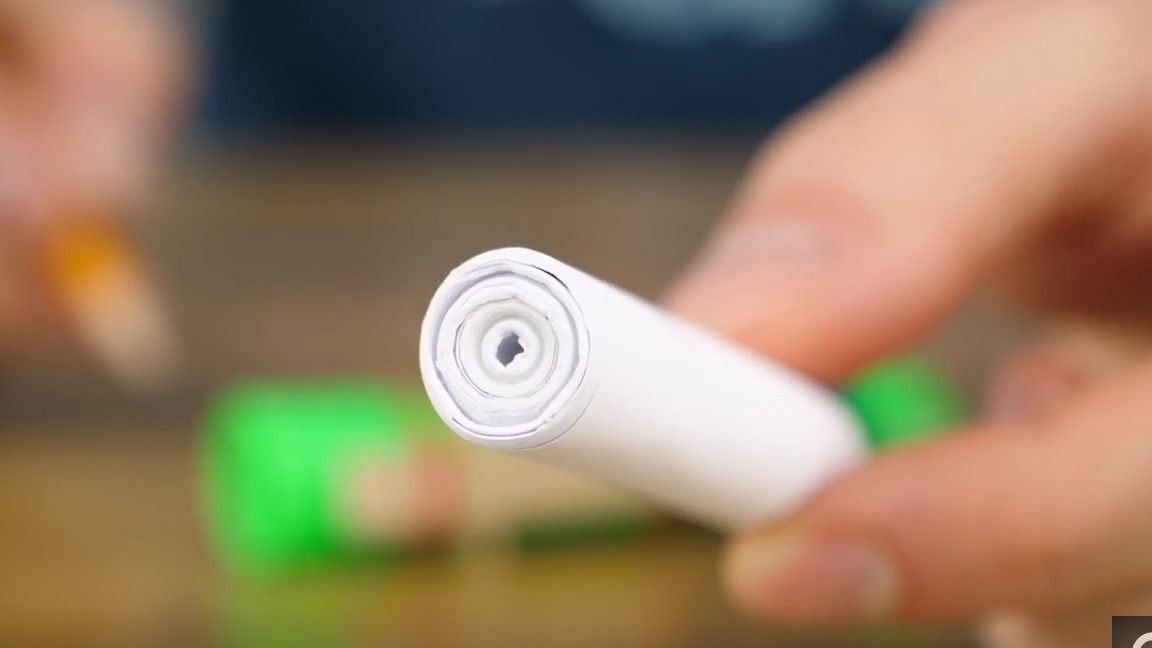
Then you need to take the marker and parse it:
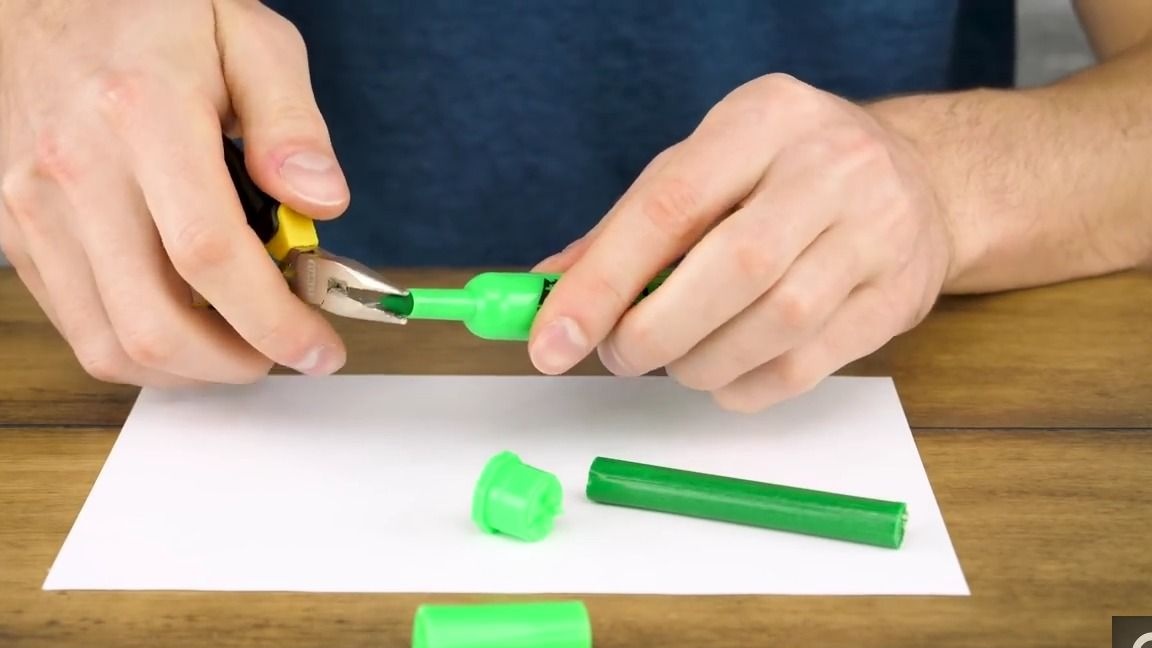
Then you need to cut off his "nose" and make an incision in half the depth of the marker, as shown in the photo:
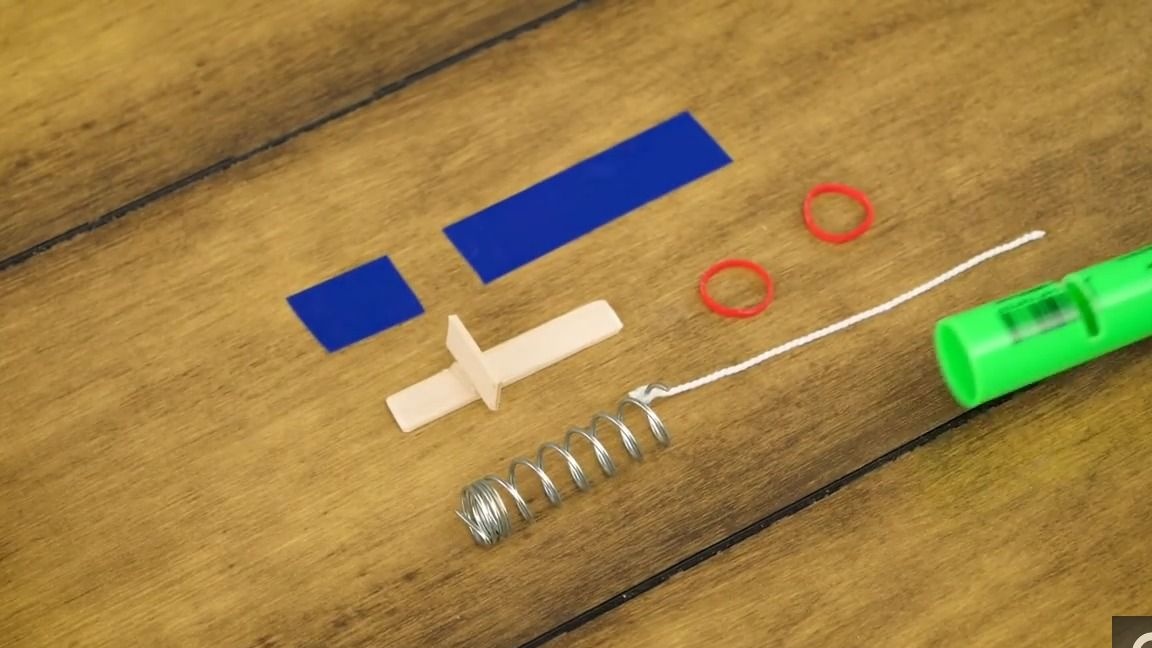
We prepare materials for assembling the mechanism for shooting.
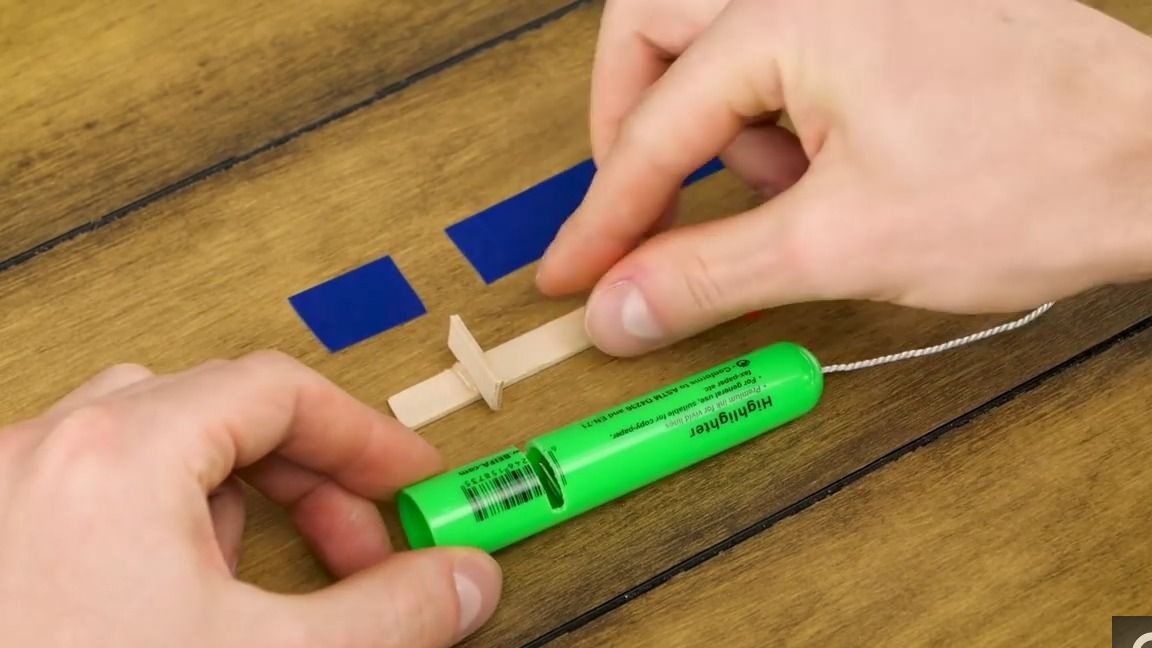
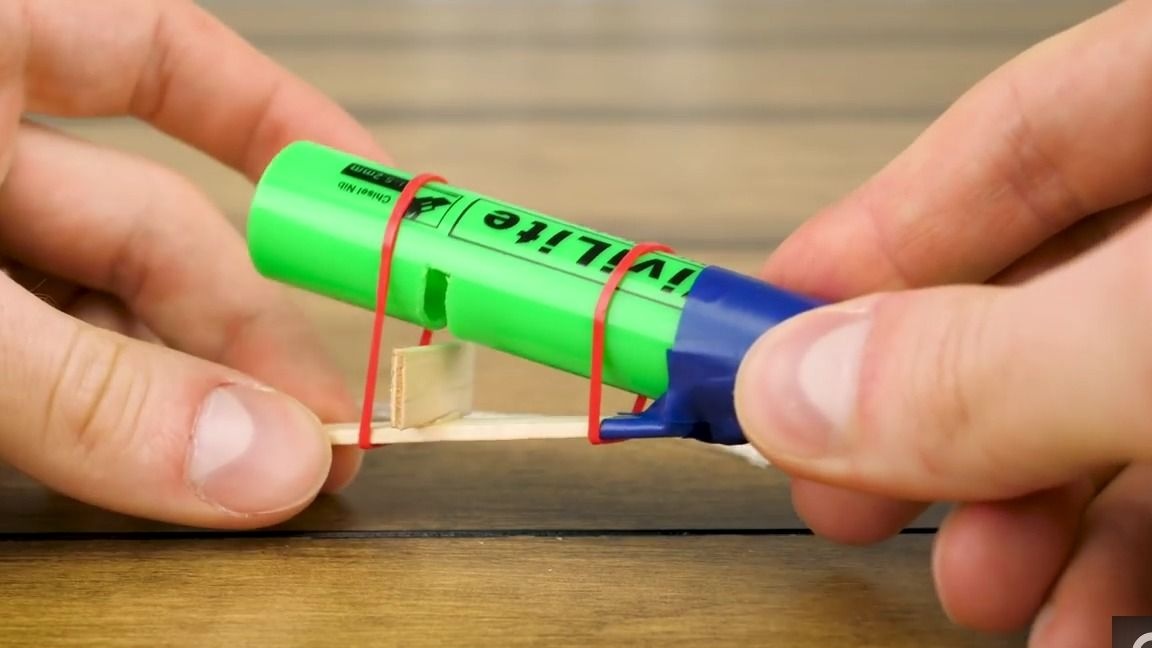
We tie a string of thread equal to the length of the marker to one of the springs, glue another small piece perpendicularly to the segment of the ice cream stick, in general, everything should turn out as shown in the photo:
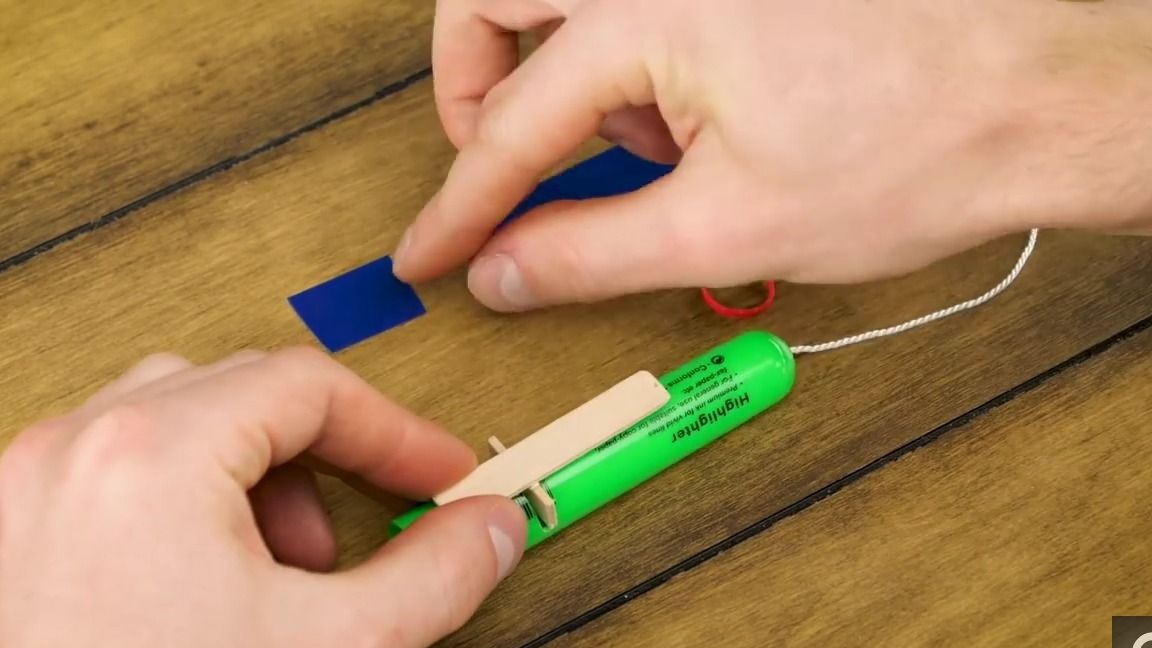
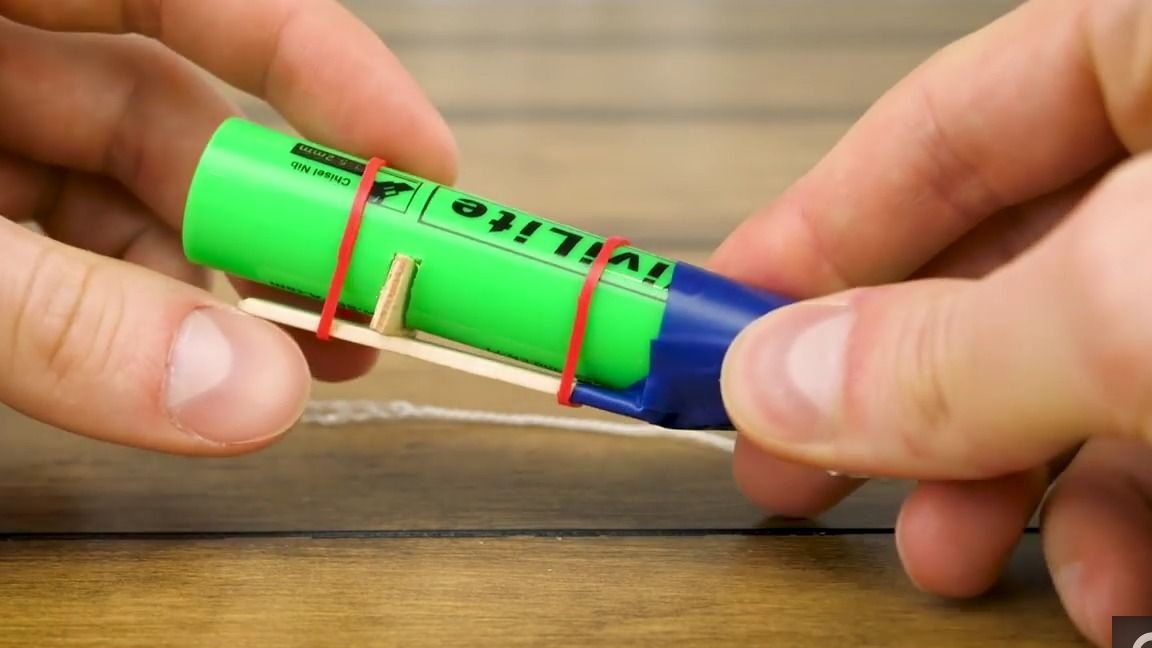
Insert the spring inside the marker and thread the thread through the back hole in the marker:
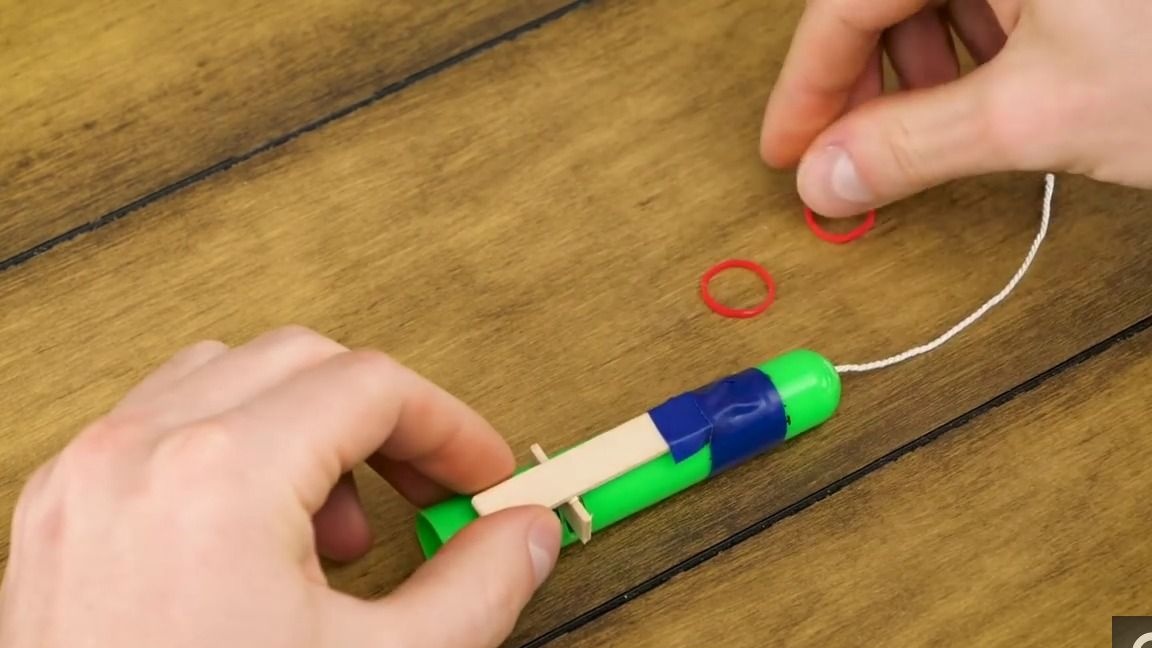
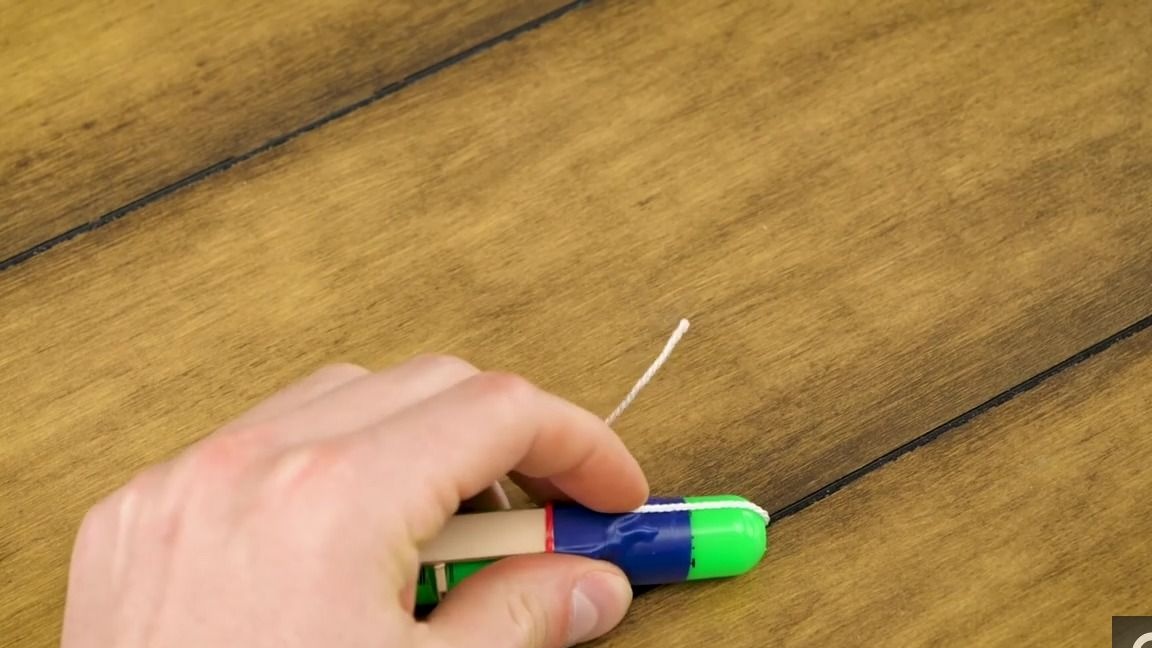
We insert the part from the ice cream sticks into the hole as shown in the photo, and then we strengthen it with tape so that the front of the part can come out of the groove in the marker, we fix the thread with thermal glue, then we put on the construction of a mini rubber band, in general, we do everything like this as shown in the photo:
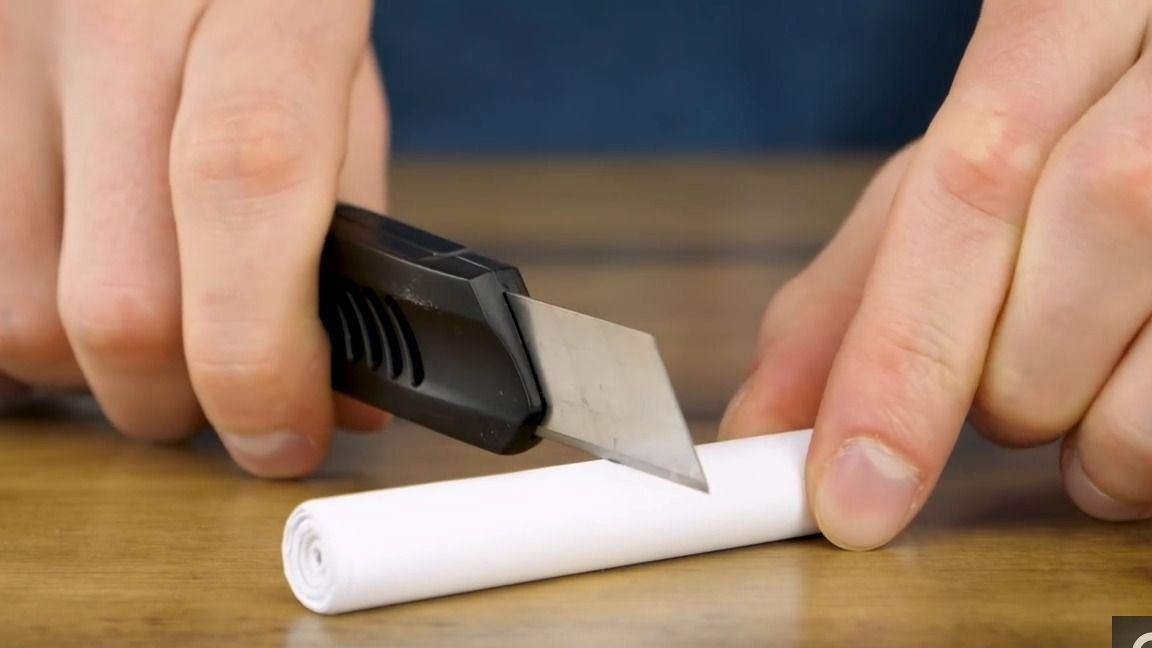
Using water, we wash the rod from the marker, then make a mark where the groove on the marker begins and in this place on the rod we make a slot of the same depth, on the back you need to cut at an angle:
We test, insert our "projectile" into the marker, and it should fix there itself with a billet of ice cream sticks, raise it to the top, while the "projectile" should abruptly fly out of the marker, if everything is done correctly:
Two of the ice cream sticks are cut again.
pieces and glue to our workpiece as follows:
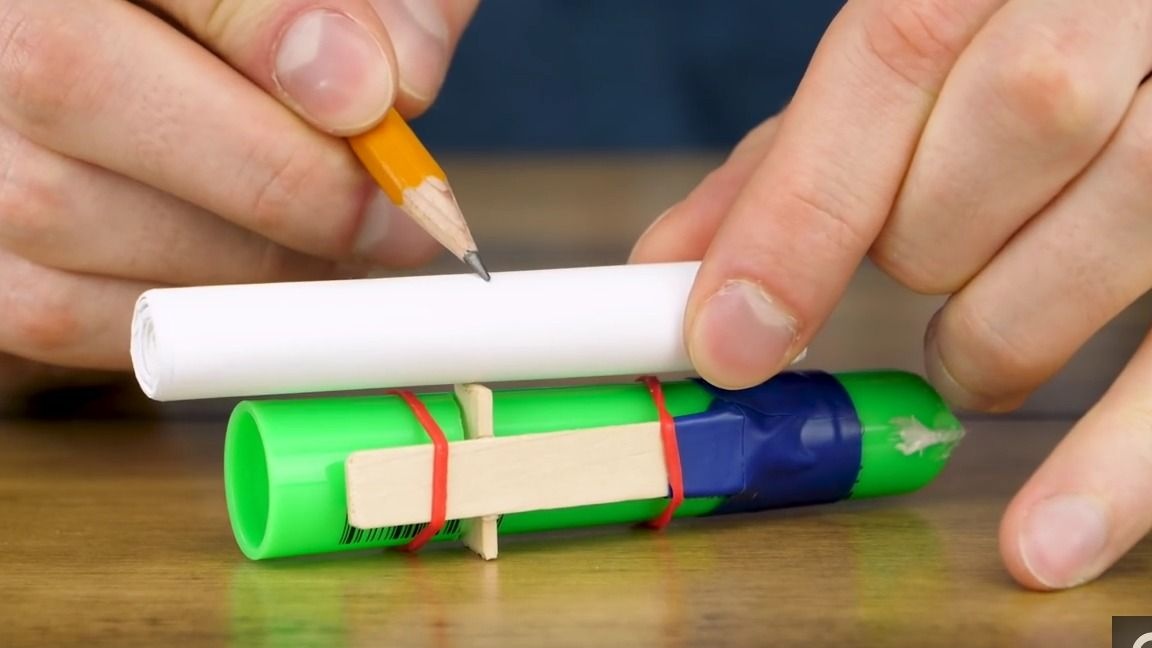
We begin the assembly of the entire structure.
Open the plug and thread the thread through it, then glue the pieces of ice cream sticks to the skewers of another piece:

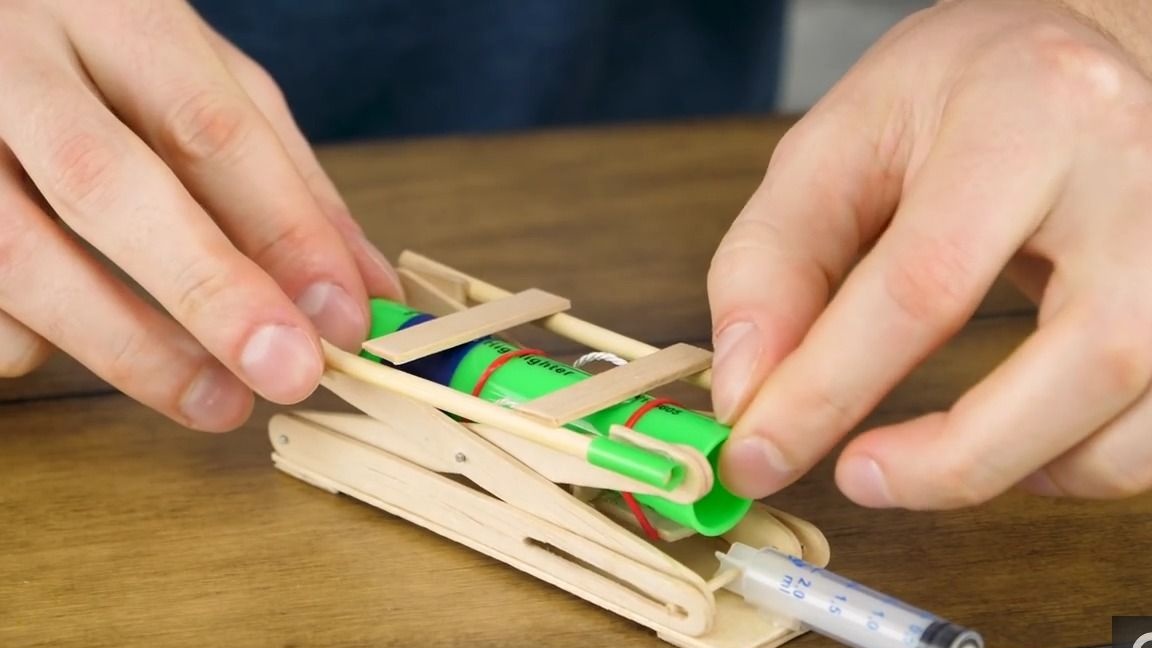
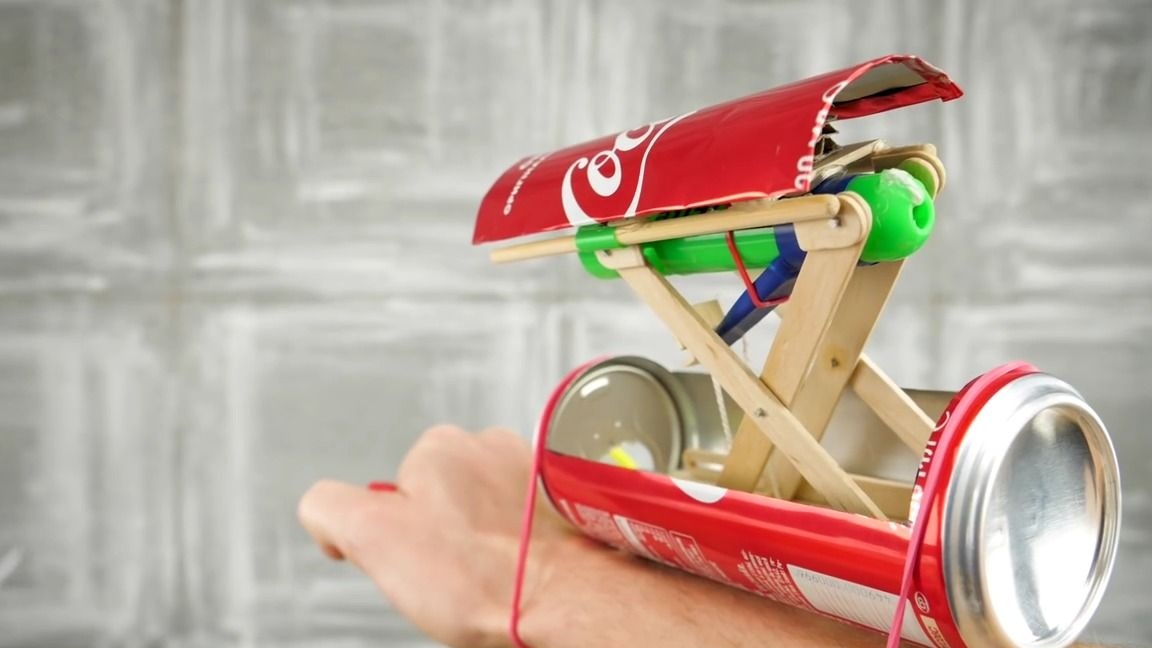
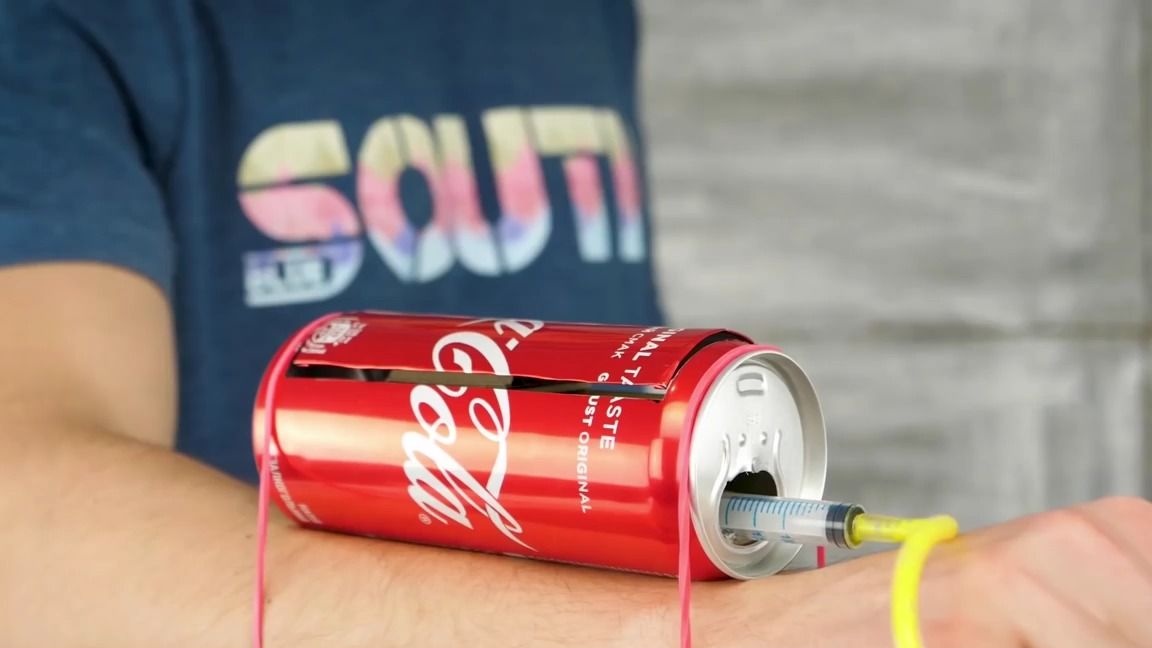
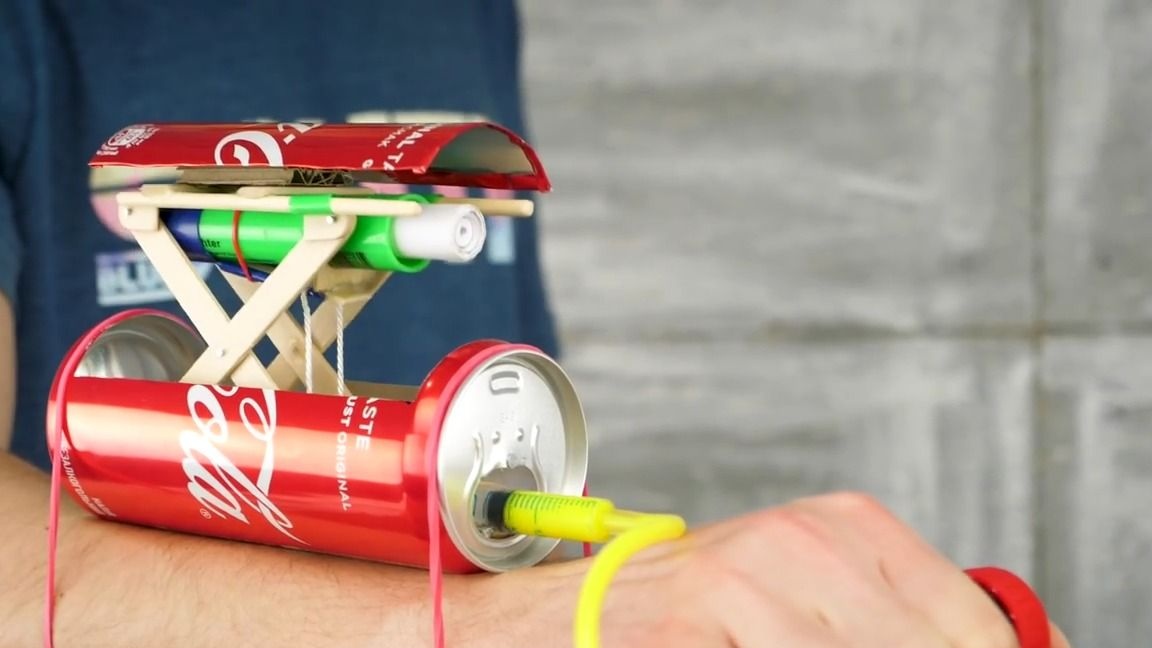
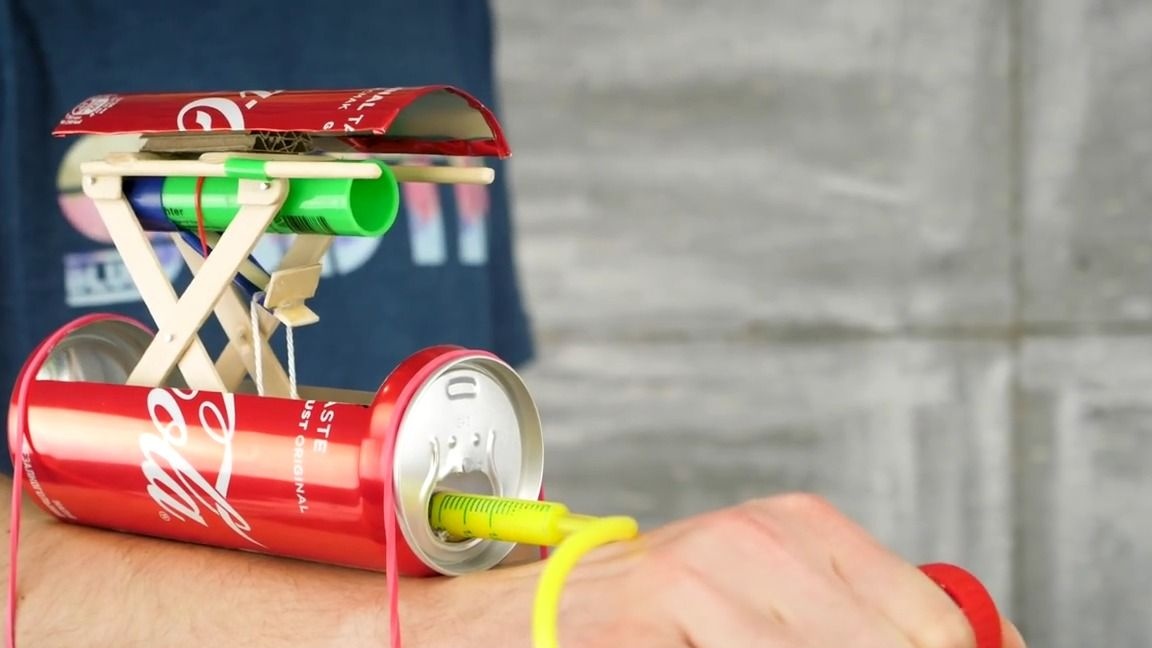
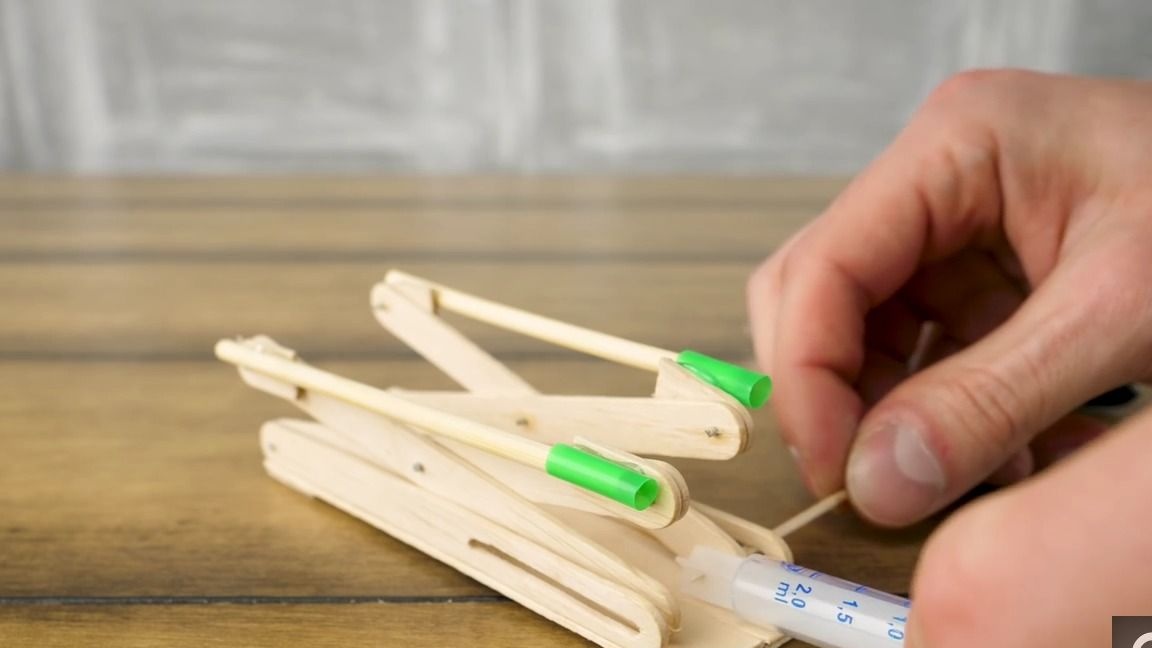
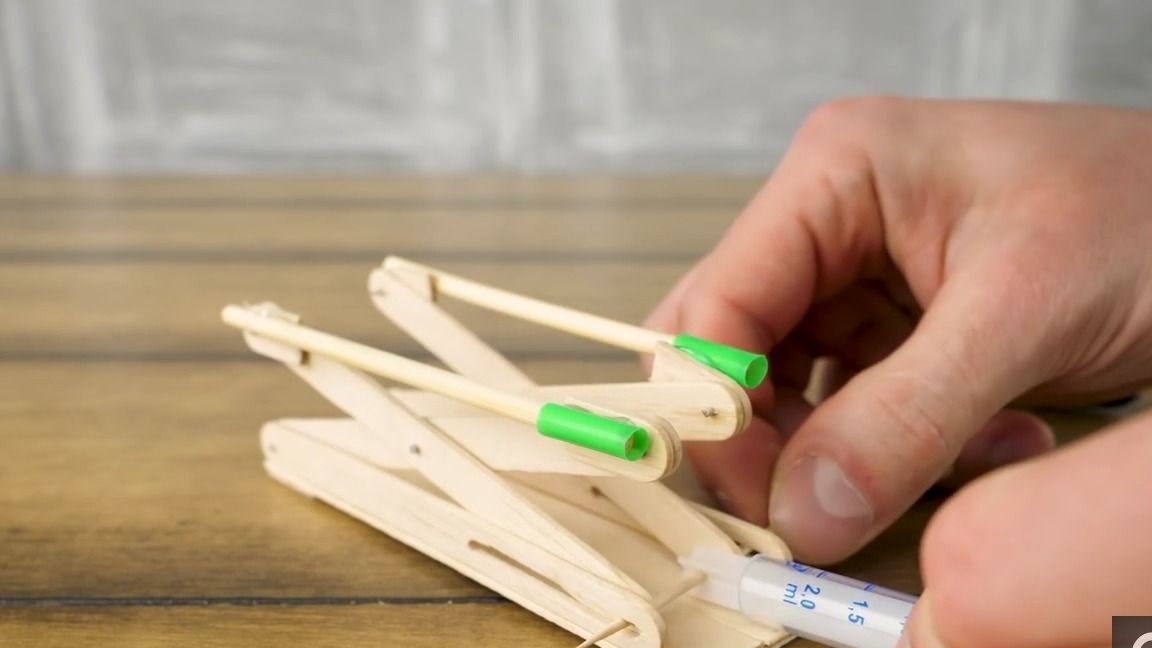
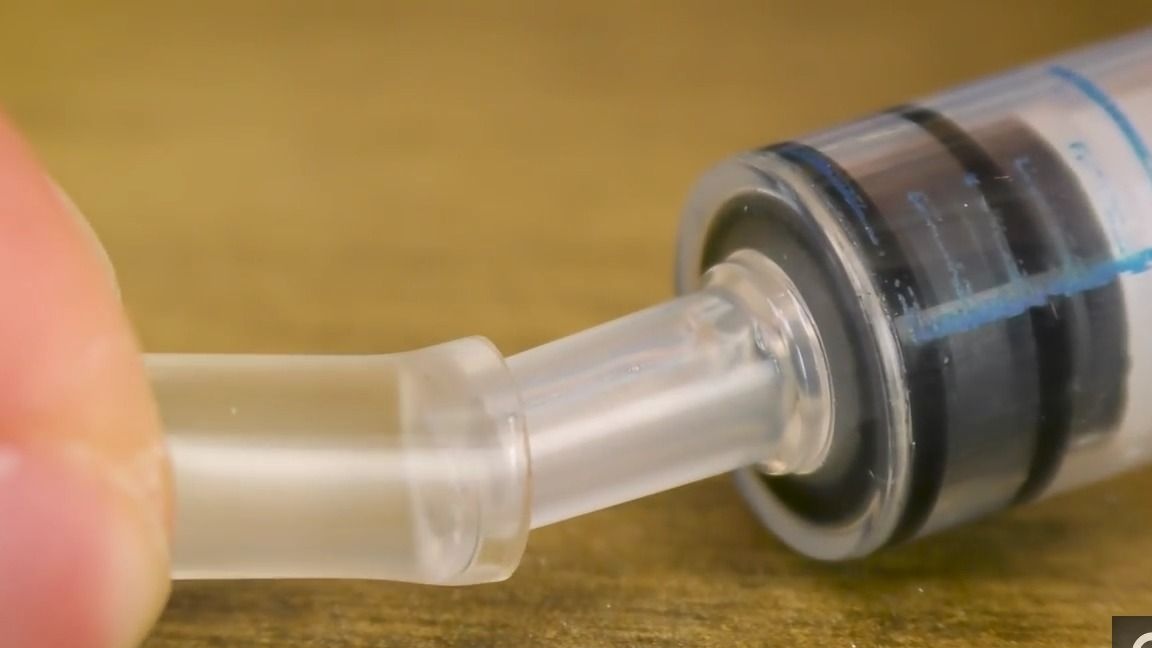
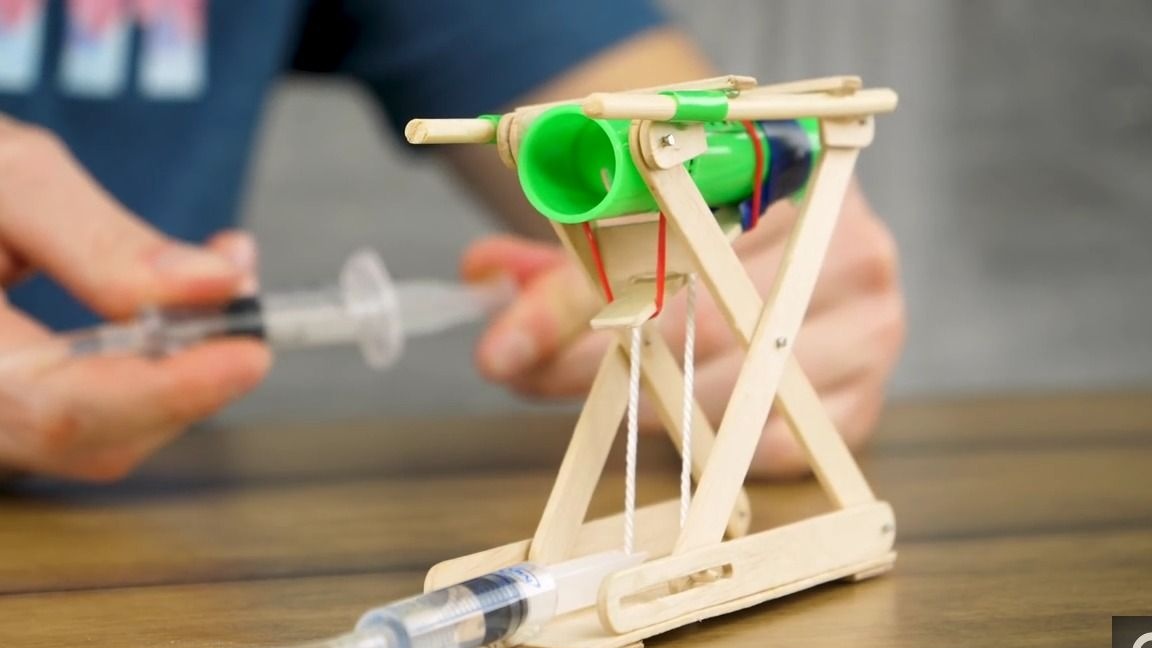
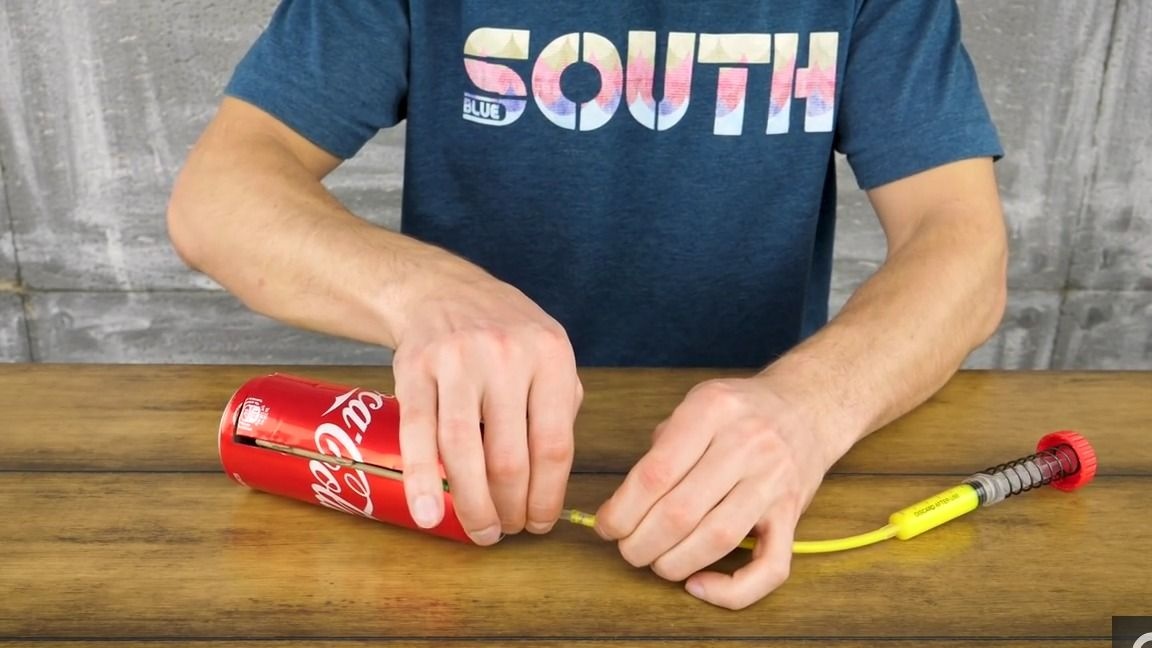
We take the second syringe, put the tube from the dropper on it, and put the other end on the syringe of our design, after which we test the performance. We press on the piston of the first syringe and if at the same time the whole structure rises and the plug comes out of the groove, then everything is done correctly:
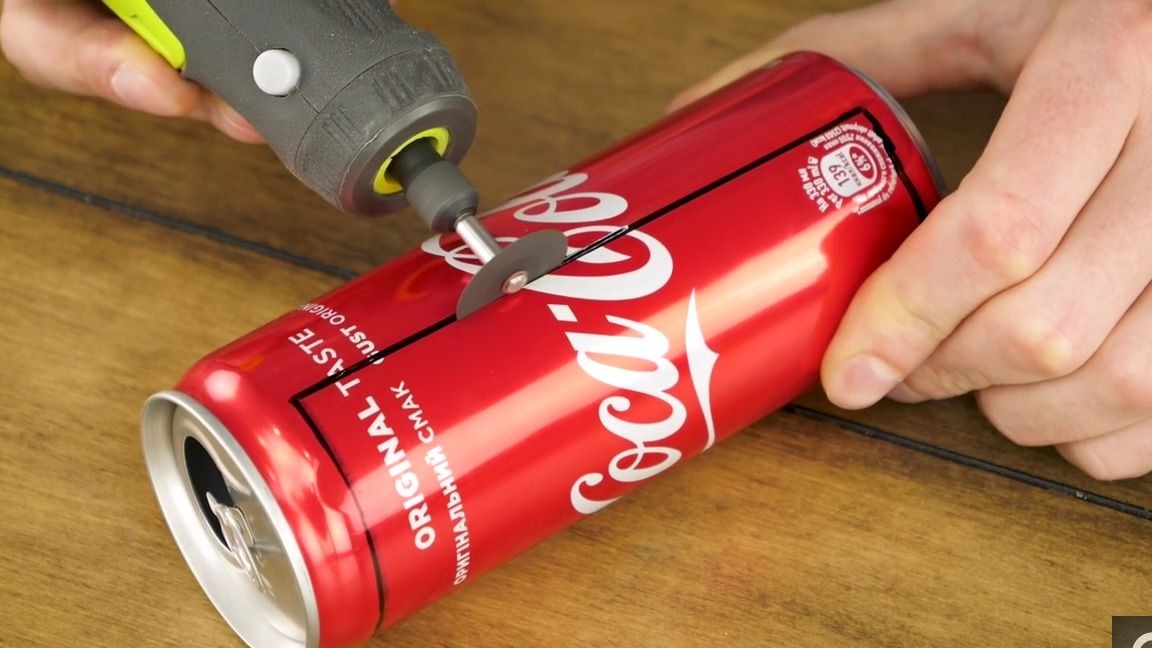
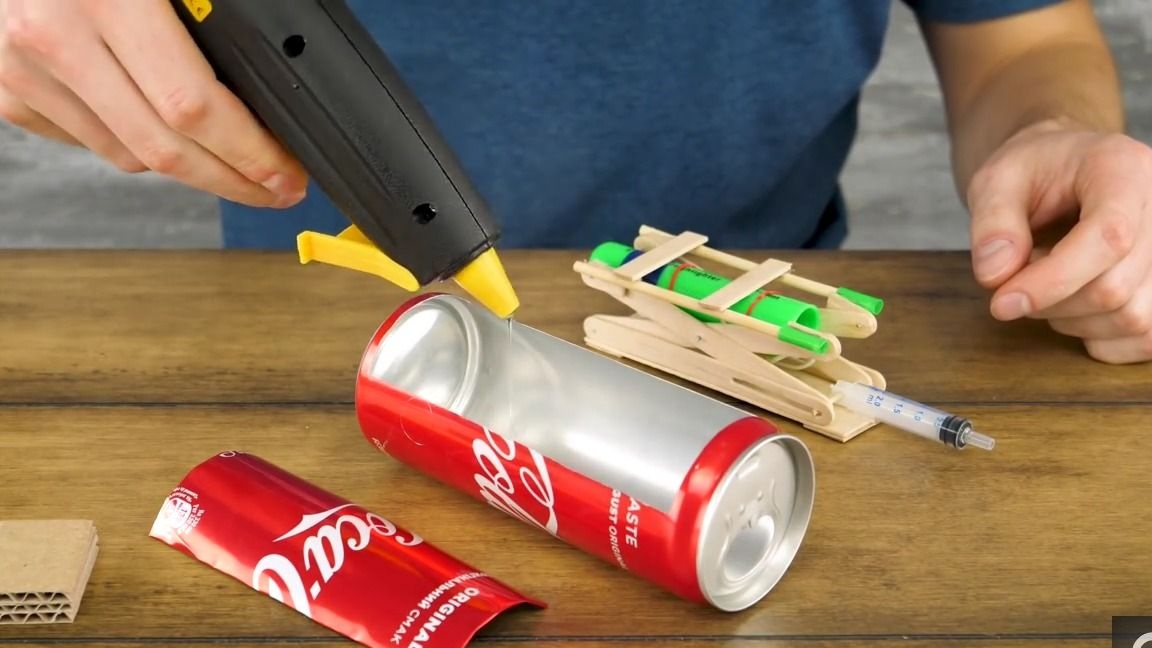
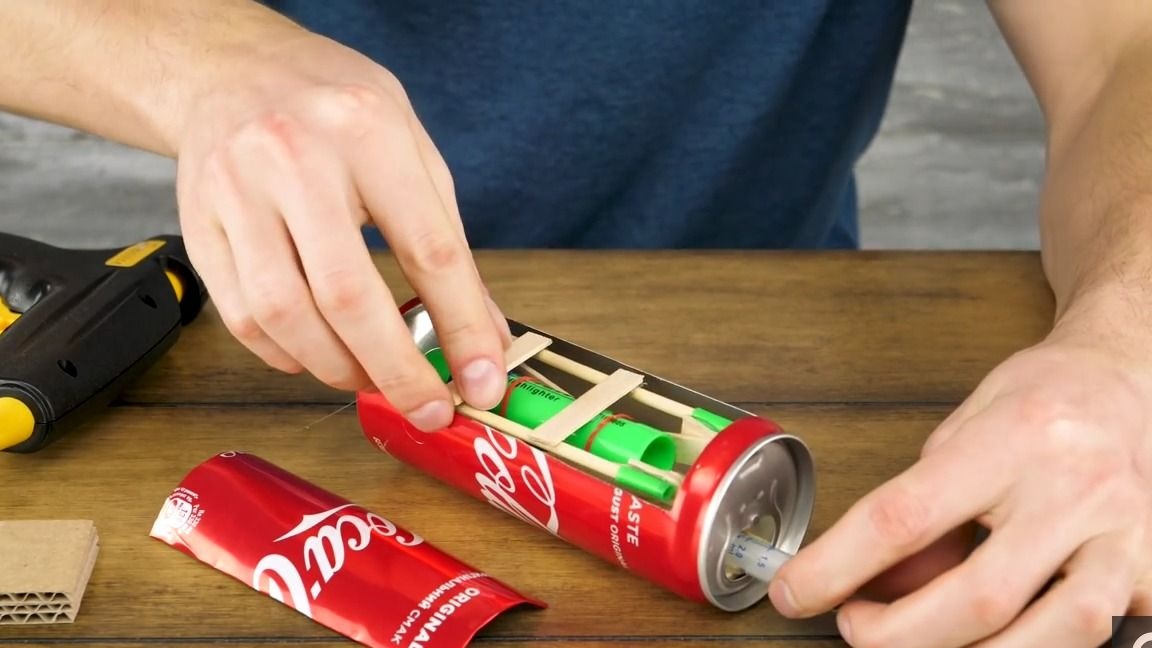
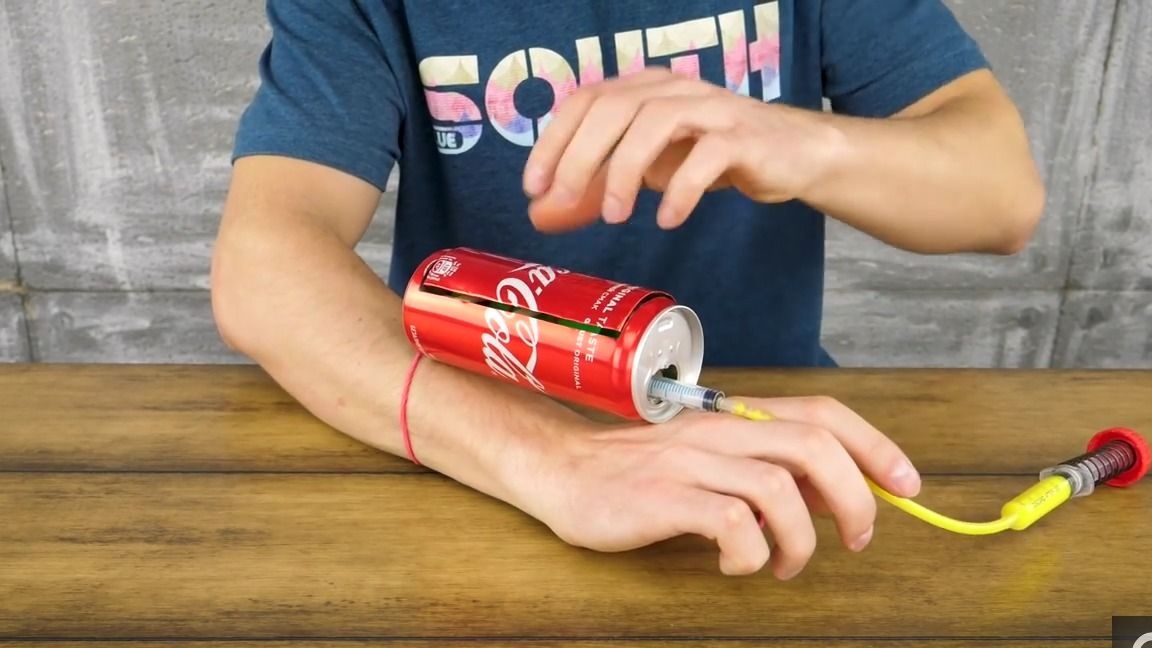
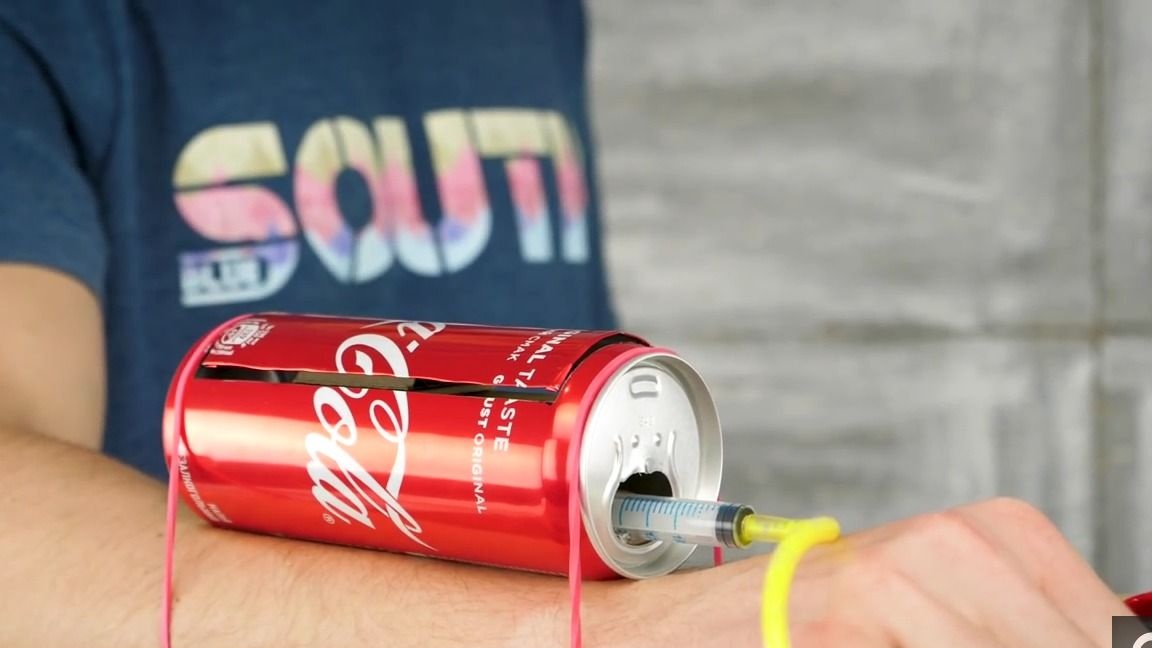
Now take the can and cut the lid out of it so that our structure passes through the hole that has formed:
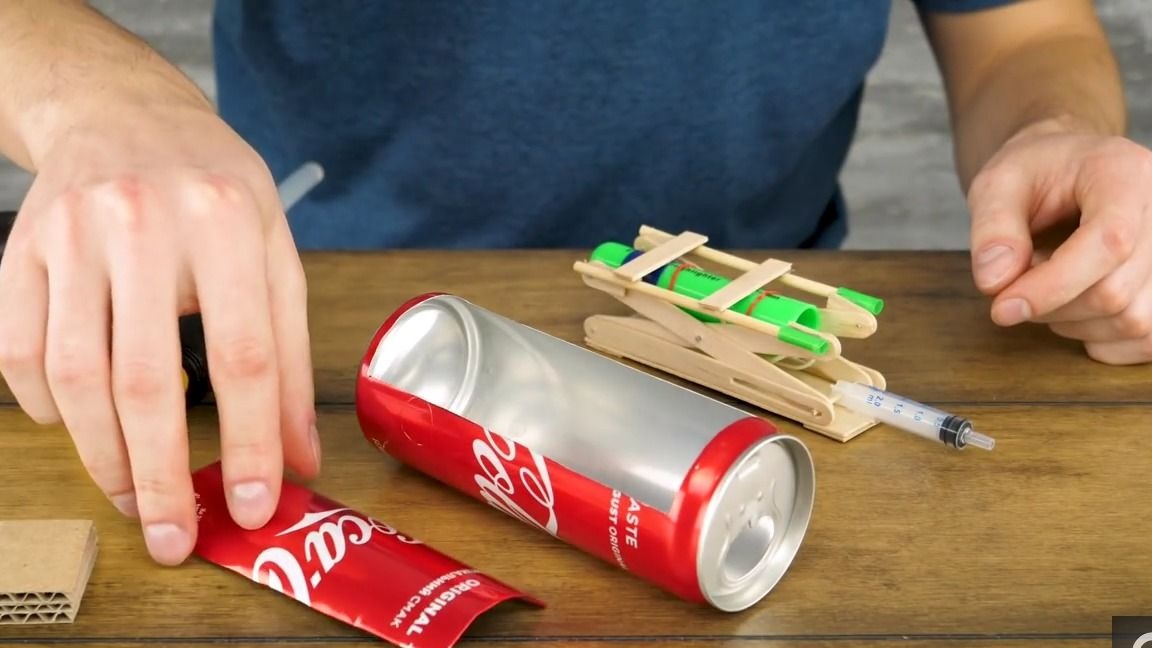
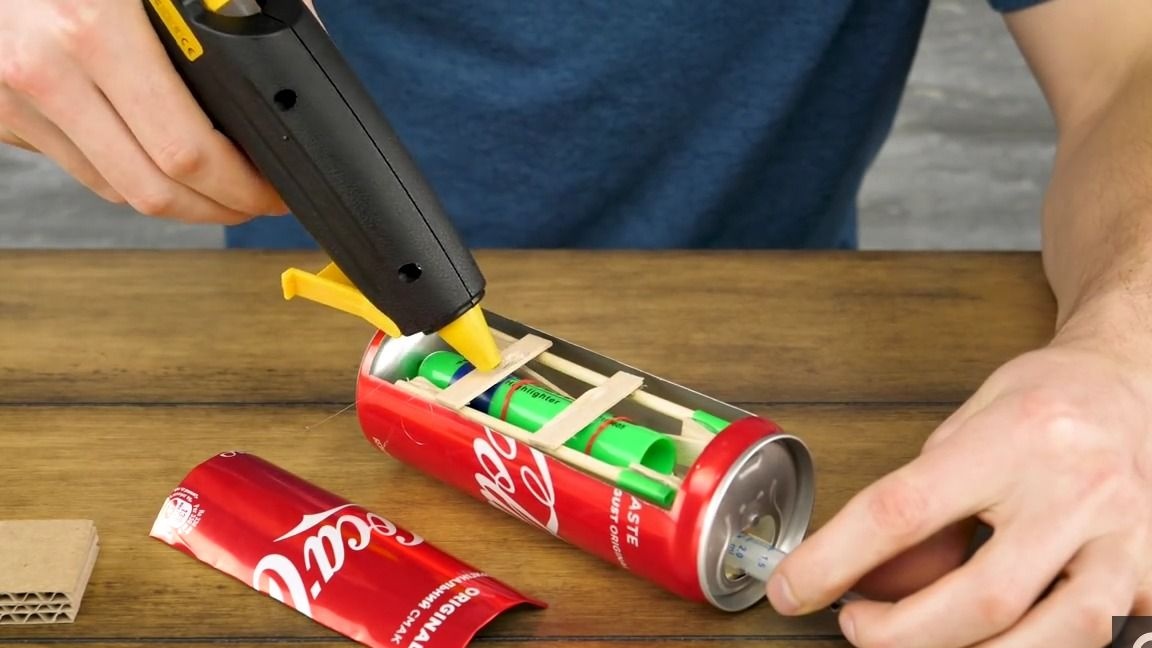
Pour in thermo-glue inside and install the structure so that the syringe exits through the hole in the bank:
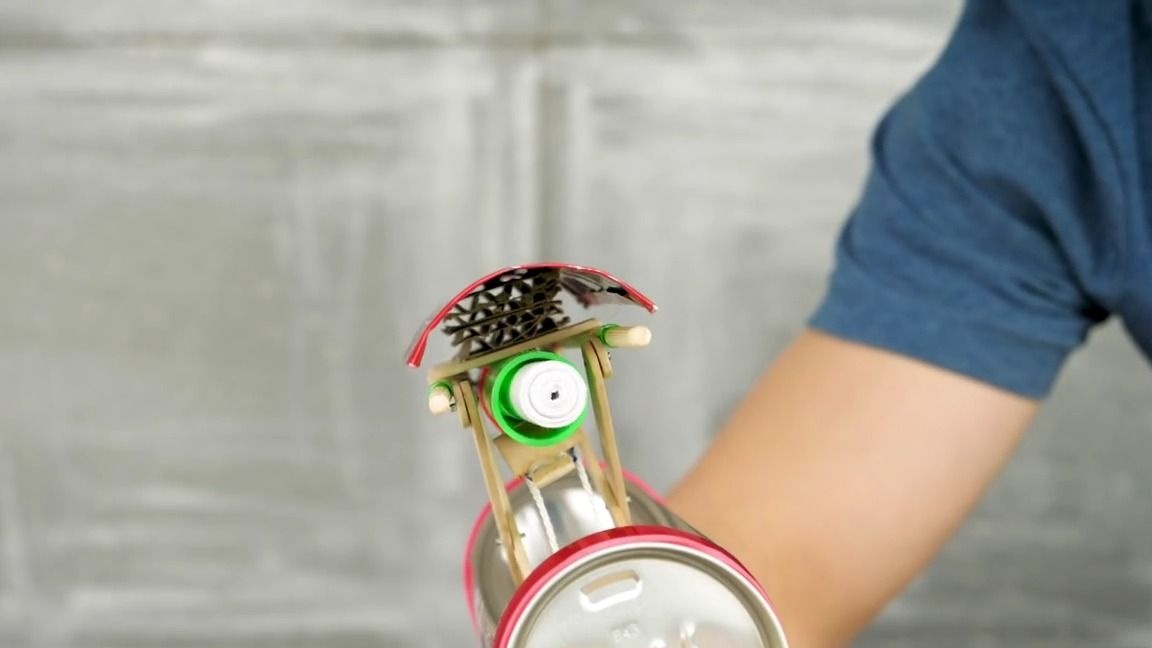
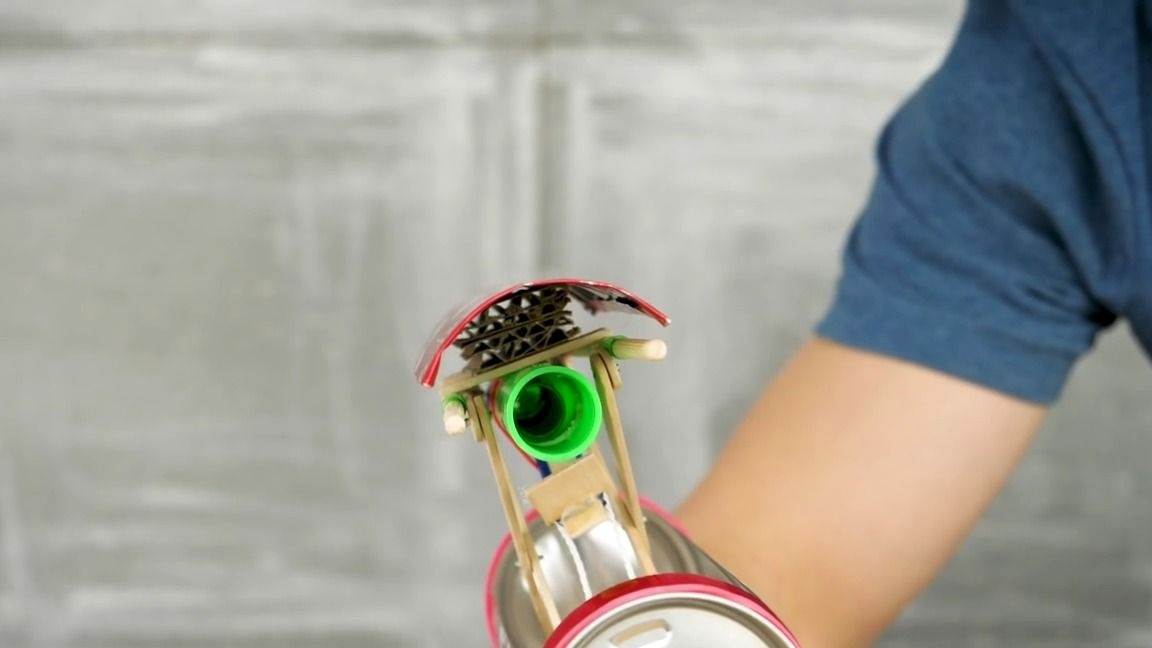
Then you need to cut and glue several pieces of corrugated cardboard into a single block, after which we glue it to the top of the structure:
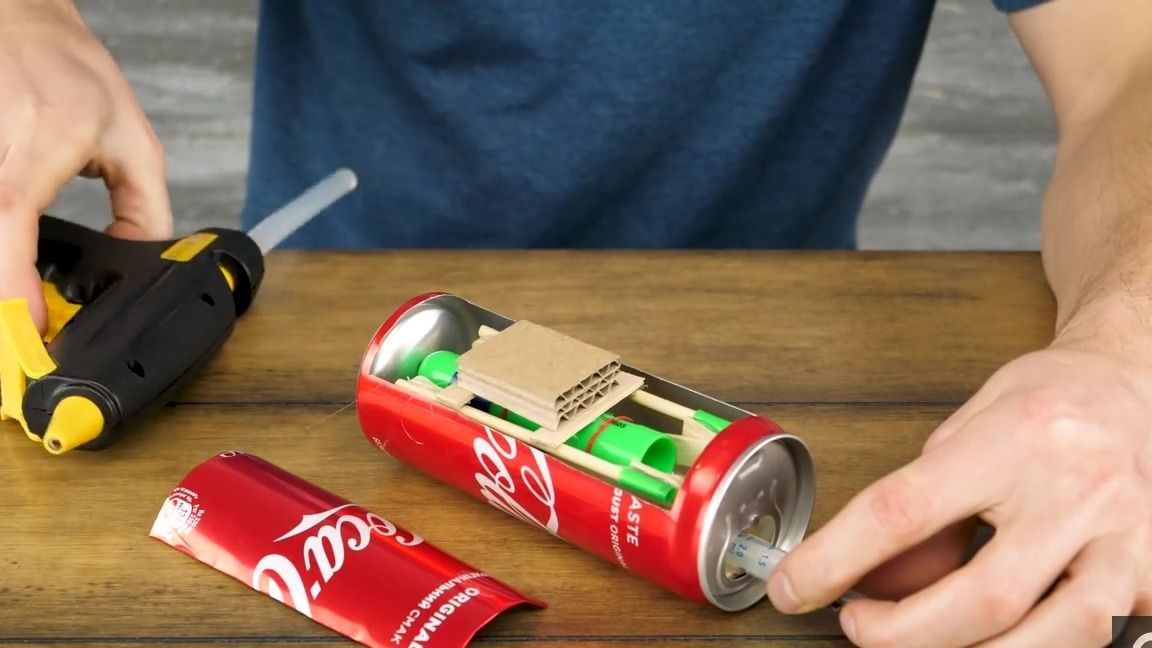
We also apply thermal glue to the cardboard block and glue the lid from the can:


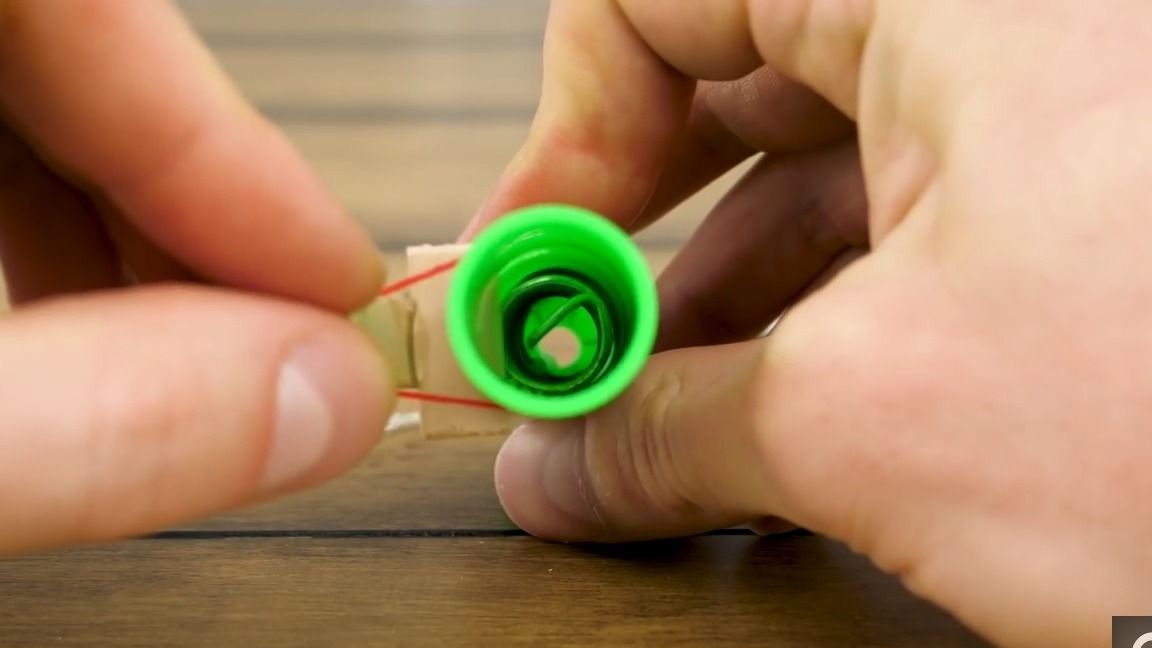
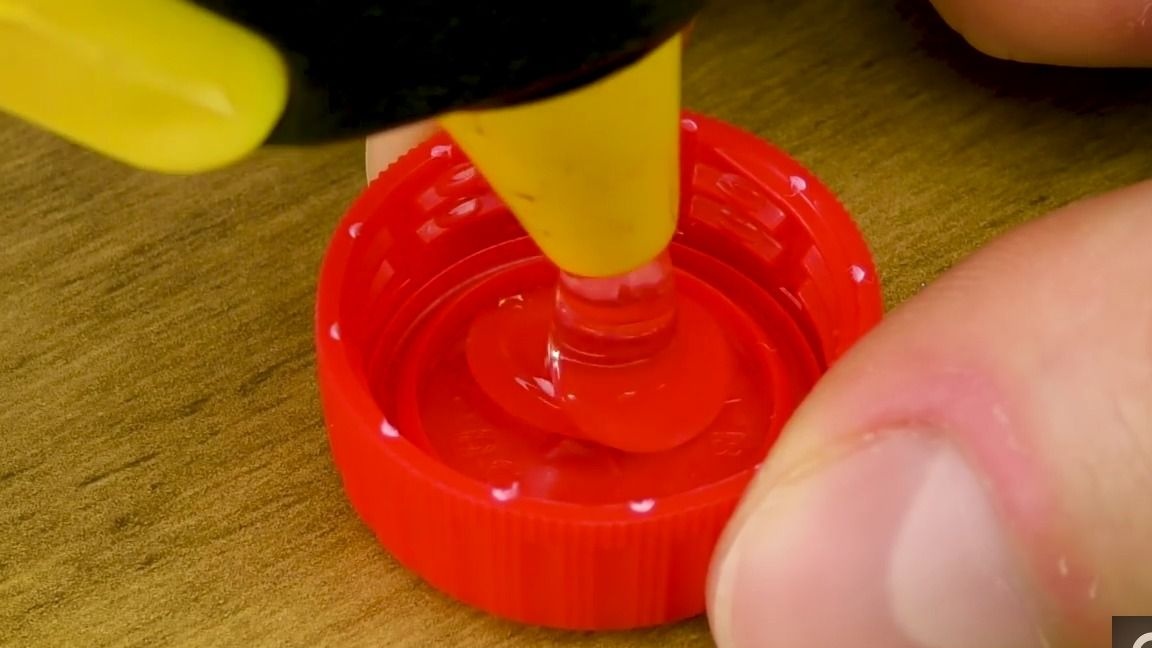
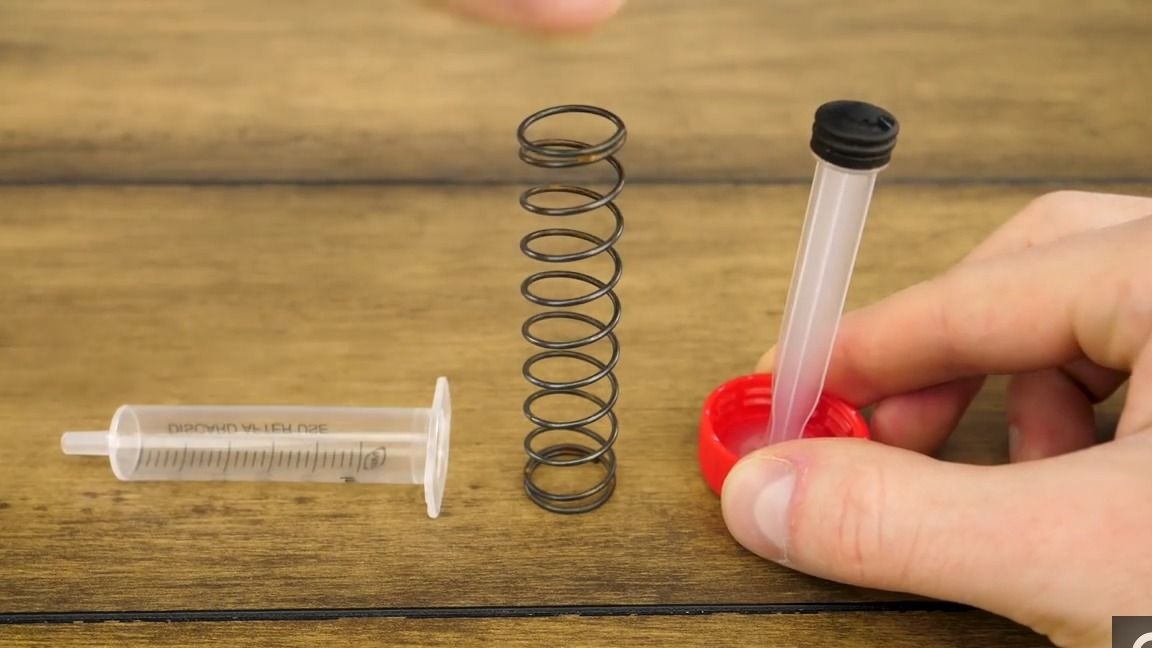
Pour glue into the cap from the plastic bottle and insert the piston from the first syringe there:
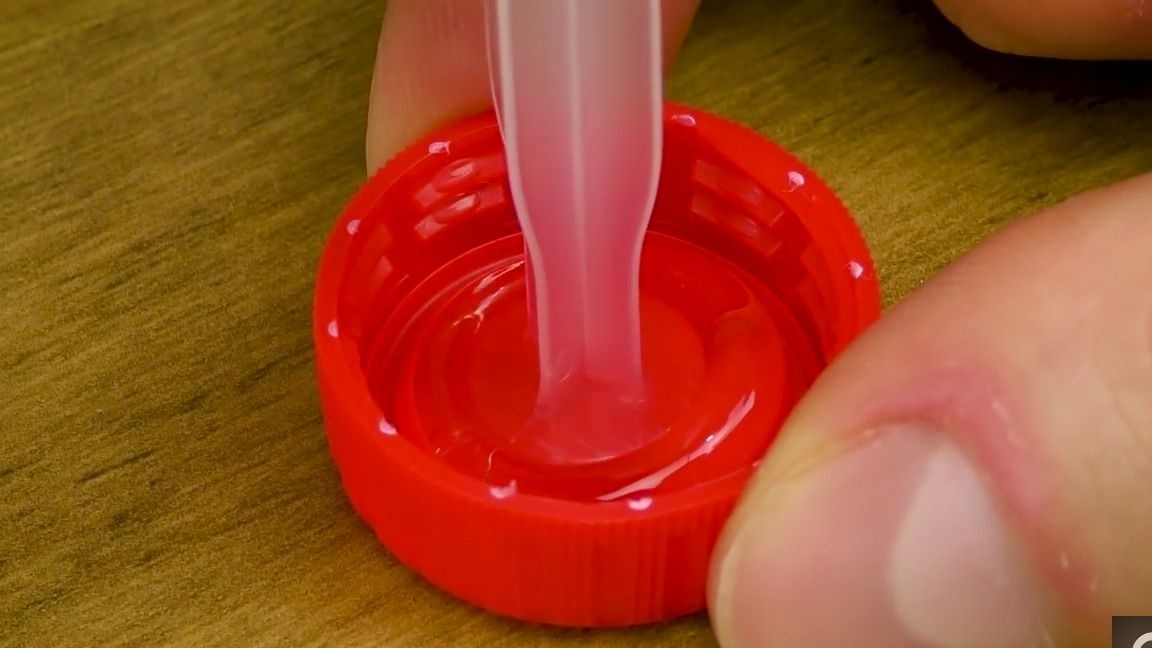
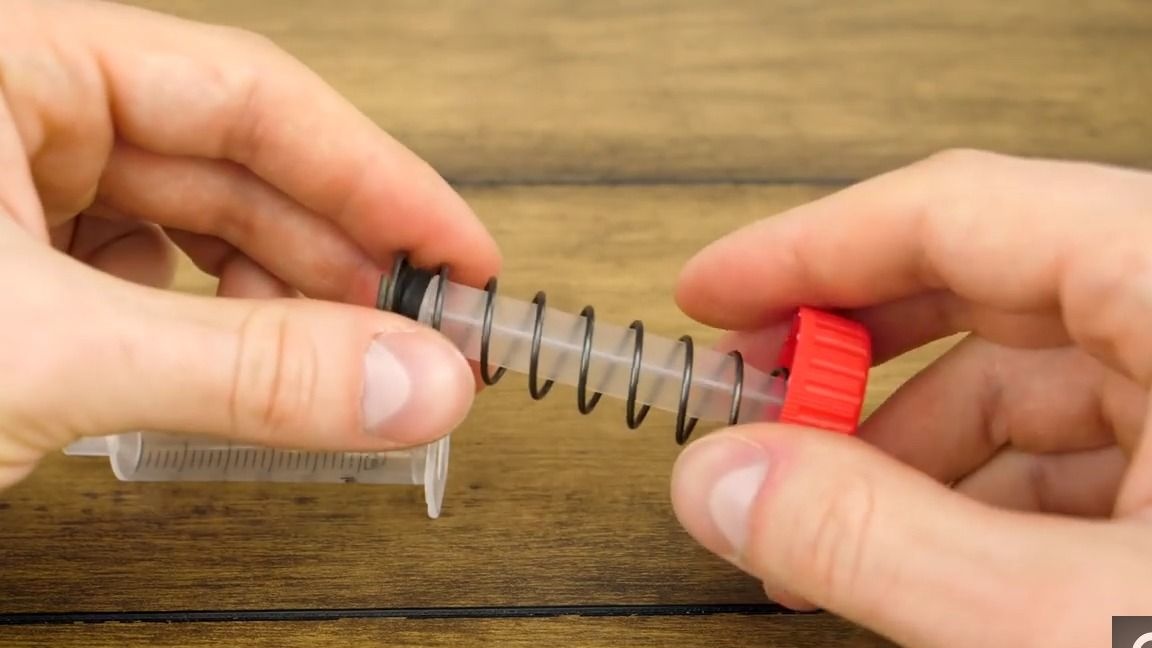
Then we put a spring on the piston, and on top we put the cylinder from the syringe:
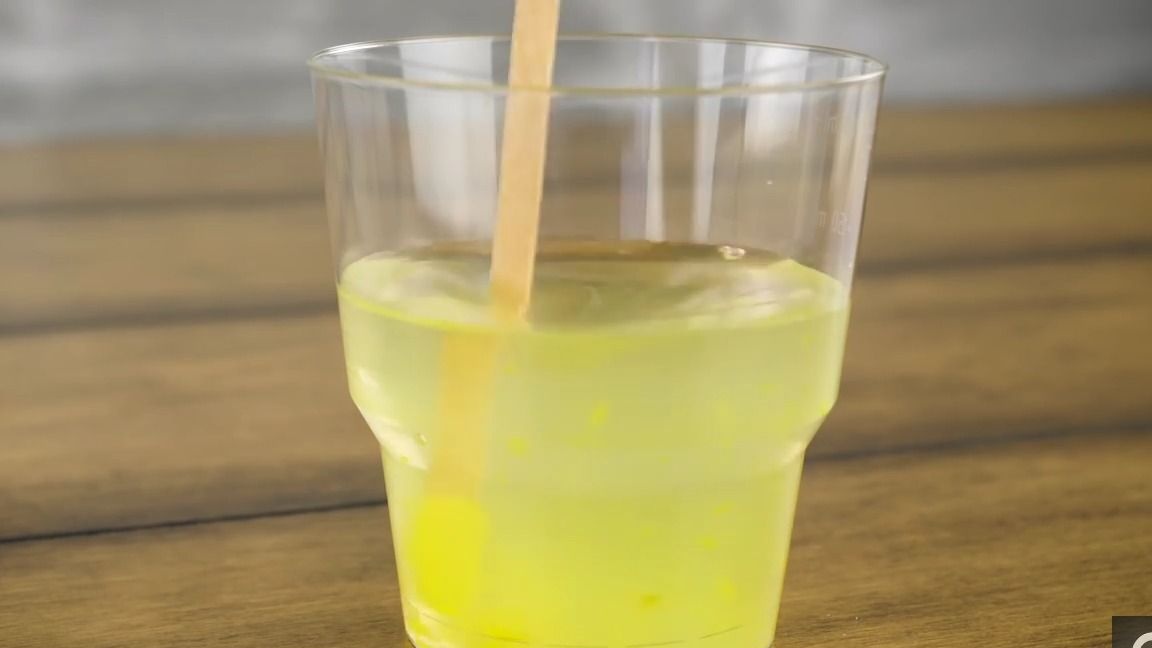
We dilute the paint in water, after which we pump it into a syringe and a tube from a dropper, it should turn out something like this:
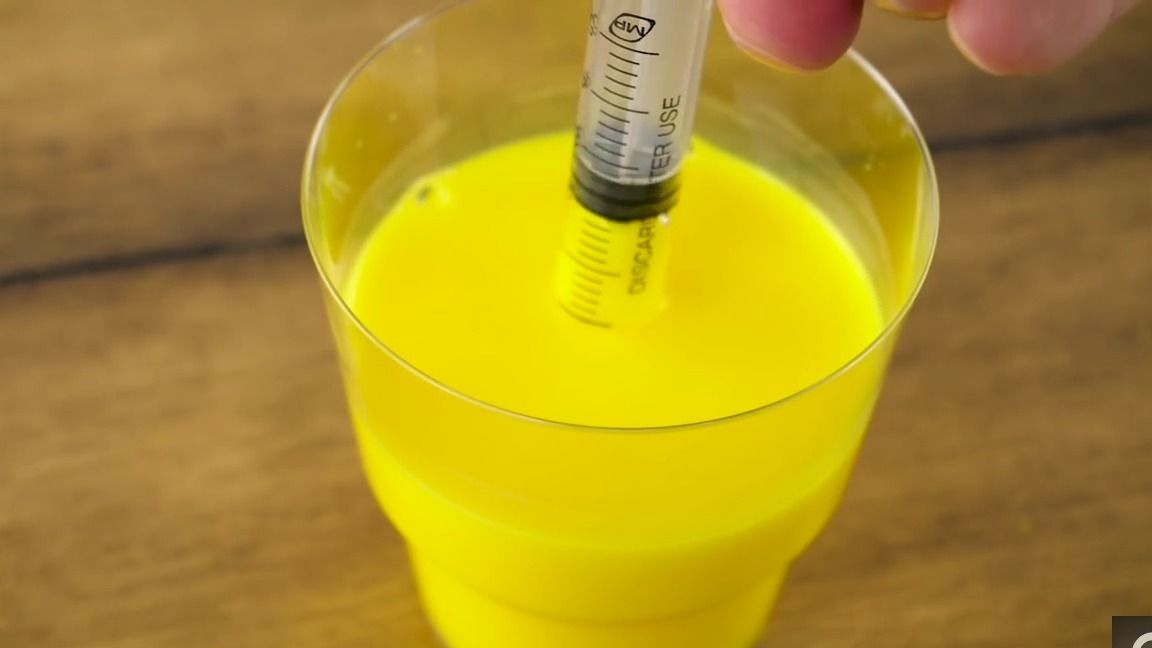

We put the tube back on the syringe from our design:
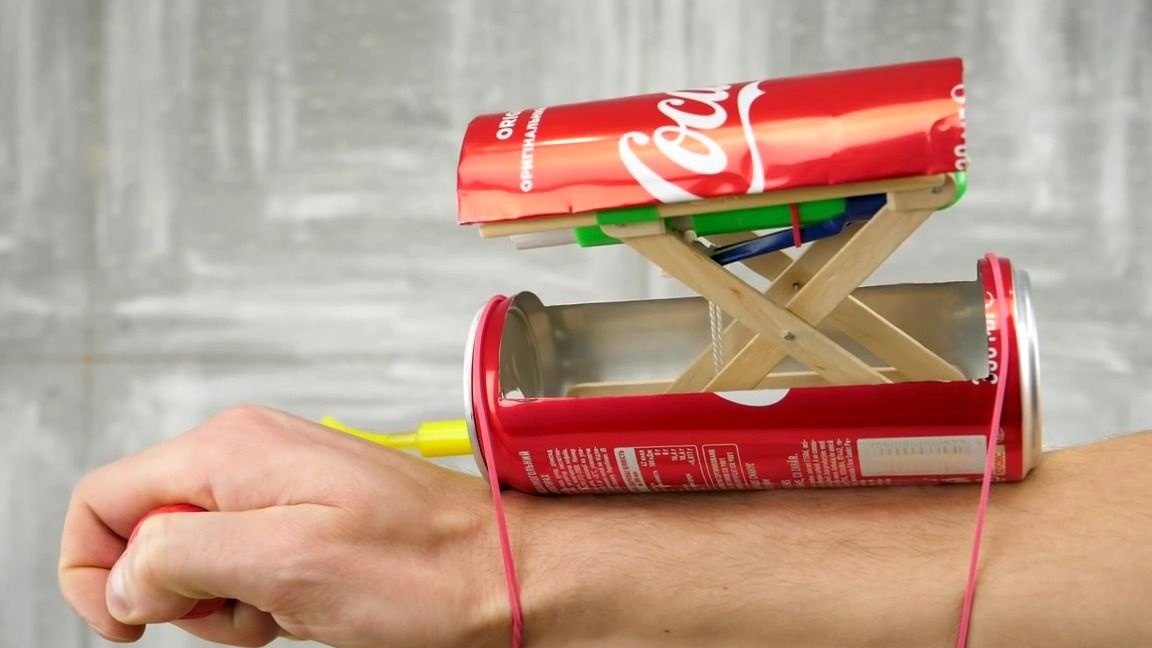
We fix our homemade product to the hand with rubber bands:

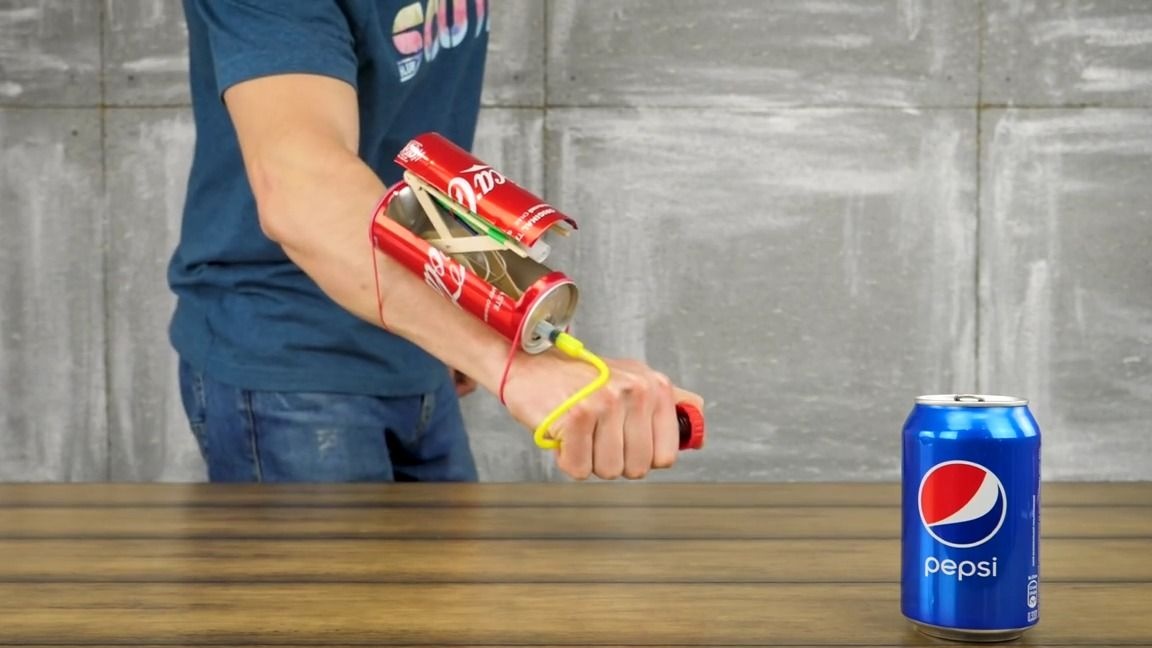
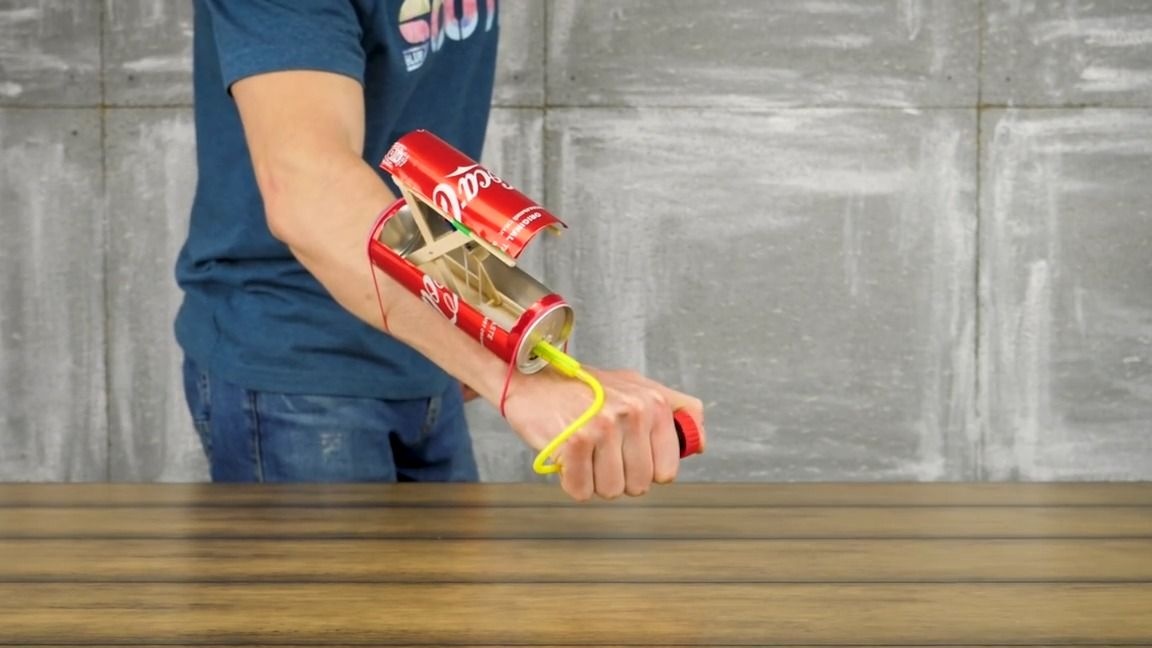
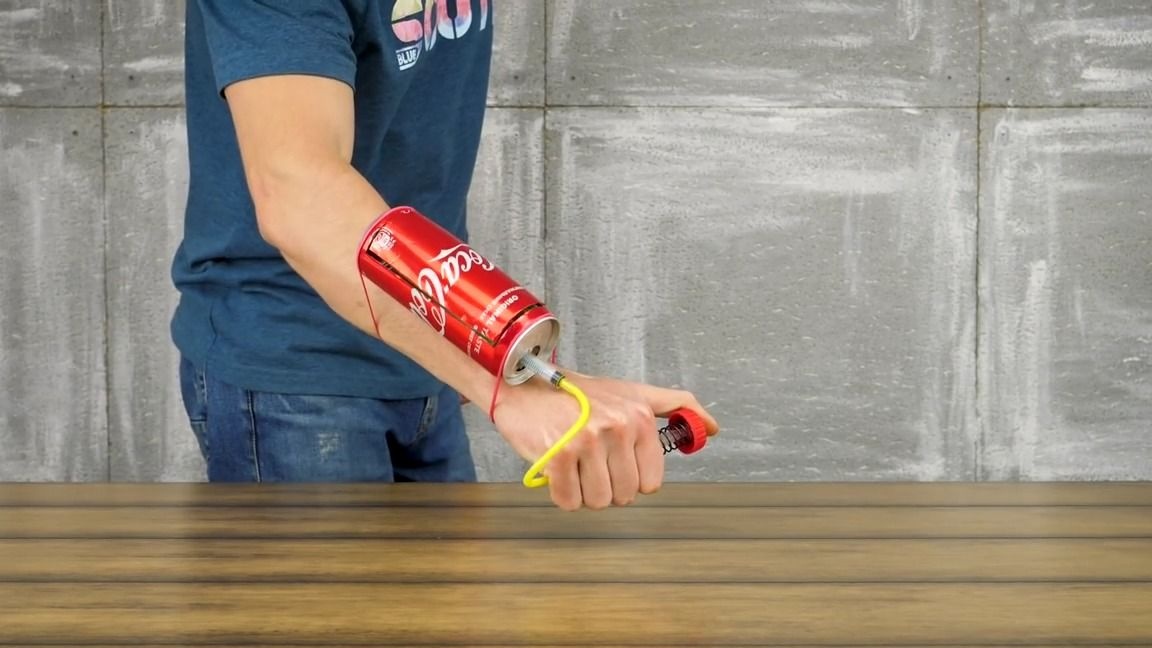
That's it! The homemade product is ready and it remains only to test it. To do this, insert our "shell" in the marker and lower our structure to its original position. In order to produce a “shot” you need to press the first syringe and bring the piston to the end, while the whole structure will rise and after the end of the lift it will “shoot”, after which we simply take the piston of the first syringe back again and the whole structure will return to its original position . The toy is very funny and I think many will be interested in making it.
Here is a detailed video from the author with the assembly and testing:
Thank you all for your attention!