

Mobile phones, smartphones, tablets, digital cameras and other gadgets in our time (the "era of Internet addiction") make many people still attached to these boxes. Even being in nature, users do not imagine spending their time without sticking in, bit their tongue, in some kind of display.
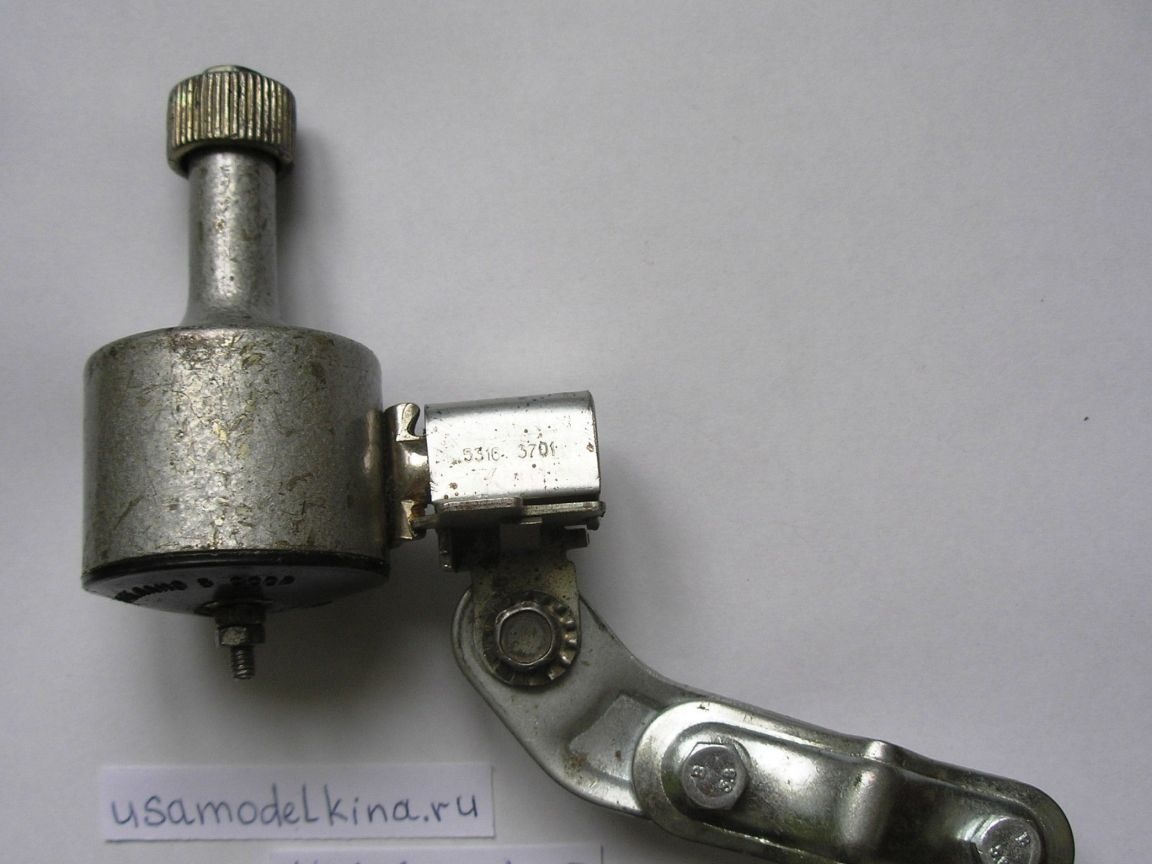
Here, of course, the question arises of how to charge it when there are no outlets in the field (it is better that there are none). And Wi-Fi may be there, but because of it they have not yet learned to eat. Who is on the machine in that charging problem is solved. The car has a battery, although it also needs a voltage adapter and an adapter. A bicycle does not have a battery, but almost everyone has a generator or batteries.
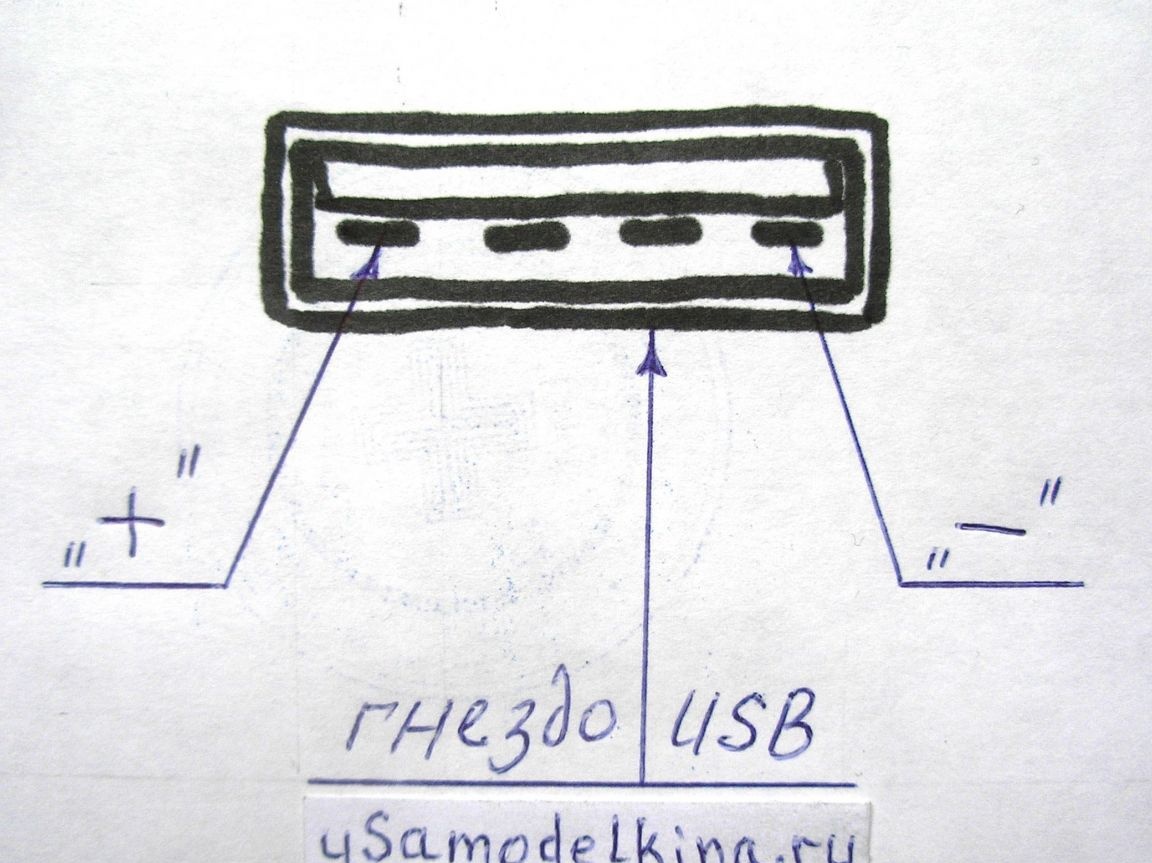
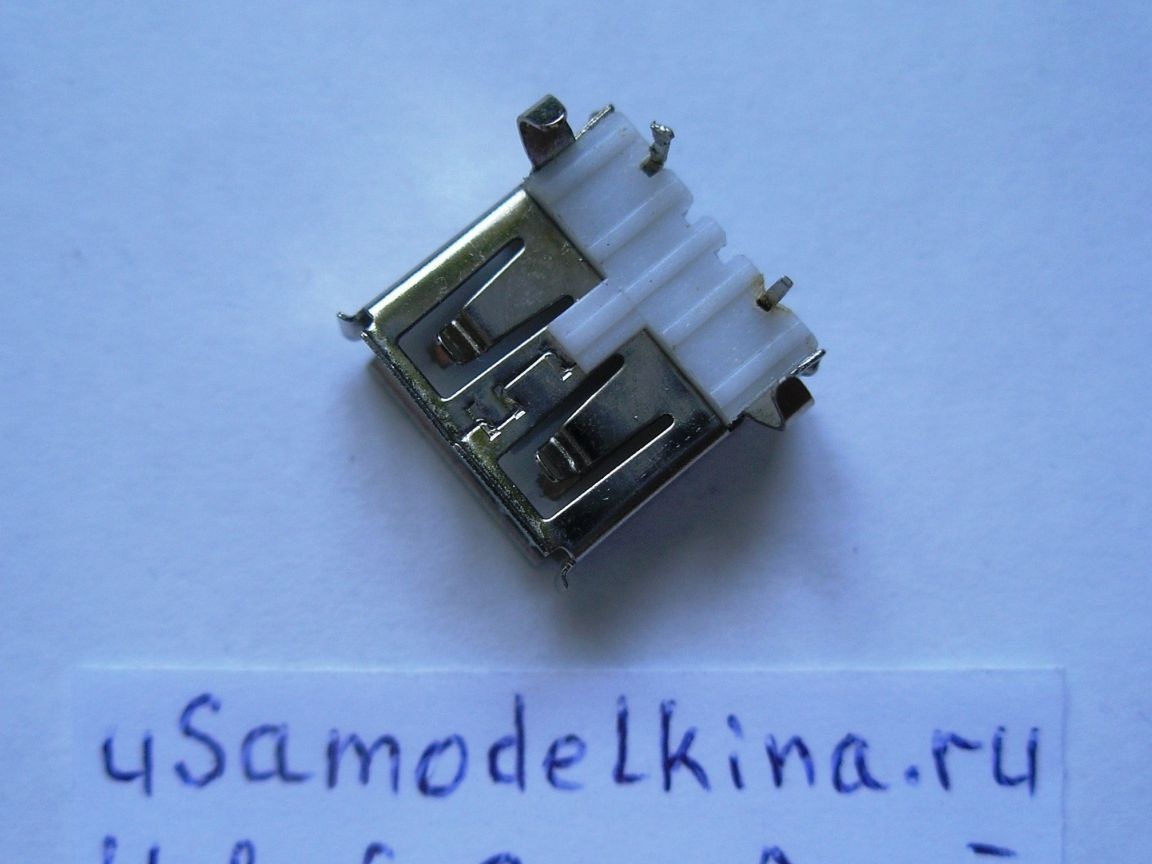
In the vast majority of gadgets, a USB connector is used for charging, having a voltage of 5 to 7 V on 1 and 4 pins (5.5 V is recommended). It is important to correctly connect the plus and minus power, and not confuse the socket of the plug with the socket!
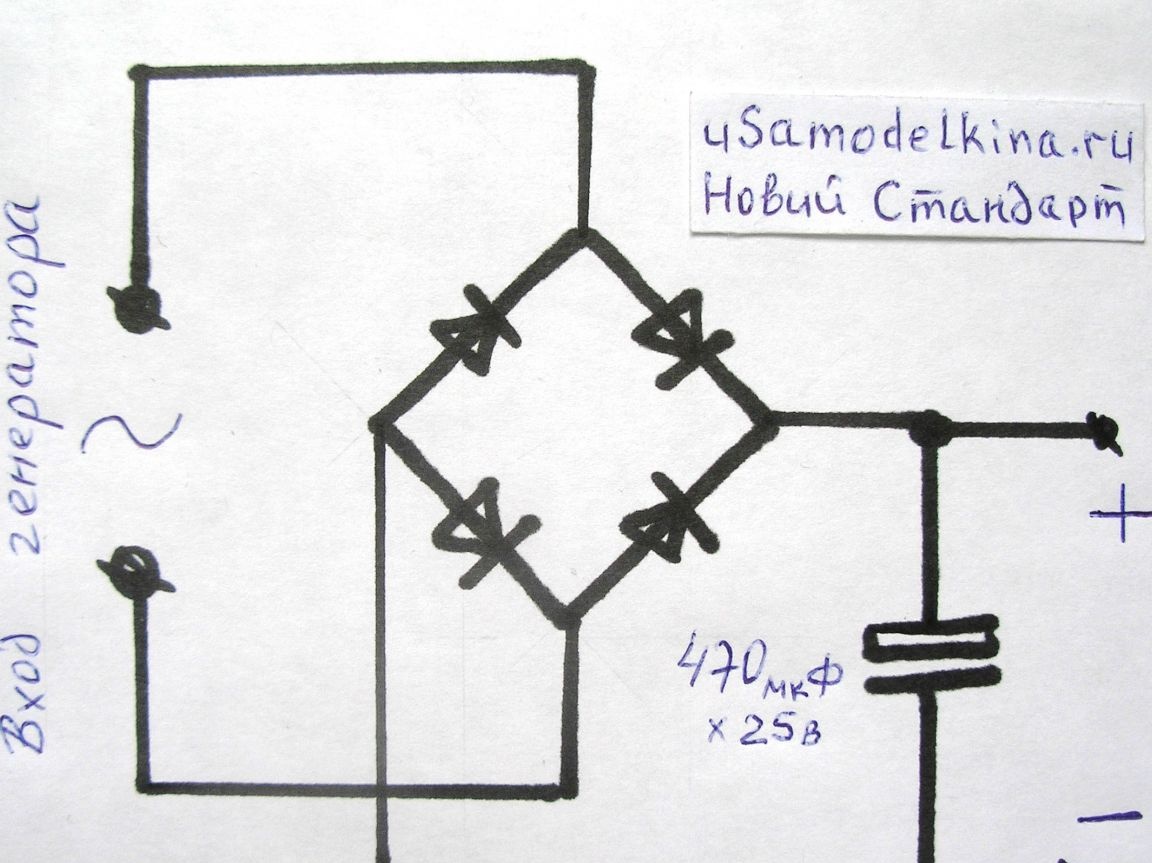
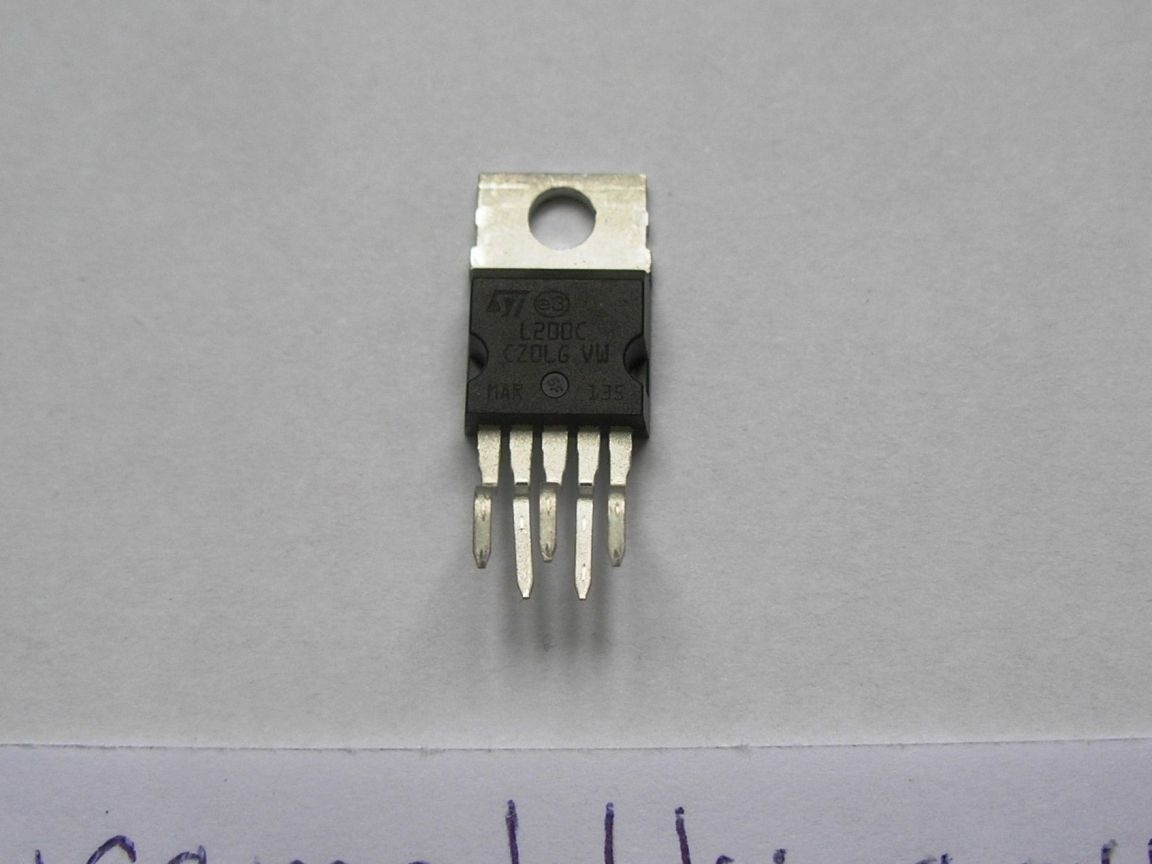
A device that I recently made will come to the rescue. As a basis, I took the L200C chip. This chip is an automatically regulated charge.

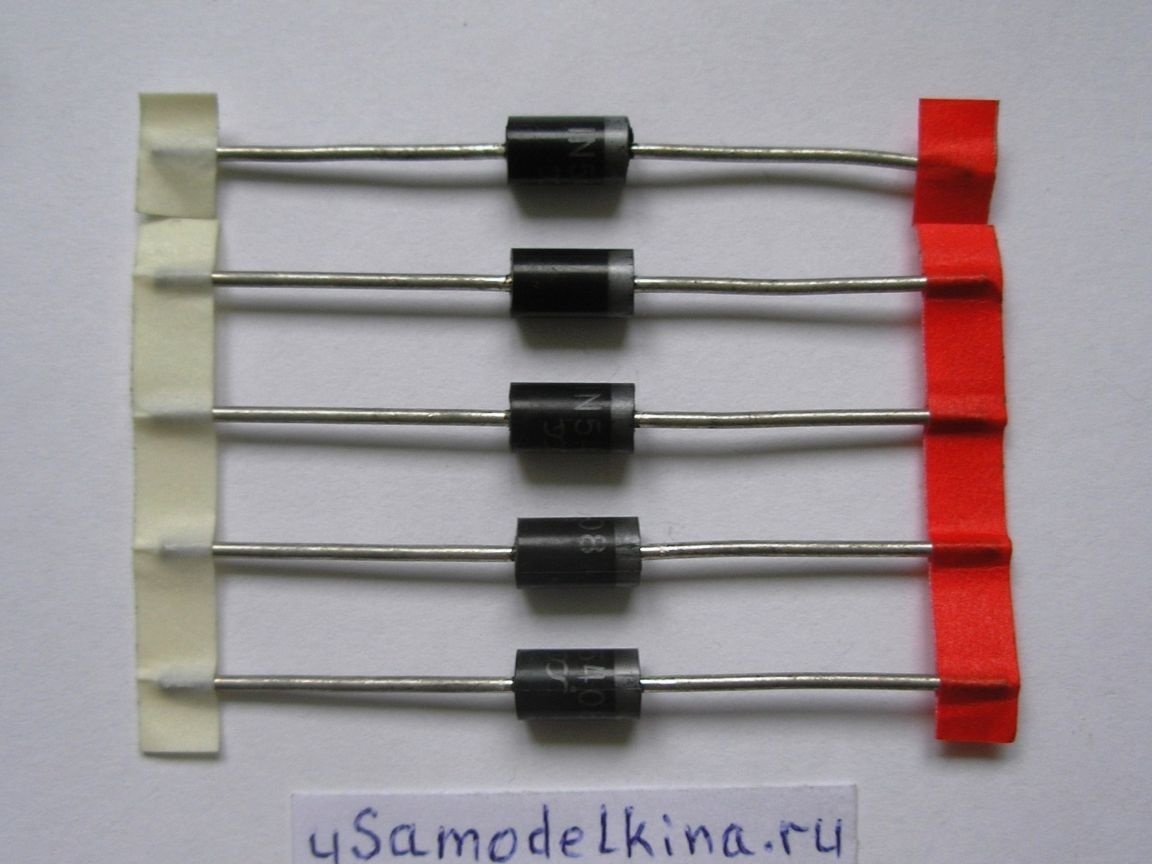
Since the output in cycling alternator voltage, then to get a constant input of charging I put a diode bridge and electrolyte.
For the manufacture of charging you need the following devices and materials.
Tools and devices:
- multimeter (we control voltage and current)
- soldering iron up to 40 W;
- drill;
- drills diameter, 0.8 mm, 2 mm, 2.5 mm, 4 mm;
- taps M3;

- a hacksaw for metal;
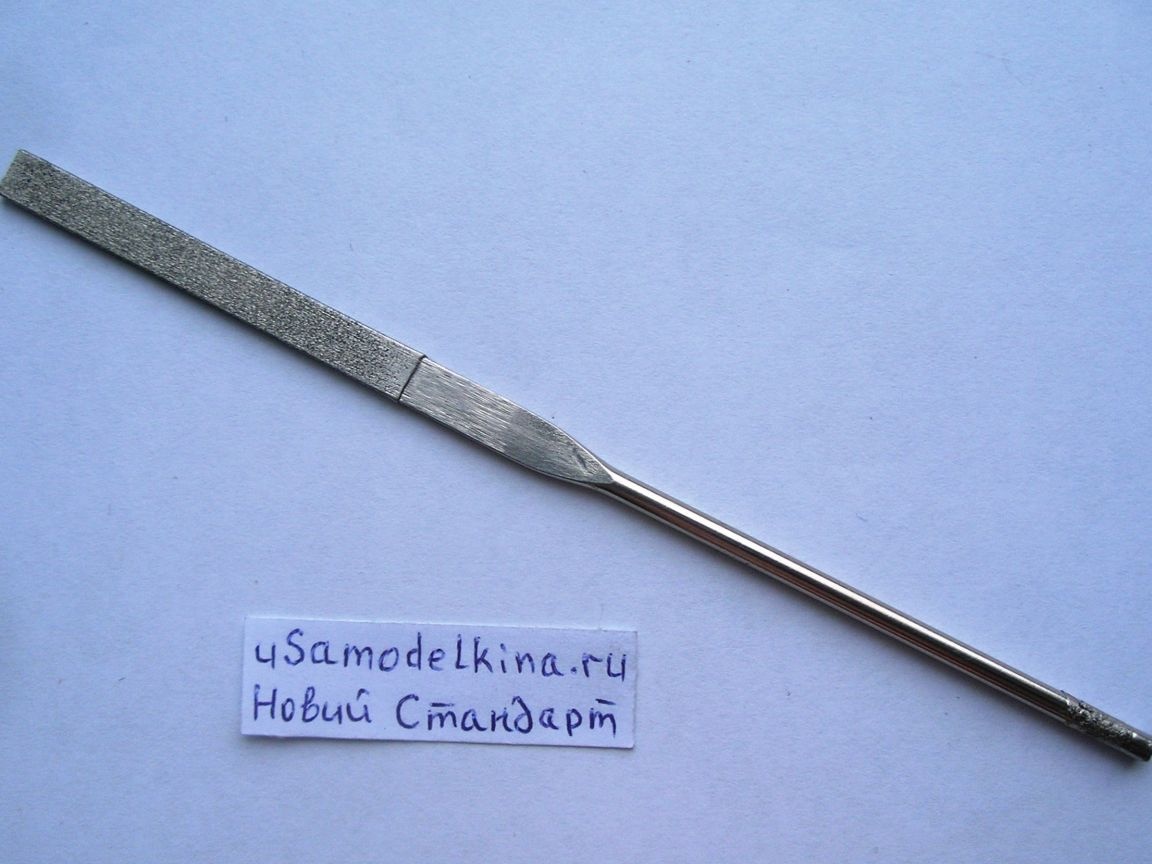
- stationery knife;
- a pencil;
- ruler;
- the file is flat;
- a screwdriver, keys for tightening the screws.
Expendable materials:
- solder, rosin;
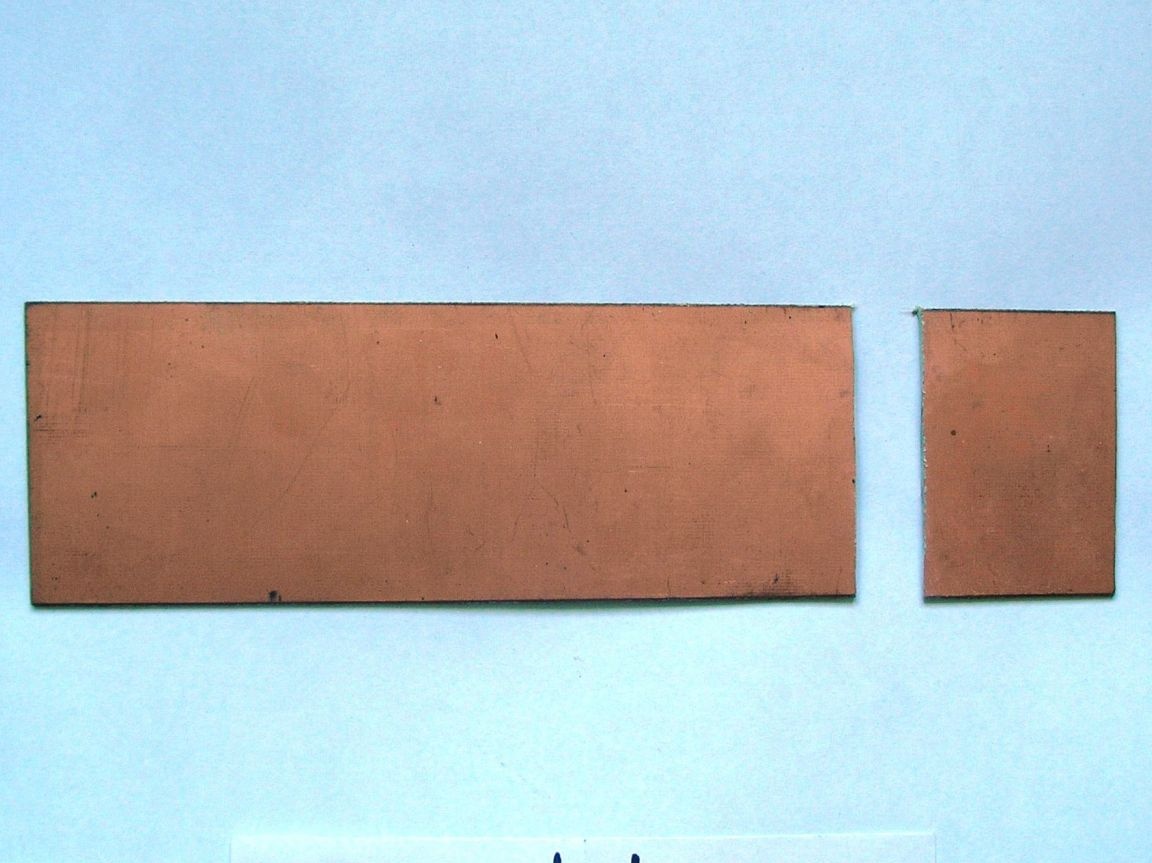
- board glass-textolite with double-sided copper foil (0.1 mm), 100x80x2mm;
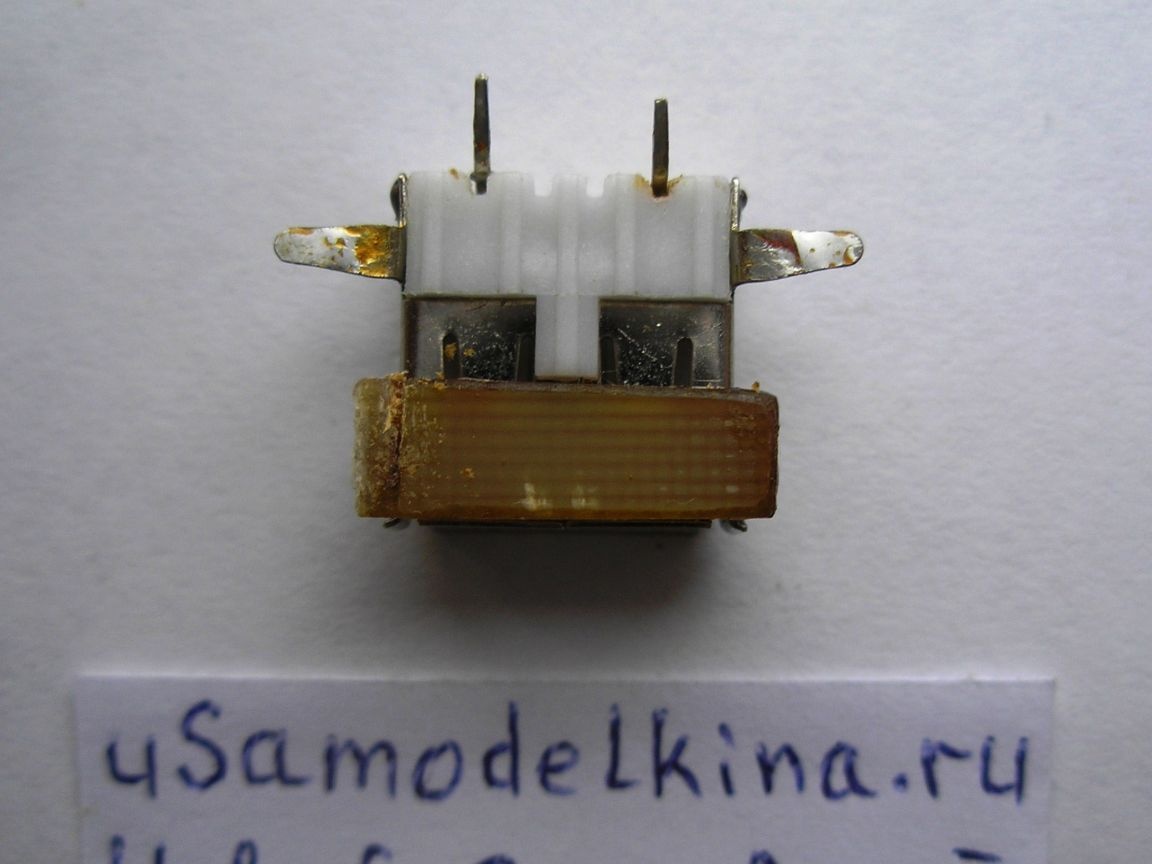
- cycle generator (6 V, 3 W);
- chip L200C;
- diodes IN5408 (5 pcs.)
- resistance 820 Ohms (up to 0.25 W);
- tuning resistance up to 2.2 kOhm (after setting the desired voltage will be replaced by the usual up to 0.25 W);
- electrolyte 470 microfarads x 25 V;
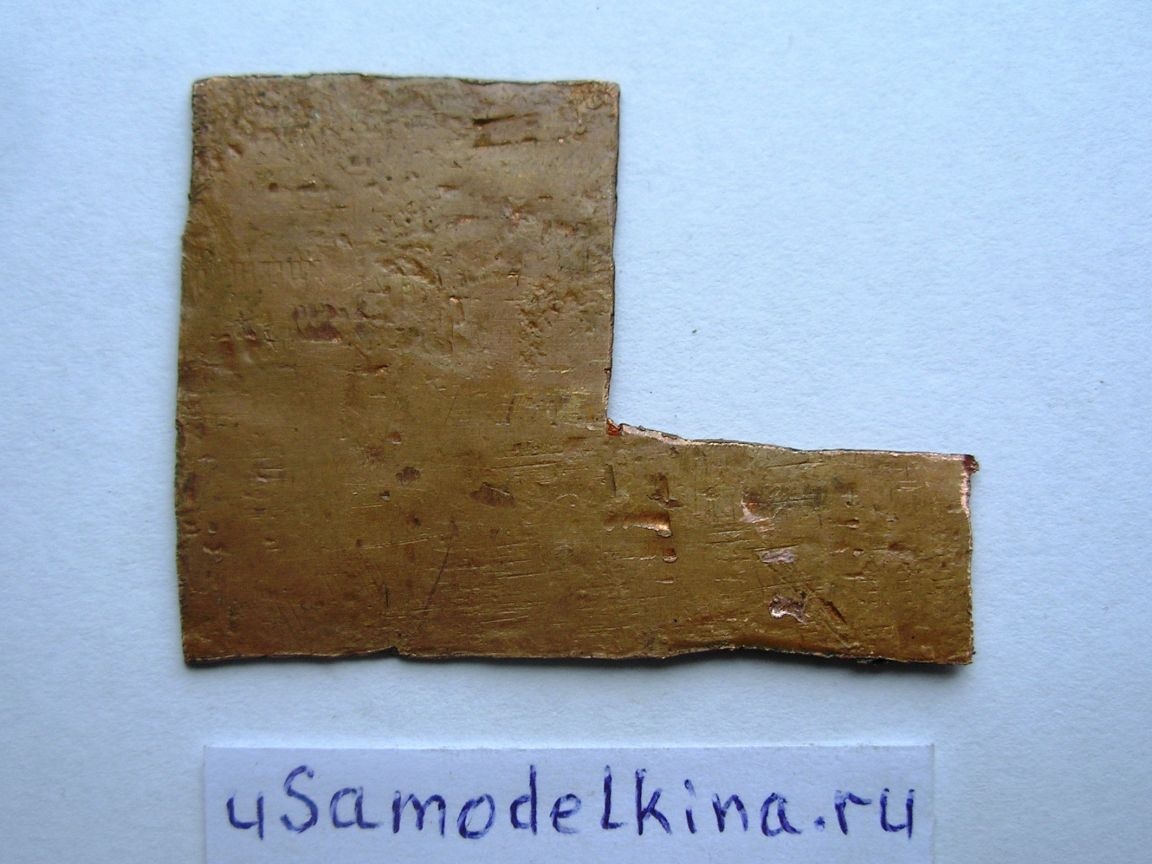
- copper or brass sheet (aluminum can be used) 55x40x1mm;
- M3x5mm or M2 screws with nuts (7 pcs.);
- M4x15mm screws with nuts (can be locked) and washers (2 pcs each);
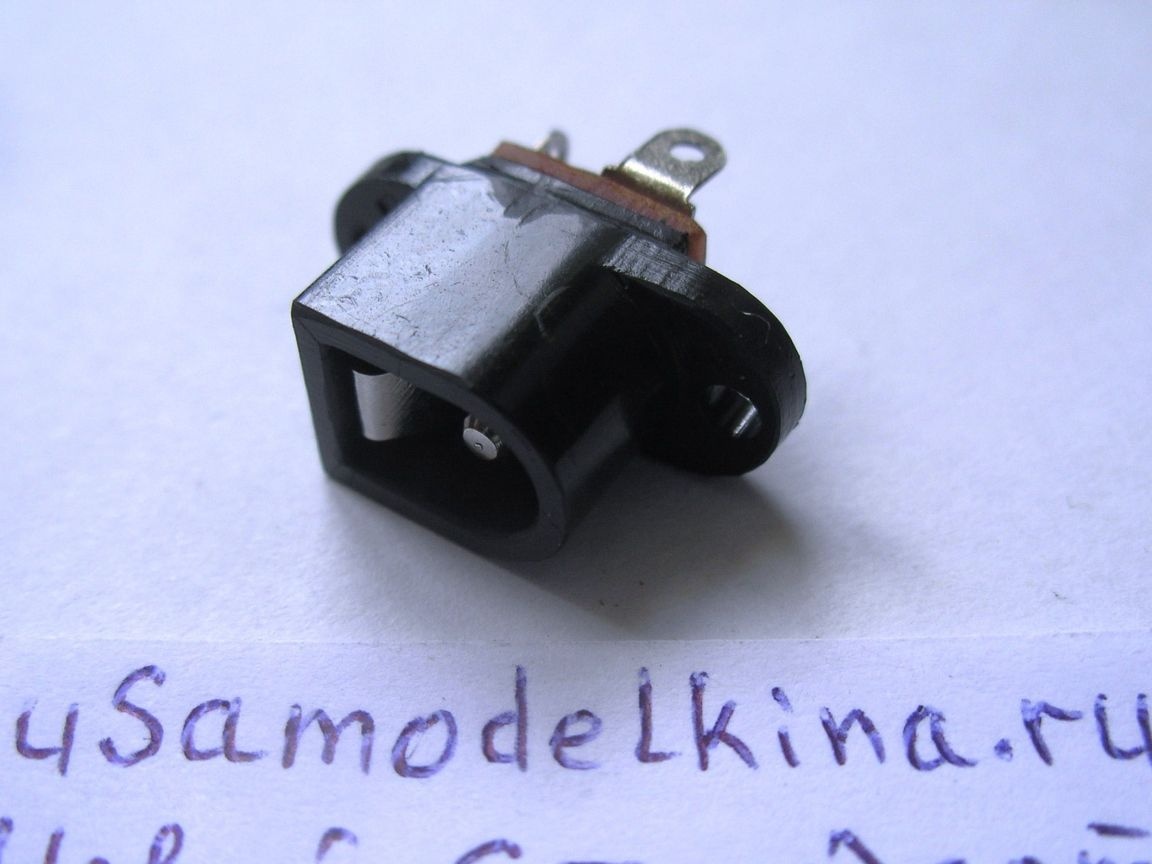
- USB socket, stationary;
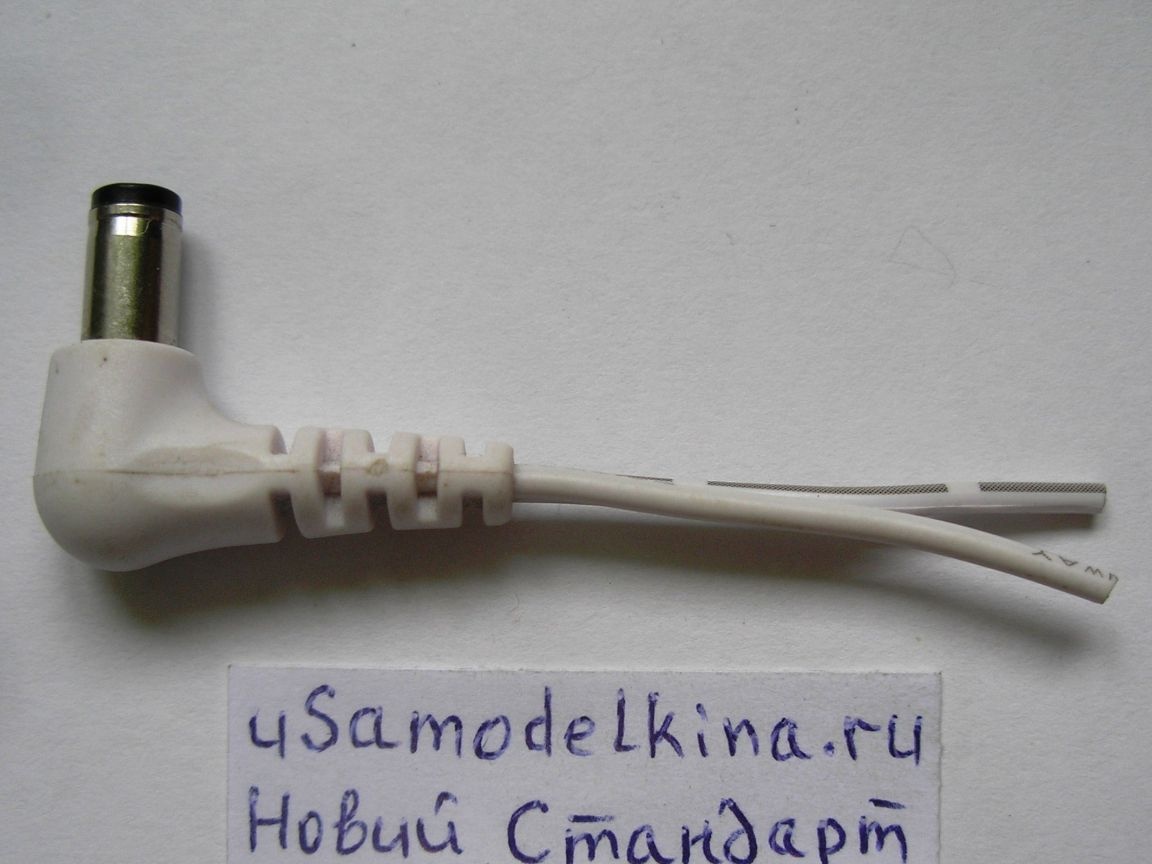
- a set of socket and plug for connecting a generator, I took those that are used to power the computer;
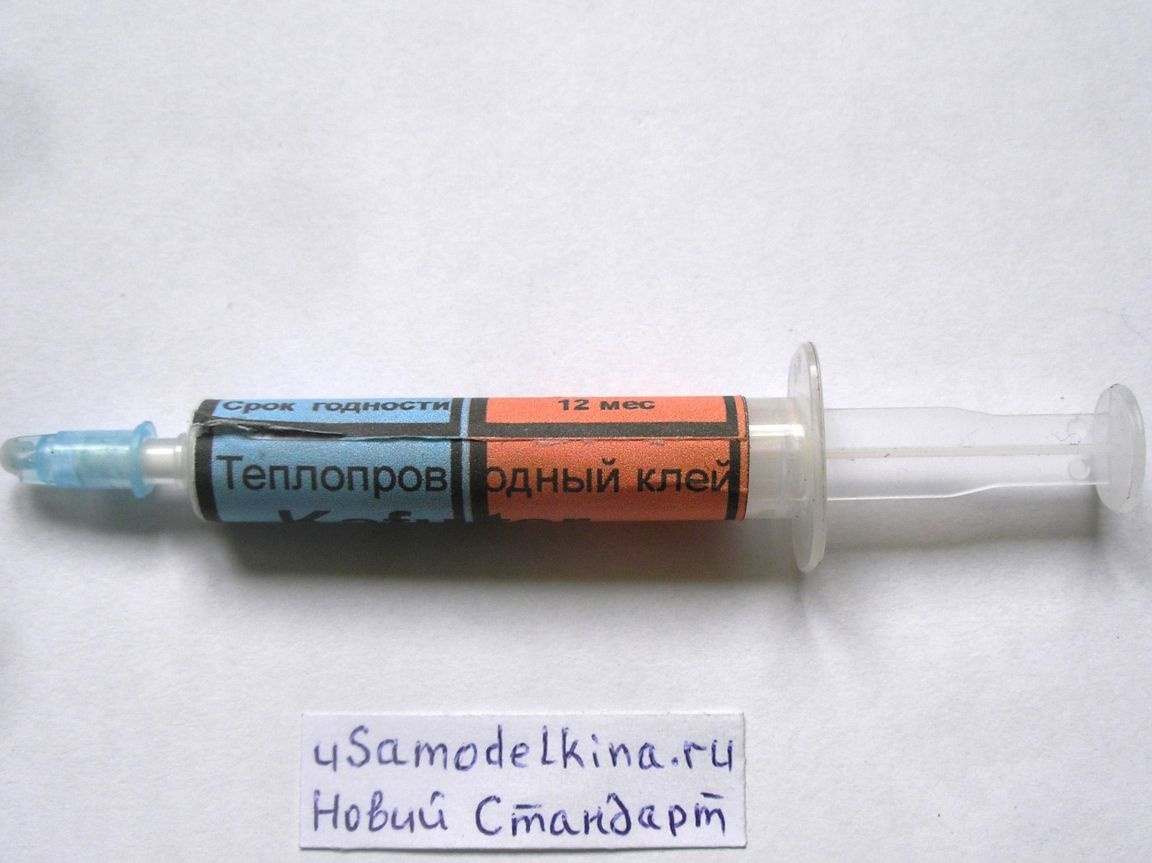
- thermal grease, or thermal grease;
- cambric, electrical tape or heat shrink;
- connecting wires with insulation;
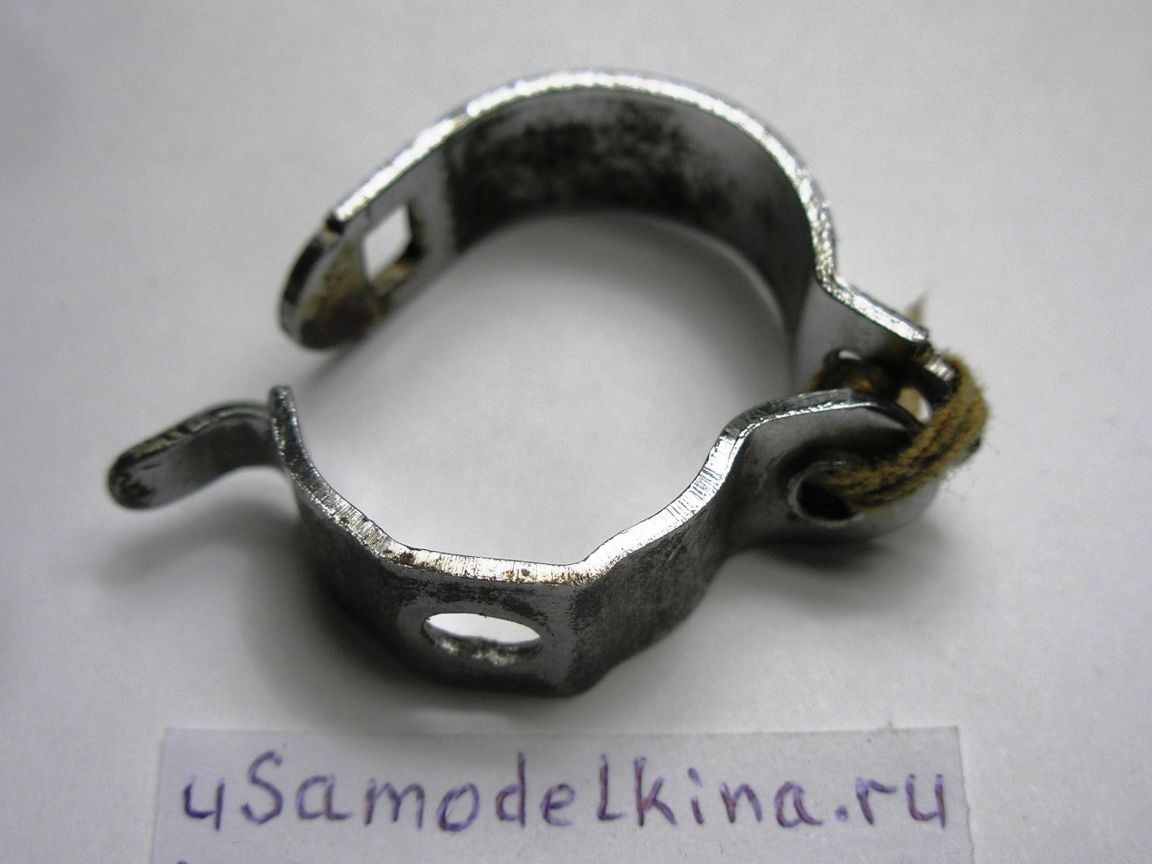
- an arm for fixing the block on the steering wheel.
Making charge:
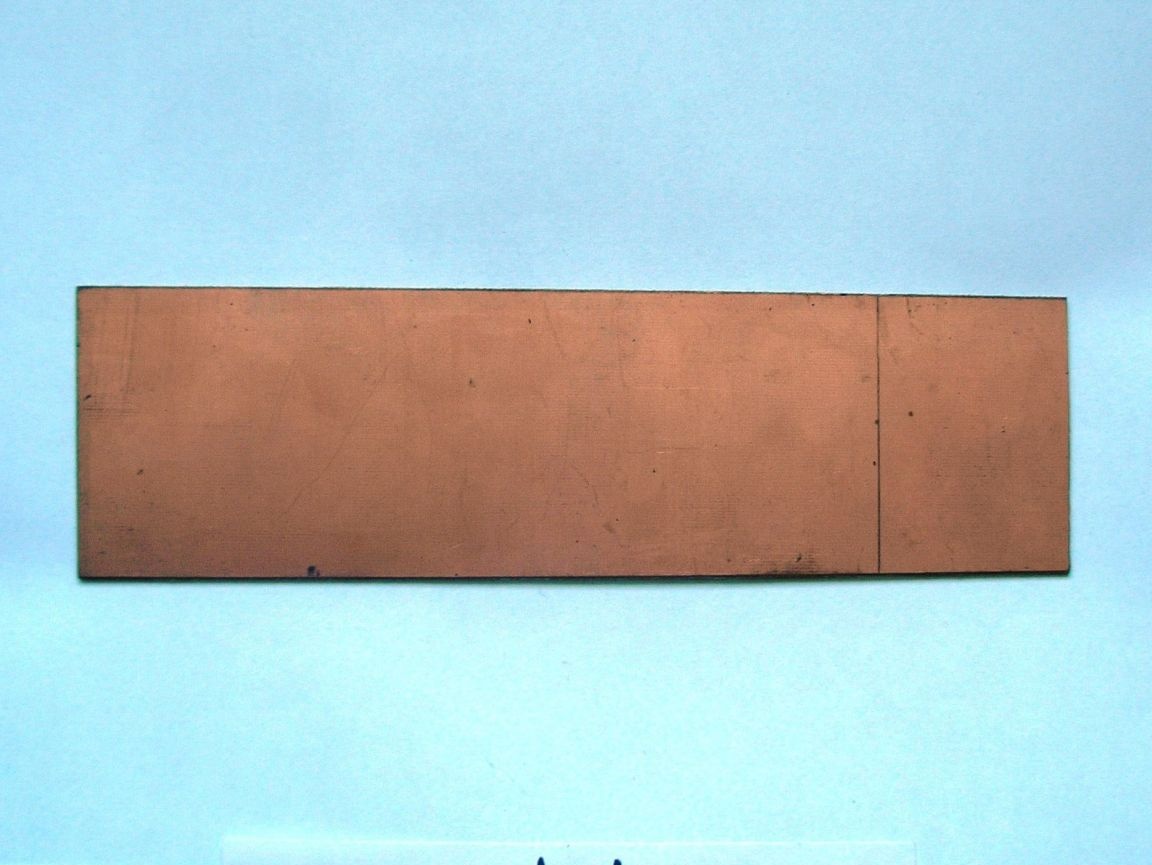
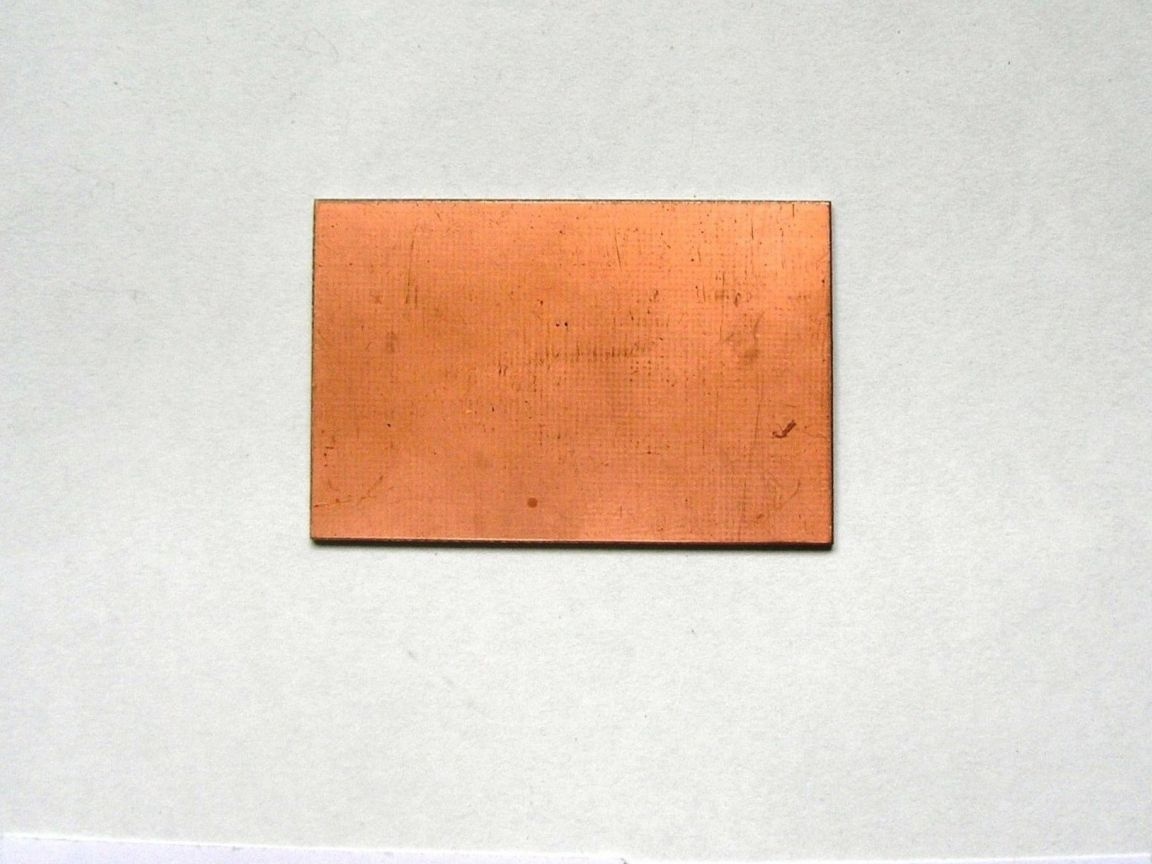
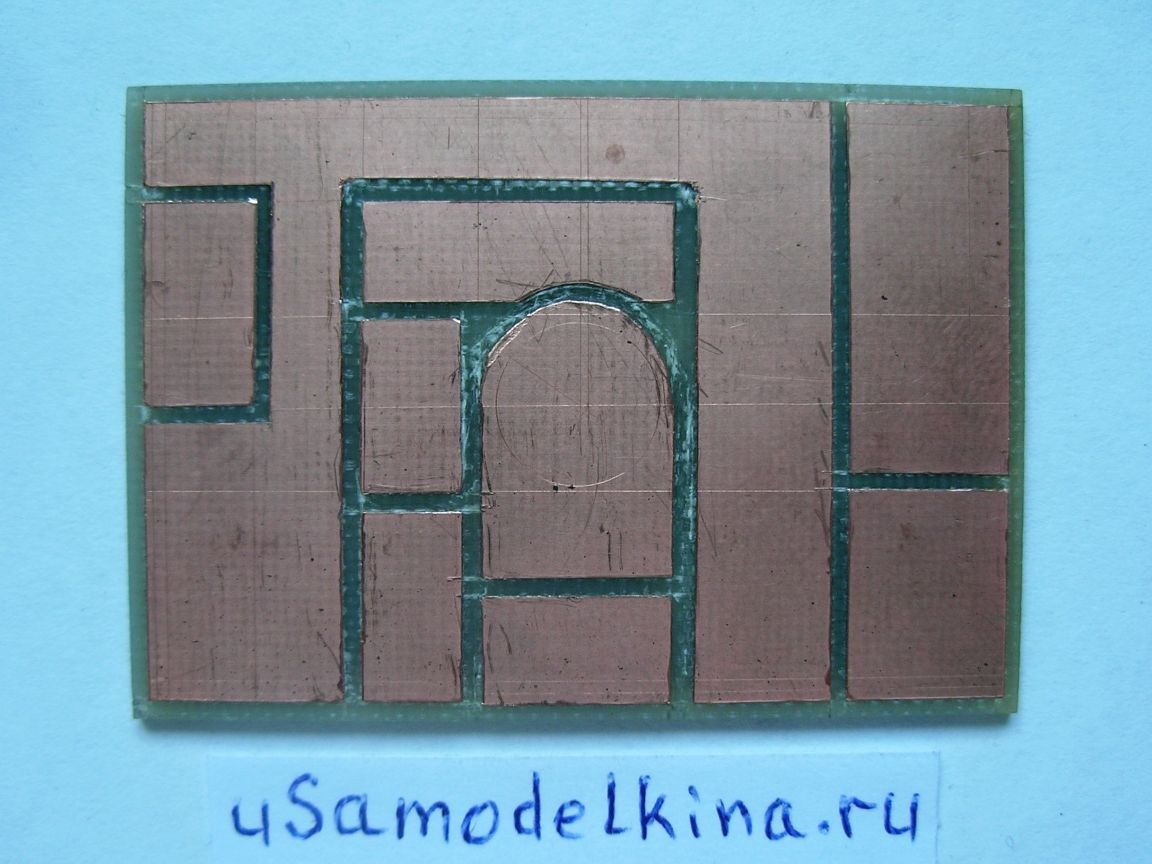
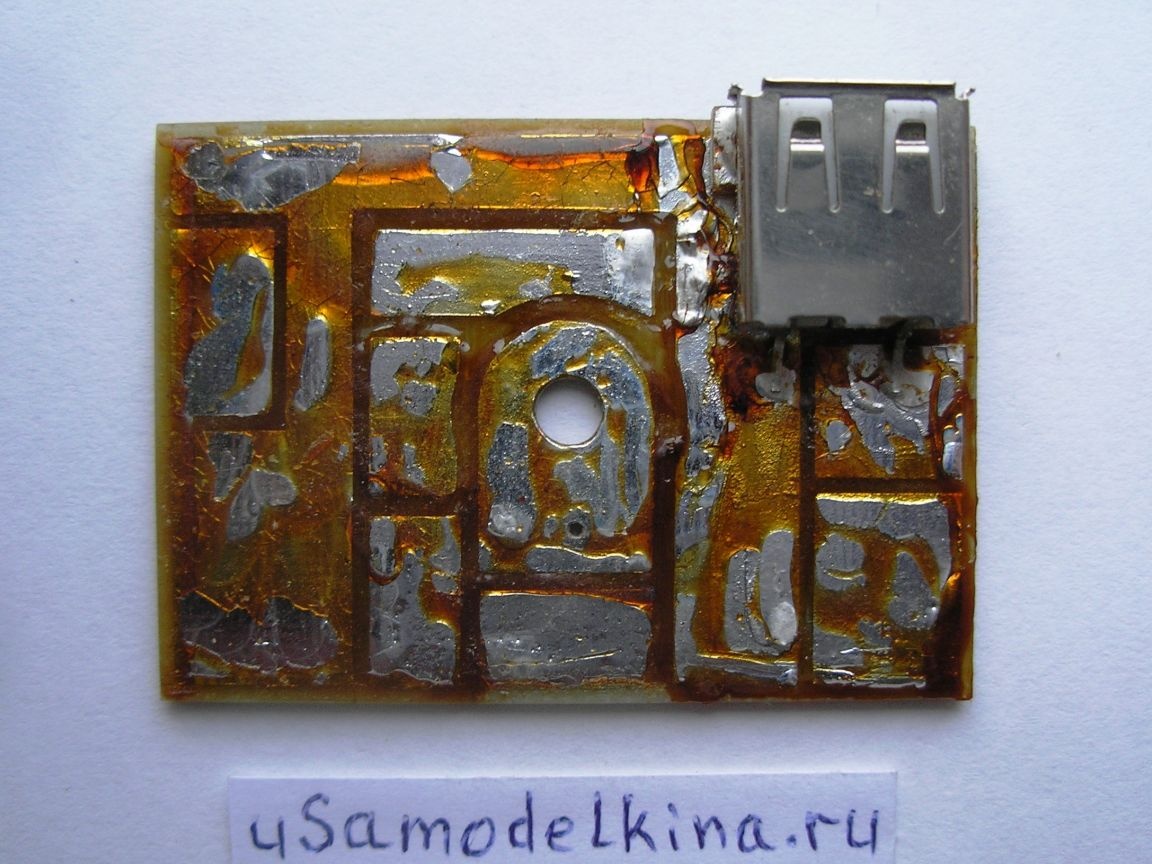
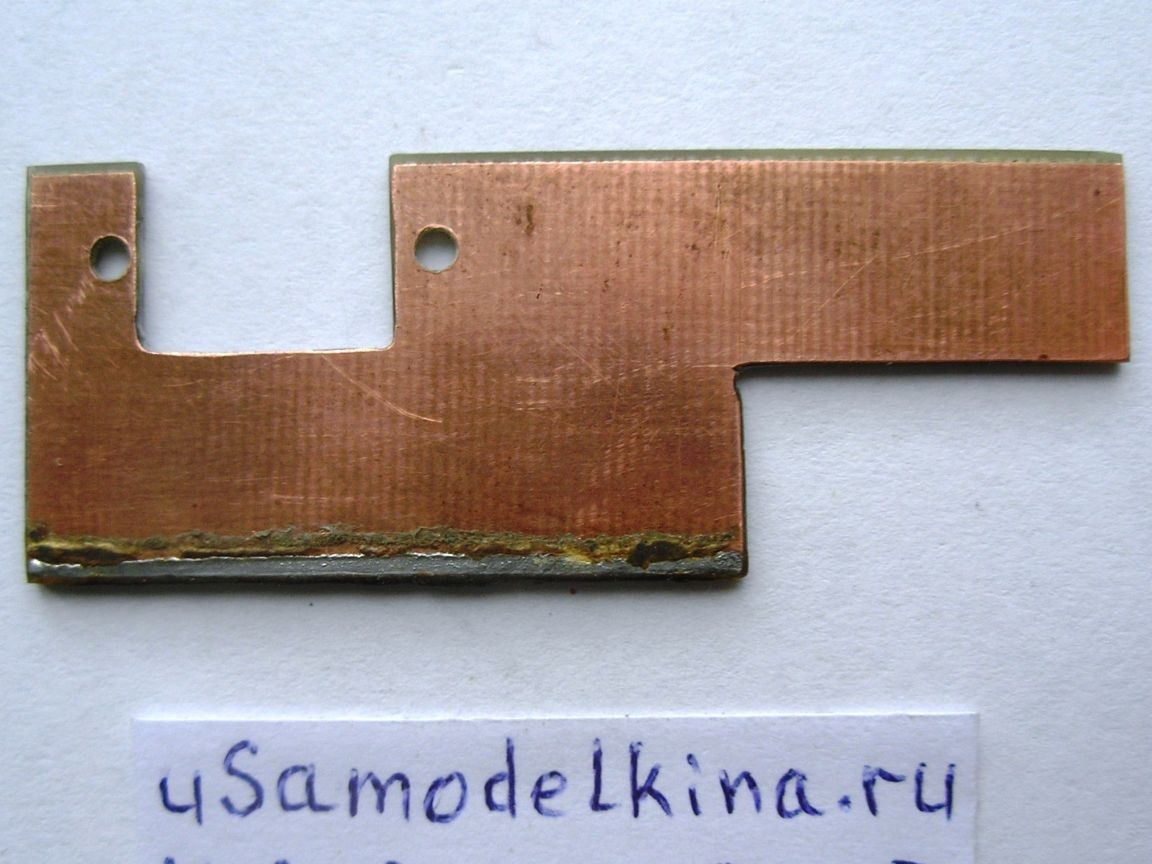
Stage 1. Using a hacksaw, we cut a rectangle of 50x35 mm from foil textolite and align the sides well with a file:
Stage 2. Using a clerical knife, we cut out conductive paths on one side of the board:
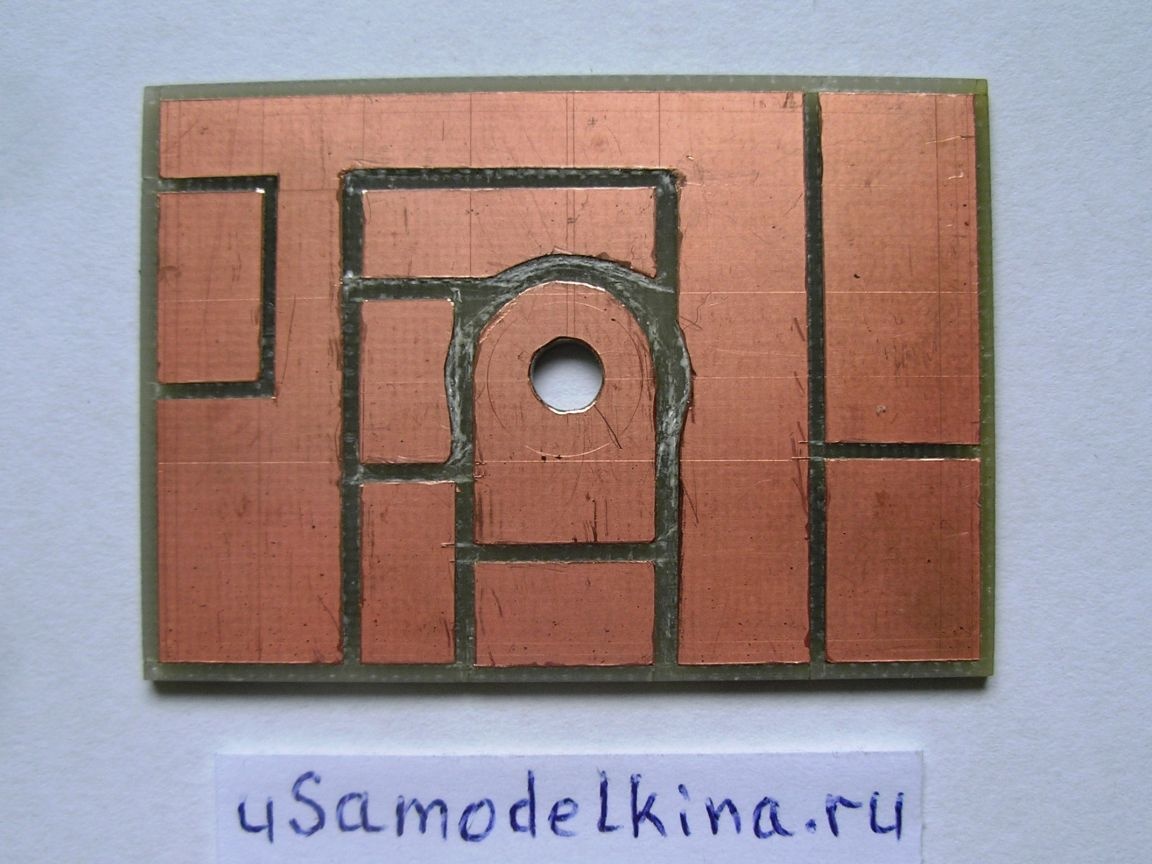
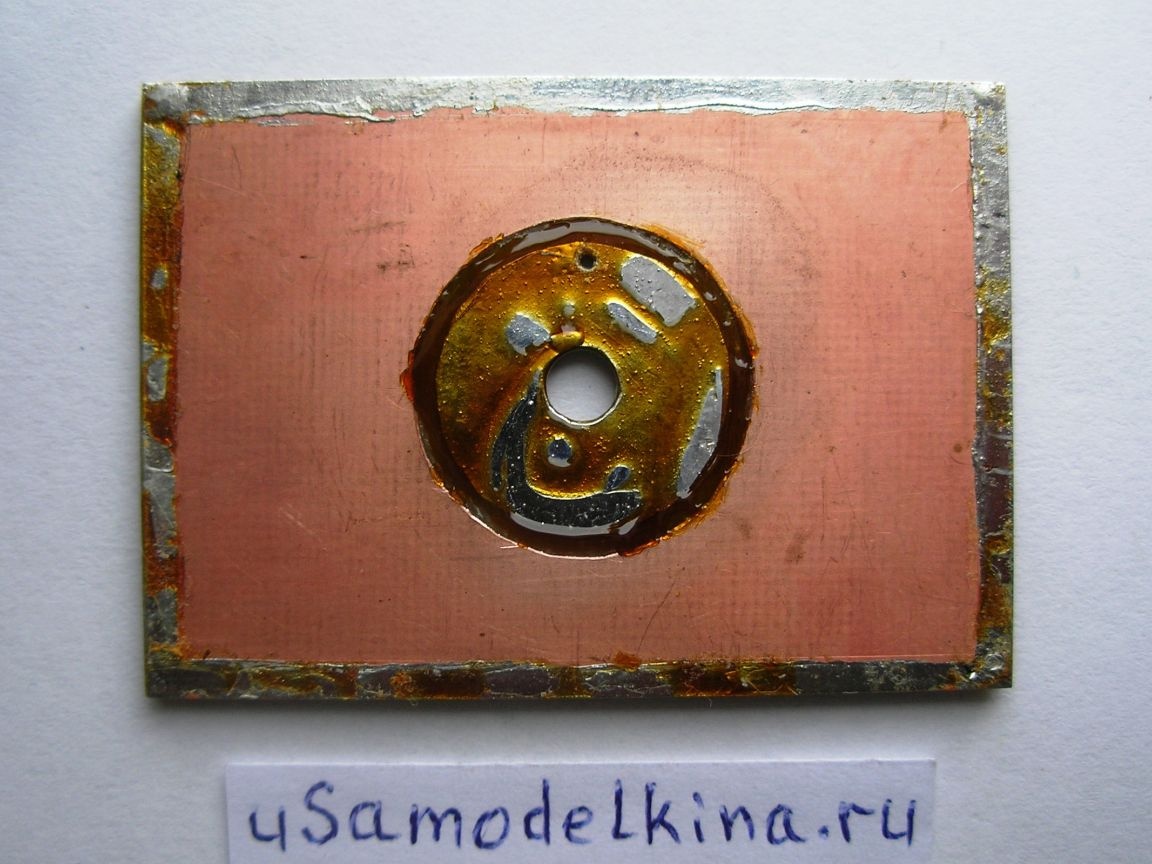
Stage 3. On the back of the board, cut out a track in the form of a circle with a diameter of 15 mm, closer to the perimeter of the circle we drill a hole with a diameter of 0.8 mm (a jumper between the sides of the board is soldered through this hole):
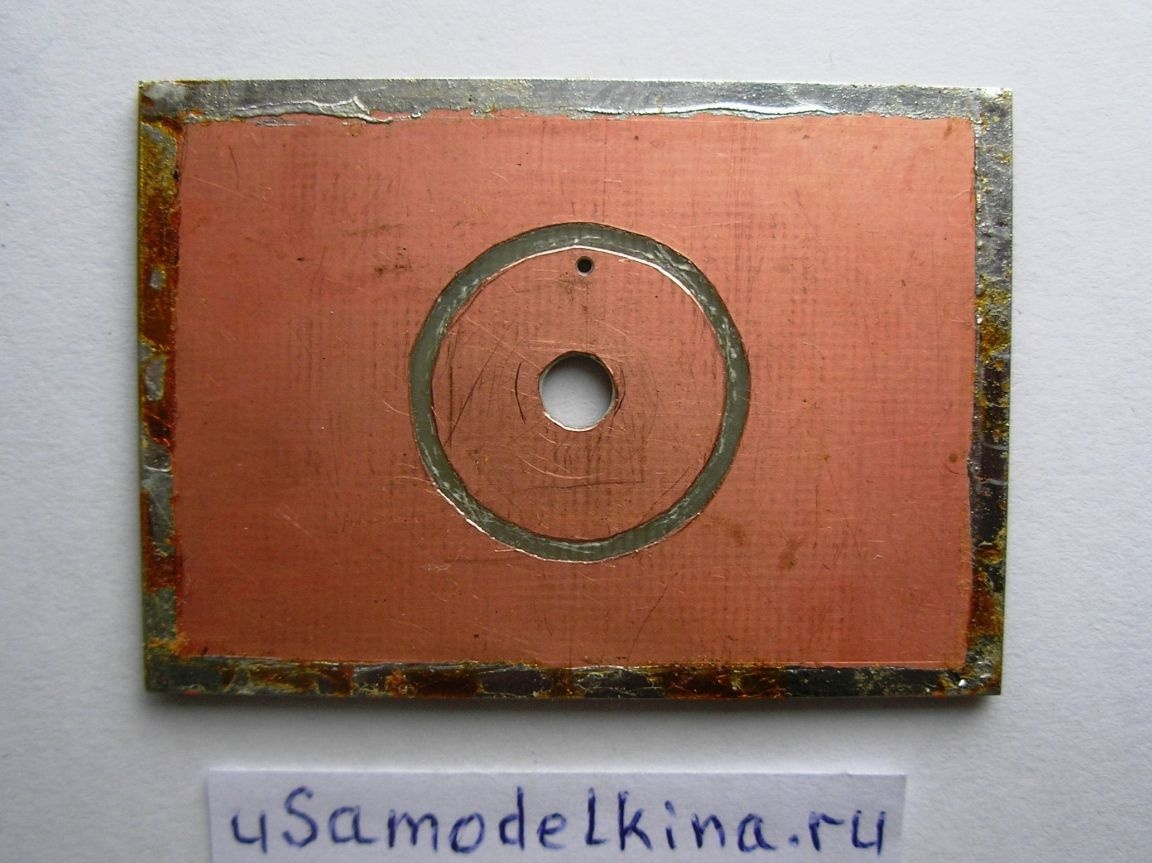
Stage 4. We tin track with a soldering iron with solder and rosin:

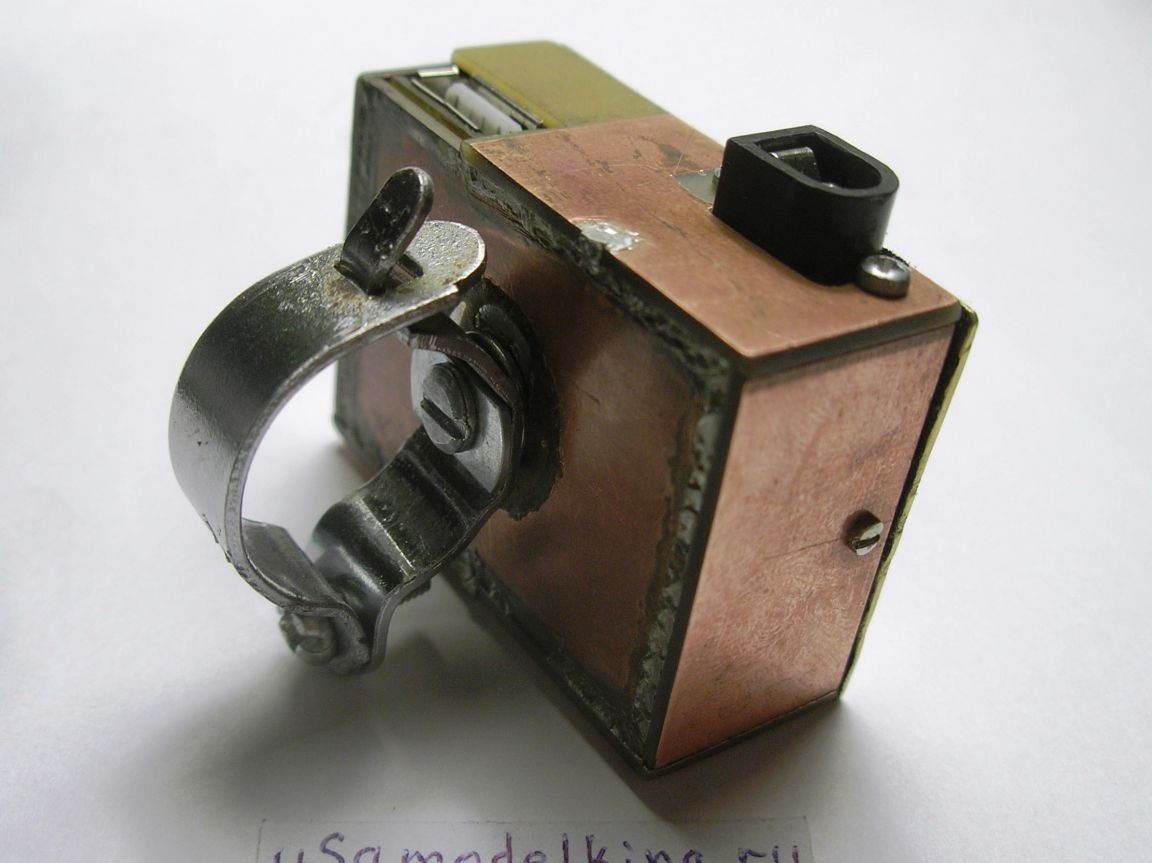
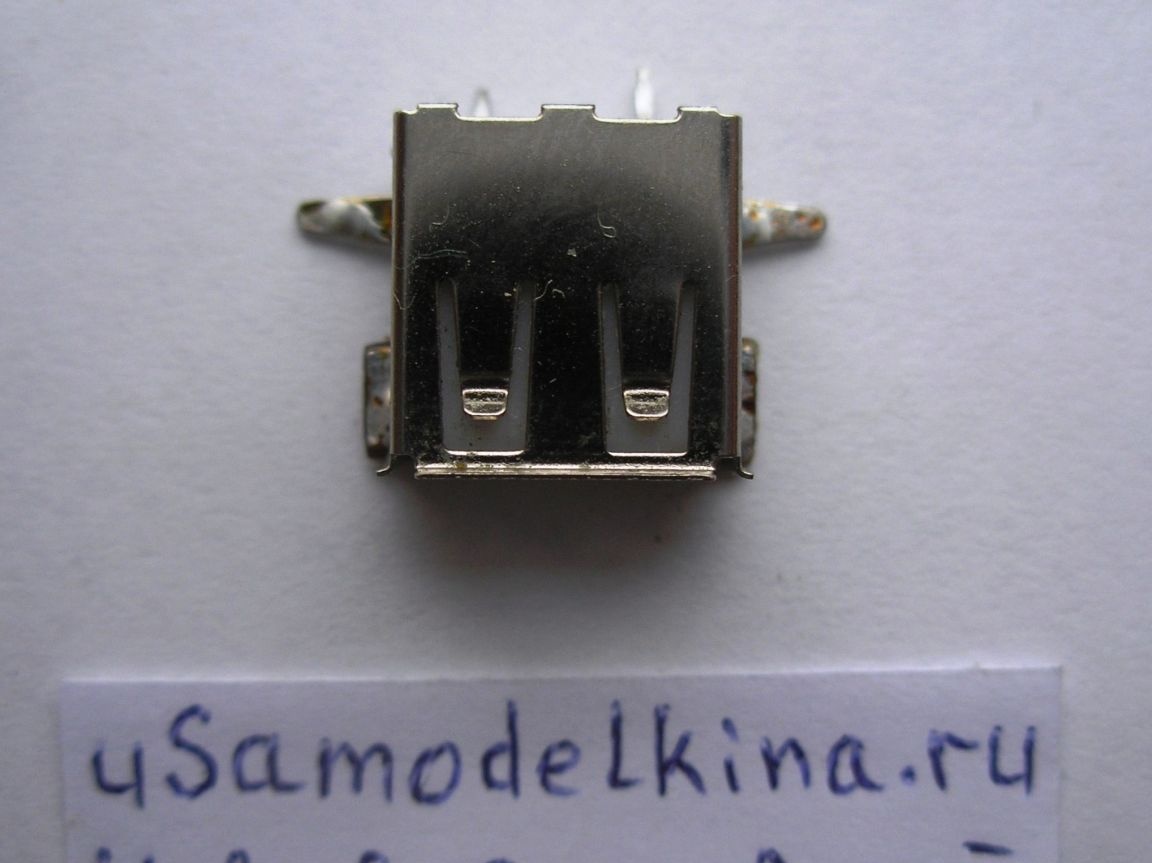
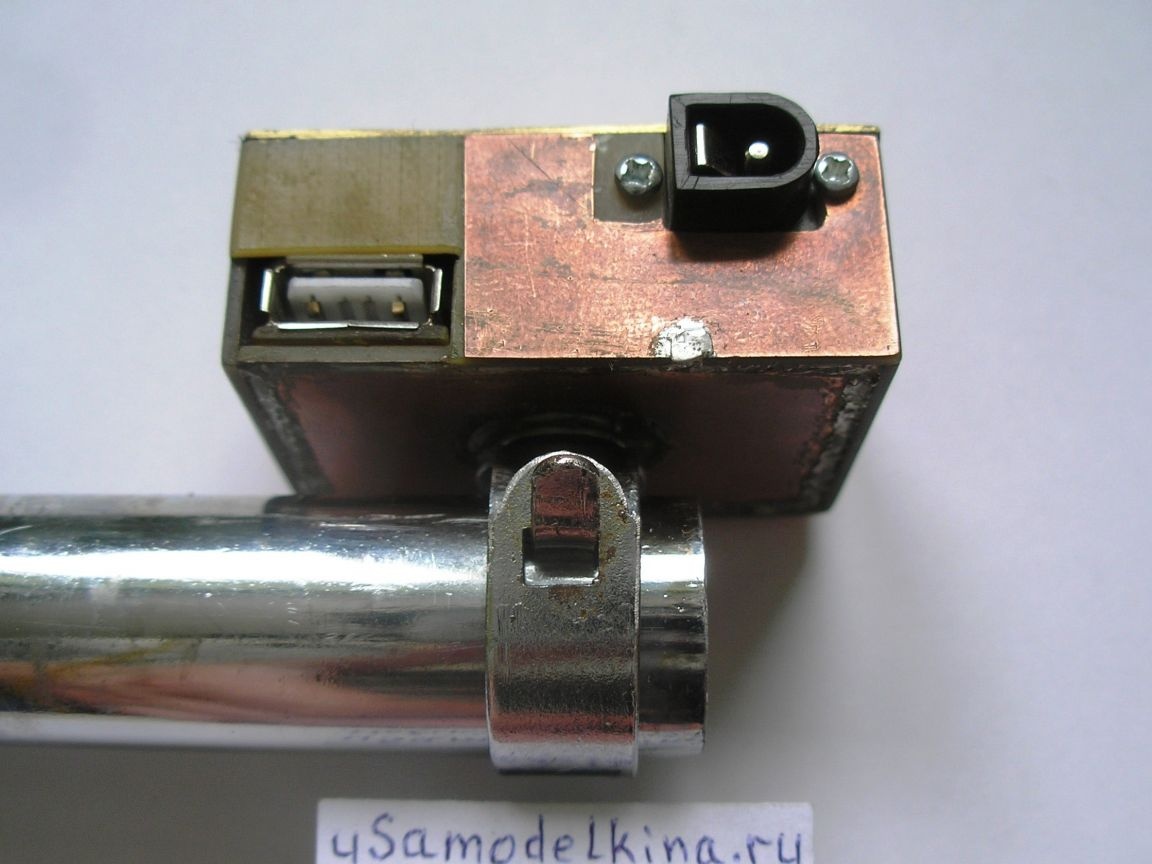
Stage 5. Prepares a USB socket by soldering a piece of PCB to it. Only two pins are used in the USB socket, number 1, 4 and the case, others are not used, therefore they are deleted. Install the socket on the board:

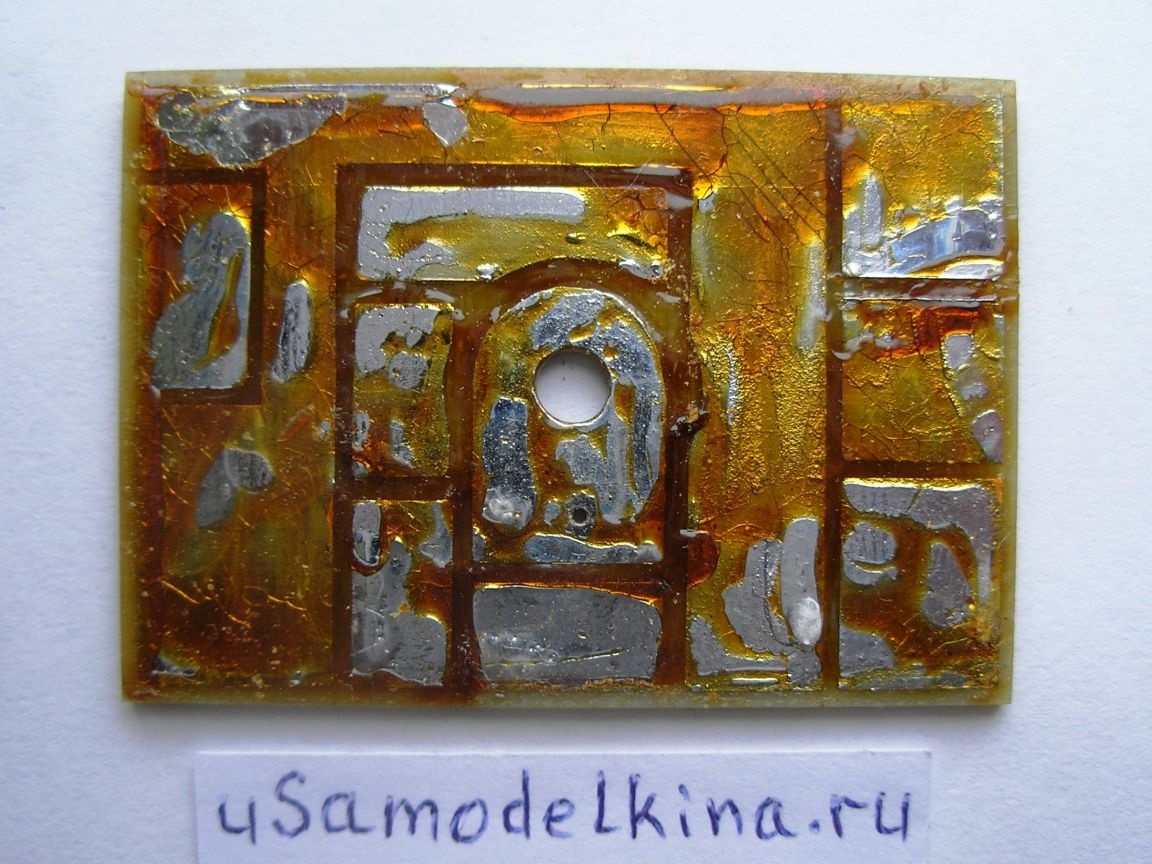
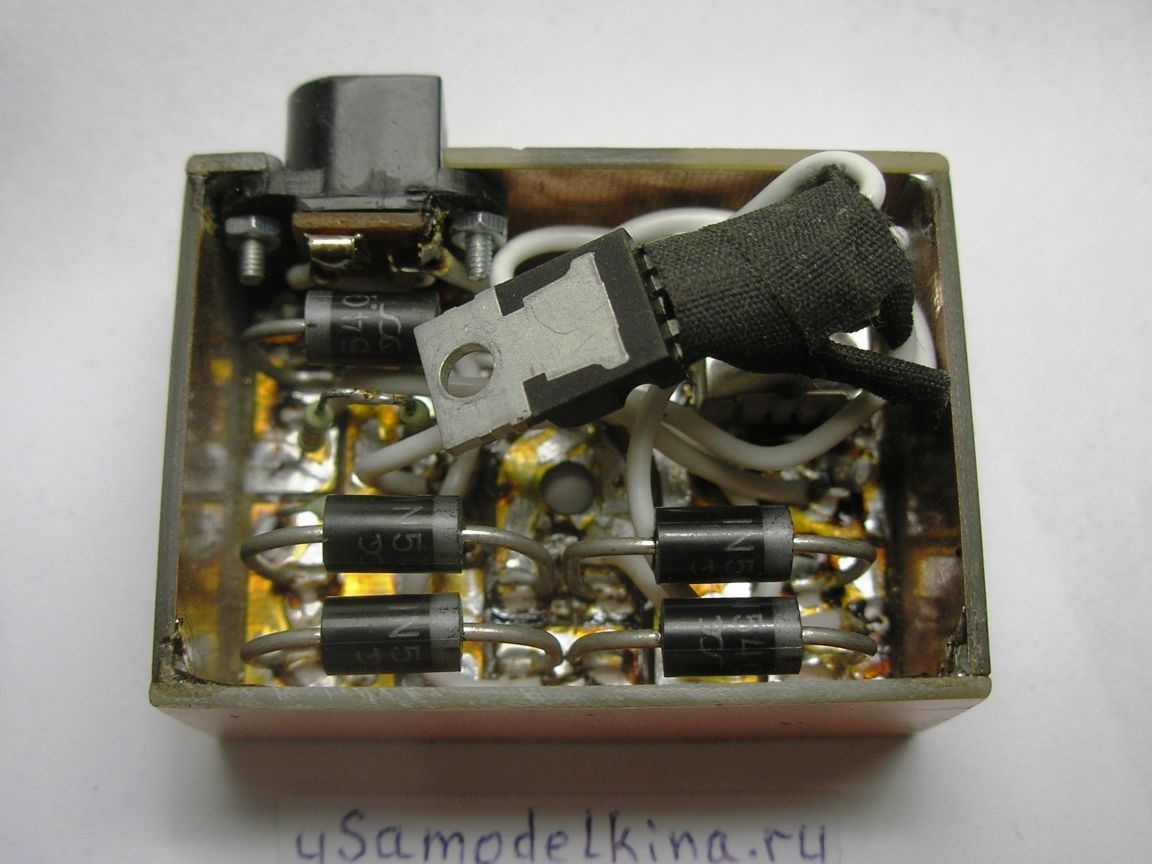
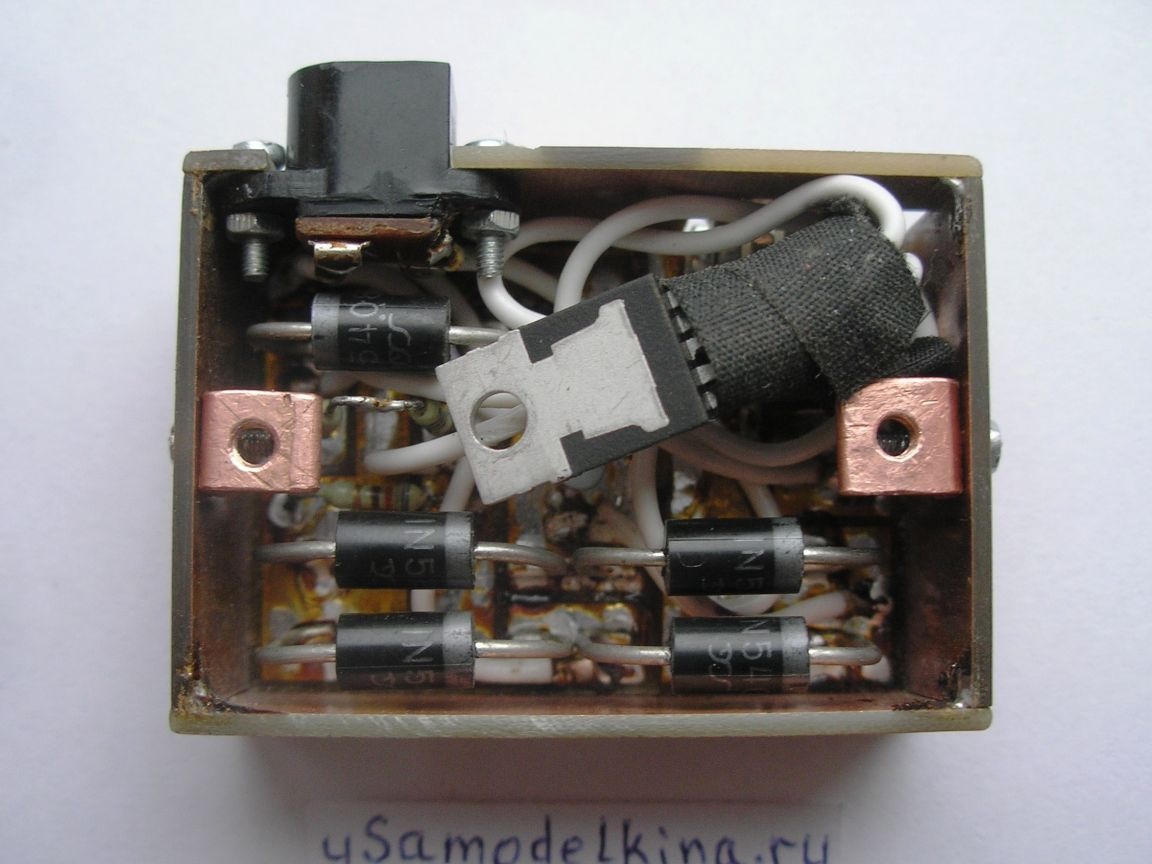
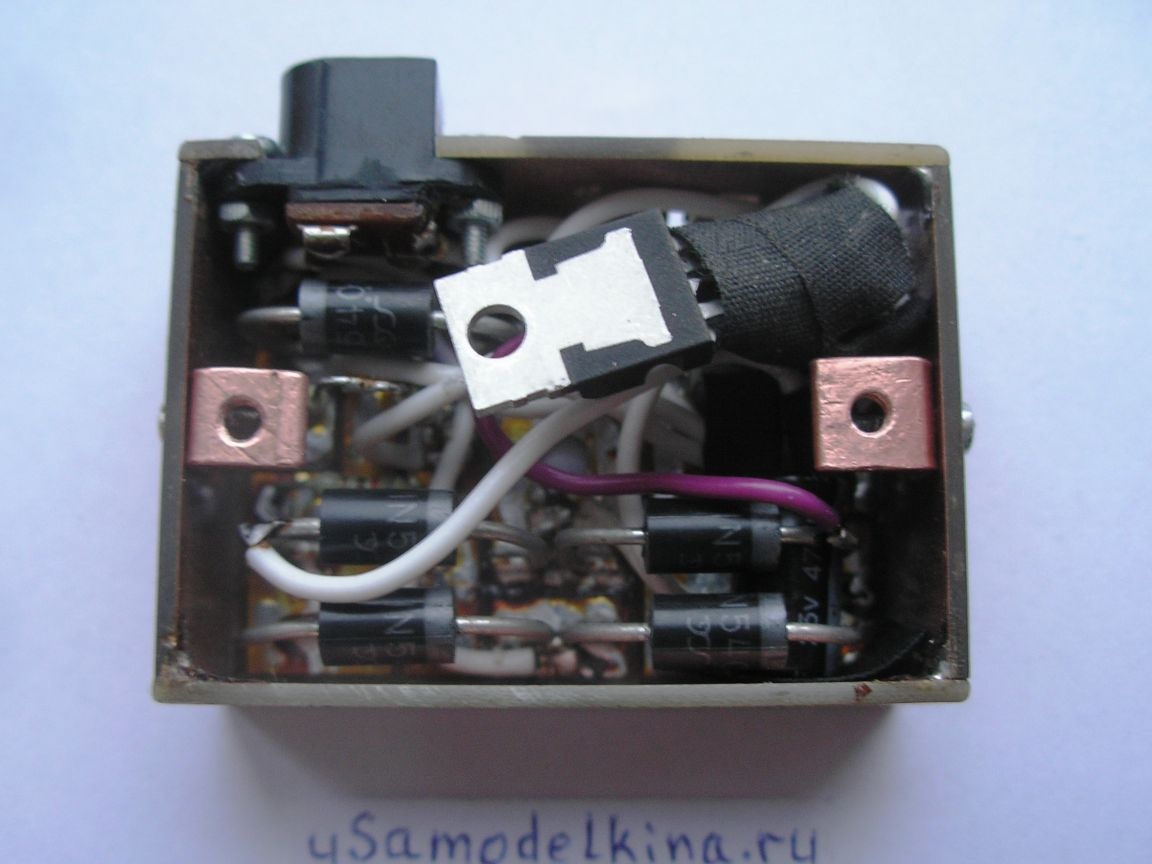
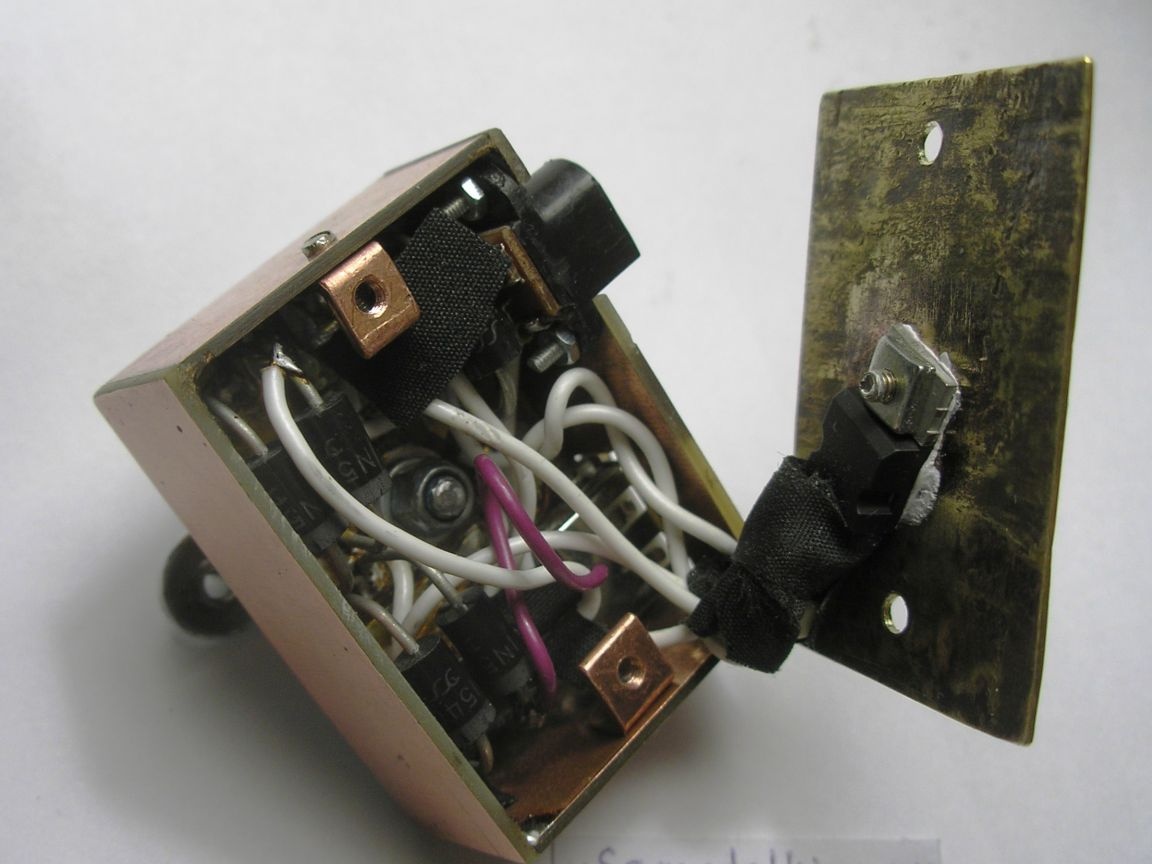
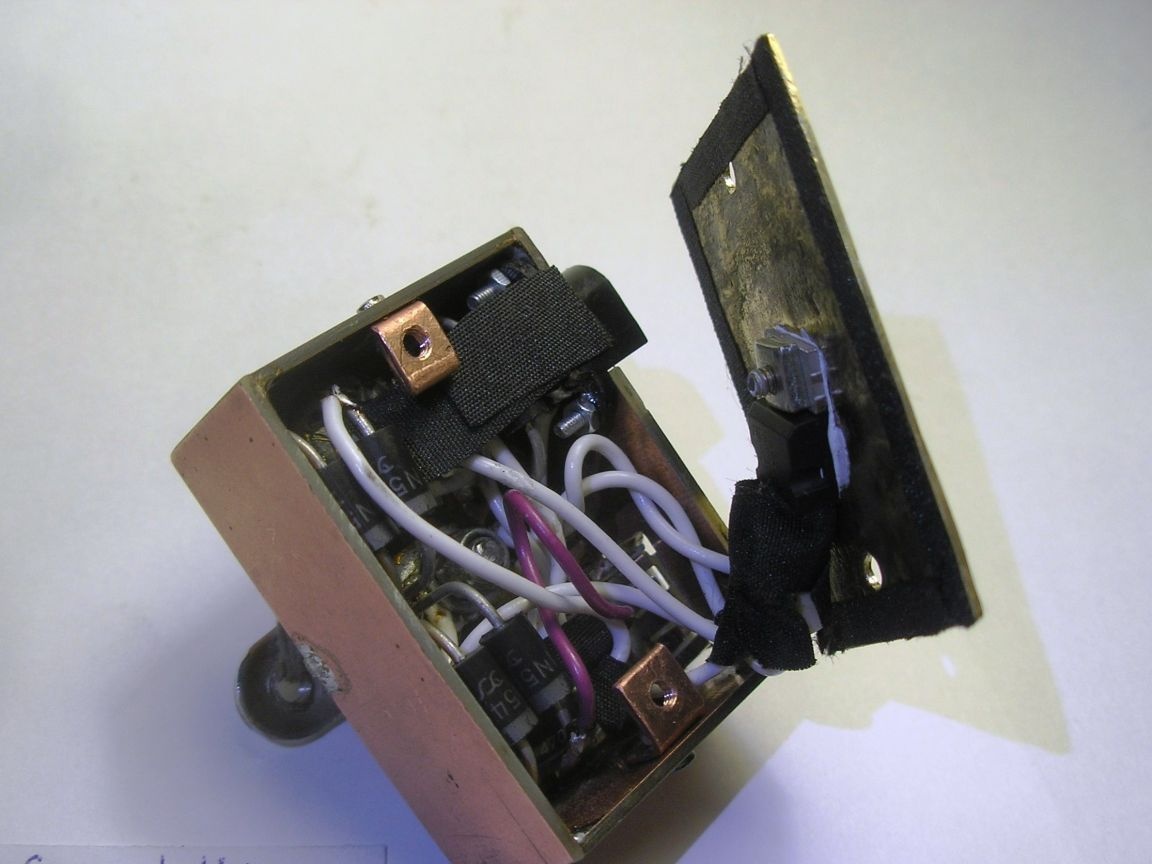
Stage 6. Soldering all the necessary radio components on one side of the board, here minus the power supply is the circuit case. And the other side of the board is a bicycle case, they can not be short-circuited:
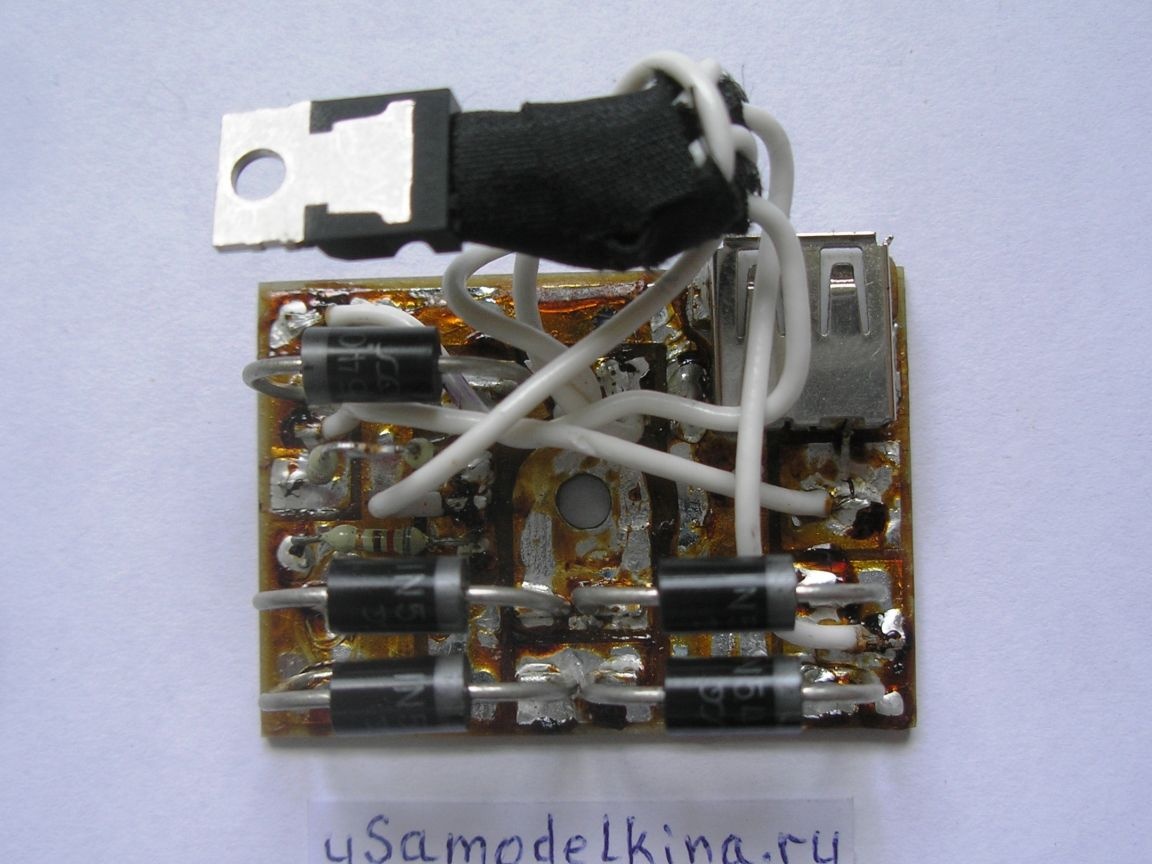
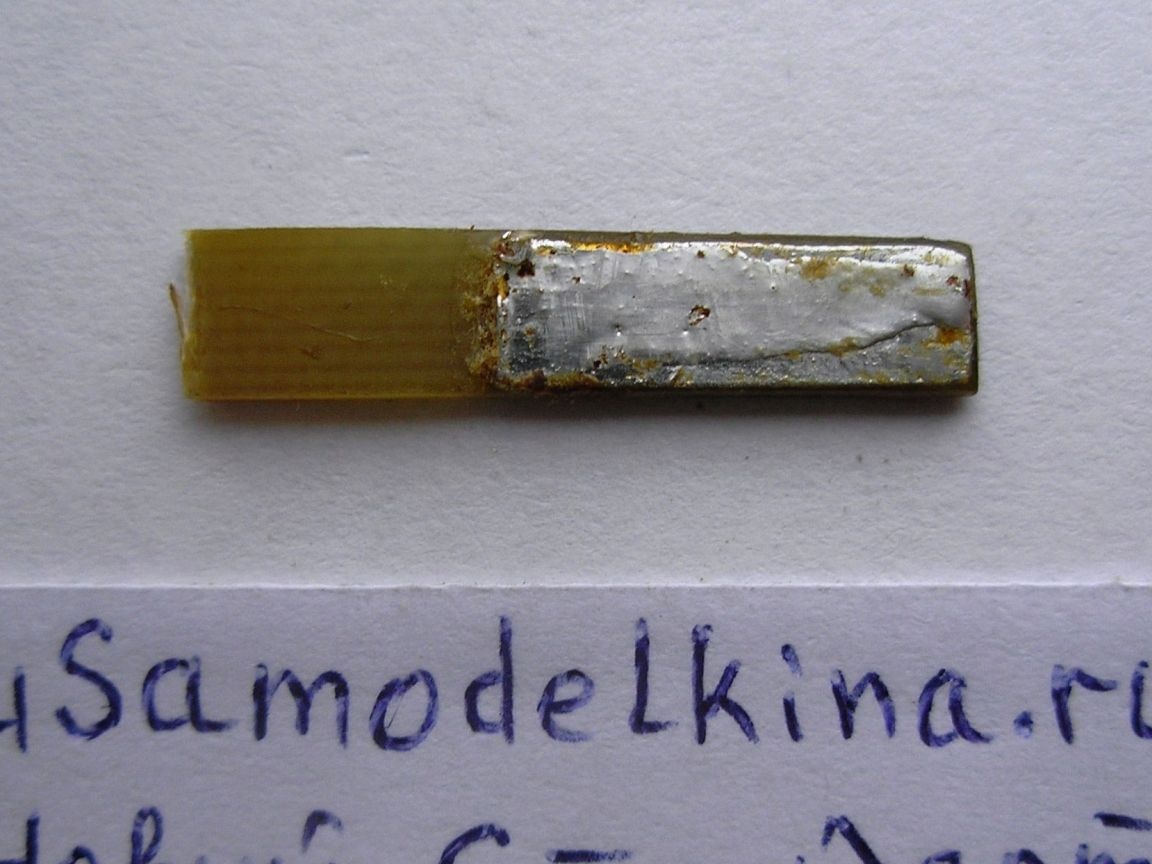
Stage 7. We also cut out the side walls of the device from the PCB and solder along the perimeter:
Stage 8. We are preparing the side wall for installing the socket for connecting the plug of the generator. We attach the socket to the wall with screws M2 or M3:

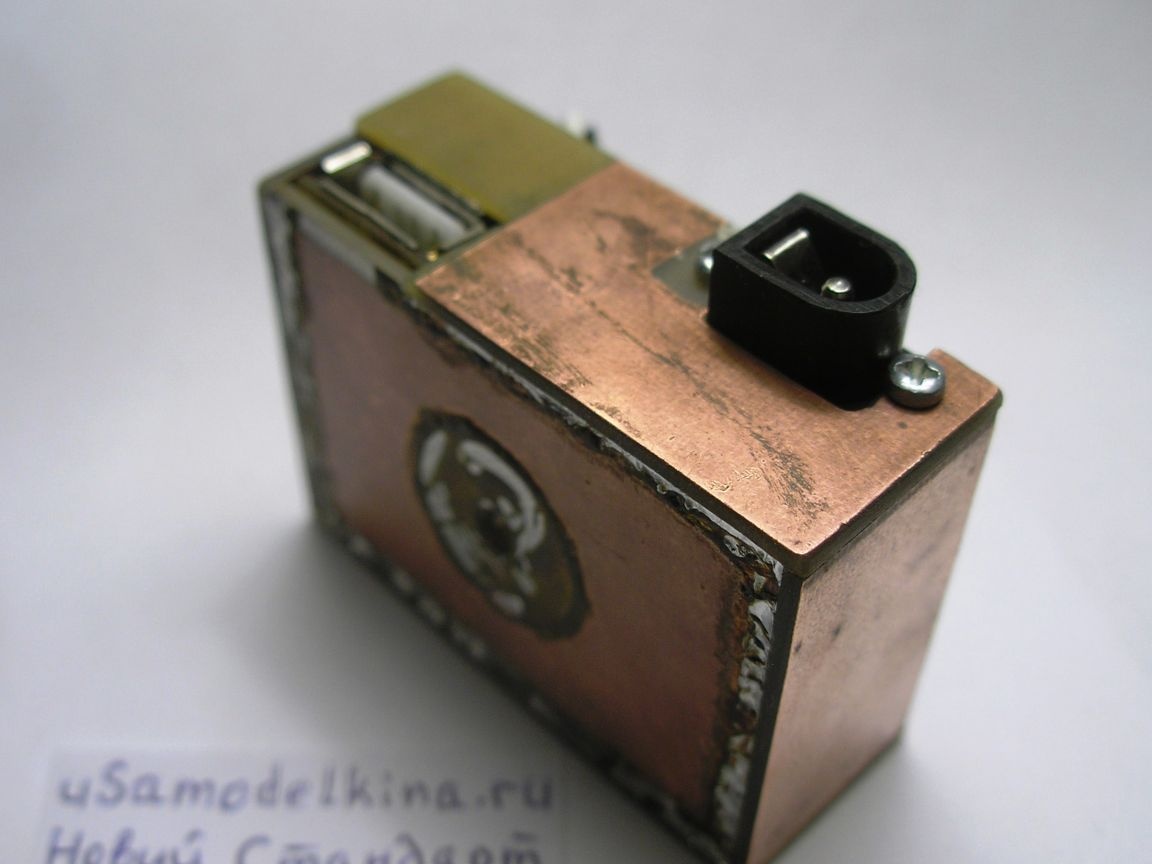
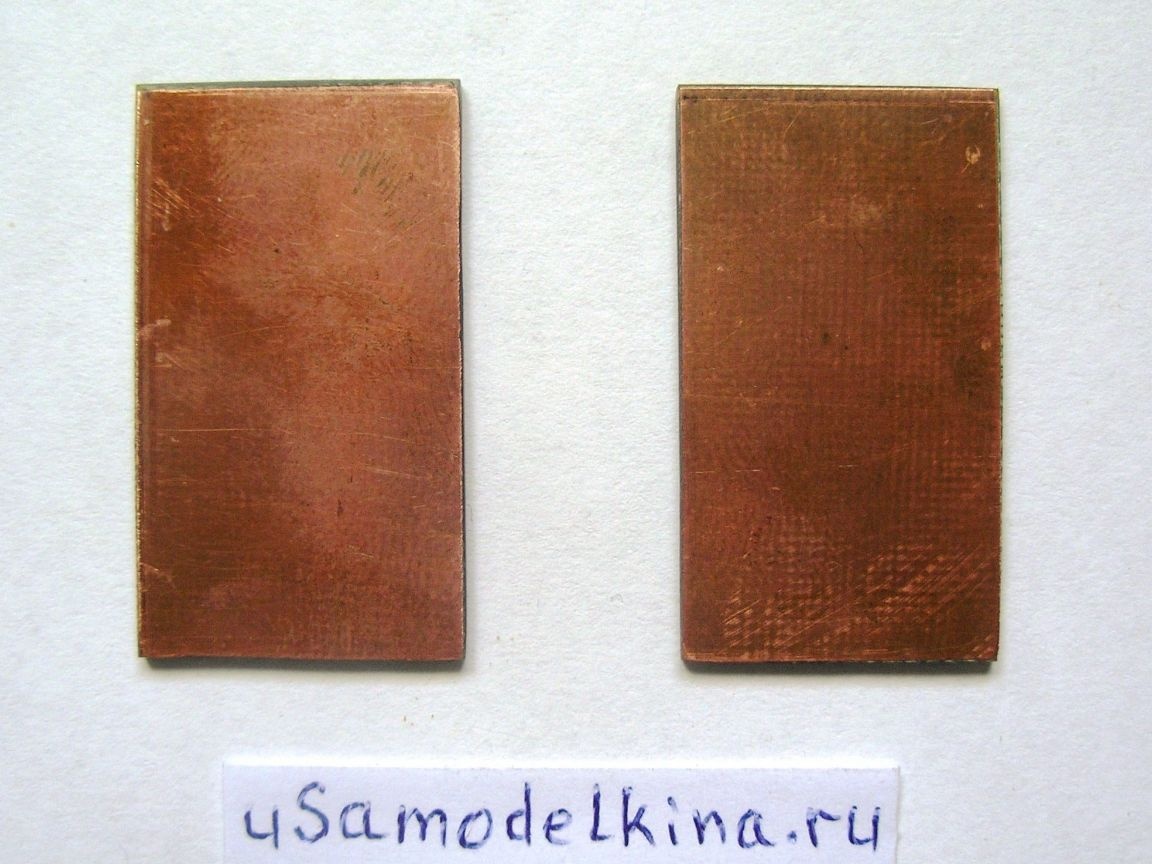
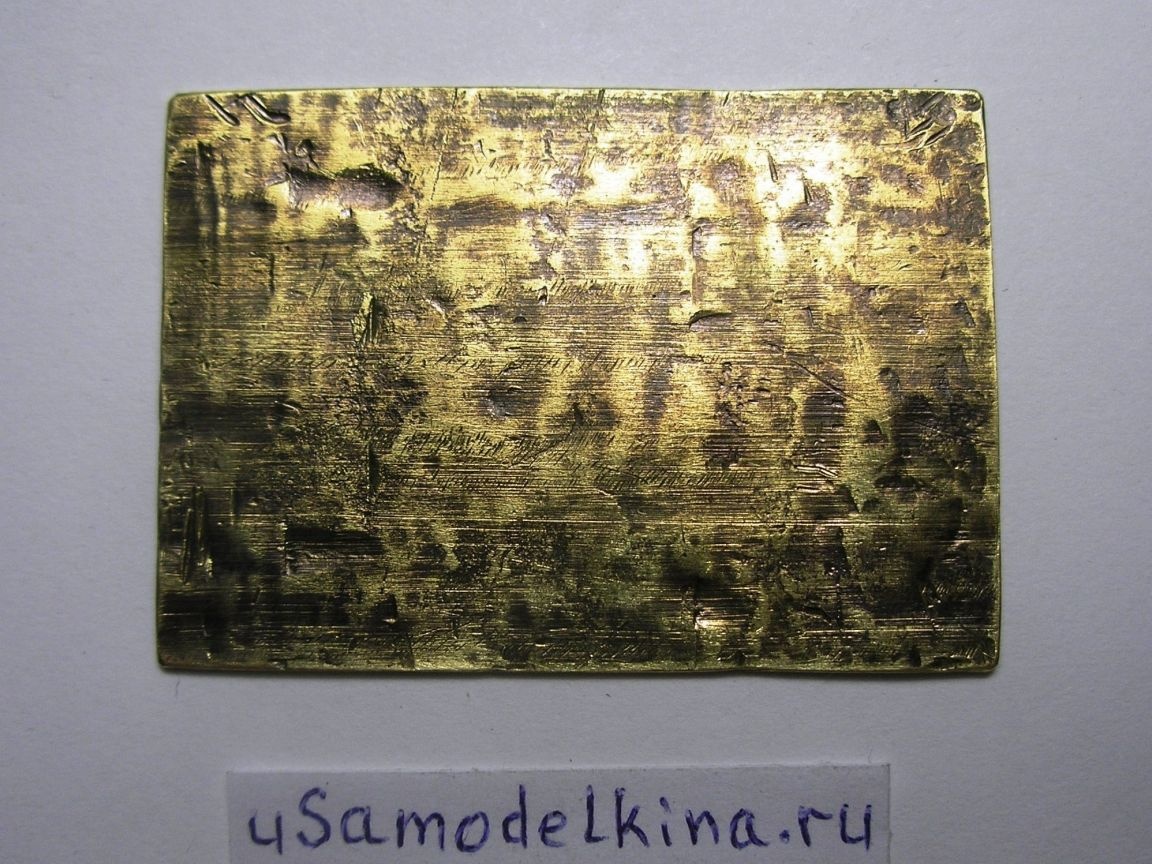
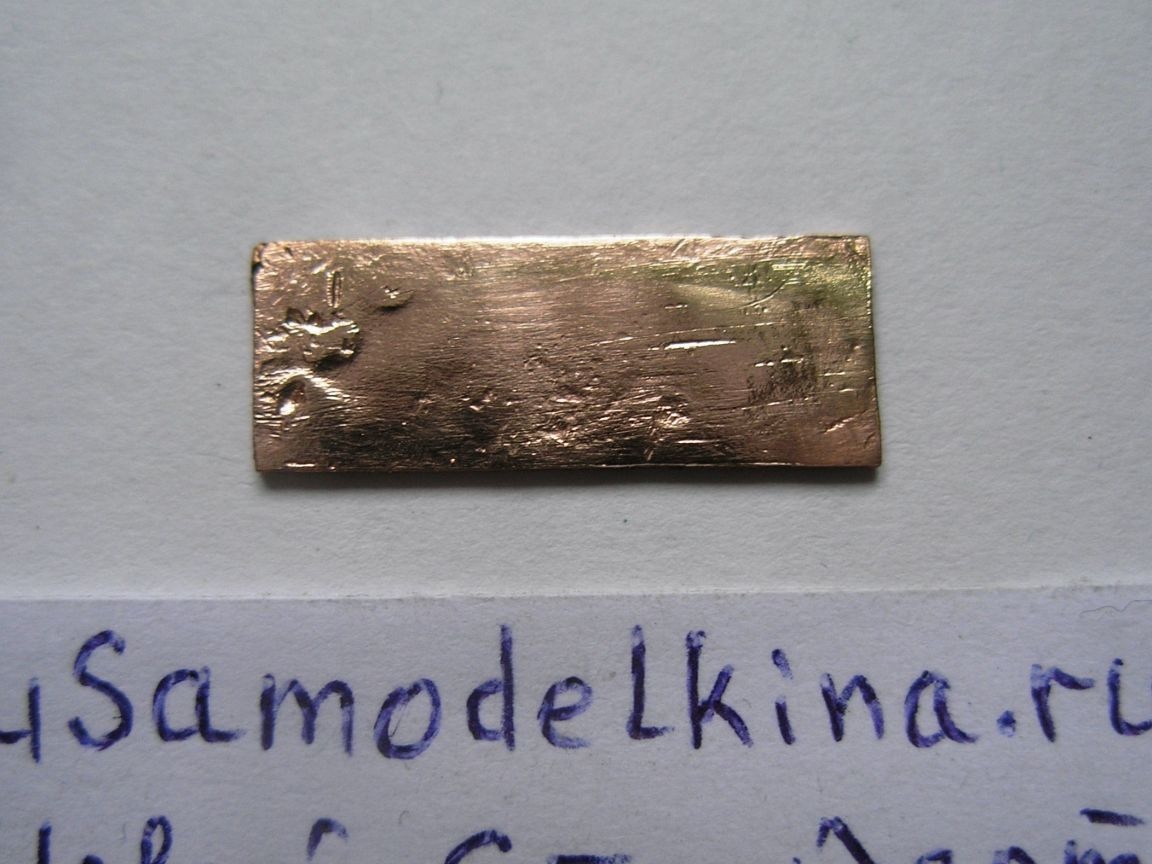
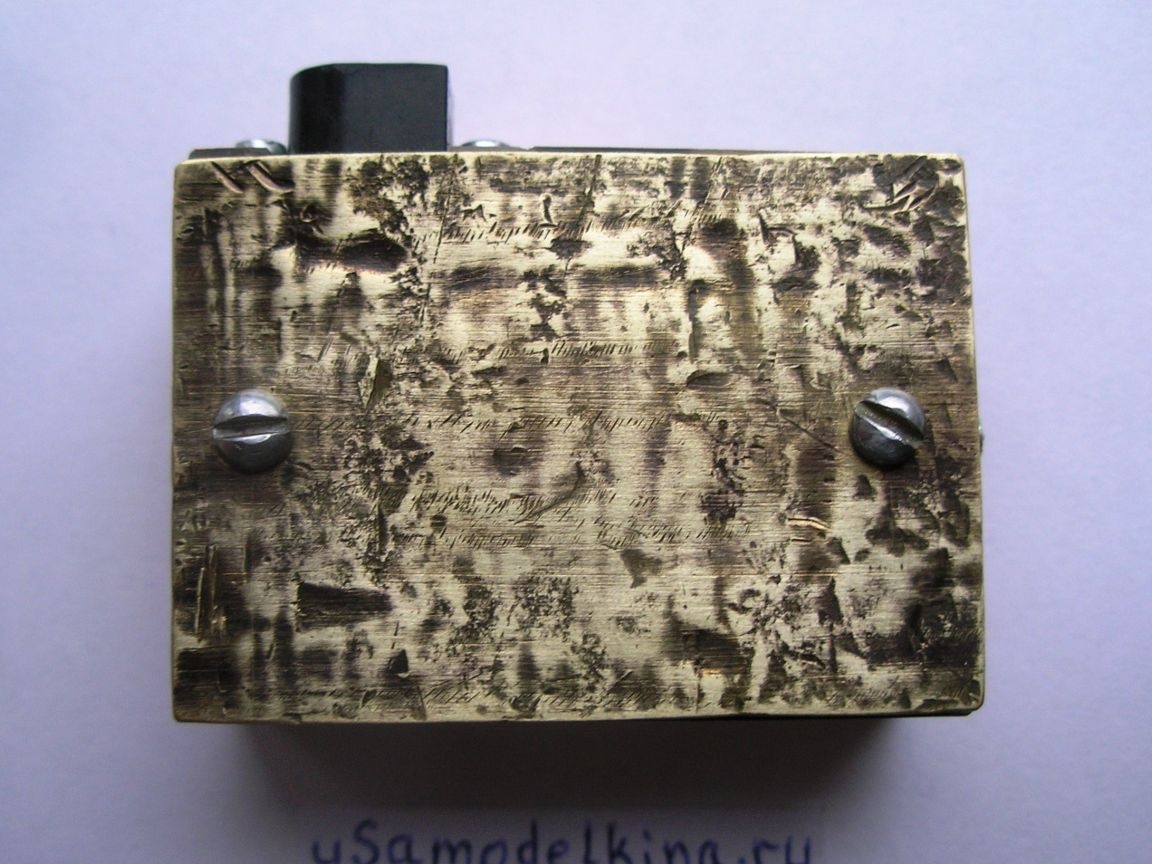
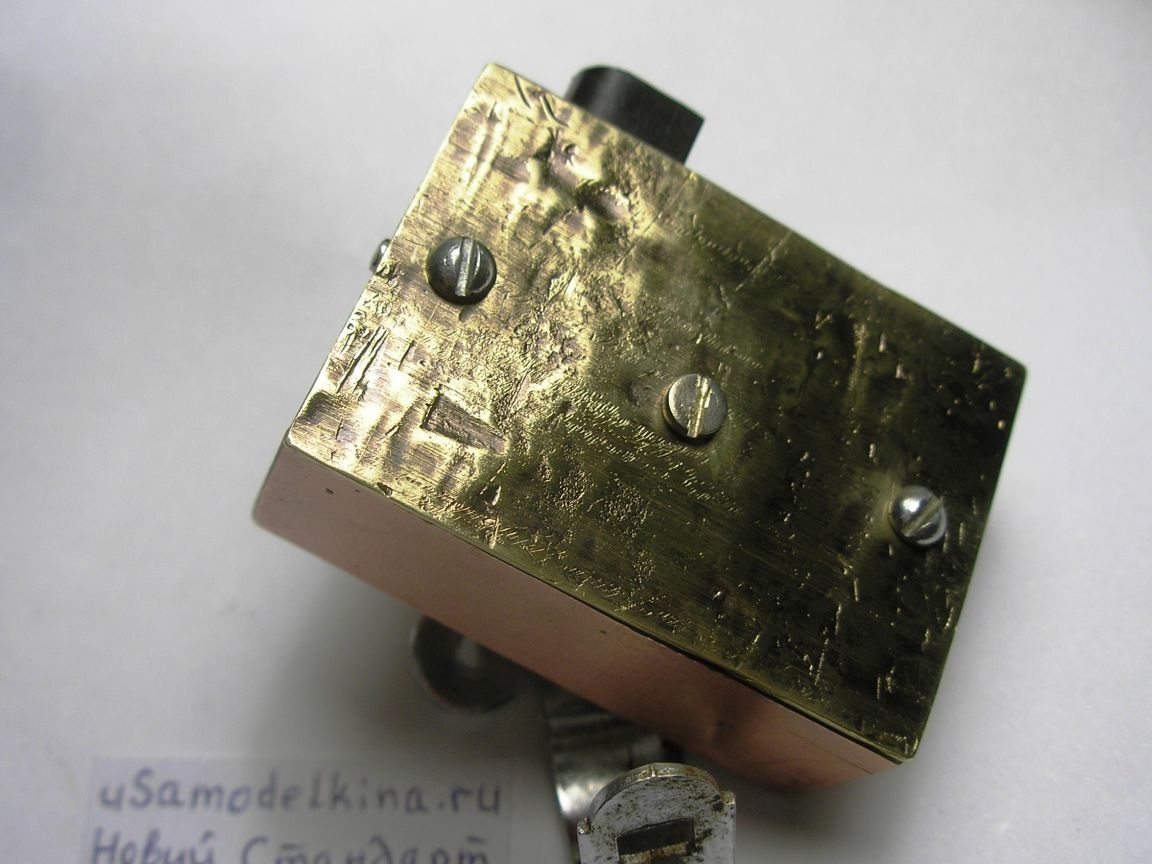
Stage 9. The top cover of the device is made of brass or copper plate 37x53 mm in size:
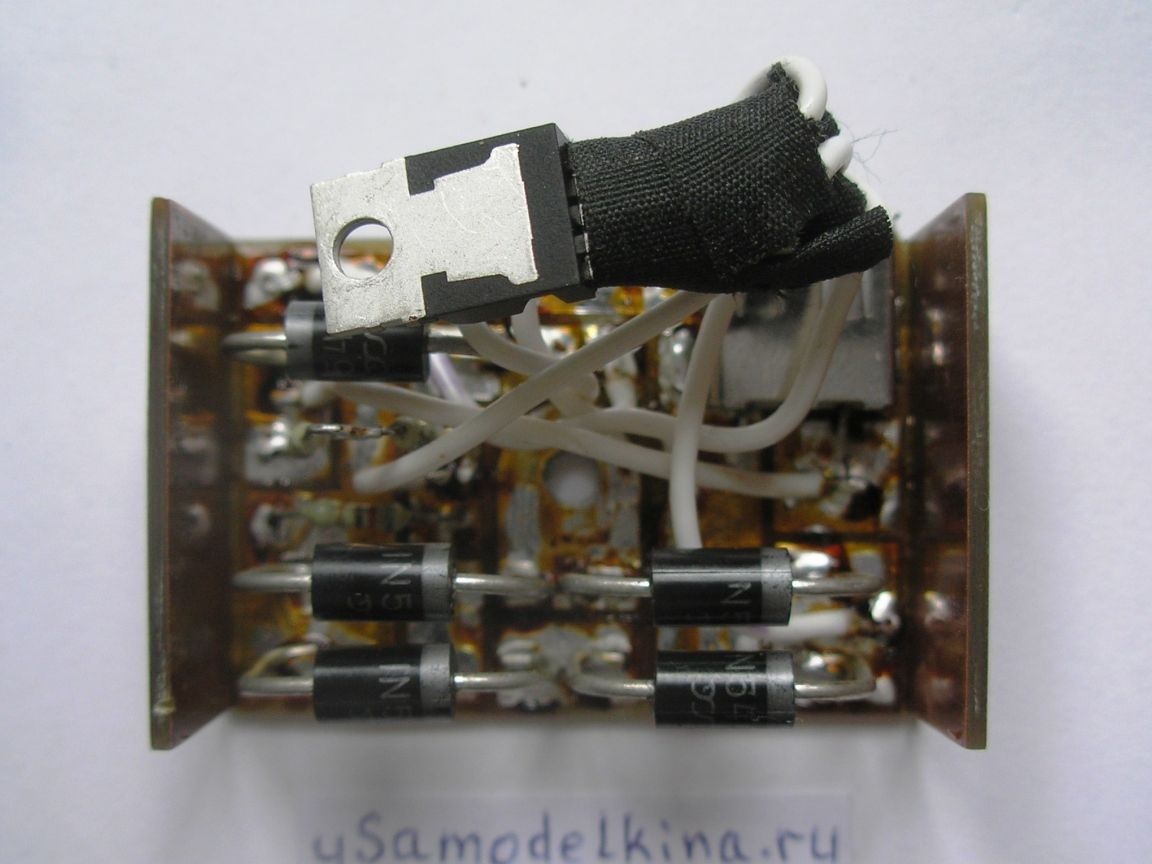
Stage 10. We produce corners from a copper plate to fix the brass cover to the body. The electrolyte is soldered right now from above, since it can fail, it is easier to solder, replace:

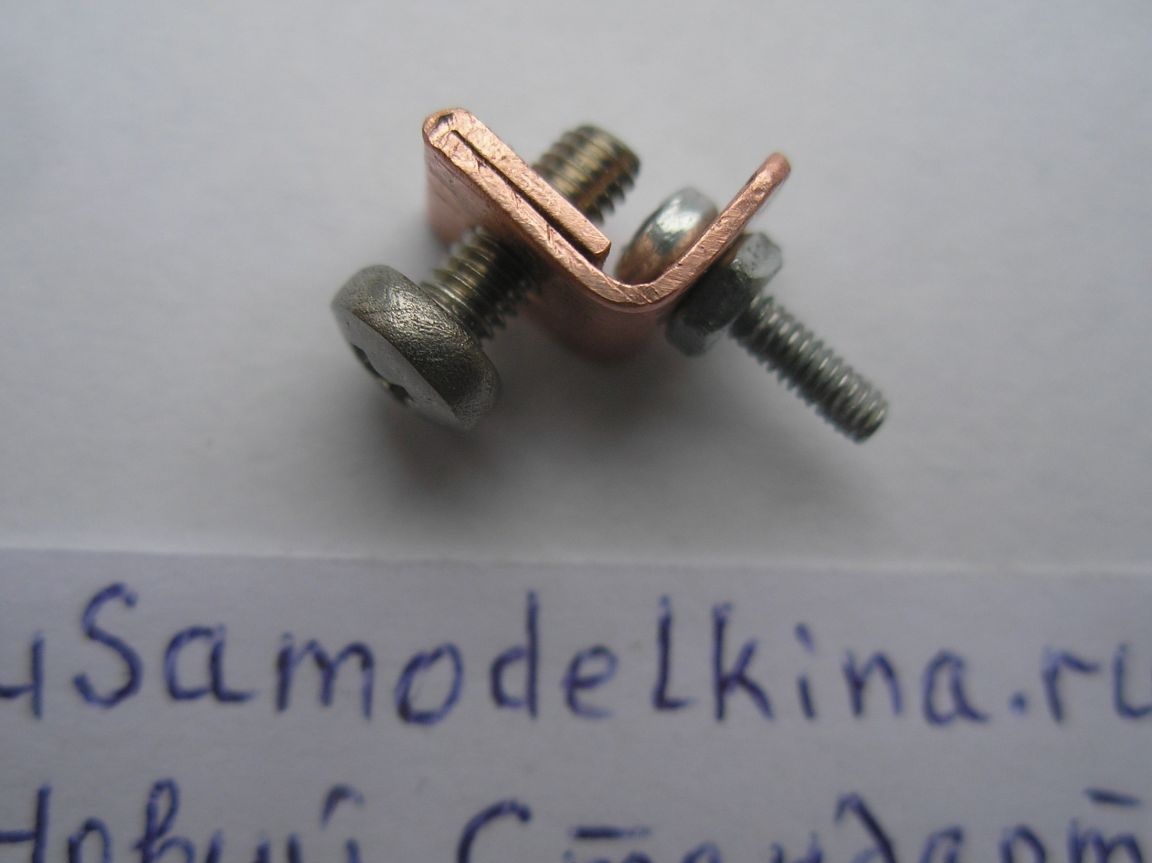
Stage 11. Install the steering wheel mounts using the M4 screw of the washers and the counter nut:
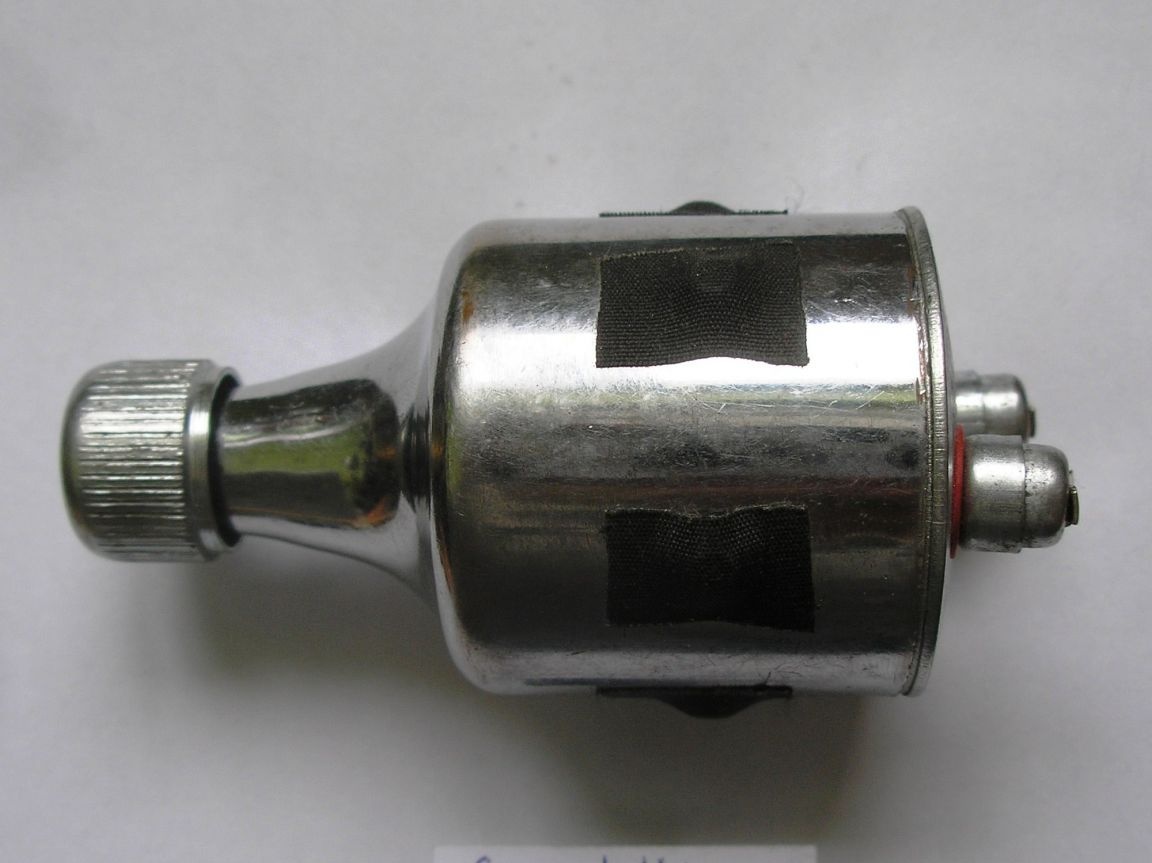
Stage 12. The brass cover will not only close the circuit from above but is also used as a radiator for the L200C, so we drill 3 holes (diameter 3 mm) in the plate, and put the chip on the thermal grease. For tight fit of the plate along its inner perimeter with adhesive tape:
Stage 13. We conduct a control experiment on the possibility of charging with a cell phone, using a drill, holding the generator shaft in the cartridge. When riding a bicycle, a generator (average wheel speed of 20 km / h) gives more revolutions than a drill (somewhere in 1.5-2 times), but the voltage regulator does not allow overvoltage.
We set the charge on the steering wheel. Here, the mount itself is the bike body. The generator is connected through a black socket, where the central contact is the second wire (not the case) of the generator:
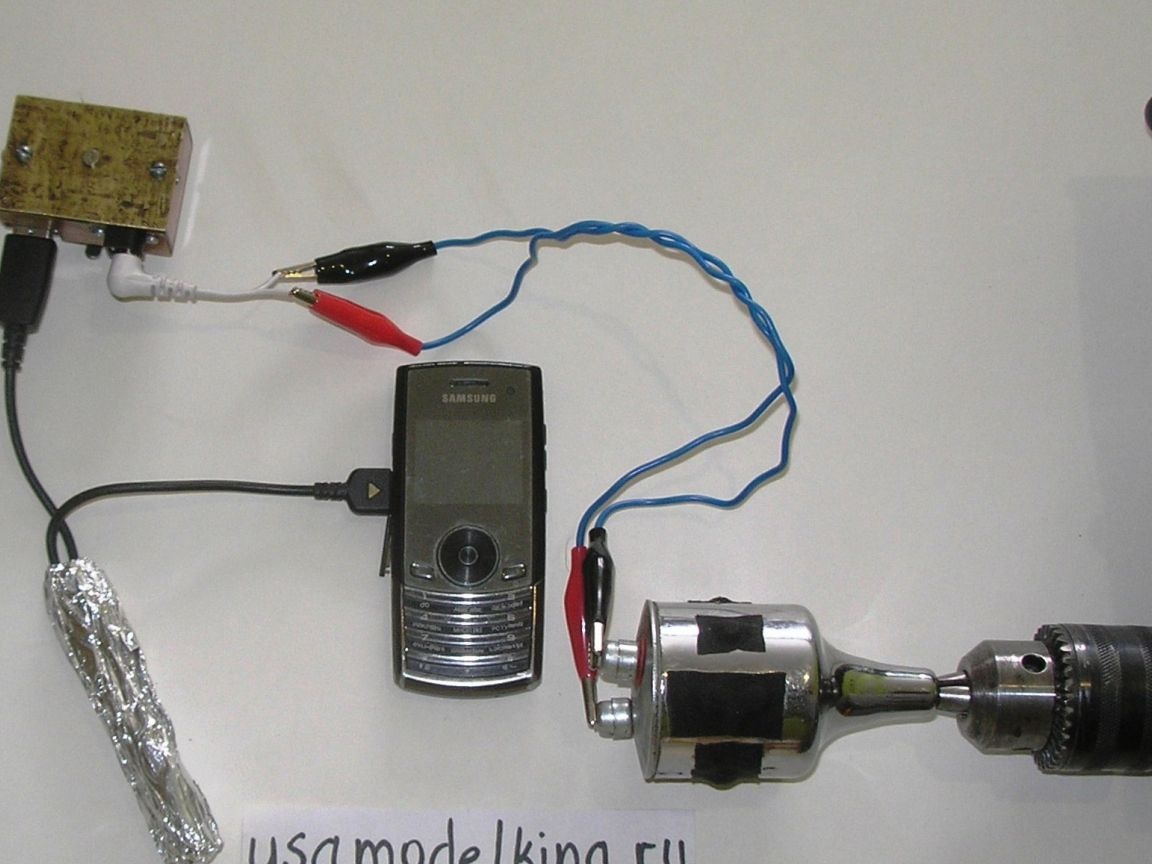
Charging the gadget occurs when the generator is running, that is, when the bicycle is moving. Of course, you can put a power bank here, so you put it). When riding a bike, don’t look how well the mobile phone charges, but watch the road!
Video of charging from the cycle generator: