
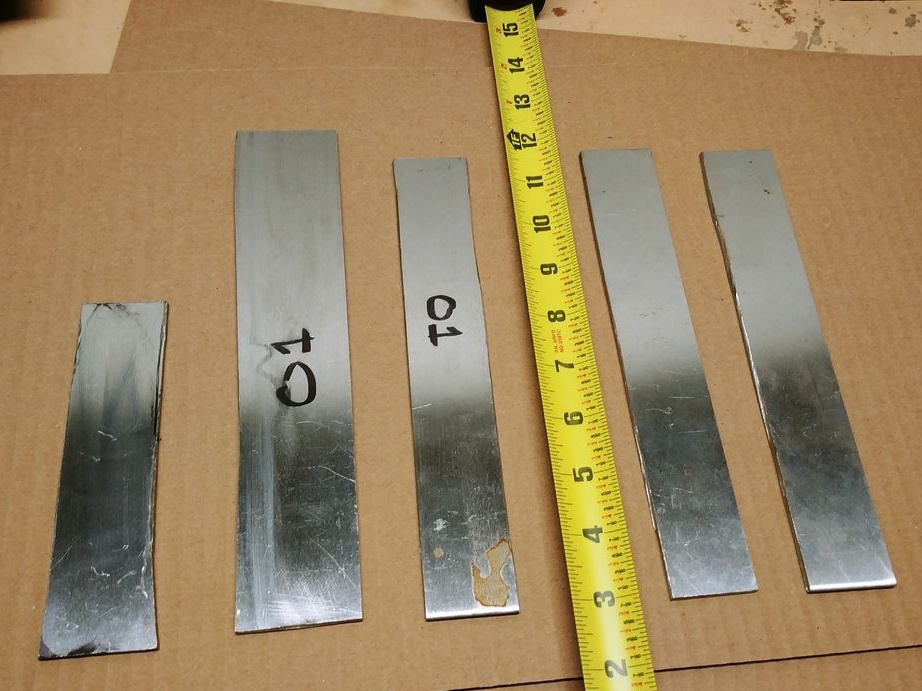
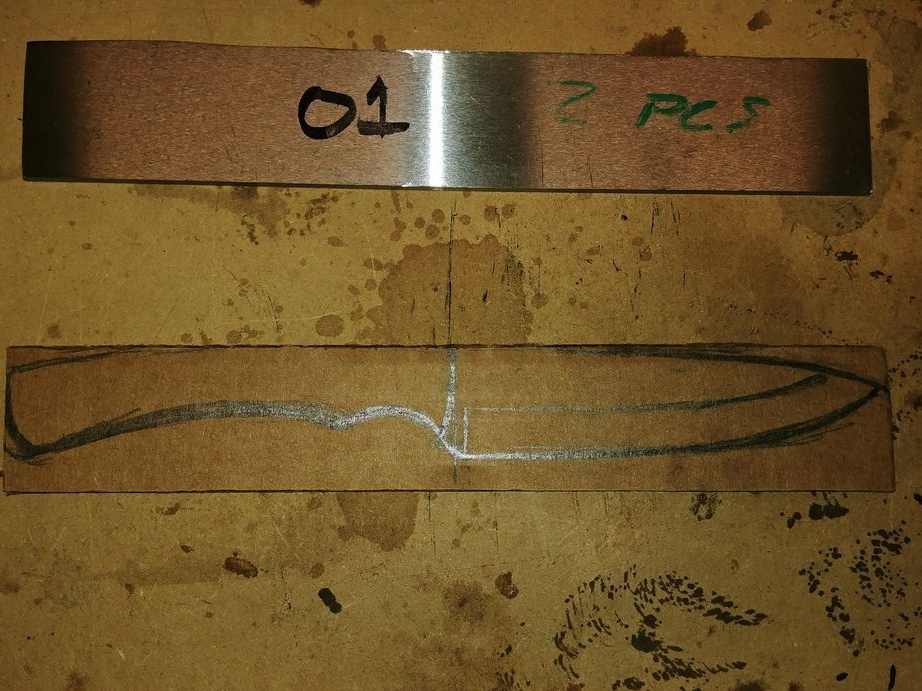
Hello everyone, in this instruction we will look at how to make a durable knife from O-1 steel. This metal is used abroad in the manufacture of knives, in particular, Randall knives are made from this steel. The carbon in such steel is almost 1%, which allows you to harden the metal to a hardness of at least 60 HRC. But the disadvantage of this steel is that it rusts quite actively, but this does not scare us, because there are many ways to protect metal, for example, patina.
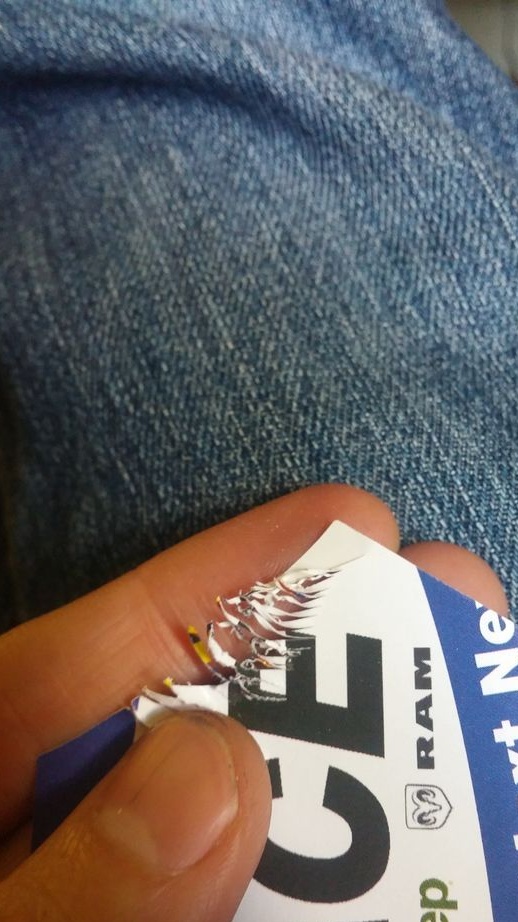
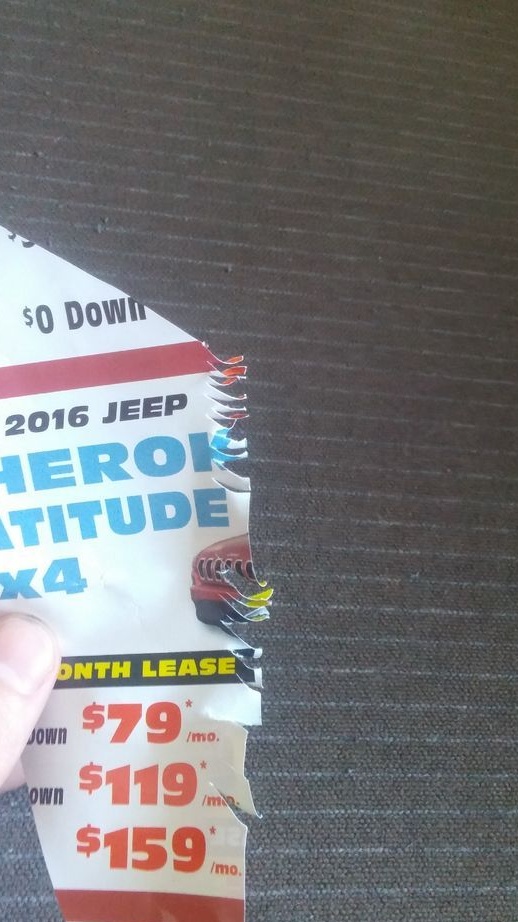
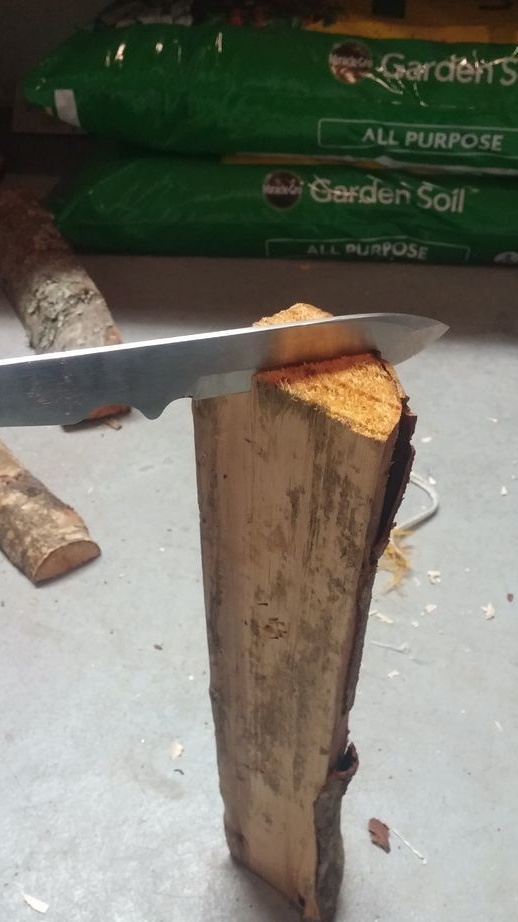
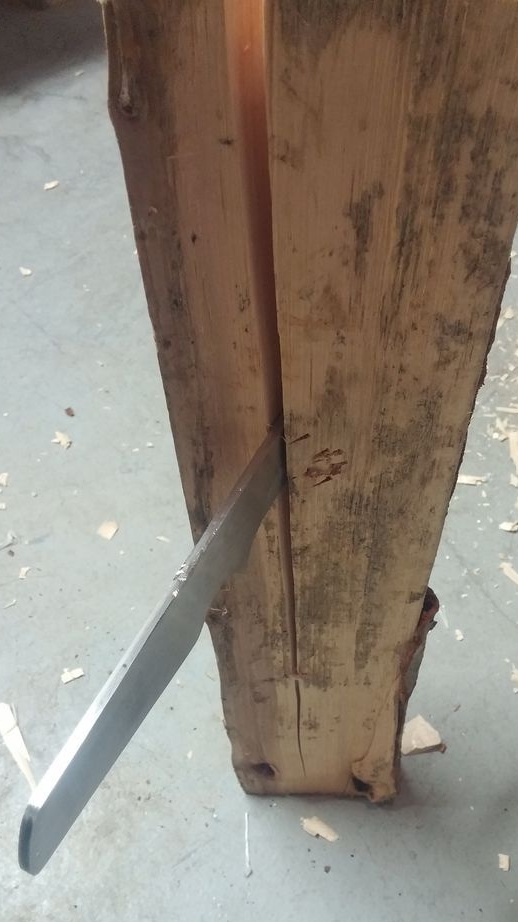
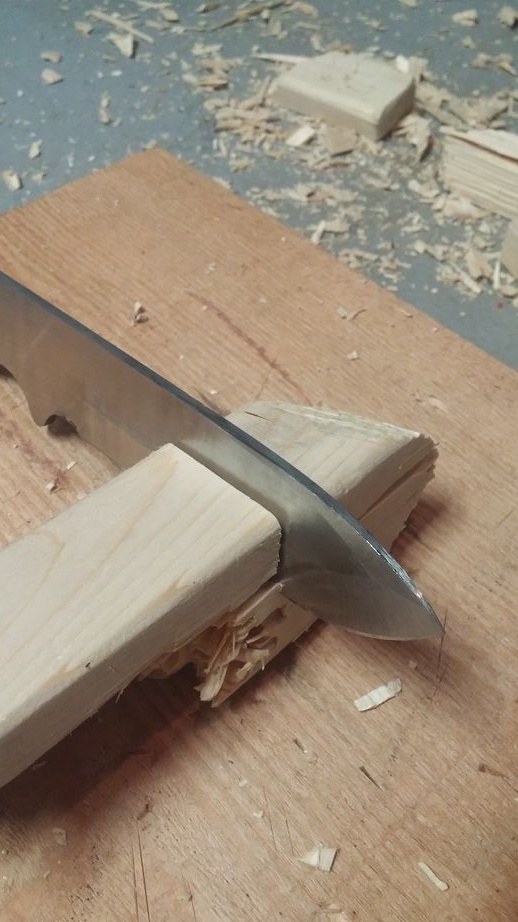
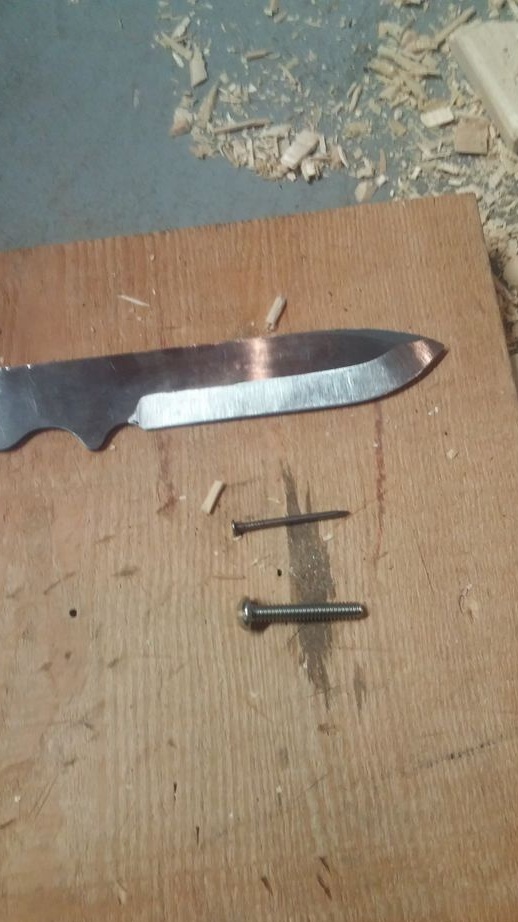
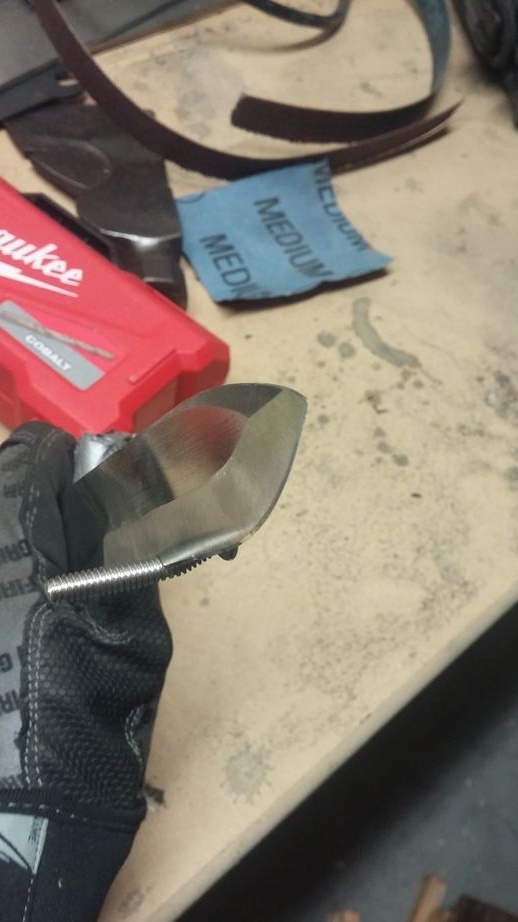
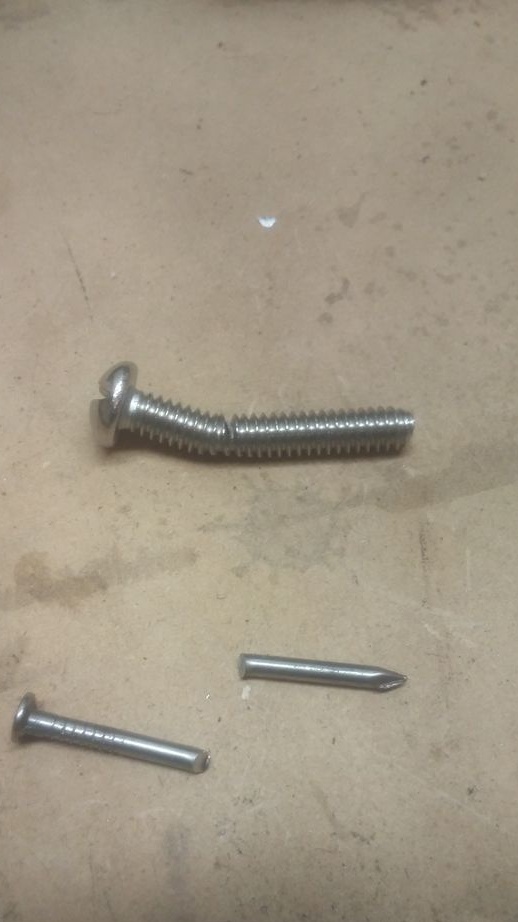
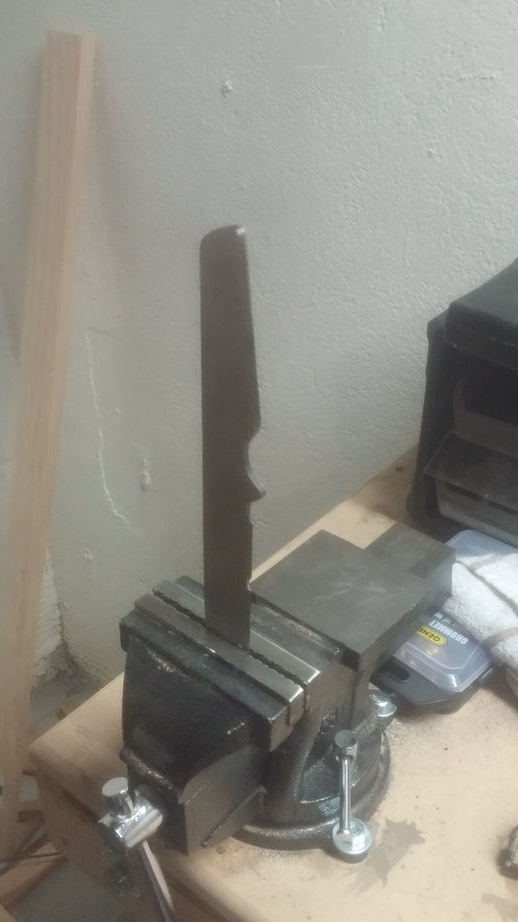
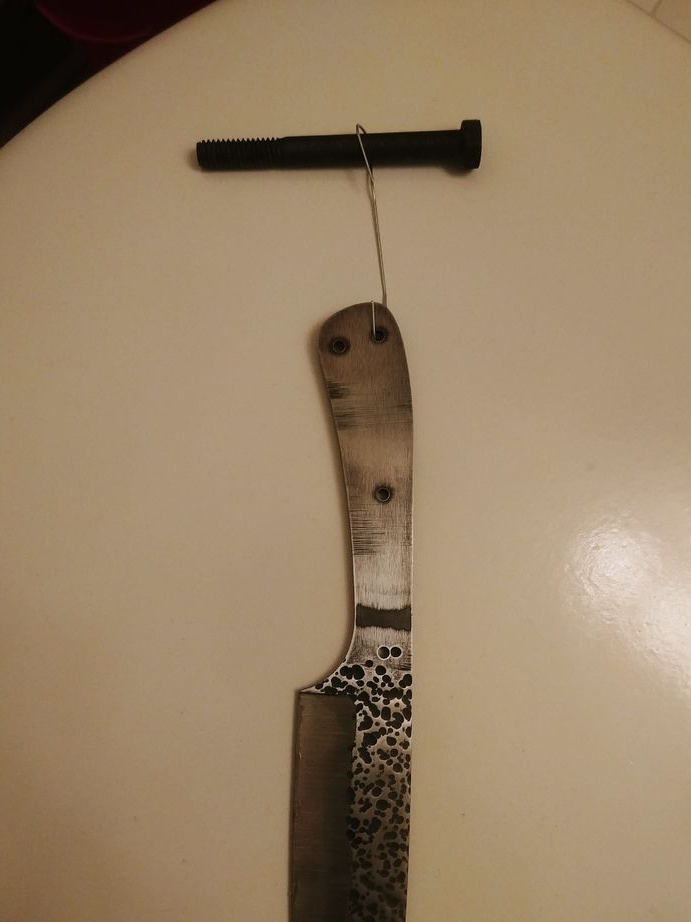
The knife, which the author made, went through many cruel tests. As I understand it, a total of two blades were made, one of which was donated for testing. As an example, the author chopped a tree, there were no problems with this. Also, the blade can easily cut nails, and even a metal bolt, however, after that a piece broke off the blade. To understand how strong the blade was, the author clamped it in a vice and began to bend. Of course, the blade eventually broke, but still withstood a moderate load. So, let's start making a knife.
Materials and tools used by the author:
Material List:
- ;
- wood for the handle;
- (for pins);
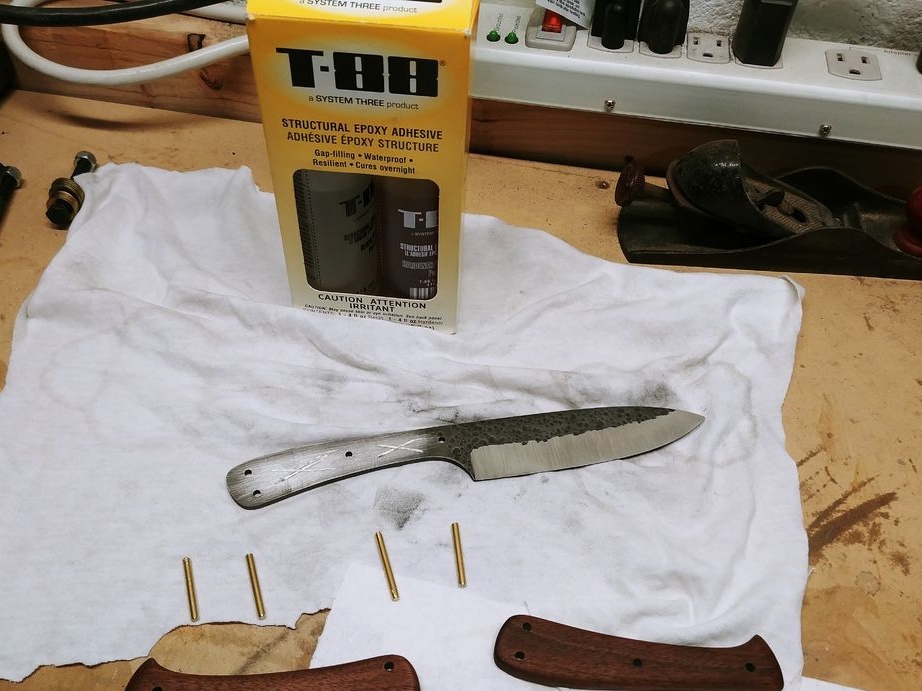
- epoxy adhesive;
- leather and thread (if sheathed);
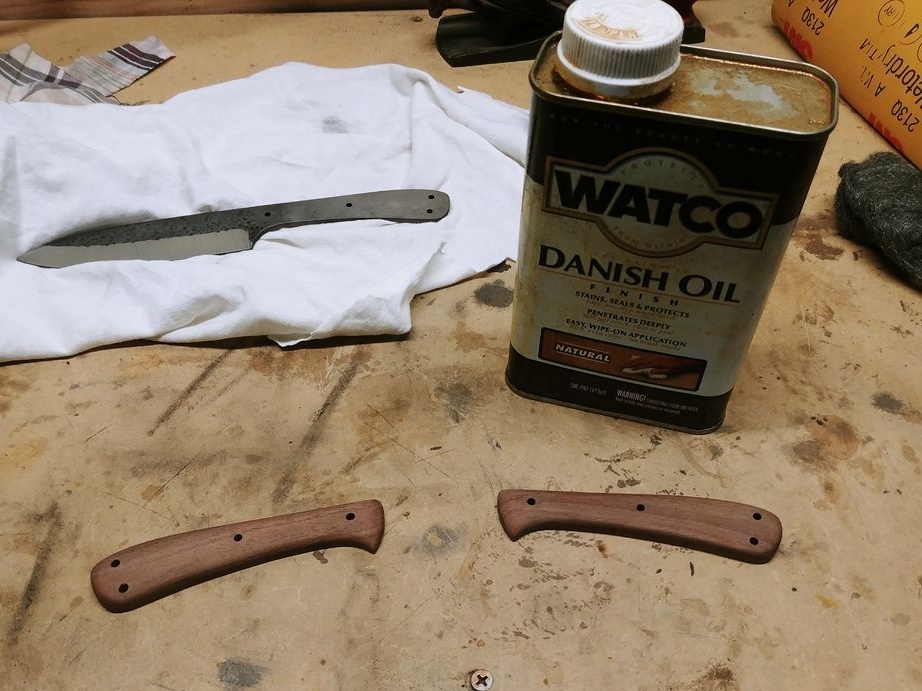
- oil for impregnation.
Tool List:
- clamps;
- ;
- sandpaper;
- oven and hardening oil;
- belt sander;
- band saw or grinder;
- drilling machine;
- a hammer and more.
The process of making a knife:
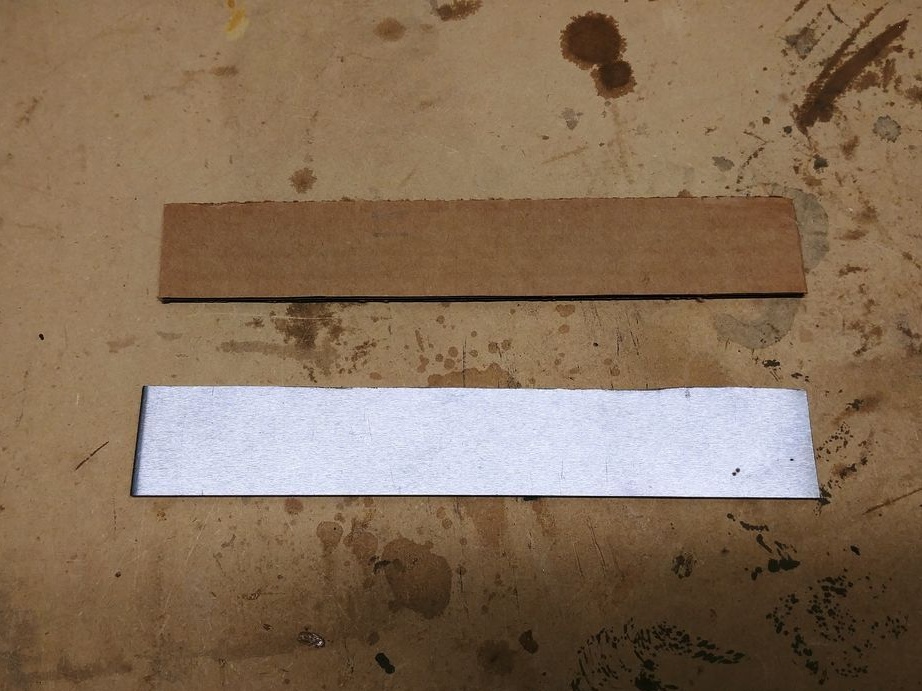
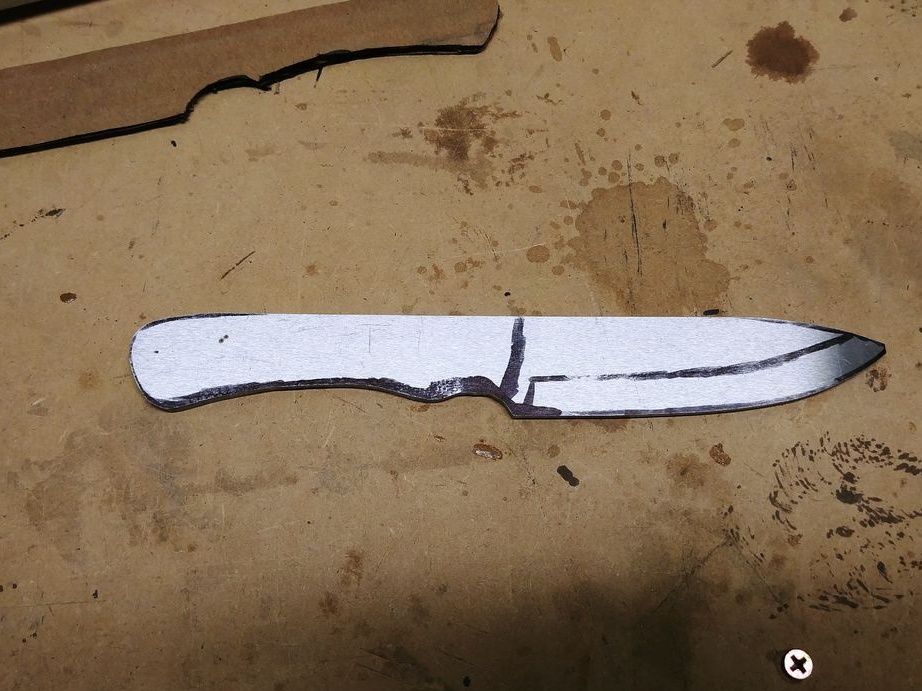
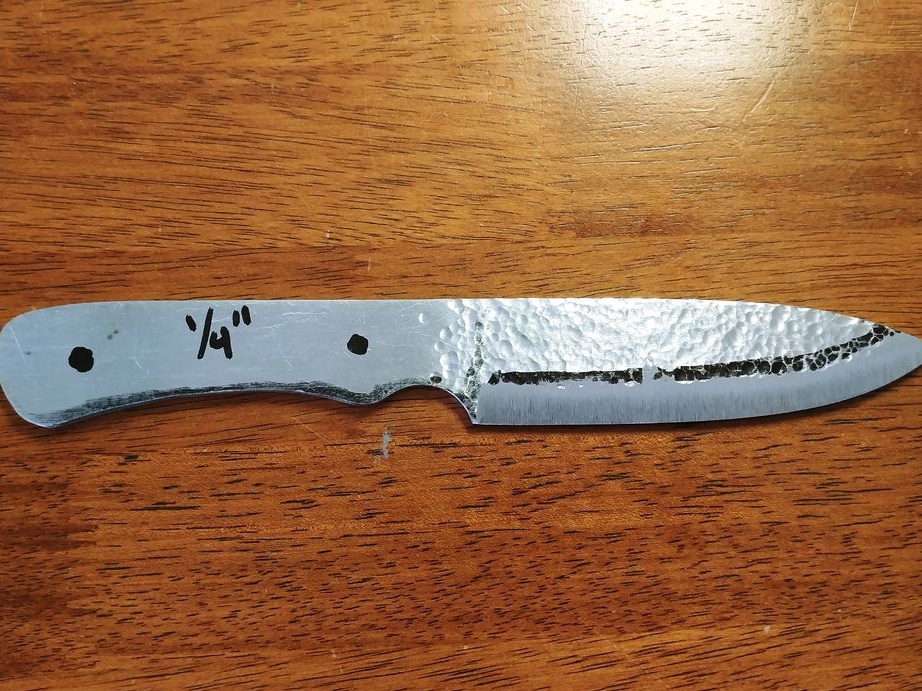
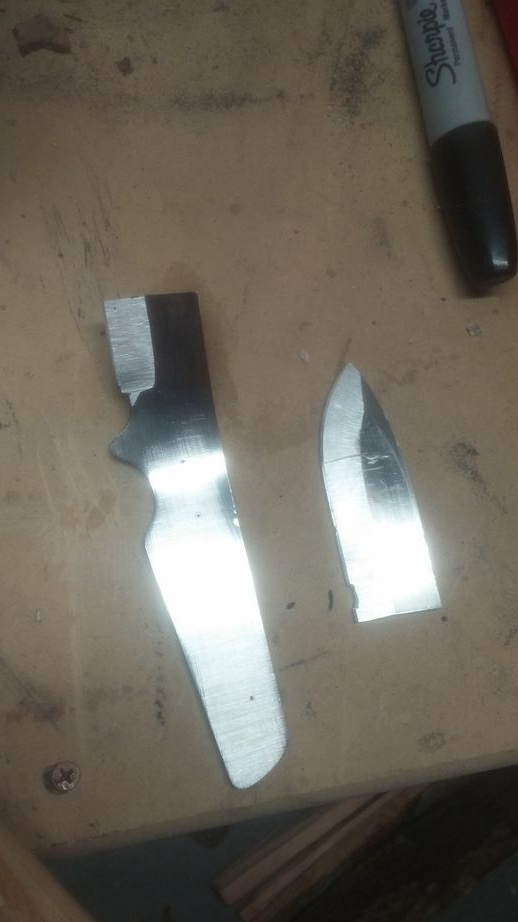
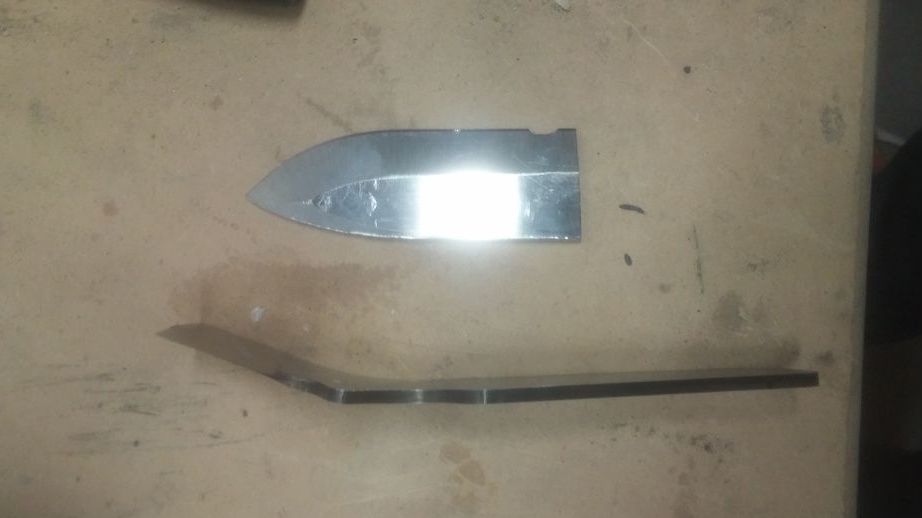
Step one. Cut a rough pattern
First, make a cardboard layout, draw the desired profile and cut with scissors. As a result, you can hold the workpiece in your hand and understand what else can be done to make the knife comfortable and looking good.
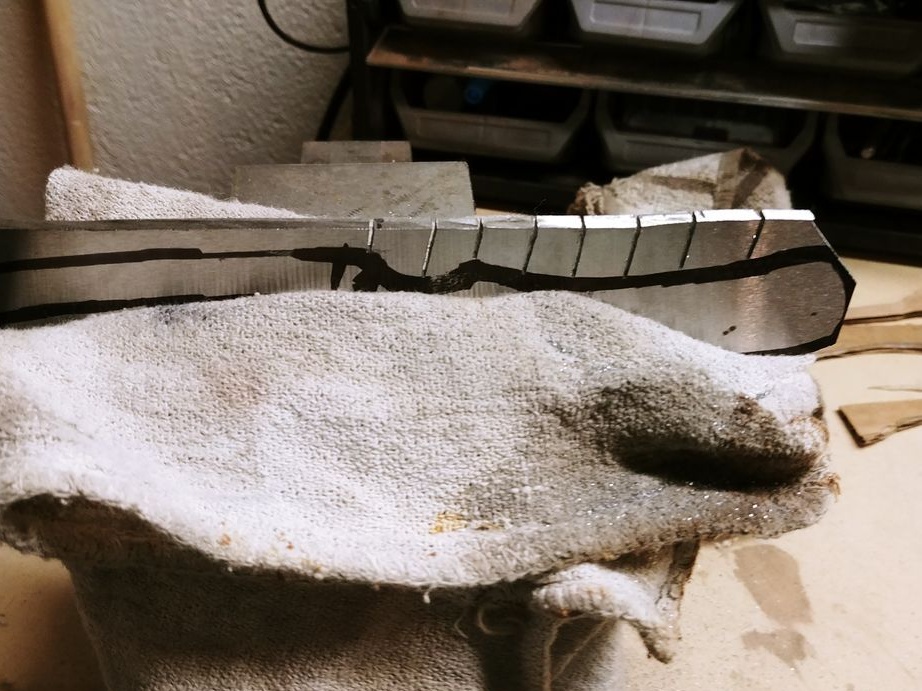
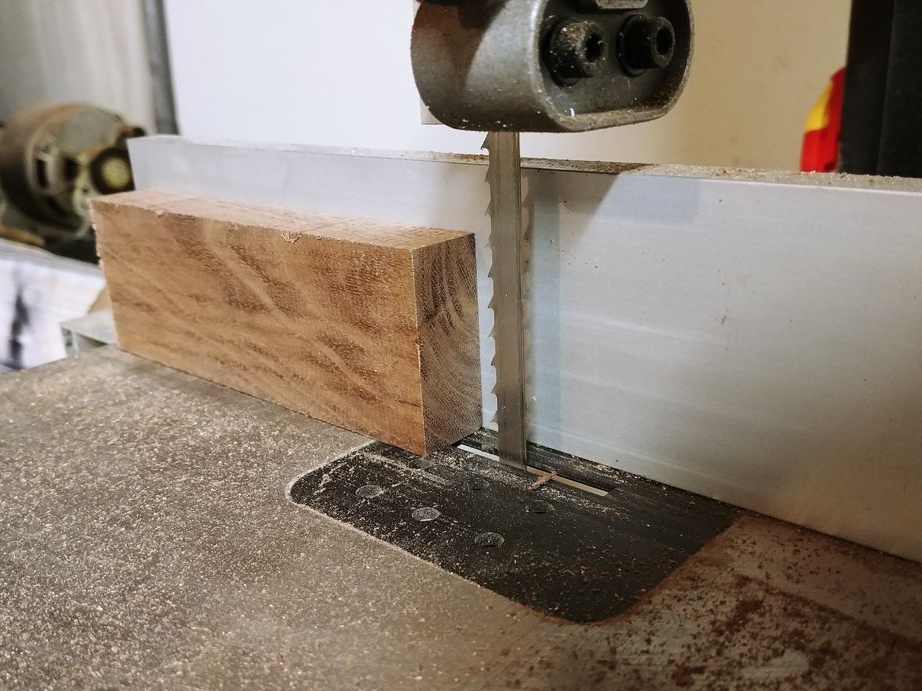
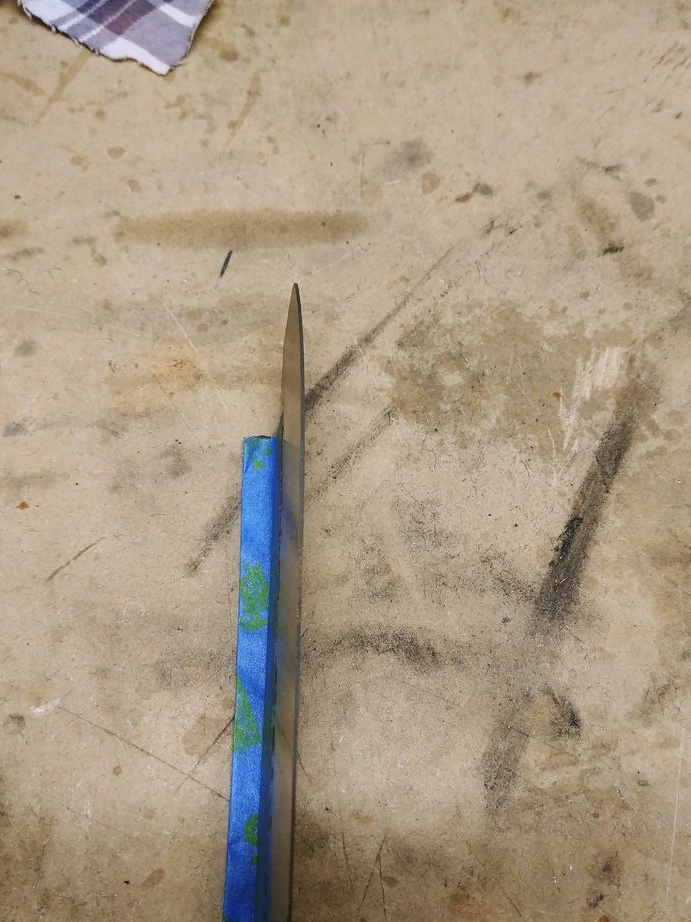
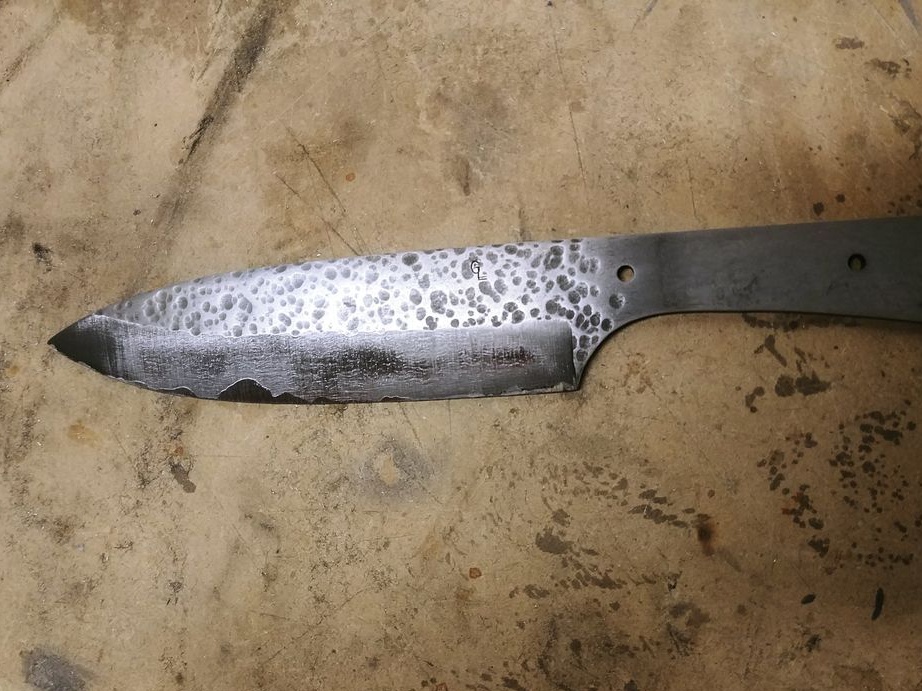
Next, apply the template to the steel, draw a marker and cut it out slowly. You can quite cope with this task with the help of a grinder. Hard-to-reach places are cut out by sectors, making transverse cuts.
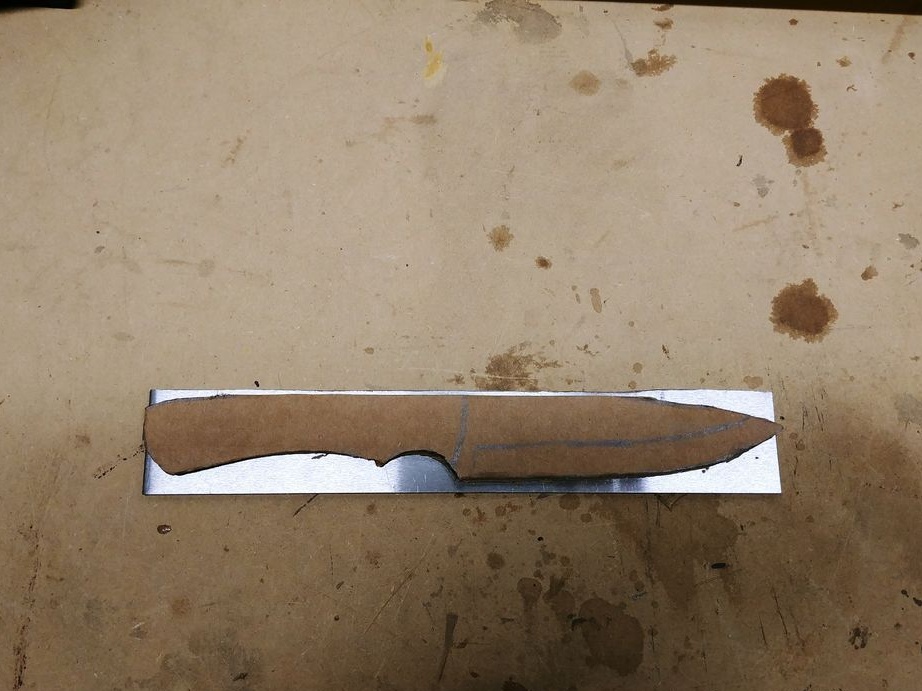
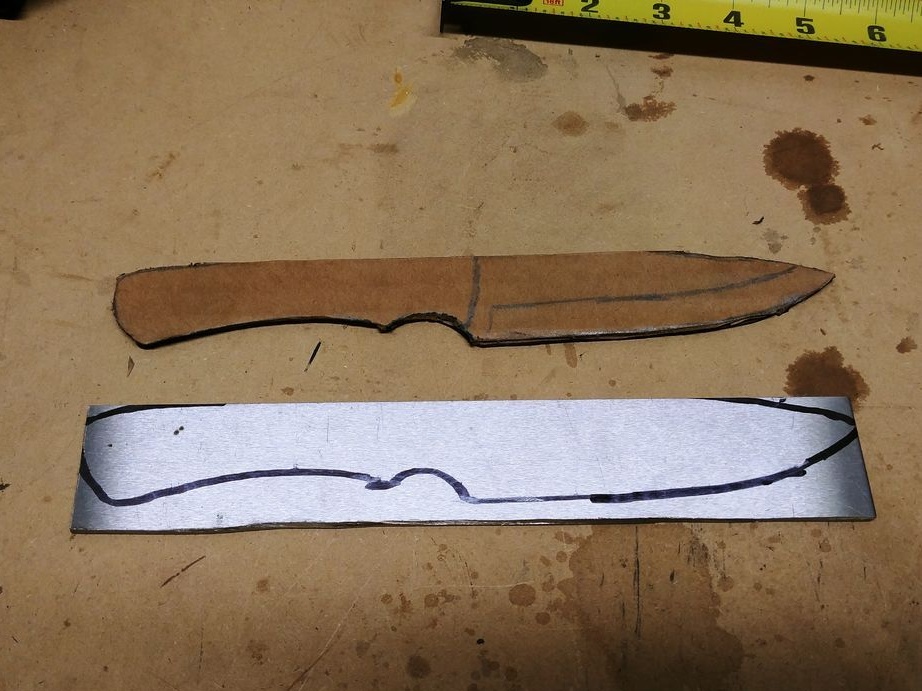
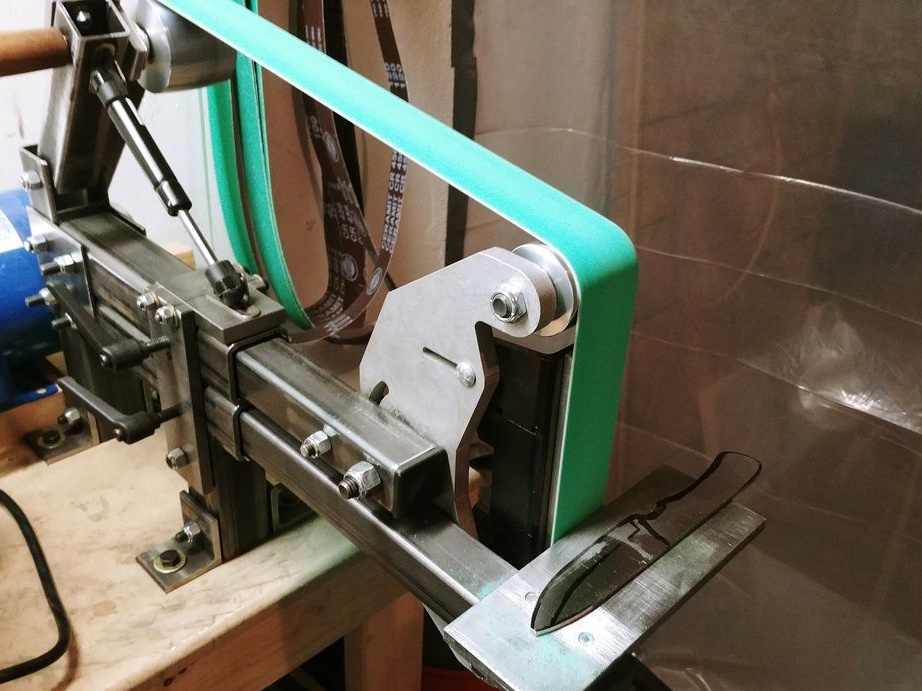
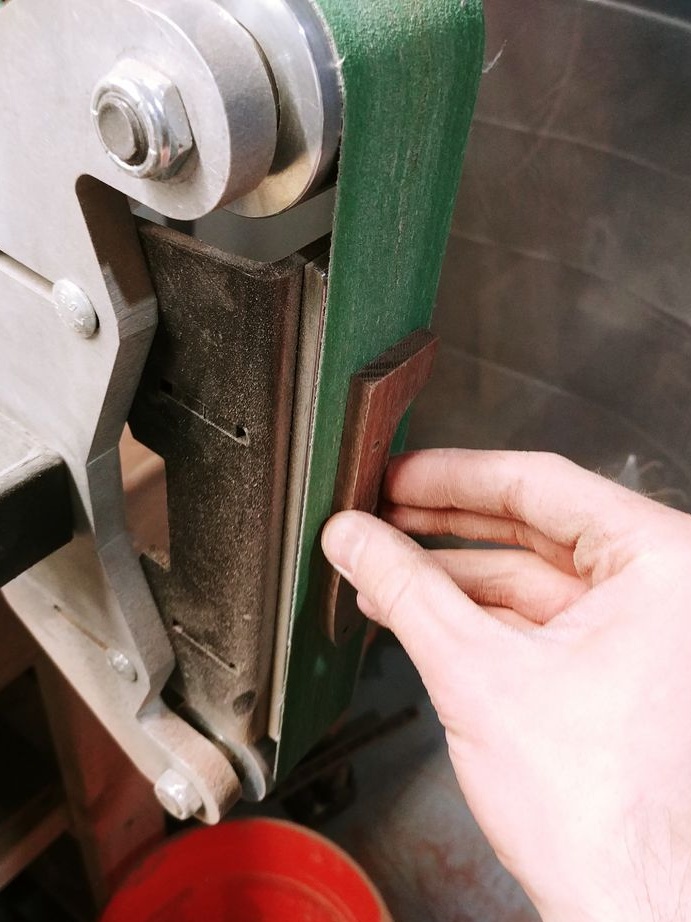
At the end, we display the profile using a belt sander. If there is no such device, then this task can be completely dealt with with the help of files.
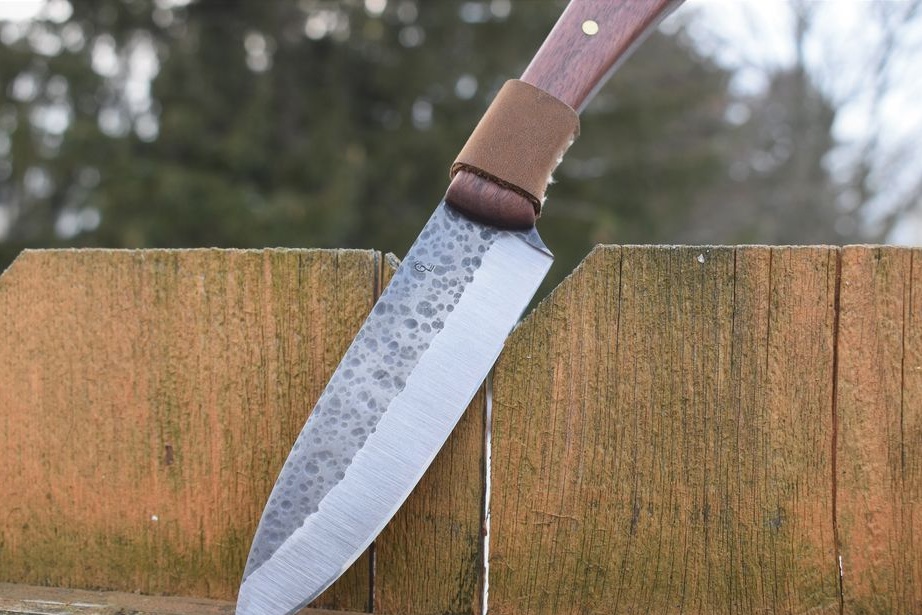
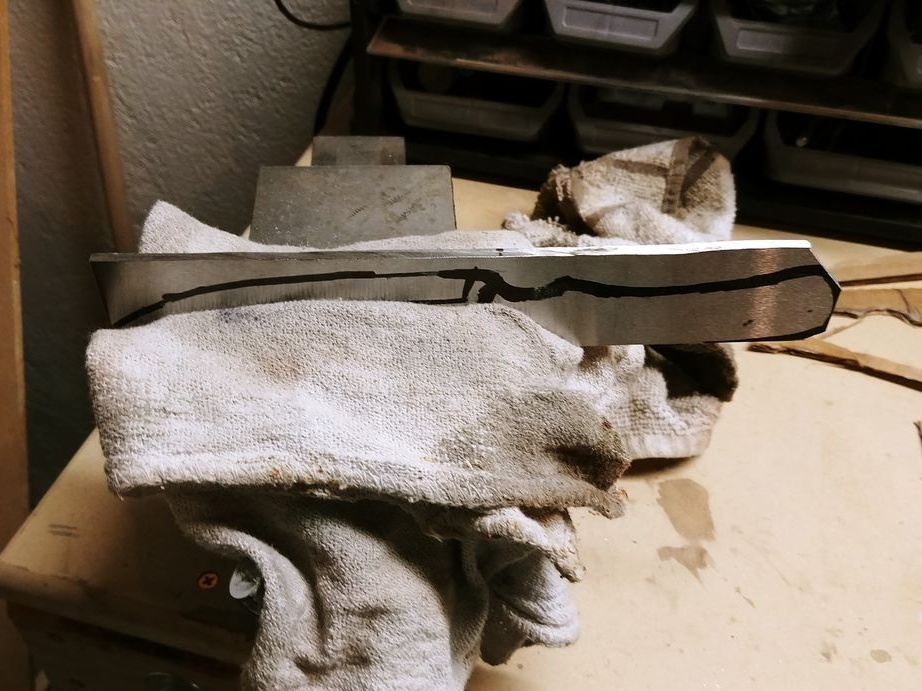
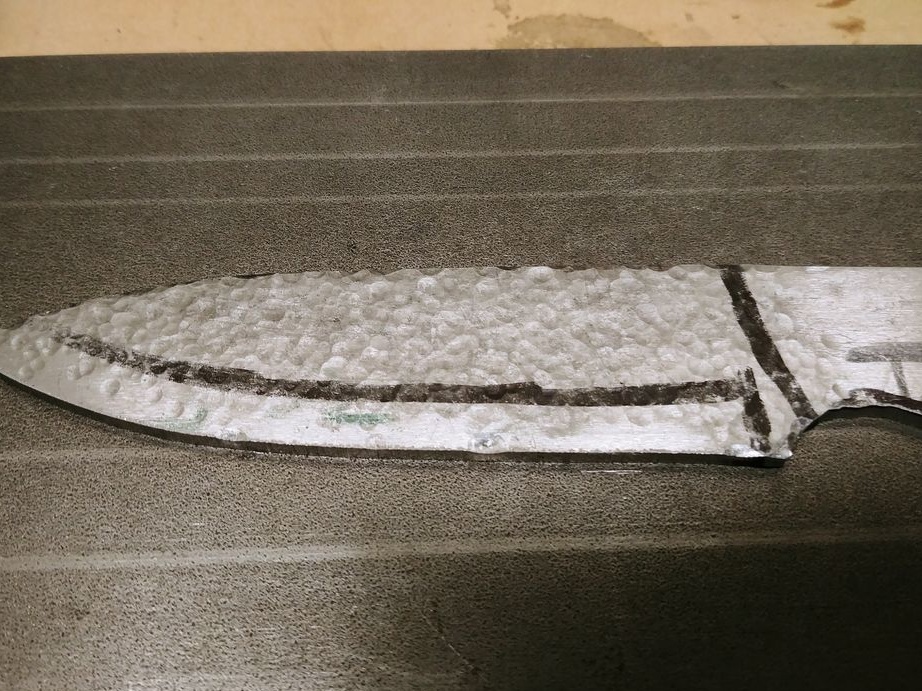
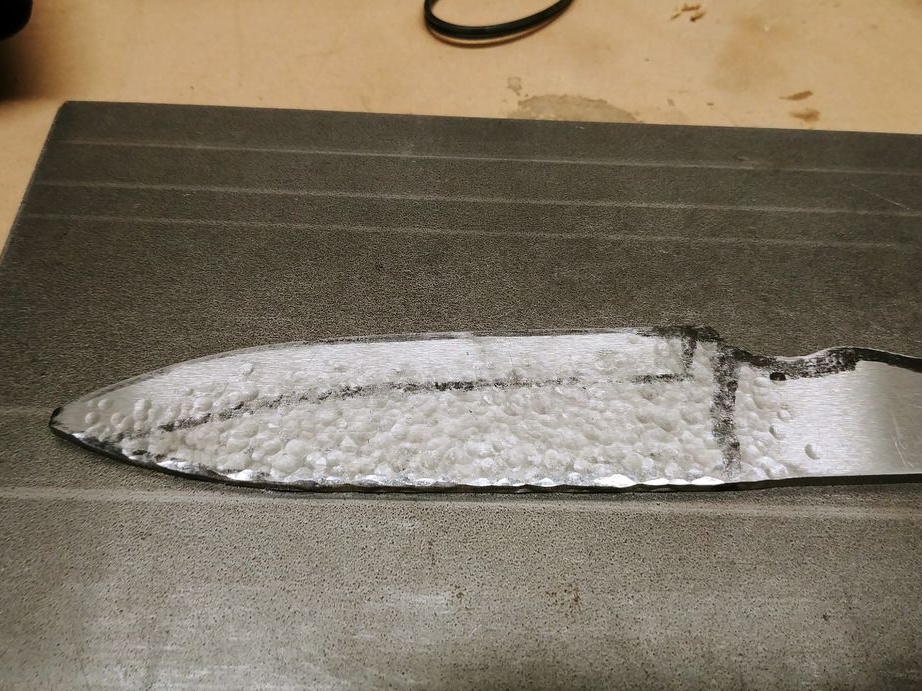
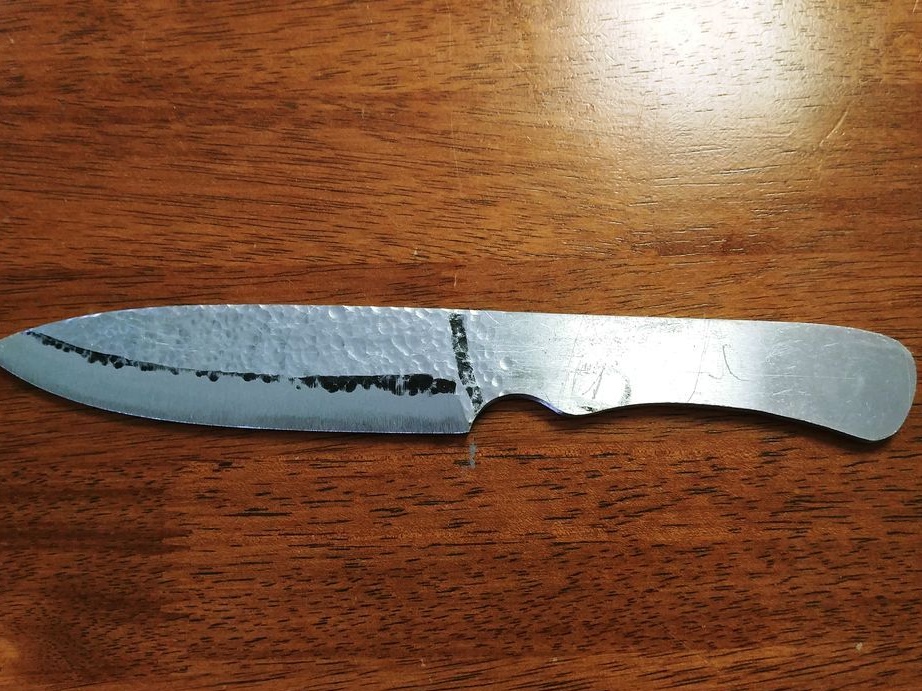
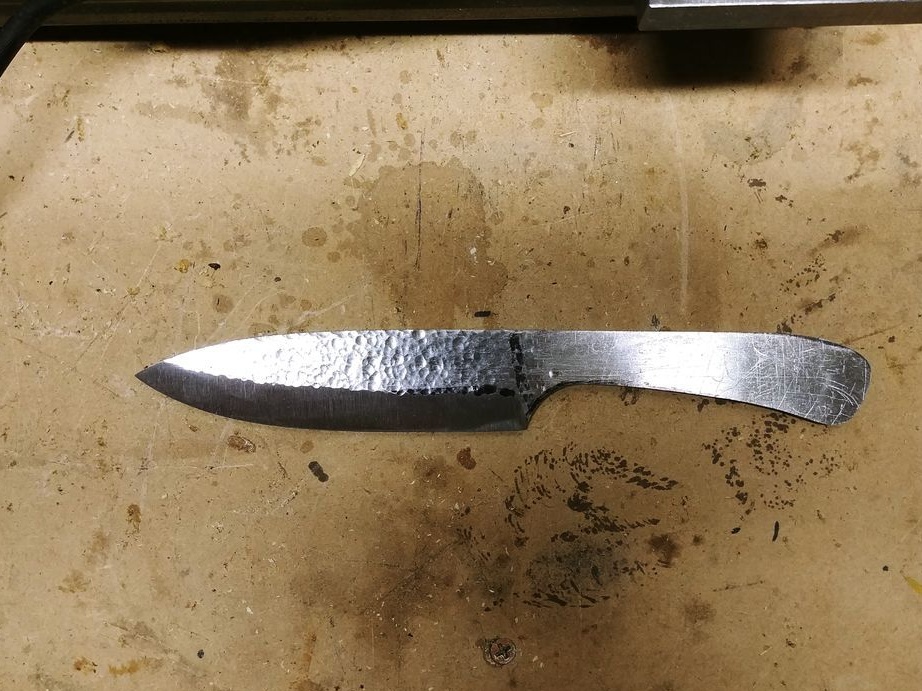
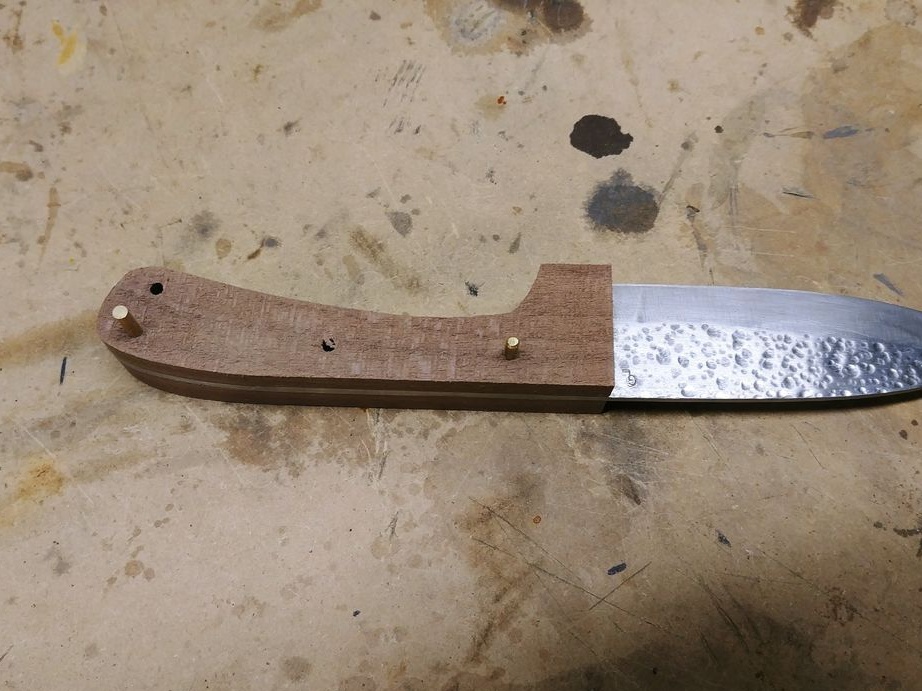
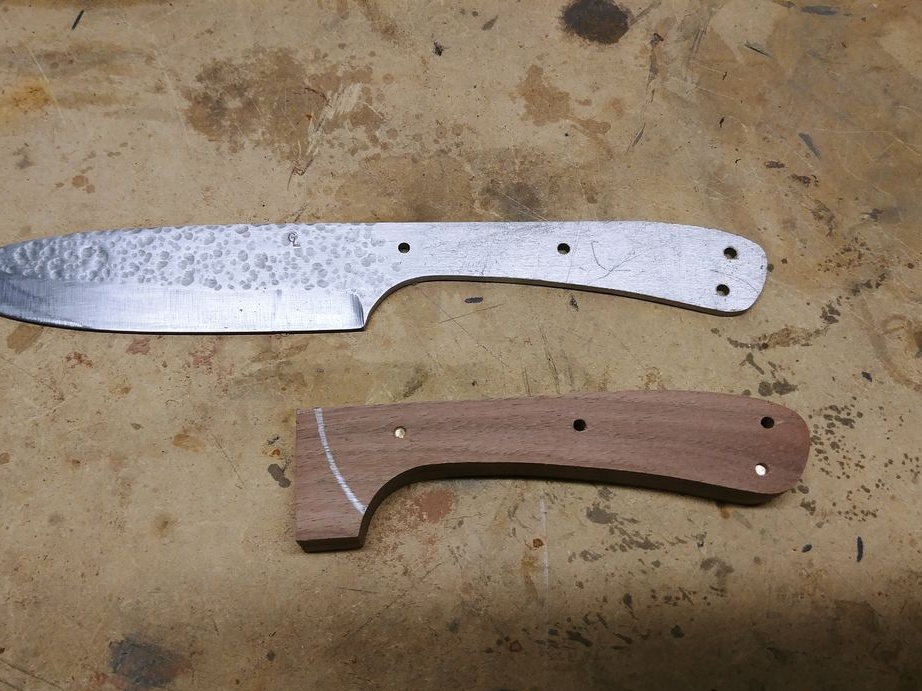
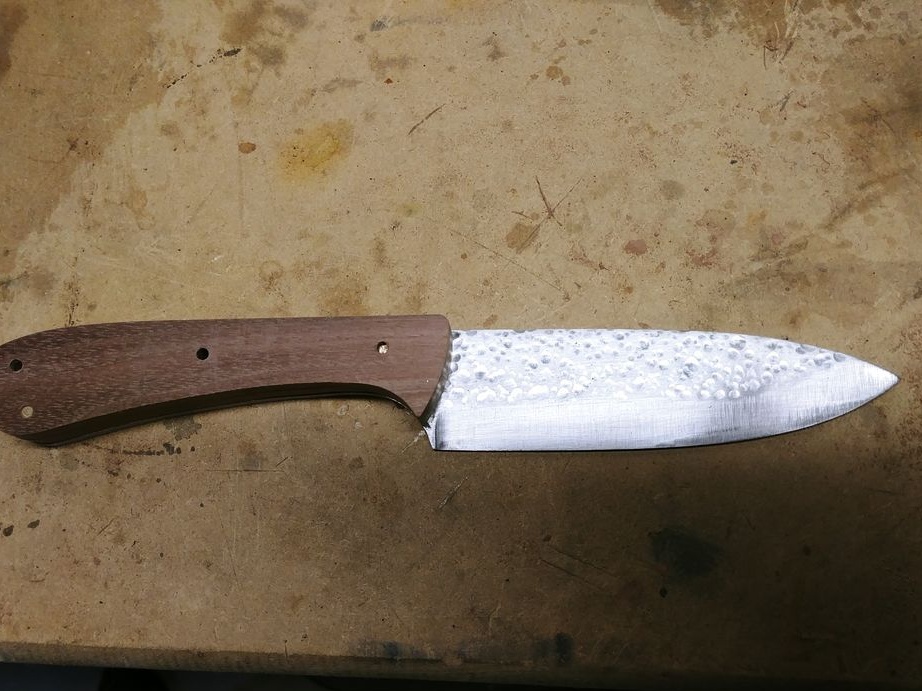
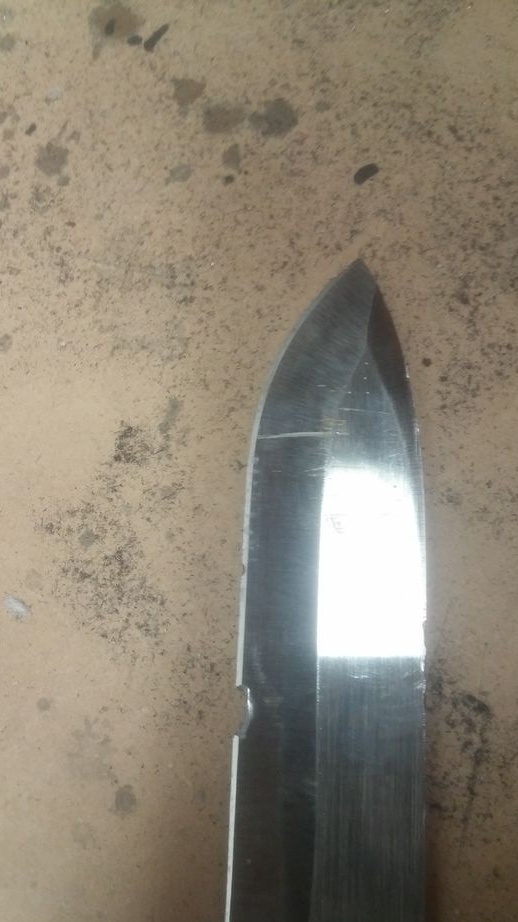
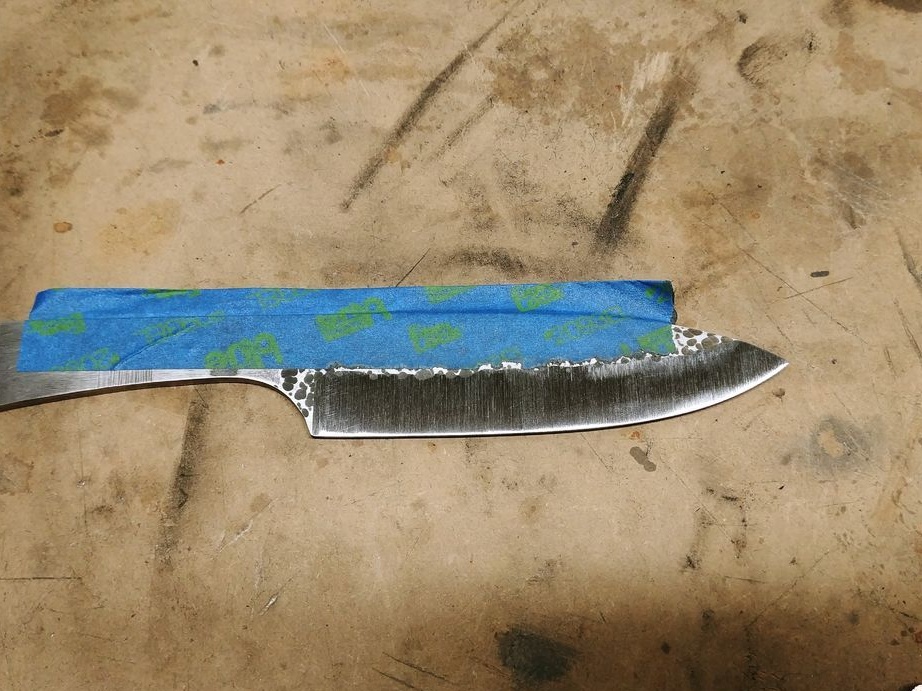
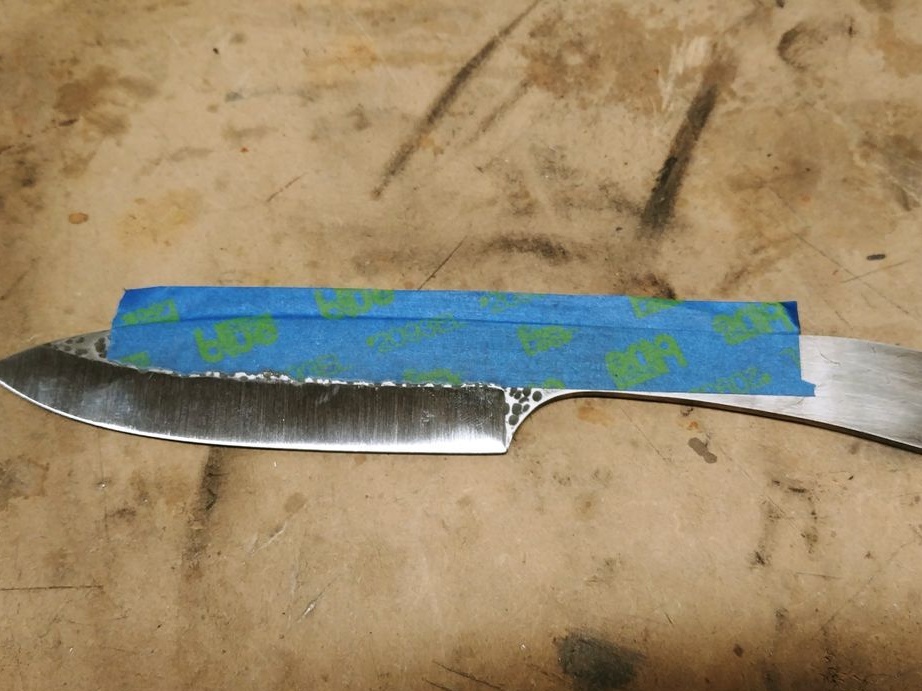
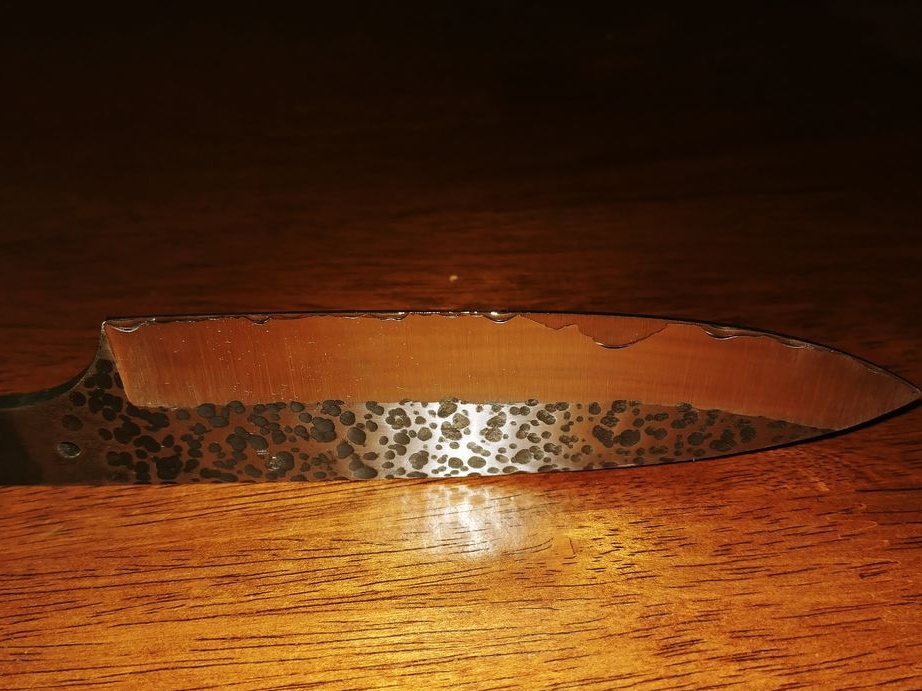
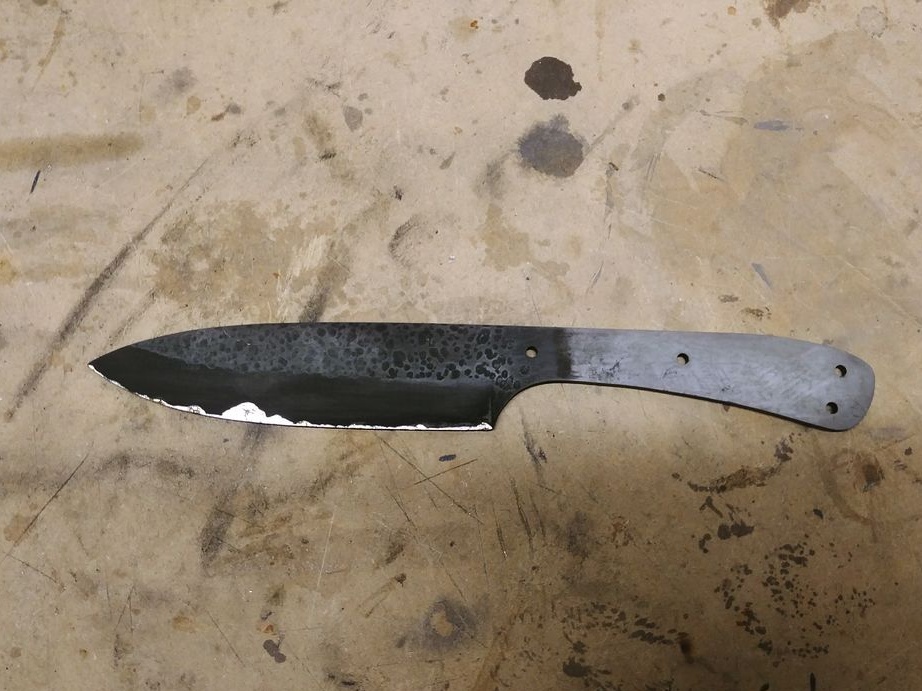
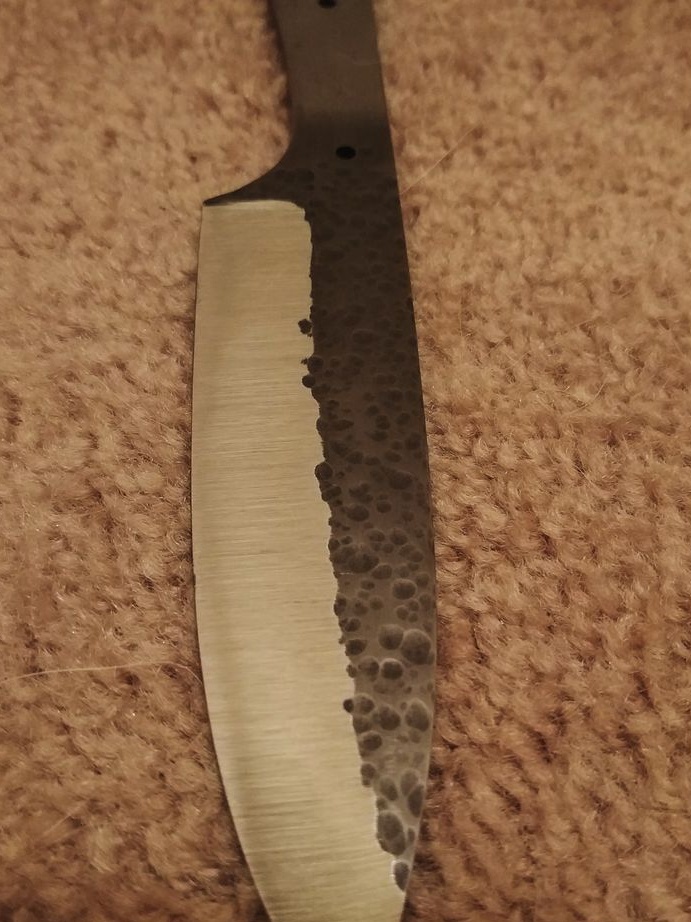
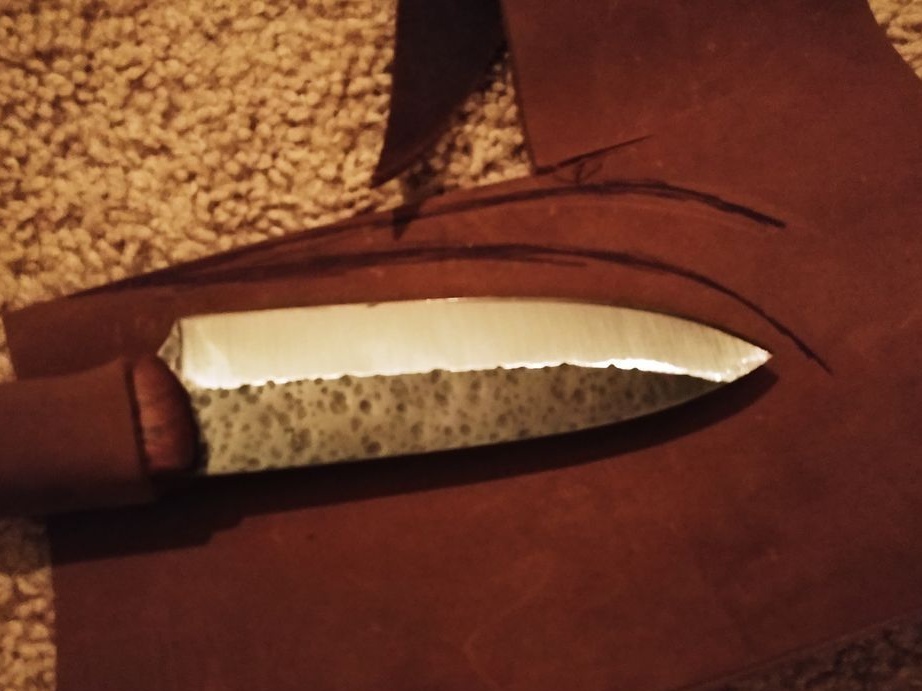
Step Two We form a pattern on the blade
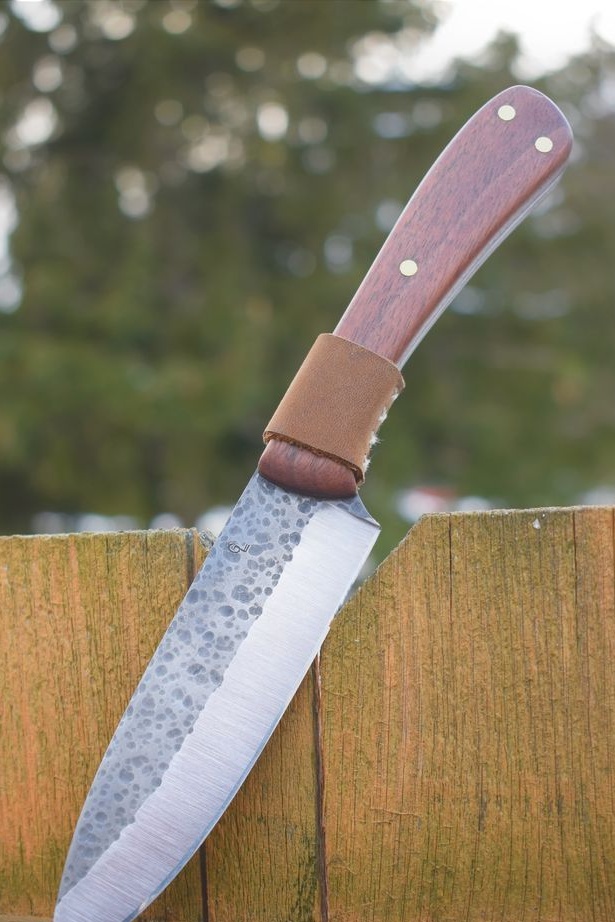
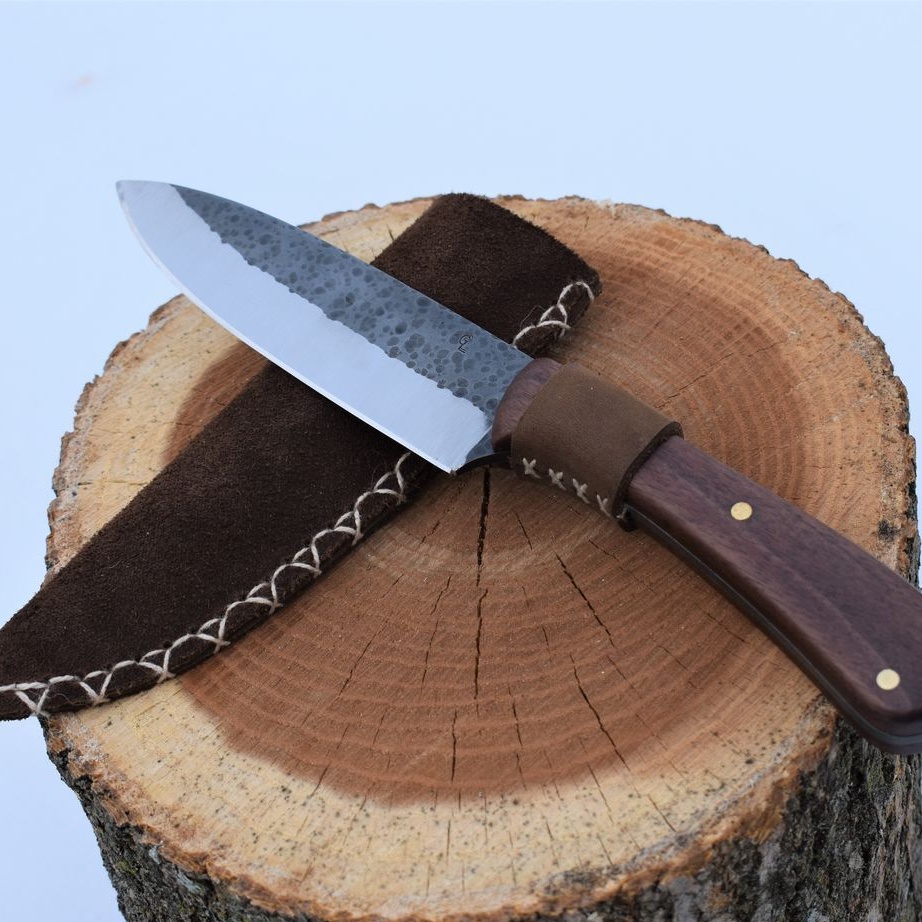
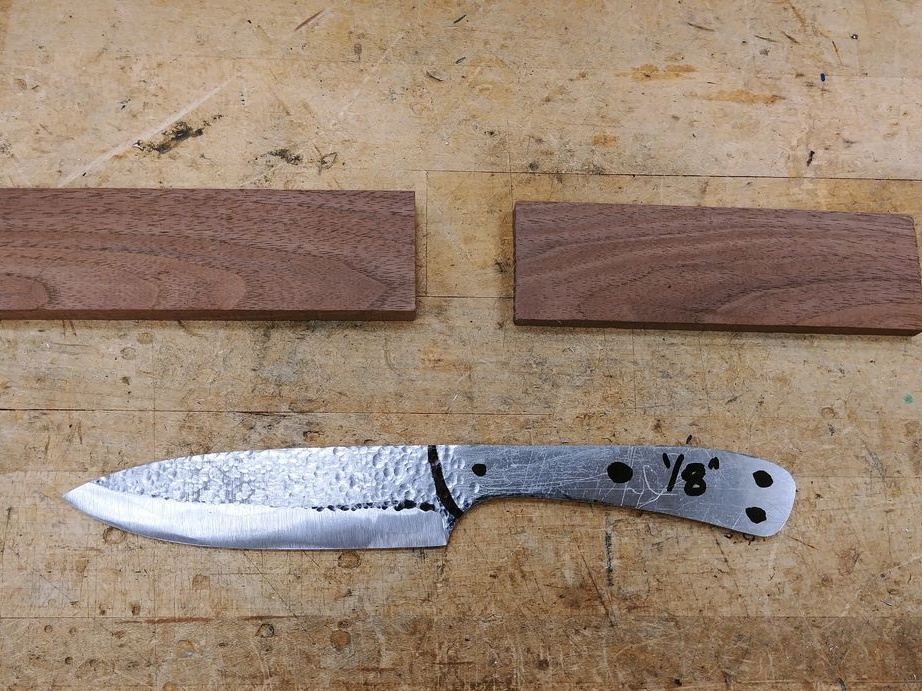
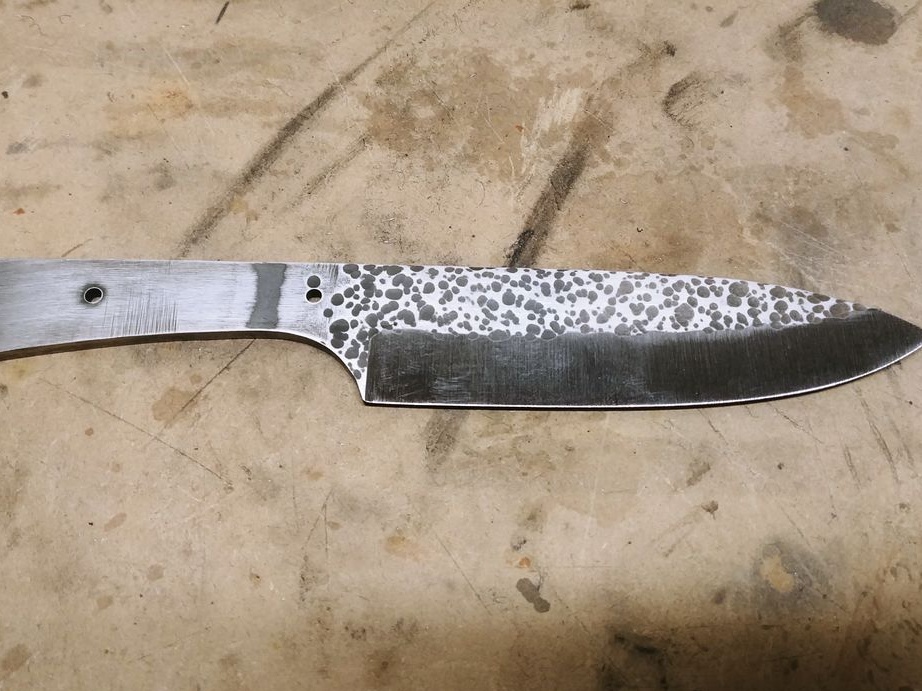
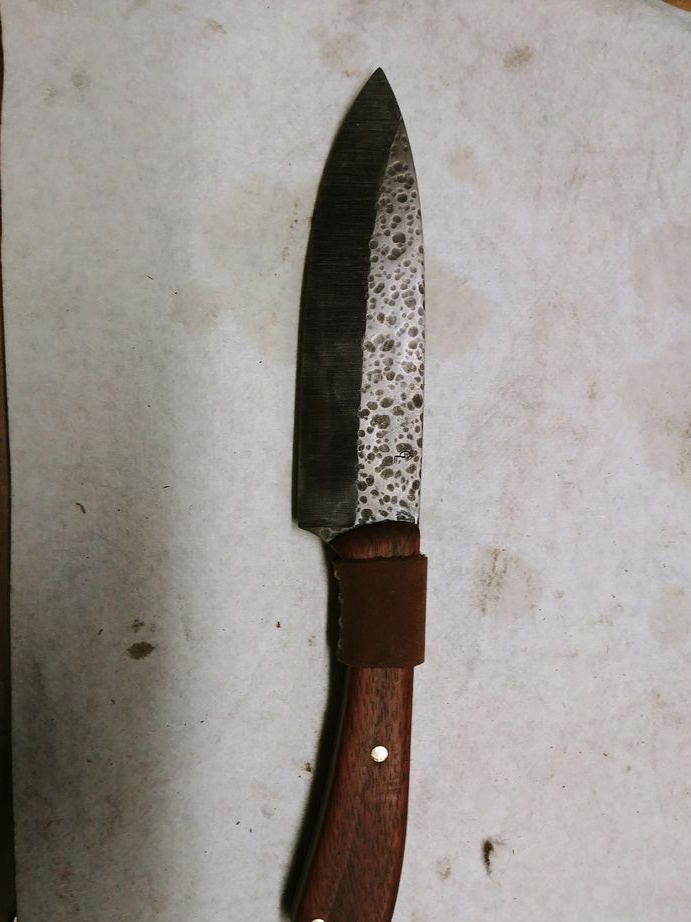
To get a kind of “shell” on the blade, like the author’s, we need a hammer with a pointed tip. We make dents on the blade, but do not touch the blade. Pre-draw the bevel line so as not to hit it with a hammer.

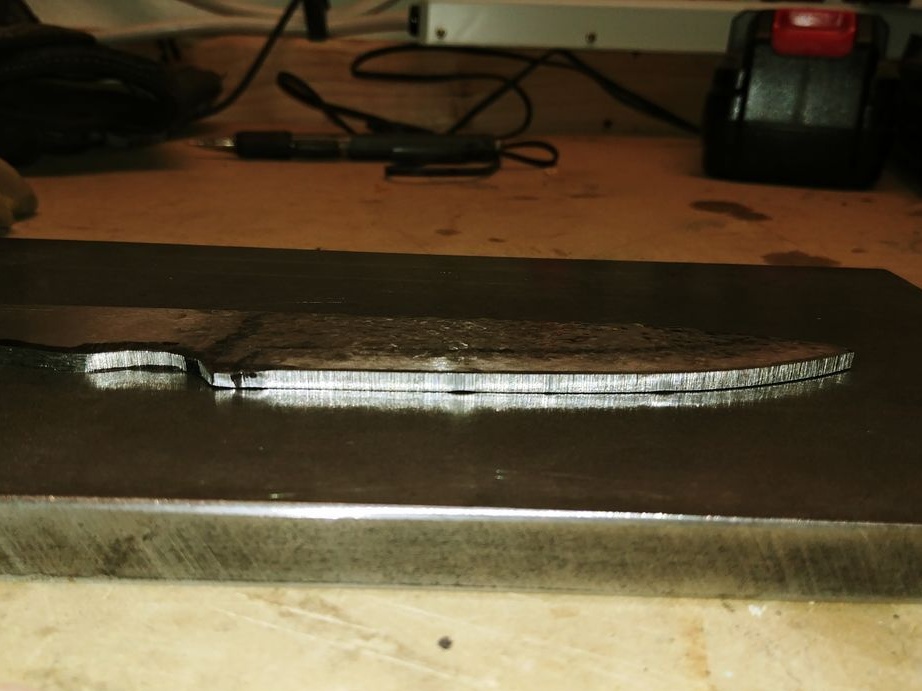
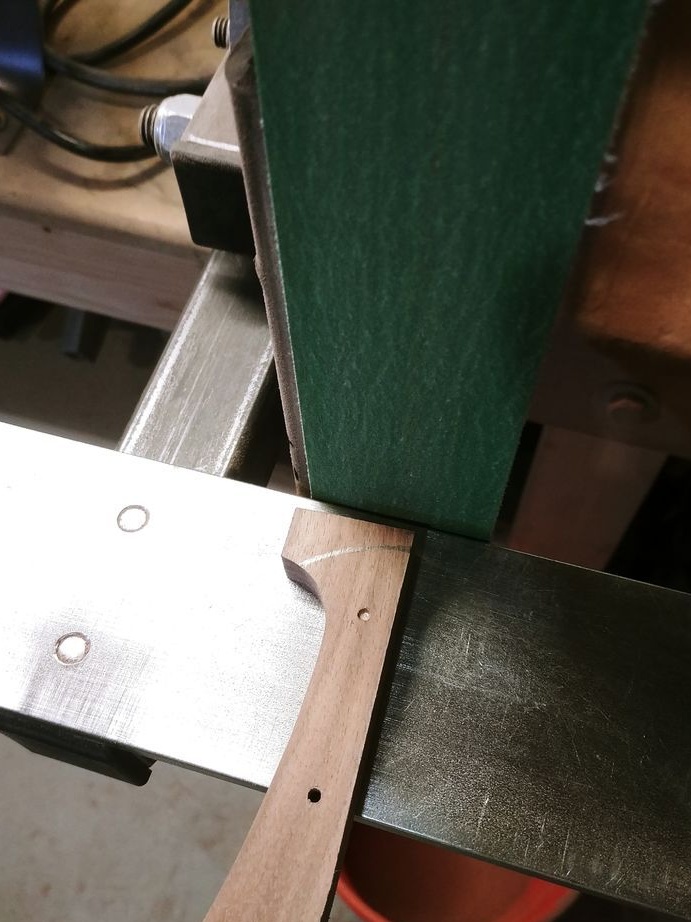
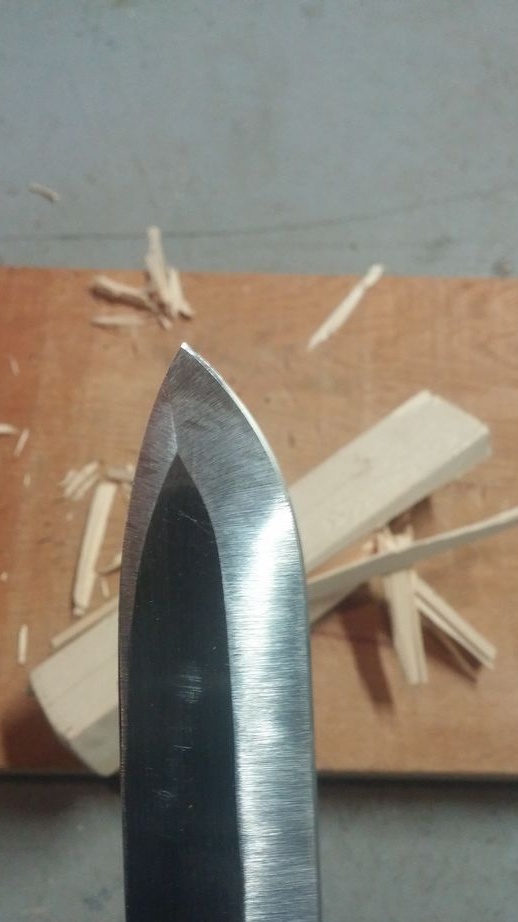
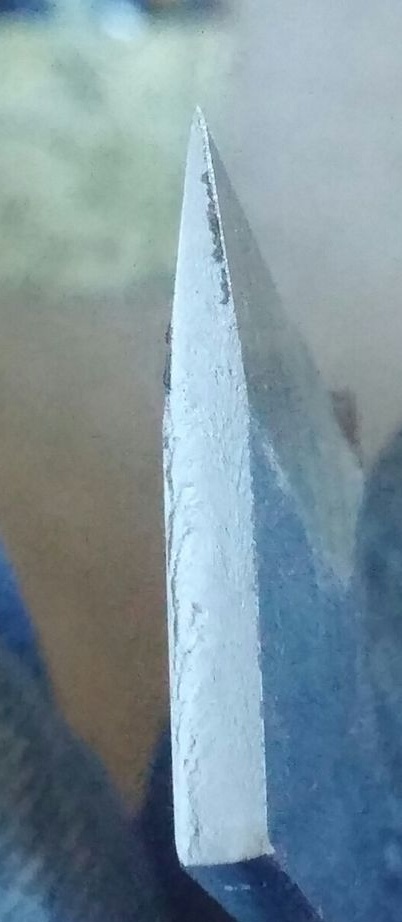
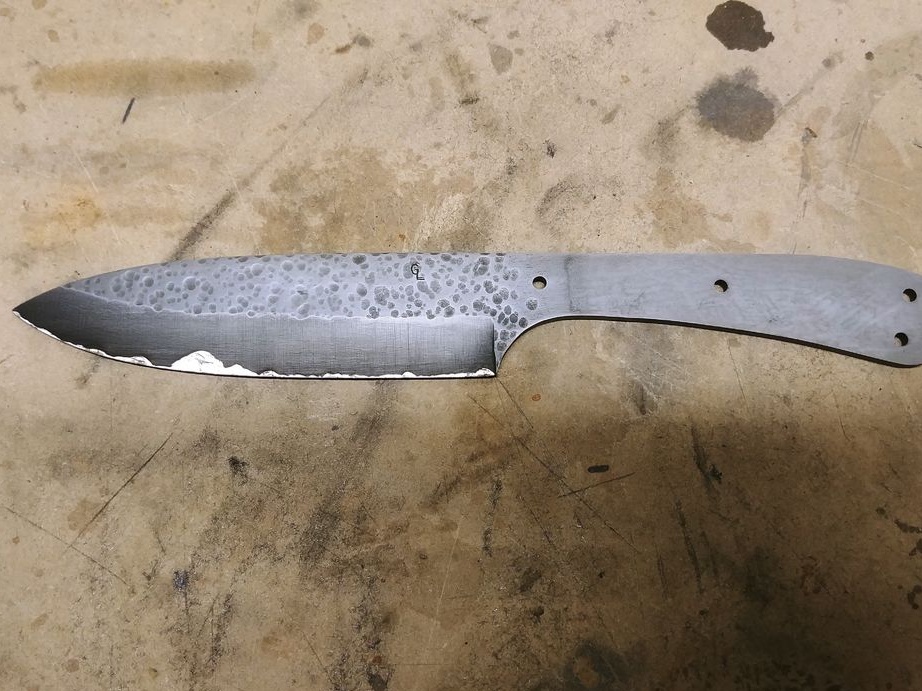
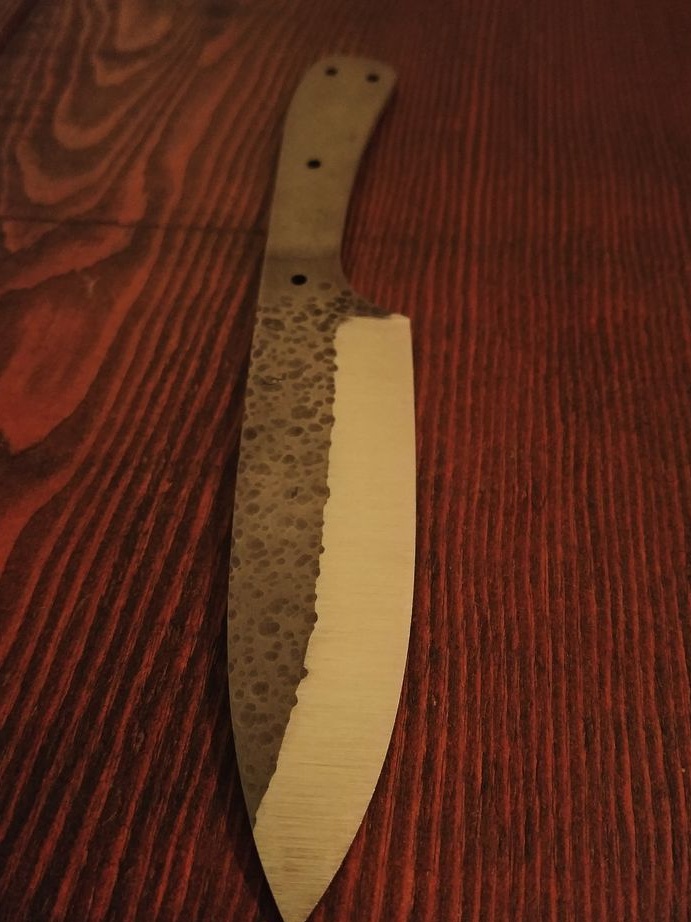
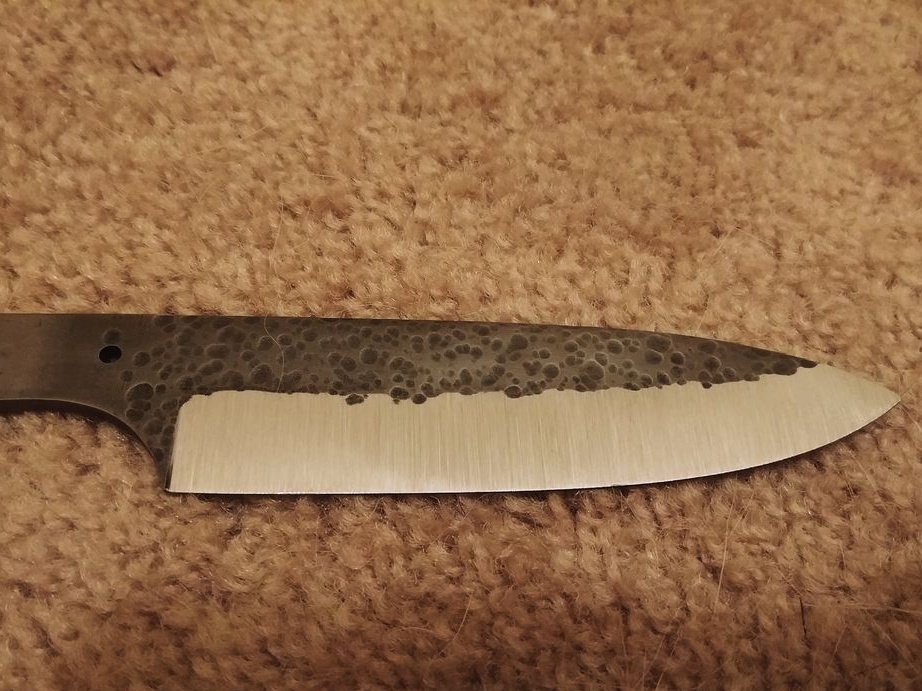
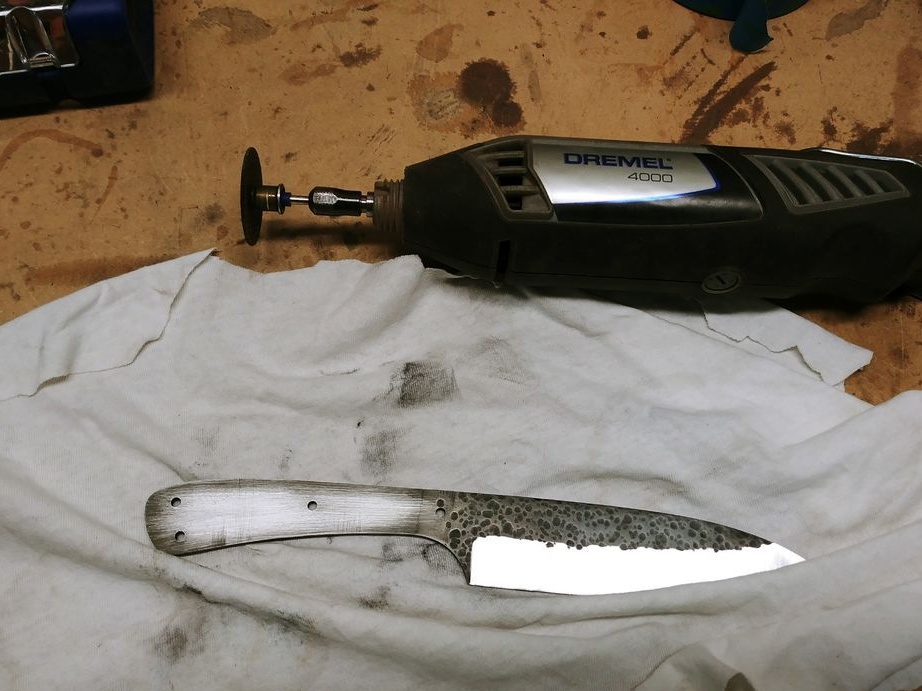
Step Three Finishing the blade
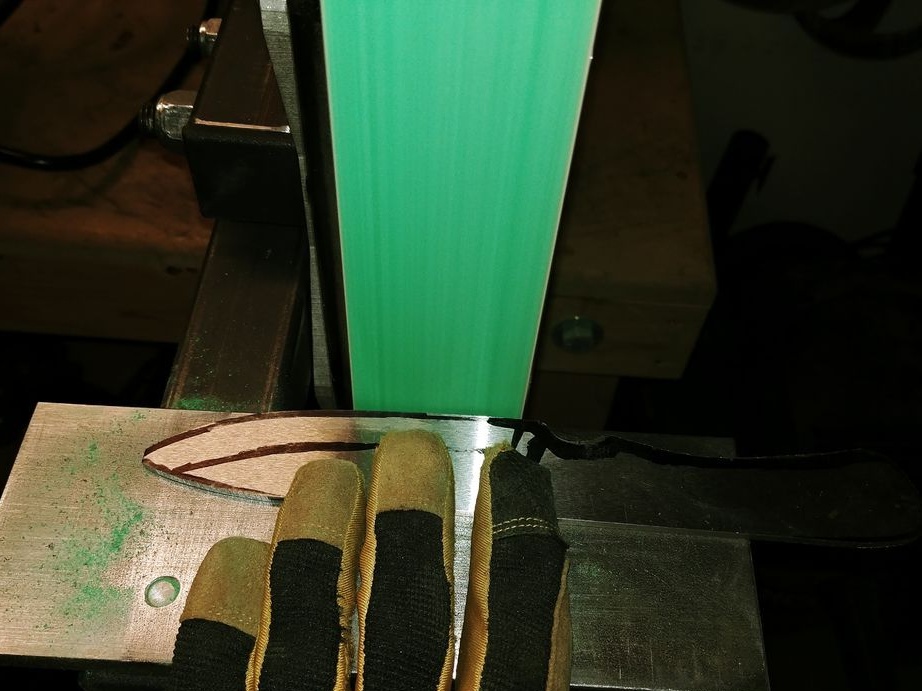
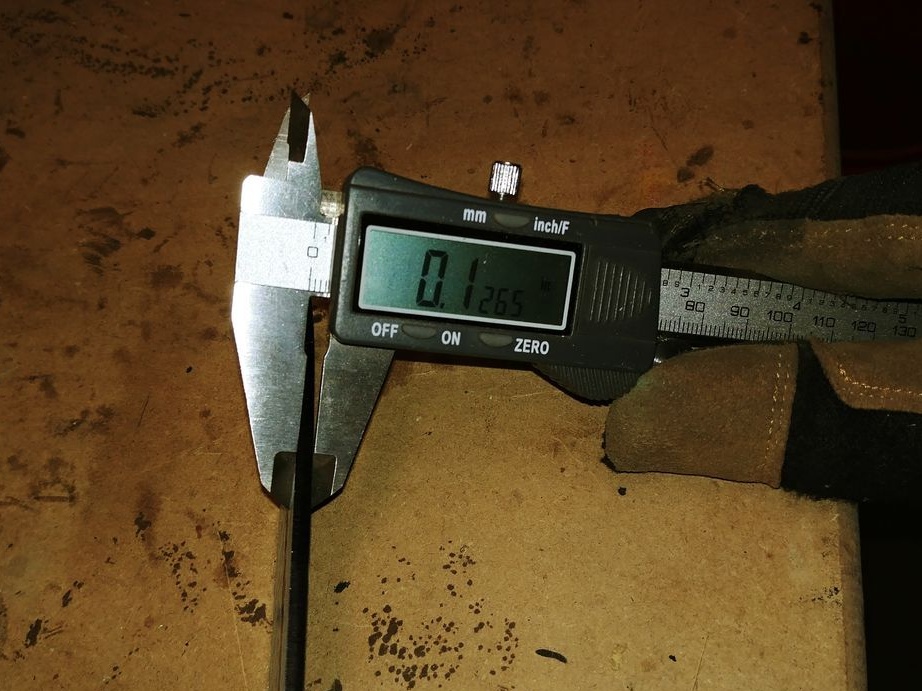
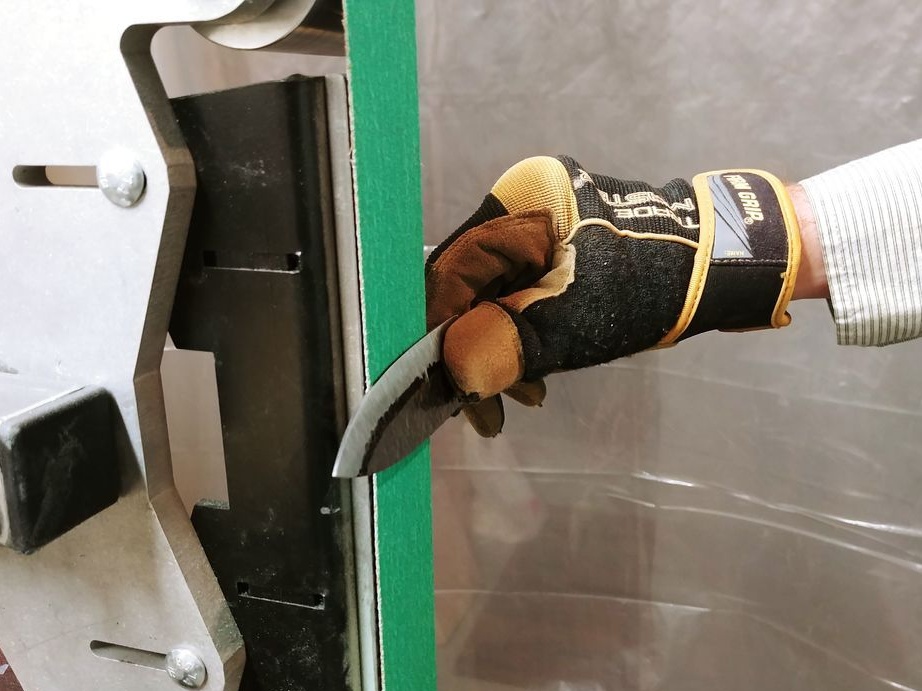
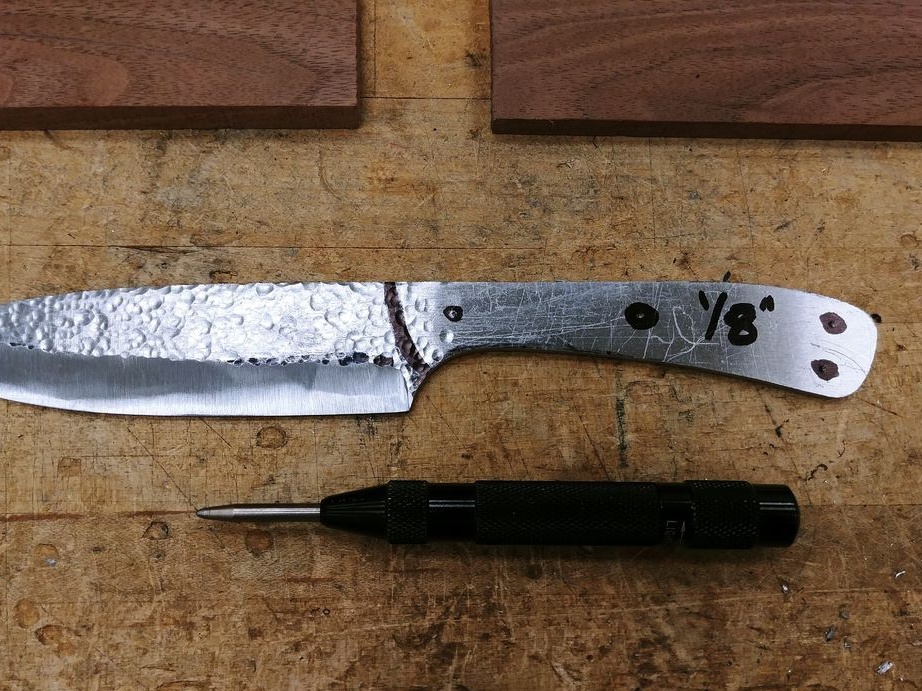
We go to the belt sander and form the bevels. The main thing here is not to rush and do everything carefully.If the metal begins to darken, then it overheats, it is better to avoid this. Do not sharpen the blade too much, as the thin metal overheats during hardening.
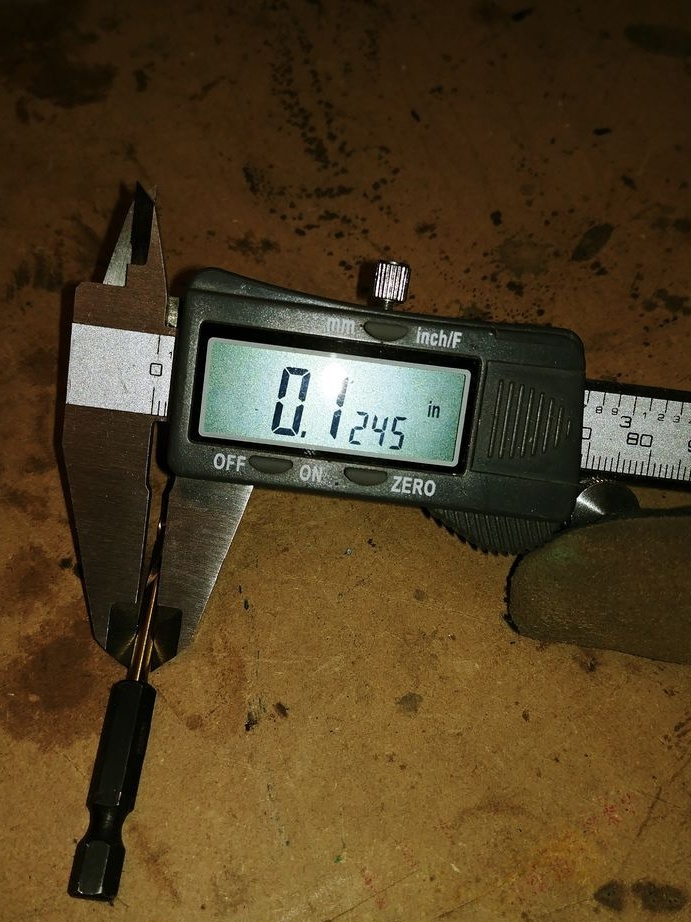
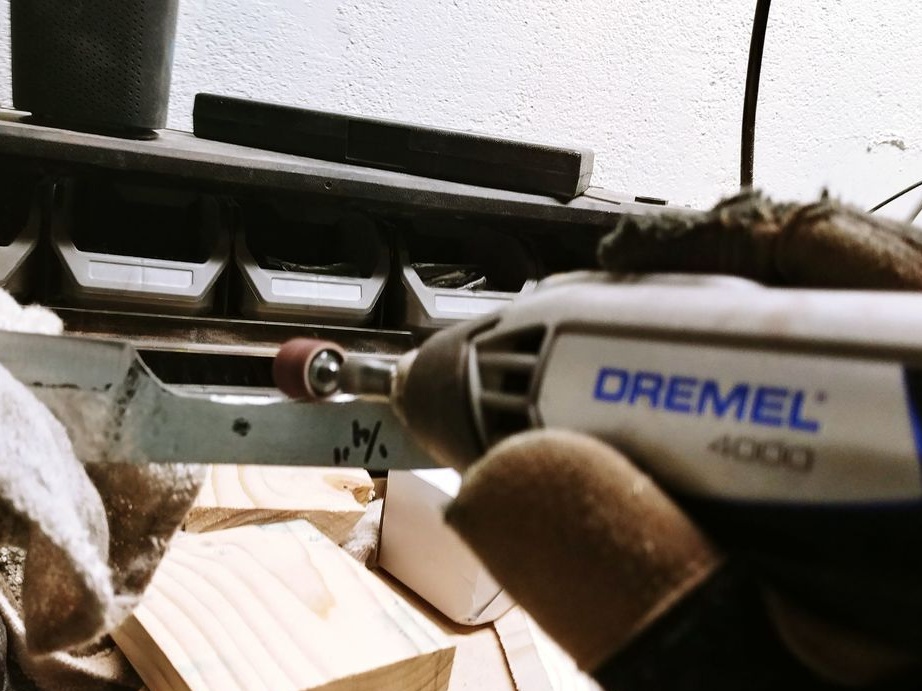
At the end we come along a profile with a drill with a grinding nozzle.
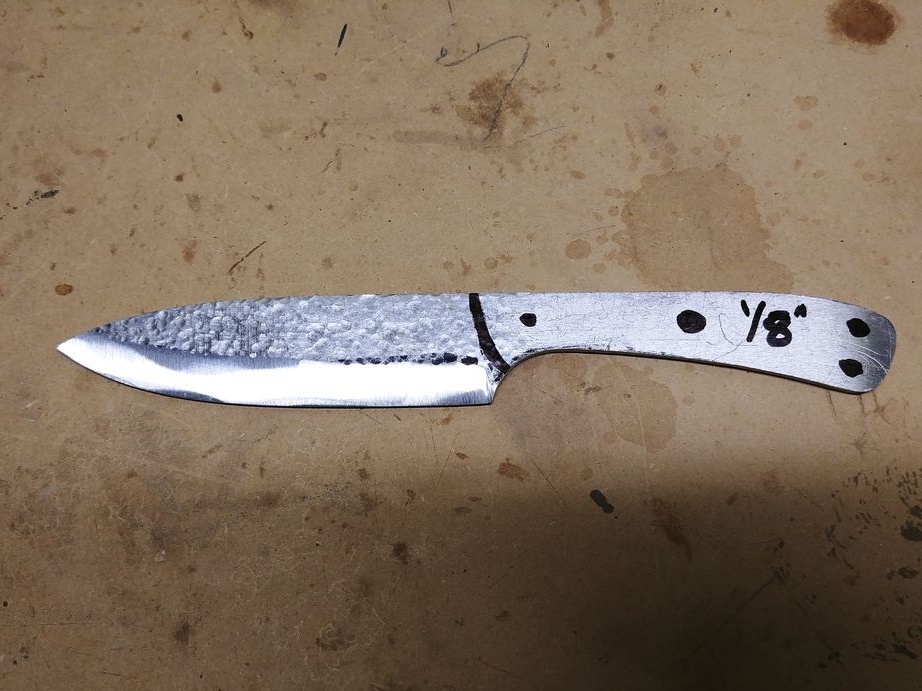
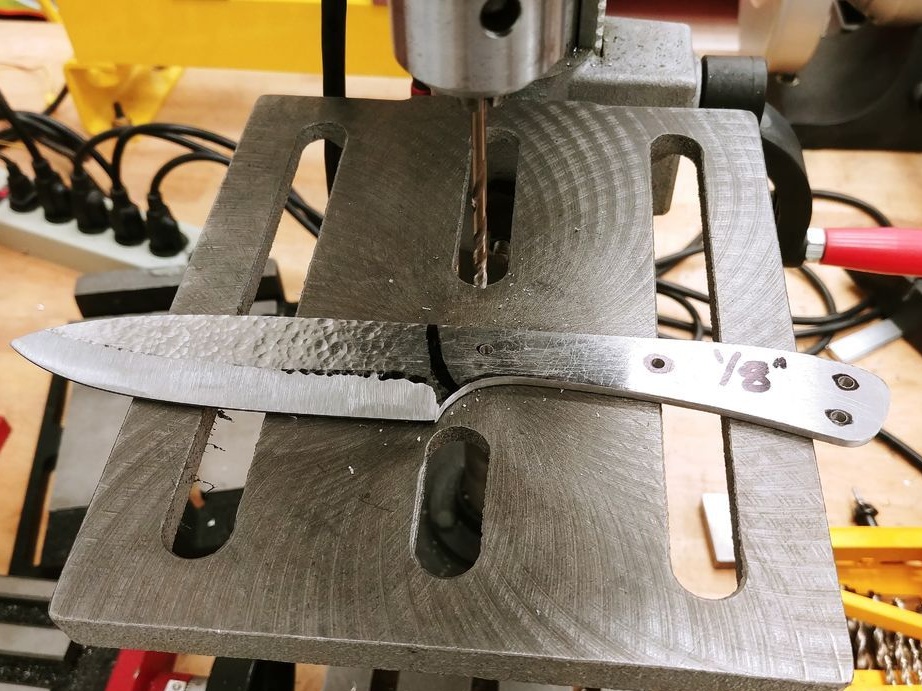
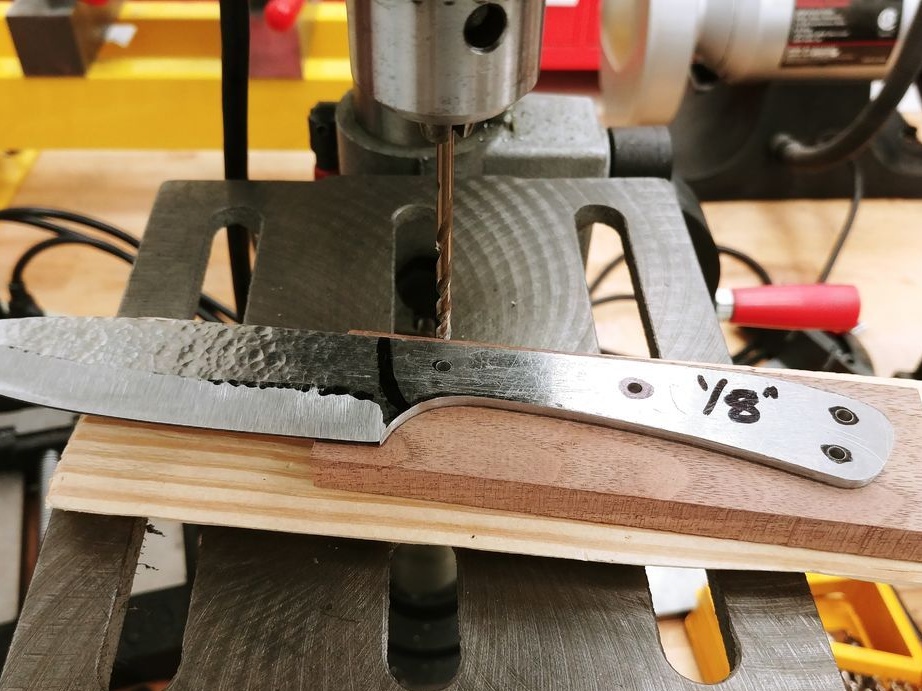
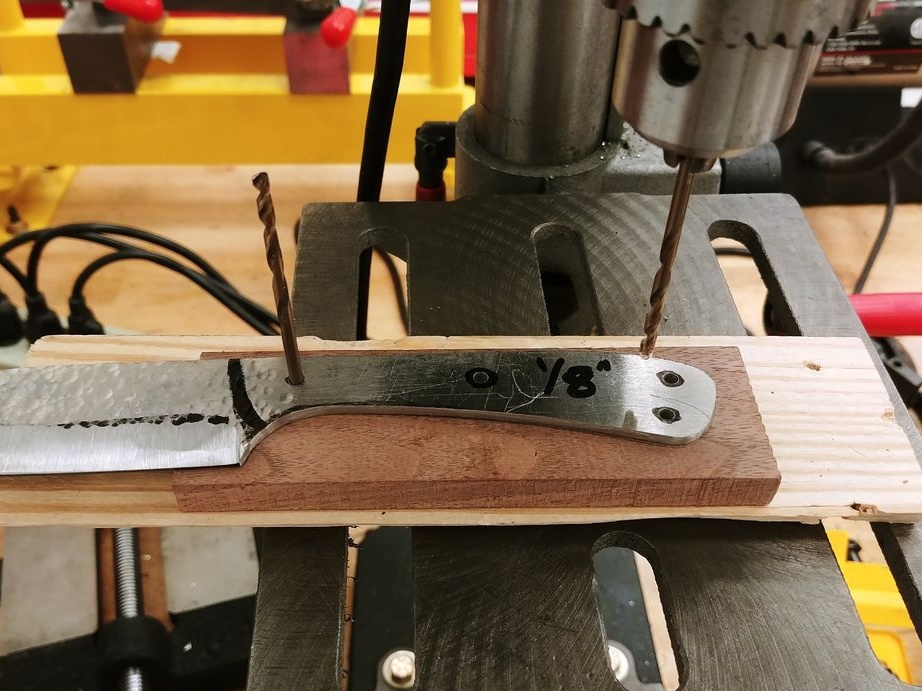
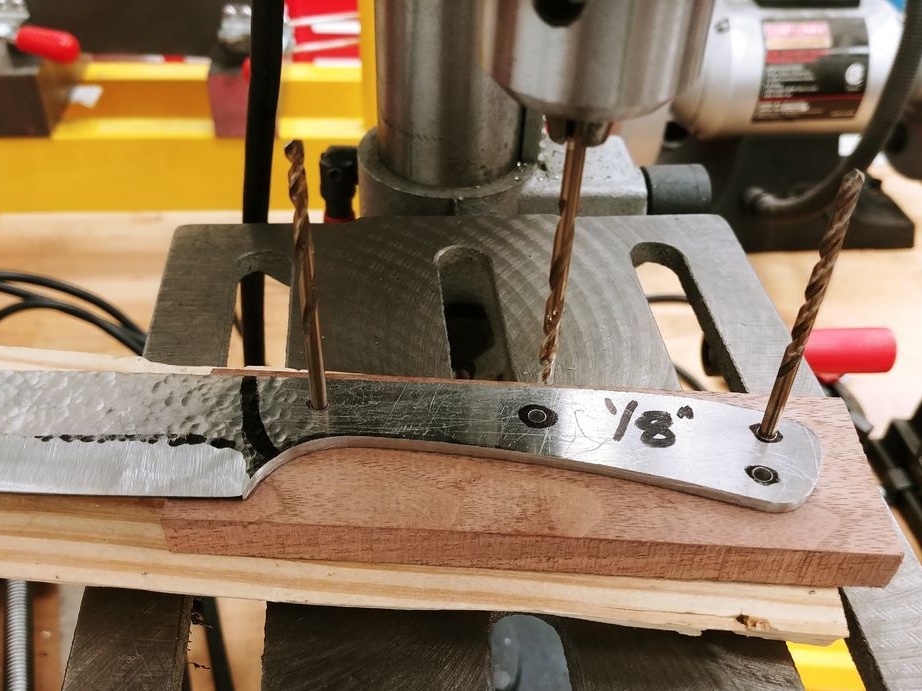
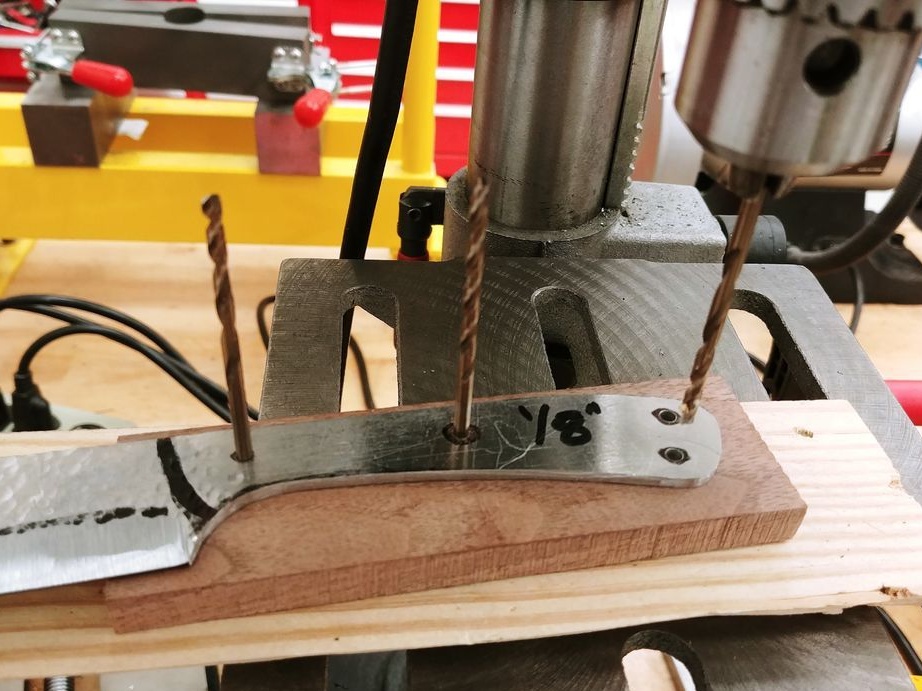
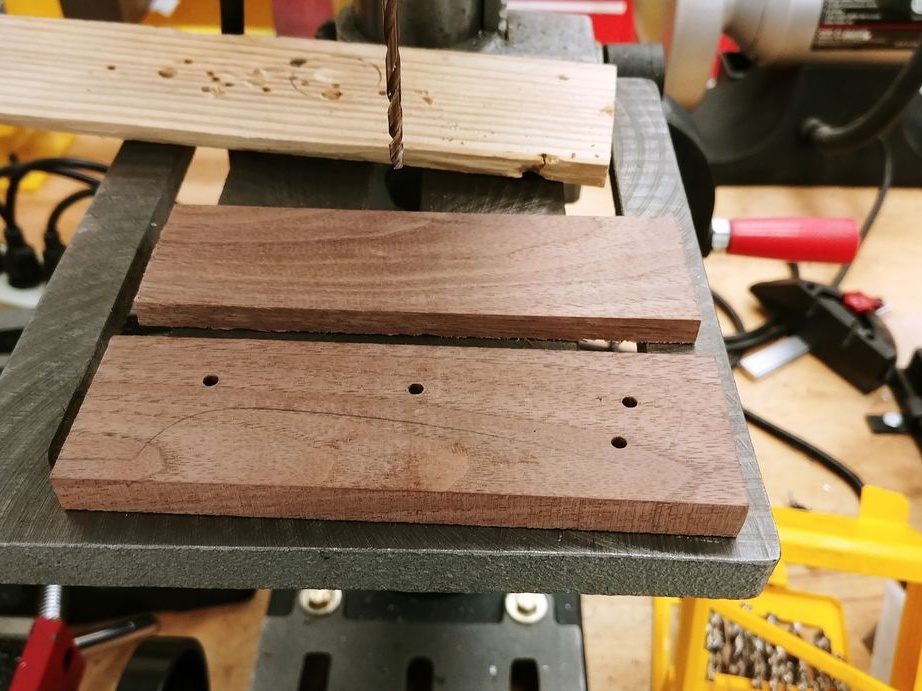
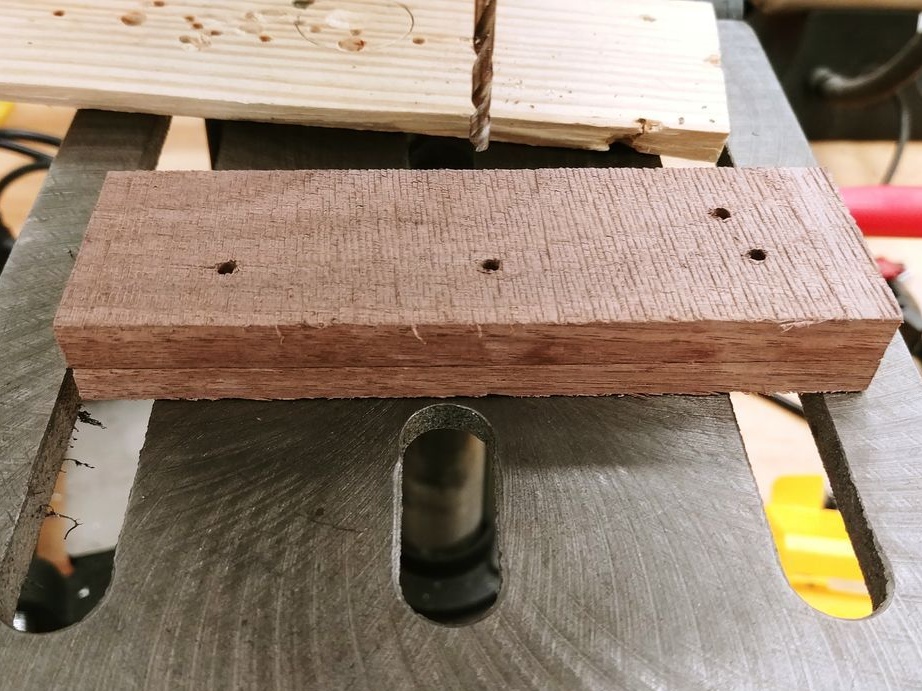
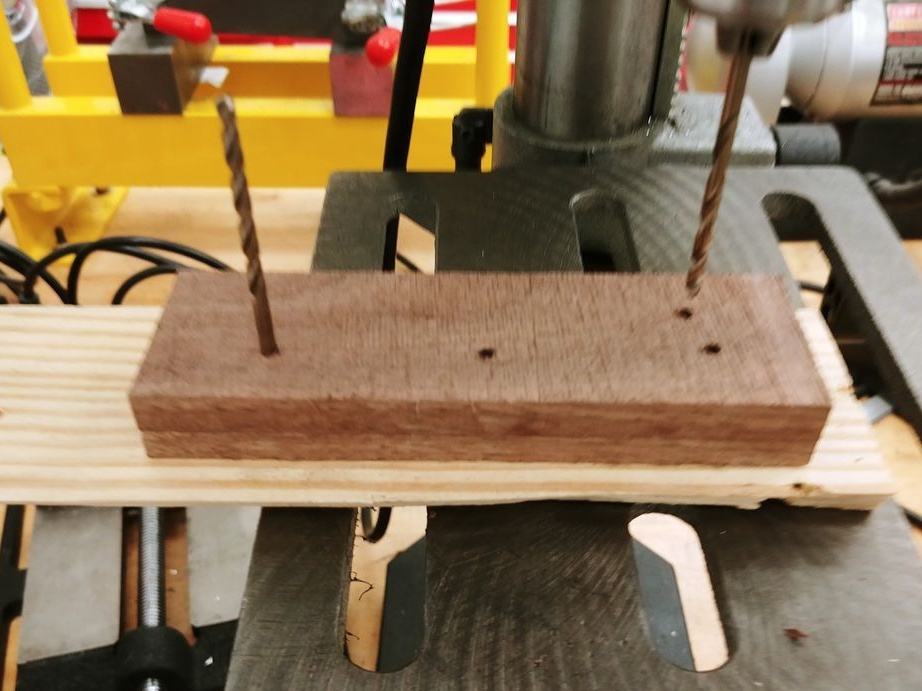
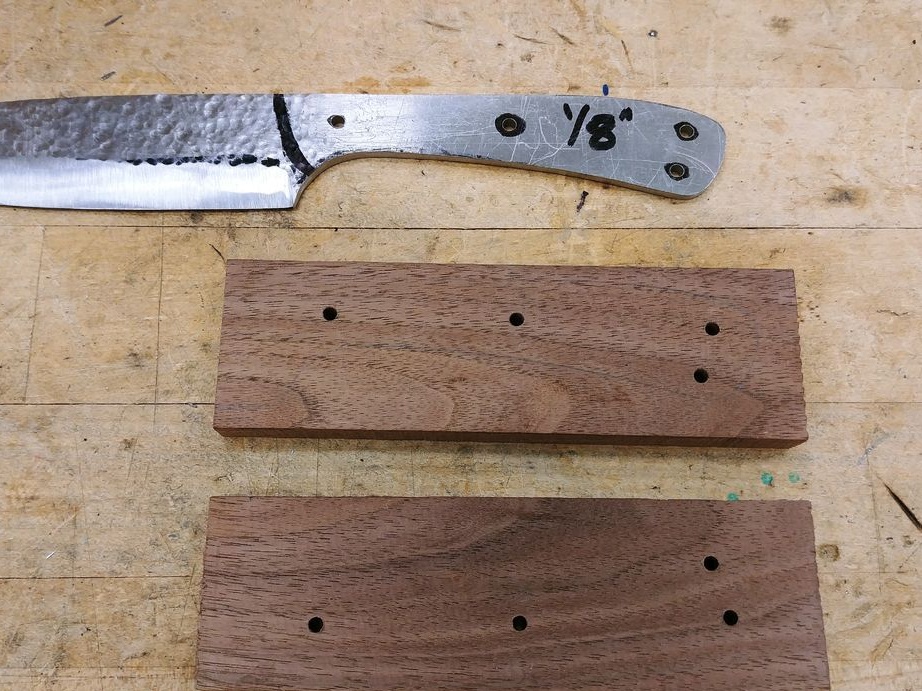
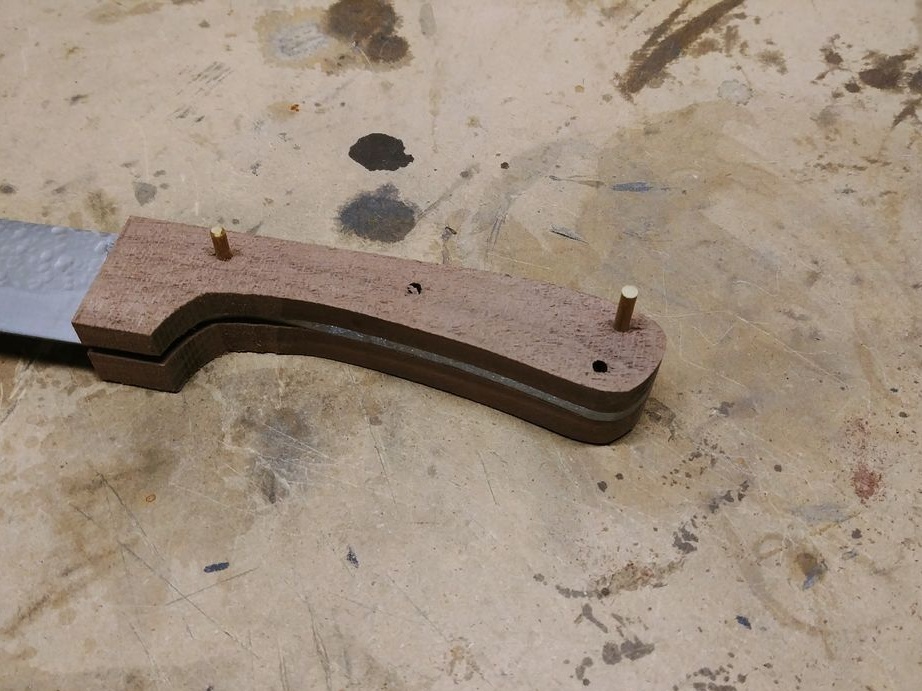
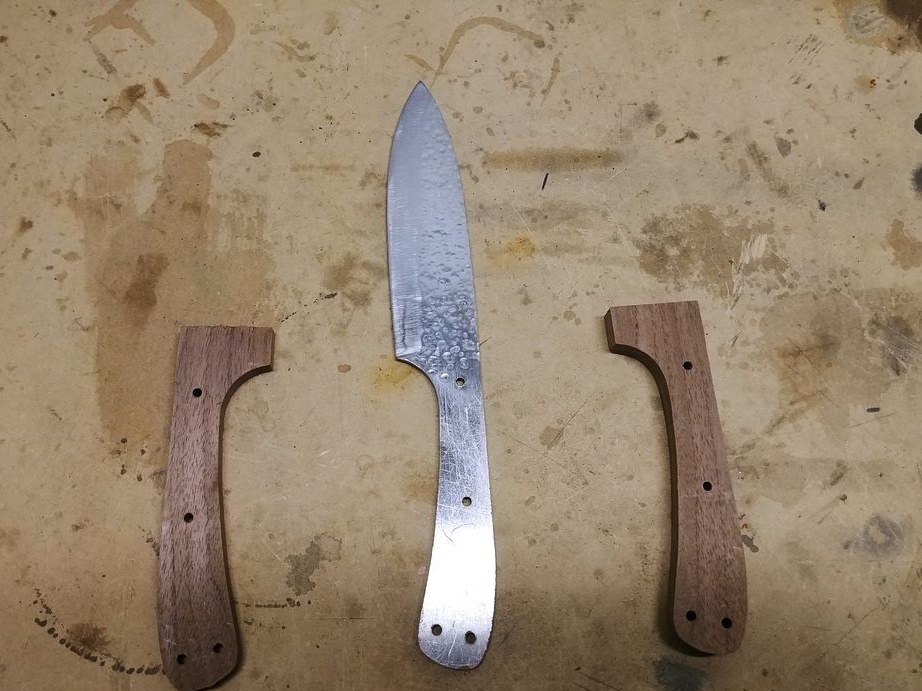
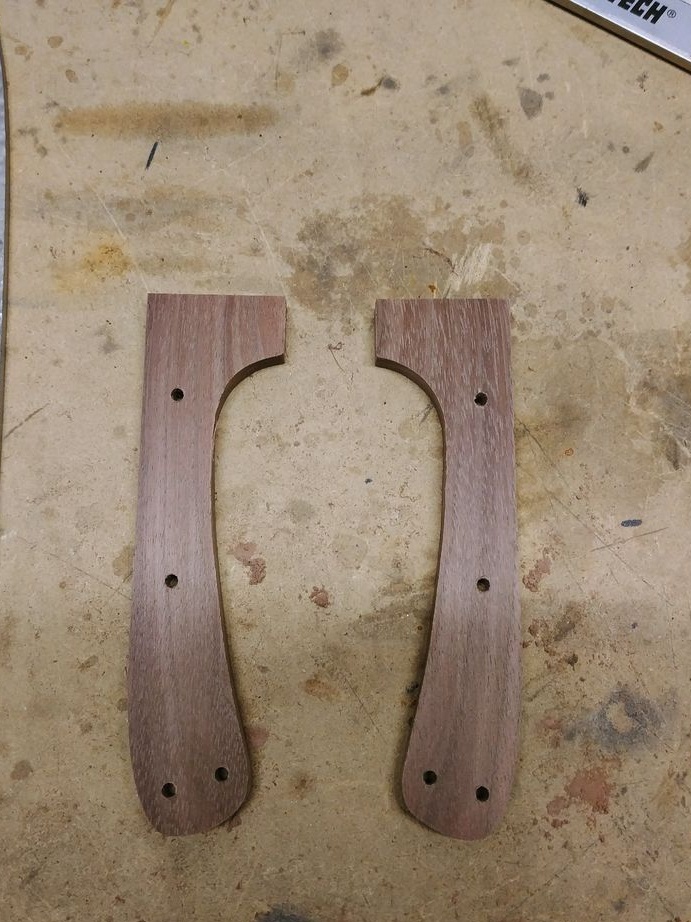
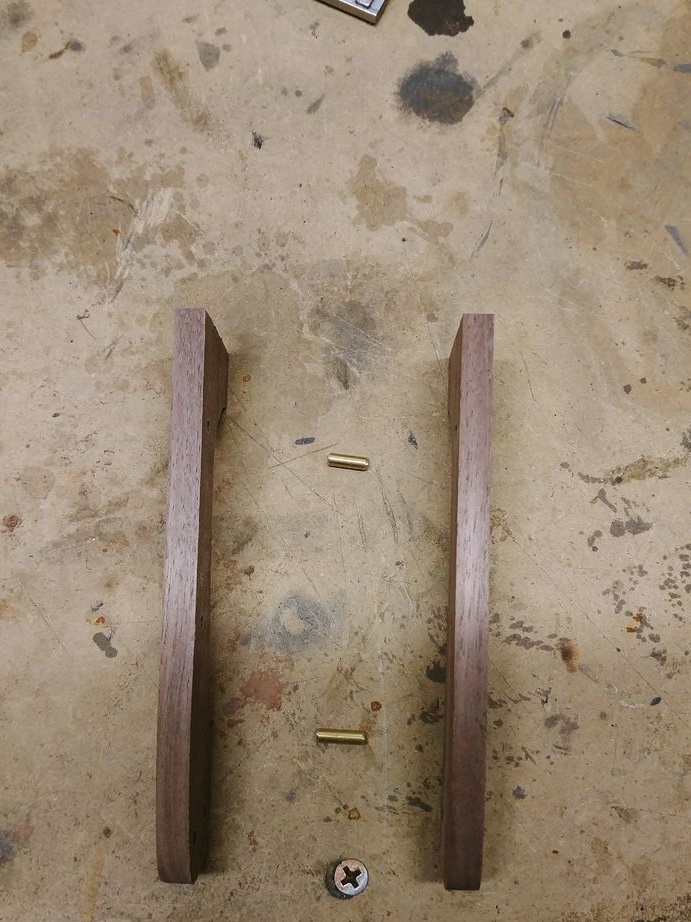
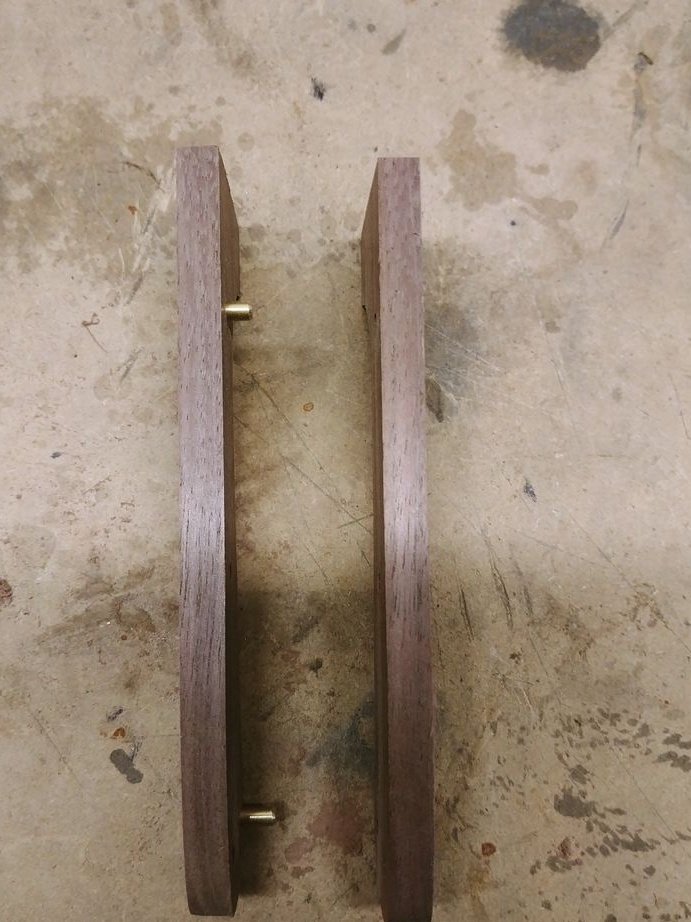
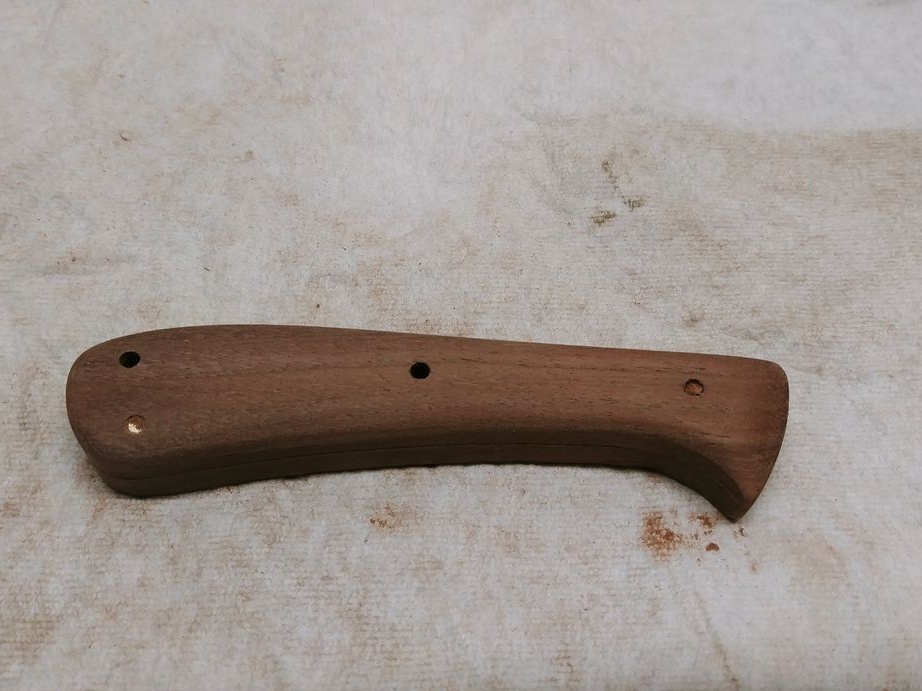
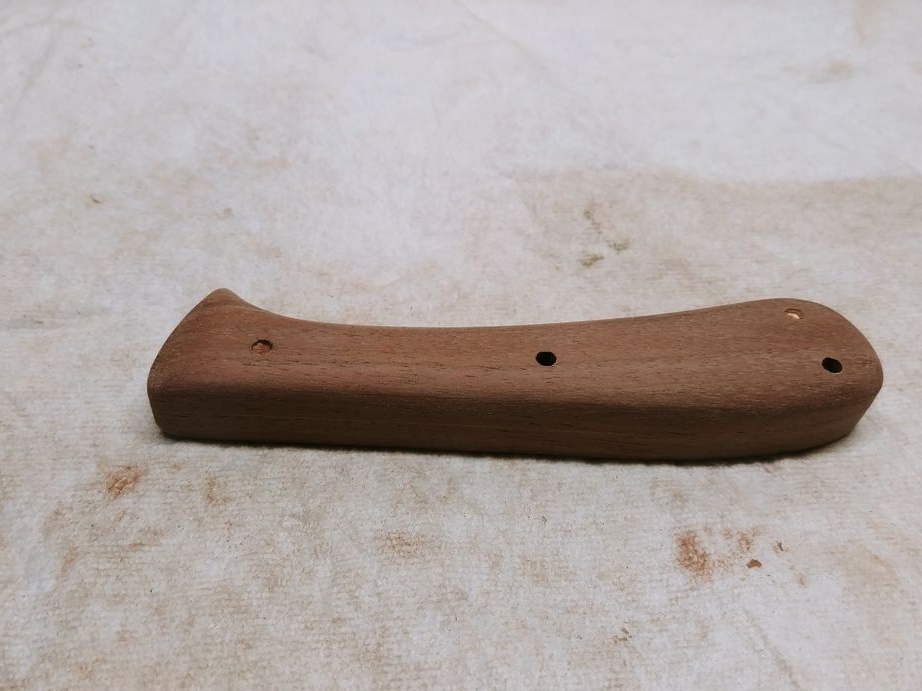
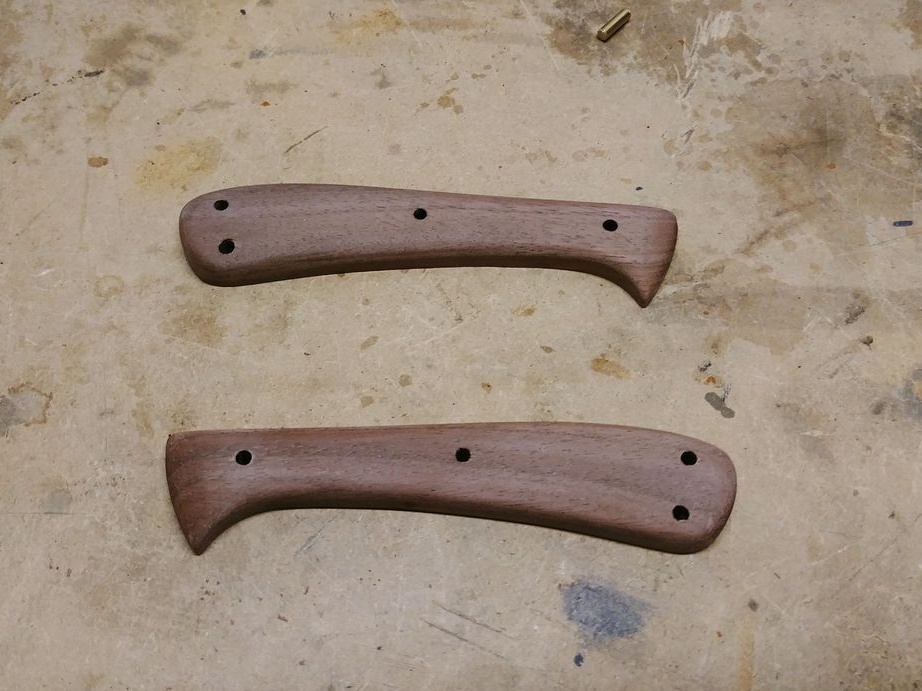
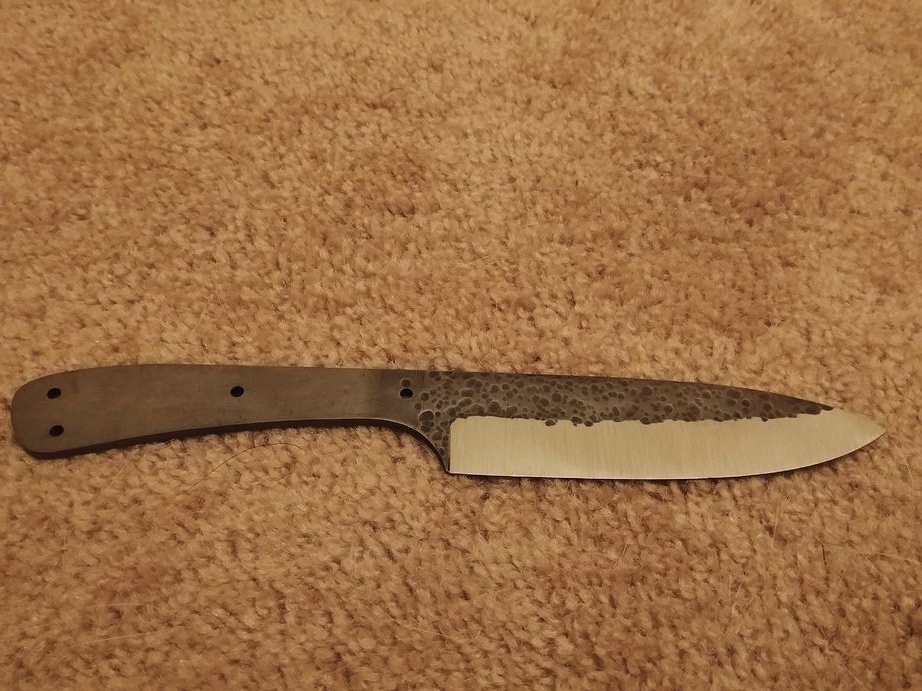
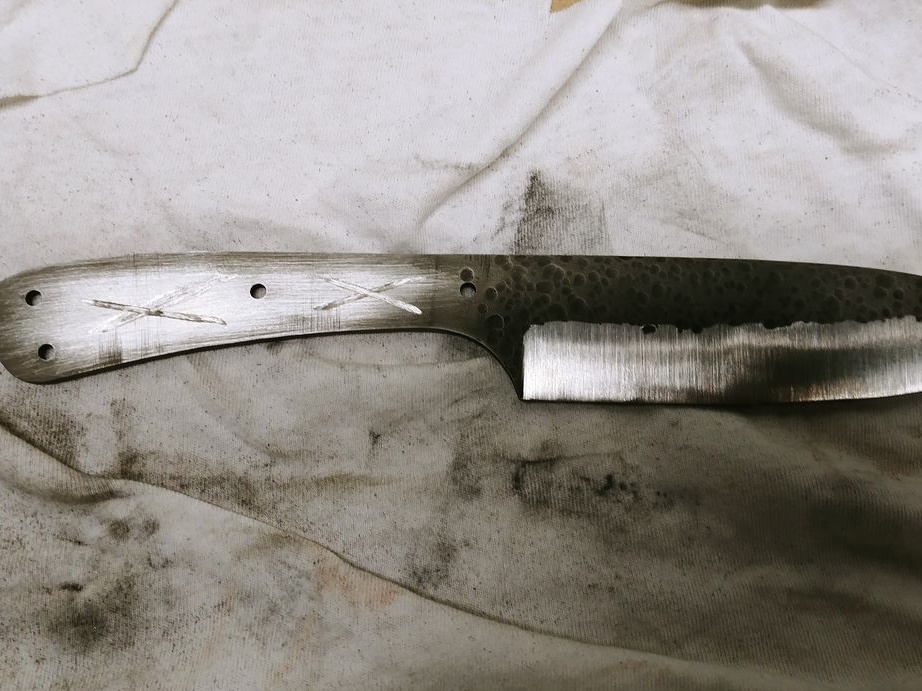
Step Four Getting to the manufacture of linings
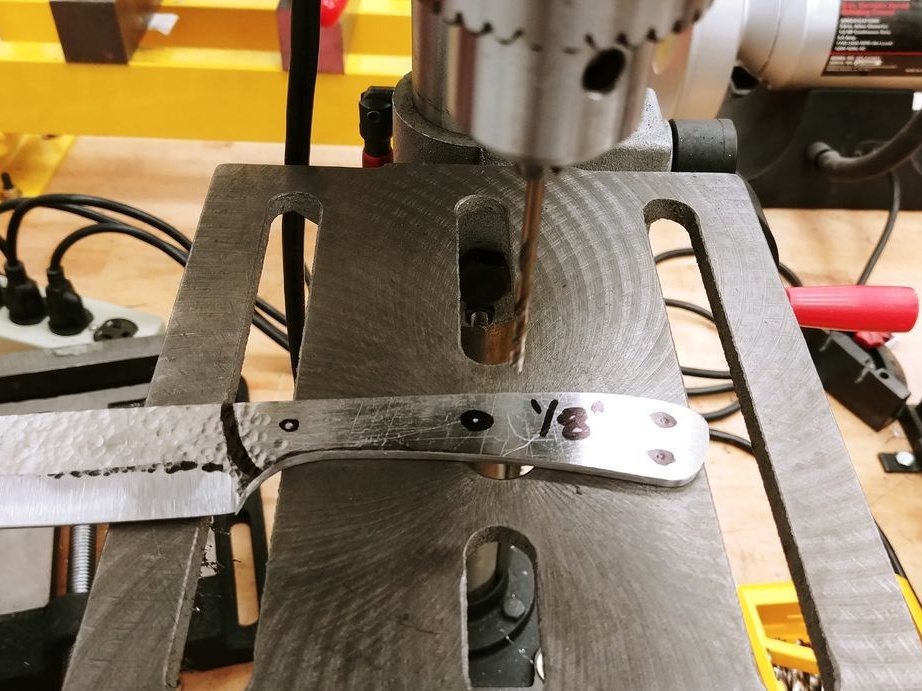
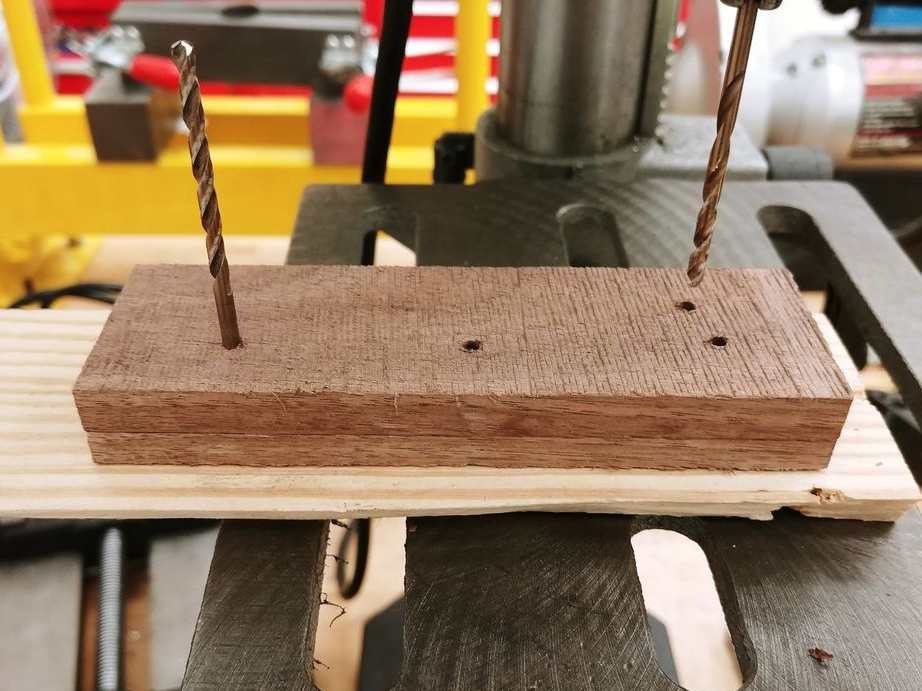
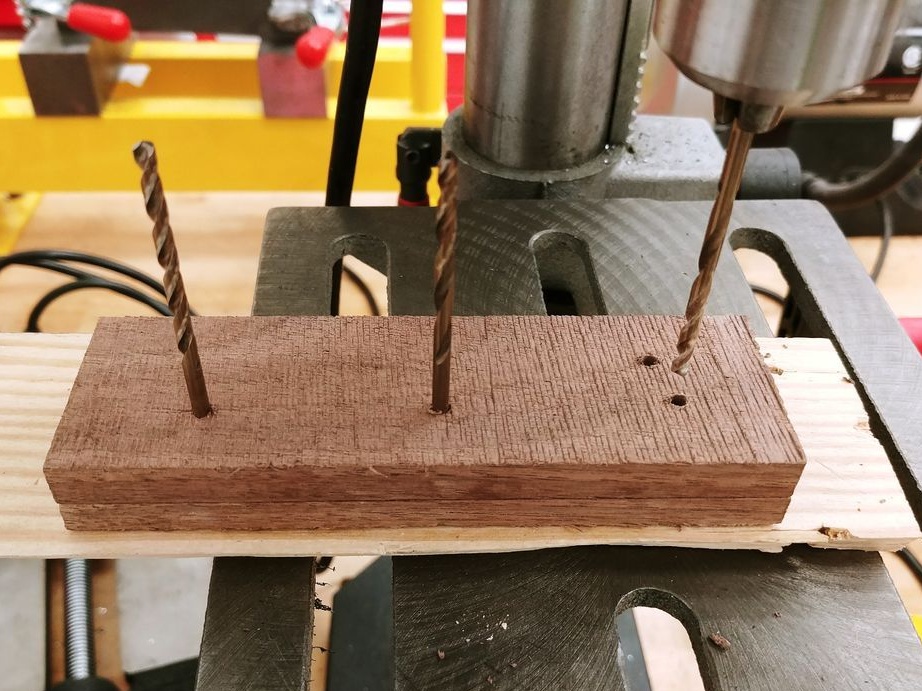
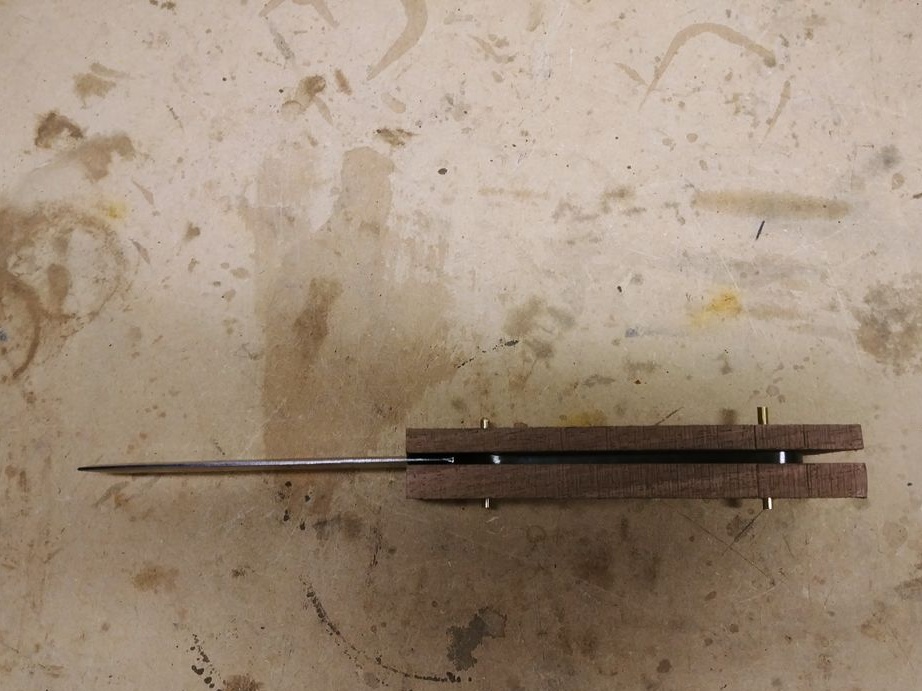
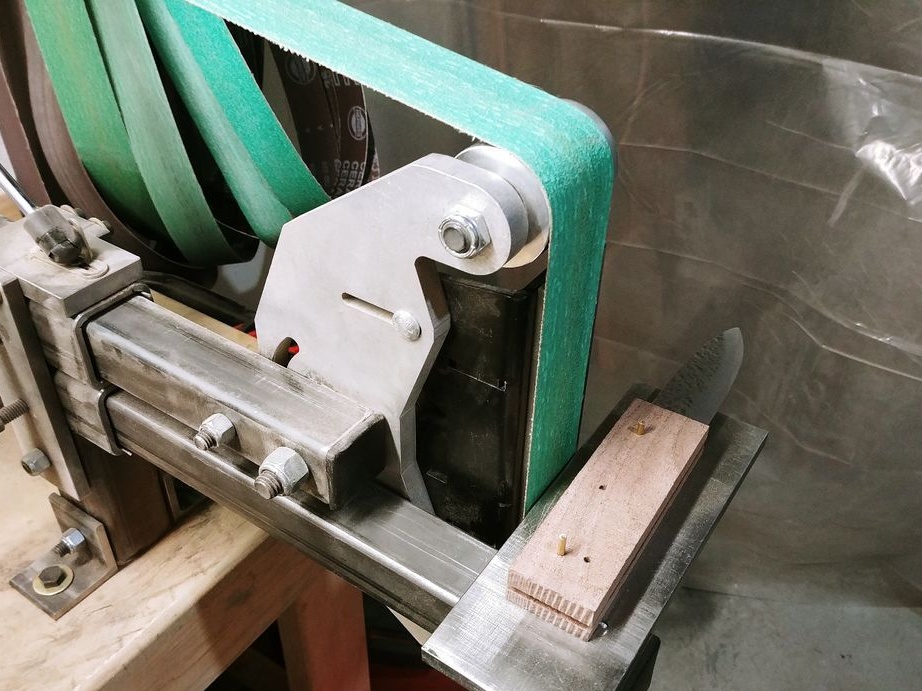
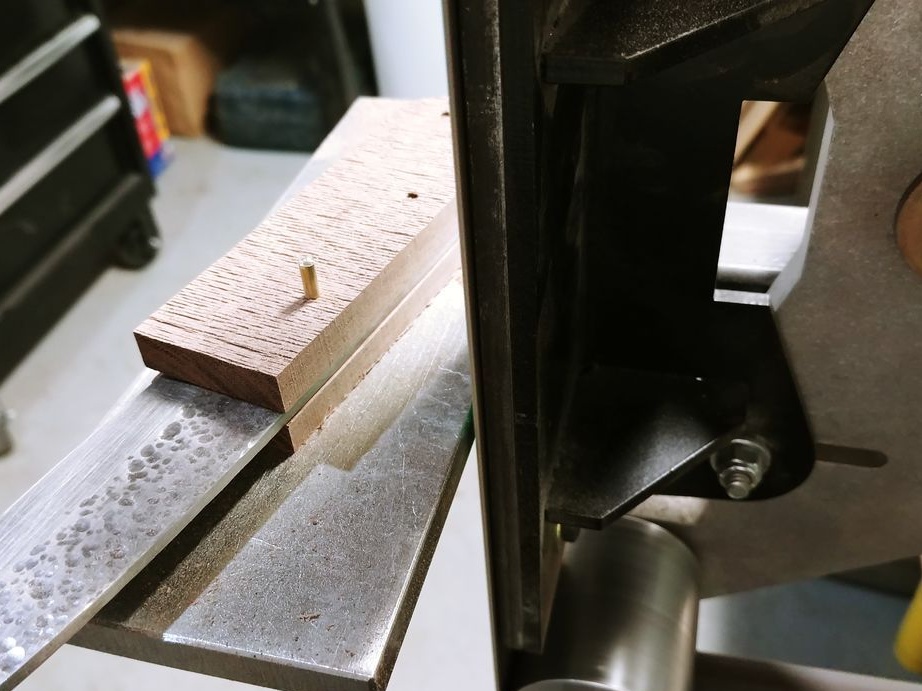
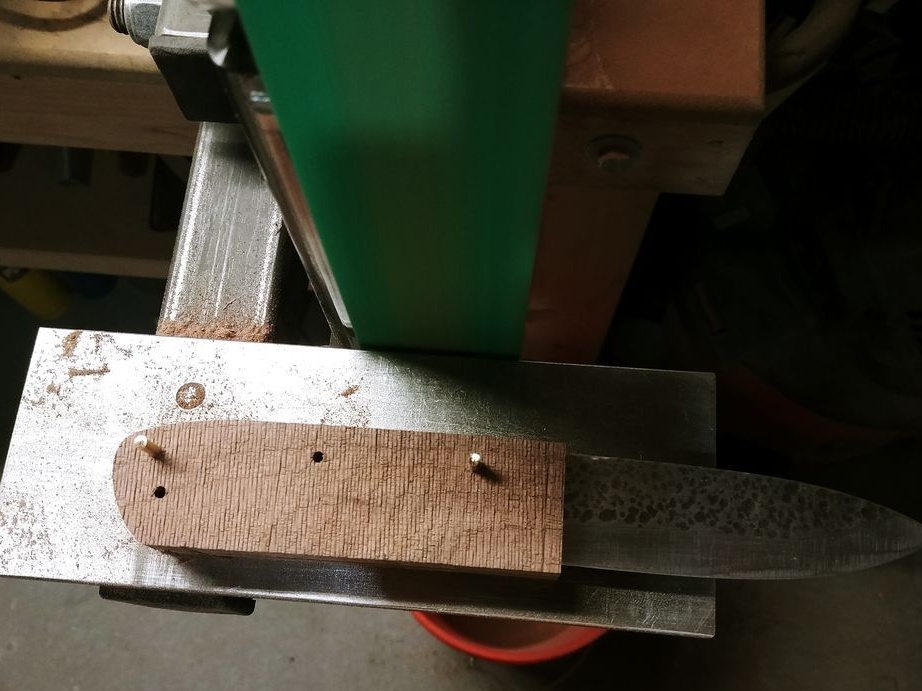
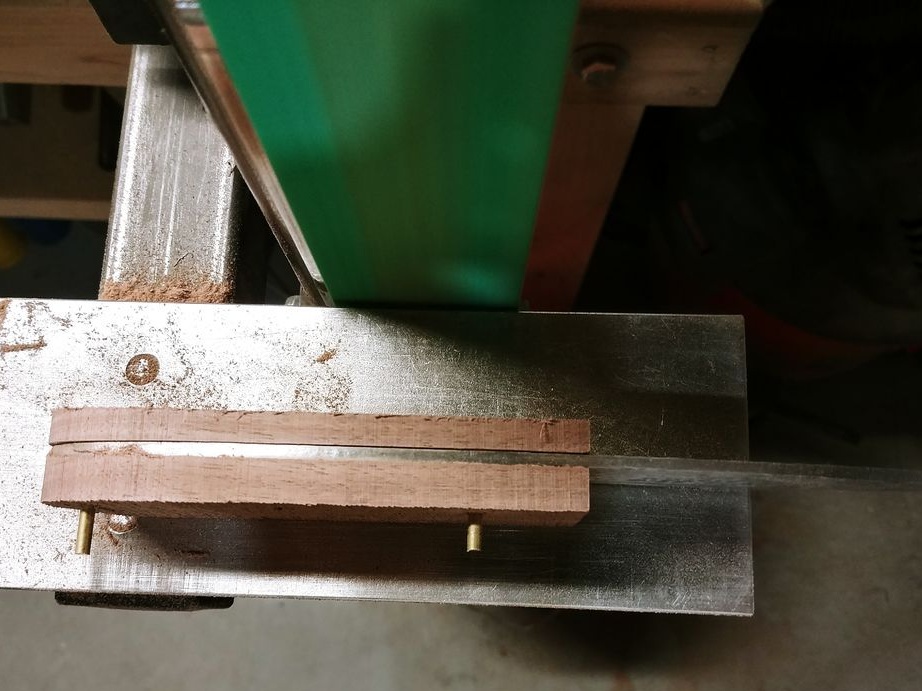
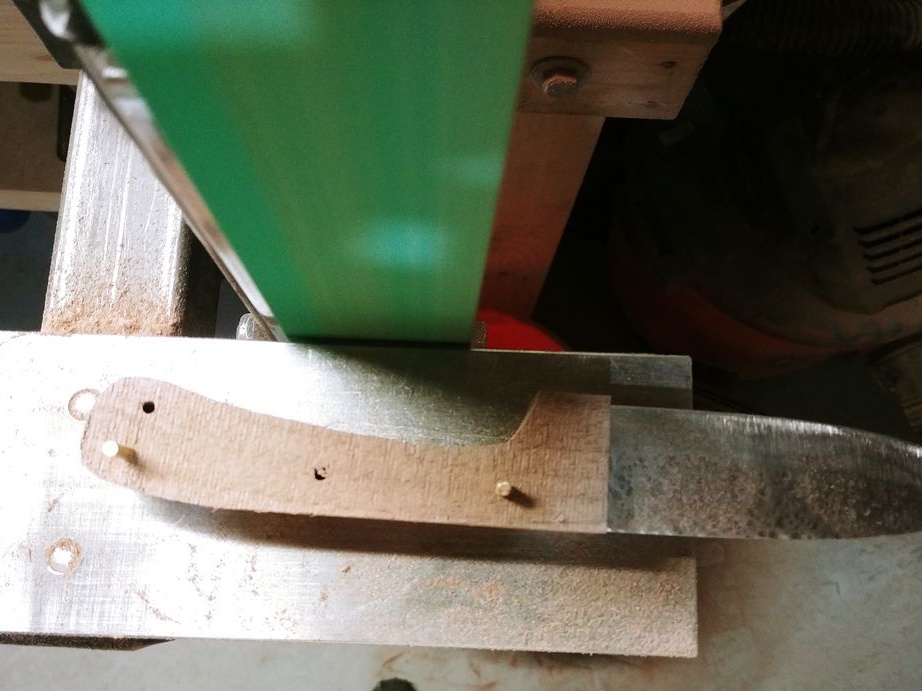
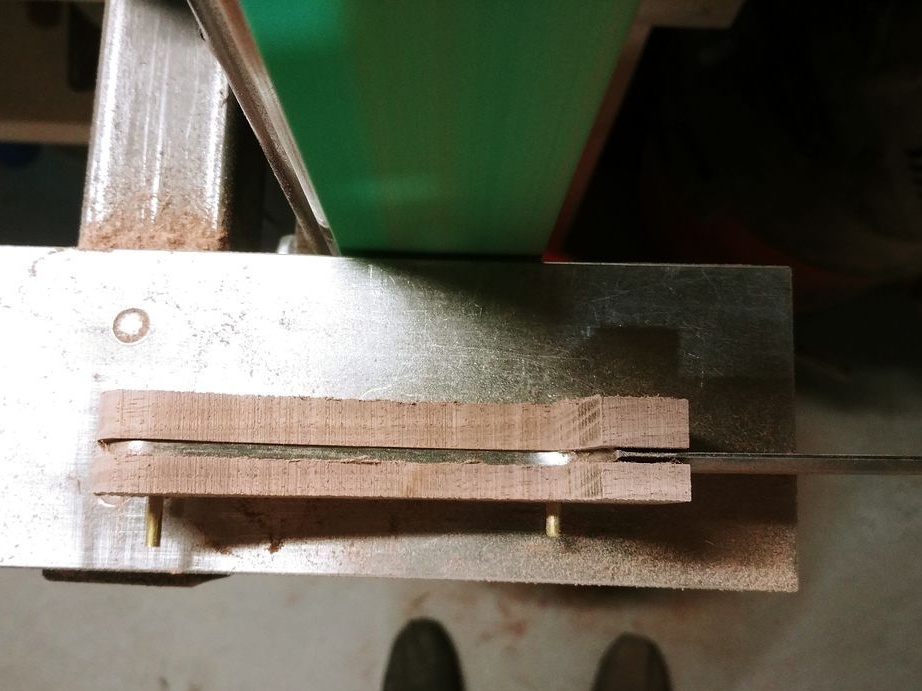
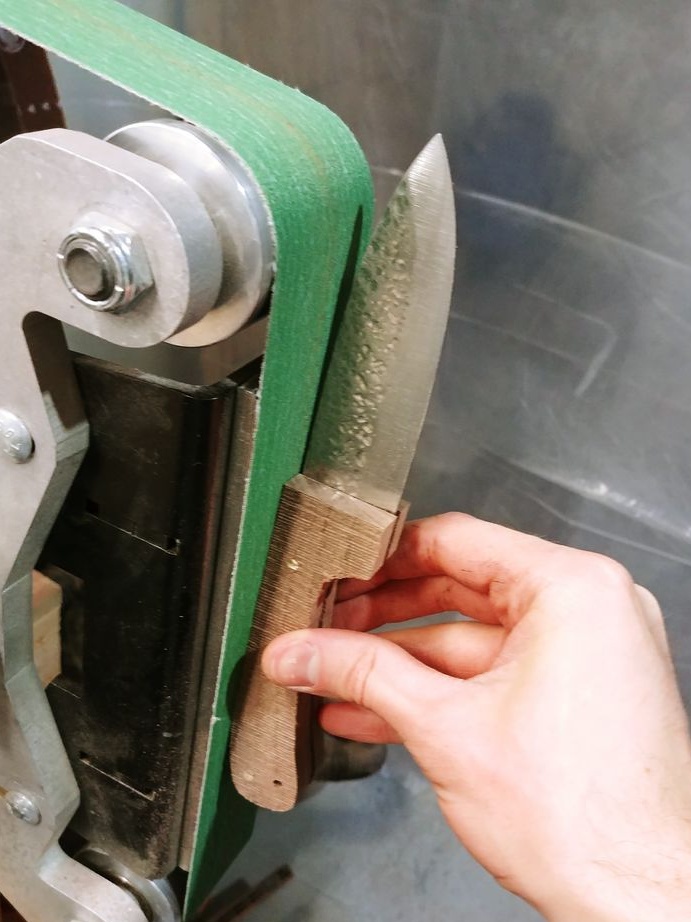
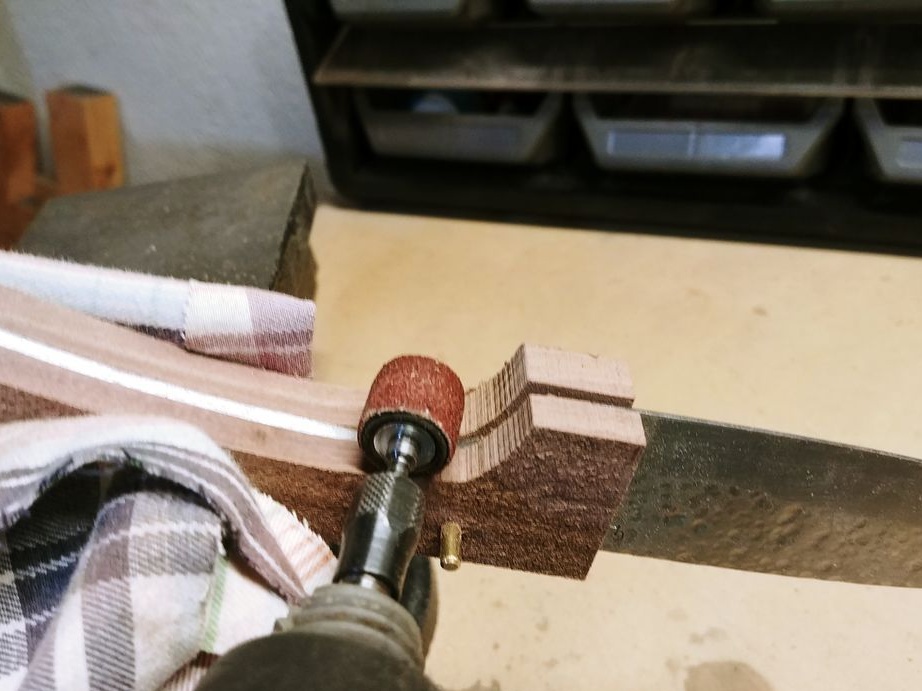
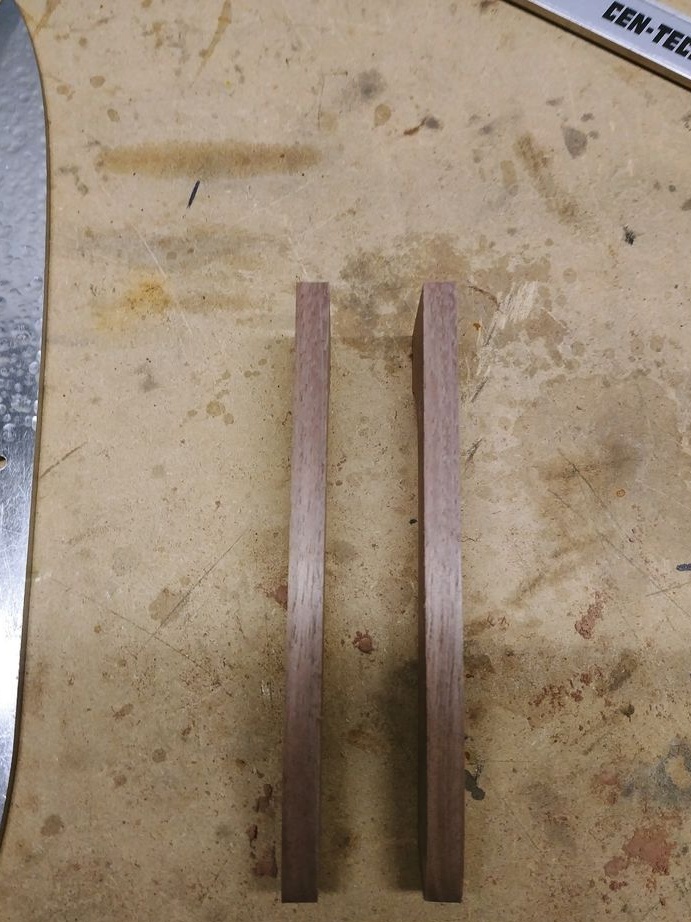
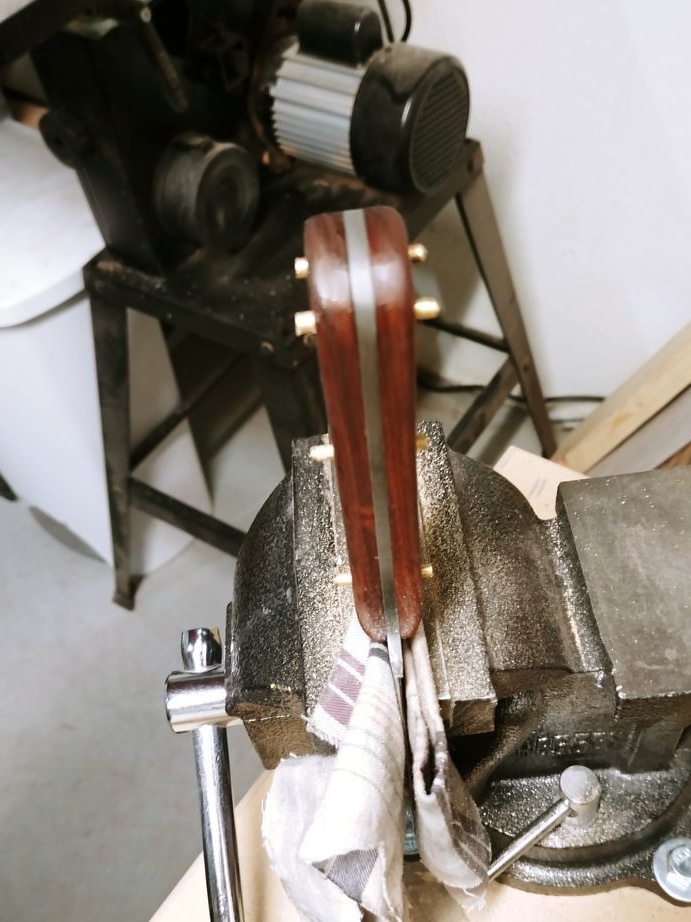
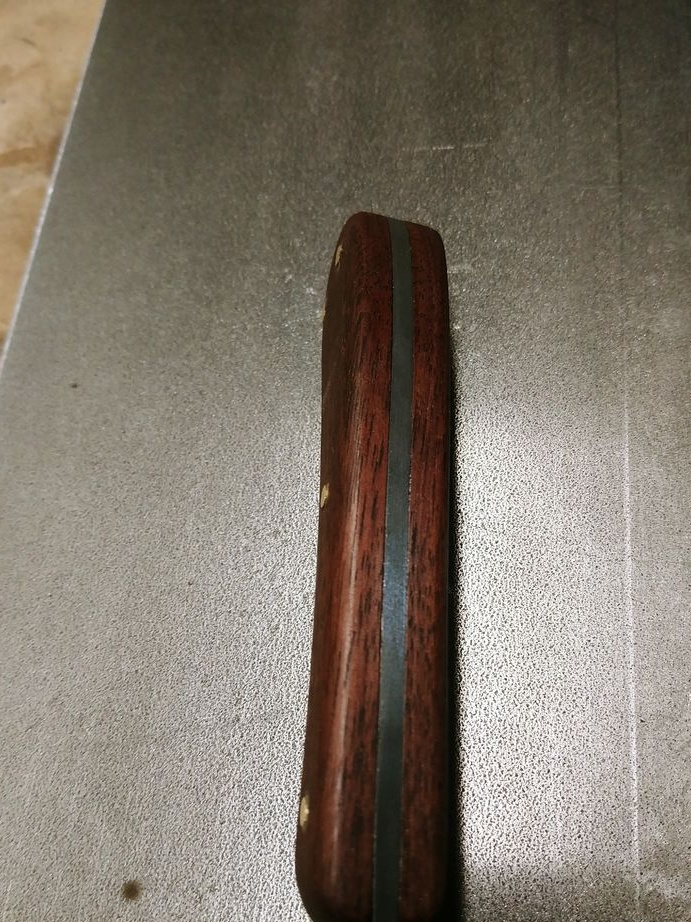
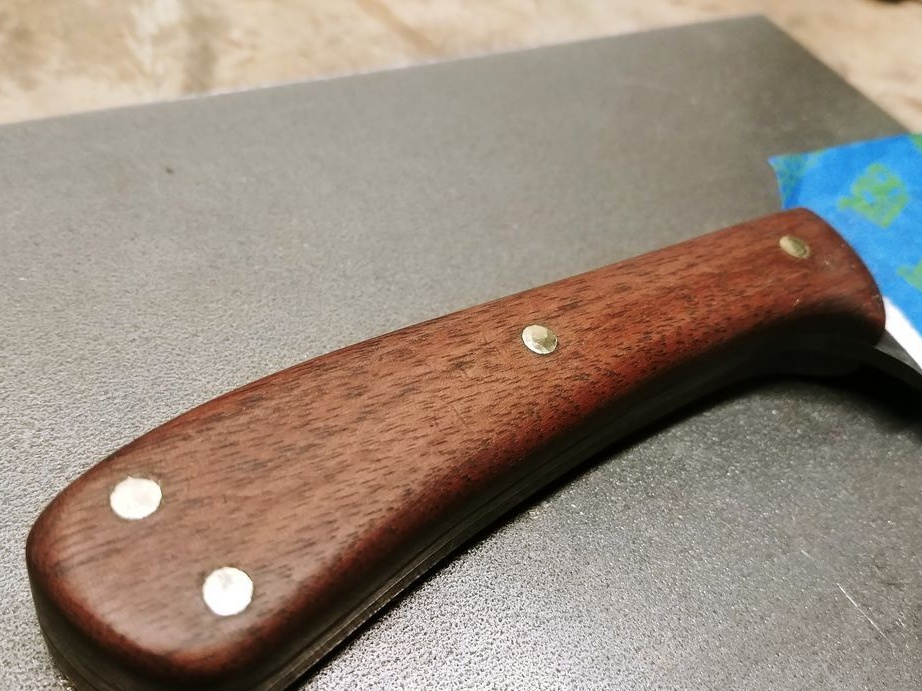
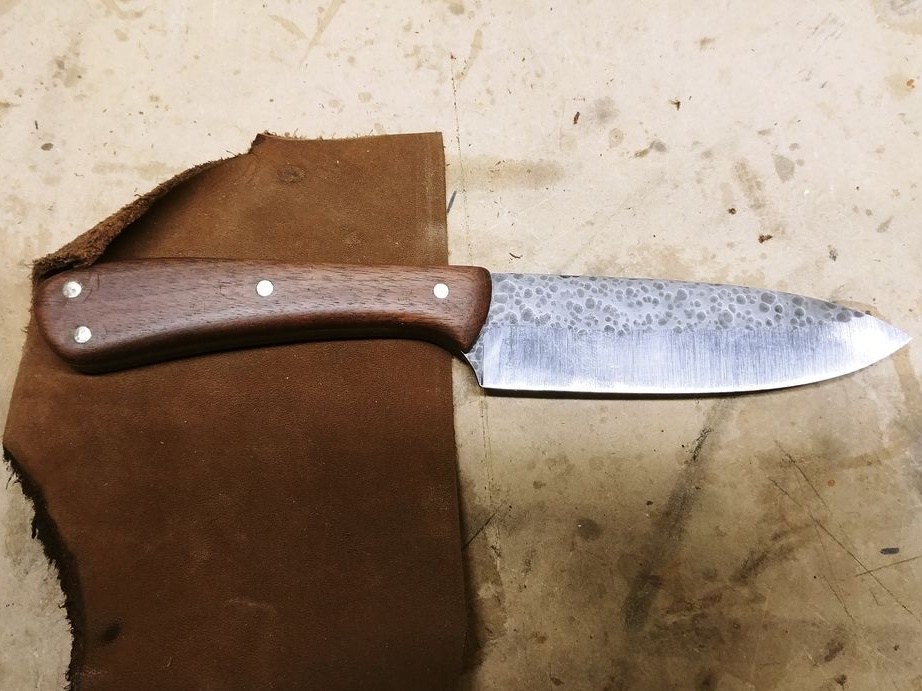
For the manufacture of pads on the handle you will need a thick board from a tree of beautiful breed. We cut the workpieces to the desired size, and then drill holes for the pins. Well, then assemble the pads on the pins and form the desired profile of the handle using a belt grinder. We finish those places where we could not crawl with a drill or files. The handle can also be formed manually using a rasp.
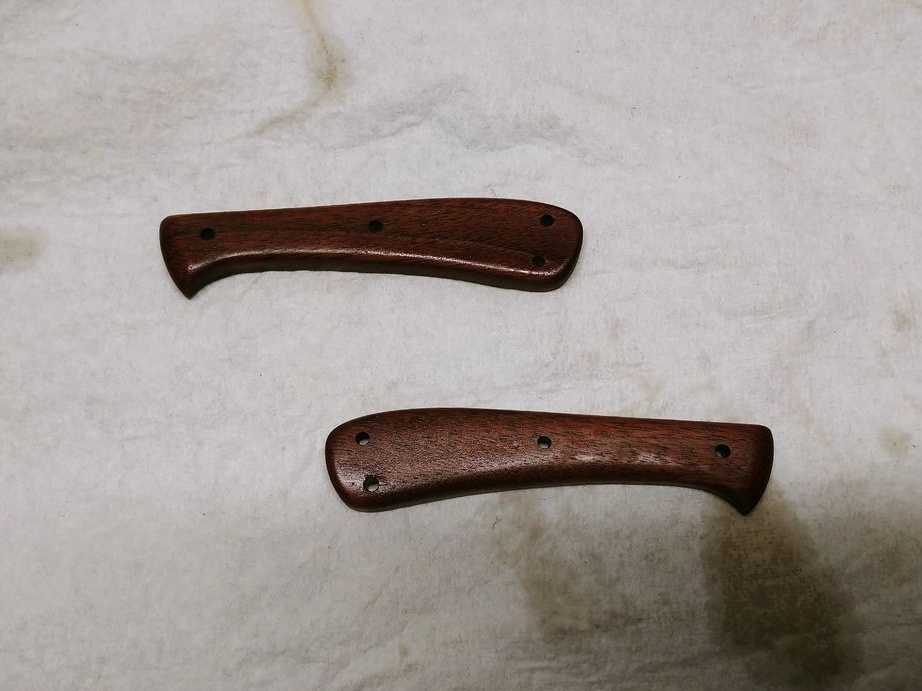
In the end, the author impregnated the linings with oil, but doing this before gluing is highly discouraged.


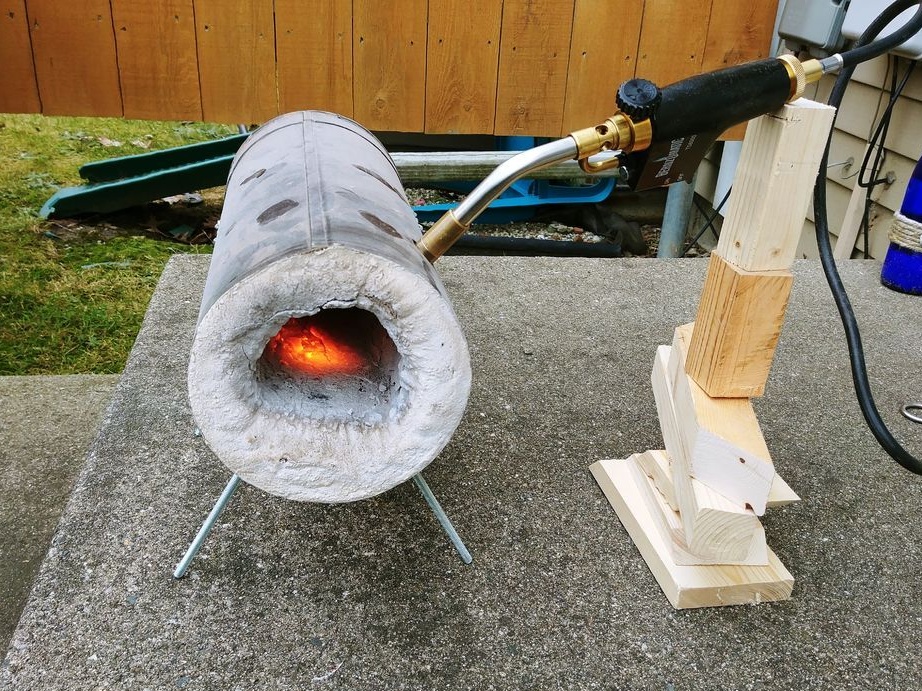
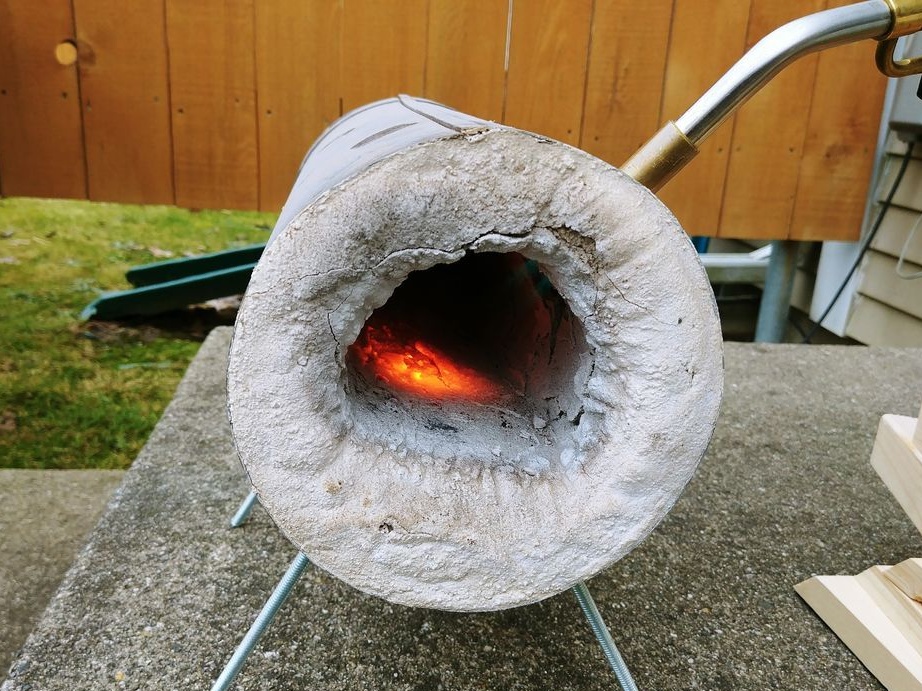
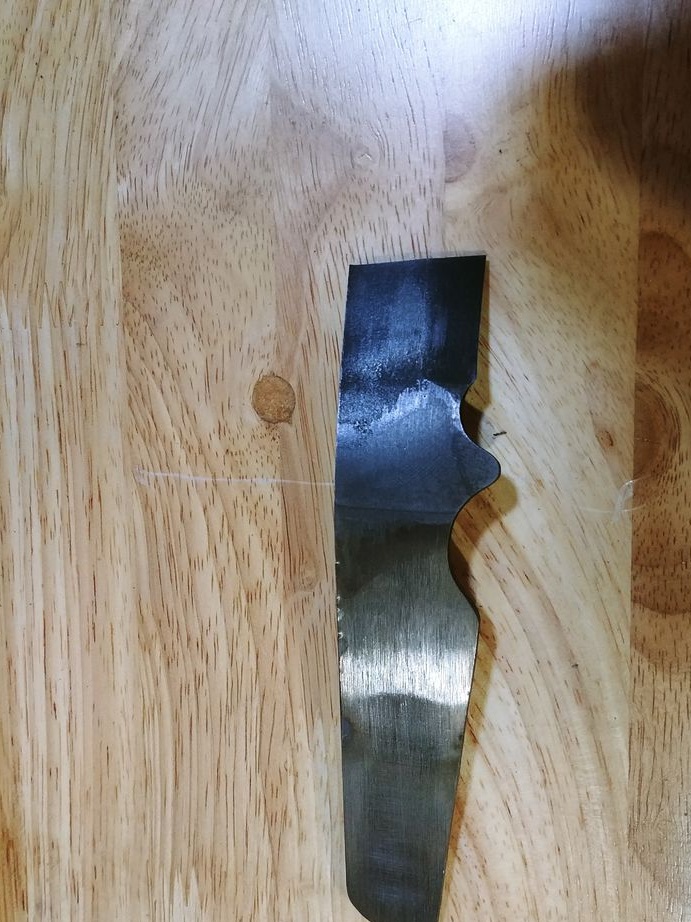
Step Five We temper the blade
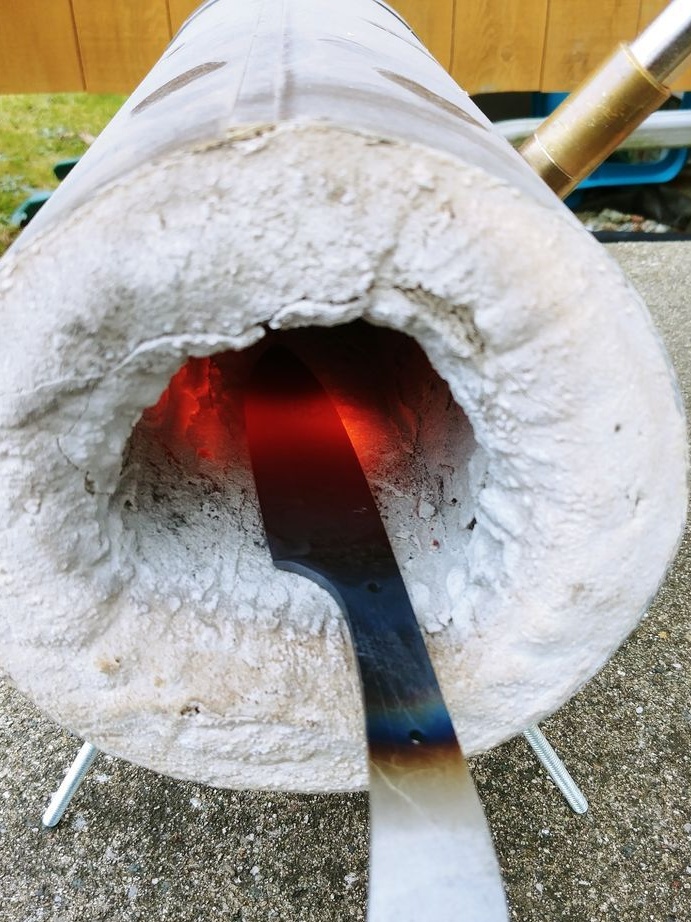
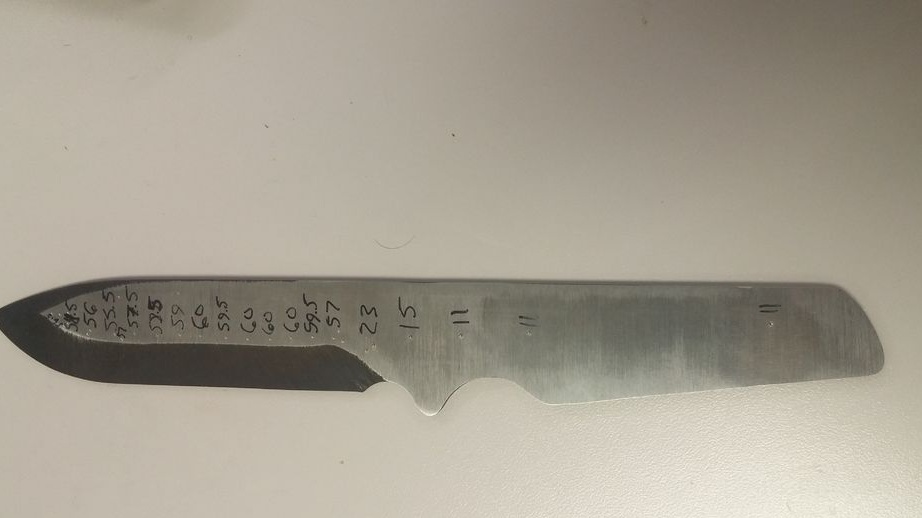
For hardening the blade, we use a home-made furnace, the author heats it with a gas burner. Coals that can be easily inflated with a household hairdryer are also suitable for such purposes. We heat the steel until a yellowish glow, and then cool it in oil, this is an excellent way of hardening for the selected steel. After hardening, check if the workpiece is taken with a file. You can also determine the hardness of a special device, if any.
After hardening, be sure to leave the metal, this will allow the steel to spring, and it will withstand heavy loads. For this procedure, pre-heat the workpiece in the oven at 200 degrees Celsius for an hour and let the blade cool with the oven.
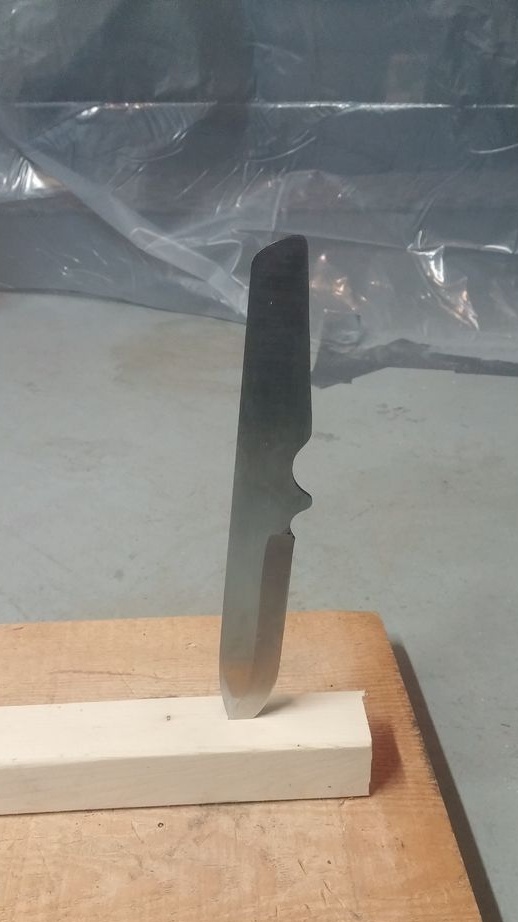
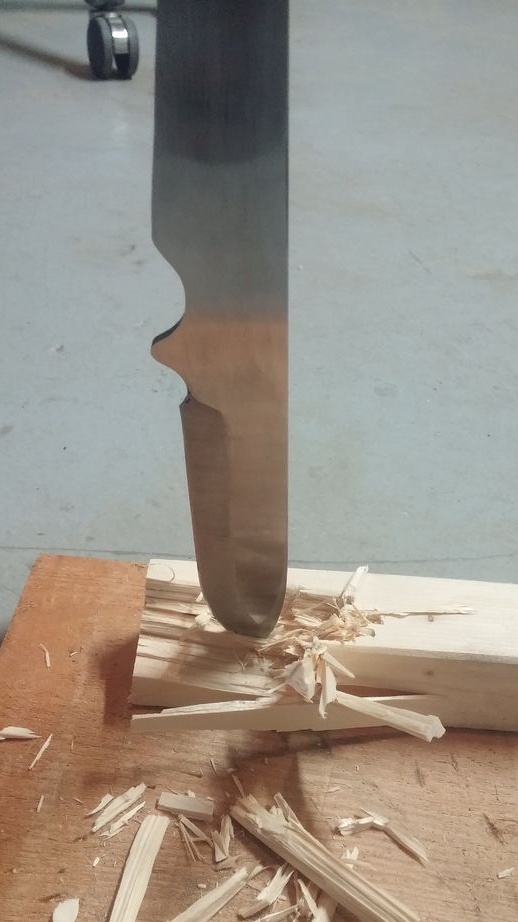
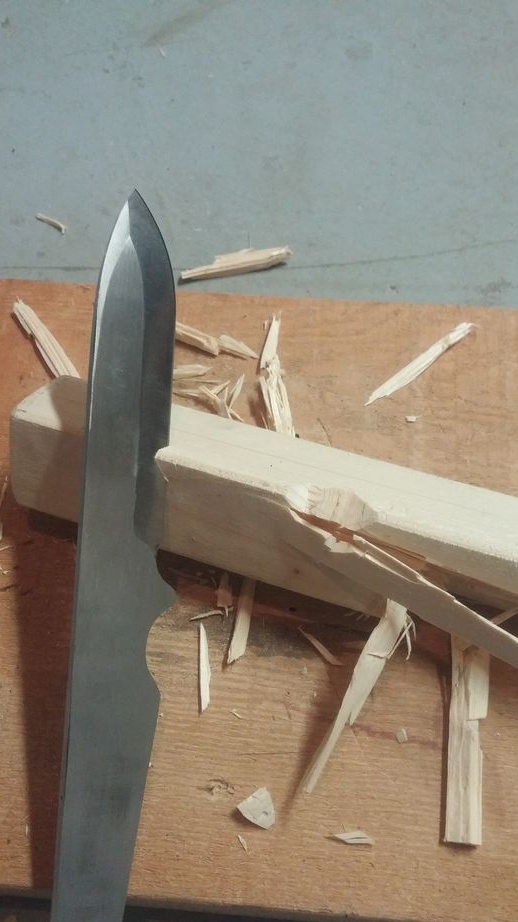
Step Six Test
The author made a sample knife for testing. He chopped them with wood, nails, and also tried to cut the screw. The blade proved to be quite good in business.
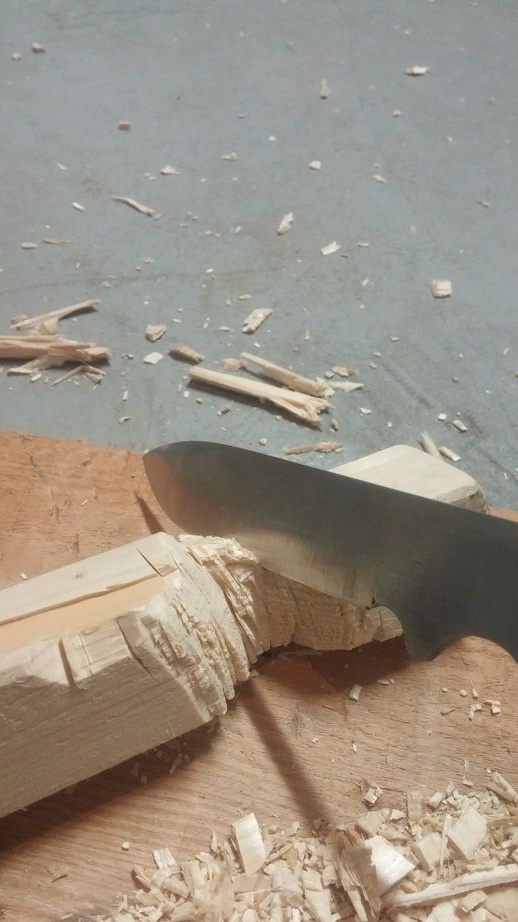
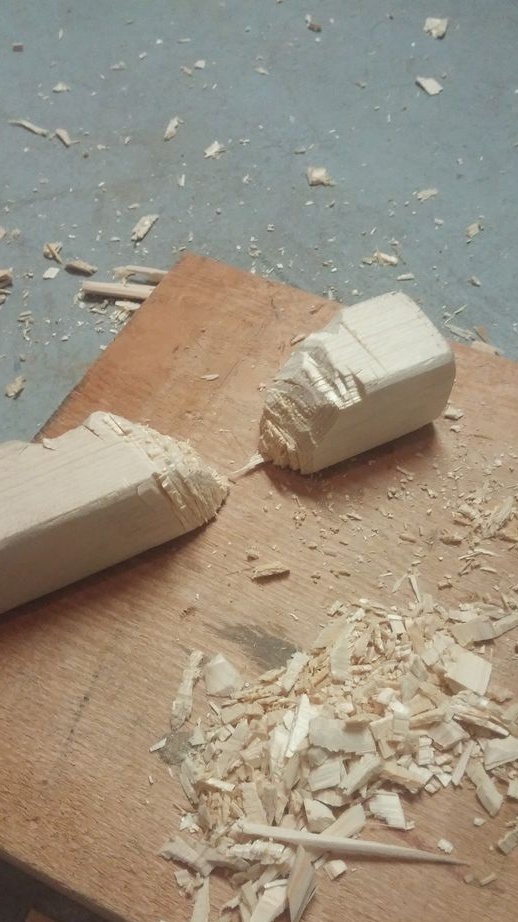

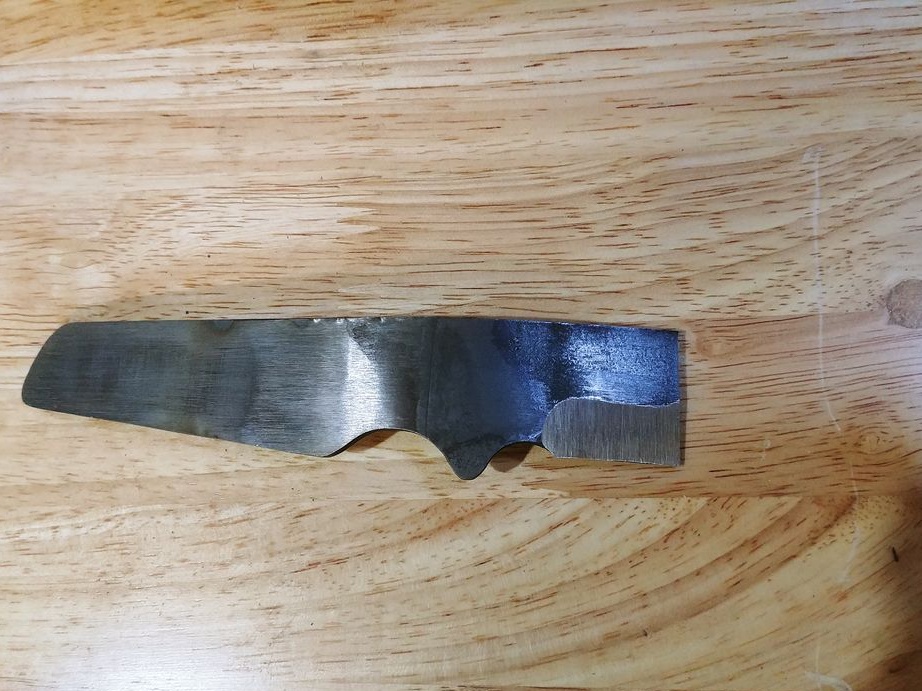
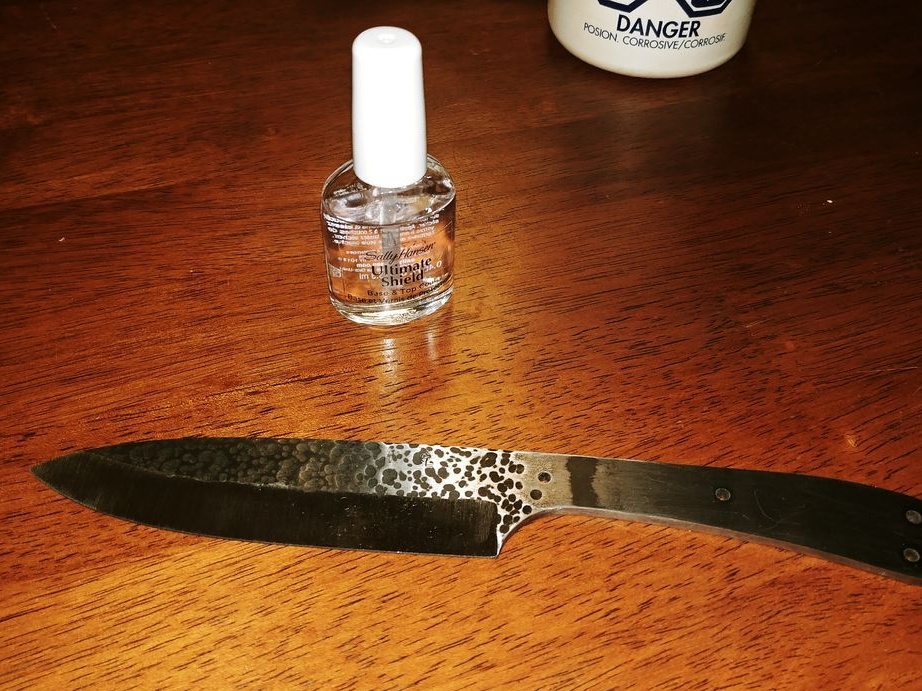
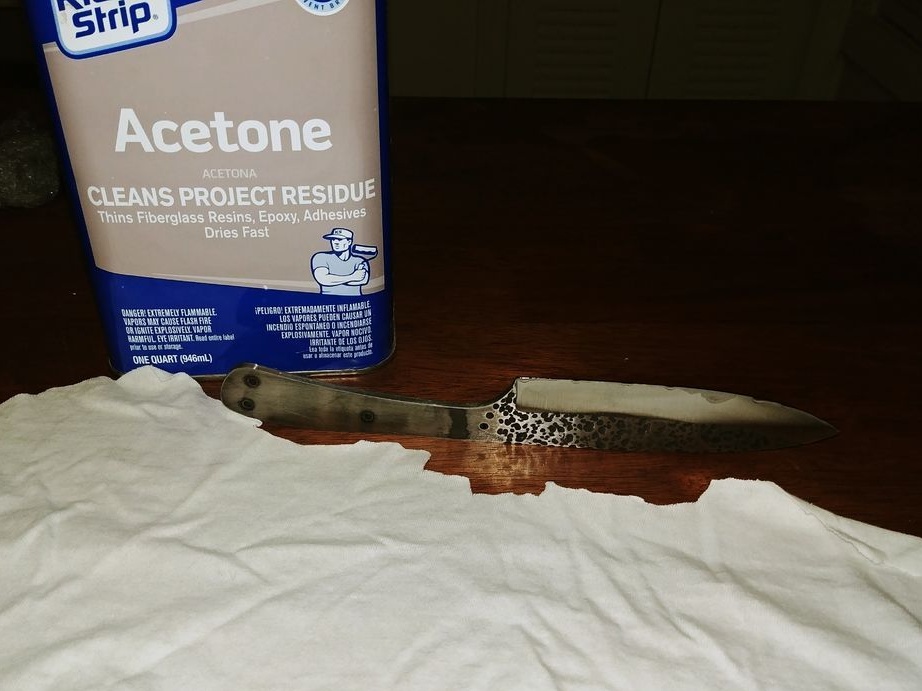
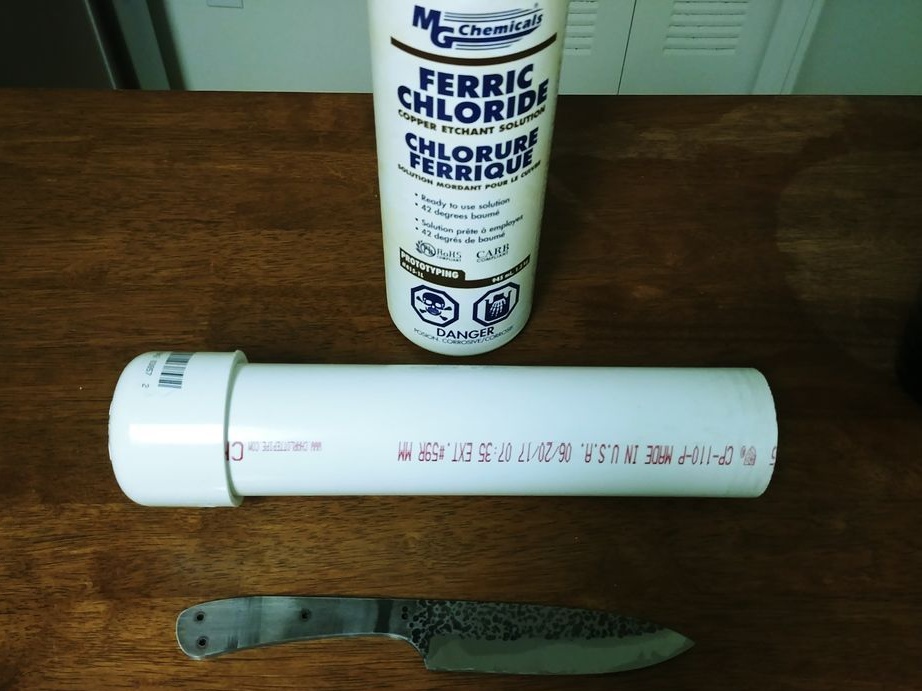
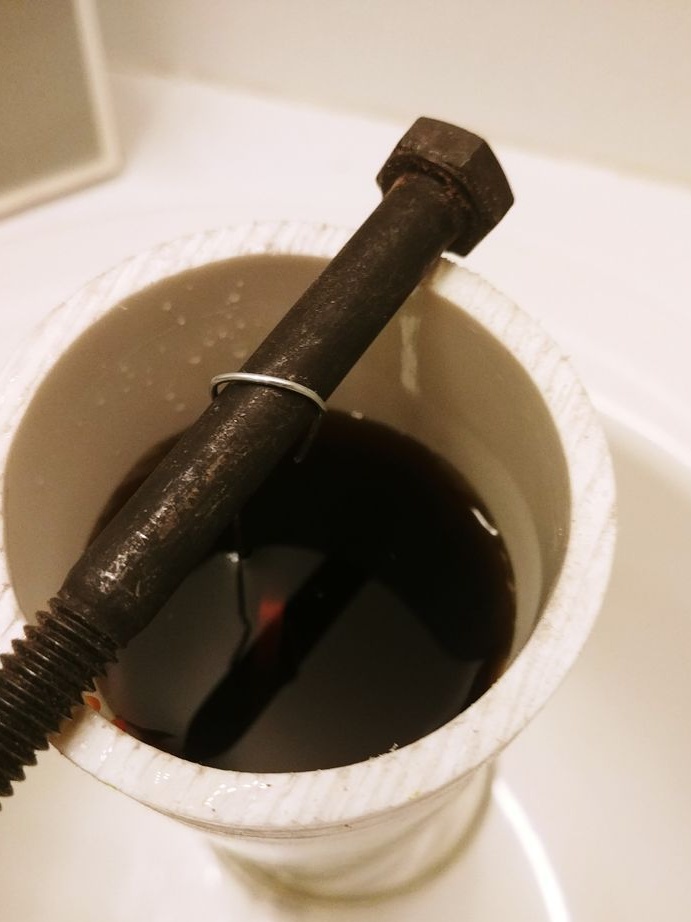
Seventh step. Etching
To protect the steel from rust, it is possible to etch the metal in acid. As a result, a dark coating forms on the blade, which will protect the steel from rust. If you do not want the acid to damage the blade, cover it with regular nail polish.
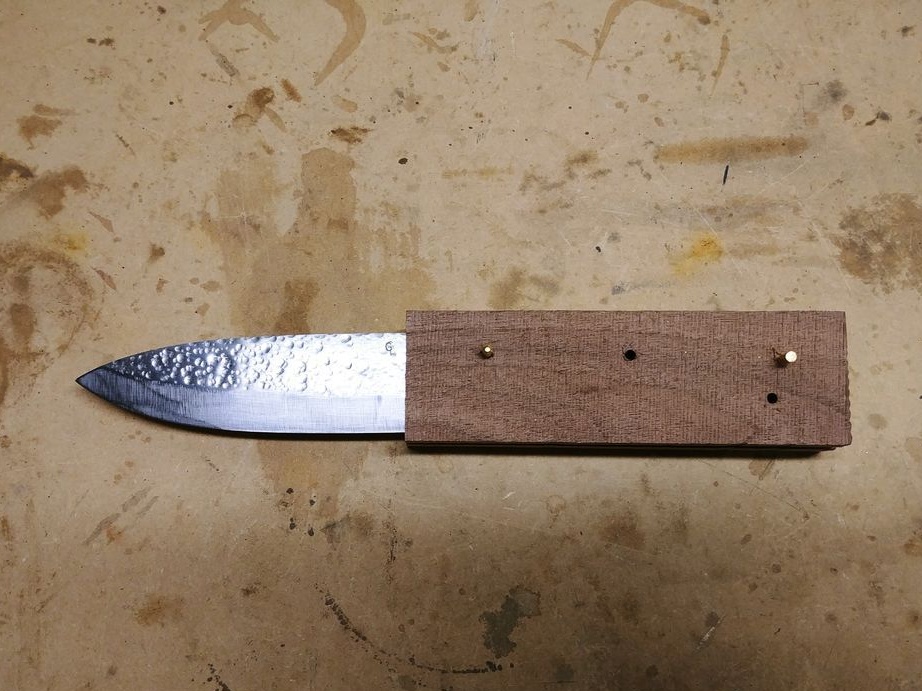
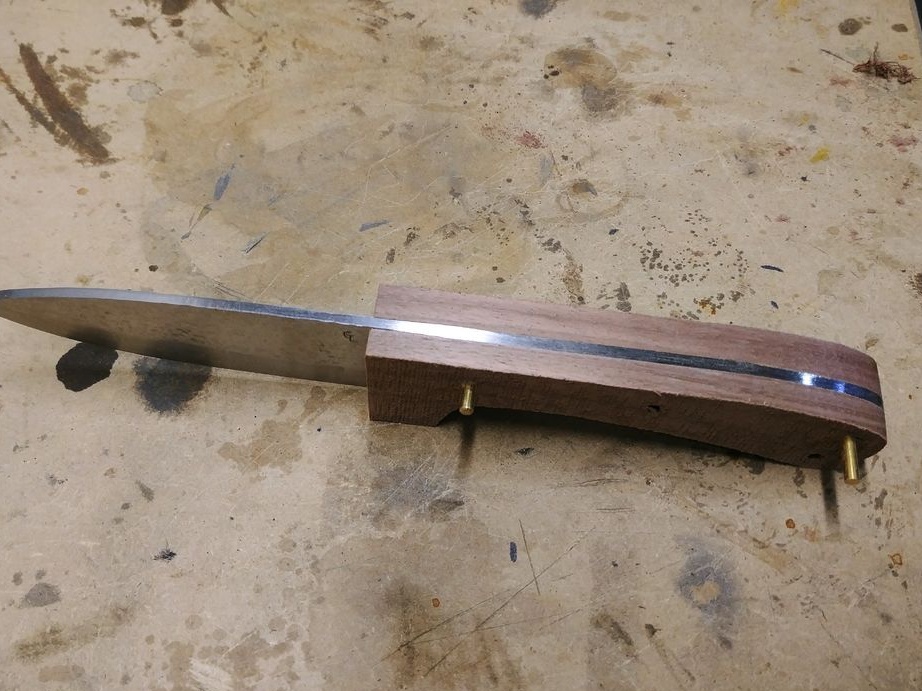
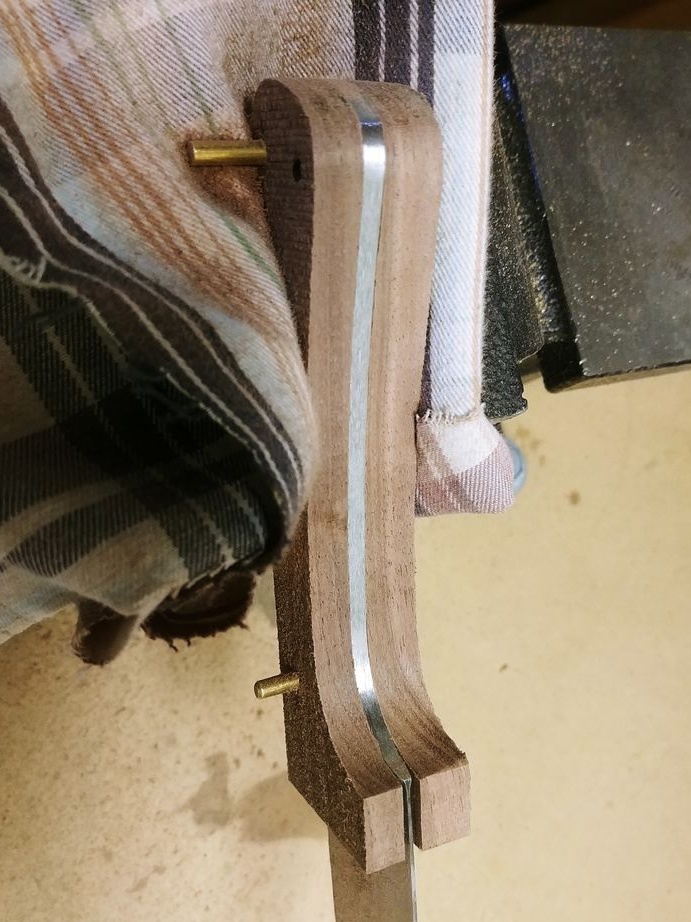
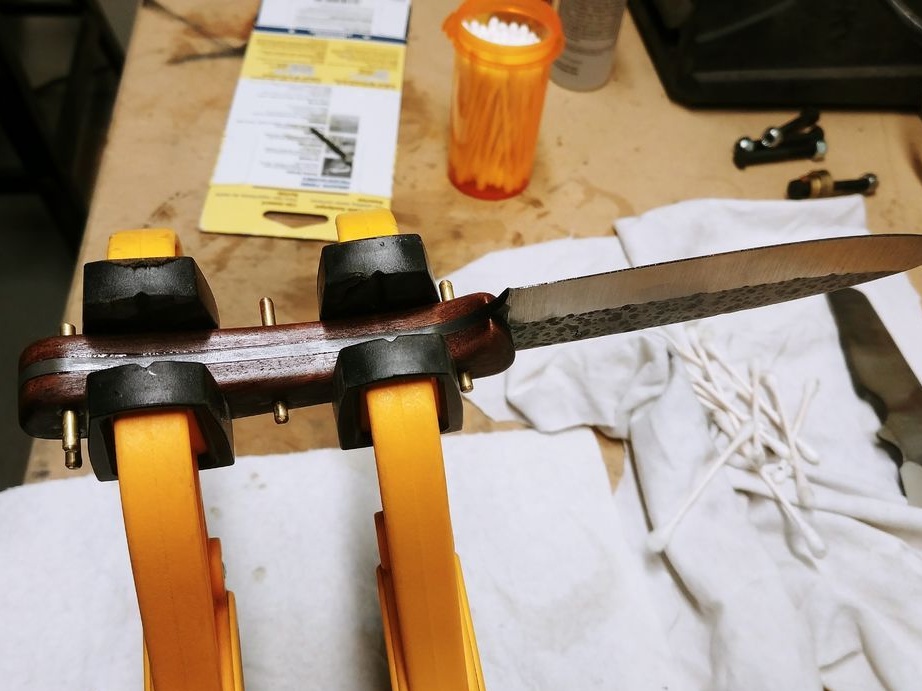
Step Eight. Collect the pen
Peel the glued surfaces thoroughly so that the adhesive sticks, the author uses a drill for this. Well, then we collect the handle on the epoxy, do not forget about the pins, clamp the handle with clamps so that everything sticks together well.
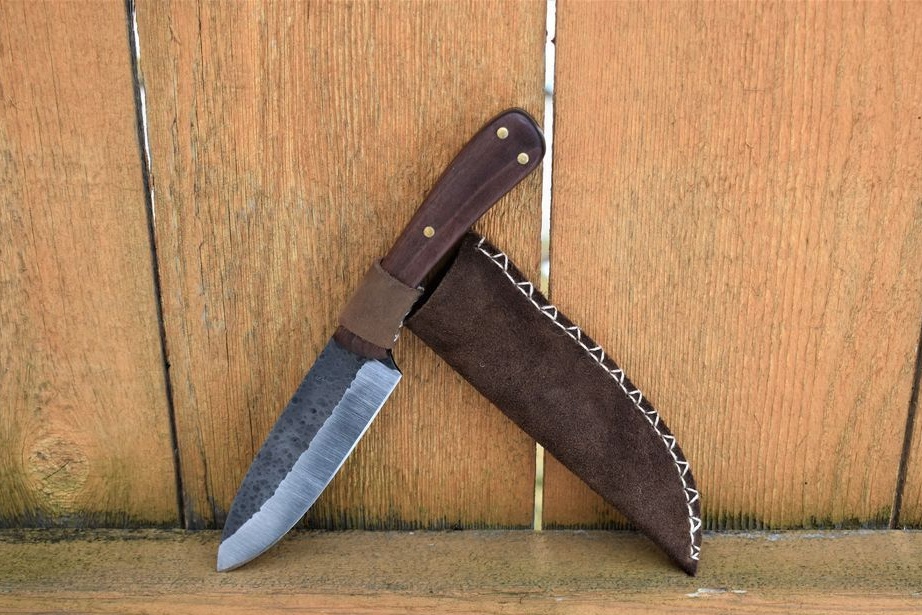
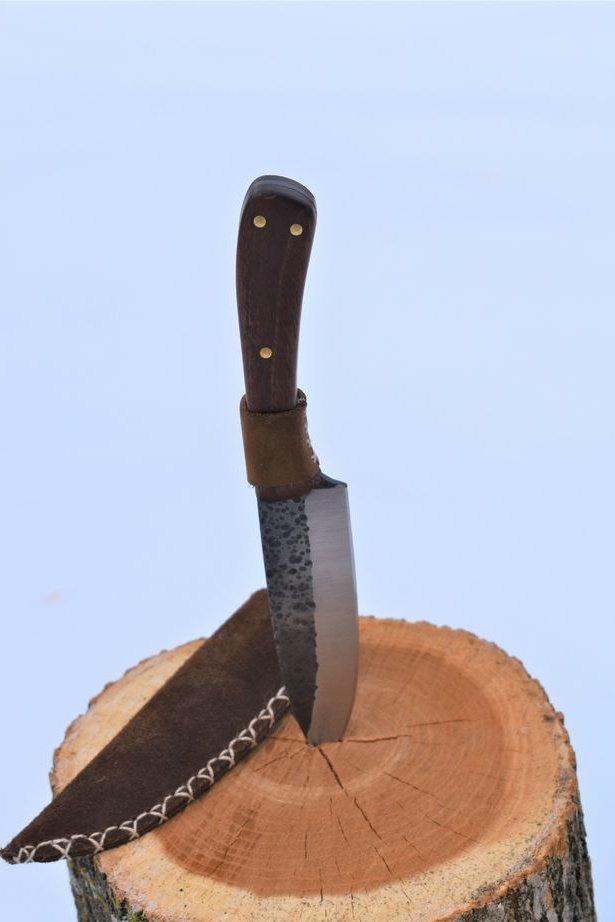
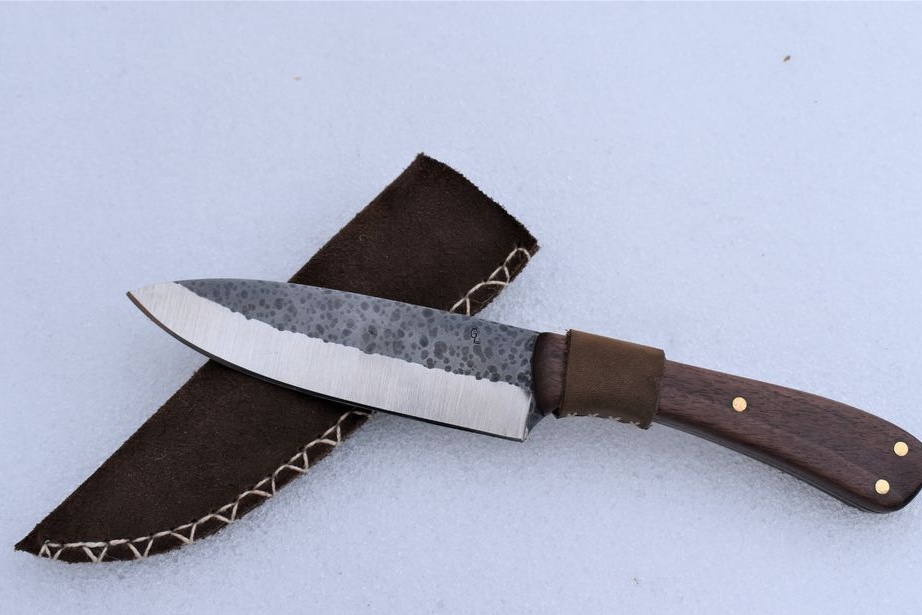
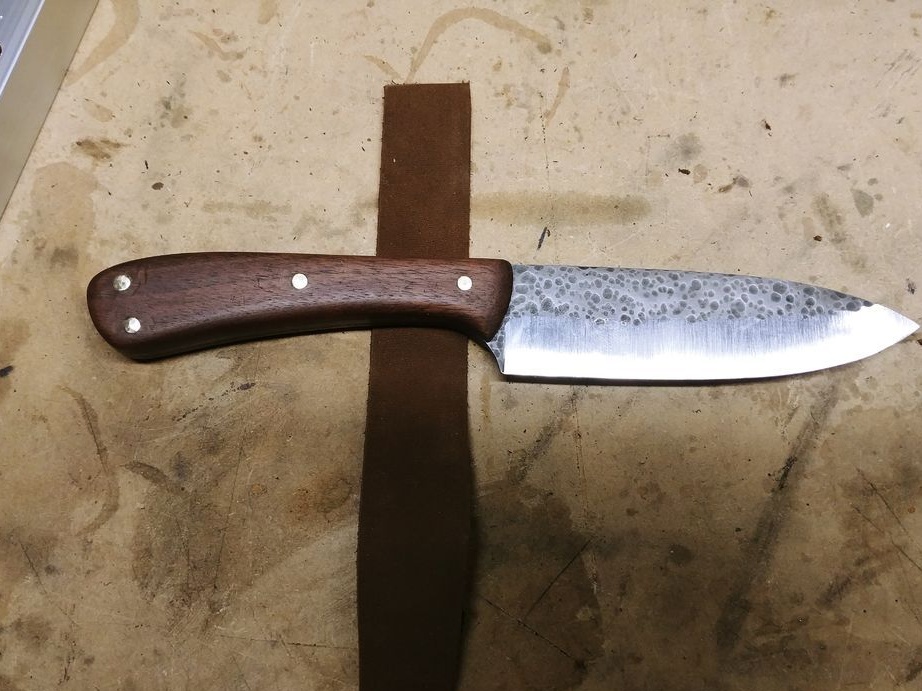
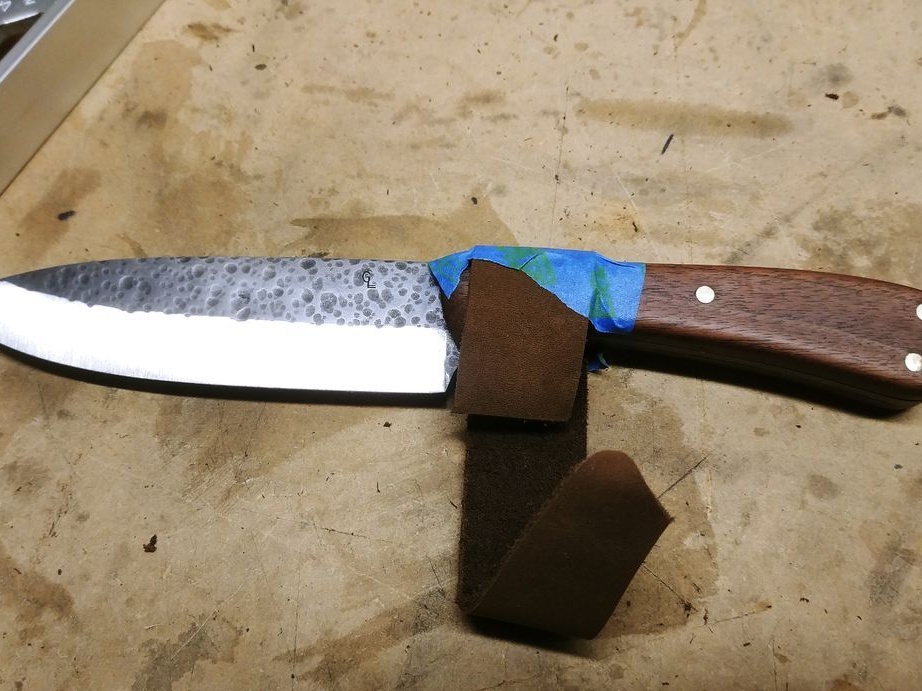
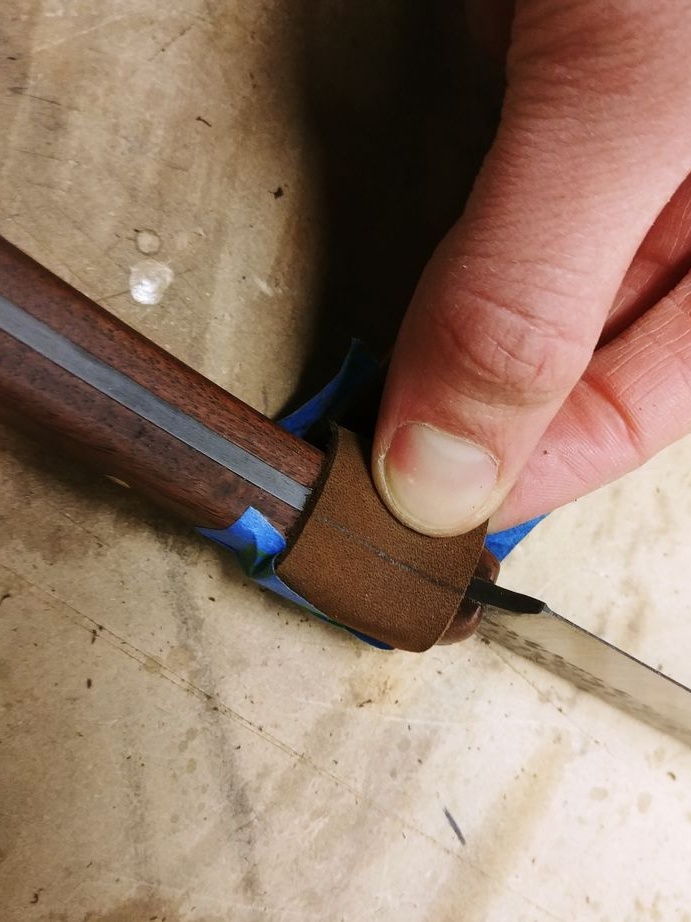
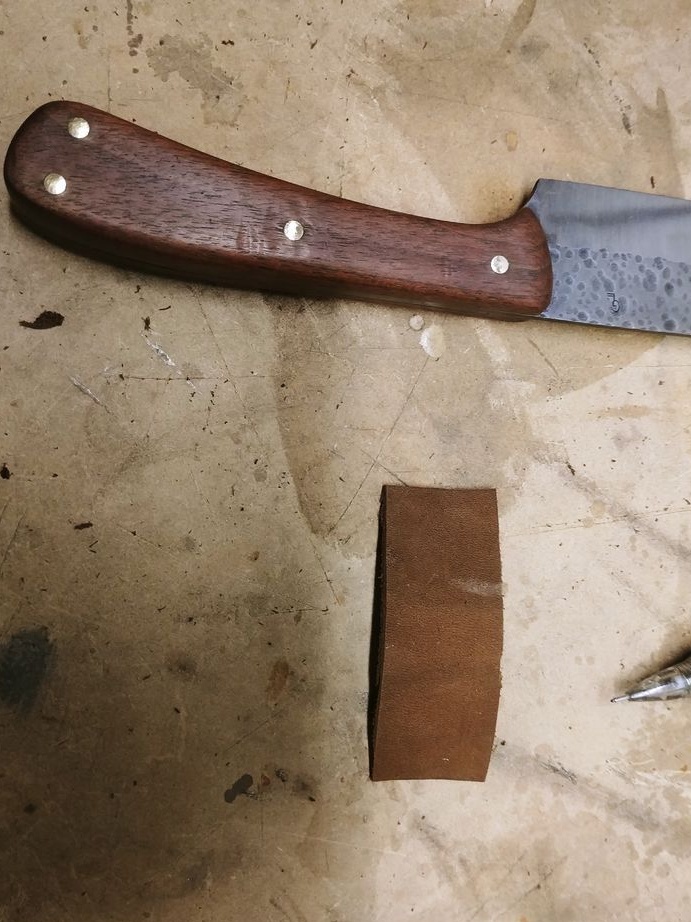
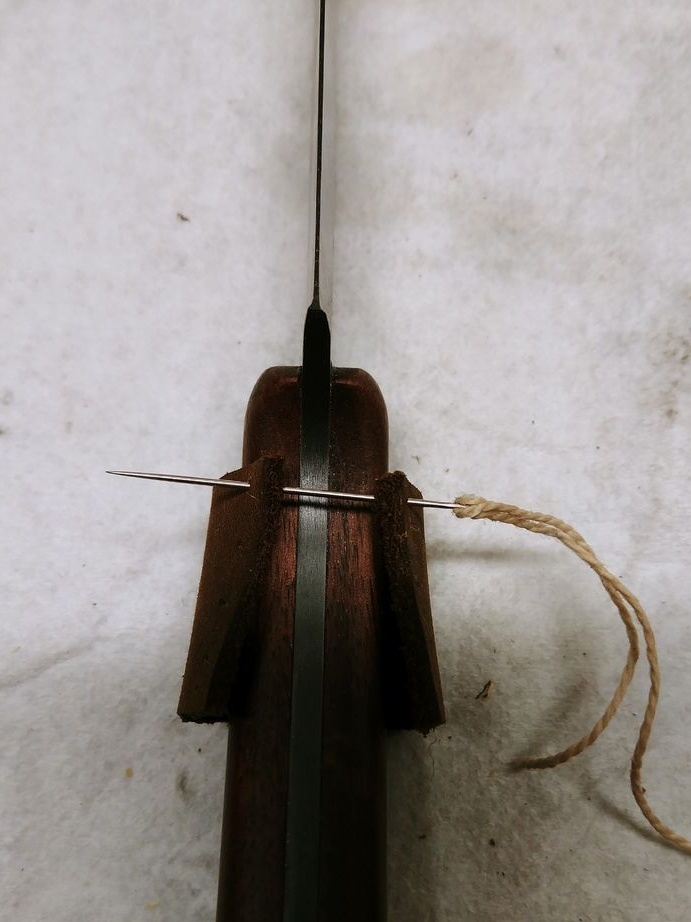
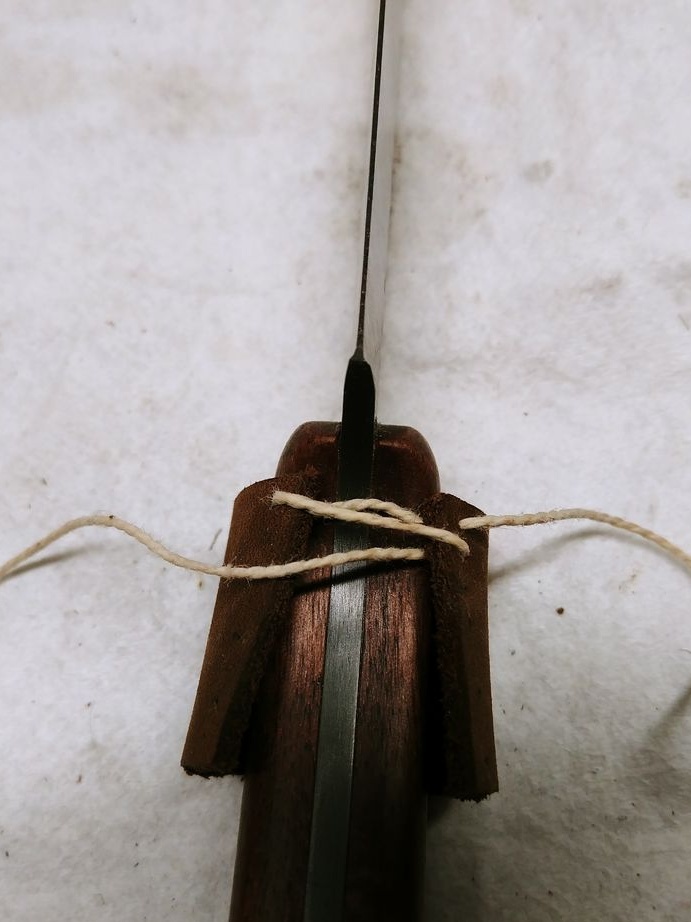
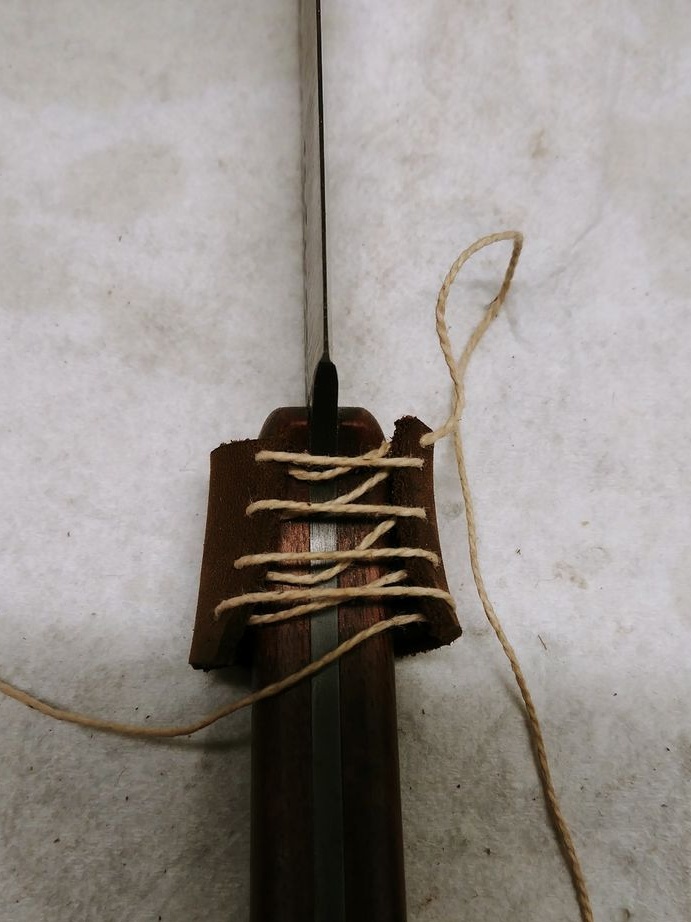
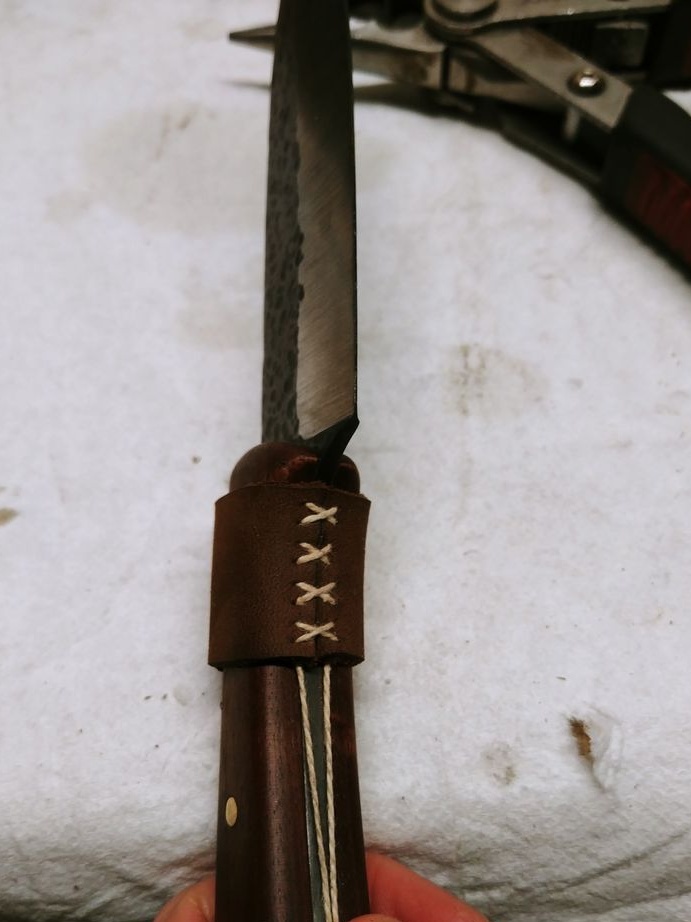
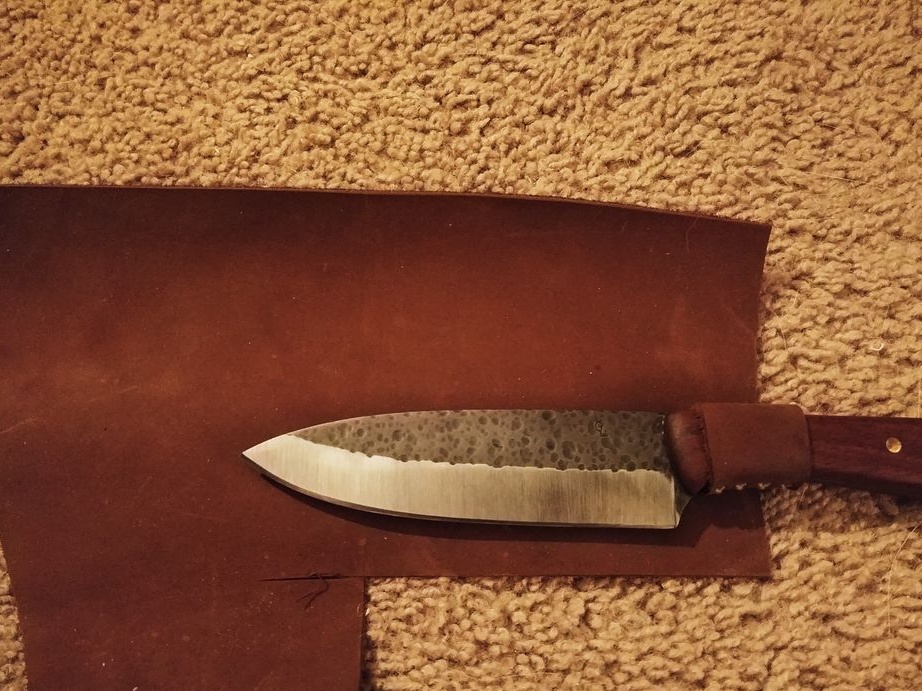
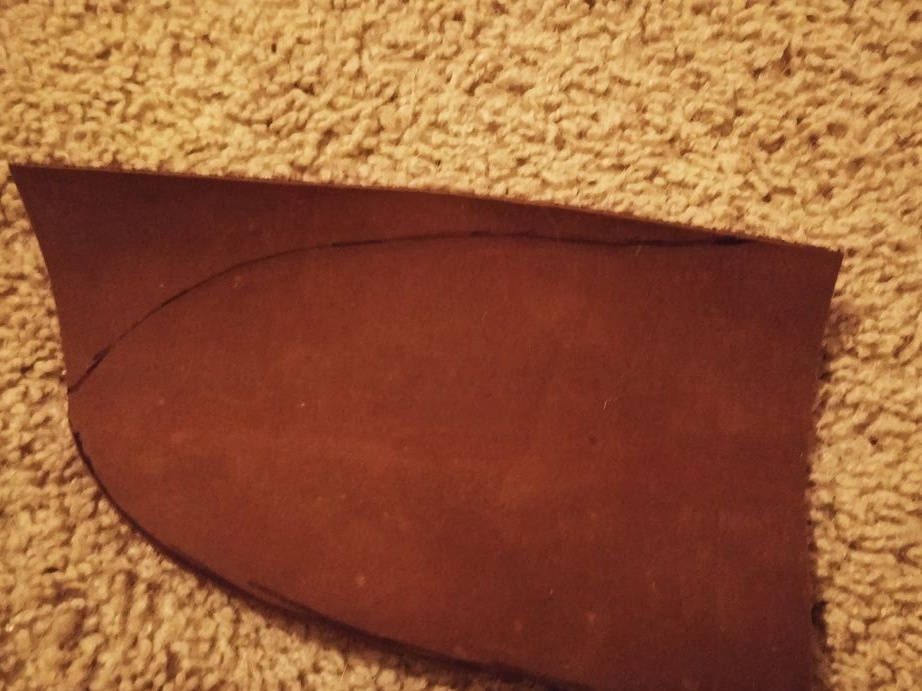
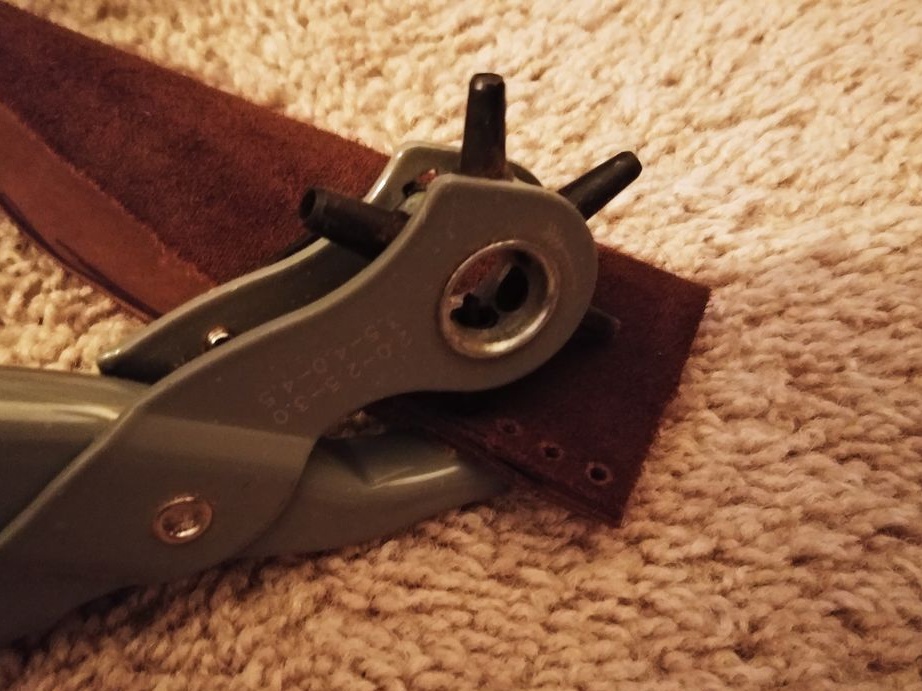
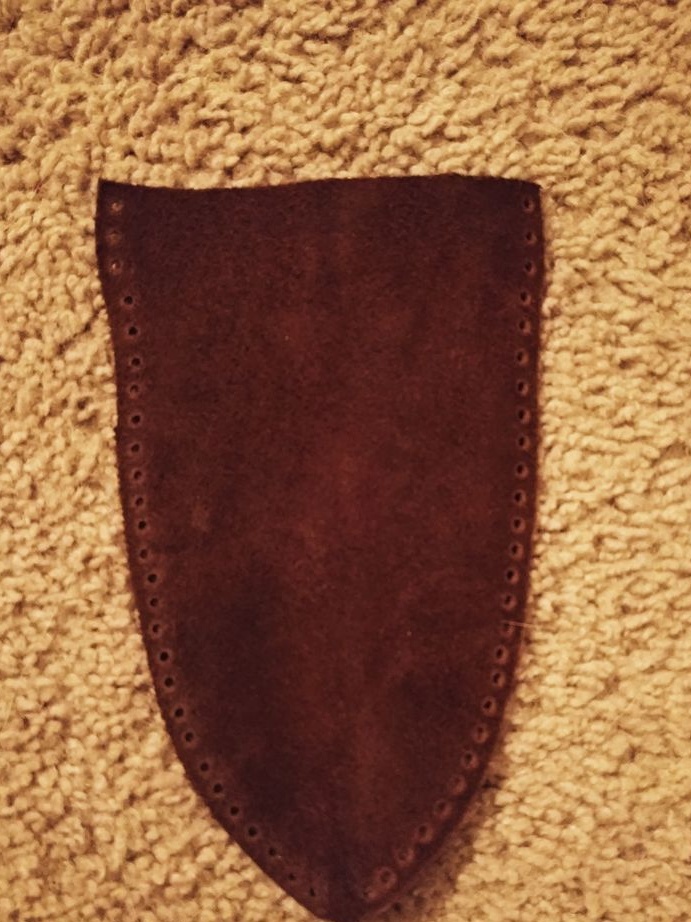
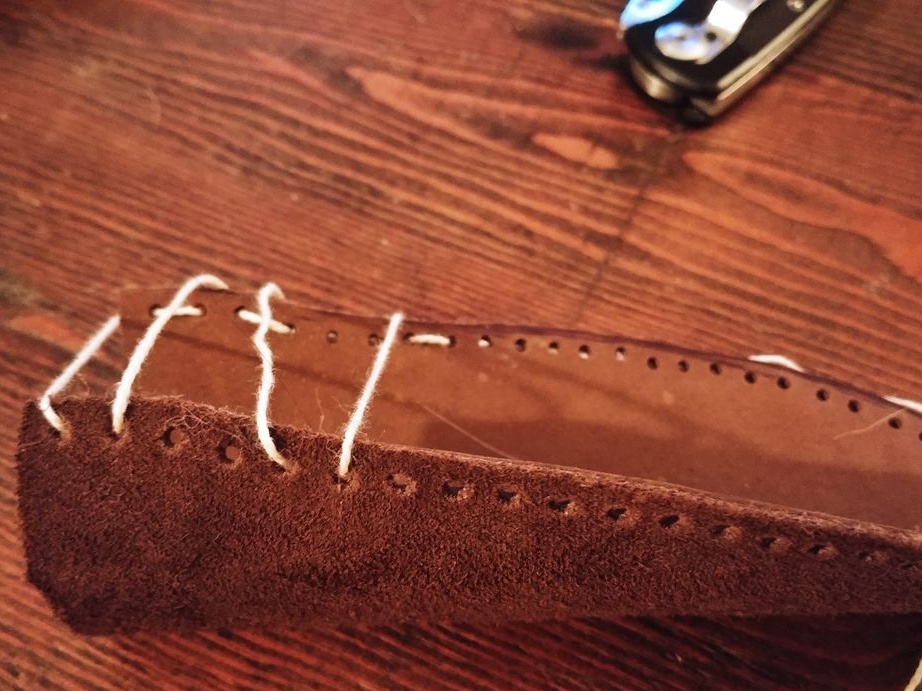
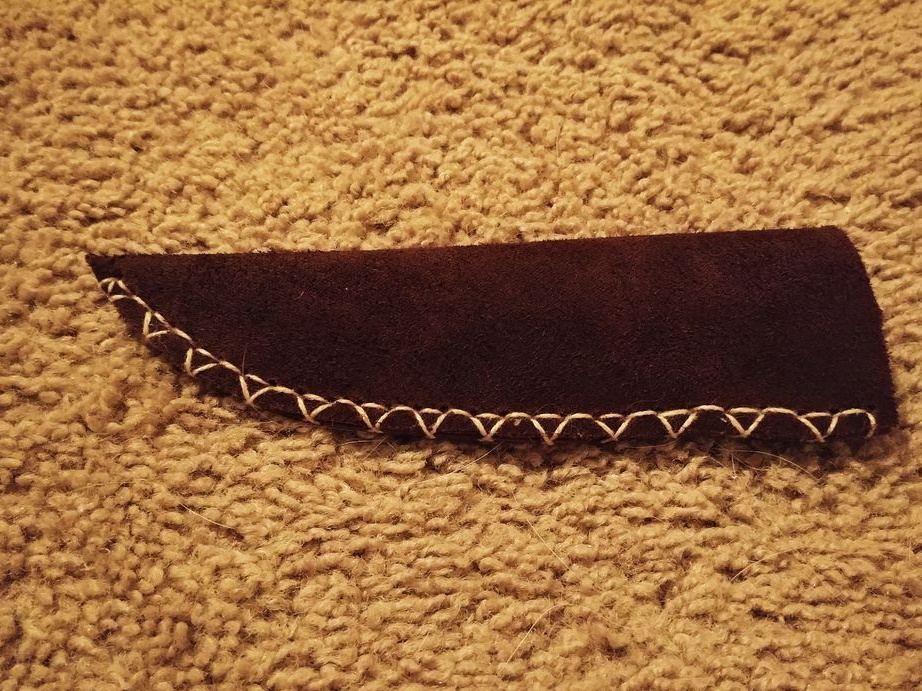
Step Nine. Sheath
If you wish, you can make a sheath for a knife. For this we use leather and thread. How everything is done can be seen in the photo.


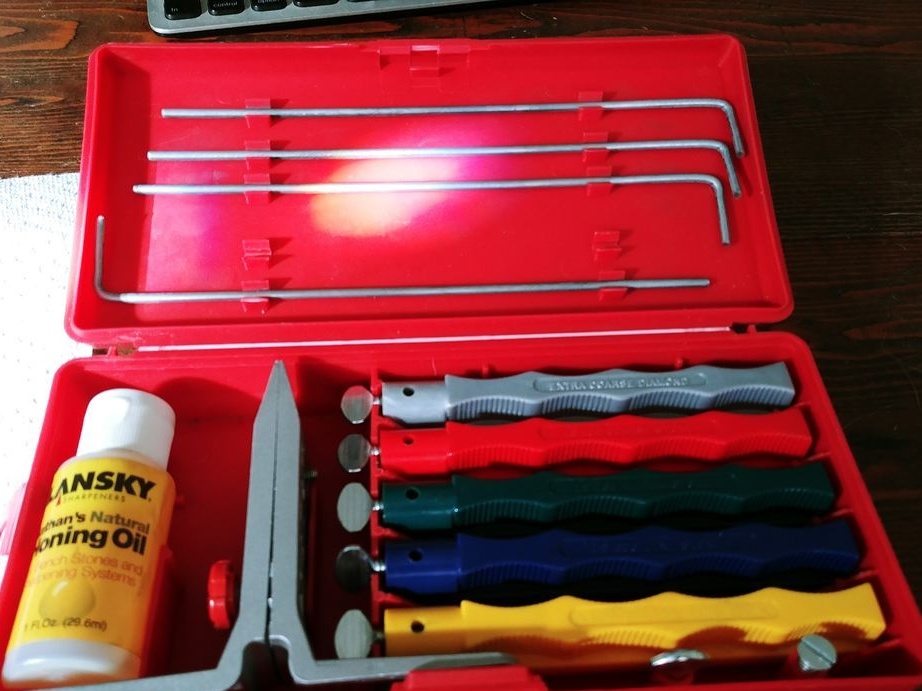
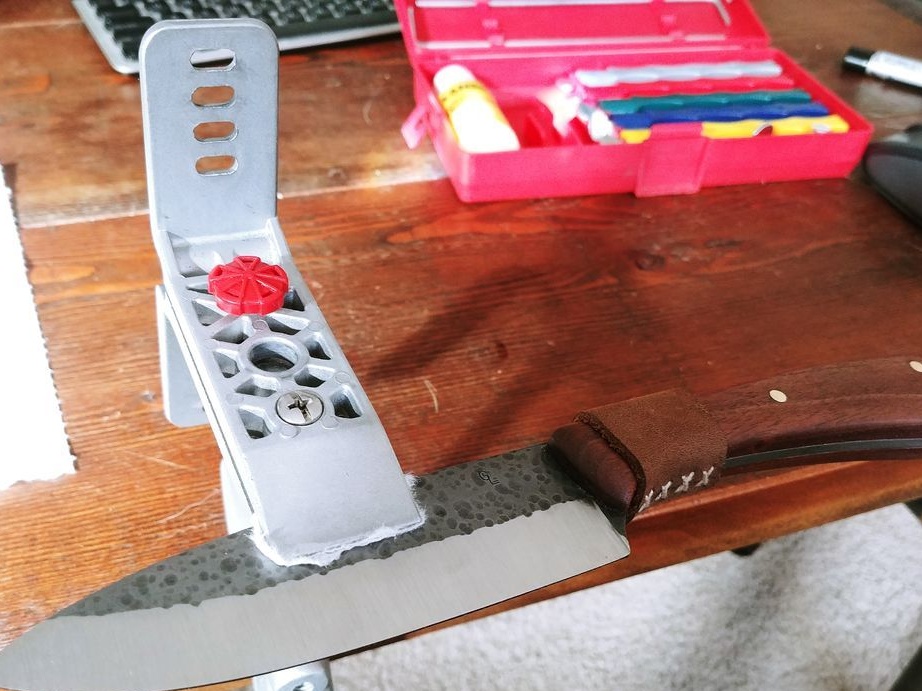
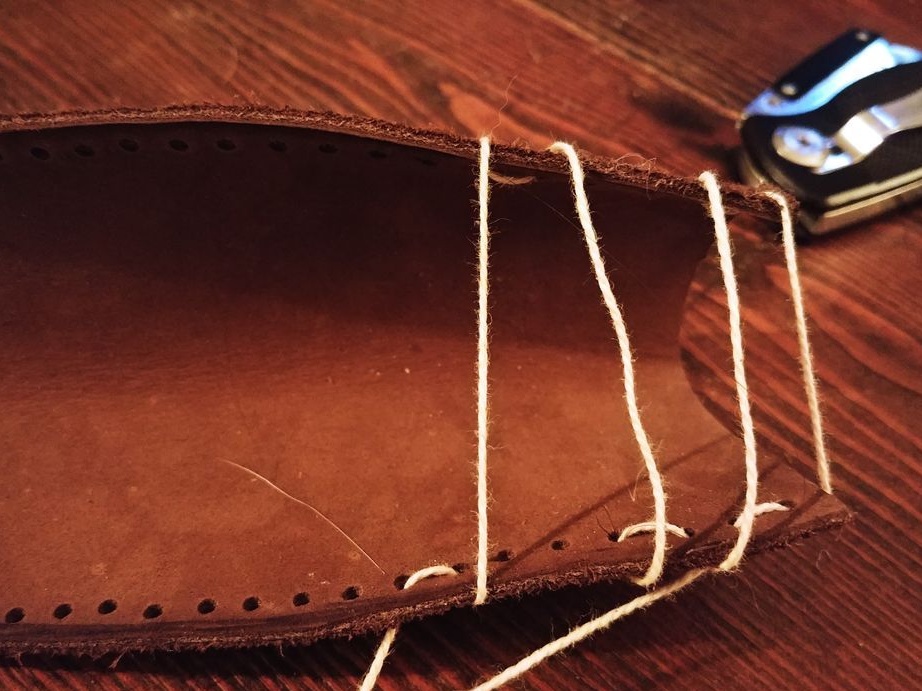
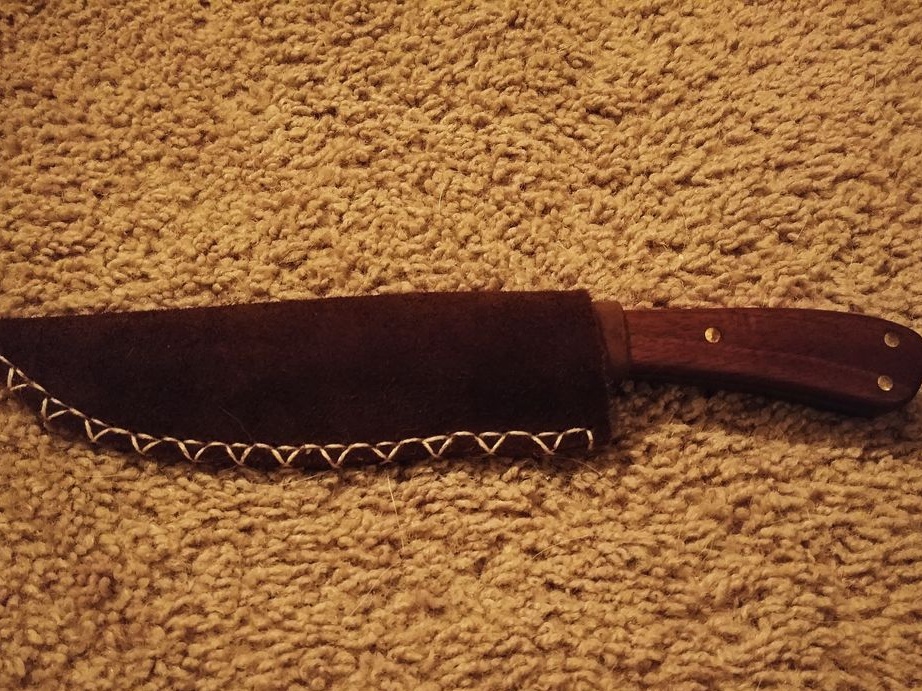
The knife is ready! You can experience it. Pre-sharpen it using sandpaper or special fixtures for sharpening. That's all, good luck and inspiration in making homemade!