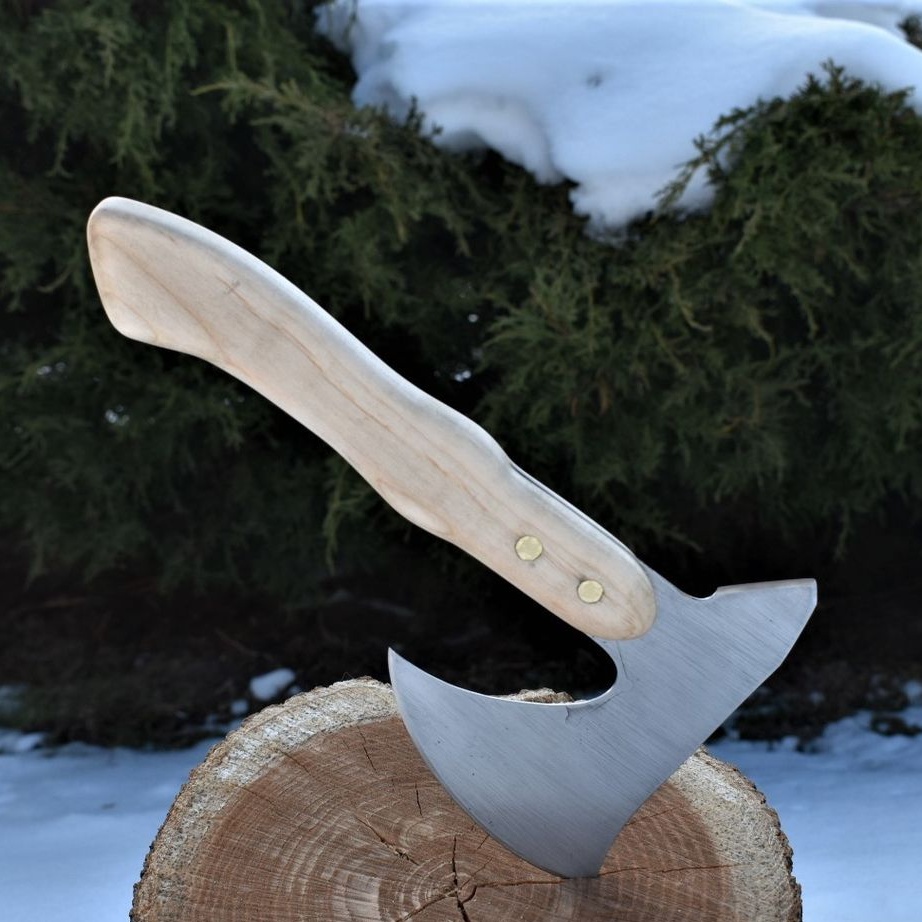
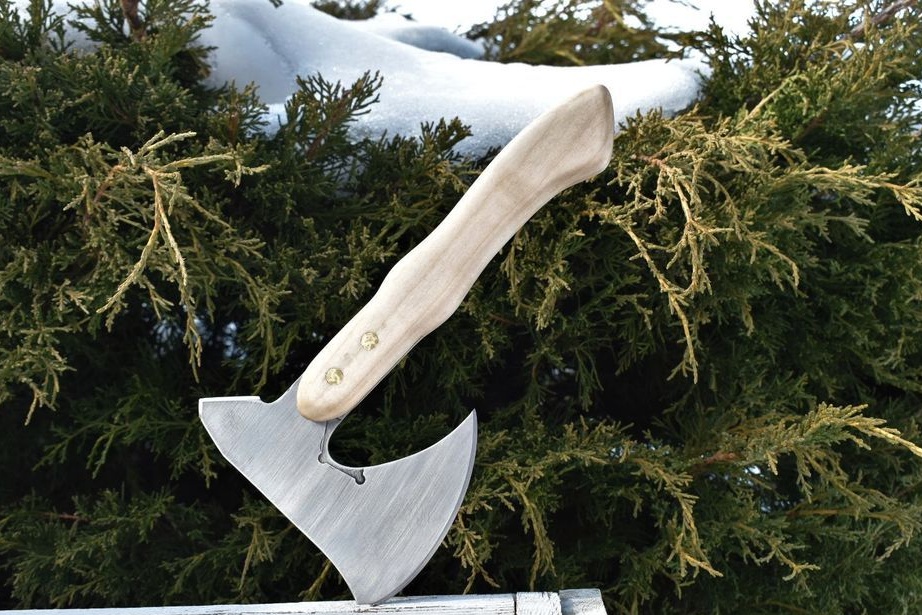
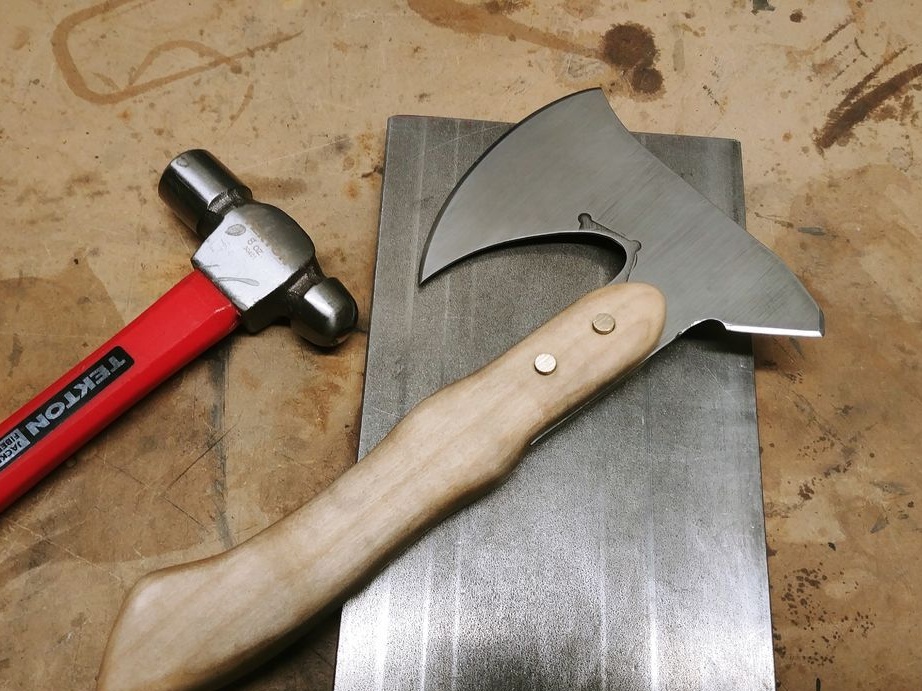
Come visit, I will tell you how do it yourself make a simple but high-quality throwing hatchet. In addition to throwing it can be used for cutting meat, they can chop small chips and much more. Such an ax is assembled quite simply, but not many tools are needed. If you wish, you can always set your own unique style for the ax.
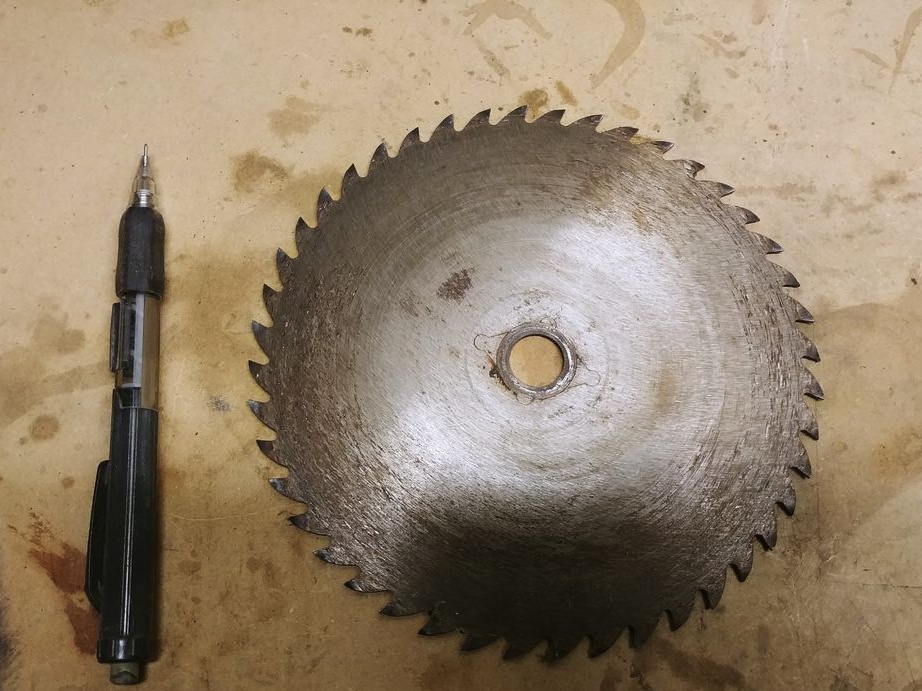
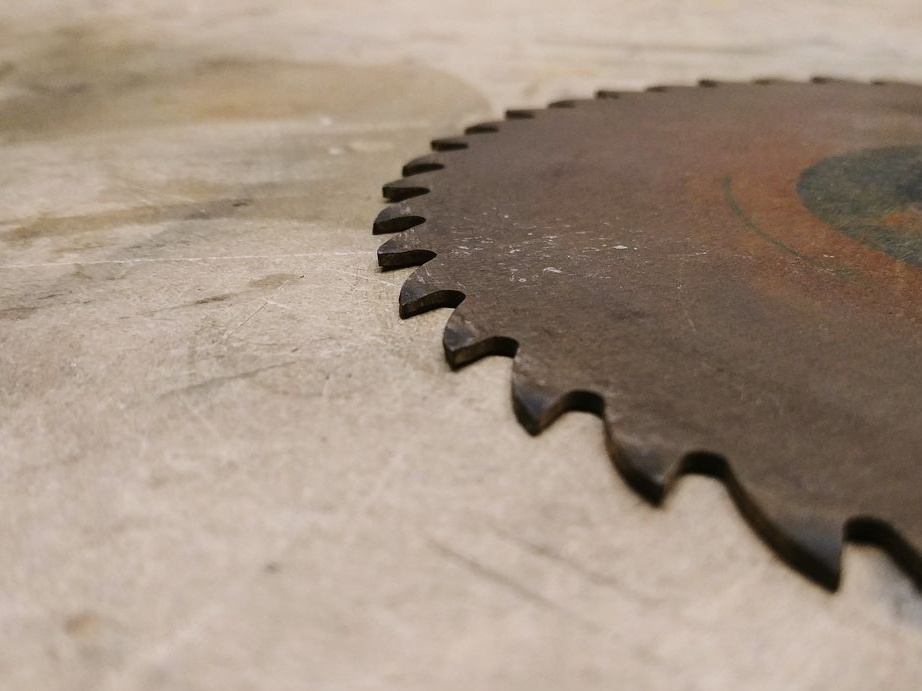
As a material for manufacturing, the author decided to use an old saw blade. Often in their manufacture they use tool steel, which is perfect for making hatchets. This metal can be hardened, which means that the blade will hold sharpening for a long time. You can make such an ax with publicly available tools, for example, using a grinder. But it would be nice to also have a drill and a belt sander, but this is not necessary. So, we start production!
Materials and tools used by the author:
Material List:
- saw blade;
- (for pins);
- a wood plate or bar (for a handle);
- oil for impregnation of the handle.
Tool List:
- grinder;
- drill;
- ;
- ;
- belt sander;
- marker;
- orbital sander;
- sandpaper.
Ax manufacturing process:
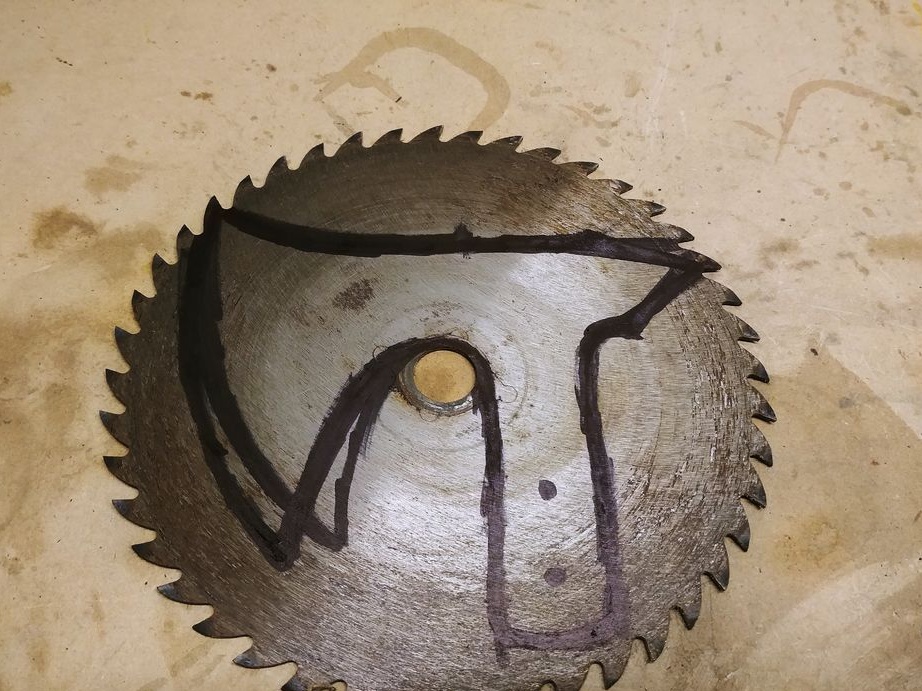
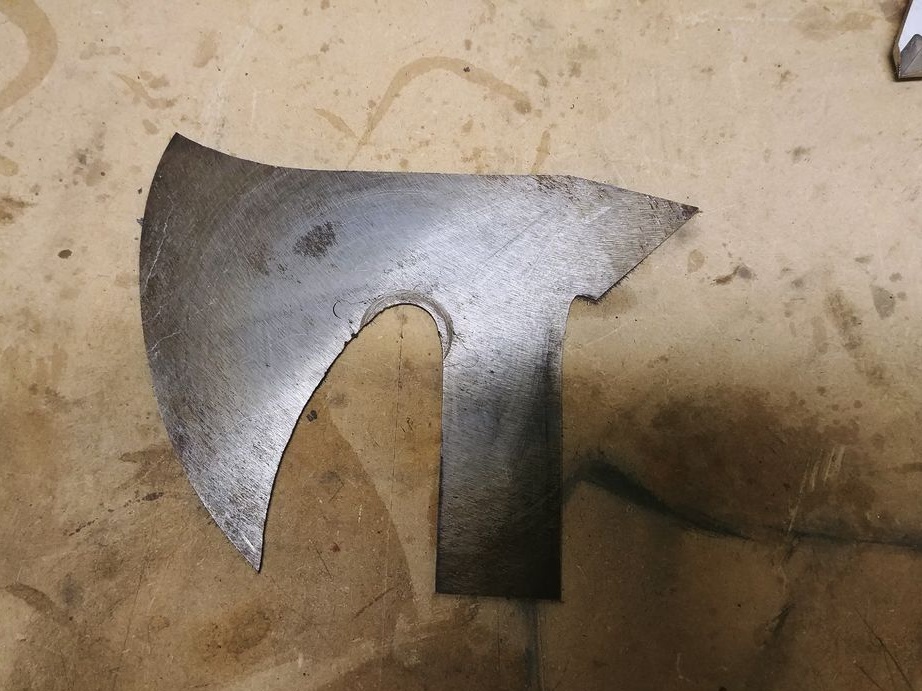
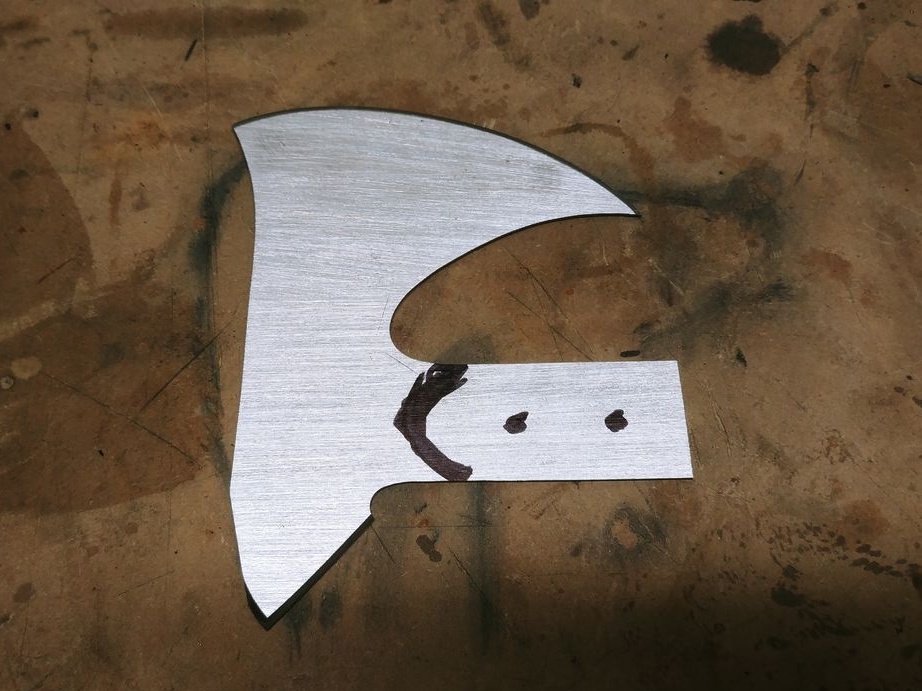
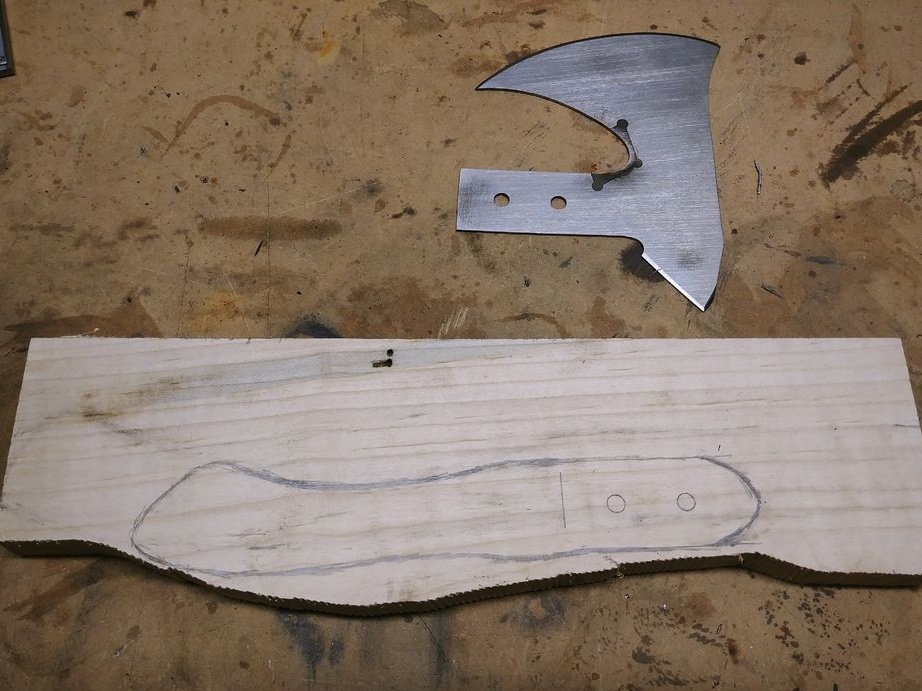
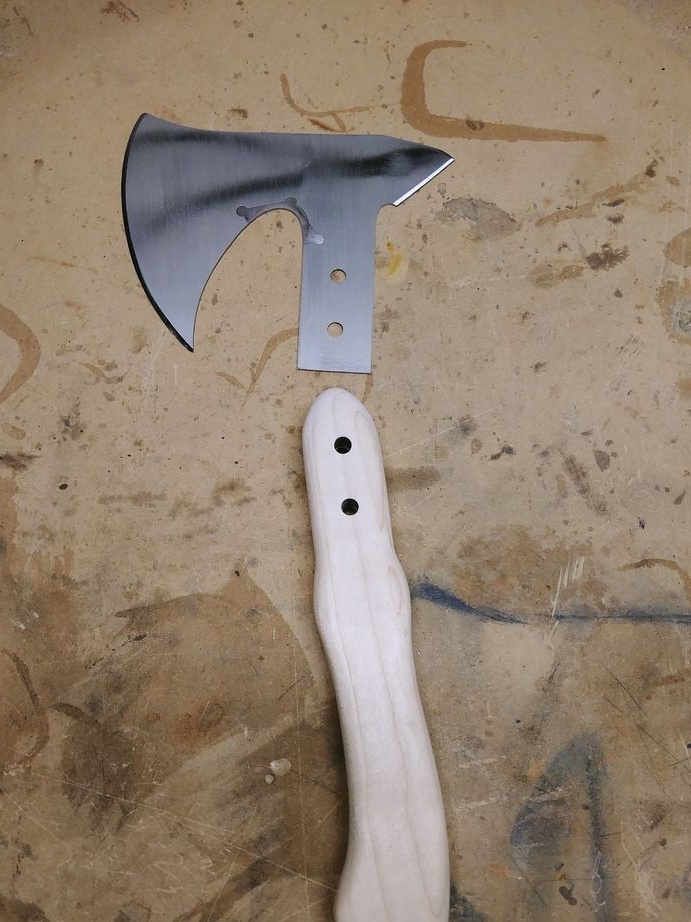
Step one. Cut the main profile
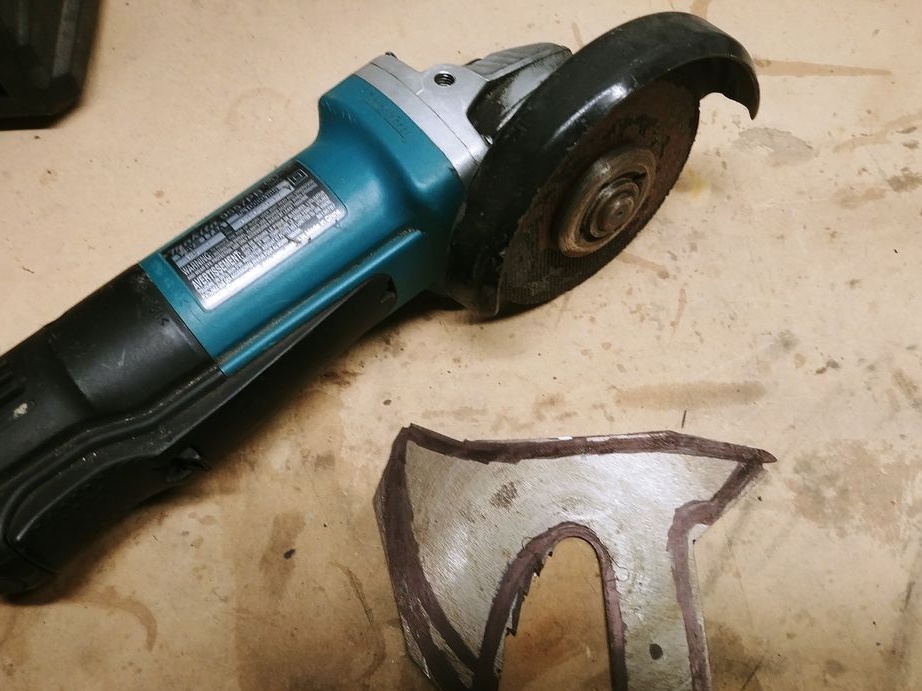
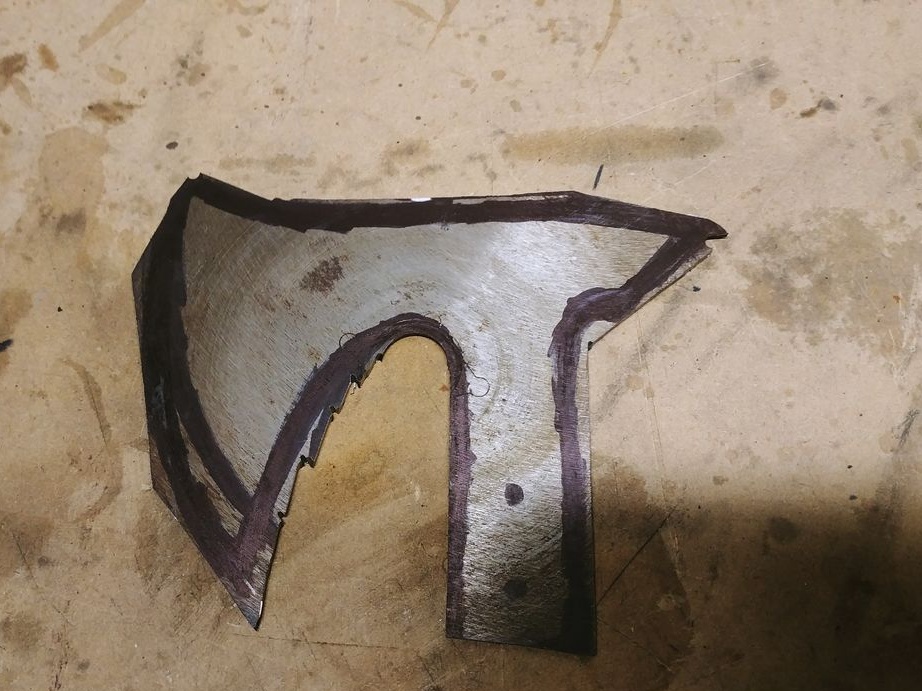
We pick up a marker and draw an ax on the disk as you imagine it. Show your imagination and make the ax unusual, stylish, not like the others. Now you can cut it, for this the author works as an ordinary grinder. We cut it roughly, we don’t need special accuracy, because grinding is ahead. Of course, a band saw would do better with such work.
Rough edges are cut off with a grinder so that it is necessary to grind less.
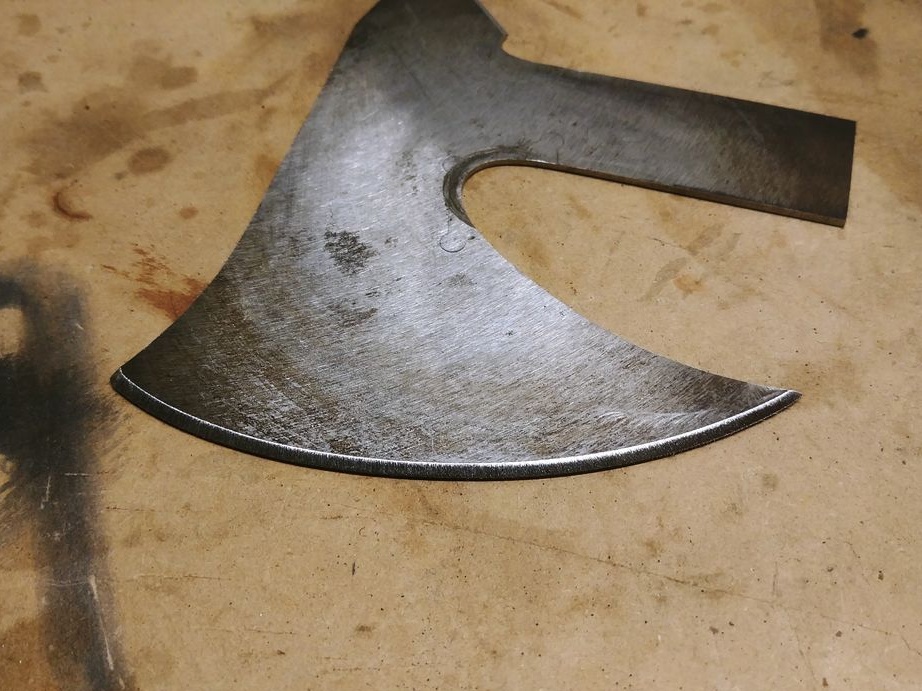
Step Two Grinding
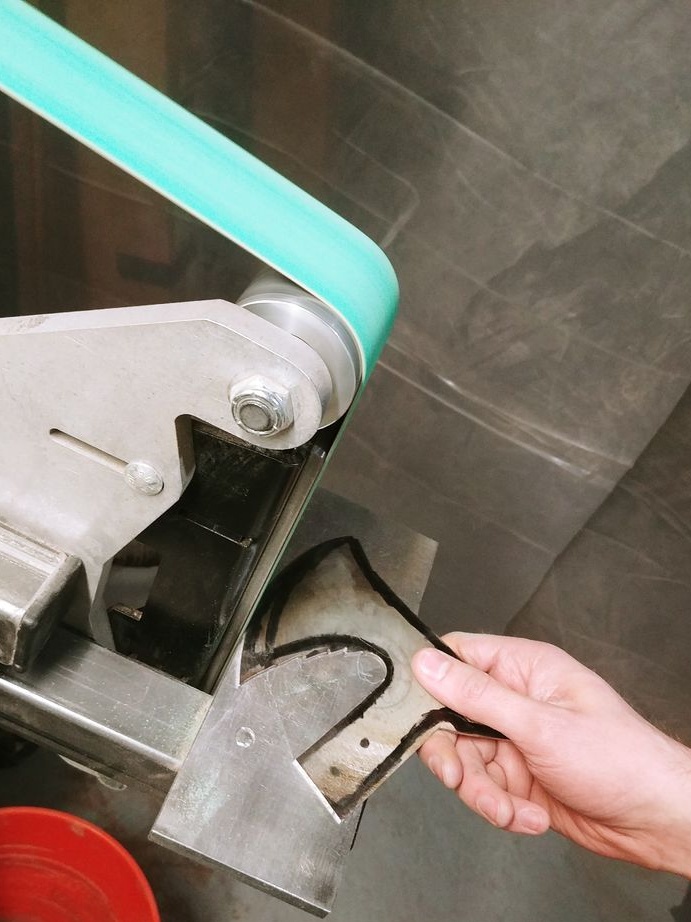
The next step will be grinding the profile to remove all those nicks and other defects remaining after cutting. For such works, the author uses a belt sander, this is the most successful option. Although these machines are expensive and expensive, you can always order a nozzle from China that will turn your grinder into a miniature grinder.


In principle, grinding work can be handled manually using a good set of files and a vice.
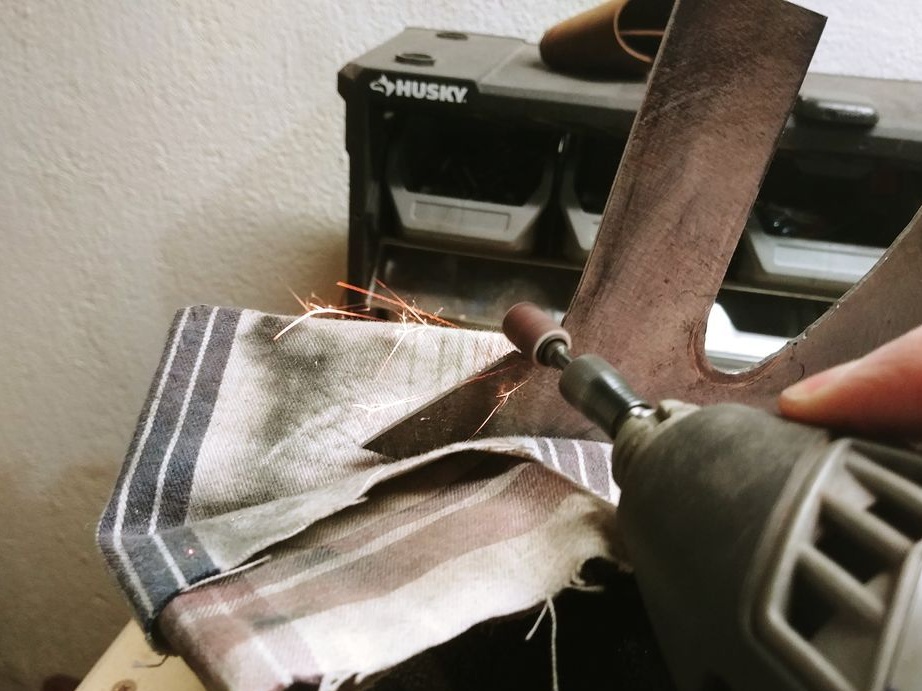
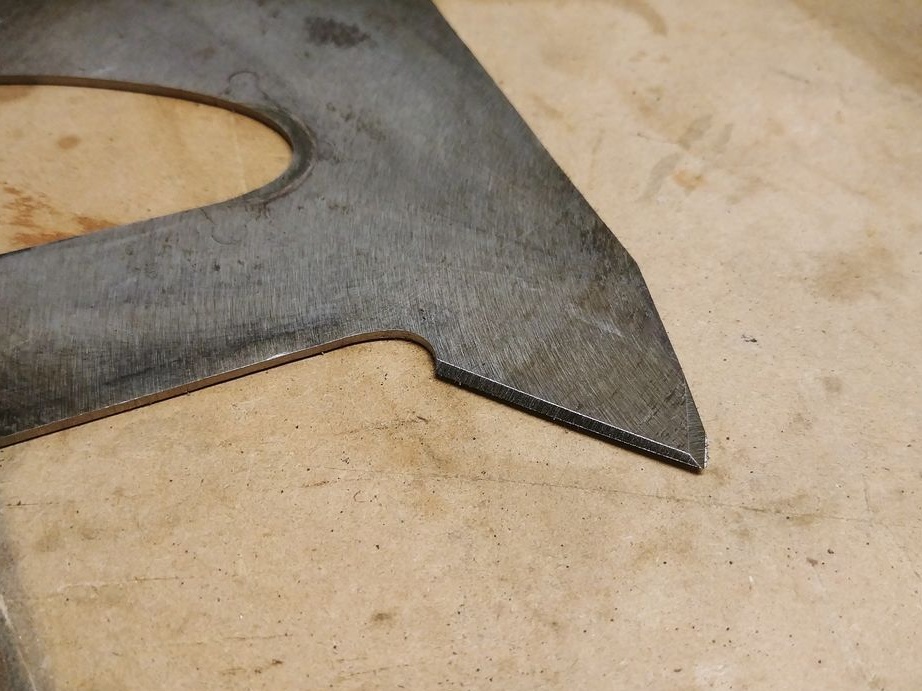
In the end, the author walks along the profile with a drill with a grinding nozzle in order to process the places where it was not possible to get the tape machine.Do not forget to also form the bevels (blade) of the ax. Here again, it will be convenient to work on a belt sander.
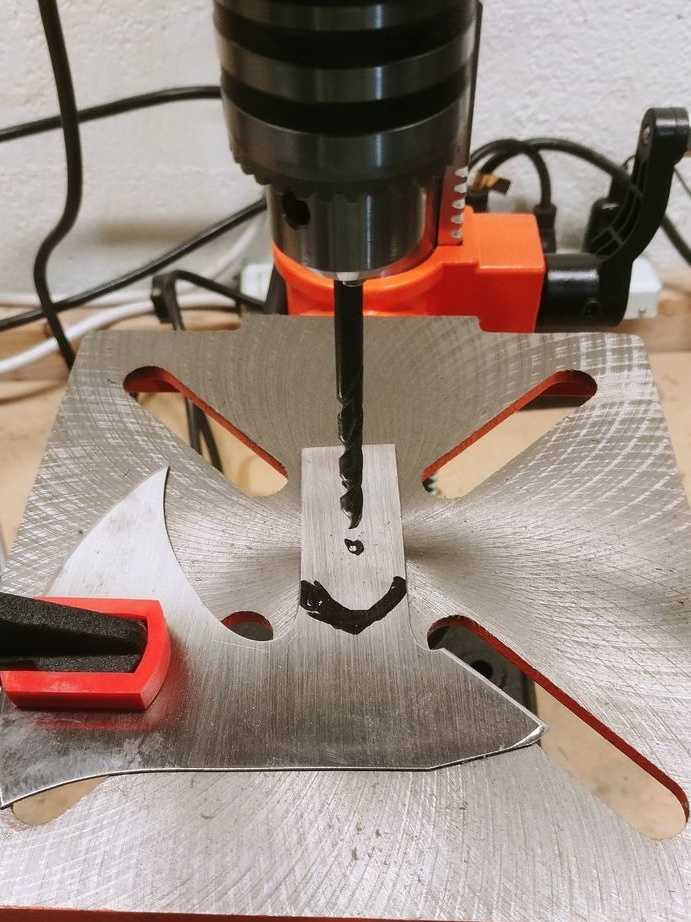
Step Three Drill holes
Drill two holes in the ax with which we will fix the handle. It may not be so simple to make this a conventional drill, since steel is instrumental here. If you can’t drill holes, heat the metal red and let cool in air. After that, the steel should become soft.
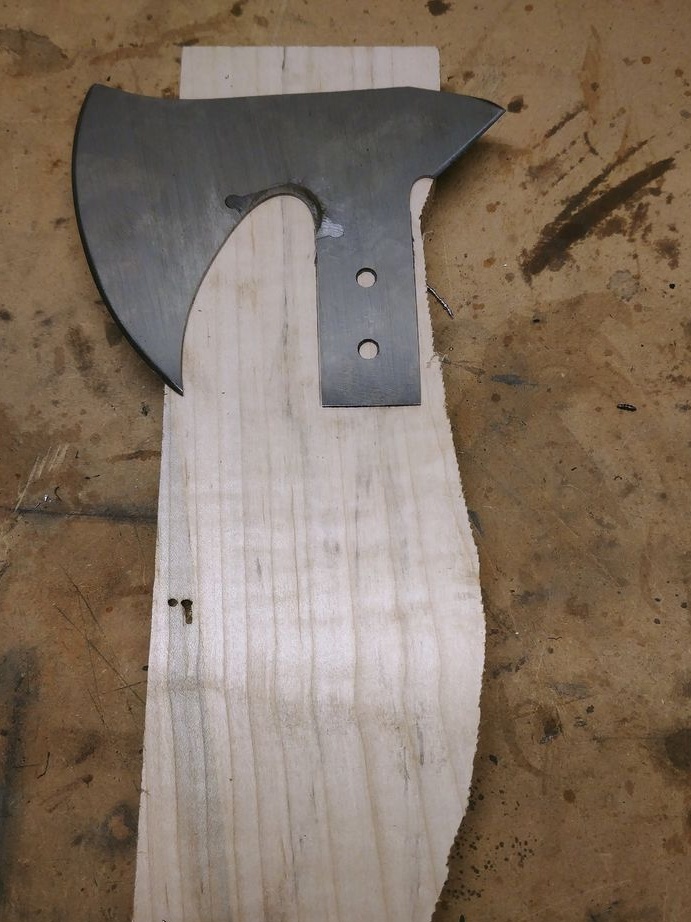
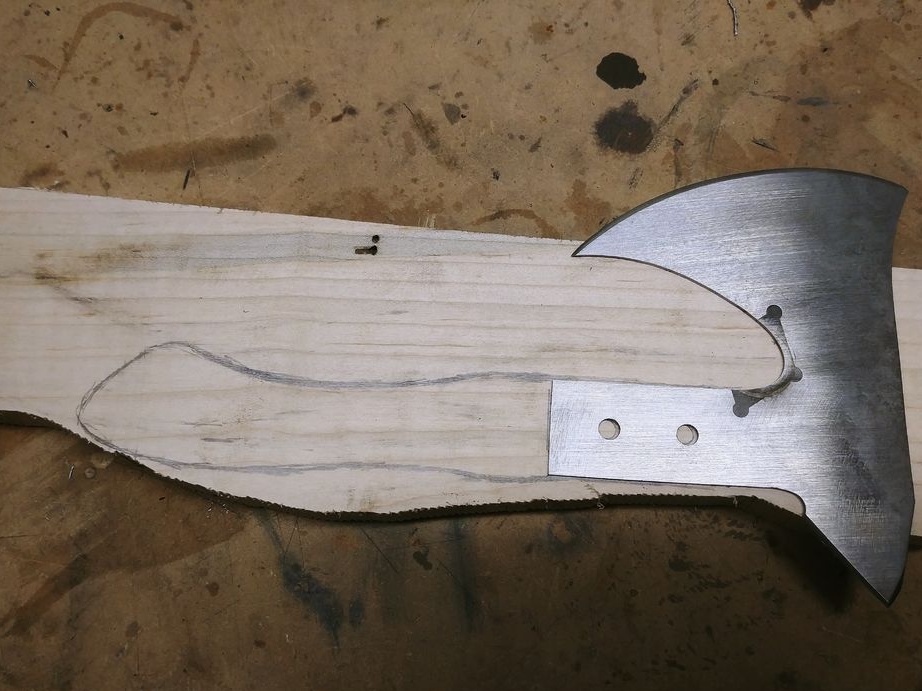
Step Four Cut out the rough profile of the handle
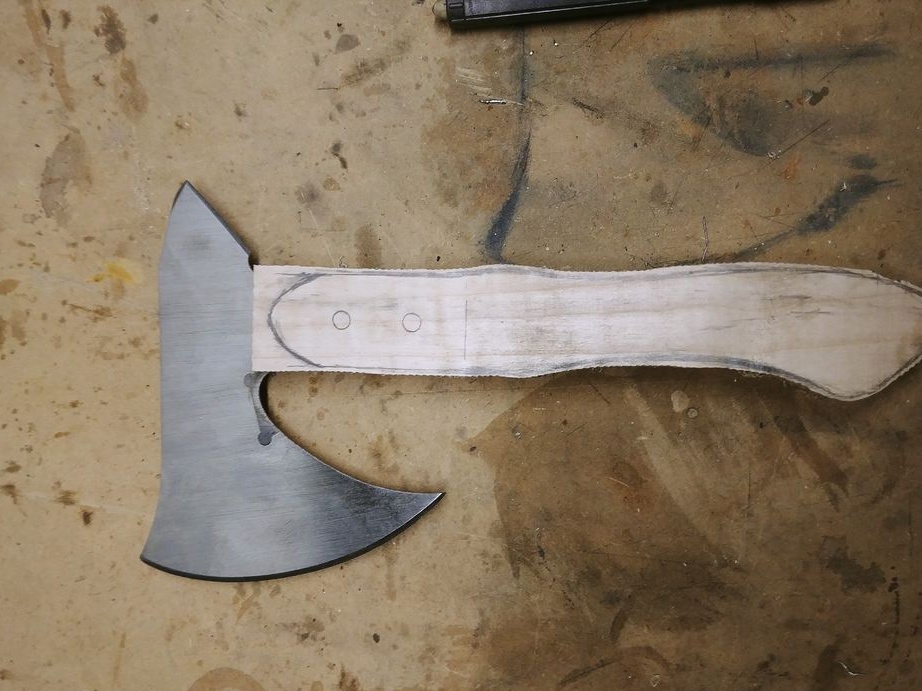
To make a pen you will need a wood plate of suitable thickness. Choose a tree species more carefully, since we have an ax throwing and the handle should not fly off after the first blow. Maple, oak and other species are well suited. First, draw a pen profile with a pencil, here you can also show your creative talents. Imagine what the handle should be so that it is convenient to use the ax.
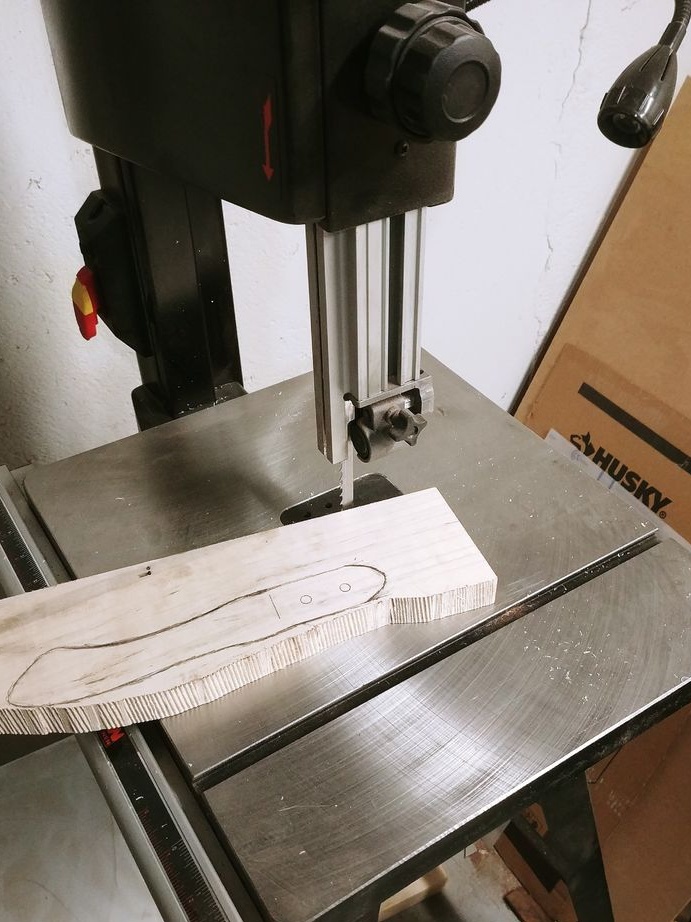
After this, you can cut the profile, the easiest way to do this is with a jigsaw or other band saw.
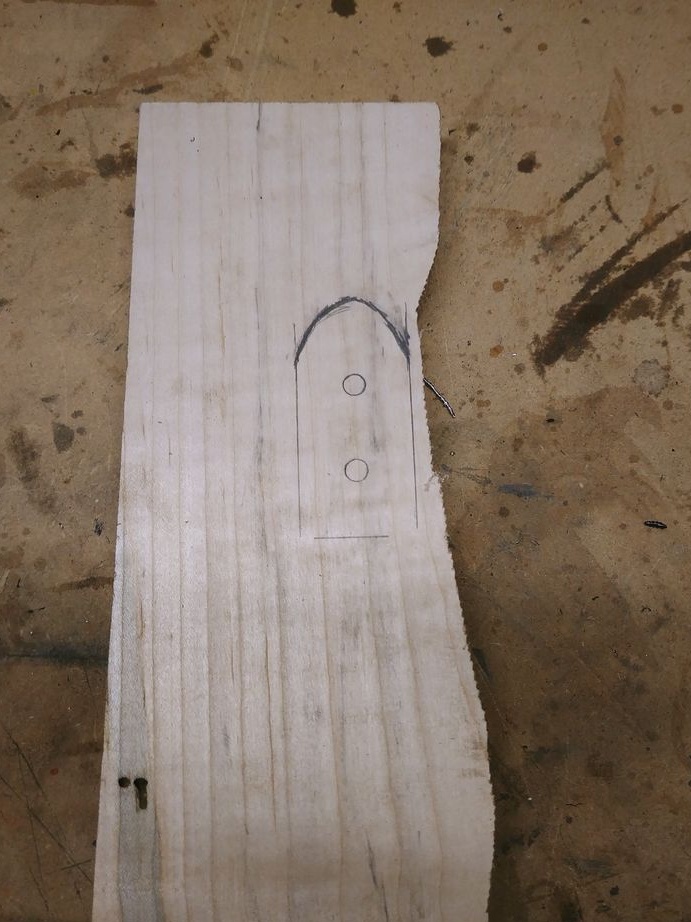
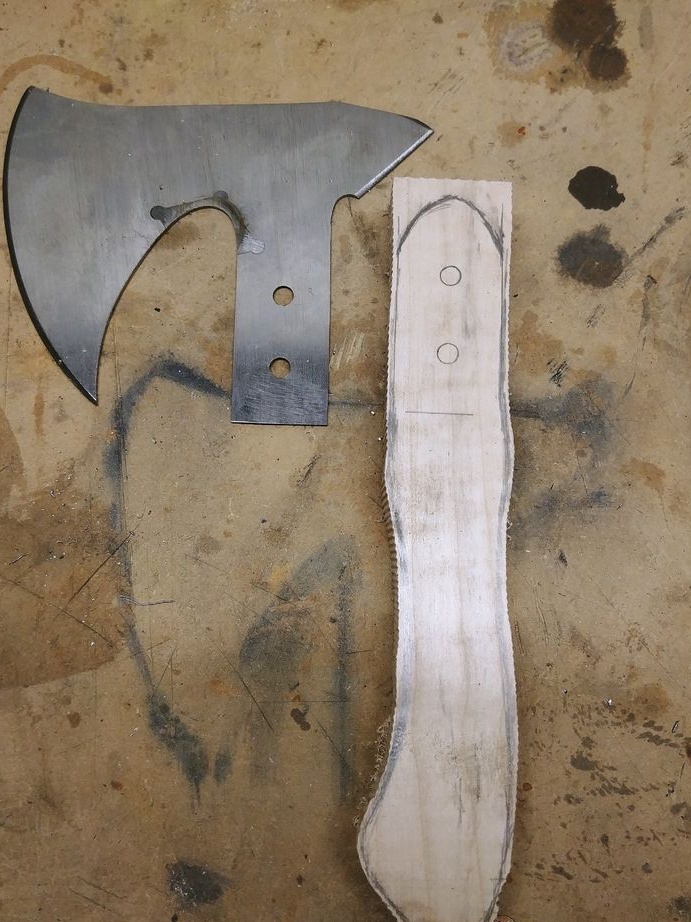
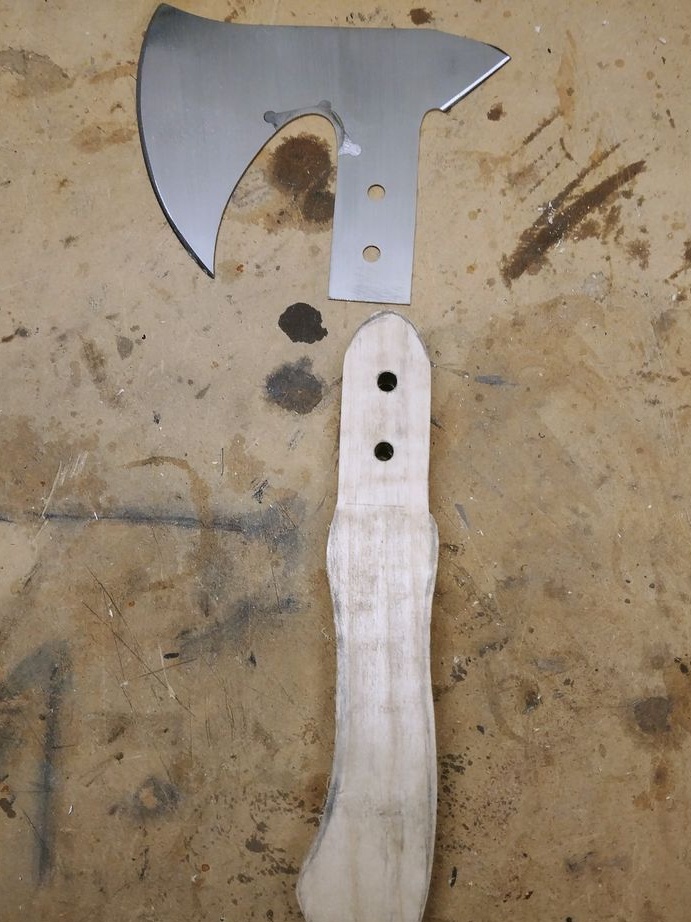
Step Five Mounting holes
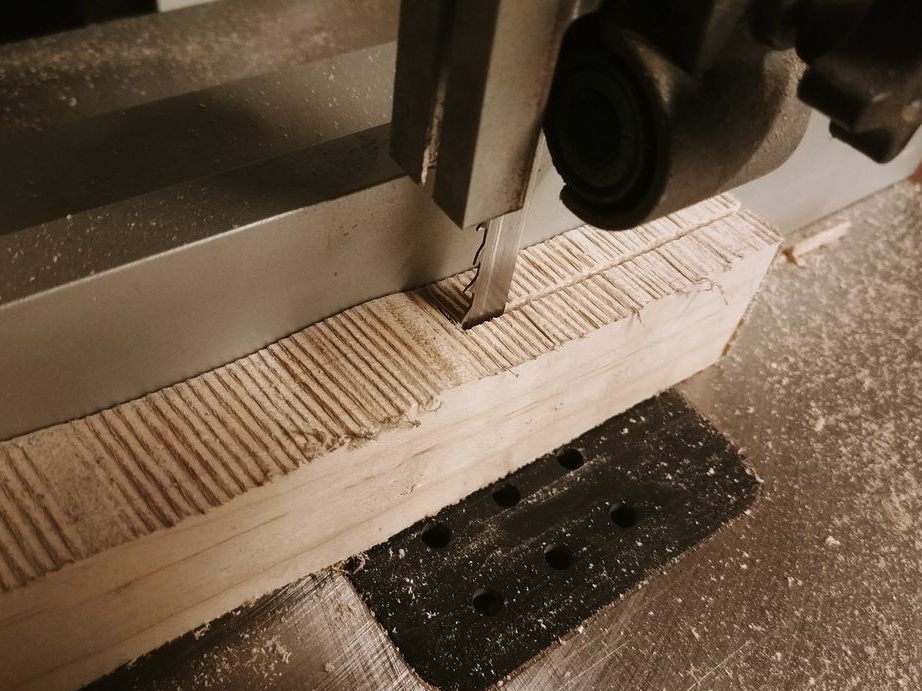
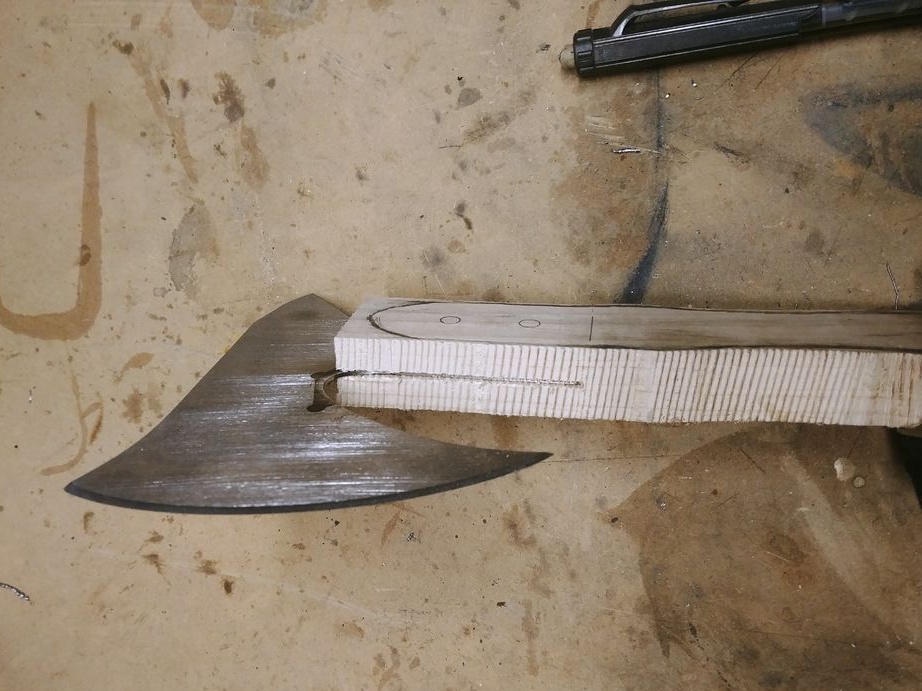
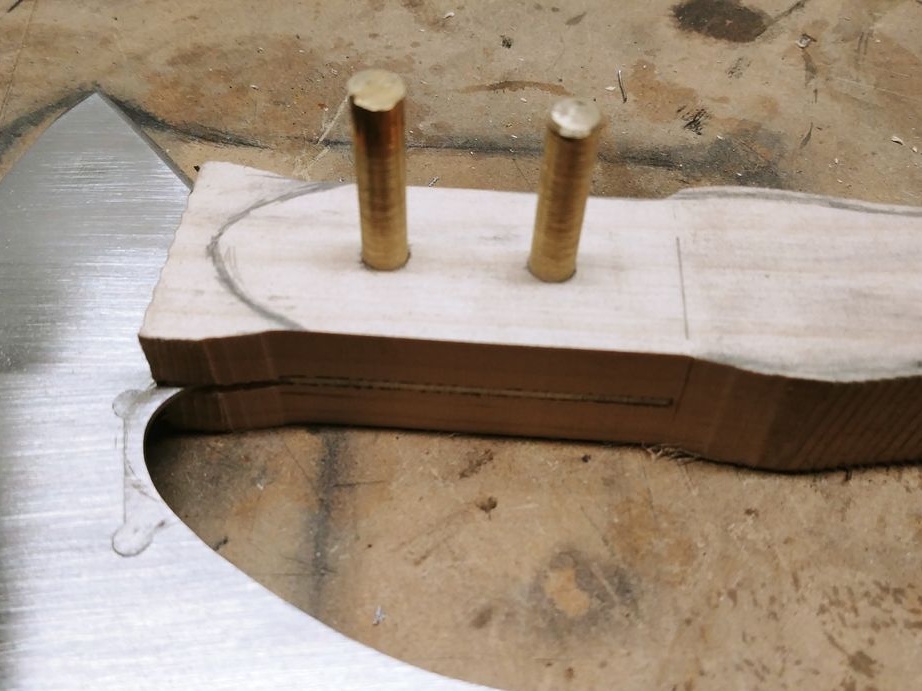
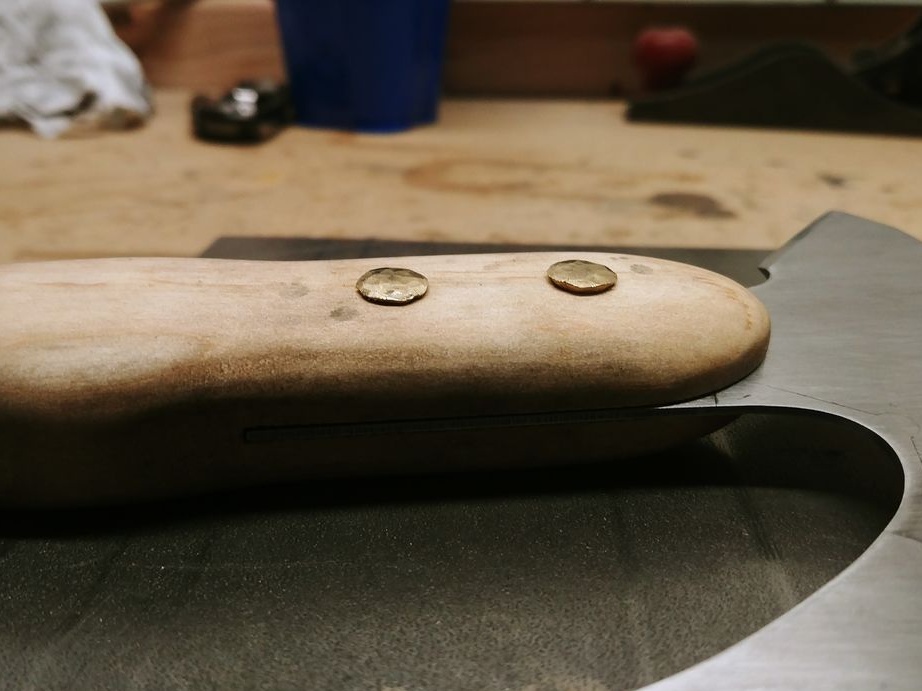
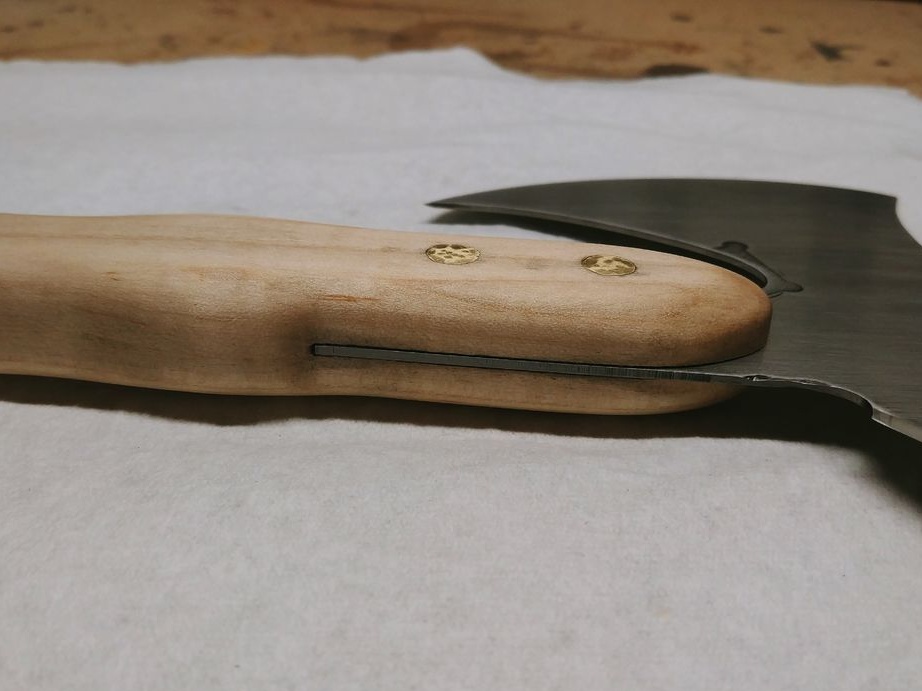
In the carved handle, you will need to make a slit hole in which the tail of the ax will go. At the same time, consider the thickness of the cutting blade, since the ax should not hang out or wedge the handle too much. You can cut such a groove with a jigsaw or with a hacksaw.
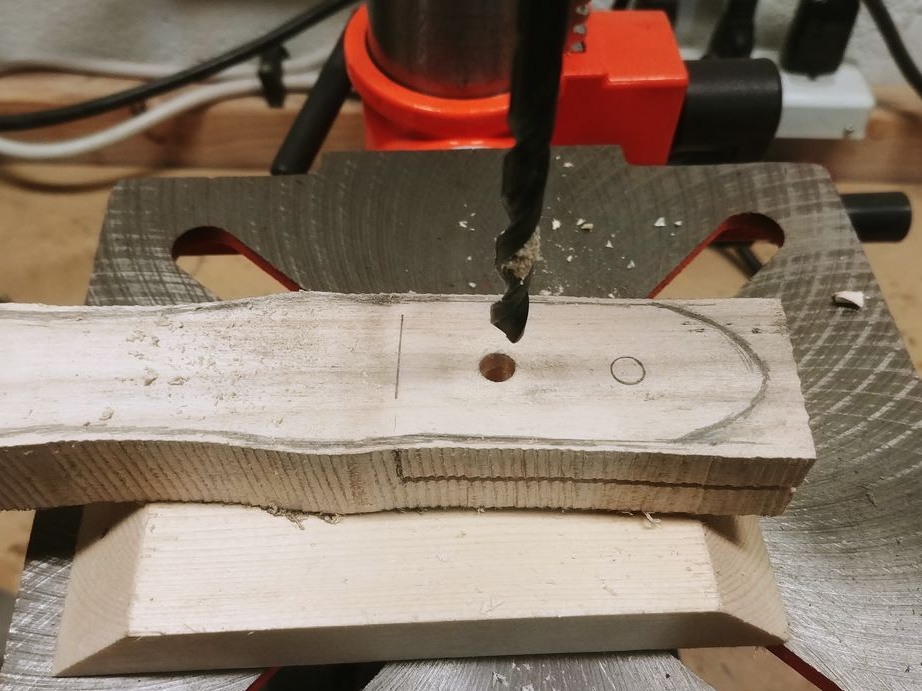
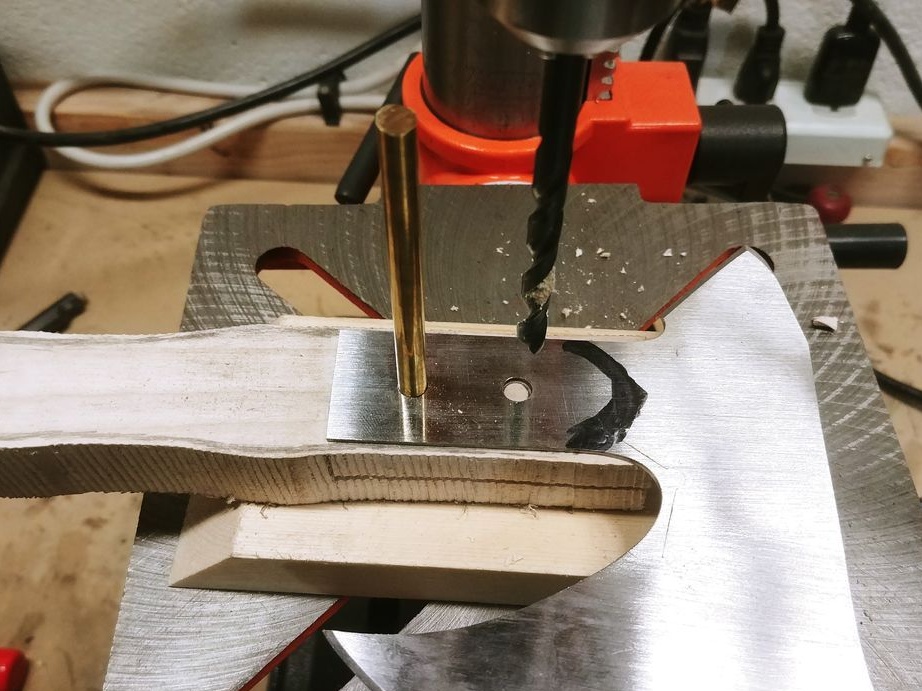
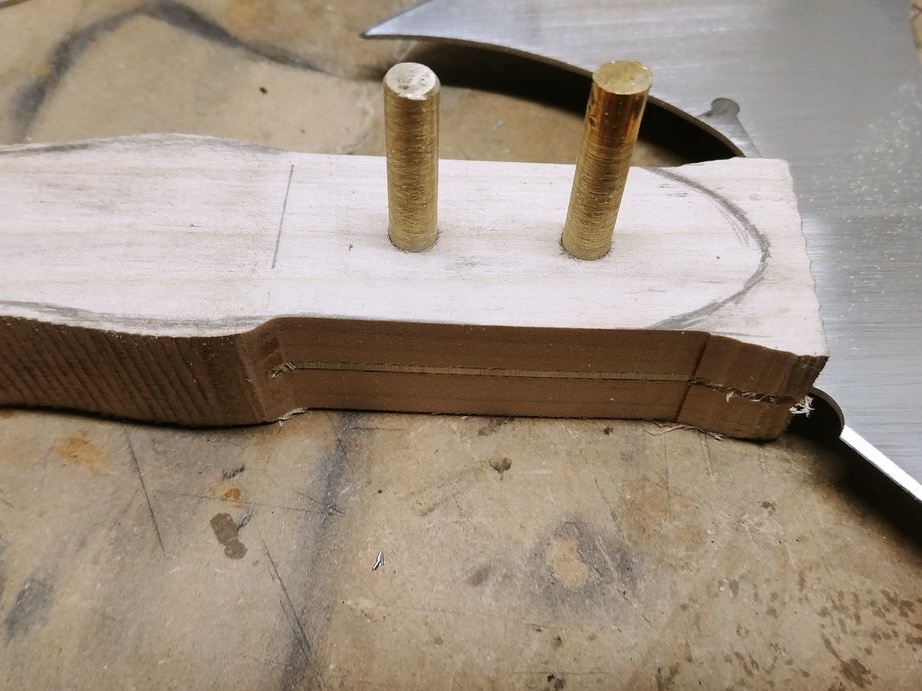
Next, the most difficult part is to drill the mounting holes. The difficulty lies in getting into the holes made in the ax. In principle, you can drill this entire “sandwich” at the same time so as not to aim at the existing holes.
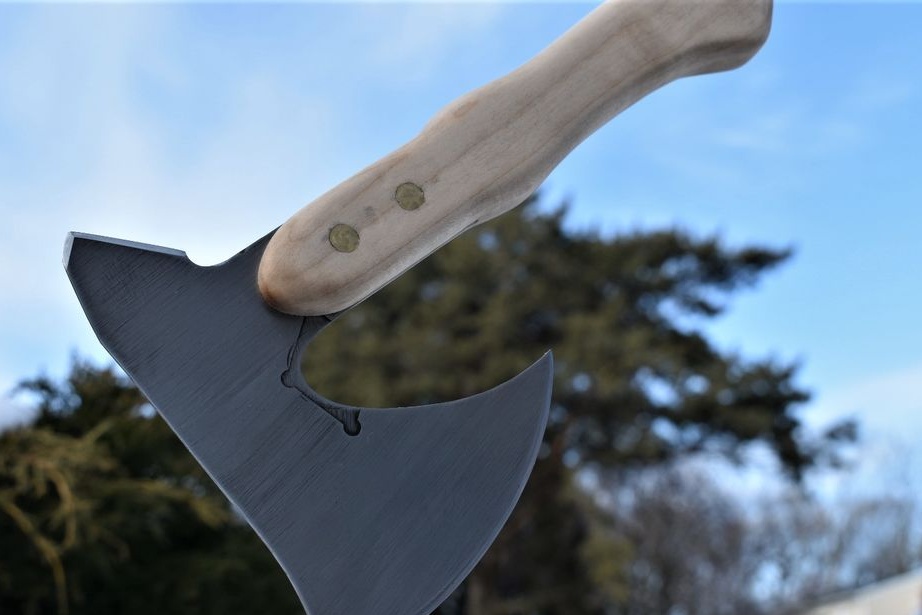
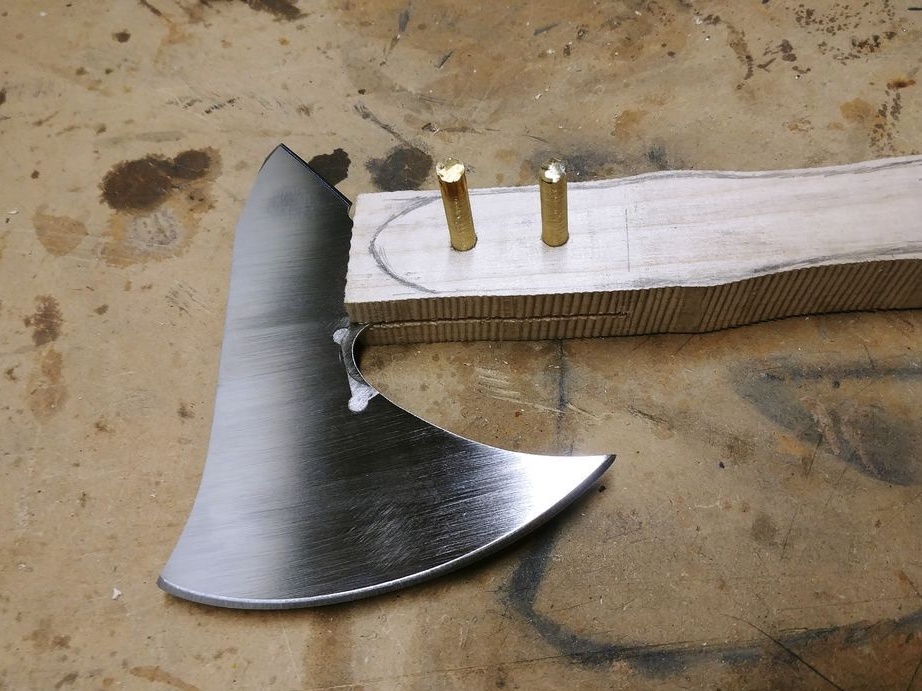
In the drilled holes with a light blow of the hammer, we hammer the pins, for which the author used brass rods. You can adapt ordinary bolts, nails and the like for this, but brass, of course, looks more stylish.
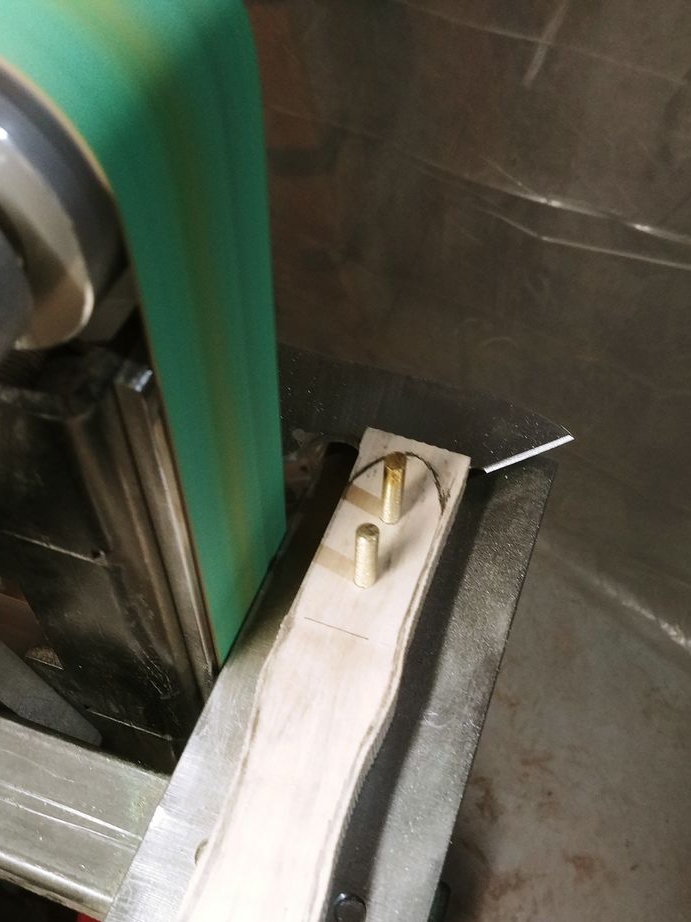
Step Six Pen finishing
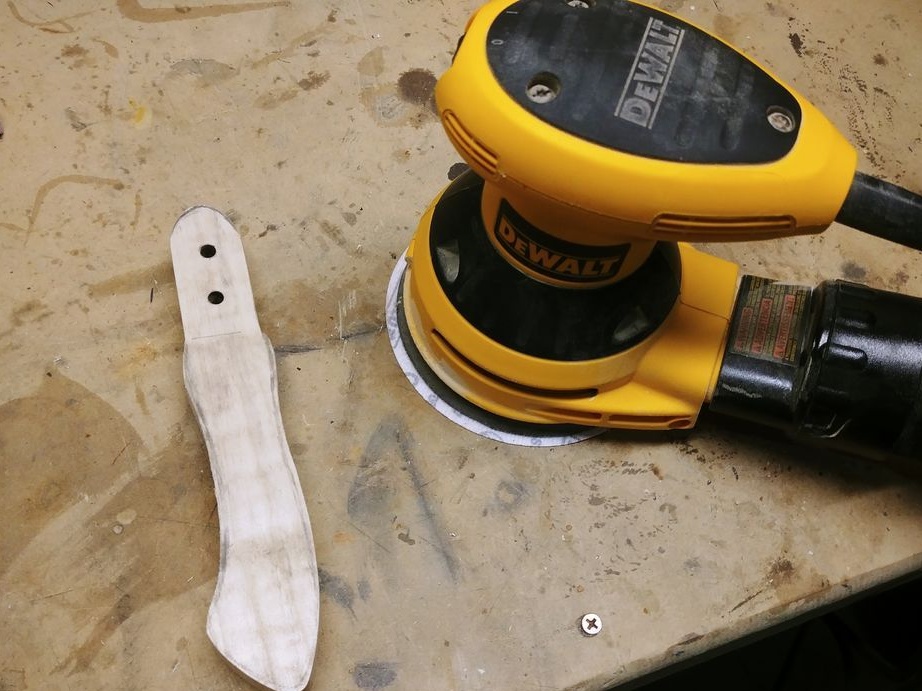
To form the desired profile of the handle, we turn to the belt sander for help. You can also use an orbital machine or other suitable tool. Carefully process the surface of the handle, make rounded shapes, smooth out defects.
When the desired profile is formed, we proceed to manual processing. Here you will need sandpaper. We start with coarse-grained, and then move on to an increasingly smaller one, eventually getting the perfect smoothness of the surface.
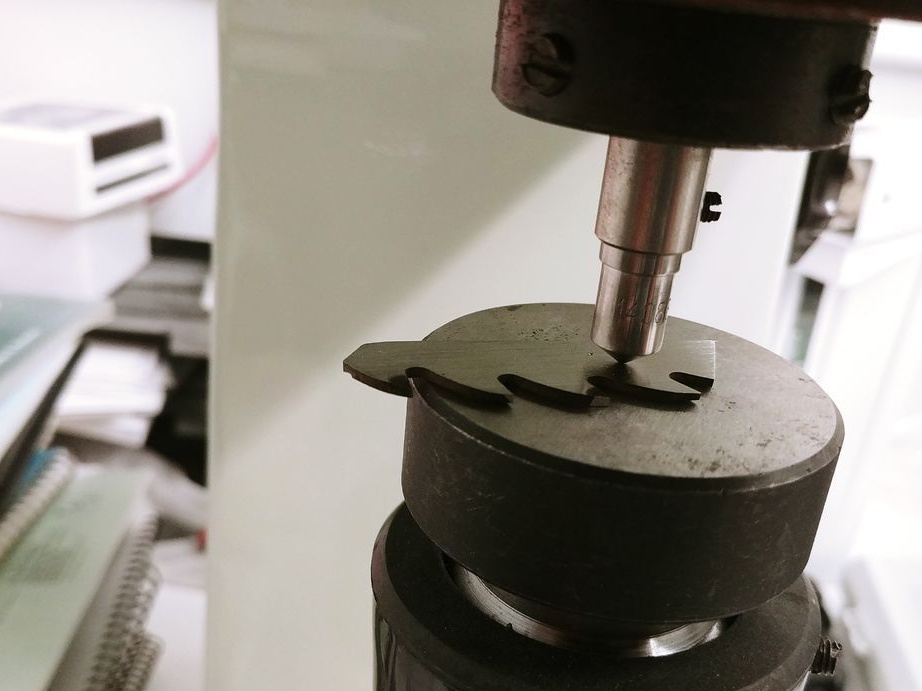
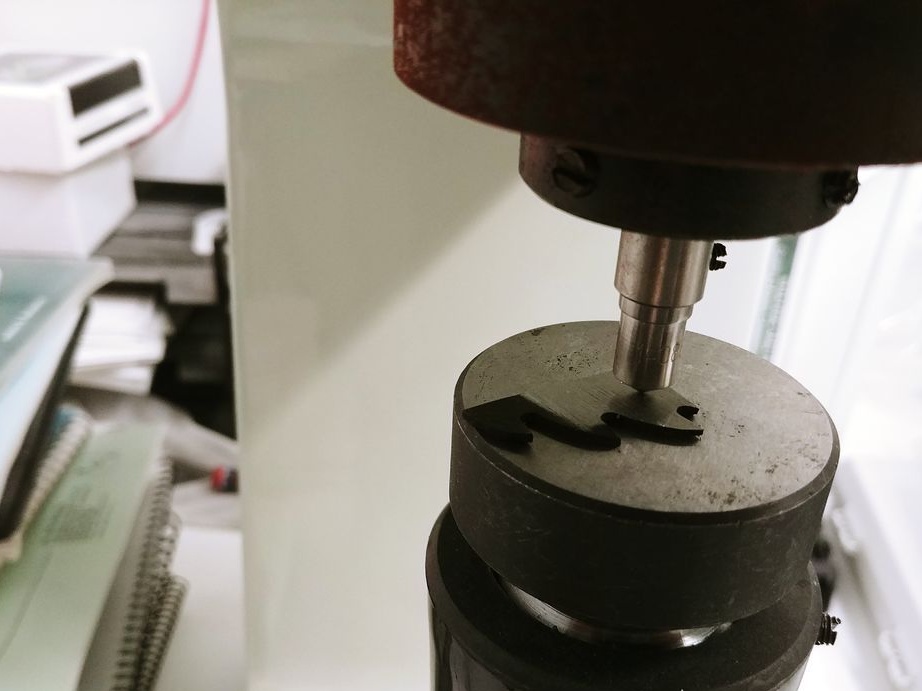
Seventh step. Ax heat treatment
The author had access to a machine, with which you can measure the hardness of the metal. To measure, carefully sand the workpiece. The first tests showed that the hardness of the workpiece is only 45HRC, this is too small and the author decided to harden the metal. To do this, take a burner and potassium metal to a yellowish glow, and then cool in oil. You can also heat the workpiece in coals by blowing them with a vacuum cleaner or hairdryer.
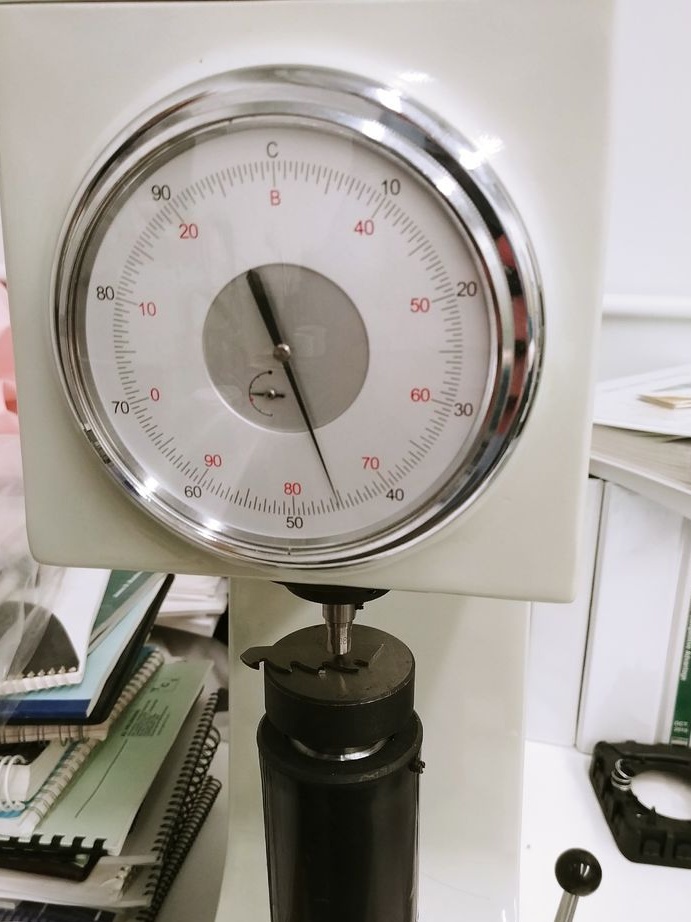
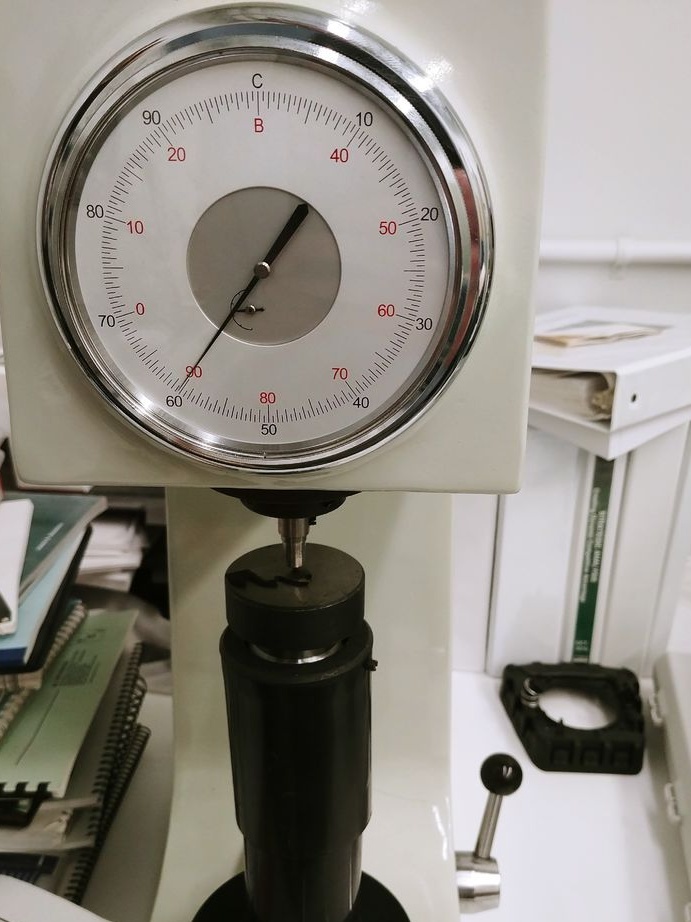
As a result, measurements after hardening showed the figure 60HRC, this is more than an excellent figure for a hatchet or knife. But so that the hatchet could also spring, the metal should be released. To do this, put the workpiece in the oven and heat for about an hour at a temperature of 200 degrees Celsius. Let the metal cool in the oven with it closed. After that, you should get a hatchet of excellent quality.
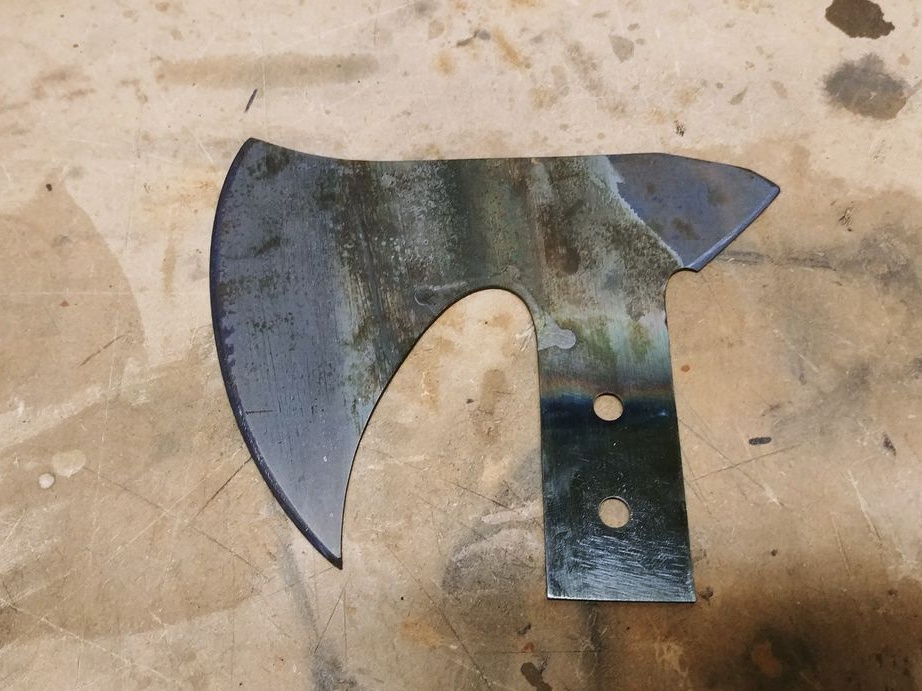
Step Eight. Final grinding
After heat treatment, the metal will have scale, spots and other defects. All this needs to be eliminated, for this we perform grinding. There is enough manual work, we use fine sandpaper. If desired, the metal can be polished to a mirror finish.
Also at this step you can sharpen the hatchet at the same time using all the same sandpaper.

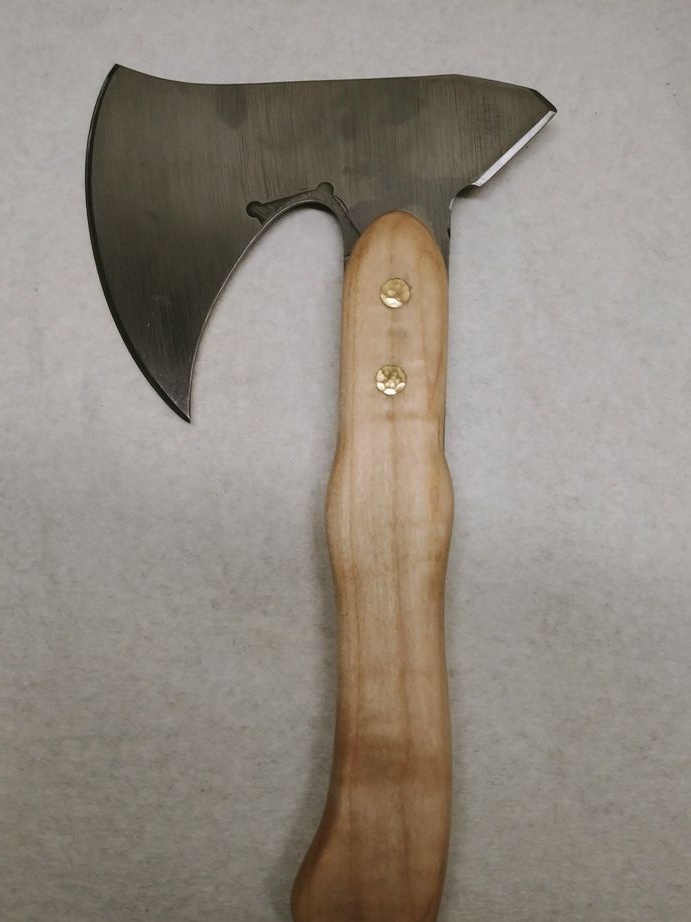
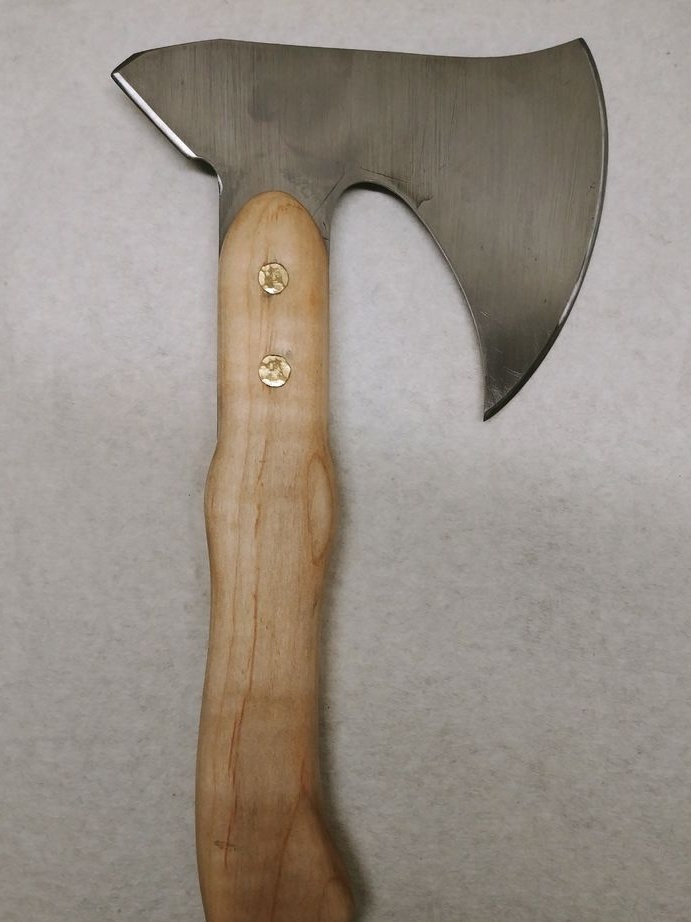
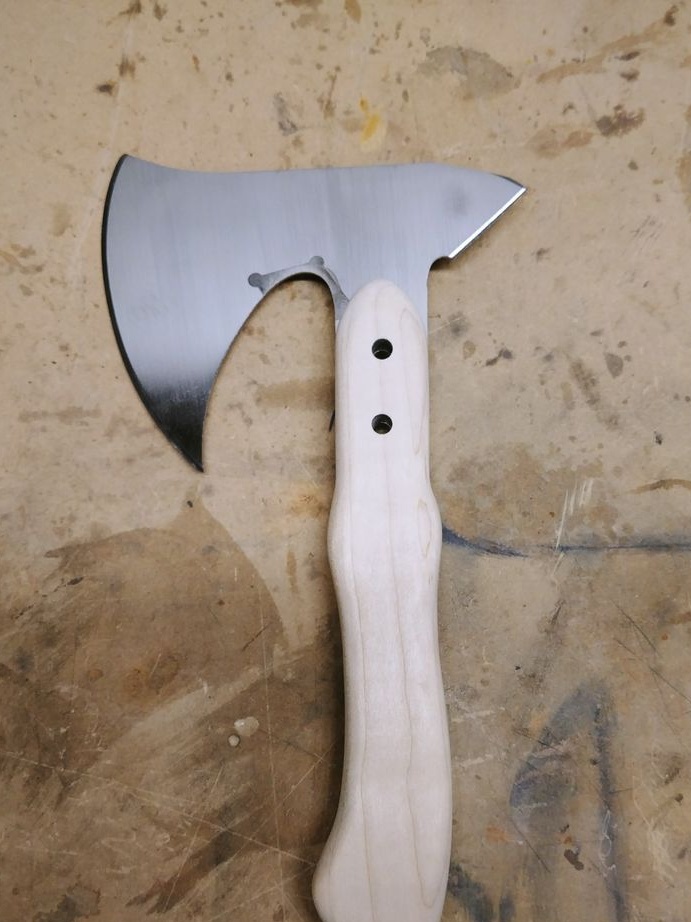
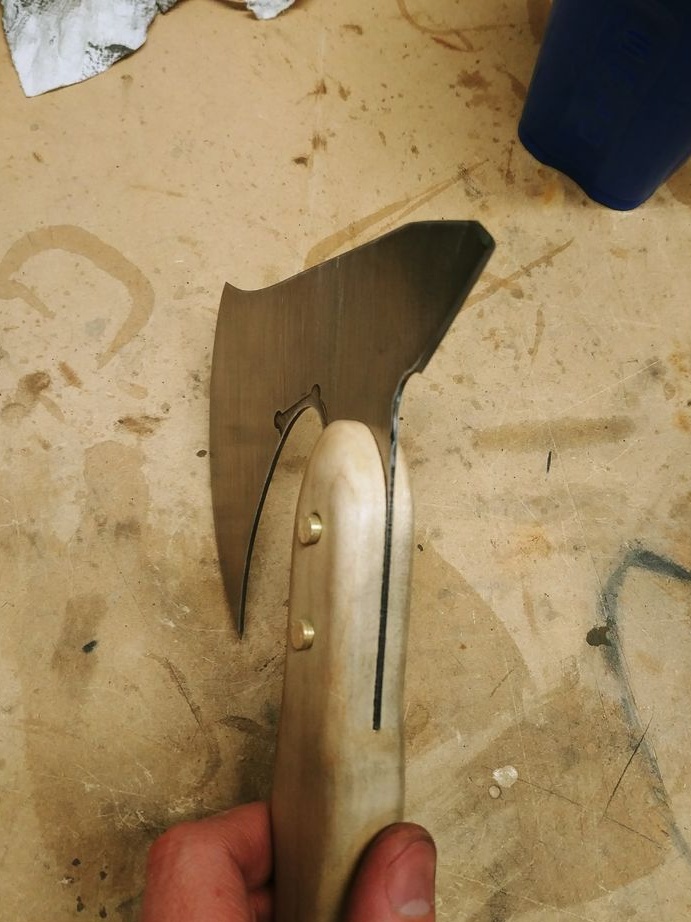
Step Nine. Collect hatchet
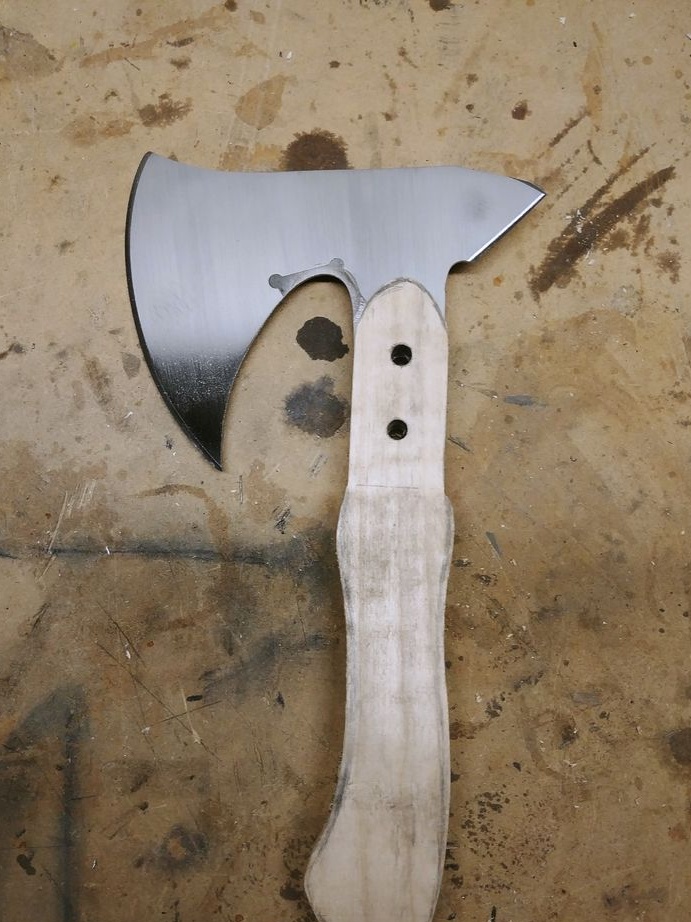
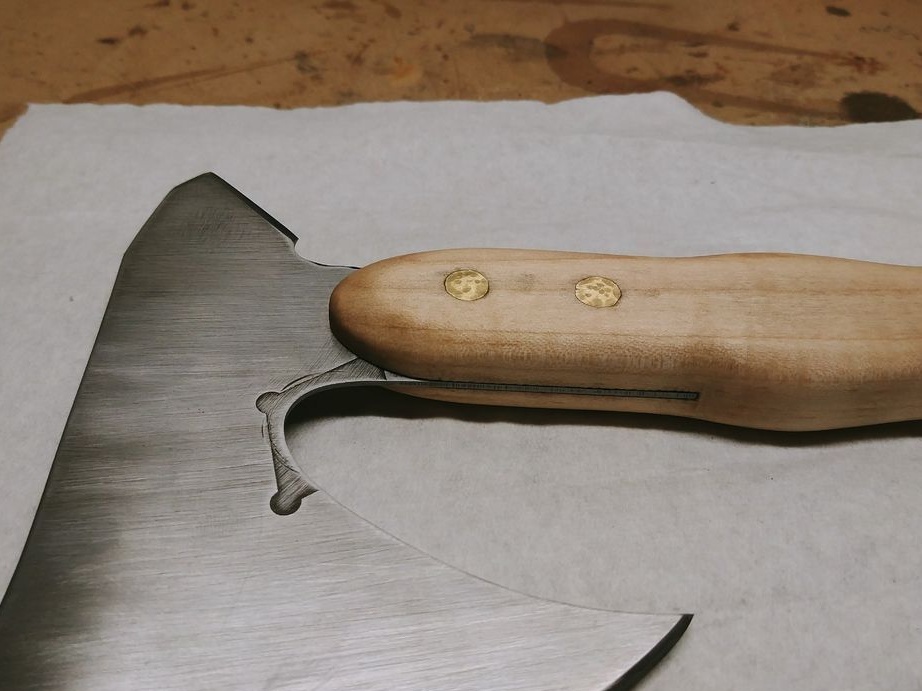
We install a hatchet on the handle, for this the author uses brass pins.If desired, epoxy adhesive can be used to strengthen the fastening. The pins should be quite large in diameter, carefully hammer them into the handle, and then rivet the ends with a hammer. Finally, you can smooth the pins with sandpaper. That's all, the ax is ready, go to the final stage - impregnation.


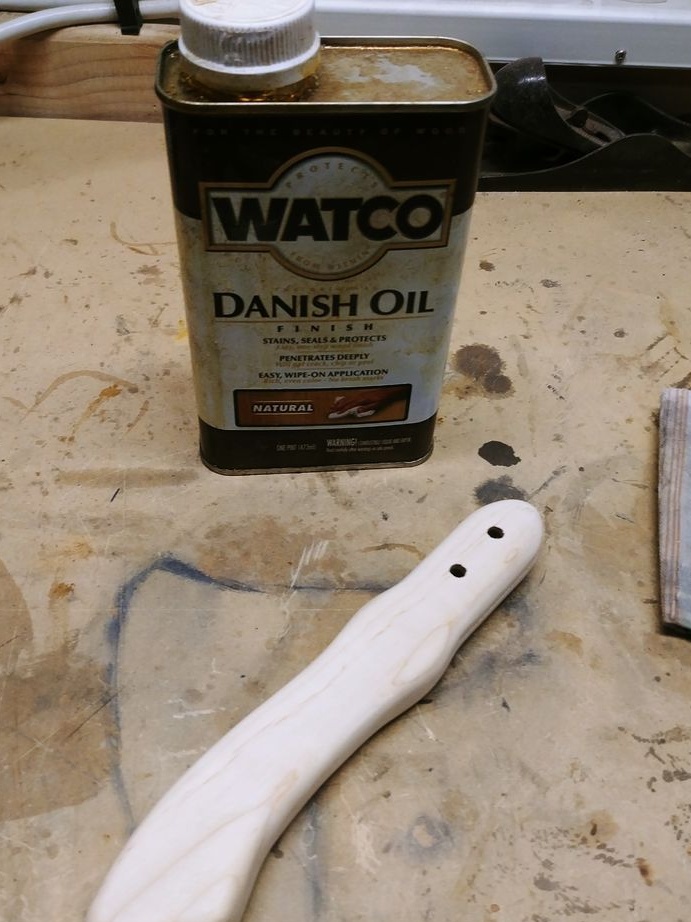
Step Ten Pen impregnation
Pen impregnation is a very important aspect. Thanks to this procedure, we will protect the pen from water and dirt, which will be absorbed into the tree. From water, the pen will quickly become worthless; upon drying, it will crack. To avoid all these negative consequences, soak the pen with oil. Apply oil until it is no longer absorbed. Of the oils, Danish is best suited, it is recommended by many masters. As for the public, there is no substitute for linseed oil. When the oil dries, it will no longer be taken by hand.
If you wish, you can additionally polish the handle with beeswax or its mixture with oil. For long-term storage, it is recommended to apply oil to the metal part.
That's all, I hope you liked the project. Good luck and inspiration in making homemade. Use this creation for good!