
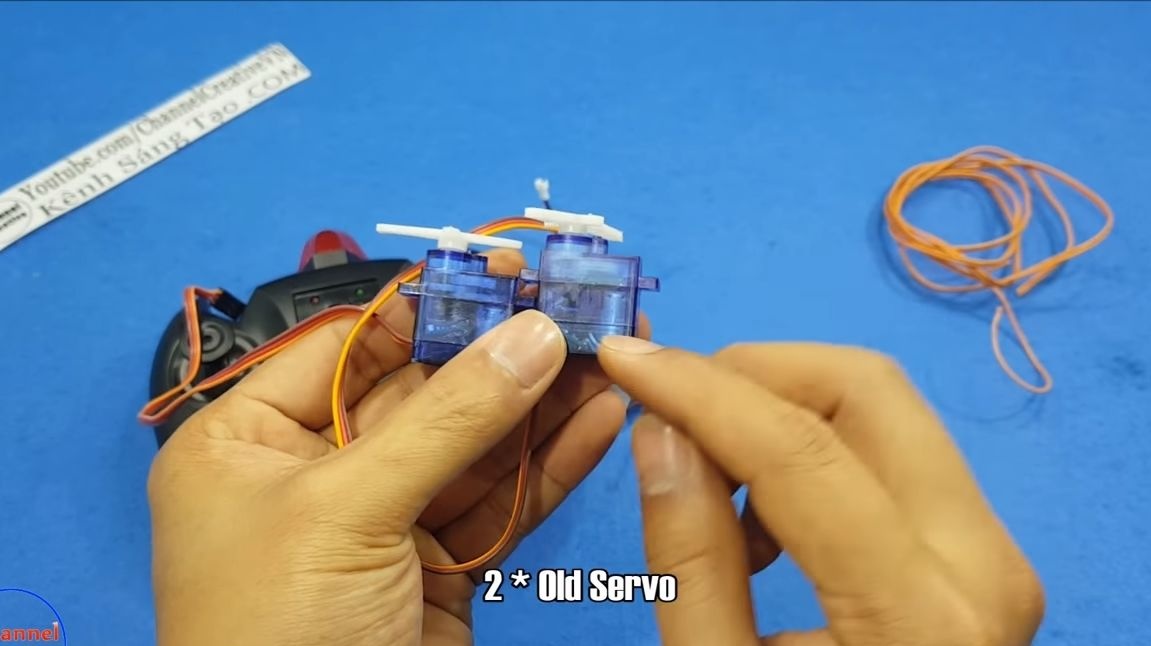
In this manual, I will tell you how to make a very simple tank for radio control. If you decide to make such a thing for your child, it will be crazy, and even more useful if you do it together! If desired, this design can be improved by making a solid body and improving the tracks. Of greatest interest here is the principle of its work. As the power unit, two old servomotors are used. They are redone only for rotation. As a result, we get two engines with reduction gears, which is what is needed for the manufacture of a powerful tank!
As for the tracks and other nodes, they are made quite simply. Caterpillars, for example, are made of rubber from a car or bicycle camera, as well as ice cream sticks. For the manufacture of the body, you can use plastic, durable cardboard or thin sheet metal. Perhaps the most expensive will be here electronics for management, but even it can be done do it yourself. It would be interesting to equip the tank with headlights, a gun and other similar equipment. The device travels quite briskly, and it does not cost much how sand, leaves, grass and other obstacles. So, we begin to manufacture.
Materials and tools used by the author:
Material List:
-;
- ;
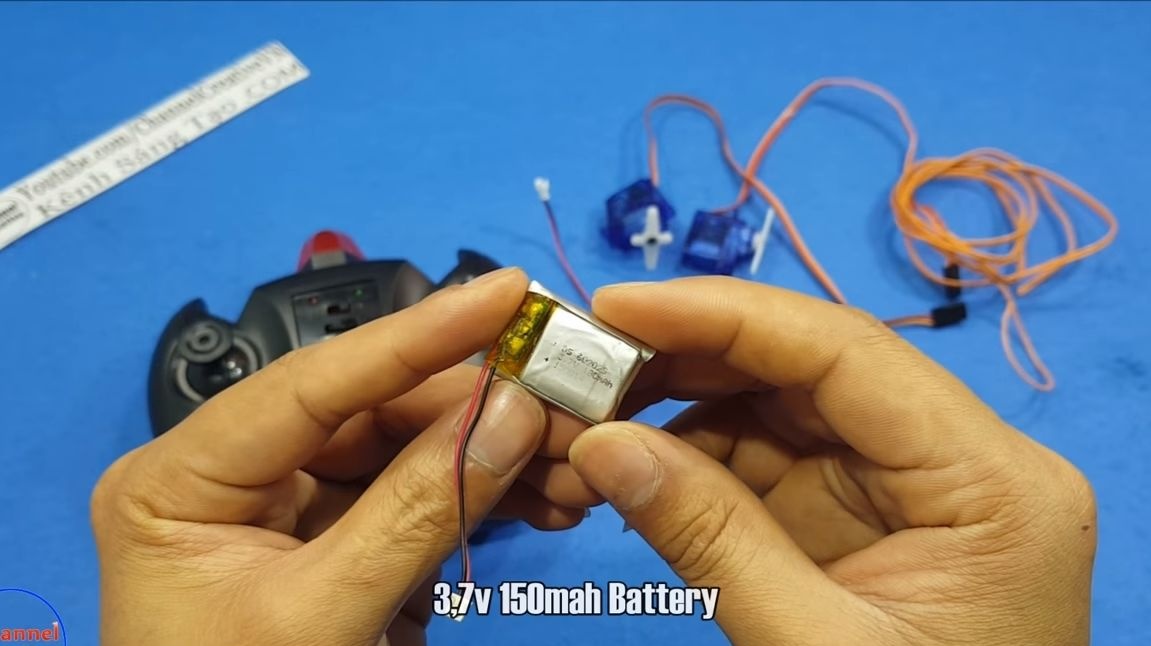
- battery (the author used 3.7V / 150 mAh);
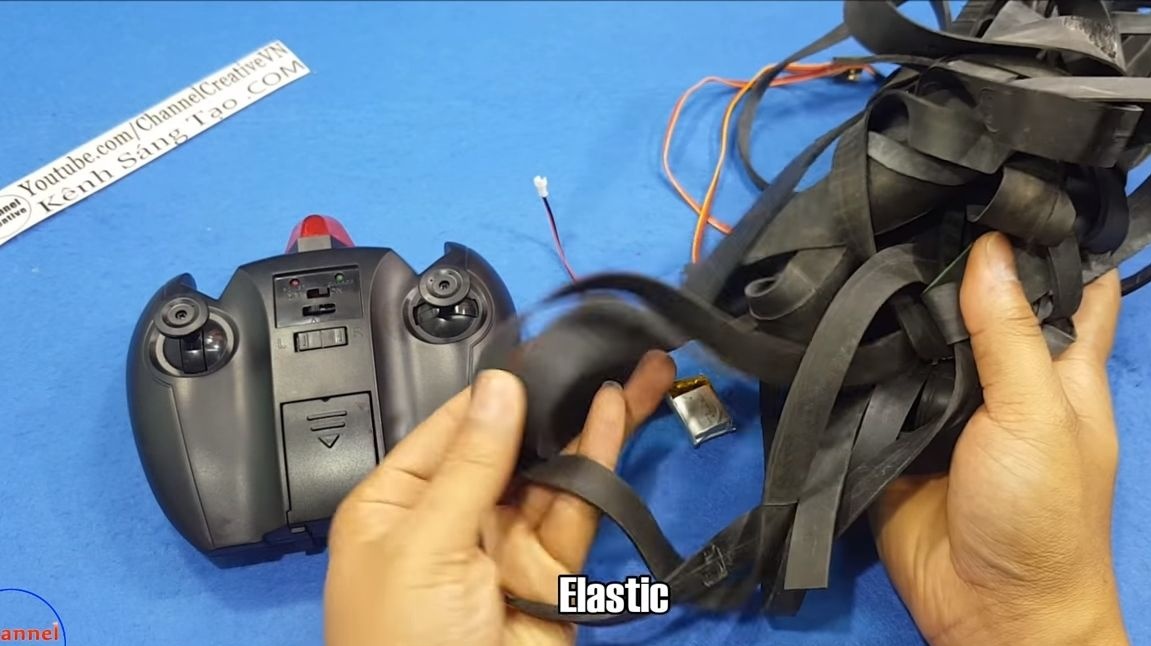
- rubber from a bicycle or car camera;
- ice cream sticks;
- wires;
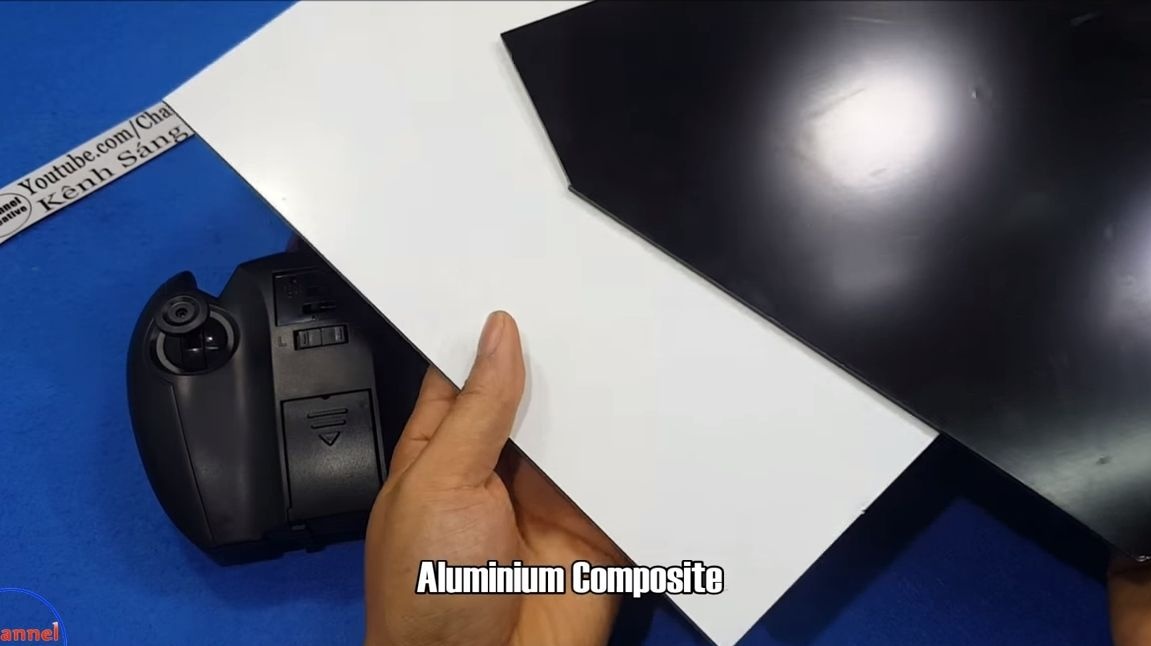
- aluminum composite sheet or the like (for bodywork).
Tool List:
- screwdriver (for servo motor screws);
- nippers;
- glue gun with hot glue;
- Super glue;
- soldering iron;
- ruler;
- stationery knife;
- scissors;
- marker;
- compass;
- a drill.
The manufacturing process of the tank on the radio:
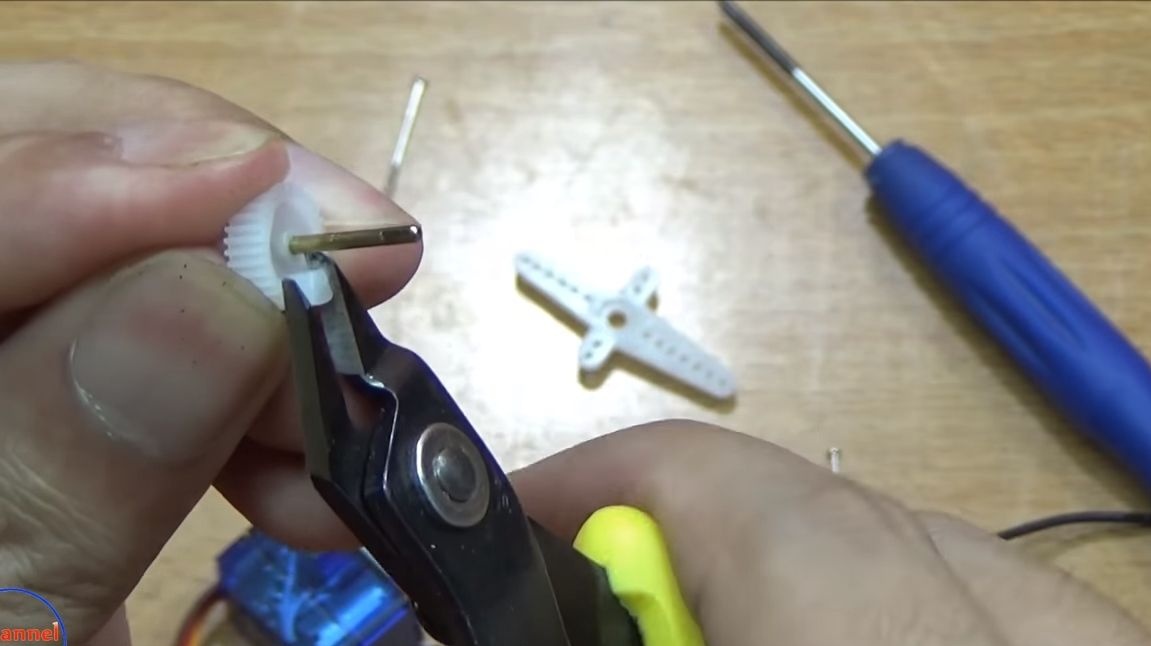
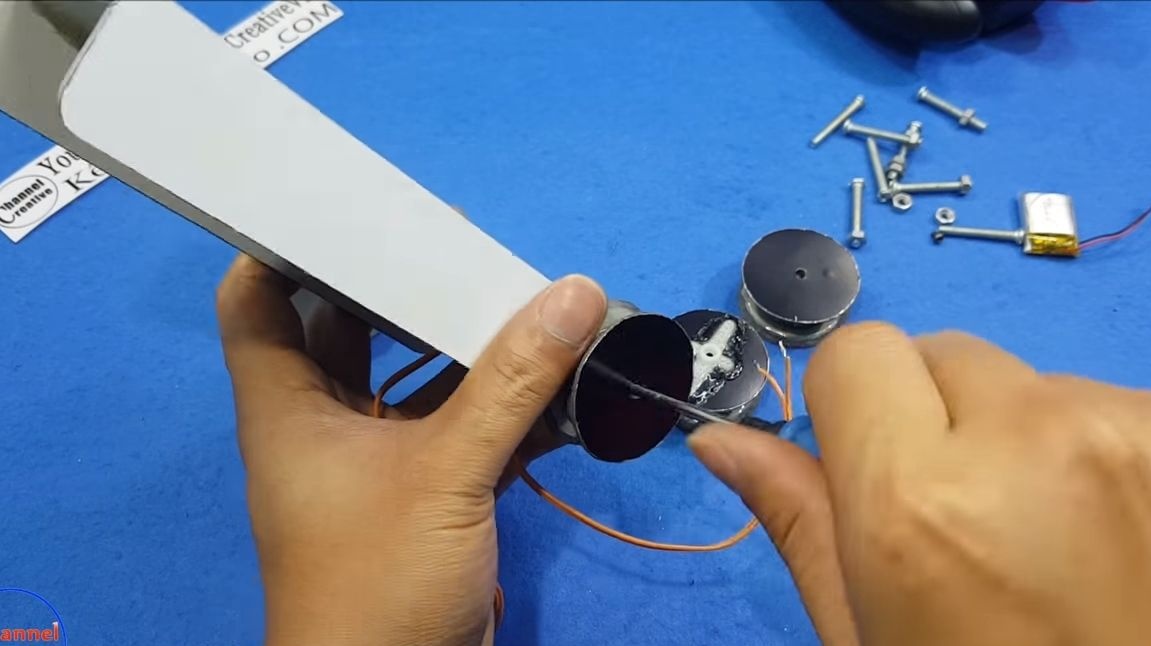
Step one. Redoing the servo
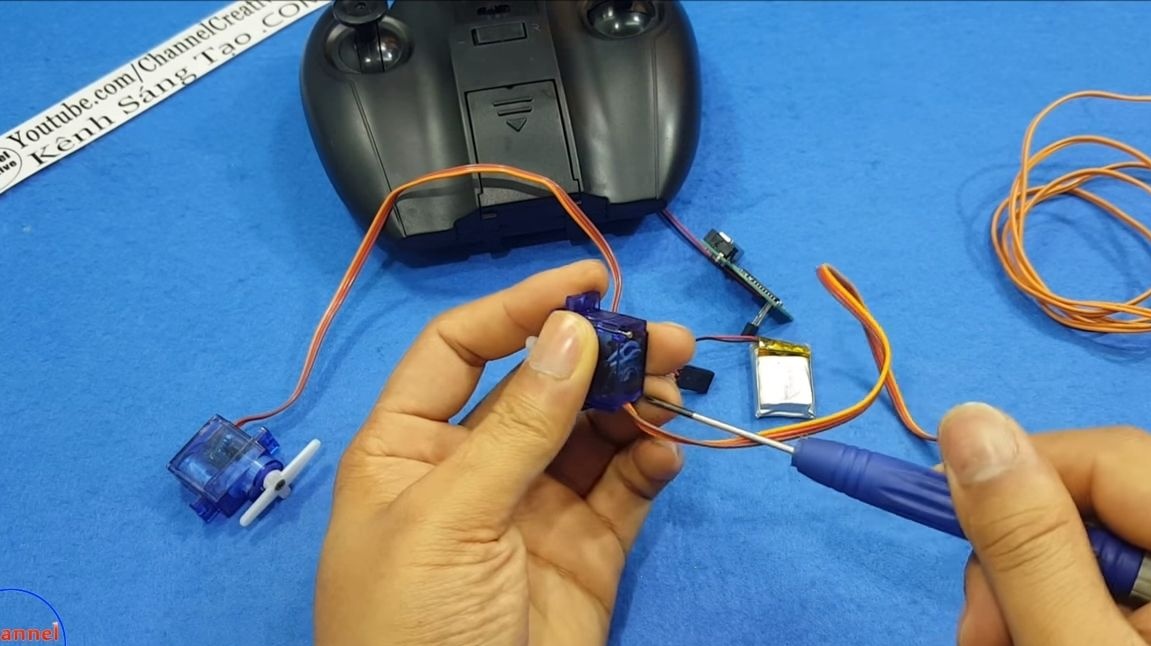
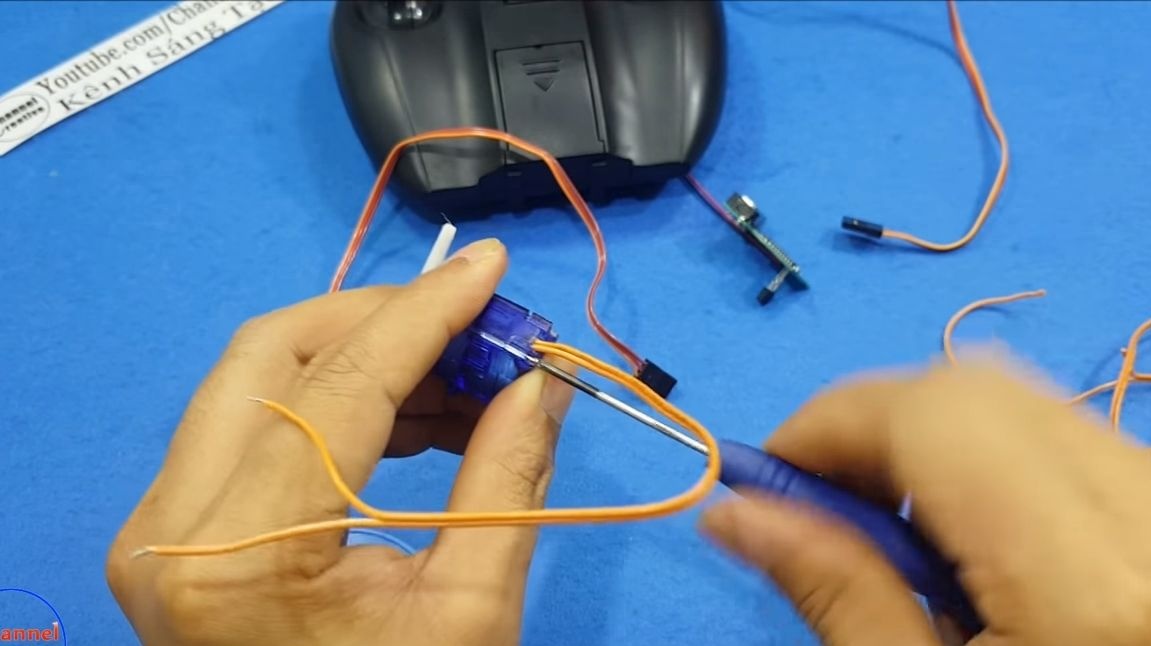
Let's start by remaking servomotors. We need to make sure that they can rotate through an angle of 360 degrees, that is, in a circle. To do this, you need to perform several manipulations. First, we disassemble the part of the servo in which the gears are located. There is a detail on which the emphasis is installed, which does not allow the engine to complete a full revolution. The author cuts this emphasis with the help of nippers.
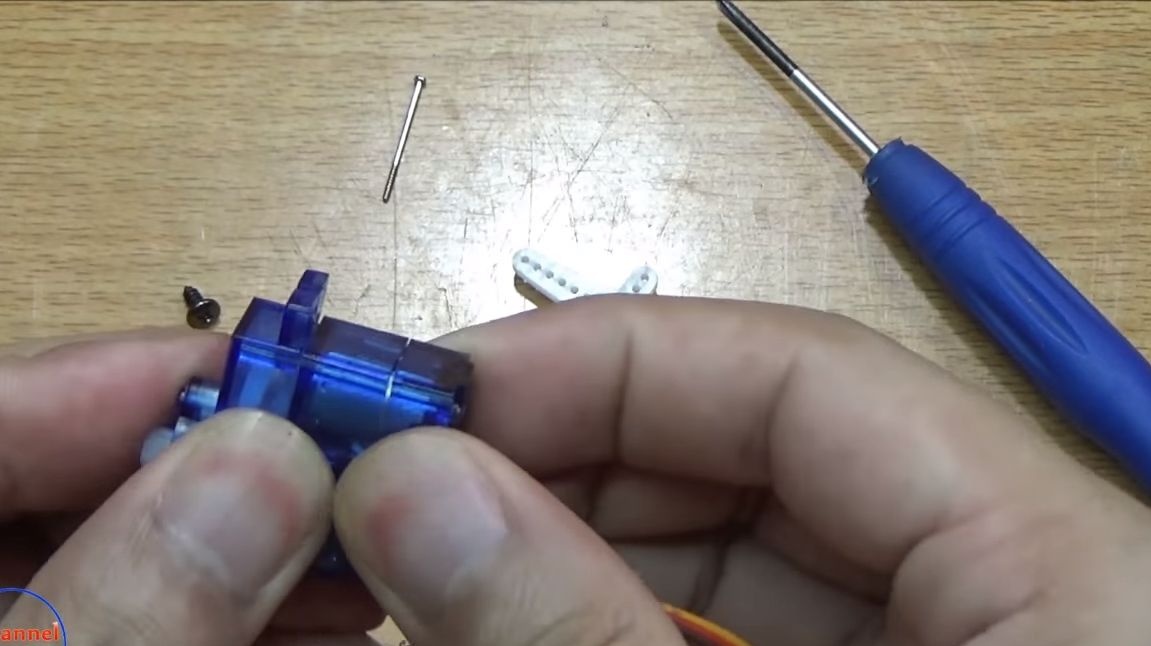
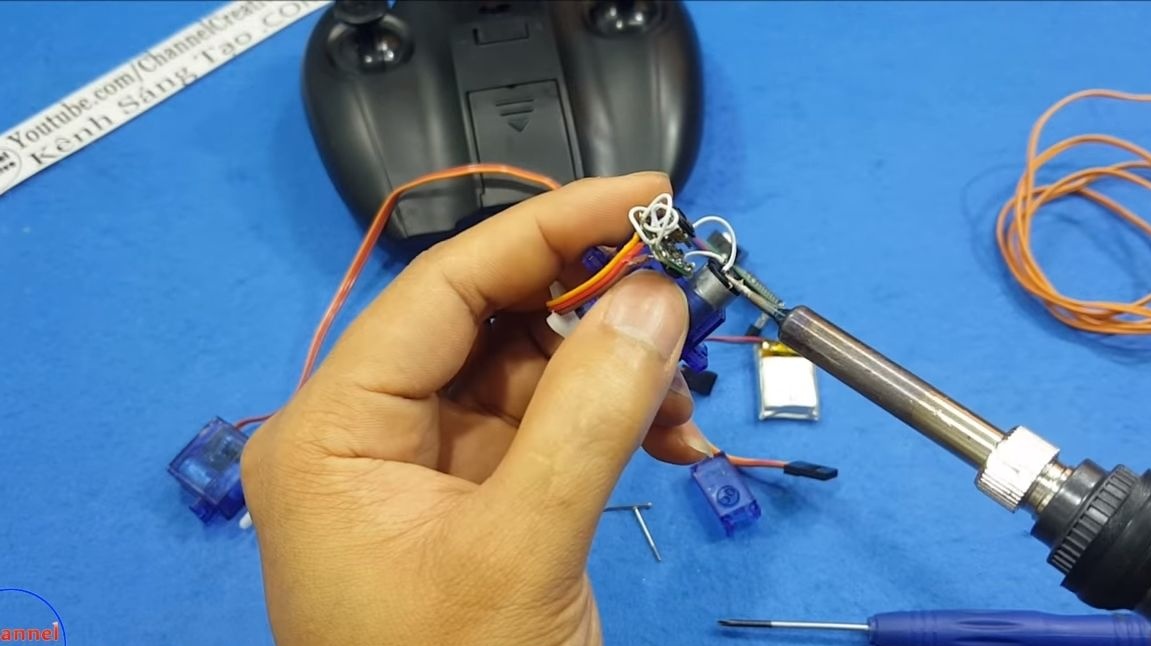
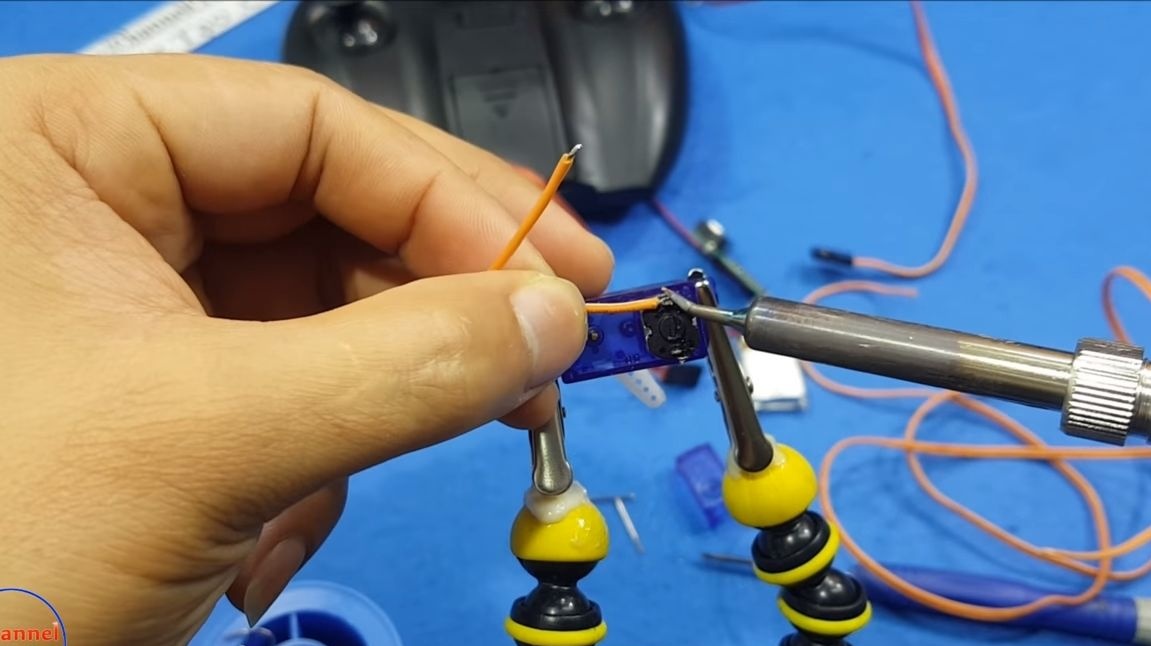
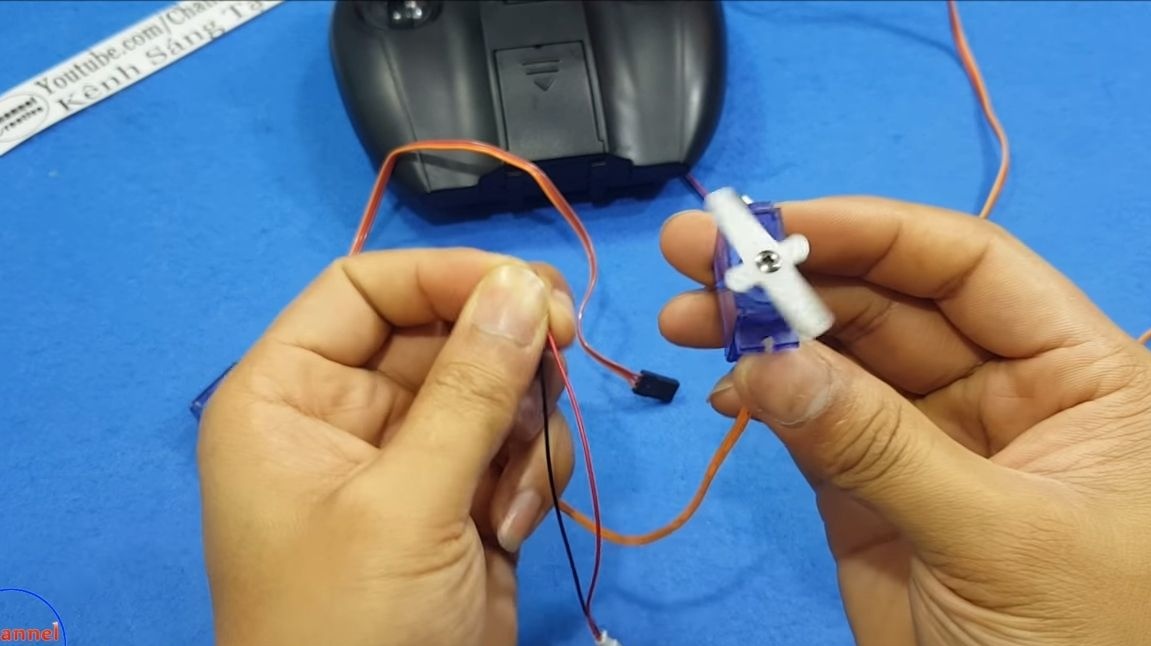
But that’s not all, so that the engine can work as it should, and nothing interferes, you need to pull the brains out of it. To do this, remove the back and unsolder the board with electronics, it can be pulled out.Take the wires to connect the power and solder them directly to the outputs of the motors. That’s all, now you can assemble the servo in the reverse order. Try applying power to the servo, the shaft should begin to rotate around its axis.
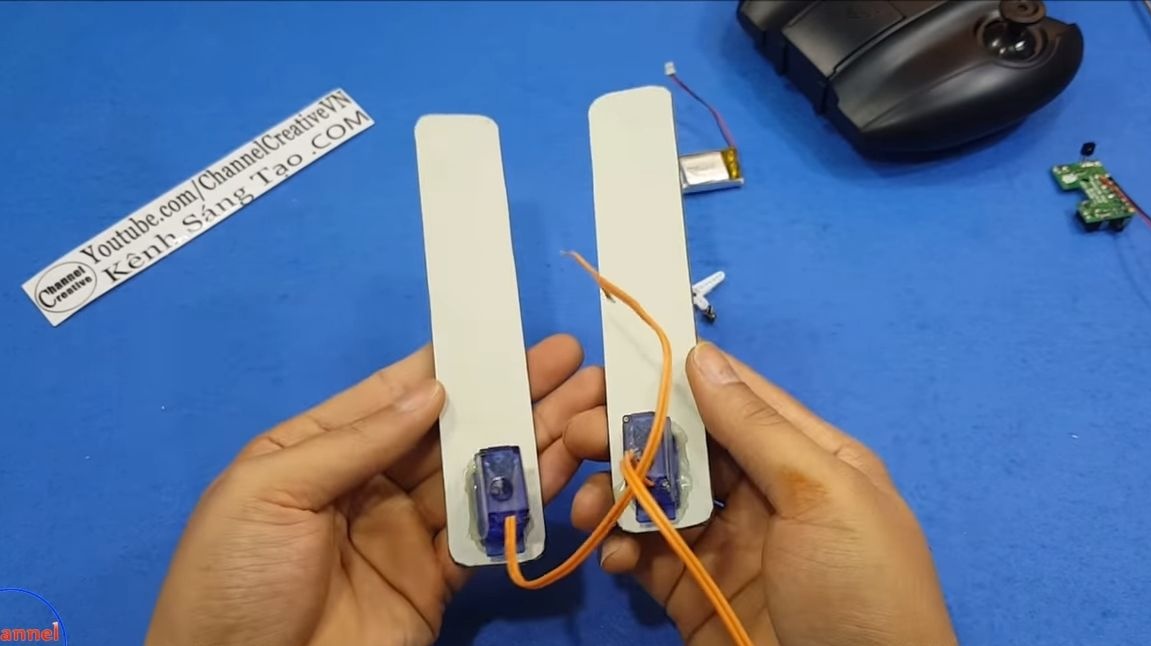
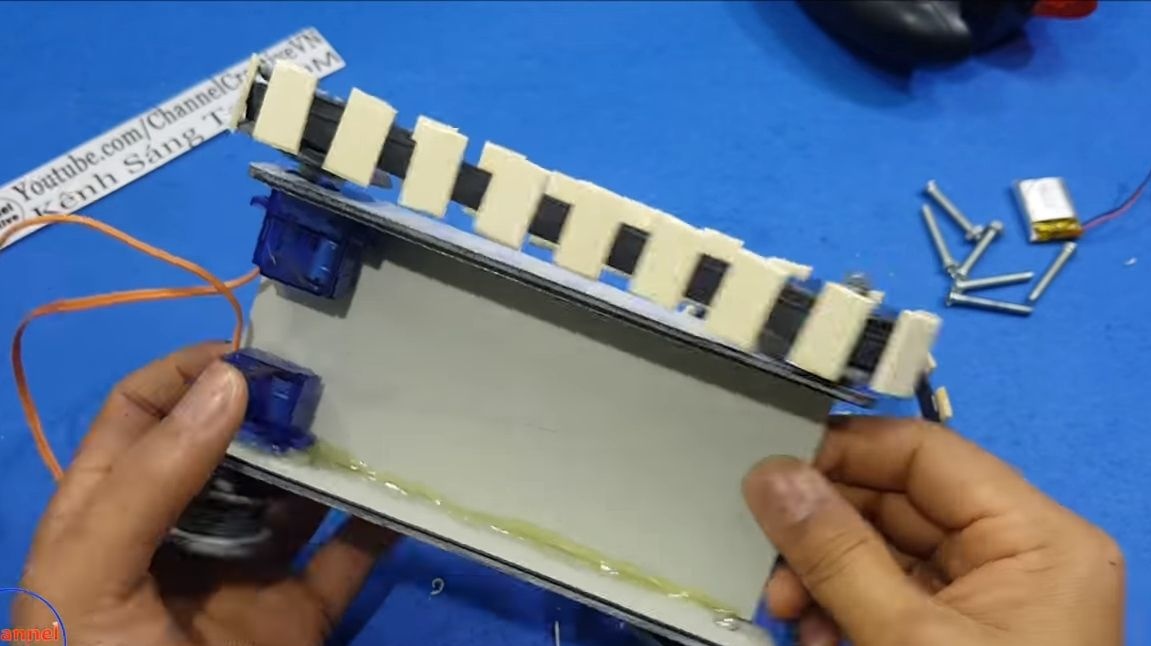
Step Two Installing servos on the side of the frame
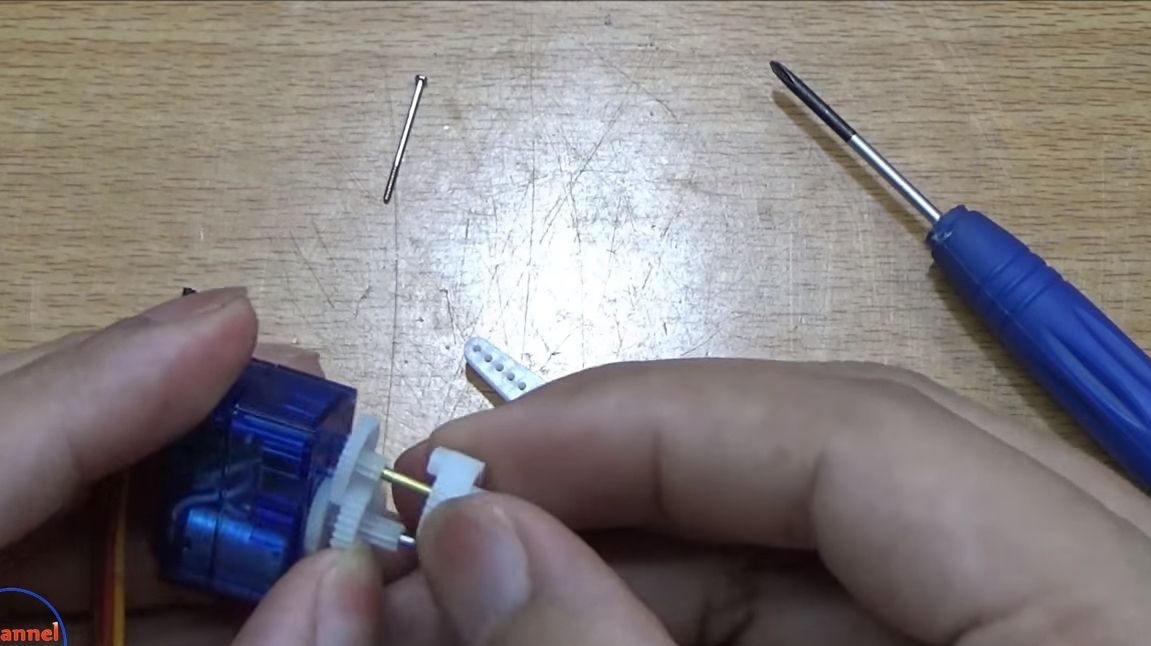
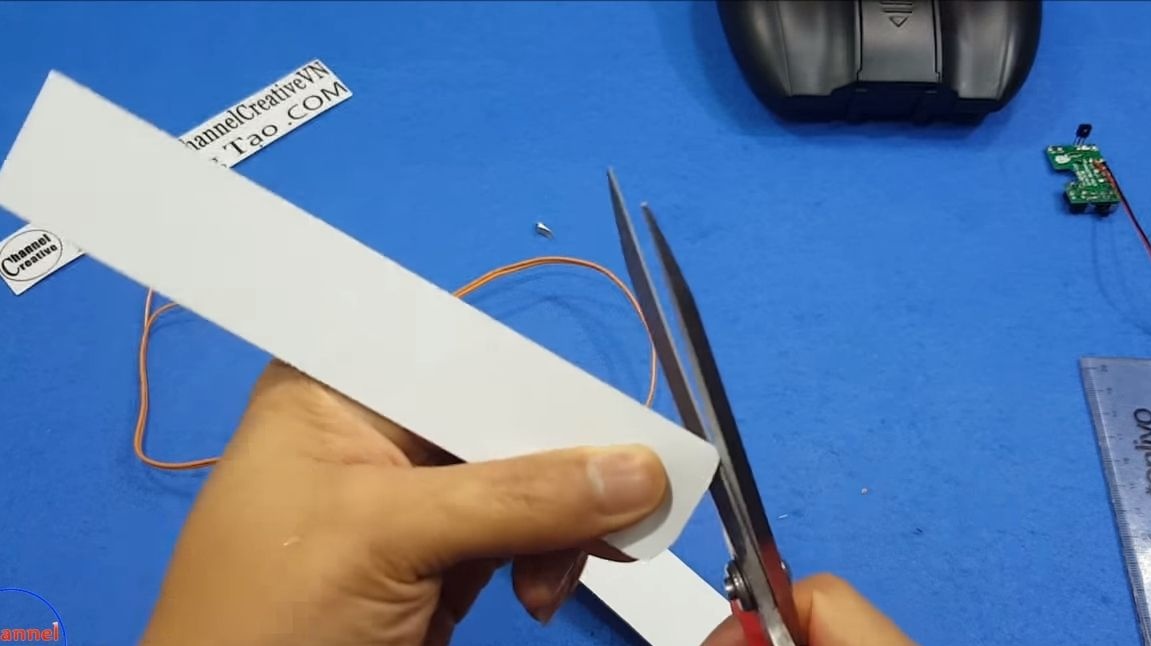
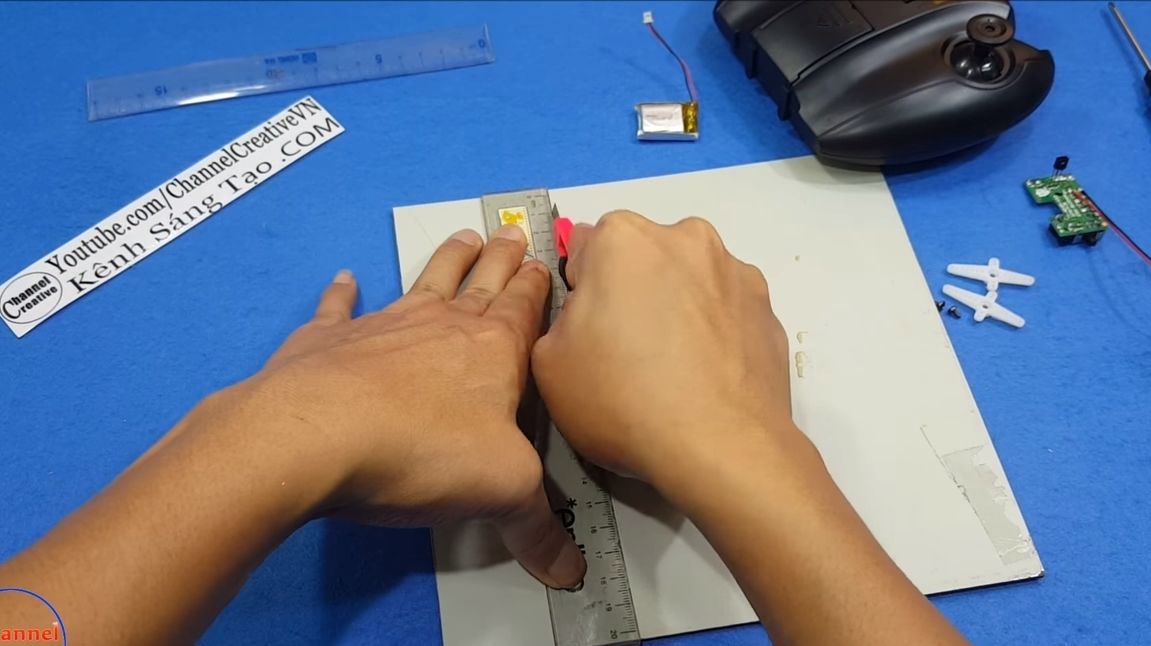
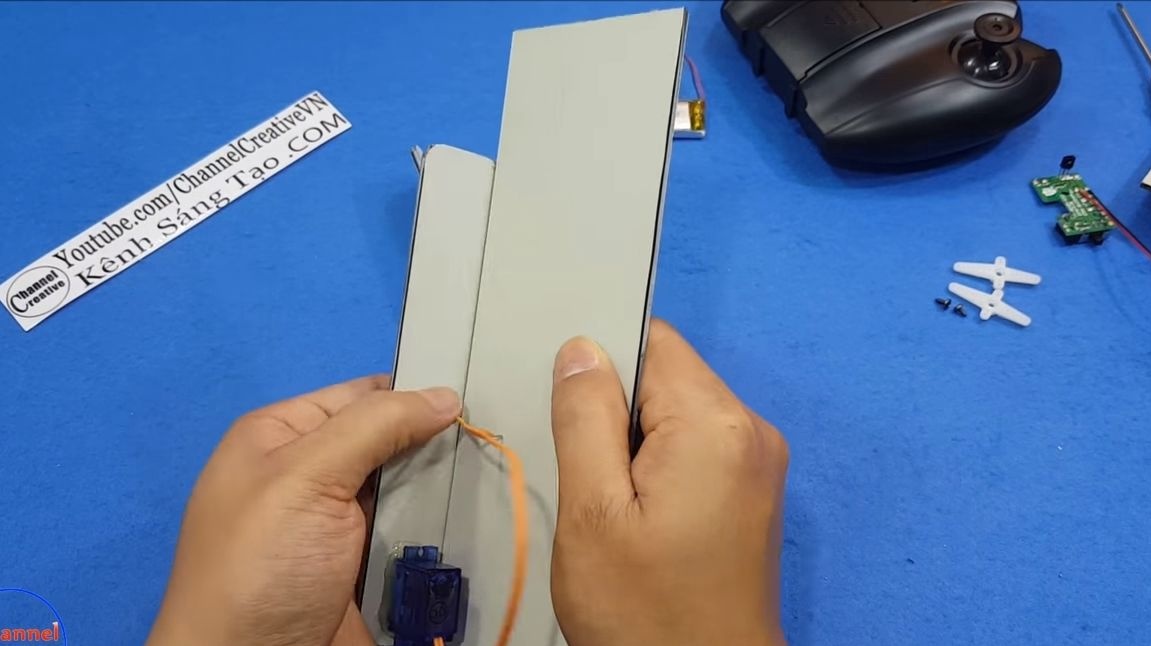
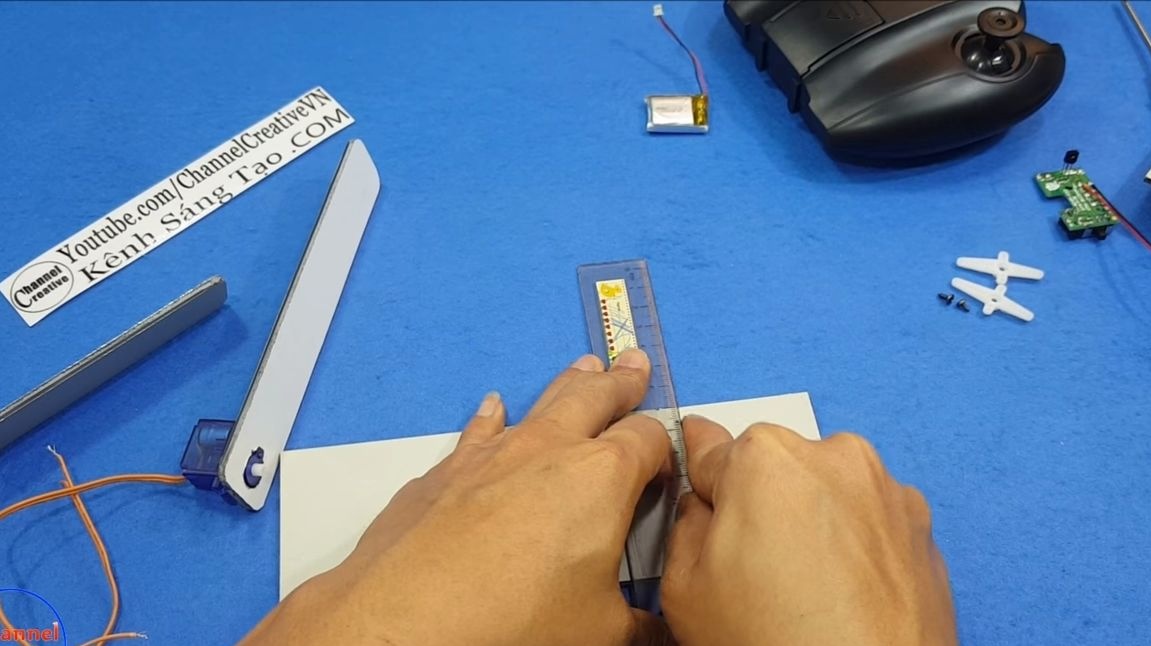
We remove the “crosses” from the servomotor shafts, for this we unscrew the screws. Next, we take the material for the manufacture of the frame and cut off two quadrangular strips of equal size. These parts will be the side walls of the tank frame. As for the material, the most important thing is that it is strong and at the same time light.
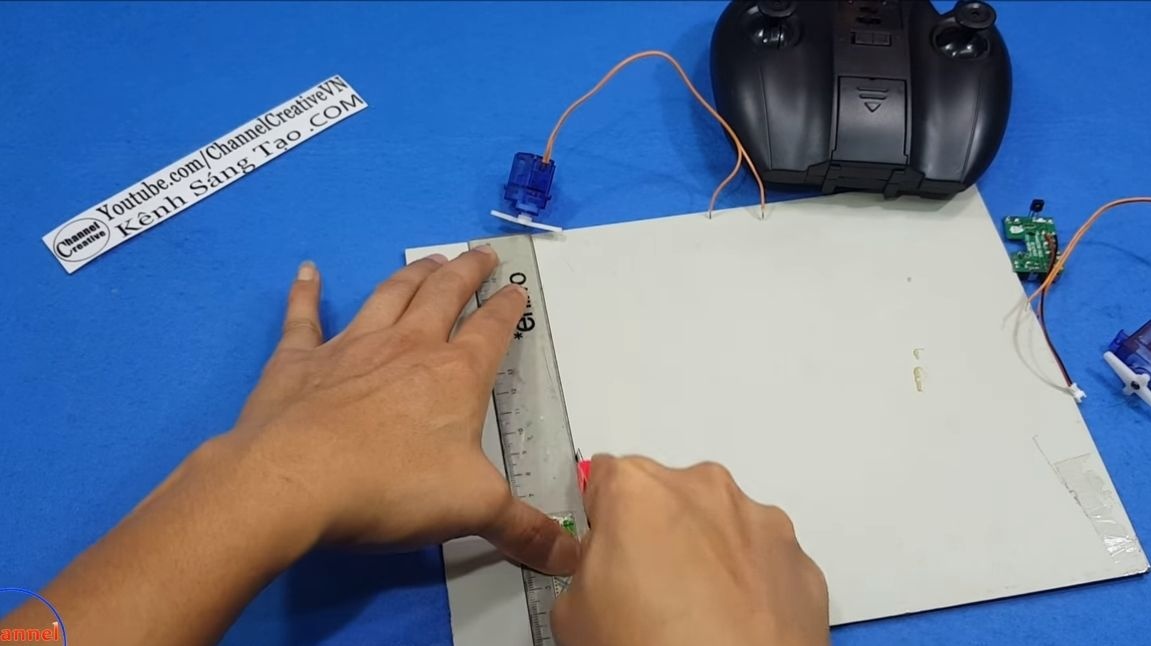
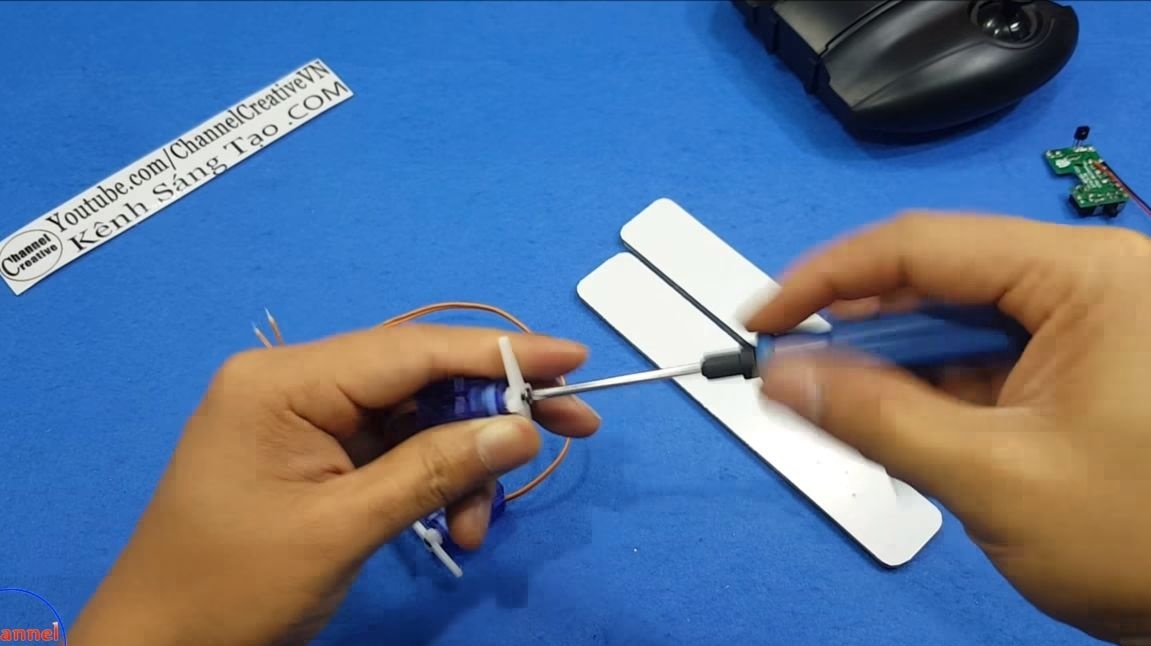
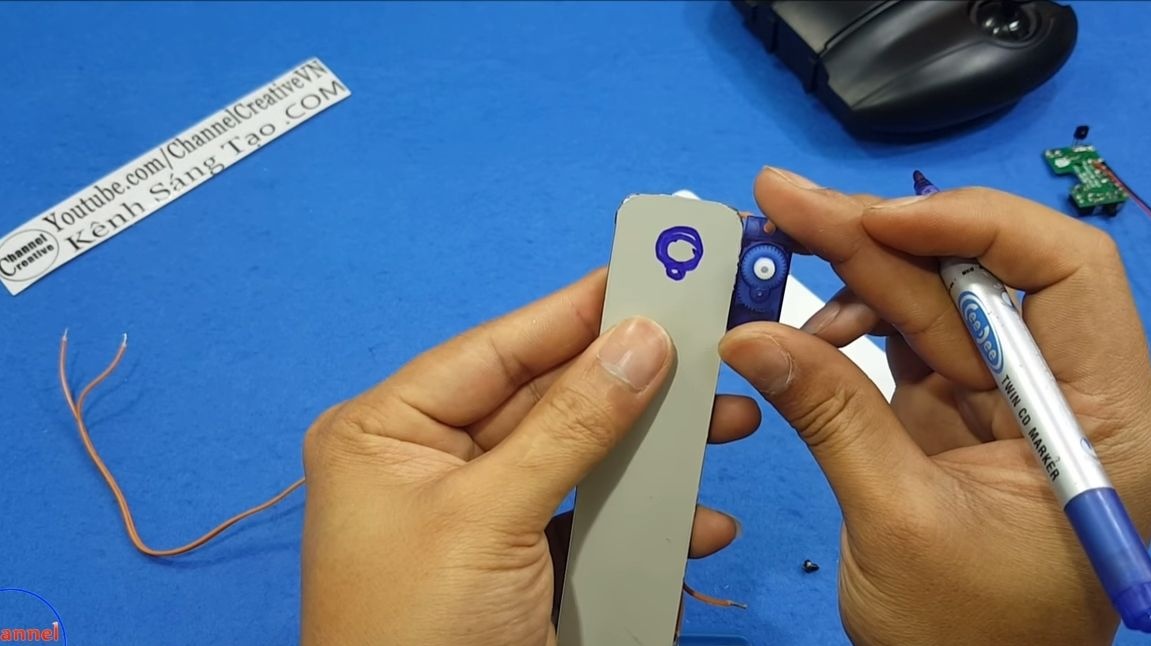
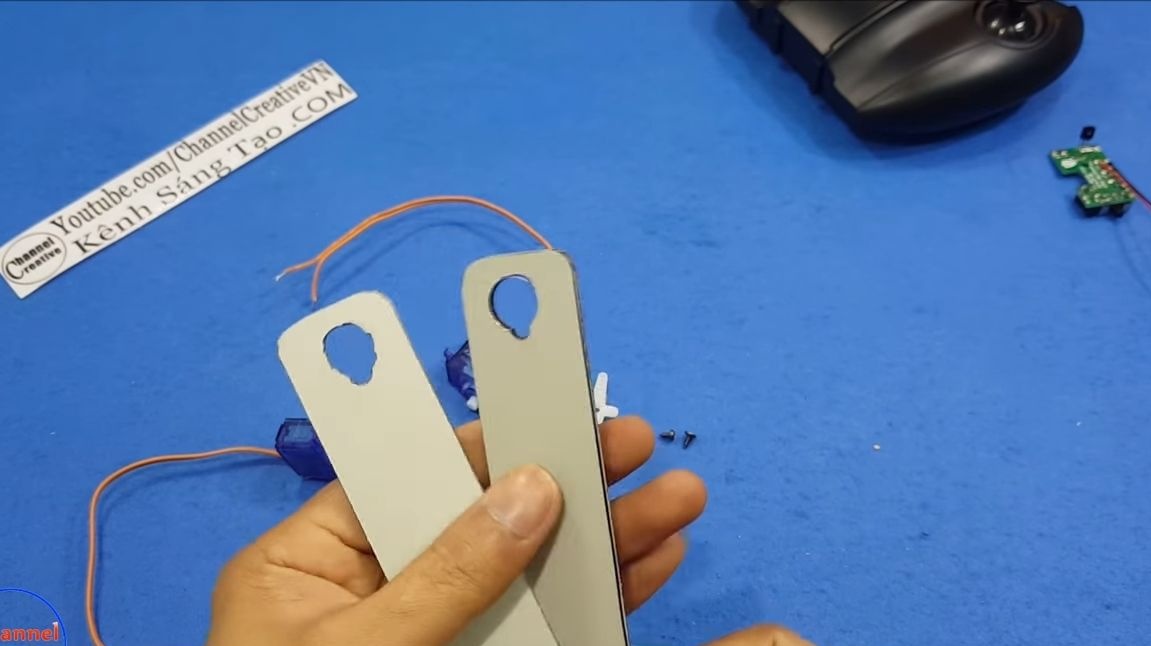
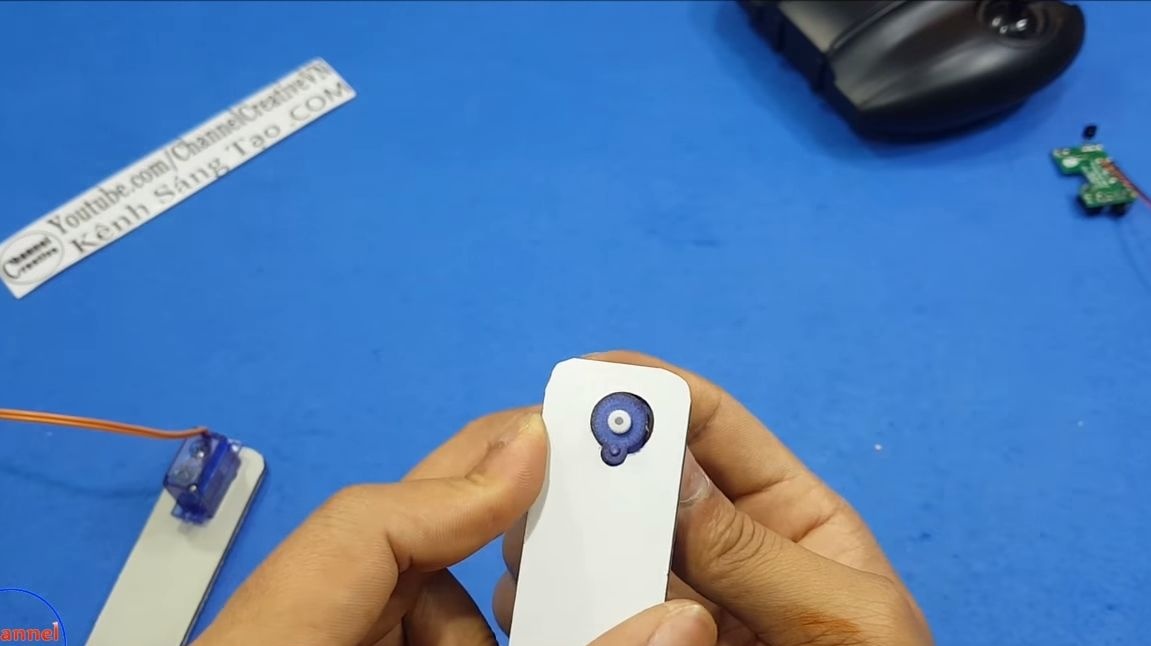
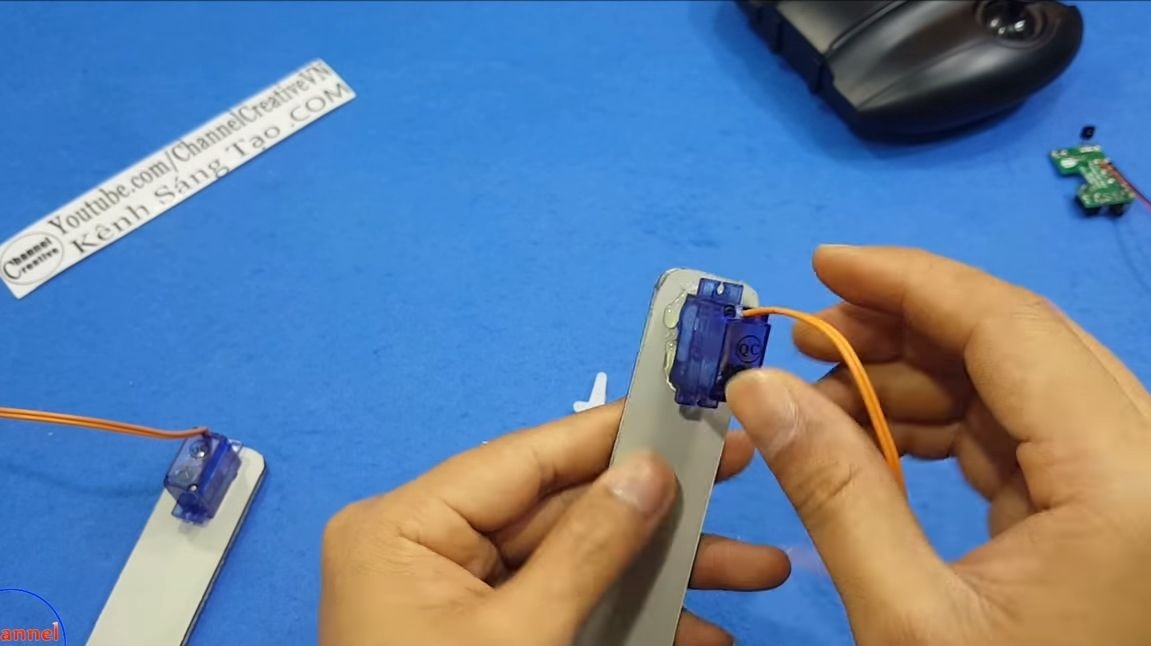
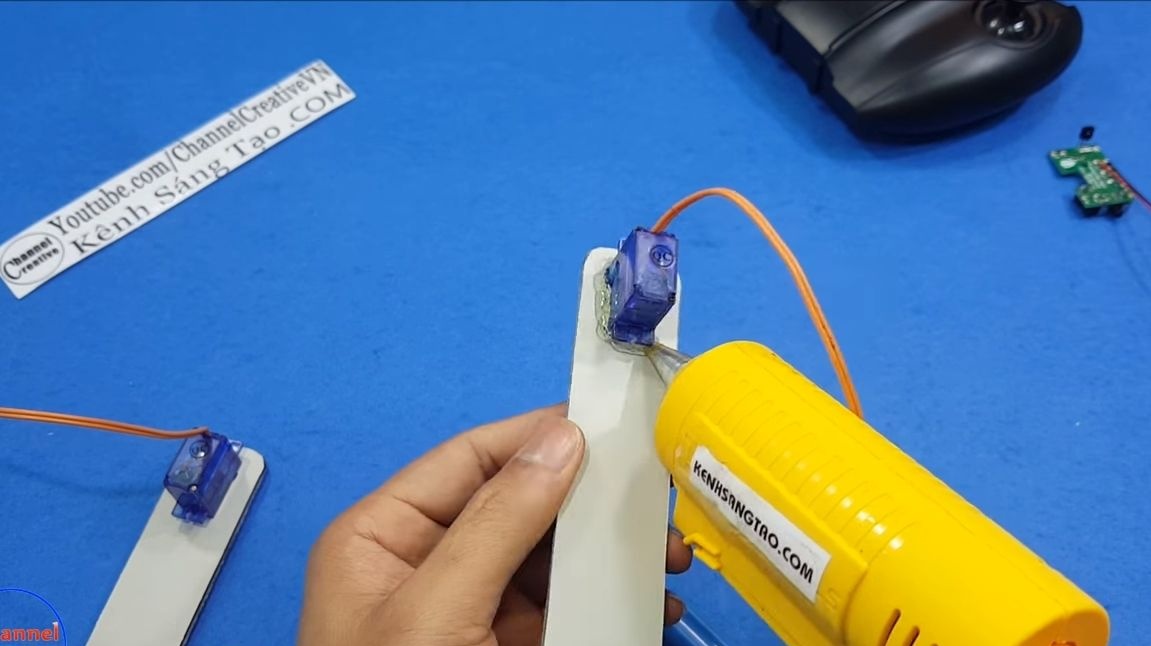
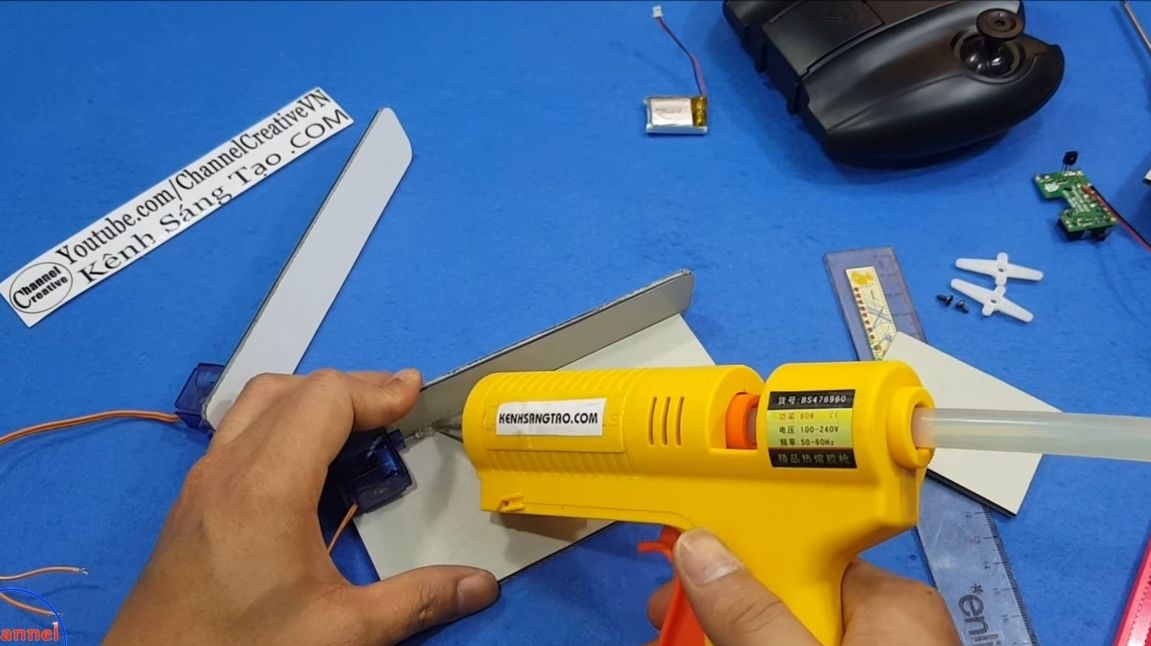
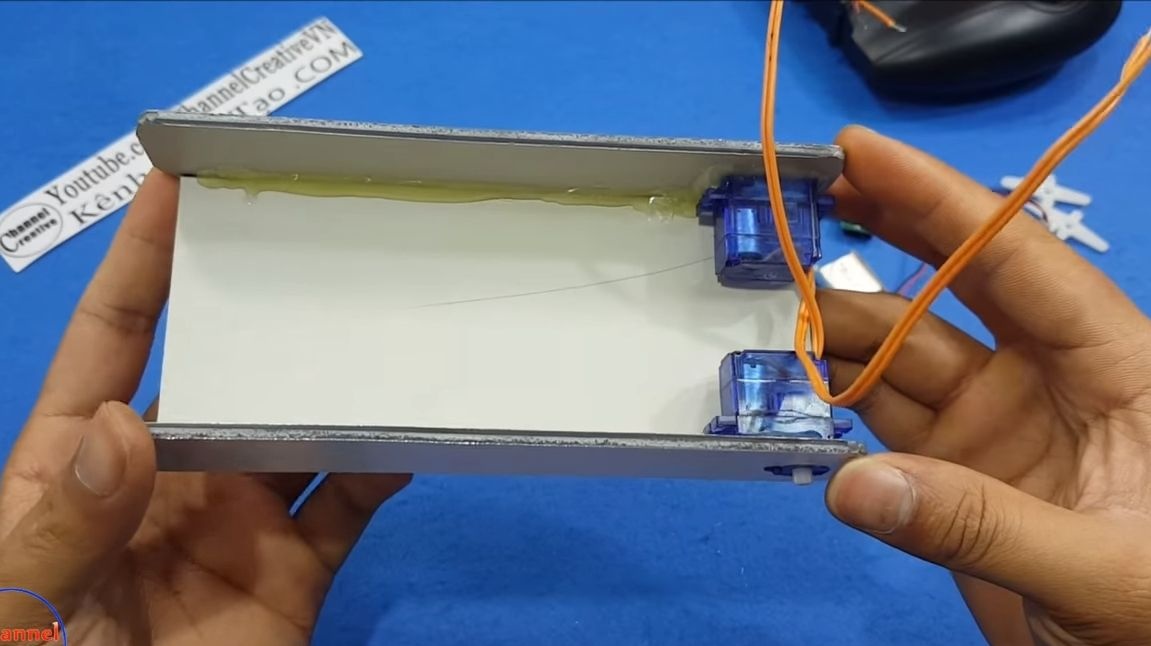
Now you need to cut holes in the material for installing servomotors. We make the necessary measurements and drill holes. That's all, now you can install servomotors. The author puts hot glue on them and immediately presses them to the material. Then you can additionally fix the servos with hot glue on top, everything should hold tight.
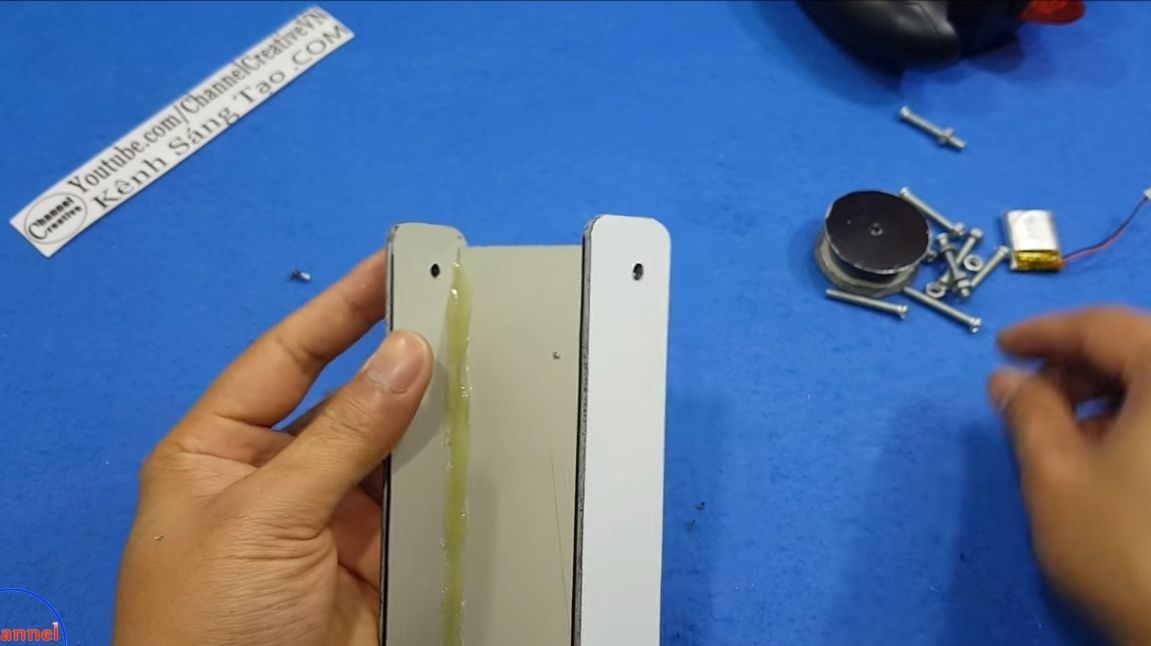
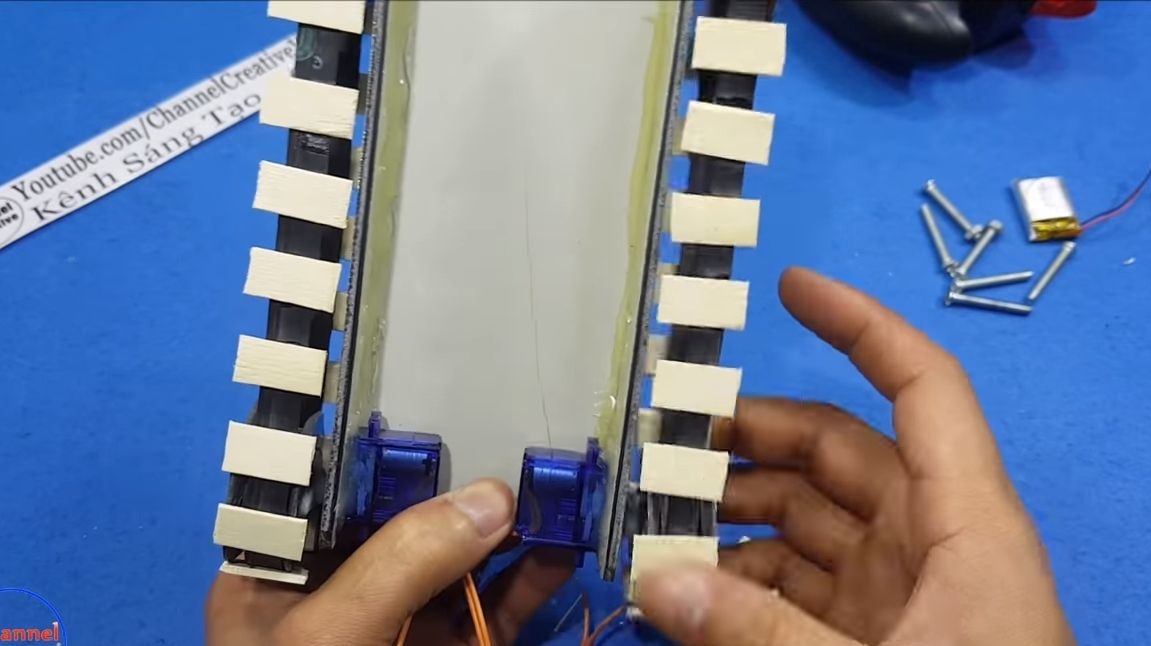
Step Three Production and installation of the bottom
We need a bottom for installing electronics and a battery, and besides, side walls with mounted servos are attached to it. Cut the bottom to the desired size and glue the structure using hot glue. If you want to strengthen the frame, you can install spacers, it is not difficult to do this, but the tank will be much stronger, but it must be strong!
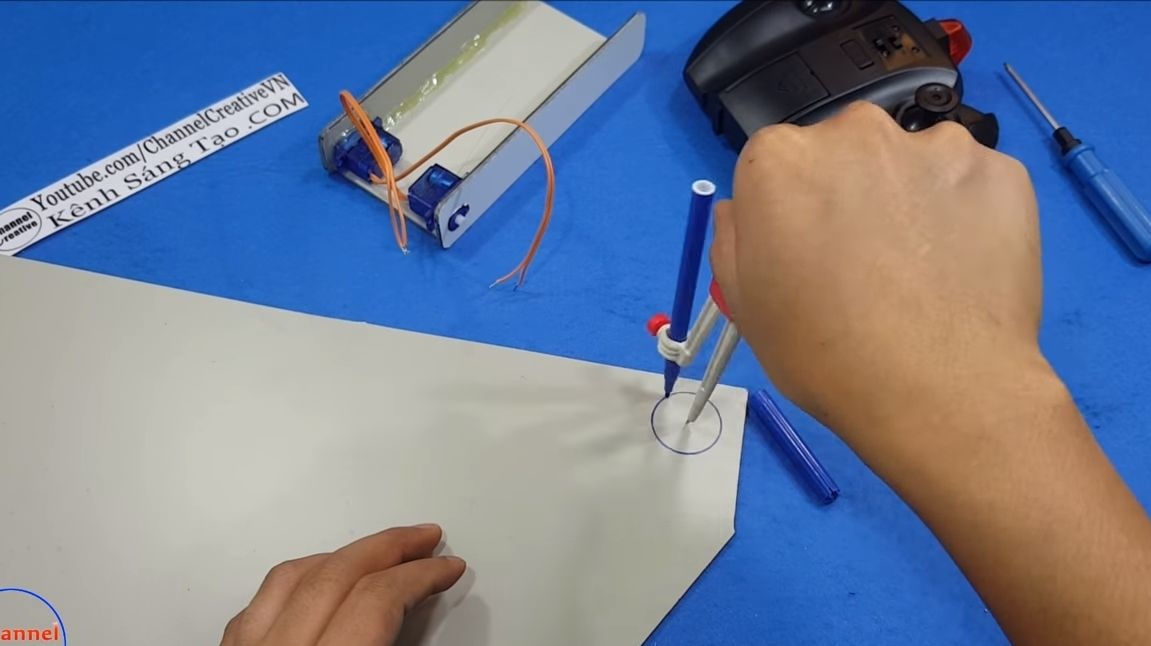
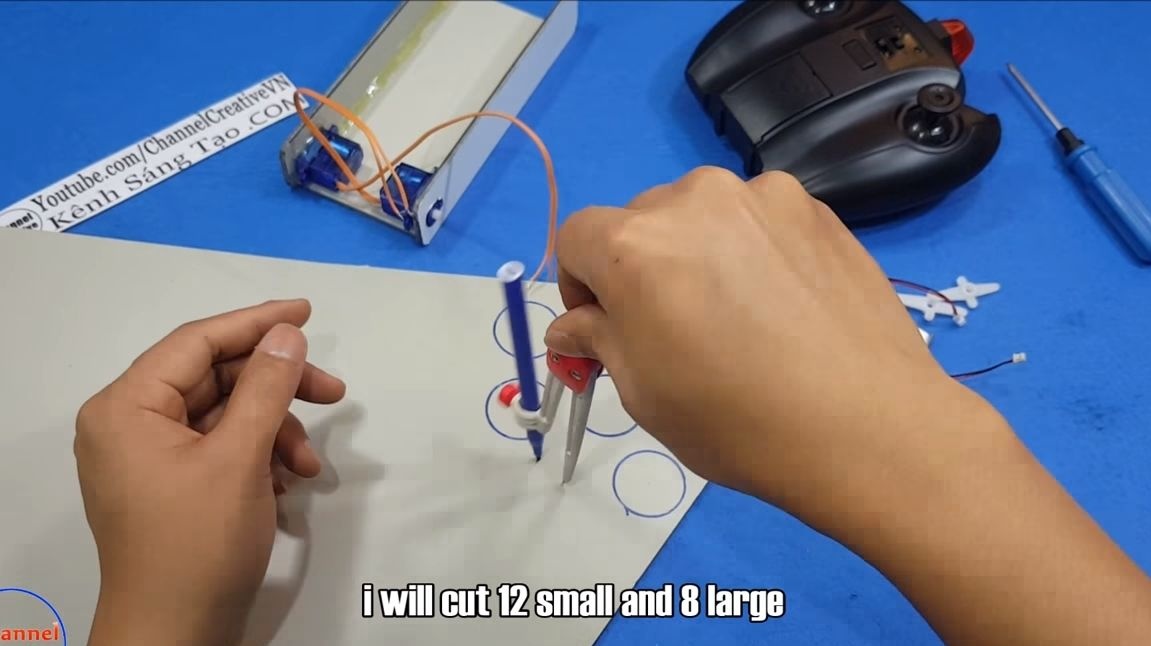
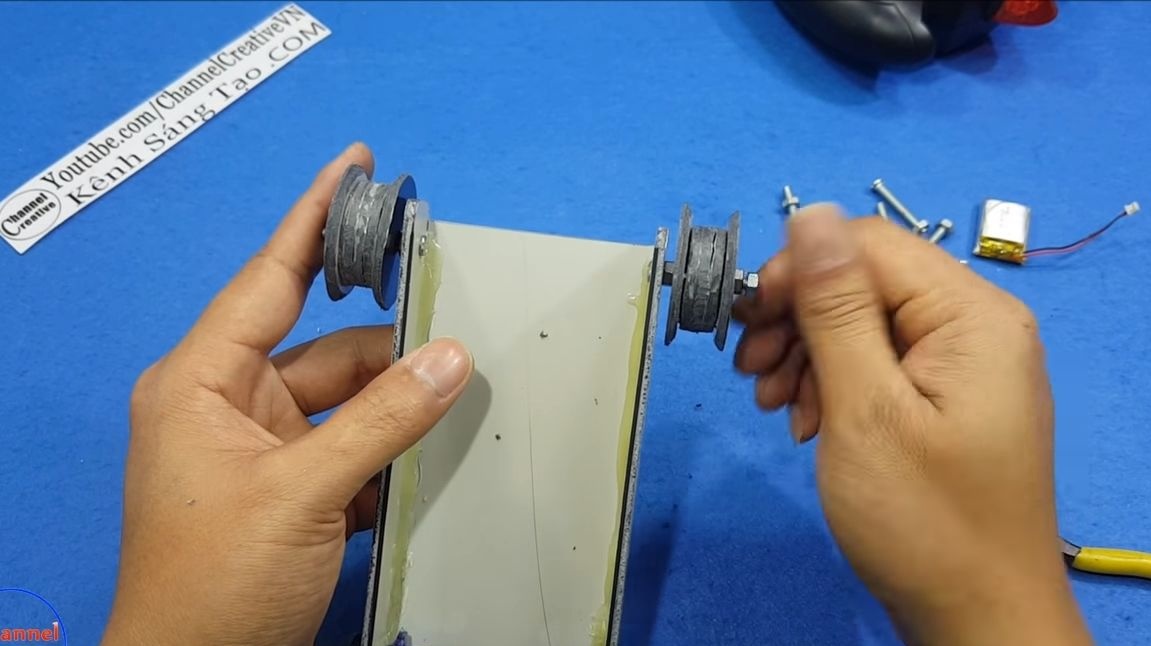
Step Four We make wheels
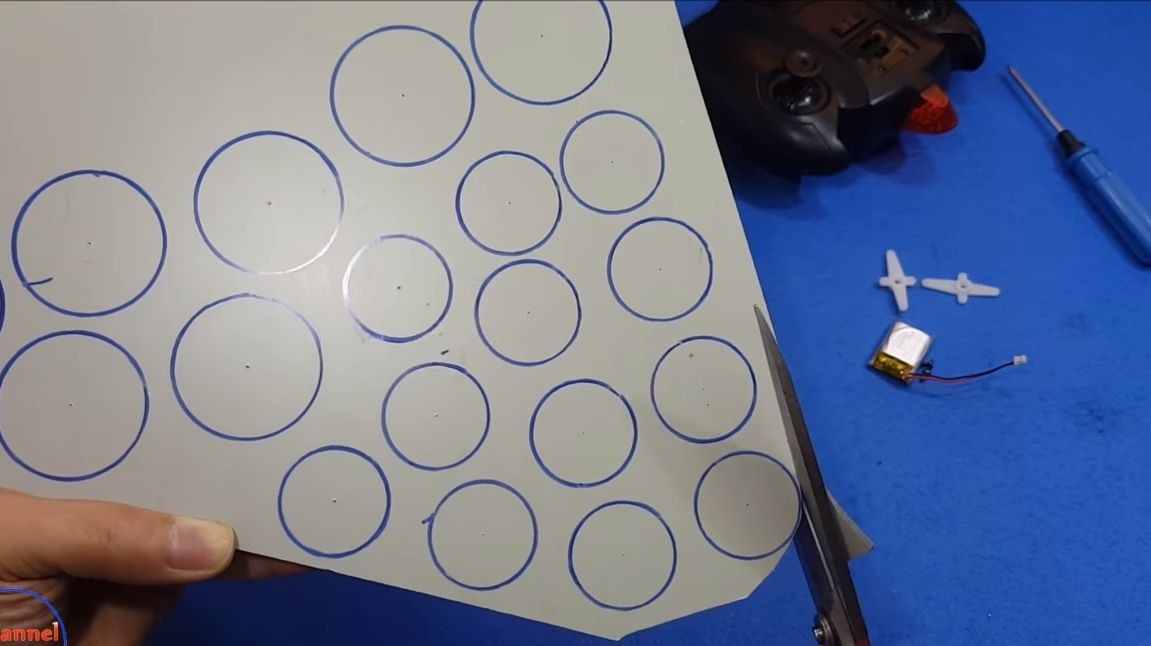
Now we need to make the wheels, for this we take a compass and draw 12 small circles and 8 large circles on suitable material. Small circles are the inside of the wheel, and large circles are the outside. Now cut out all these circles using scissors. The final work on the completion of round logs is carried out using a drill.
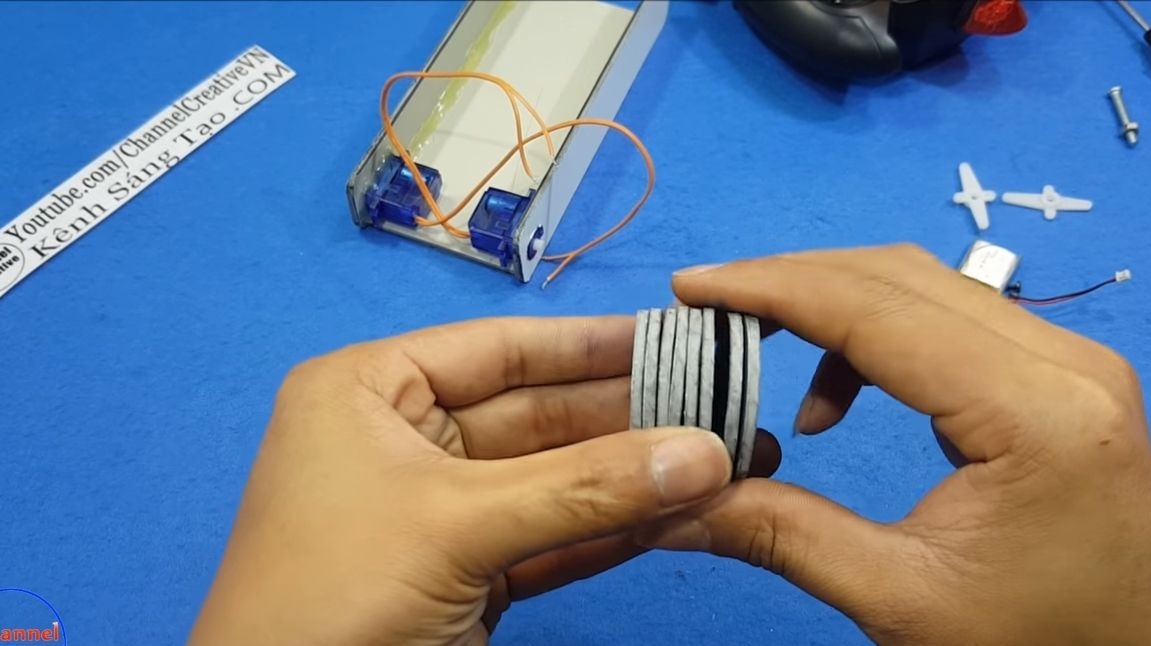
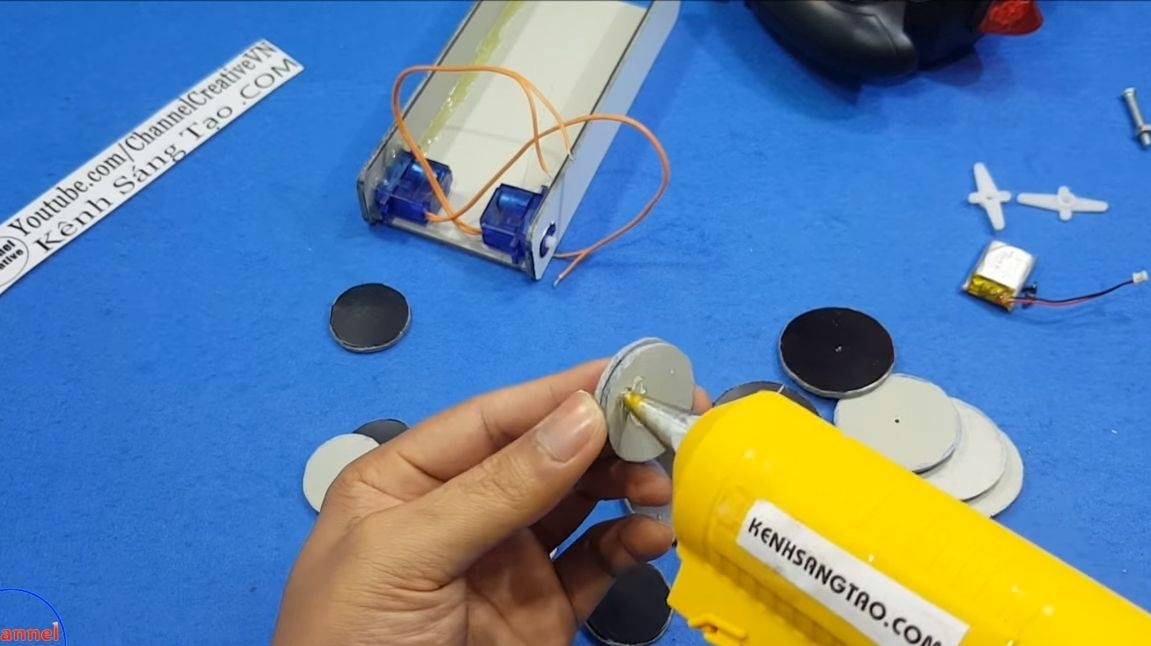
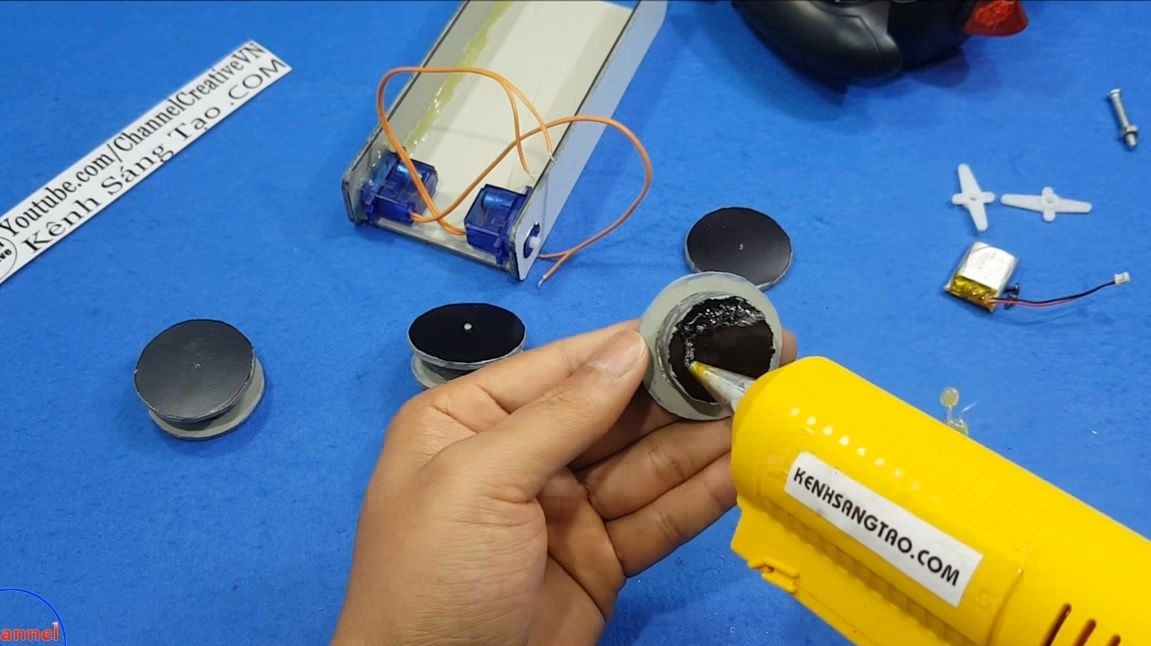
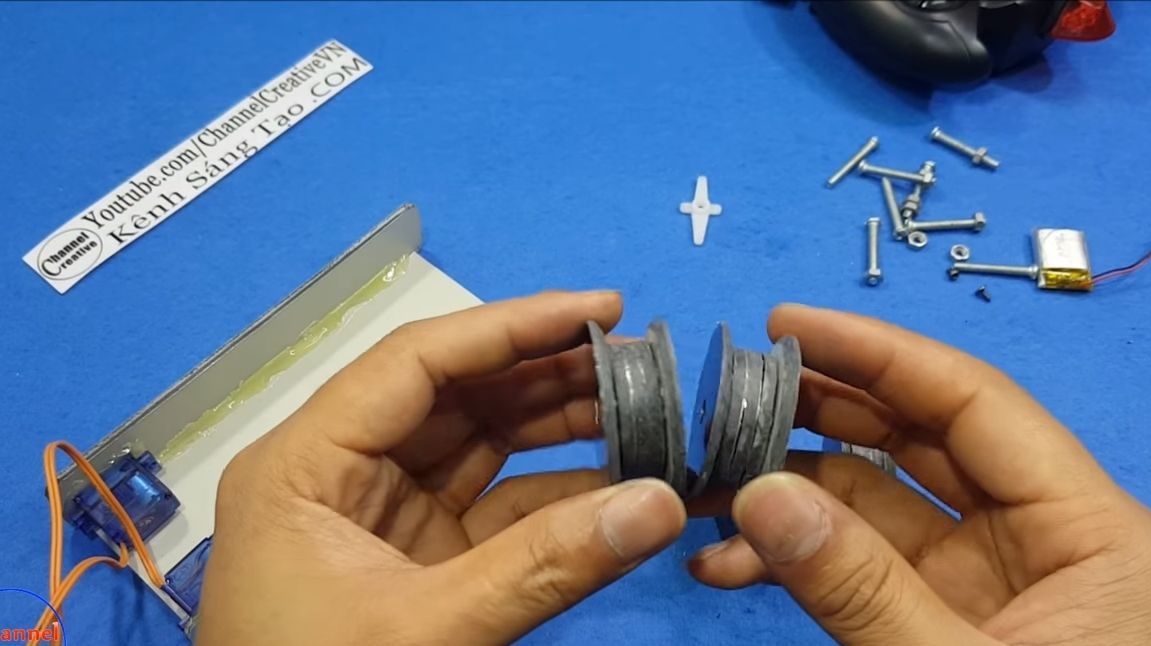
Wheels can be assembled, for this we will need a glue gun. We take 3 small circles and glue them into one block. Now we attach larger wheels to this block on the sides. As a result, we have an excellent wheel for the tank! All the remaining three wheels are made according to the same principle.
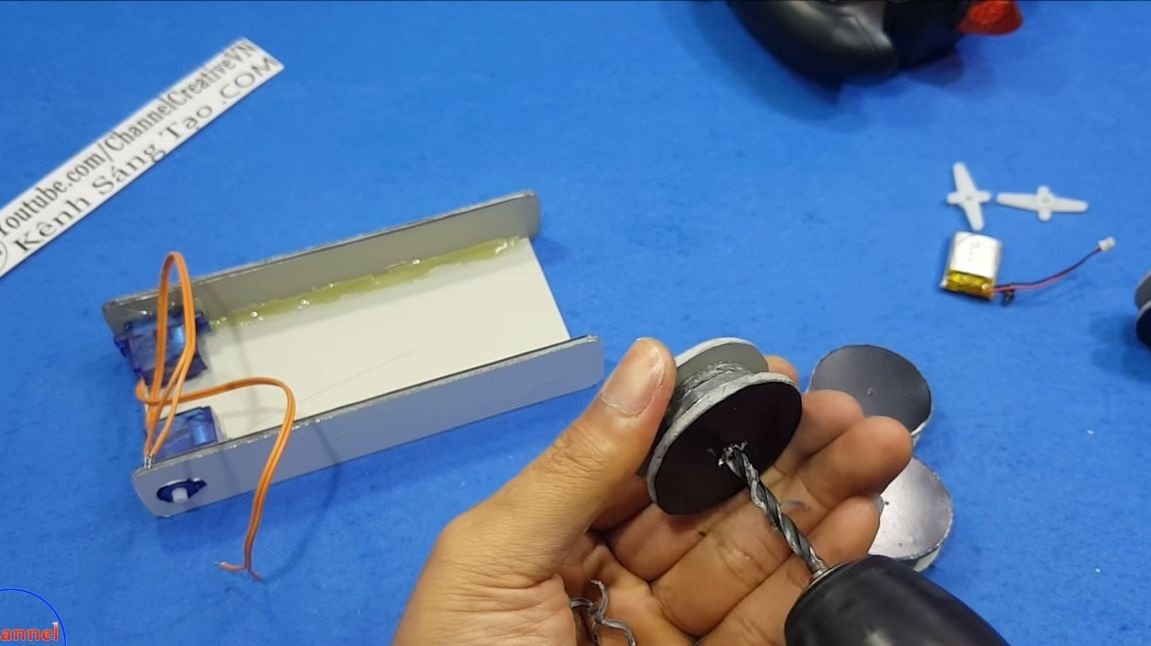
To fasten the wheels, they will need to drill holes, screws will act as axles, so you need to proceed from their diameter.
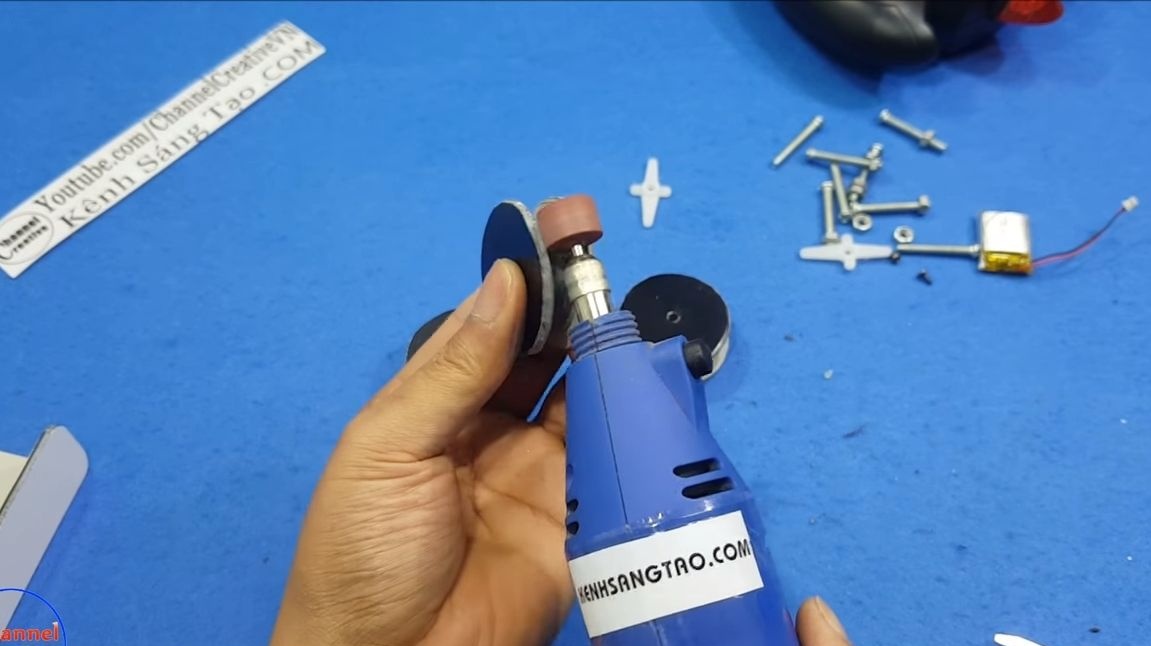
At the end, the inner part of the wheels must be made under the cone, for this the author uses a drill with a grinding nozzle.
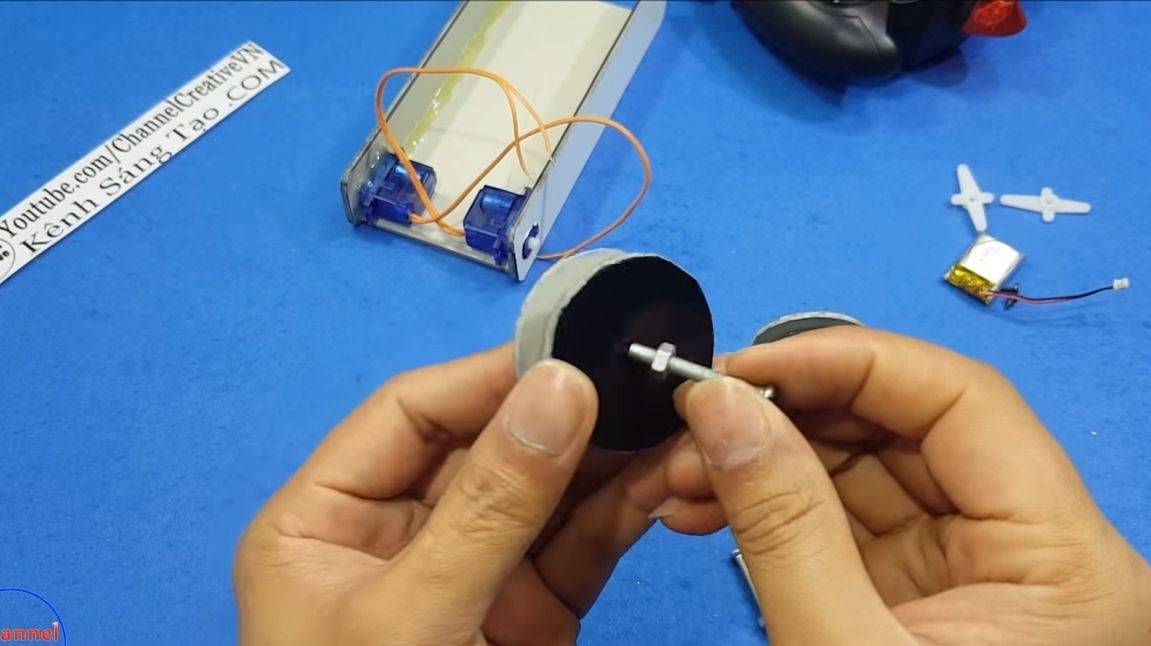
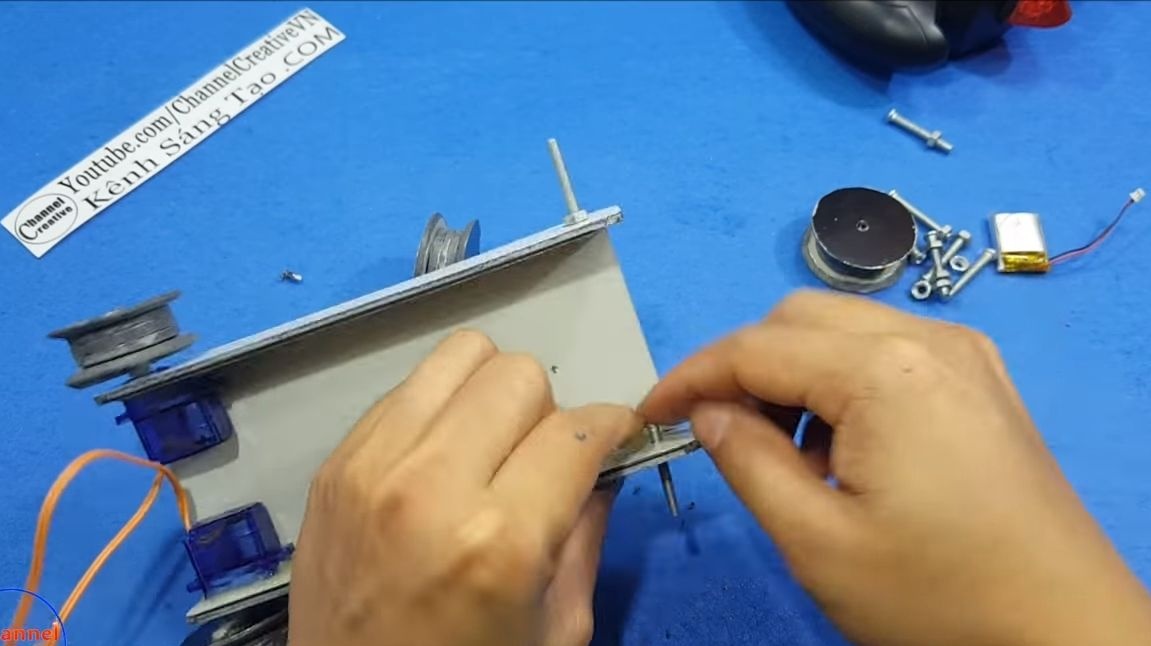
Step Five Front and rear wheels
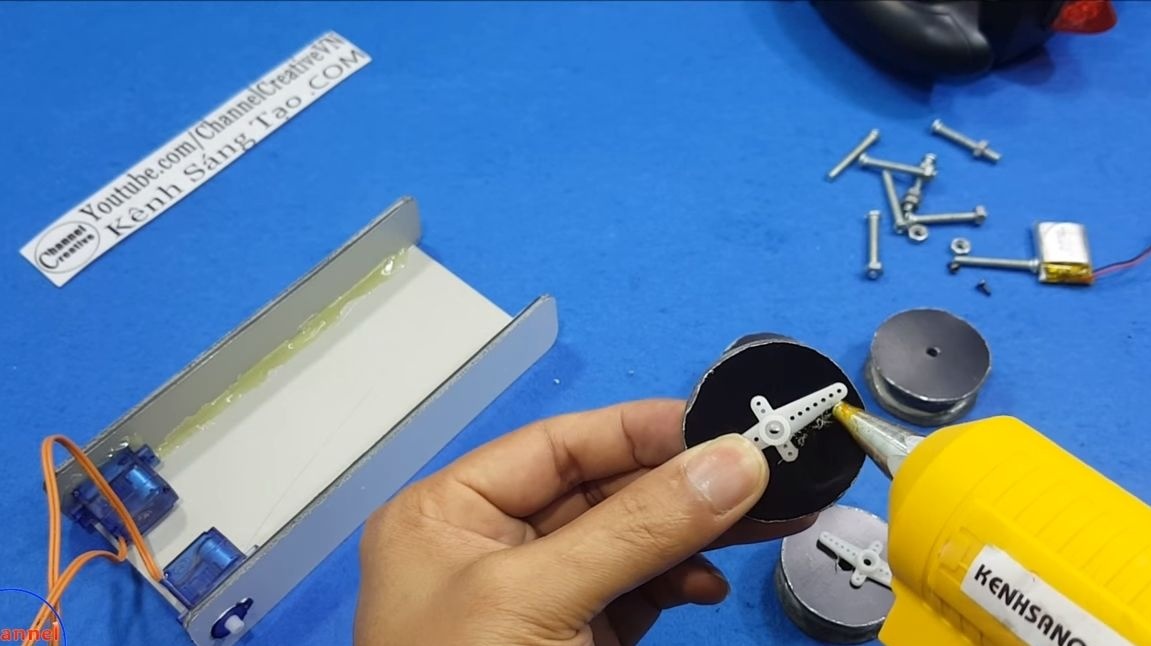
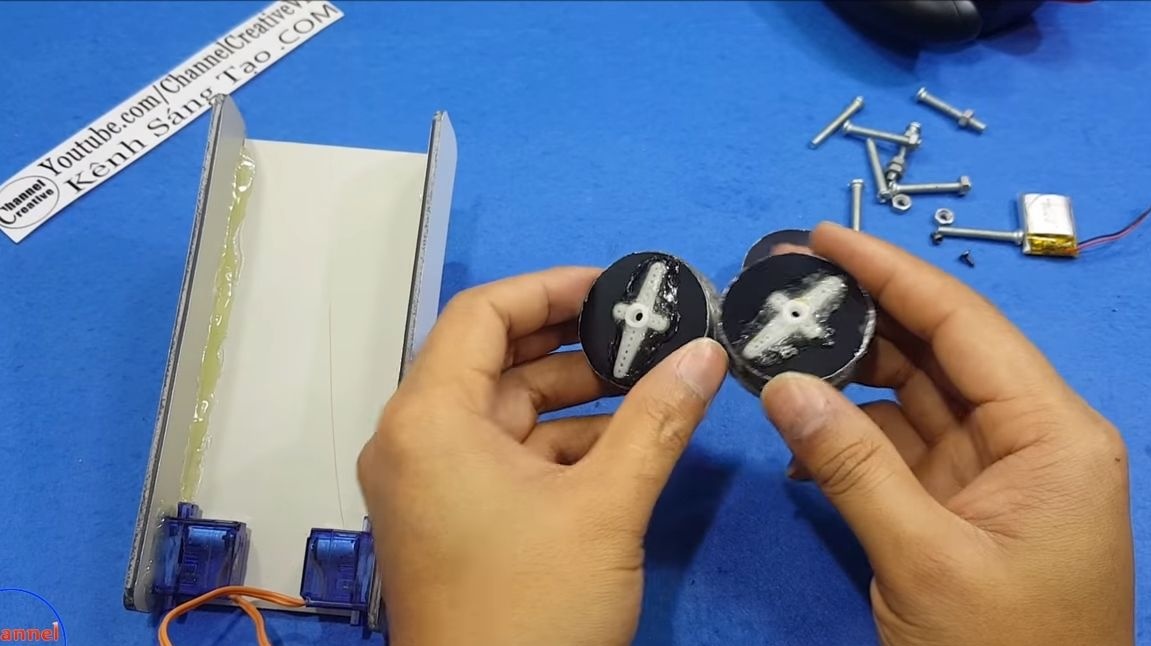
Wheels can be mounted on a tank! Let's start from the rear, take the parts that are installed on the shafts of the servos and glue them to the wheels with hot glue. You need to glue firmly and securely, do not spare the glue. Well, now we fasten the wheels using the screws.

As for the rear wheels, then you will need screws of suitable length and thickness. First we fix them on the frame, for this we drill holes. Bolts are fixed with nuts. After that, you can install the wheels. We put them on the screws, and on the other hand we fix them with spanners. But keep in mind that the wheels should rotate easily, so the nut does not need to be tightened too much. Fix the nut with the second nut. Washers can be installed between the nuts for reliability.
Step Six Production and installation of tracks
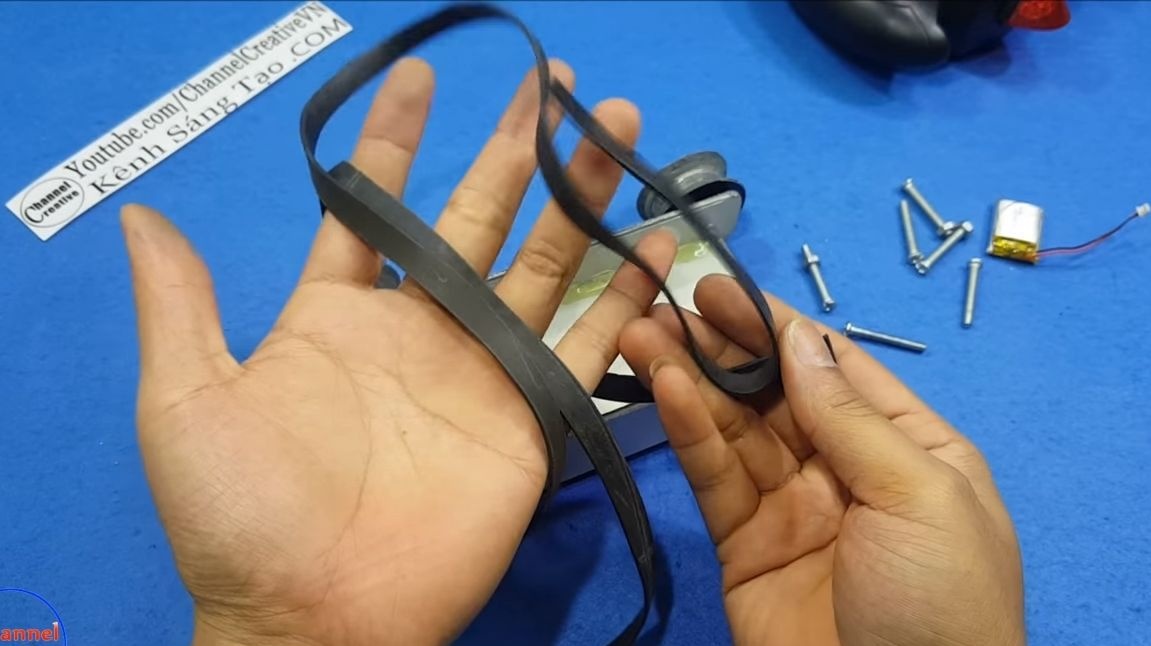
For the manufacture of tracks you will need rubber, suitable from a bicycle or car camera. In total, two strips will be needed. We select their length so that they close on the wheels with a slight tension. Having chosen the desired length, just glue the ends with superglue.
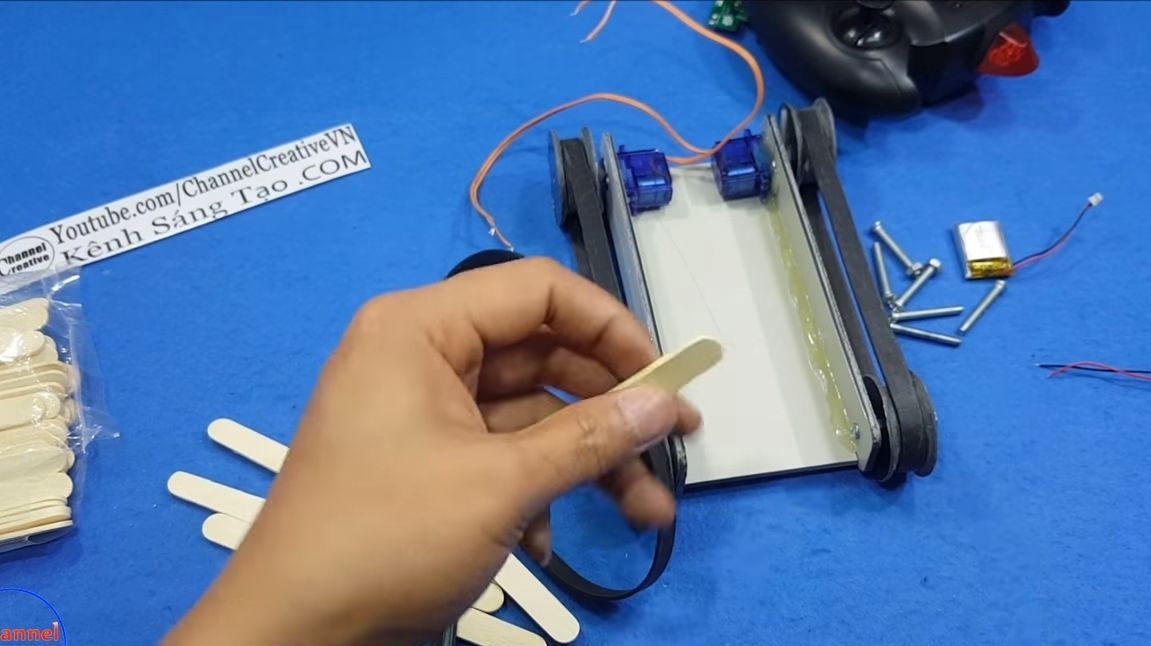
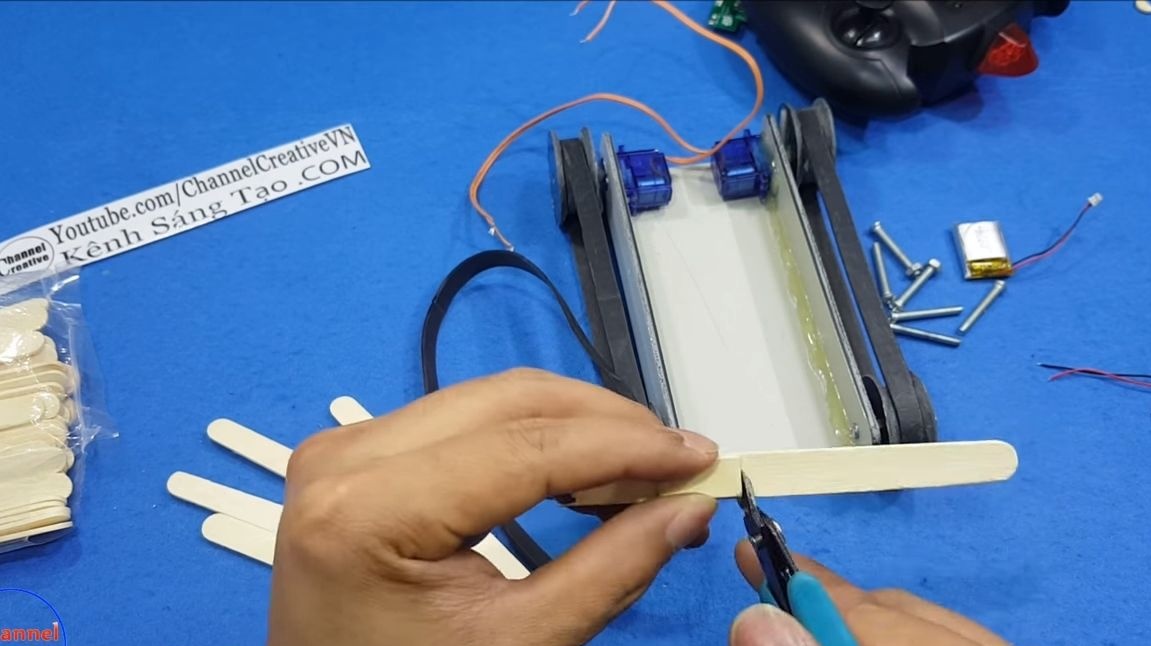

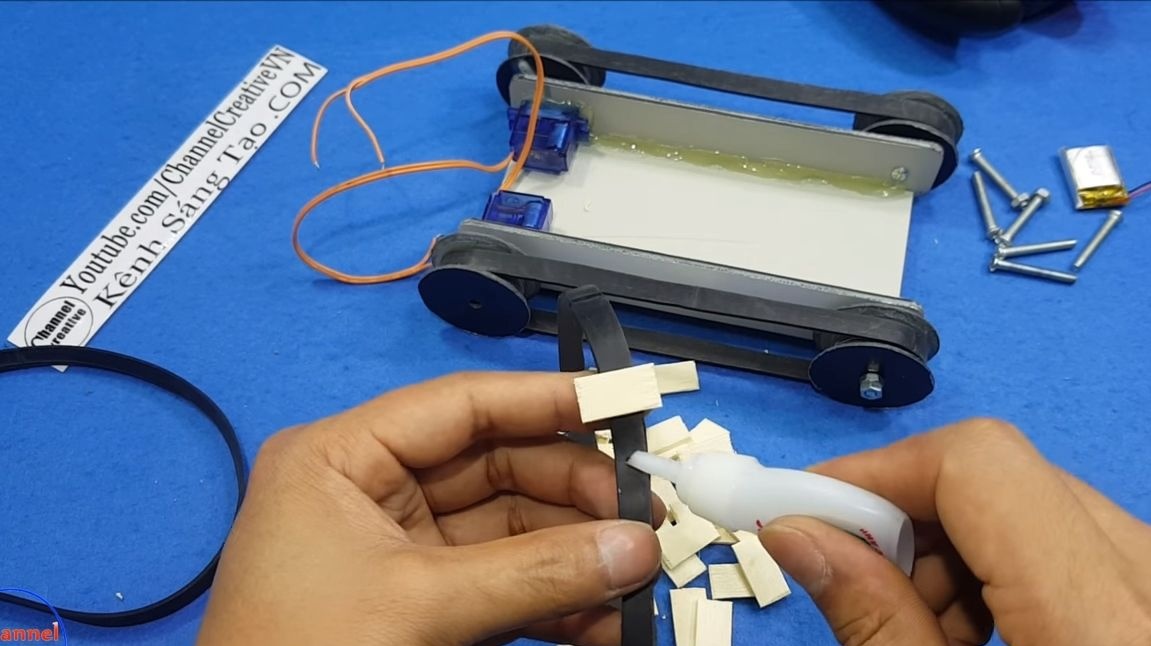
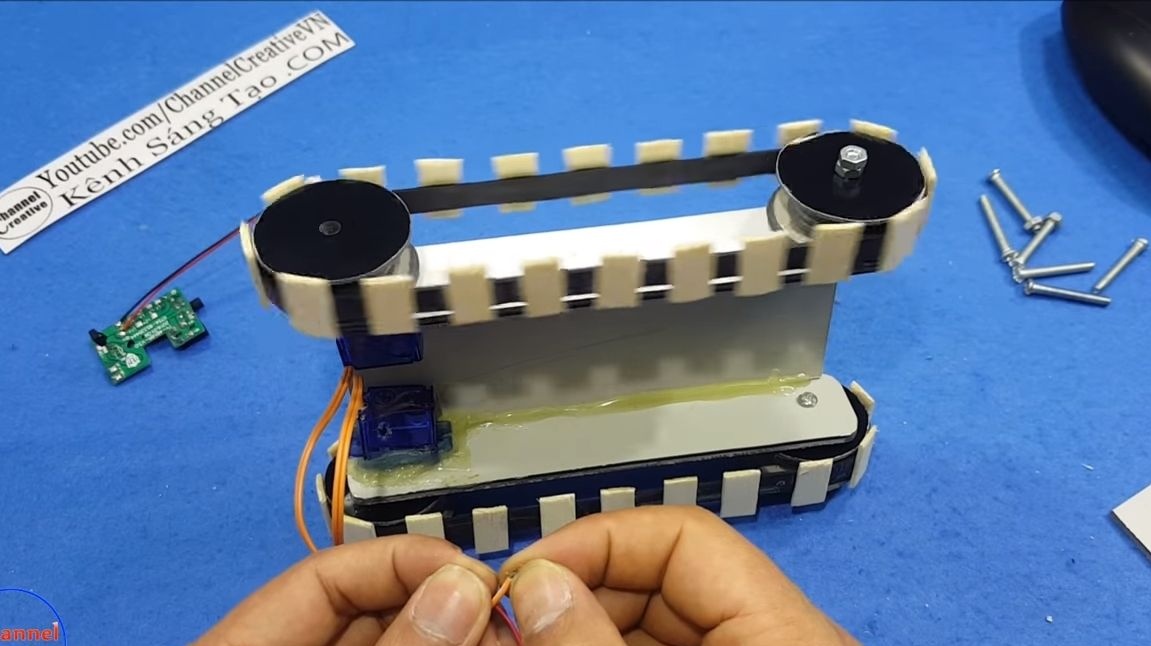
Now you can make a "protector" of tracks. For these purposes, the author decided to adapt the sticks of ice cream. They will need to be cut into exactly the same pieces. First, you can cut with wire cutters, and then polish, assembling in a single block. We attach the manufactured parts to the rubber tracks at exactly the same distance. For fixing the author uses superglue.When everything is ready, the tracks can be gently pulled onto the wheels. The tension must be such that the drive wheels do not slip. Try to power the engines, if the tracks rotate without problems, great, let's move on.
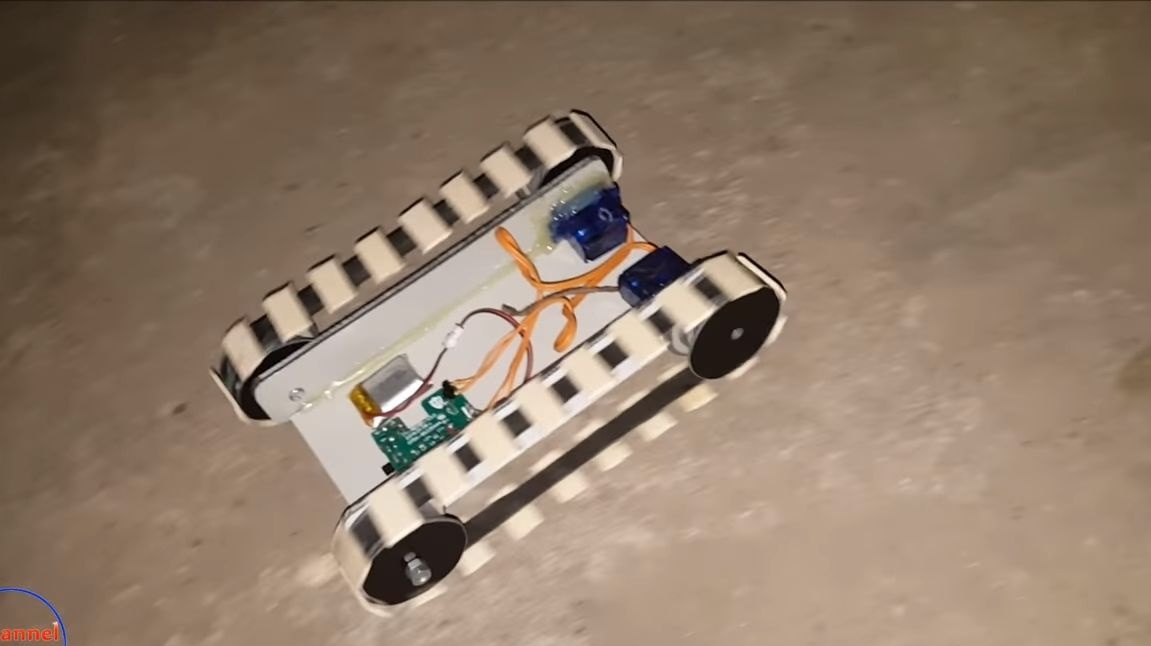
Seventh step. Setting the filling
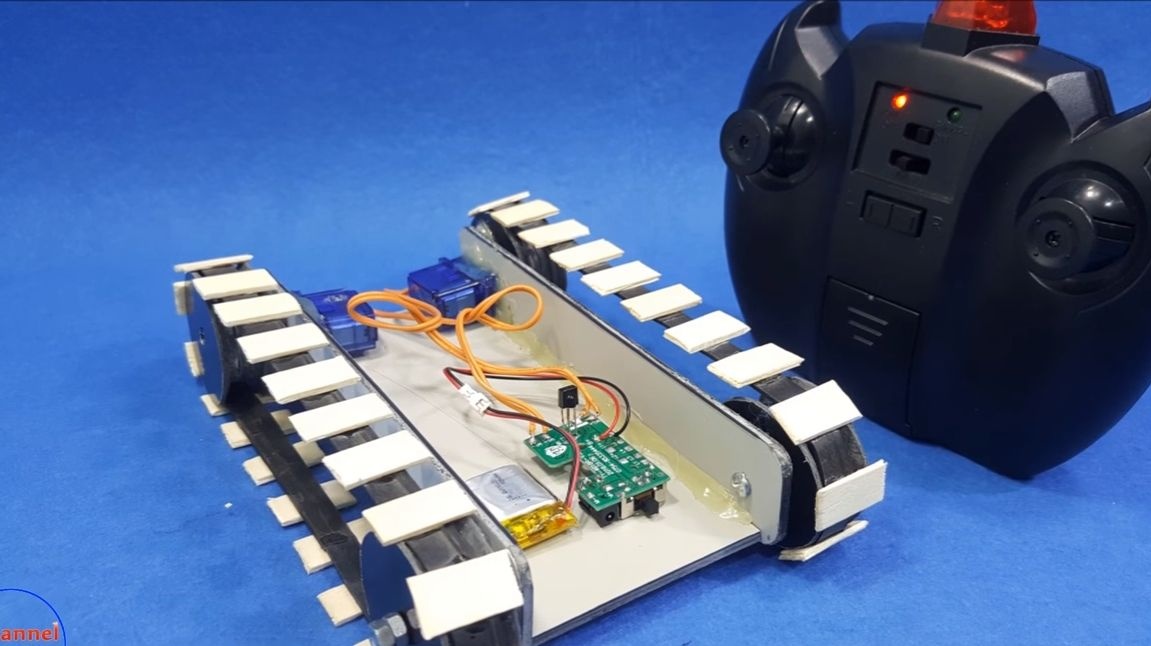
Now you need to install on the base of the battery, as well as the signal receiver. The author uses the battery rather “small”, only 150 mAh, but a lot is not needed for such light equipment. Engines are powered by a voltage of 3.7 Volts.
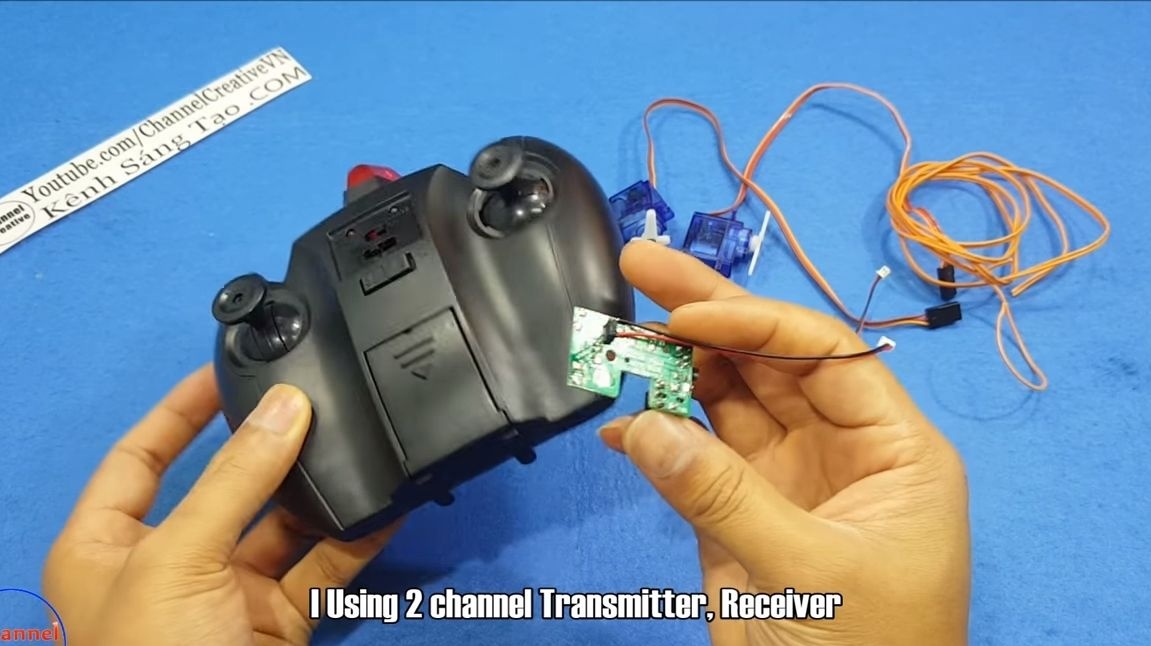
We also connect the signal receiver, it should have four modes, that is, turn on each engine forward and backward. All elements are well fixed with hot glue.

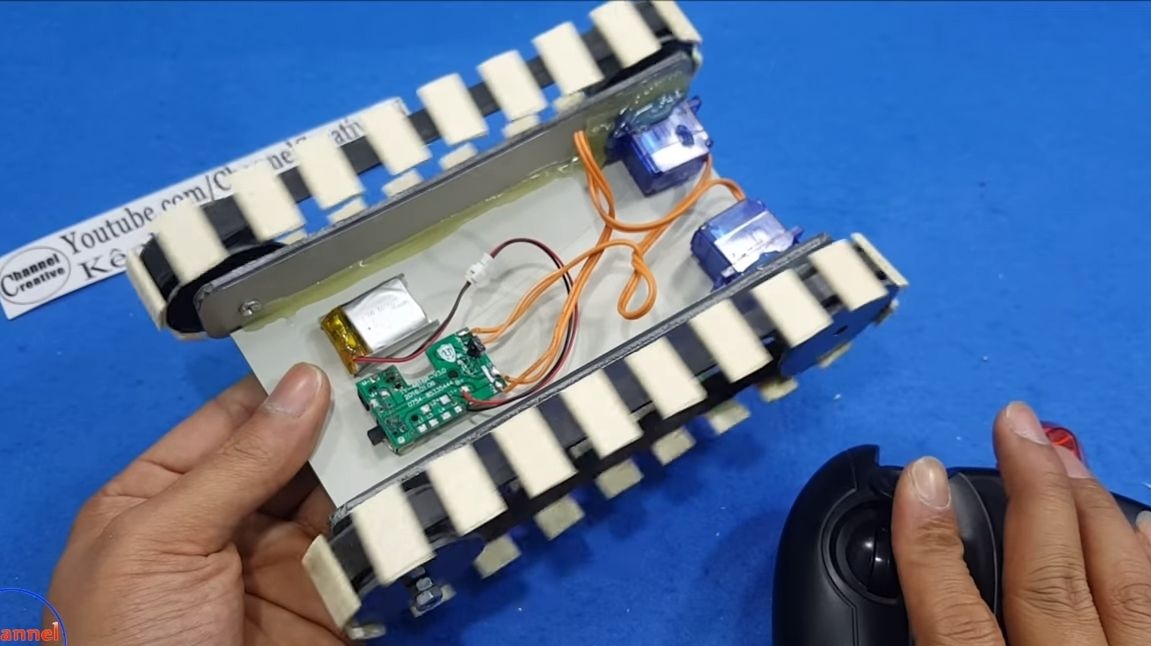
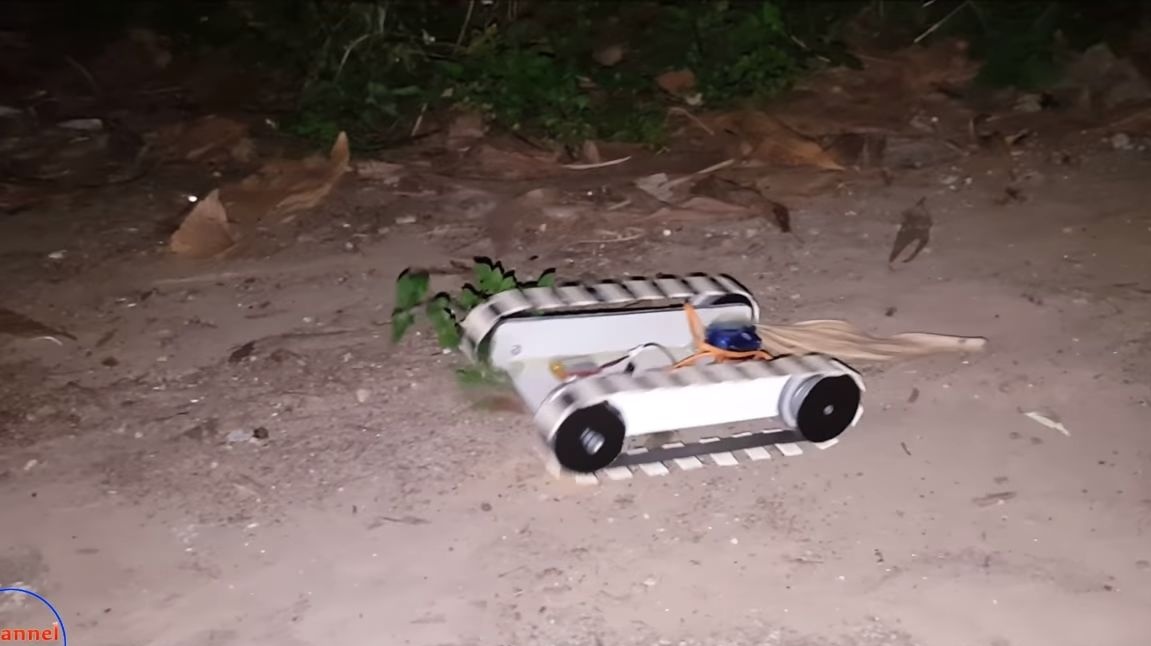
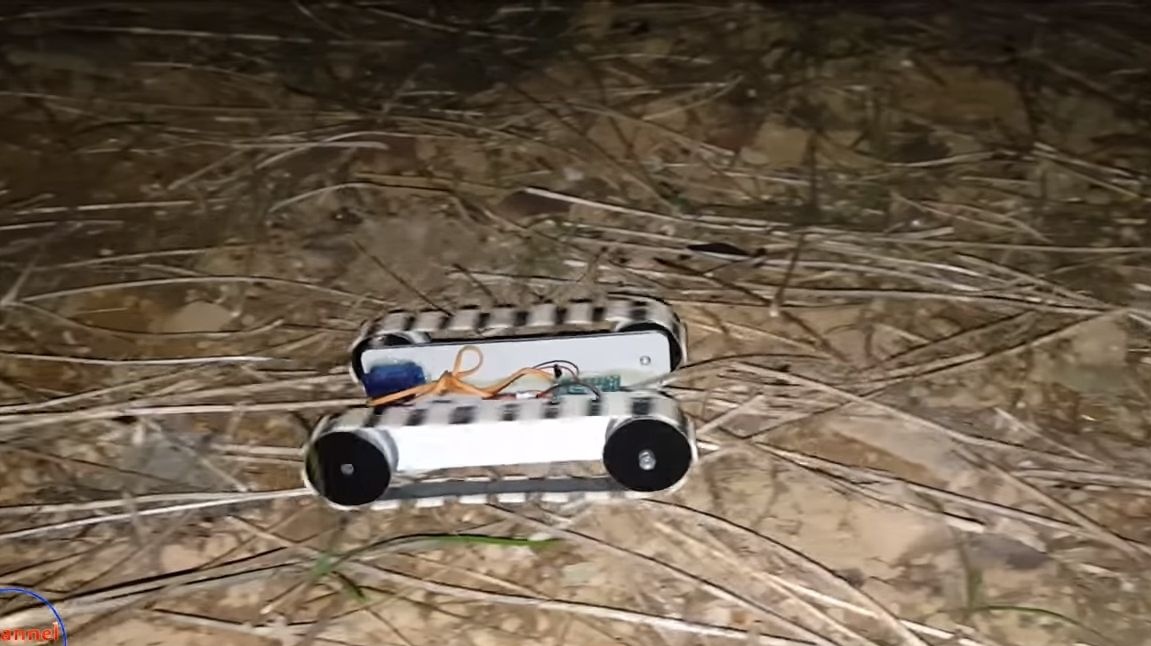
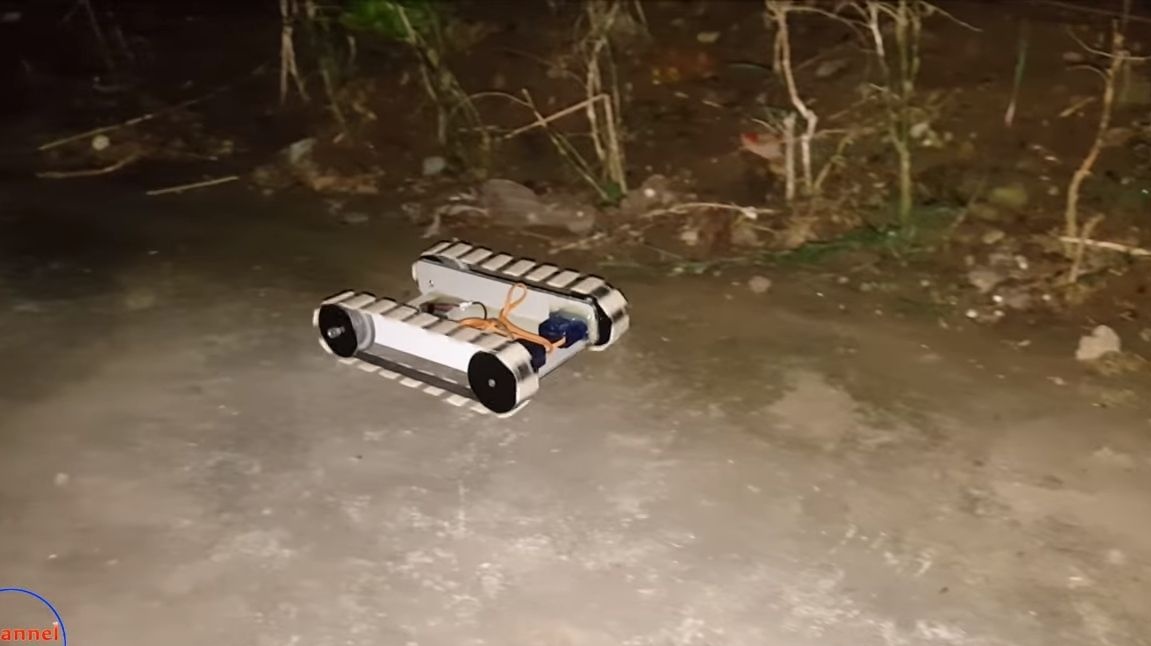
That's all, the tank is ready for battle! As tests, we set off for the street, there are a lot of different obstacles. When both engines are turned in the same direction, the tank will travel forward or backward. When one of the engines is turned on, the tank will turn around. And if you need to turn around urgently, turn on one engine forward and one back. That's all, I hope you liked the project, and you want to bring it to life. That's all, good luck and inspiration in making homemade!