
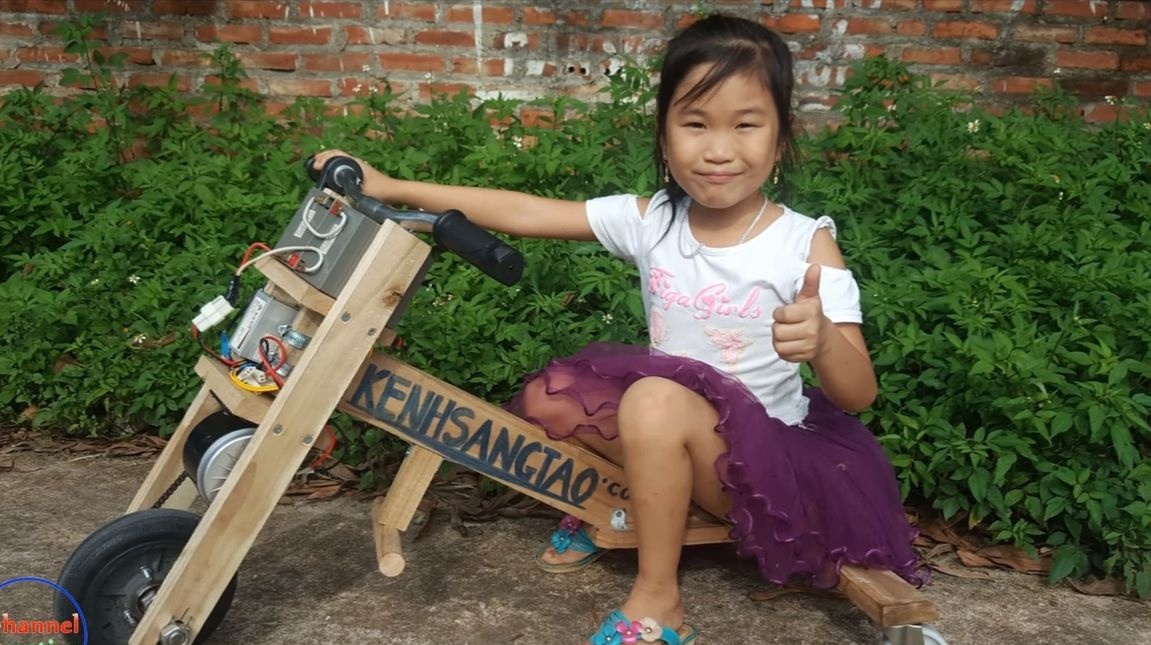
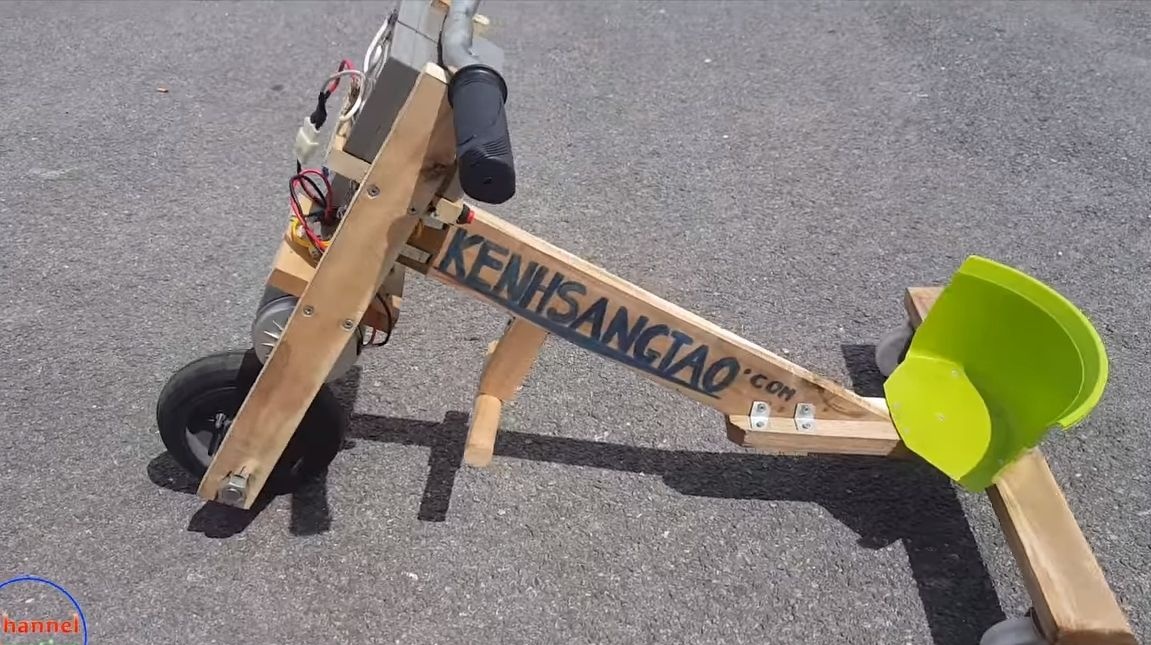
I bring to your attention a unique type of technology - drift bike or drift cards. Its distinctive feature from the usual card is that here all three wheels turn! As a result, you can beautifully go "into a skid" when turning. On this map, you can perform various interesting tricks.
Drive u homemade goes to the front wheel, and the two rear ones are taken from the bogies, they are able to rotate through an angle of 360 °. The technique is quite safe, but powerful and durable, which allows even an adult to experience it.
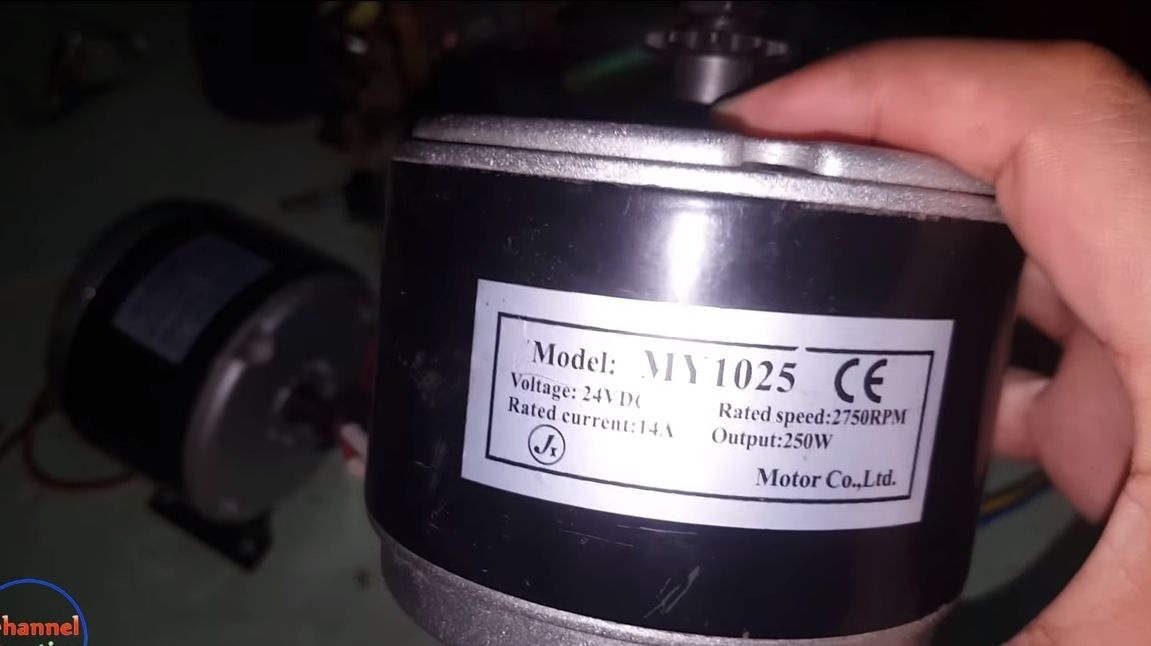
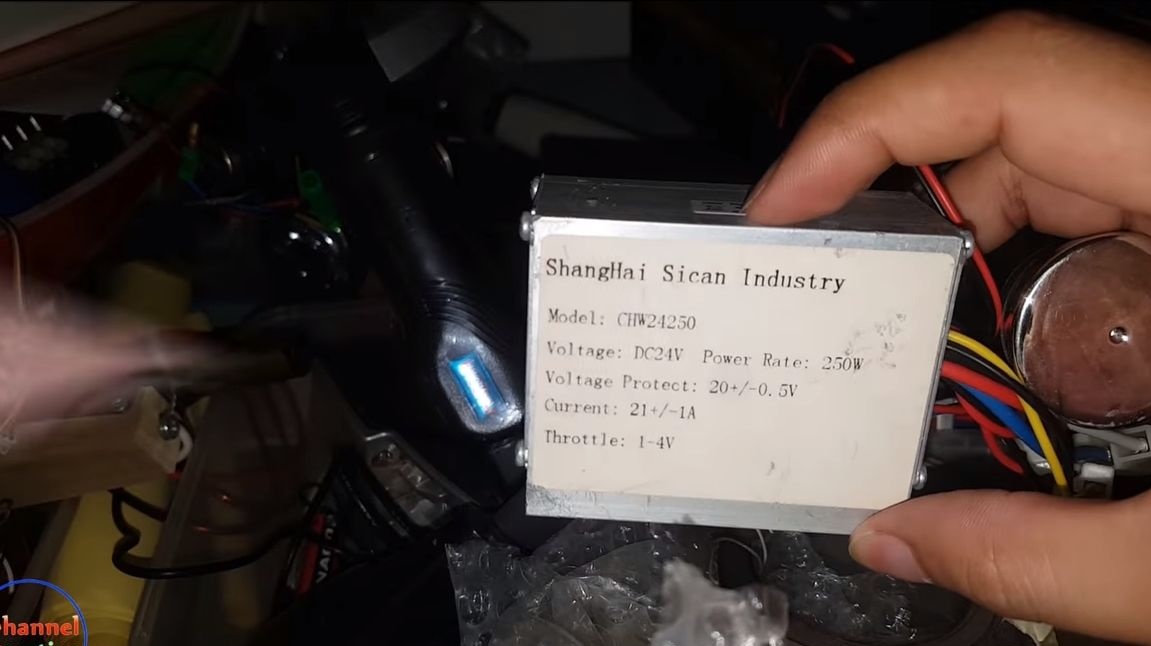
The engine used is a 24V unit with a power of 250 watts. The engine is powered by two 12V batteries, which are connected in series. The design provides a controller that allows you to smoothly increase the power with the handle, as on a real bike.
The frame is made of wood, it is cheap, simple, and quite reliable. If you wish, you can paint the cards, install lights and other details. So, let’s take a closer look at how to assemble this miracle of technology.
Materials and tools used by the author:
Material List:
- ;
- (CHW24250);
- two batteries of 12V;
- electronic control knob;
- button (to turn on / off the ignition);
- wires;
- boards;
- a plastic basin (for a seat);
- screws, bolts, threaded rods, nuts, etc.
- metal clamps;
- a pair of nails;
- steering wheel from a bicycle;
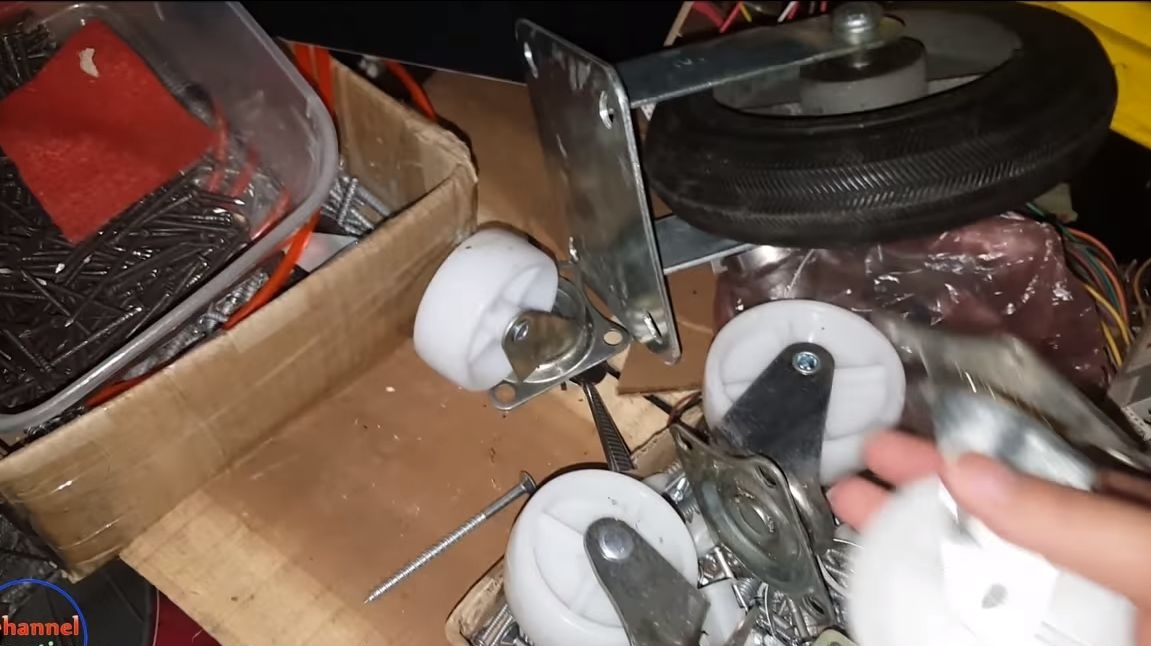
- wheels from carts (two small and one large);
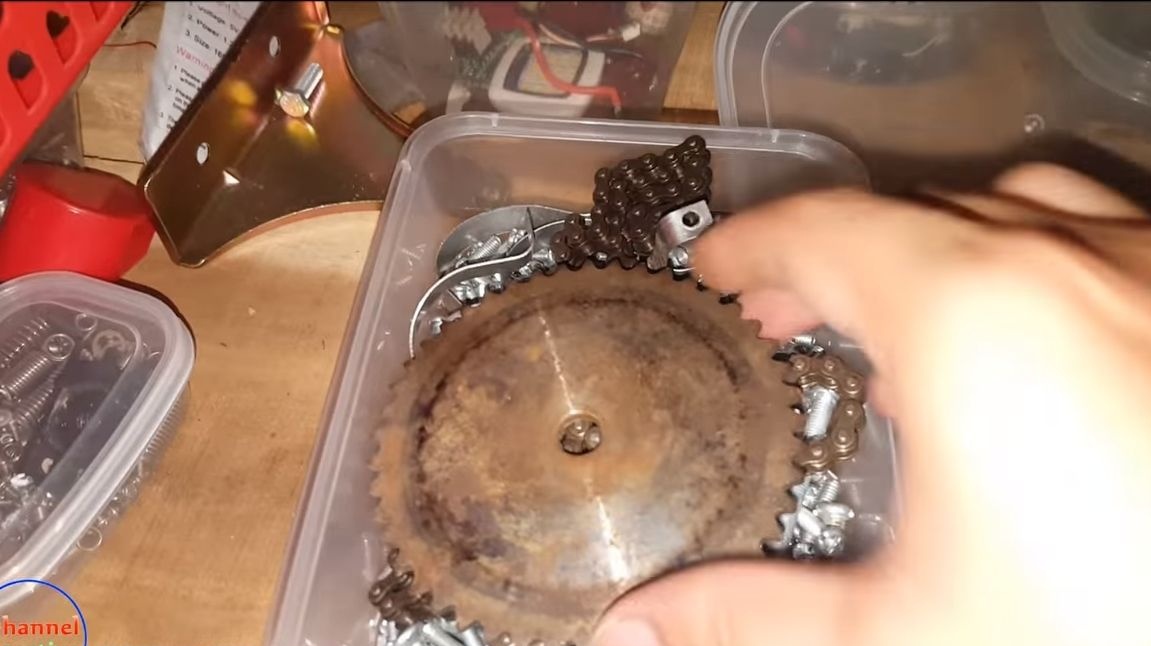
- chain and sprockets;
- fixing corners.
Tool List:
- drill;
- screwdriver;
- screwdrivers;
- planer (optional);
- marker;
- a hacksaw (cut boards).
Card manufacturing process:
Step one. Making the rear axle
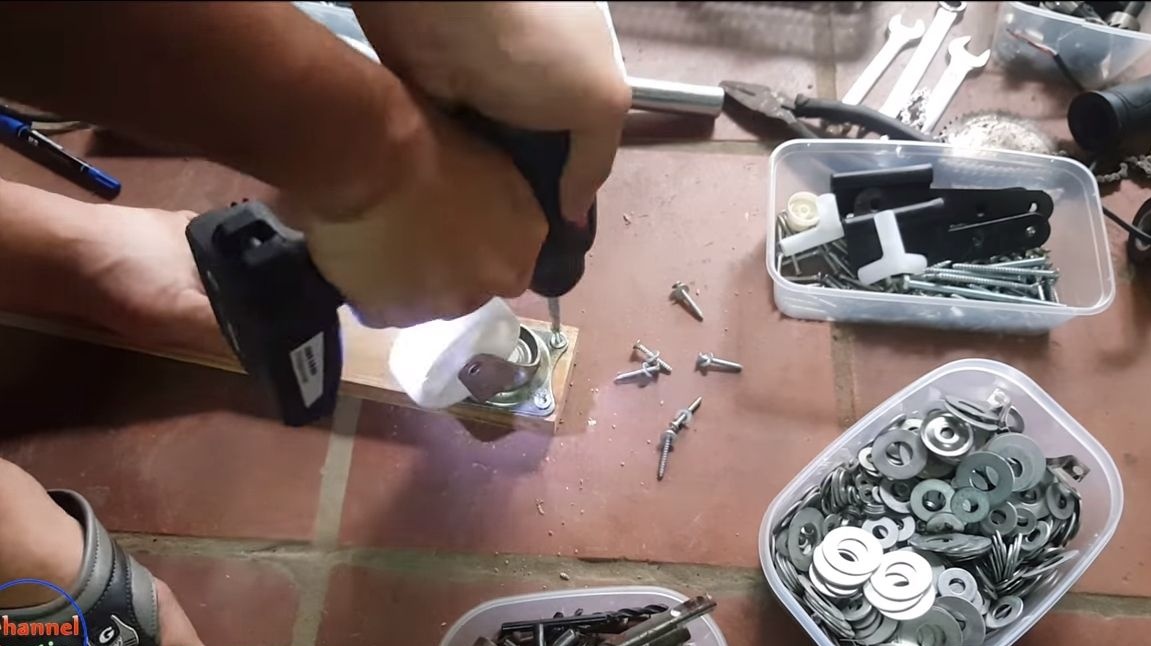
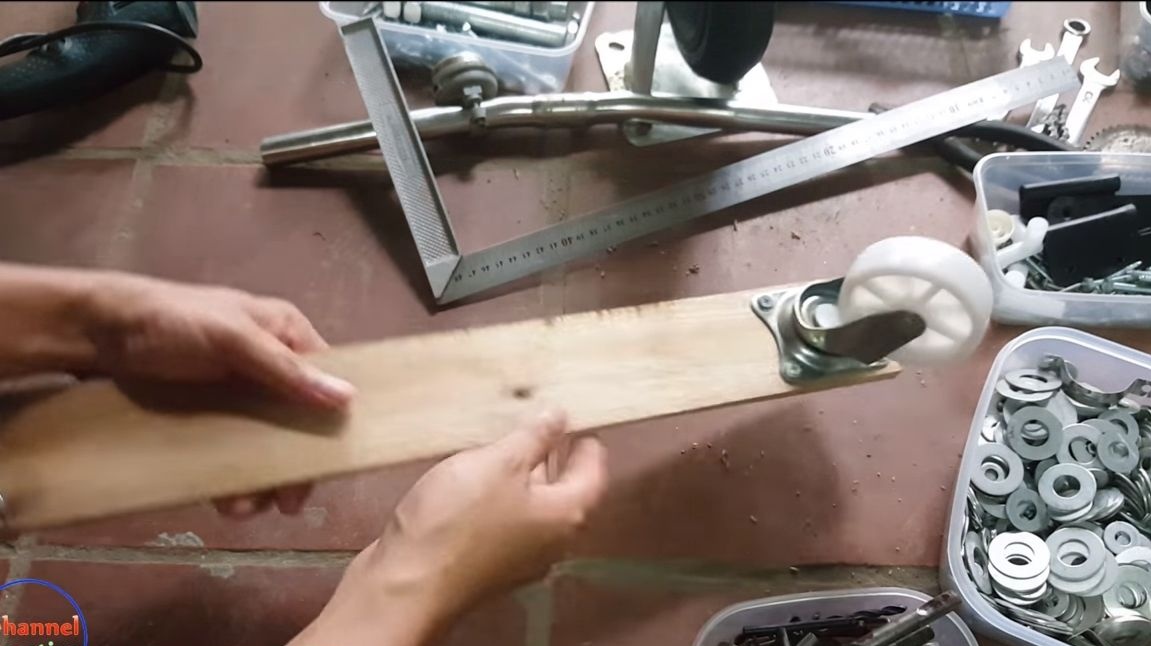
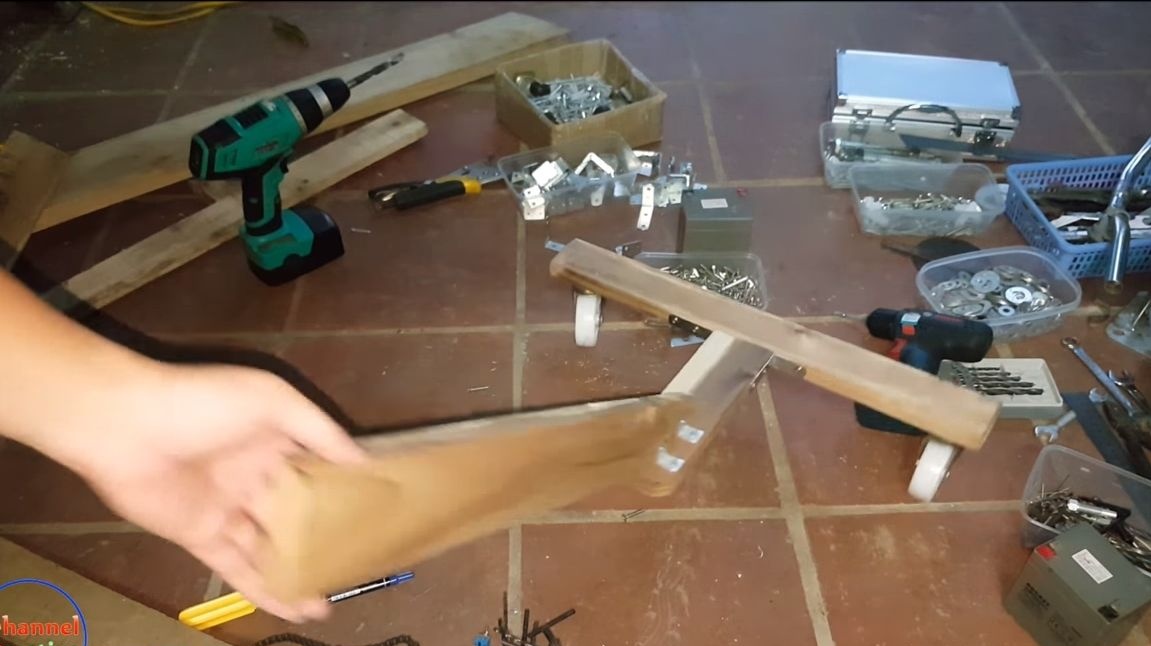
The rear “axle” is assembled very simply, for this you need a piece of timber or a board, but it must be strong enough to withstand the load. We fasten the wheels to the ends of the cart, they can rotate around its axis. For fastening we use wood screws and washers. Wheels are better to choose more, as small from ordinary carts on asphalt will wear out faster.
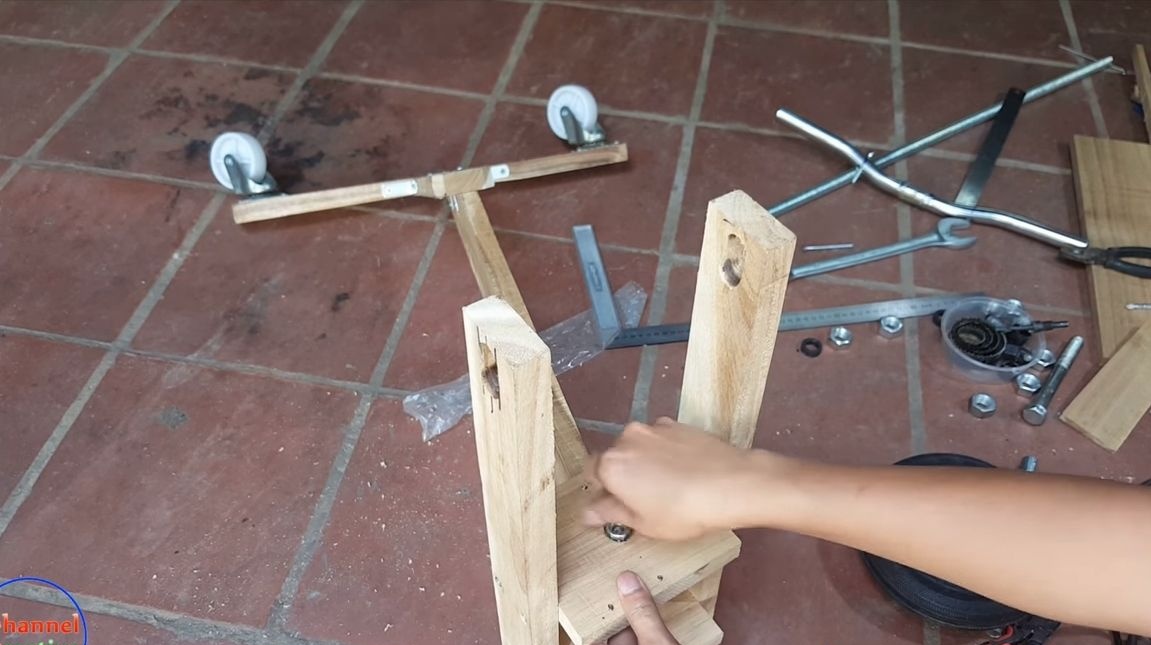
Step Two Frame manufacturing
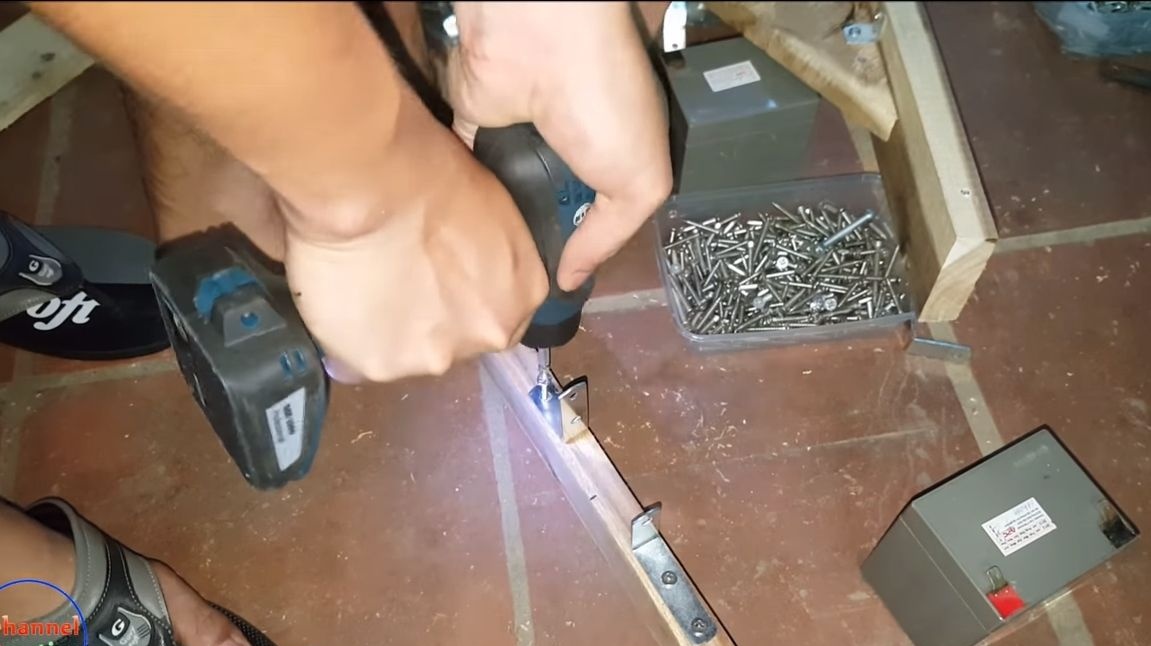
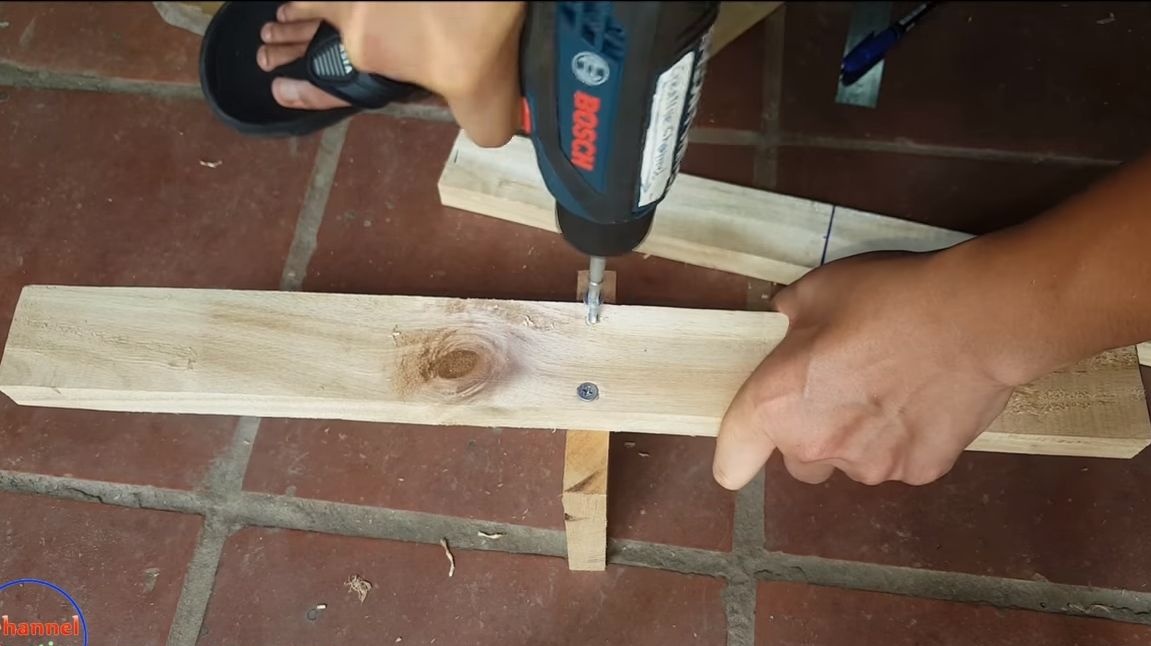
We also make the frame from boards or timber. In total, two details are needed. We twist them together using screws and corners. The mounting brackets should be fairly strong to support the weight of passengers. It is better to come up with a more reliable type of connection than the corners.

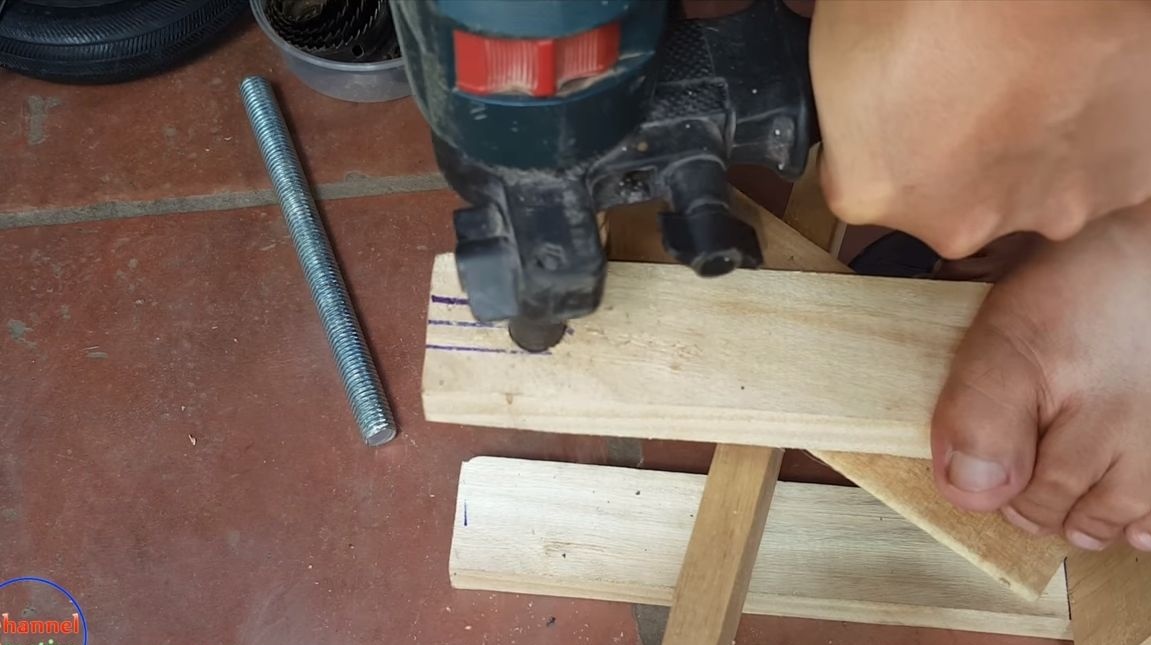
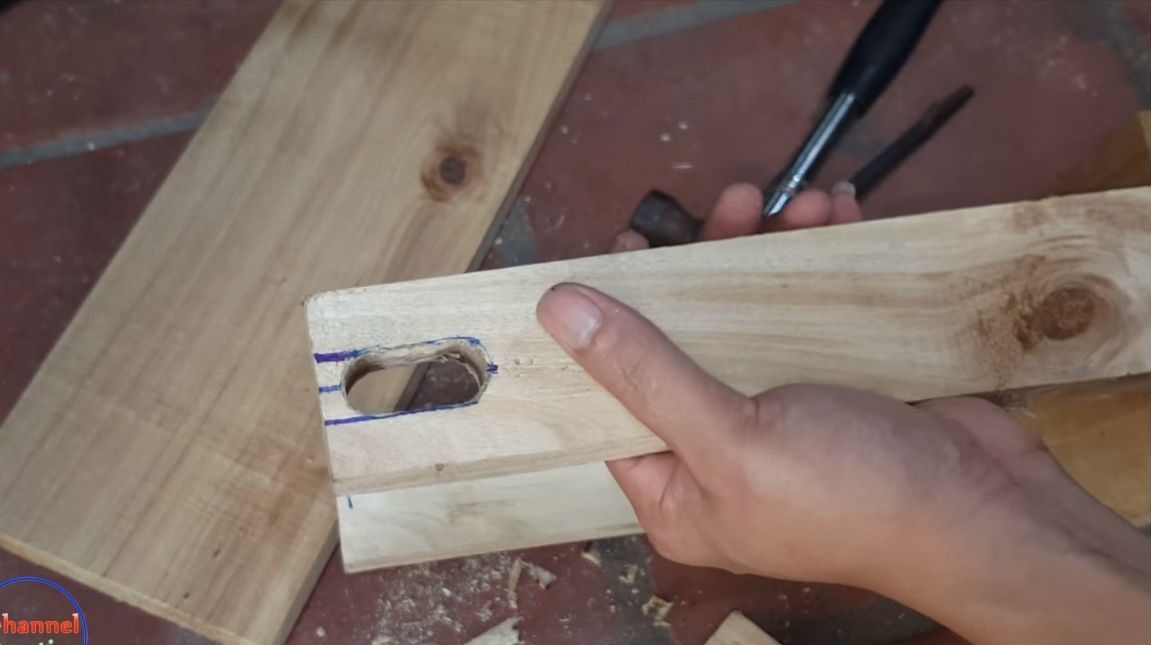
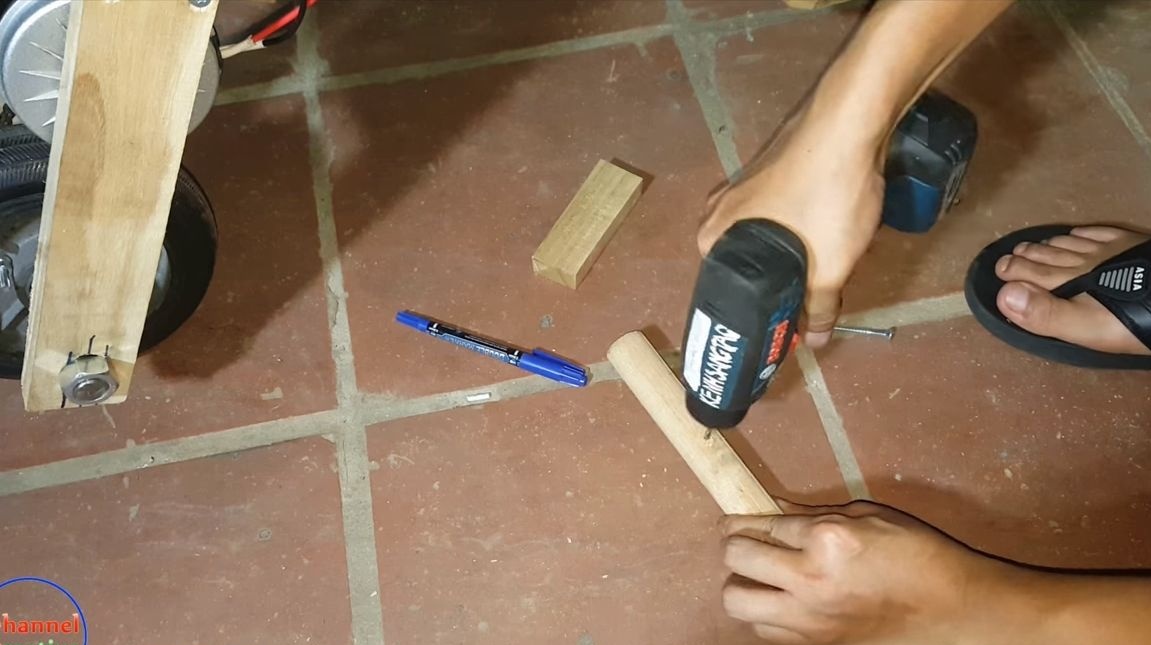
Step Three Front Fork Making
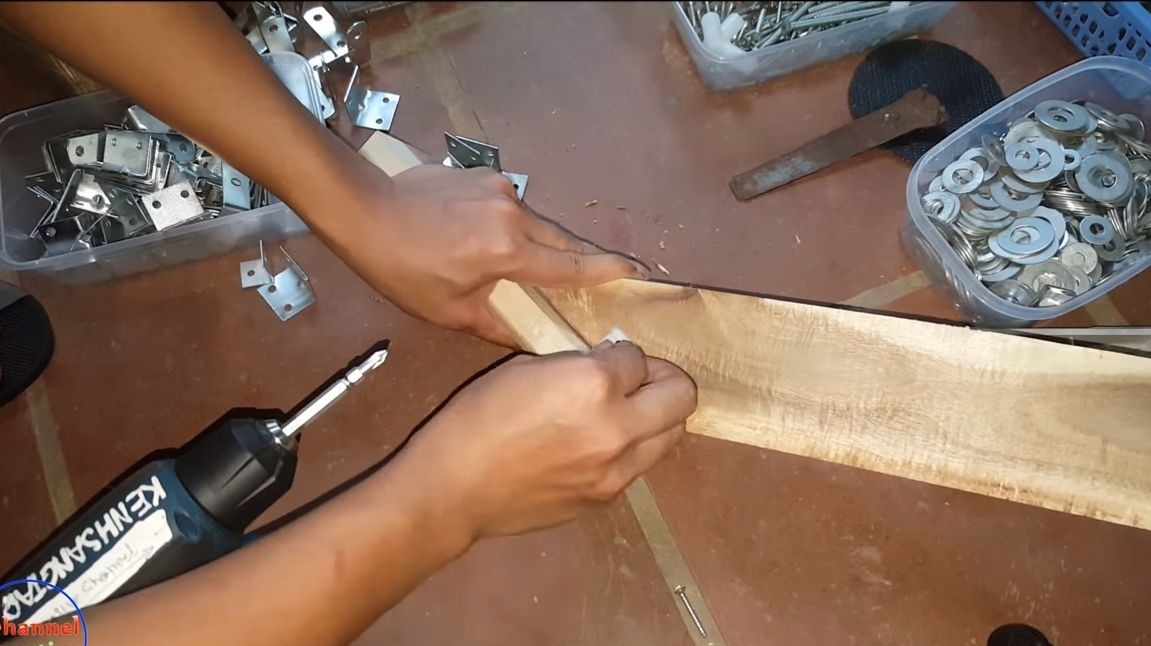
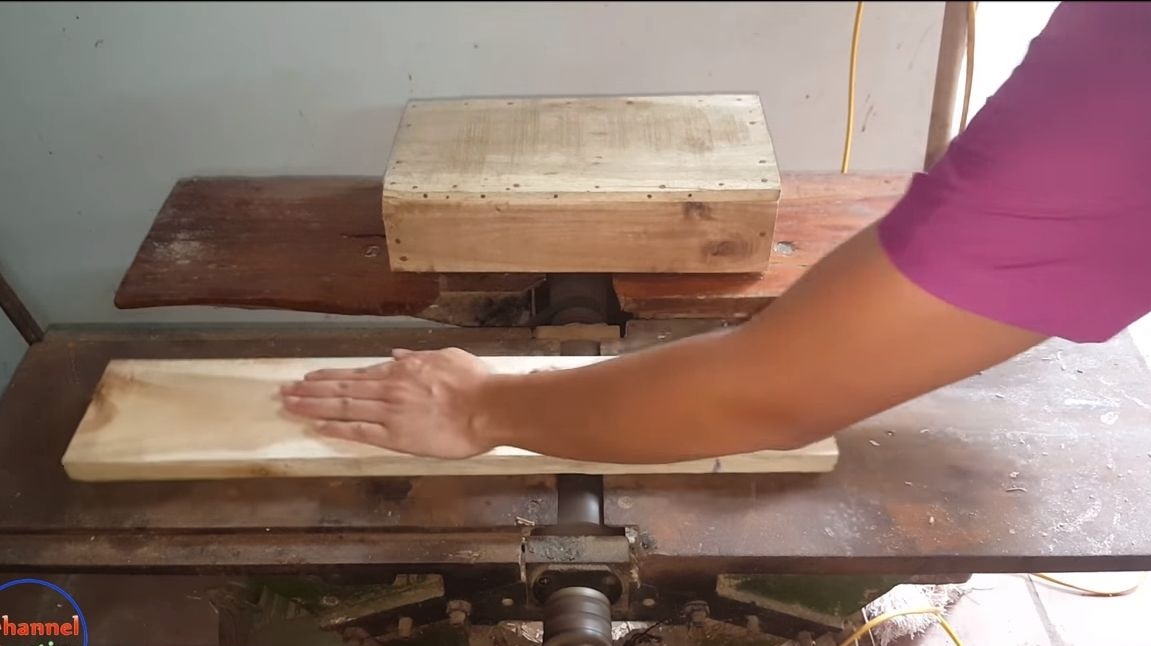
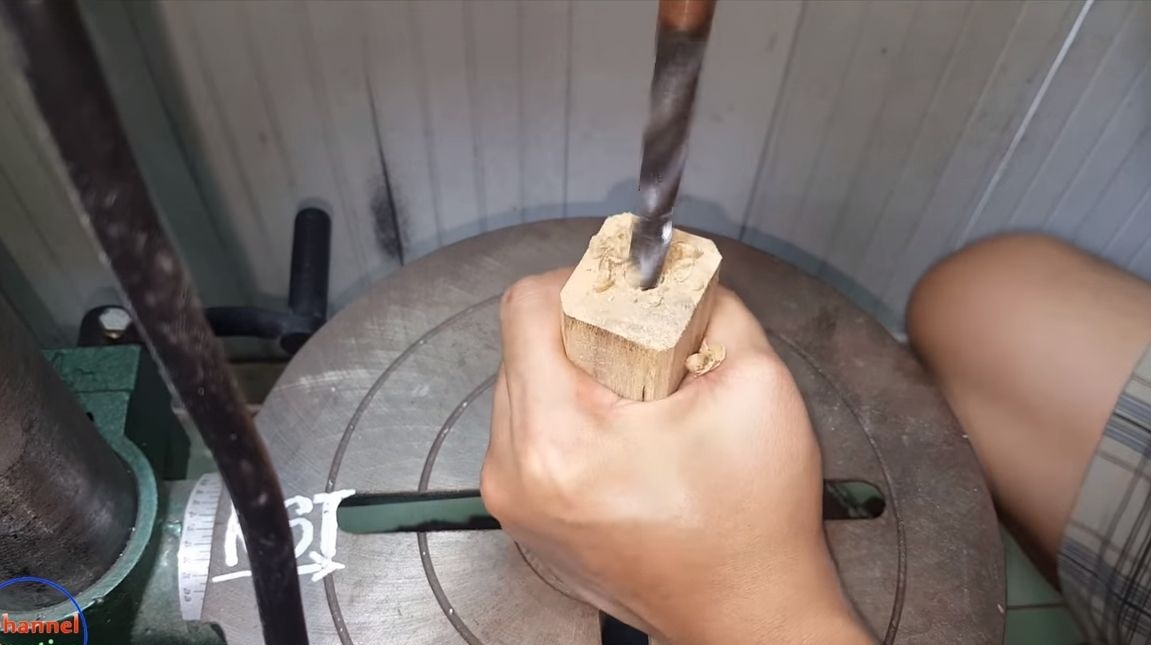
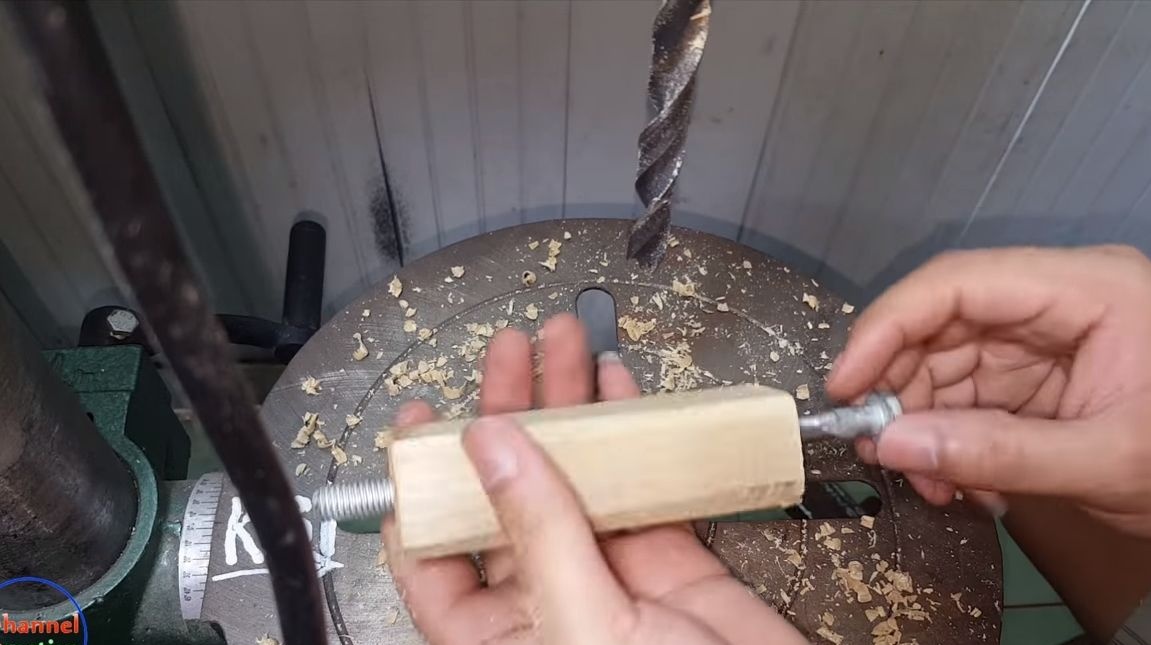
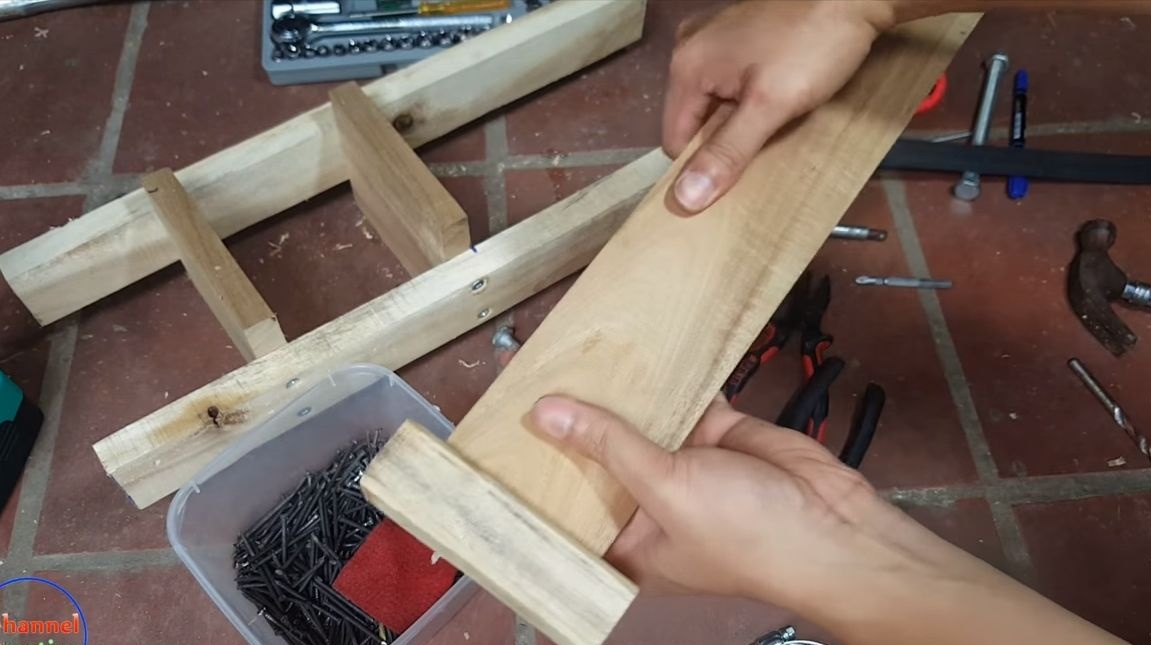
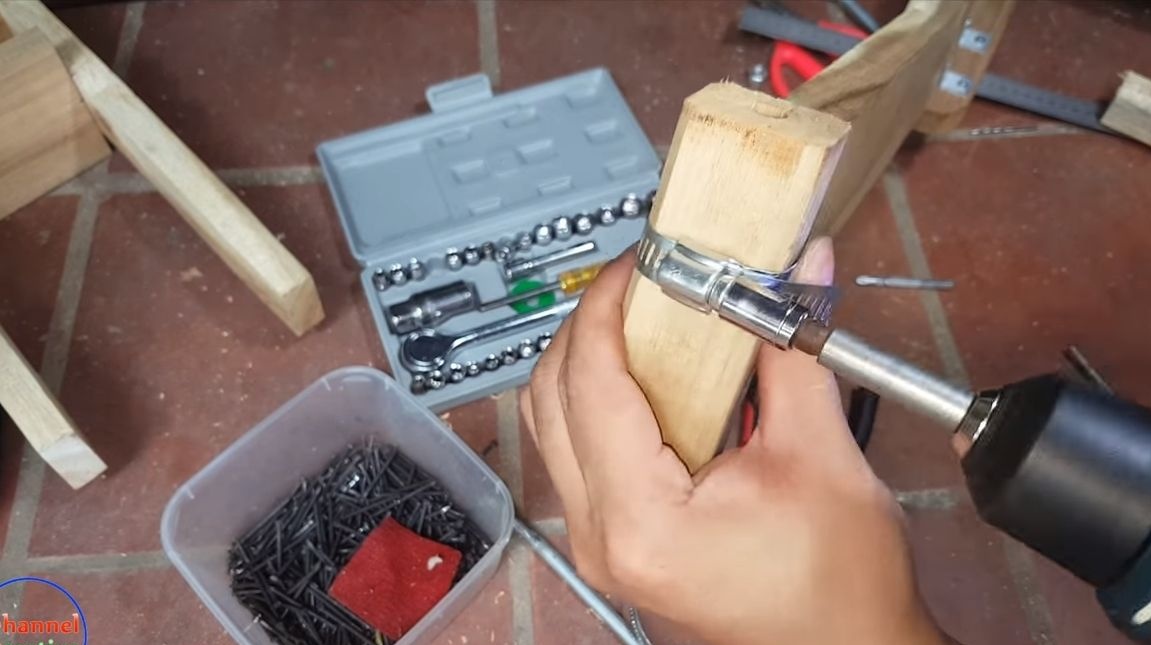
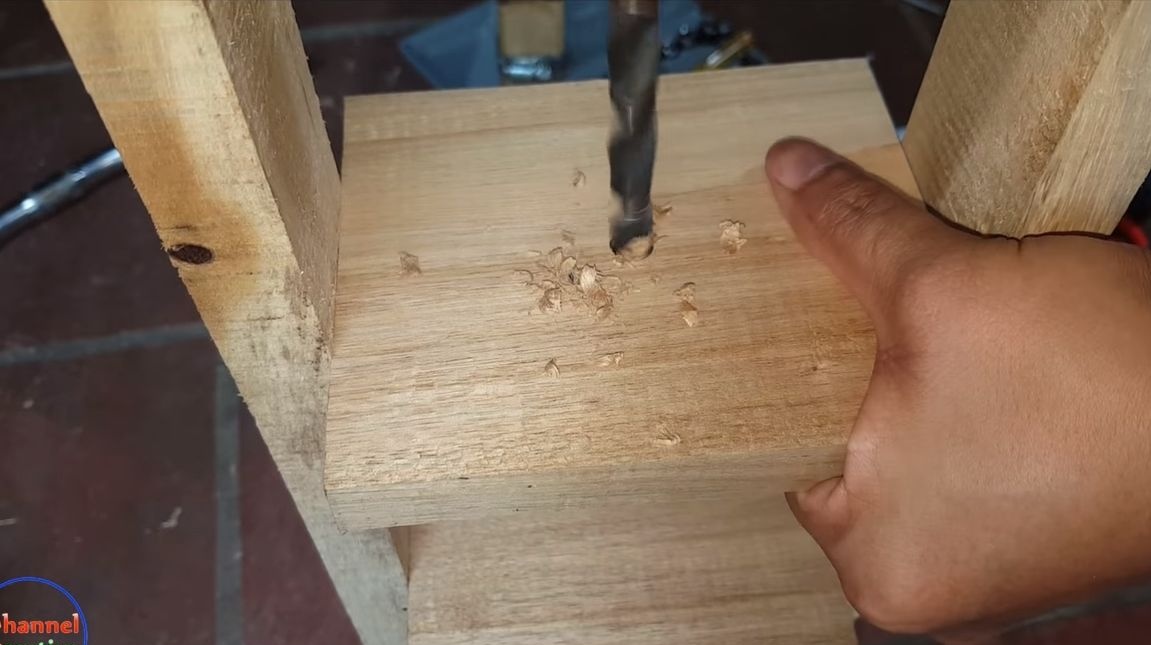
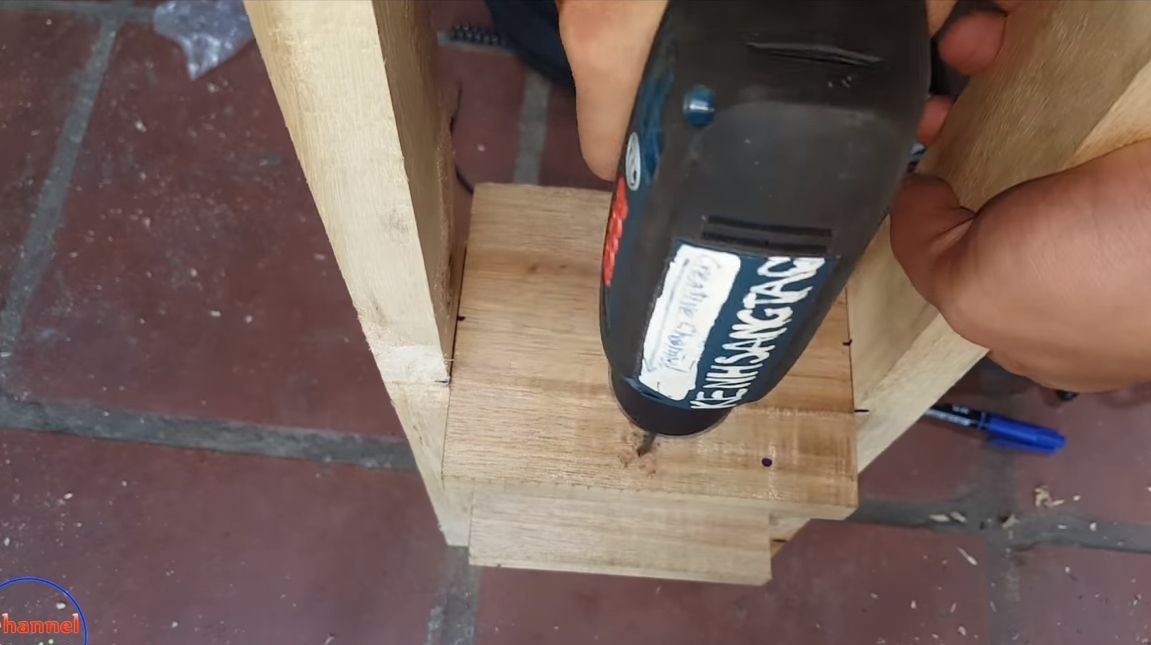
For the front fork, we need boards, the author decided to align them on a planer. The first step is to make a bracket that allows you to fix the plug on the frame. To do this, you need a wooden beam, drill a hole along it. As an axis, a long bolt with a nut will be used.
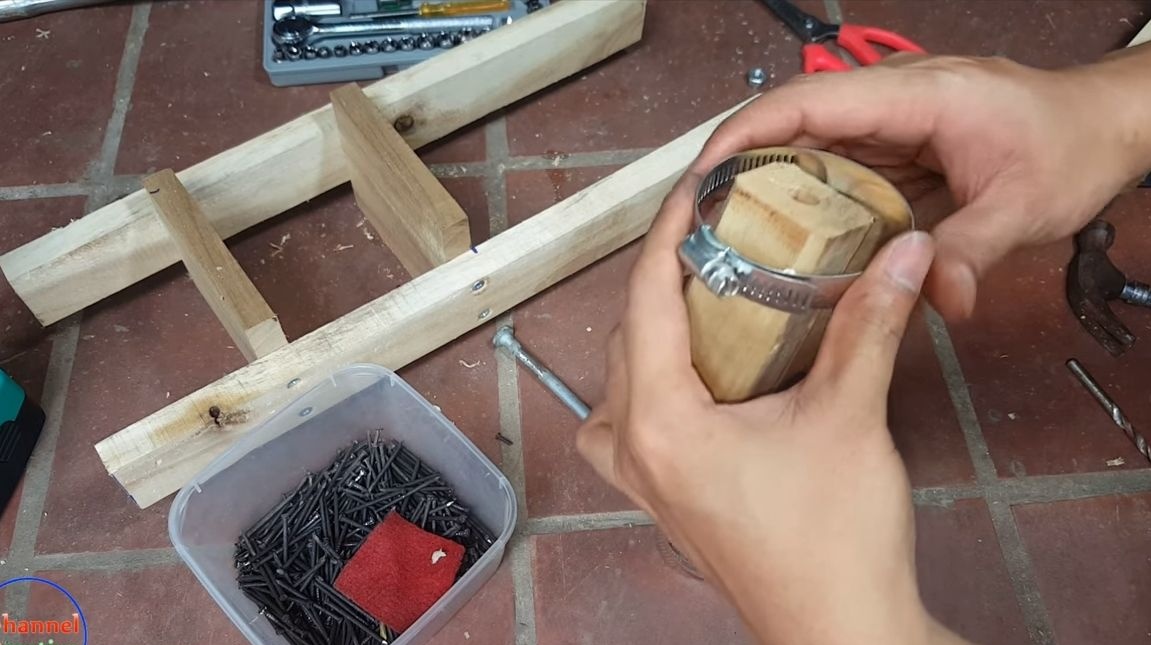
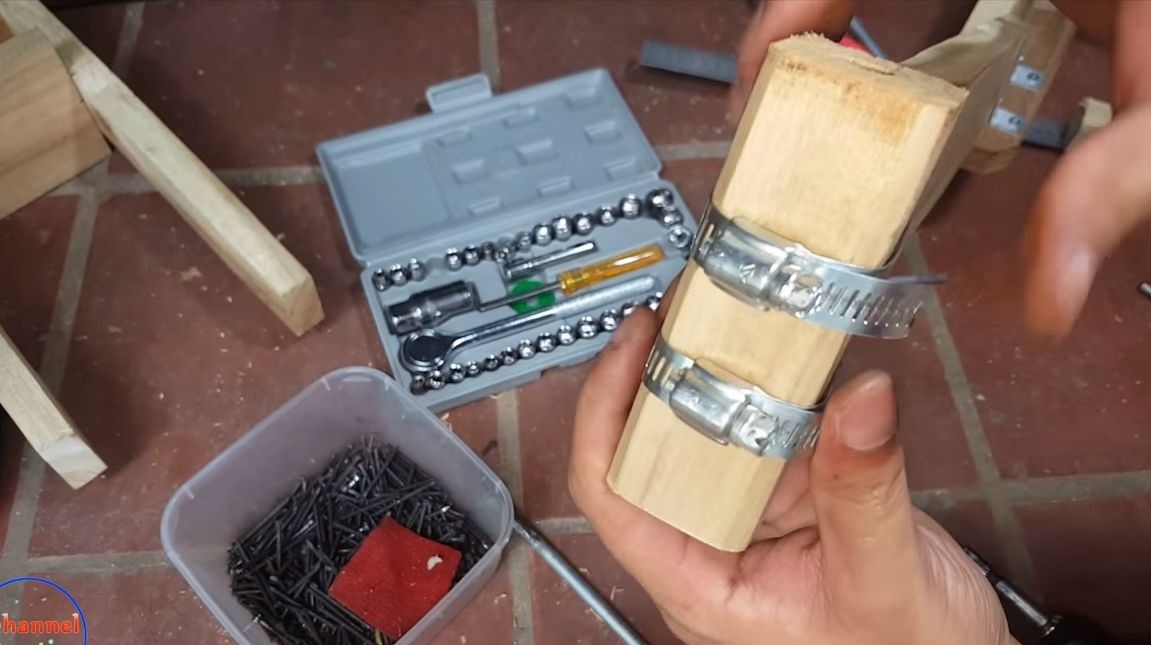
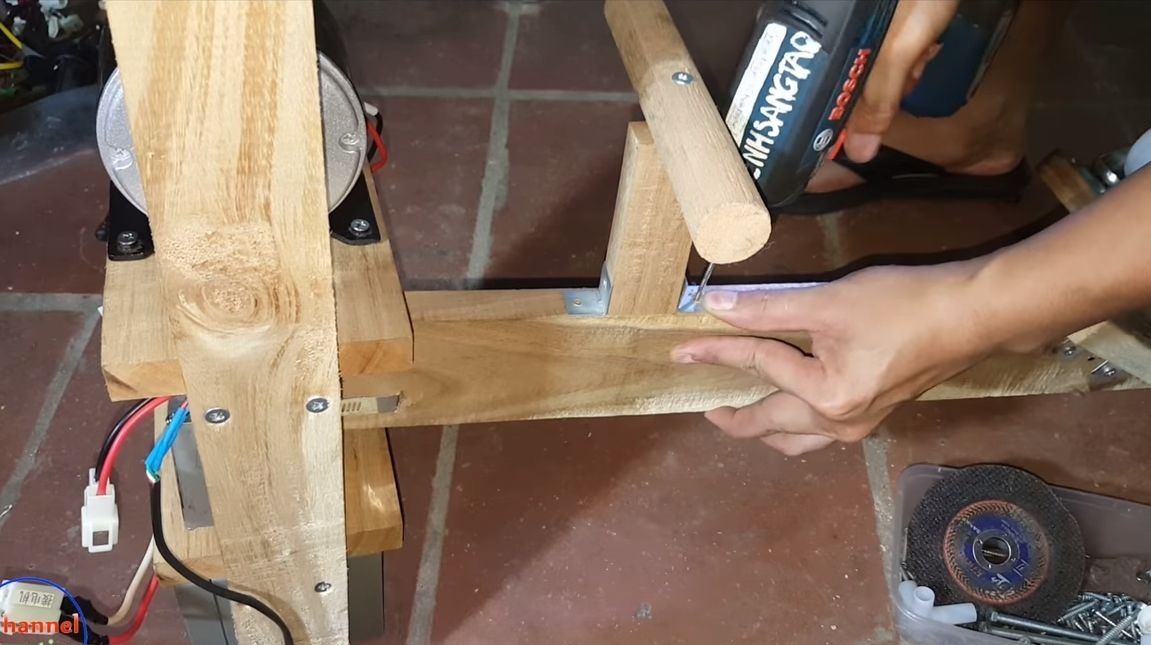
We fasten this part to the fork, for this we will drill two holes in each of the connected sides and hammer in the nails, biting off the hats from them. These pins will prevent the parts from moving on the frame. And we will fasten the part with the help of metal clamps. Drill slot holes for them in the frame, and then carefully pull the part to the frame.
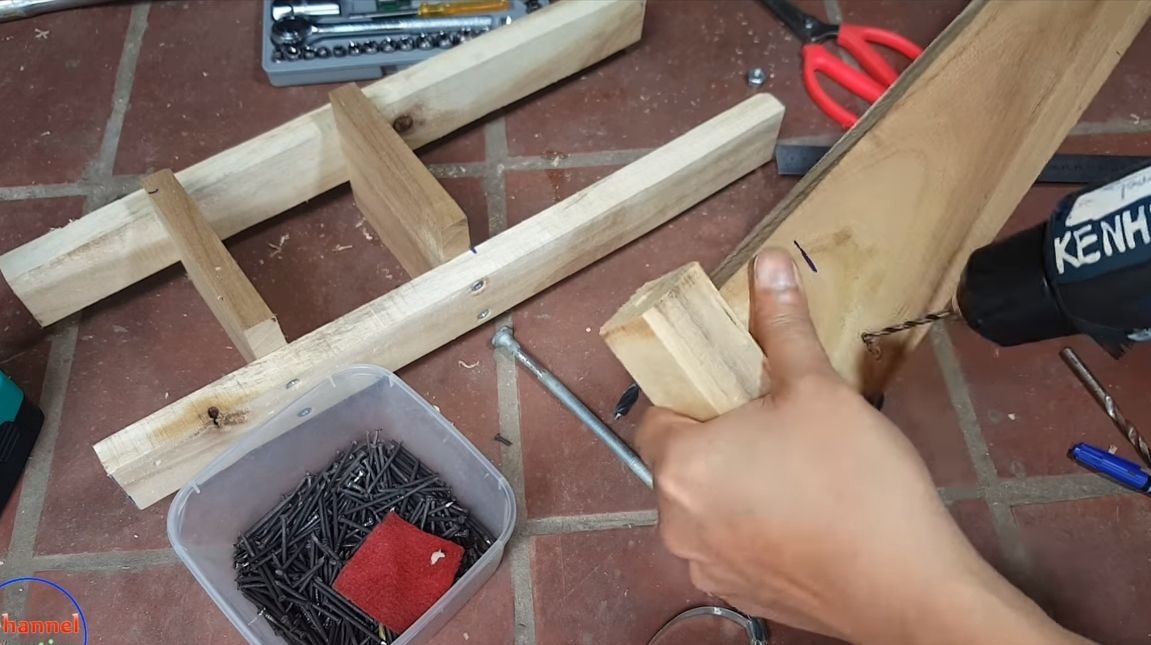
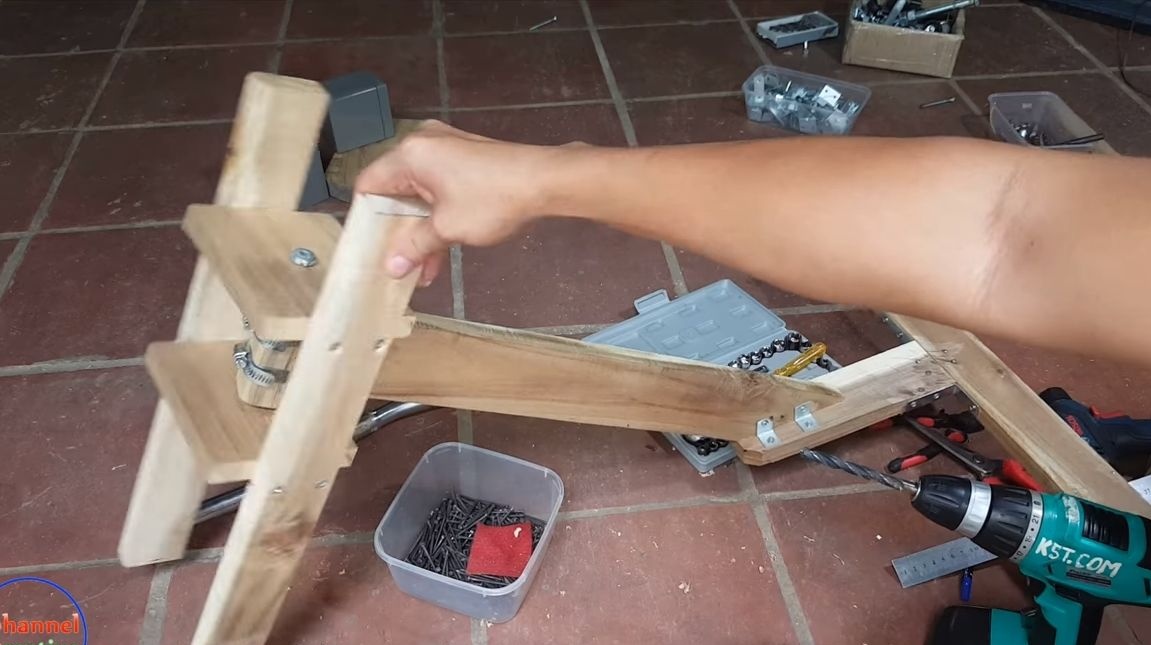
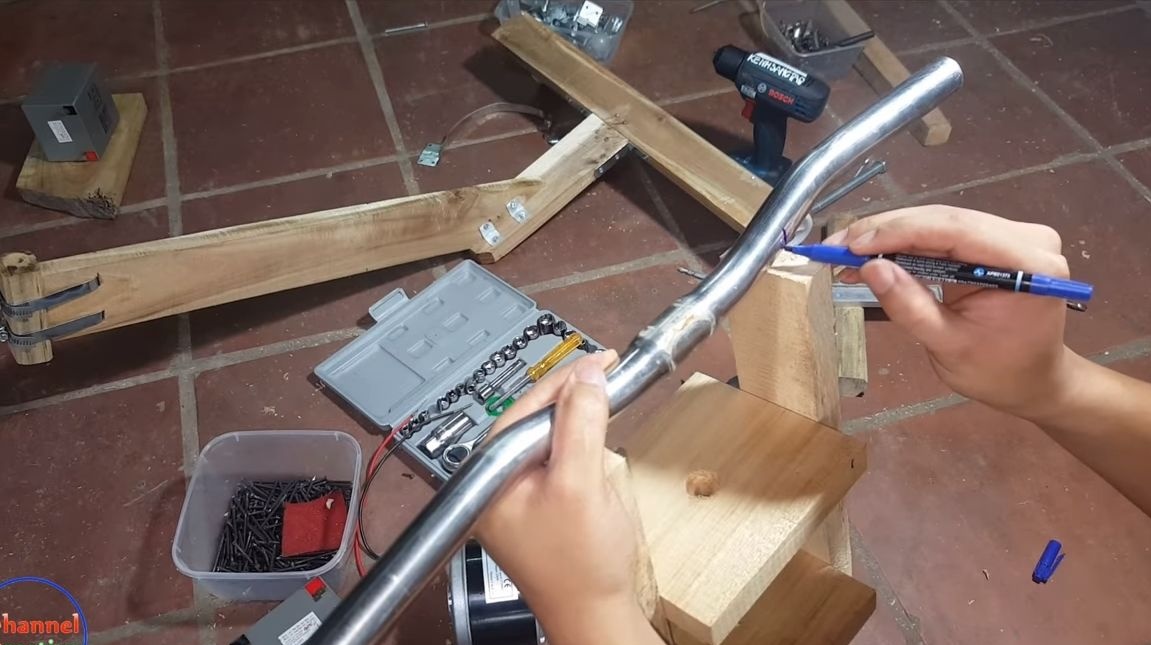
You can assemble and install the plug, but it is going to be very simple - from the boards. As connections we use wood screws. We install the plug on the frame and fasten the bolt. Do not over tighten the nut; the fork should rotate freely. After installing the plug, you can also outline the places for mounting the steering wheel.
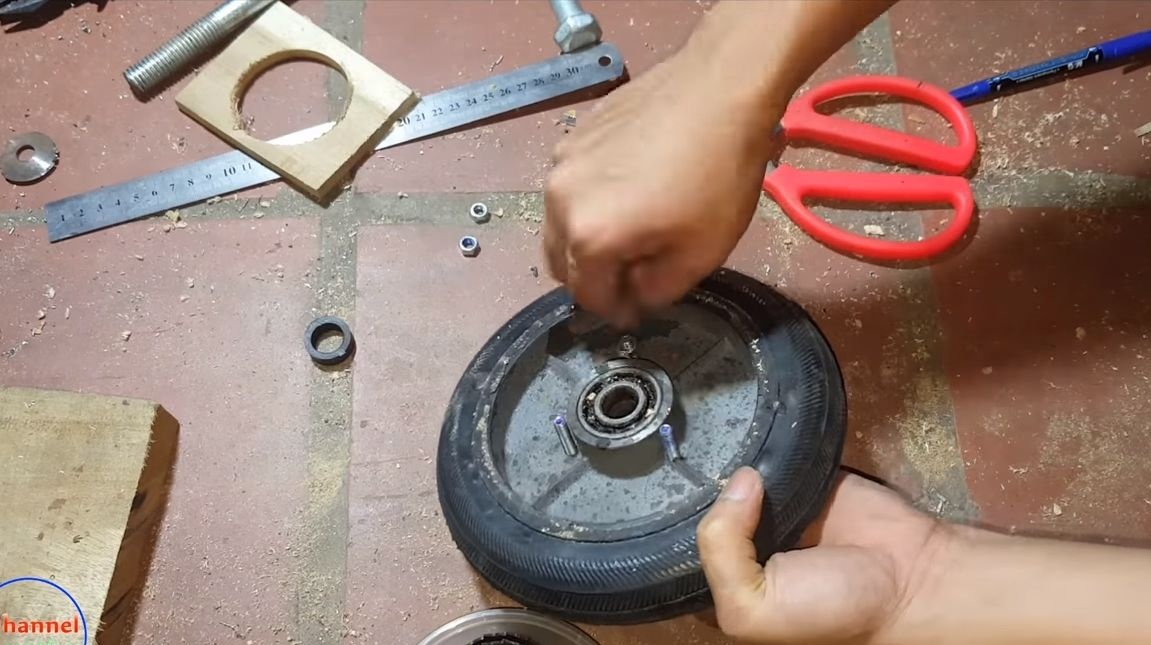
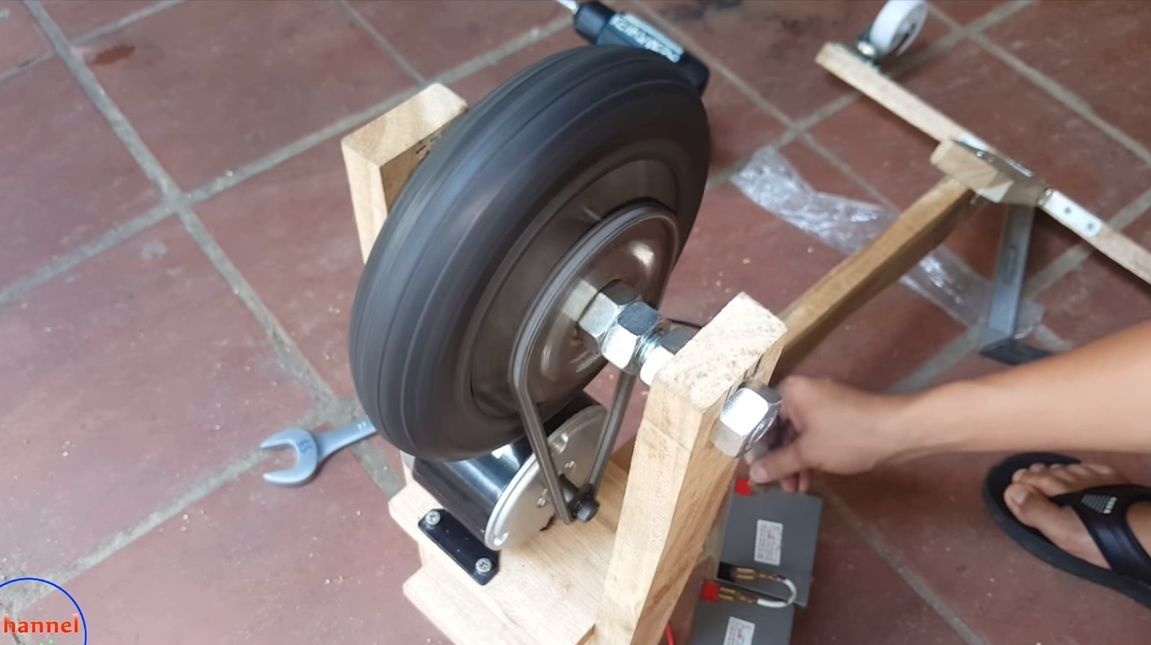
Step Four Drive wheel preparation and sprocket installation
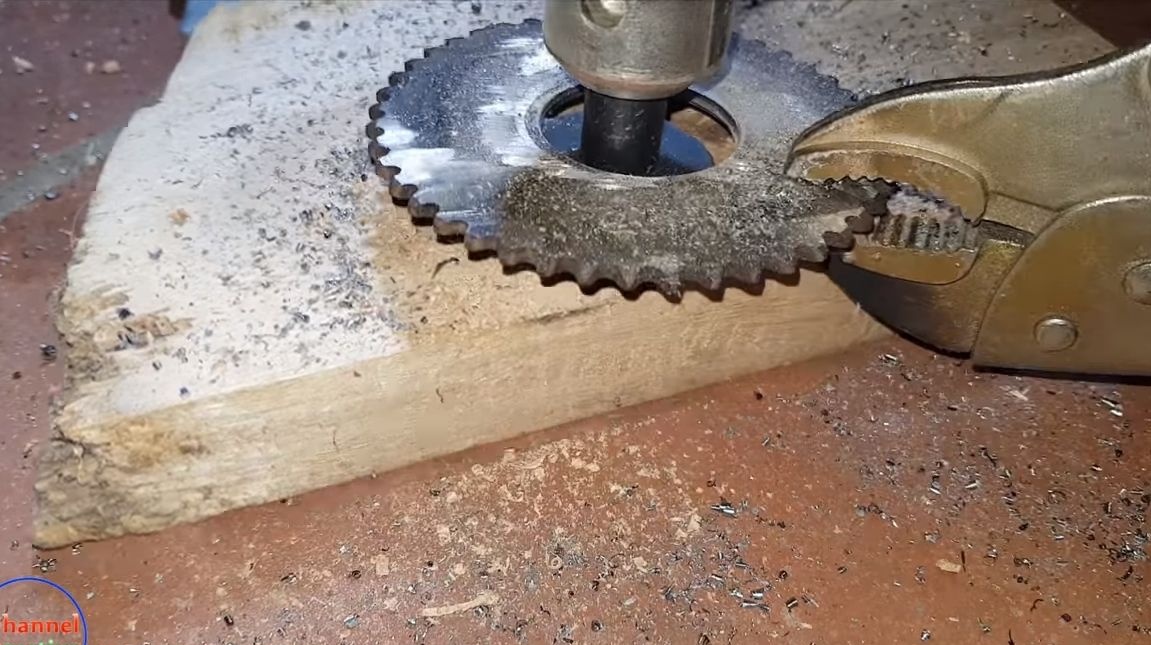
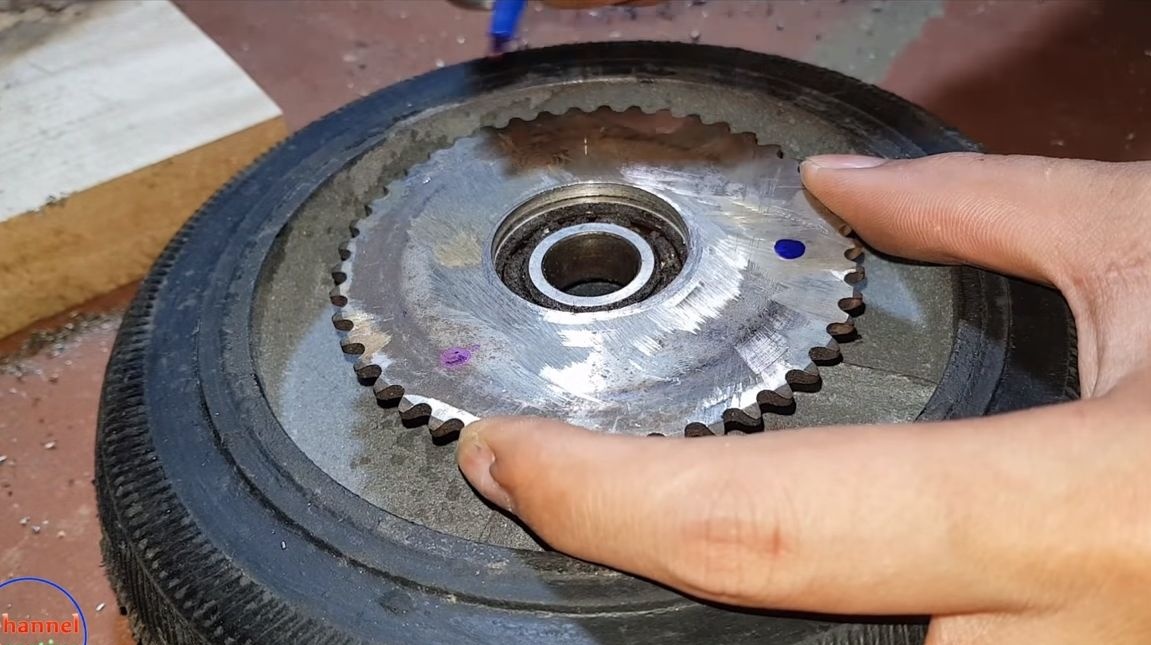
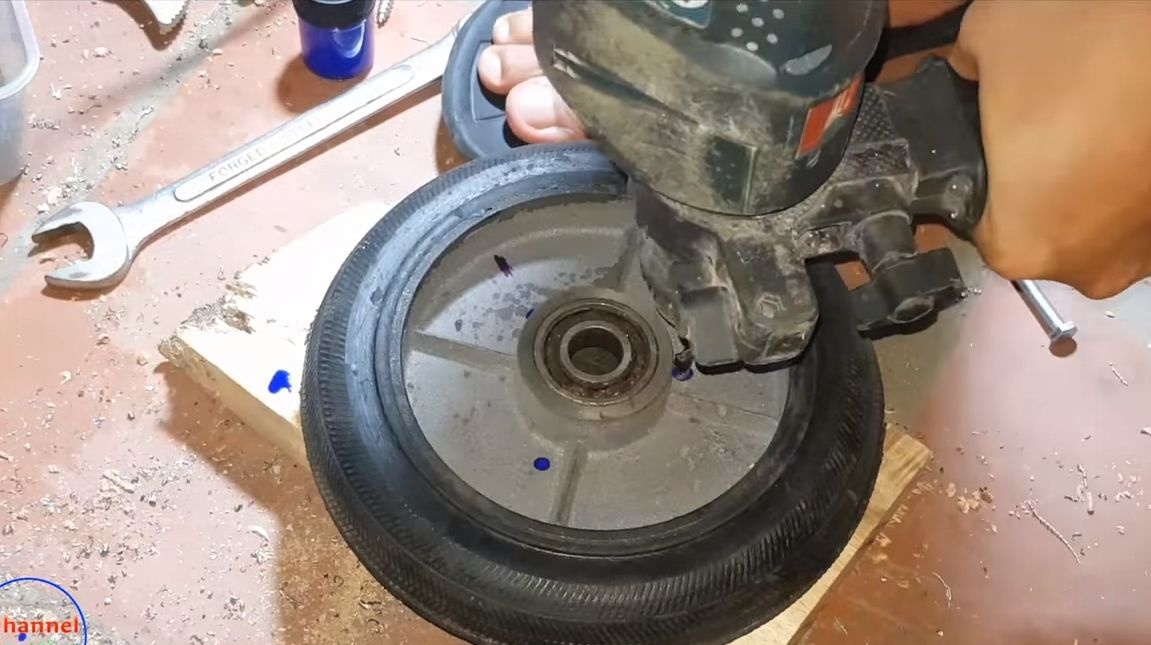
As the drive wheel, we need a big wheel from the cart or something like that. We remove the bracket from it and prepare the driven sprocket. In it, using a bit, drill a hole for the wheel bearing. Next, we take a marker, mark the places for holes and drill, the author has three of them. Then we transfer these holes to the wheel disc and drill holes in it too.
That's all, now you can install an asterisk! We fix it with three bolts with nuts. It would be nice to use a grower so that the nuts do not loosen.

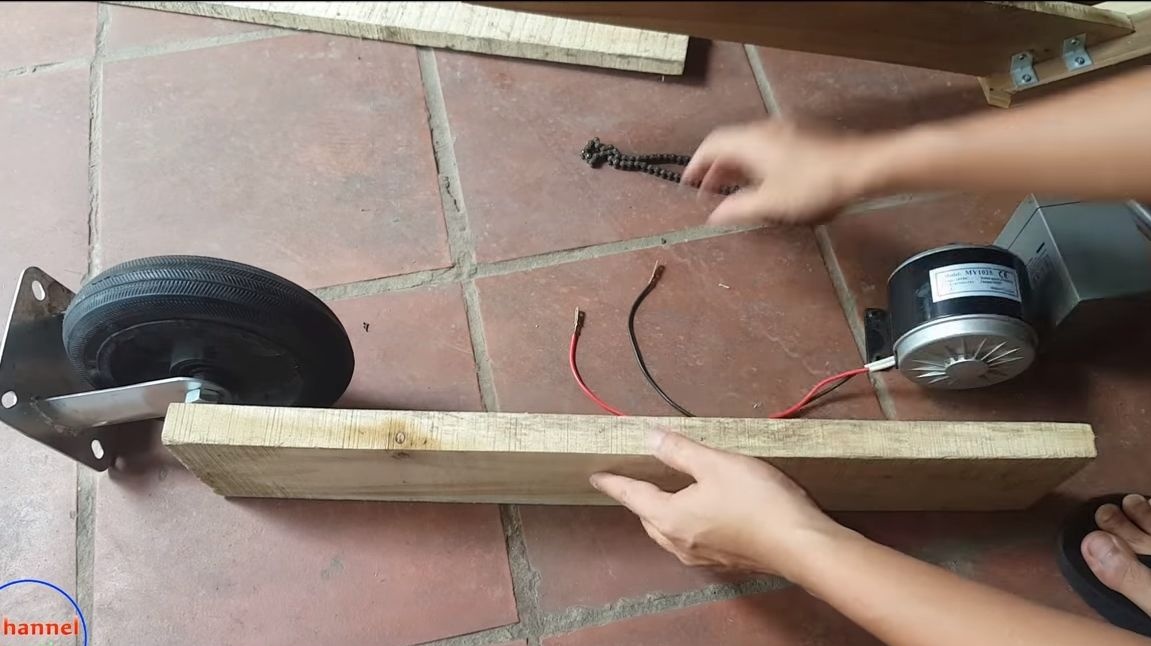
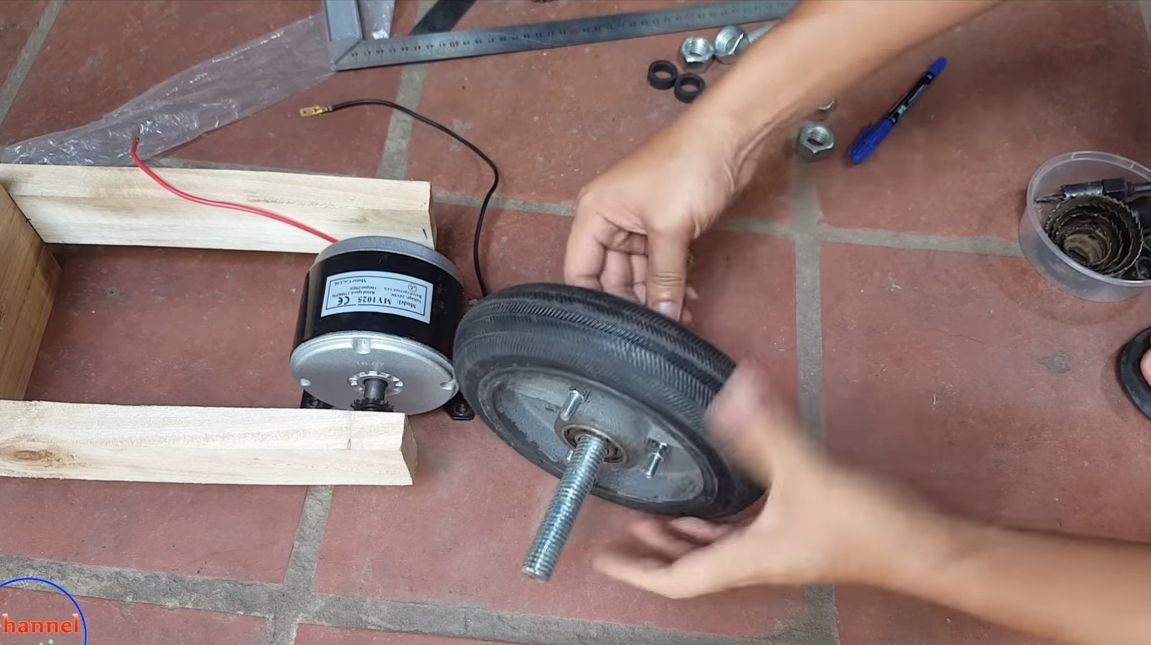
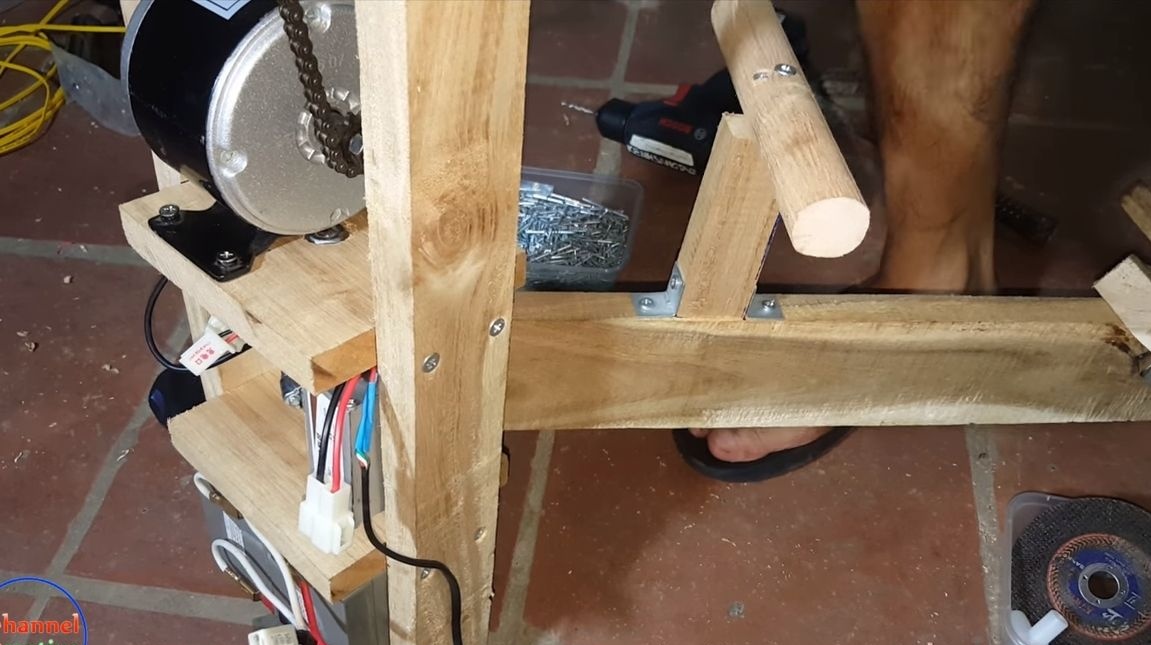
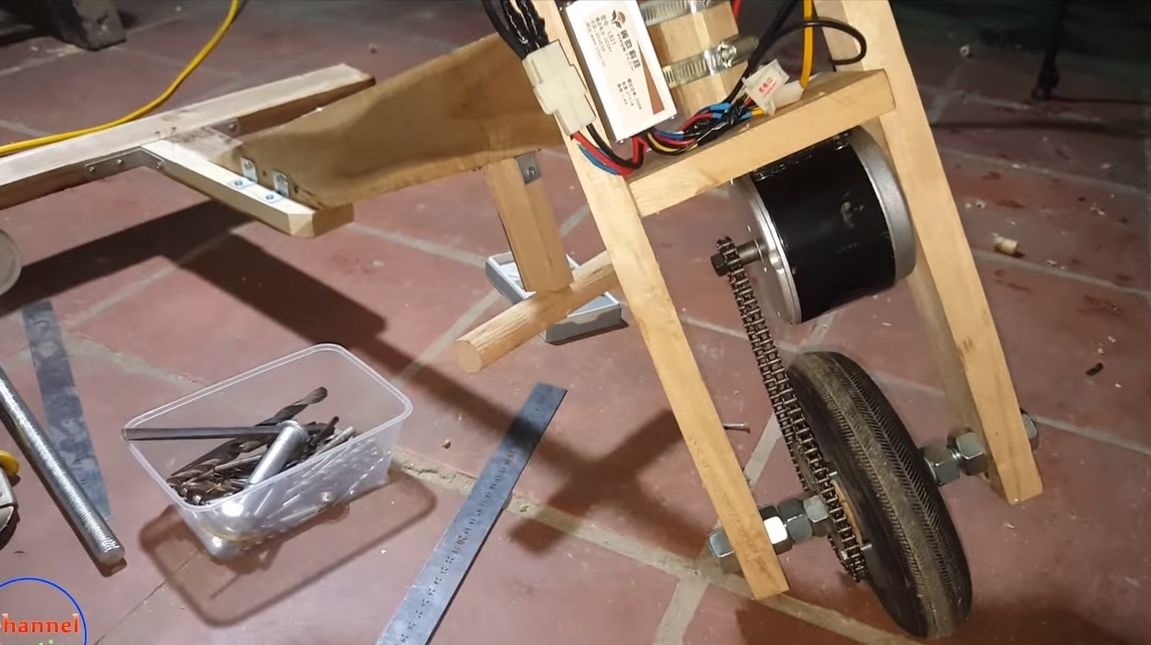
Step Five Install the engine and drive wheel
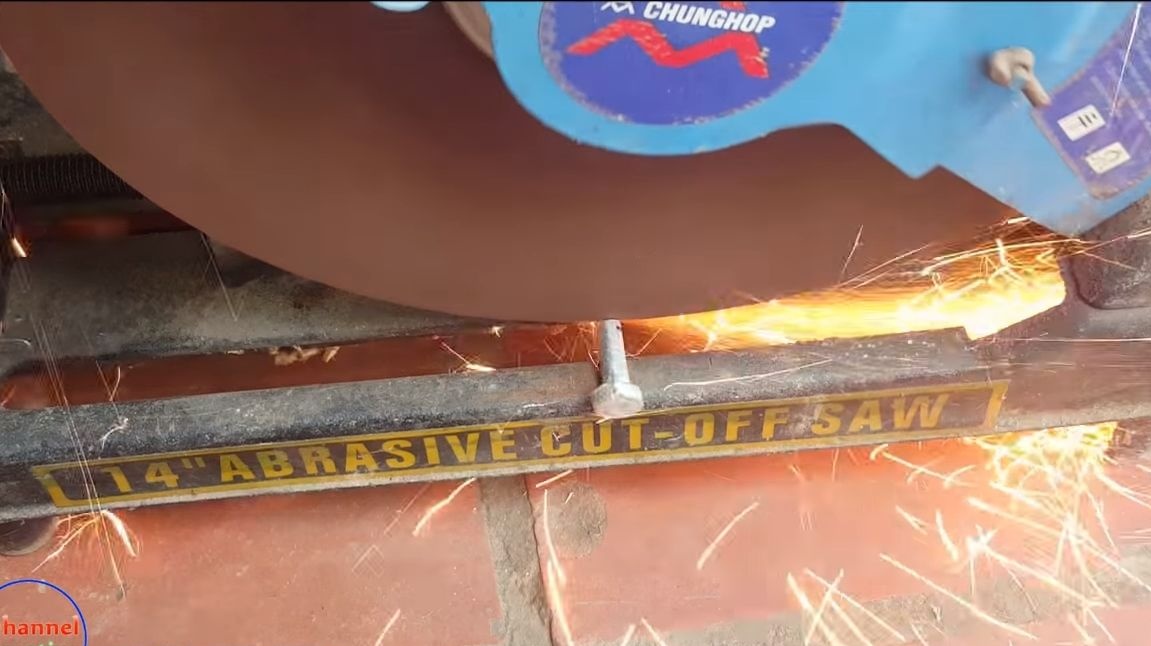
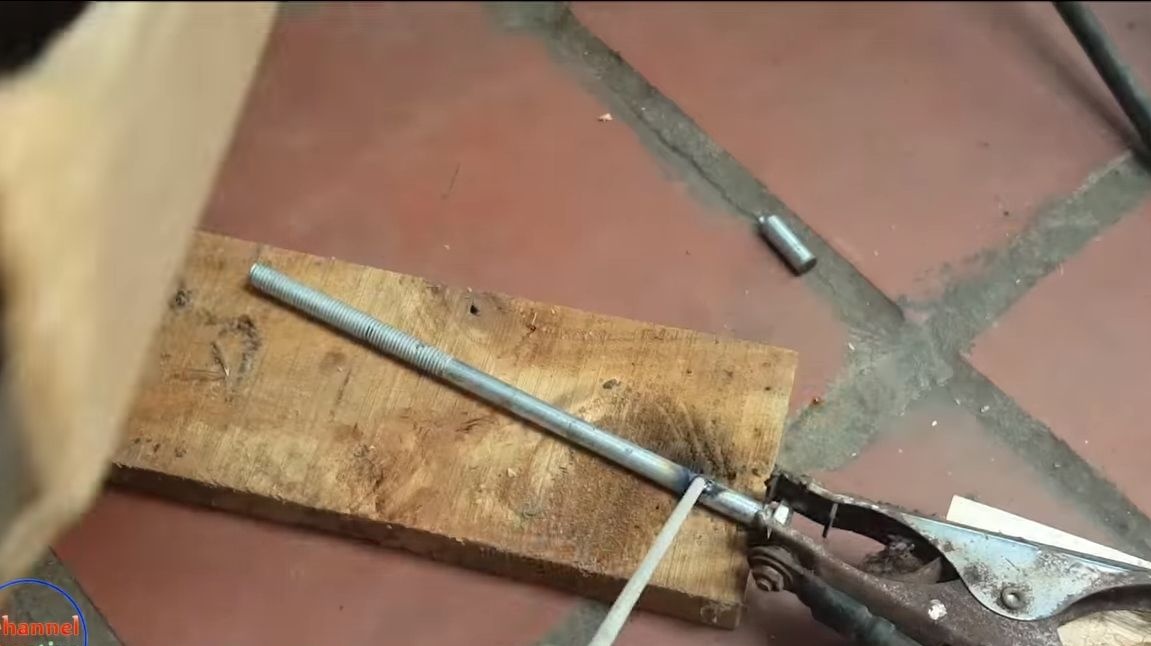
First, install the wheel, for this, in the front fork, drill oval holes for the axle so that you can adjust the chain tension. Well, then we fasten the wheel, as the axis we use a threaded rod suitable in diameter. To fix the wheel we use several nuts. We center the wheel and tighten the nut well with wrenches.
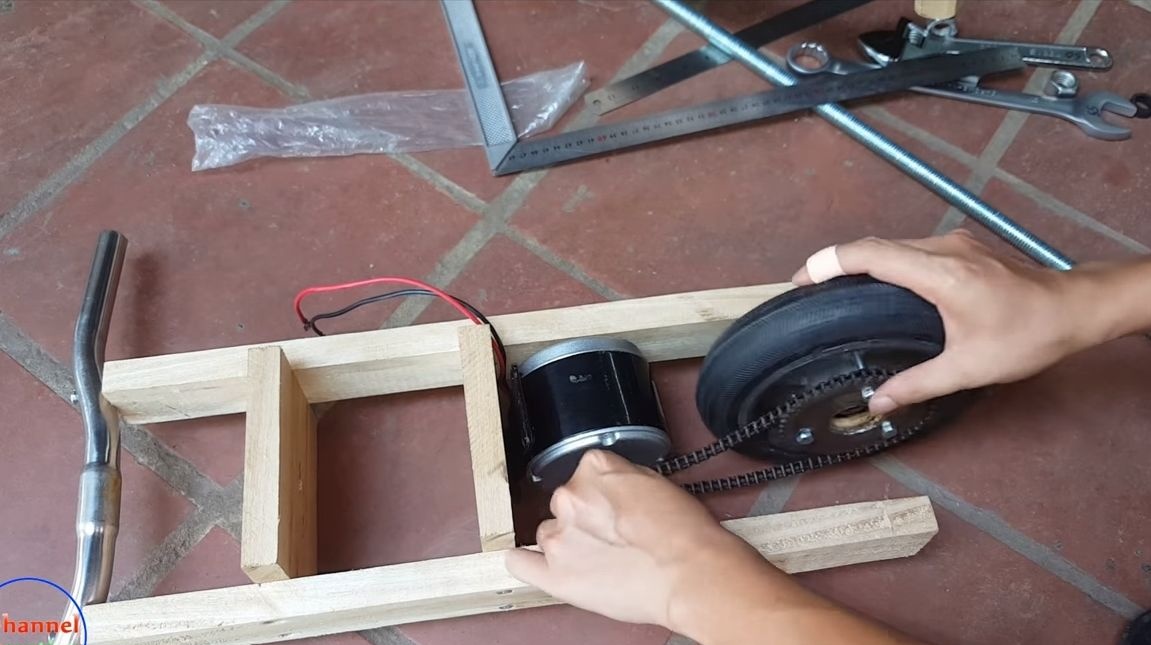
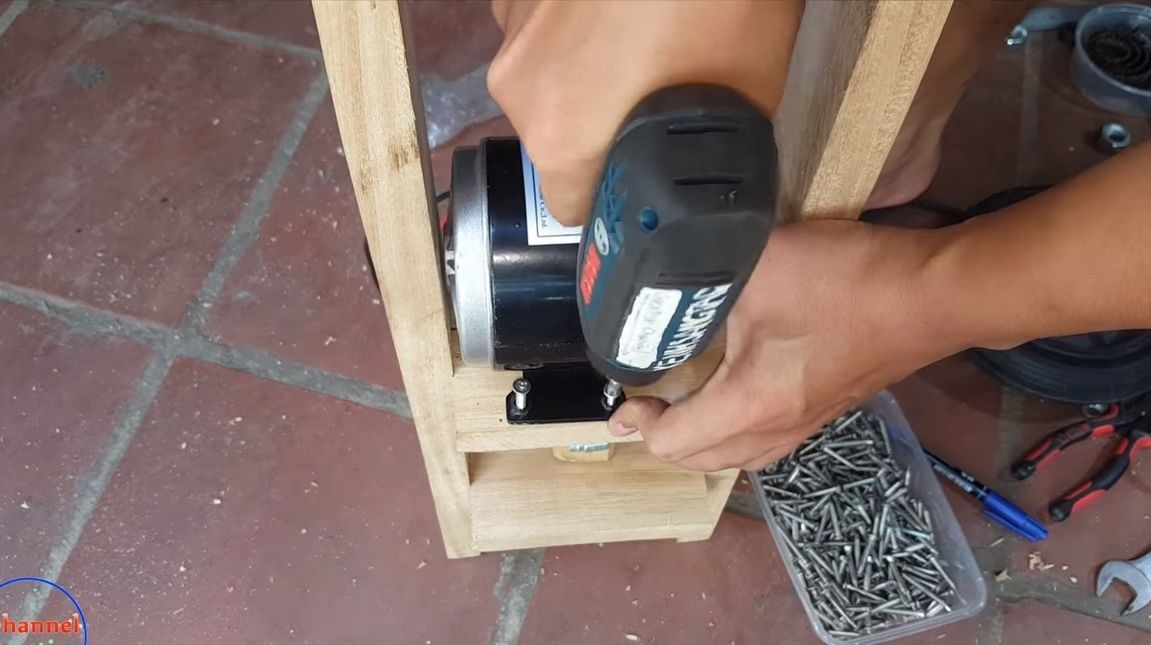
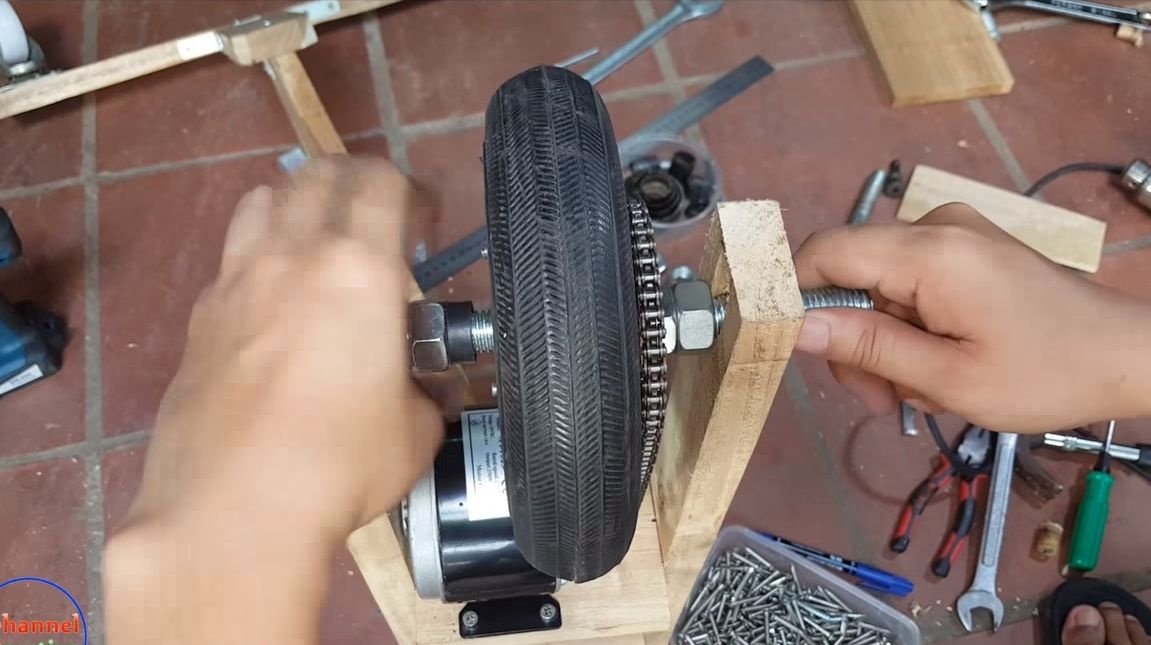
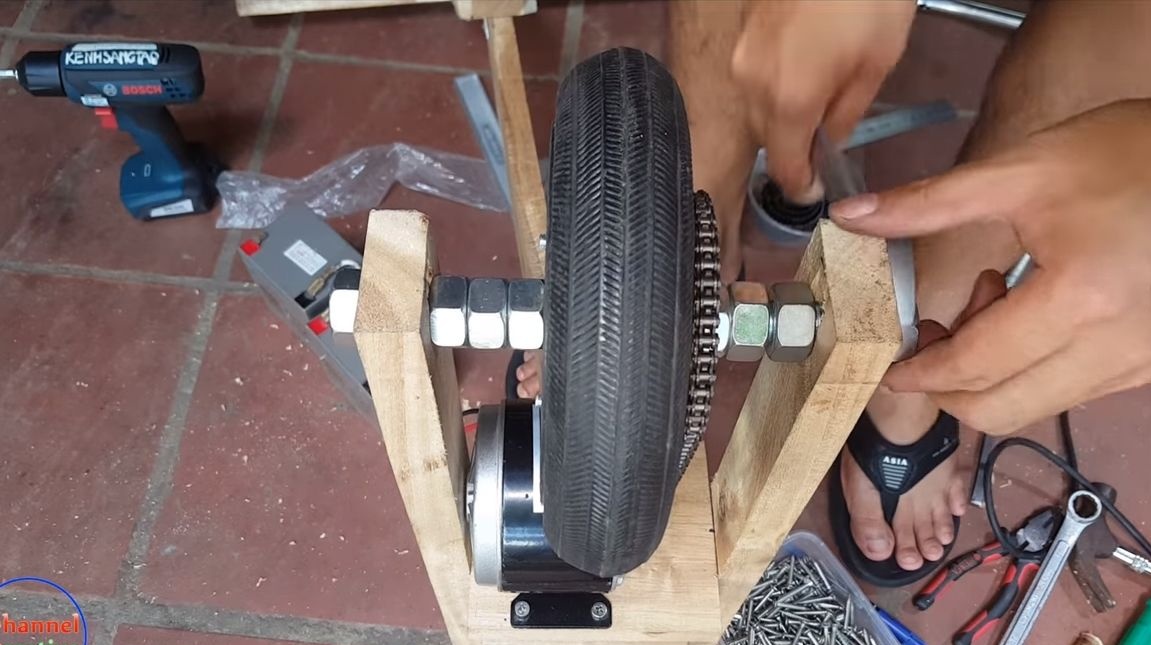
Next, install the engine, it is also attached to the plug. For fastening we use wood screws. We set the chain on the stars, if it turns out to be too long, cut off the excess and set the lock. That's all, if the chain suddenly stretches and sags, you can always pull it by moving the wheel further from the engine.
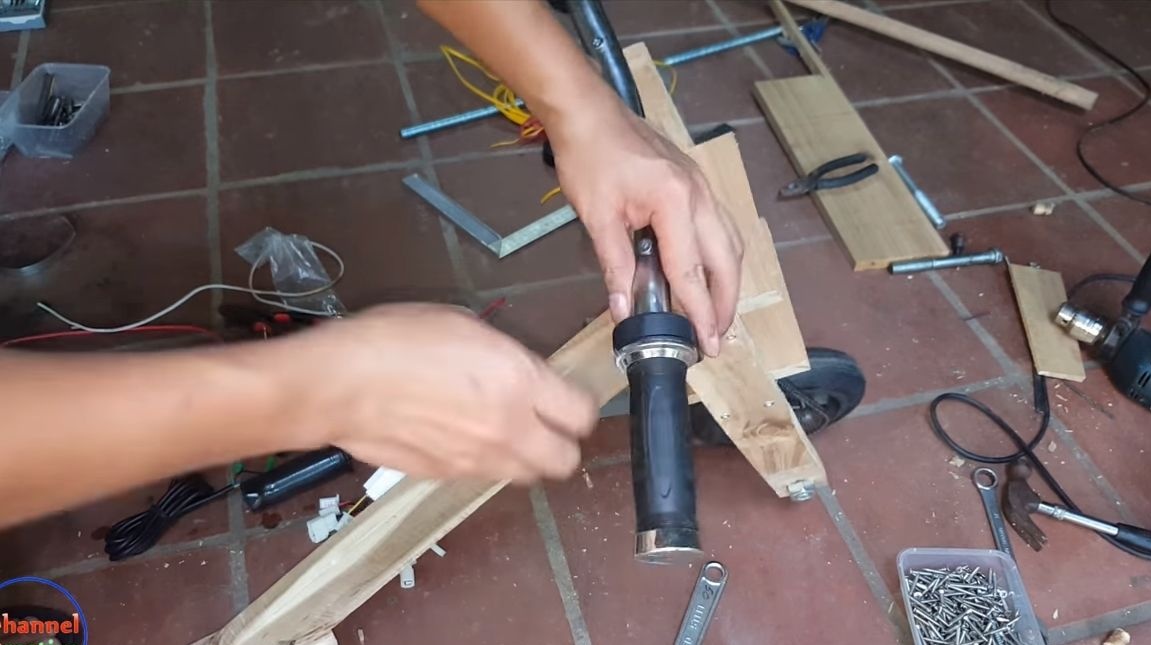
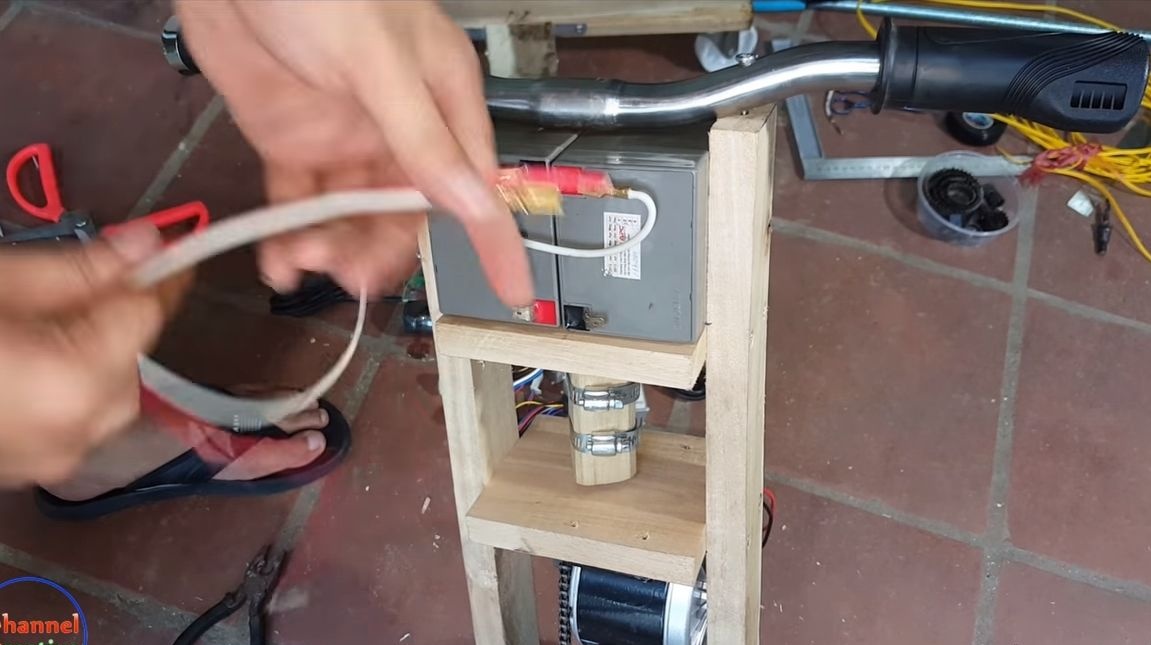
Step Six Electronics Installation
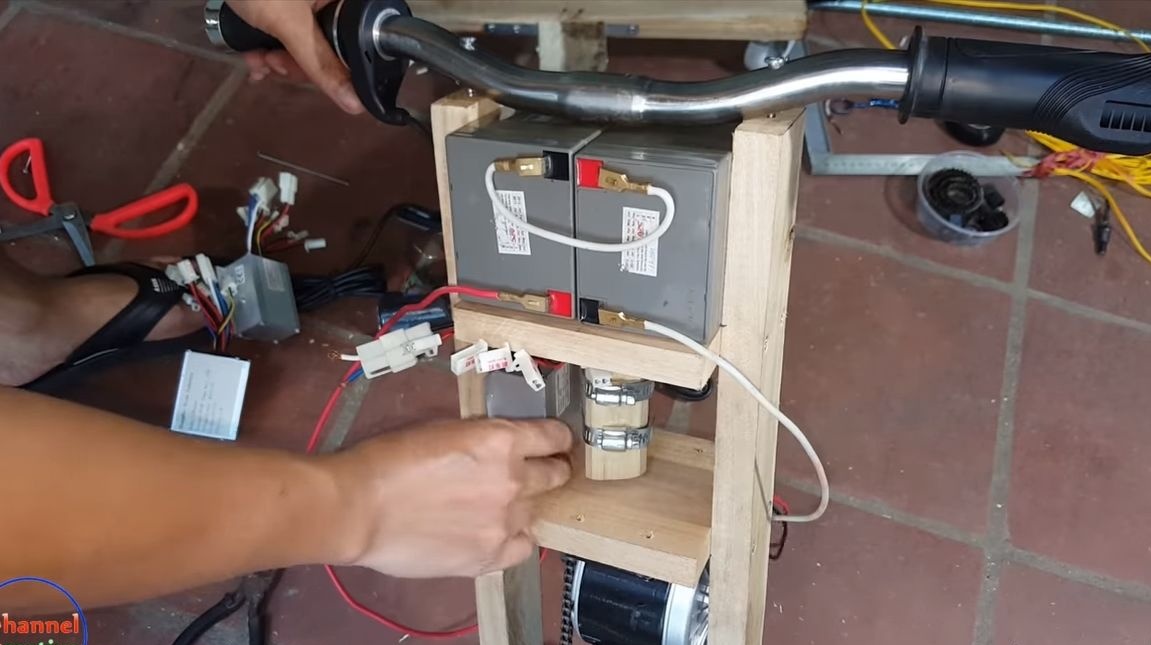
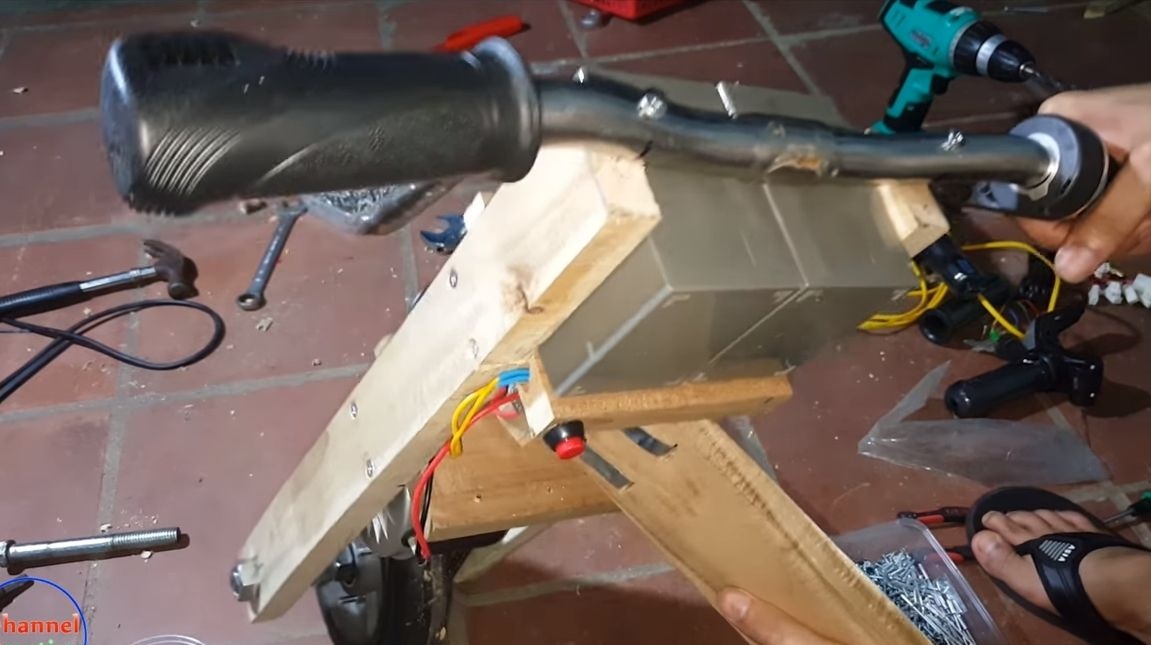
The first step is to install the throttle on the steering wheel. After that, you can install the batteries, the author places them at the top of the plug. We connect the batteries in series to get a voltage of 24V.
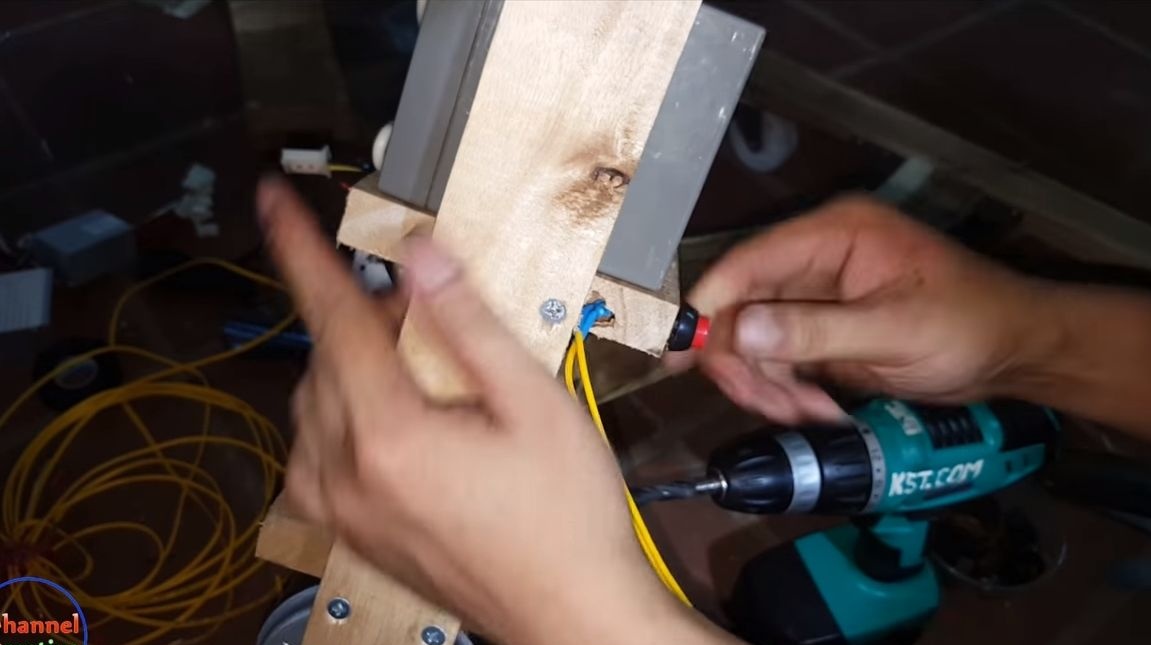
After that, you can install the controller, connect the wires, and the controller itself is fixed with screws to the plug. You will also need to install the “ignition” button and connect to the controller. If you press it once, the controller will turn on and the throttle will respond to the command. And if you click again, the circuit will be turned off.
After that, you can test how everything works. Raise the drive wheel above the ground and try to twist the throttle. In the author’s video wheel reacts to commands rather briskly.
Seventh step. Production and installation of a footboard
When riding, you will need to put your feet somewhere, for this we will make a bandwagon. For this, we use small blocks that we connect with screws and fasten with the help of corners to the frame. In principle, the assembly of the frame is completed on this, if you wish, you can paint it. This will protect the tree from moisture and dirt, and also make the bike much more beautiful.

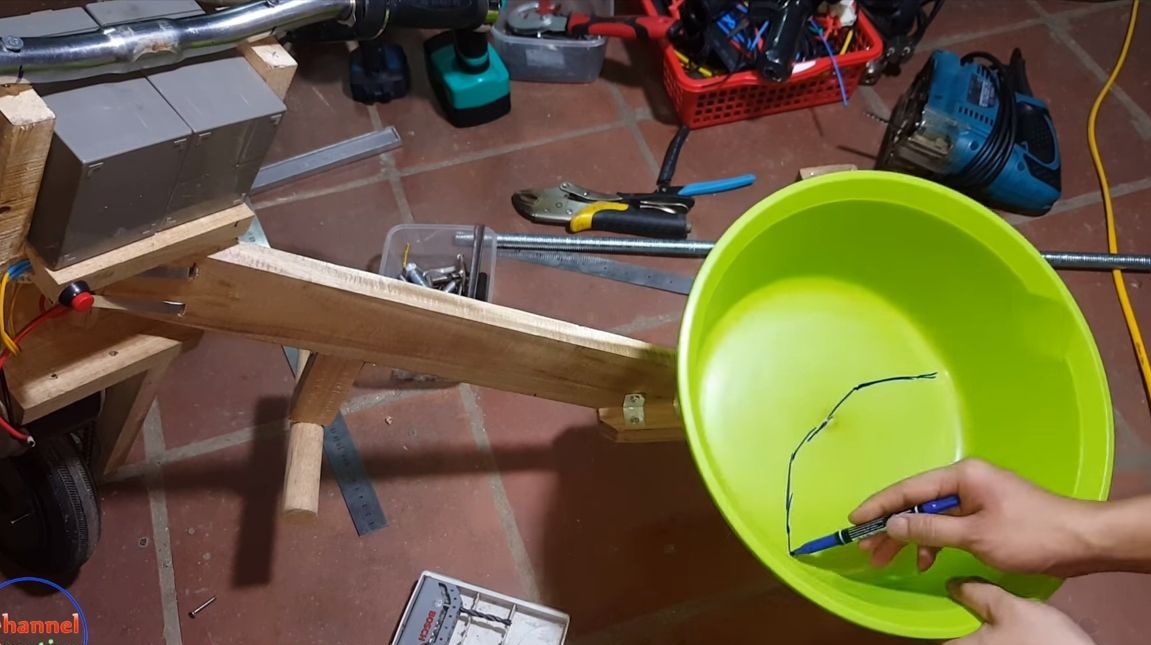
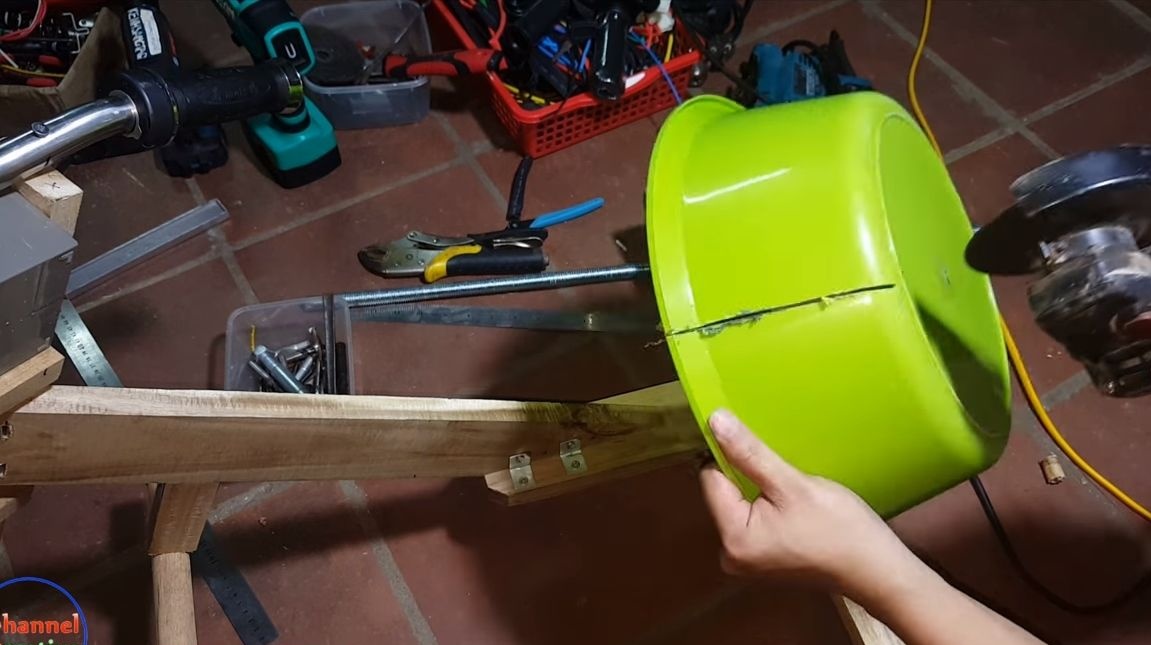
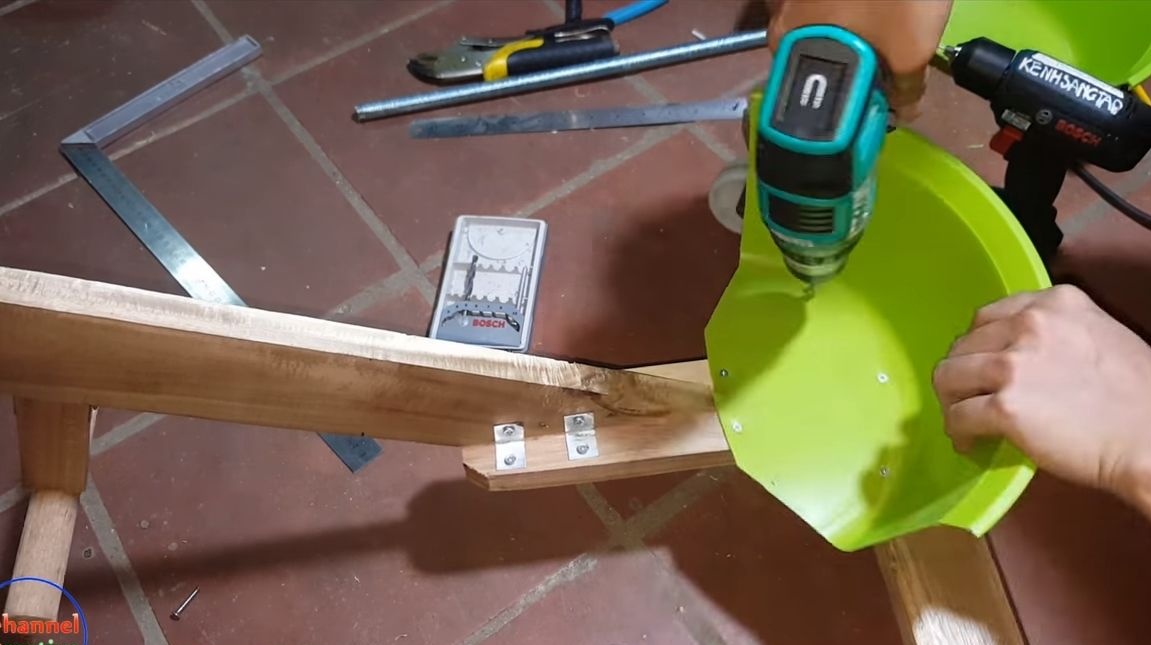
Step Eight. Fabrication and installation of seats
Now we just have to make a comfortable seat for the bike. The old plastic basin is best suited for this. This material is lightweight, and the manufactured seat looks pretty decent. We take a marker and draw the desired seat profile. Well, then with the help of the grinder we cut off the excess.As a result, we get a finished seat! If you wish, you can make two of them. Now we fix the seat on the frame, for this we drill holes and wrap the screws. The seat is installed, which means that the device can be tested!
Step Nine. Bike test
We turn to the bike tests. Riding this technique requires special skills, because it turns the bike back and forth at the same time. The main feature of the bike is a sharp turn, so a winding road or a lane with obstacles that need to be circled is well suited for riding.
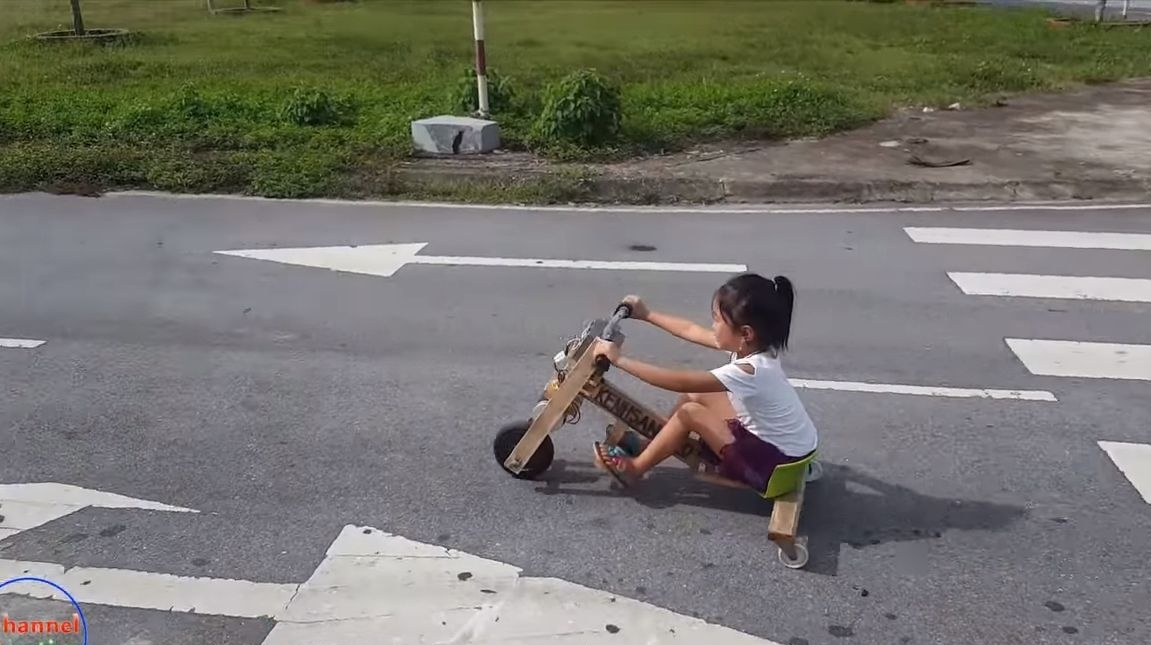
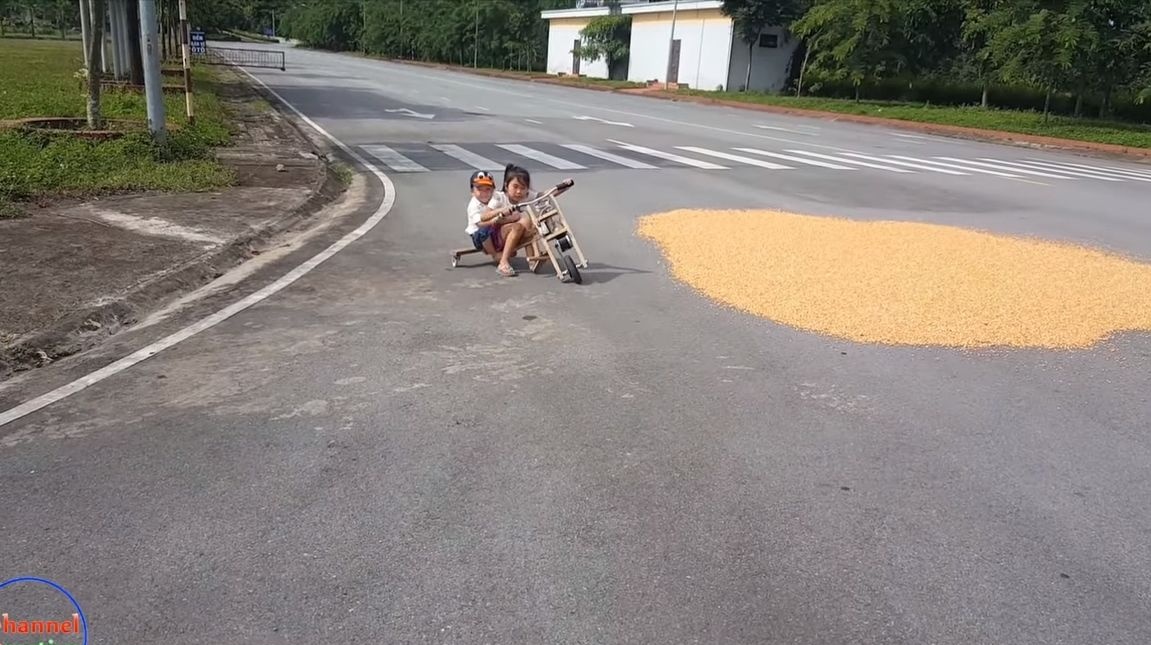
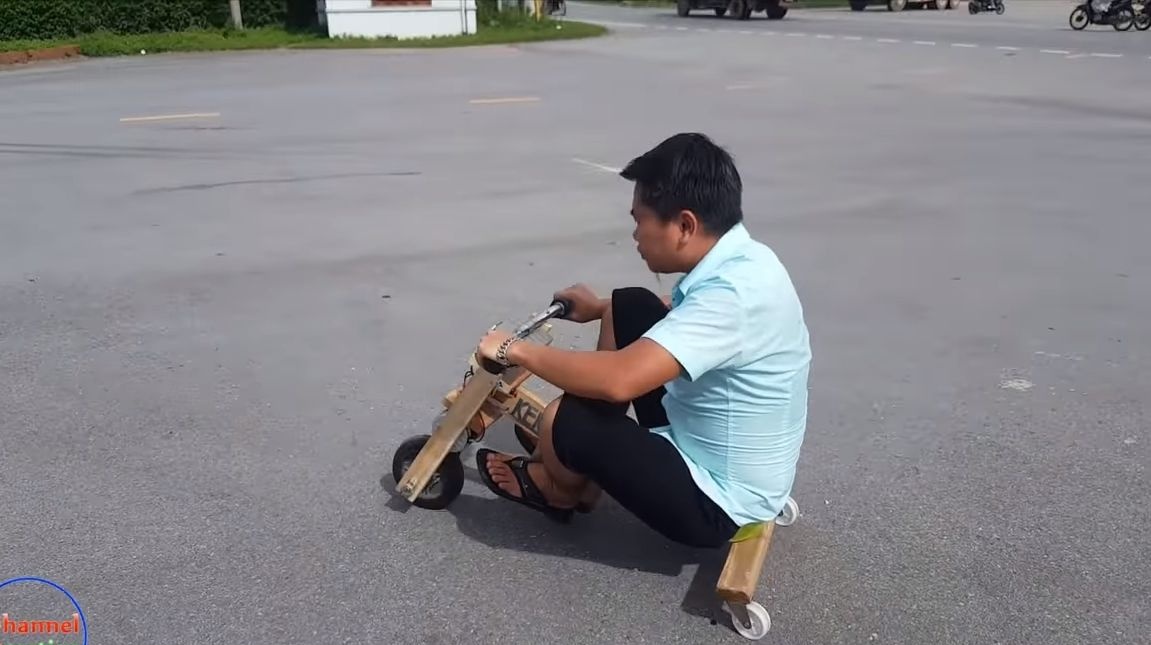
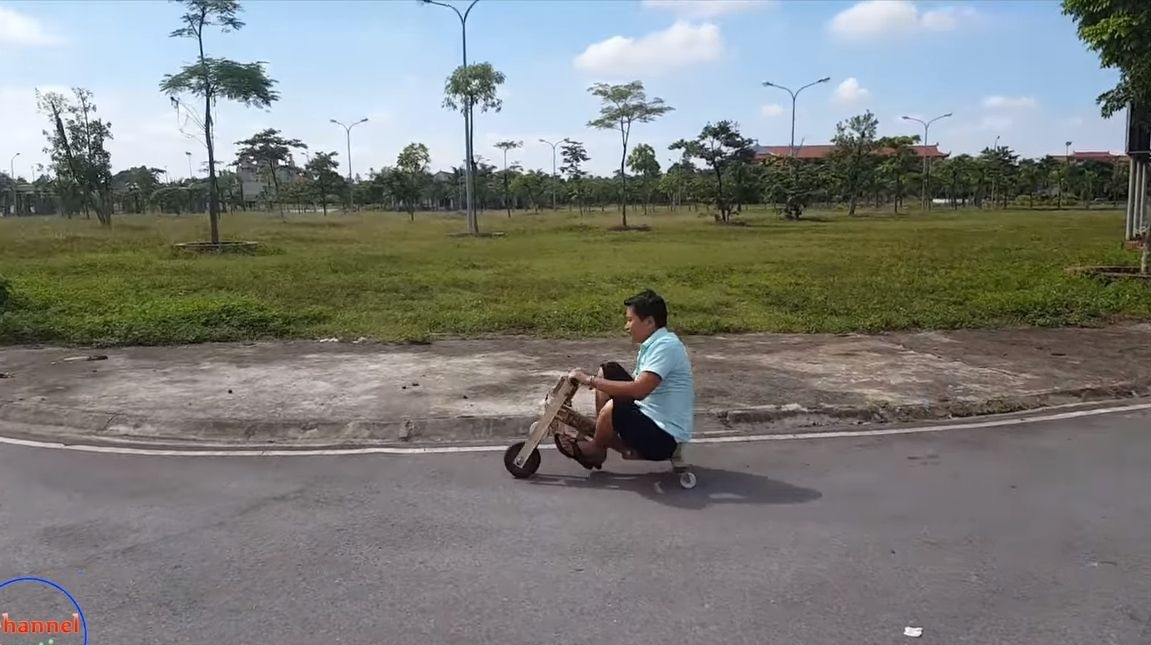
As for the power of the bike, it is more than enough for such an easy technique. Children easily ride it together, but that’s not all, the bike quite successfully drove and showed what the author of the homemade himself was capable of.
Of the improvements, it would be good to protect the electronics from water, as well as arrange a protective shield on the front fork from the driver's side.
That's all, I hope you enjoyed the project. Good luck and inspiration in making your own drift bike!