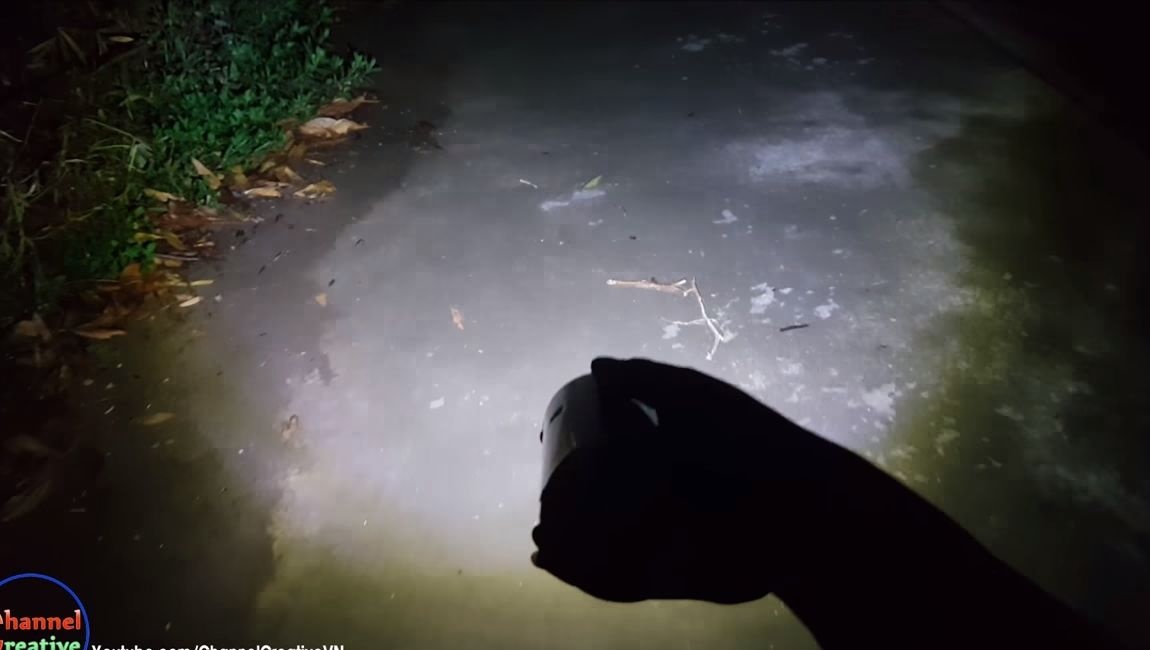
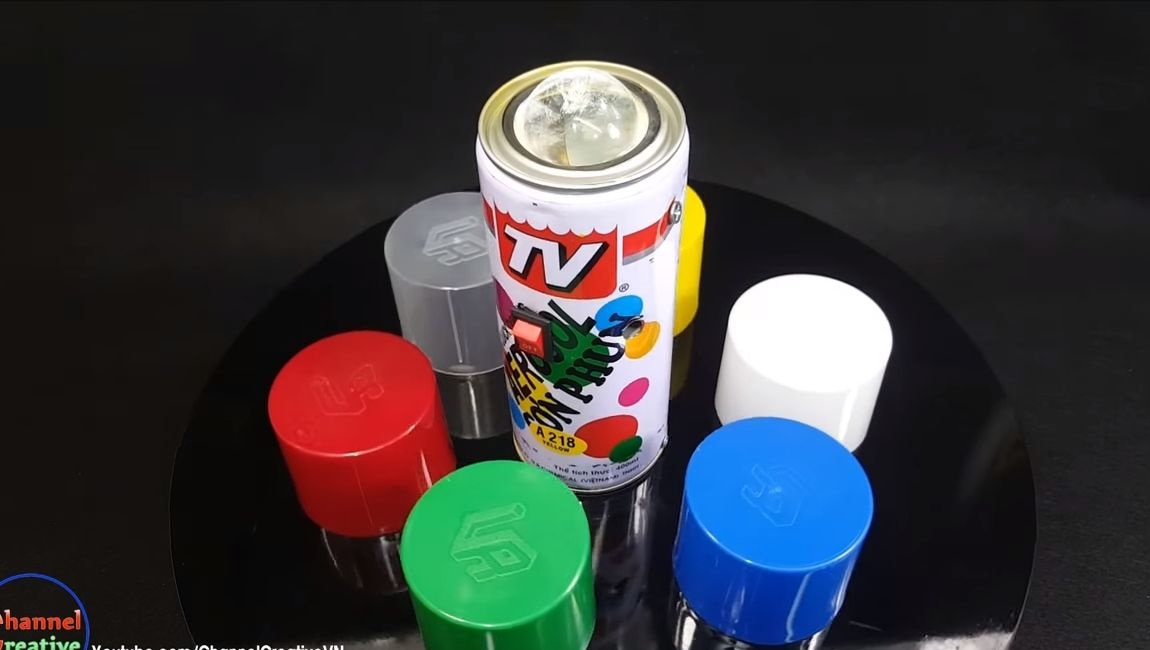
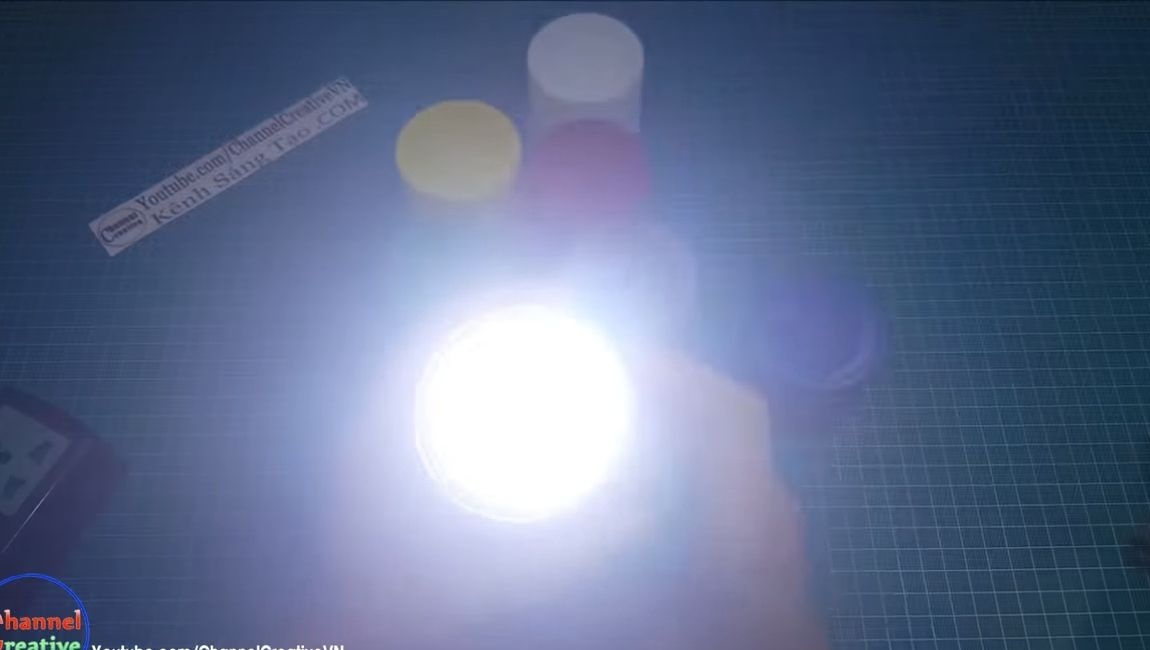
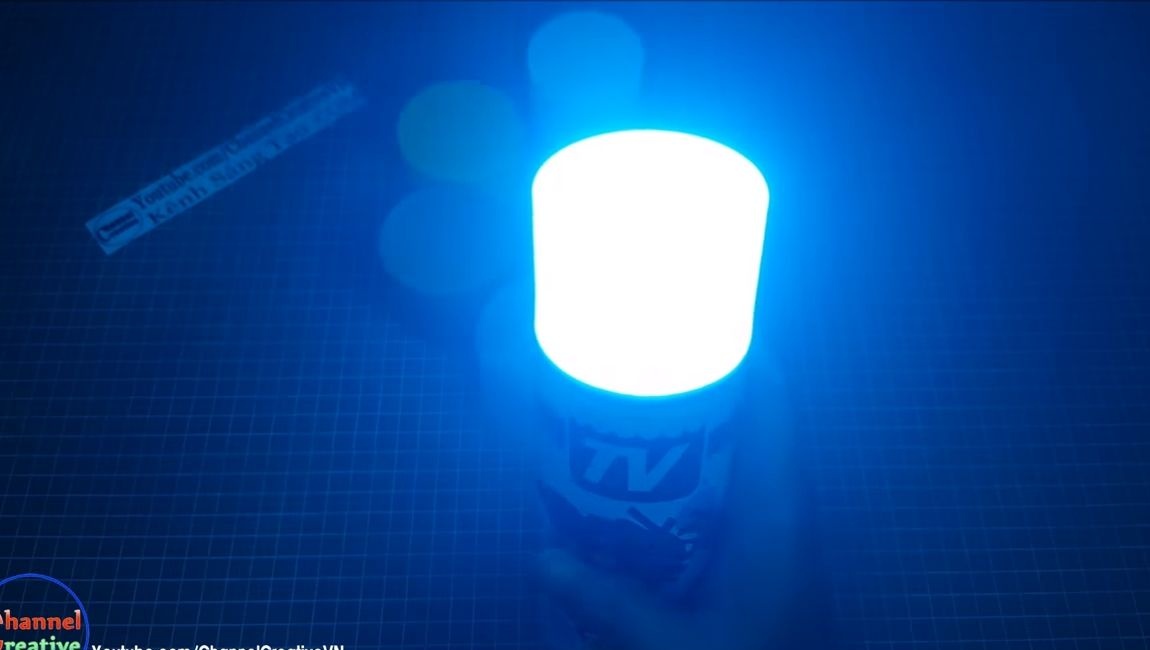
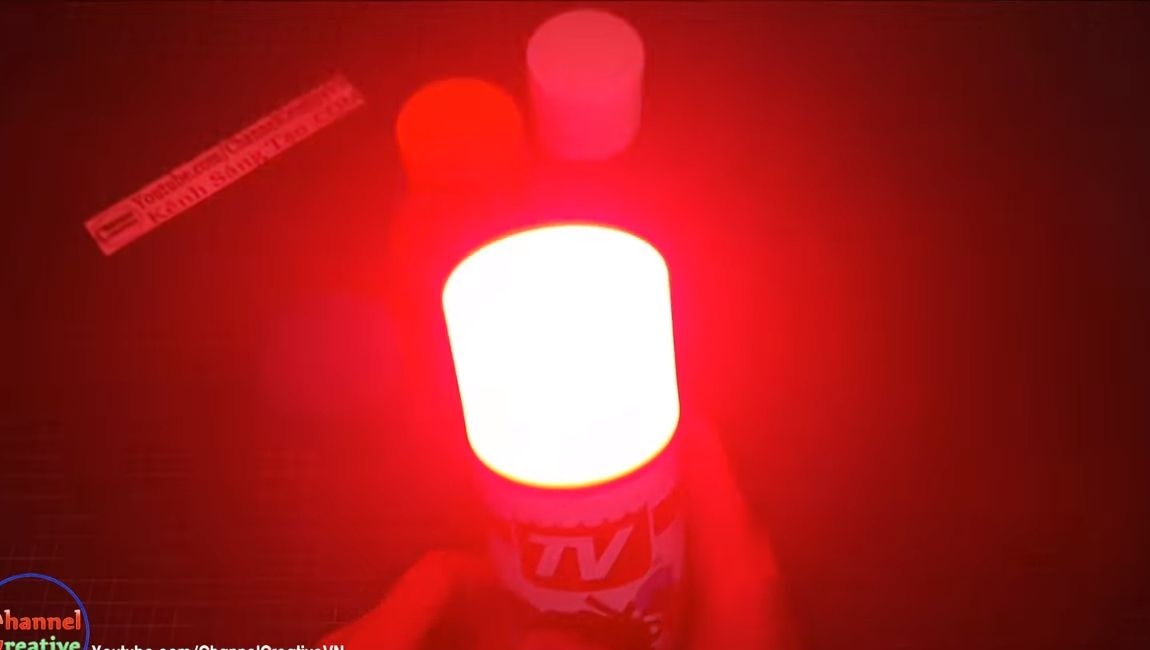
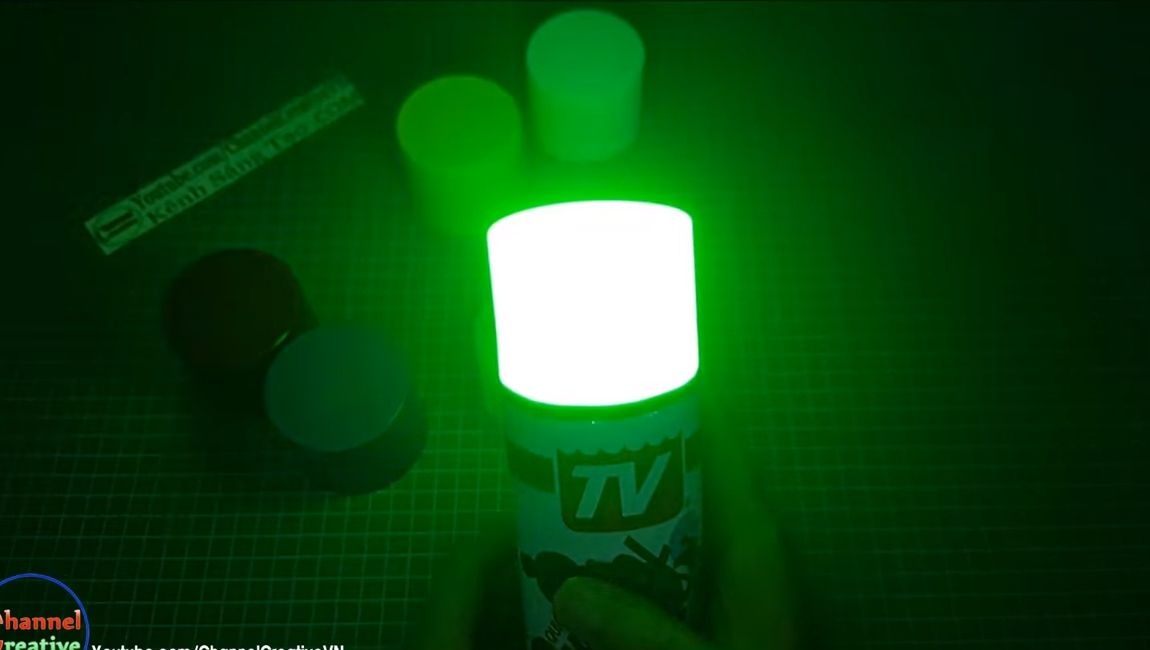
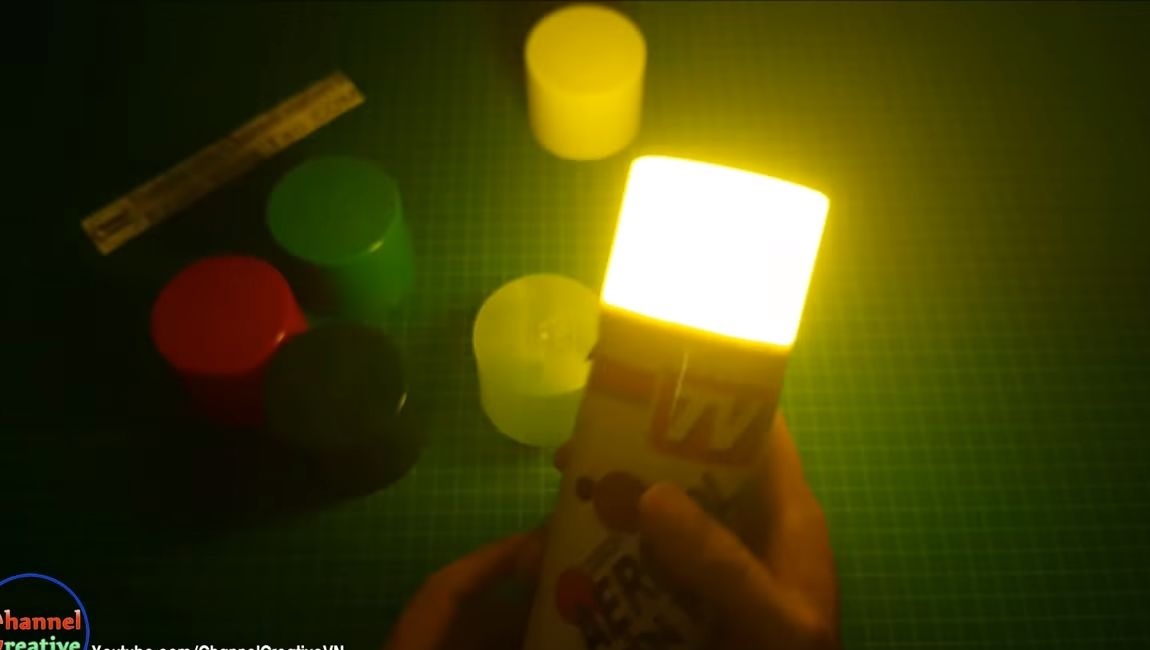
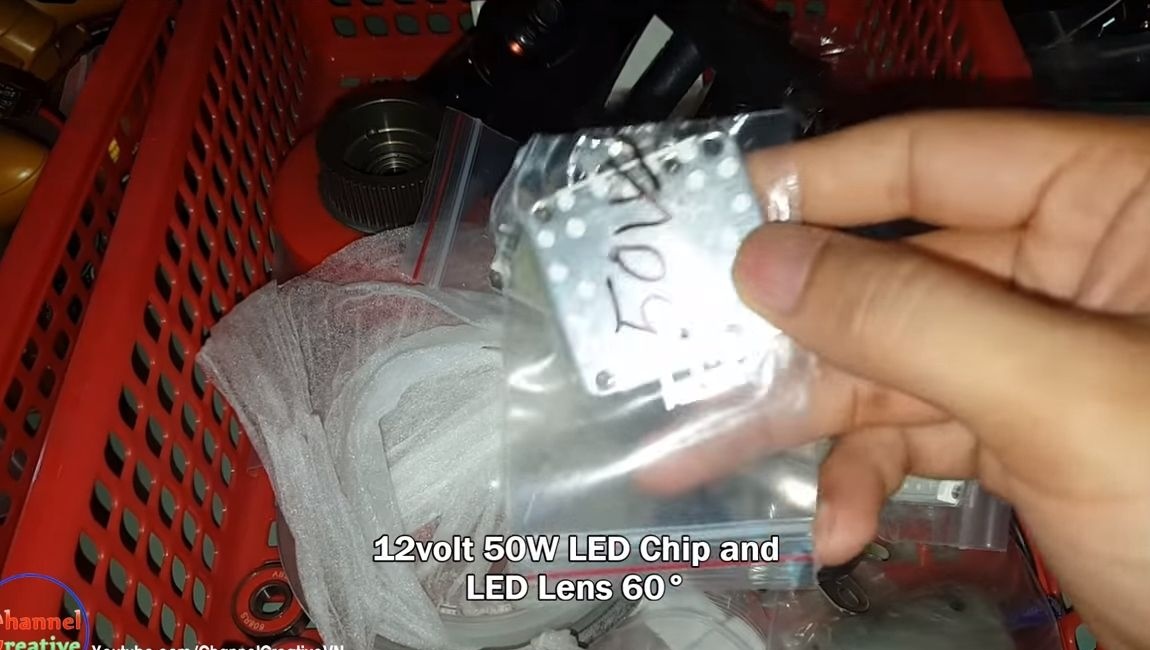
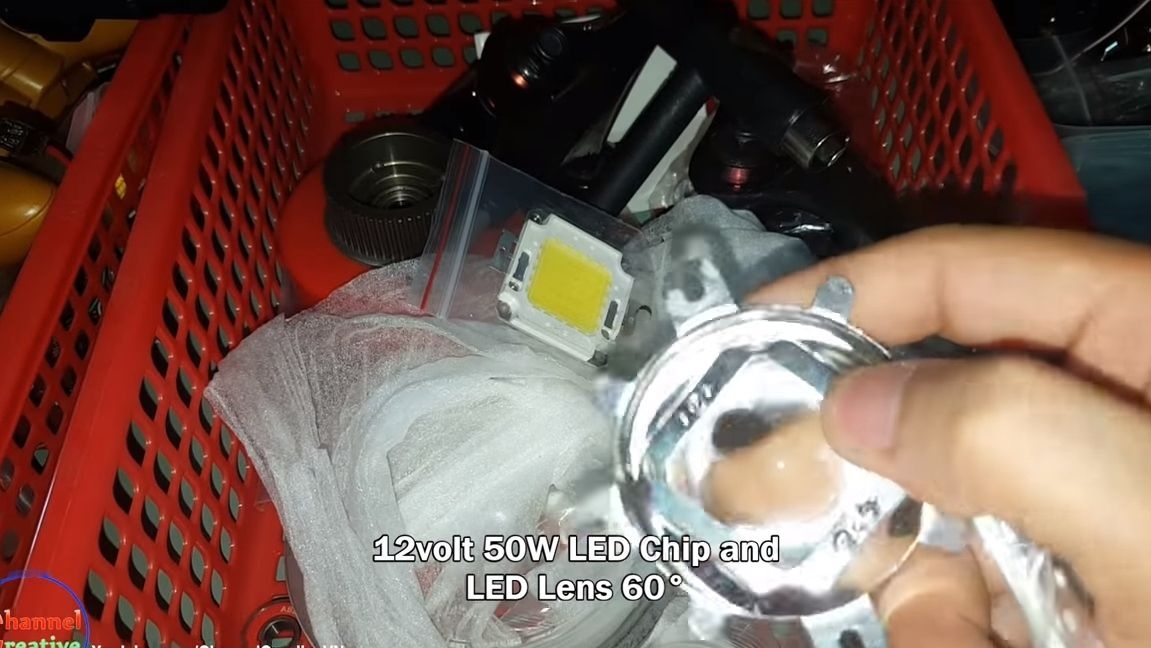
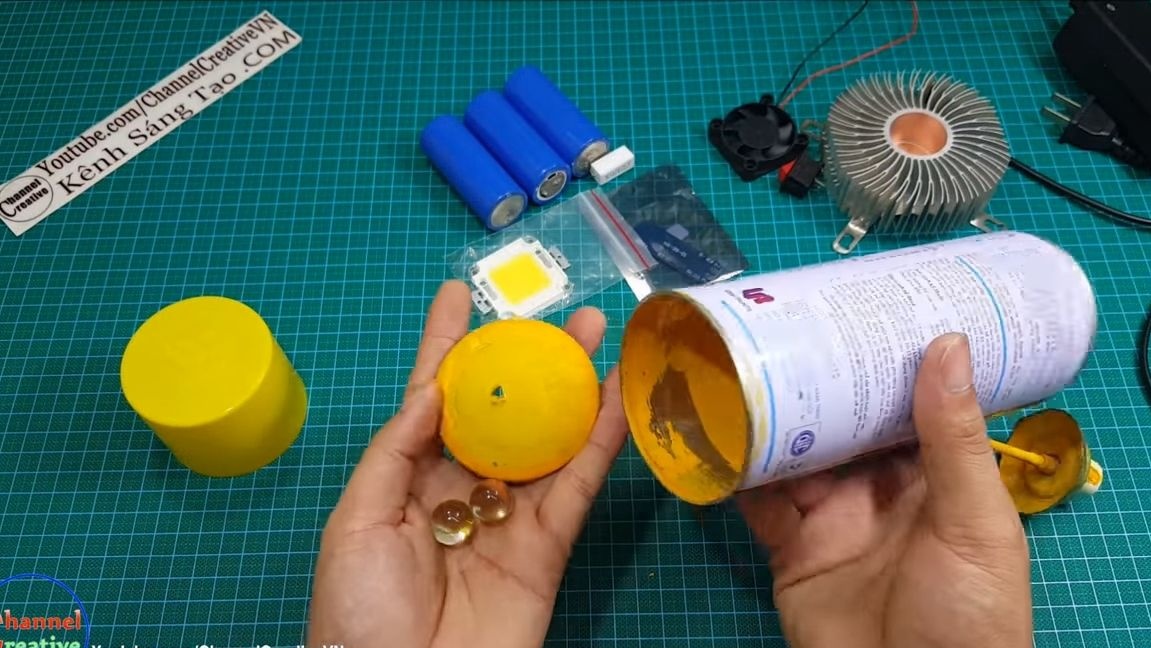
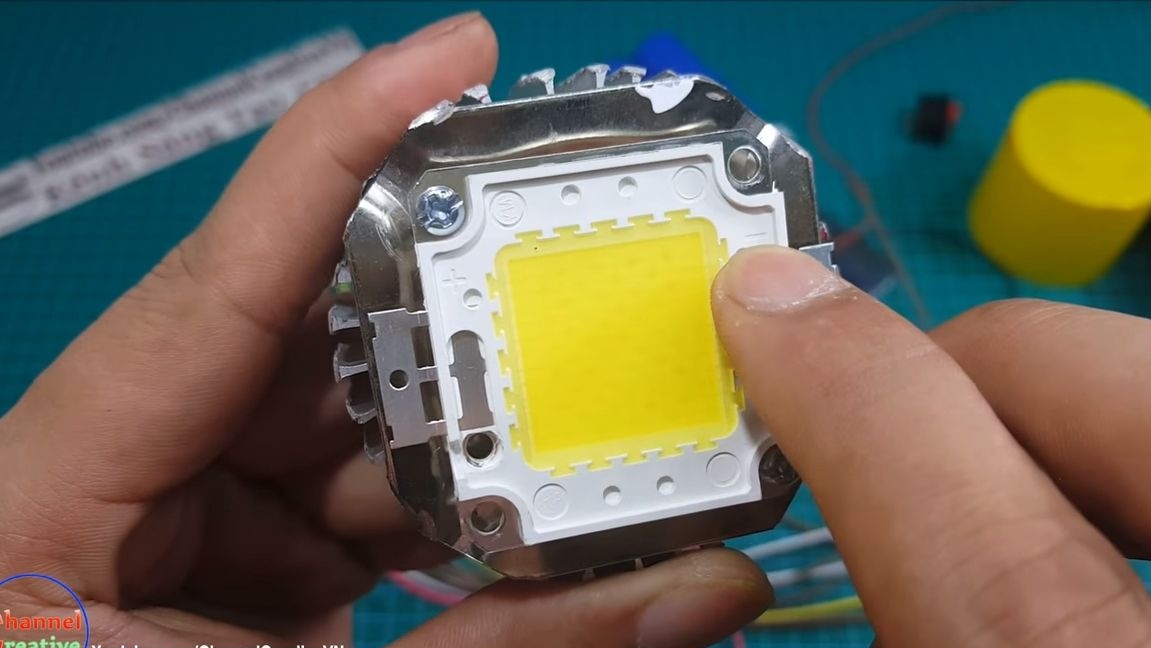
In this manual, we will discuss how to make a powerful, functional flashlight on a 50W LED. In combination with such a powerful LED, a 60-degree lens is used, which makes it possible to perfectly focus the light. In addition to excellent road lighting, this flashlight can be used as a tactical one, it can shine in different colors! These colors are yellow, green, blue and red, and others are possible. This is due to the fact that a spray can was used for the lamp housing, on which caps of different colors can be installed, due to which the color of the glow changes.
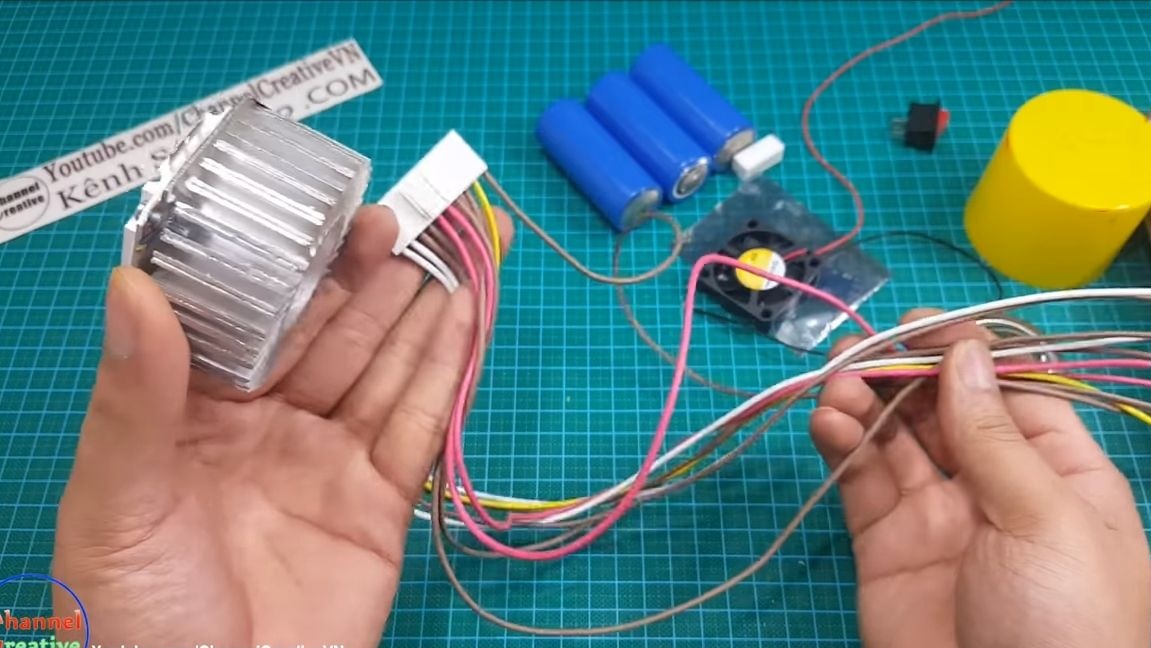
Since such a powerful LED emits a lot of heat, it will require a powerful drainage system. The cooling system is forced, the radiator is cooled with a small fan. As batteries, three lithium batteries are used, connected in series, which produce a little more than 12V. Each battery has a capacity of 4500 mAh. Of course, the battery reserves are not enough for a short time, since plus to everything in the circuit there is no driver for the correct LED power supply. It uses a conventional resistor. But at any time you can recharge the batteries, there is a socket for this. So, we will consider in more detail how to make such a flashlight!
Materials and tools used by the author:
Material List:
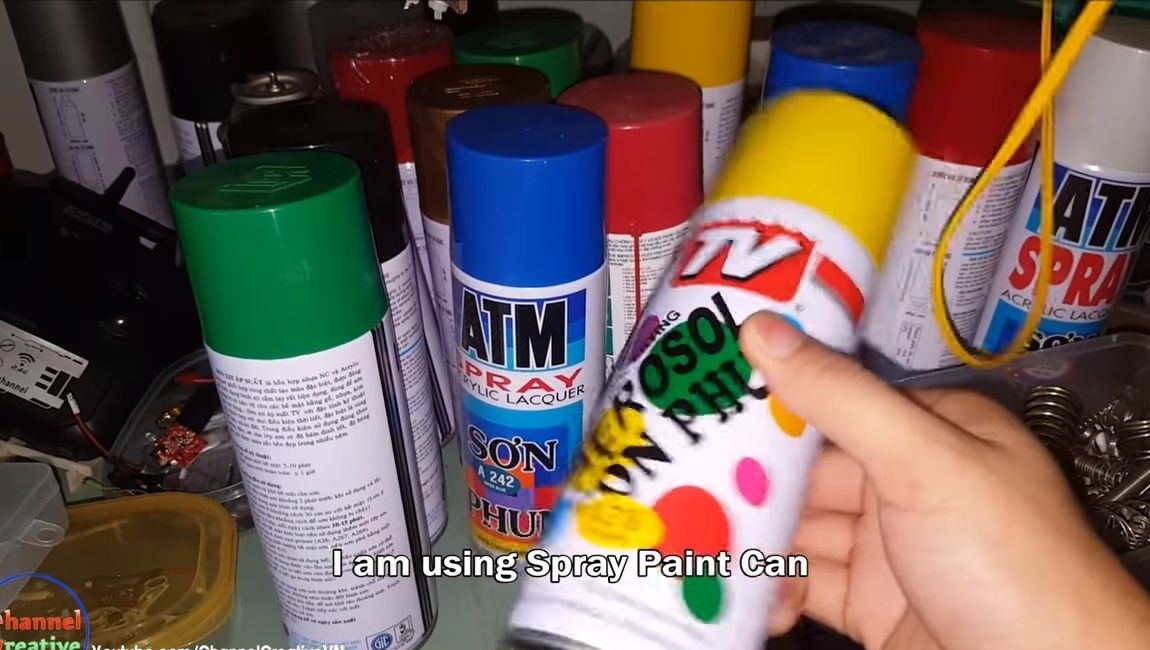
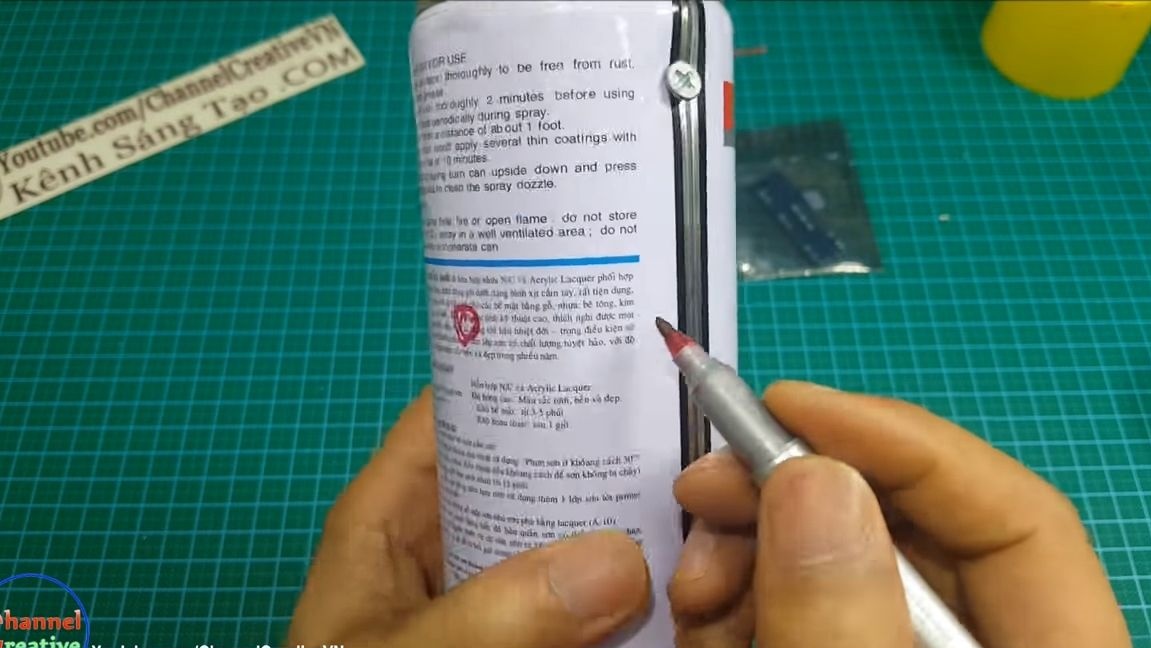
- empty spray paint can;
-
- lens 60 degrees;
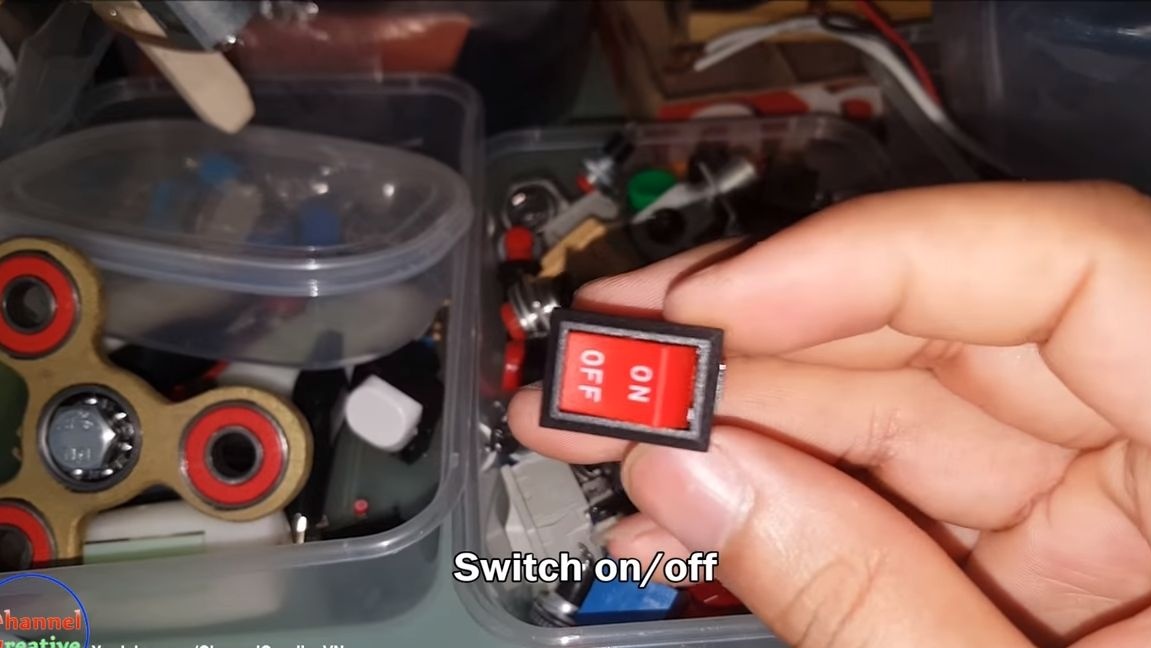
- switch;
- wires;
- ;
- socket for charging;
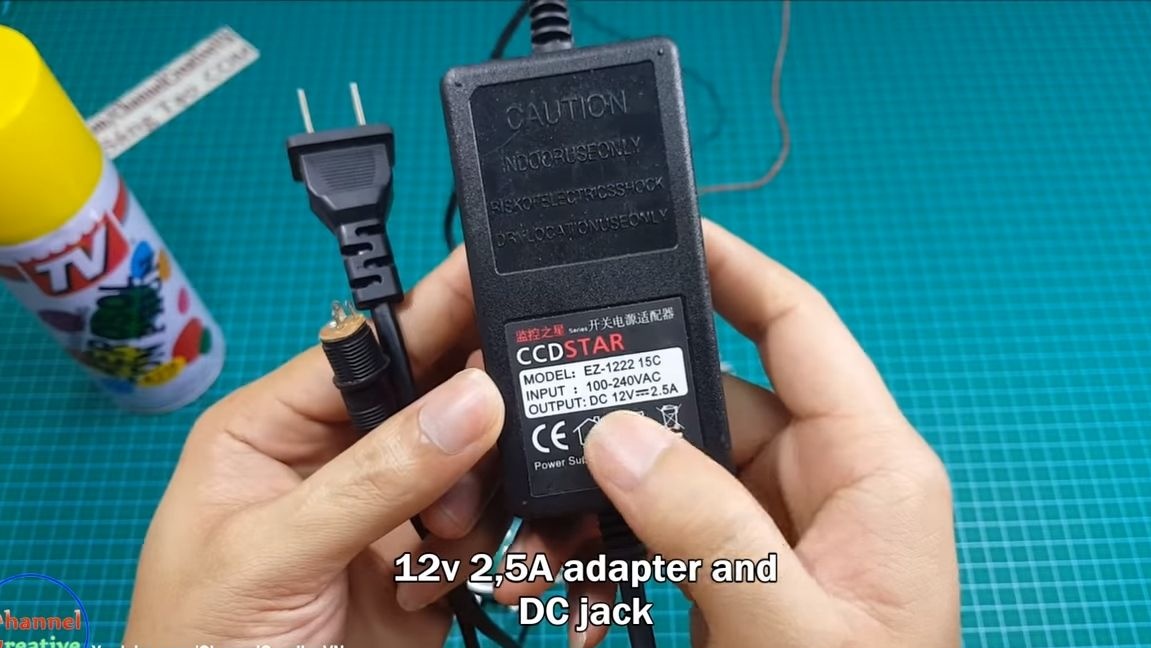
- charger 12V / 2.5A;
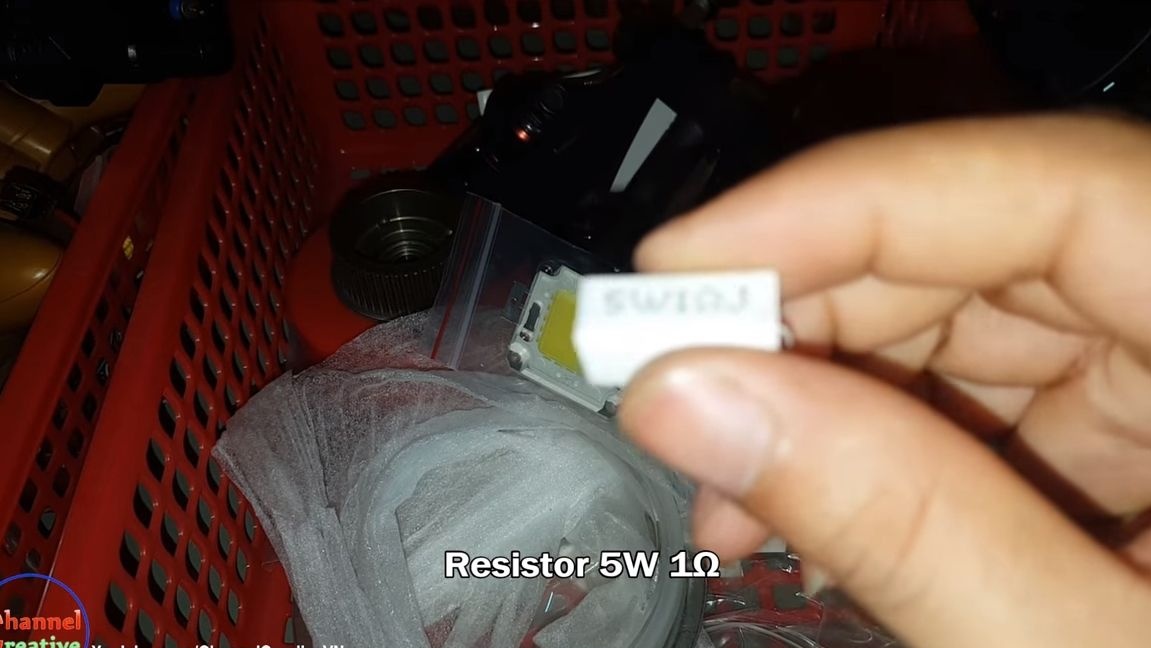
- 5W resistor;
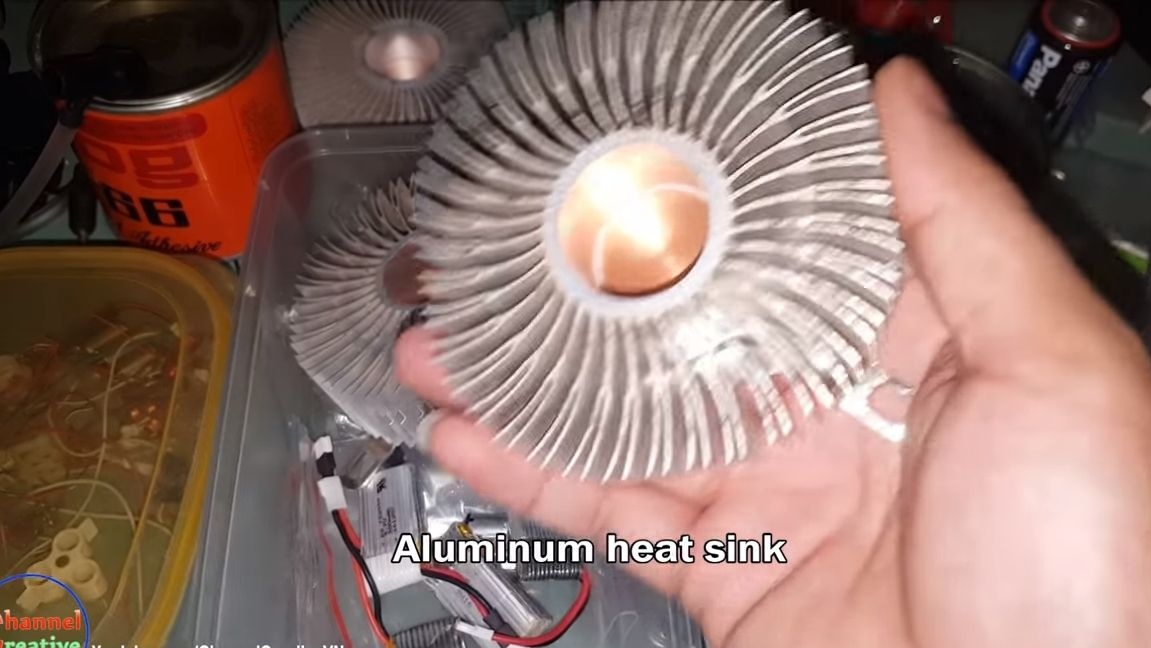
- aluminum radiator;
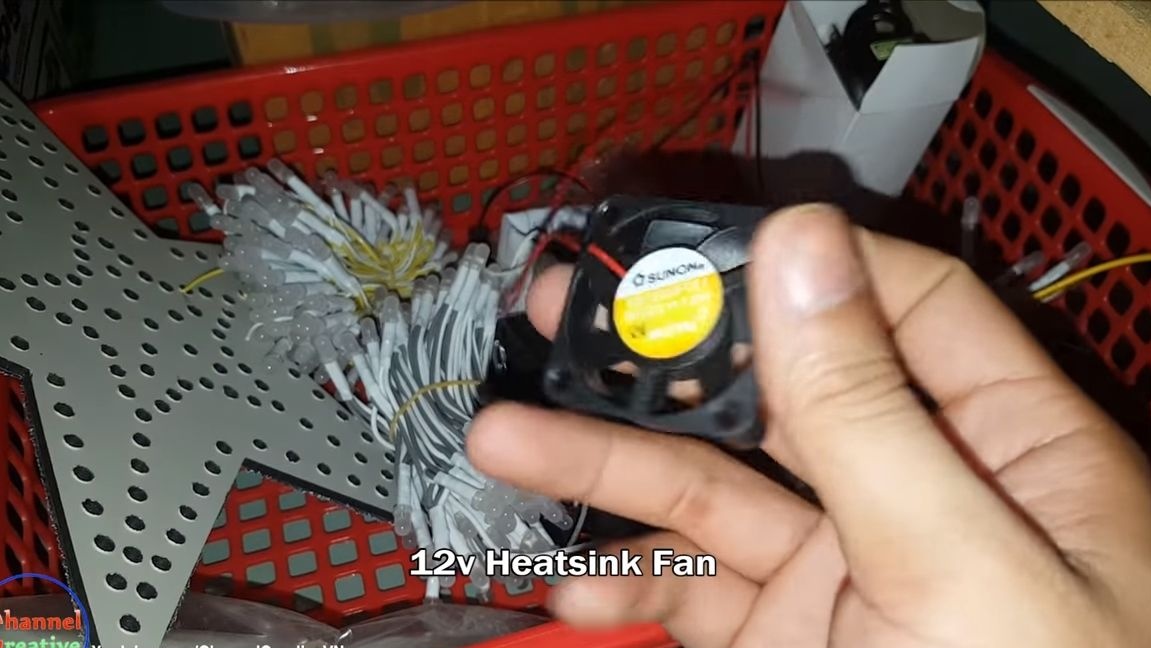
- fan;
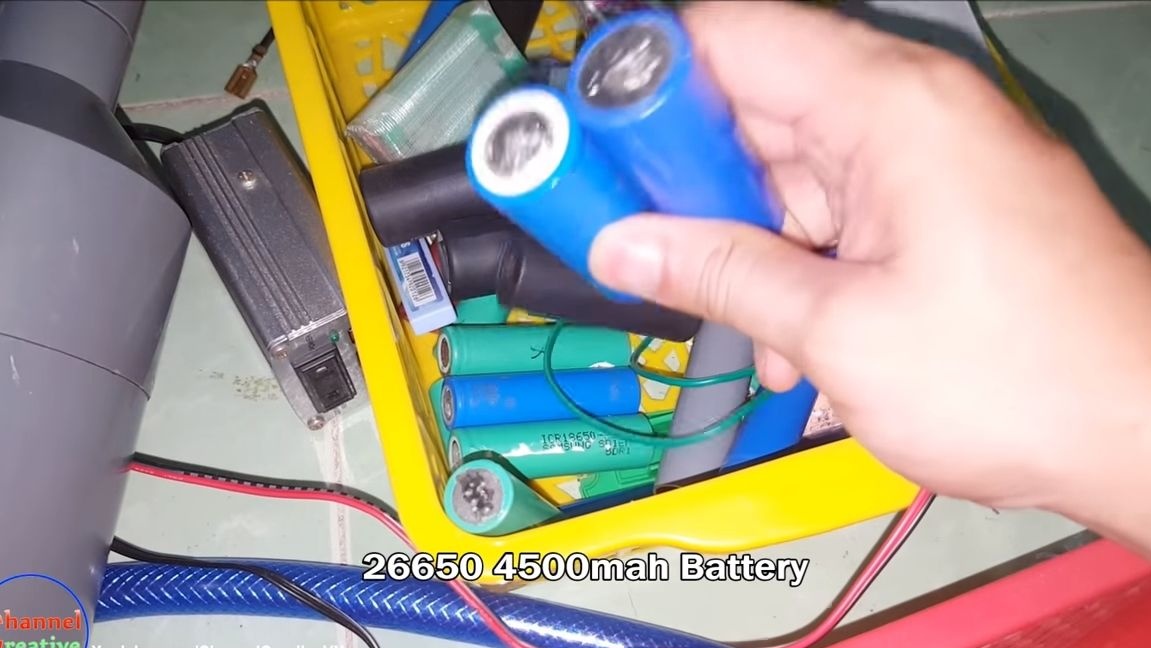
- three batteries 26650;
- cogs, electrical tape, thermal grease and more.

Tool List:
- drill;
- scissors;
- soldering iron;
- marker;
- drill.
Flashlight manufacturing process:
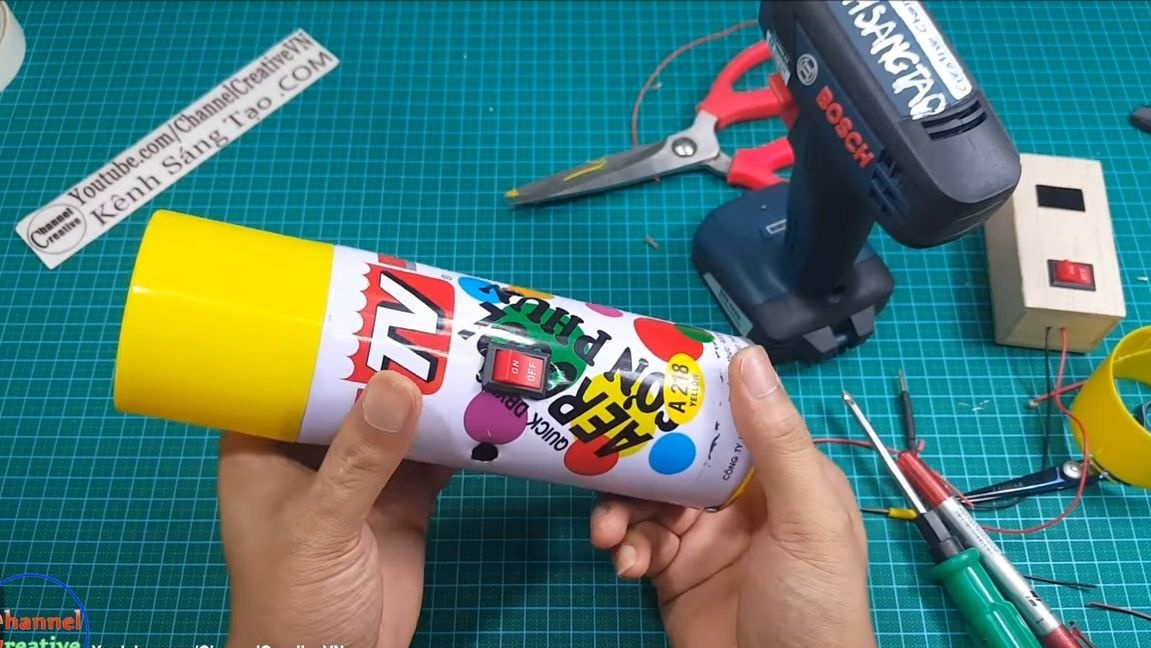
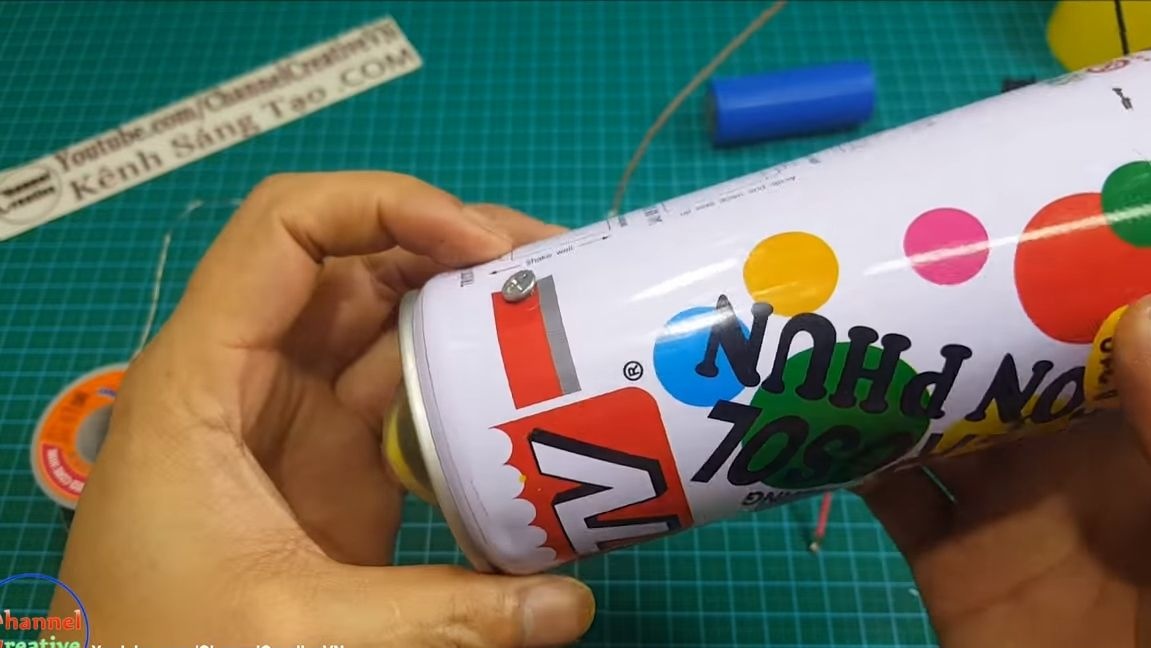
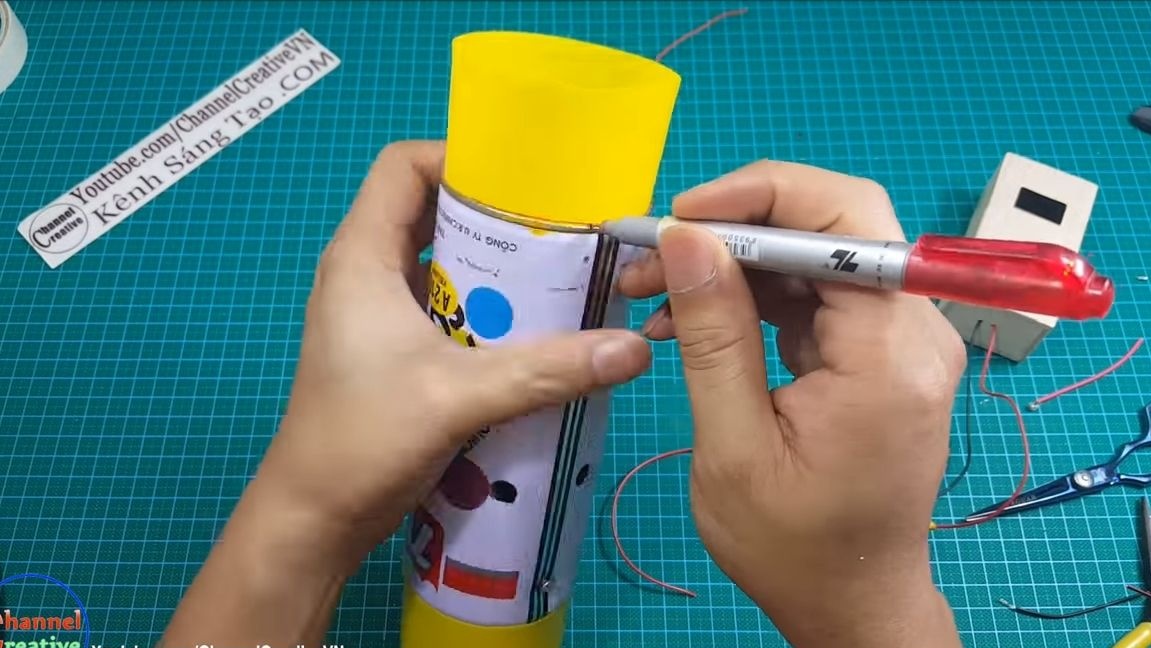
Step one. We prepare the case
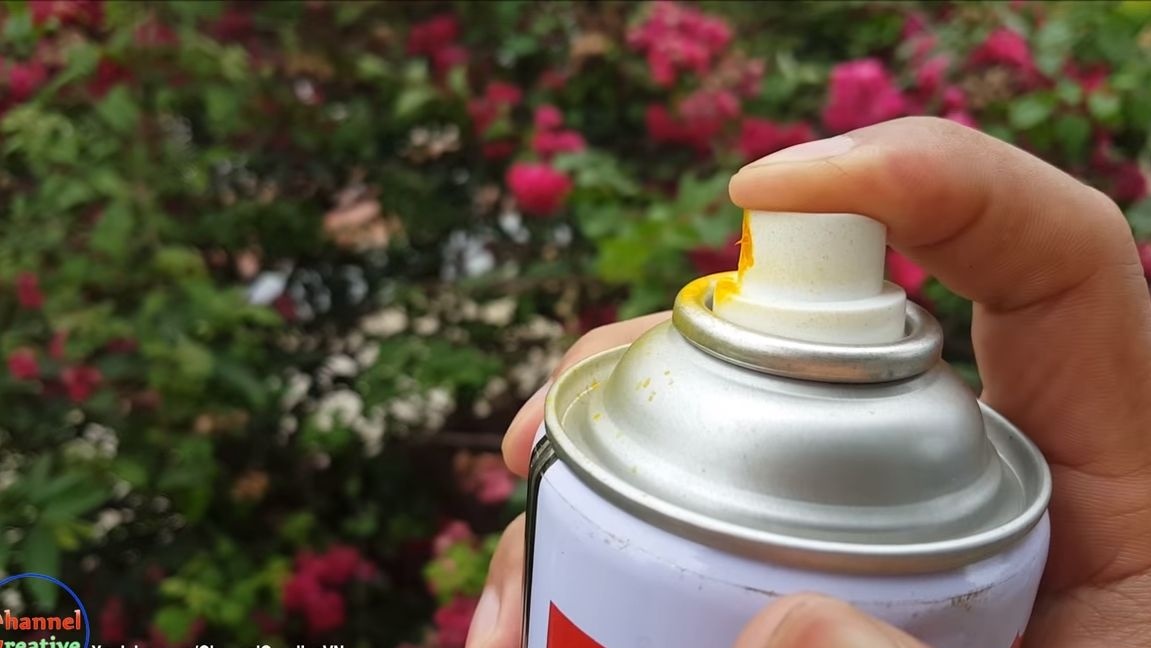
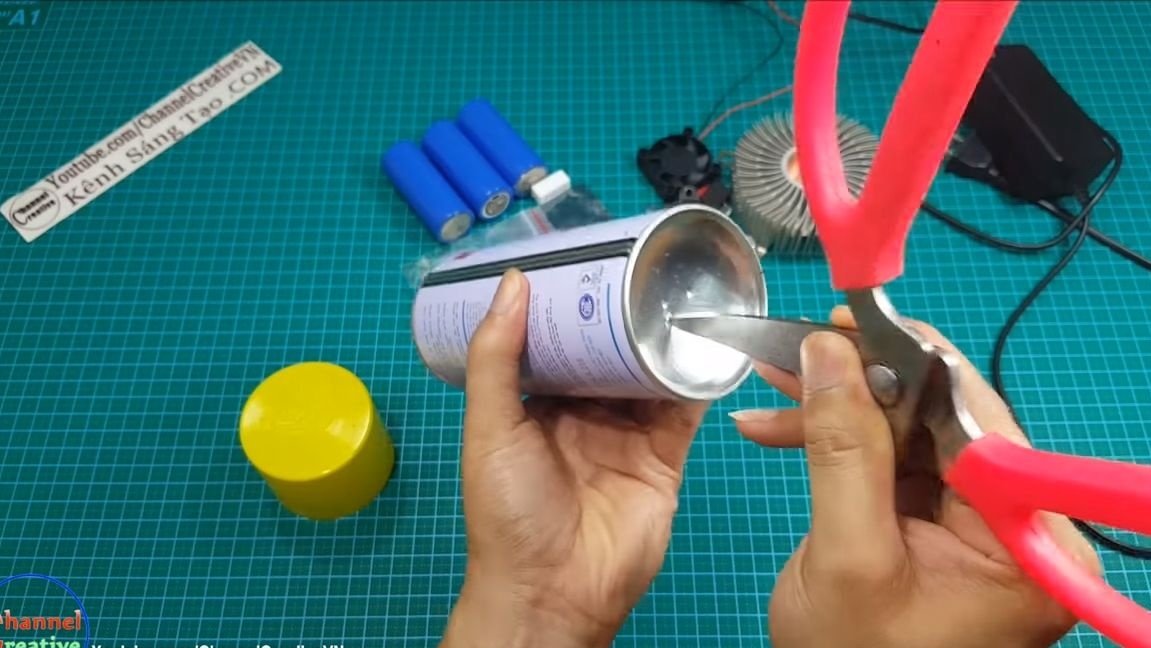
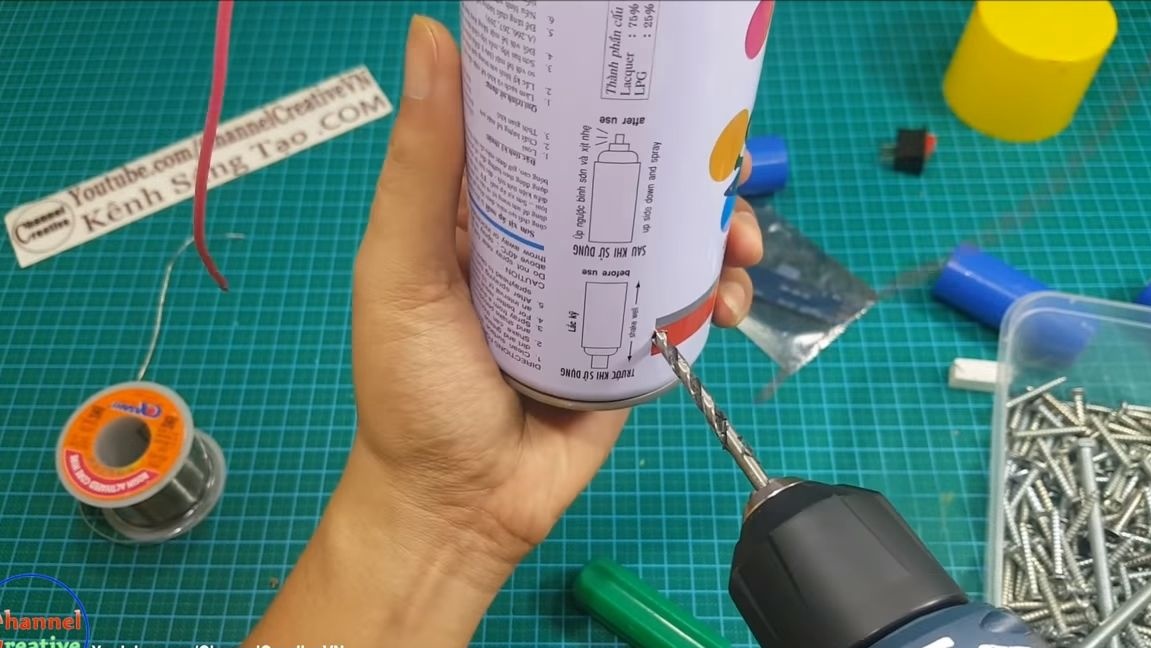
The author used a spray paint can as a body. We release all the gas from the cylinder, and then carefully make a hole in the bottom with the help of scissors to release all the remaining gas.
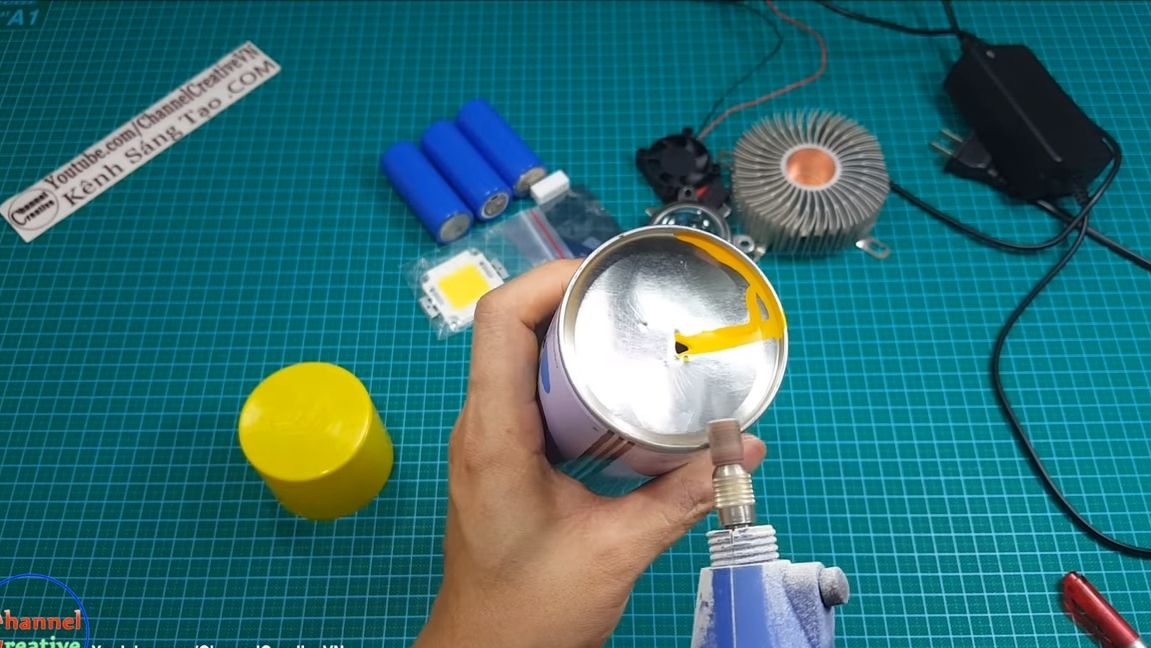
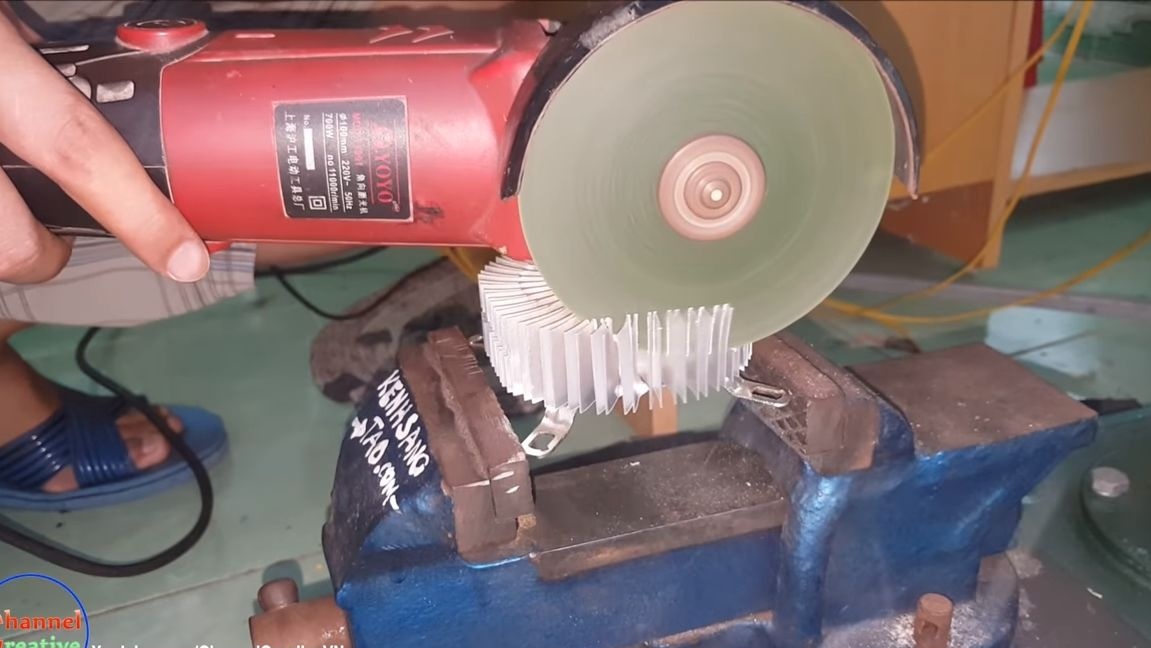
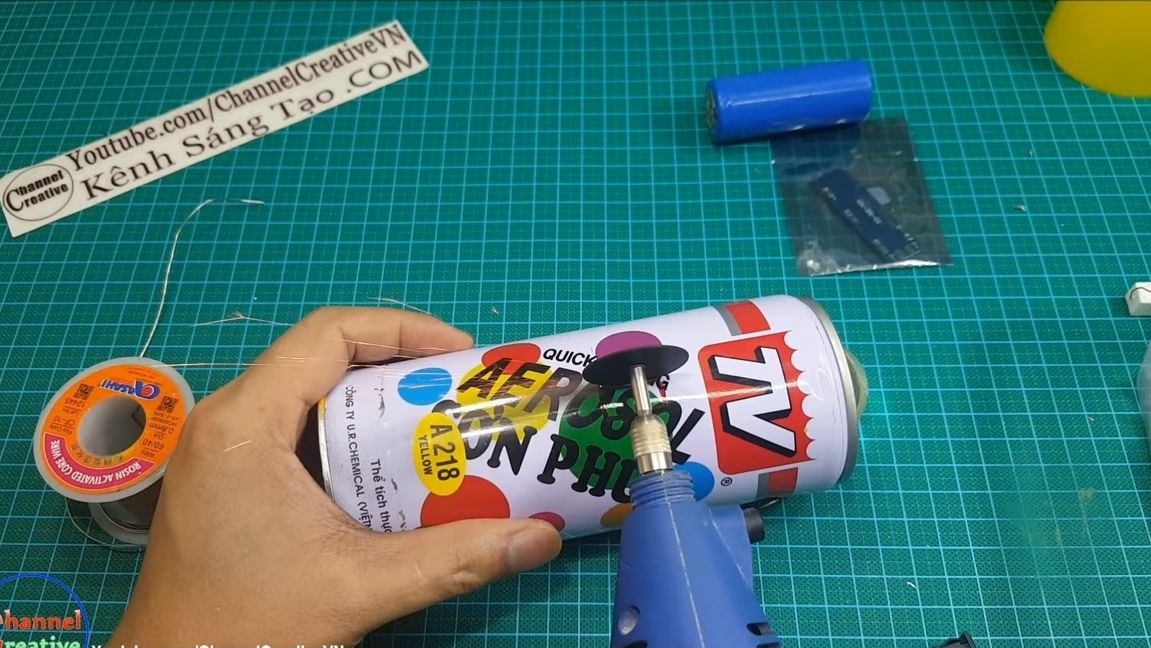
Now we need to cut the top and bottom of the cylinder. To do this, we need a drill with a grinding nozzle. Grind the side and remove the bottom and top. Inside, we wipe everything with a rag, dried paint can be removed with sandpaper.
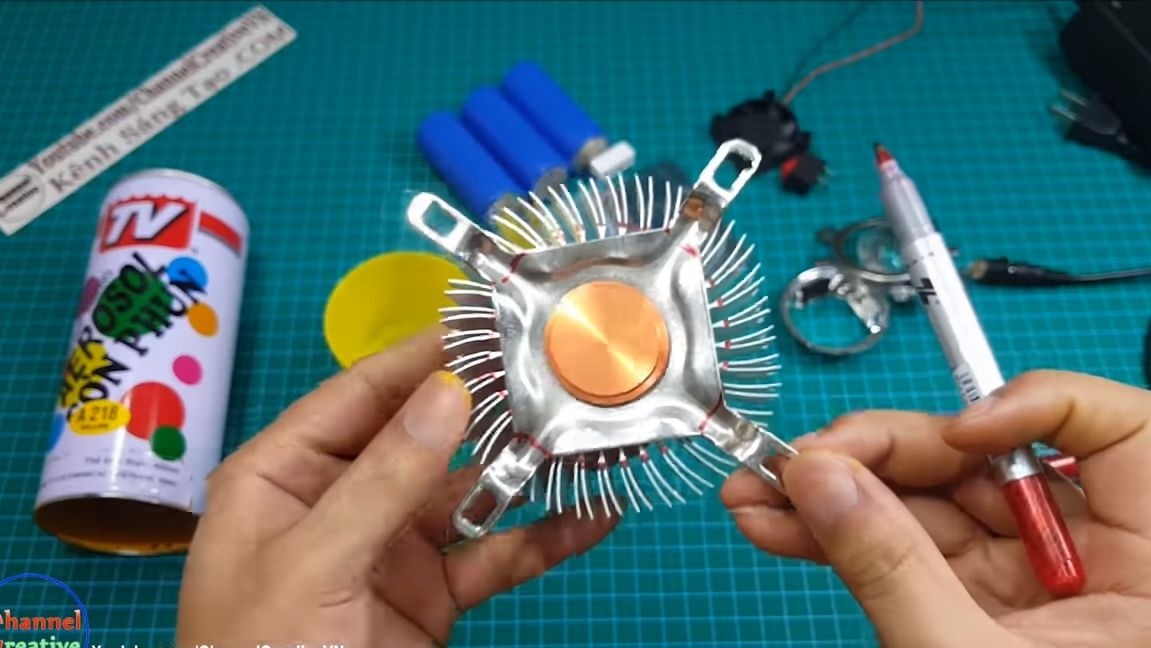
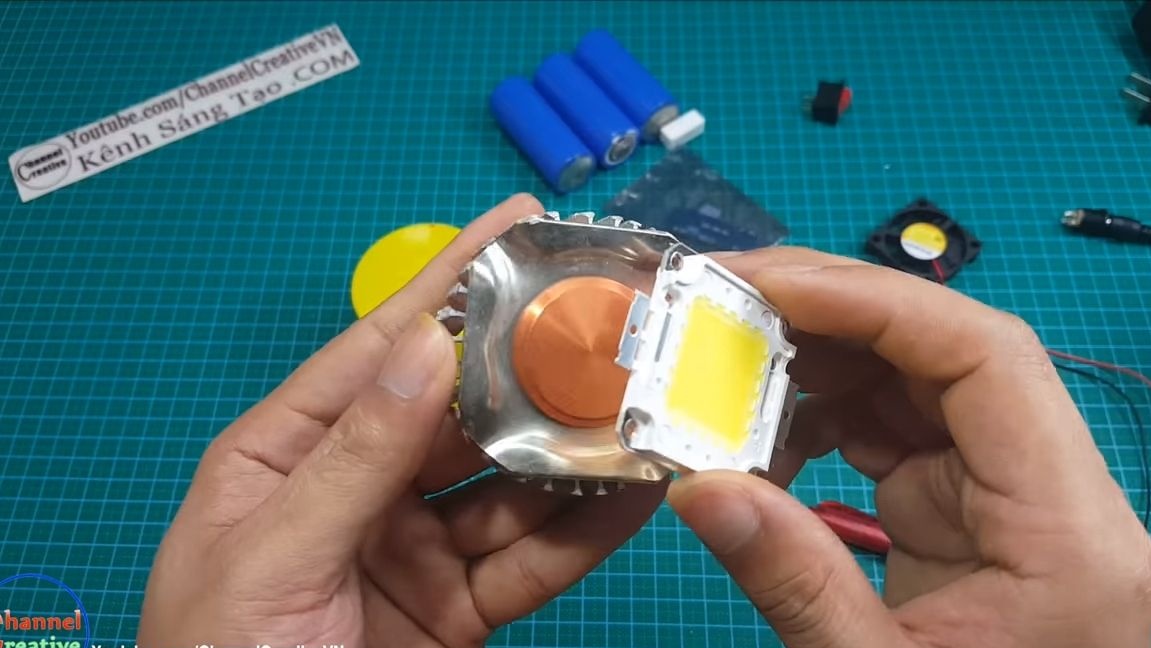
Step Two Installing a heatsink with LED in the housing
The author’s radiator was too large to fit inside the bottle. In this regard, he took the grinder and simply cut off the excess parts of the radiator so that it was ideally located in the case.
After that, you can fix the LED on the radiator. We take a drill and drill two or four holes for the screws. We apply thermal grease to the radiator so that the radiator has good heat transfer with the LED, and we tighten the screws. Now you can solder the wires to the contacts of the LED, we use wires of different colors so as not to confuse “+” and “-”. Insulate the contacts so that they do not slip around the radiator.
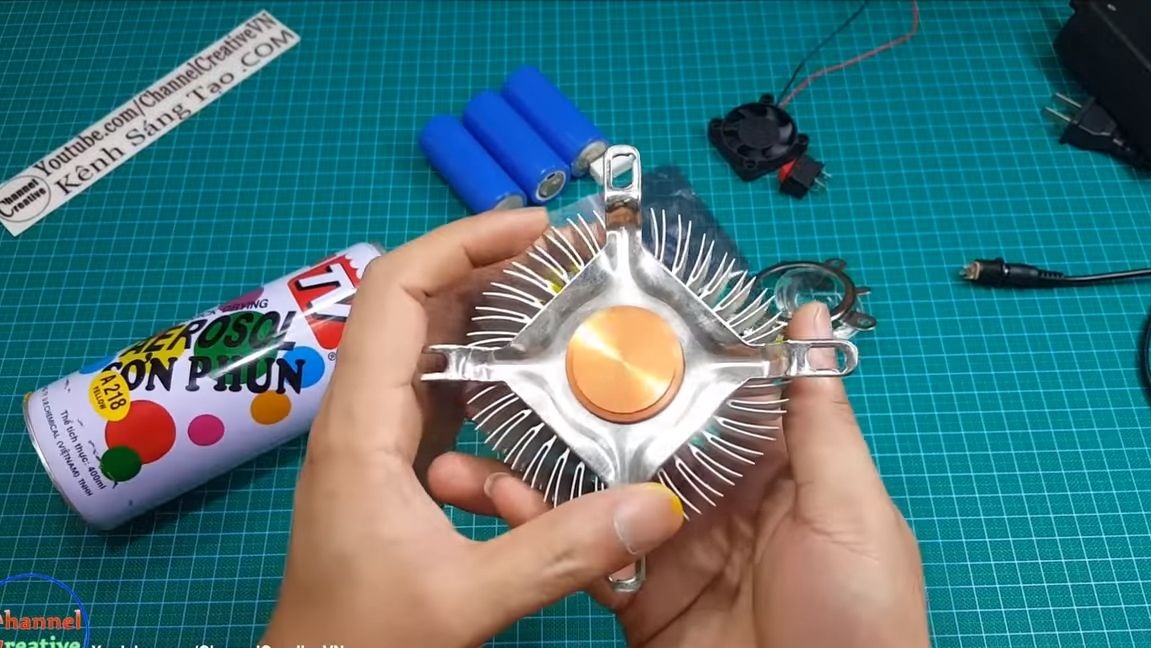

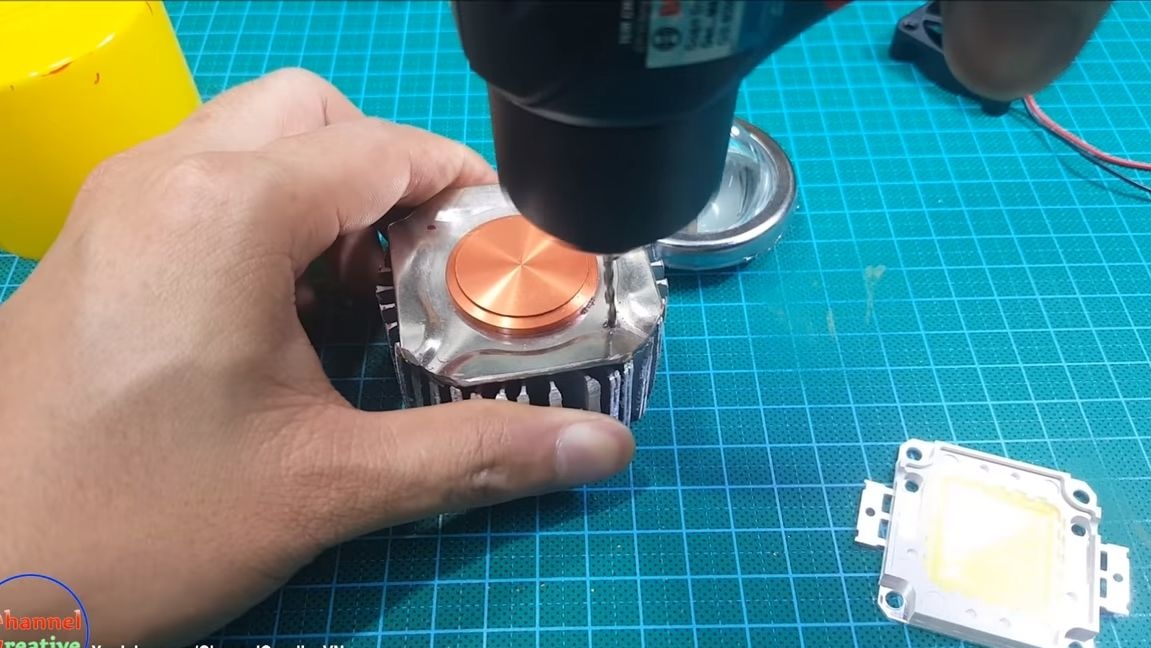
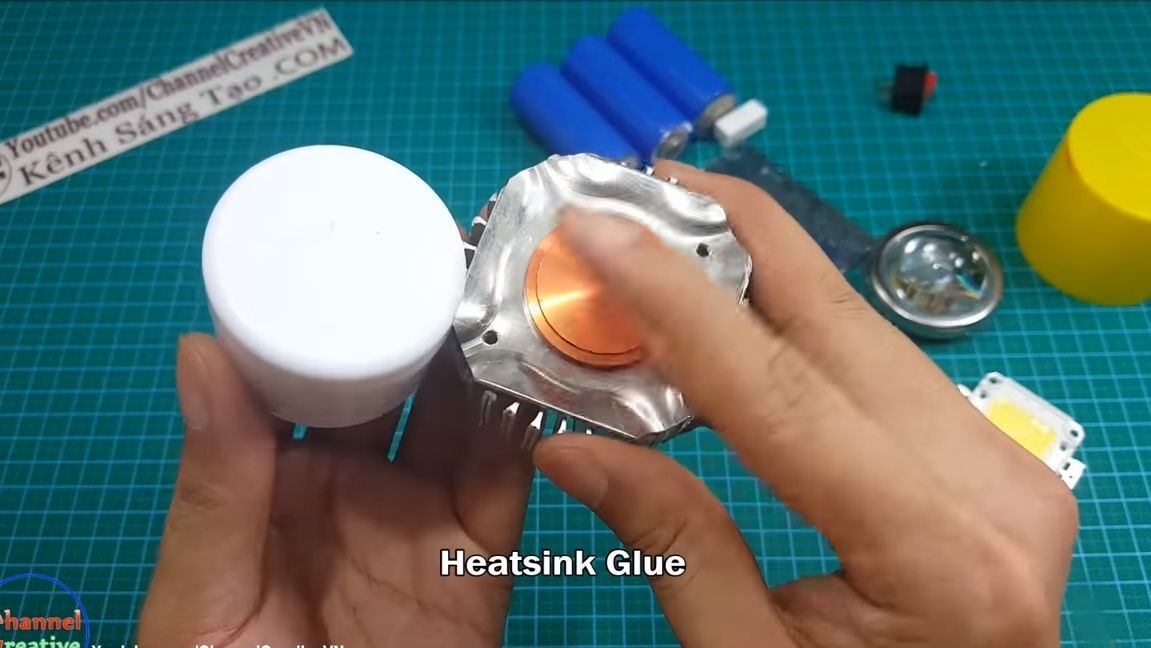

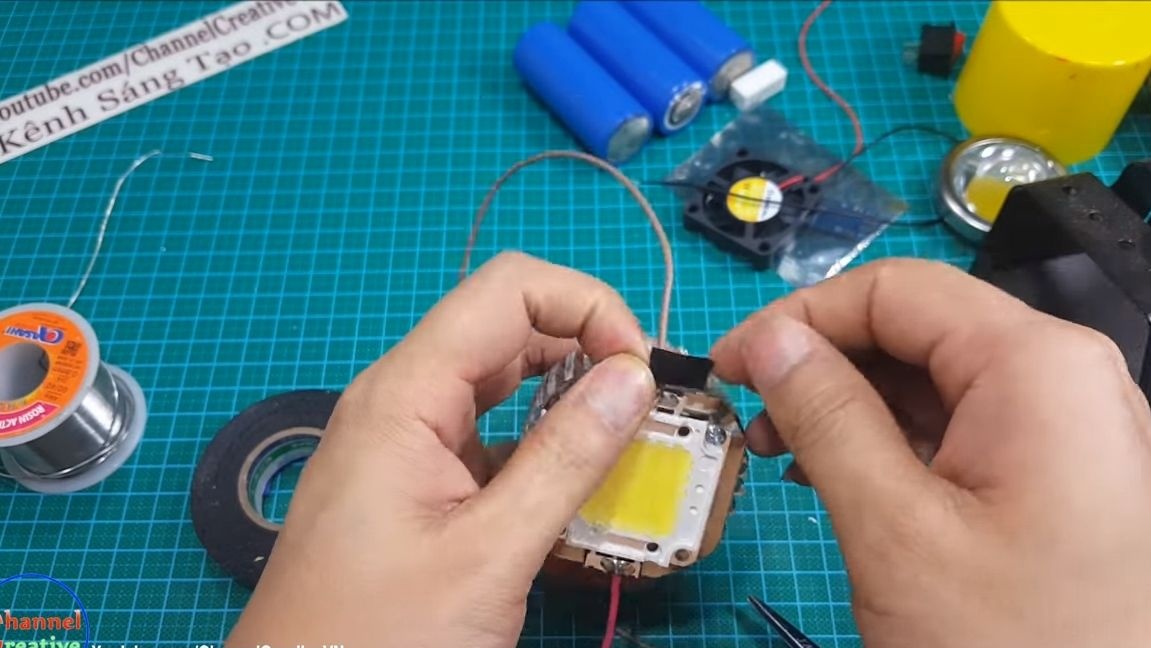
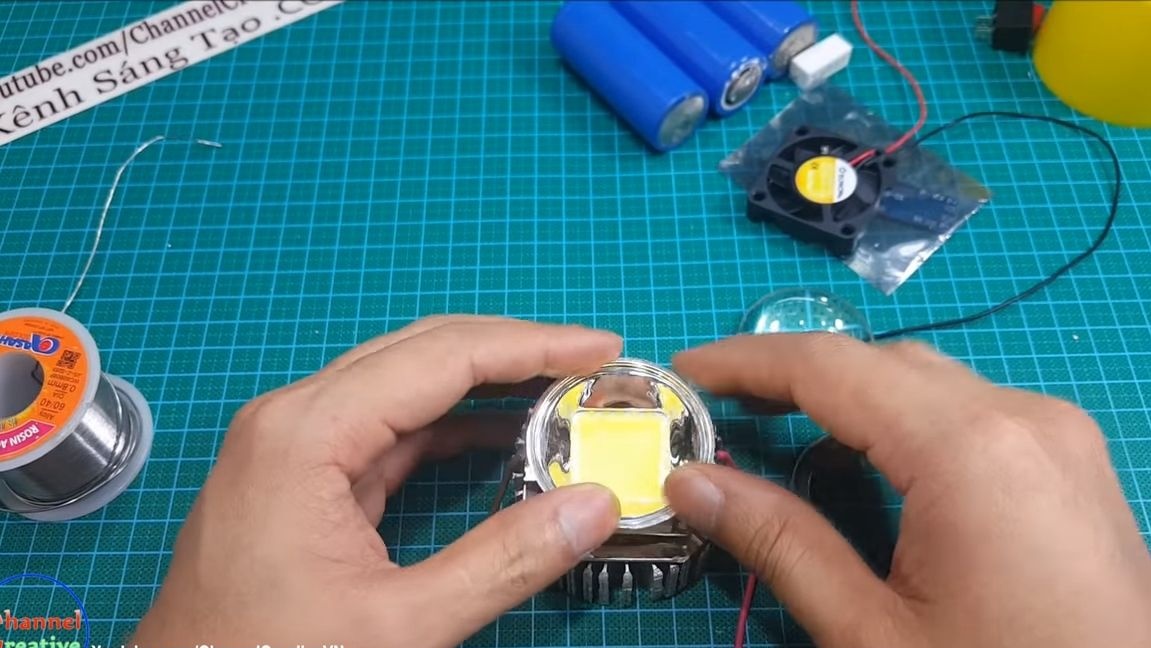
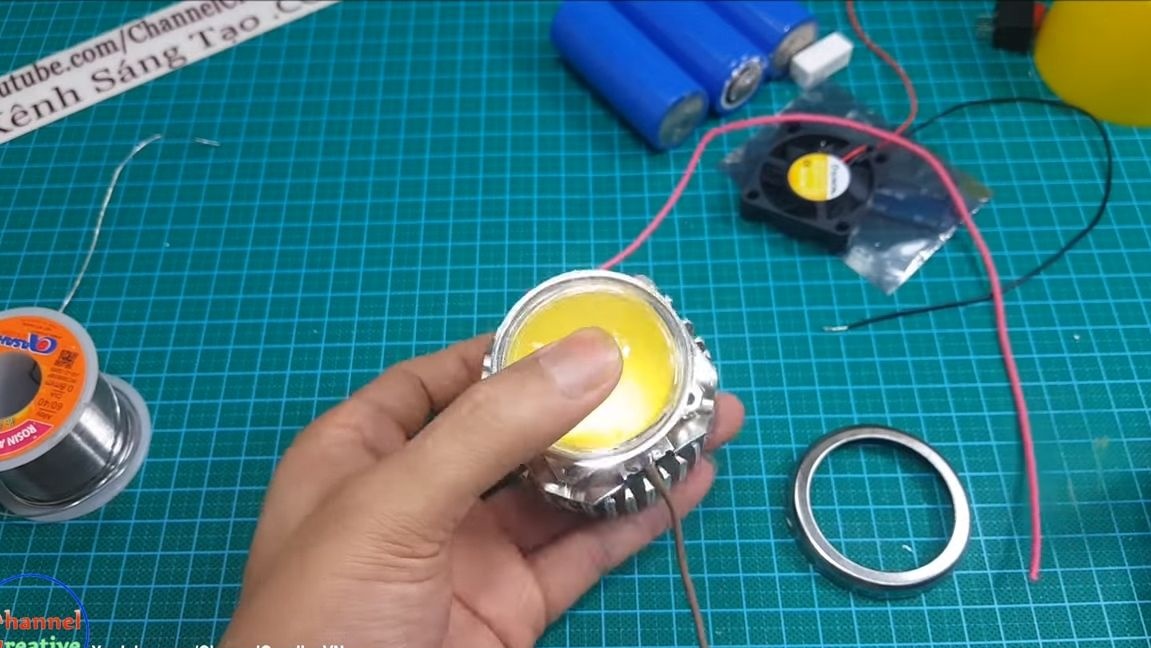
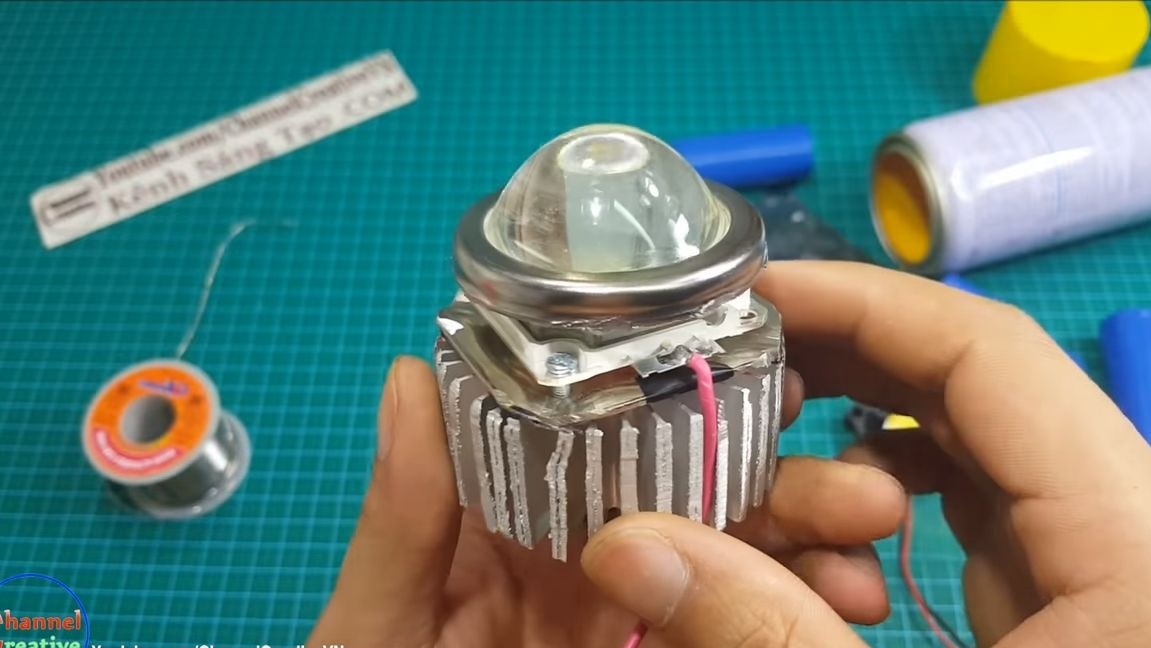
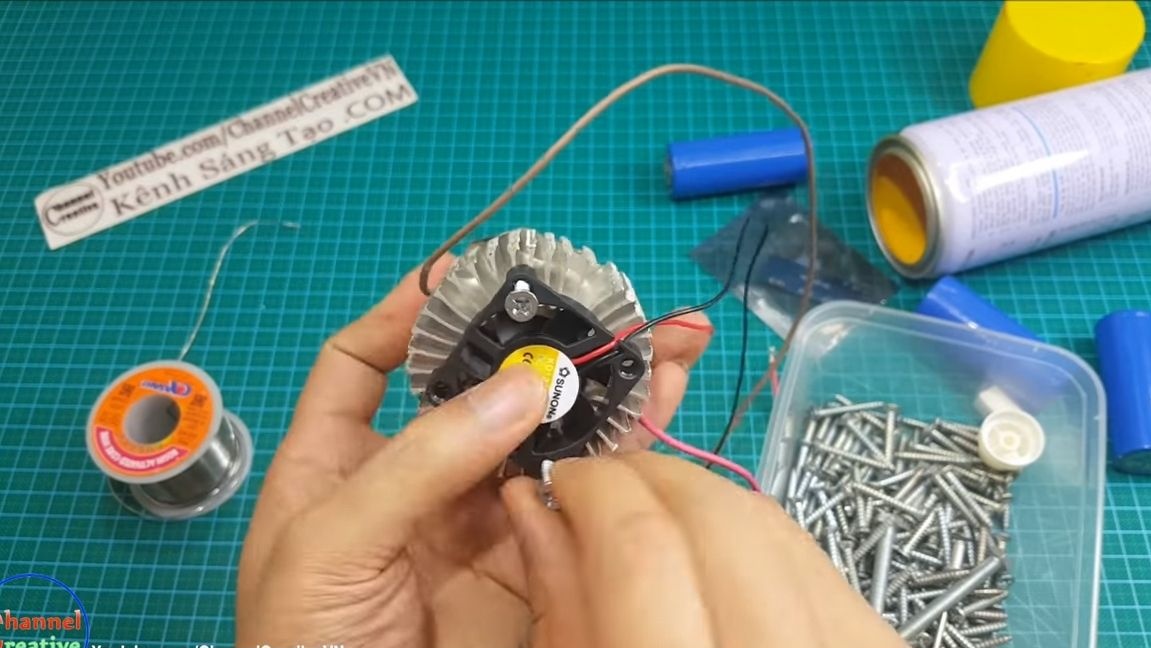
At the end, install a lens above the LED. And on the other side of the radiator, do not forget to screw the fan so that heat can be actively removed. We install the radiator in the case, fix it with screws.
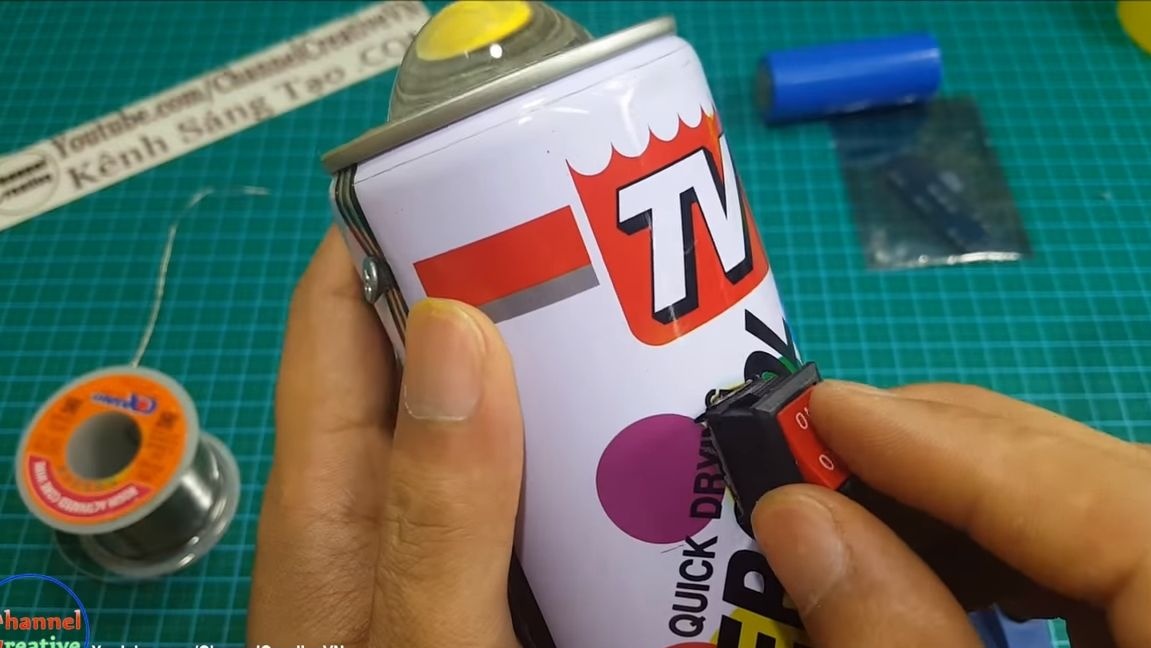
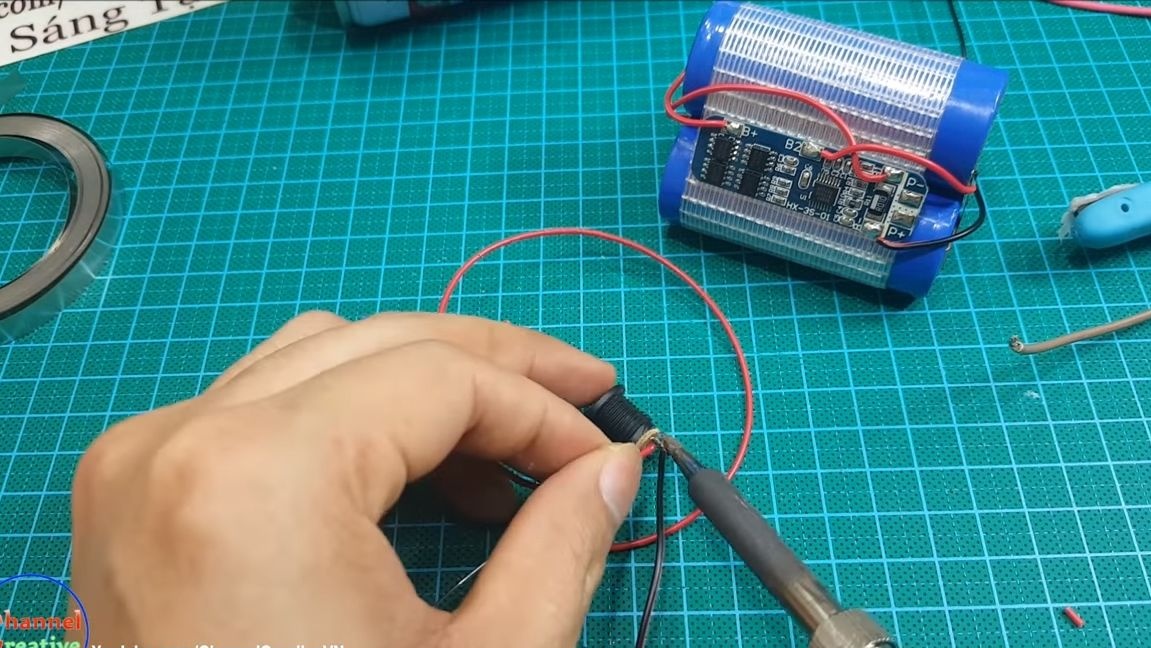
Step Three Set the switch
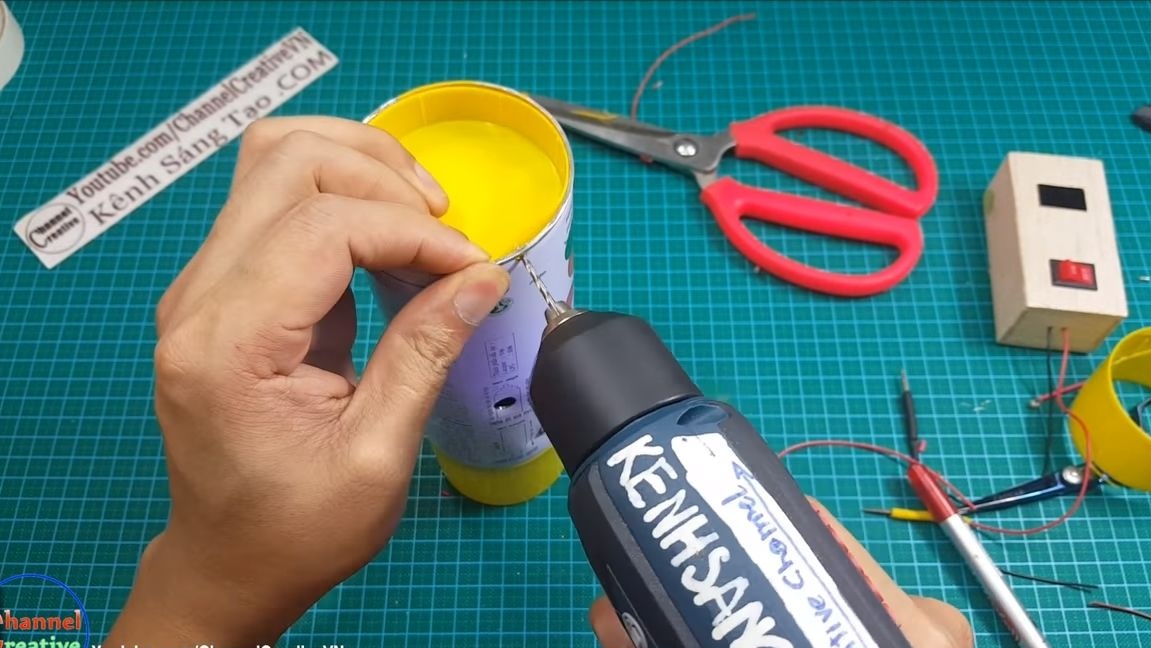
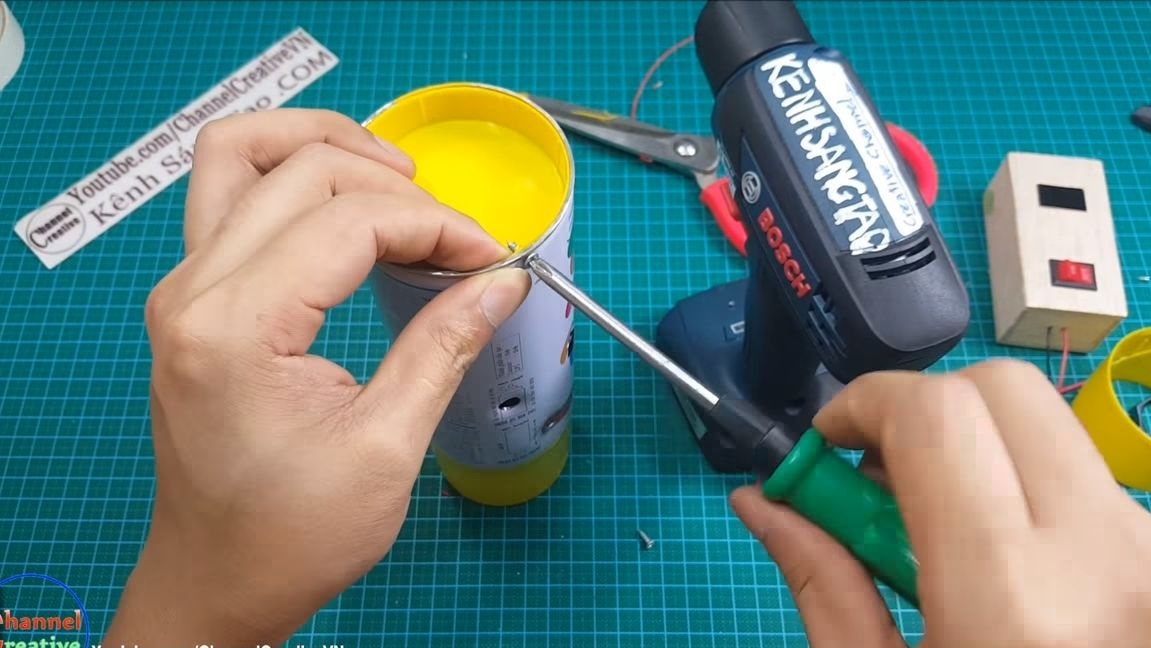
Using a drill, cut a hole for the switch in the case. Then we solder wires and a 5W resistor to it, as seen in the photo. That's all, now put the switch in its place.
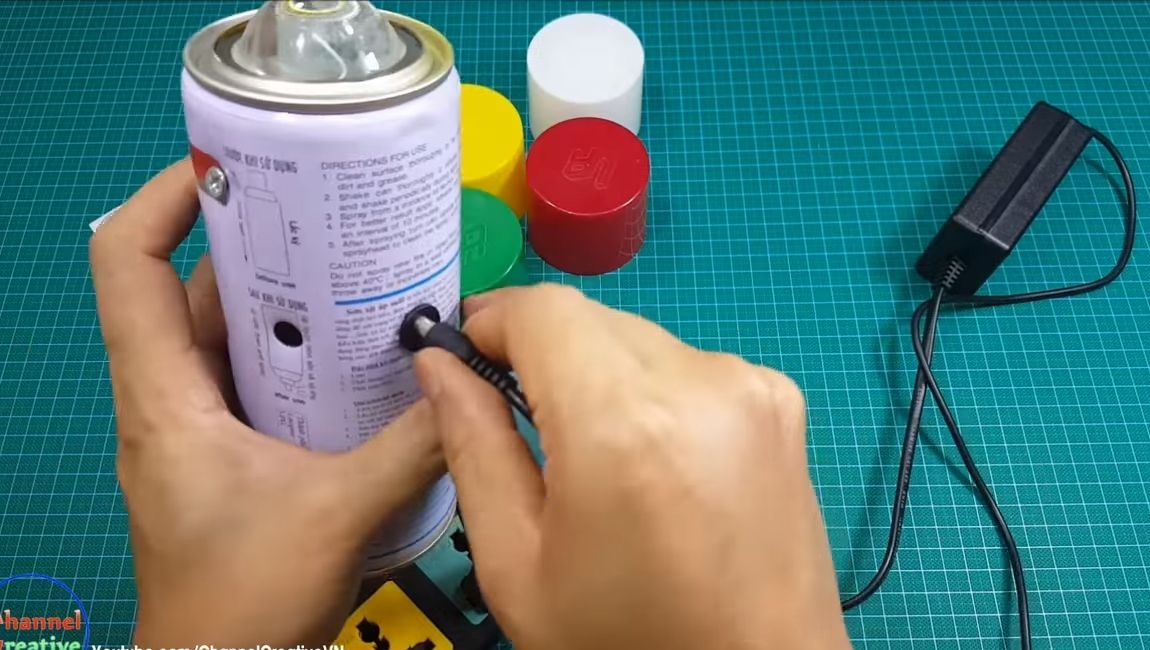
Also drill holes in the case and one more under the connector of the charging socket.
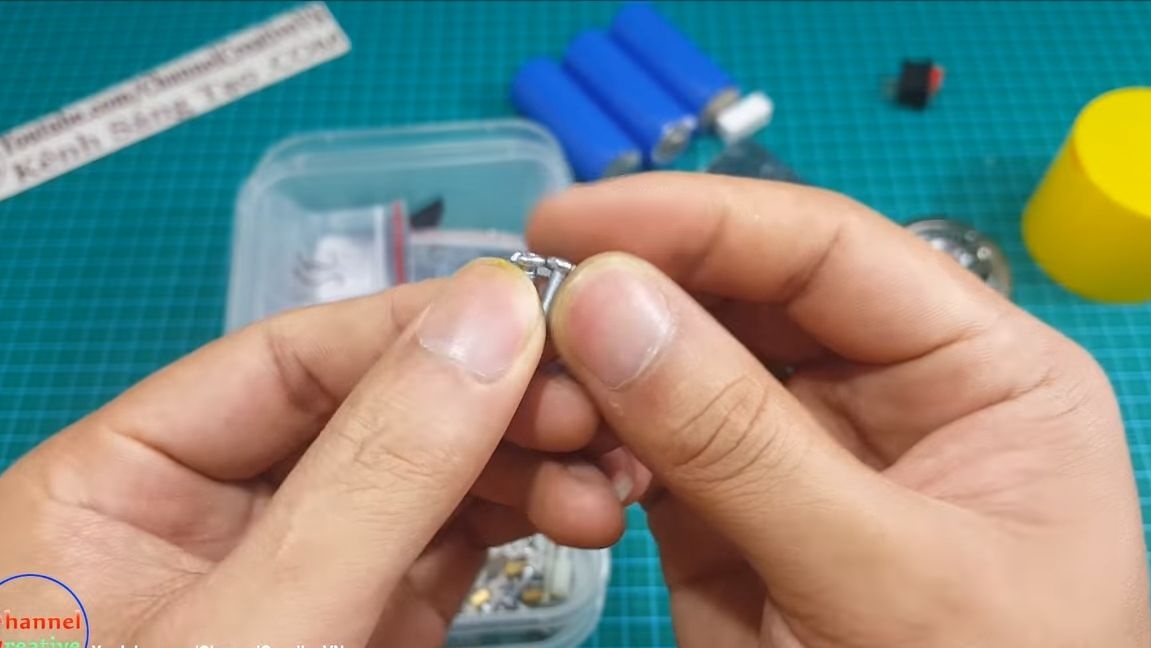
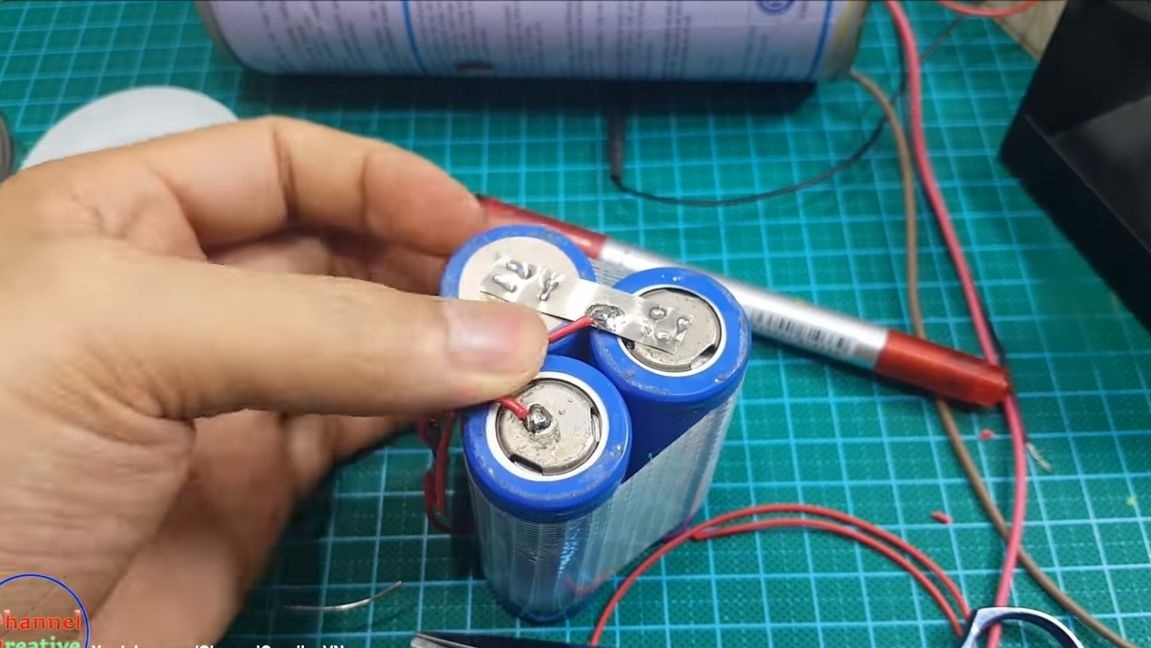
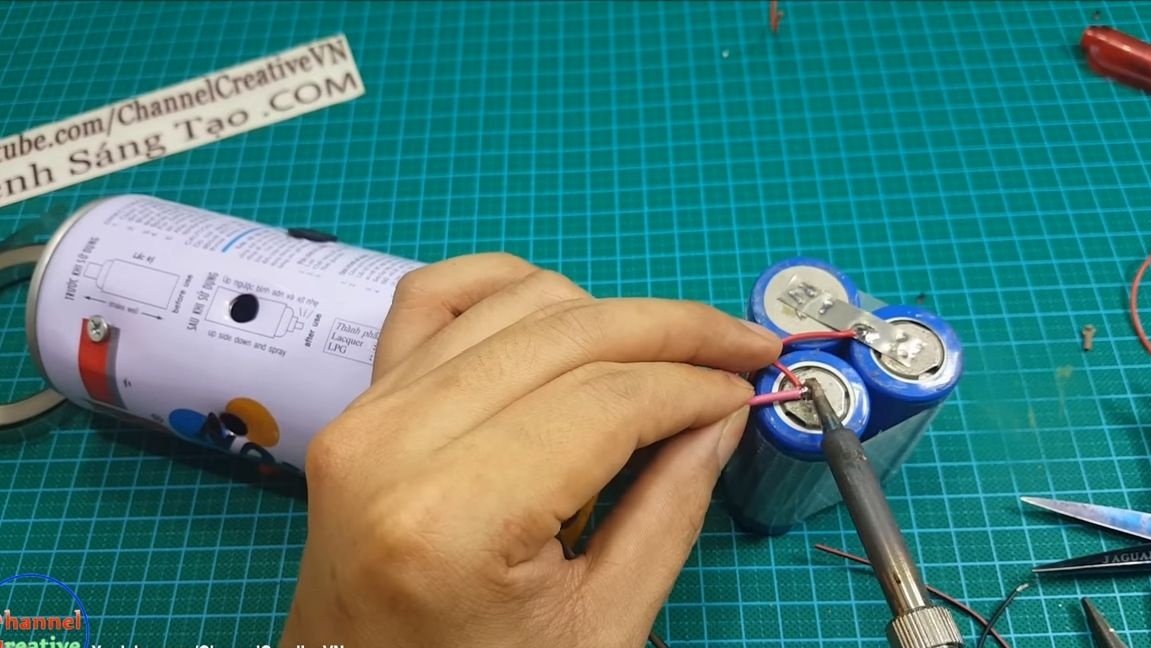
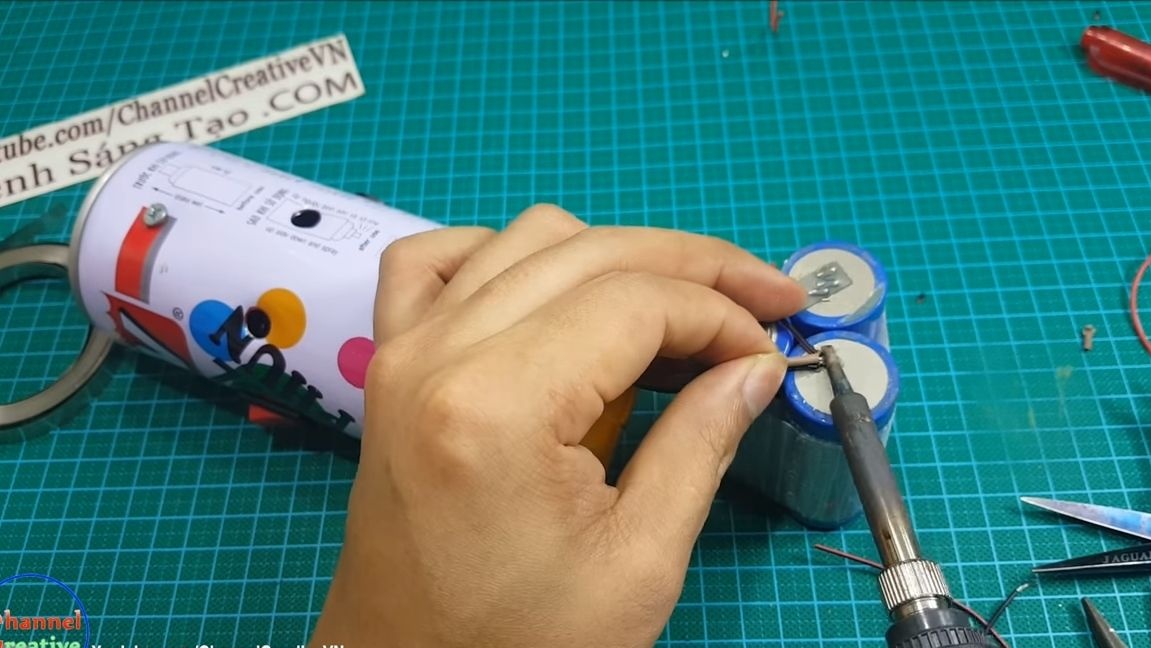
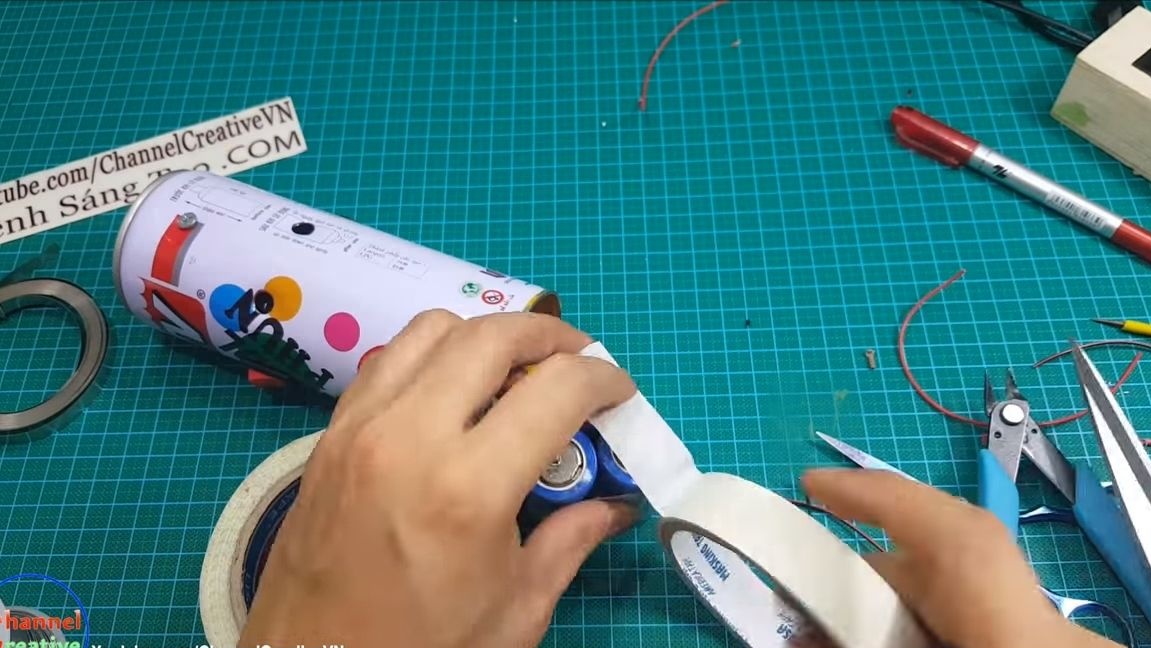
Step Four Battery Connection
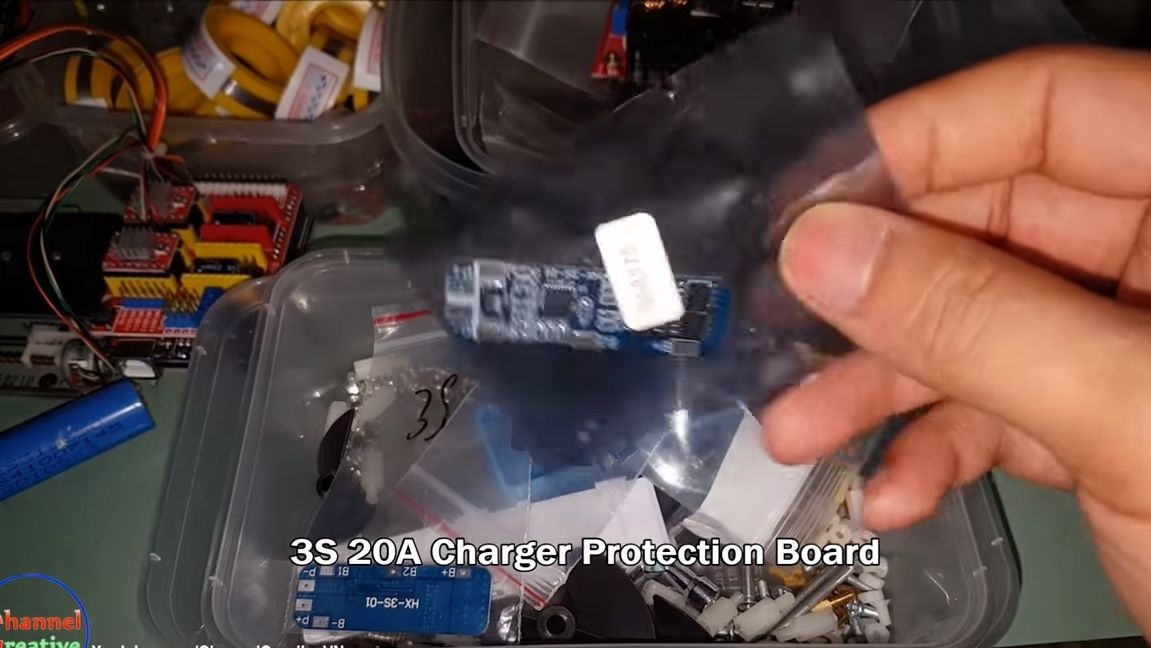
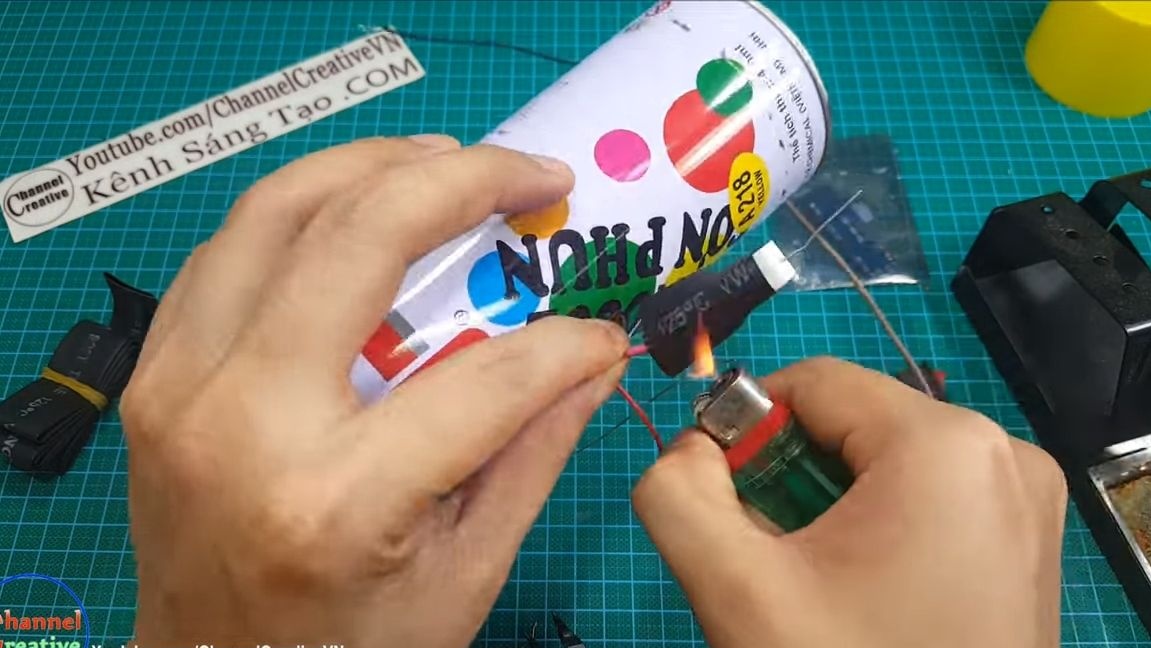
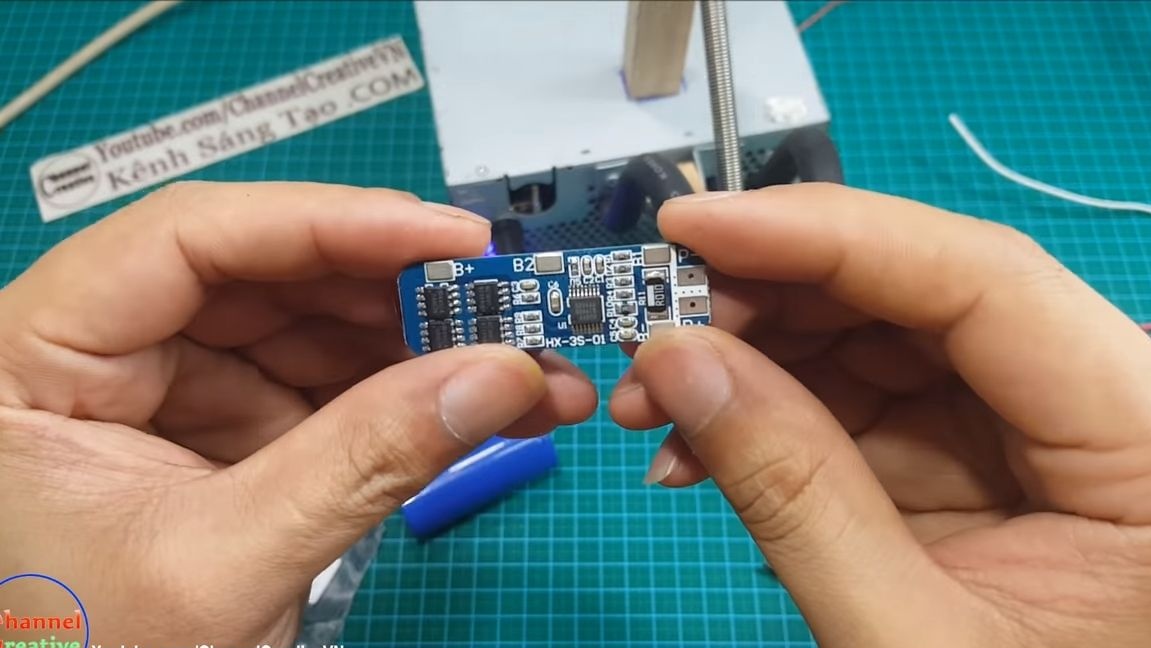
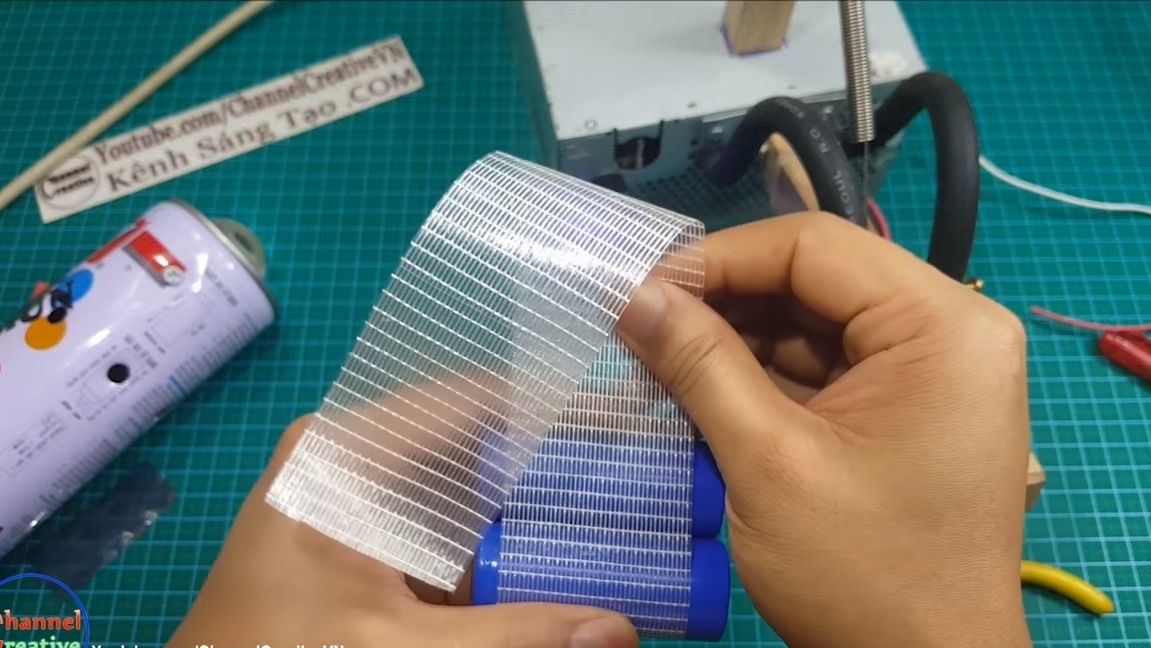
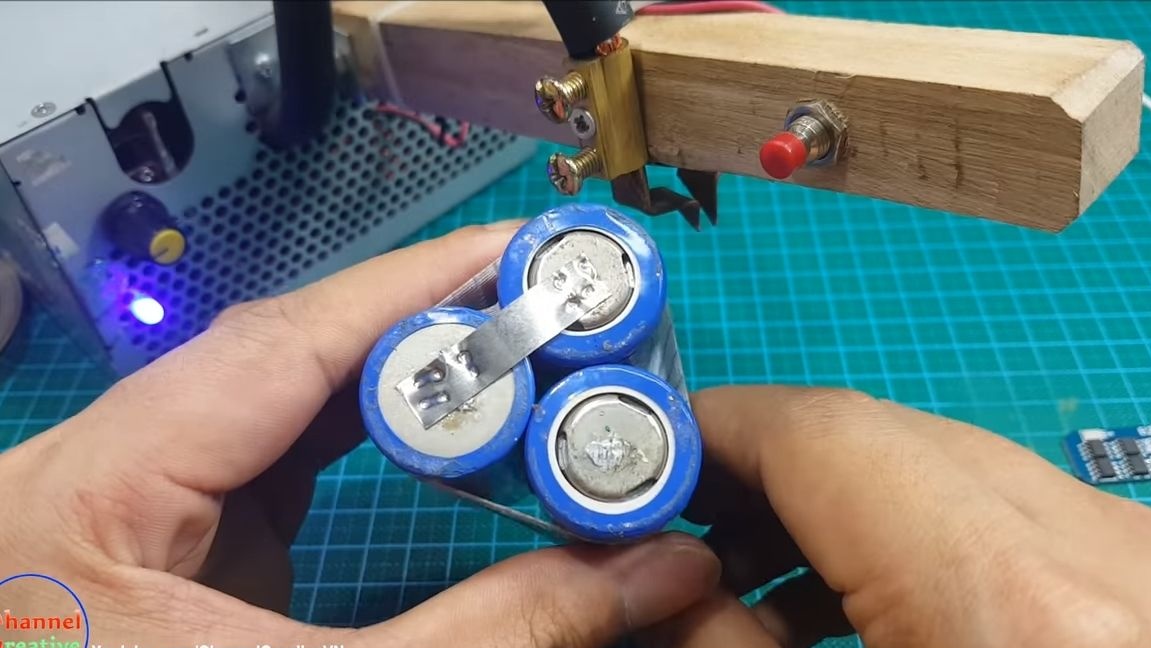
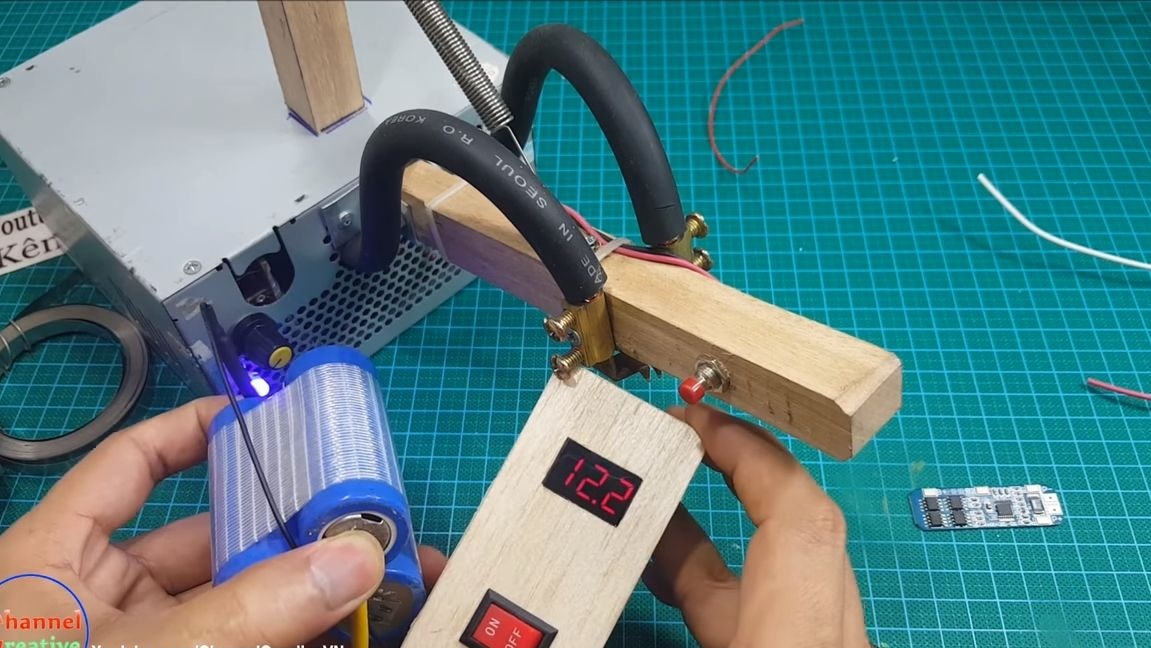
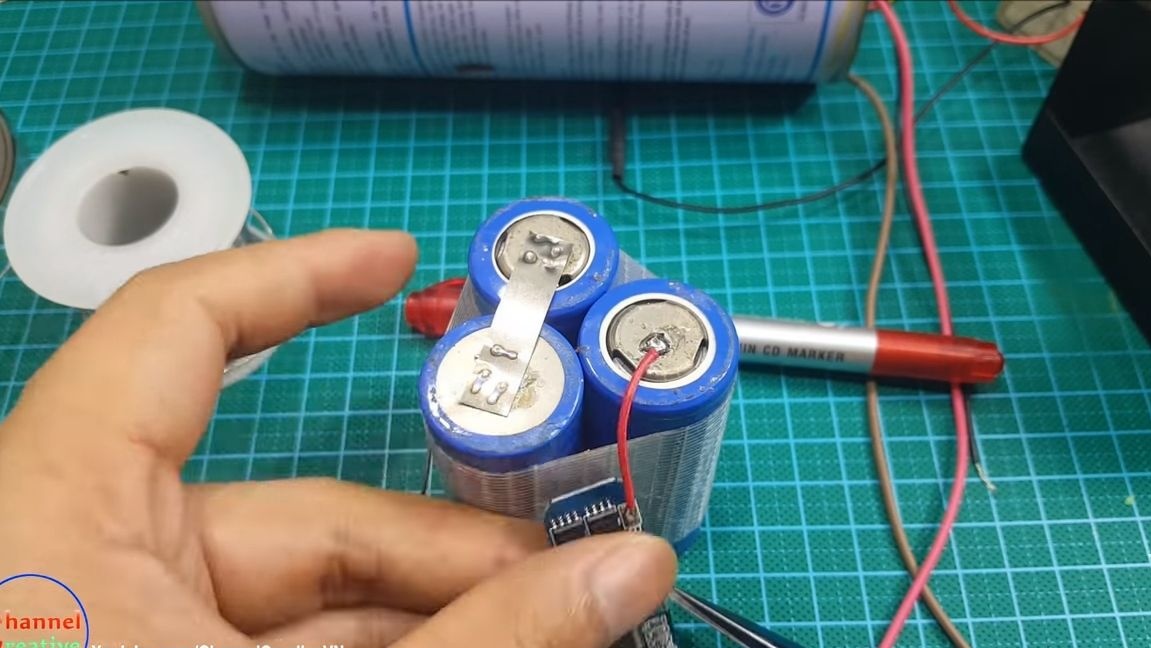
To charge and protect the batteries, the author decided to use a 3S controller on 20A. As for the batteries, this is 26650. First of all, we take the batteries and twist them together with tape or other adhesive tape. Now we need to install jumpers on the contacts so that the batteries are connected in series. To fix the jumpers, the author used his homemade chiseled welding machine. As a result, the author of the battery block gave out 12.2V, which is quite enough to power the LED.

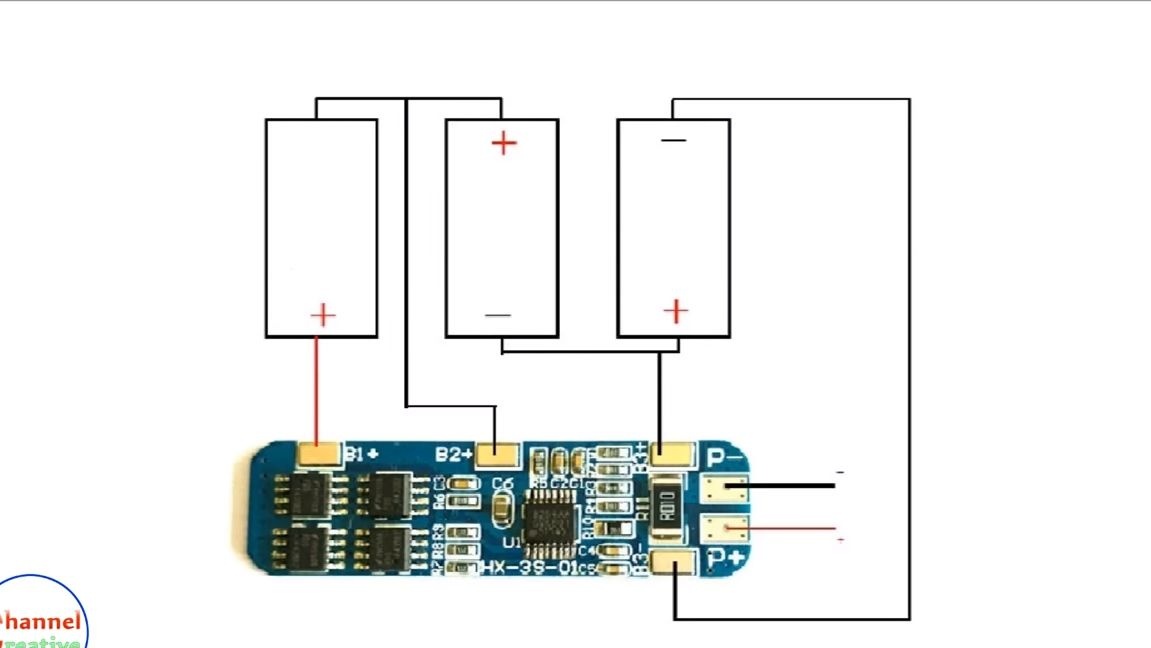
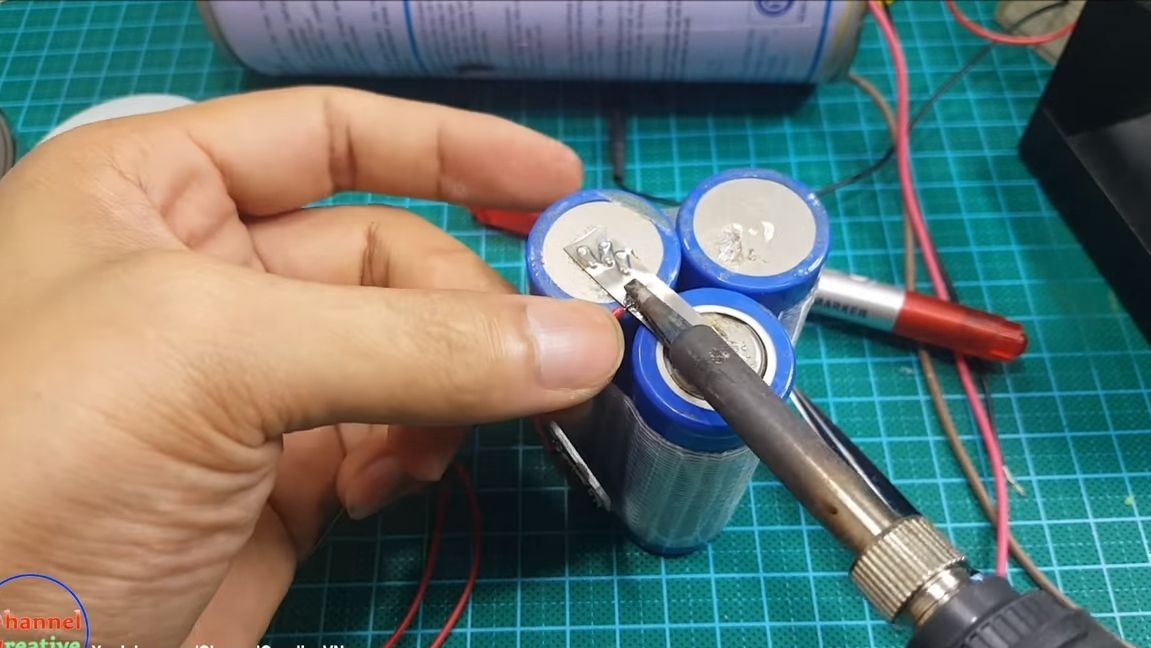


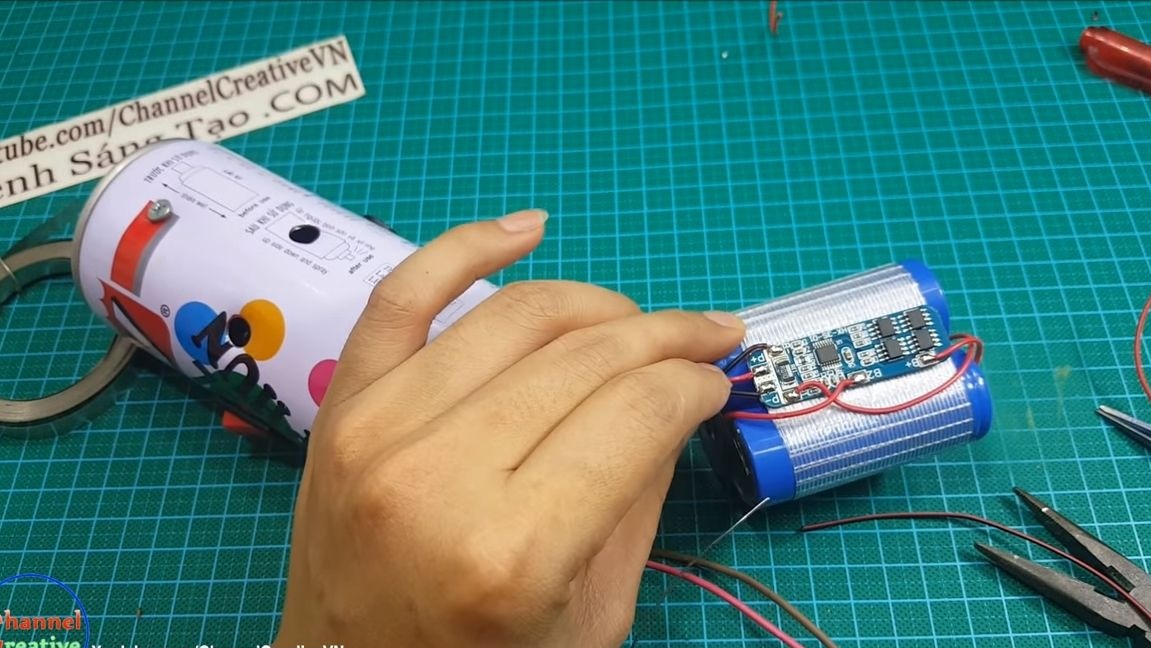
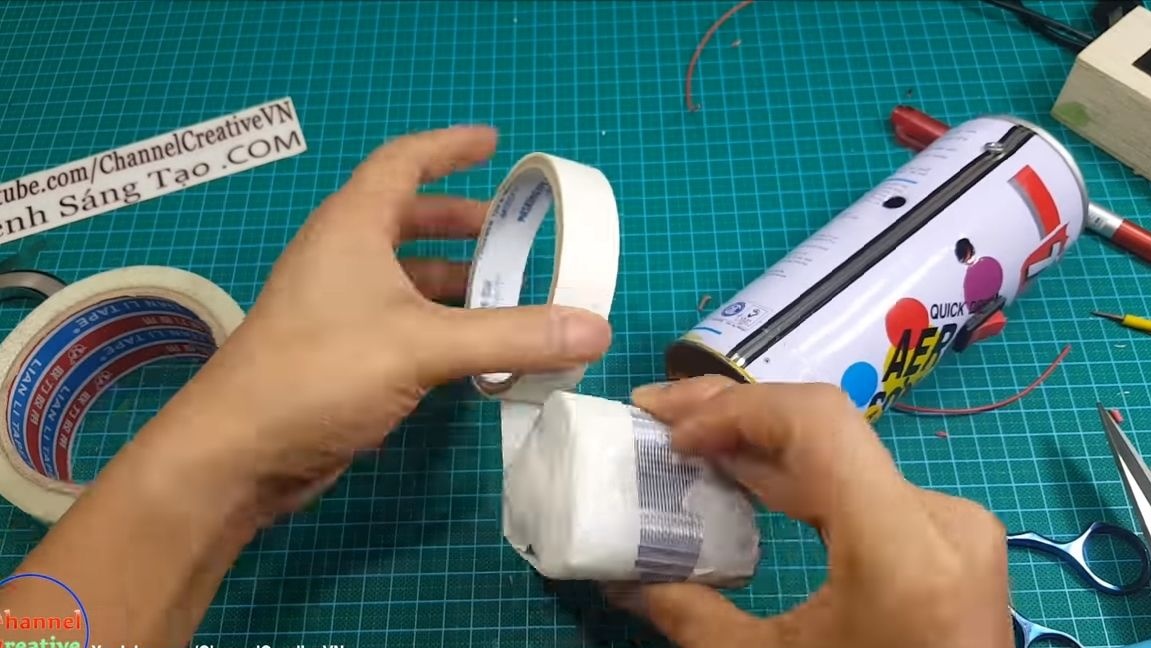
Now we take a soldering iron and connect the controller to the battery in accordance with the presented scheme. We also solder the wires to the charging socket and install it in the prepared hole. When everything is connected, try turning on the flashlight, and then connect the charger. If everything works, fine, "the patient can be sutured." The battery contacts are well insulated with electrical tape so that there is no short circuit. The charge controller is also mounted on the battery pack. Now we install the whole thing inside the case.
Step Five Back cover installation
To close the flashlight body, we need a spray lid. We install it inside so that it slightly presses the battery inside, otherwise they will hang. We cut off the excess part of the lid that will protrude. Now just screw the manufactured cover with a few screws.

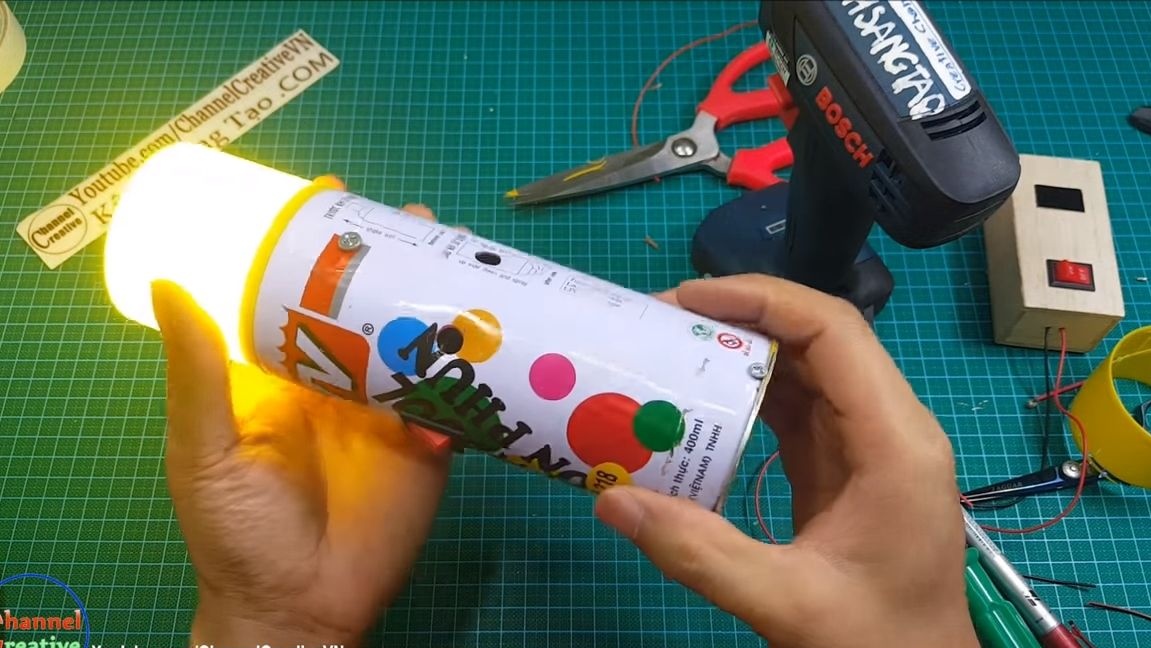
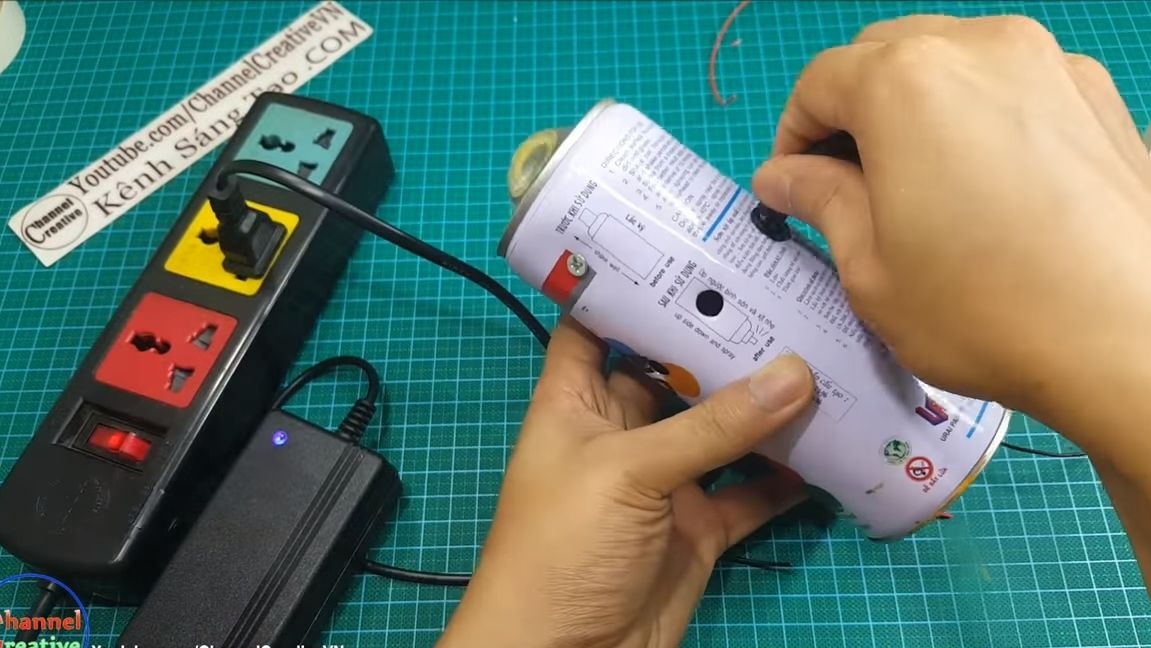
Step Six Challenges!
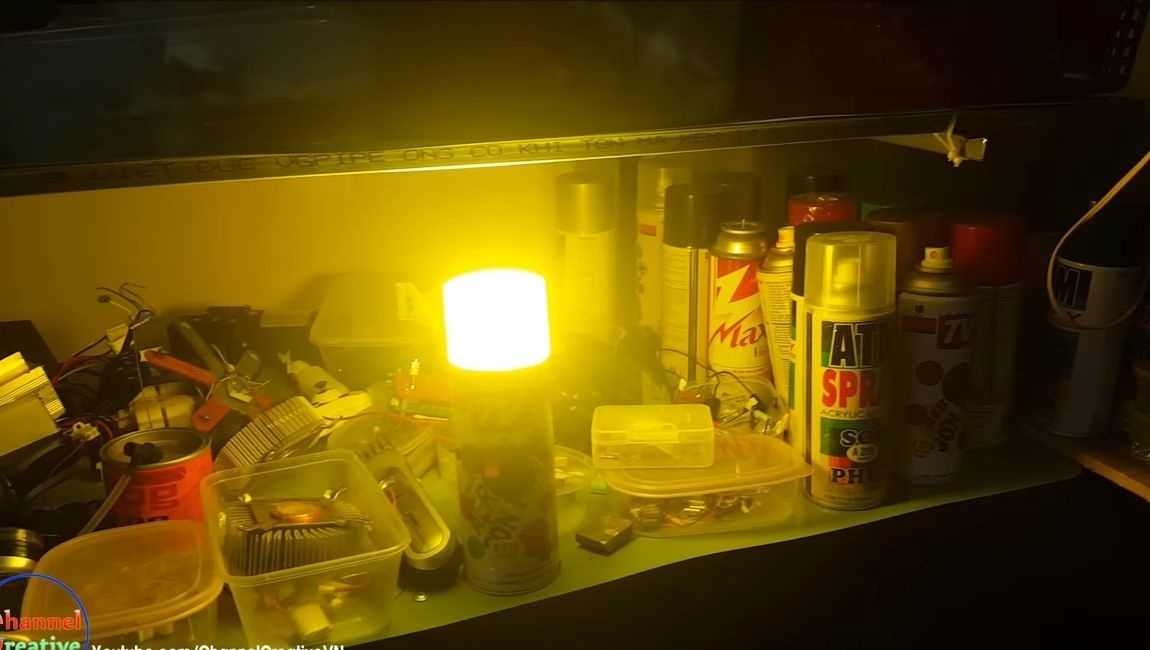
Charge the flashlight and start the test! Immediately after switching on, make sure that the fan is working, otherwise the LED may overheat during long-term operation. The author’s flashlight shines quite brightly in the video, however, it’s not known how long the batteries last. Use caps of different colors to get a colored glow of the flashlight! It shines very beautifully, despite the simplicity of the design.
As for the disadvantages, the power supply circuit of the LED requires improvement. It would be nice to use a power driver instead of a resistor. As a result, the battery charge lasts longer, and the life of the LED will last.
That's all, I hope you liked the project. Good luck and inspiration in the manufacture of your projects!