I welcome everyone, I bring to your attention a very interesting project - a 12-volt electric stove! Such device it will be very useful for you if you are engaged in tourism, go to relax in the countryside by car and so on. You can easily install such a stove in a tent and fry fried eggs on it, warm your ear or just boil water. By this principle, you can easily assemble a more powerful stove, or even a stove.
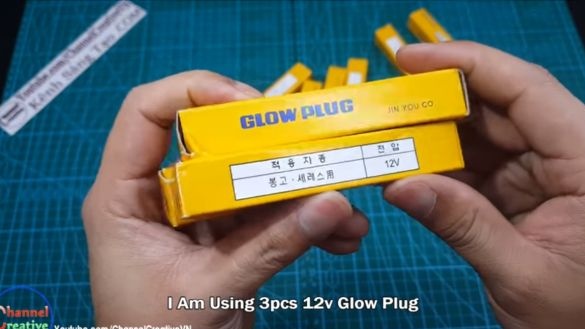
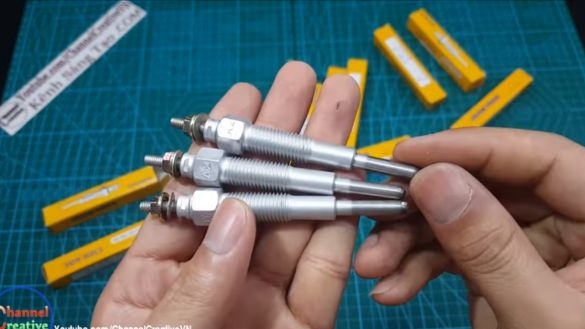
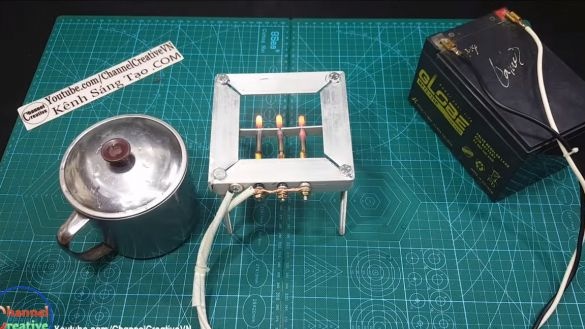
To assemble such a plate is very simple, and there are not enough materials. As the main heating element, glow plugs from a diesel engine are used here. You do not have to buy new candles for this homemadecan be used. When disassembling the candles, their heating elements heat up red-hot and actively give this heat to the pan. As for me, the design drawback is that the tile does not have a bottom reflective screen, which is why a lot of energy is wasted.
Materials and tools used by the author:
Material List:
- ;
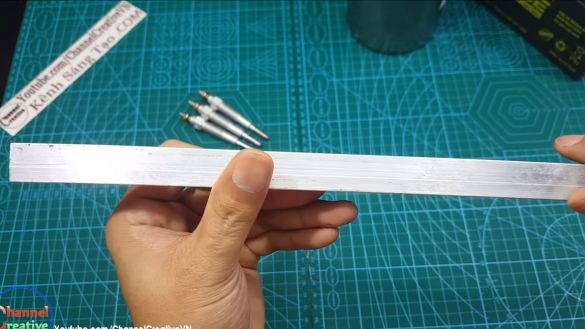
- aluminum corner;
- a screw with a nut (for connecting the wire);
- wires;
- 4 bolts with nuts (for legs);
- pan;
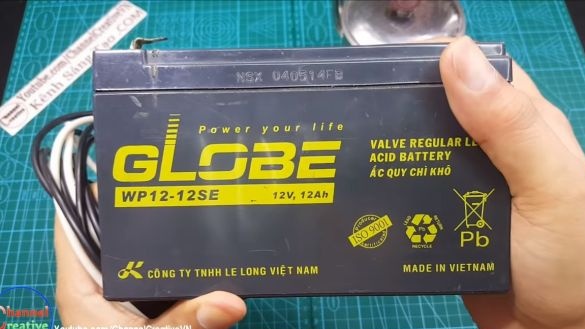
- 12V battery;
- insulating heat-resistant tubes.
Tool List:
- ruler;
- marker;
- scissors for metal or grinder;
- drill;
- spanners;
- a rivet gun.
The process of making an electric stove:
Step one. We make a frame
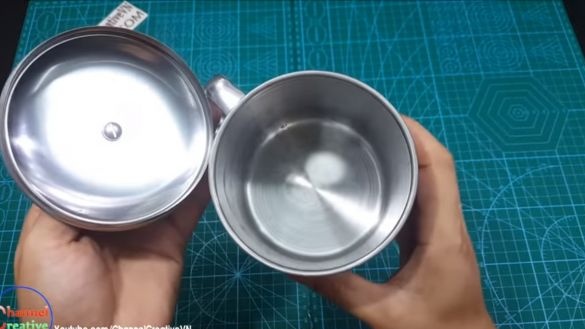
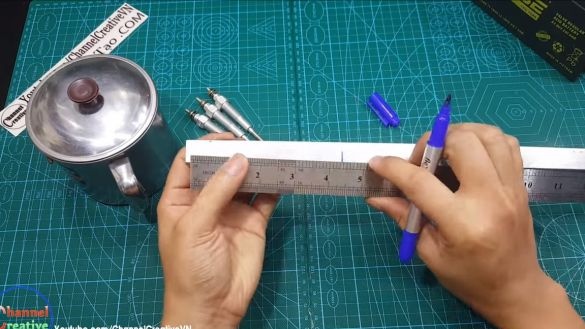
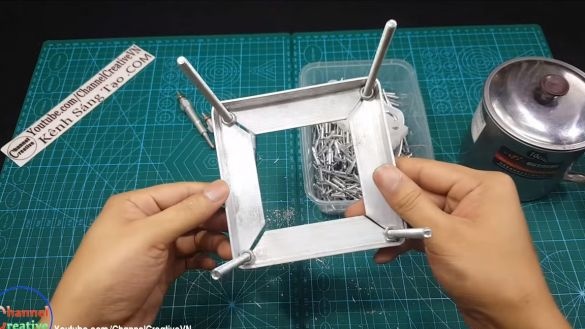
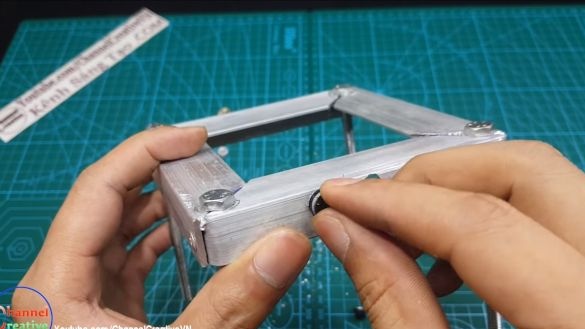
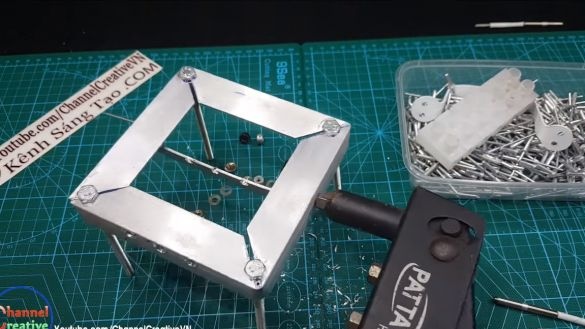
First of all we will make a frame, it is done very simply. The best material for these purposes is an aluminum corner. First, measure the diameter of the pan that you plan to use, in accordance with this we make the frame. The pan should be with a lid, be thin-walled, then it will quickly heat up.
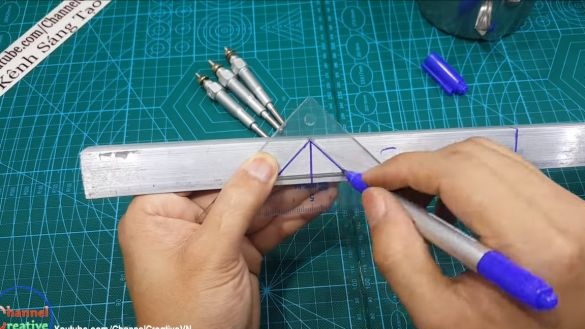
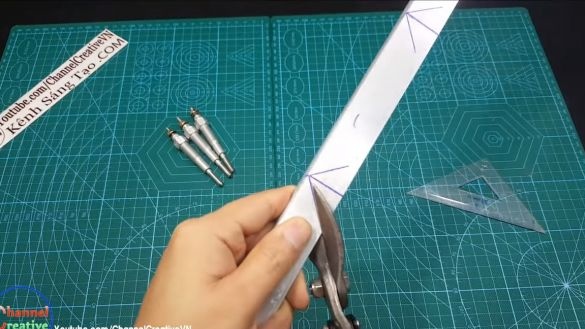
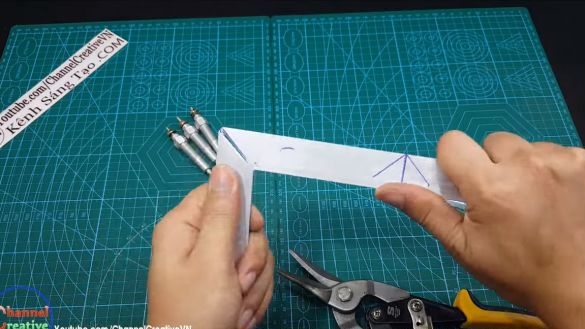
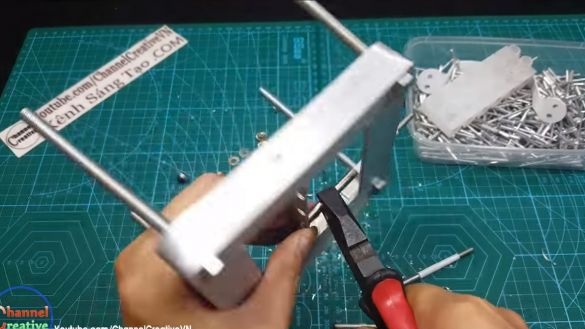
We take a corner of suitable length and divide it into 4 parts, depending on the diameter of the selected pan. Next, draw triangles in those places where the corner will “bend”. Cut these triangles with metal scissors.
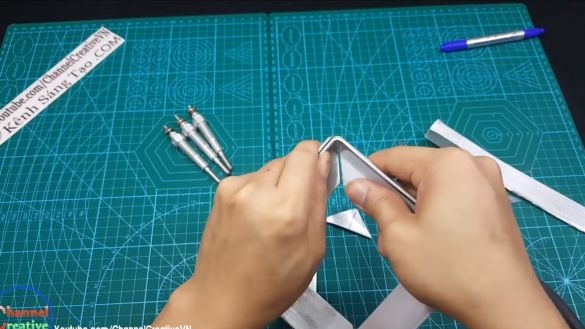
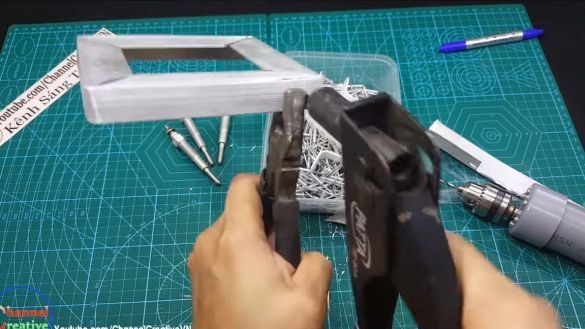
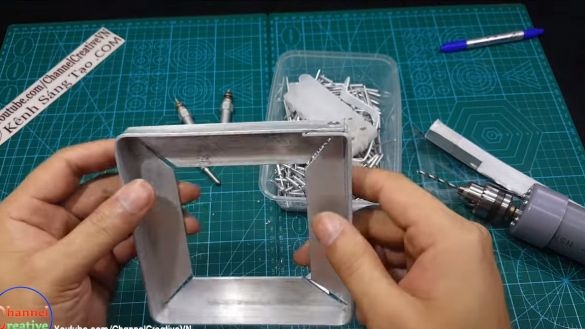
Now you have to fold a corner to make a square.The frame is almost ready, but it needs to be fastened at both ends. The easiest way is to install a rivet if there is a rivet gun. As a last resort, we use a bolt with a nut. That's all, the frame is ready, let's move on!
Step Two Make the legs
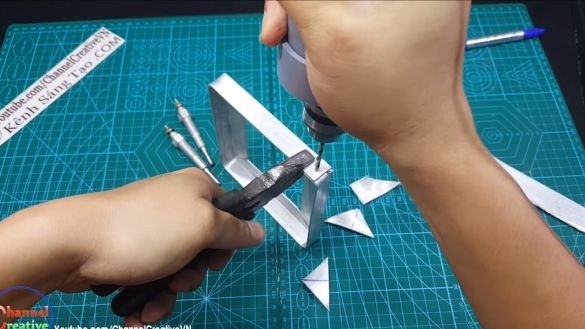
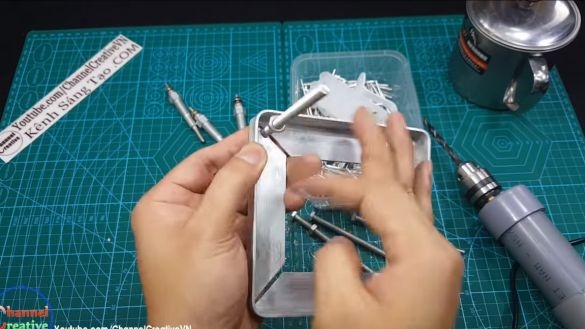
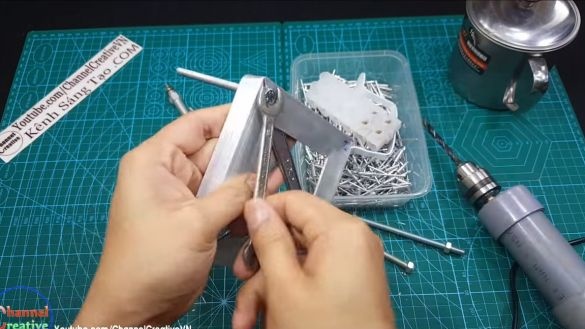
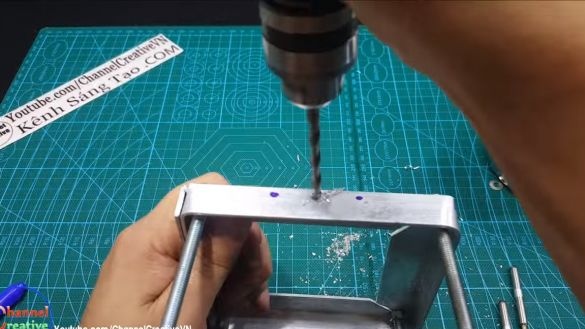
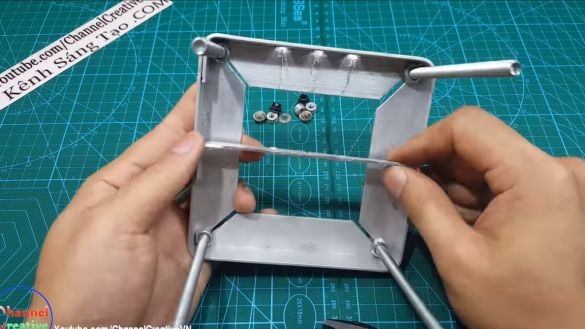
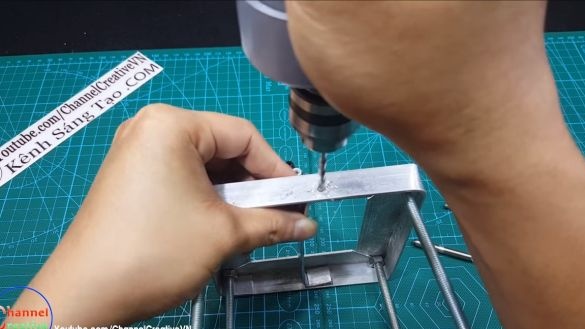
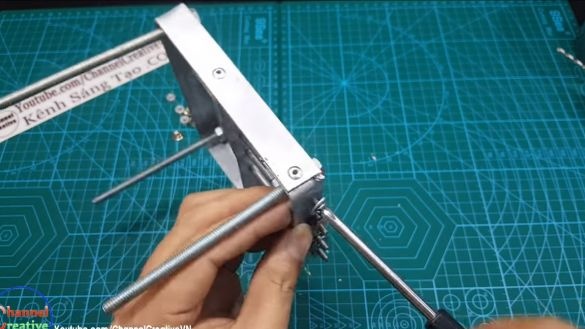
The stove should have confident support, otherwise the whole breakfast may be on the floor. The author made the legs very simple, for this he used four bolts with hooks of suitable length. We drill holes in the corners of the frame, insert the bolts and fasten them with nuts. As a conclusion, we have an excellent frame with legs! It is best to place washers under the heads of bolts and nuts.
Step Three Prepare glowing candles!
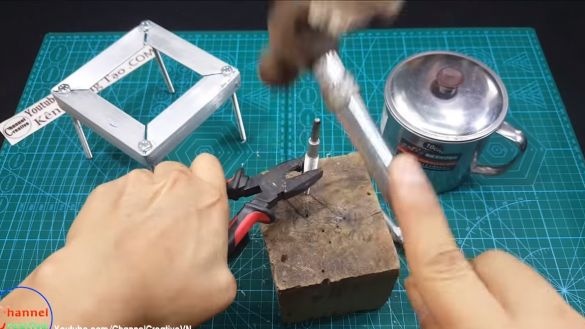
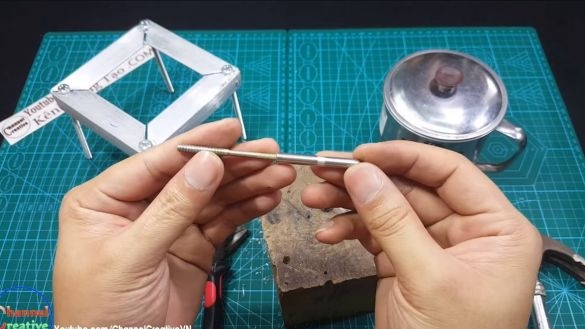
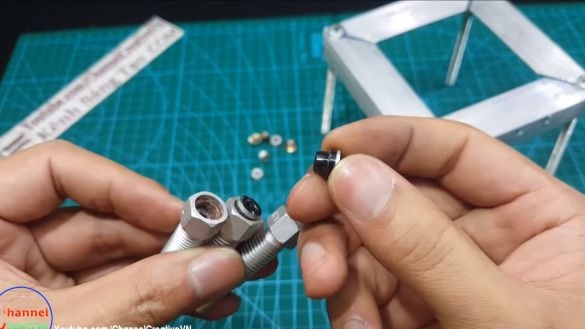
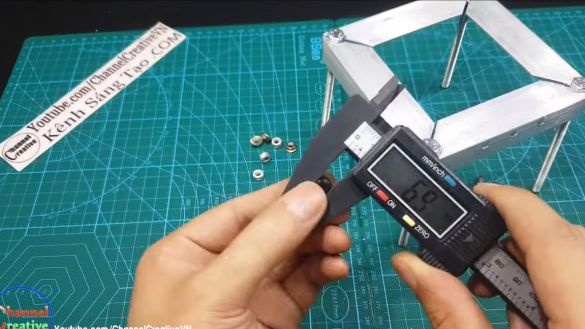
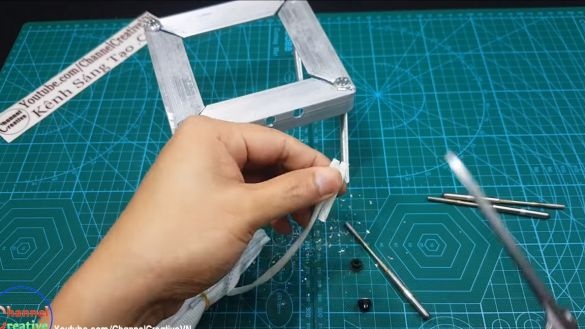
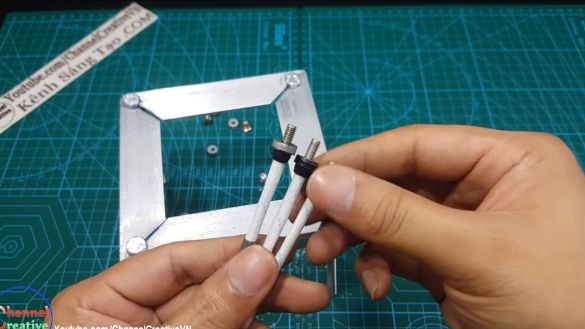
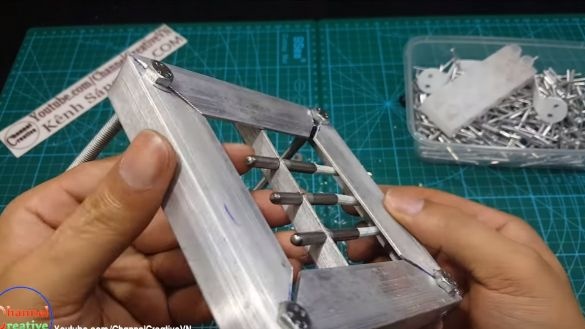
To get the maximum heat, you need to redo the candles a bit. To do this, the case is removed from them, we need directly heating elements. They are disassembled very simply, with a hammer and pliers. In addition to this, we will need insulator washers that are installed in the candle body.
Step Four We install heating elements on the stove!
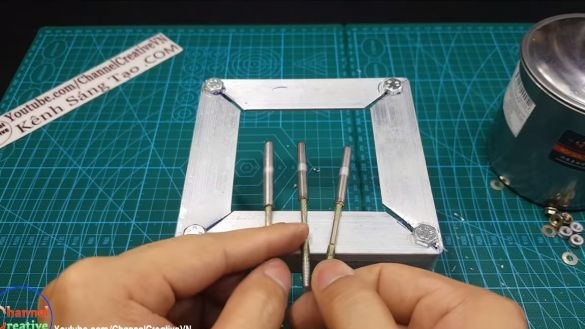
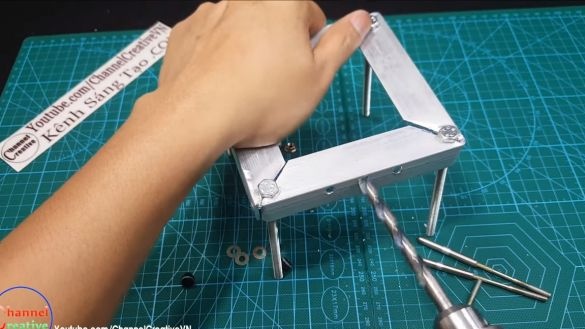
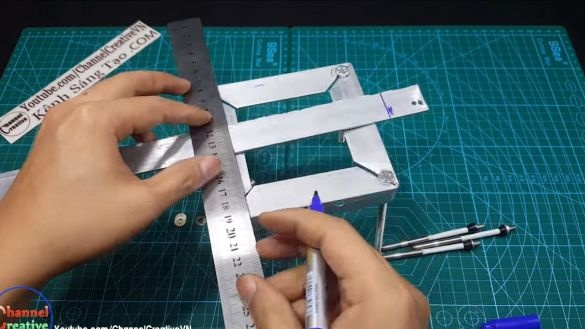
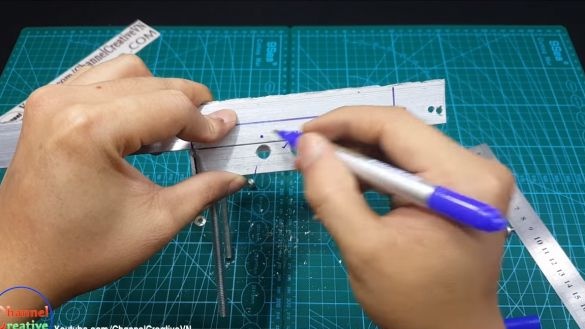
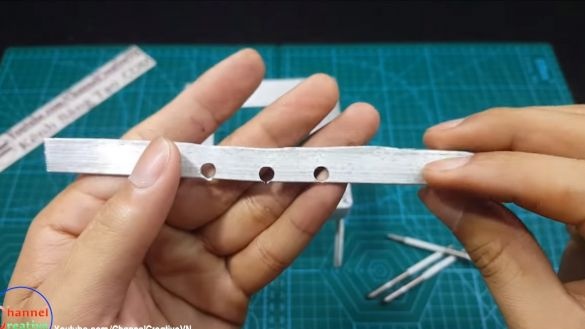
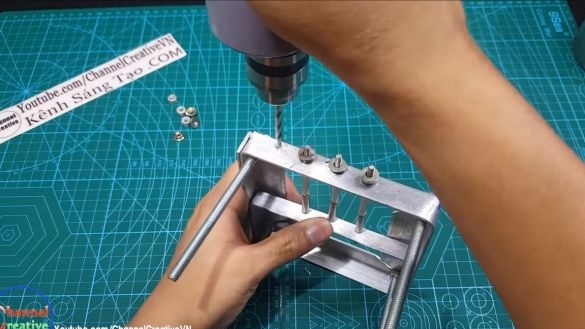
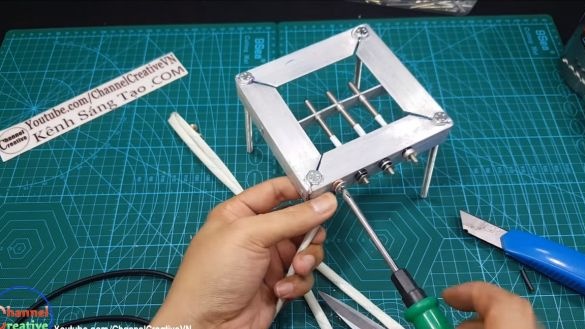
To install the glow elements we take a drill and drill three holes. The diameter of the holes of the frame must be such that insulators can be installed in them. You will also need to make another support for glow elements, for this you need an aluminum plate. We bend it in the form of the letter "P" and similarly drill three holes. After that, you will need to install the heating elements in their places.
Step Five Electric stove connection
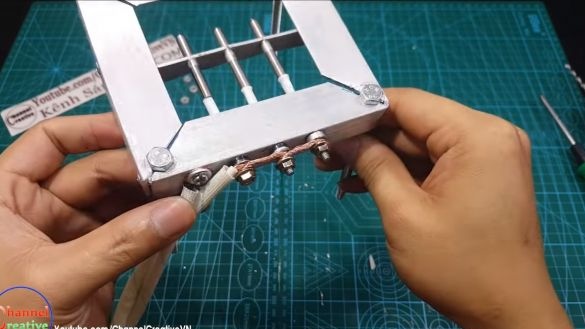
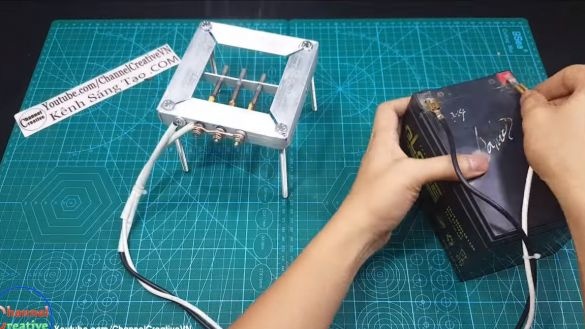
It is very simple to connect the plate, “minus” is fed to the frame, and “plus” to the contacts of the candles. It is possible and vice versa, it does not matter. To connect a wire to the frame, drill a hole in it and install a screw with a nut.
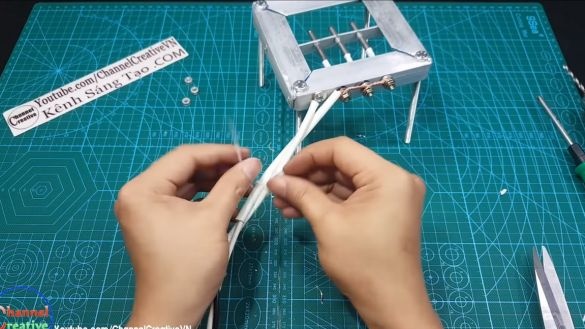
Now you can connect the wires, then you need heat-resistant insulation. Remove a couple of centimeters of insulation from the wires and install the tubes from heat-resistant insulation, otherwise the wires may heat up and emit an unpleasant odor.
We fasten the wires together with a plastic clamp. Choose a larger wire cross section, since current consumption is considerable here.
Step Six Test
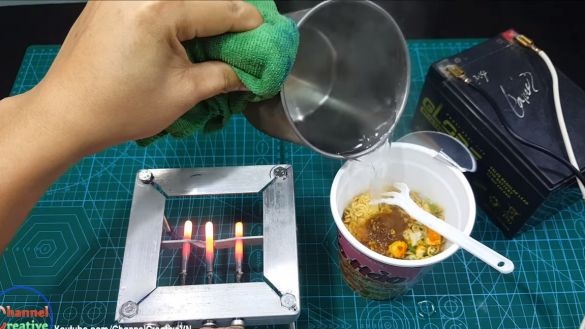
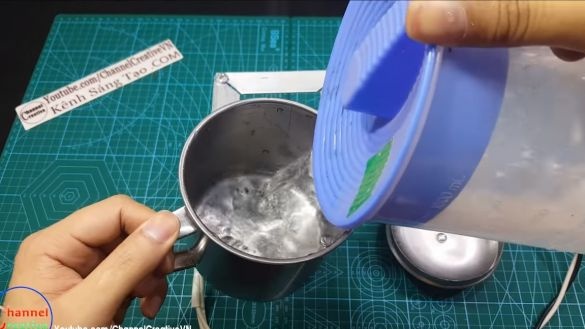
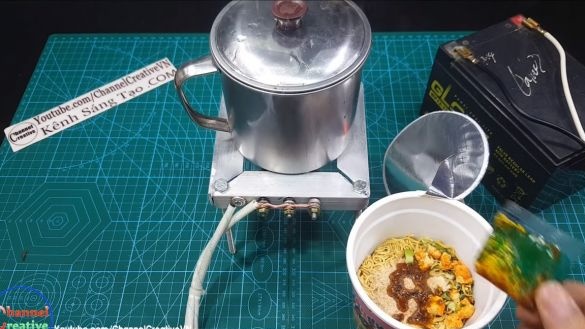
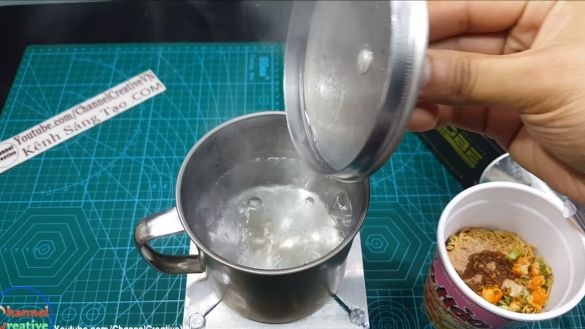
That's all, you can experience our miracle plate! We connect the battery to it and observe how the heating elements work. The first time they will smoke, this is quite normal and this will not happen in the future. The author decided to cook vermicelli on the stove by boiling water in a pan on the stove. The tests were quite successful, and the author's work was awarded a delicious dinner.
From the conclusions, it can be noted that the stove turned out to be quite interesting and by this principle it is possible to make the technique more powerful. As for the shortcomings and improvements, the bottom of the slab must be insulated, since a lot of heat is lost here. If this problem is eliminated, the stove will heat stronger, faster and consume less energy.
That's all, I hope you liked the project. Good luck and inspiration in making your own plate!

