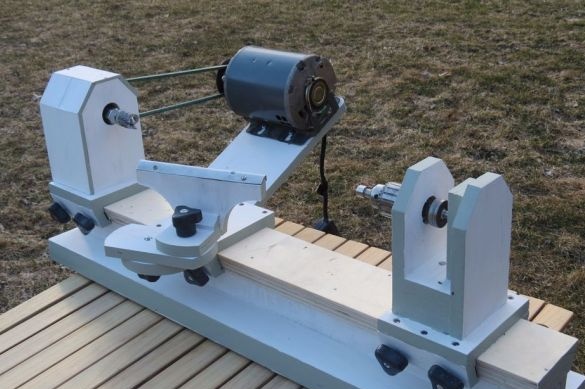
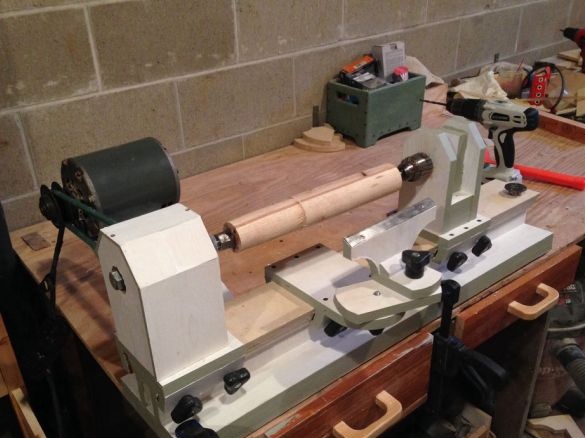
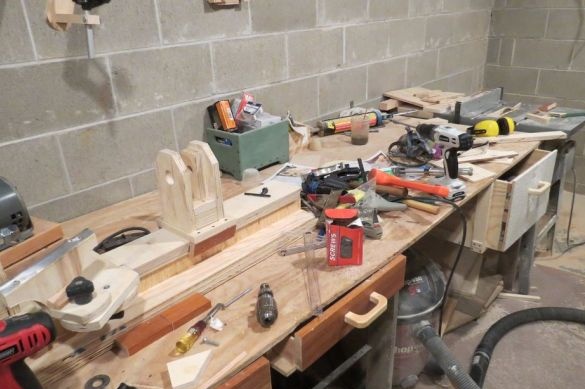
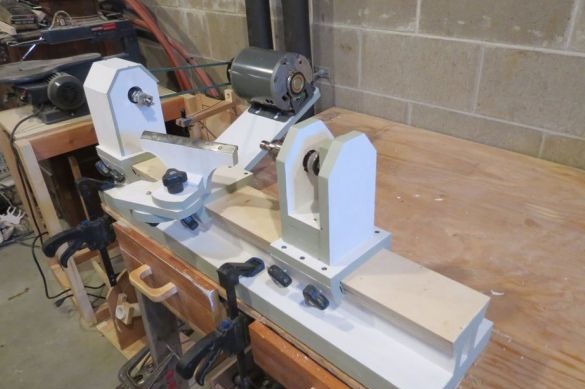
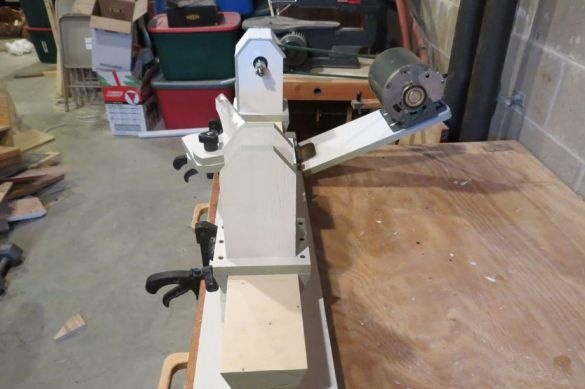
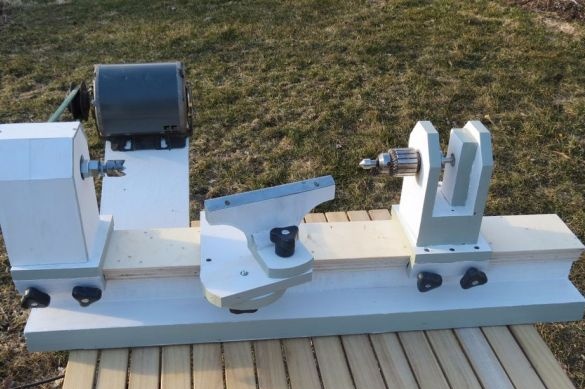
In this article, consider the next model wood lathe. 15-year-old master made a machine from scrap. For the manufacture of the master used the following
Tools and materials:
-Plywood;
-Glue;
-A circular saw;
-Pencil;
-Rule;
- Clamps;
-Miter saw;
-Drilling machine;
-A screwdriver;
- Band saw;
-Bolts with nuts and washers;
-Bearings;
-Screws;
-Metal plate;
-Electric motor;
-Pulley;
-Wind screw;
-Rotor electric drill with a cartridge;
-The loop;
-Paint;
- brush;
-Cone metal;
-Belt;
Step One: Foundation
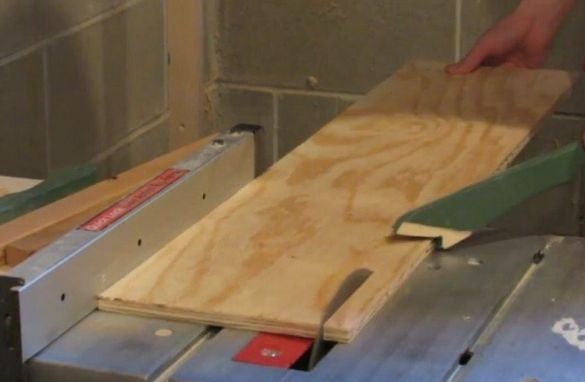
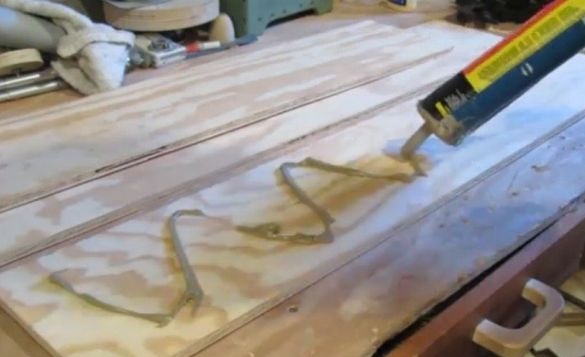
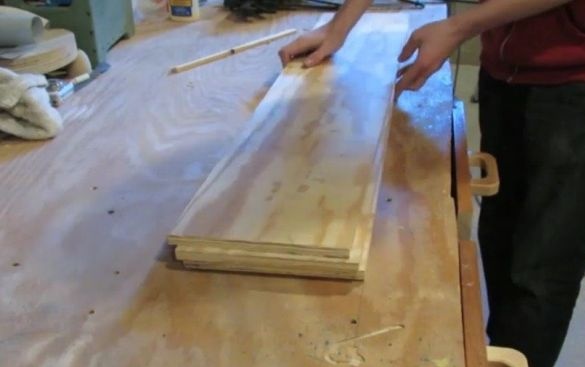
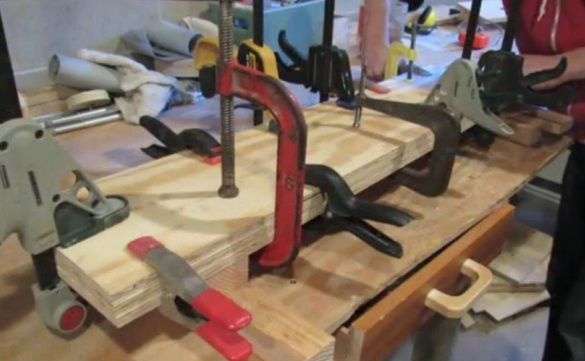
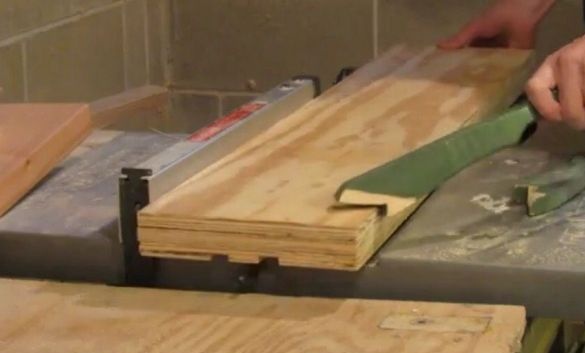
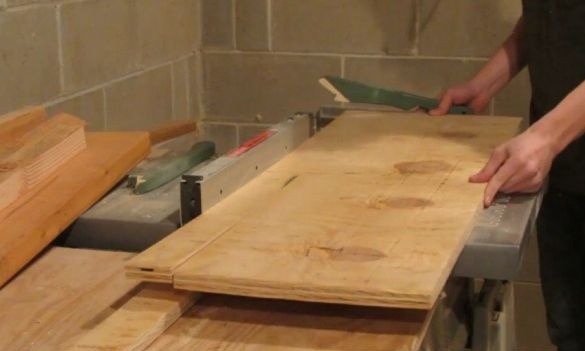
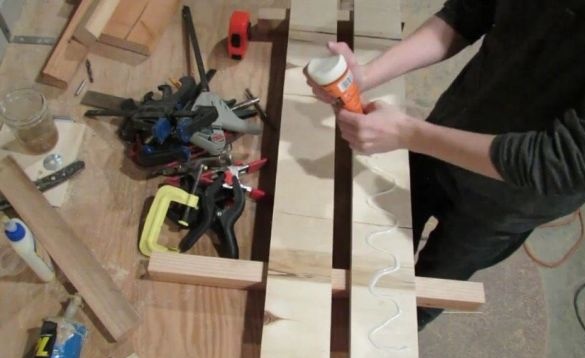
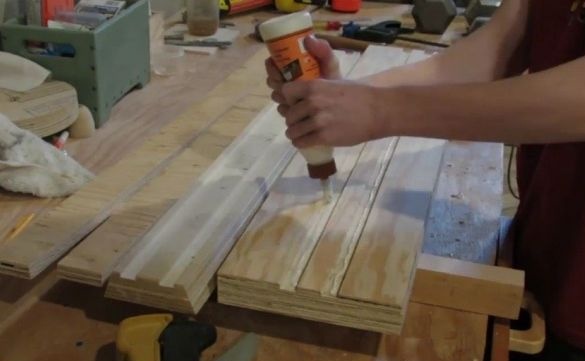
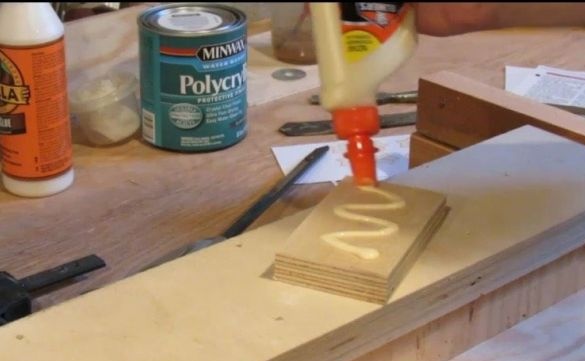
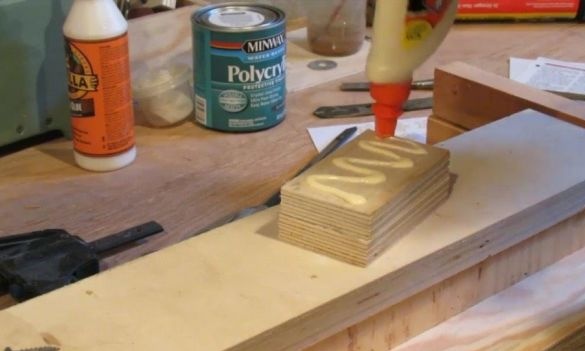
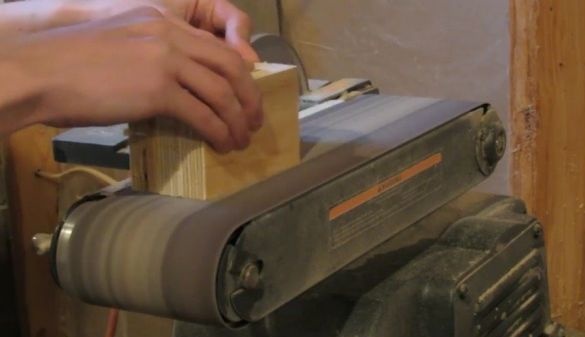
The base of the machine is made of glued 12 mm plywood. Cuts three plywood rectangles. Glues them. Going around the edge.
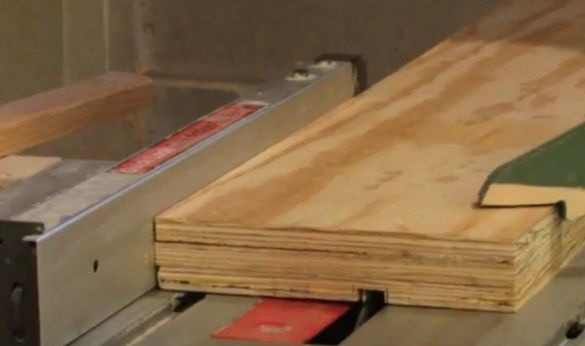
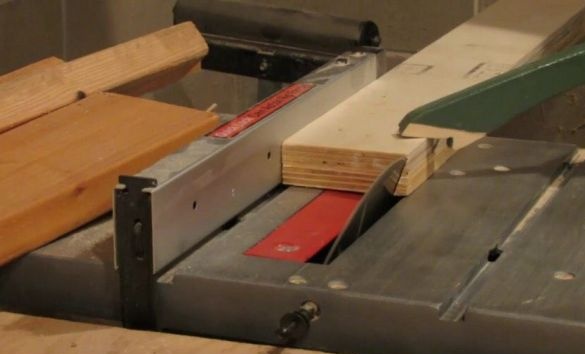
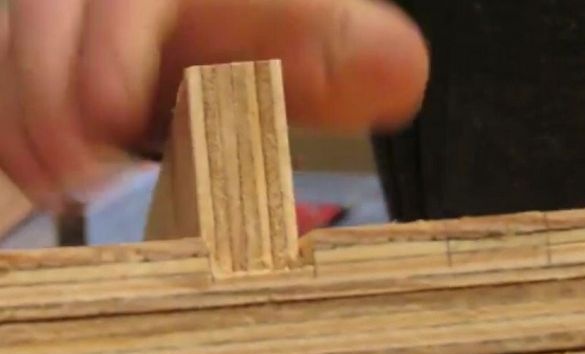
Over the entire length of the base makes two parallel grooves.
Full length plywood racks must be inserted into these grooves. A guide will be installed on top of them. Cuts two racks.
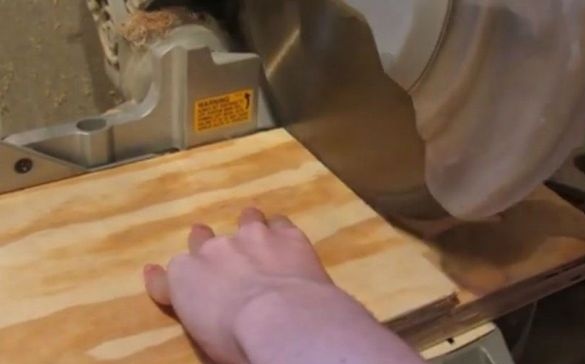
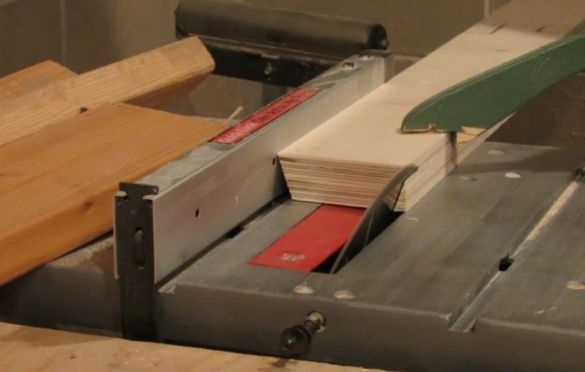
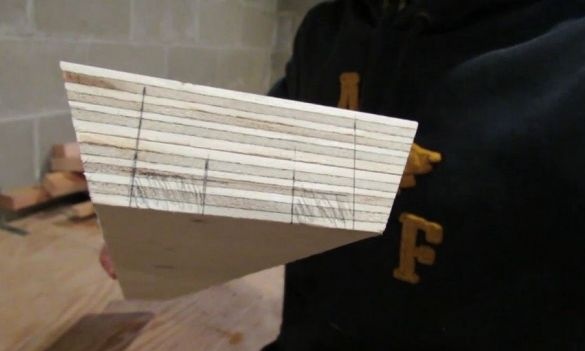
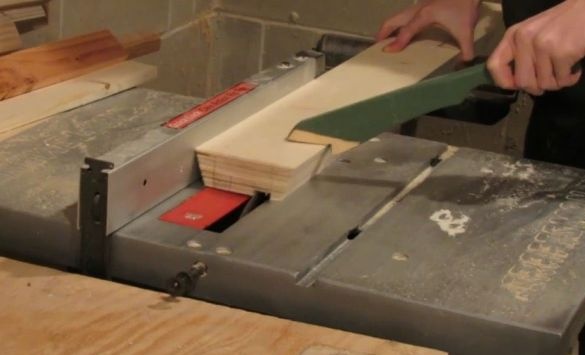
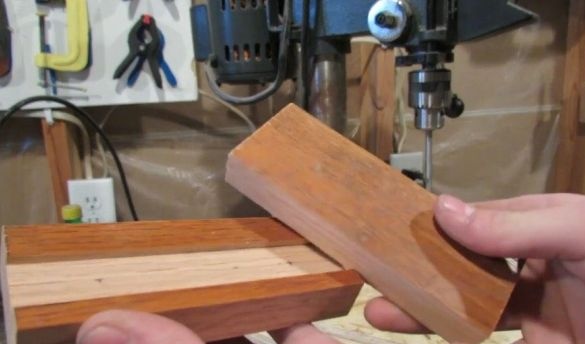
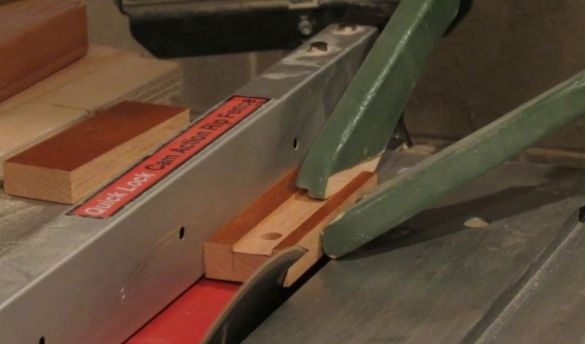
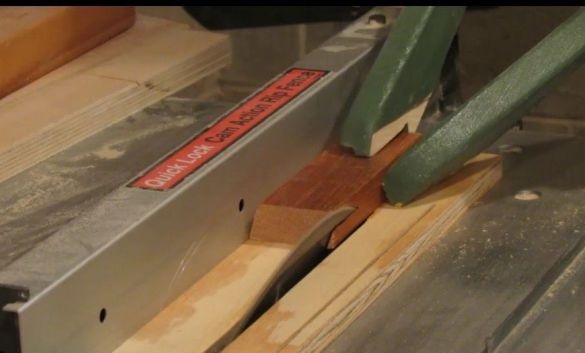
Cuts two parts for a guide. Glues them. The end parts are cut off at an angle of 20 °. Makes two slots on the guide.
Glues the base.
Step Two: Headstock
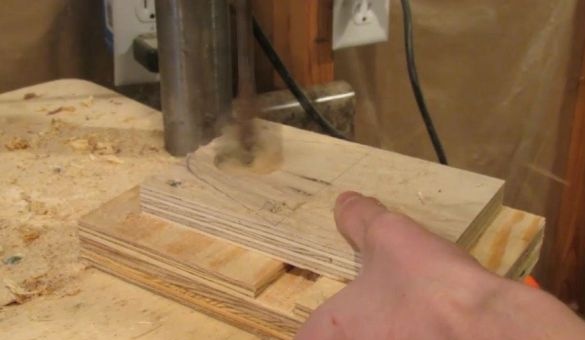
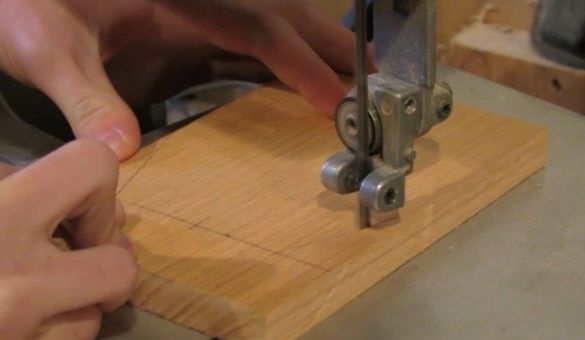
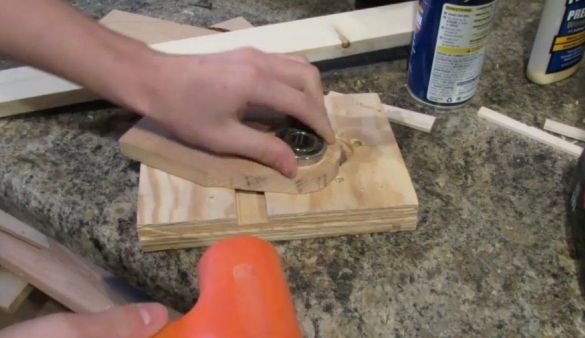
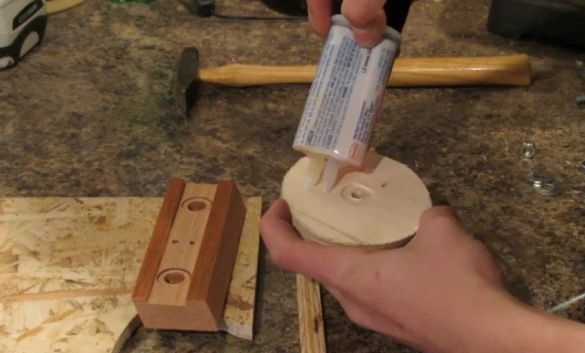
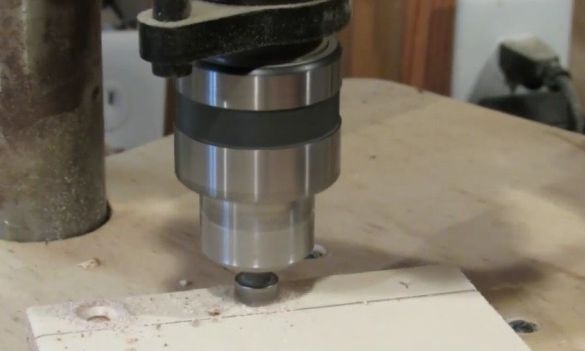
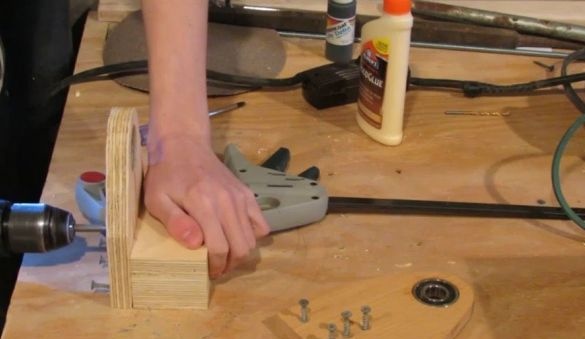
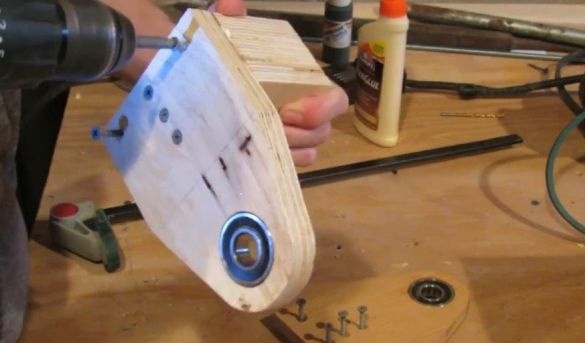
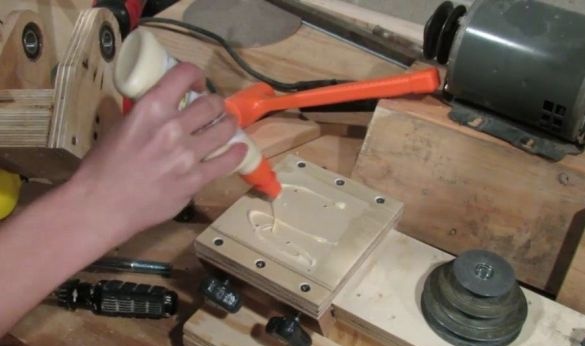
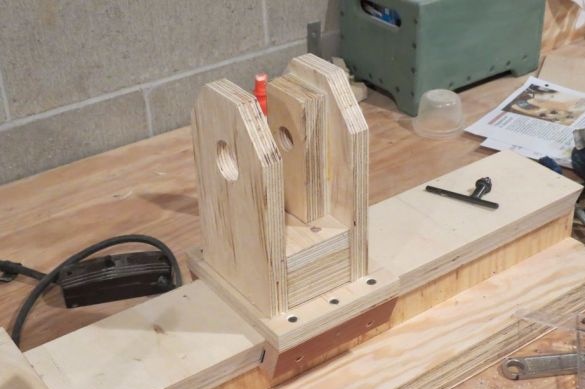
He makes the headstock of plywood. Slices two rectangular pieces of plywood. Cut their upper part in a semicircle. Drills a hole for the bearing. Installs the bearing in the hole on the adhesive.
Cut three plywood squares. Glues them. Two parts of the headstock will be attached to the sides of this square.
Step three: the lower part of the headstock
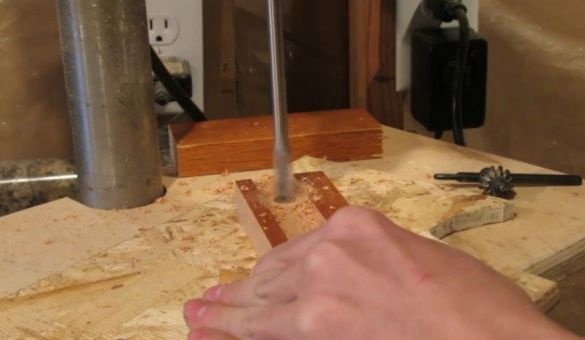
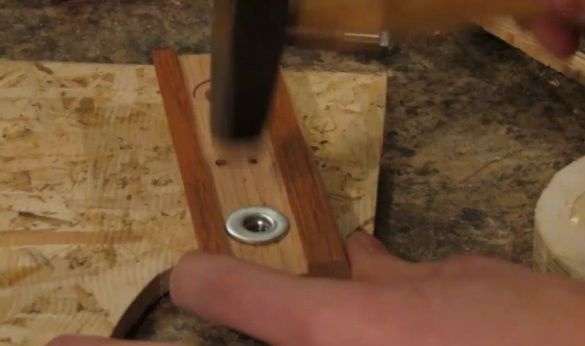
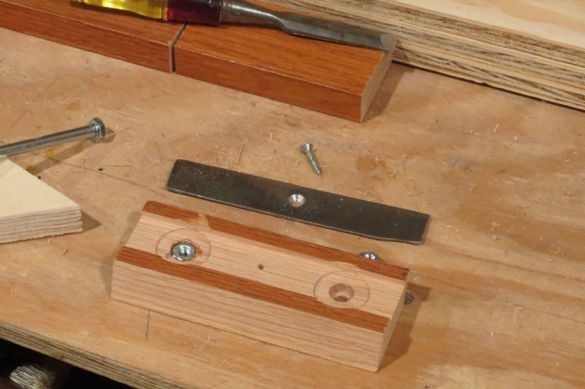
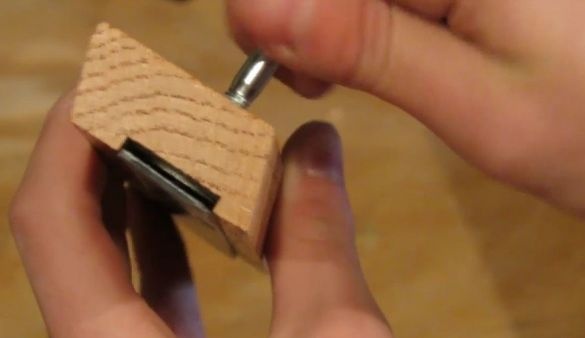
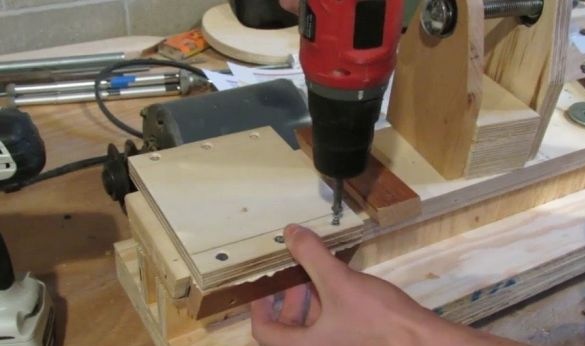
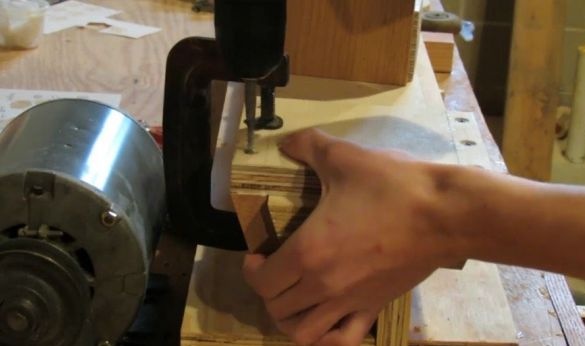
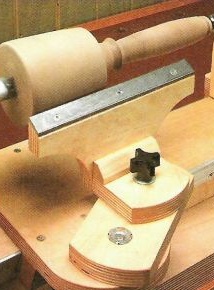
Cuts two rectangular blanks (clamps). The end parts of the workpieces are cut at an angle of 20 °. A groove is made in the middle of the blanks. It makes two holes in the groove for installing the nuts and washers and through holes for the bolt. Glue the nut and washer. Screws a metal strip into the groove of the clamps. Makes the platform the width of the guide. Screws to the platform, on both sides, clamps. the platform with clamps moves freely along the guide. For fixing it is enough to tighten the bolts on the clamps. the metal plate is pressed against the guide and the platform is fixed.
Step Four: Front Headstock Assembly
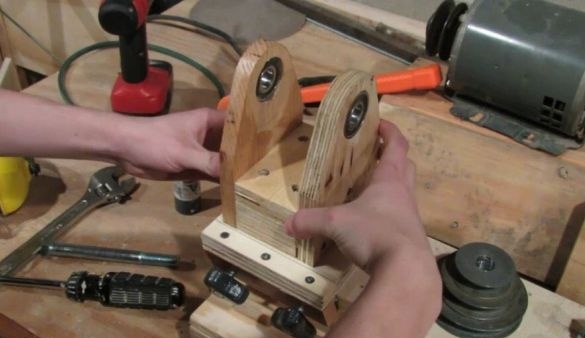
Two parts with bearings are screwed to the block.
Screws the headstock to the platform.
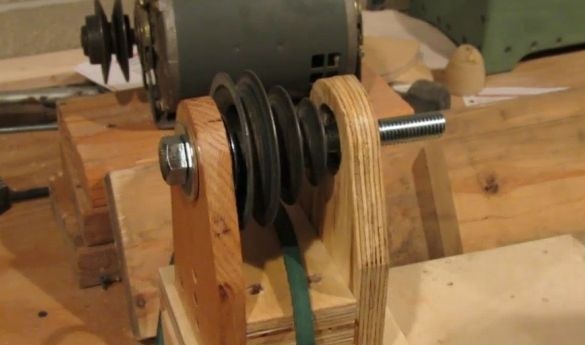
Installs a pulley.
Step Five: Making the tailstock and handicraft
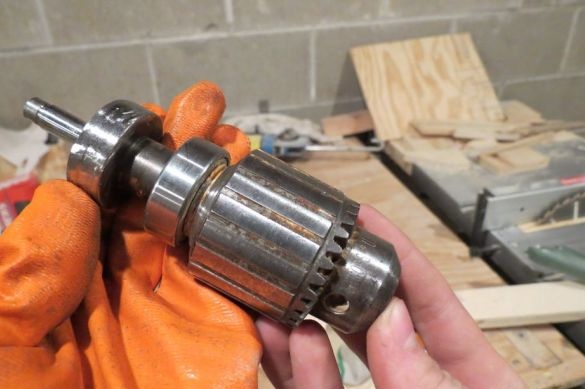
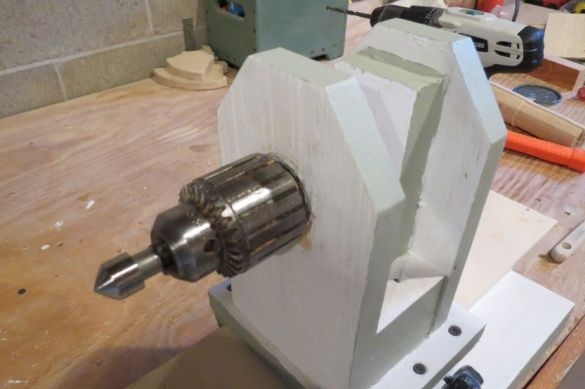
The principle of manufacturing the tailstock is the same as the front. The master uses a rotor with a chuck from a drill as a pinoli.
The handicraft master makes of plywood with an insert of a metal corner in the upper part.
Step six: motor, headstock protection, spindle
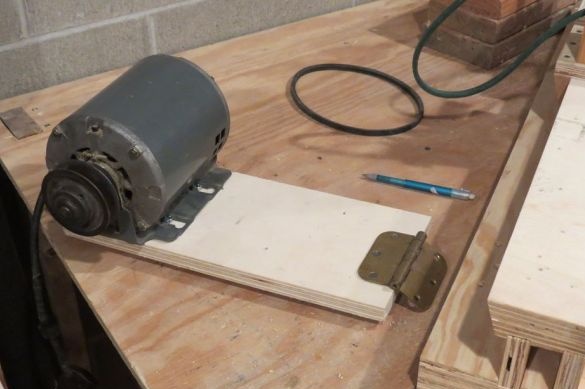
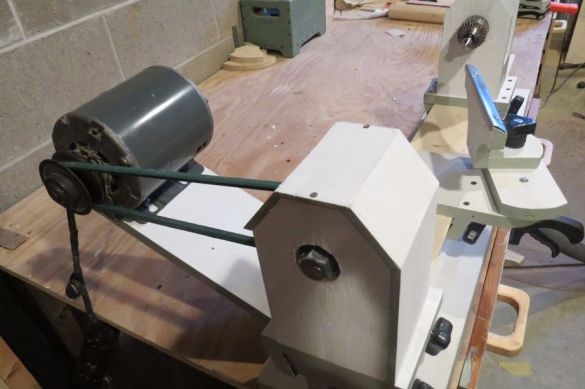
The engine is mounted on a plywood board connected to the base with a loop.
On the back and front headstock sets protection.
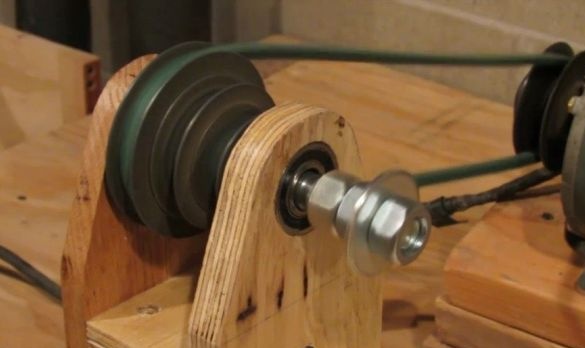
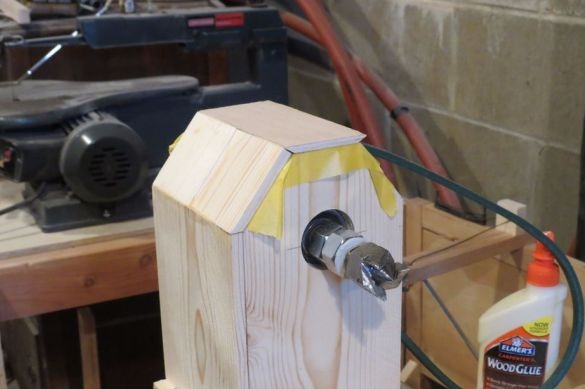
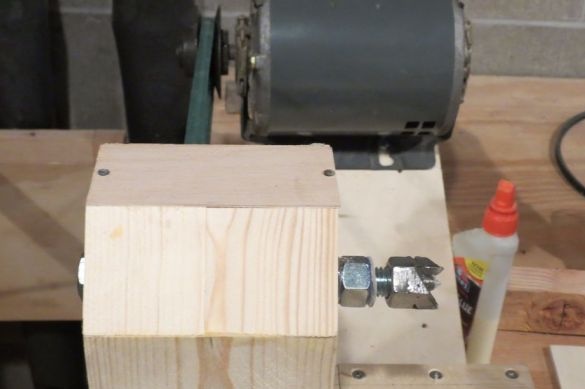
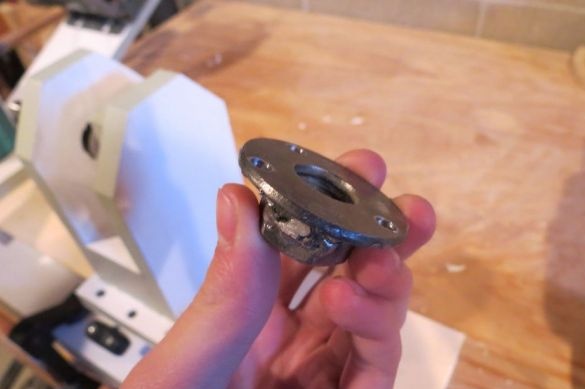
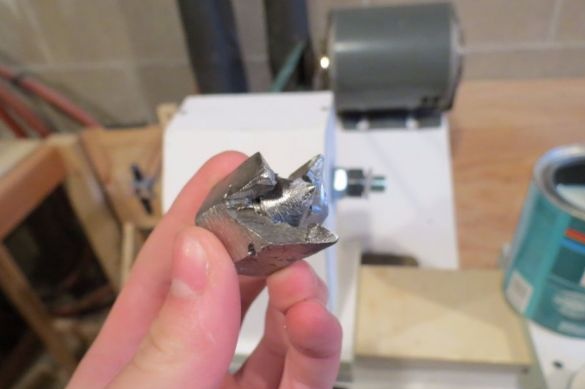
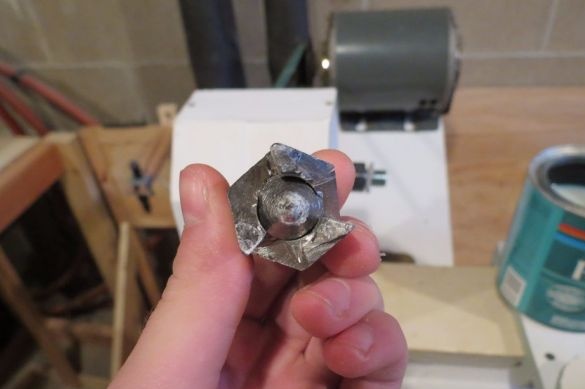
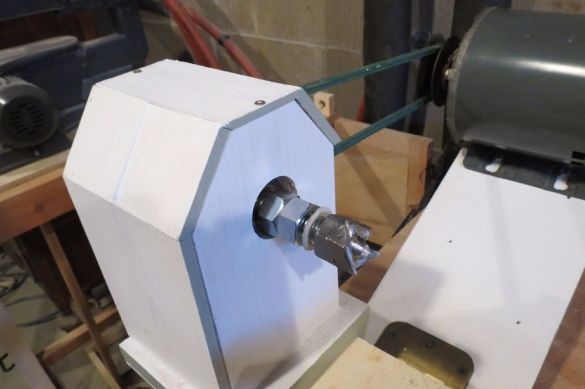
The master made the spindle by welding two nuts and a washer. Then he made “teeth” in the nuts.
Seventh step: coloring
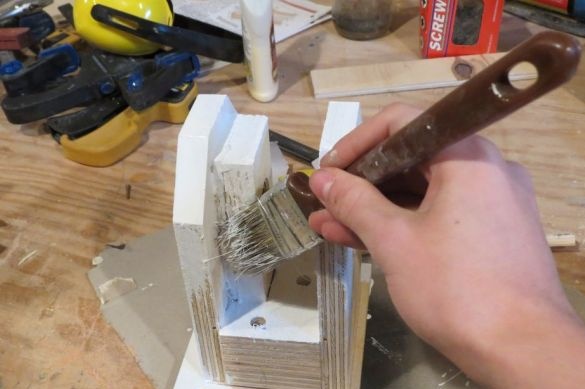
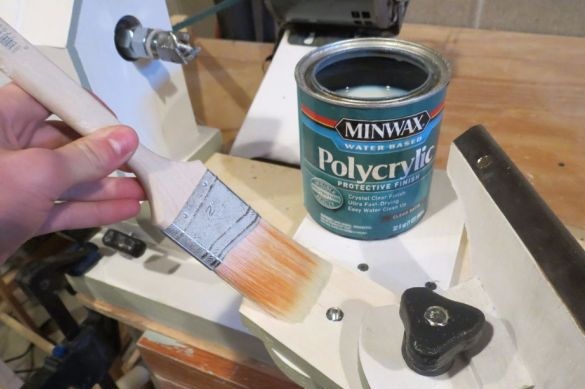
Paints parts of the machine.
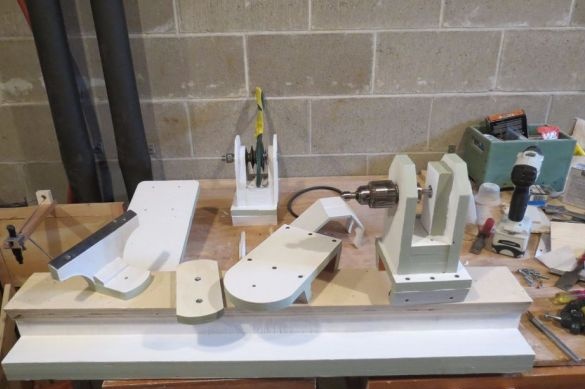
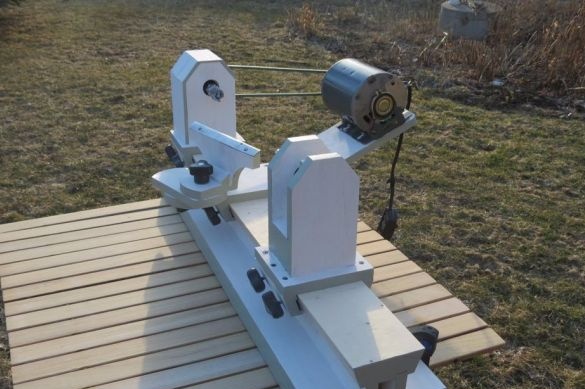
The machine is ready. It remains to establish the workpiece and try it in work.
Video on the manufacture and assembly of the machine.

