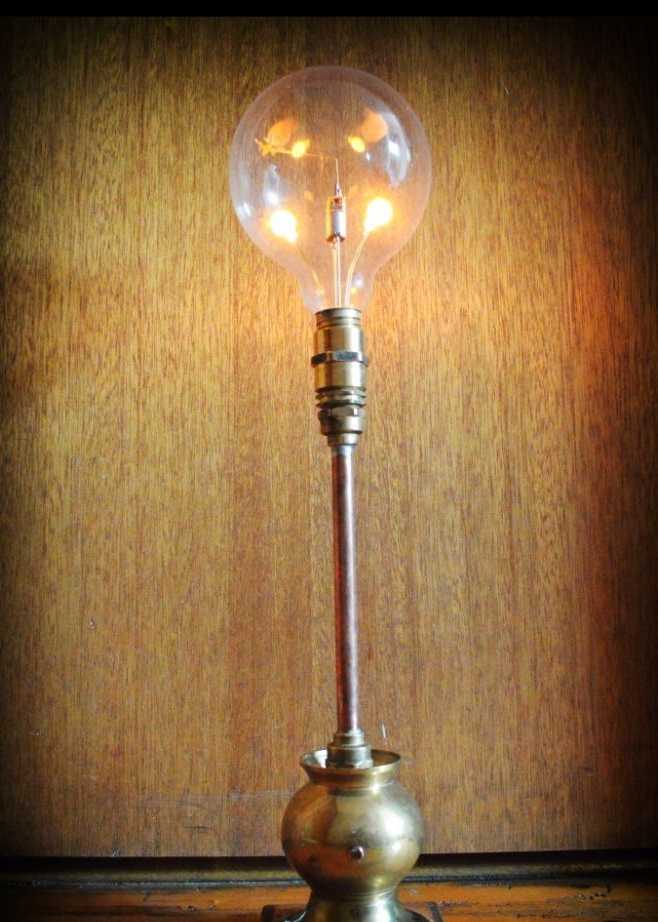
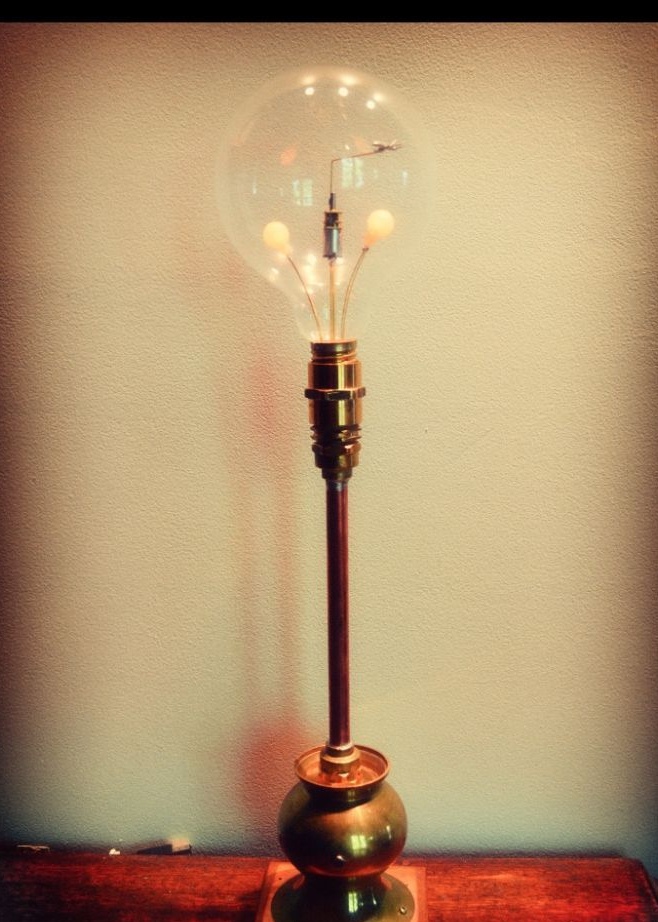
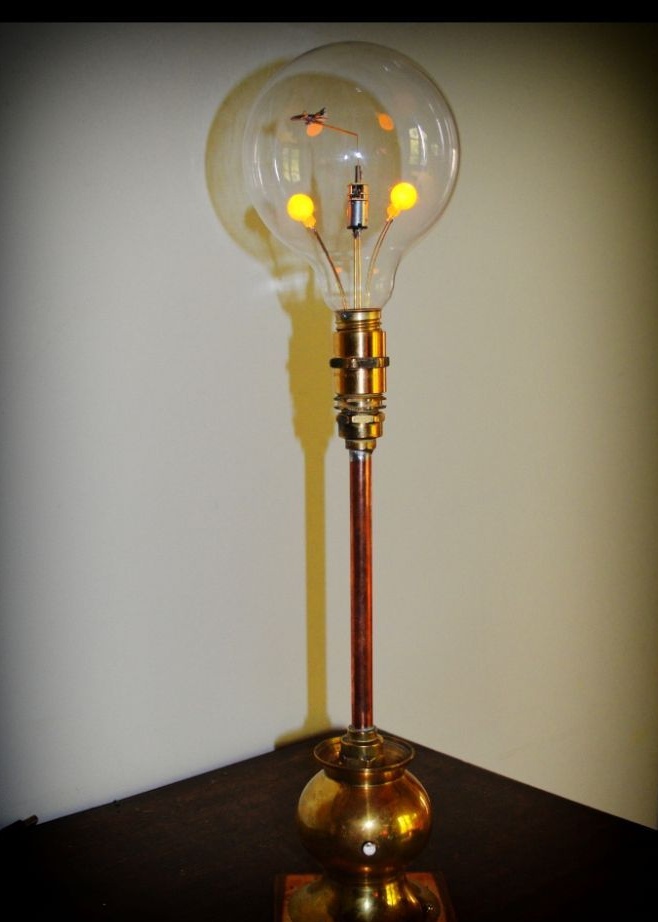
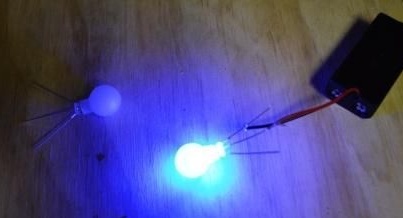
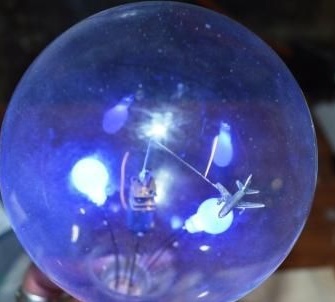
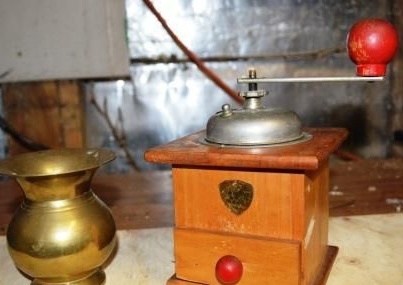
An interesting decorative lamp was invented and manufactured by the Master. Let's first watch a video of the operation of the lamp.
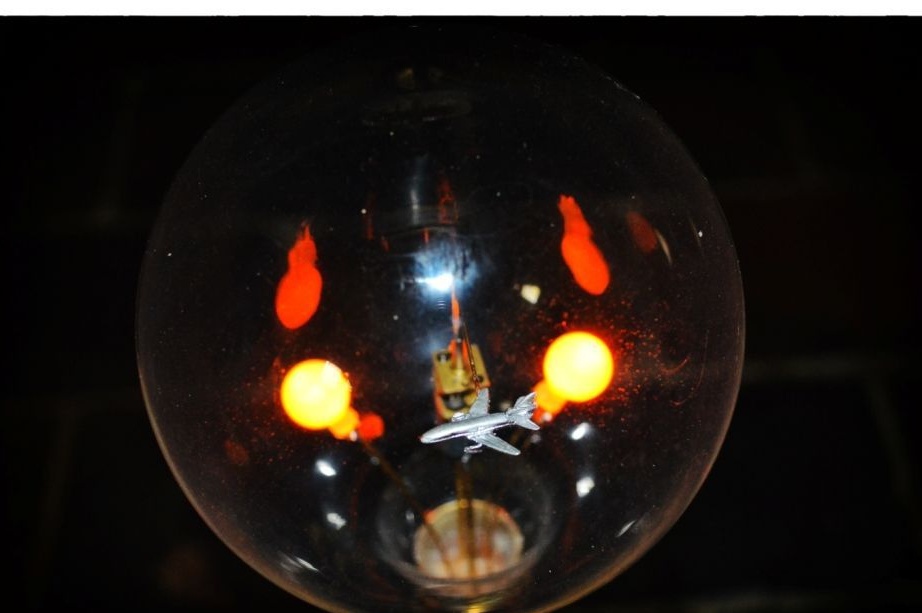
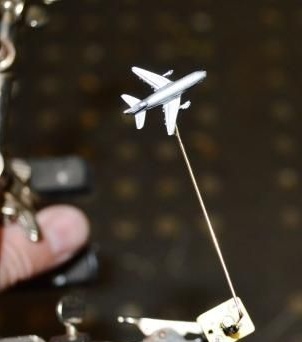
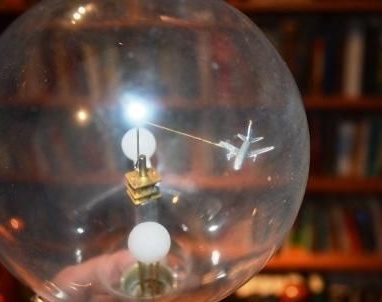
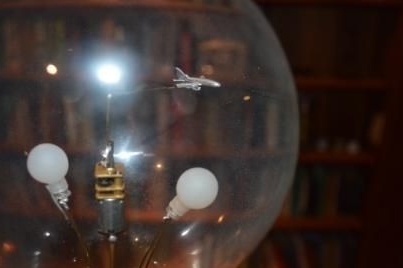
As can be seen from the video, a motor and two LEDs are installed inside the glass bulb. A wire with an airplane at the end is soldered to the motor shaft. To turn on the lamp, a motion sensor is used. So, for the manufacture of the lamp, the master used the following
Tools and materials:
-Motor reducer;
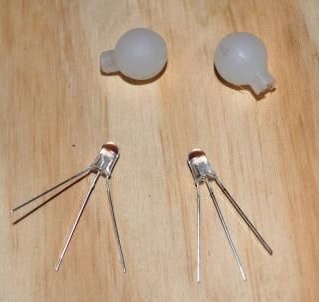
-2 LEDs;
-Diffusers;
-Motion Sensor;
-Copper wire;
-The wire;
-Wood;
- Copper decorative parts;
- Brass plumbing fittings;
- Brass tube;
-Battery holder;
-Batteries;
-Small airplane;
-Screwdriver;
-Glue gun;
-Soldering iron;
-Pliers;
-Drill;
-Dremmel;
-Light bulb;
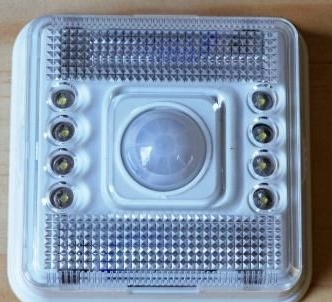
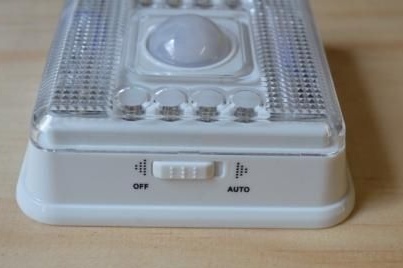
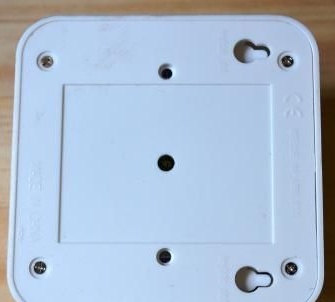
Step one: disassembling the lamp
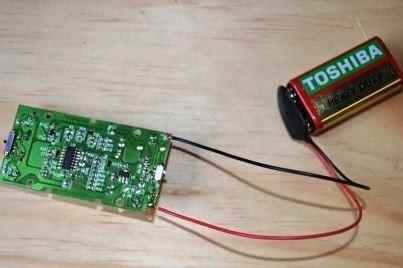
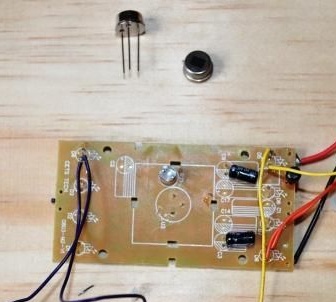
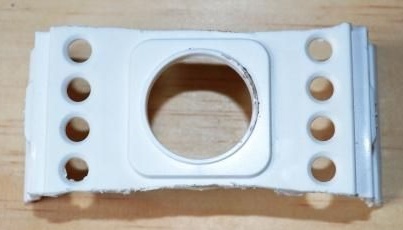
The master used a motion sensor from an LED lamp with the above sensor. Disassembles the case and removes the board.
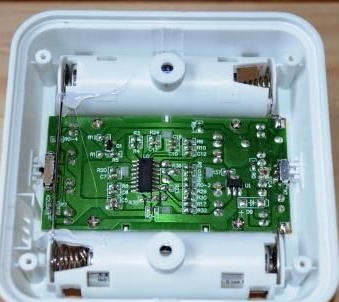
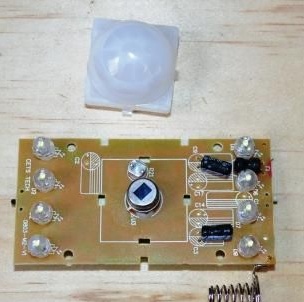
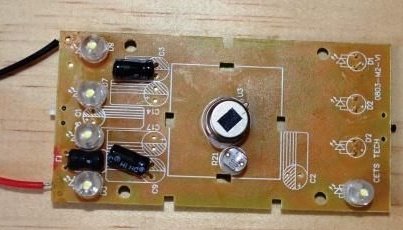
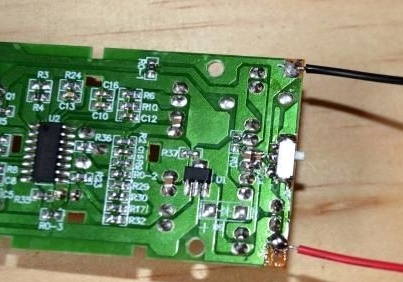
Step Two: Board Alteration
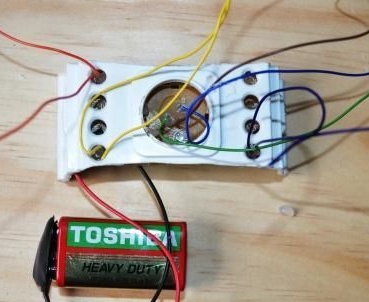
Next, you need to modify the board. Regular LEDs turn off. The wires are soldered to the contacts of the three LEDs, two LEDs and a motor will be powered from them. Solders wires to power contacts. Further, the master disconnects the standard power sensor and connects another through the wires (you can drop the standard one and use it). Connects the engine. It connects the battery and checks the operation of the electronics. When driving near the sensor, the motor should start working.
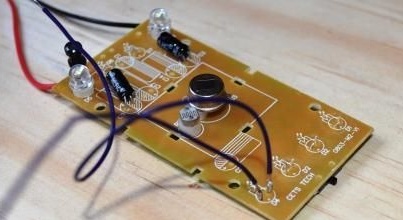
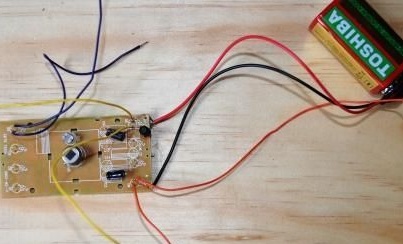
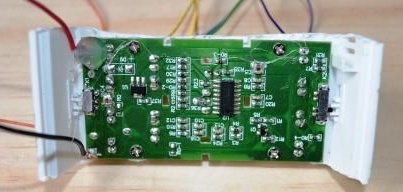
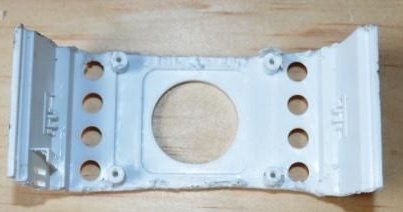
Step Three: Board Case
Installs the board in the chassis. Wire pulls into the holes of the LEDs.

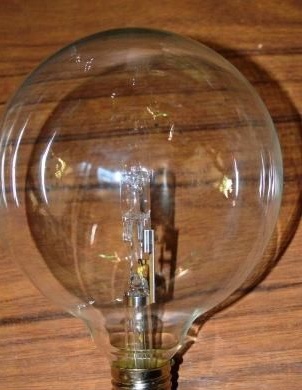
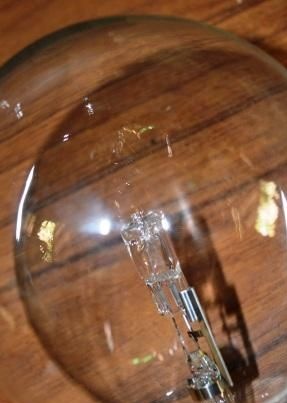
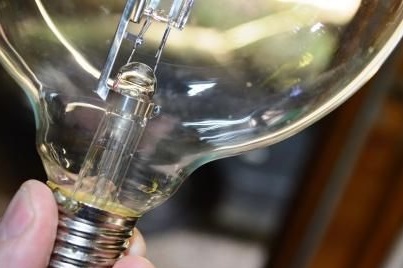
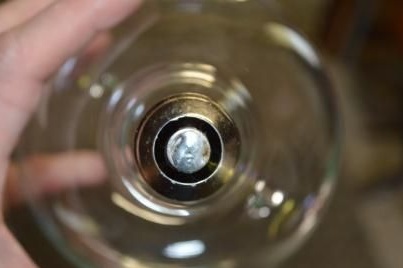
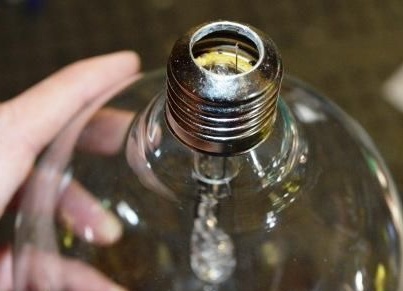
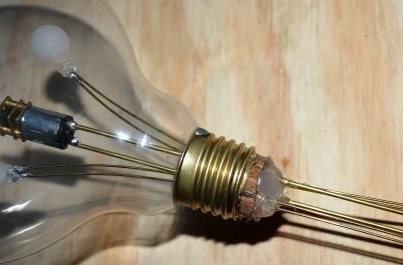
Step Four: Light Bulb
The next step is to remove the middle from the bulb. Contact can be broken off with pliers or grind off. Then destroy the ceramic insulator. Pull out the glass tube with pliers.

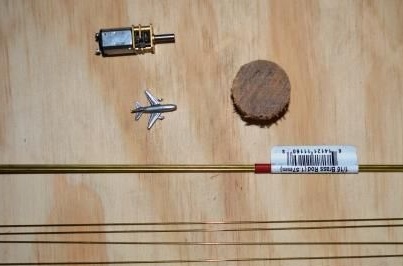
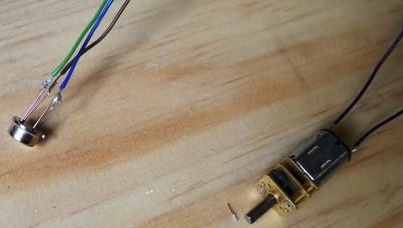
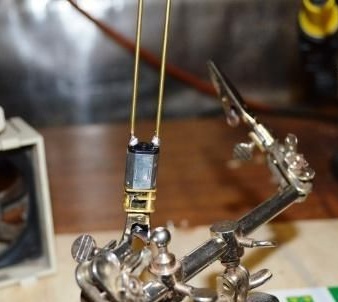
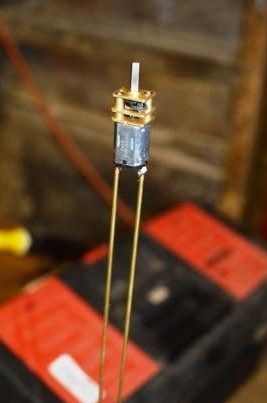
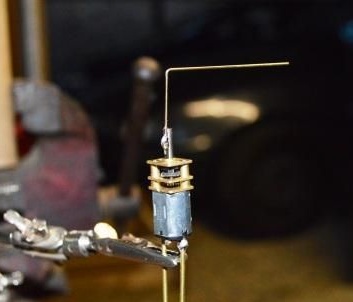
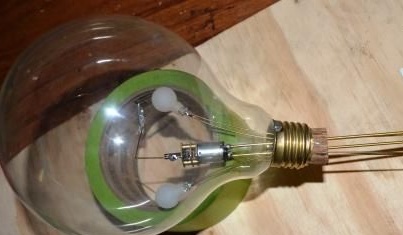
Step Five: motor, airplane, LEDs
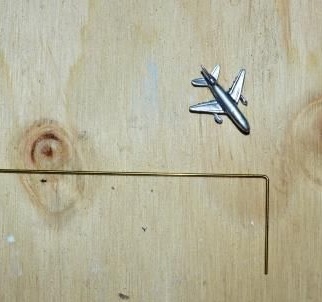
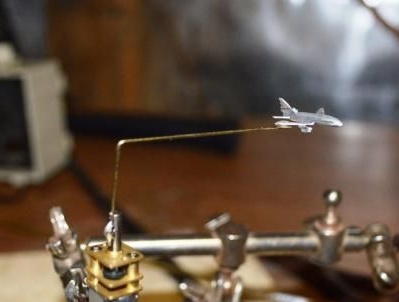
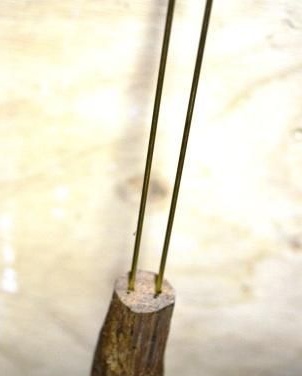
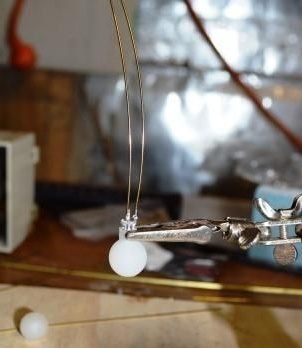
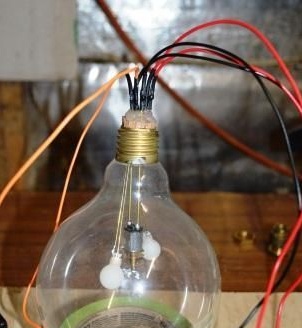
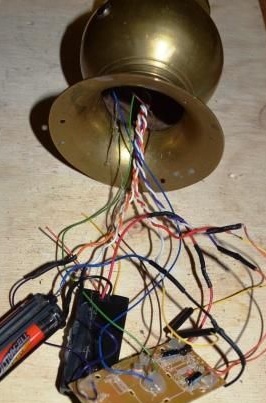
Two pieces of copper wire are soldered to the motor contacts. A piece of curved wire G is soldered to the gearbox shaft. A plane solders to the second end of the wire. Copper wire is also soldered to the legs of the LEDs.The LEDs themselves put on the plastic diffusers removed when disassembling the lamp. In order for all this to hold, he makes a wooden plug. The plug will be installed in the lower part of the lamp base. The plug makes holes for the wire.
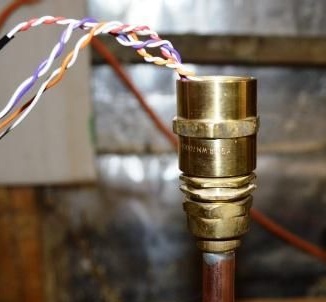
Step six: assembly of the lamp
Pulls the wire through the holes in the plug. Pushes the motor, plane and LEDs into the light bulb. Fill the plug with hot glue. Solder wires to the wire.
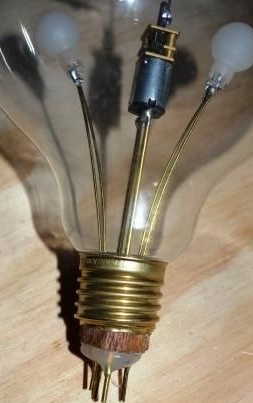
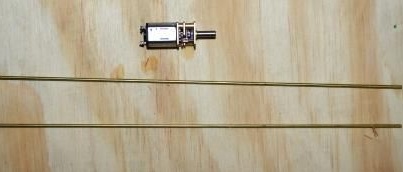
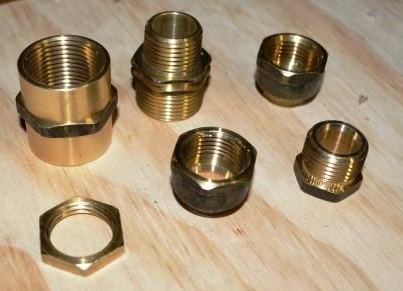
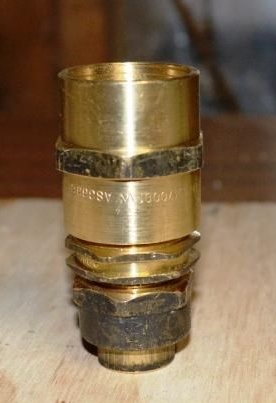
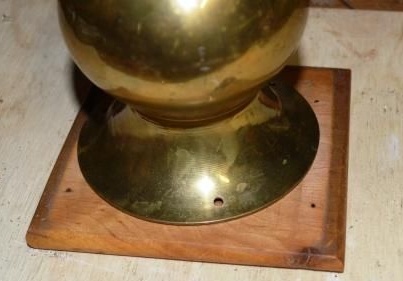
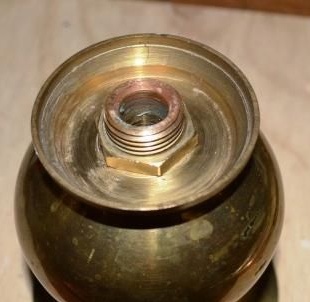
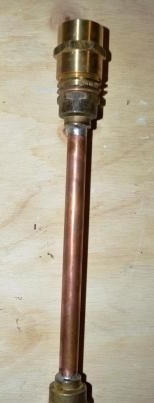
Seventh step: base and stand
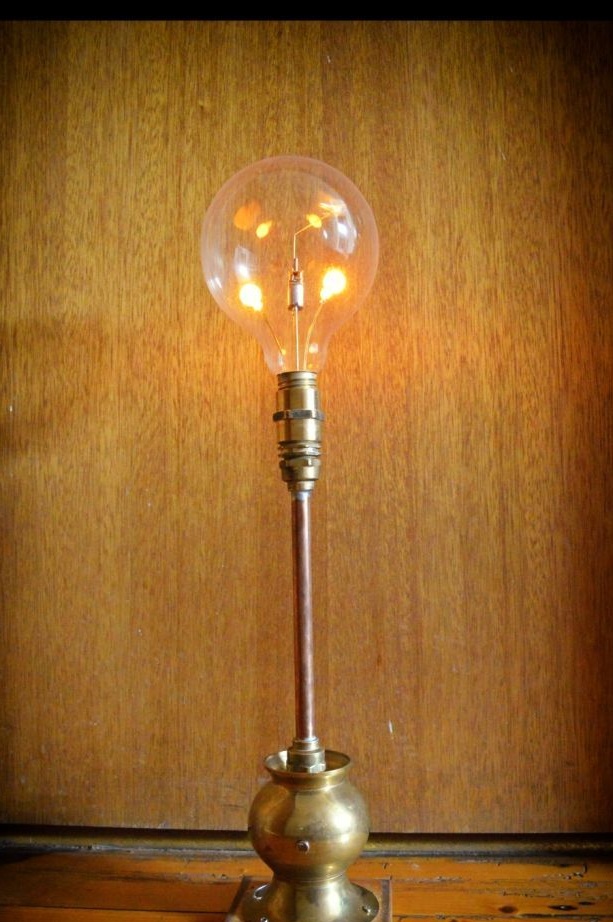
Using brass fittings and a tube assembles a rack. Solder the stand to the base.
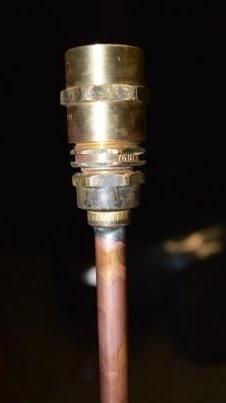
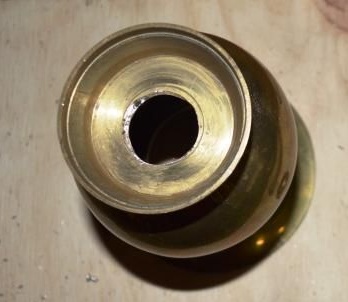
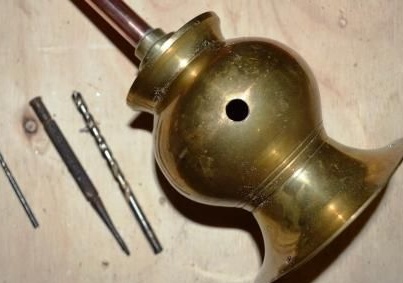
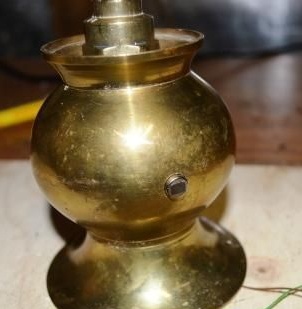
Step eight: assembly of the lamp
A hole is drilled at the base. Installs a motion sensor in the hole. Pulls wires through a tube of a rack. Screws a light bulb into the top of the rack. Connects wires to board wires. Connects the battery.
All is ready.