
And let's start with a brief theory and a list of terms so that you can understand everything in the manufacturing process.
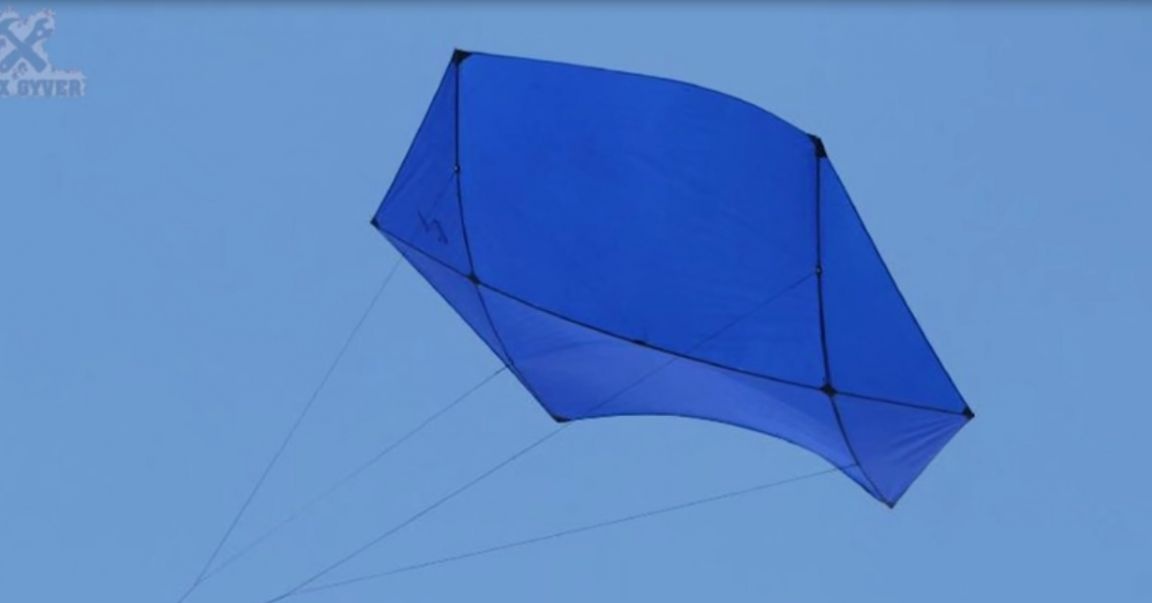
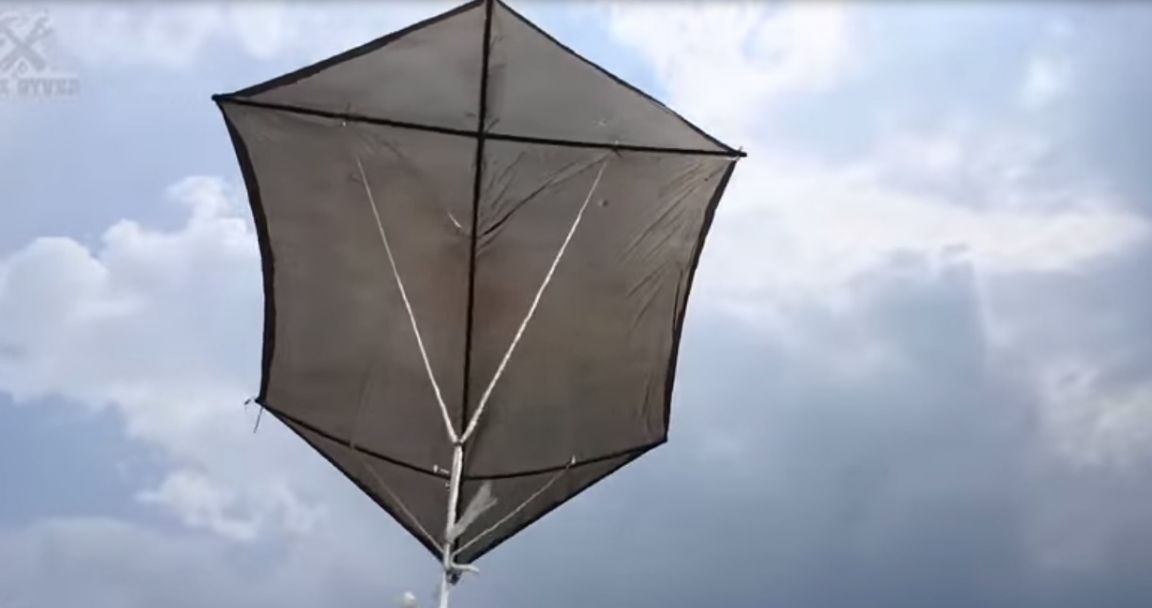
So. Rokkaku is a traditional Japanese kite. Fans of kites are abbreviated as Rocky. This type of kite differs from the rest in very high stability in the sky, good aerodynamics, ease of manufacture and the design itself. As well as great lifting power and the ability to fly into the wind. And this snake does not need a tail, but in a strong wind, the tail will add stability. It is because of such a large number of pluses that this snake is used for aerial photography and video shooting, fixing the camera on a special suspension. This is called kapping.
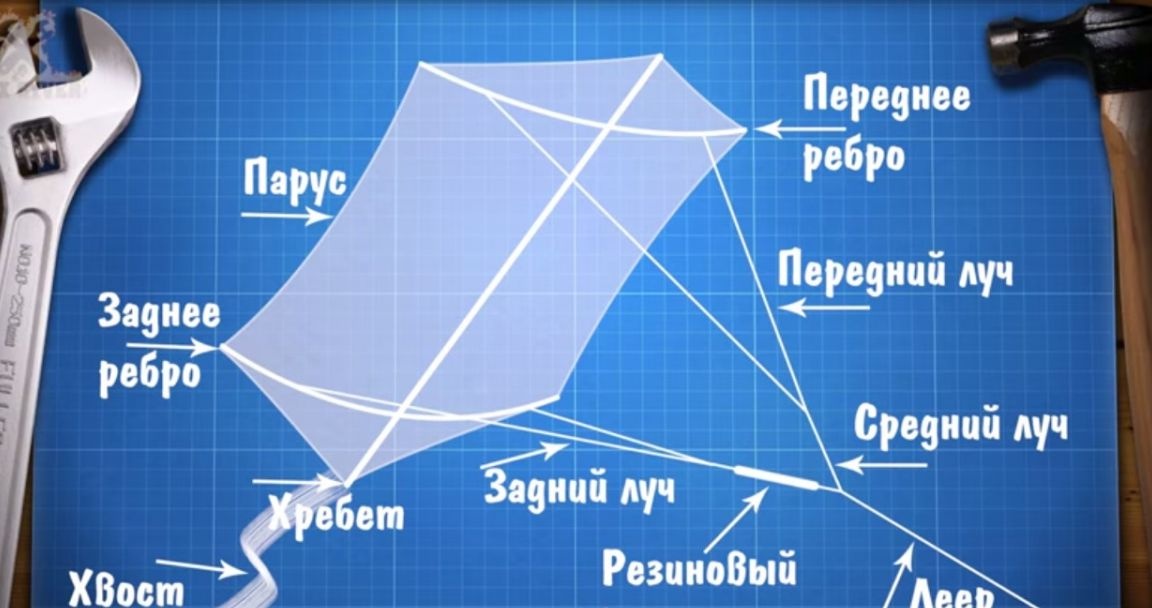
Let's take a closer look at the design of the snake. The backbone of the frame is the ridge. It must be durable and unbending. The best material for the ridge is fiberglass tubes. Two ribs are attached to the ridge: rear and front. The ribs are curved (the back is curved stronger than the front). It is these curved ribs that give the snake better aerodynamic performance than other flat snakes. The best material for the ribs is carbon tubes. But of course, the entire frame can be made of wood (and this article is about this option). A sail is pulled over the frame (without it, a snake would not have been a snake). As a sail, you can use a film. Like all snakes, Rokkaku is launched on a rail (a long rope).
The most reliable trainer is a fishing rope, but it is too expensive a pleasure. Even kites can be launched on a thick fishing line, in extreme cases - on a synthetic rope. The snake is attached to the lehr using a bridle. It consists of a front beam, a rear beam and a middle beam. A very cool improvement is the rubber compensator (we'll talk about it later). And of course, you can add a tail (for beauty and better stability).
Let's move on to manufacturing!
We will make a snake from pine planks. As for sizes, they can vary subject to maintaining proportions.
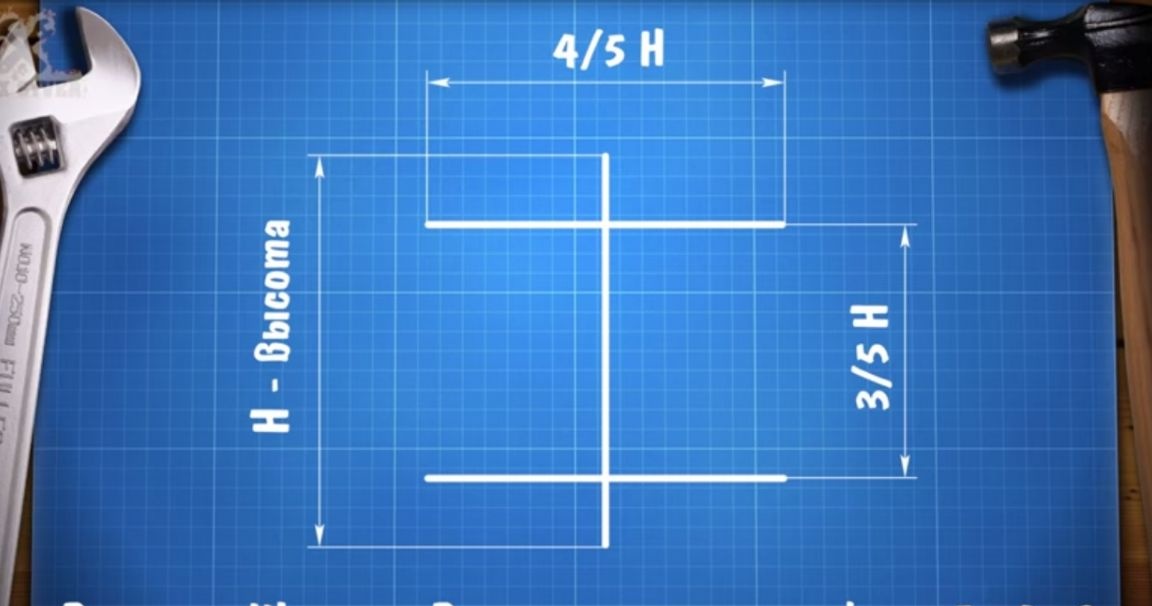
We will make a snake 120 cm high. From the proportion we find the width and height of the rectangular part. We cut off the frame elements a centimeter longer than the calculated ones (this is necessary for attaching stretch marks).
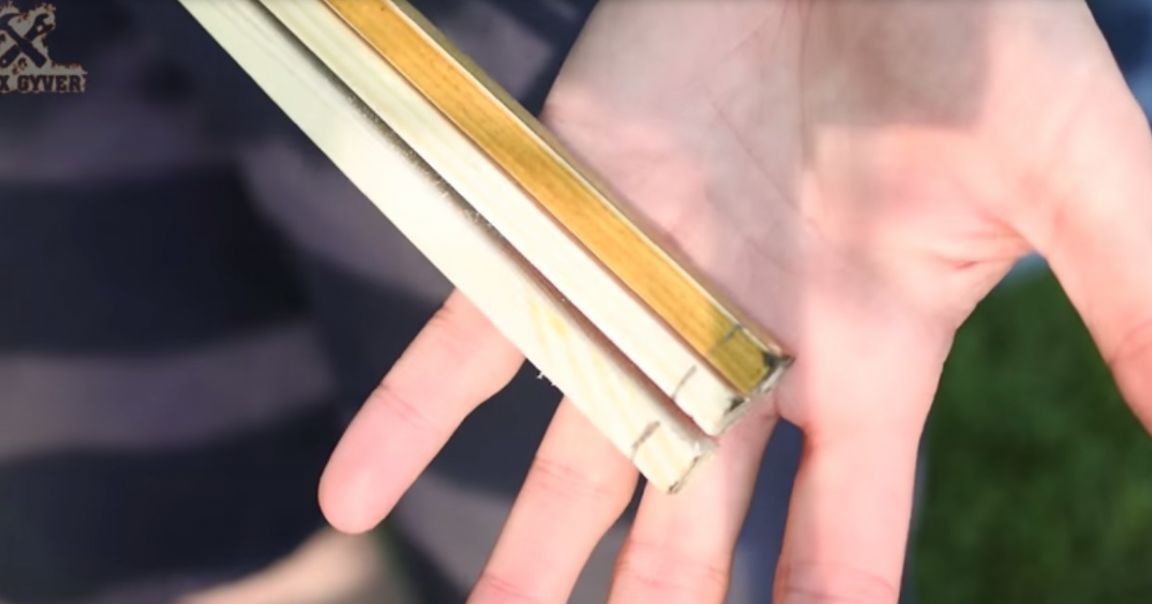
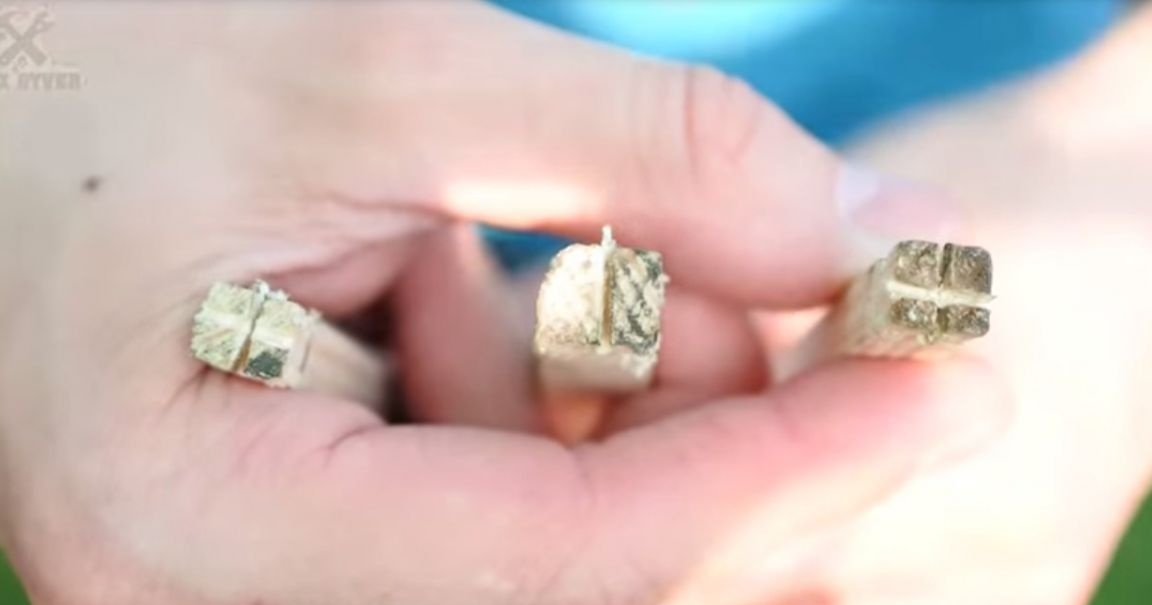
At the ends of the ribs with a hacksaw, we make cross-cuts and a few more notches. At the ends of the ridge we make one cut and notches.
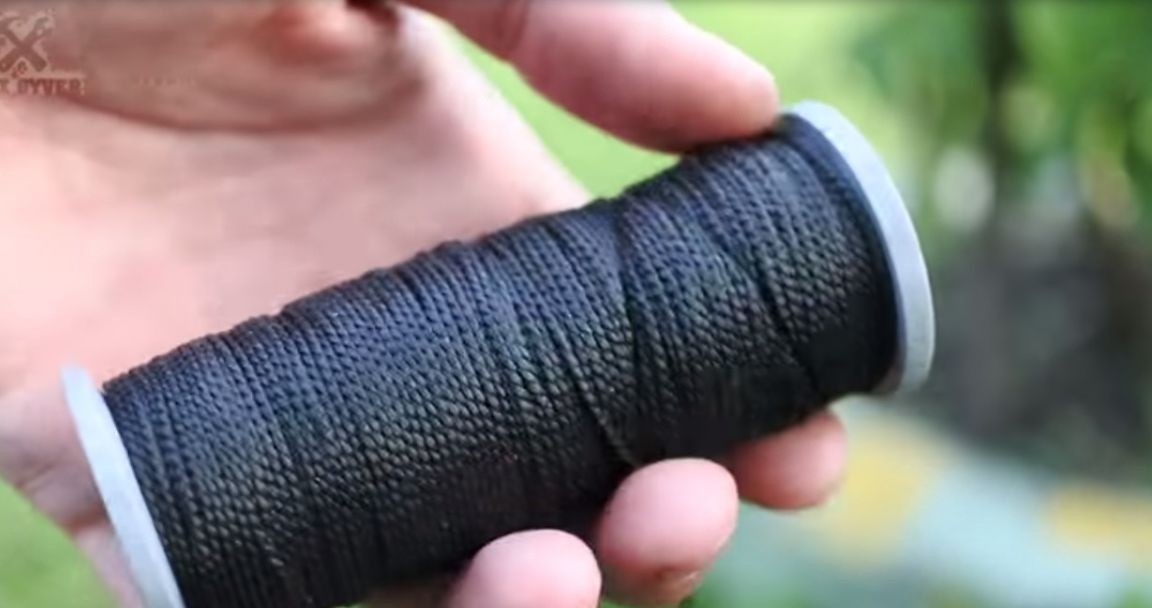
Next, we need a rope (you can use this one, it is sold in any hardware store).
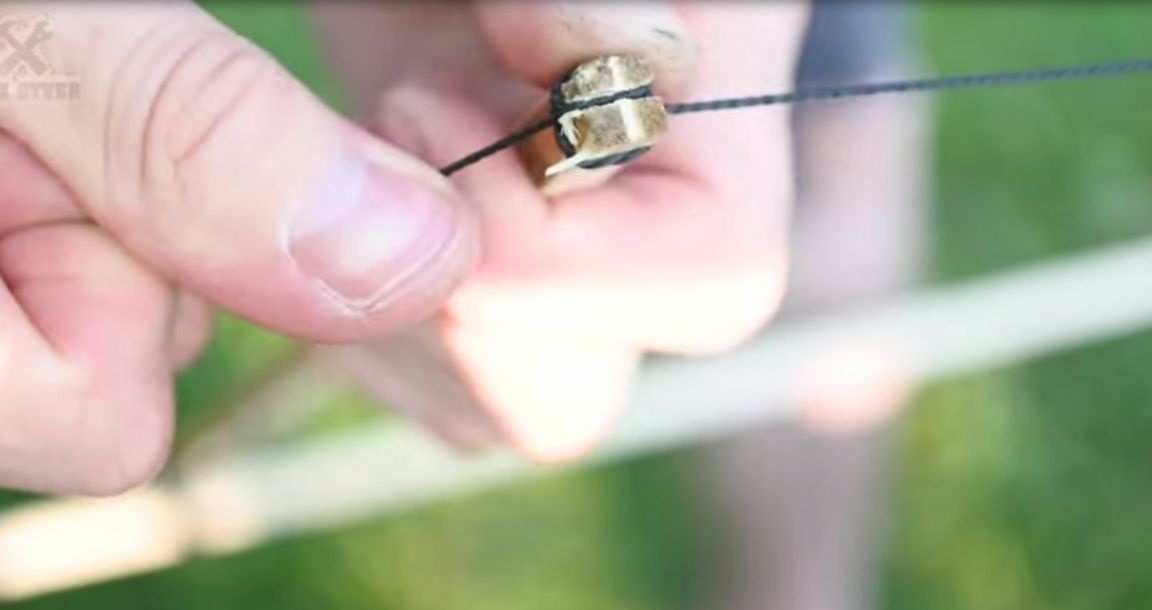
For fastening the rope we will use various self-tightening nodes. The main knot is a usual loop with fixation (a knot-eight) at the end.
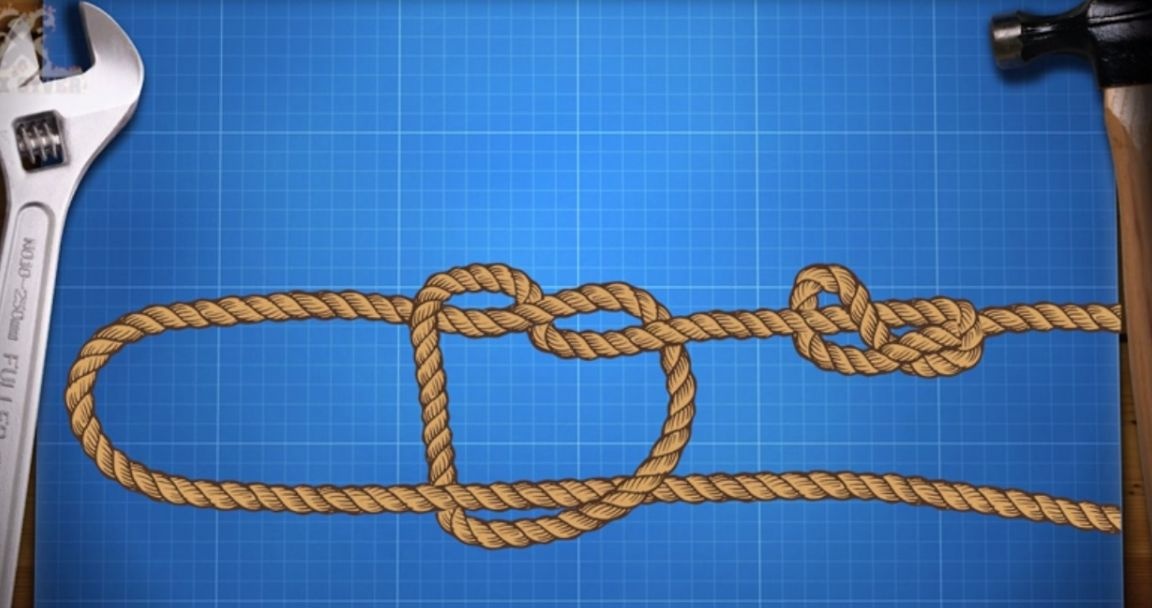
This loop is put on the edge of the bar and is tightened on the notches, and the free end is threaded through the groove.

The ribs need to be bent. Dry pine planks are dangerous to bend (they break immediately). Therefore, they need to be steamed over boiling water, and only then bent.
We pass the rope into the opposite groove and wrap it along the notches, then fasten the free end with a couple of ordinary knots. This mount is very reliable.
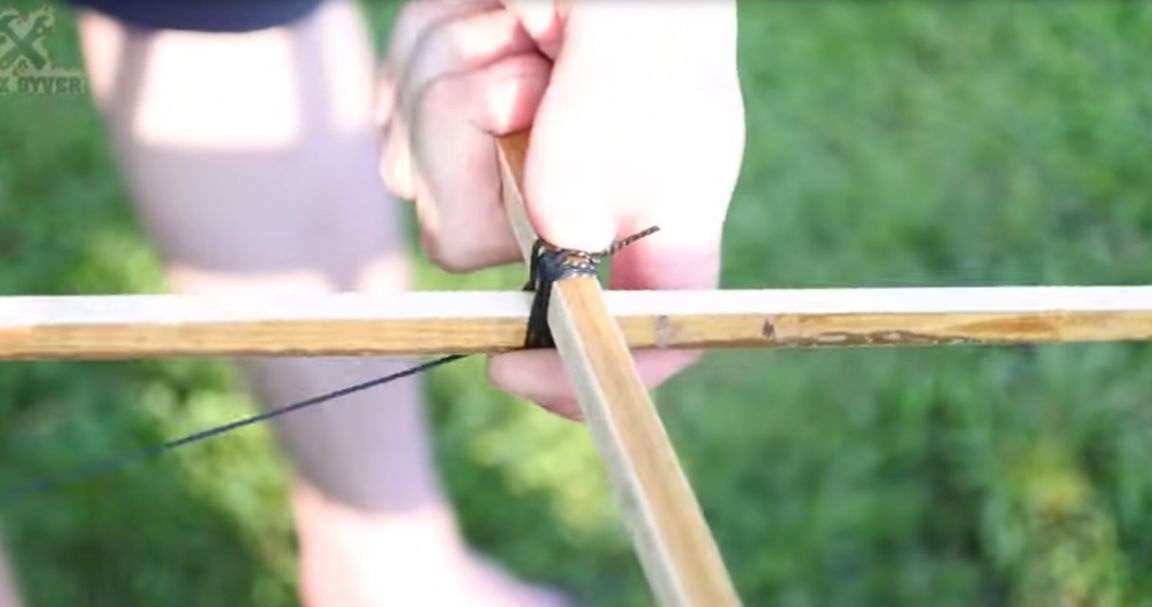
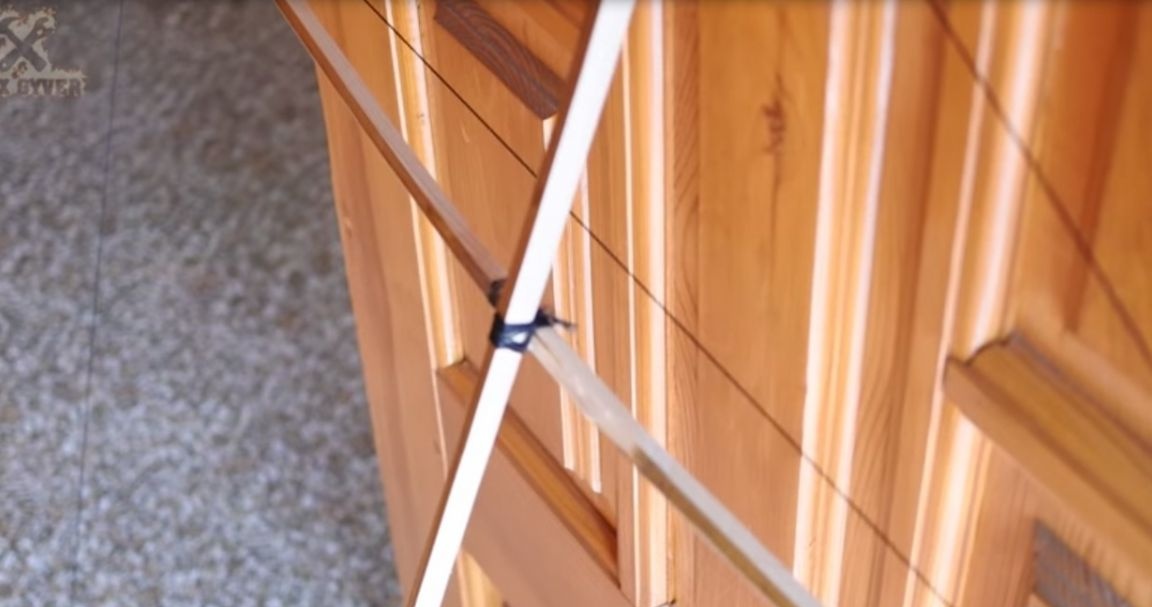
Done! Now you need to fasten the ridge with ribs. We fasten the ribs to the ridge with a loop, and then rewind the connection as tight as possible with a rope.
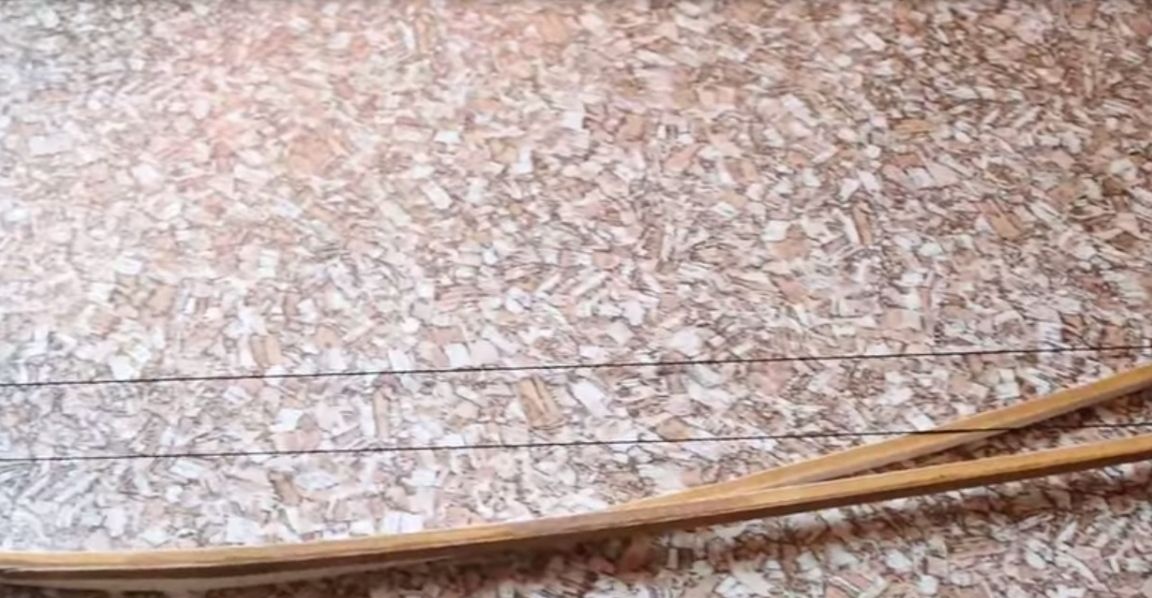
Yes, the structure is shaky, but now we will strengthen it. We fasten a loop to one end of the frame and begin to circle all the other ends of the frame in a circle, each time securing the rope a couple of revolutions along the notches, and then again threading it into the groove. Watch out for the tension of the rope! And to make the frame smooth (all angles should be straight).
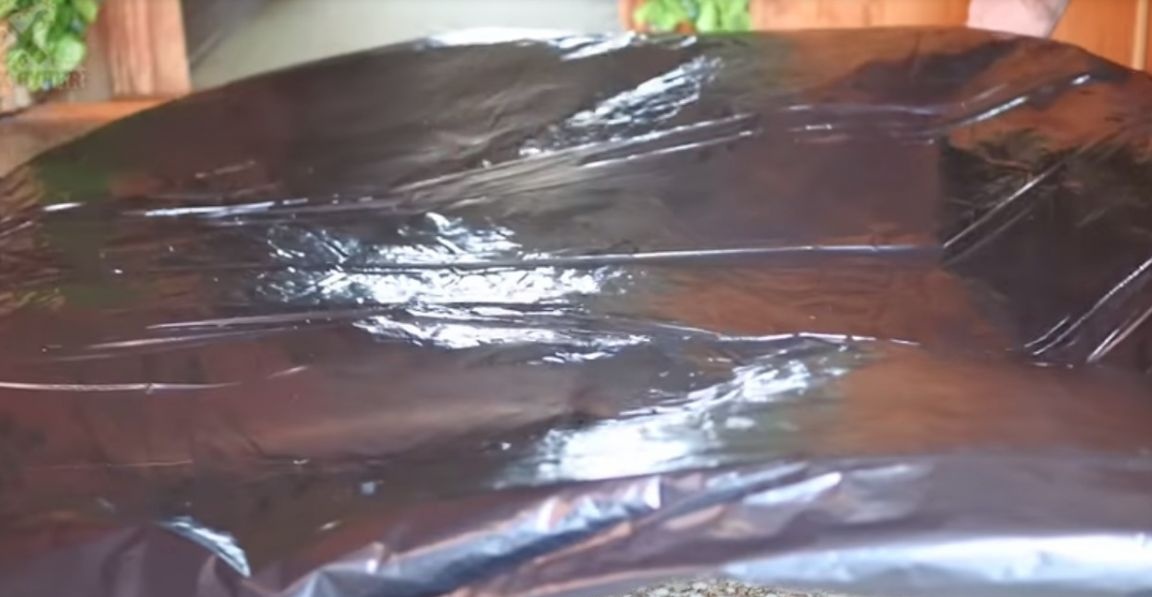
Excellent! The result is a fairly lightweight and sturdy construction. Now we will fix the sail. As a sail we will use a 160-liter garbage bag. Cut it along, and then gently tear the bottom. Gotta get a hefty sheet of cellophane.
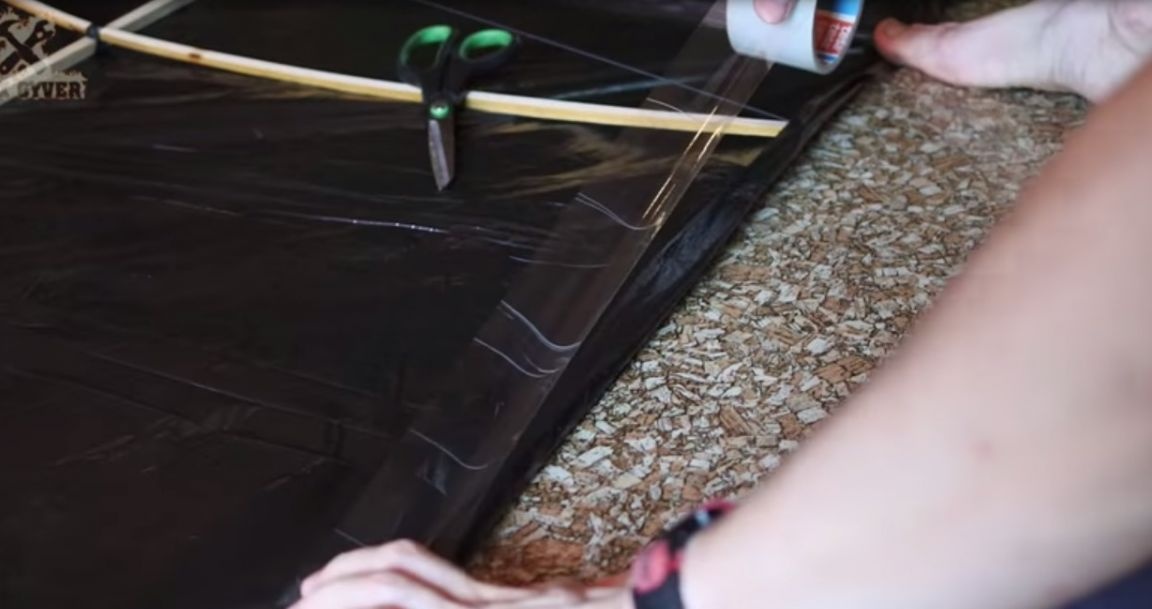
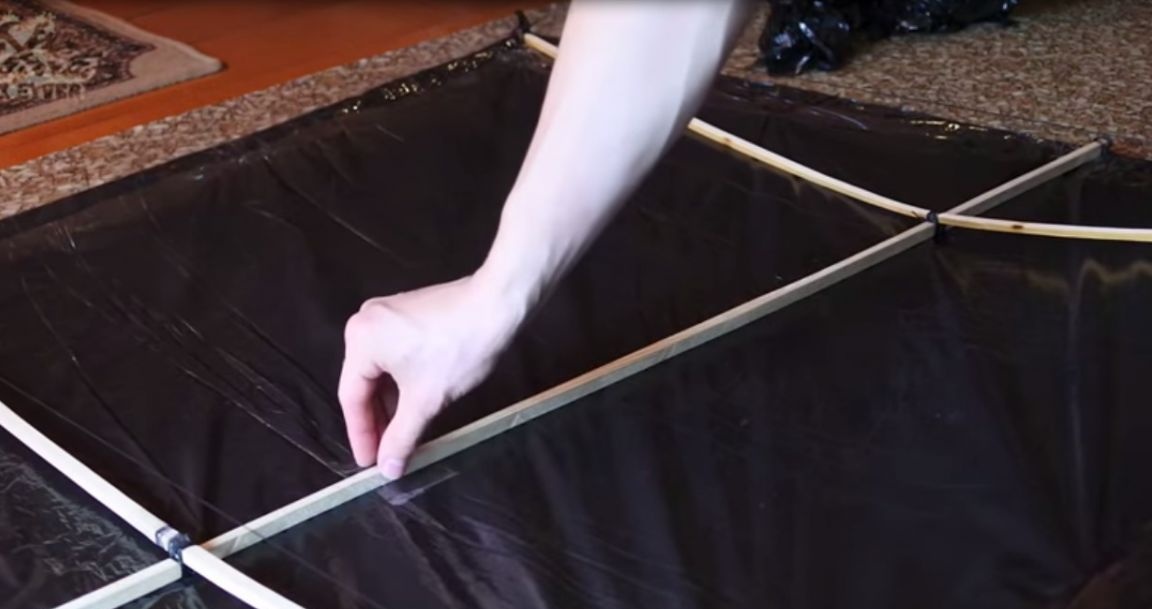
We put the frame on it and start with the long part. A small strip of the package must be bent around the rope, and then glued with tape. Carefully observing the tension of the sail and avoiding creases, we go along the perimeter, cut and bend all six sides of the sail to the ropes. It is also advisable to glue the sail to the ridge with a couple of pieces of adhesive tape.
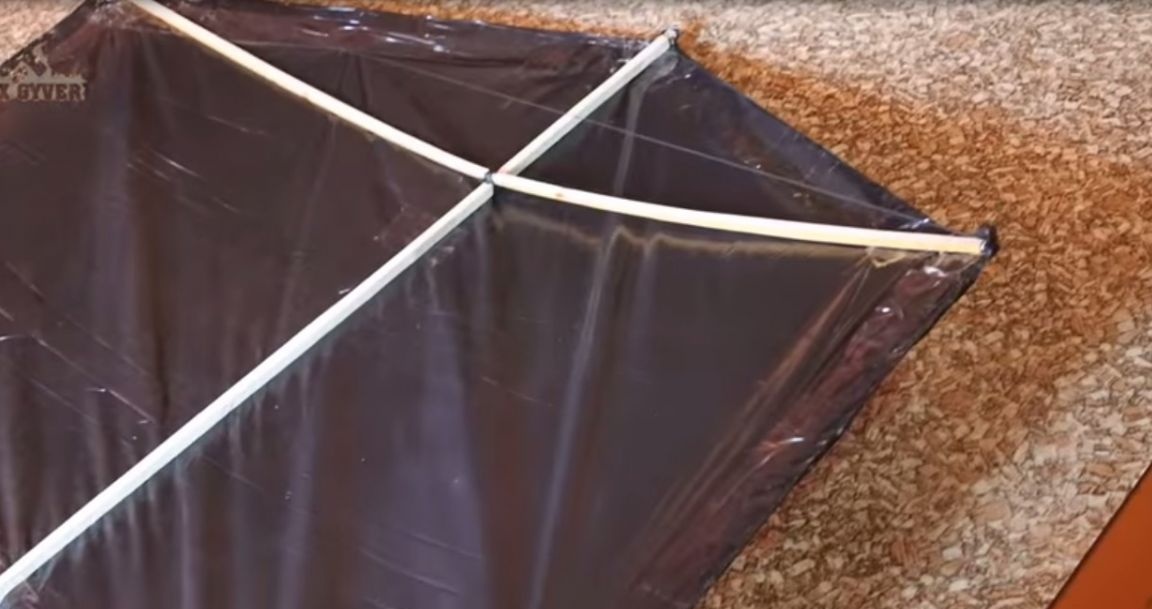
The serpent is almost ready! Now you need to bind the bridle.
Ray lengths are very easy to select. The front and rear rays are equal to the two heights of the serpent, and the middle ray is the same height. You can make the rays two times shorter, but on a long bridle the snake behaves more stably.

We will attach the front and rear beams to the centers of the halves of the ribs, or a little further from the center (using the familiar fixation loop).
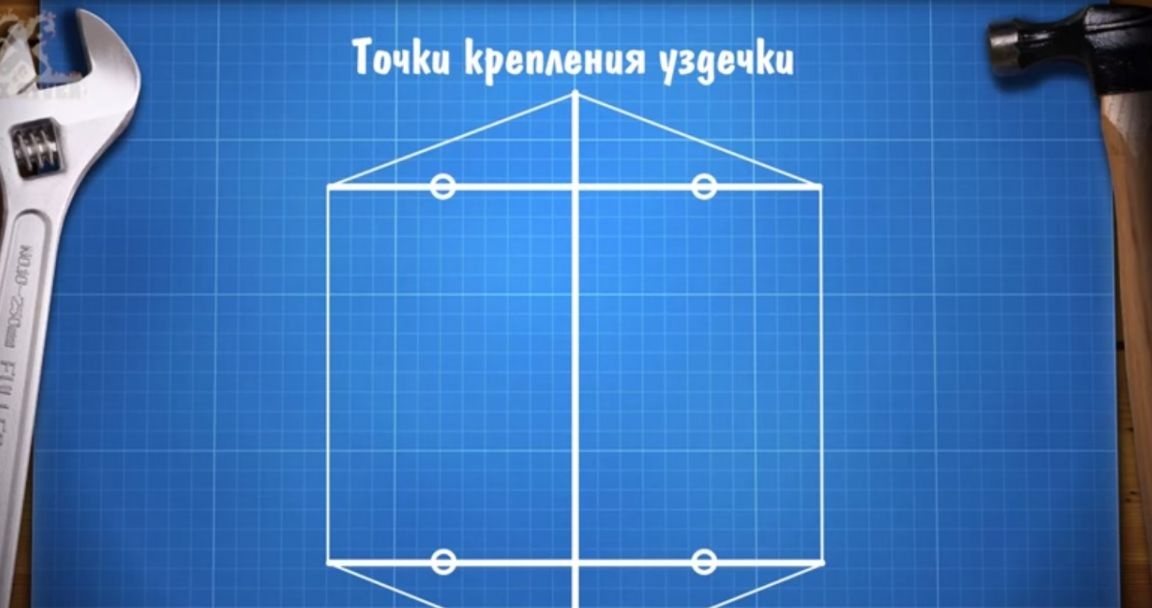
It is better to use a thick rope for a bridle, because a thin one tends to get tangled, and with a thick one there are no such problems. Now we make holes in the right places of the sail, thread the end of the rope there, knit a figure eight and a loop around the rib at the end. Now we make the middle beam, tying a loop of eight at both ends. This is how the middle beam turned out (from loop to loop equal to the height of the snake).
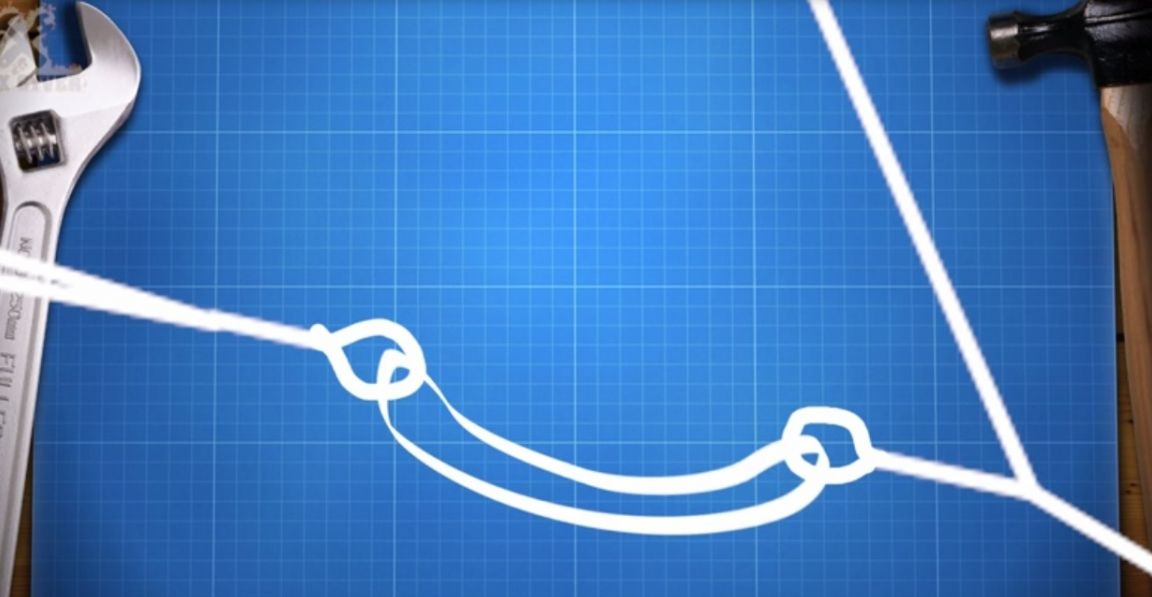
The middle beam is attached to the front and rear using an ordinary cow loop. Fix the ends of the front and rear rays to the ribs. Why such difficulties? This fastening of the bridle allows you to move the middle beam left and right, which makes it possible to fix it exactly in the center.
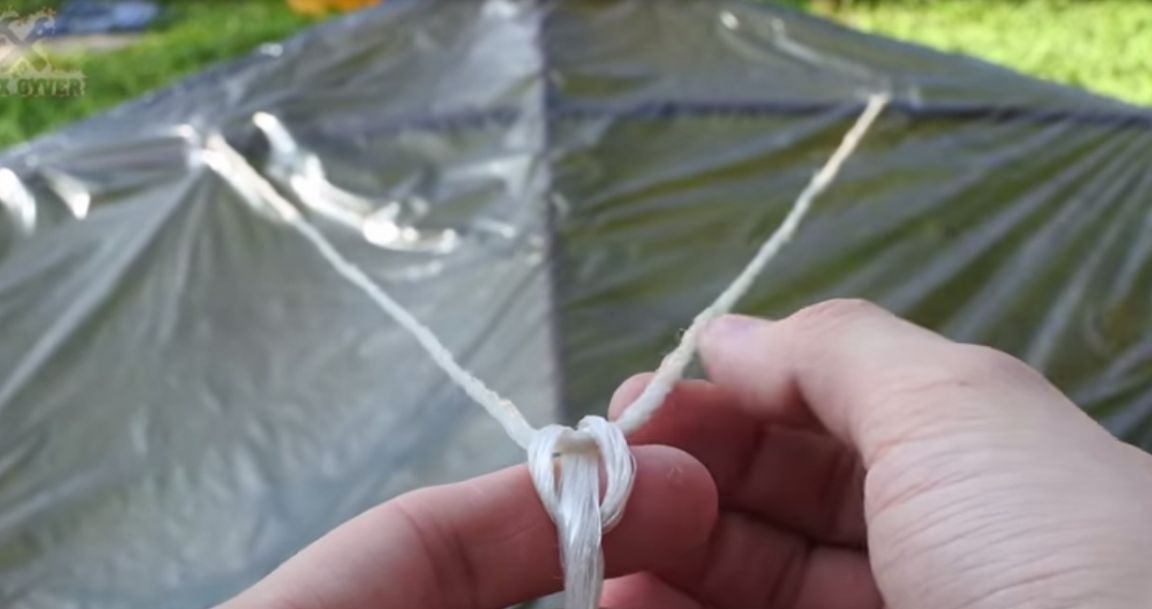
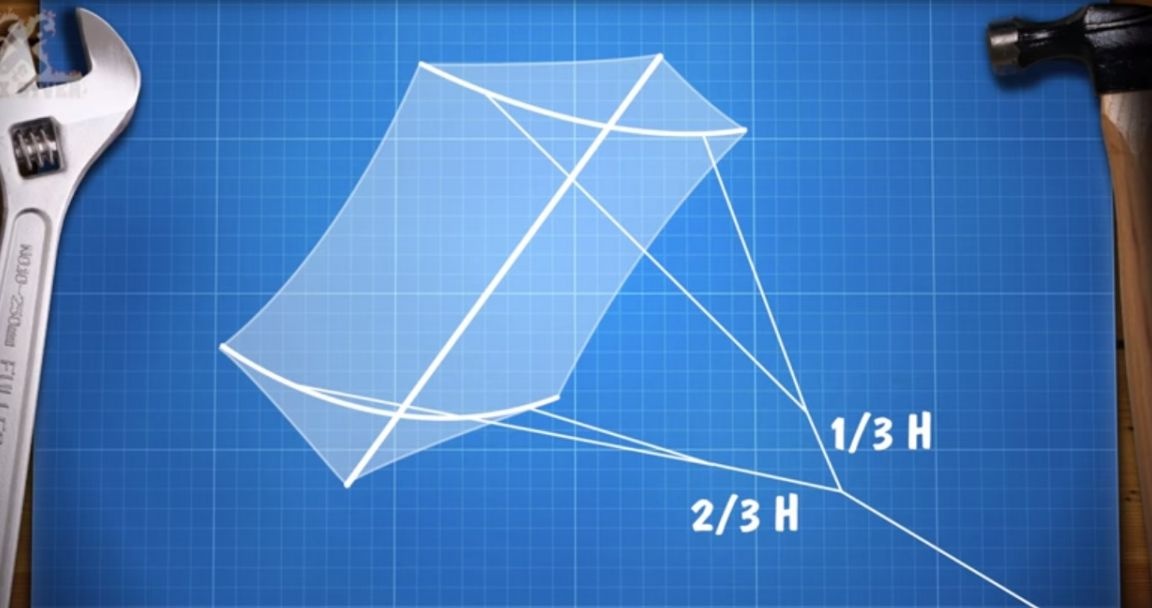
Leer is attached to the middle beam at a distance of one-third of the front beam. At the found distance, we knit a small figure eight loop. Now you need to configure the mount. We go out into the wind and look for a point on the middle ray, when holding which the snake behaves stably. And now we fasten the rail to it.
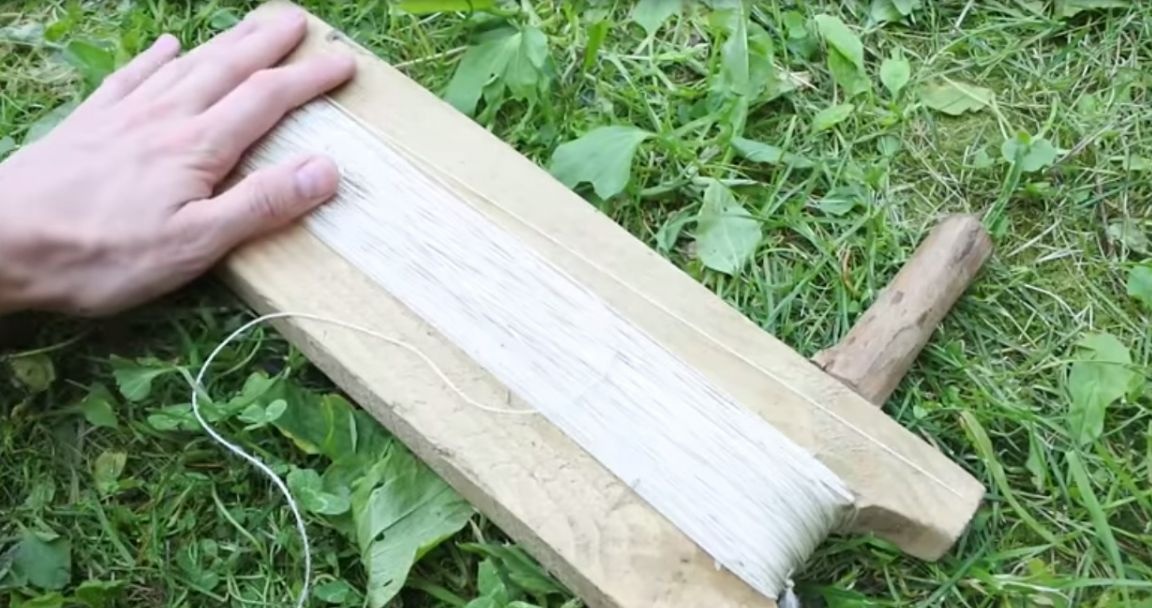
Leer. At the end of the rail, make a loop of eight and fasten the rail to the knot on the middle beam using a cow loop (here you can use a regular carabiner). For the leer, I advise you to make such a winder. Her handles are spinning, which allows you to very quickly lower and raise the snake.
You can also improve the kite by adding a rubber compensator. It will allow the snake to change the angle of attack itself when pulled to a high height and gusty wind. It can be done by cutting the lower part of the middle beam and fixing the bicycle chamber cut by the rings.
Well that's all, our Rokkaku is ready. Good luck with your flights!
Original video by the author: