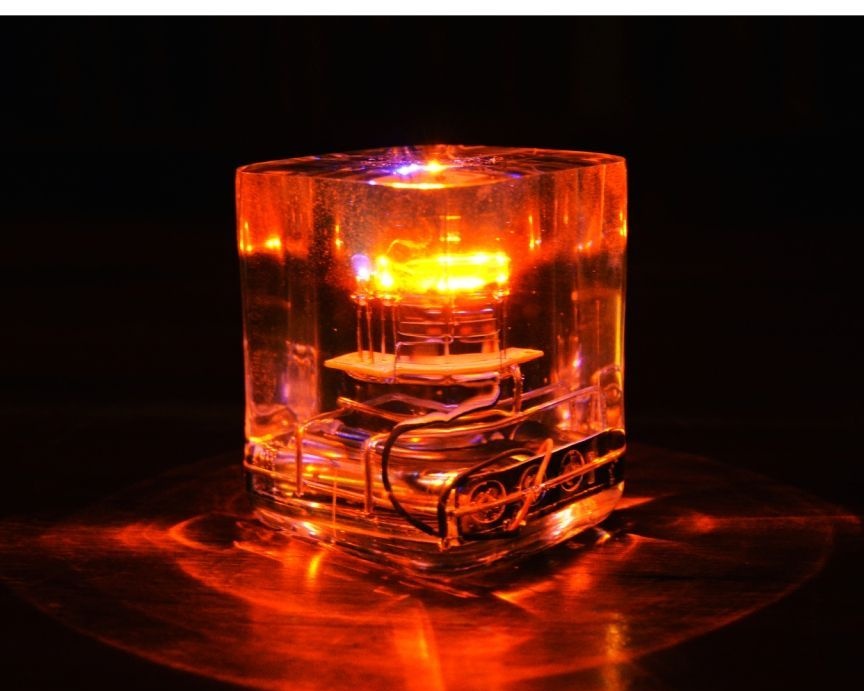
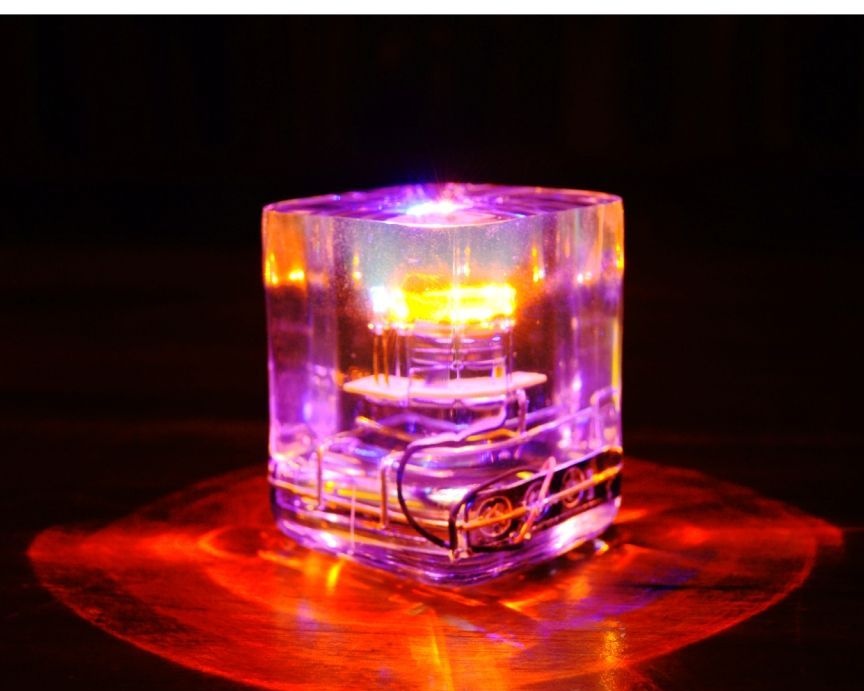

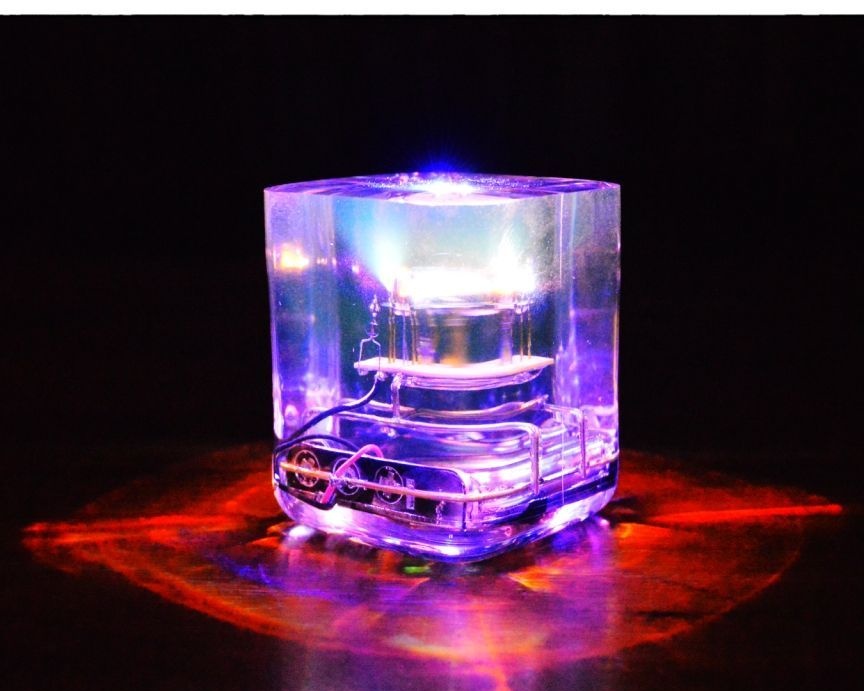
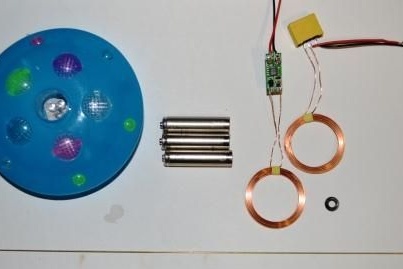
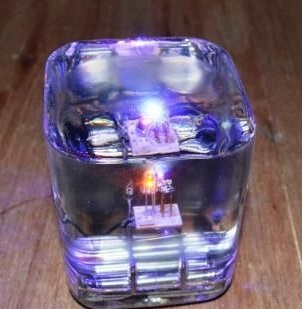
An interesting lamp was made by the Master. Electronics The luminaire is enclosed in an epoxy resin housing. The lamp turns on by shaking the housing. Batteries are charged using wireless charging. Let's see the video of the lamp.
To make the lamp, the master needed the following
Tools and materials:
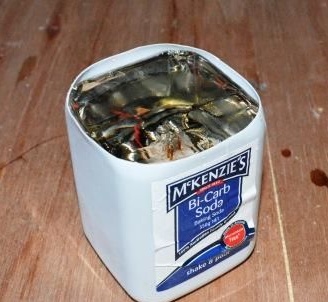
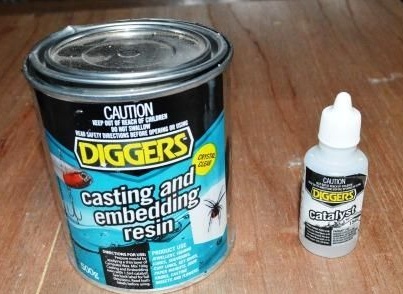
Epoxy resin;
-Box (mold);
-Board with LEDs;
-LEDs (red, blue, green);
-Batteries;
-Battery compartment;
-Copper wire;
-Wireless charging module;
-Case for charging;
- Mercury switch;
- Power supply 7.5 V 1 A;
-Resistors;
-Tumbler;
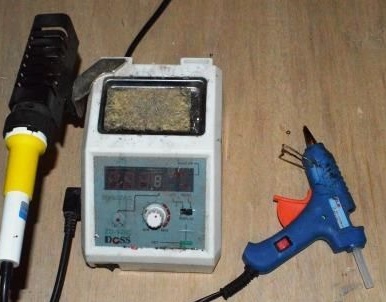
-Soldering iron;
-Pliers;
-Nippers;
-Multimeter;
-Sandpaper;
-Polish;
-Grinder;
-Knife;
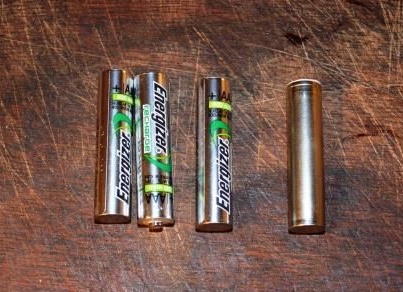
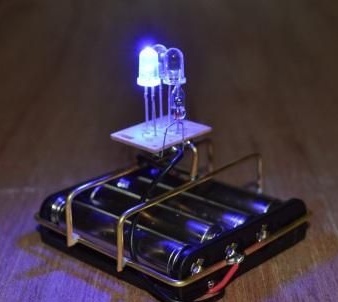
Step One: Batteries
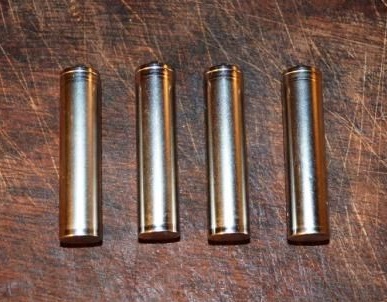
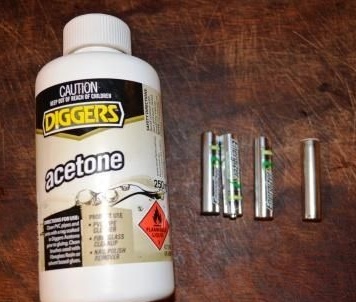
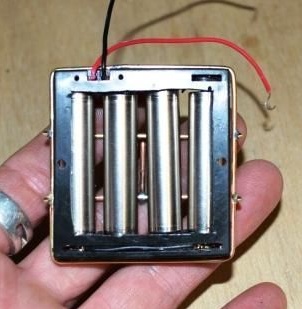
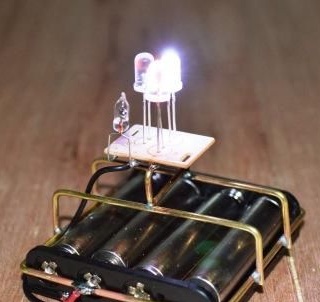
The luminaire uses four AAA size batteries. For a better look, the master cleans the inscriptions from the batteries.
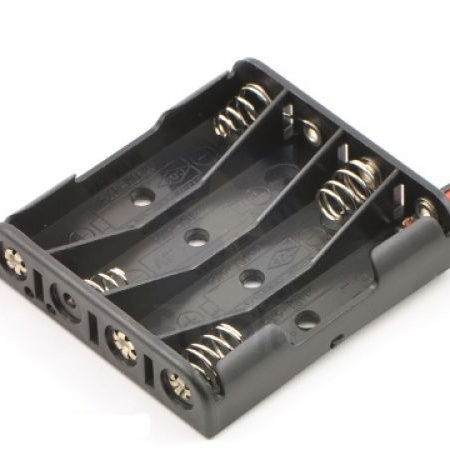
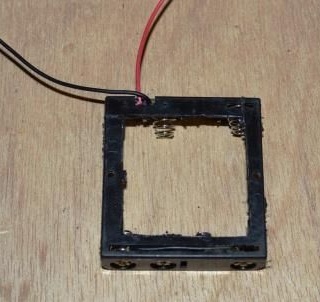
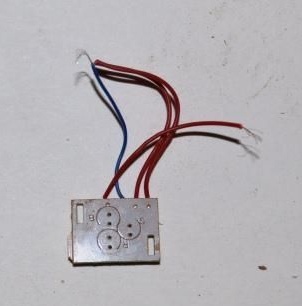
Step Two: Battery Compartment
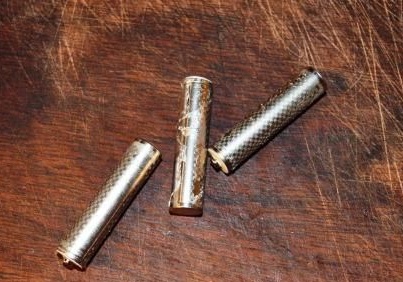
The first attempt to assemble the battery pack failed. The master overheated the batteries during soldering, and they failed.
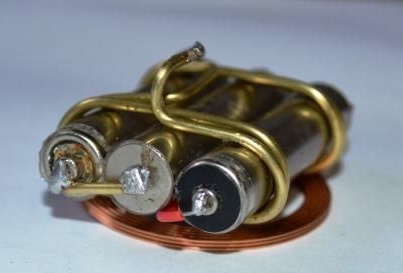
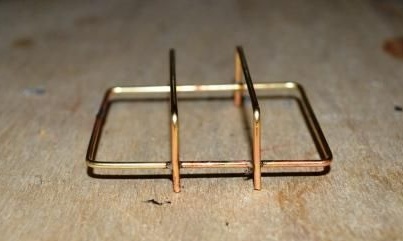
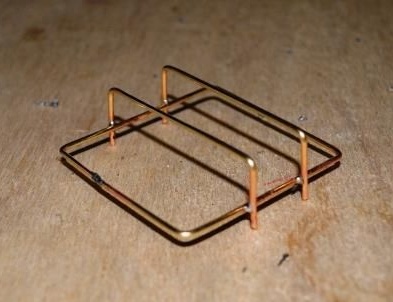
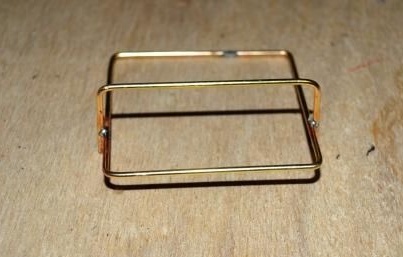
Then the master decided to use the battery holder, slightly modifying it. Leaves a thin frame with contacts from the holder, removes the rest.
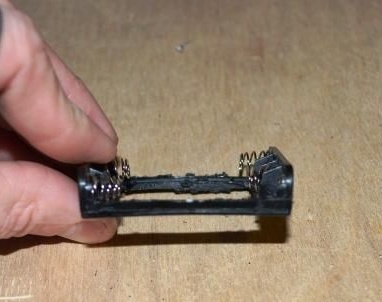
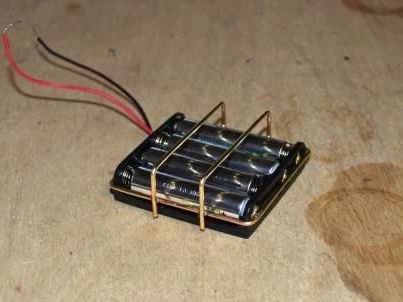
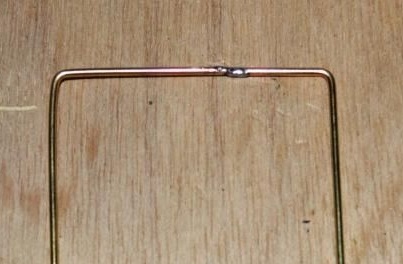
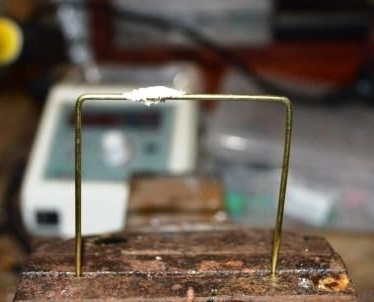
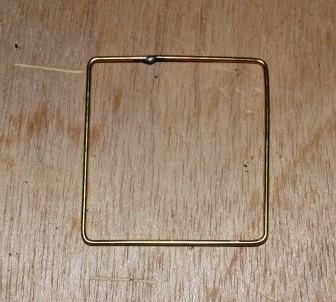
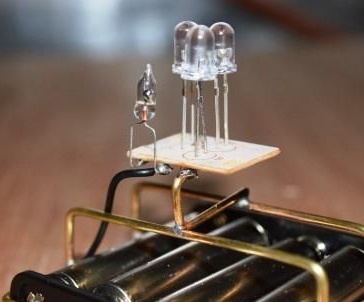
Installs batteries and solders the frame from copper wire. The positive wire solders to the frame.
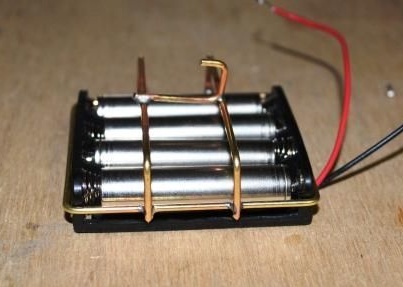


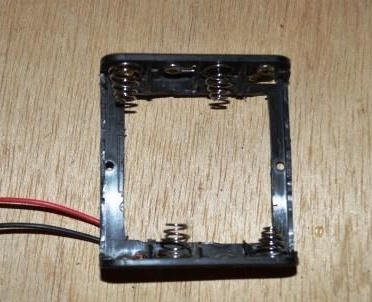
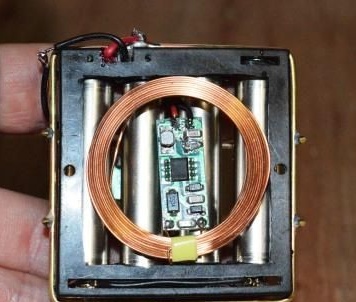
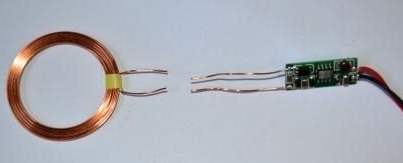
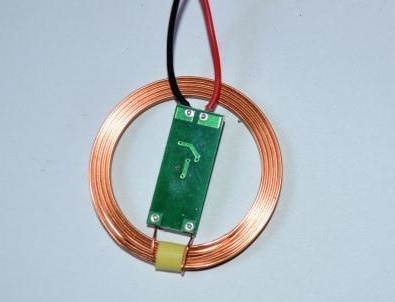
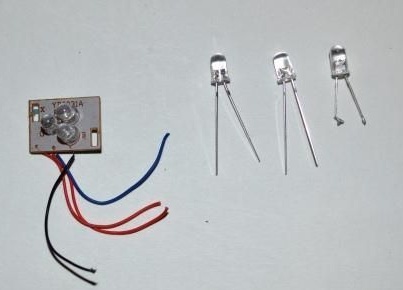
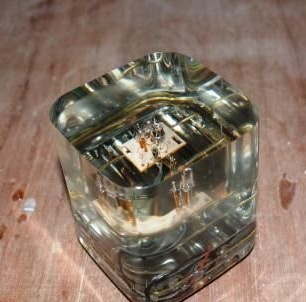
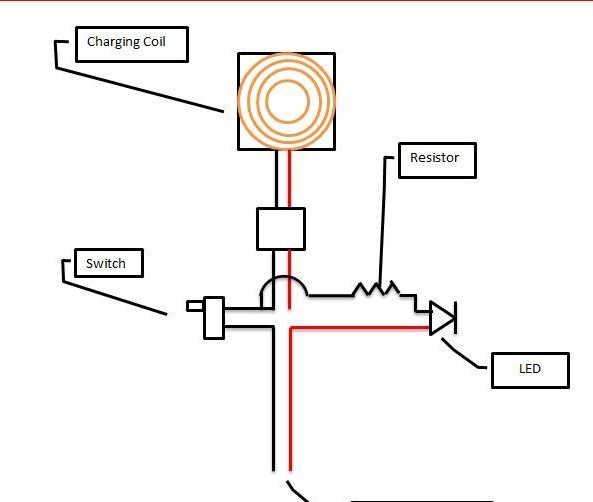
Step Three: Charging Module
Fastens a charge module with a coil on the frame. The master shortened the wires connecting the board to the coil. I connected the wires from the module to the batteries.


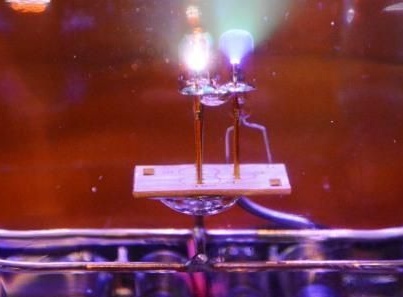
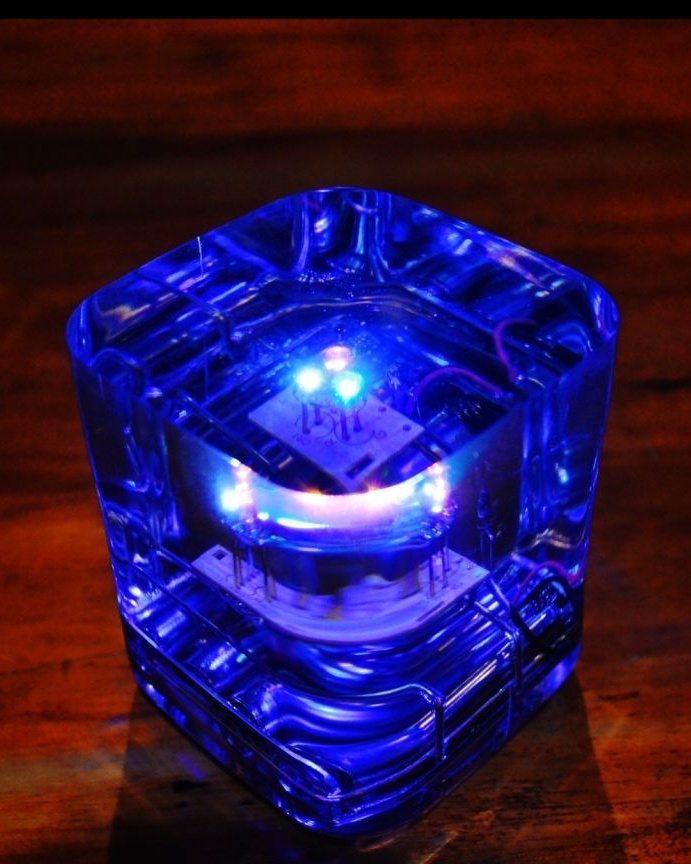
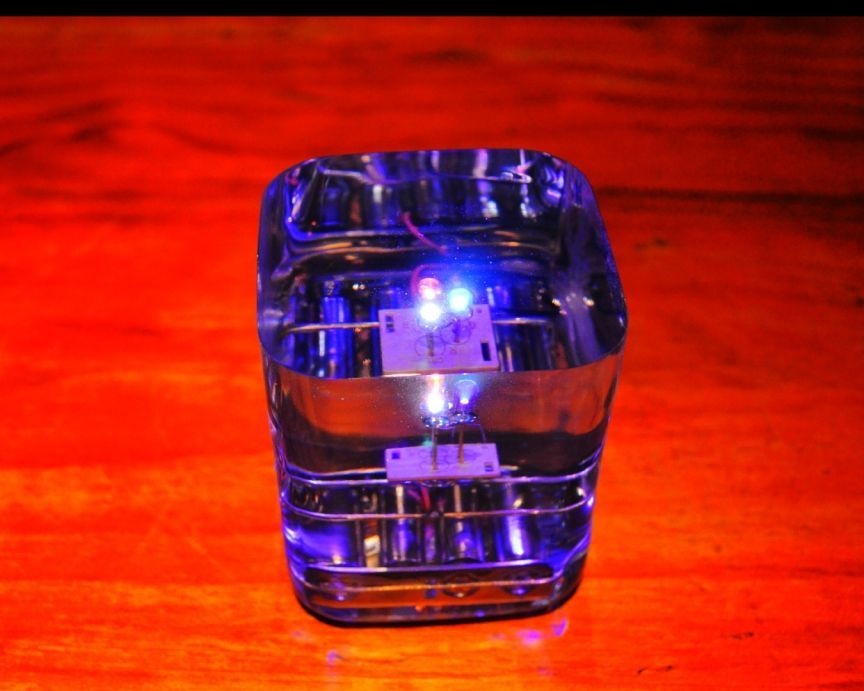
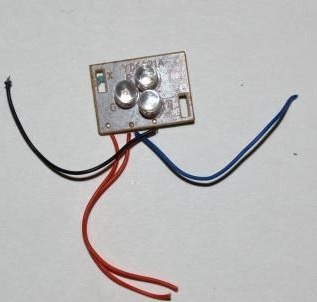
Step Four: LEDs
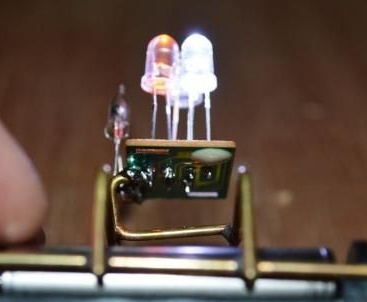
The master took the board for the LEDs from the lamp with fiber optic. The luminaire board has several alternating modes. Each time the lamp is turned on / off, one of the LEDs lights up, the last time it is turned on, all three LEDs light up. Master LEDs replaced regular ones with others.
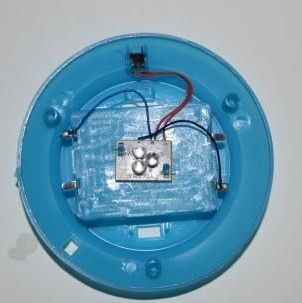
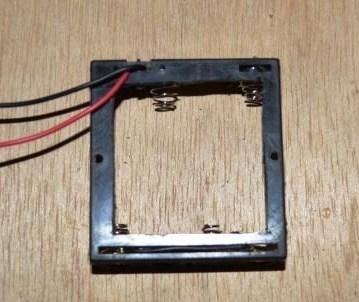
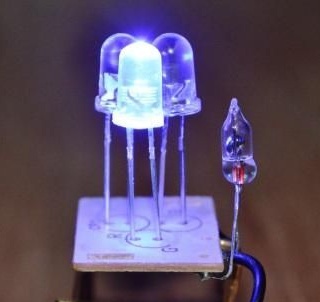
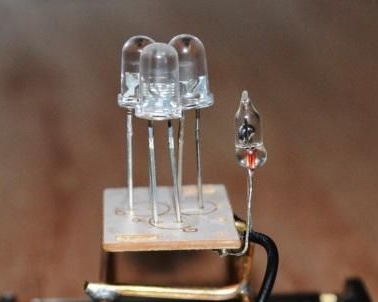
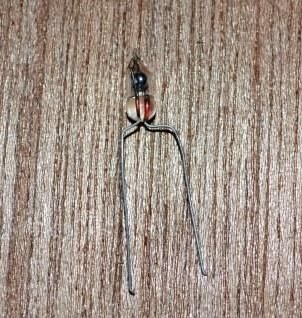
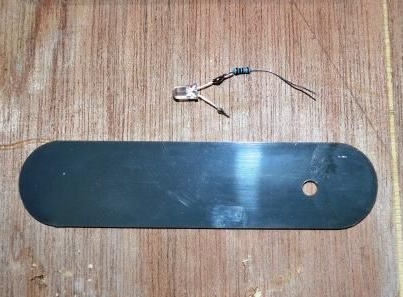
Step Five: Mercury Switch
Secures the board to the frame. The anode of the LED connects to the frame. The cathode, through a mercury switch, connects to the negative wire. Checks the operation of the lamp.
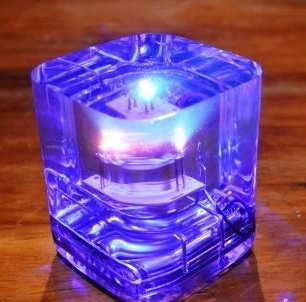
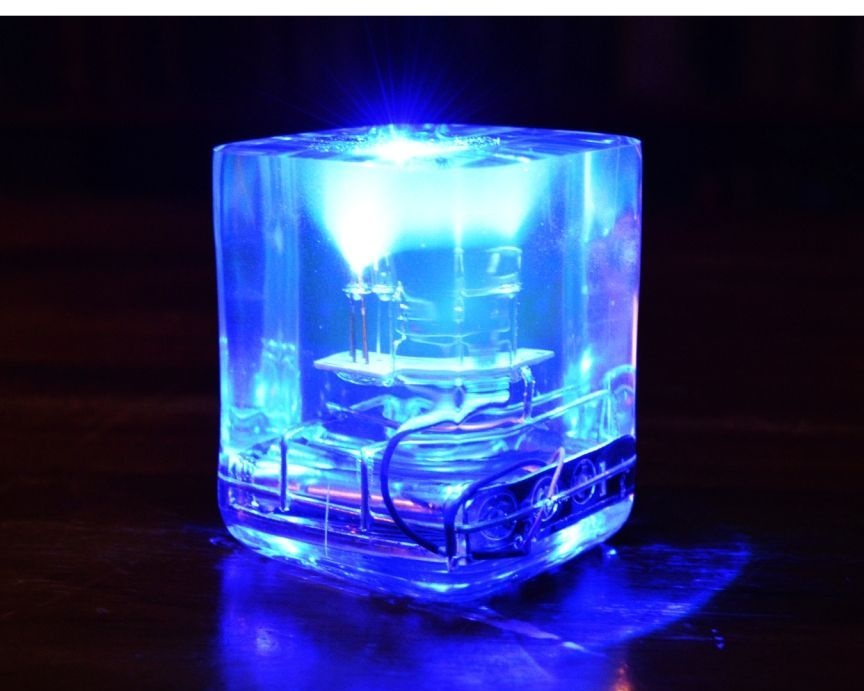
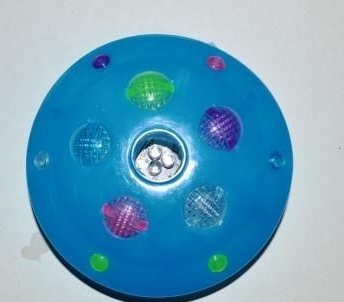
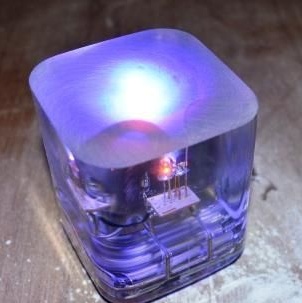
Step Six: The Case
Knead some epoxy with hardener. Pours the resin into the mold and leaves for a day. Due to wireless charging, the thickness of the bottom layer should be small. A day later, installs the electronics in the form and fills it with epoxy. Leaves for a day.
Then cuts the mold and removes the lamp.

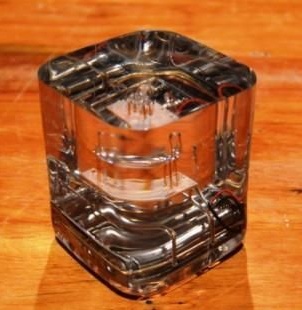
Seventh step: grinding
Then polishes the case. It uses sandpaper from 120 to 1200. After polishing, it polishes the case with a grinder with a polishing wheel and polish.

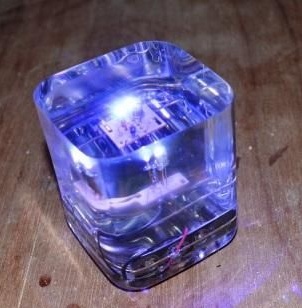
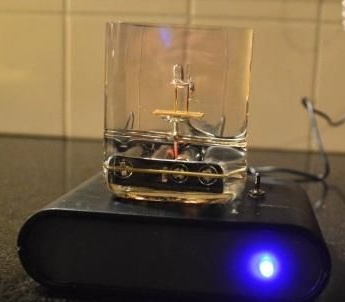
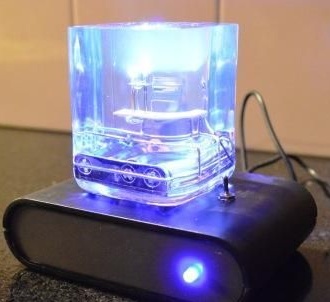
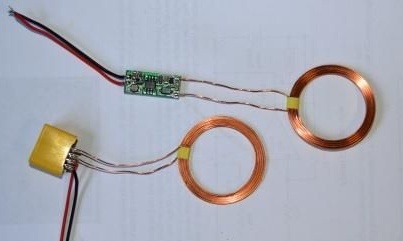
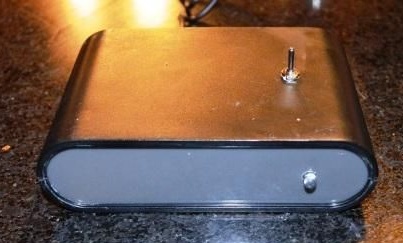
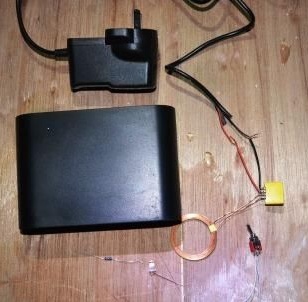
Step Eight: Charging
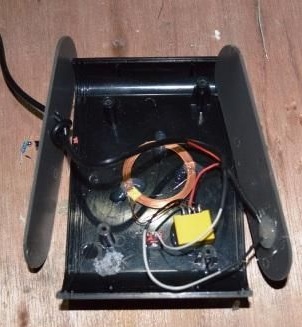
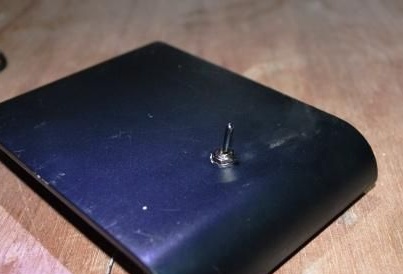
Now you need to make a charging station. The master purchased the case in the store. I drilled holes for the LED and toggle switch. Mounted charging according to the scheme.
The coil should be centered on the top of the housing.
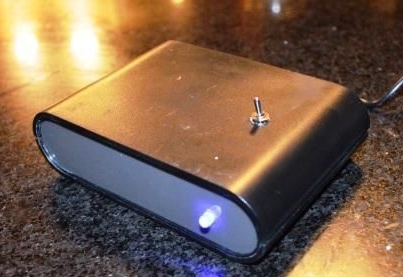

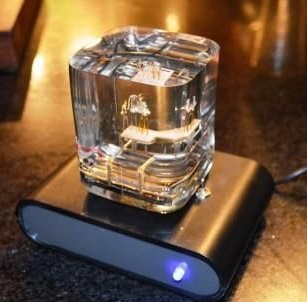
The lamp is ready. The batteries are charged within 2-3 hours.