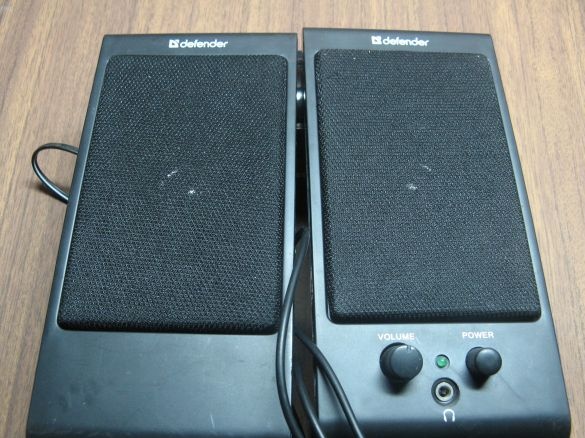
I thought about making portable speakers. Sometimes the volume of the phone or tablet is not enough. Yes, in nature I want louder music. Thinking through the design, I stumbled upon the computer speakers lying idle. It is decided, I will redo them under battery power.
Tools and materials:
- speakers;
- batteries;
- charge controller board;
- wires;
- solder, soldering iron;
- knife, drill.
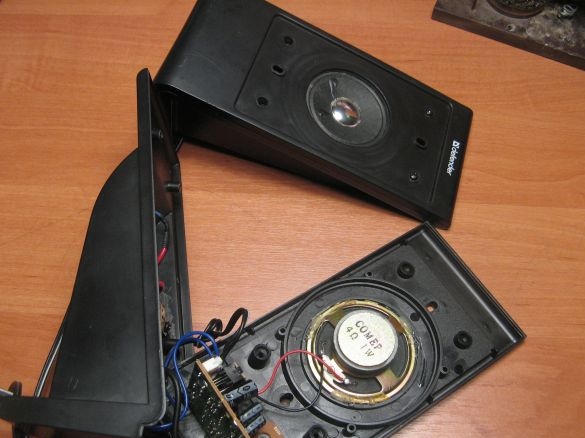
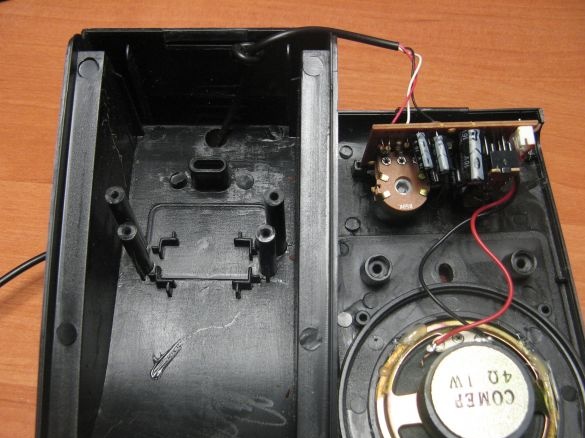
We disassemble our columns. The column in which the amplifier and the power transformer is installed will be finalized. The amplifier is assembled on a tda2822 chip. Many speakers of this class are built on this chip.
The second column is connected to the board using a connector. Disconnect and set aside. We also remove the transformer with the power cord from the device. In general, with a transformer is another story, but everything is in order.
The power cord was connected directly to the transformer, without any switching.
And so in most similar speakers with network power, I do not understand the Chinese. Mains voltage is constantly supplied to the transformer and it is heated. Not only does it heat up, it is also of such quality that its buzz is heard at night. And in most apartments, a computer is located in the bedroom. Together with the transformer, we remove the diode bridge, consisting of four diodes (useful wherever).
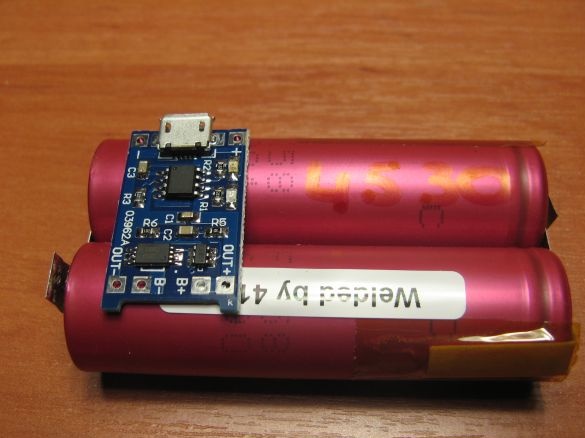
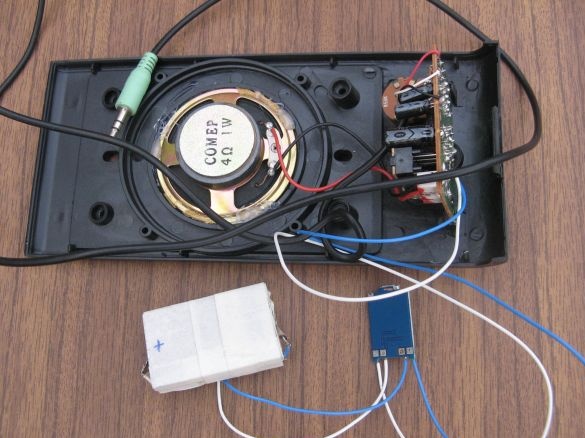
Initially, I thought to feed the speakers from a pair of Li-ion format 18650. But since I changed the speakers in the speakers to more powerful ones. They stood half a watt and very quiet, set one watt each. On the new speakers, the magnet did not allow the 18650 to be installed (initially tried on them in the design) and Li-pol batteries had to be used. Later I will increase the capacity if I do not miss it.
Our batteries will be charged through a charge controller from China.
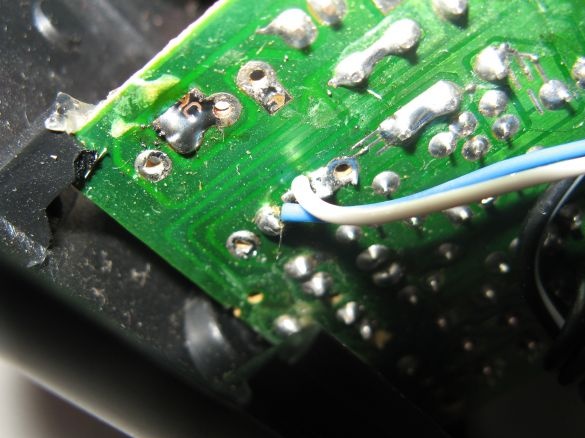
Solder the wires from the controller to the plus / minus boards. That is, the output of the diode bridge. Plus, it is switched by an amplifier board switch.
Temporarily solder the charge controller board and Li-pol battery to the circuit. Check the work. Everything works perfectly.
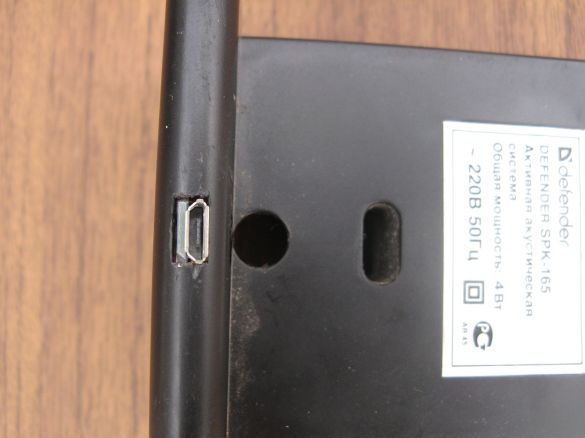
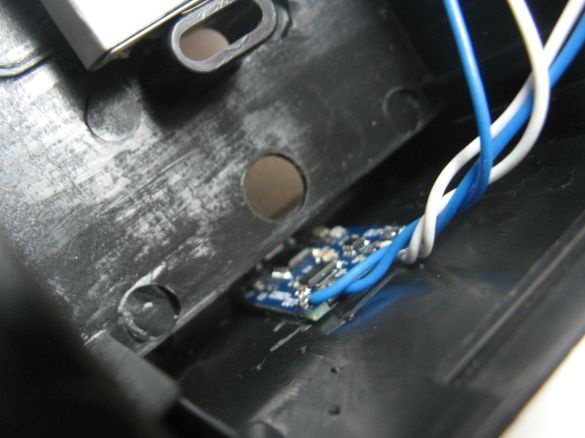
I install the charge controller board in the bottom of the column. Cut a window under the micro USB connector with a knife. The board had to be filed. The thickness of the plastic did not allow the board to be installed without modification.
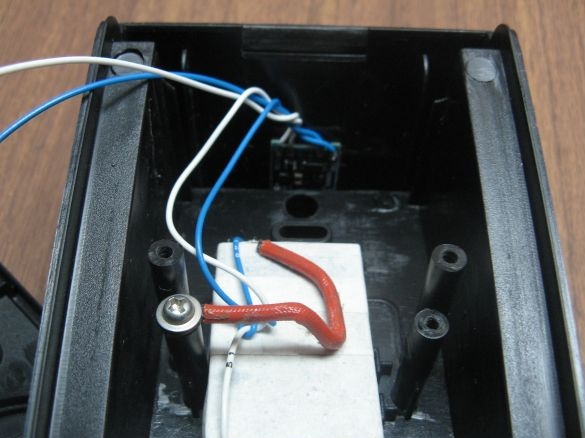
Batteries secured with a curved bracket. I used a copper wire with a Chinese pipe pulled over it.
The controller board was glued to double-sided tape.
Previously, we connect and join the parts of the body.
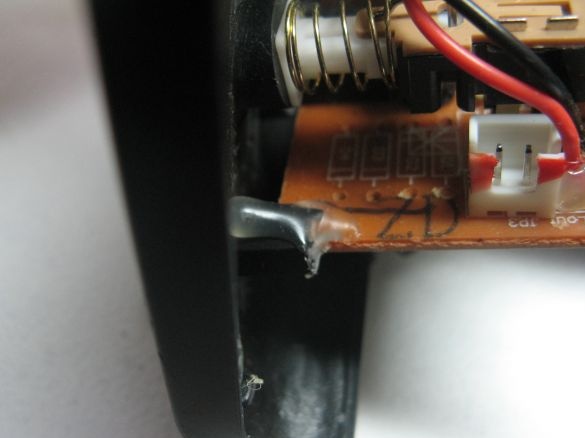
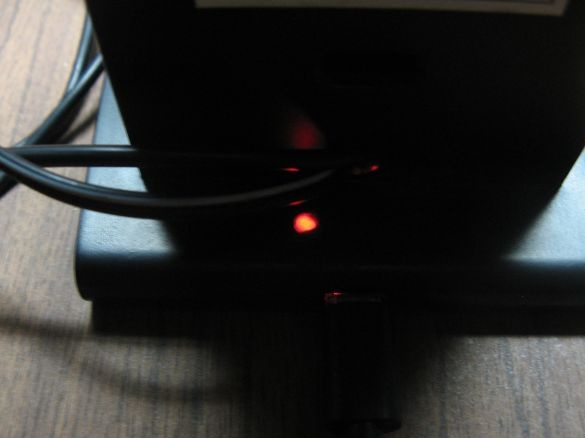
To control the indication of the charge process above the controller board, we drill a hole and fill it with thermo-glue. The result was a tight plug. We check. We connect the charging, everything is visible perfectly.
Such a simple refinement or even a rework. Everything is simple. In this way, you can modify any column of this type. Now more and more often come across speakers powered by USB, they can also be modified the same way. You can get rid of one cord.
You can watch the detailed assembly, as always, in the video:


