
Hello everyone, if you are fond of working with metal, this homemade just for you. In this instruction I will tell you how to make a powerful mobile blacksmith furnace. With the help of this furnace you can easily perform forging of metal, the temperature here is more than enough. Well, of course, now there will be no problem with hardening steel. And if you want, if you come up with a hearth, using this method you can completely melt aluminum and other metals with a not very high melting point.
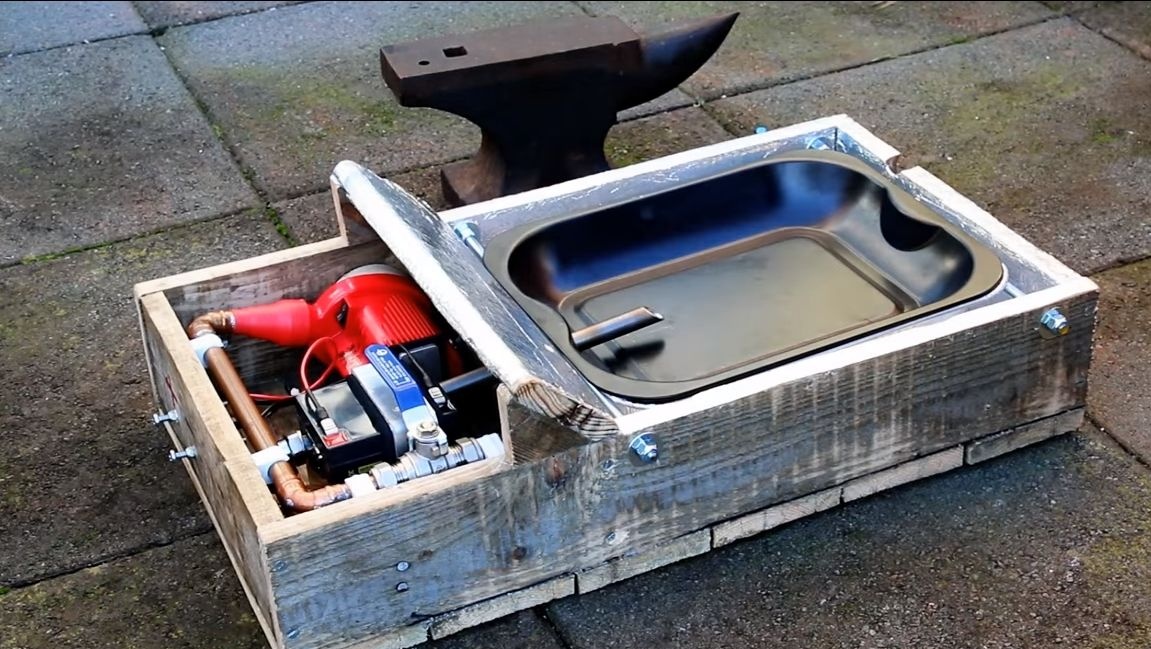
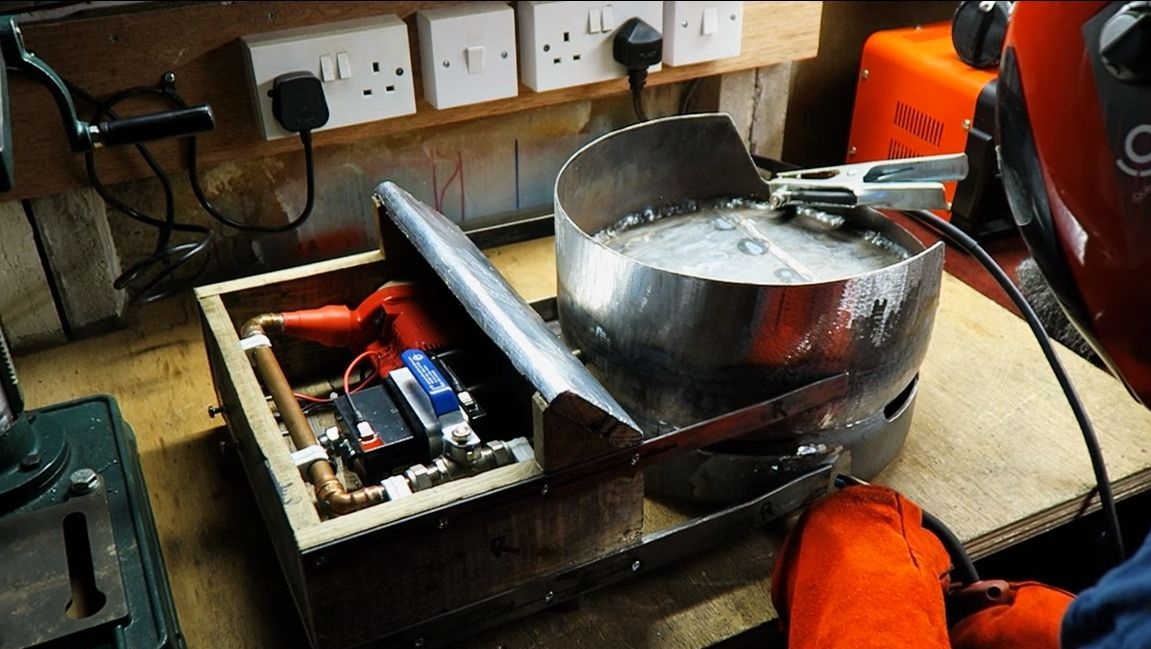
The furnace is fed with coal, and in order to heat it up to the desired temperature, you will need a forced air supply. For these purposes, the author used a small electric compressor. Power can be supplied from the battery, so we won’t need a socket. Directly the burning place is made of a metal barrel, a gas cylinder is also suitable. And the frame, in which the compressor and the battery are installed, is made of boards, it is simple and practical. So, let's take a look at how to make a blacksmith's furnace.
Materials and tools used by the author:
Material List:
- ;
- copper or other metal pipes, as well as corners;
- crane;
- boards;
- plastic brackets for pipes;
- self-tapping screws, bolts with nuts;
- steel barrel or gas cylinder;
- steel corner;
- aluminum corner;
- foil;
- glue (to stick the foil);
- heat-resistant sealant;
- heat resistant paint.
Tool List:
- drill;
- drilling machine;
- grinder;
- vise;
- gas-burner;
- screwdriver;
- welding;
- a hacksaw for wood or a cutting machine.
The process of manufacturing a forge furnace:
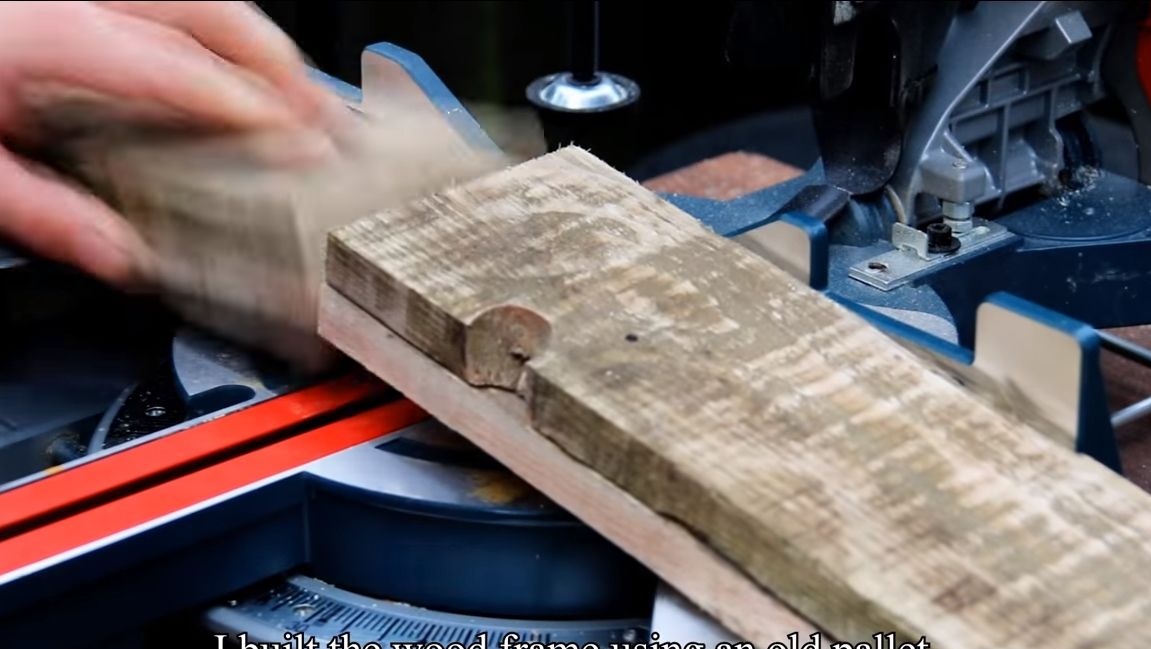
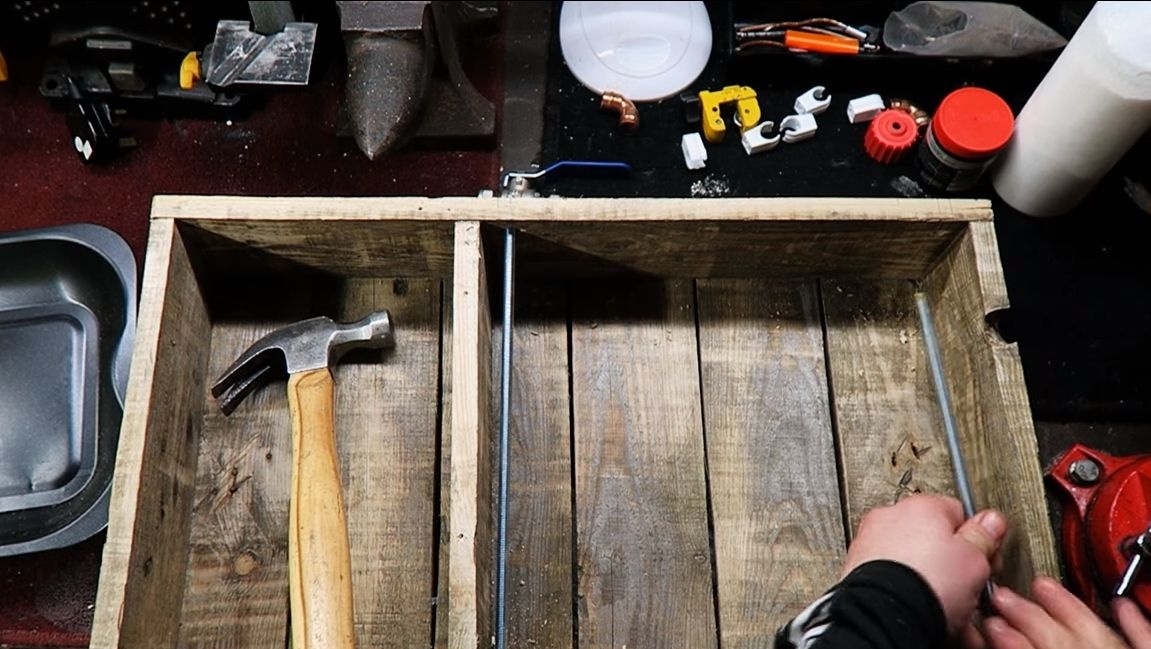
Step one. Frame assembly
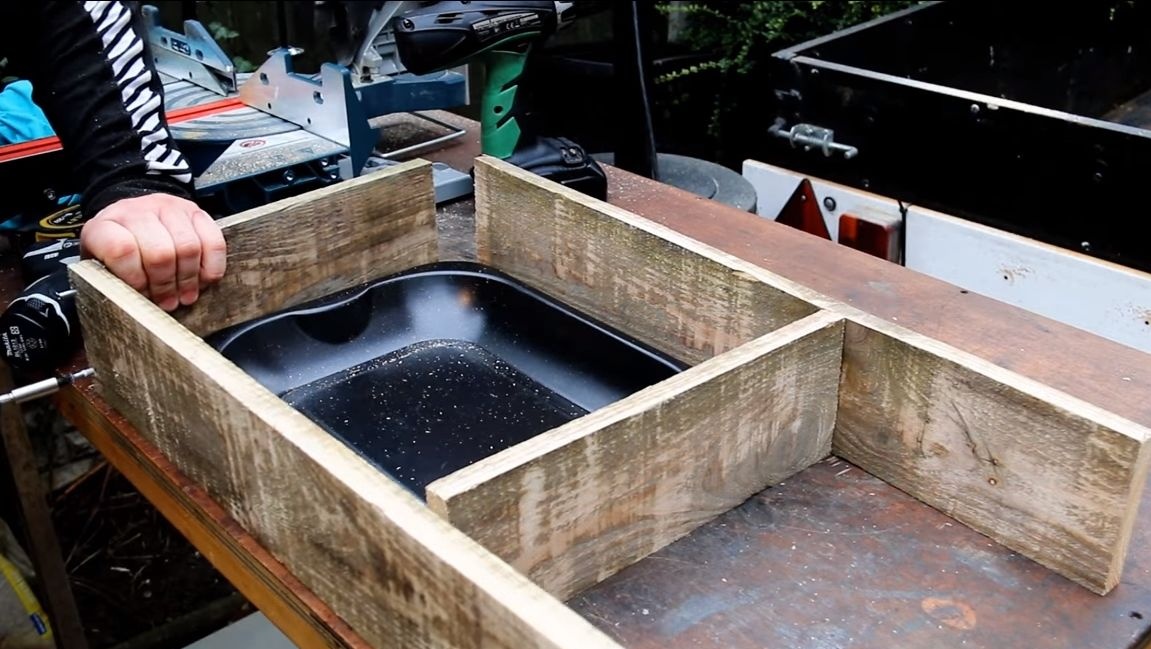
To assemble the frame, we need boards. We cut them into the necessary pieces, and then assemble the frame using self-tapping screws. If desired, glue, sealant and so on can be applied to mating surfaces. I note right away that the original design was redone, as there were problems due to the high temperature. The frame is made only for equipment, and the furnace itself in the future was made of metal.
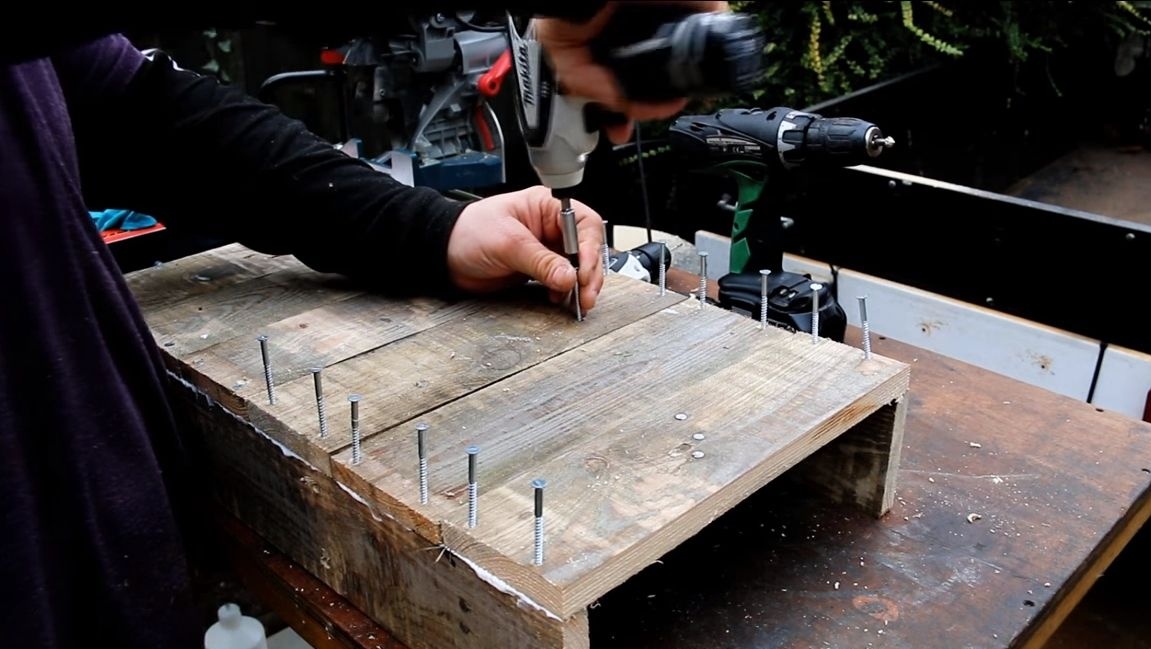
To strengthen the design, the author pulled it with long bolts with nuts. They will also serve as a support for pallets.
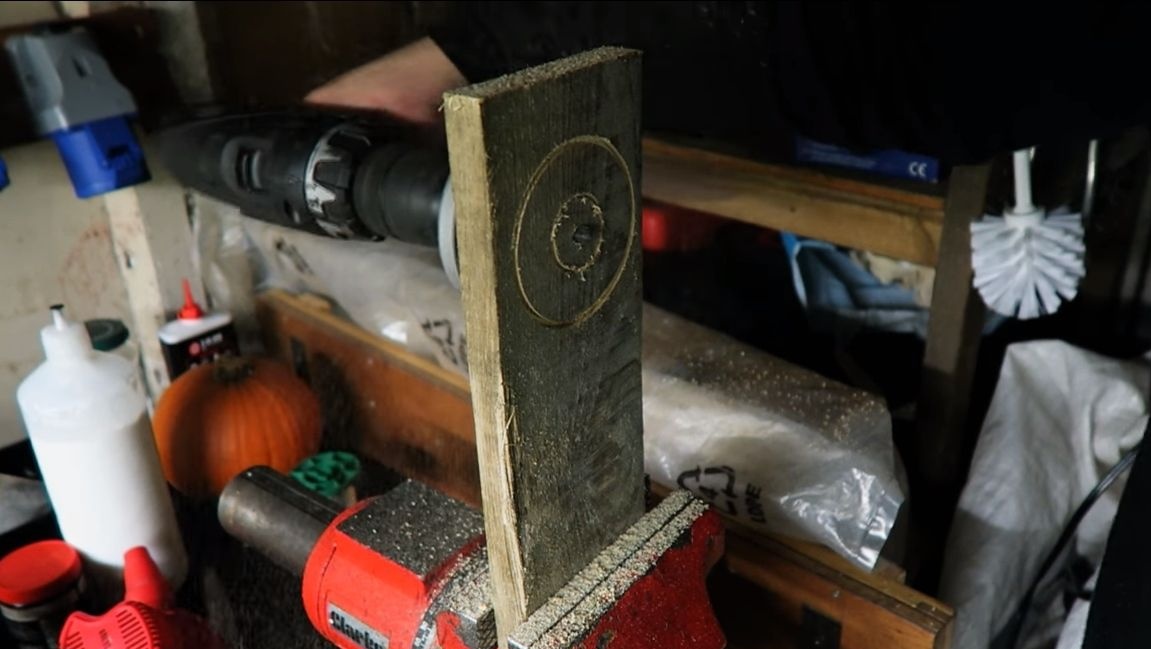
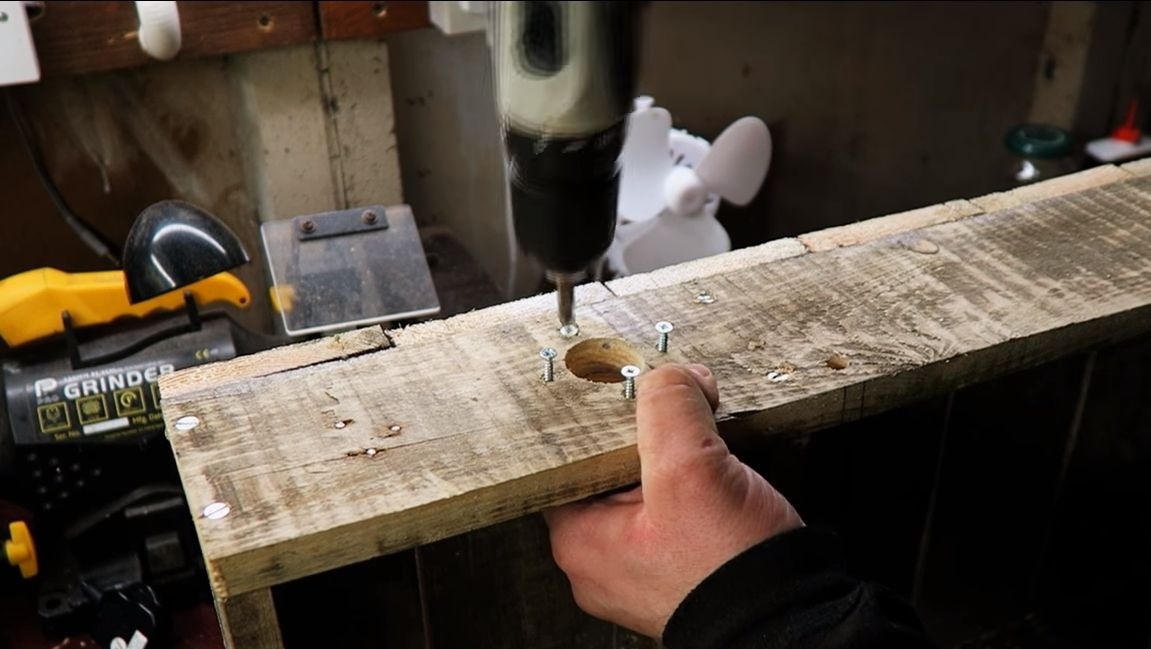
Step Two Fastener for
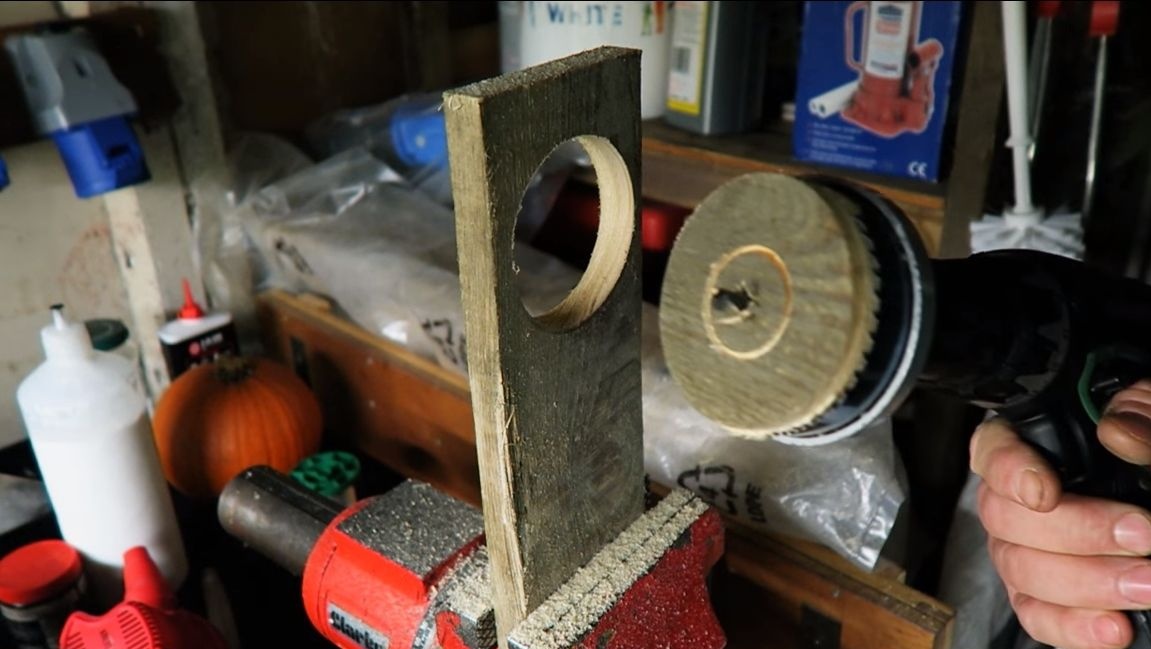
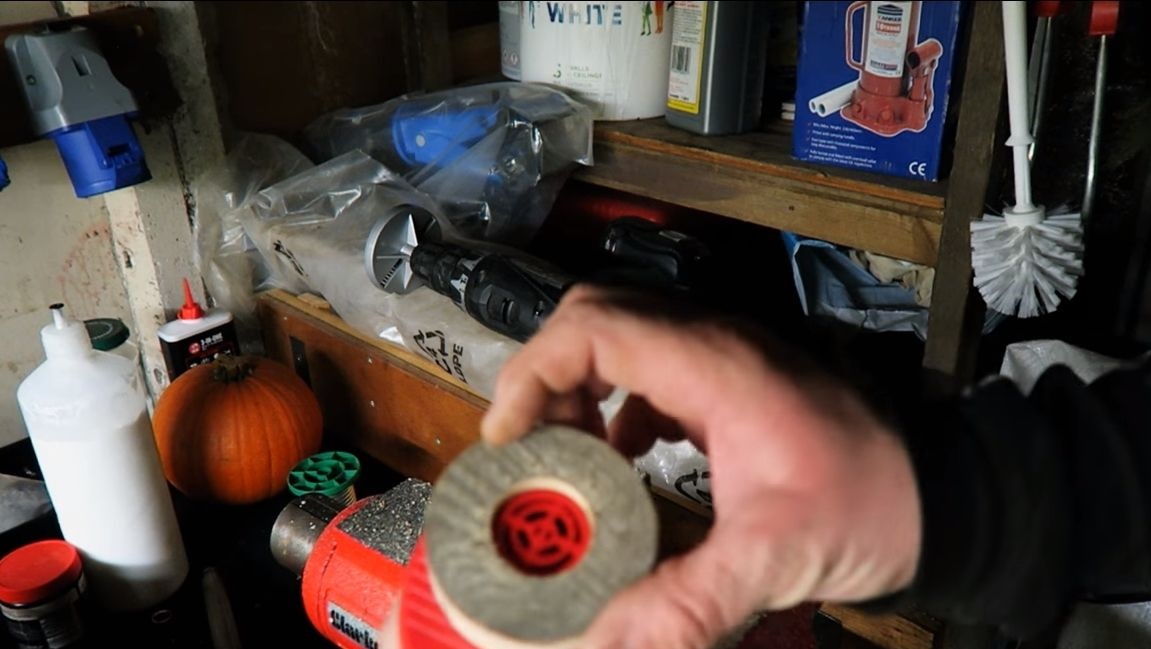
To install the compressor, we will make an adapter under it, into which the nose will be inserted. For its manufacture, we need a board, as well as a drill with special nozzles.In the end, we just need to cut the “washer” from the tree.
We fix the manufactured washer in the right place of the frame using self-tapping screws.
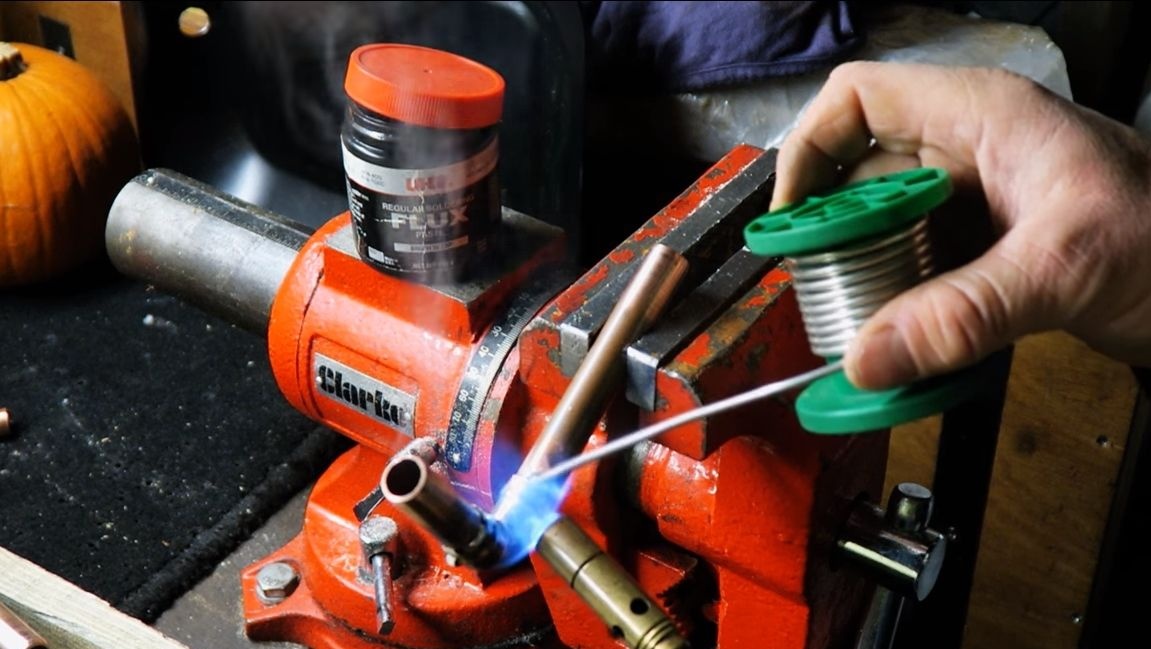
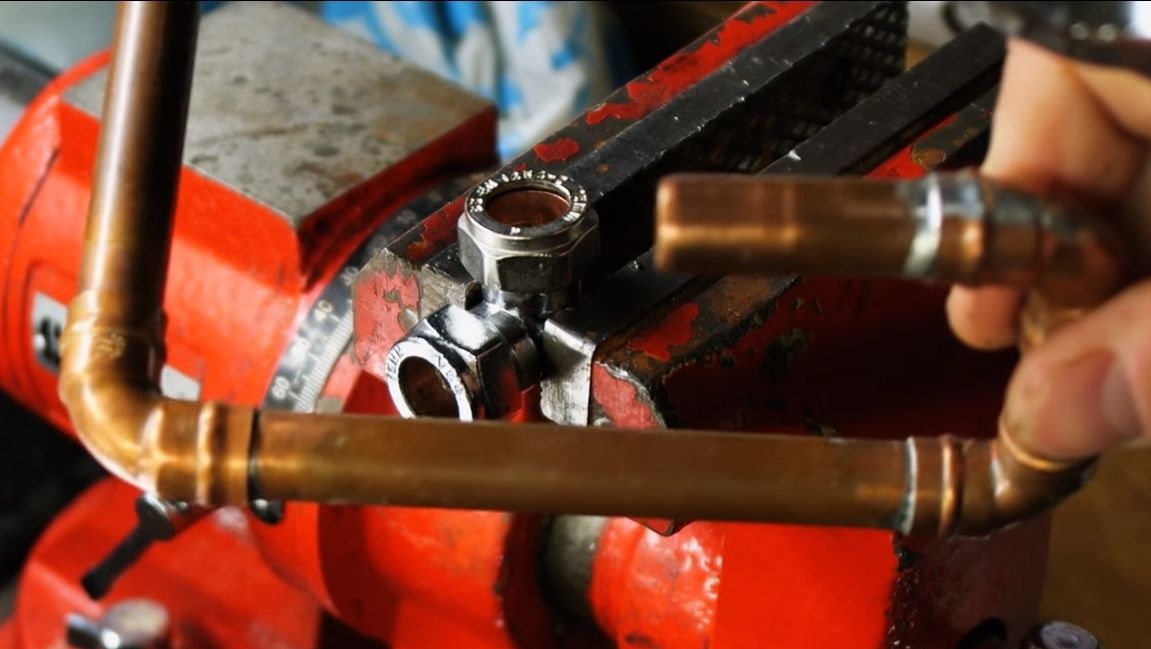
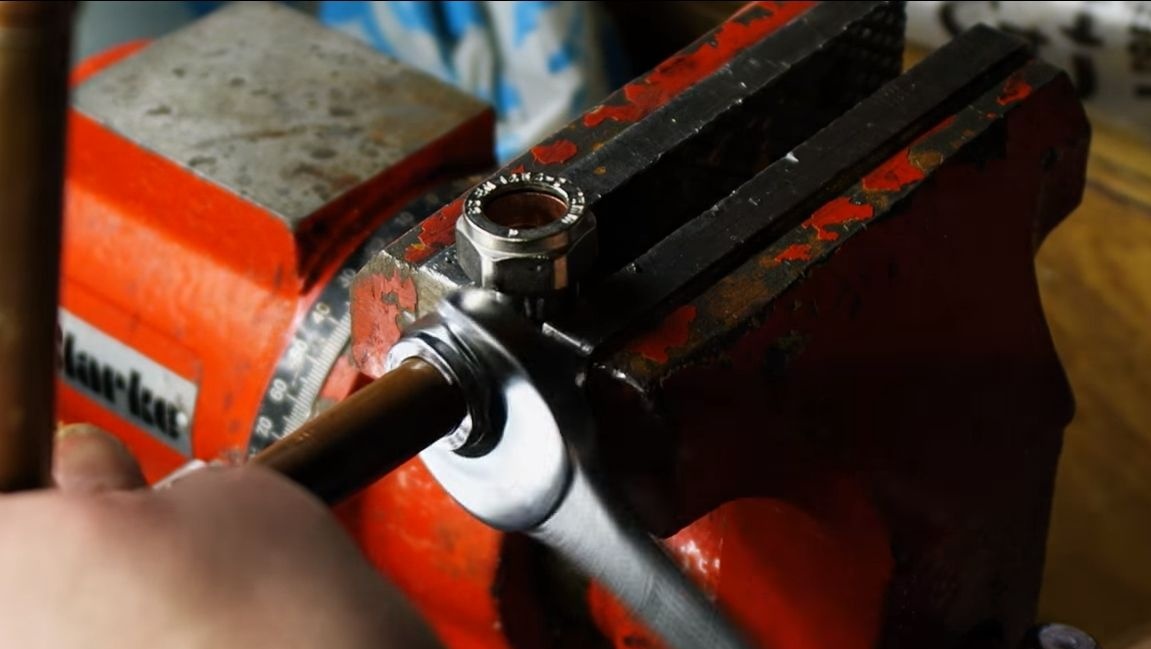
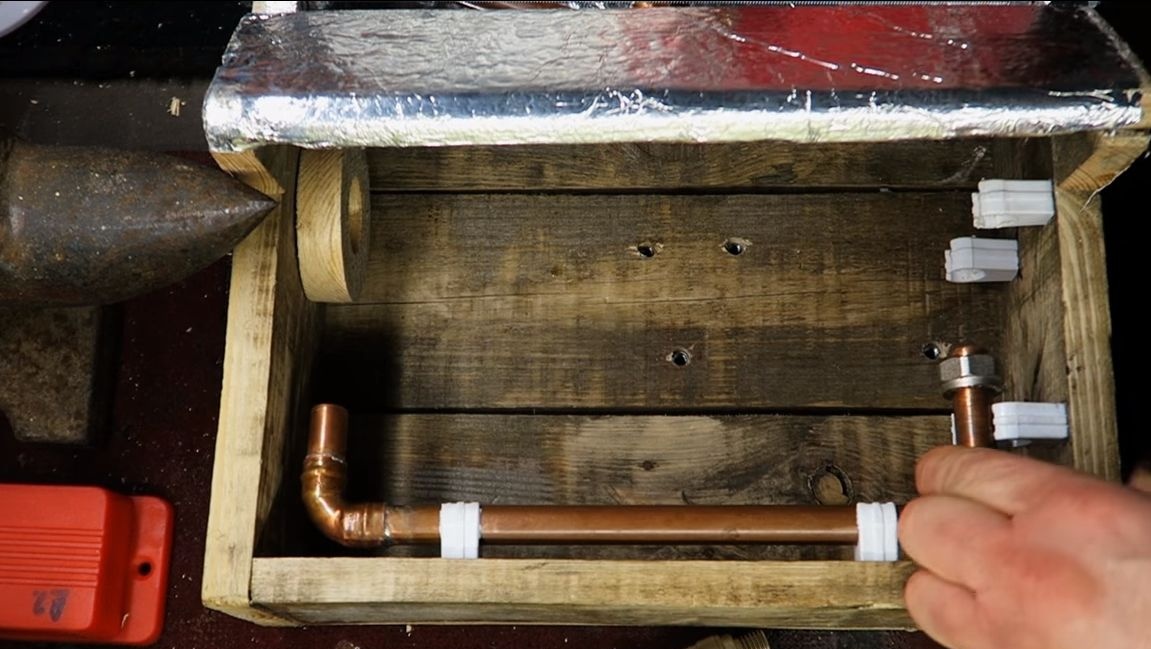
Step Three Collect pipes
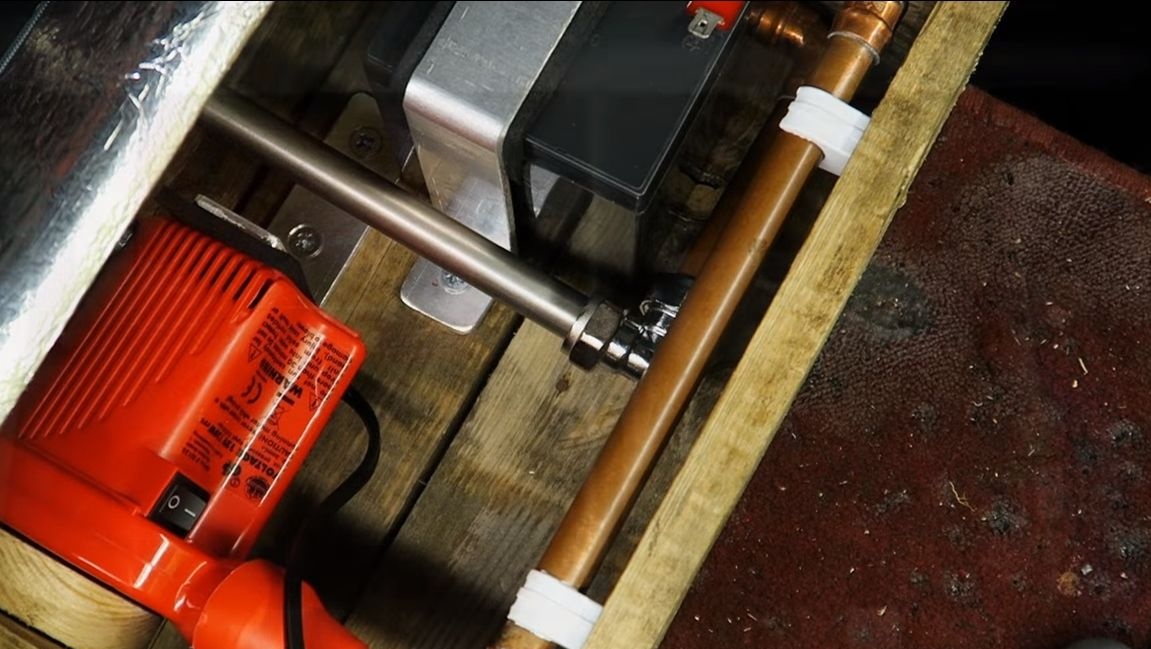
To transport air to the destination, the author decided to use copper pipes. This is not a good option, since copper perfectly transfers heat, so the length of the pipes should be maximum. Otherwise, heat may reach the compressor and melt the plastic. Pipes can be used metal, and you can simply bend them in the desired length of the coil. The author assembles the desired design, soldering is used to connect the parts.
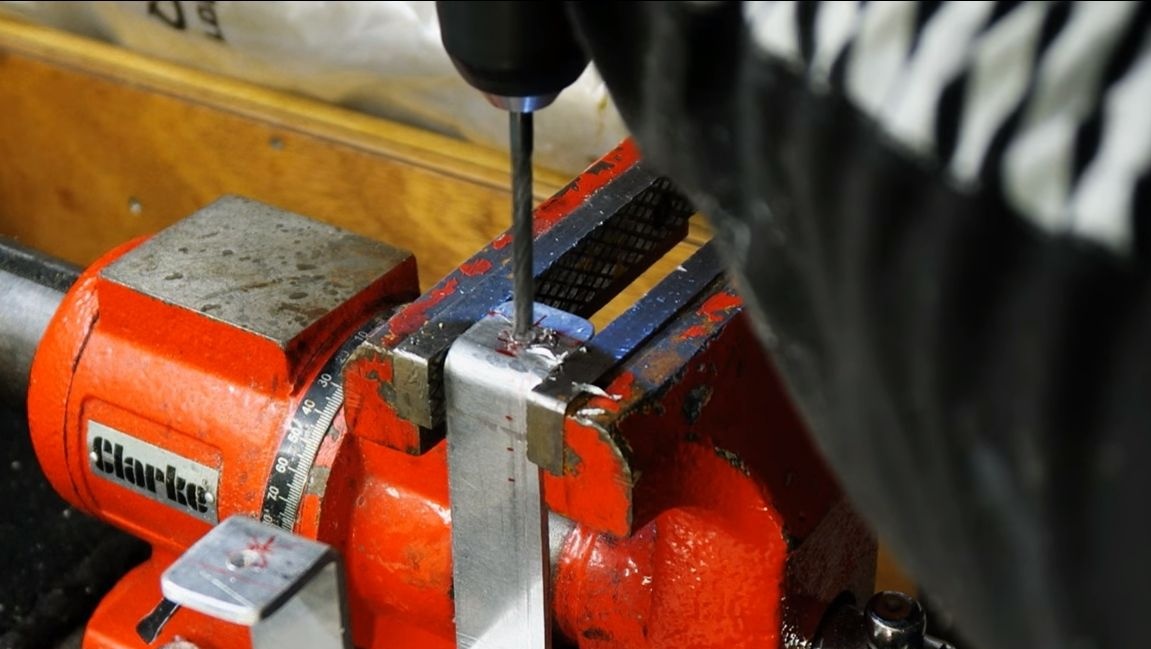
Step Four Making a battery clamp
We will feed the system from the battery, so to install it you need to make a clamp. For these purposes, we will need an aluminum plate. With the help of a vise and a special nozzle, the author forms it in the form of the letter "P". However, this can also be done with an ordinary vise or even a pair of pliers, if you have a good eye. Drill holes to secure the clamp with screws to the base.
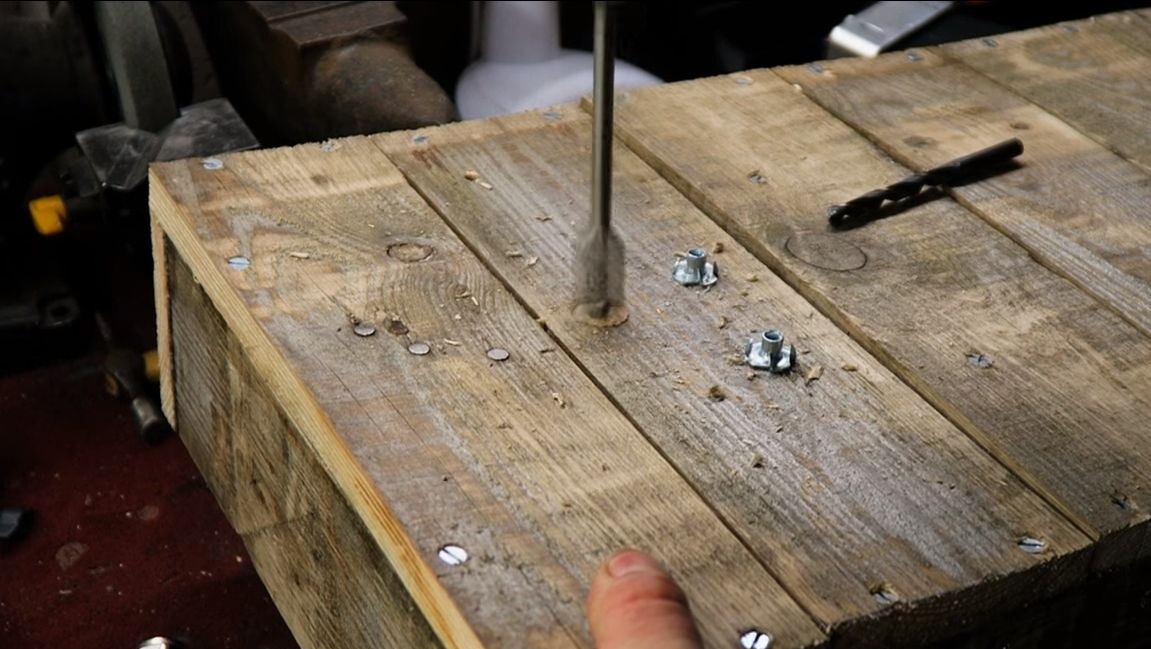
We drill holes at the base, on the other hand, the author installs the nuts. That's all, now the clamp will be very convenient to tighten using screws.

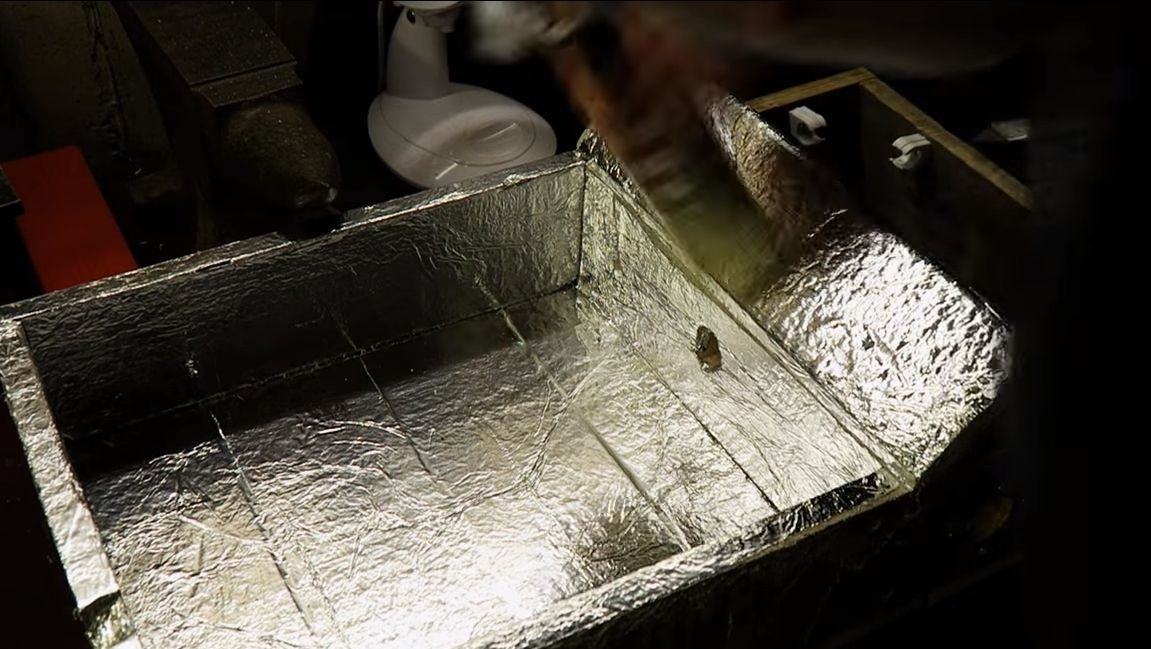
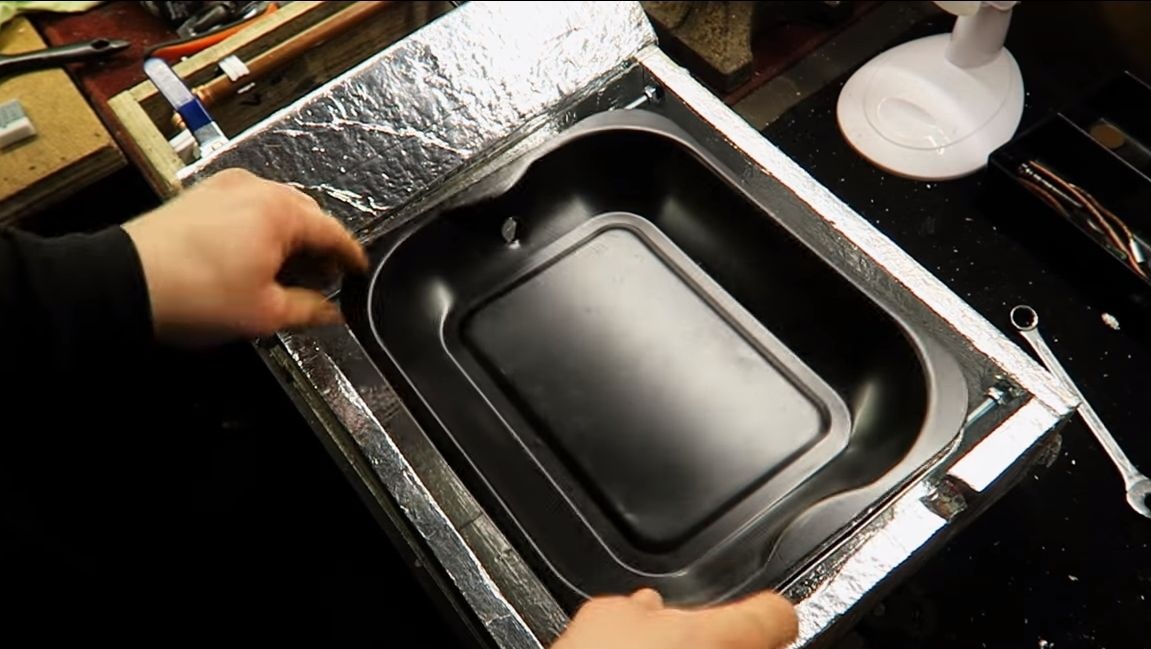
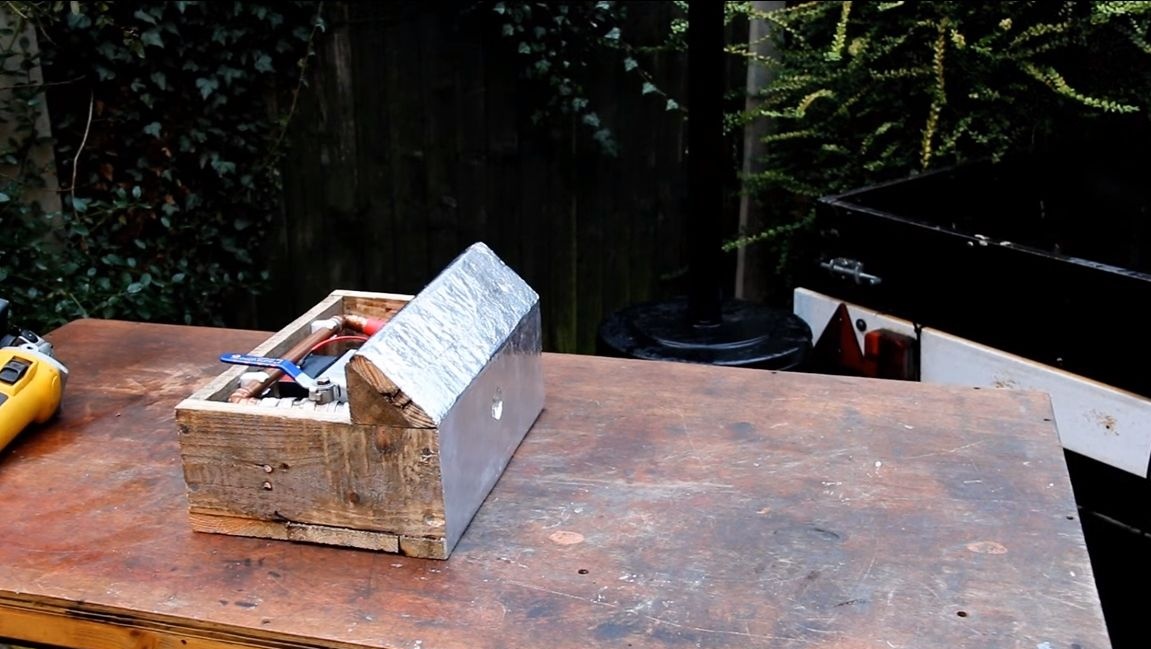
Step Five Finish the frame with foil
Initially, the author planned to install several pallets on a wooden case, on which coals will burn. And to further protect the wood, he pasted it with foil. Now, even if the ember falls off the pallet, the wood should not catch fire, and the foil itself acts as a heat shield.
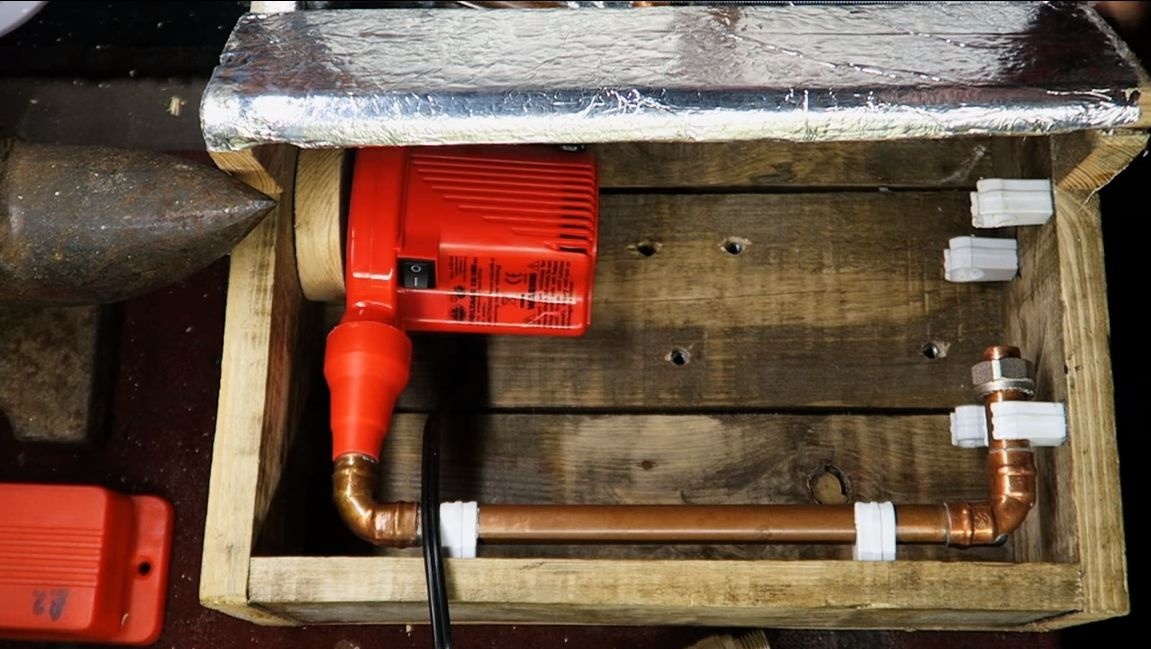
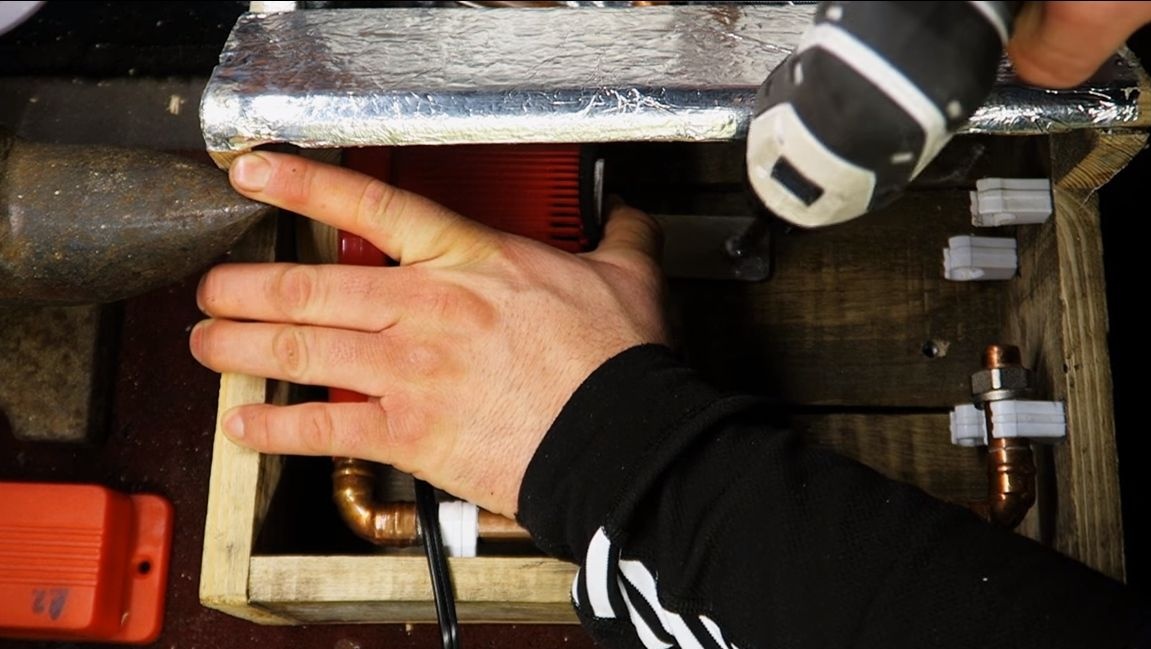
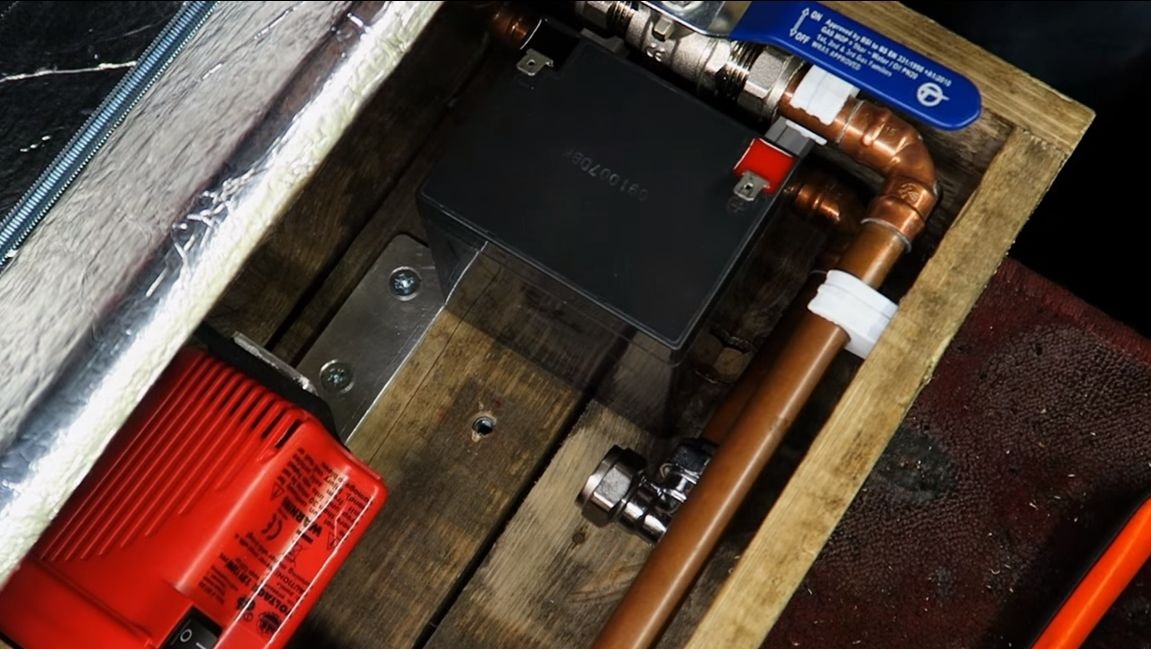
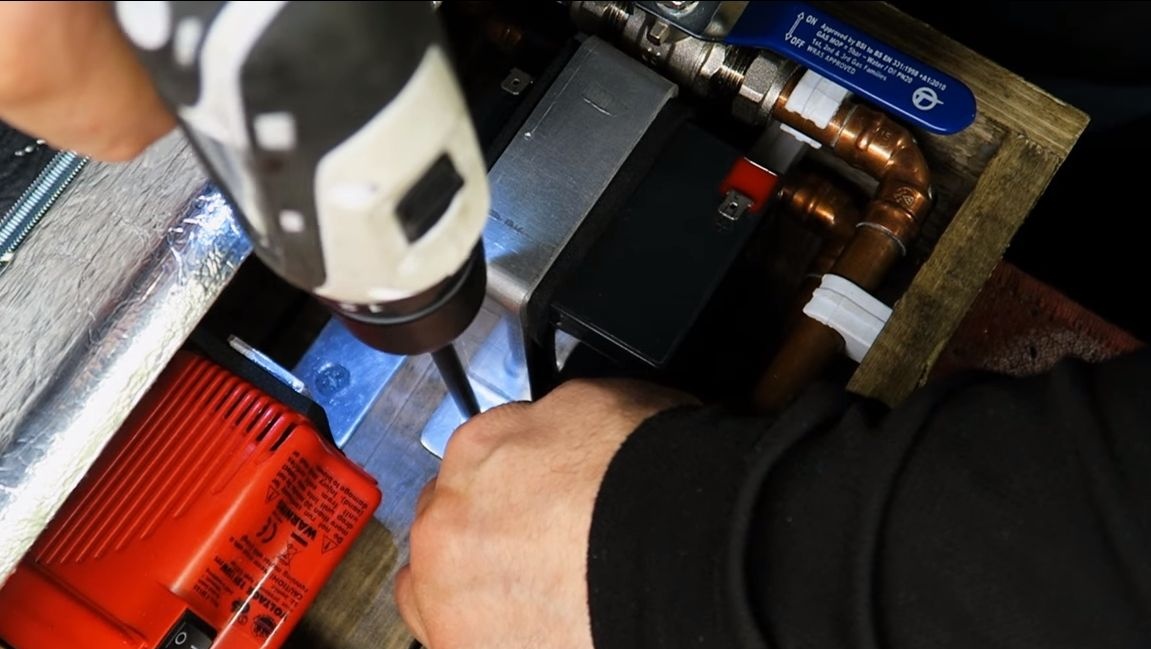
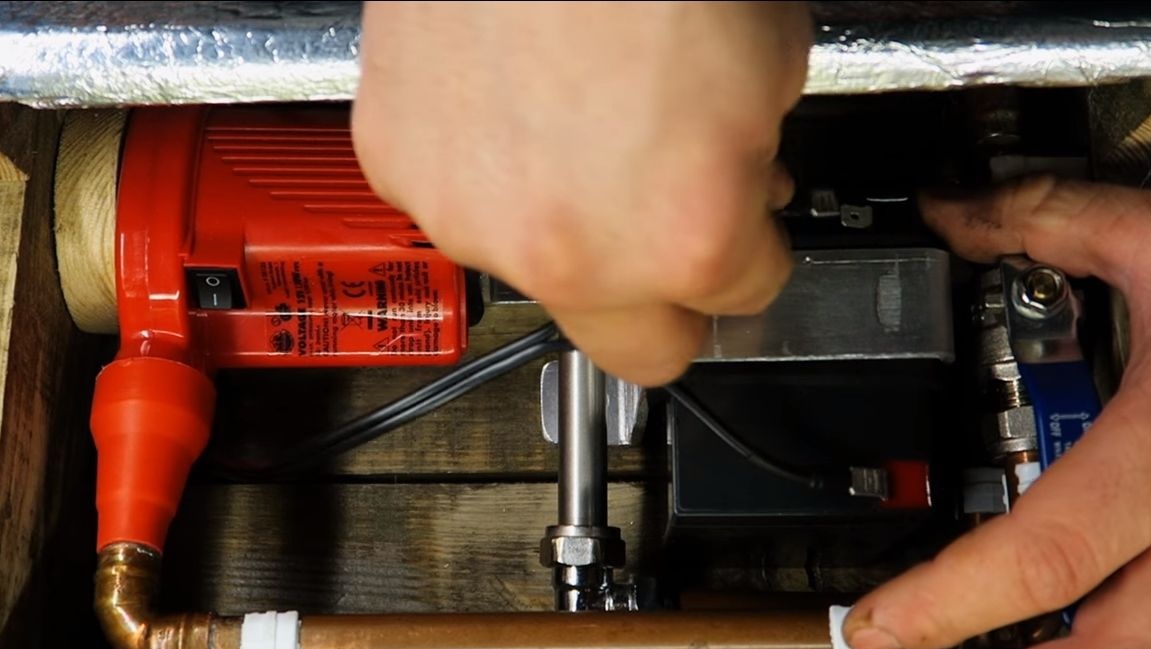
Step Six Set the filling
First of all, we install pipes, plastic holders were used for their fastening. This is not a very reliable option if the pipes are very hot. We also install a compressor; for its fastening, the author used an aluminum corner.
At the end, we attach the battery, previously we made a clamp for it from an aluminum plate.
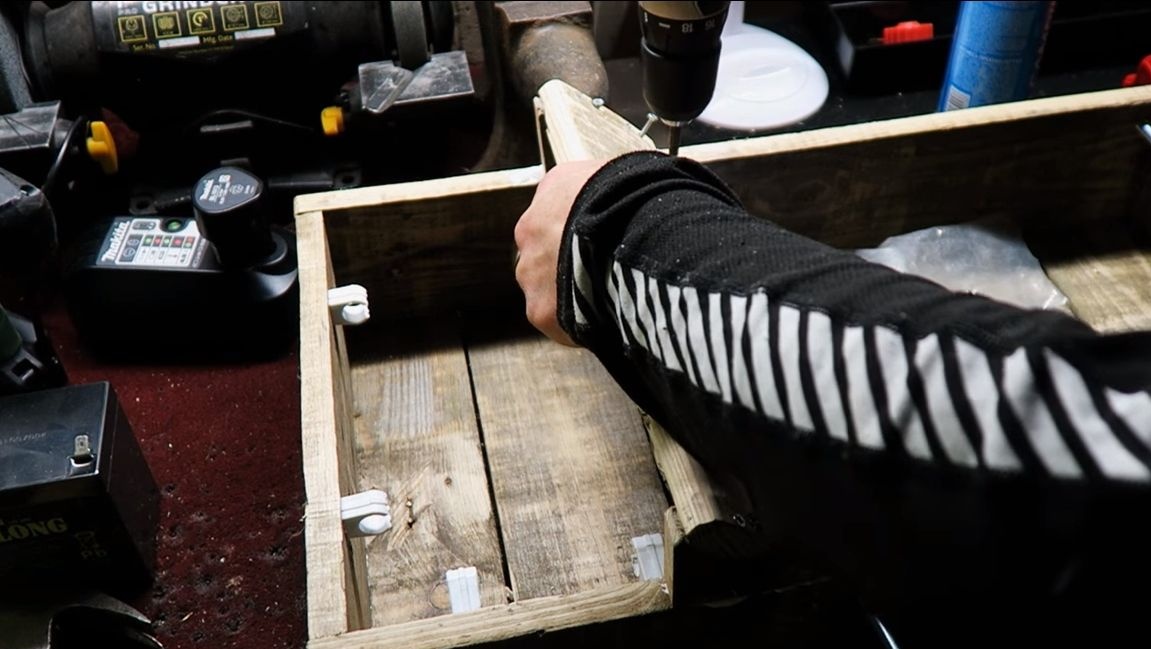
Seventh step. The final stage of assembly and testing (first attempt)
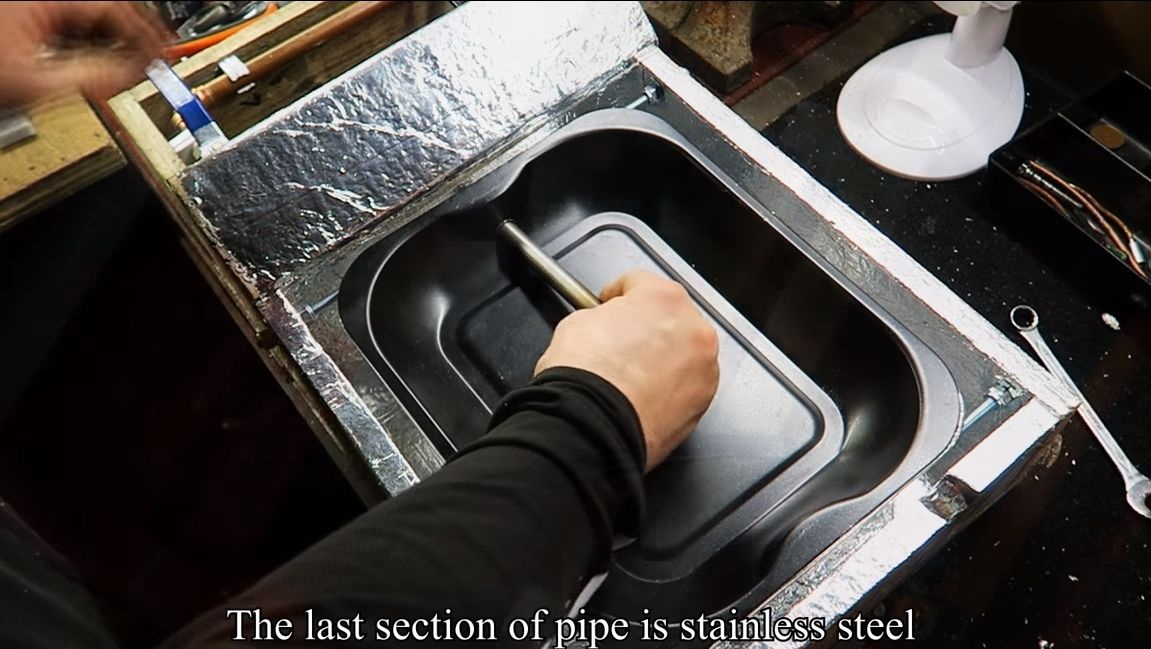
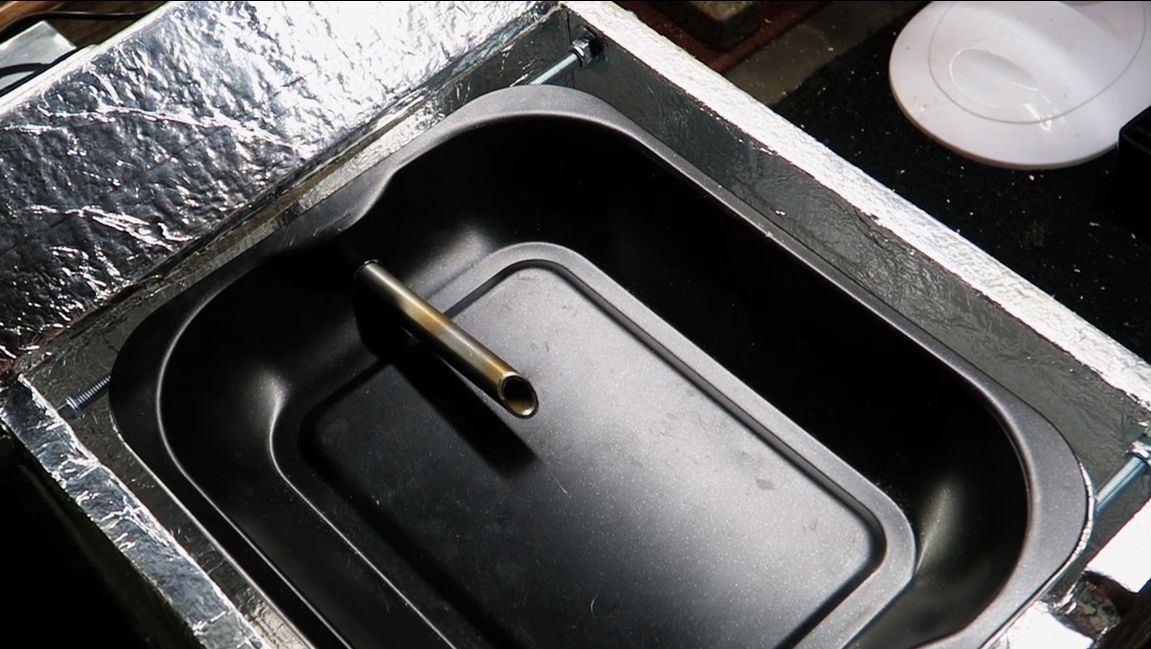
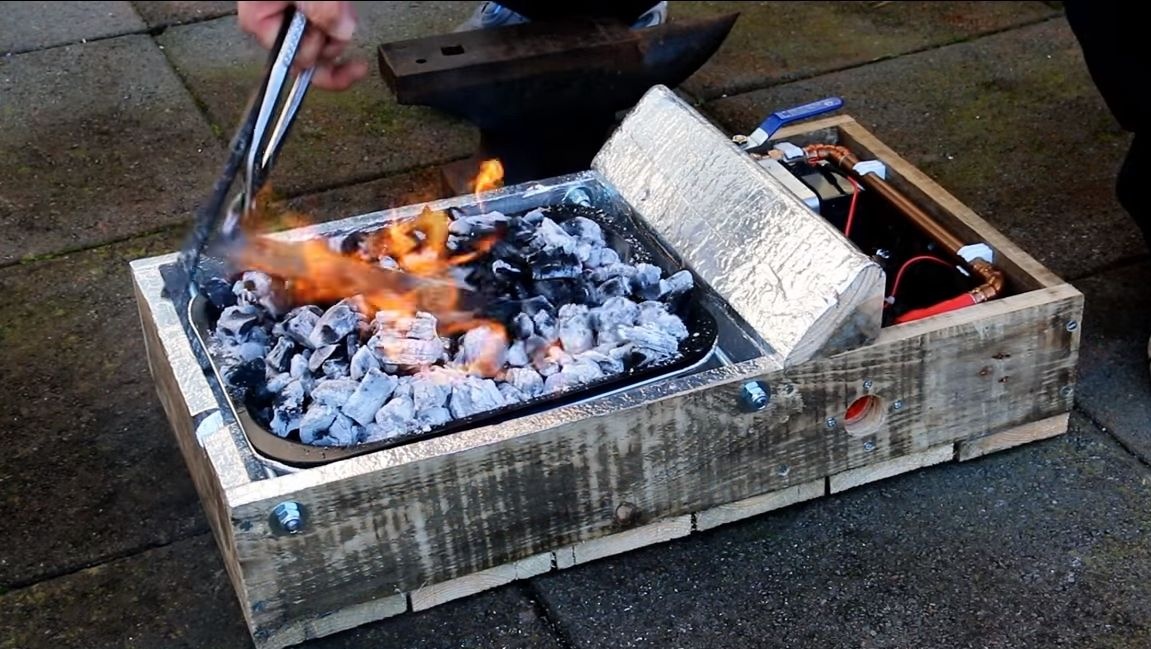
Now we will install pallets in which we will fill the coals, the author has two of them. We drill a hole in pallets and insert a steel pipe that will supply air to the furnace. The pallets are in suspension, they abut against two bolts mounted across the frame.
That's all, now the oven can be tested! We fill the coals and kindle with a burner or ignition fluid. The stove worked fine, but there were problems. The pallets are so hot that they burned foil underneath, and the heat began to burn the wood. As a result, this design crashed, and it was decided to redo it.

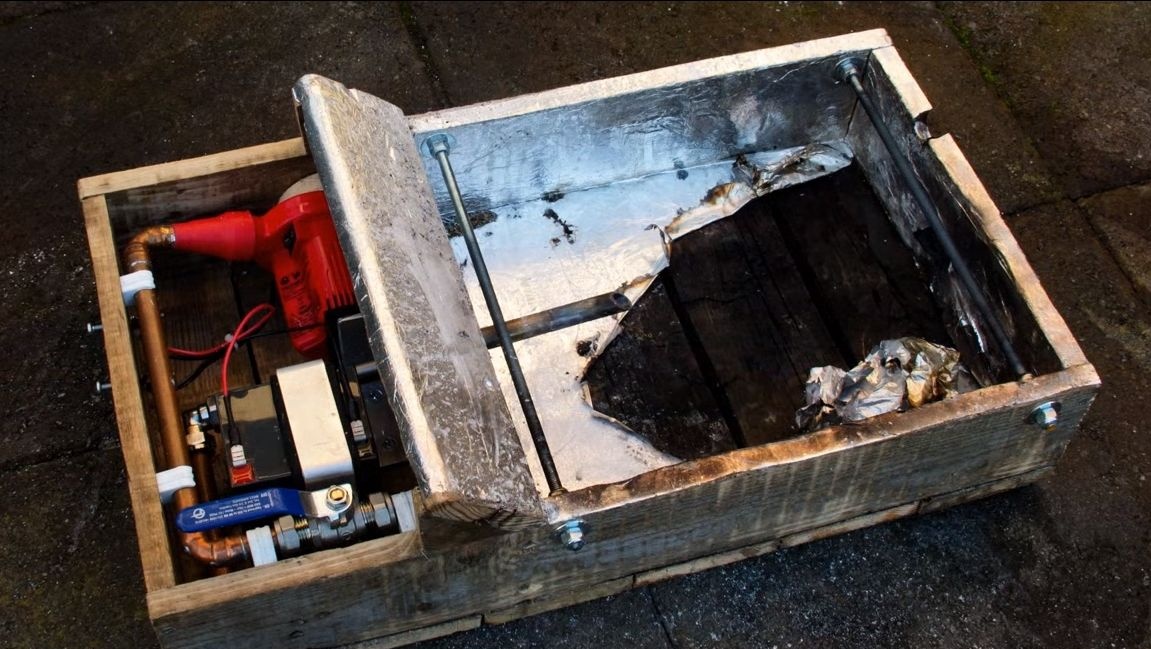
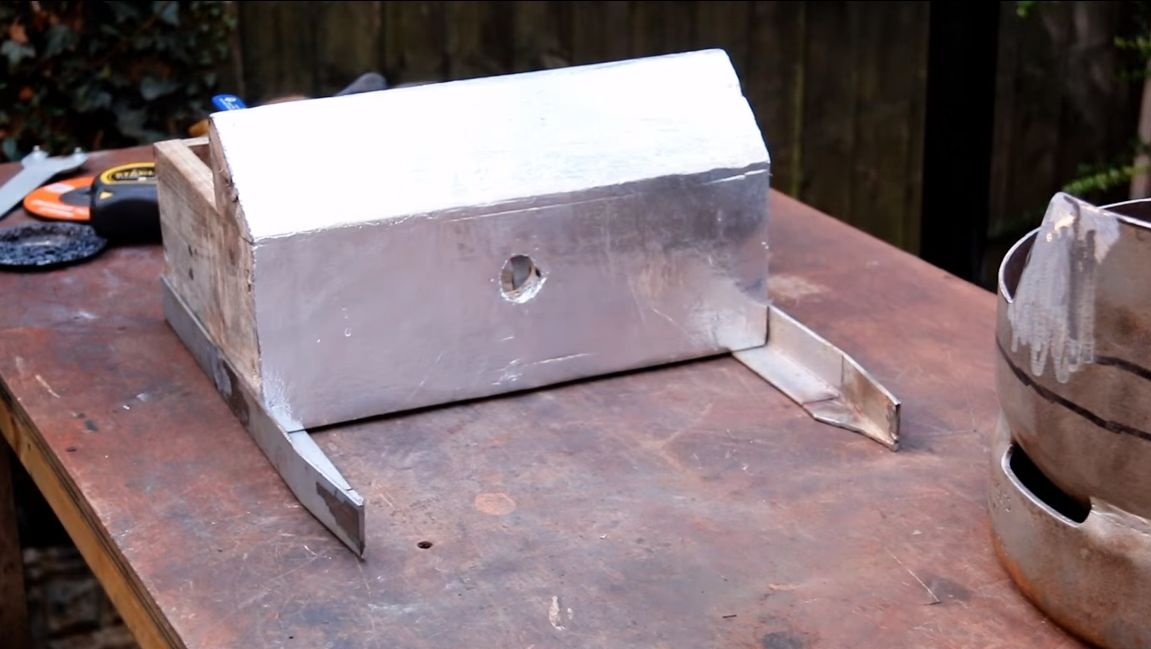
Step Eight. Making a furnace from a cylinder
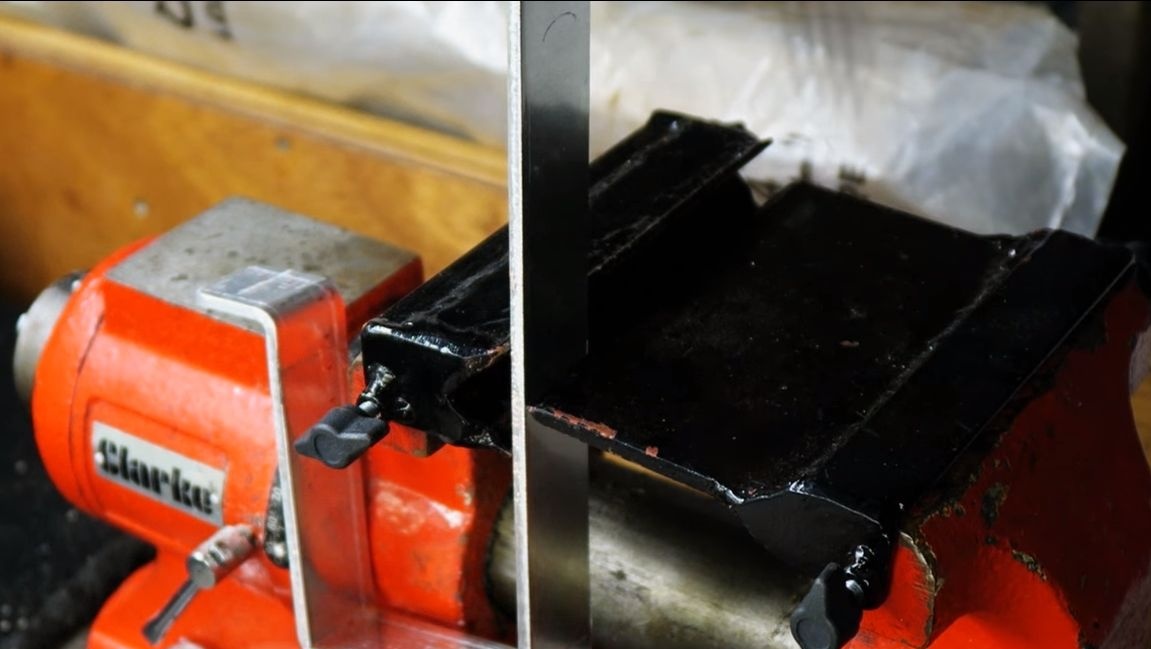
The author cut off that part of the frame on which the pallets were located. It was decided to make the furnace more reliable. As a result, a metal barrel was taken as the source material, a gas cylinder is also suitable. If you will use a cylinder, do not forget to clean it well of the contents, there are a lot of instructions and recommendations on the Internet for this, otherwise everything could end with an explosion and serious injuries.
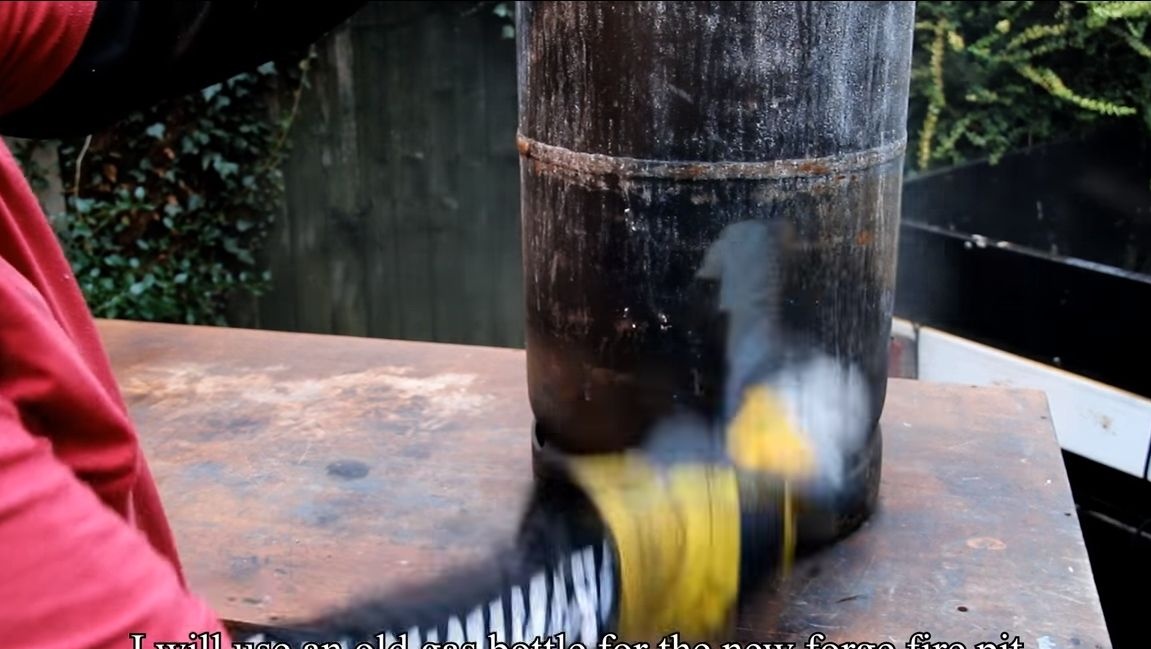
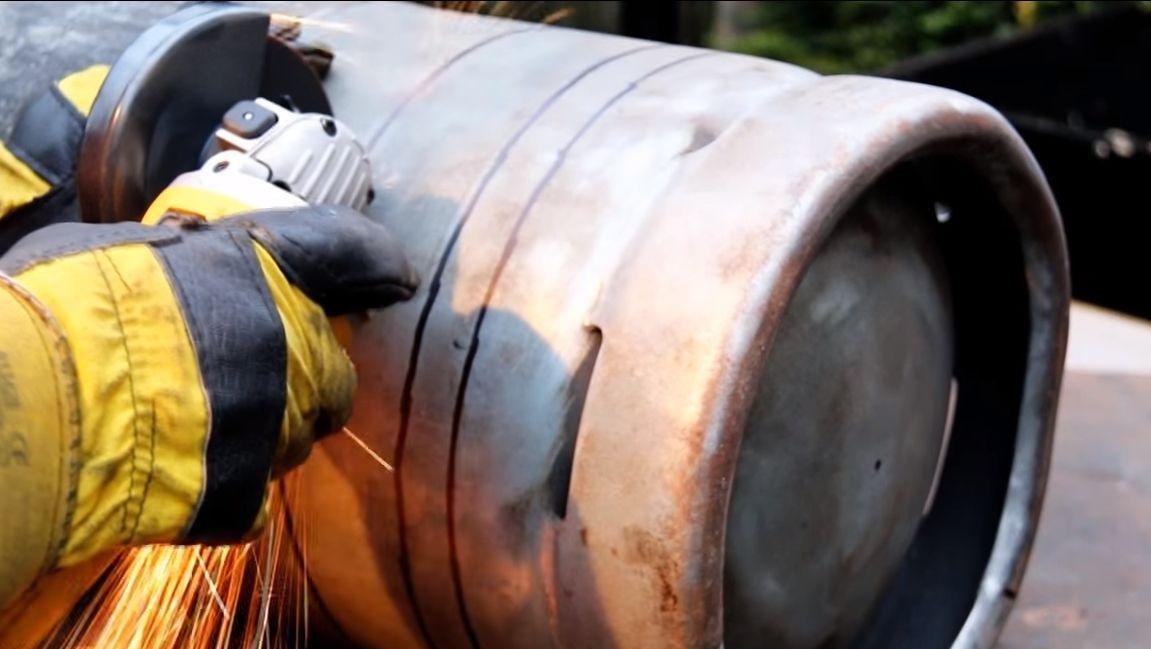
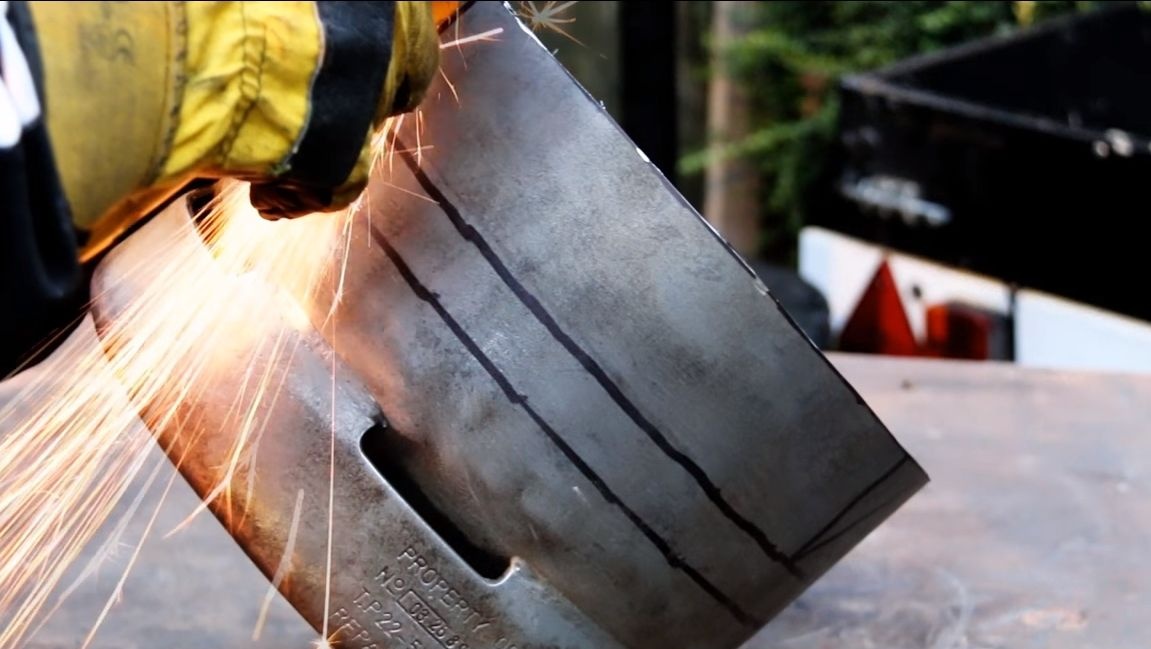
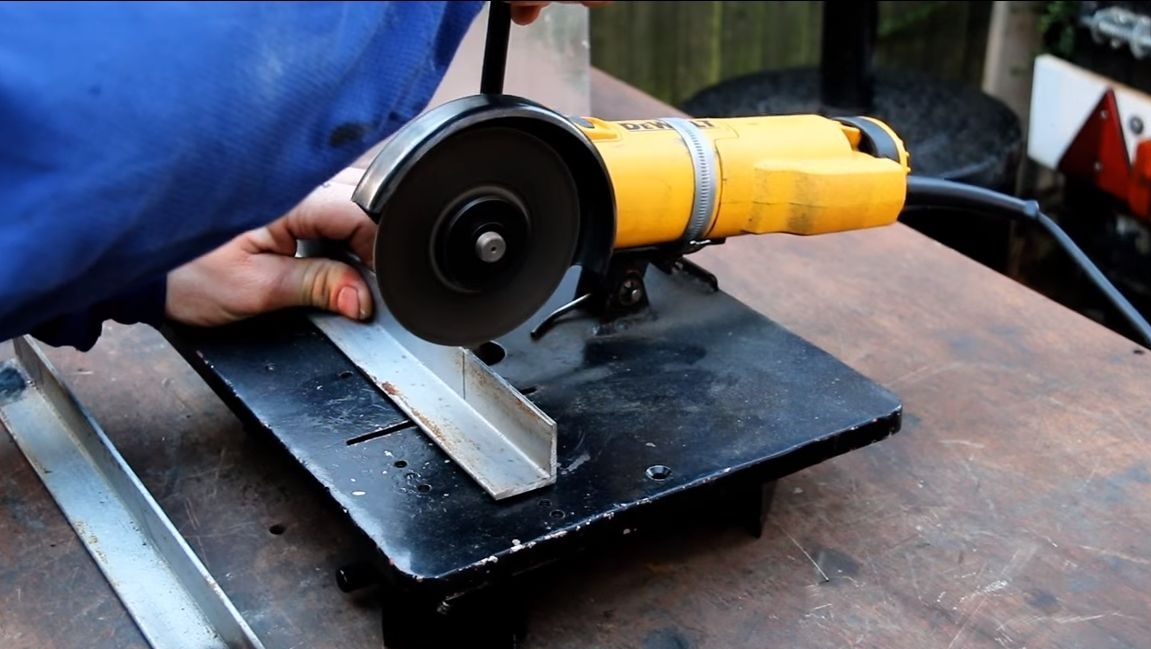
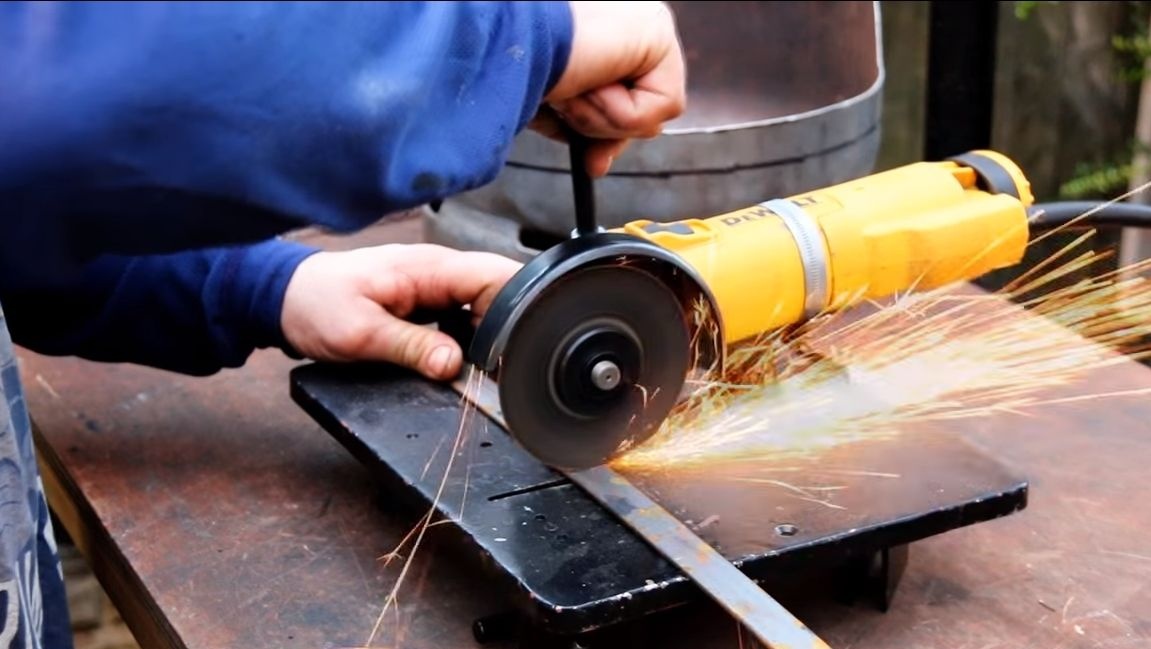
First of all, we clean the cylinder from paint, for this the author uses a grinder with a suitable nozzle. Next, cut off the bottom of the tank at a suitable height. At the end, we cut a “window” in the blank through which you will use the stove.
Step Nine. Production of mounting brackets
To attach the oven to a wooden structure with a compressor, you will need two corners. We cut the corner to the desired length, bend the edges at the desired angle. Also, to strengthen the connection, you will need two steel plates.
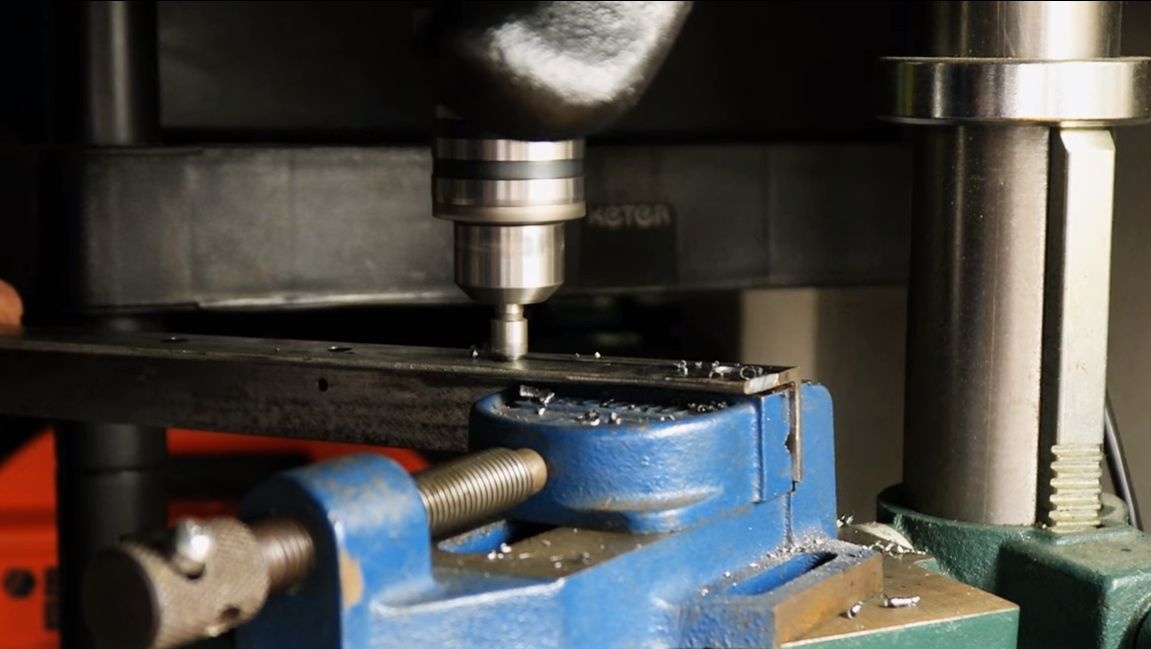
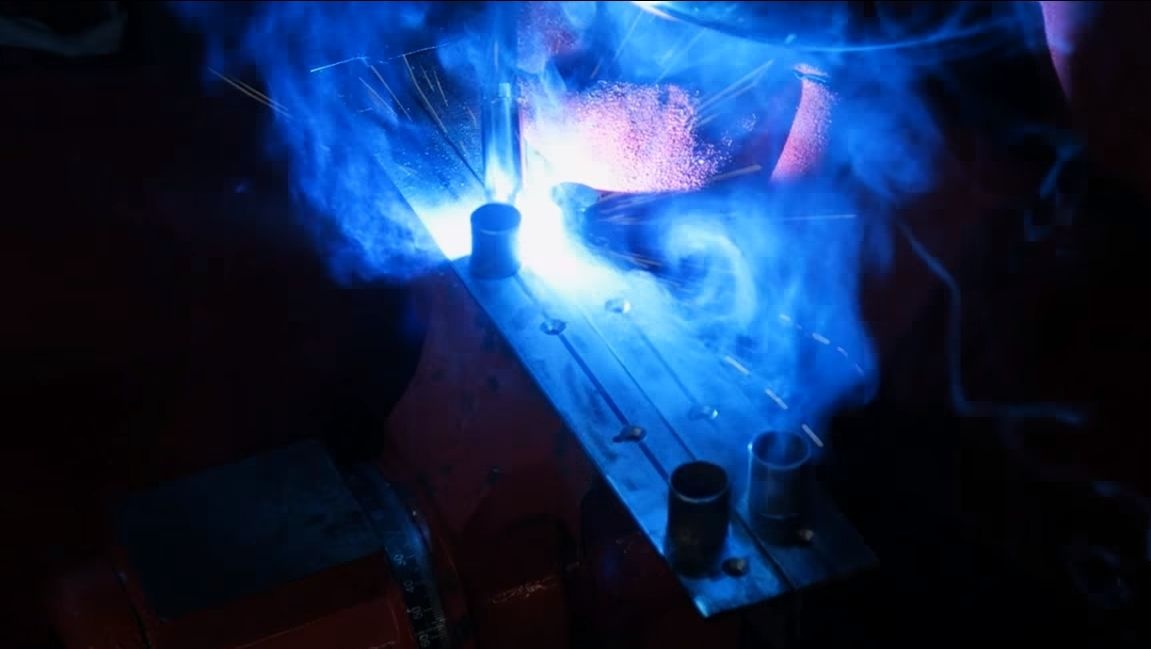
Drill holes in the corners and plates for fastening parts using self-tapping screws. In addition, the author welded pieces of pipes to the corners, resulting in excellent legs.
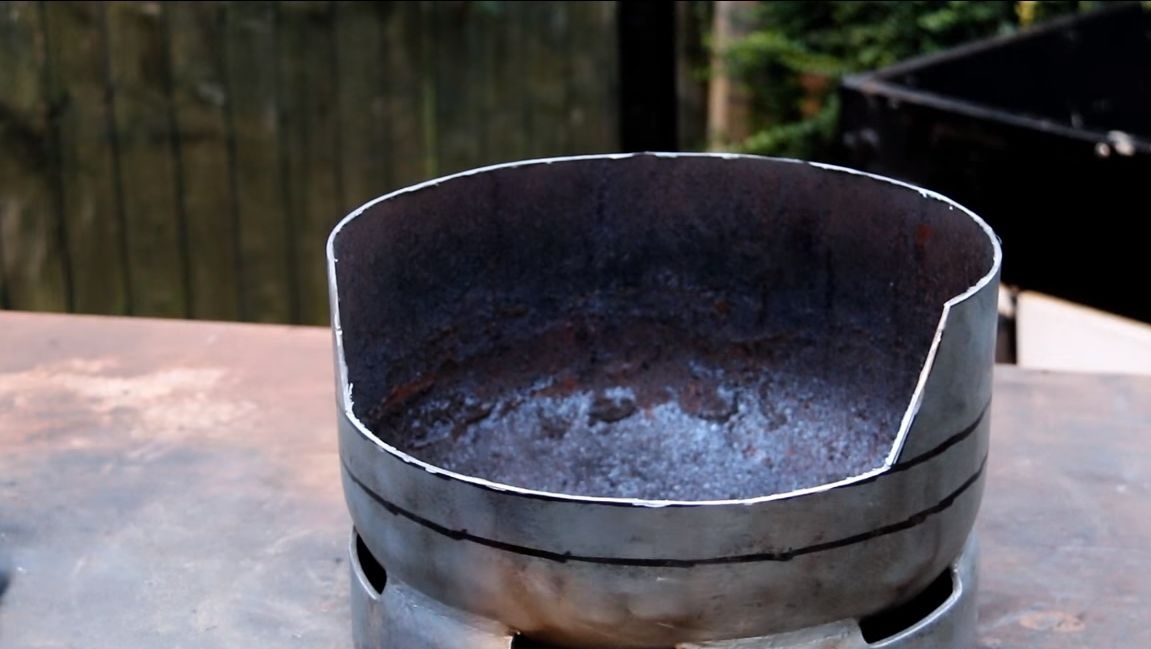
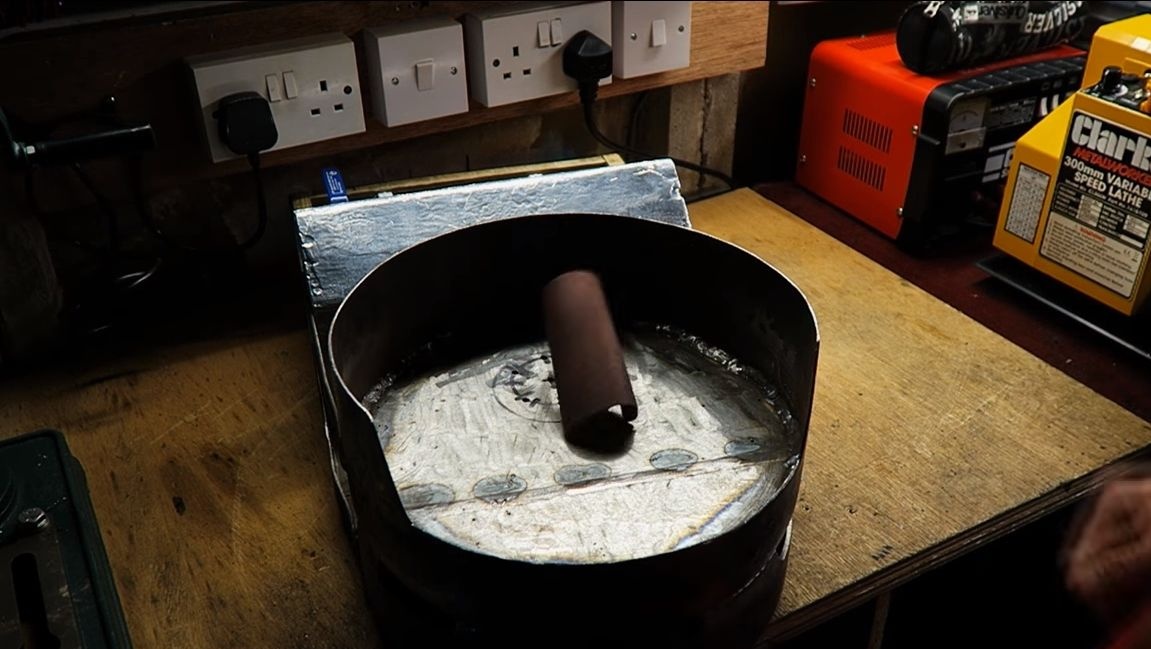
Step Ten We make a "pan" for the furnace and install
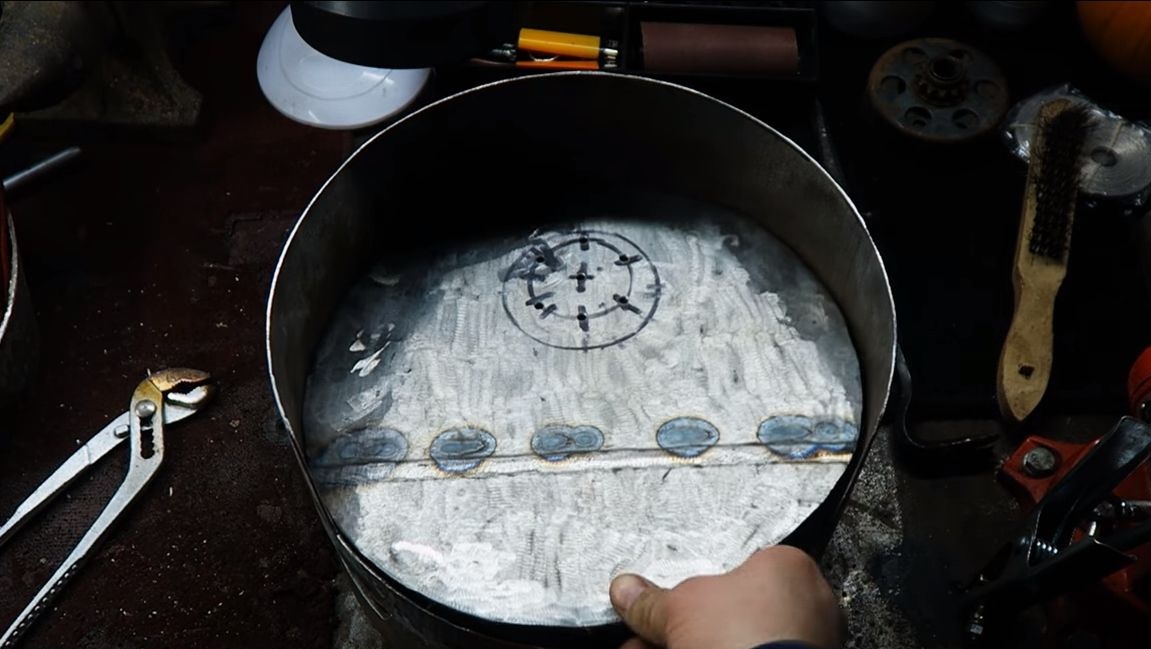
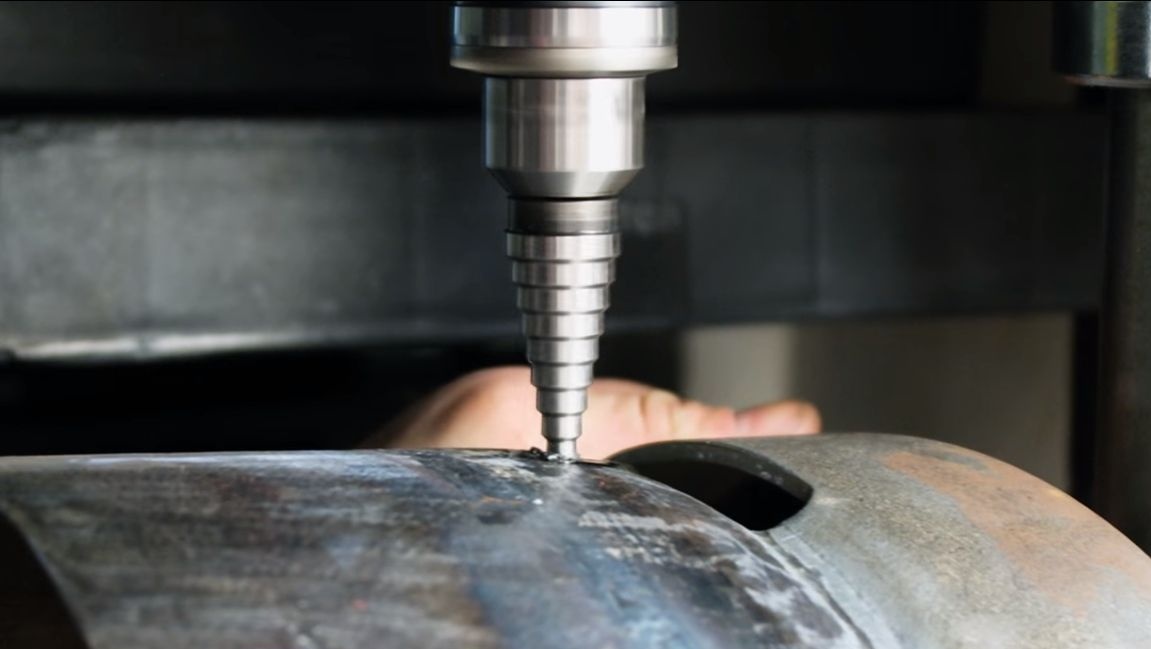
The pan is needed in order for the coals to burn on it, to which air enters from below, this is a kind of grate. For these purposes, we need sheet steel, and it should be as thick as possible, since thin will quickly burn out from high temperature. A circle of such a diameter must be cut out of steel so that it can enter the furnace as tightly as possible. Auto cooked it from two halves. We drill holes in the pan, through them air will come from the compressor.
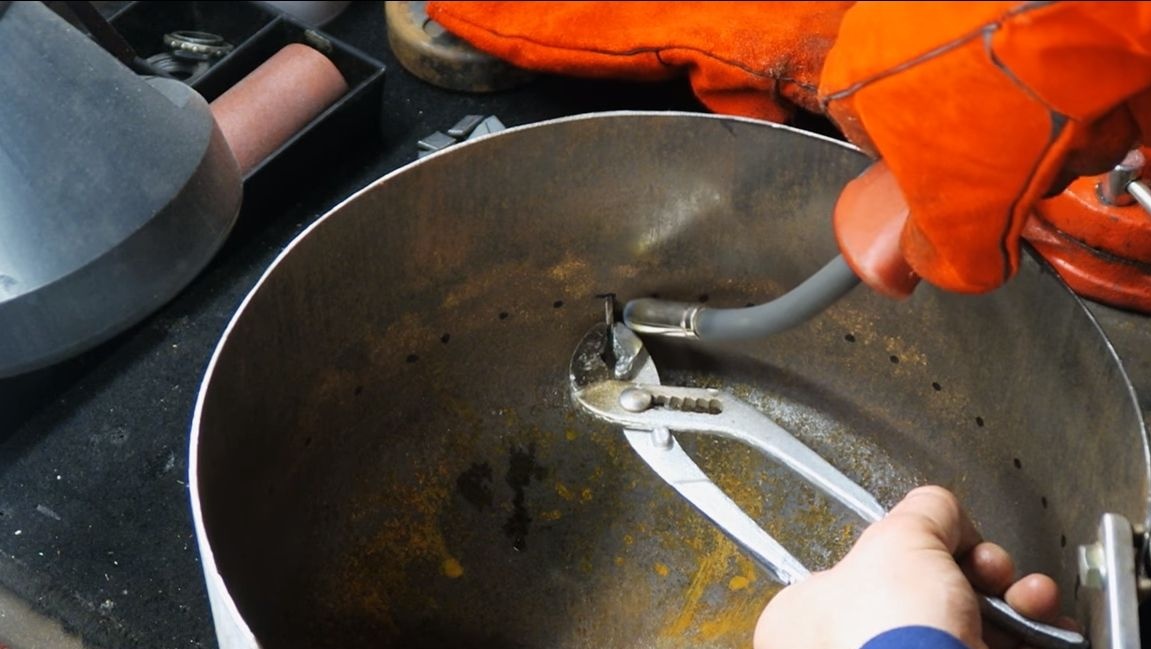
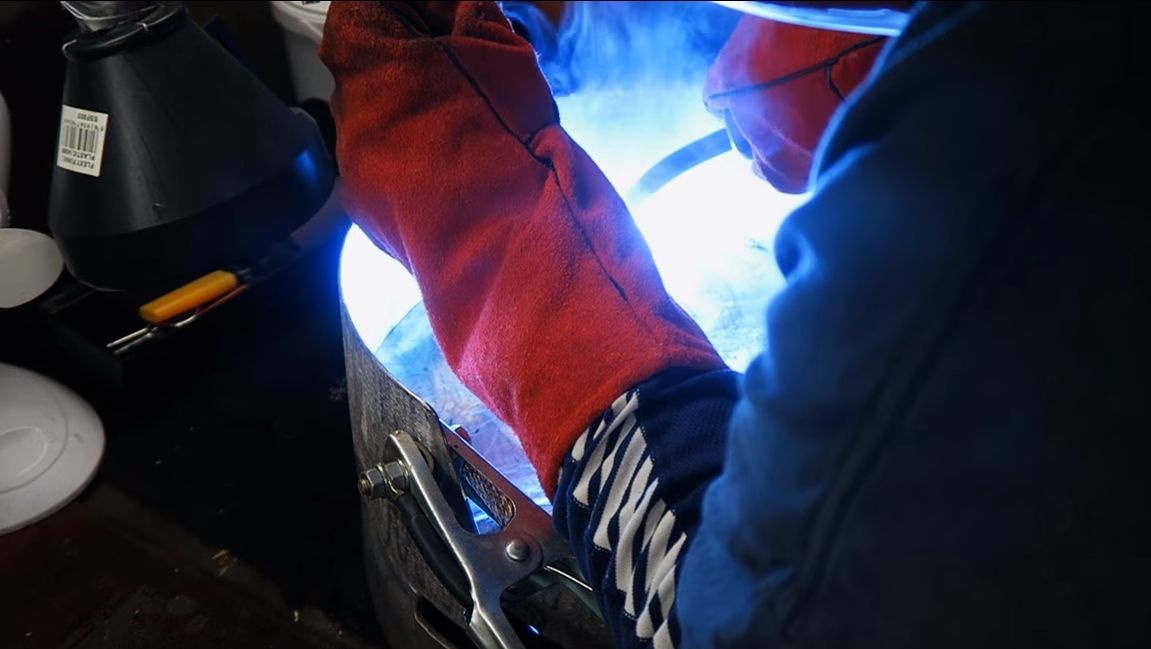
To install the pallet, we need the stops that we weld inside the oven. As stops, bolts, pieces of plates and so on will do. Now install the pallet in its place and weld it. However, welding is not necessary.
Step eleven. Assembling a stove
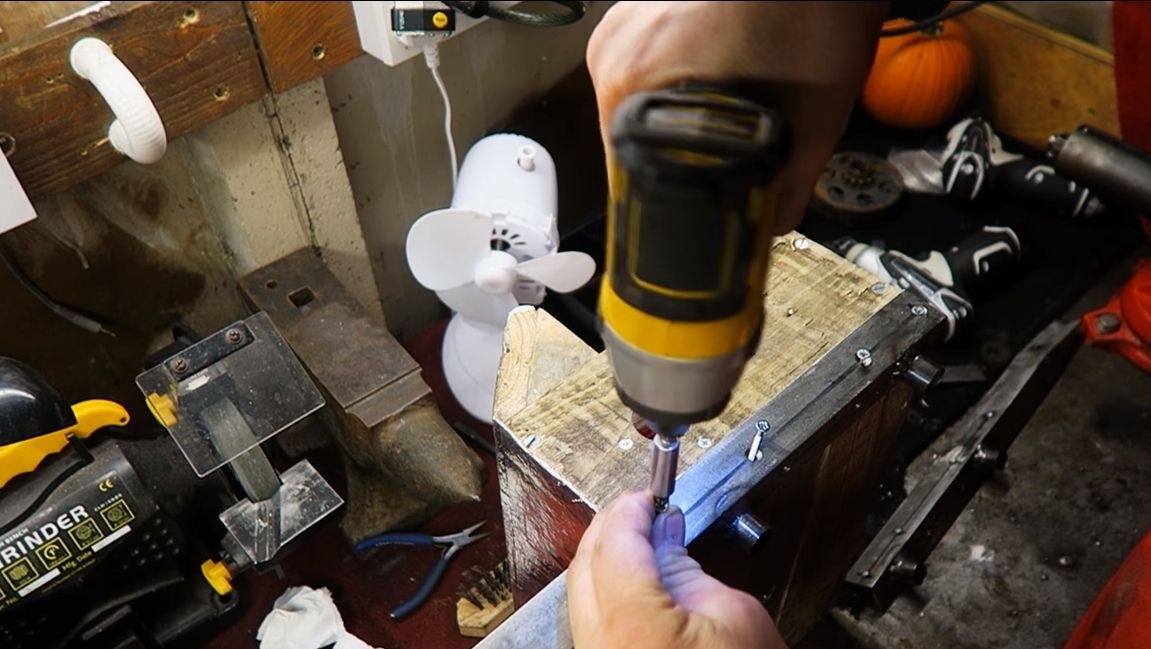
First of all, we drill a hole in the furnace for installing the pipe. It should be of such a diameter that the pipe goes as tightly as possible. Next, we weld corners and plates to the furnace.
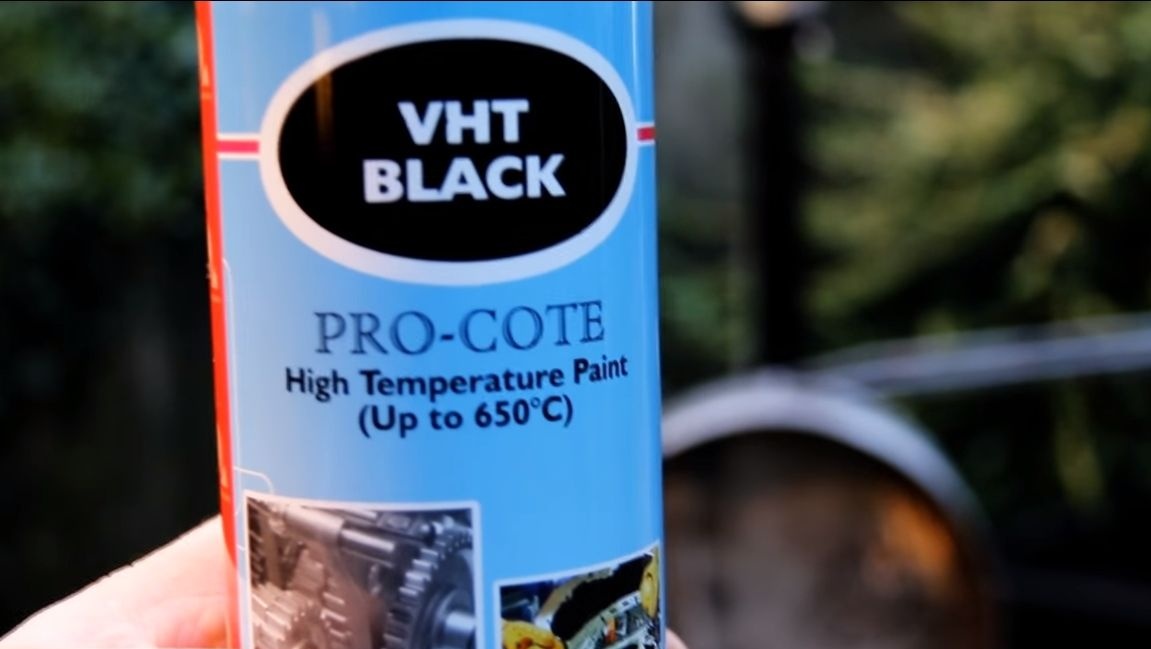
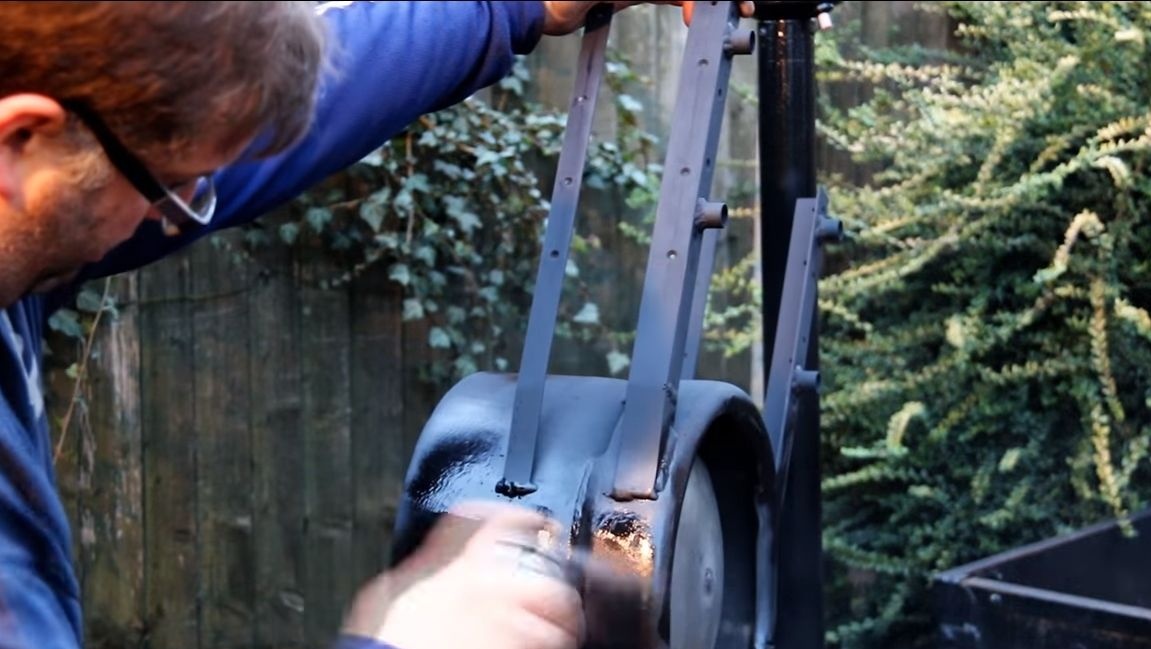
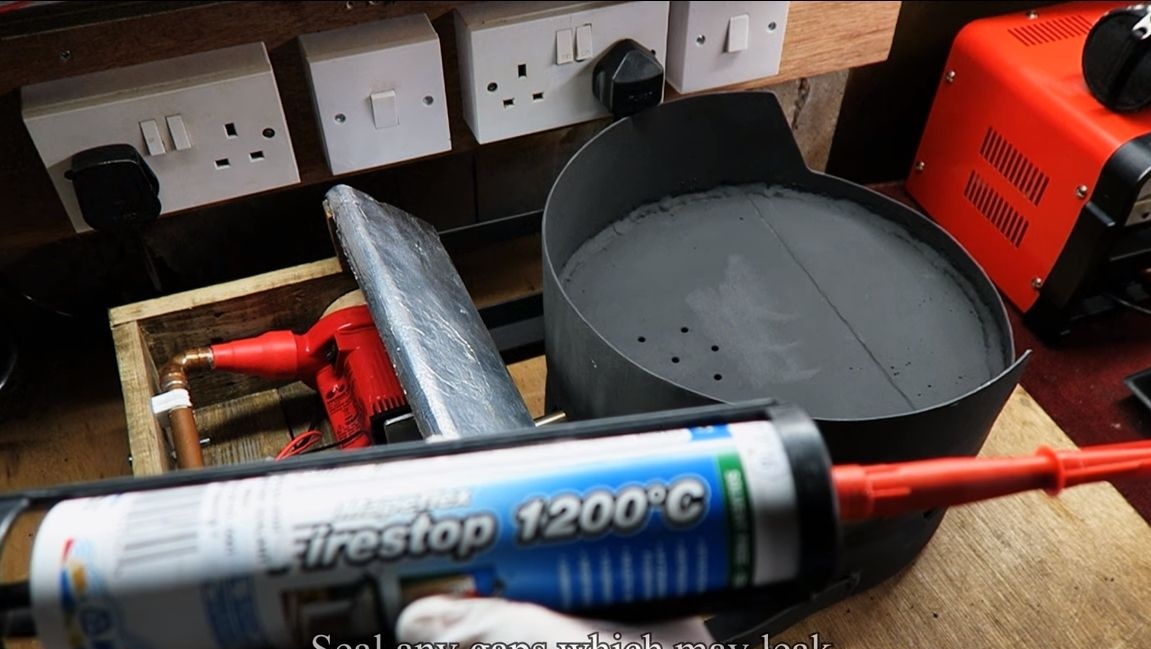
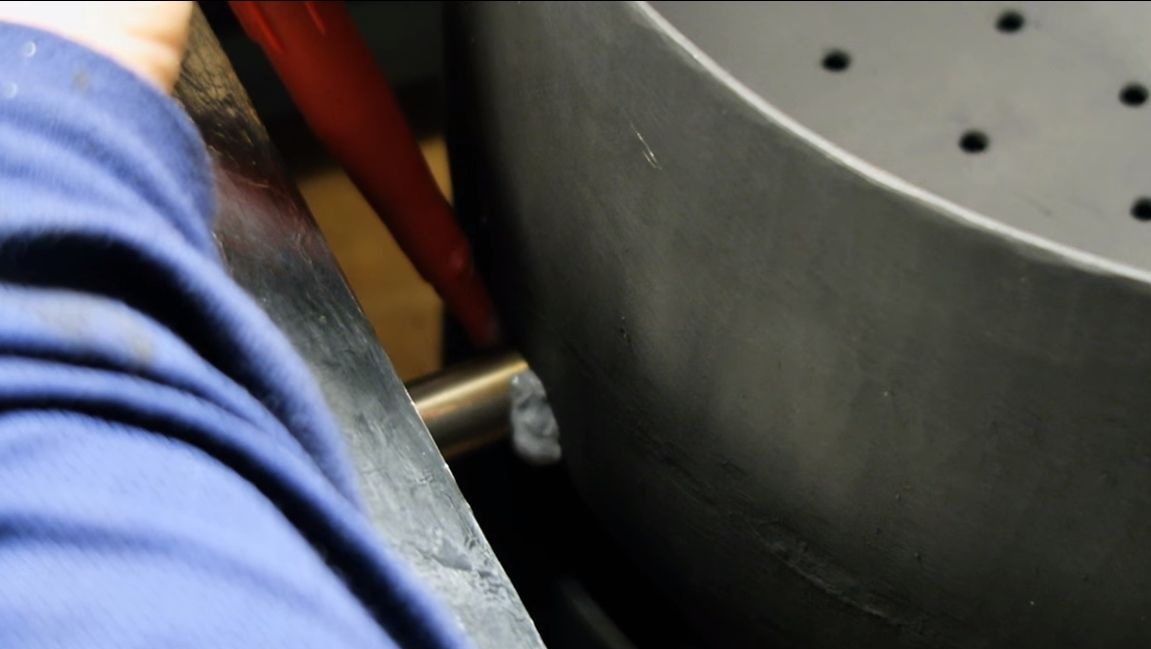
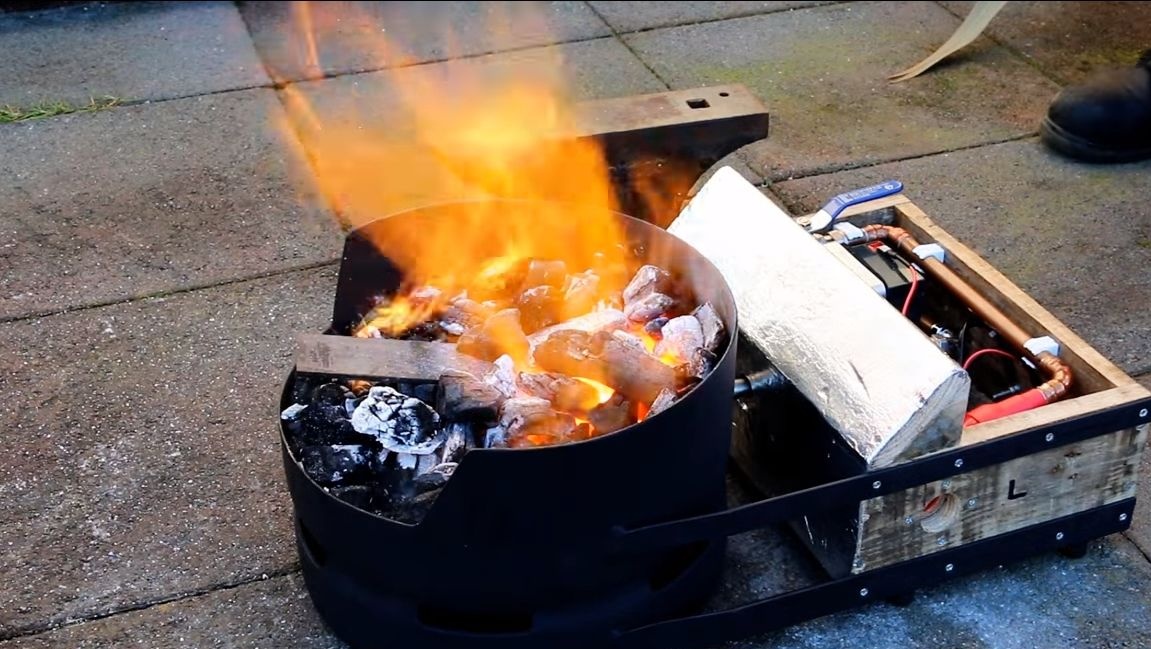
The final step will be painting, here you will need a spray can of heat-resistant paint. When everything is ready, we finally assemble the furnace. The place where the pipe enters the furnace, the author seals with heat-resistant sealant.
That's all, the oven is ready! We fall asleep coals and inflate the compressor! Good luck and inspiration in making your own projects!
