
We will do the deck itself, and the suspension with wheels will have to be ordered from Aliexpress.
The price of 2600 rubles includes courier delivery. The set includes two suspensions, 4 wheels with 8 bearings and spicers. Everything is already set in place. The wheels have a stiffness of 78 A. This means that they are quite soft and just perfect for "cellulite" asphalt.
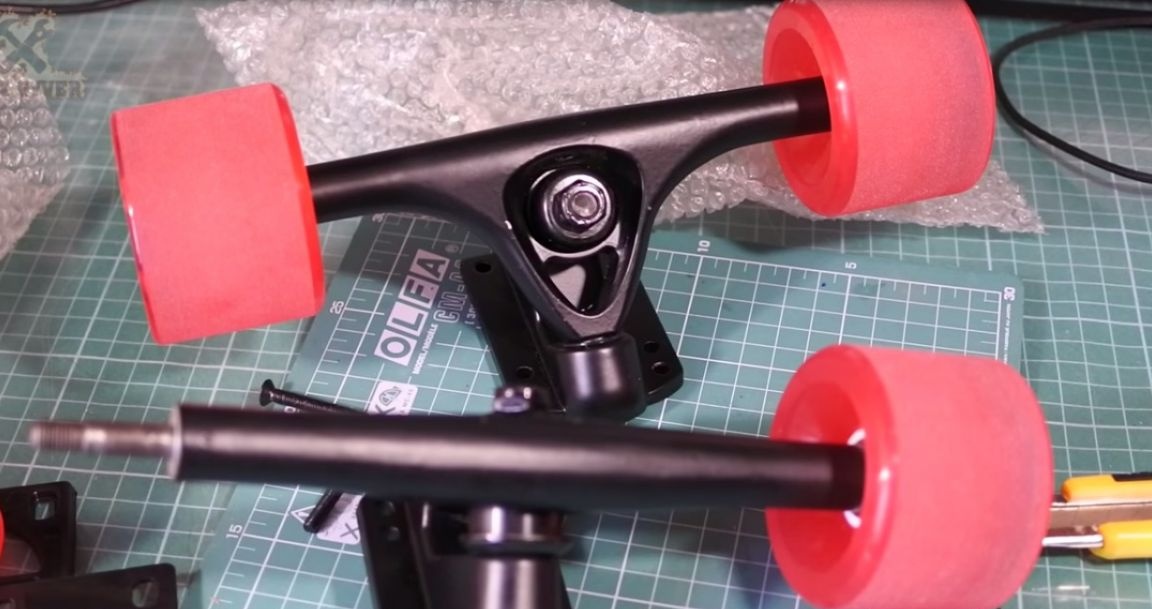
Pendants look pretty high quality. The mount here is rather non-standard, but more on that later. Let's fix the wheel. We put a washer, a wheel, a second washer and at the end a nut. The nuts have a polymer thread lock, which is very good. In general, everything is spinning, spinning normally, so we move on to making the deck.
Let's define some concepts and determine what exactly we will do next.
Longboard is a board on wheels.
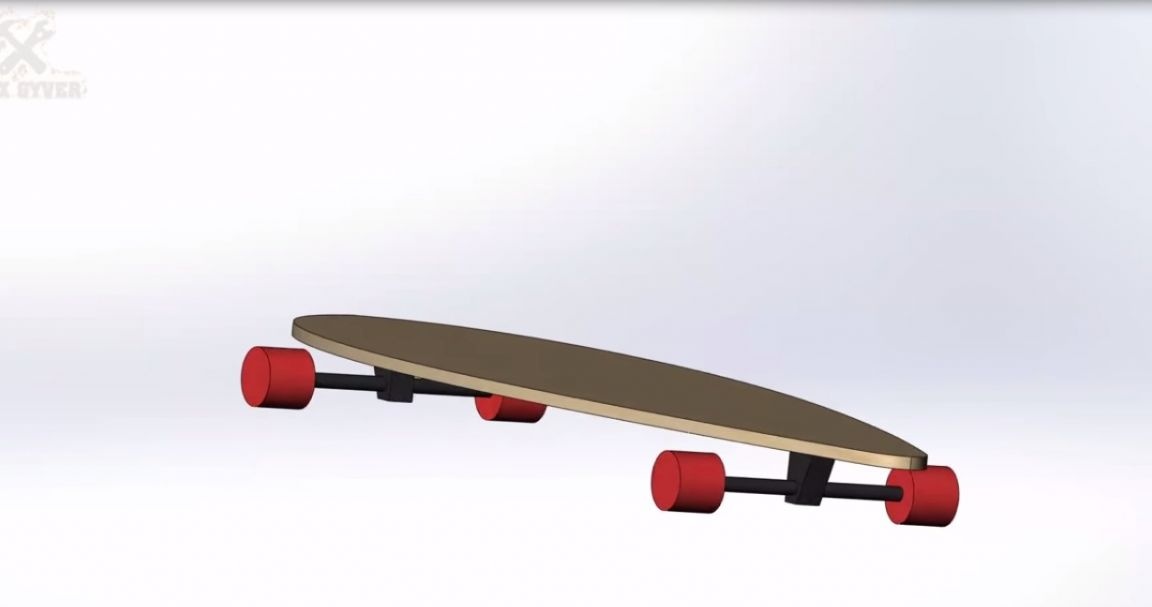
If you make the board straight and thin, then when you stand on your logboard, it will bend under you (nothing good).

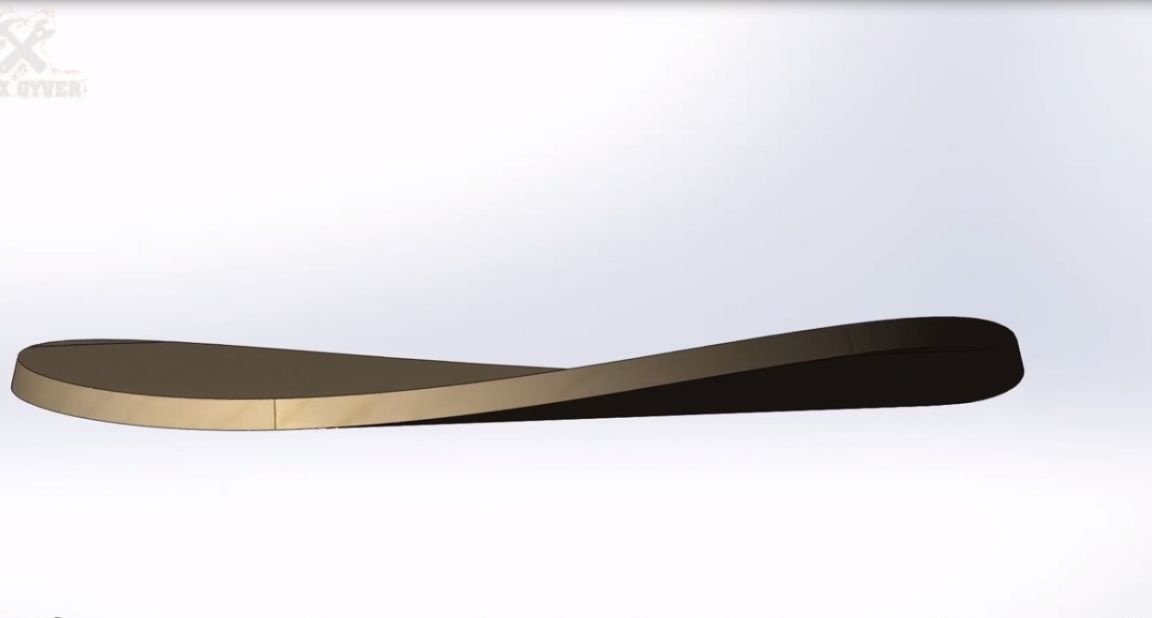
To compensate for this bend, there are three options. The first is to make the board thicker, but then it will be harder and in general it is not technologically advanced and too simple. The second is lateral bending. It will compensate for your weight, and when you stand on the board, it will be straight. This shape makes the board soft and springy. The third method is longitudinal bending. Such a board will be more rigid and durable, thanks to the increased static moment of inertia. Thin, tough, long board is exactly what we are going to do now.
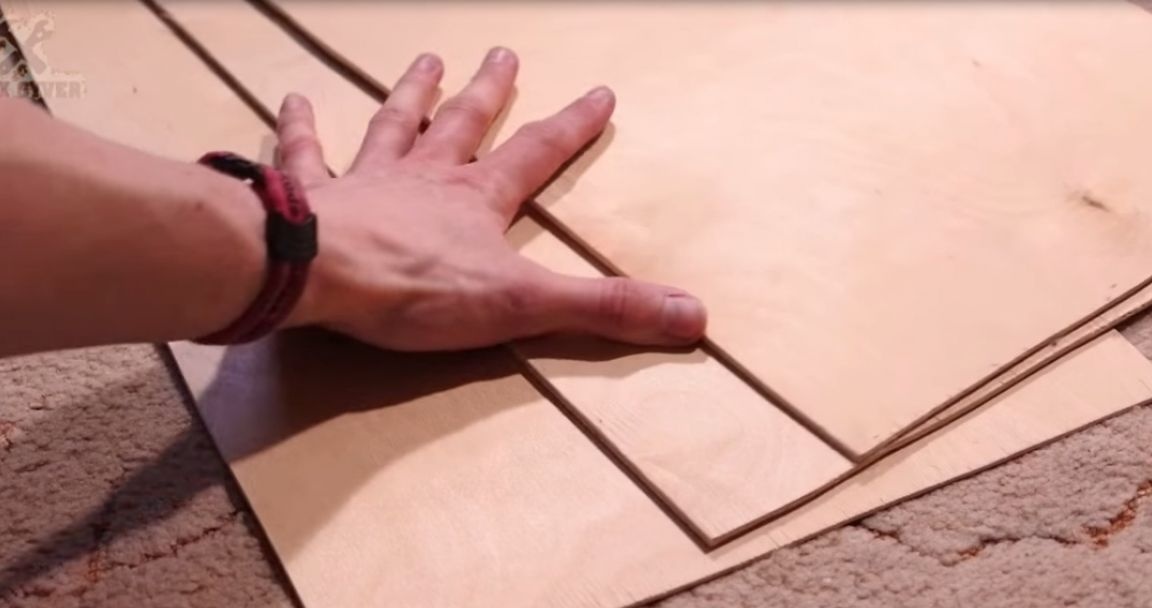
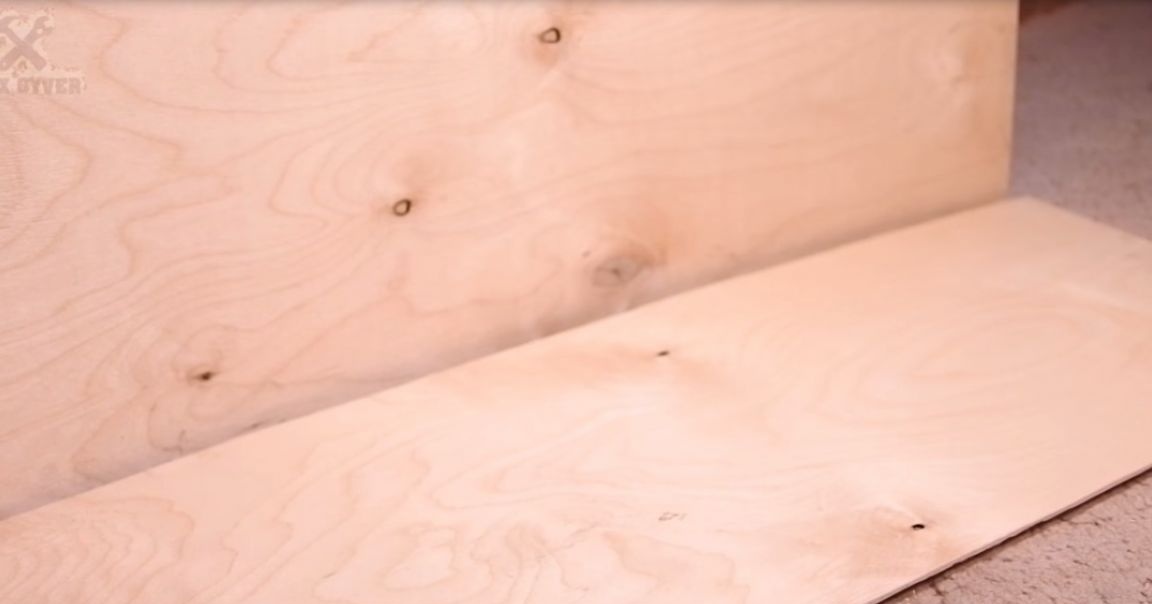
We will need 3 ply 4 mm. plywood. It costs about 350 rubles per sheet (1.5 meters by 1.5 meters). We will need 3 strips of 300 mm to 900 mm. The most important thing is that the fibers are located along the long part of the workpiece (otherwise your board will be very soft). We cut out all three sheets. I advise you to immediately process the edges, so as not to grab a splinter.
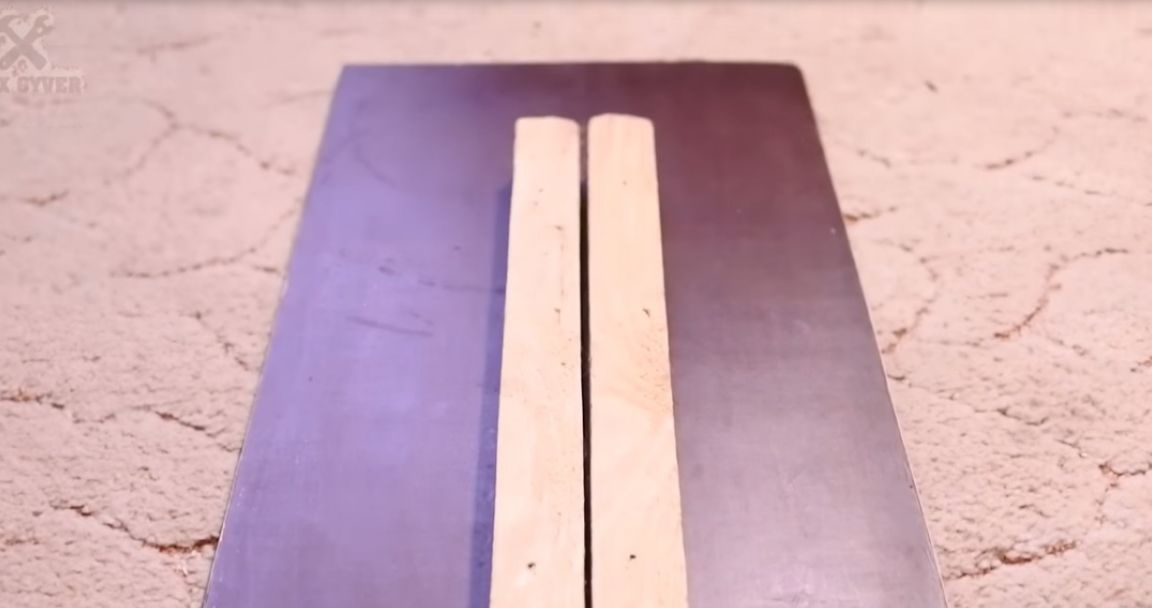
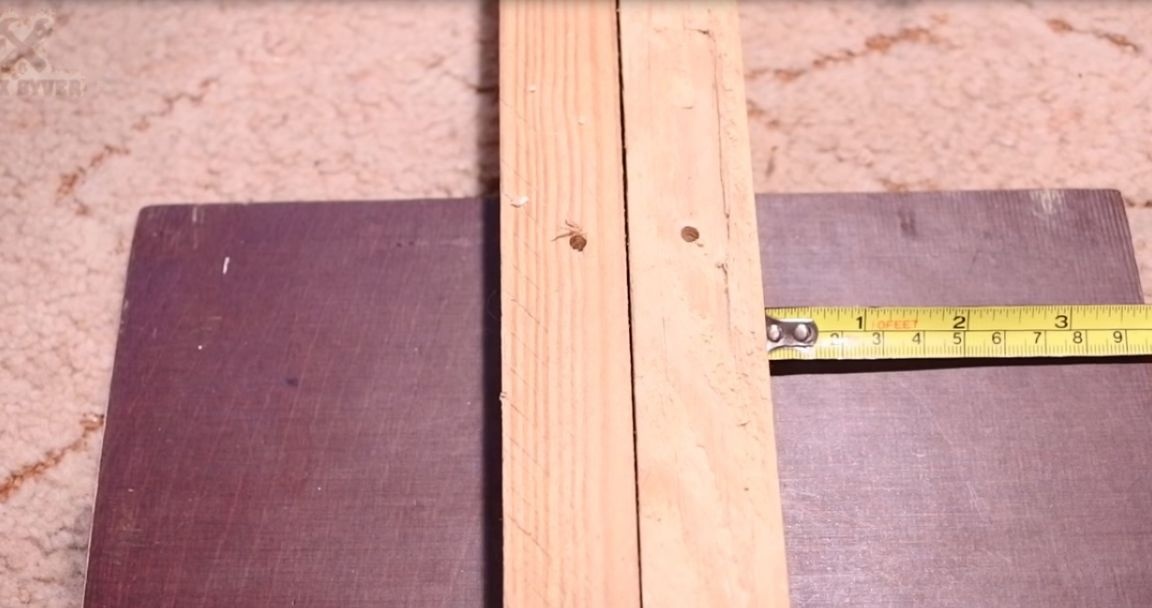
To bend, you need to make a slipway on which we can fix the board in the desired curved position. As the base of the slipway, you can use either a sheet of thick plywood or chipboard, or a cabinet door or a wooden floor. Our goal now is to securely fix the emphasis on the base. In the future we will bend plywood around this stop and screw it to the base. We place the emphasis exactly in the center of the base, so that it is convenient to work, and then fasten it to the screws.The sizes of an emphasis can be taken any, and it can be made of anything (boards, beams, etc.)
Back to our plywood sheets. Soon we will glue them, so make sure that their surface is as clean as a baby’s butt. Choose the most beautiful sides of the sheets, these will be the top and bottom of the deck.
Number the sheets so as not to lose their order during gluing.
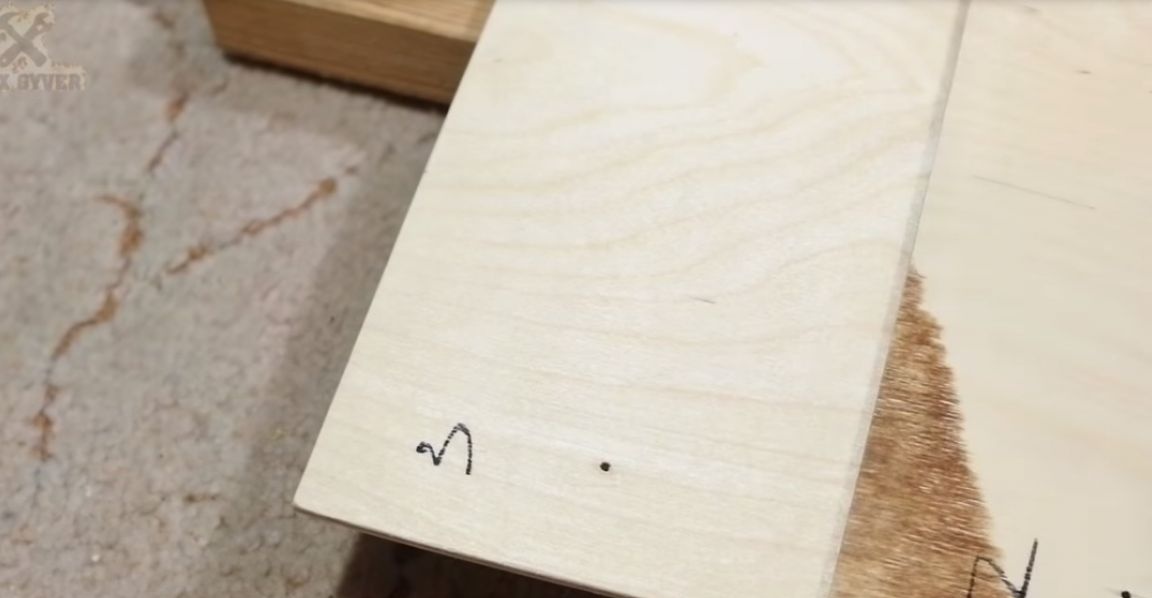
We put the sheets on the slipway face down. Mark the center of the sheet at both ends with a ruler and marker.

For gluing such a "plywood sandwich" we will use glue for wood (carpentry PVA, etc.), now without sparing glue, we thoroughly coat the sides.

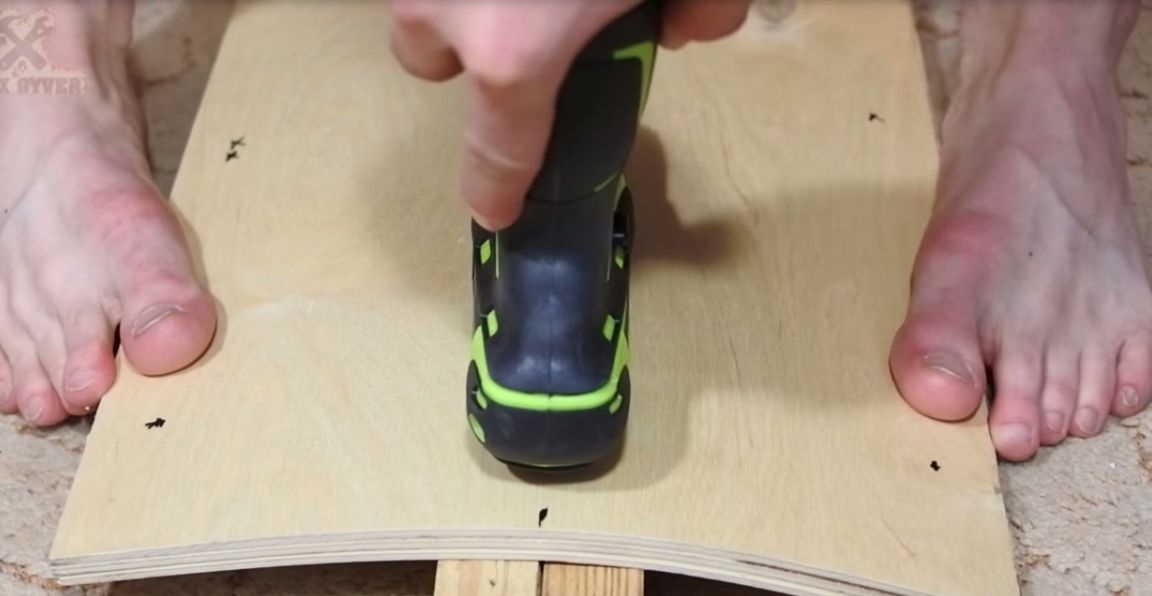
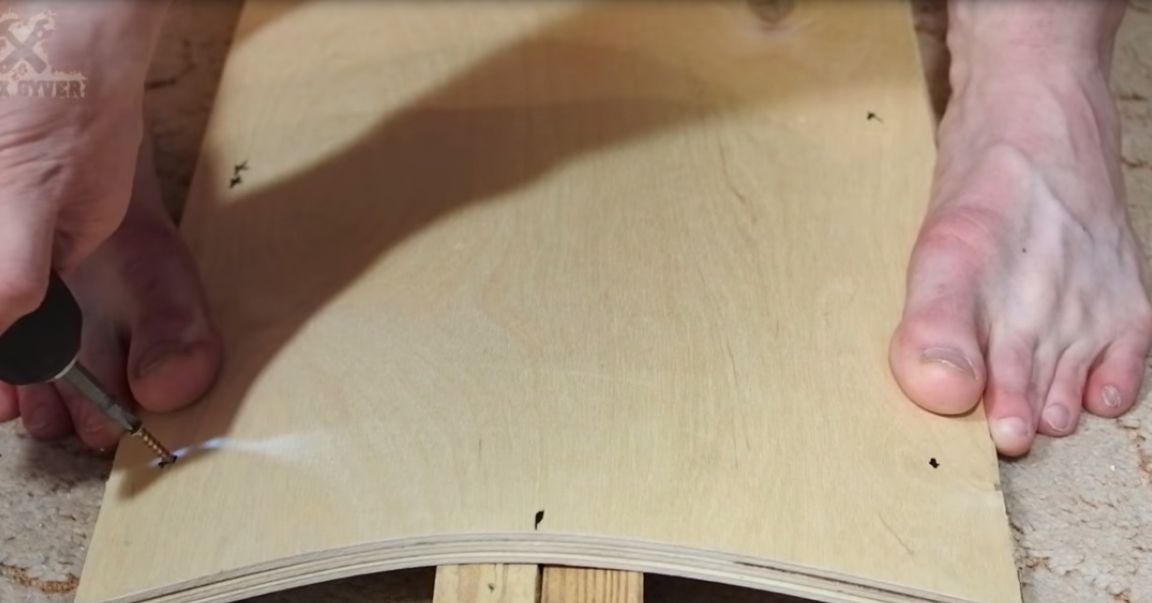
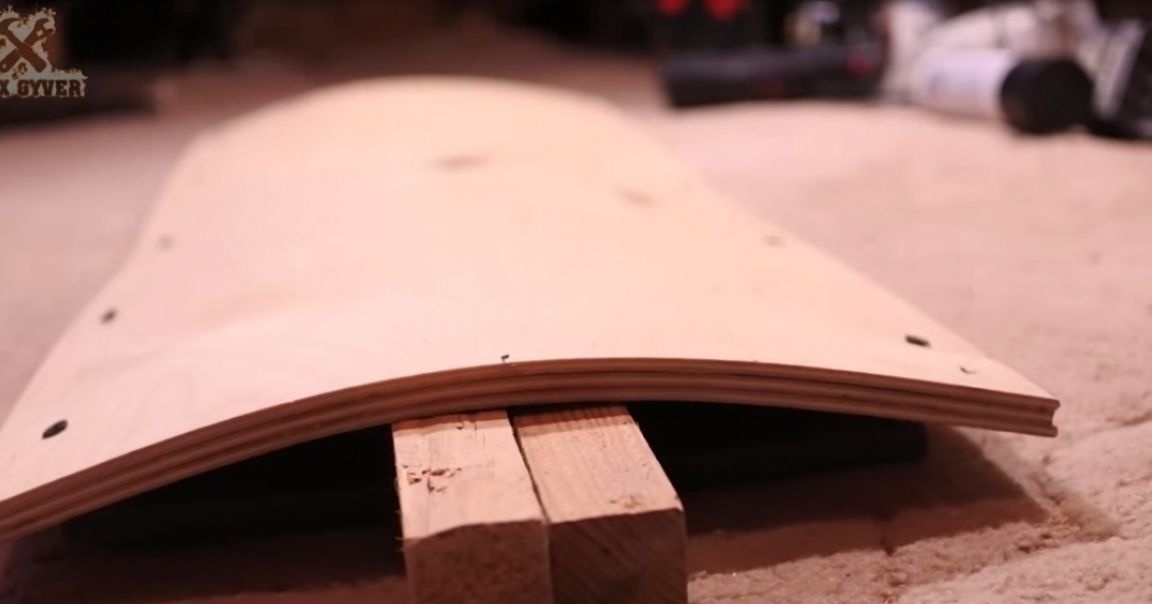
Putting our sandwich. Now, using different heavy objects, we bend our future deck around the stop. Having previously aligned the center of the board with the axis of the stop (IT IS VERY IMPORTANT! The bend should go exactly in the center of the sheets) we draw the sheets to the base of the satelite using self-tapping screws. The result is such a design. Now we are waiting for the glue to dry.
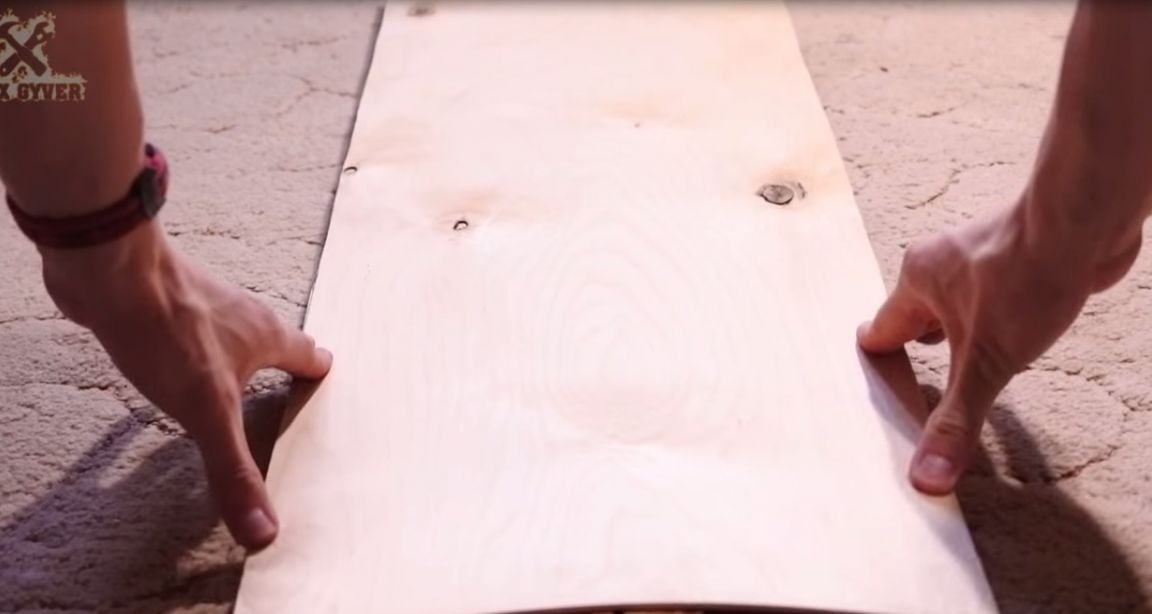
After drying, unscrew the screws and get such a curved sandwich.
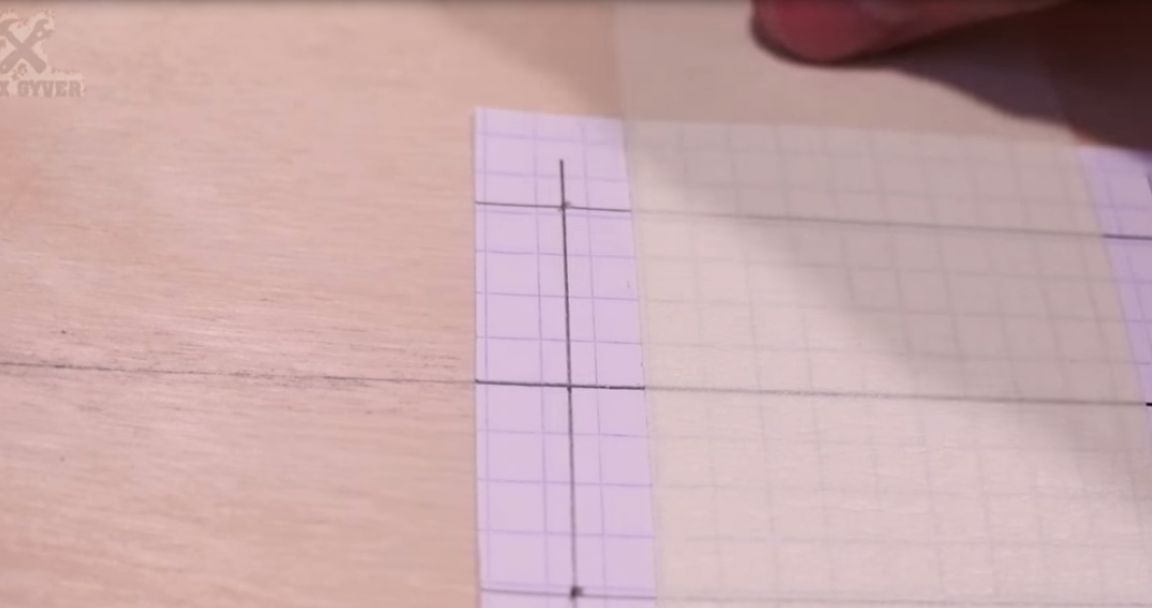
Now we need to draw the main axis of the board.
On the sheet in the box we make a pattern of holes for mounting the suspension.
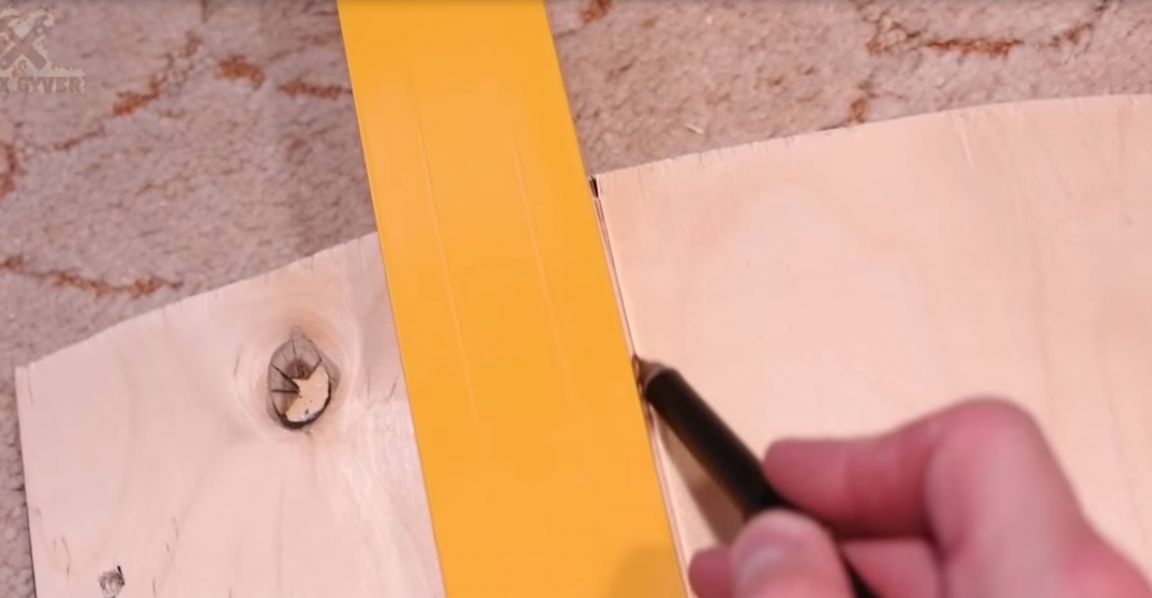
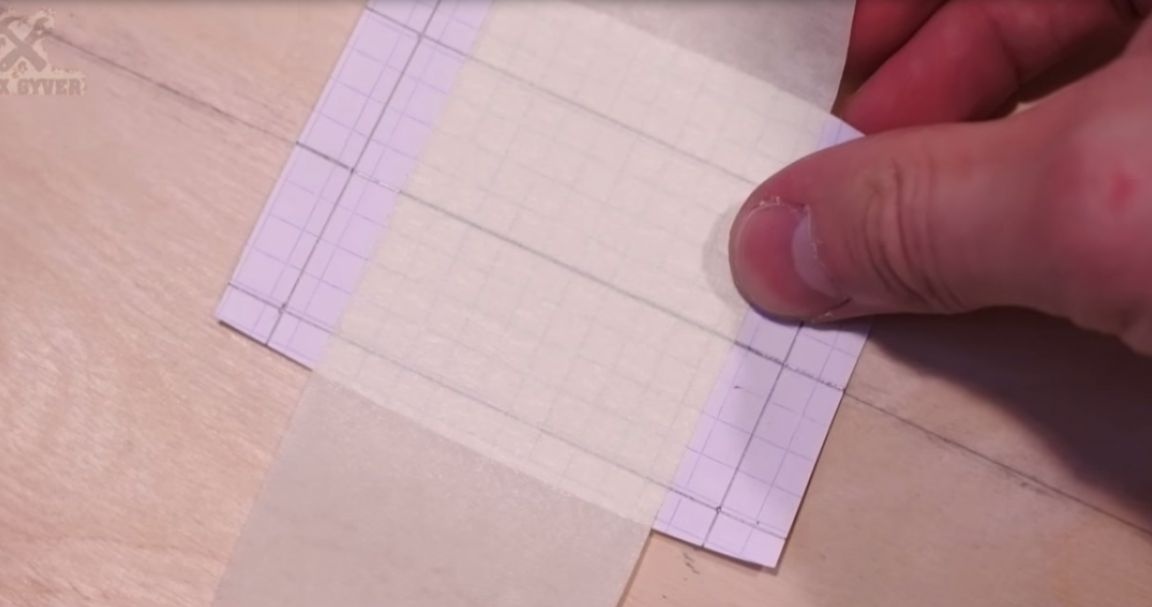
Combine the template with the axis of the board. This is the most crucial moment (if you drill holes a little to the left than necessary, your board will not go straight).
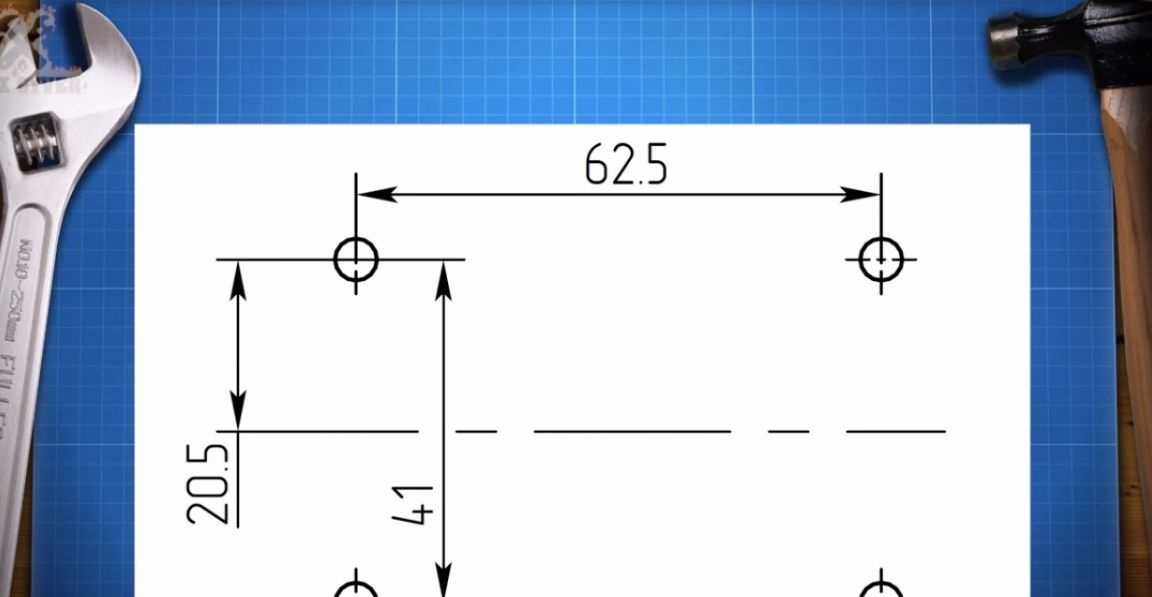
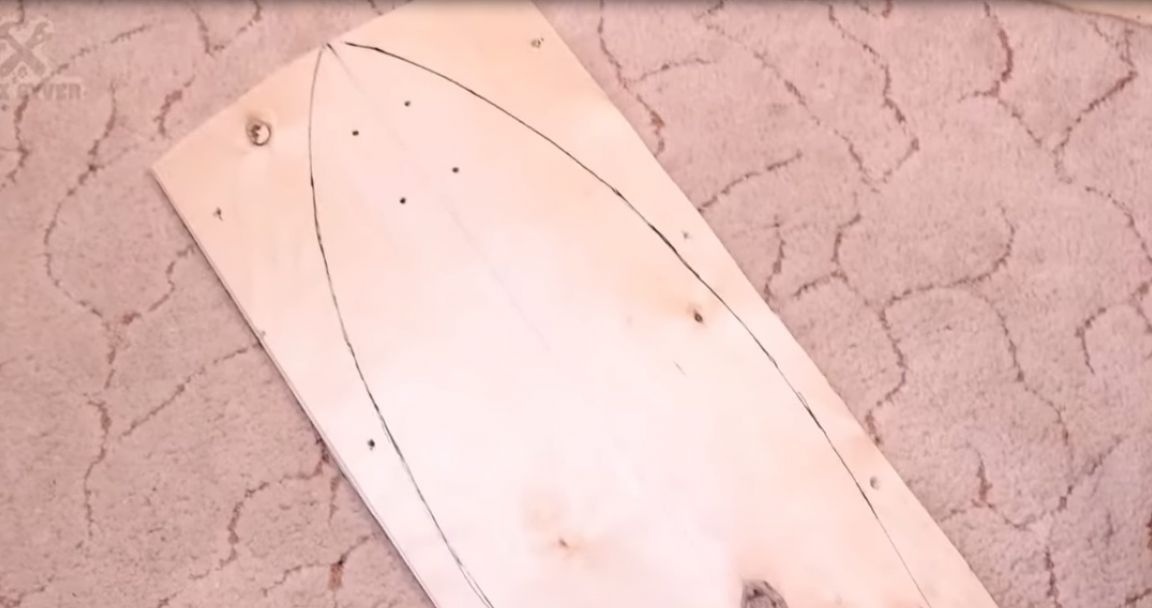
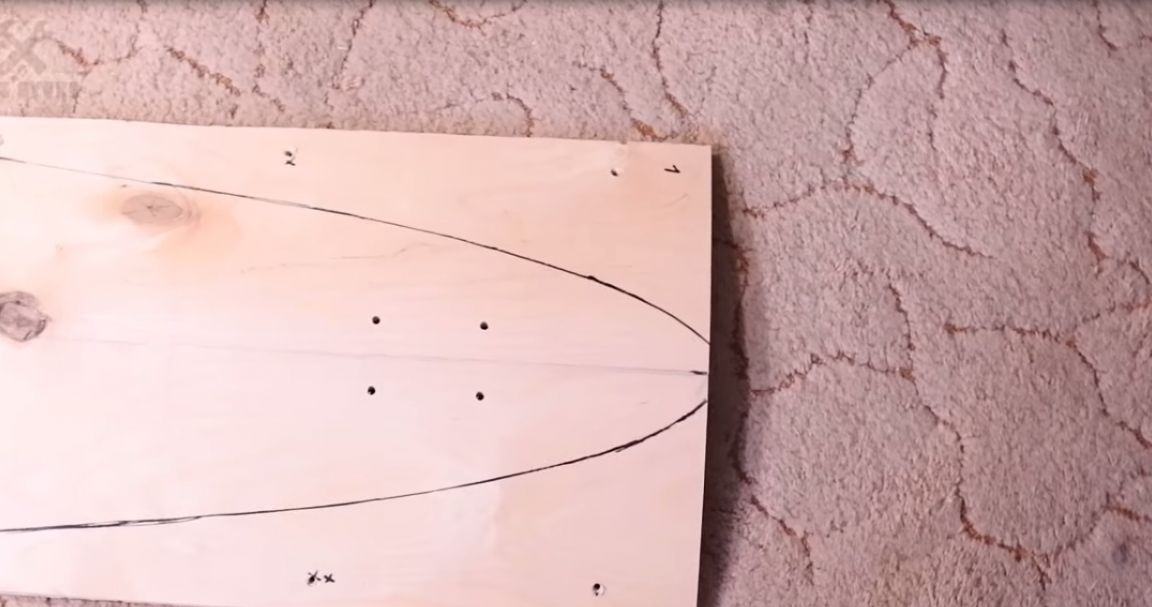
Now we carefully pierce each point with a self-tapping screw so that there are recesses on the plywood. The mounting screws have a diameter of 48 mm. Therefore, we will drill with a 5 mm drill. We drill holes at both ends of the board (a total of 8). Do not press hard on the drill, otherwise you will get sloppy chips from the back.
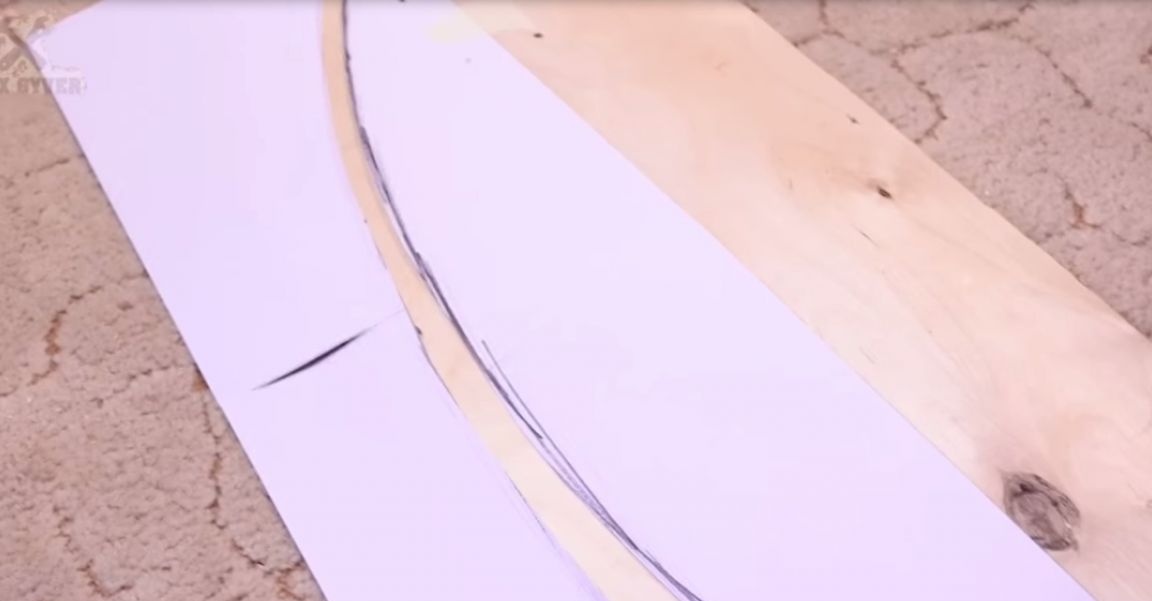
The shape of the board can be printed and cut, but you can draw it yourself. To do this, glue several sheets and place them exactly along the main axis. We also mark the holes. Having fixed the paper with masking tape, we begin to draw a board (approximately similar to the one that was at the very beginning. After that, circle everything with a marker. We cut out the template with the stationery knife. Now we circle the template with a marker, turn it over and circle it on the other side. This is the shape.
Let's start cutting the deck. We set the slope of the canvas to compensate for the shape of the board and get an edge perpendicular to the ground.
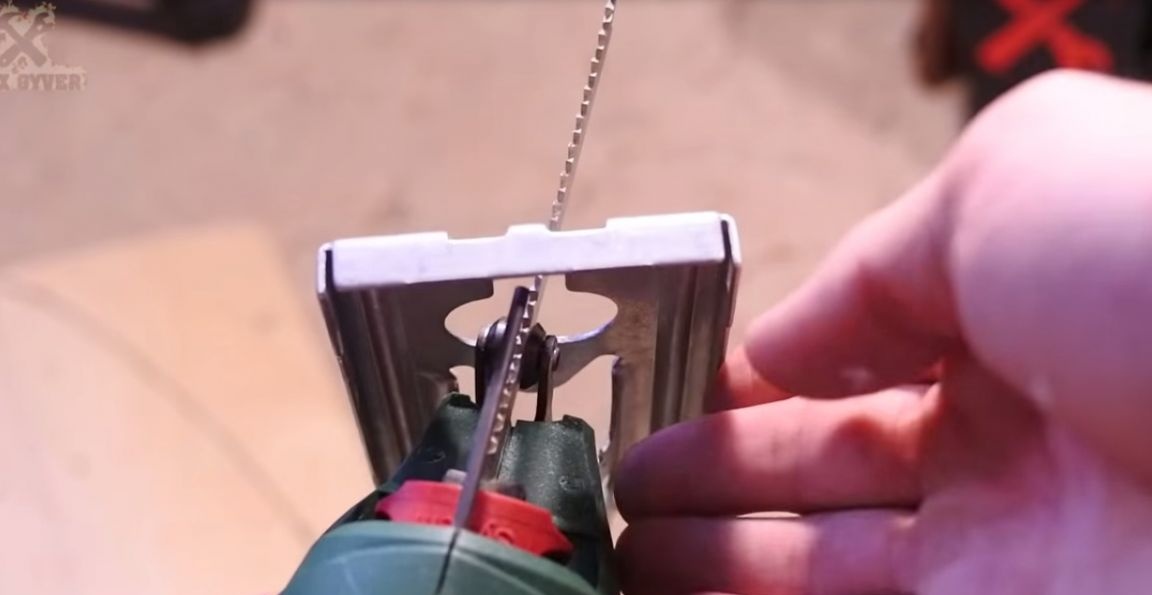
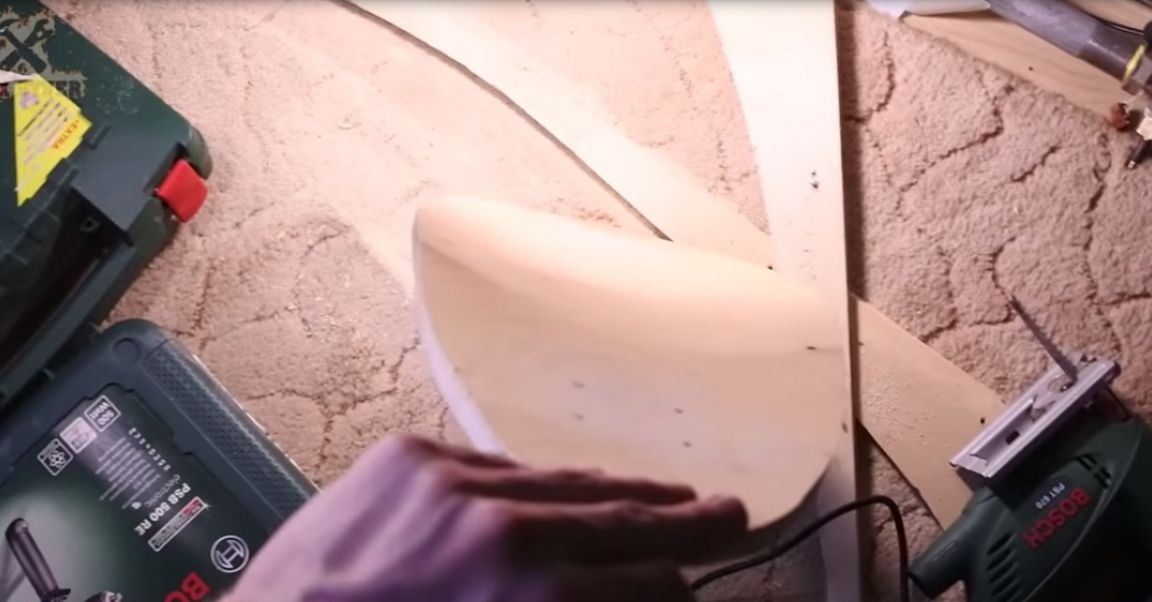
In general, we carefully cut out our deck and enjoy the result.
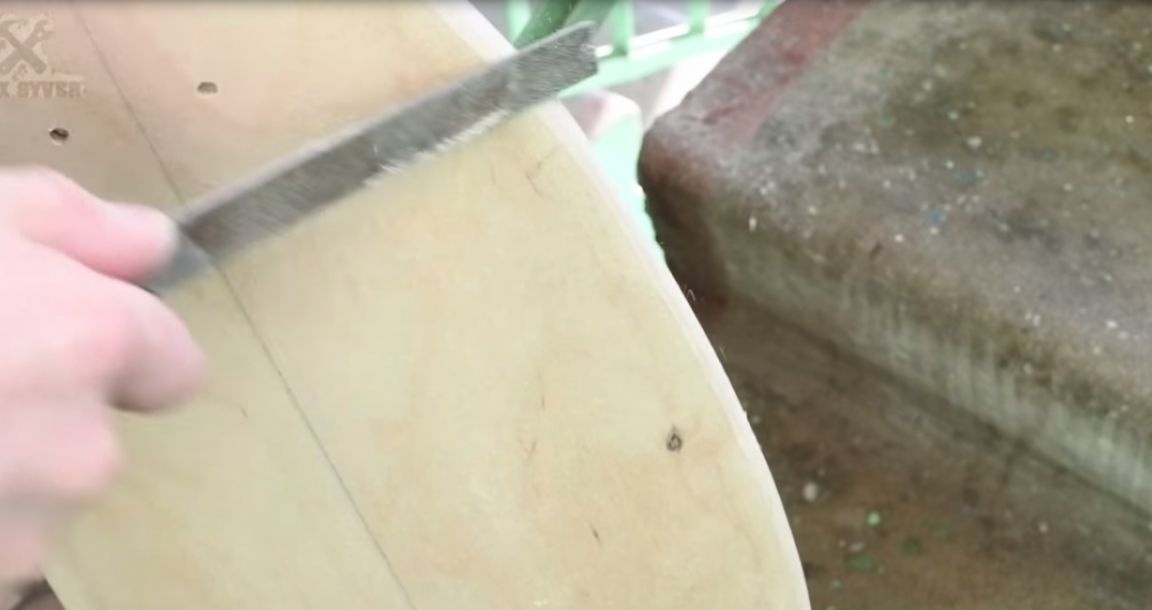
Now the most painstaking work: with the help of a file and sandpaper we turn the deck into something more beautiful than a piece of bent plywood. Sand and smooth all surfaces, shape the edge of the deck and sand the entire surface to a smooth and even state, because we will continue to varnish the board.
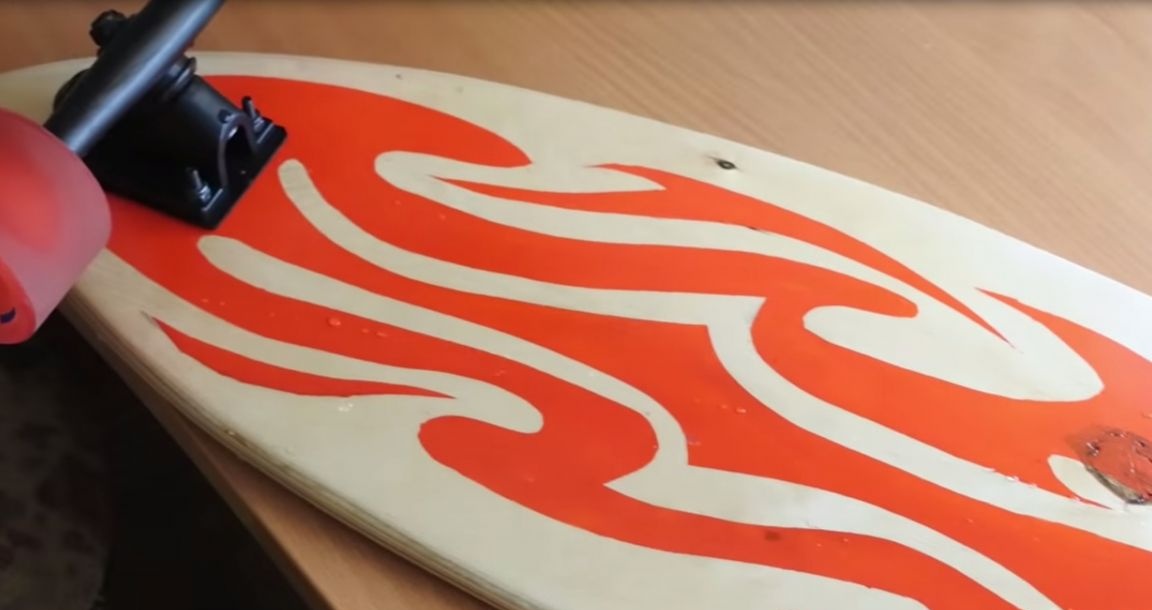
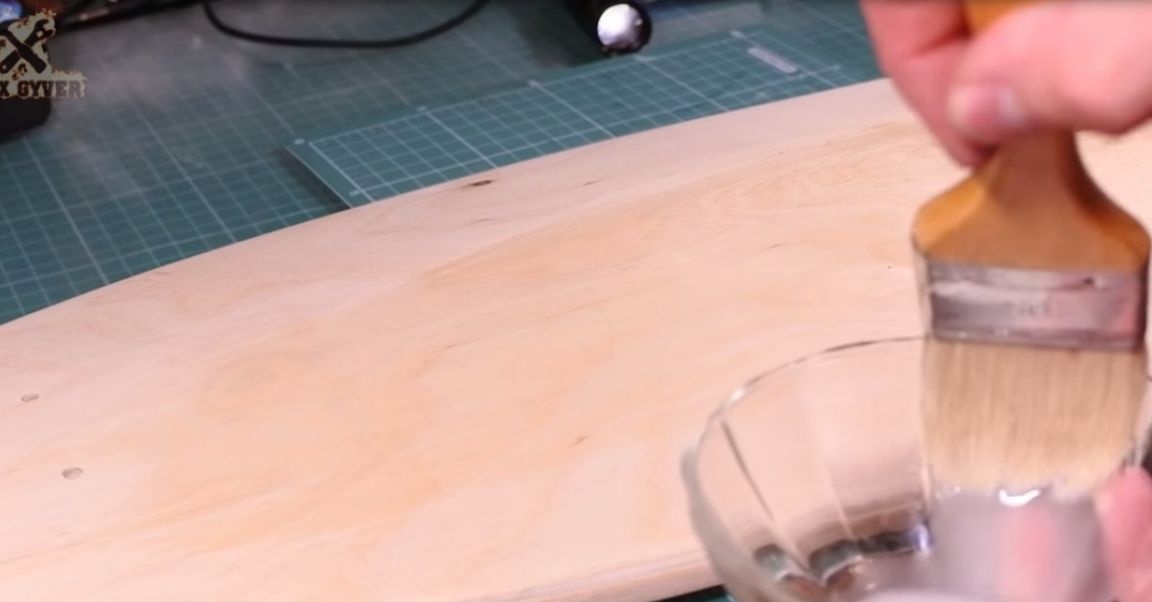
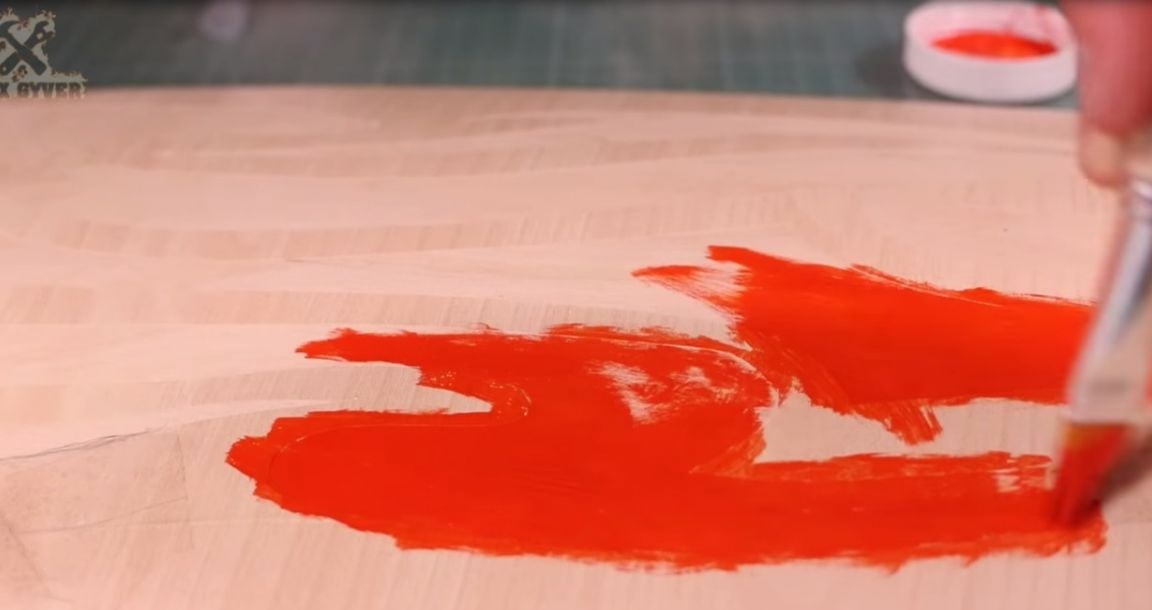
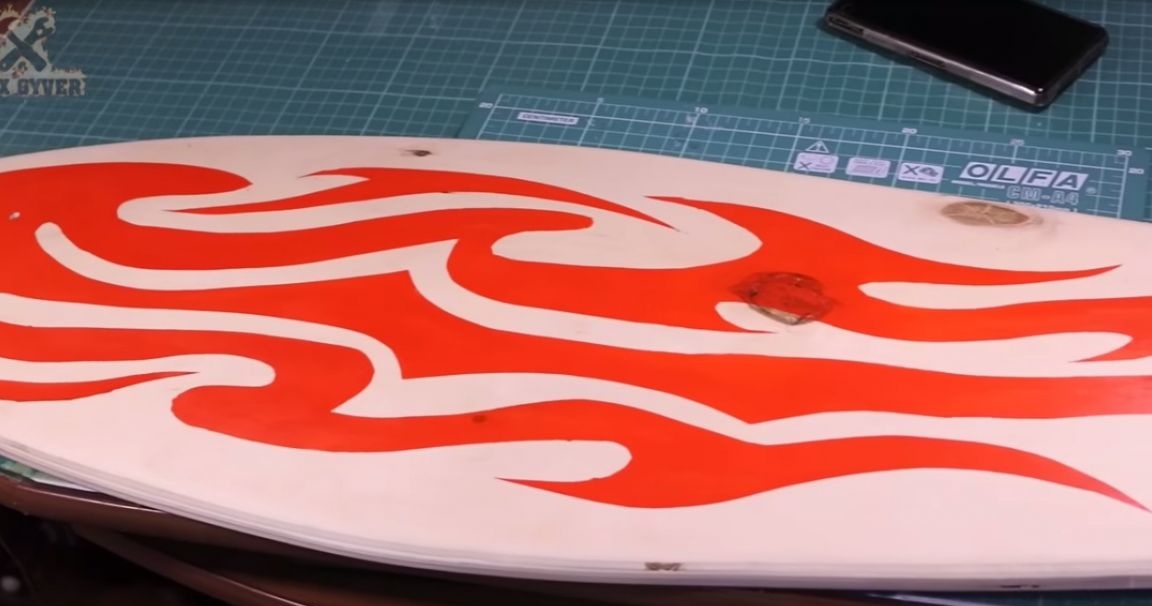
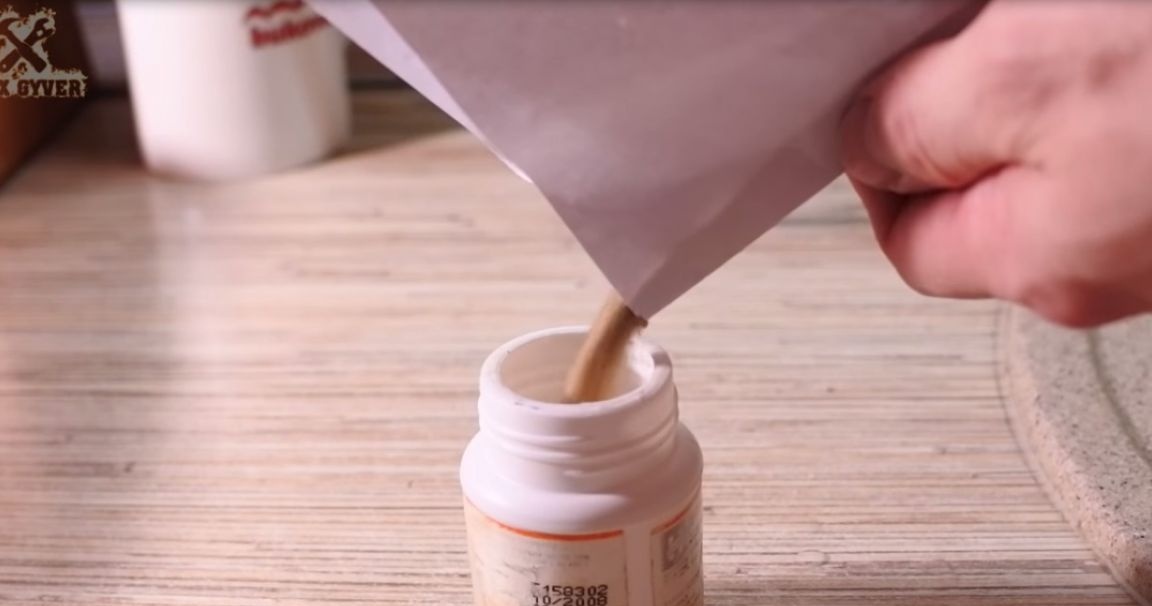
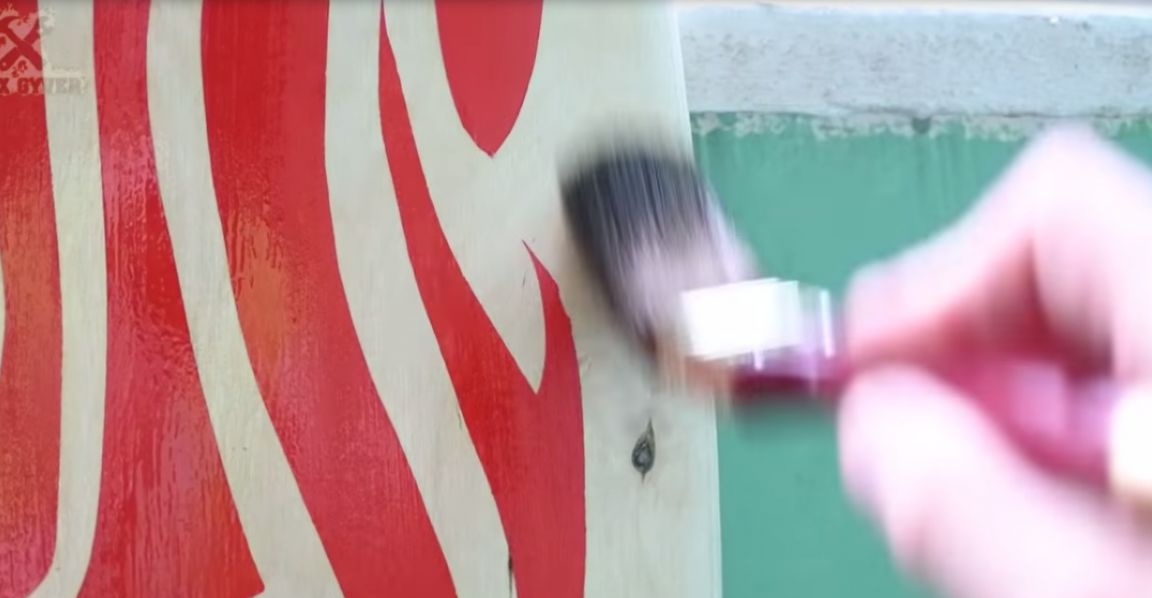
Immediately figure out what kind of drawing your longboard will have, because, according to the professionals, a beautiful drawing on the deck gives + 5% to speed and + 80% of attention from professional skaters. We make a stencil, print it, cut it out. The stencil itself needs to be printed on self-adhesive paper (this will be much more convenient). We will paint with acrylic paints, and so that the paint is normal, it must be primed. This can be done with PVA glue, diluted in proportion to 1 to 10 water. 11 ml of this slurry is enough for one side of the board (which, in principle, was necessary for us). The soil will naturally need to be dried. Now we begin to make a drawing. We remove the film from self-adhesive paper and stick it. Now we carefully paint it. After painting, we wait an hour, and then we unfasten the stencil from the board.
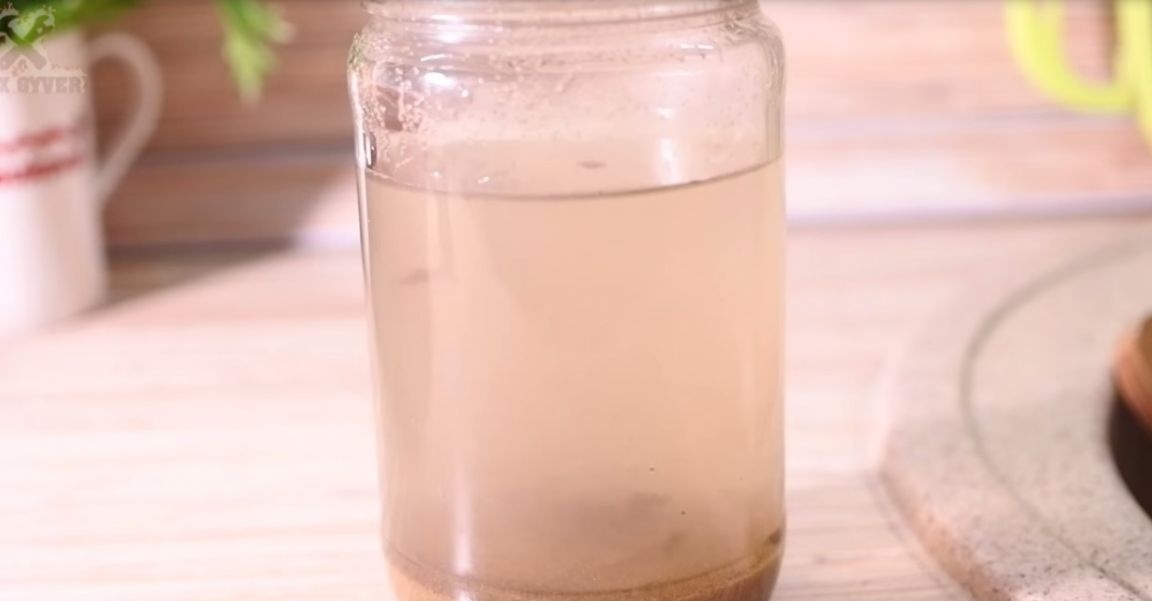
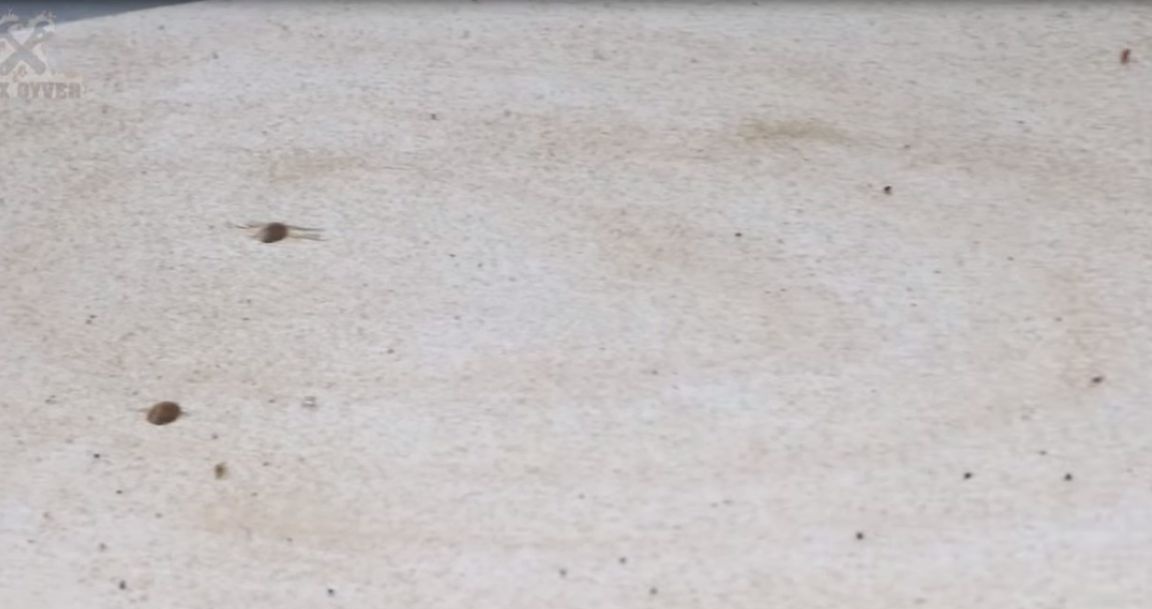
On the upper surface of the deck there should be a skin (so that the legs do not slip). You can buy a self-adhesive skin in a skate shop, or you can make it yourself. For this we need sand. We go into the yard, find the sandbox, and take away a little sand from the kids. Pour it into a jar and fill it with water. Rinse and change the water until it becomes transparent. This way we get almost clean sand.
Now you need to evaporate the water. Put the jar in the microwave.
We will cover the board with yacht varnish on an alkyd-urethane basis. First, we cover the top surface of the deck with a thin layer, and then gently sprinkle it with sand. This will be our skin.
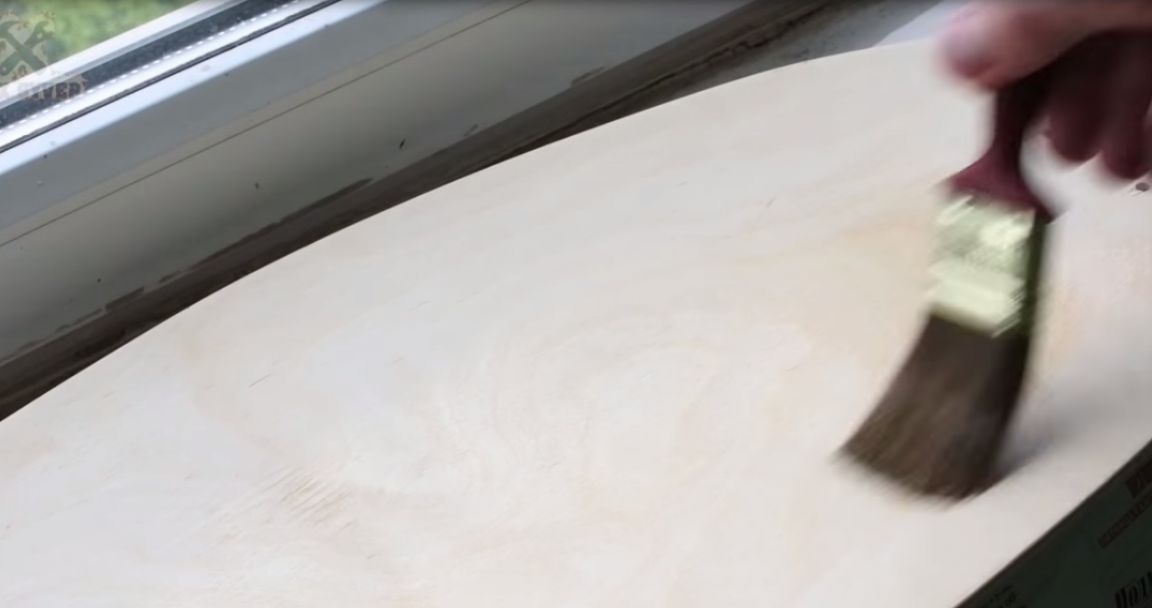
After intermediate drying, there will be more layers and the sand will be safely hidden under a layer of varnish and will serve as a sandpaper. Now varnish the underside and edges.
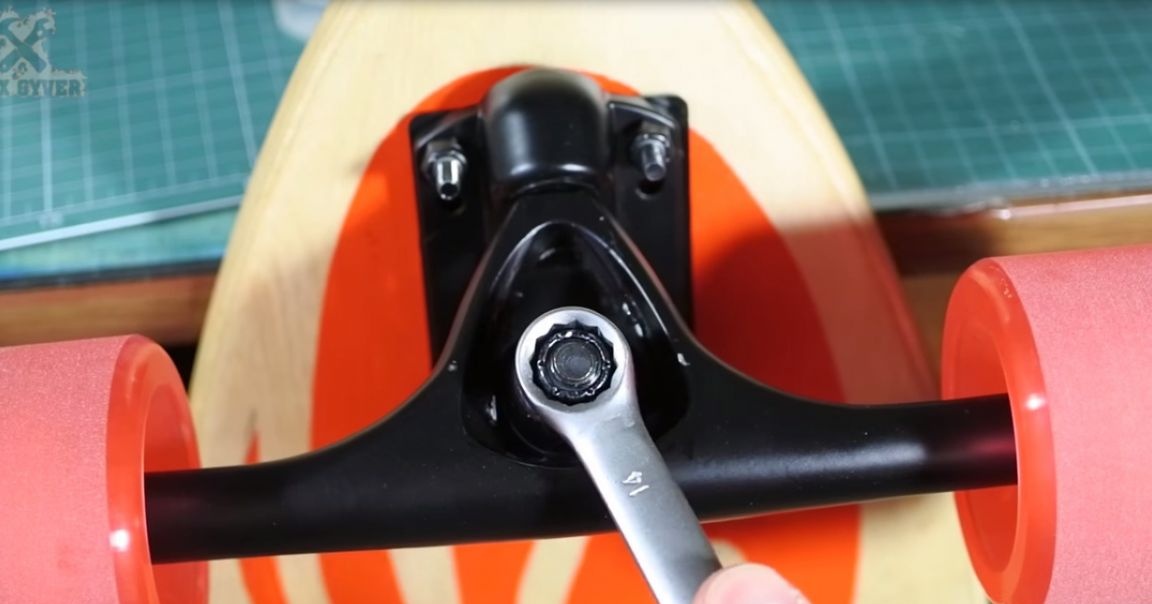
It remains only to assemble the suspension. The wheel nut must be tightened all the way!
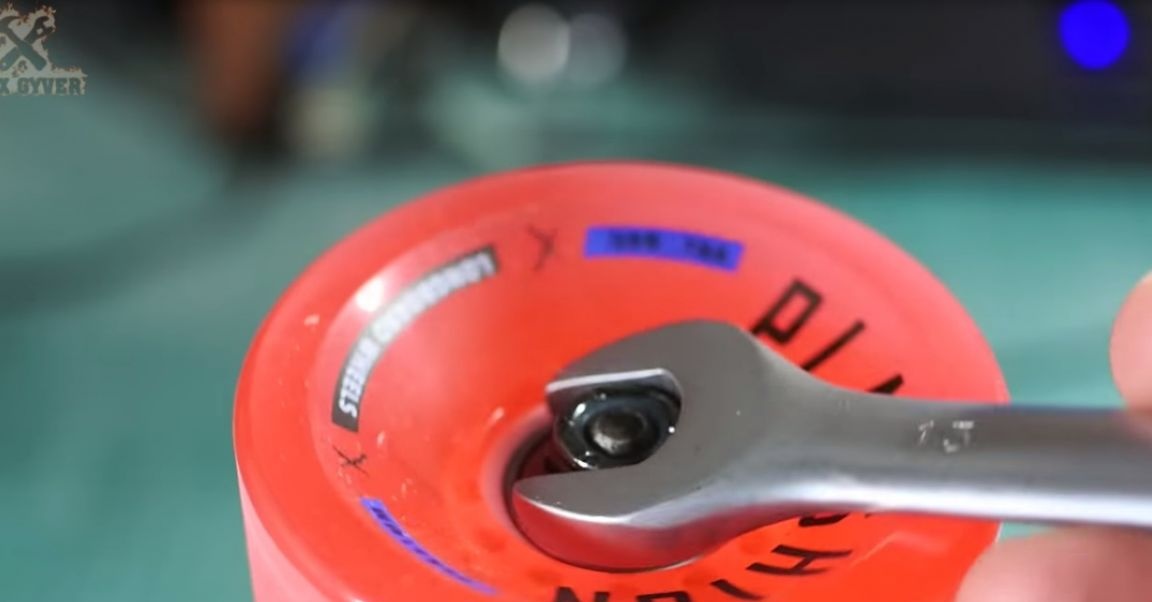
We fix the suspension to the deck through the gasket. Gently tighten all the screws. To adjust the stiffness of the suspension, turn the nut with a 14 key.
Well, our longboard is ready! The deck weighs 1,300 grams. And the entire longboard assembly is 3 kg. Now you can go to experience!
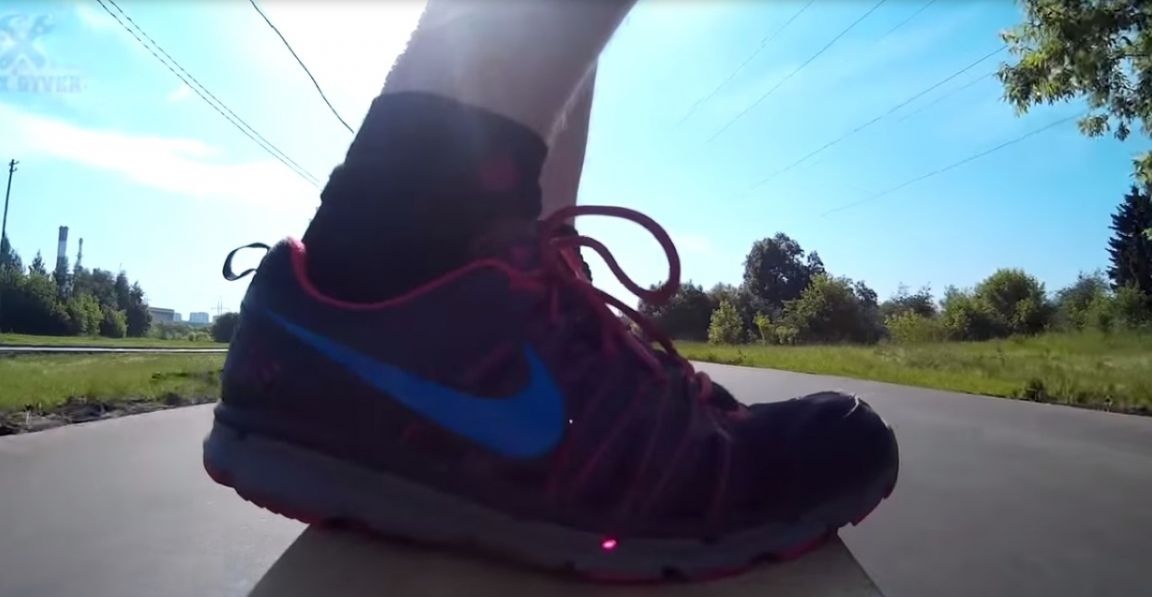
Thanks for attention!
Original video by the author: