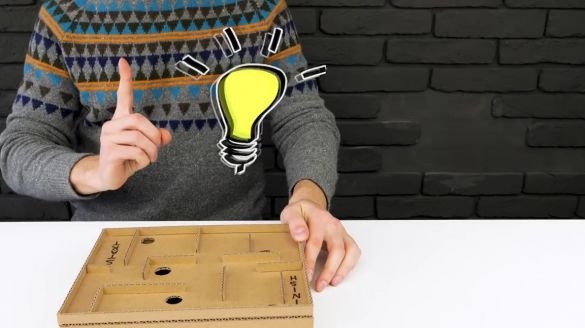
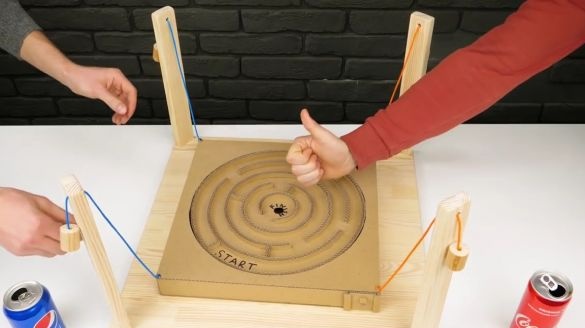
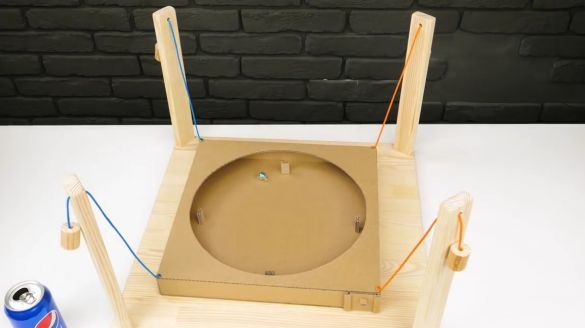
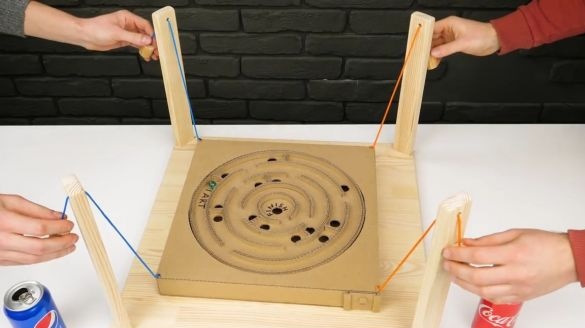
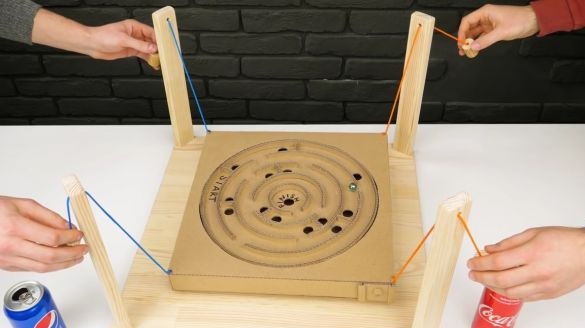
Well, let's not chat and pull a lot, let's already start manufacturing. Let's go!
And so, for a board game with a maze, we need:
corrugated cardboard
-wooden sticks
threads (preferably two different colors)
- balls orbiz, or any other ball 1-2 cm
Of the tools we will also need:
-stationery knife
-electro jigsaw
-electric drill
-scissors
-marker
thermal glue
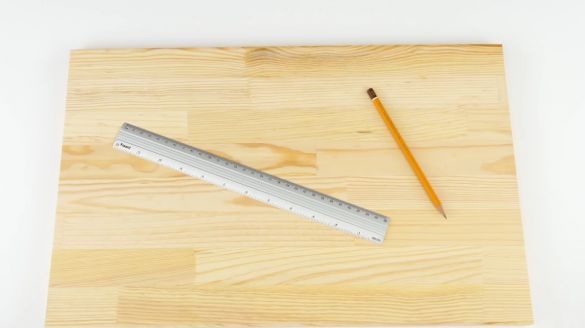
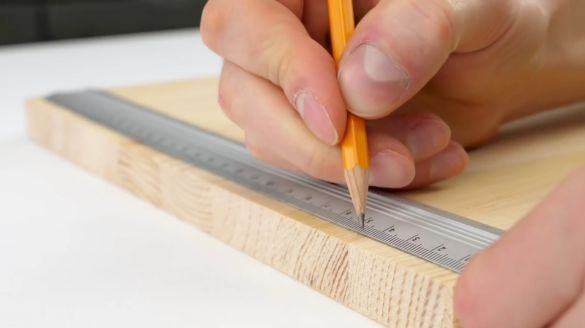
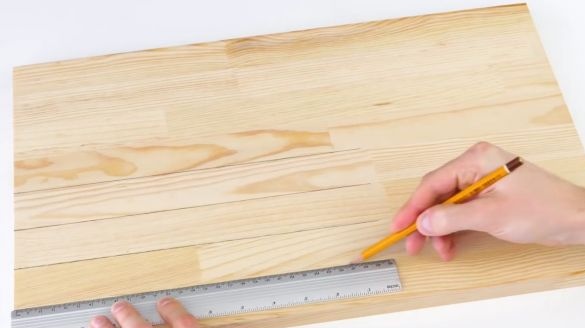
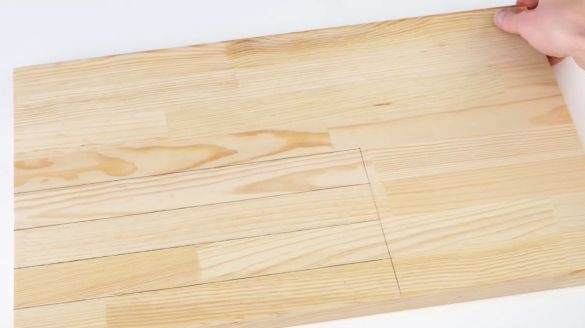
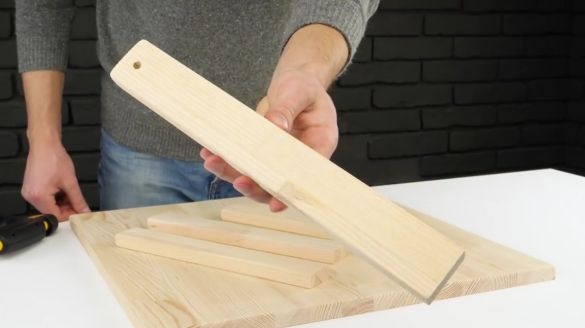
And so, the first thing you need to do racks for our game. To do this, take a wooden board and mark our future blanks on it. In total, we need 4 such racks:
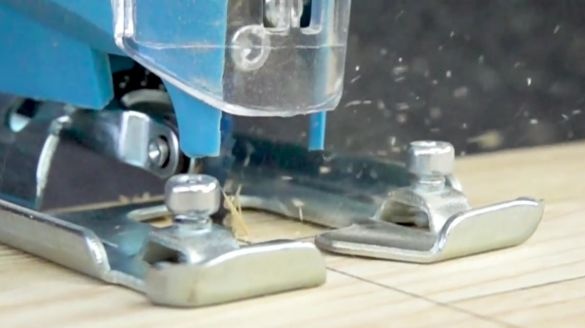
Using an electric jigsaw, we cut out our workpieces:
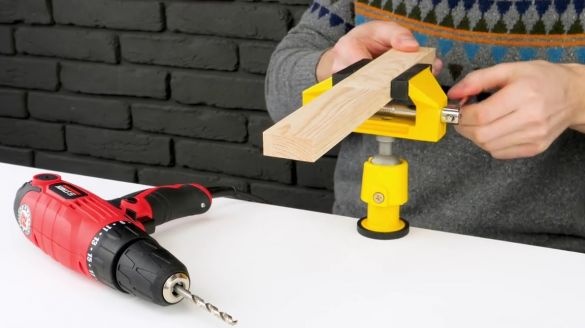
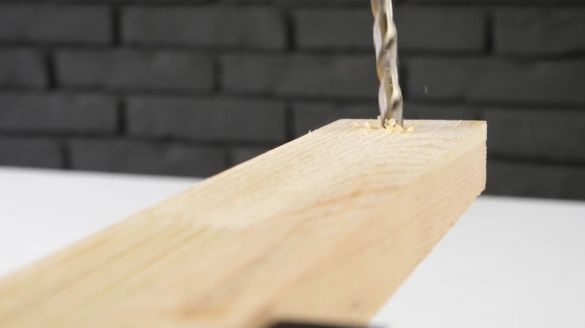
Clamp one of the racks in a vise, and with a screwdriver or drill, drill one through hole:
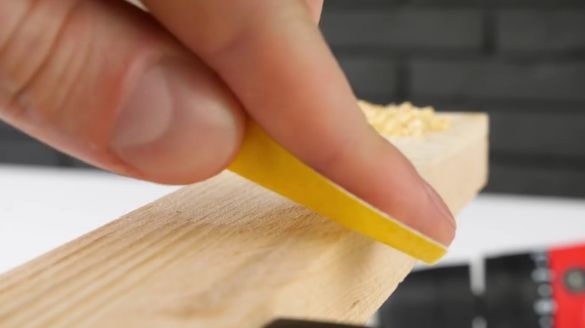
After that, it is necessary to remove the splinters with an emery cloth, the edges are rounded and, in general, bring the rack in a suitable form. These manipulations must be carried out with the other blanks:
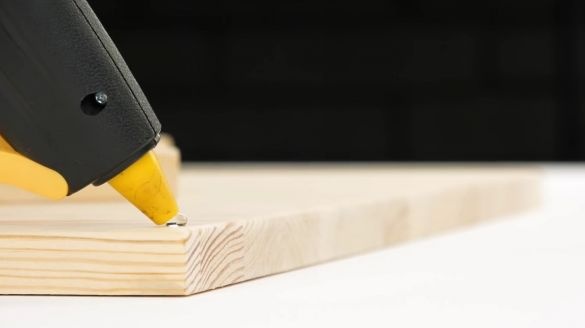
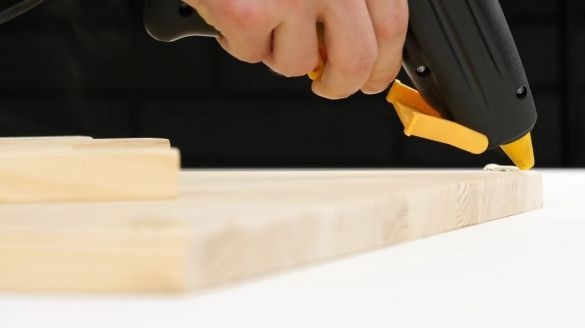
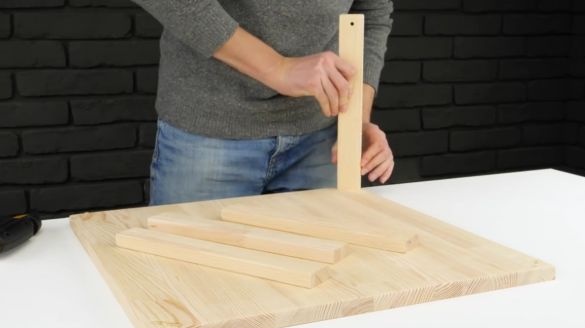
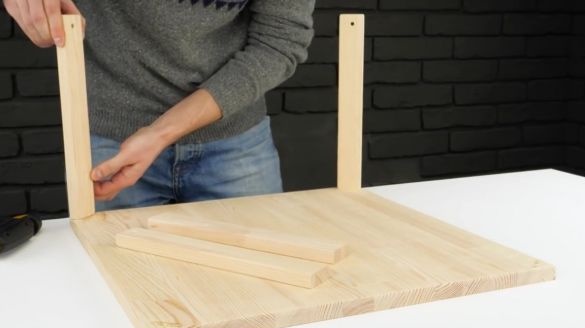
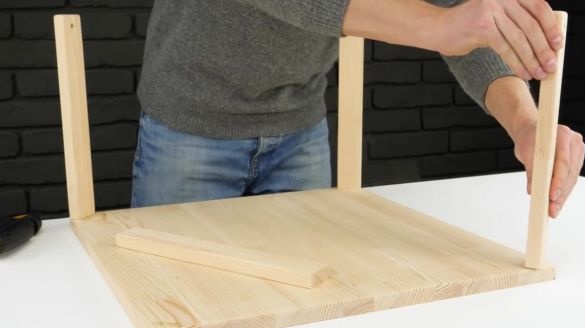
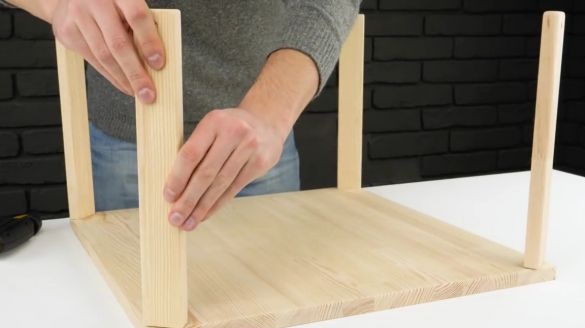
We take another square wooden board, apply thermo-glue along the edges and install our racks so that the holes look in the center of the wooden base:
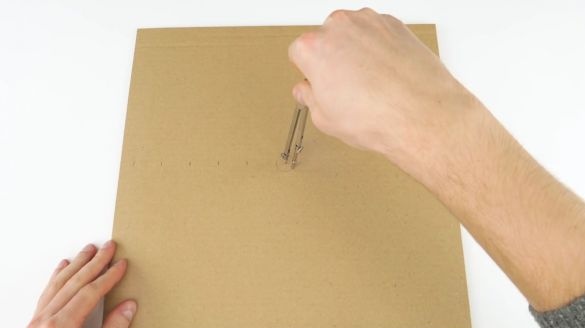
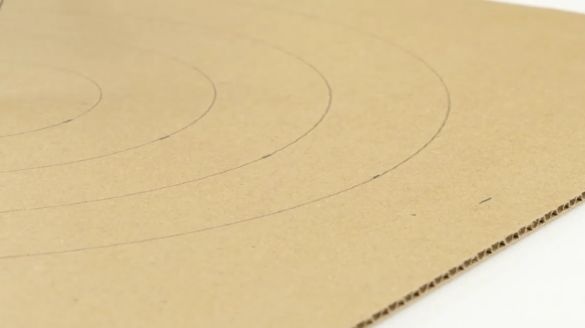
Now we need to draw a maze, for this we need a compass and a sheet of corrugated cardboard. First, find the center of the cardboard sheet and use the ruler to mark 6-7 marks on it, at the same distance from each other, the length of this distance should be slightly wider than the ball that you are going to use for the game. Then we take a compass and from the center we begin to draw circles at the marks we made earlier, it should turn out something like this:
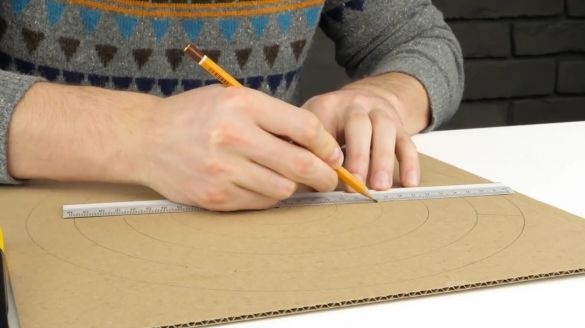
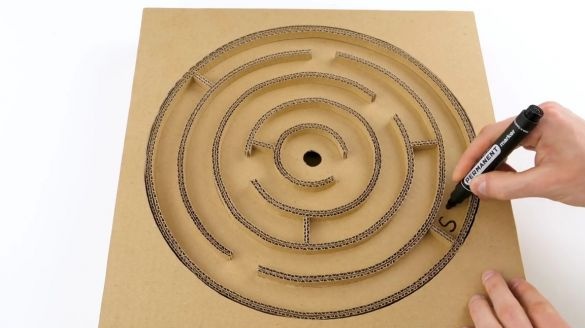
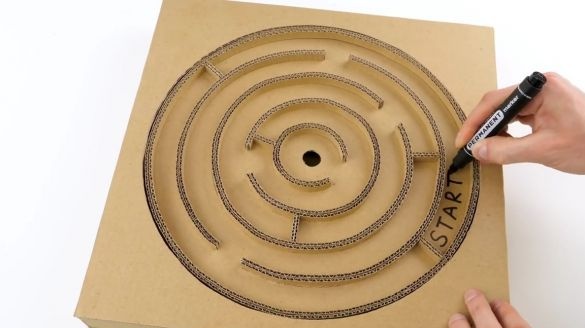
Now you need to mark the "dead ends" of our labyrinth, here everything depends only on your imagination, the main thing is that the labyrinth has an entrance and exit:
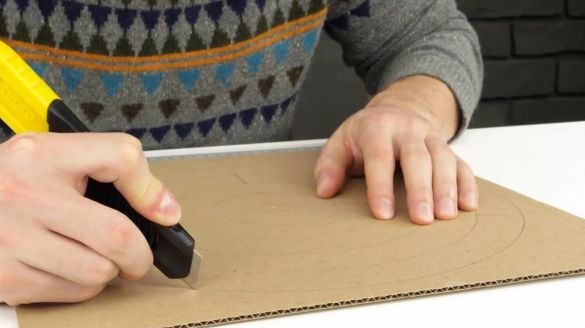
Cut out our future labyrinth:
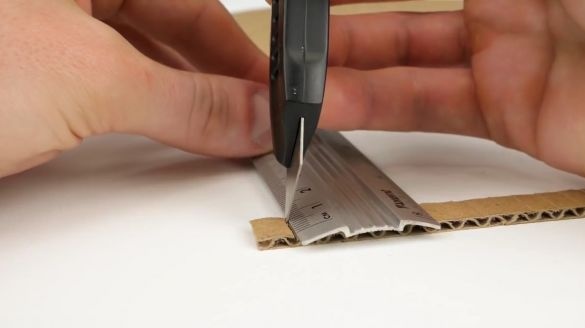
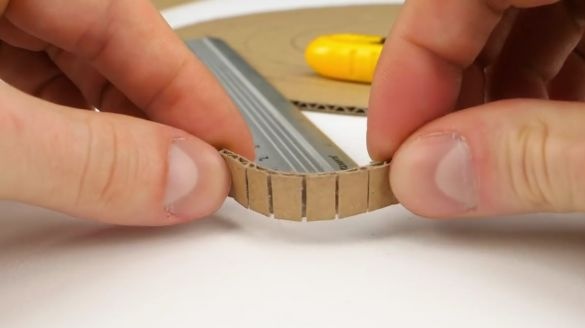
Again we take corrugated cardboard and cut out long strips of 1 cm wide from it, then with the help of a clerical knife we make small cuts on the top of the cardboard, the distance between the cuts should be 5-7 mm. This is necessary so that the lines can be freely bent:
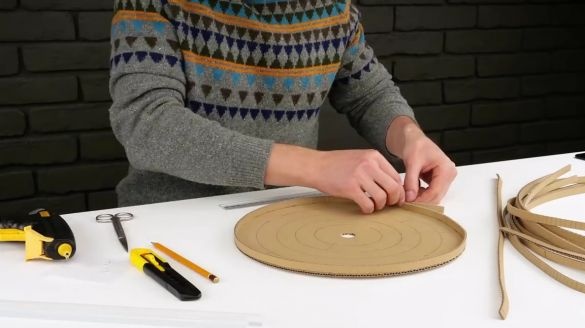
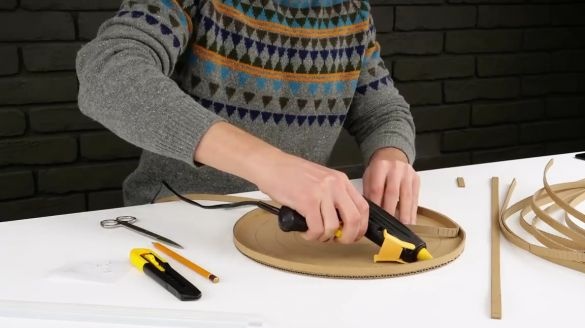
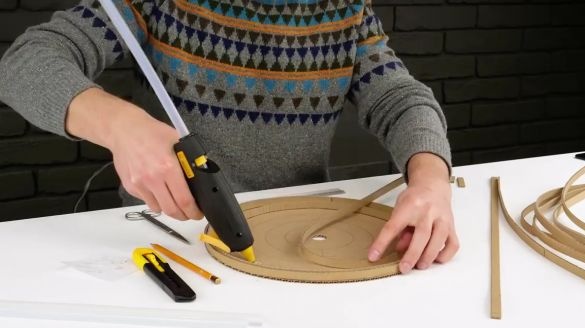
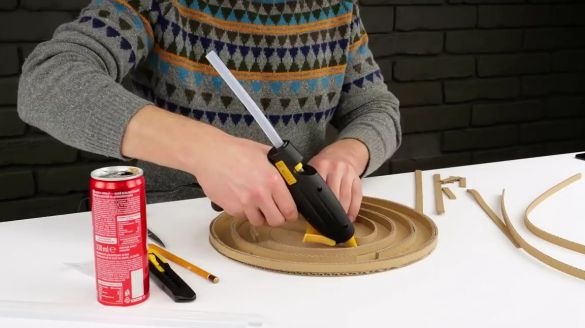
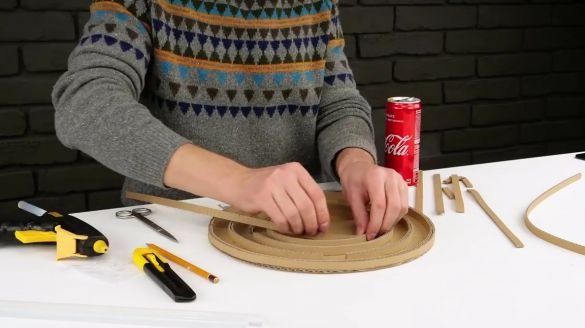
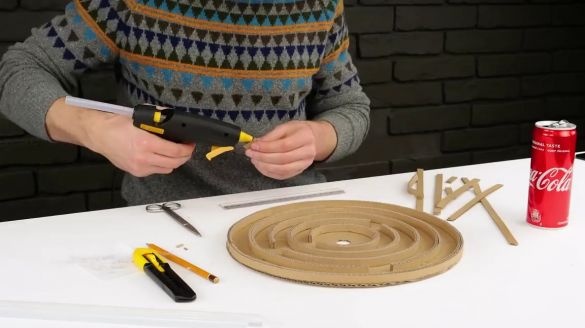
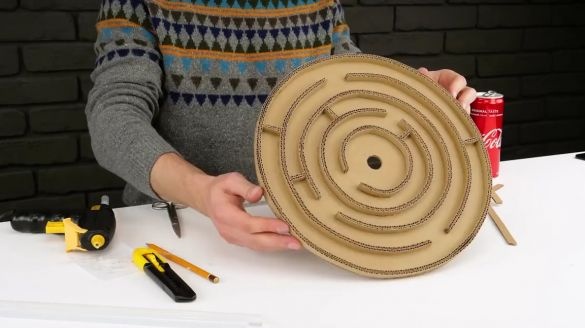
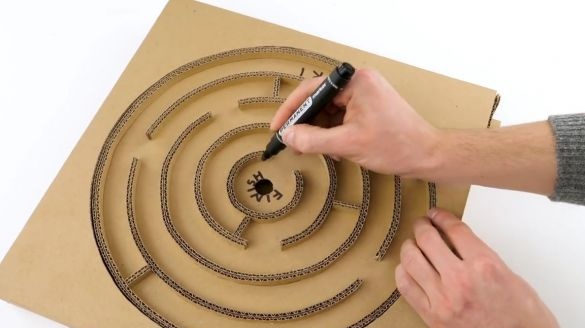
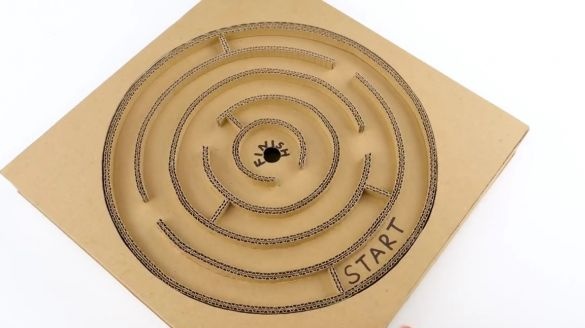
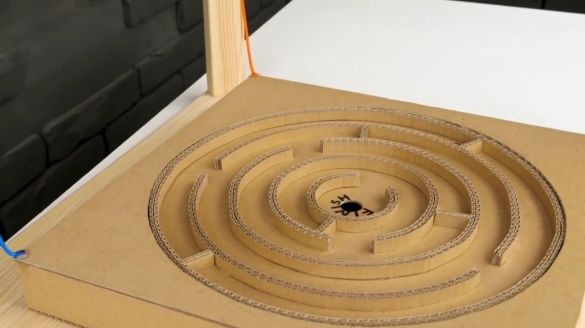
Now we need to finish our labyrinth. We take the cardboard lines that we made earlier and begin to glue them according to the markings on the maze as shown in the photo. Also in the center of the maze you need to make a small hole, with a diameter slightly larger than the diameter of the ball:
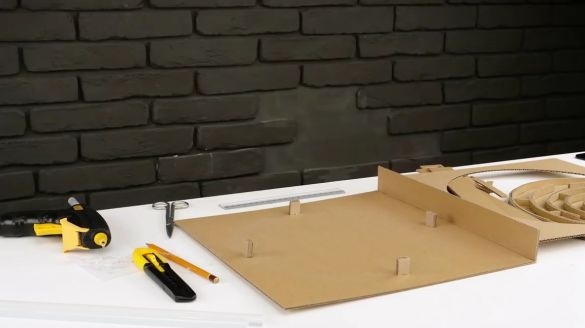
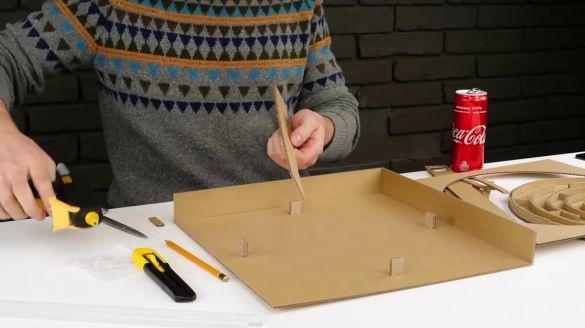
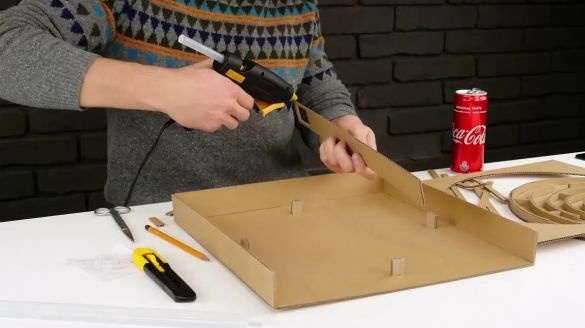
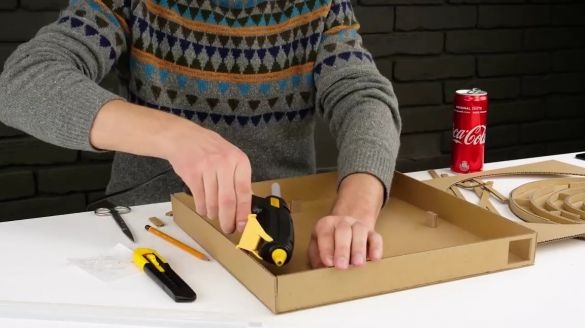
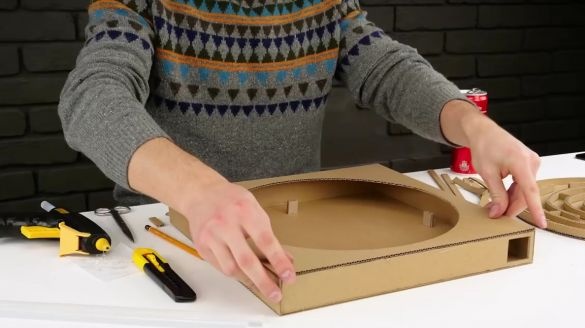
Next, you need to collect the basis of our design, on which the maze will be installed, there is nothing complicated there, in general, we do everything as shown in the photo:
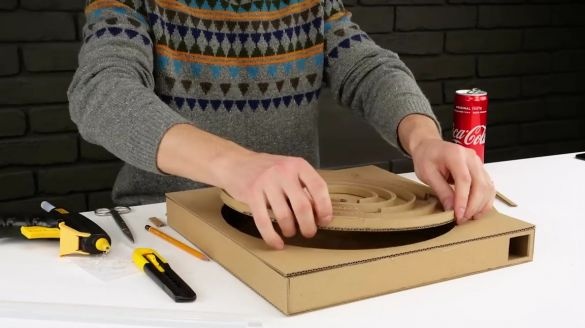
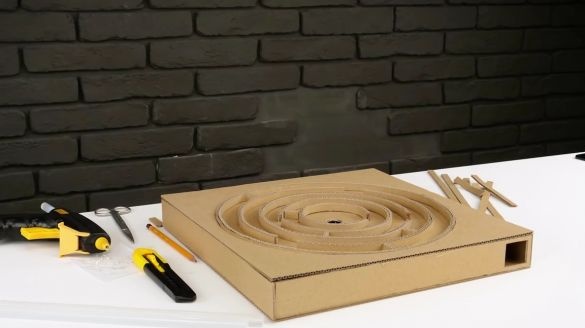
Then install the maze on the racks that we made earlier, but do not glue it:
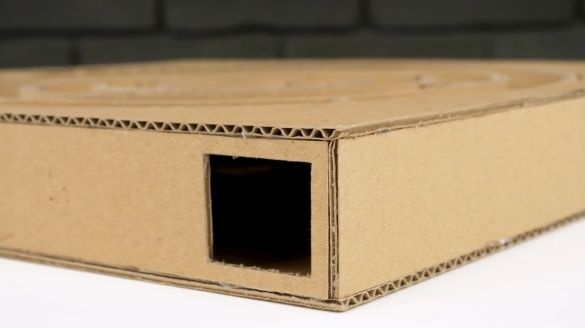
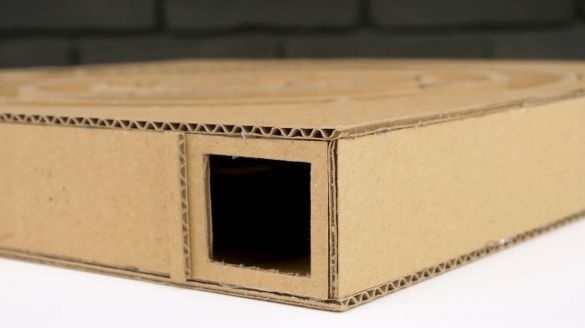
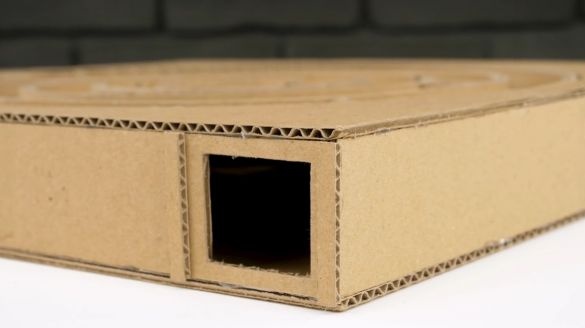
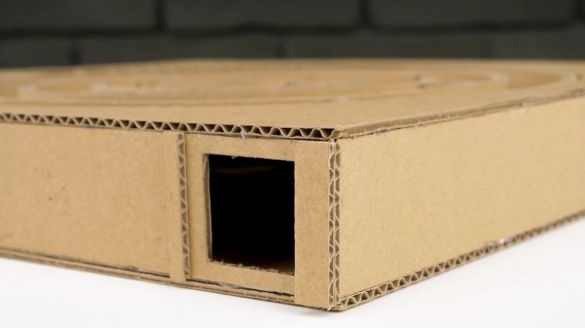
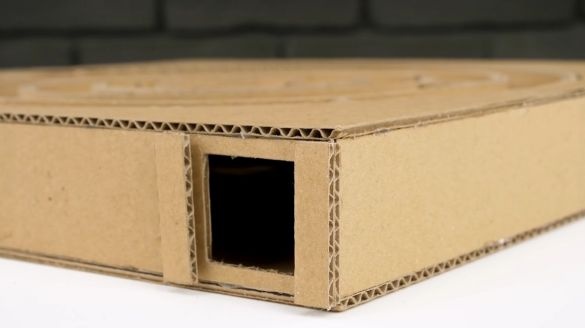
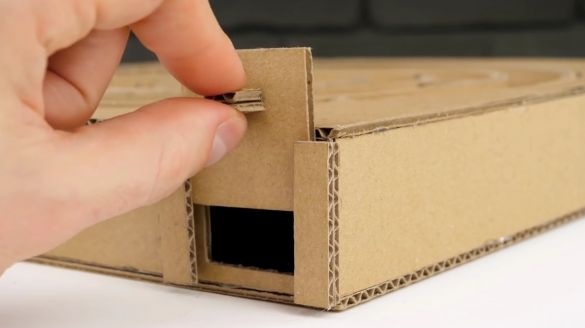
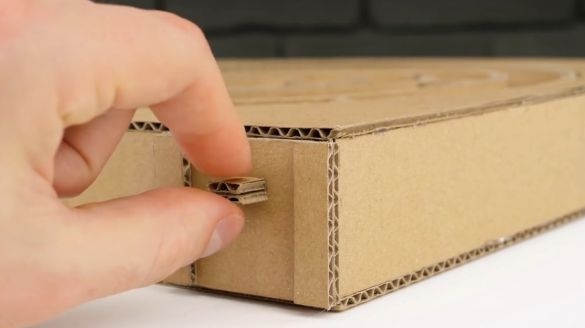
At the side hole, we do something like a door, so that you can get the ball after it reaches the finish:
Decorate:
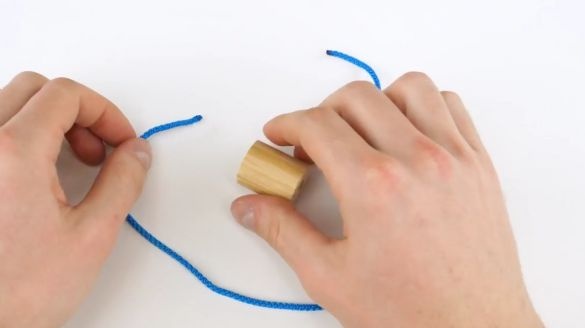
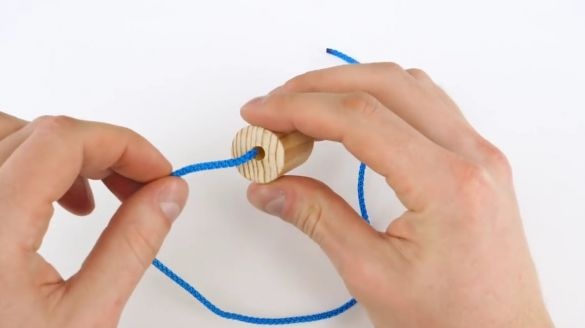
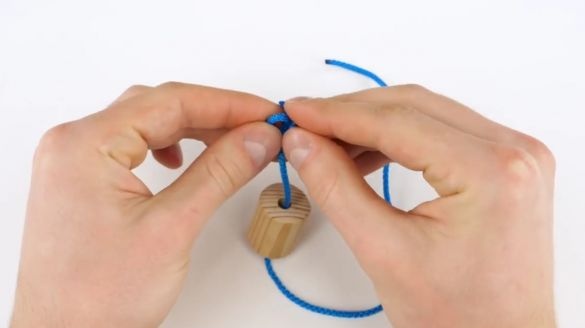
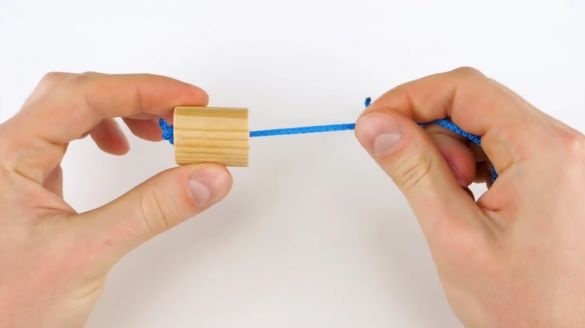
Now you need to take a small wooden cylinder with a hole in the center and a cord. We insert the lace into the hole and fasten the knot at the end so that it does not come through the hole. In total, we will need to make 4 such blanks, for convenience it is better to make 2 of them of the same color, and 2 others arc:
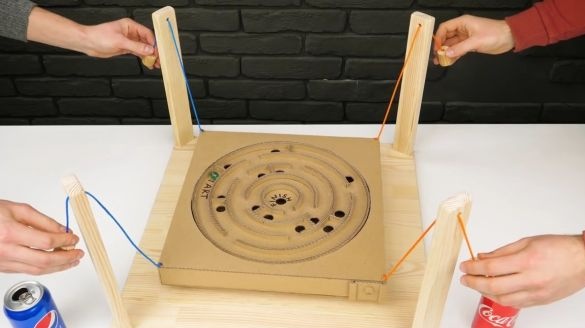
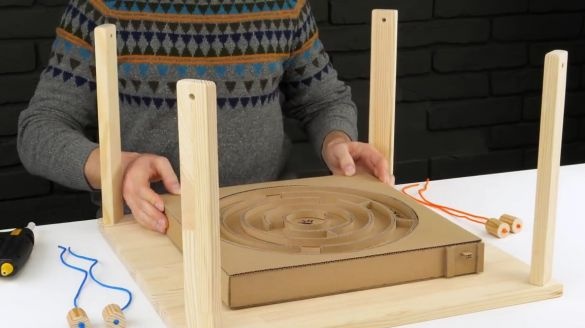
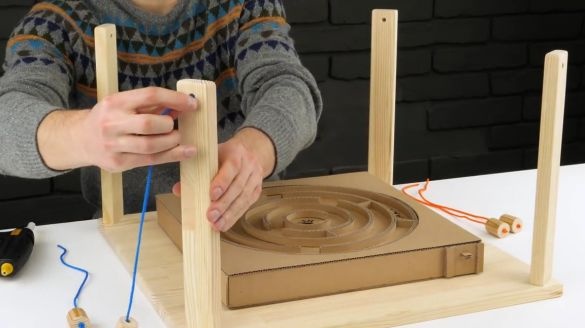
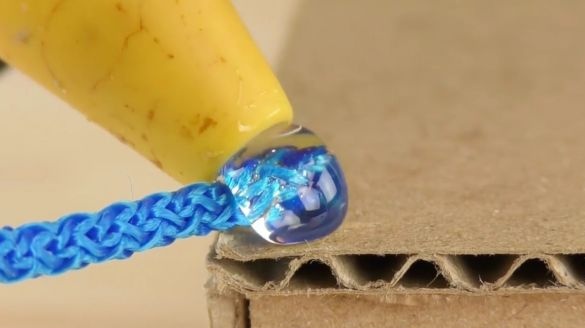
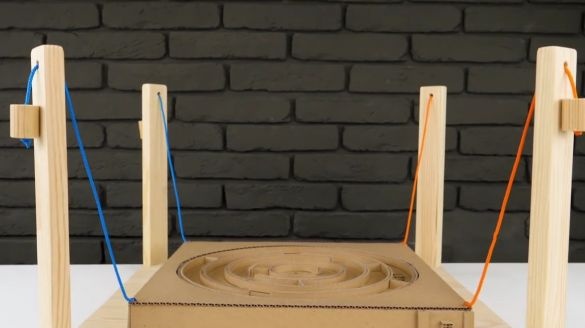
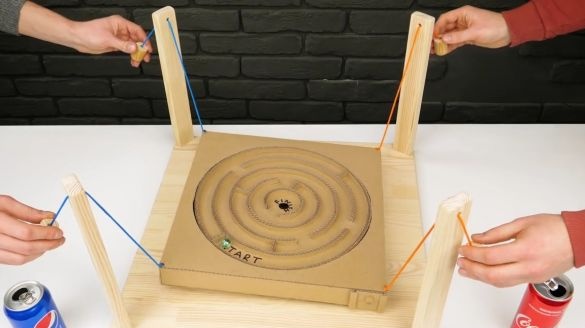
We install a labyrinth in the center of the wooden base, after which we put our past blanks into the holes in the racks as shown in the photo, then glue the end of the lace to the edge of the labyrinth:
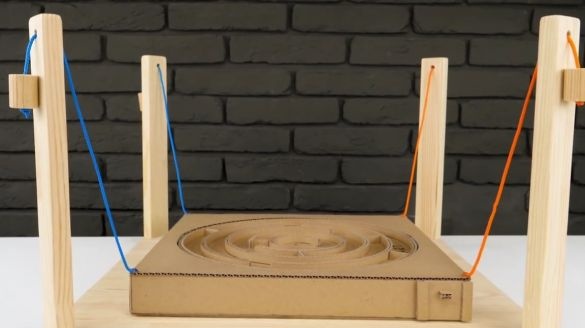
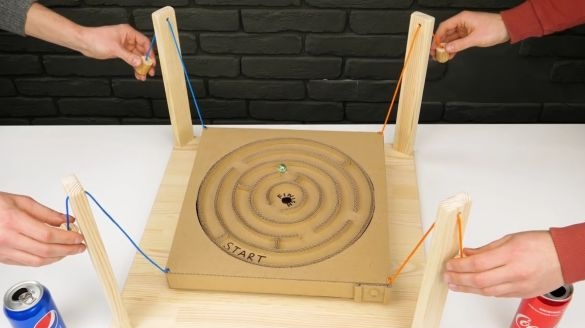
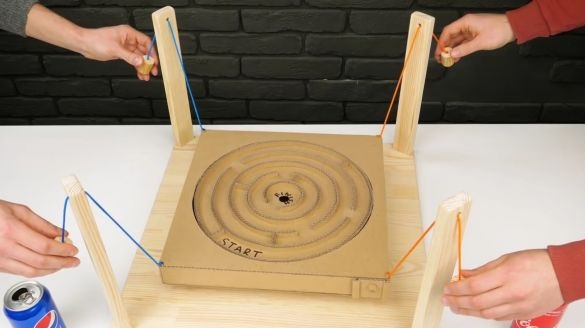
That's it! The labyrinth for two is ready and it remains only to test it!
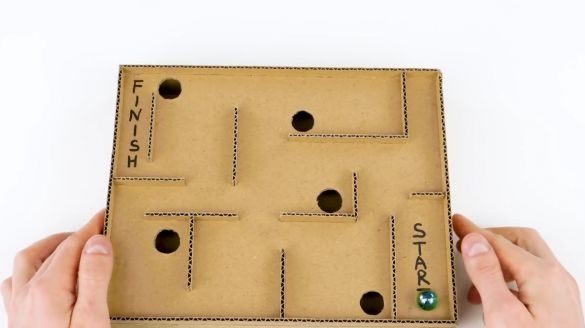
To complicate the game, you can make additional holes along the entire path of the ball, so we make for the ball, as if traps into which it should not fall:
If you want to play alone, then just get the maze from the base and that's it, you can play alone!
Here is a detailed video from the author with the assembly and testing:
Well, thank you all for your attention!

