

Power regulator up to three kilowatts.
Such a very simple and at the same time very useful device can be used to control the speed of motors with a phase rotor. For example, an electric drill of an old production, which does not have a built-in speed controller, and a large number of similar tools and mechanisms that will not interfere with the speed control, to expand the capabilities of this device.
Also, such a regulator perfectly and steplessly regulates the power of any type of electric heaters. For example, hot plates, heaters and the like.
The regulator can smoothly change the illumination of incandescent and dimmable LEDs over a wide range from zero to 100%.
To start the installation of the device, we will assemble the parts.
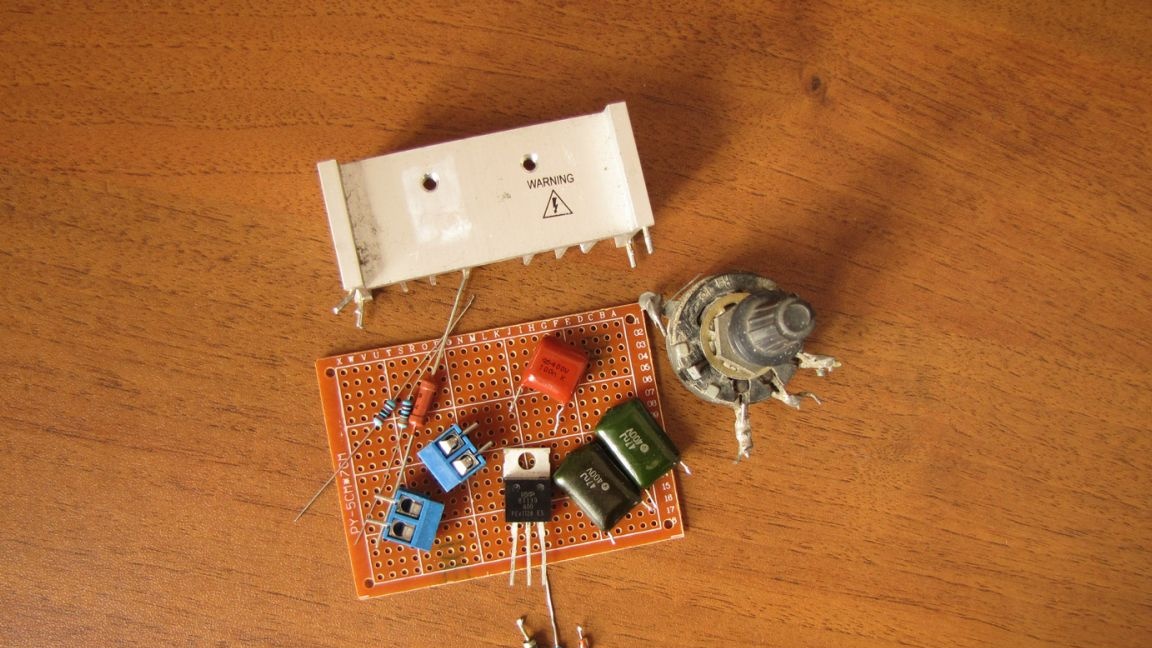
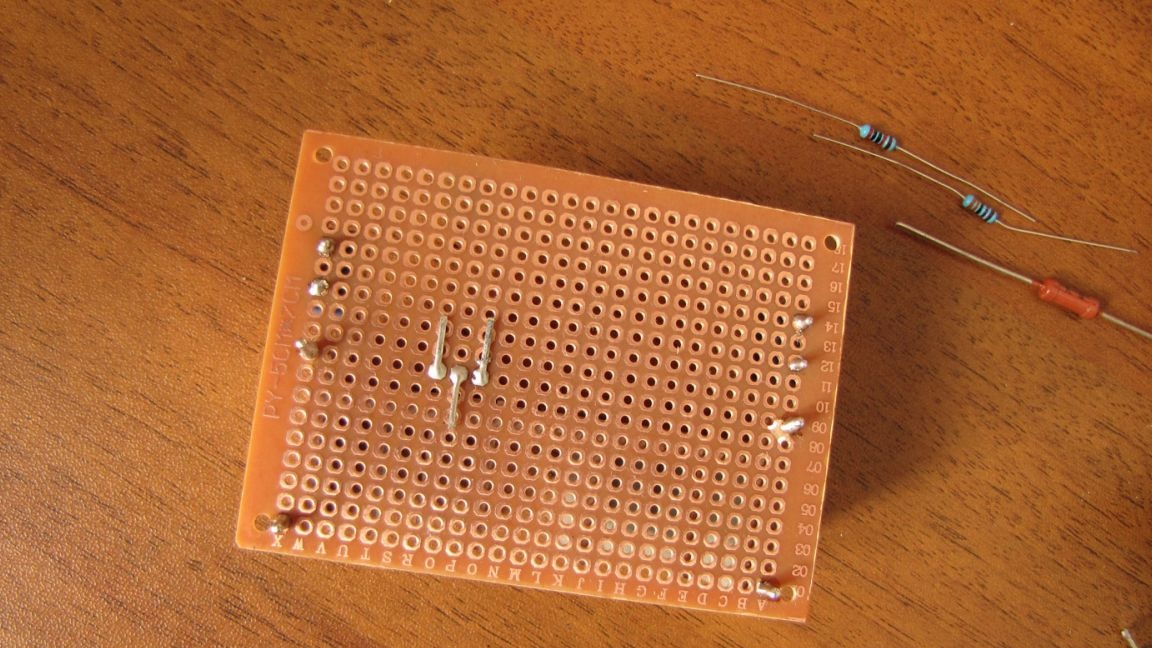
At the bottom of the photo are samples of DB3 - 3 pieces
We will need:
R1 - 20 Kilohm, R3 - 3.3 Kilohm, R4 - 300 Ohm,
R2 - potentiometer - from 470 Kilohms to 1 Megaohm,
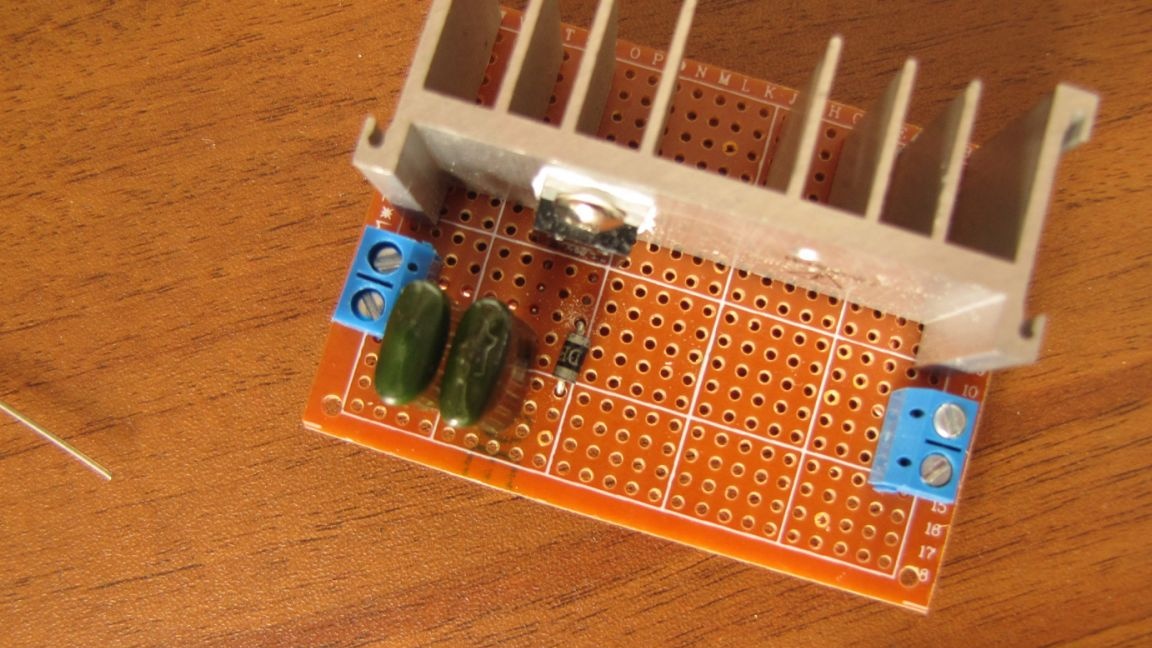
C1 and C2 - 0.05 MkF, C3 - 0.1 MkF,
T1 is a dinistor or is also called a DB3 diacon
T2 - triac or, in other words, triac.
The triac can be taken Soviet-made from the KU208 series.
Or BT138-800, BT139-600 or the like, these triacs in China are about 10 rubles apiece, as well as the breadboard, on which we will assemble this device.
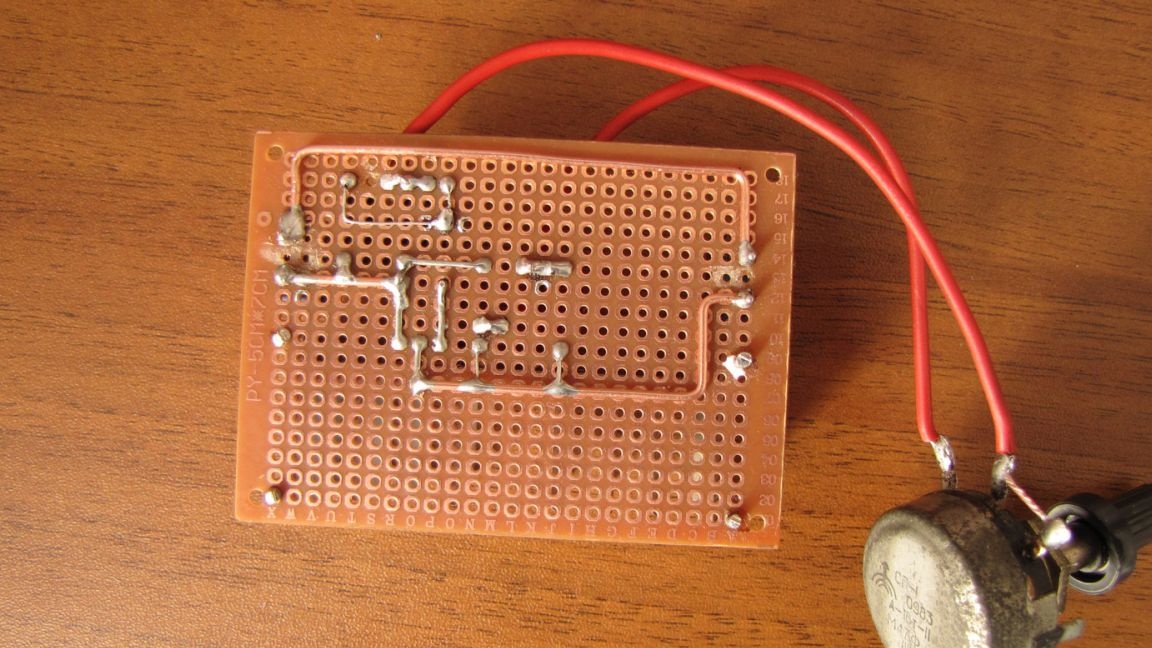
The breadboard makes installation quick and easy electronic fixtures. No need to bother with the manufacture and drilling of printed circuit boards. Just insert the radio parts into the finished holes, solder, connect the jumper according to the scheme and you're done.
All capacitors and dinistor can be removed from old energy-saving lamps. Capacitors with the desired ratings and dinistors are not in all lamps, so you need to look. Dinistors in different cases at the bottom of the second photo (so that you have an idea about their appearance), and on the cases they have DB3 written (you can read with a magnifying glass).
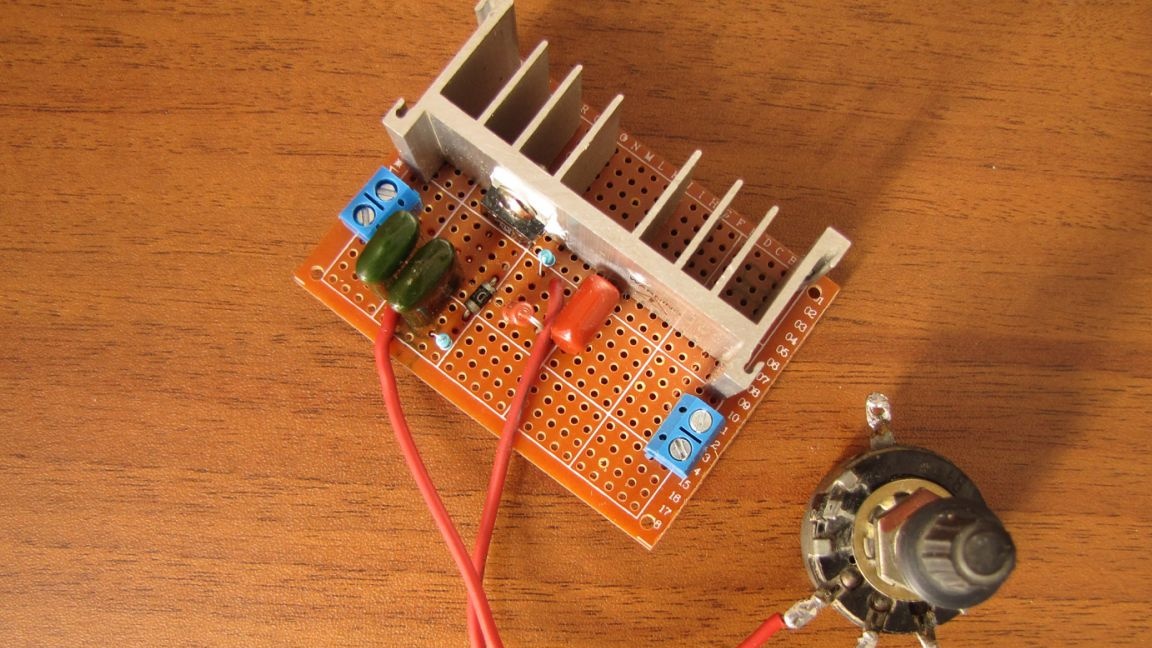
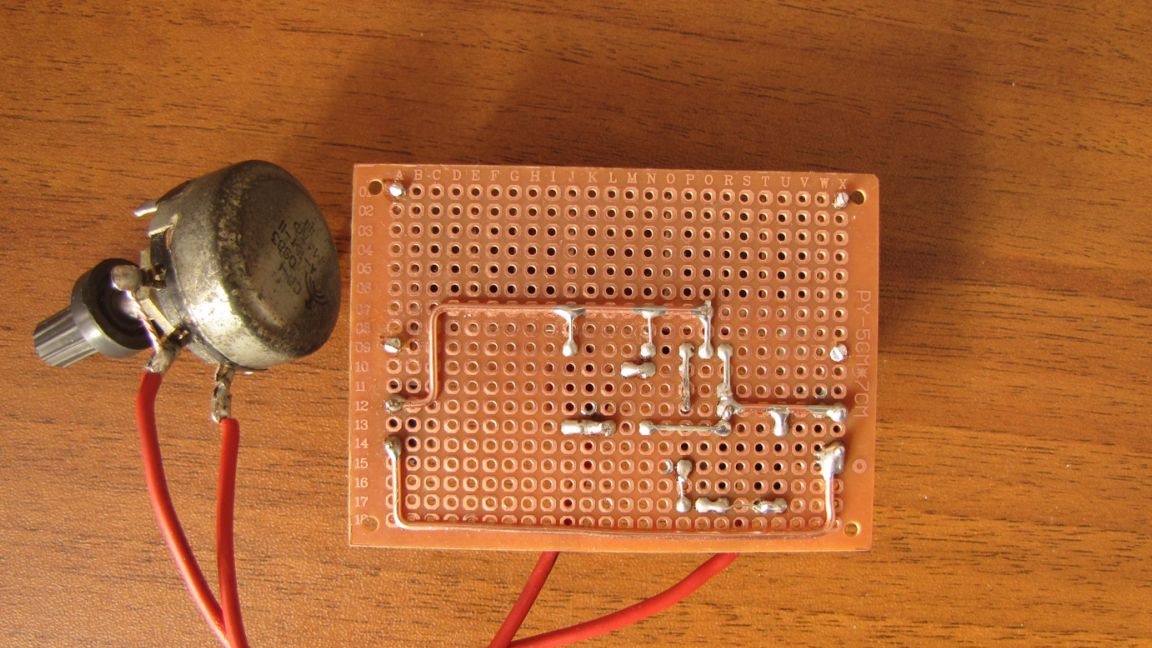
I took the potentiometer from an old, still Soviet TV, but any other with the indicated values will do.
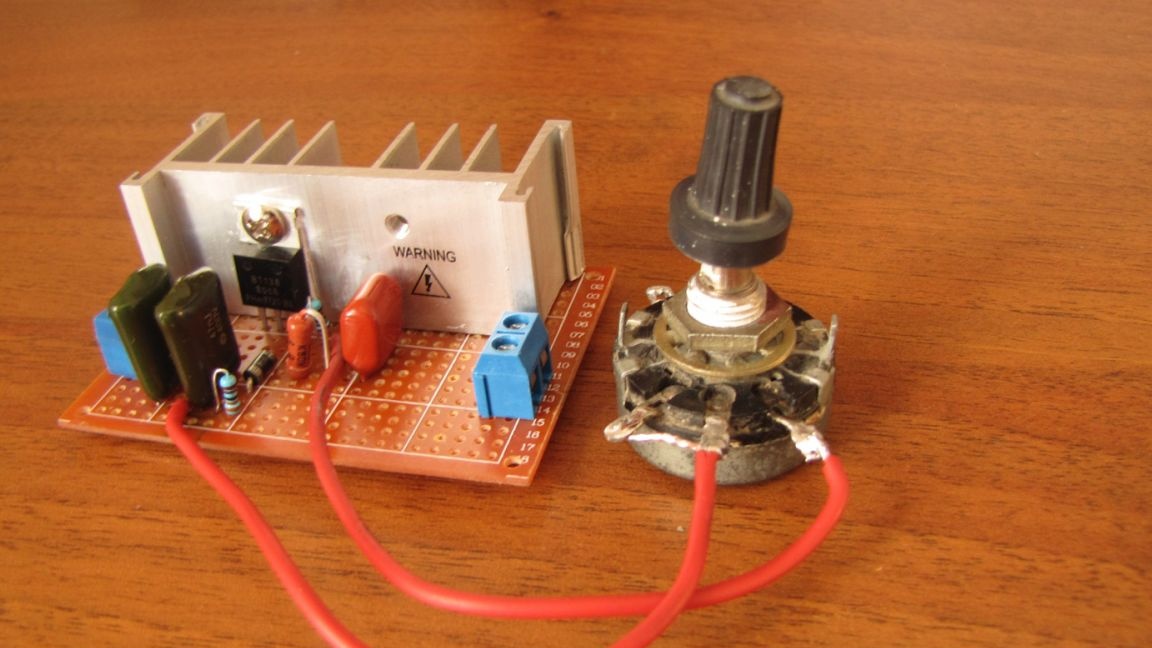
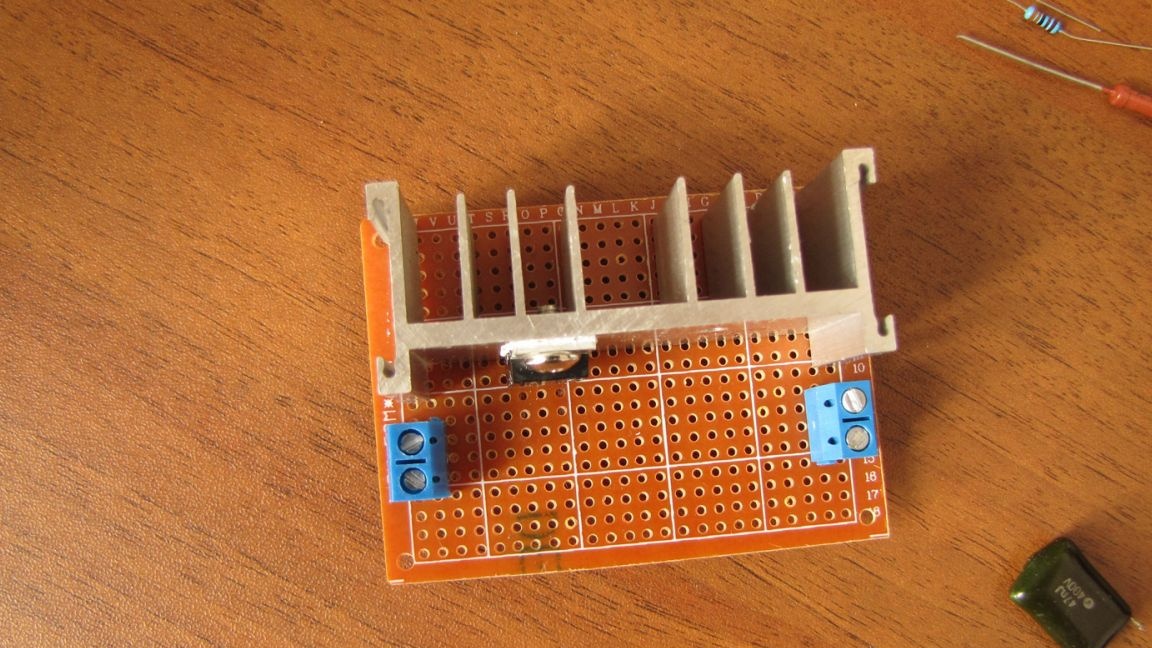
The radiator is from the computer unit, but it needs to be selected, depending on the planned load, which you are going to manage. Up to 300 watts - the radiator is not needed at all, and the higher the load, the more massive the radiator.The dimensions of the radiator also depend on the nature of the load, so the selection is individual, but the larger the radiator, the better the operating mode of the triac and it will work longer without any accidents. So do not skimp and put more.
Resistors are everywhere, in any equipment, so picking up will not be a big problem. In China, you can also buy. 600 resistors of different denominations "set", costs about 150 rubles, together with delivery, so it’s easier to buy than bother with searching and unsoldering from blocks.
You can take any terminals for connecting power and load that you find, but you can completely do without them, the question is in the convenience of using this device in operation.
The device diagram looks like this.
The R4 - C3 chain is a protection against radio interference and you can remove it, but your neighbors can beat it if they catch it.
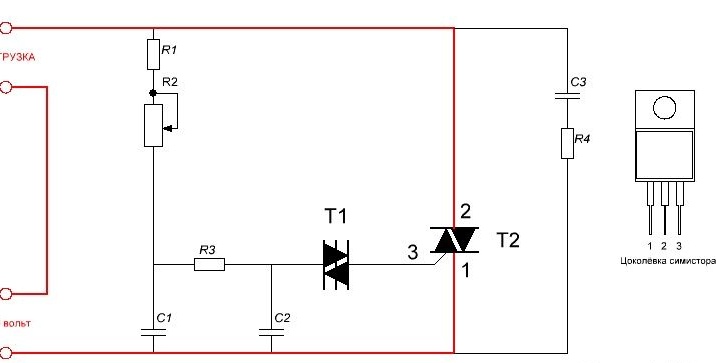
Schematic diagram of the power regulator.
Now proceed to the assembly.
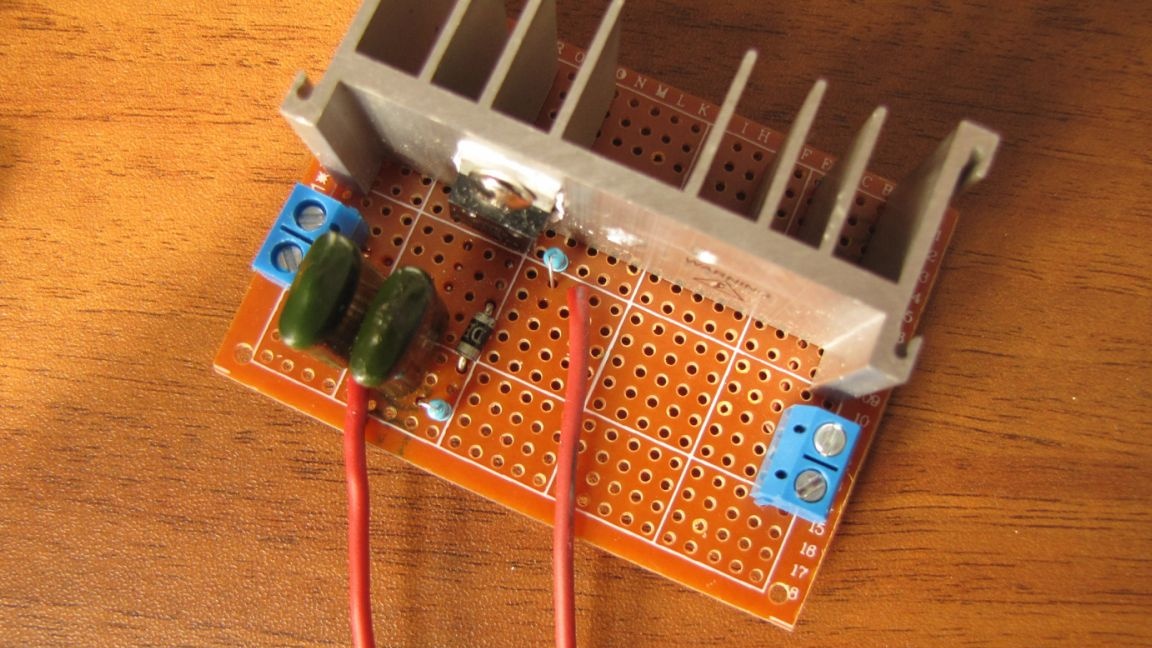
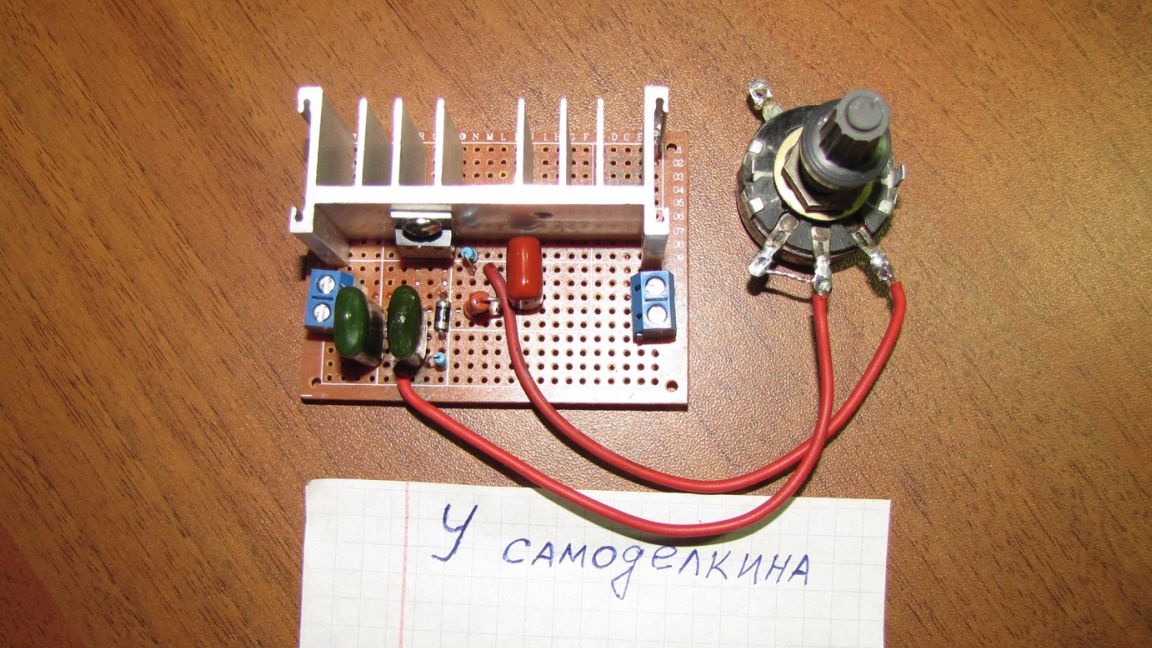
We place the details on the breadboard, it’s faster, in my opinion, more convenient and looks good. Soldering should be performed as qualitatively as possible and preferably slowly.
Tin from China did not meet quality, so use any other.
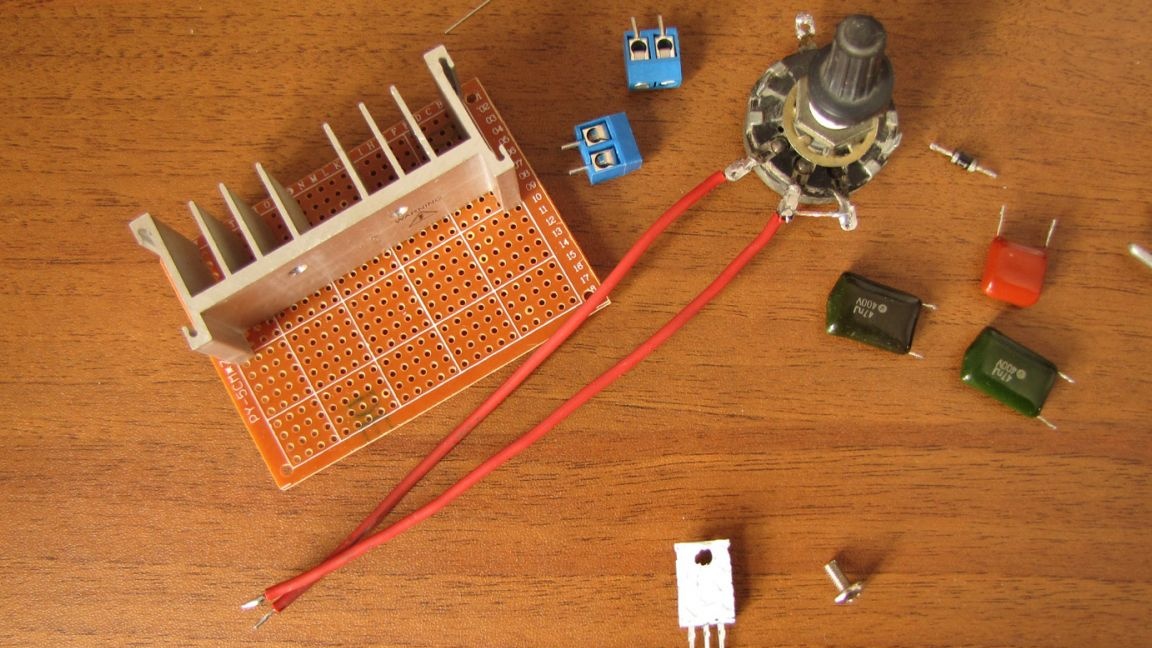
We spread the triac with heat-conducting paste, but not thickly.
Screw the triac to the radiator with heat-conducting paste. The paste should protrude slightly from the edges when you screw the triac to the radiator.
We solder.
It is better to solder the parts in turn, one at a time, as you install.
Jumpers (marked in red in the diagram) are made with a copper wire of increased cross section, depending on the load power. At 3 kilowatts - 2.5 square millimeters will be, with a margin, just right. I plan to control the rotations of the drill at 800 watts, and the wire took 1.5 mm, of course, also with a margin, but as they say, the margin .... . And it will work better.
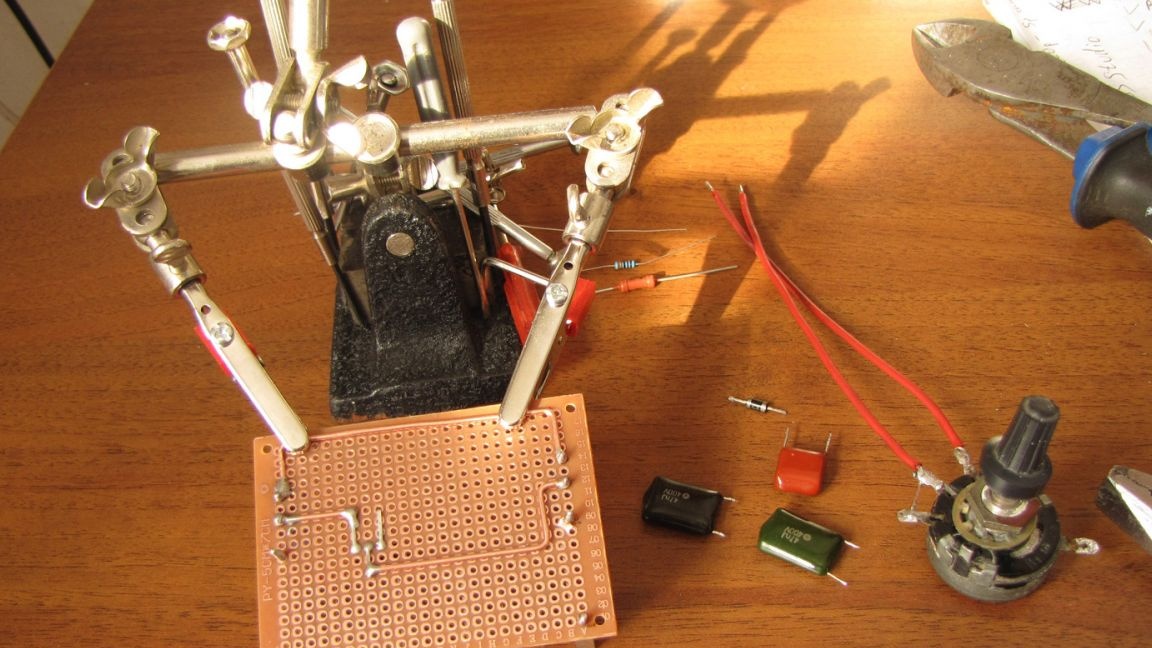
"Third hand" greatly facilitates the work.
You need to constantly check the diagram when installing parts.
The scheme is simple, but attentiveness will not be superfluous.
The power part requires very careful soldering.
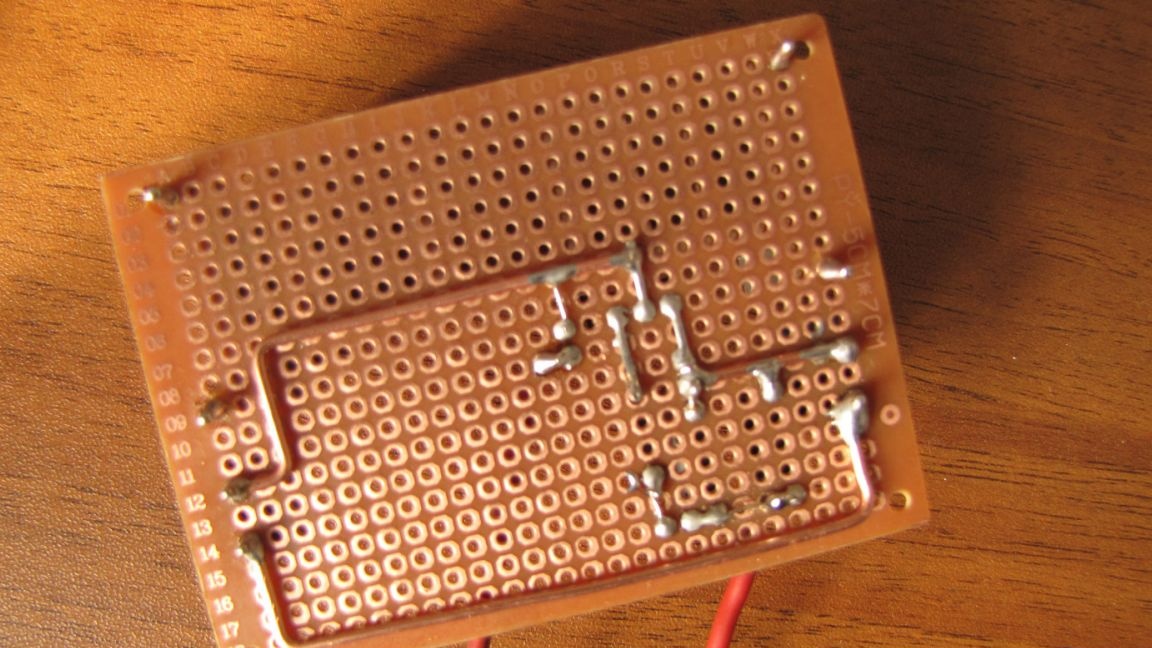
On the breadboard, between the contacts of the terminal blocks, the copper contacts must be removed to prevent a short circuit. 220 volts is a serious voltage and joking with him is not recommended. The photo shows how to do this. It is necessary to cut the foil with a sharp object “for example, with an office knife”.
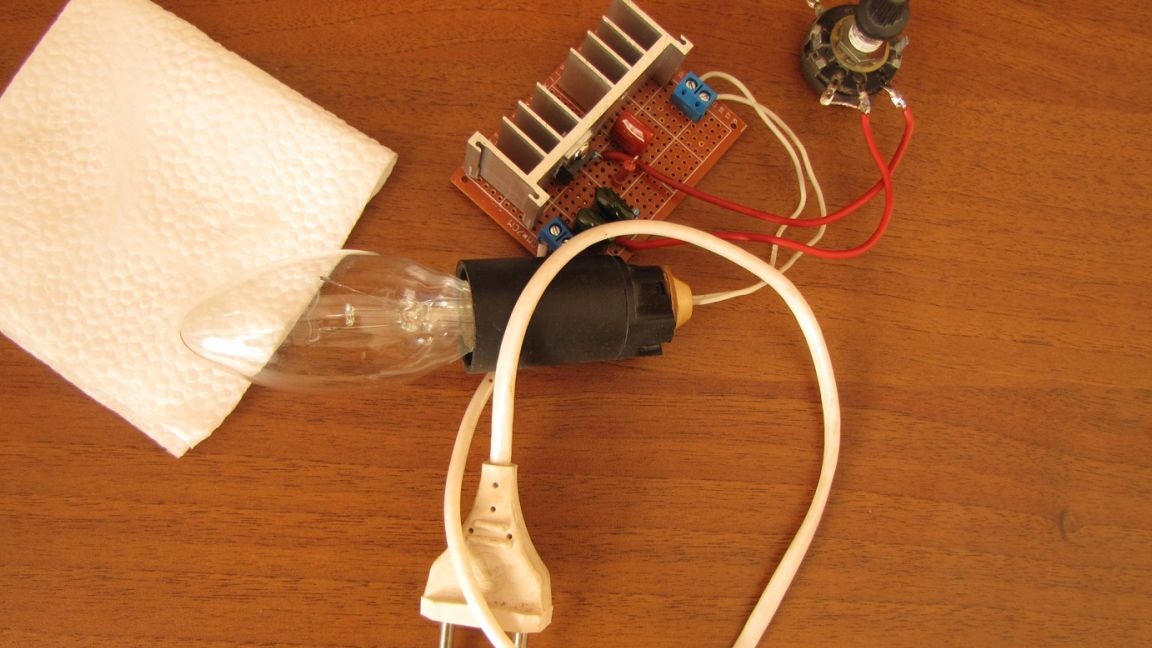
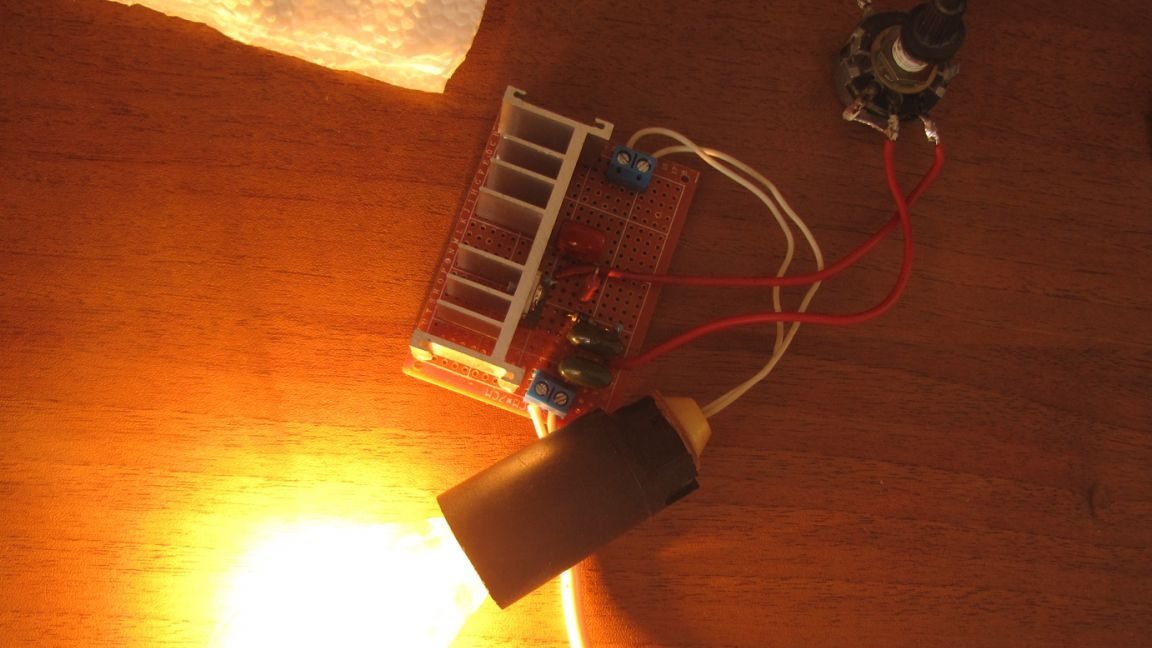
We connect a light bulb as a visual load and a piece of wire with a plug for connecting to the network.
When connecting the device to power, proceed with extreme caution! All elements of the circuit are under a full voltage of 220 volts! Life threatening!
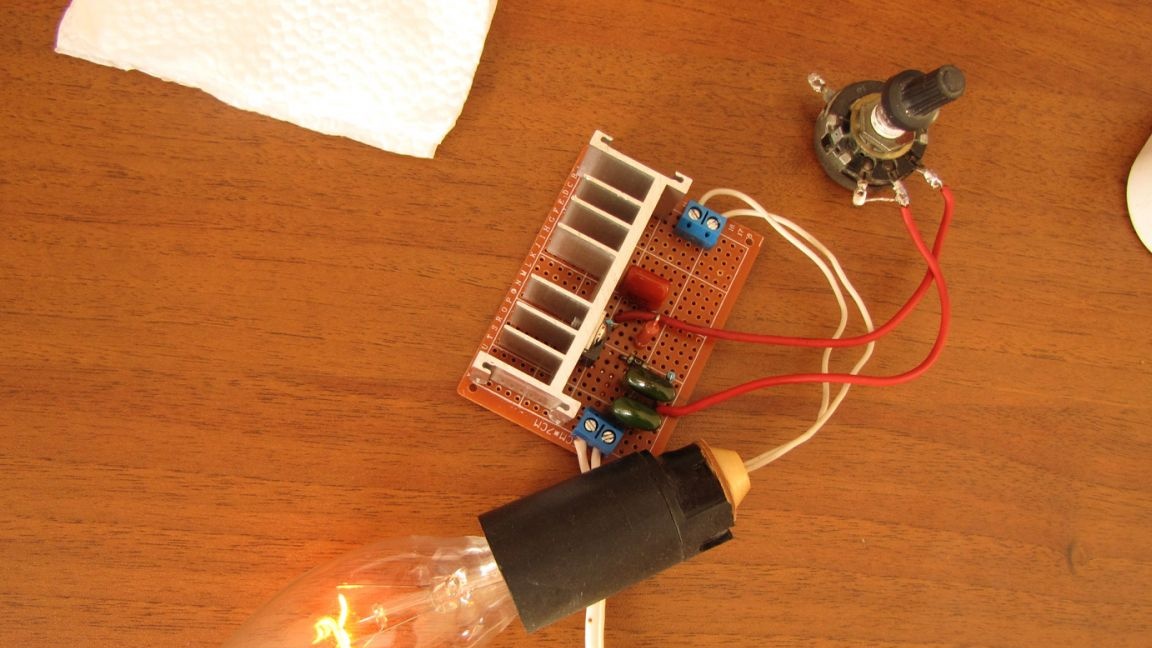
It works normally.
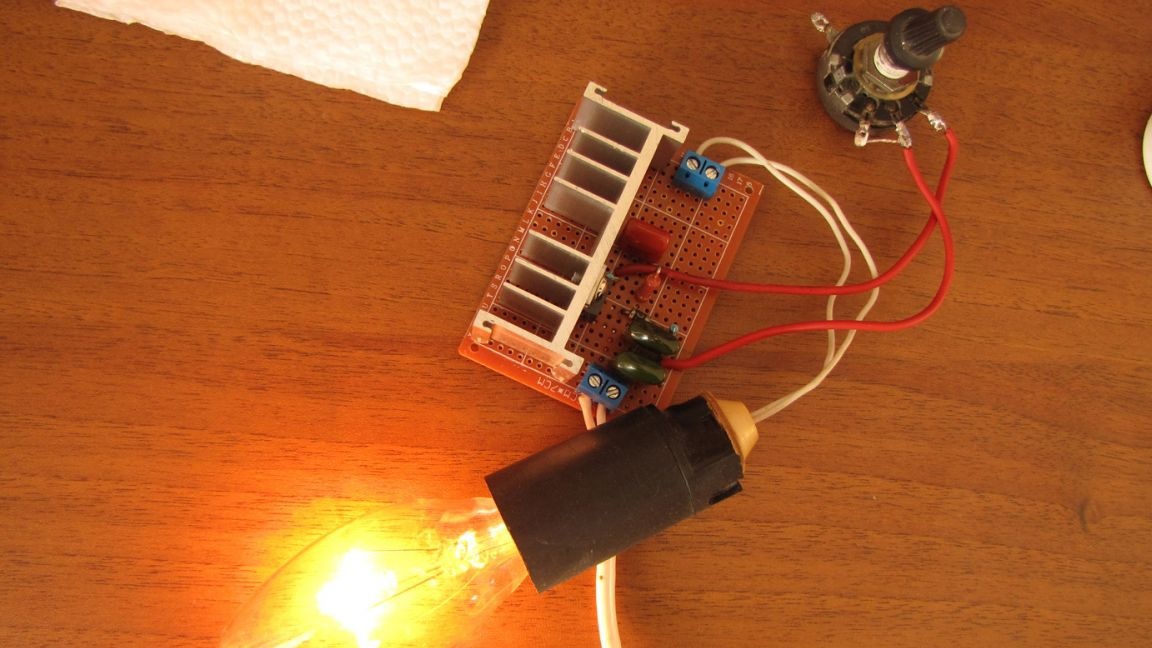
By turning the potentiometer, we adjust the glow of the lamp and make sure that the light changes its intensity smoothly, without dips and jerks.
Watch the video and make sure everything works as planned.
Good luck with your business.