

It will be enough to add a relay block on the radio control to the chandelier circuit and slightly change the wiring inside the chandelier.
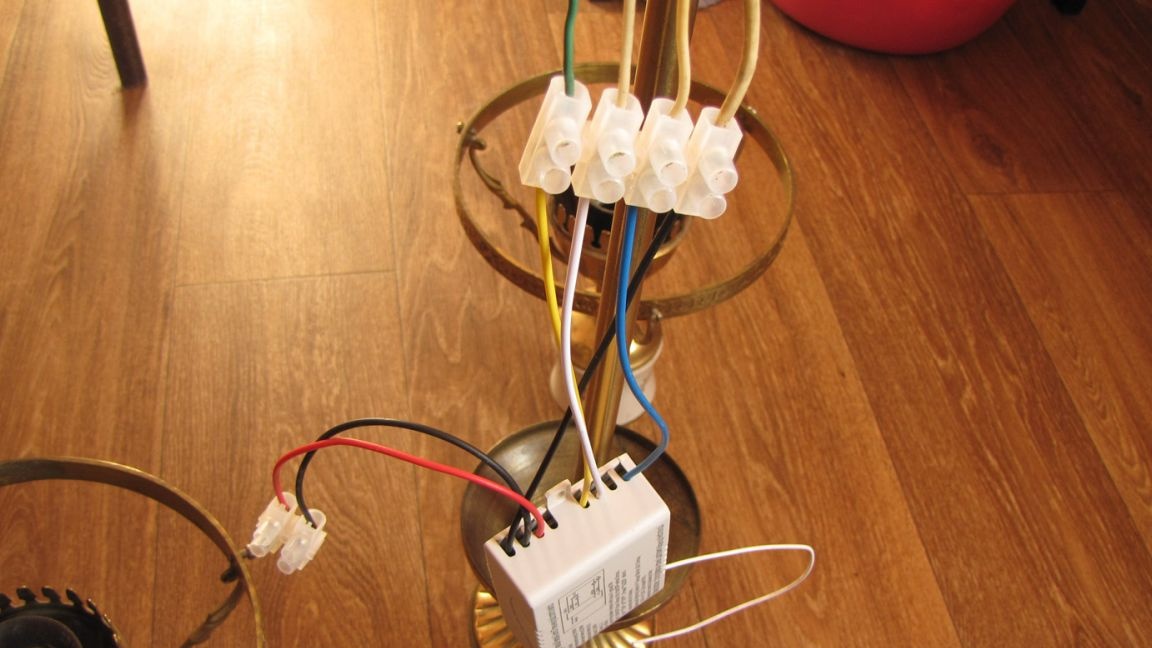
It was that one switch turned on two lamps, and the second one, and now each button turns on and off its own lamp. He pressed the button - turned on, pressed again - turned off. The black wires inside the control unit are connected so that they can be considered a single wire.
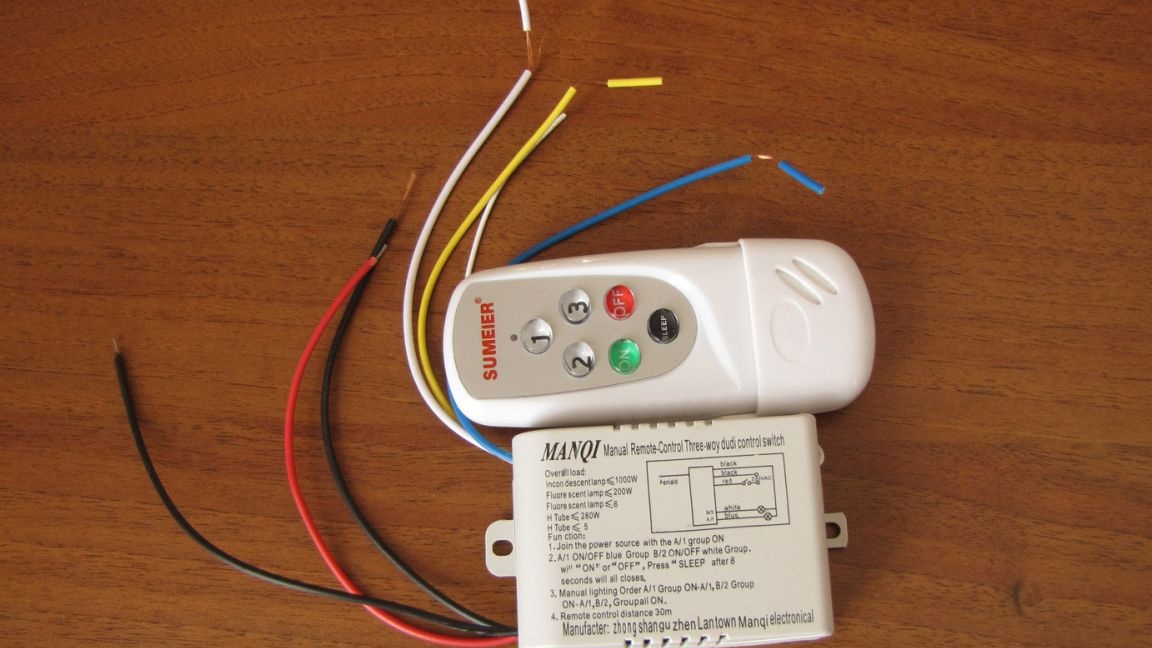
Similar control units can be bought in China. It's no secret that in China the prices for the same product vary greatly. When choosing a purchase, do not rush, and carefully choose the product according to price and quality. Why pay more?
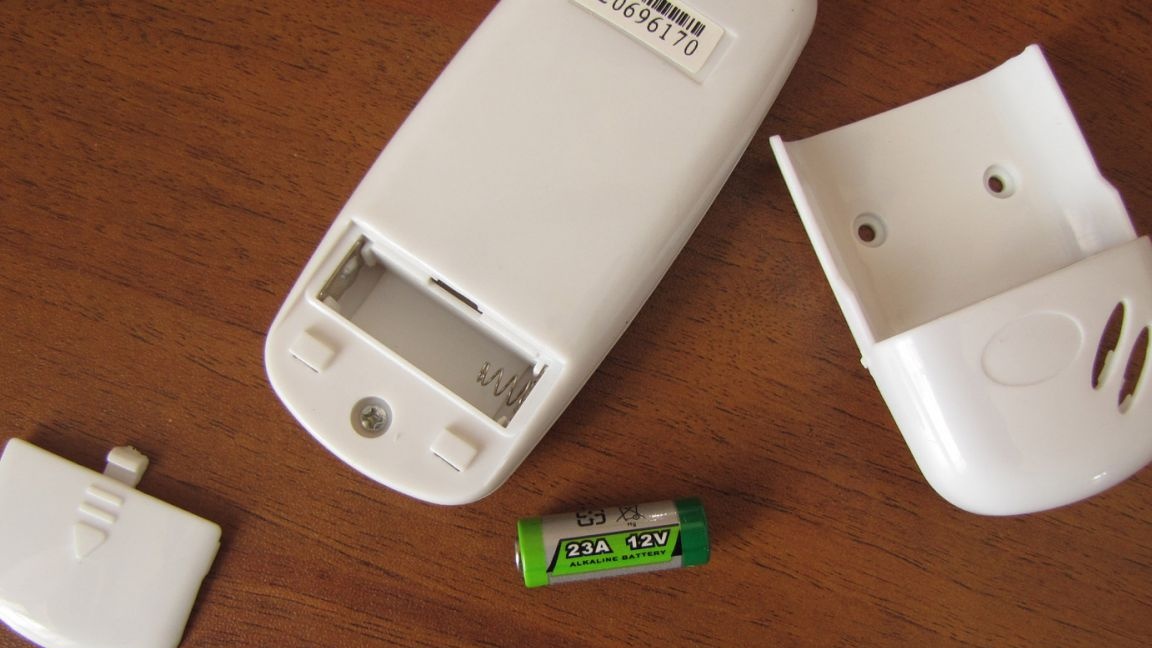
The remote control can be mounted on the wall, if desired. Rather, not a remote control, but its nest. The remote control itself remains portable. It uses a 12 volt battery. The power consumption of the remote control is scanty, so this battery is enough for a long time.
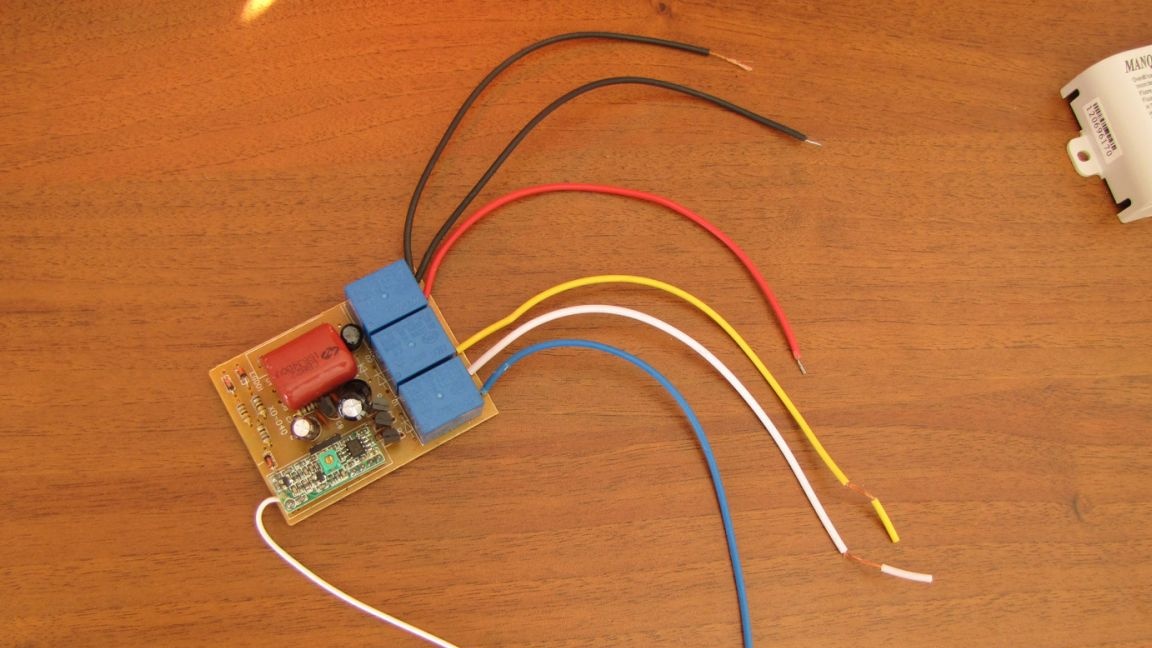
The inside of the relay block. Made with high quality. The soldering is done well, the solder flux is washed. Special flaws are not noticeable.
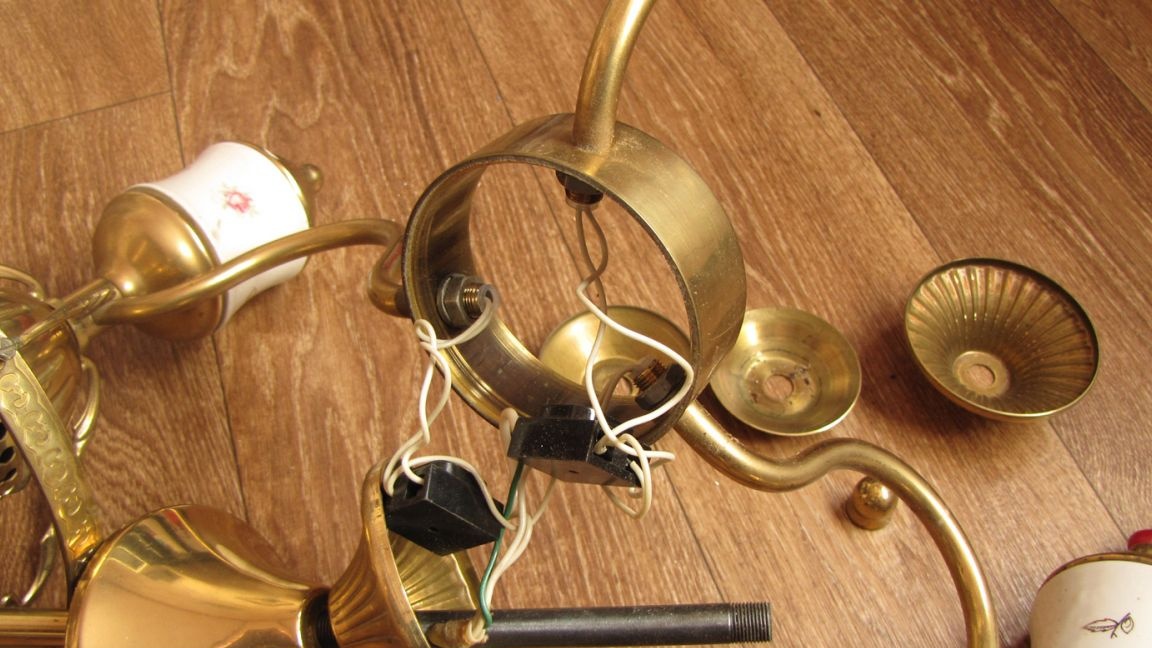
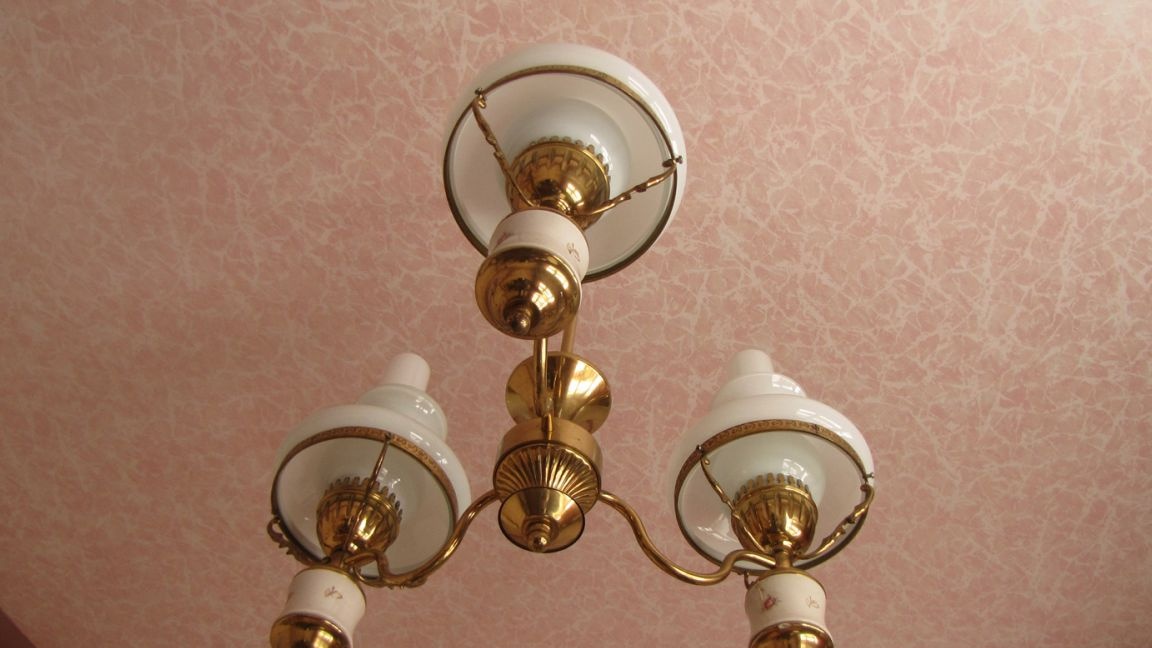
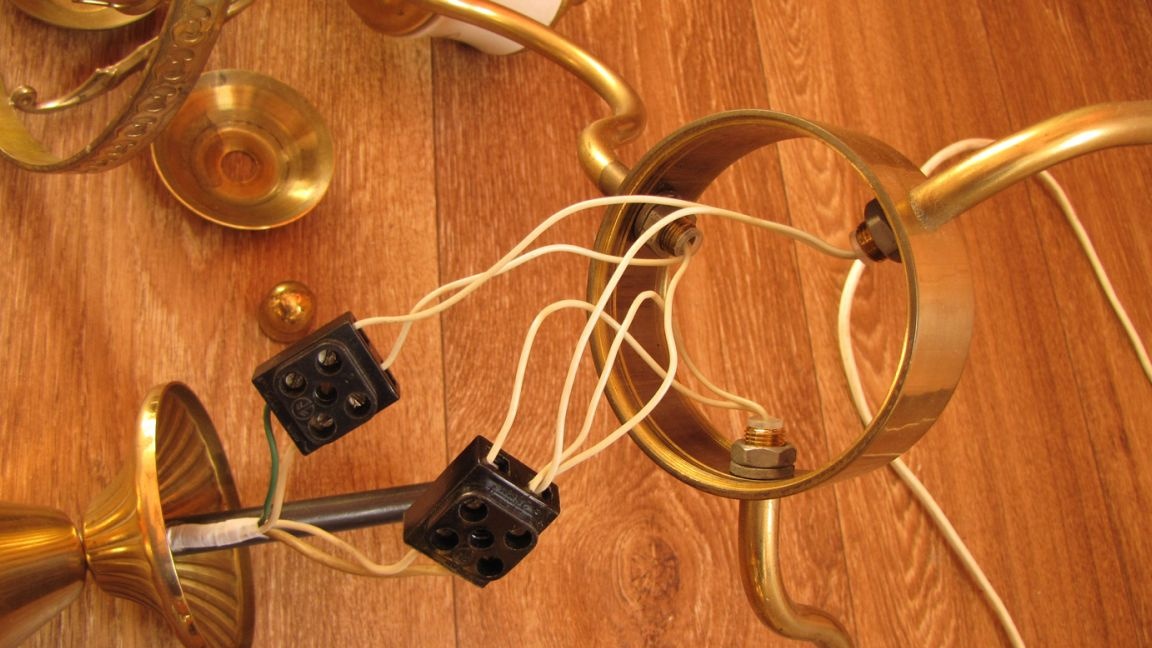
We disassemble the chandelier to get to the wires.
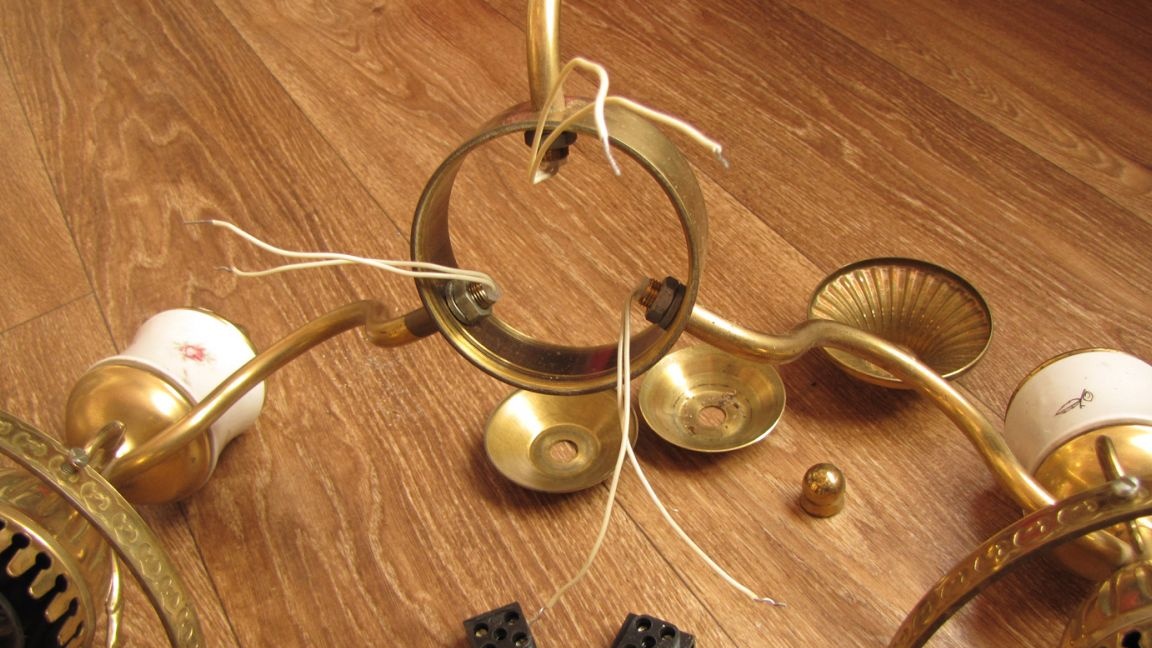
We add the fourth wire, not forgetting about their isolation, especially in places where the bundle of wires bends in the holes of the entrance to the chandelier tubes.
We leave one wire from each cartridge for the bulb, and twist the other three together.
If the chandelier lasts a long time, it is best to completely sort out all the wiring inside. Disassemble the lampholders and extend the contacts.
The cartridges operate in a constant temperature change mode (lamp on - temperature rises, lamp off - temperature drops). In such conditions, the bolted connections gradually weaken, the electrical contact worsens and, as a result, the temperature rises at the point of contact of the wire with the bolt, which can even lead to fire. So be attentive to such things.

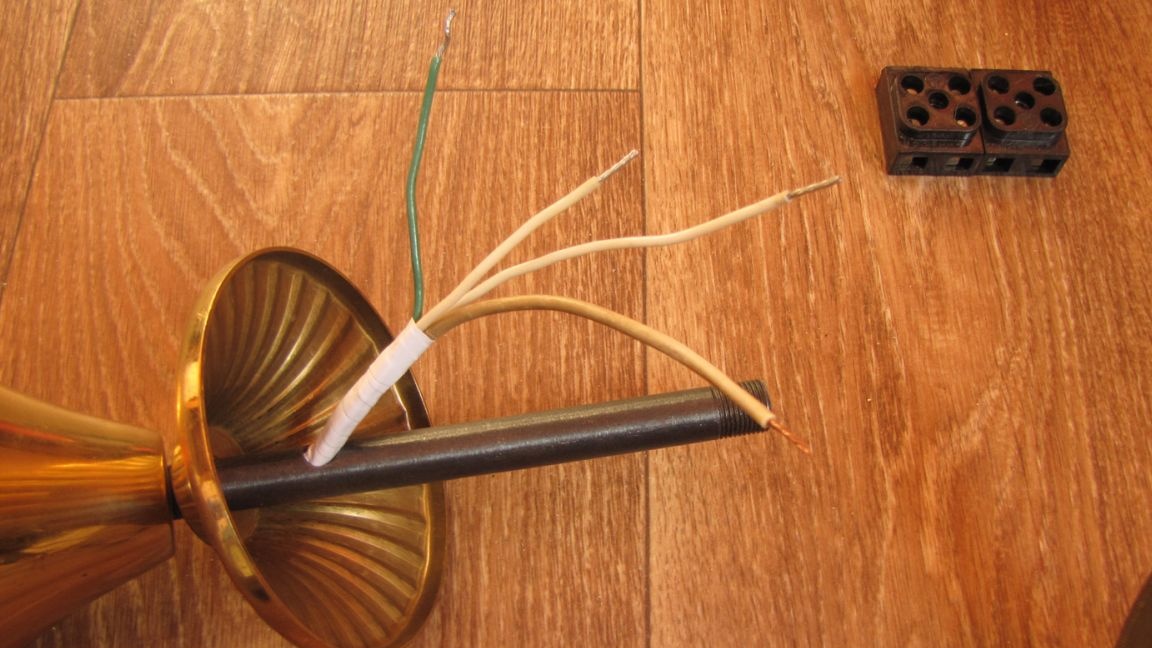
Connect the wires to the terminal blocks.
Such terminal blocks are in electrical goods stores. Connecting the wires in the chandeliers, and especially the wires from the chandelier to the mains wires without terminal blocks, is not recommended. Copper wires of the chandelier with aluminum wires of the network wiring to twist - this is a planned fire with a delay in execution.When it comes to light it is not known, but what will catch fire is very possible.

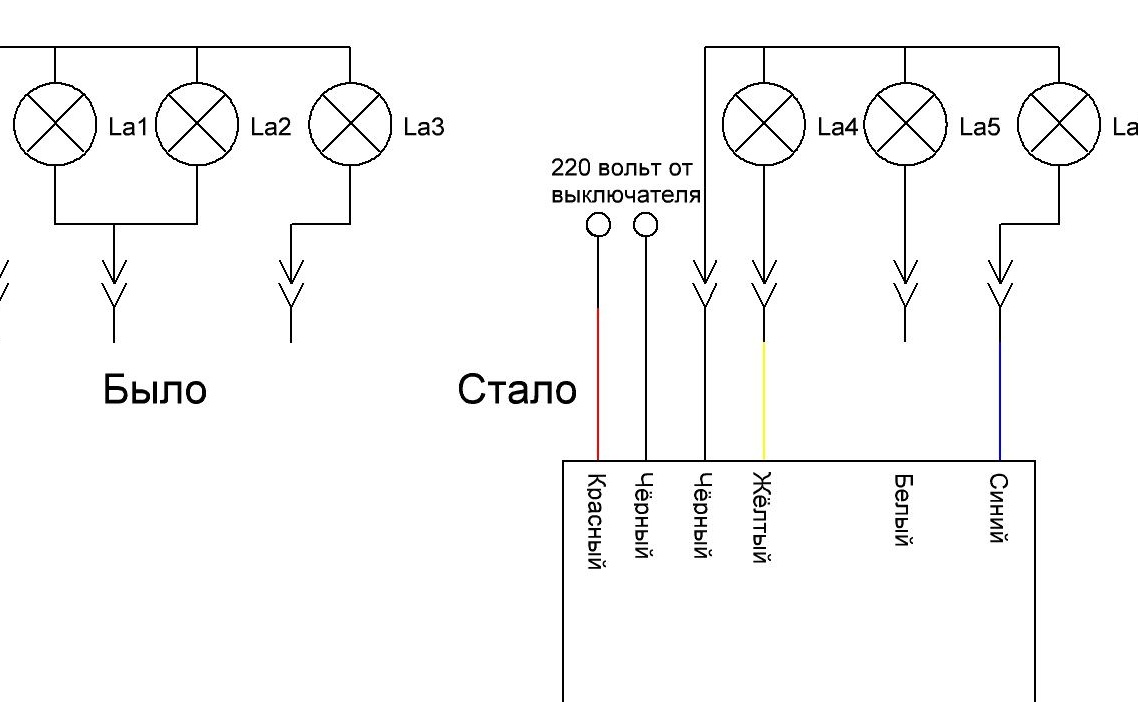
Connecting wires by colors, consistent with the wiring diagram above.
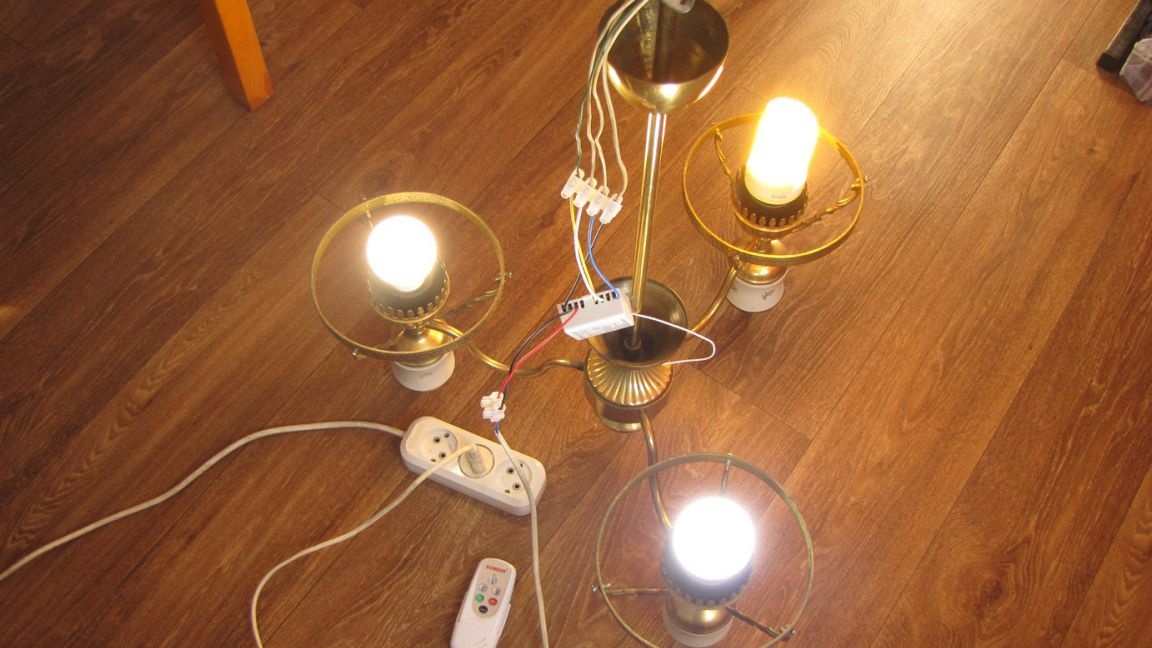
After mounting the wires inside the chandelier, a test for operability, before hanging on the ceiling, is required (suddenly, something is wrong connected). To disassemble a chandelier under the ceiling is another work.
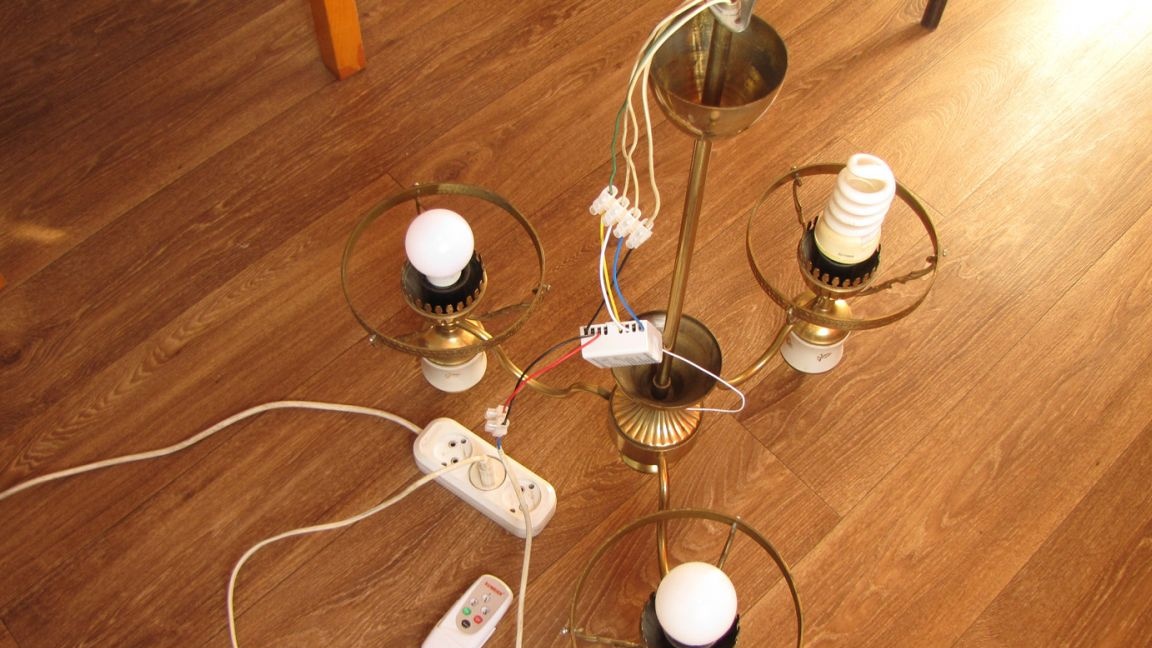
Turn on and off the lamps one at a time. Turn on one lamp.
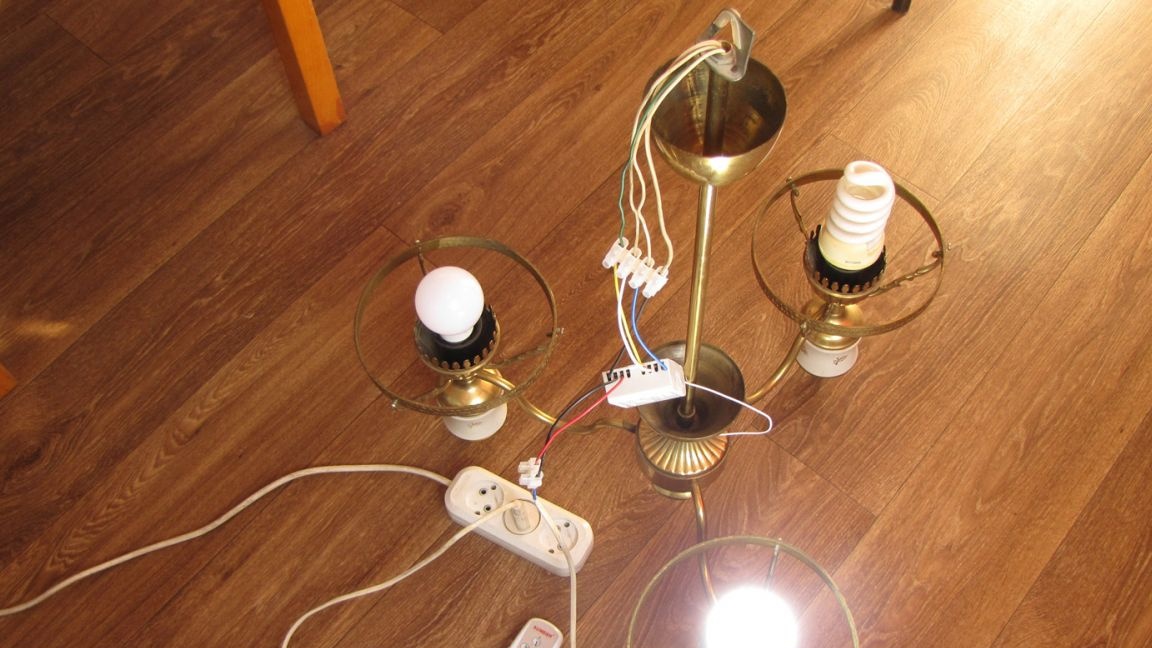
Turn on the second.
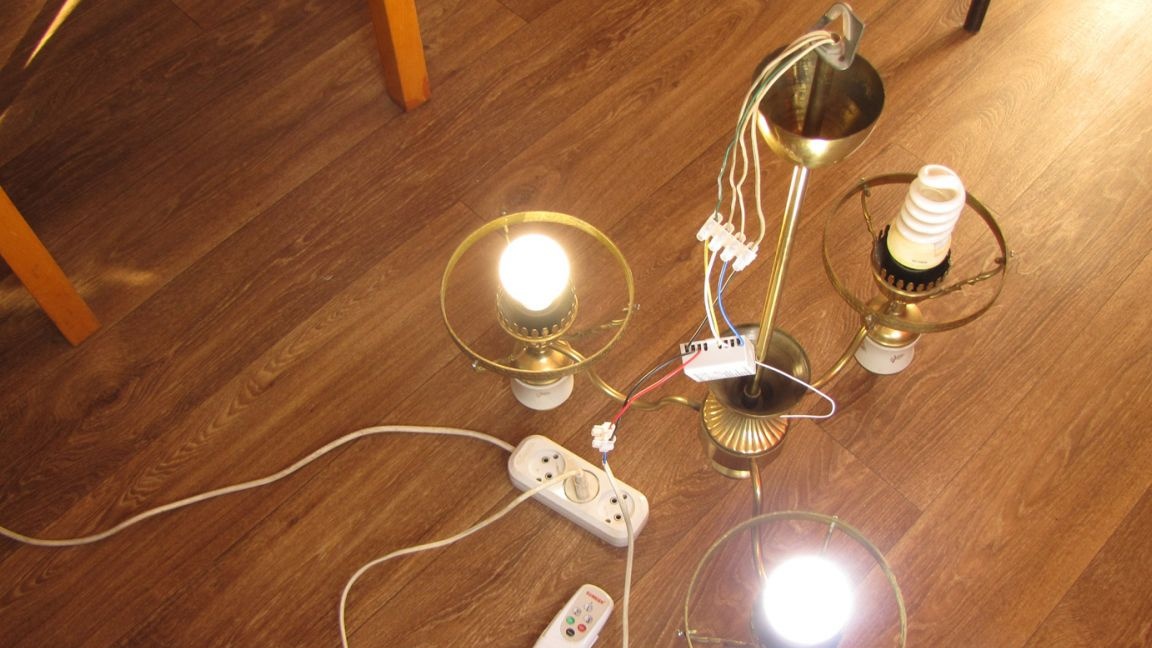
Turn on the third.
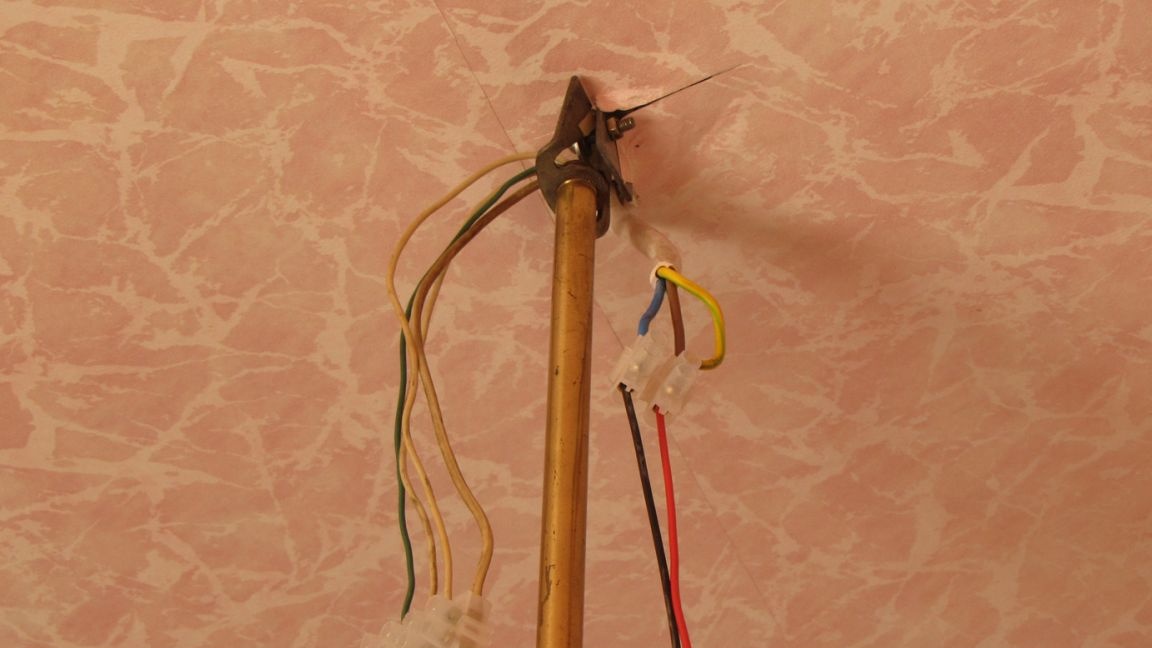
We hang the chandelier to the ceiling and connect it to the network. Do not forget to de-energize the wiring by turning off the machines in the power panel of the apartment, and be sure to check for voltage on the wires where you will connect the chandelier with a control lamp. As a control lamp, you can use, for example, a table lamp or any other.
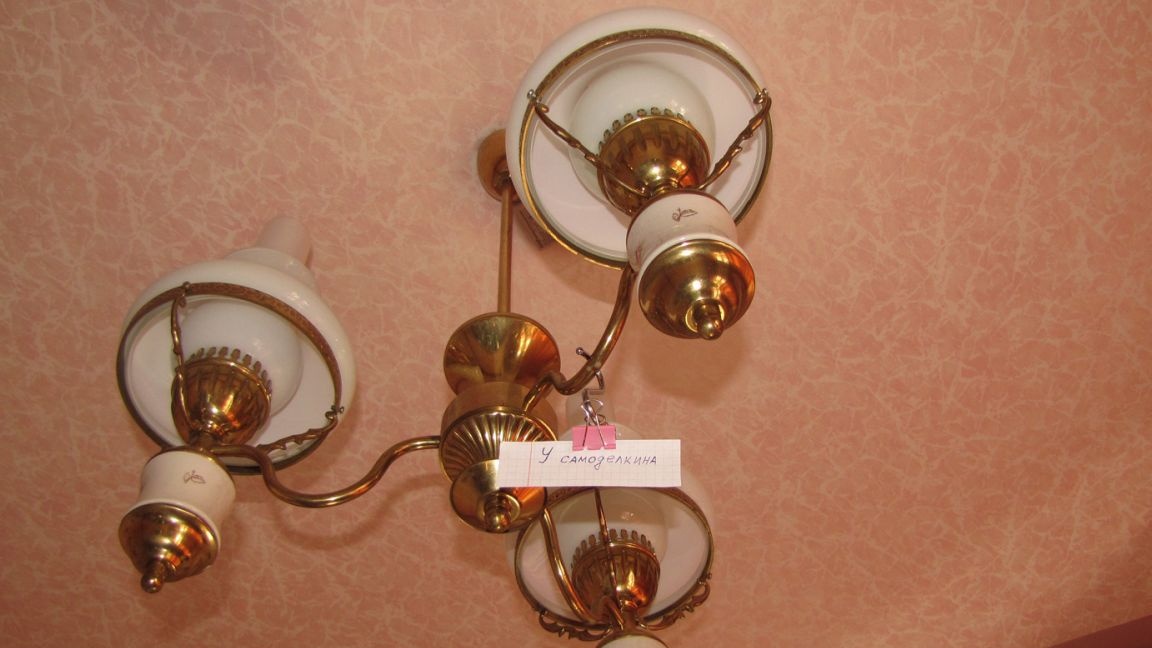
Final check in place.
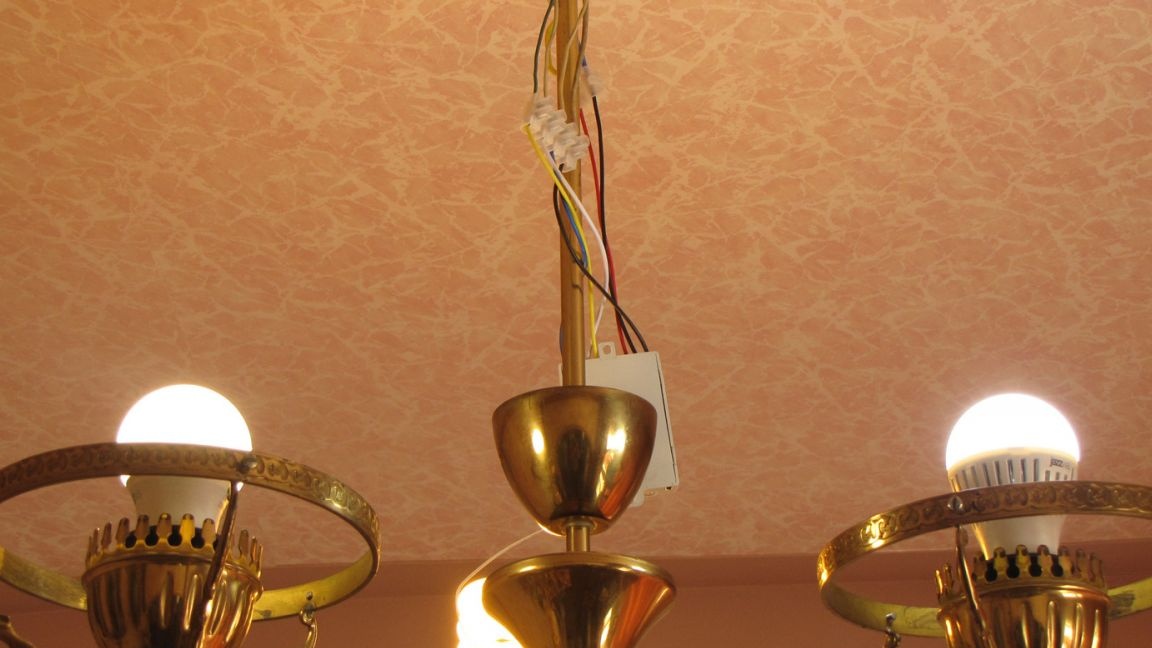
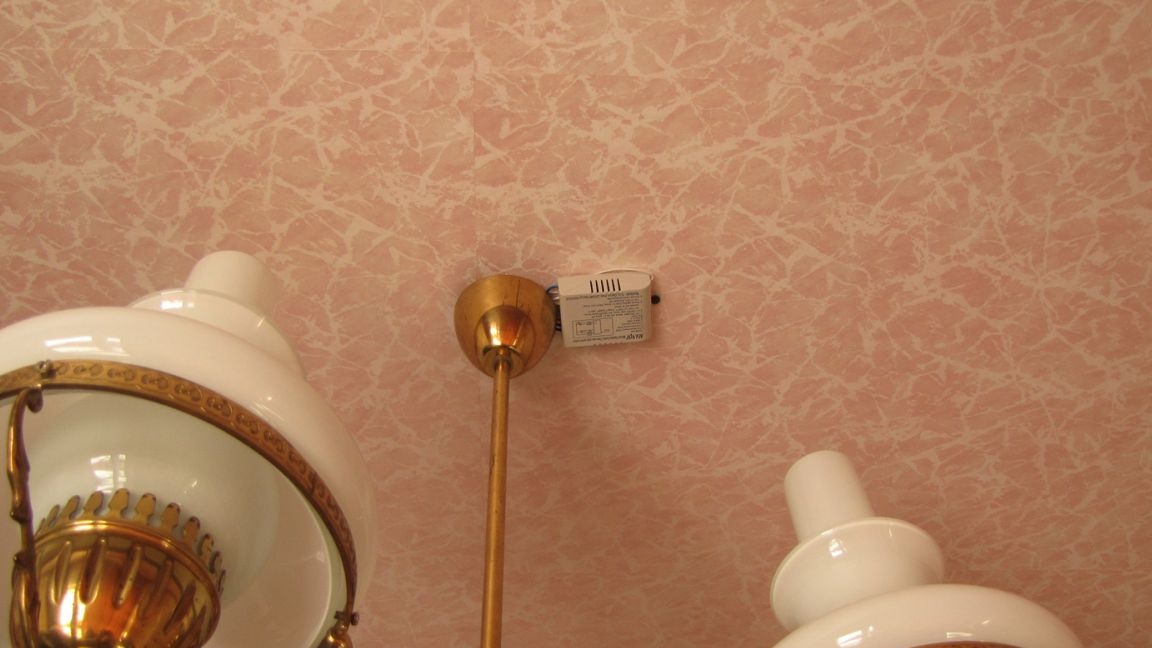
The relay unit had to be fixed to the ceiling; it did not fit inside the chandelier. But you need to try to make it less noticeable. If it is glued with the same wallpaper, then it will practically not be visible where it is located.
The chandelier is solemnly put into operation.
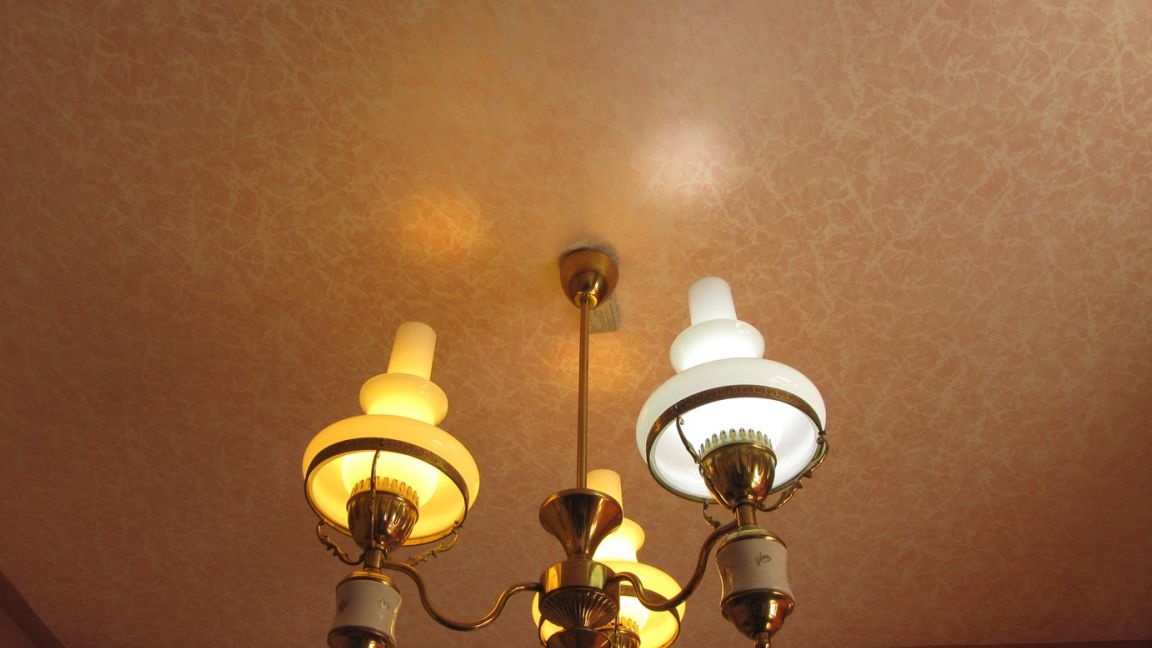
Ease of use has increased significantly. Now you can use the remote control. Turn any bulbs in the chandelier on and off in any combination or all at once and the switch remains in place, it can also be used. Only after turning off the chandelier with the switch, the remote control no longer works. In this case, when you turn on the switch again, one light (the first one) immediately turns on.
Watch the video how well the chandelier works from the control panel.
Good luck in all your affairs.