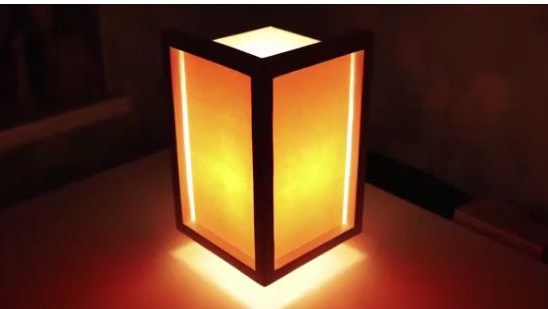
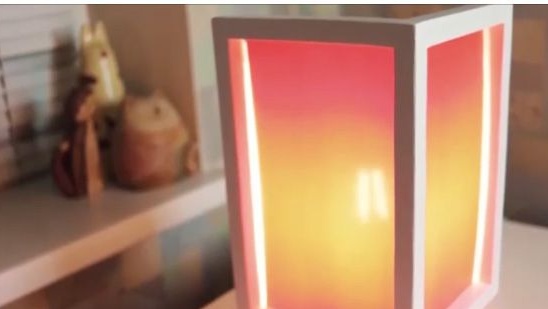
Hi the inhabitants of our site! In this article I will show you how to make a beautiful nightlight with the effect of soaring in the air. Such a lamp is very simple and the assembly does not contain expensive or scarce materials.
This night lamp will be able to decorate absolutely any room in any house, and for sure your friends, relatives and friends will like it.
To build a soaring nightlight, we need:
1- Jigsaw or hacksaw for wood.
2- Drill or screwdriver with drills.
3- Hot glue gun.
4- Glue on wood.
5- Brush and white paint on wood.
6- Sandpaper.
7- Scissors.
8- Wooden rail 1.5 x 1.5 cm. Approximately 210 cm long.
9- Wooden rail 3 x 3 cm. Approximately 60 cm long.
10- LED or fluorescent lamp, with a cartridge.
11- Power cord with plug and switch.
12- A4 white paper.
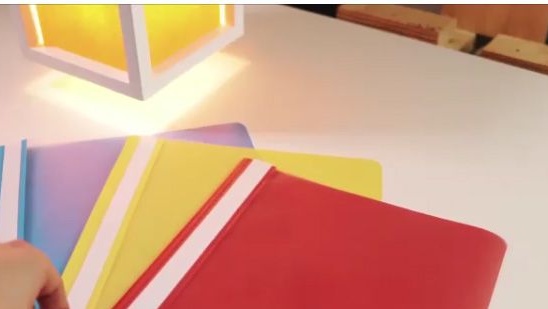
13- Colored transparent plastic - can be taken from a plastic folder for documents.
Making a soaring nightlight.
1- For starters, we should cut the following workpieces from wooden slats. 1.5 x 1.5 cm x 13 cm - 8 pieces; 1.5 x 1.5 cm x 25 cm - 3 pieces; 1.5 x 1.5 cm x 23 cm - 1 piece; 3 x 3 cm x 12 cm - 4 pieces.
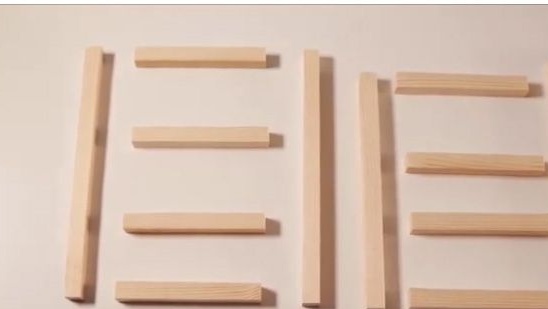
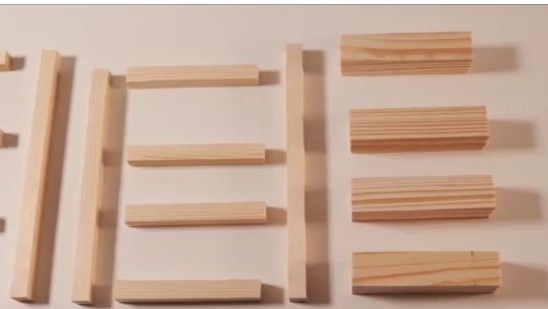
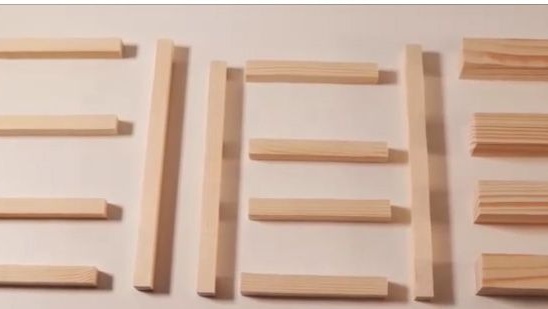
2- We glue two pieces of 25 cm long with two pieces of 13 cm long. Hold the structure for 3-5 minutes until the glue securely grasps the parts. You can use a hairdryer to speed up the process.
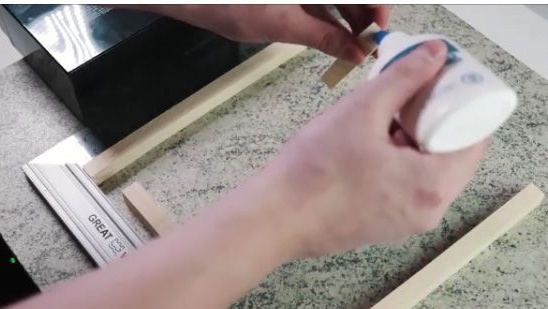
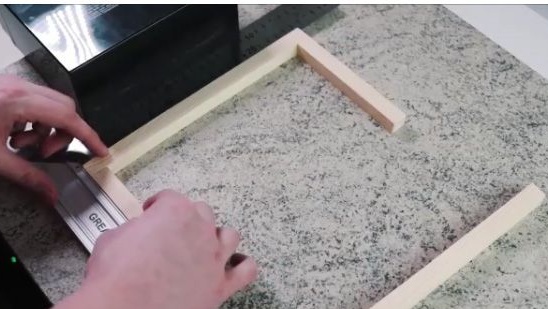
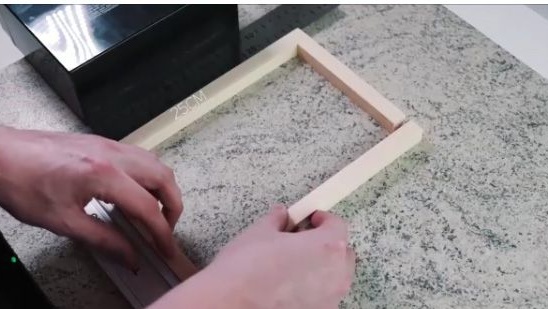
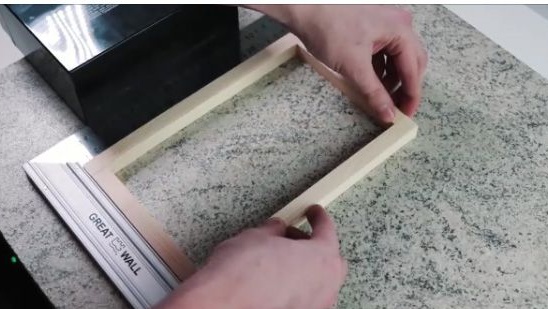
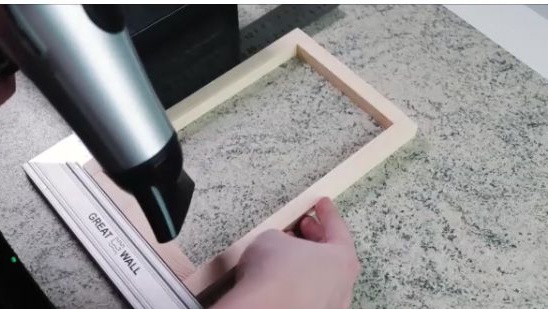
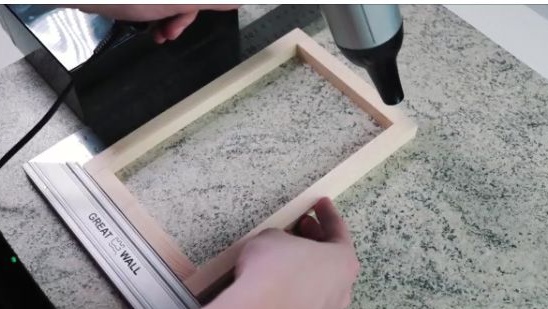
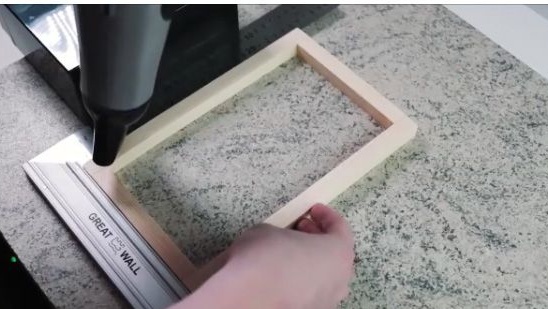
3- After which we glue the segments of 23 cm and 25 cm long with two 13 cm pieces.
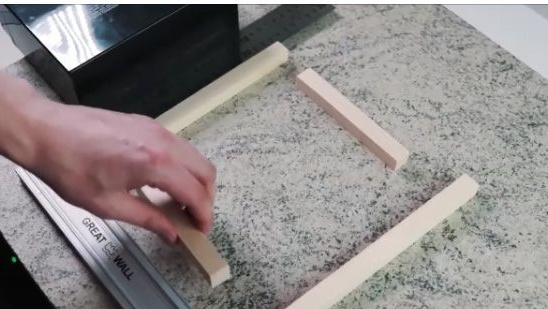
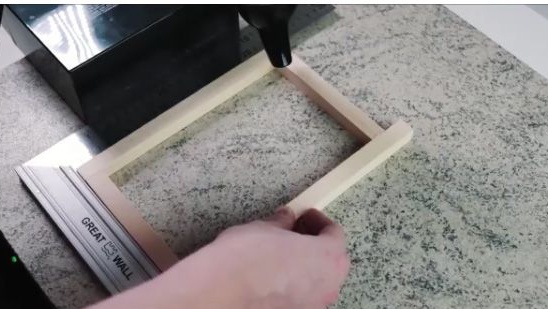
4- Then we glue four parts of 12 cm together. This will be the base of the night light. To make the connection stronger, we will use a clamp.
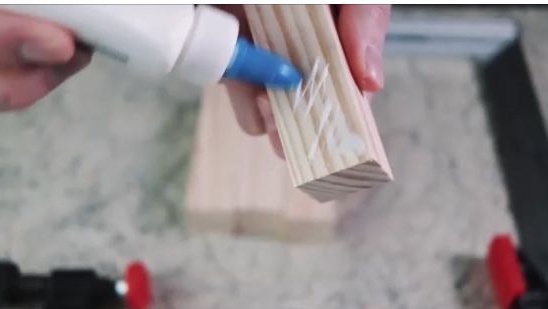
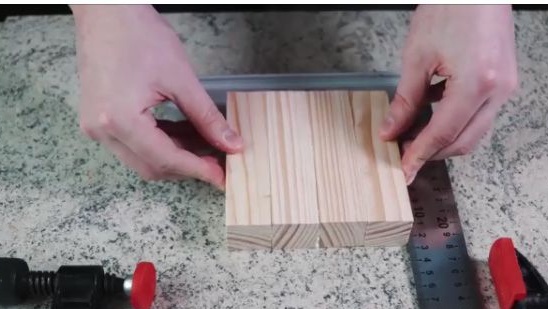
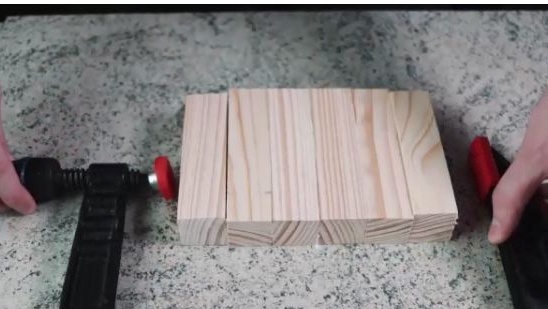
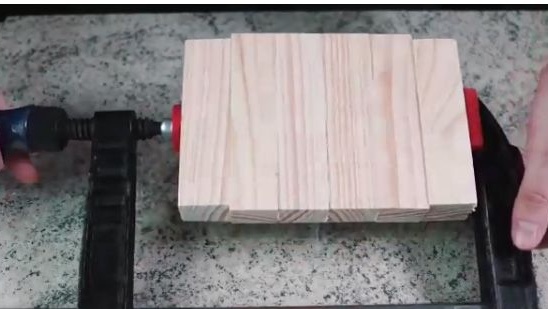
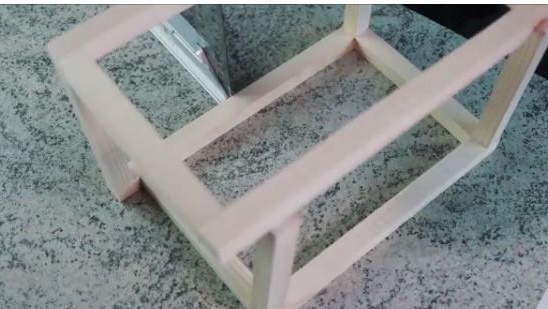
5- Glue the frames together with four 13 cm pieces. You should get a kind of cube, with two high sides. After gluing, it is advisable to load the entire structure with a clamp or weights and leave to dry for 24 hours.
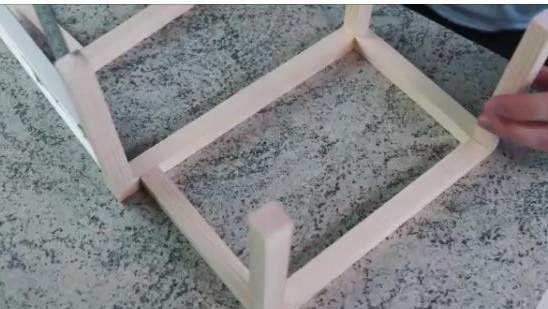
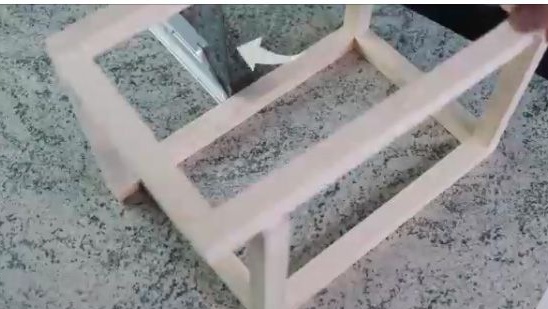
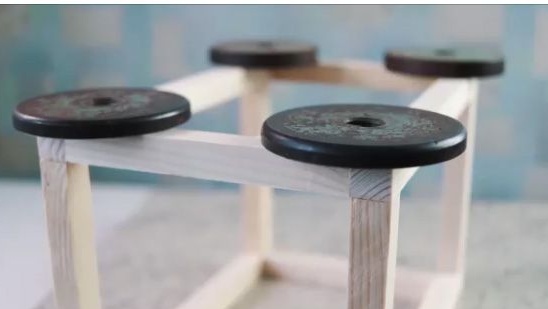
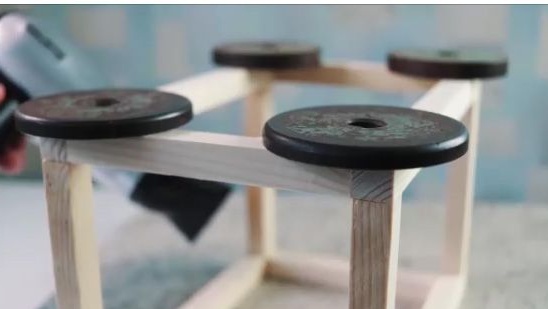
6- Then we drill a hole for the power wire.
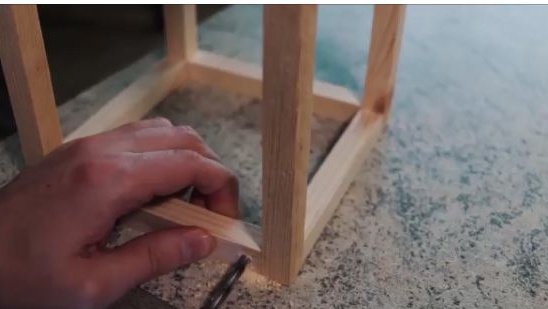
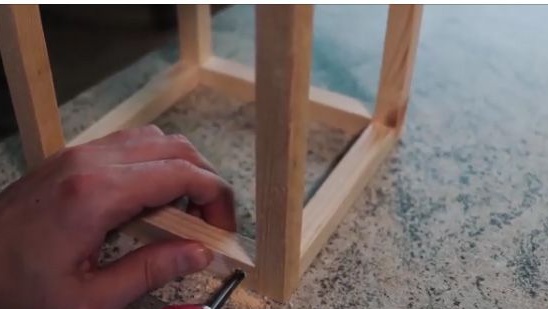
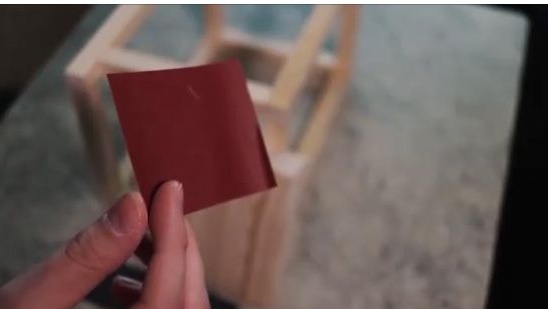
7- We clean all the irregularities, and the burrs with fine-grained emery paper will allow us to bring the design into a more pleasant appearance.
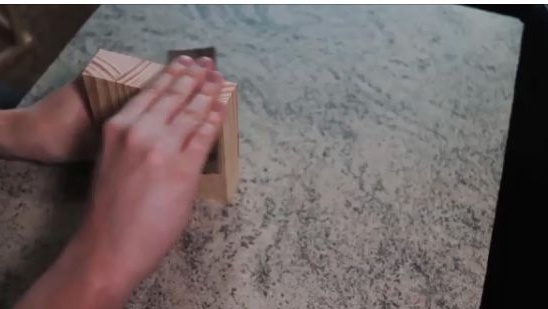
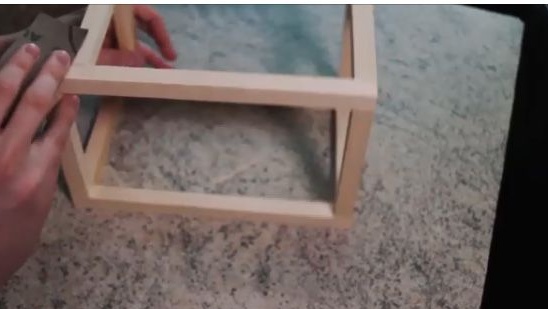
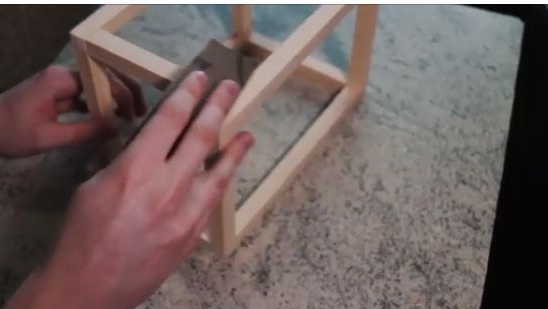
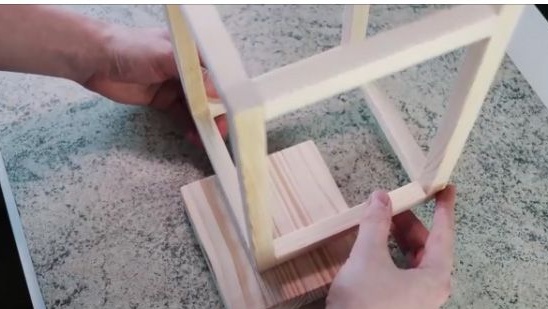
8- Mark the stand, on which we will stick the cube. This is where the whole design focus lies: the main part will be shifted relative to the stand. And when the lamp shines, the small base will be almost imperceptible, resulting in an interesting effect of the lamp hanging in the air at a certain distance from the plane.
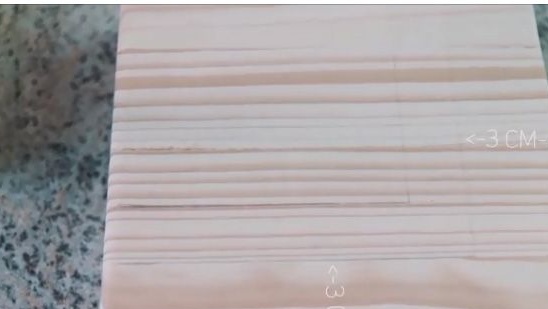
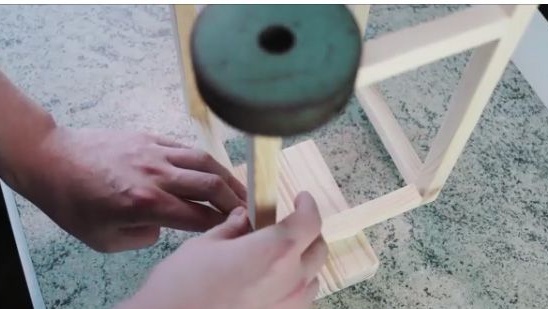
9- Next, we should glue the two blanks just made, as this is shown in the photo below. You should also use a “press” for stronger bonding, and a hair dryer to speed up the drying process.
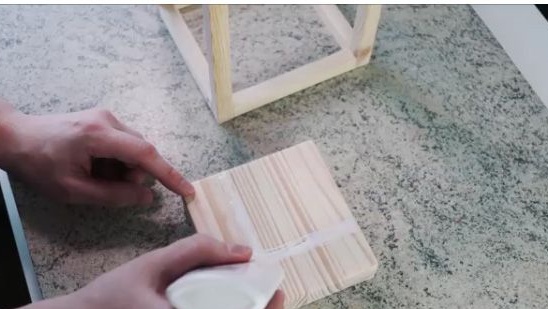
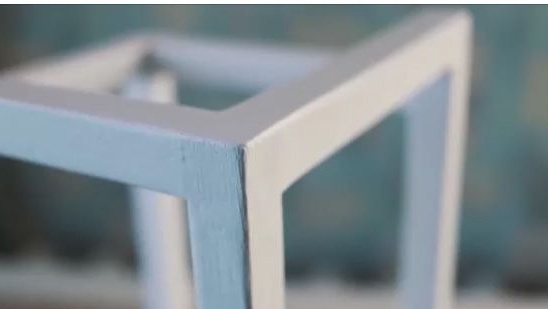
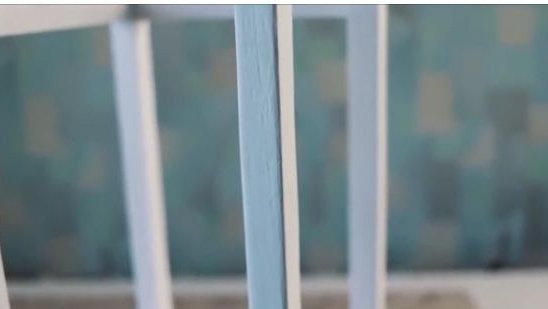
10- Wood is of course very good material, but not very durable.To increase the life of the night lamp, it should be varnished or painted. The author decided to paint the structure with white paint.
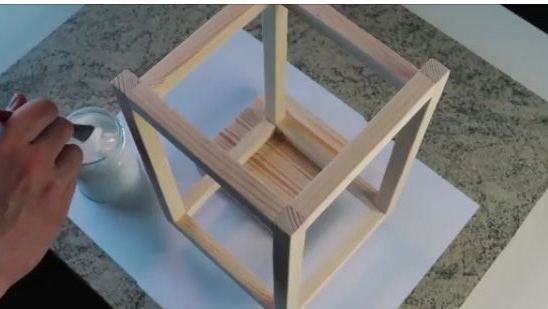
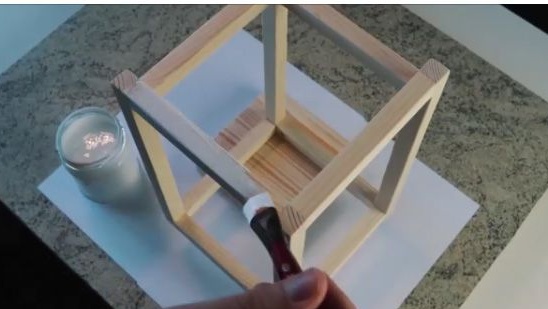
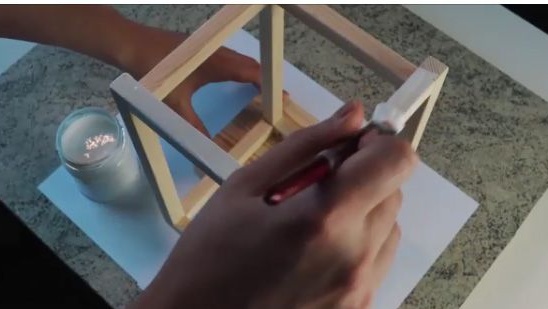
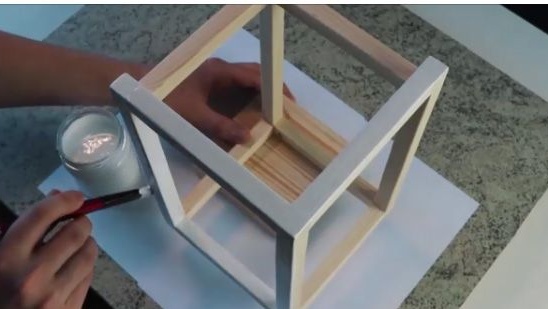
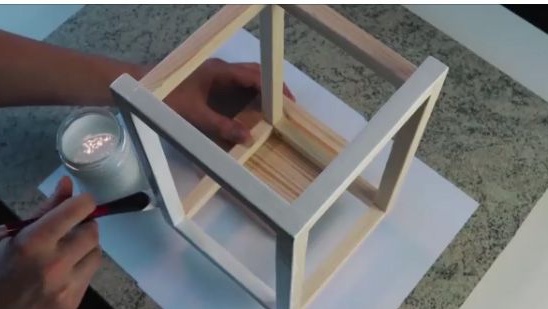
11- Insert the wire through a pre-made hole.
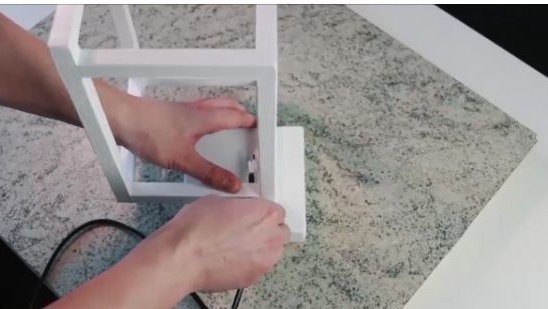
12- And connect the wire to the cartridge.
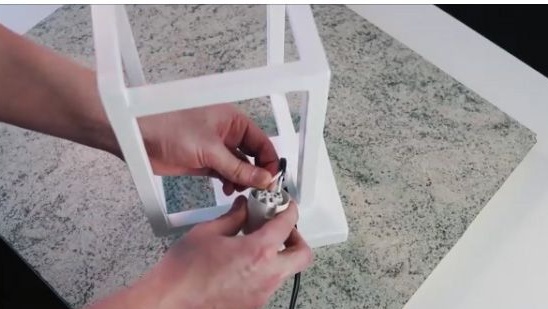
13- In order that the wire does not come off the cartridge, it should be glued to the term with glue in the place where it is inserted through the wooden structure.
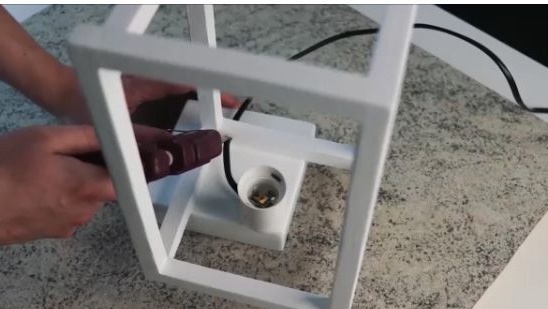
14- Also in the indicated place we glue the cartridge to the wooden structure.
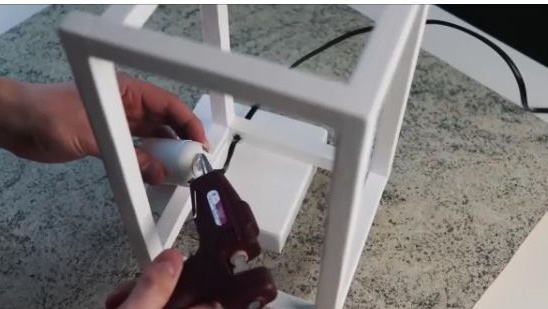
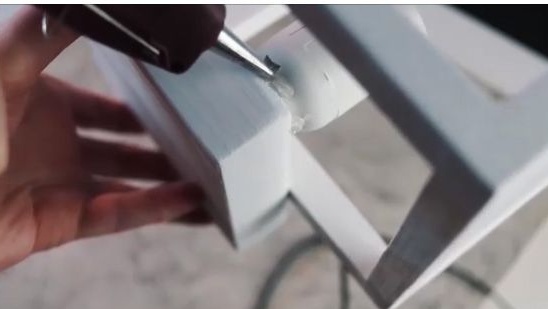
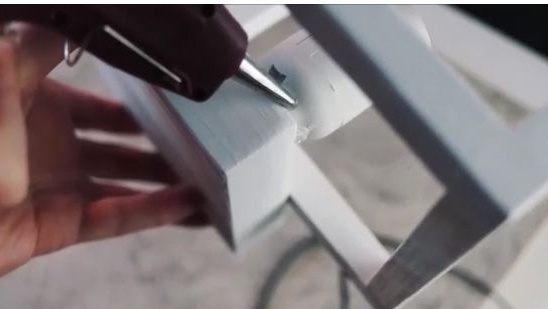
15- Next, cut out two similar rectangles from the folders.
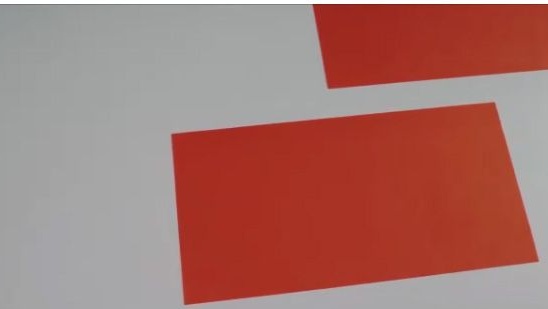
16- Glue the two rectangles just made. Glue the boom using double tape.
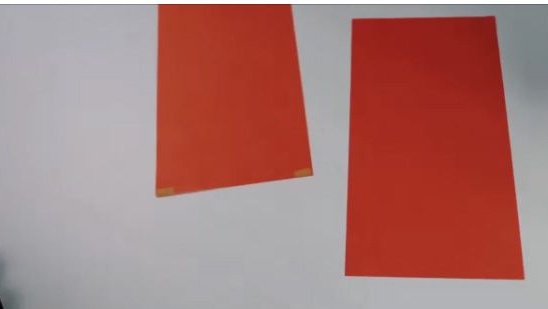
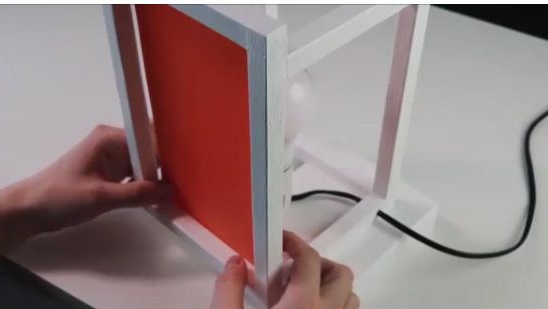
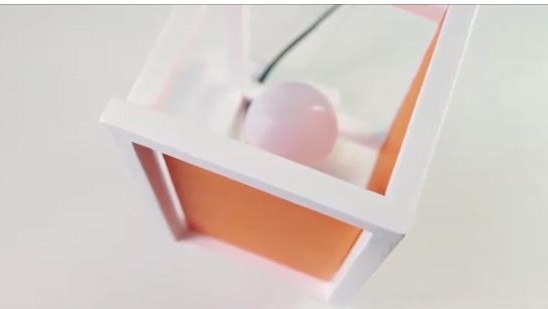
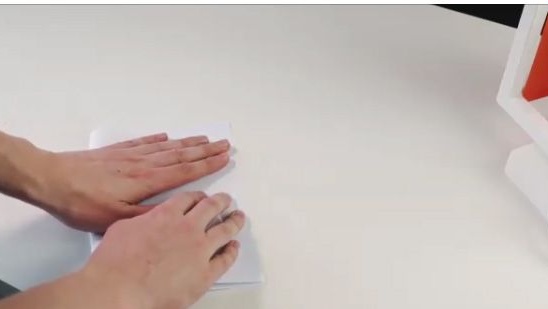
17- Glue plain paper on the other two sides.
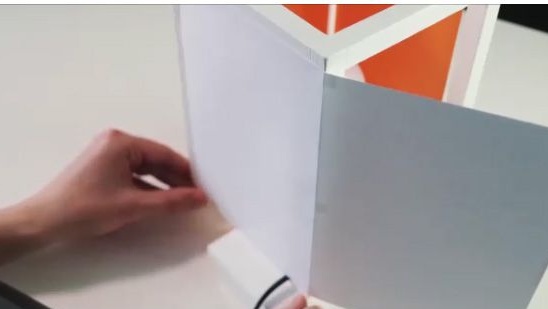
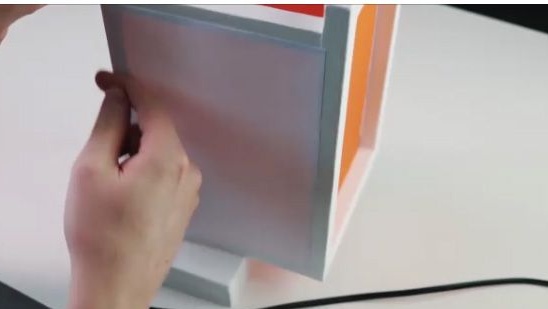
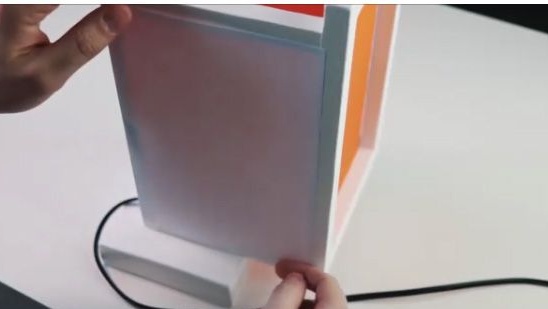
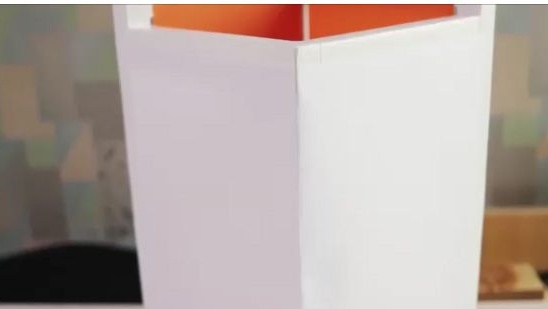
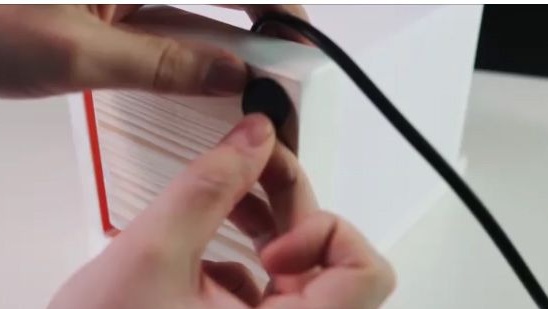
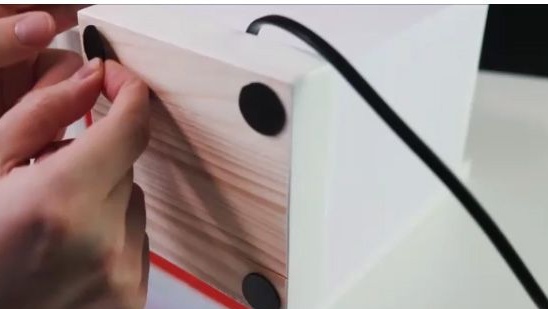
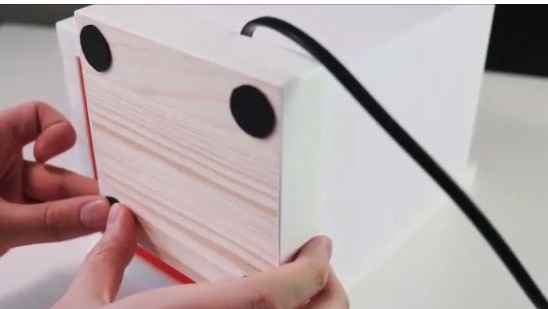
18- After which, in order to prevent the lamp from spoiling the surface on which it stands, rubber feet should be glued. Rubber legs can be bought on the Internet or just use thick double adhesive tape.
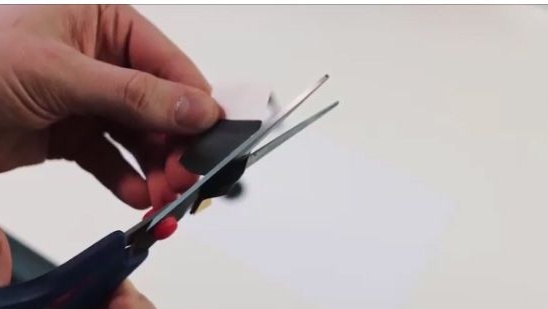
19- Done.
Conclusion:
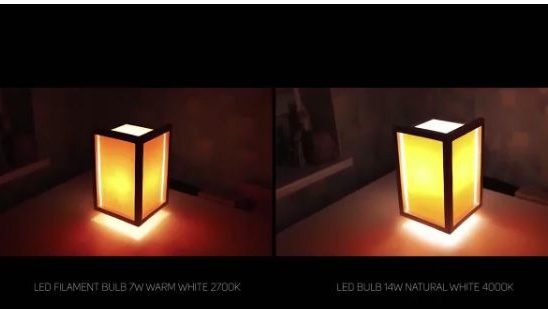
As a result, we got a very beautiful nightlight that will fit into any interior of any room. It can be presented to your friends and relatives.
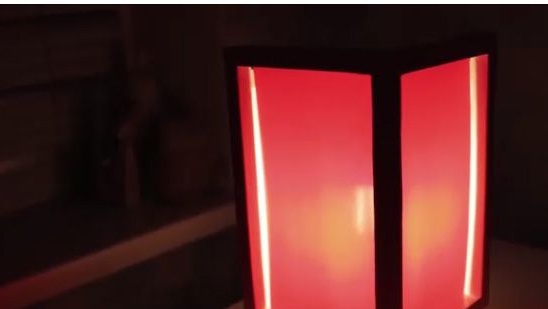

You can also use folders of different colors and can be milked in different shades. But it is better to use a colored LED lamp.
.
.
Well, that’s all, thanks for your attention. I hope this article was useful for you. And also you have a wonderful opportunity to watch the video assembly of this homemade product.
