
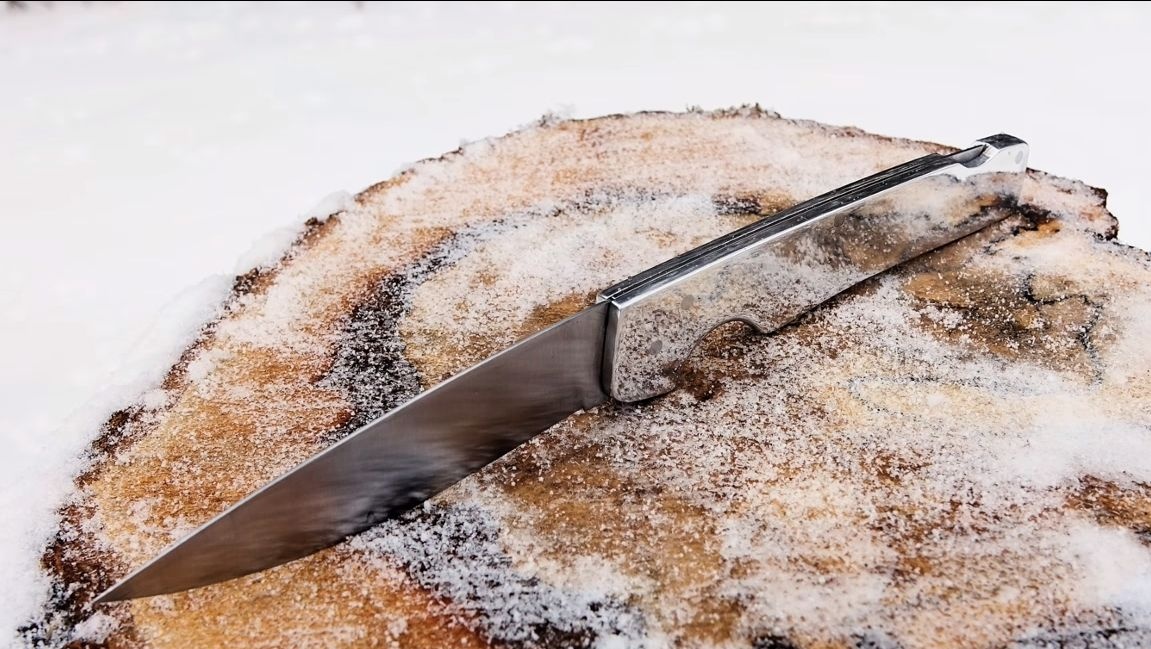
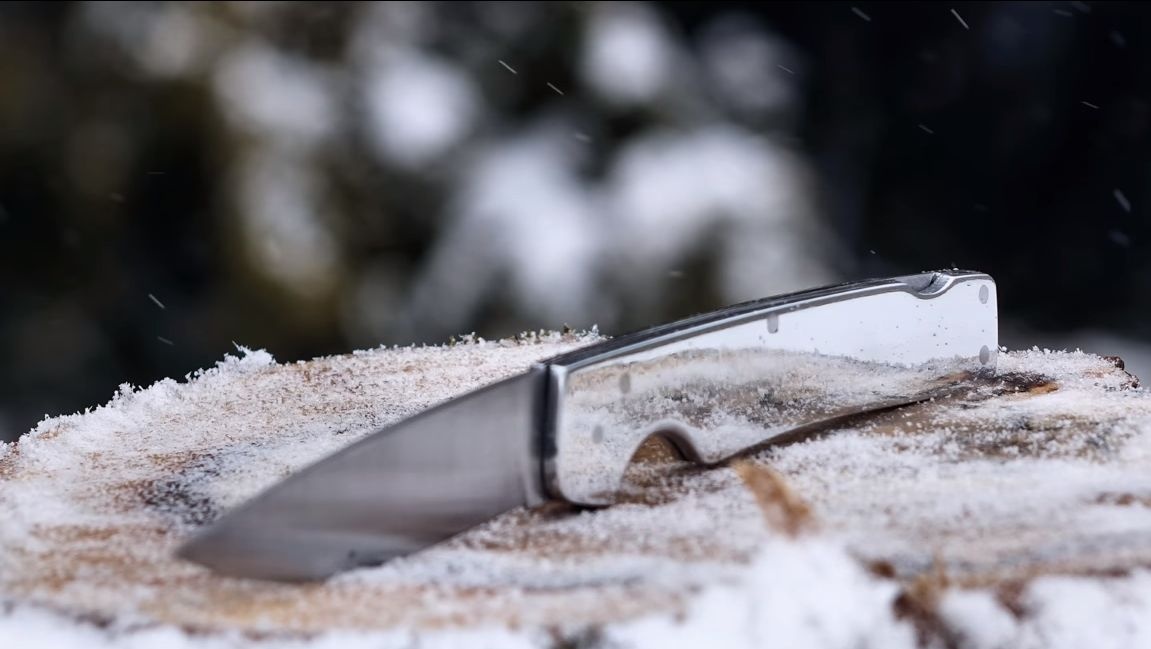
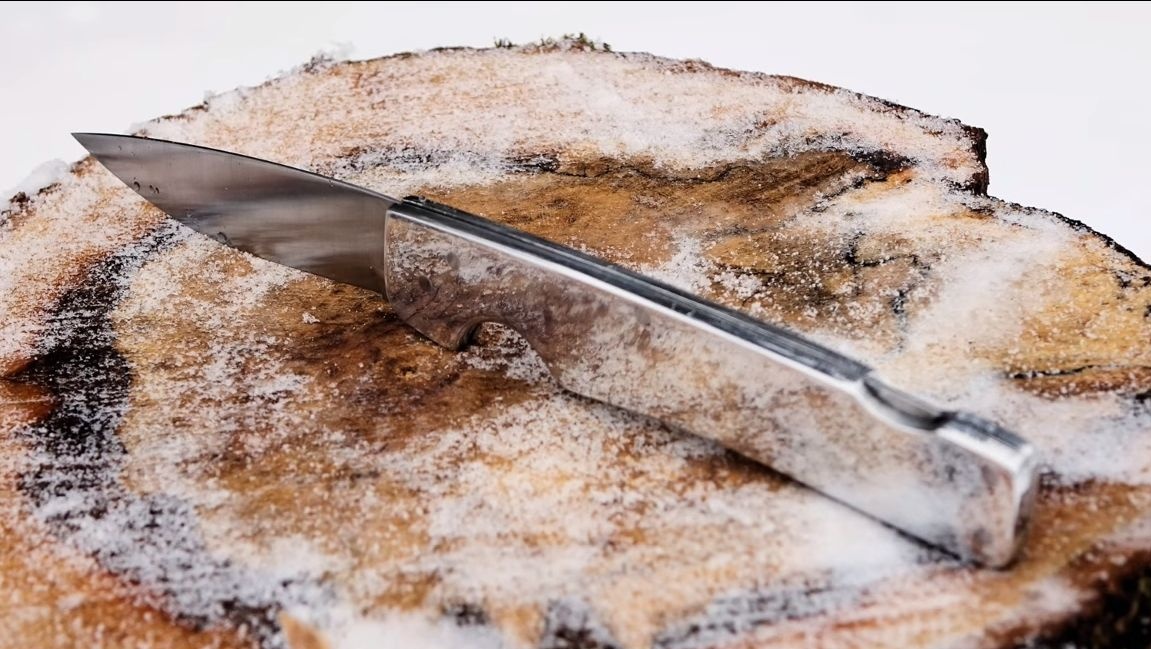
I present for consideration a high-quality, in my opinion, folding knife. It is made with simple tools, the most used of which is the grinder. With it, the author cuts out all the necessary workpieces. As for the final revision, files will be needed here, as well as clamps and a vice. The knife turned out to be lightweight, convenient, stylish, sturdy, and made with all this at the same time.
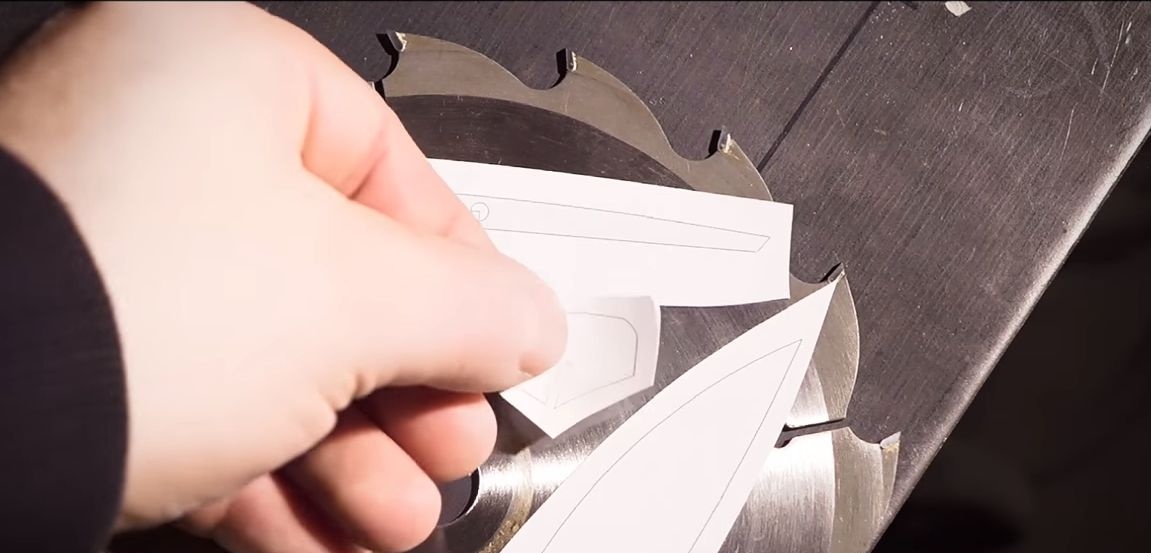
A cutting disc was used as the starting material for the manufacture of the blade, but you can also use other sources. Correct steel for knives contains a high amount of carbon, which allows it to be hardened. Typically, such steel is used in tools, it also has spring properties. As for the locking lever of the springs, they are also made of a cutting disc.
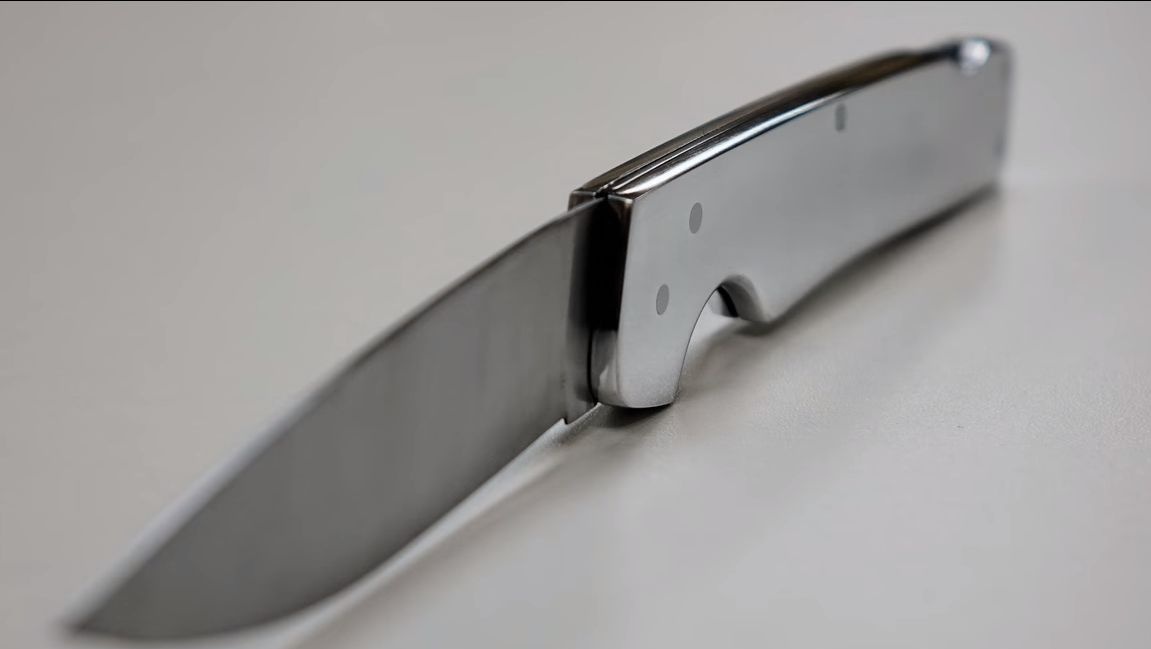
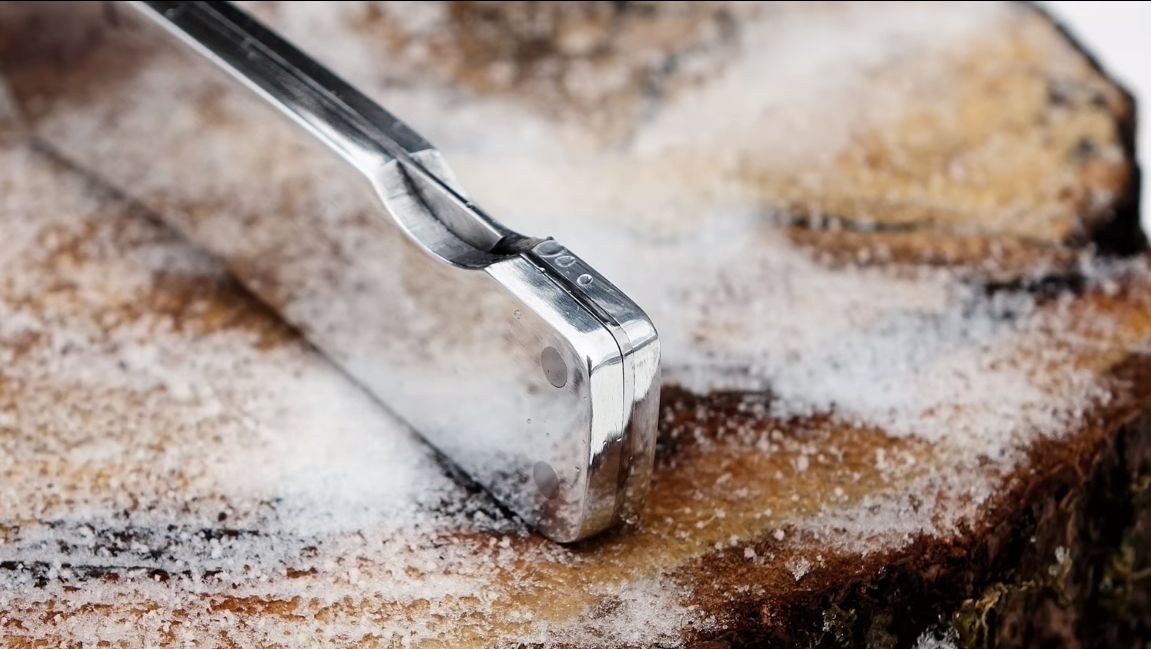
The handle is made of sheet aluminum, made simply, because this material is quite soft. The blade went through hardening, so it should hold the sharpening for a long time. So, we will consider in more detail how to make such a knife!
Materials and tools used by the author:
Material List:
- saw blade (or other source of tool steel);
- sheet aluminum (for the handle);
- nails (of which the author made rivet pins).
Tool List:
- ;
-
- jigsaw;
- files;
- hammer;
- sandpaper;
- blacksmith furnace and oil (for hardening);
- Super glue;
- drawing accessories for the manufacture of the template.
The process of making a knife:
Step one. Cut the blanks
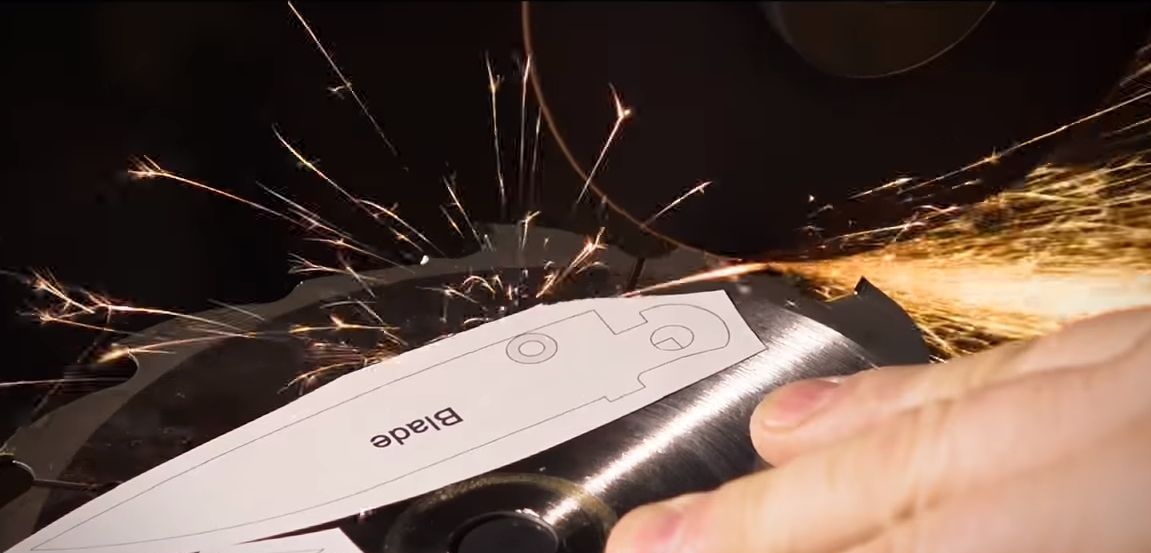
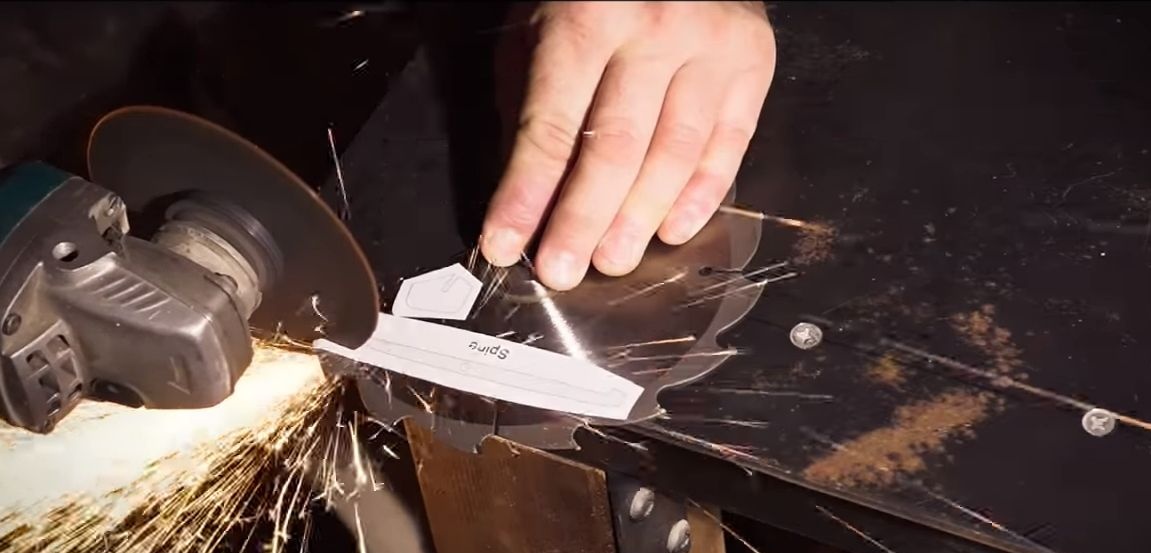
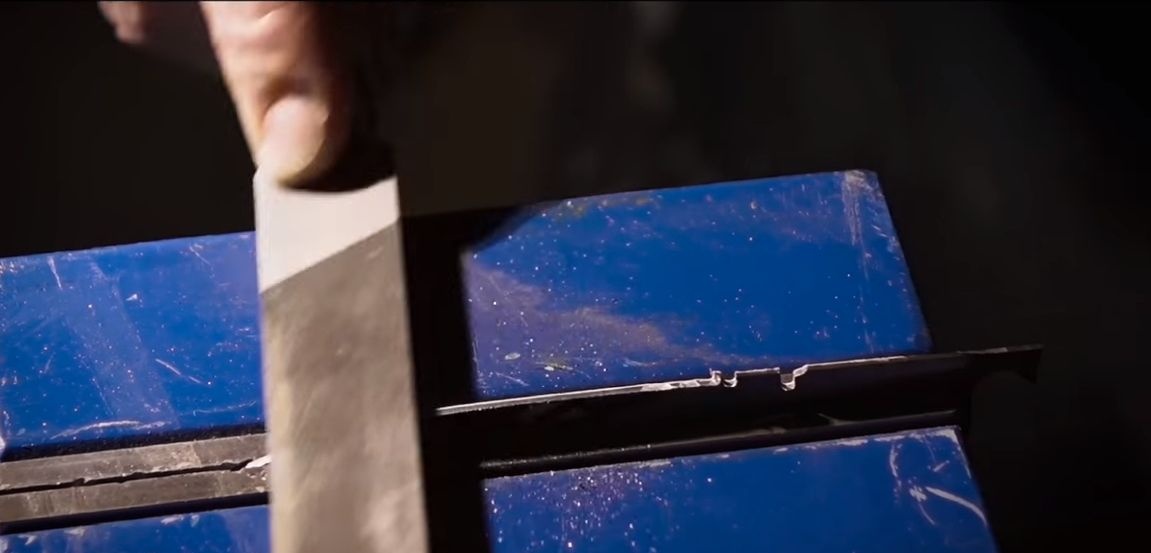
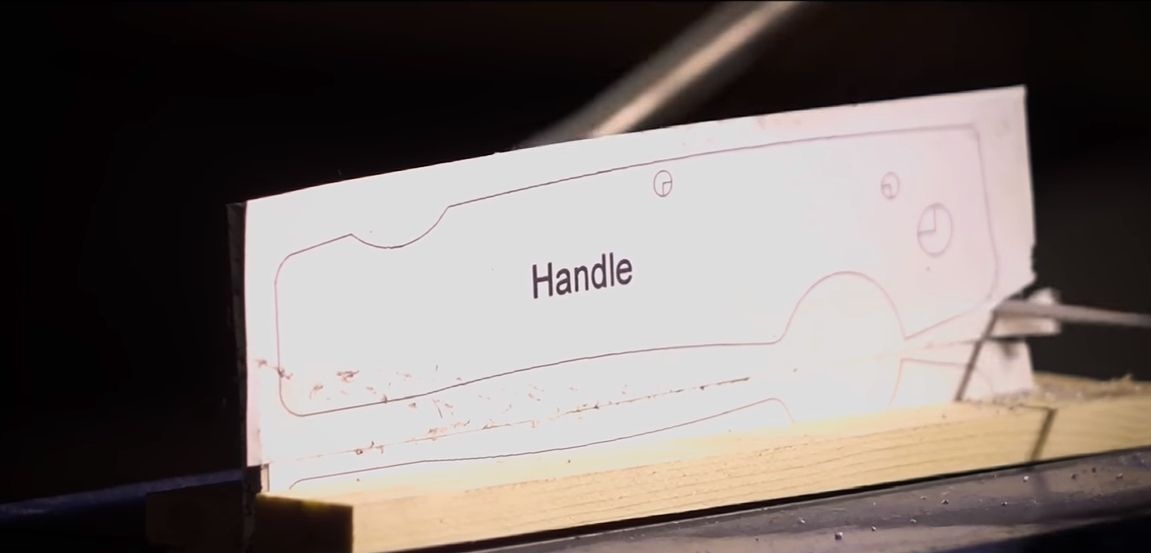
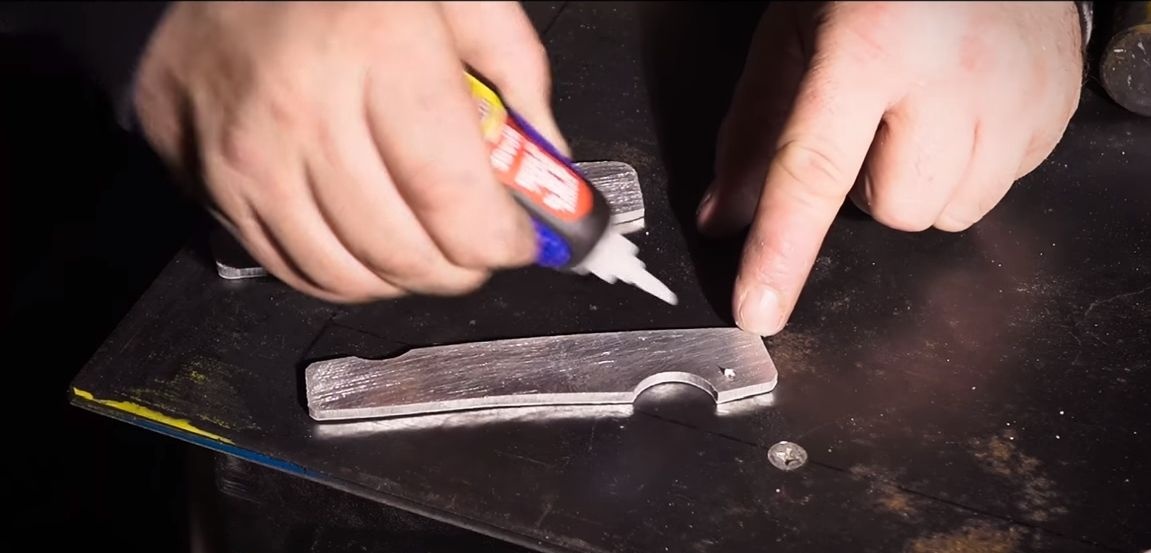
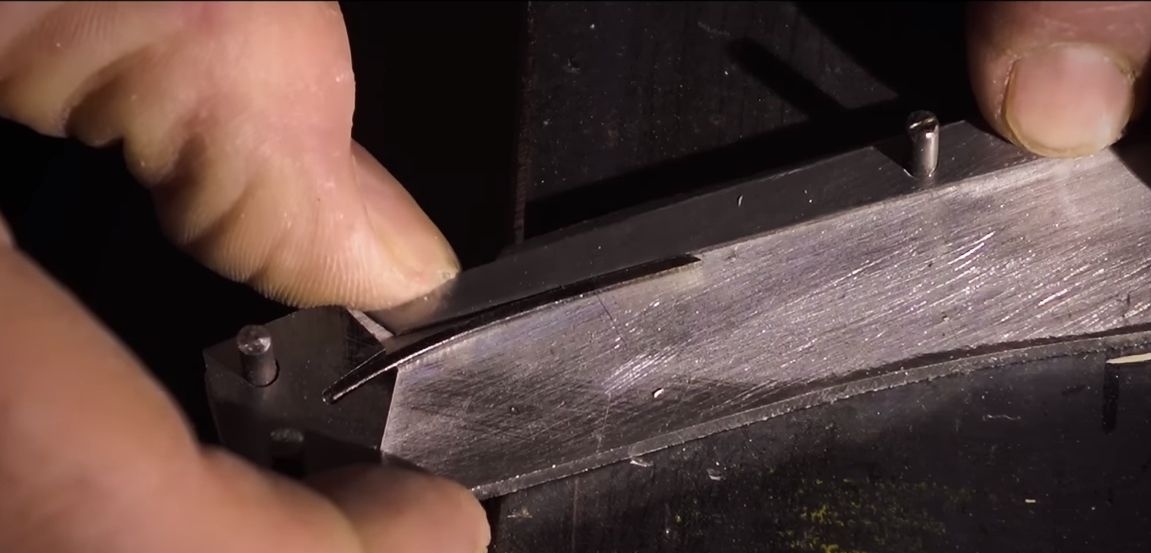
The first thing to do is to take the templates and stick them to the sheet steel, in our case it is a saw blade. Unfortunately, the author did not submit his draft knife so that it could be printed on a printer. But this is not a problem, you can find ready-made projects on the Internet or develop it yourself, there is nothing complicated in the structure of the knife. The author glues patterns with glue.
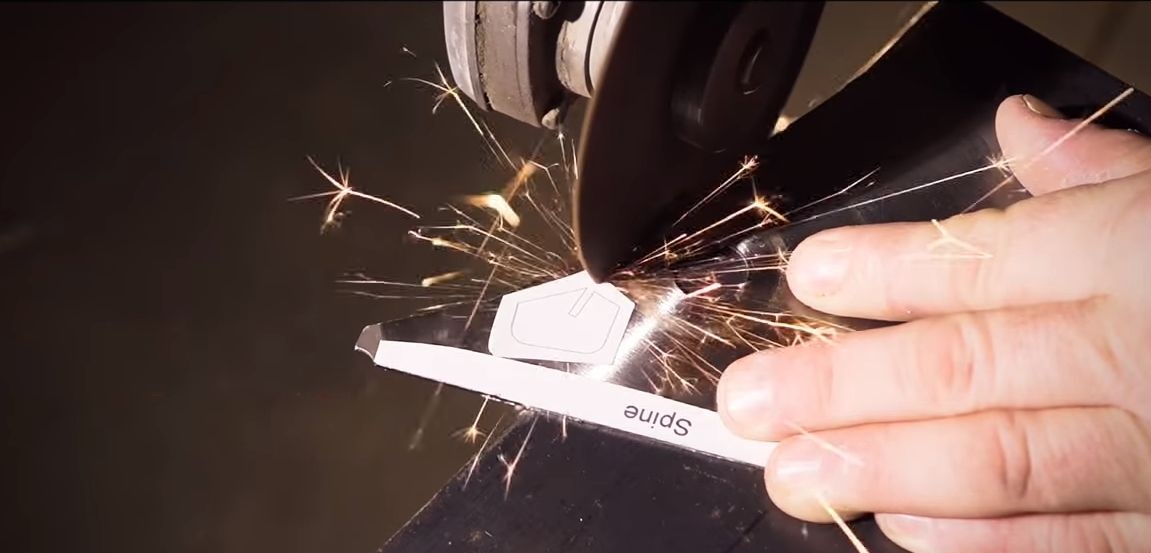
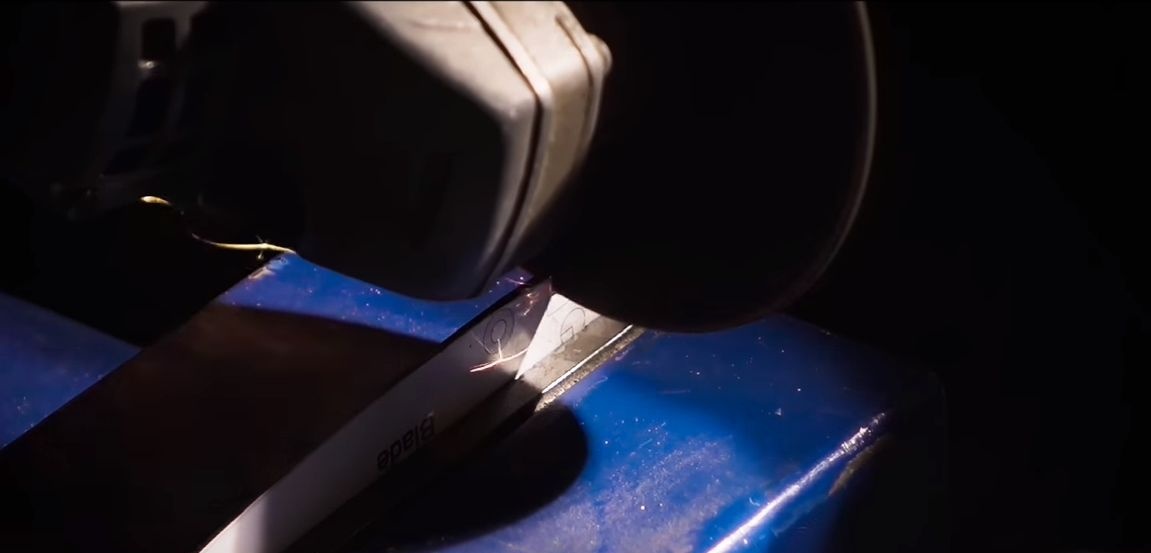
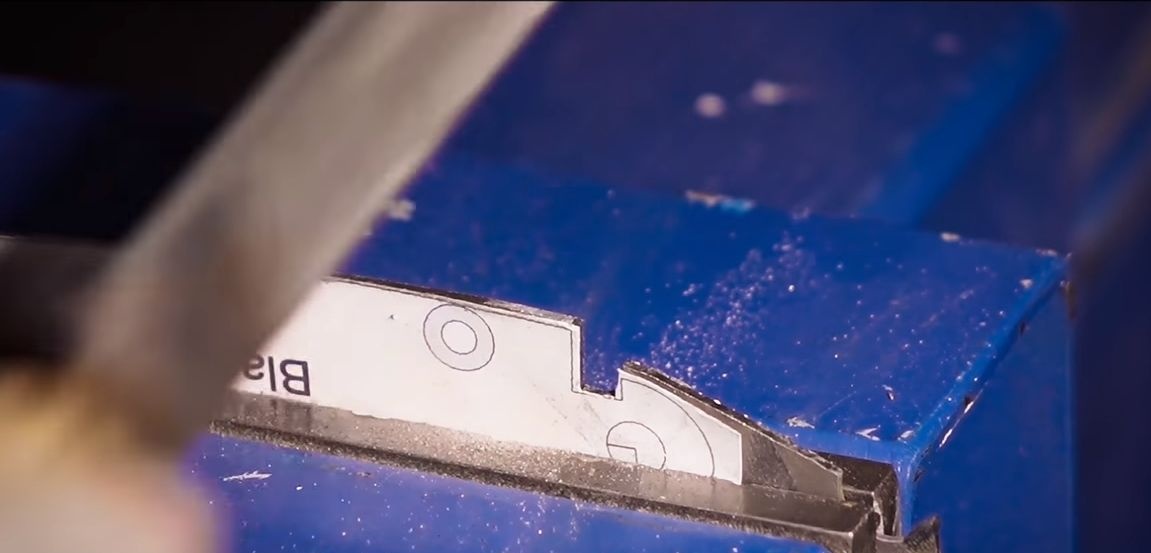
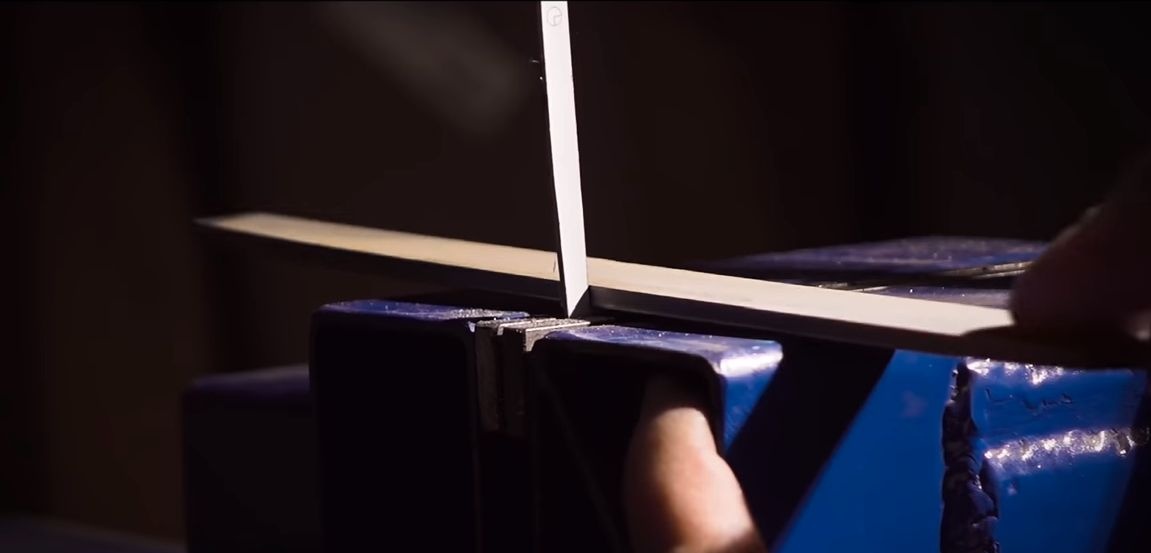
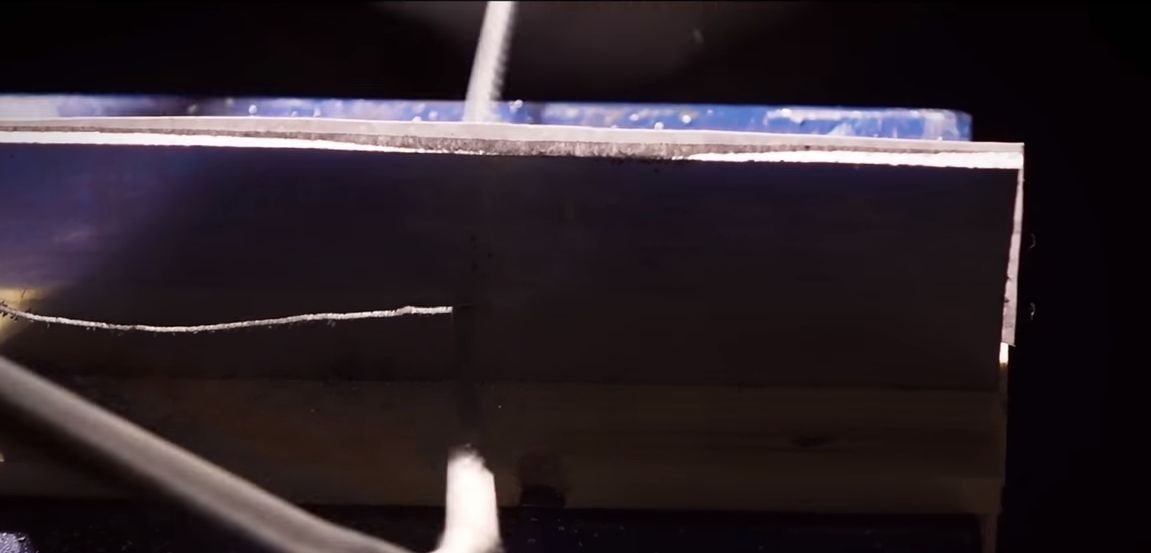
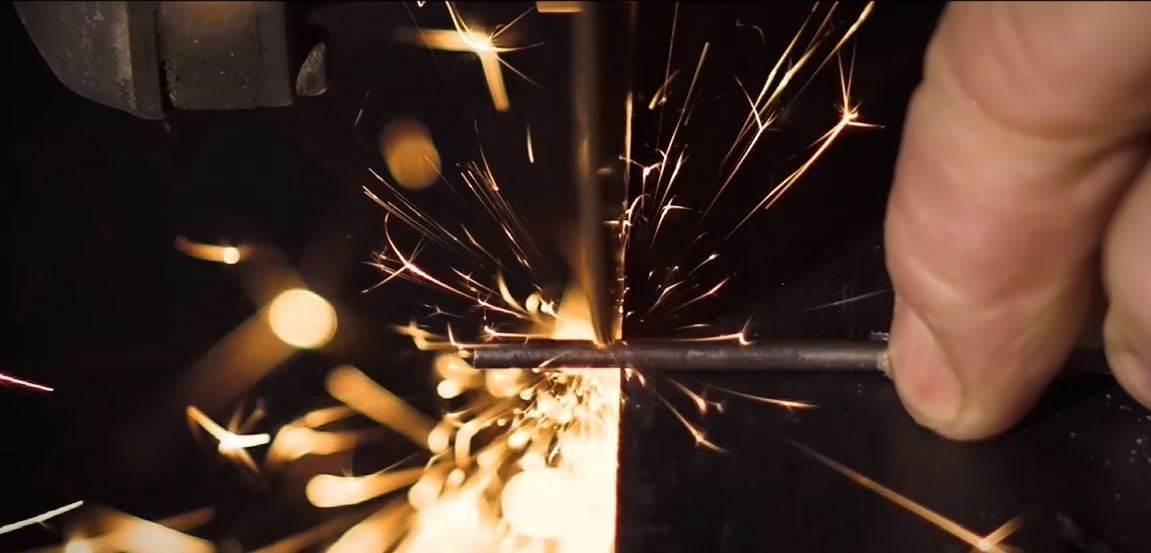
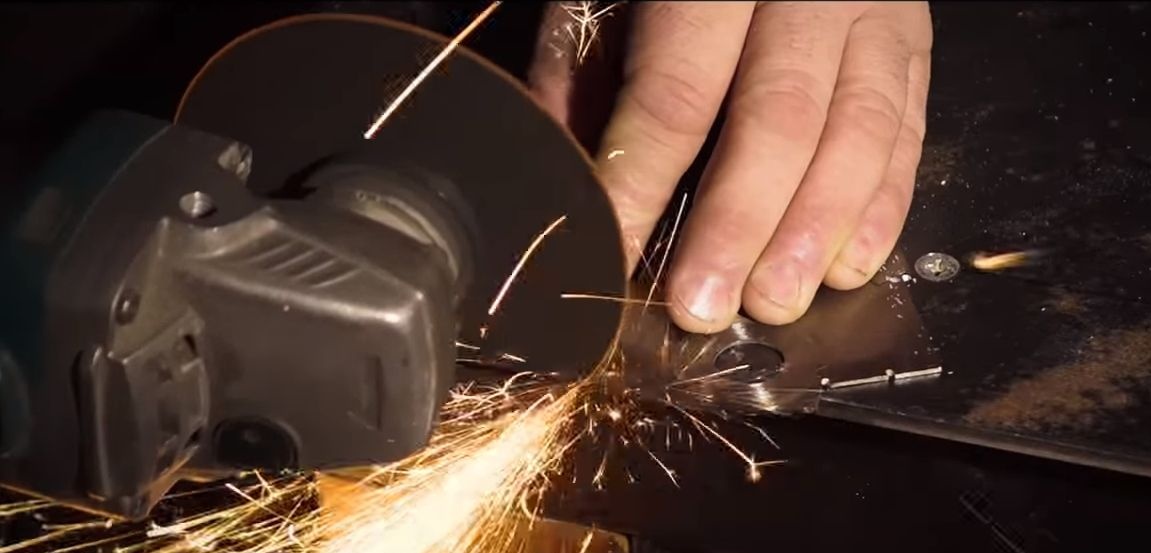
Well, then proceed to cutting, for this the author uses a grinder. We retreat some distance from the cutting line, so that later you can bring the profile to the ideal with the help of files.
In addition to the blade itself, you will need to cut out the locking lever, as well as an emphasis for the spring.
Step Two We work with hand tools
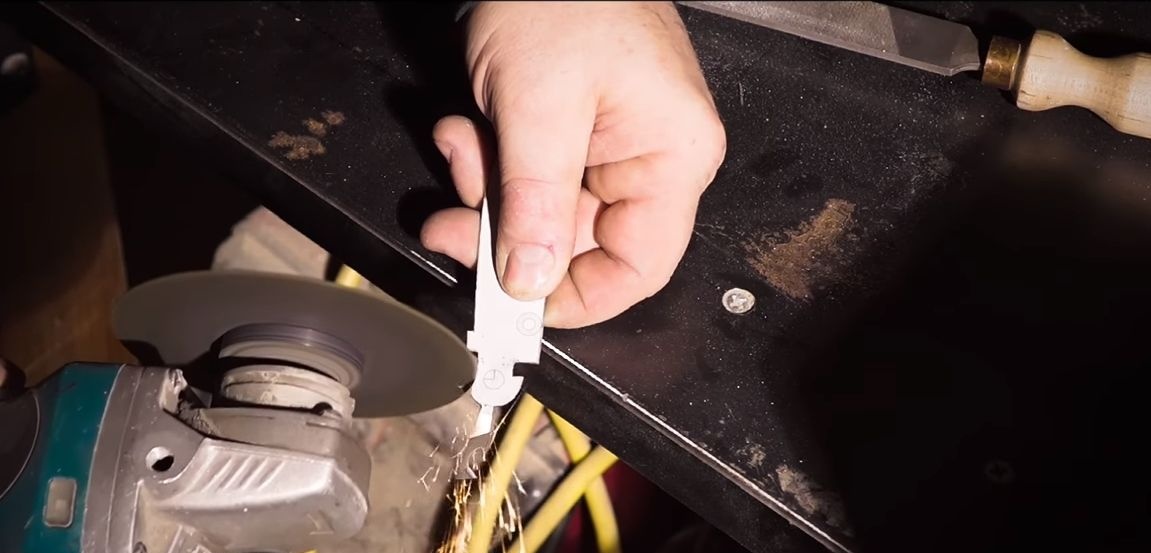
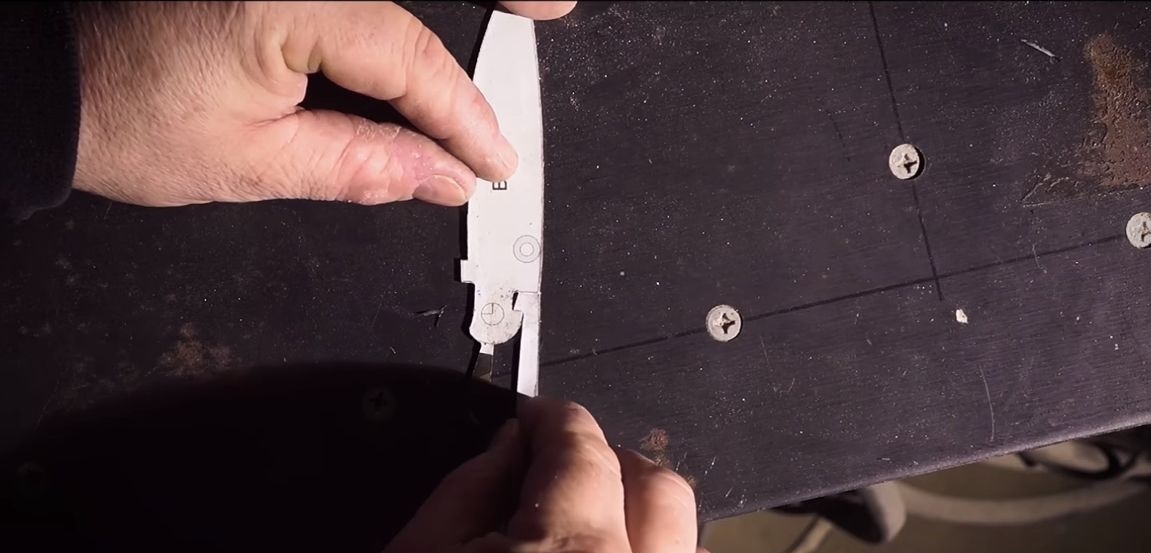
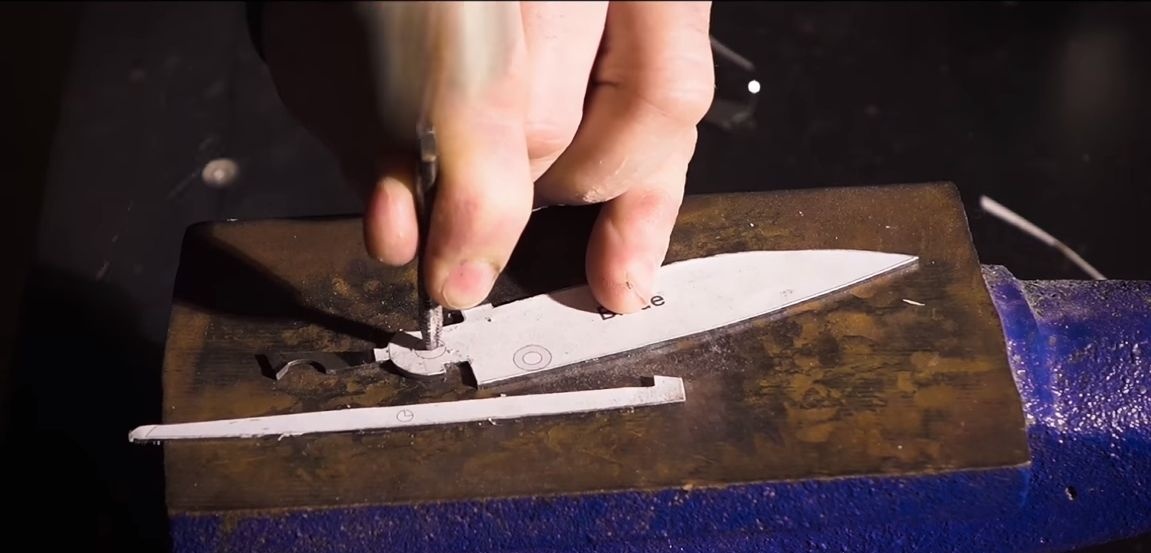
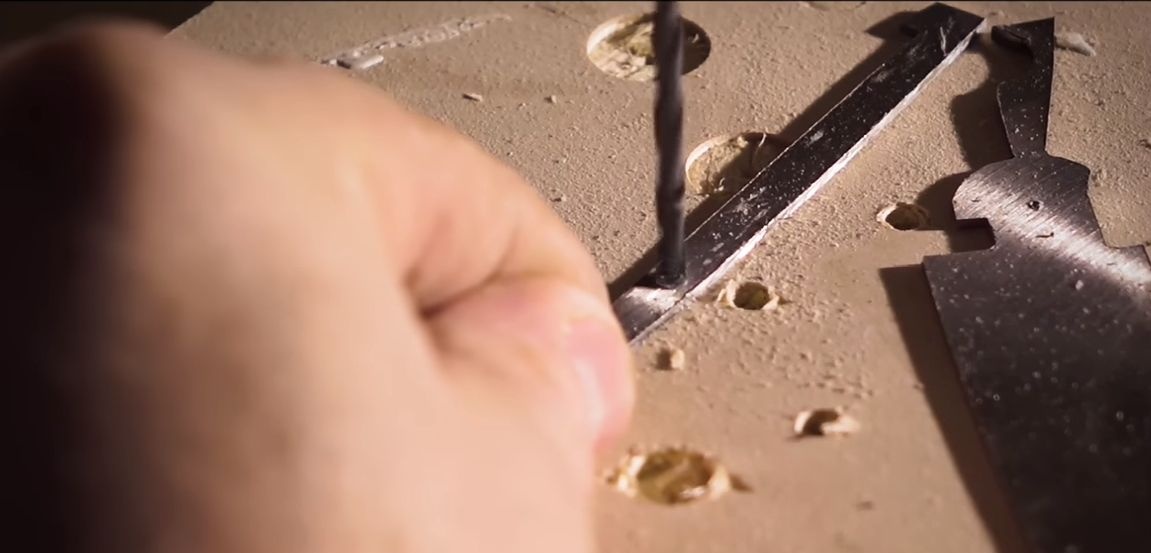
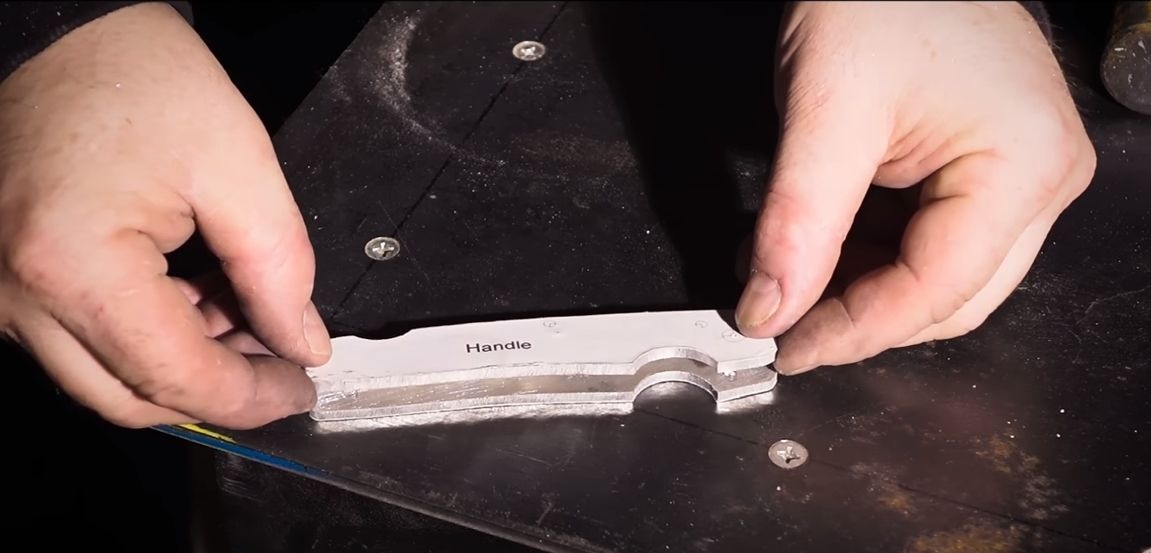
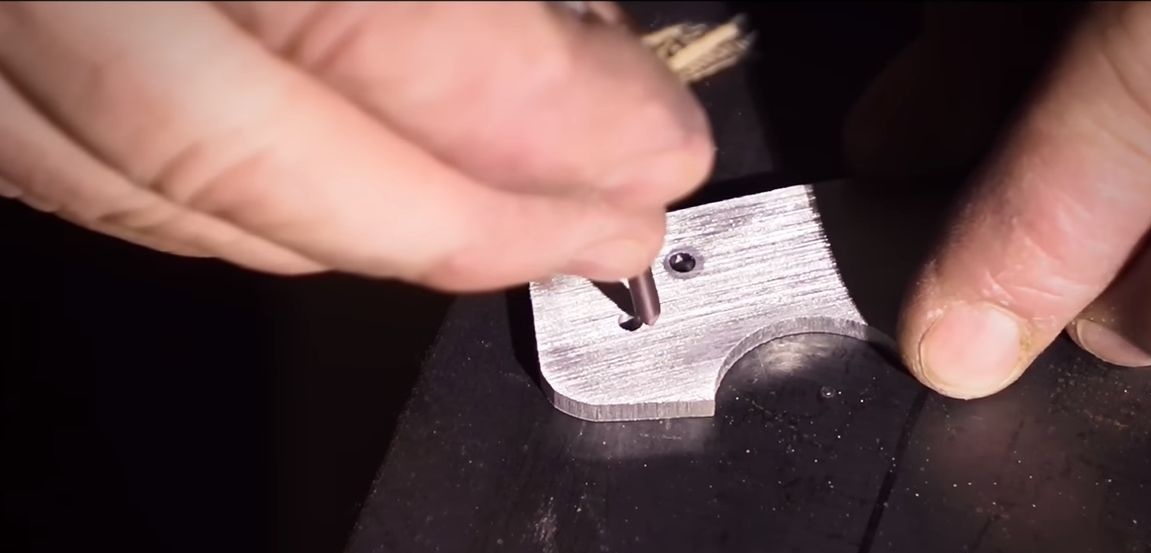
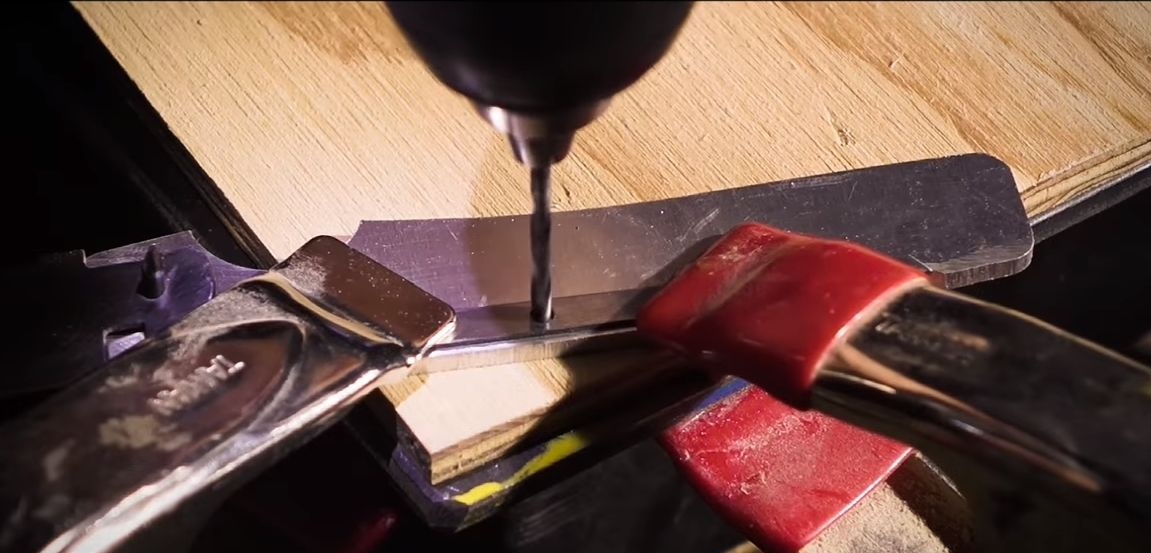
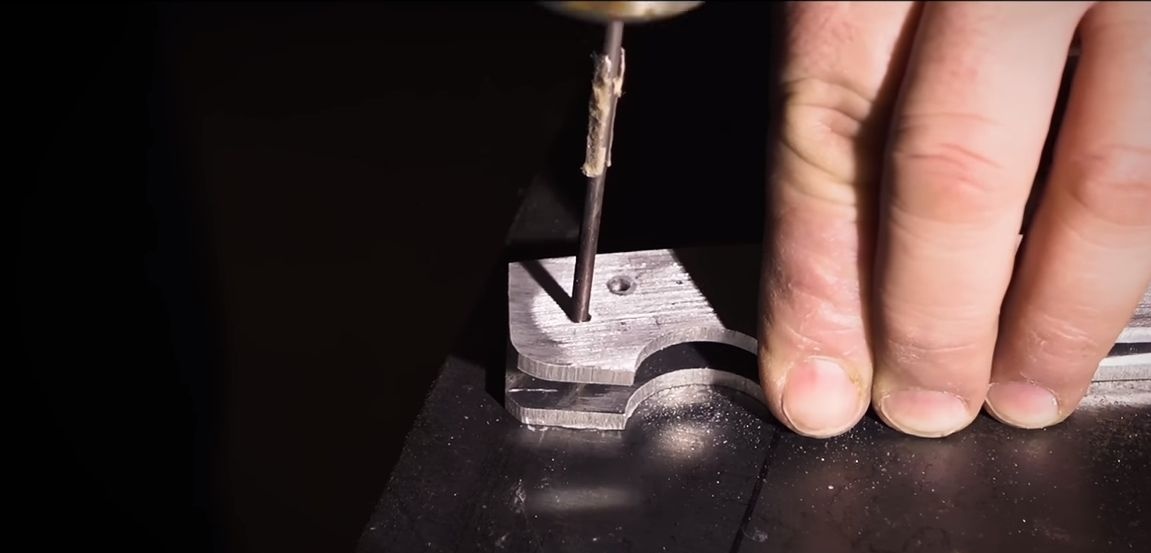
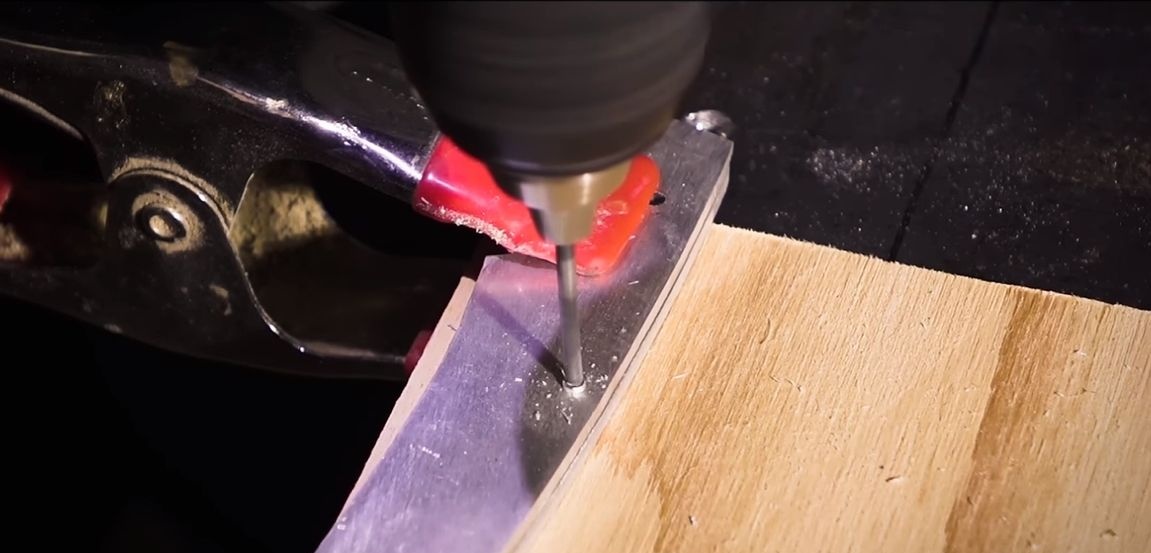
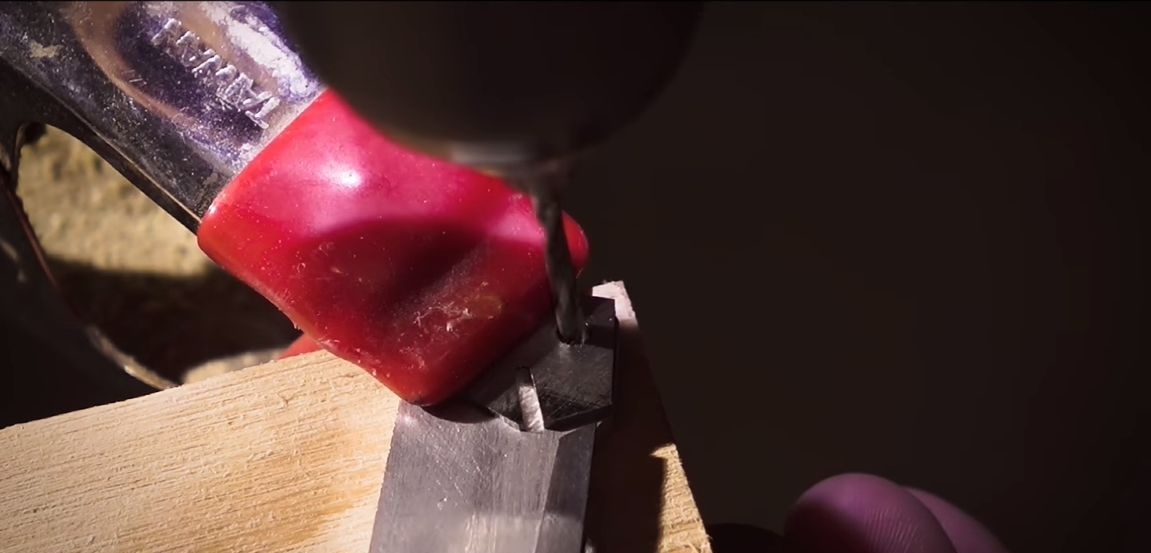
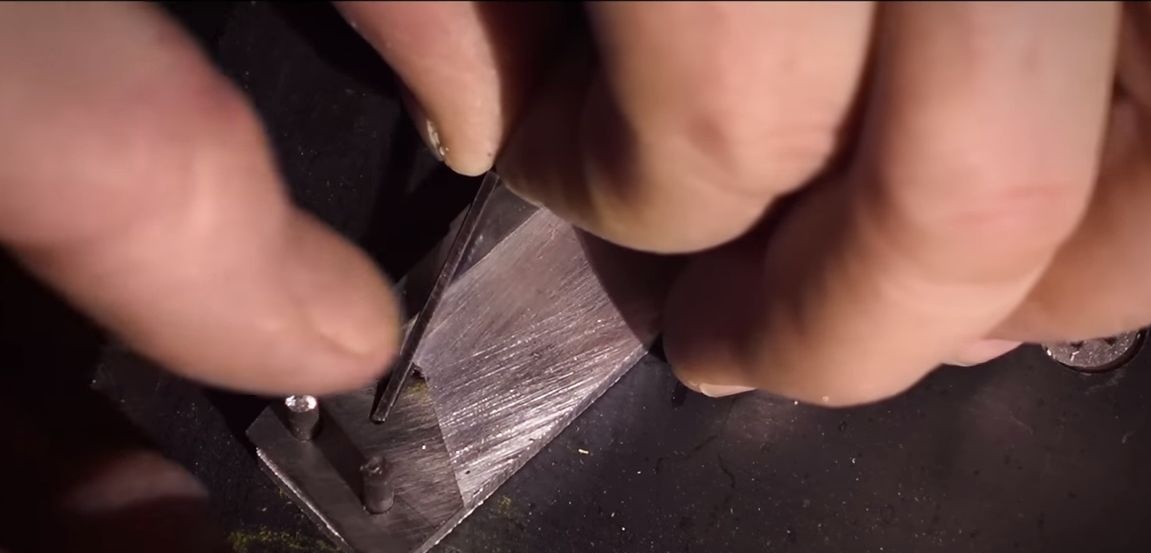
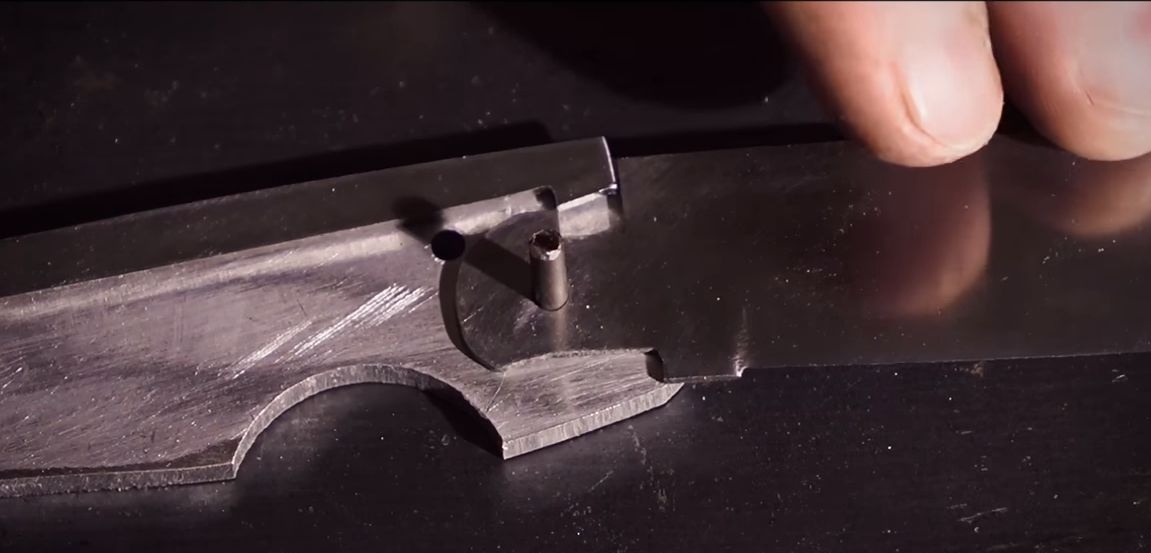
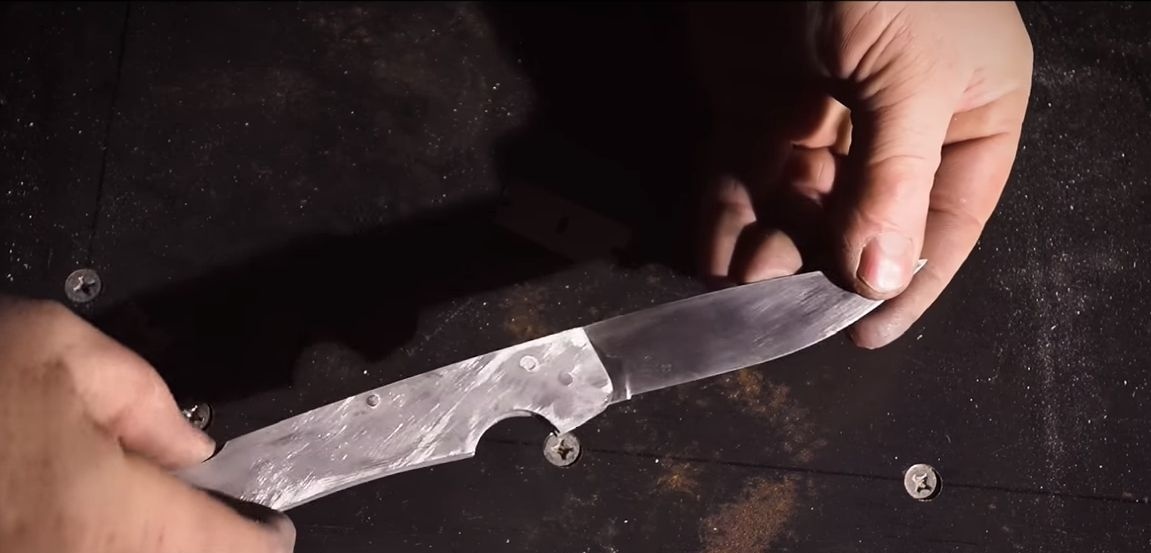
Then you can proceed to manual refinement of the workpieces. We need to remove the burrs and perfectly fit the parts together.For this purpose, a vise and a pair of files for metal are perfect. When the parts are ready, you need to outline the places for drilling holes and drill. We drill one hole in the locking lever, and the second in the blade.
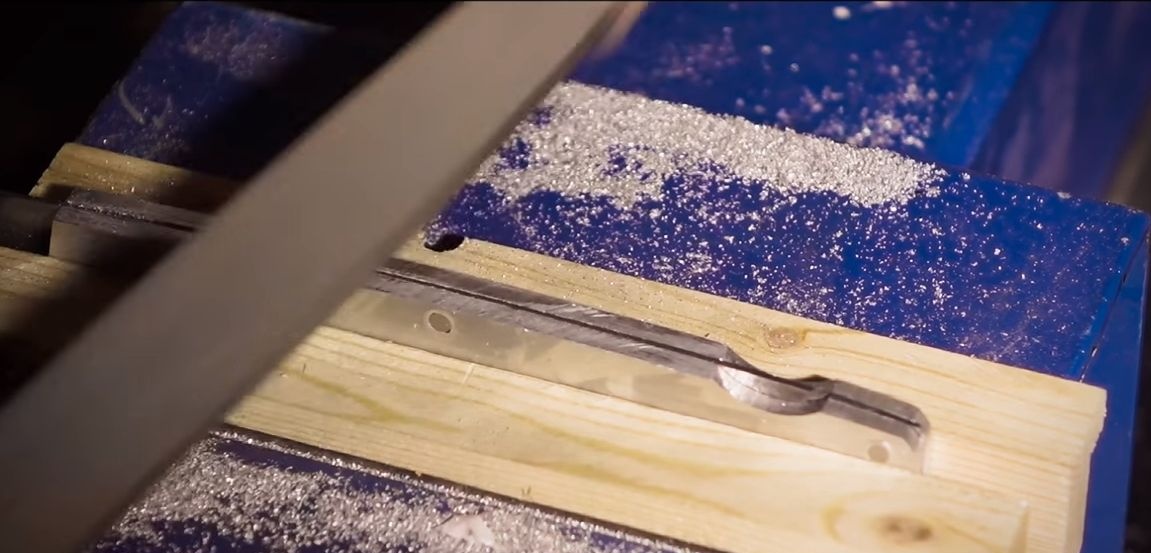
Step Three We form a blade profile
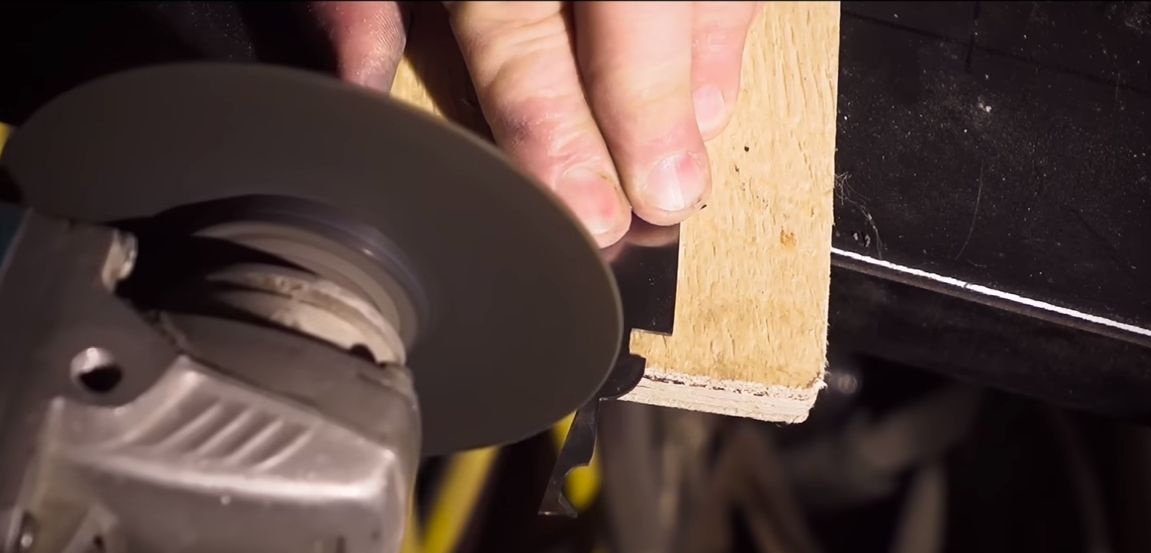
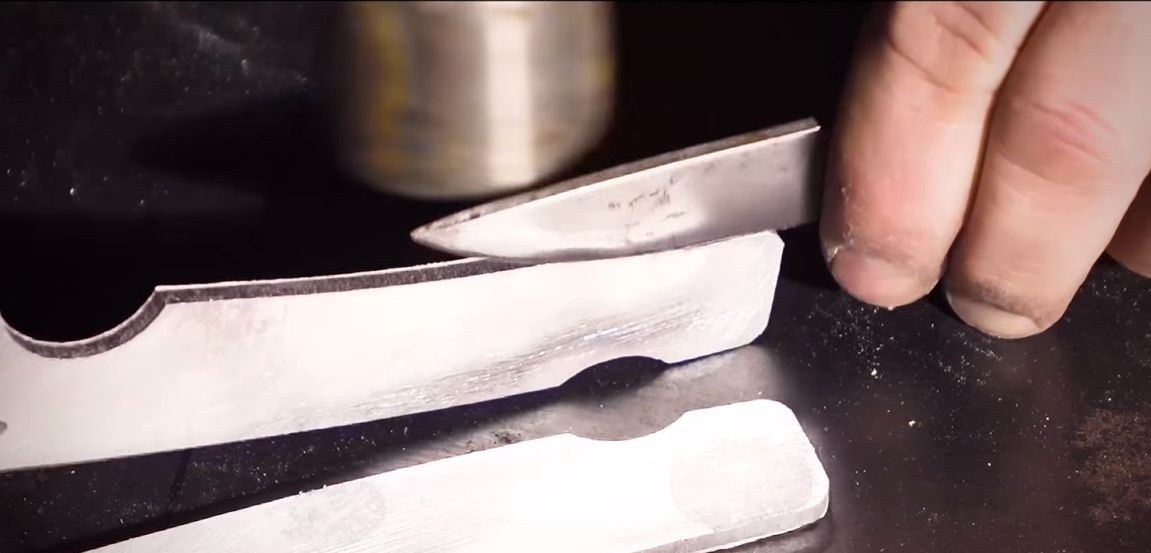
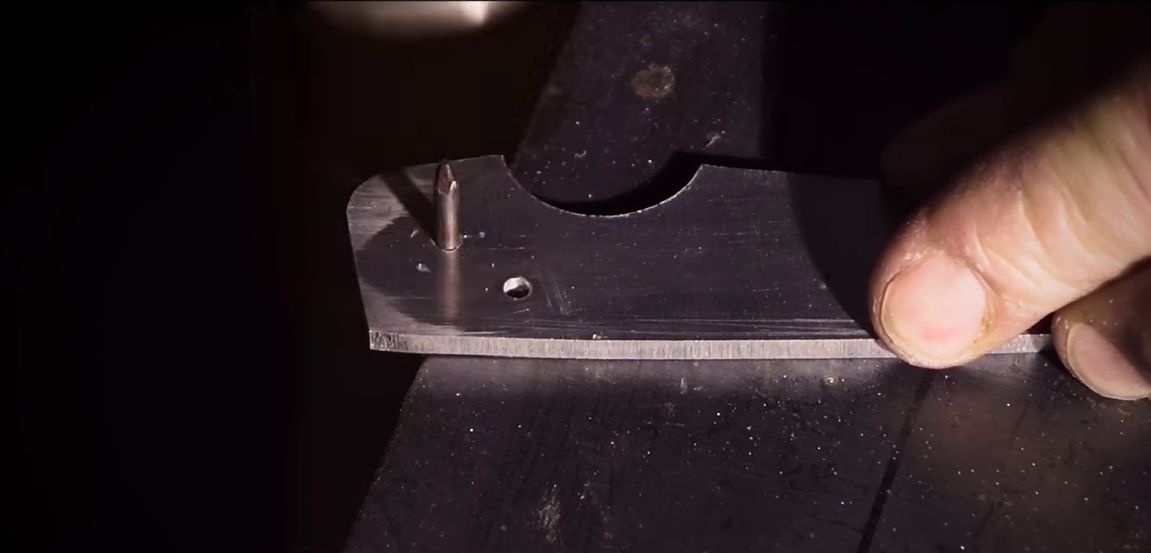
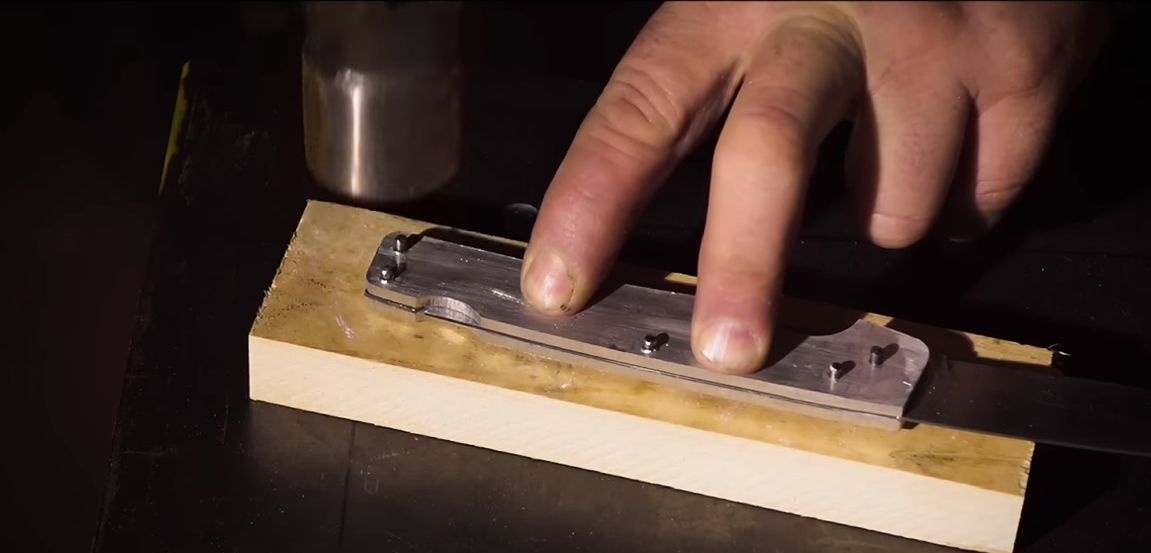
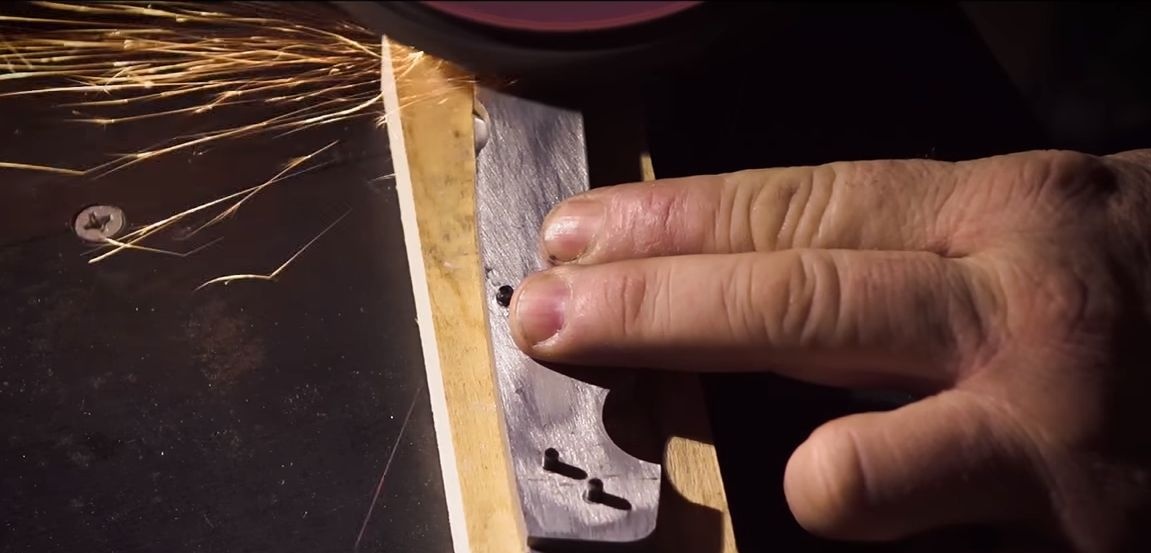
The final stage of metal processing will be the formation of bevels. This parameter will determine how well the knife will cut, and how easy it will be sharpened. Since we have a pocket knife, and we won’t chop anything with it, we make the blade thinner, then it will be sharp like a razor.
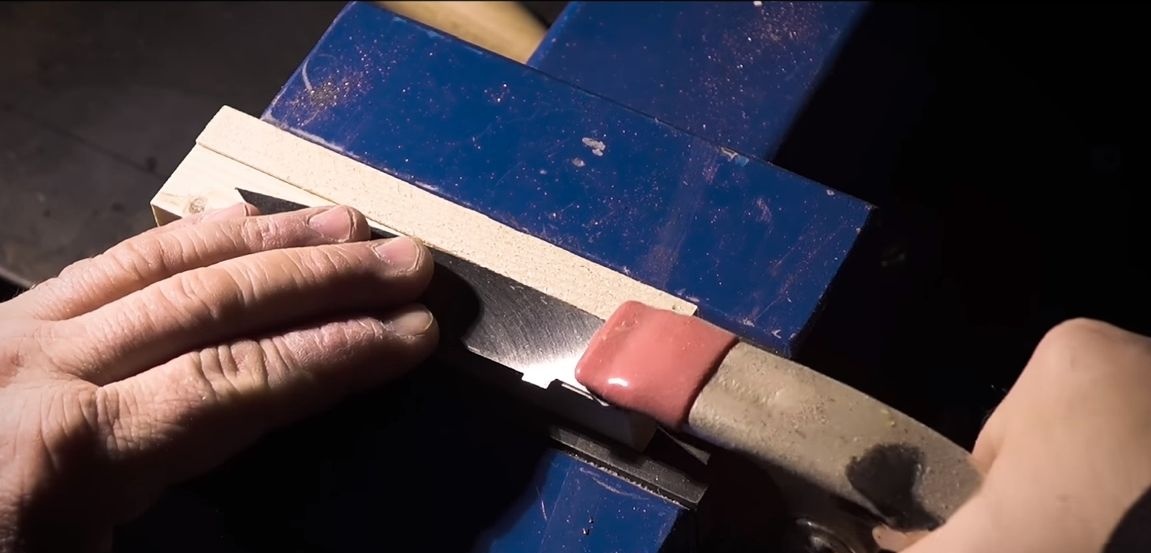
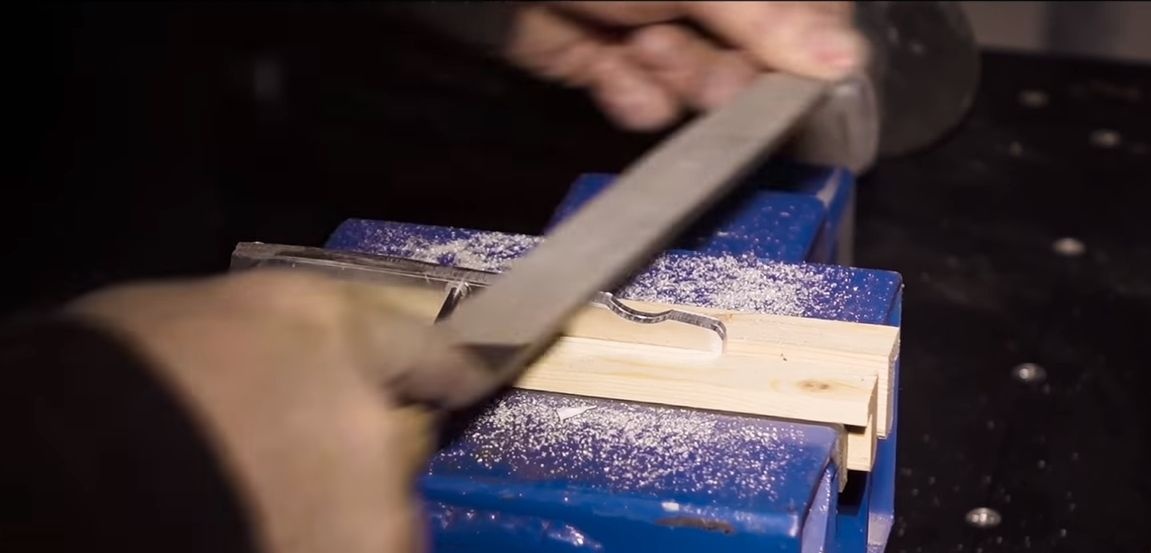
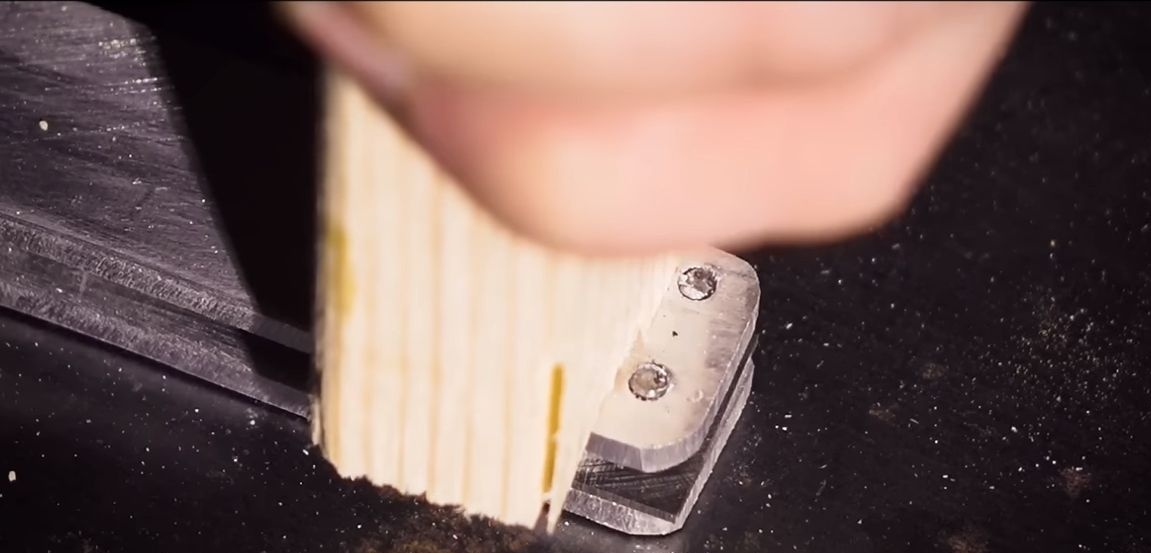
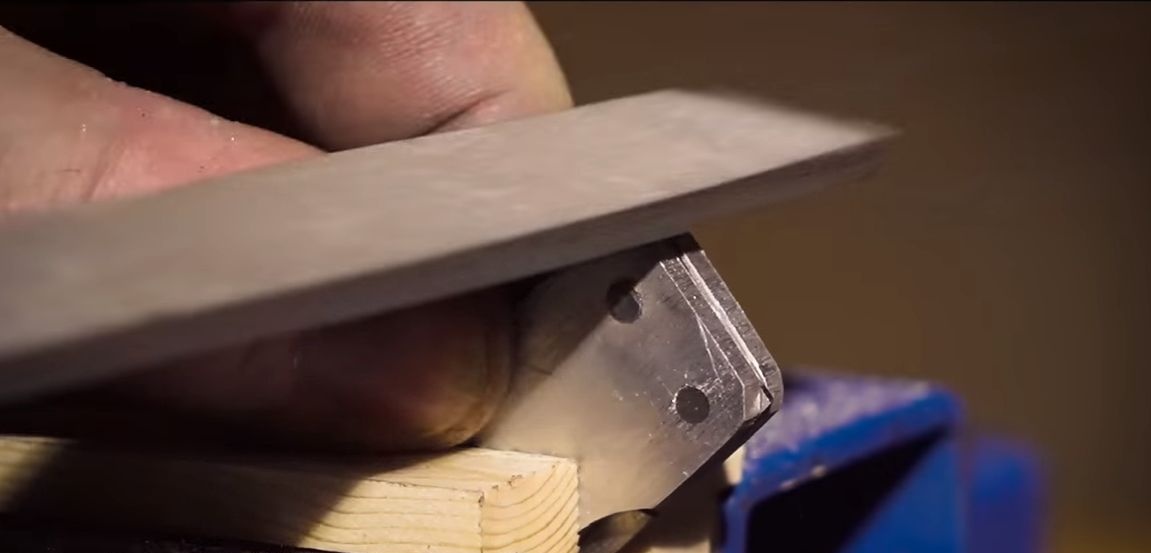
For convenience, we attach the blade to a wooden bar, clamp it with a clamp. Well, then we arm ourselves with files and get to work. It is advisable to pre-mark everything in order not to guess in the process whether everything turns out as planned. Of course, with an asymmetric bevel, the knife will cut, but it will not look very much, moreover, the metal can easily deform.
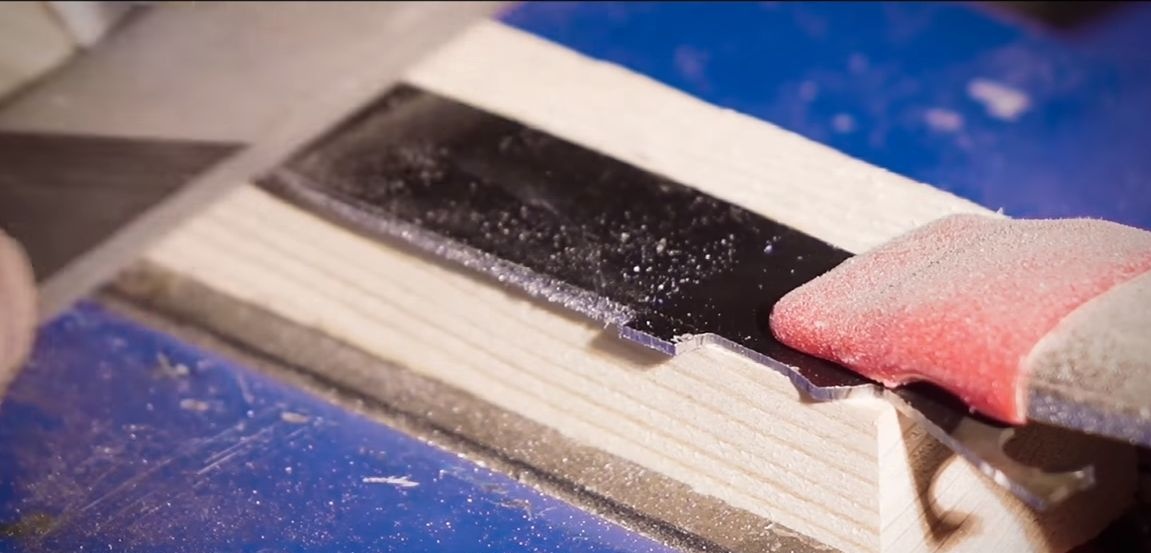
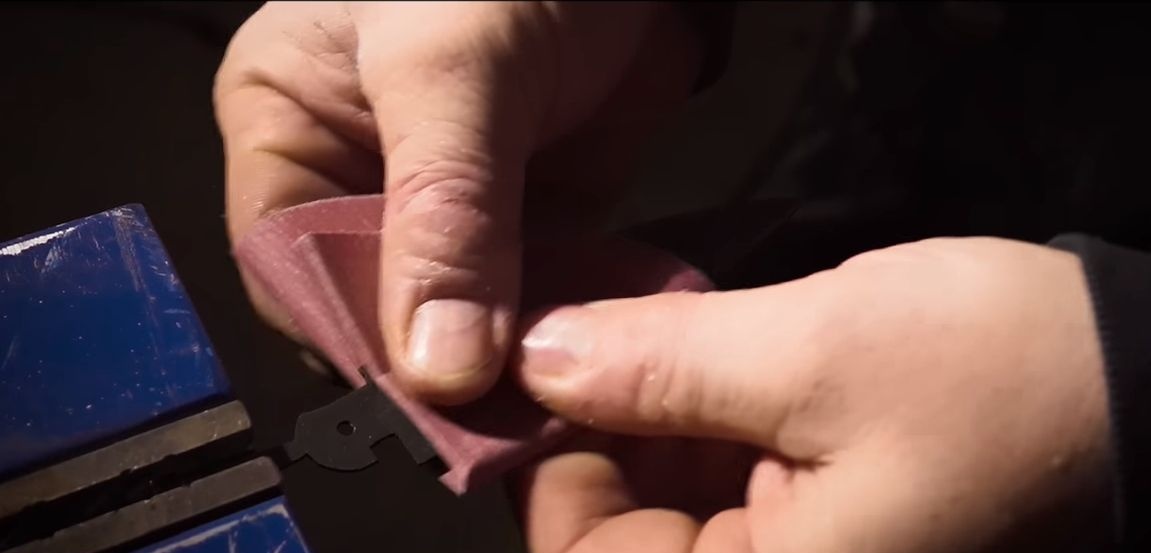
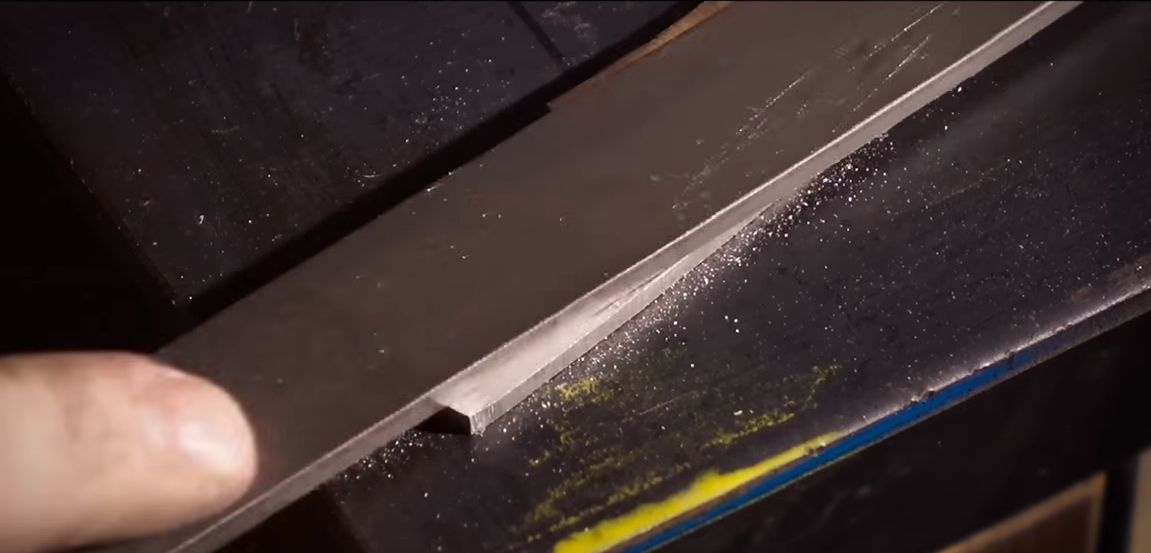
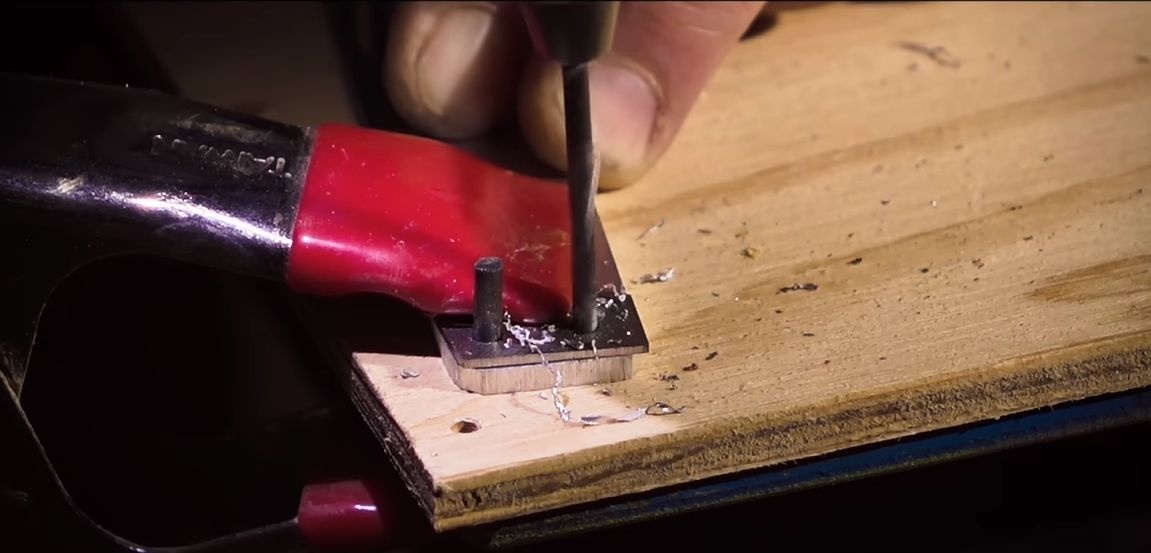
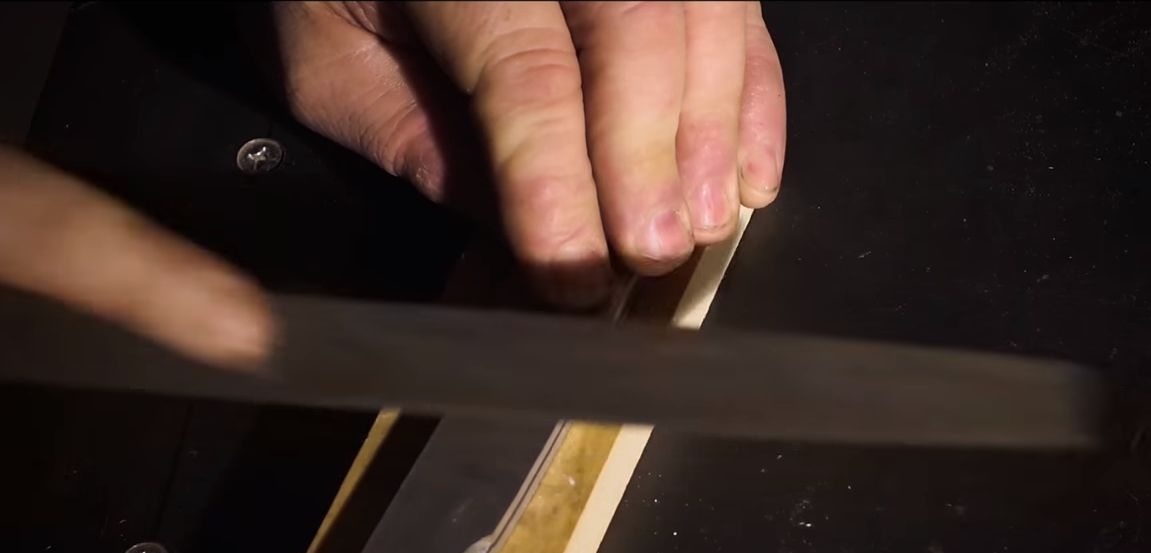
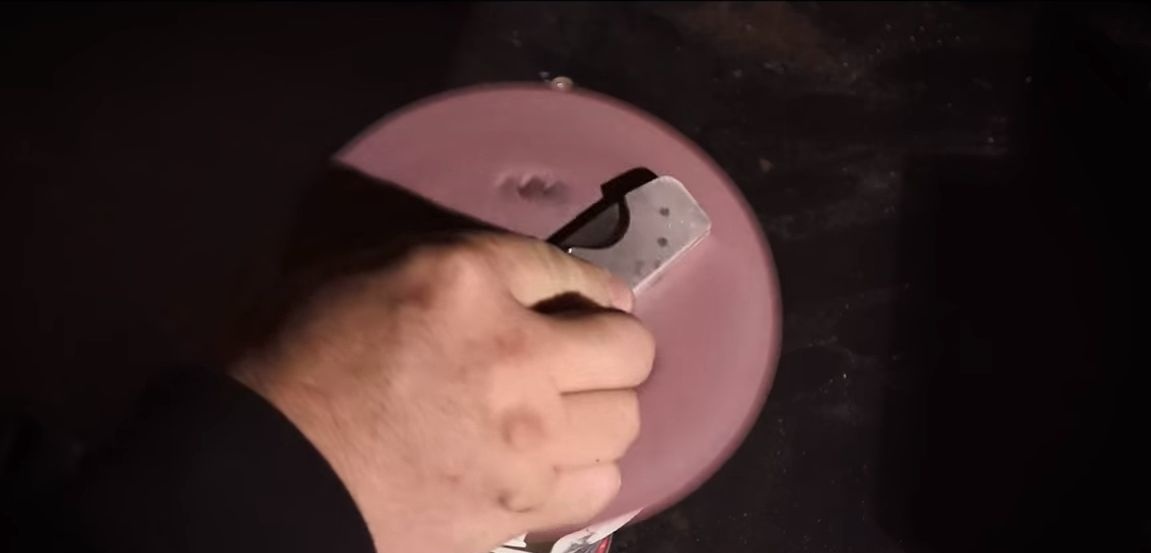
After forming the bevels, do not sharpen the knife, as during heat treatment the metal may overheat. That's all, now the final stage of work remains - this is grinding the blade. We take sandpaper and carefully process the blade. For convenience, the author secured it with a stud. Gradually reducing the grain size of the sandpaper, you can get a mirror surface. To grind more efficiently, sandpaper can be moistened with water.


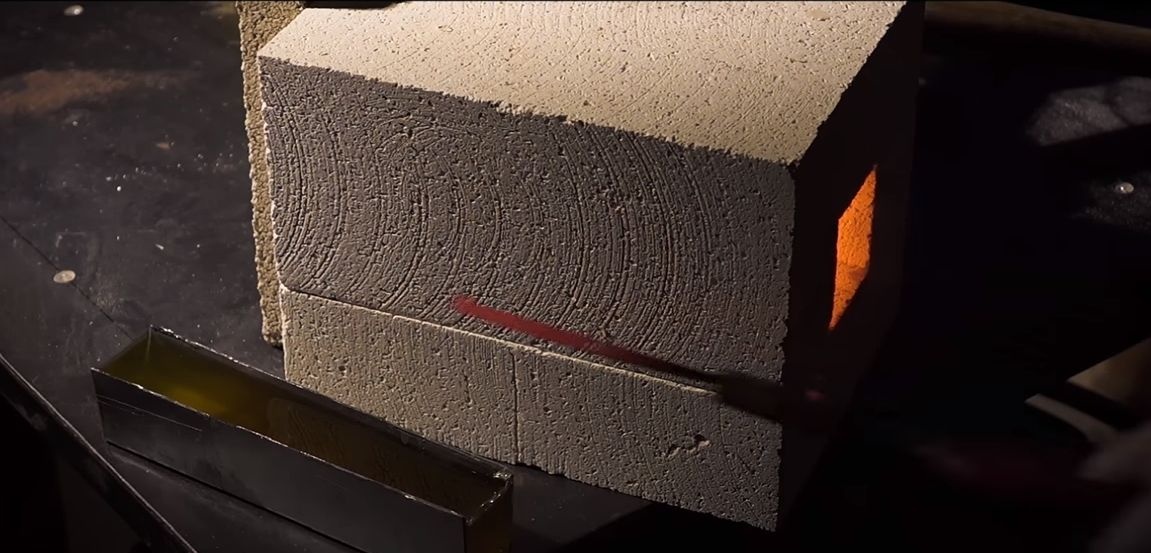
Step Four Harden steel
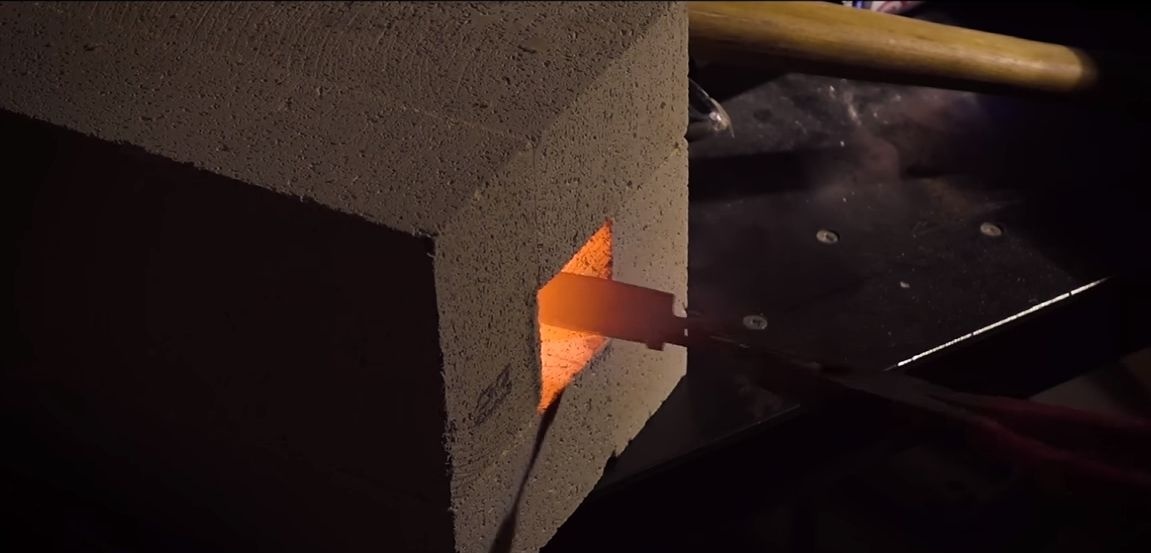
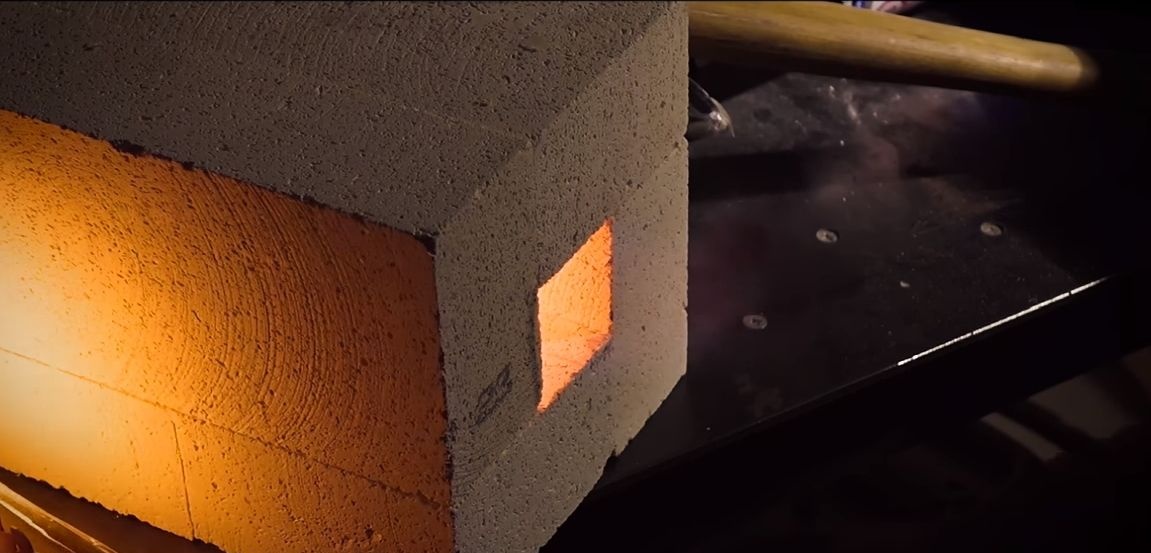
To keep the blade sharpening for a long time, we need to temper it. Among other things, the author decided to harden the locking lever, which will allow the knife to last longer. For quenching, a forge furnace will be needed, it will be necessary to reach a temperature of about 800 ° C, but for each metal this parameter is individual. Properly heated steel begins to glow yellowish. If you bring a magnet to the metal, it should not react to it. Having received the desired temperature, we cool the blade in oil, both vegetable and mineral are suitable. Be careful with the automobile "working off", as, according to many masters, pollution in the oil can leave heavily scrubbing spots on the blade.
If hardening is successful, there should be no scratches on the blade if filed on it. If such a thing takes place, it means that the steel has caught low-quality or simply it has not been warmed to the desired temperature.
After hardening, it is necessary to make a tempering of the metal, that is, to specially soften it a little. This will allow the steel to spring, and it will no longer be fragile. Usually, a domestic oven is used for such a thing. We heat the blade to 200-2500 ° C and heat for about an hour. Then turn off the oven and give it an awning with a knife in the closed state. That's all, now we have in our hands a blade of excellent quality!
Step Five Final grinding
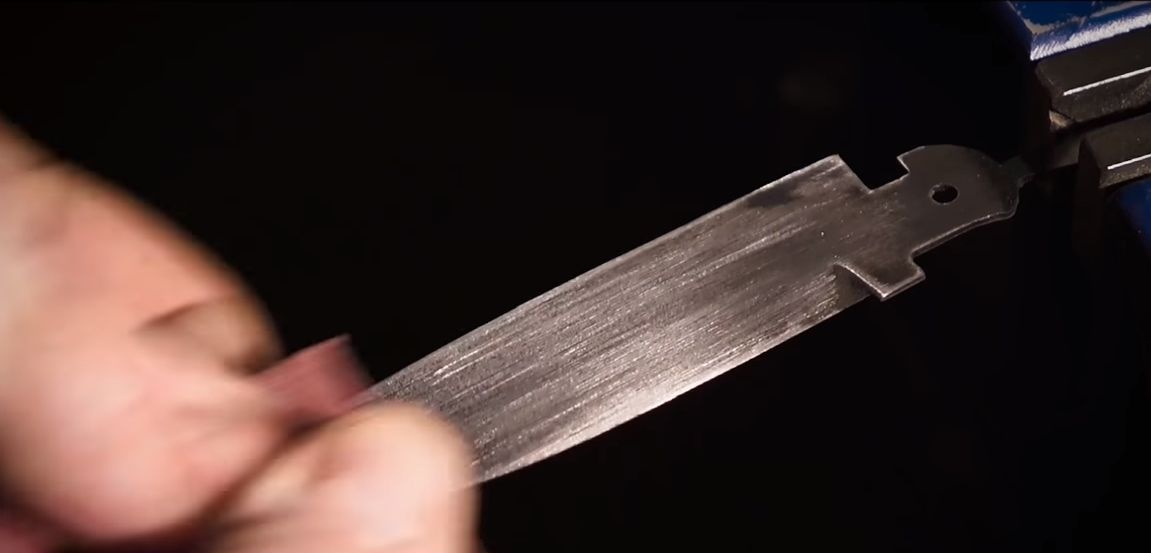
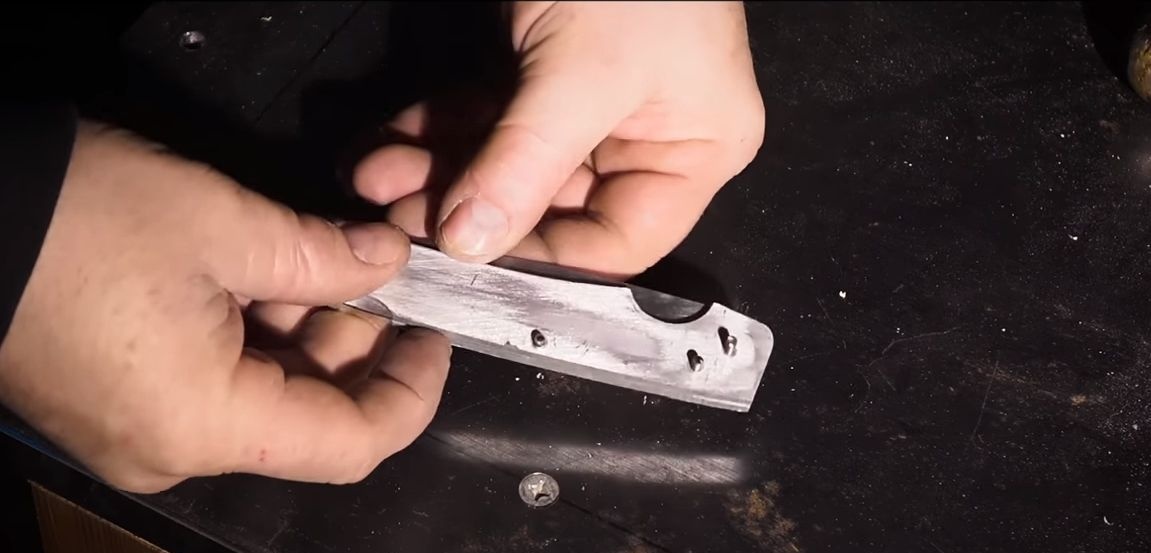
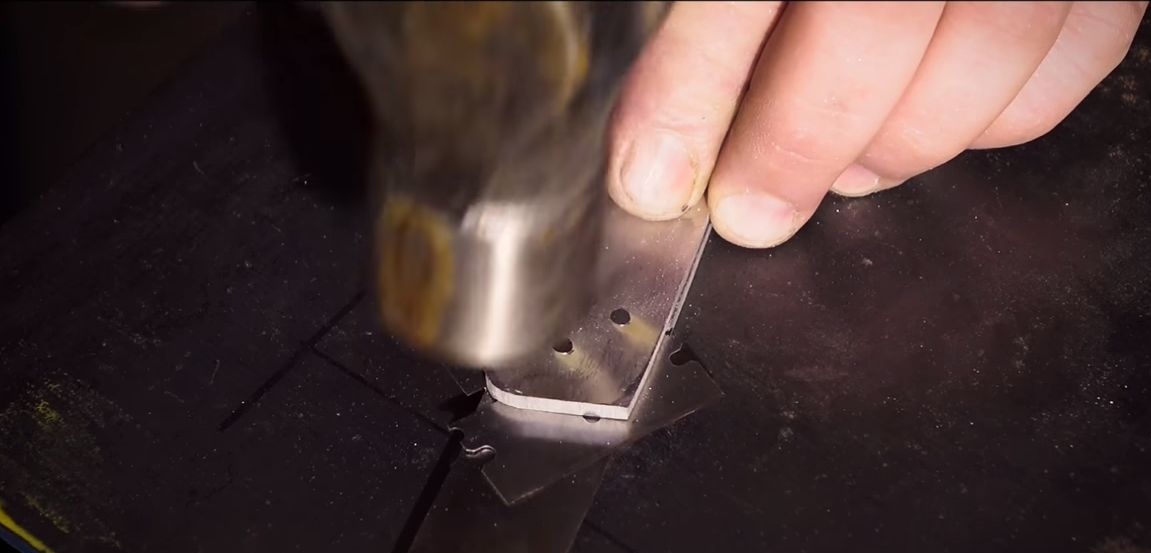
After quenching, the metal darkens, it will be soot from oil, scale and so on. This whole thing needs to be cleaned up. Use fine sandpaper moistened with water. Also great to use in conjunction with the WD-40 sandpaper. You can leave a patina on the blade, it will work as a protection, preventing rust.
Step Six Getting to the handle
For the manufacture of pens, we need sheet aluminum. It is convenient to work with such material, since it is soft. The strength of aluminum for these purposes is more than enough, and this metal also looks great and does not rust.
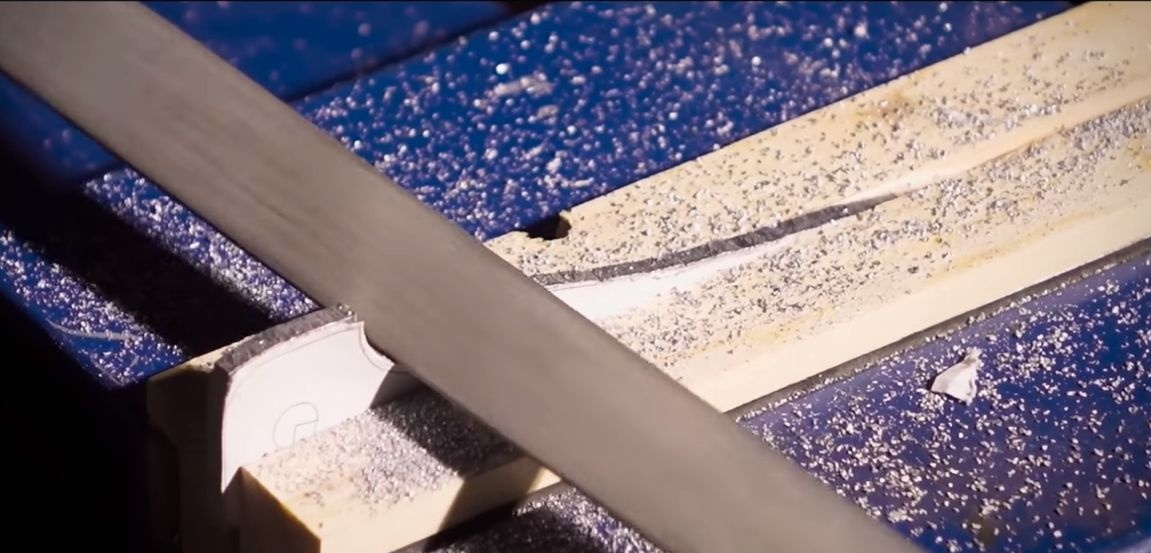
We glue the templates and cut out the blanks. For cutting, the author uses a manual jigsaw. After that, we form the final profile of the workpieces using files.
In the manufacture of the handle, it is imperative that the two halves are the same. To do this, take superglue and glue the two parts together. Well, then we process the whole thing with files.
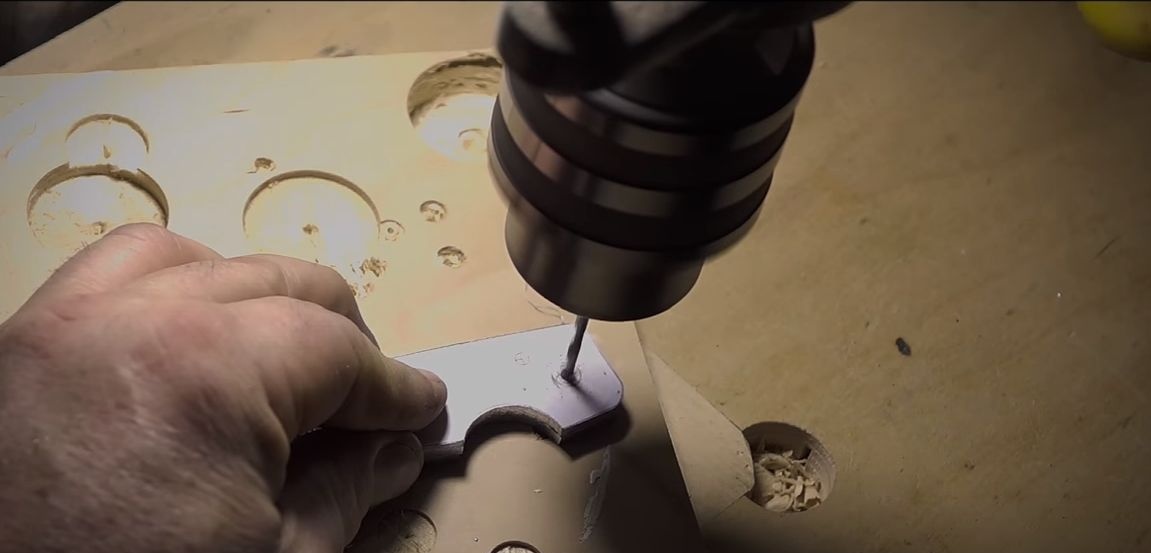
After grinding work, drill holes in the right places. That's all, now split the part into two halves using a hammer and knife.
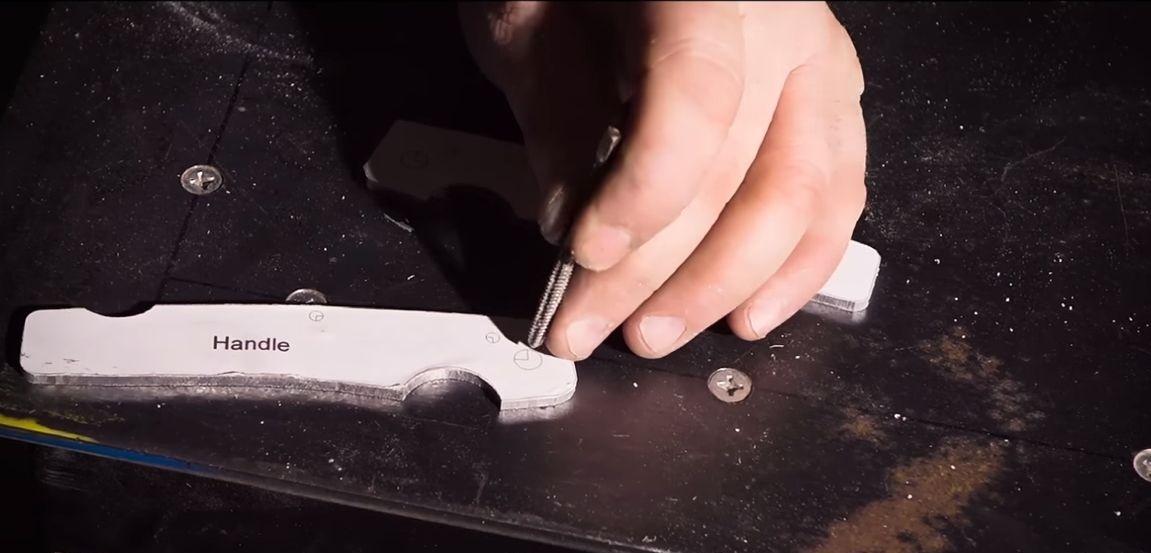
Seventh step.Pin preparation
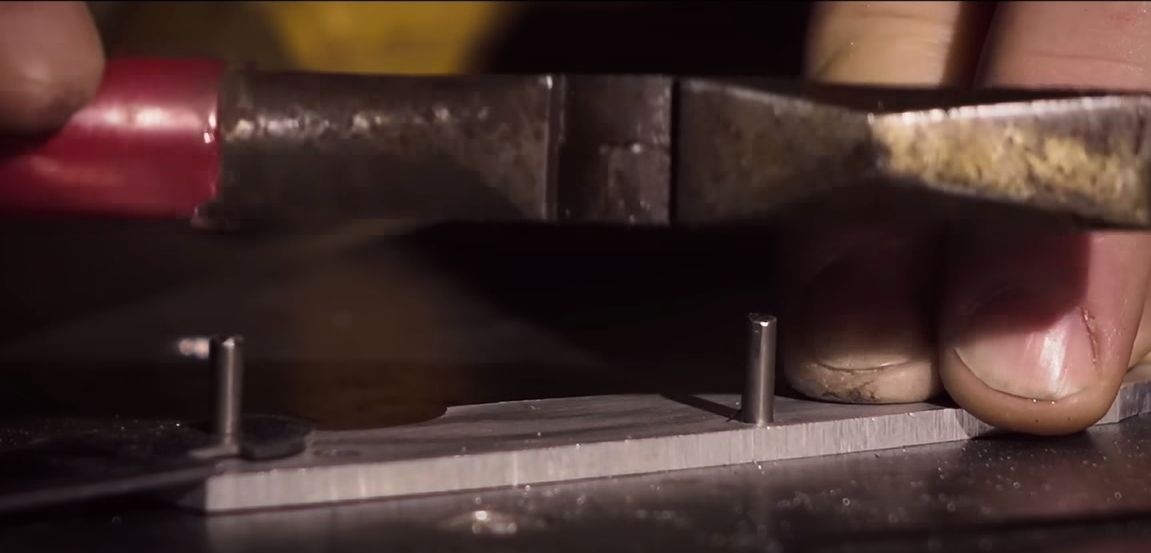
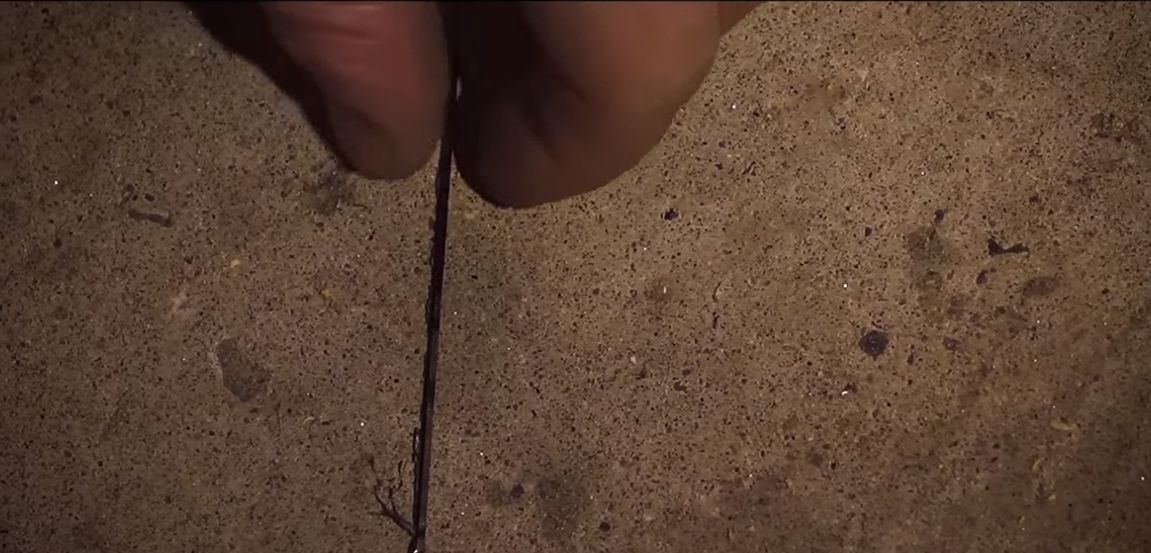
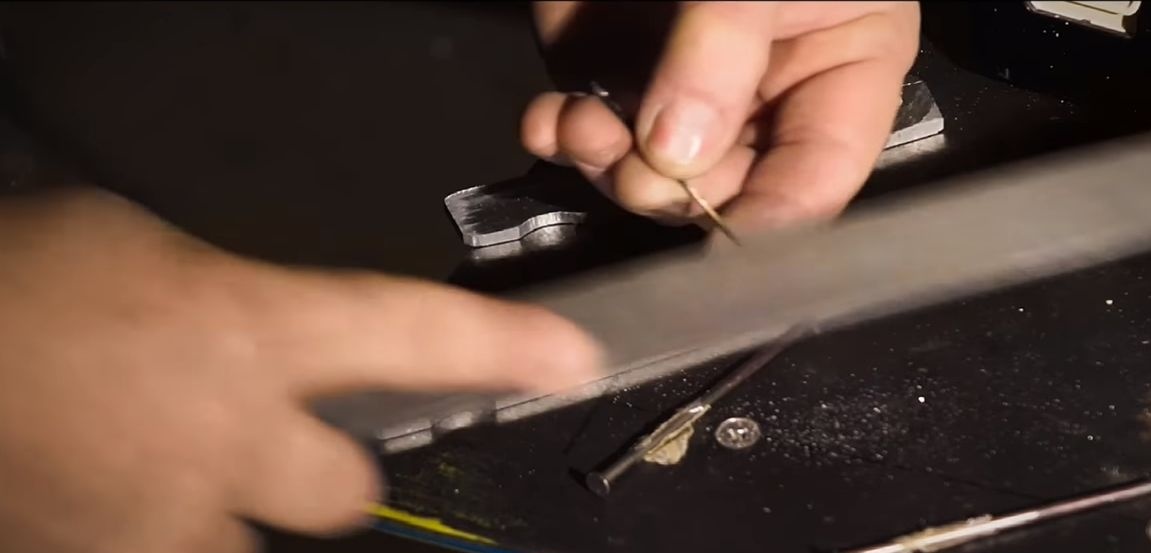
The author’s pins are steel, and nails are used as material. The pin should go into the hole with effort, ideally, should be clogged with light hammer blows. We customize the details, cut off the necessary pieces of nails.

Step Eight. Getting to the knife assembly
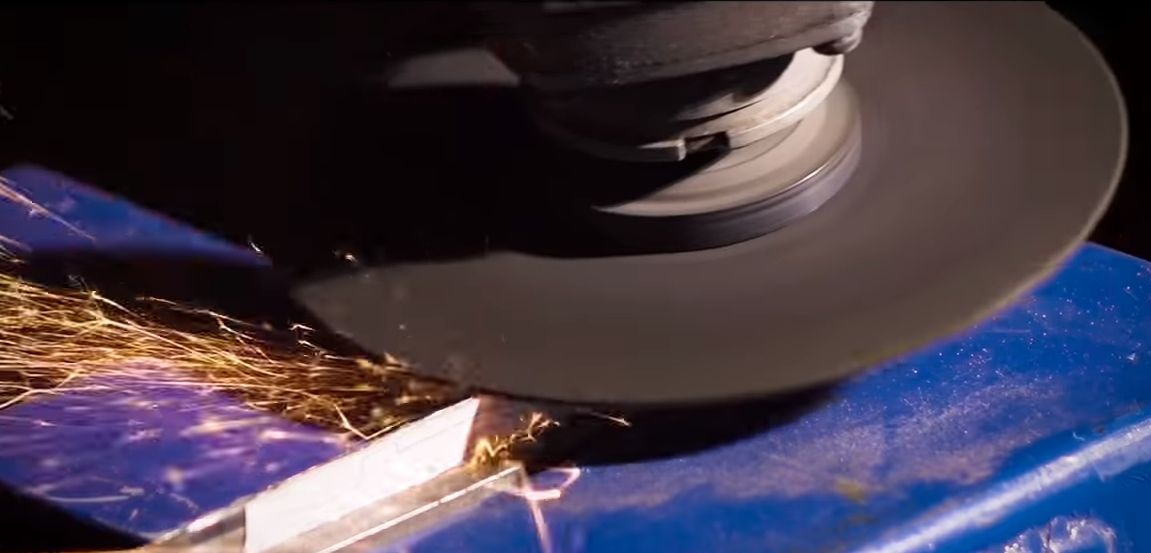
We still do not have enough spring to assemble the knife. We will do it ourselves, for this we need sheet steel, which can spring. The very same cutting disc is quite suitable. We cut off the strip of the desired length with a grinder, but try not to overheat the steel, since it will lose its spring properties, and it will need to be tempered.
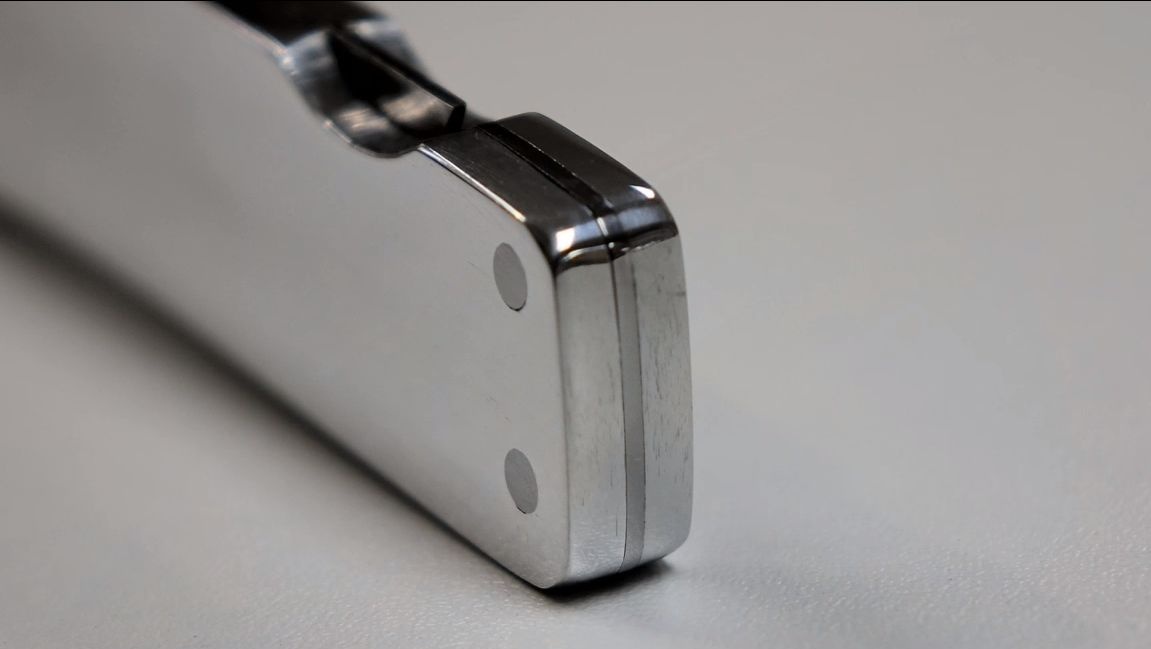
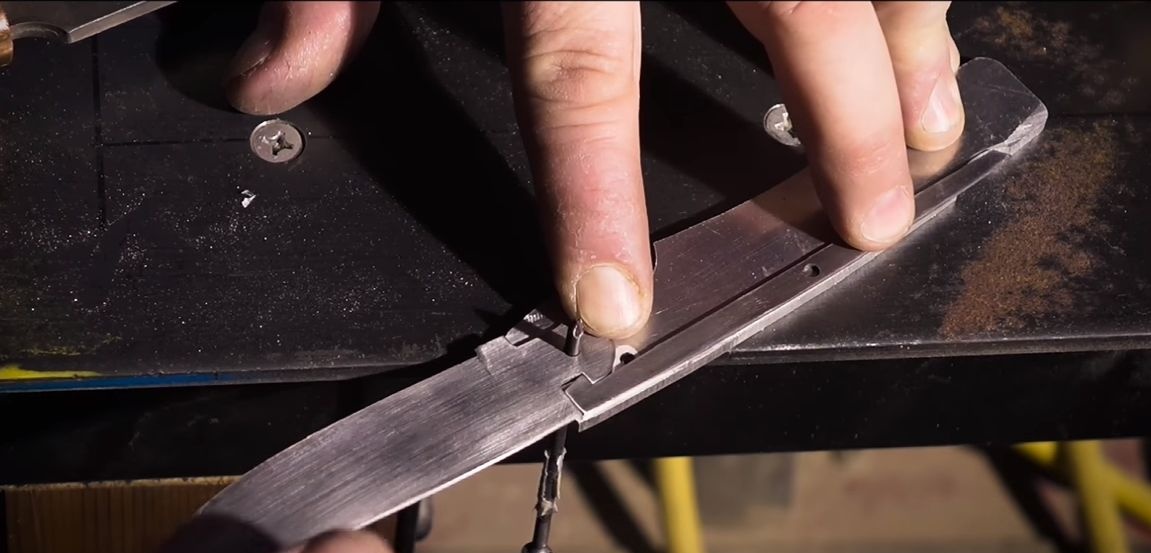
Well, now the knife can be assembled, install the pins and connect the two halves. When everything is ready, cut the pins so that they only protrude slightly above the surface of the handle. Now we take a hammer and carefully rivet them, as a result we get excellent rivets.


Now the knife is almost ready! It remains to sharpen the blade and modify the handle. After grinding the handle, it can be polished to a mirror finish. It will become smooth, take on smooth shapes and will shine. The knife looks pretty impressive. That's all, good luck and inspiration when making your own knife!