
Surely everyone in life had a need to grind or cut something, especially we are talking about products of small sizes. For example, you need to sharpen a drill, it is most convenient to do this if there is a small sharpener. Of course, many craftsmen sharpen drills with a grinder, but this is not very safe, and the drill can be quickly overheated, as a result, the metal will lose its strength.
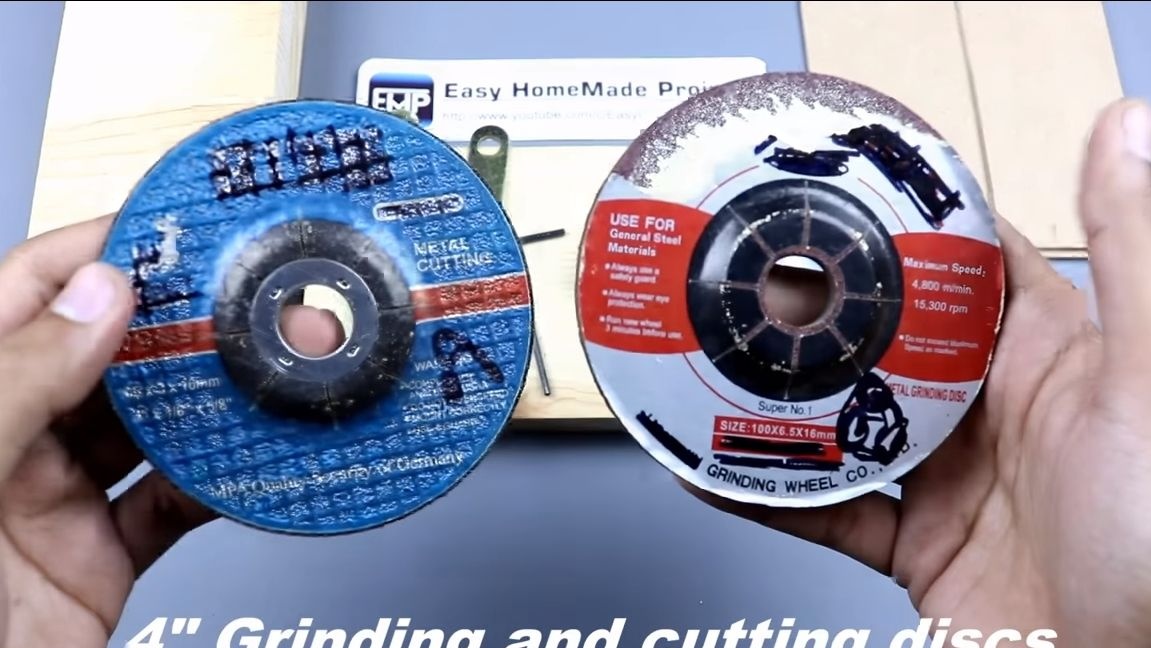
In this manual, we will look at how to make a small sharpener that will solve the problems discussed above. You can install 4-inch wheels on it, it can be either grinding nozzles or cutting ones.
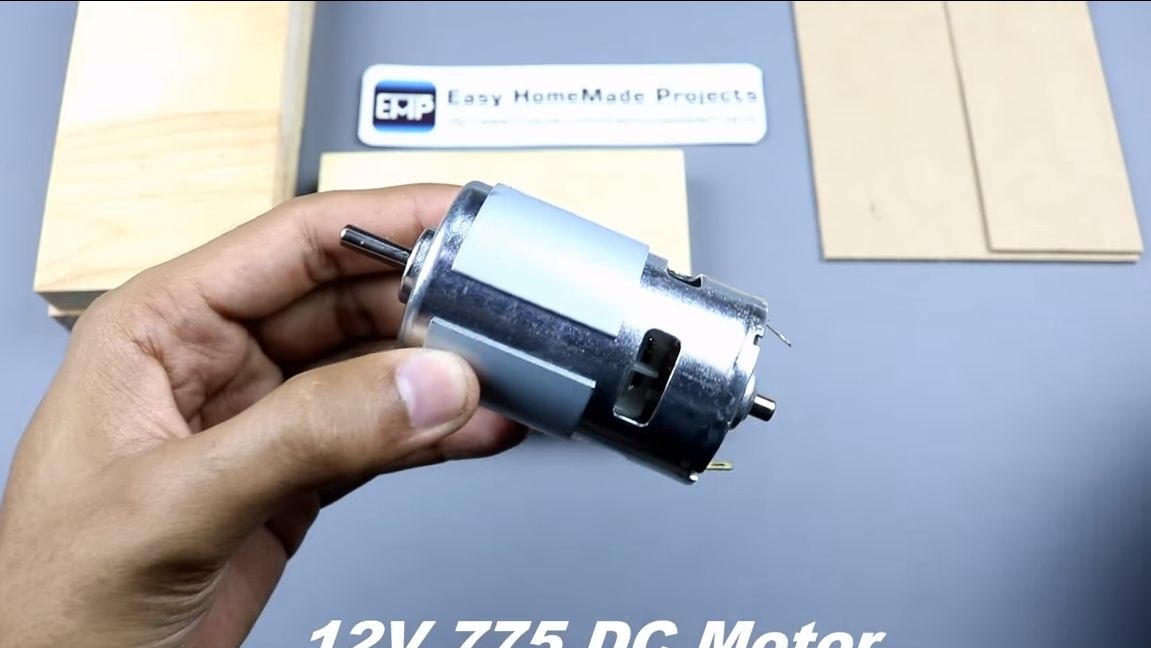
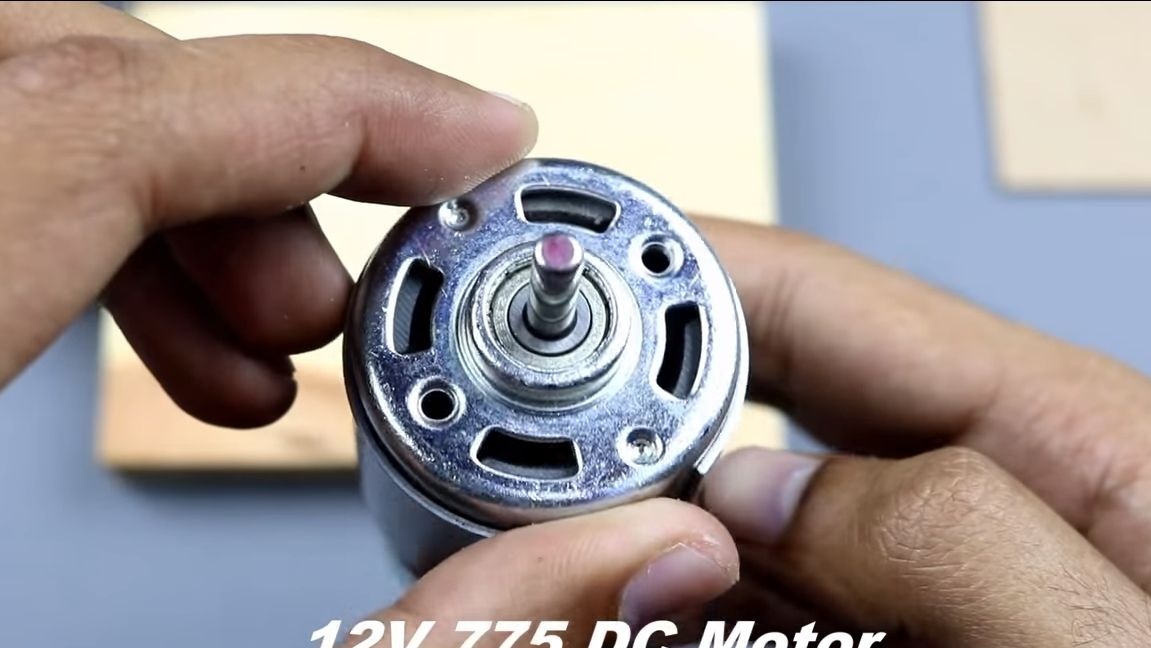
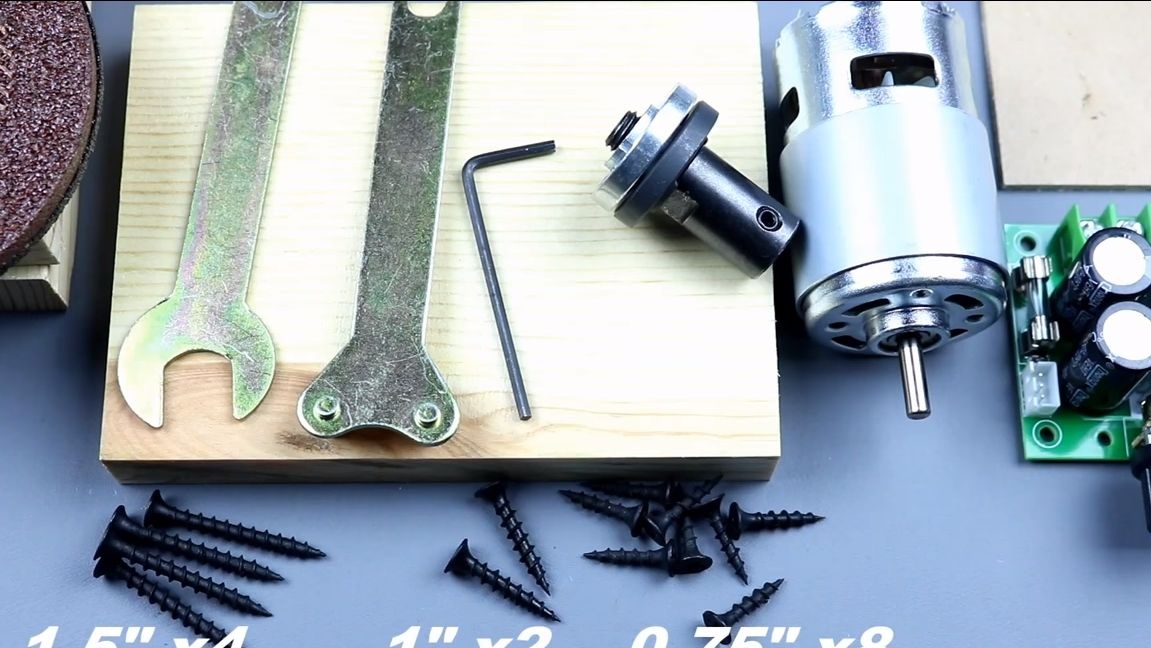
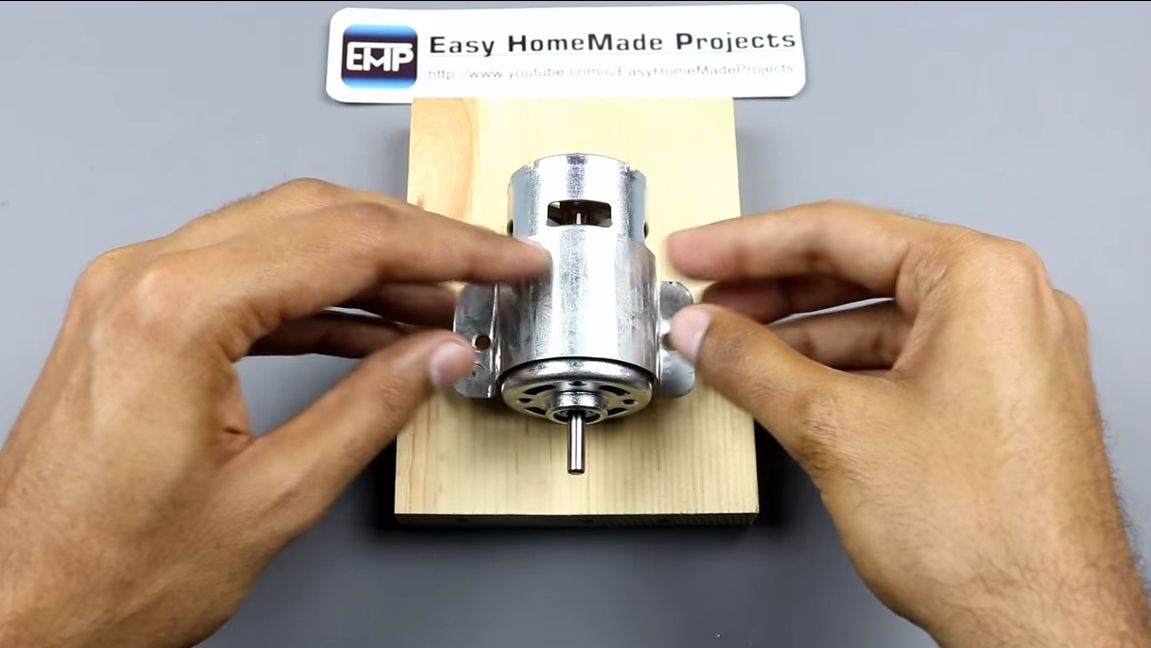
The main advantage of the machine considered by us is its safety. Here, the 775 motor is used as a power element. It is quite powerful to make a good machine, but not powerful enough to cause serious injuries. Such engines are actively used in the manufacture of various home-made devices. The engine can be powered by a 12V battery.
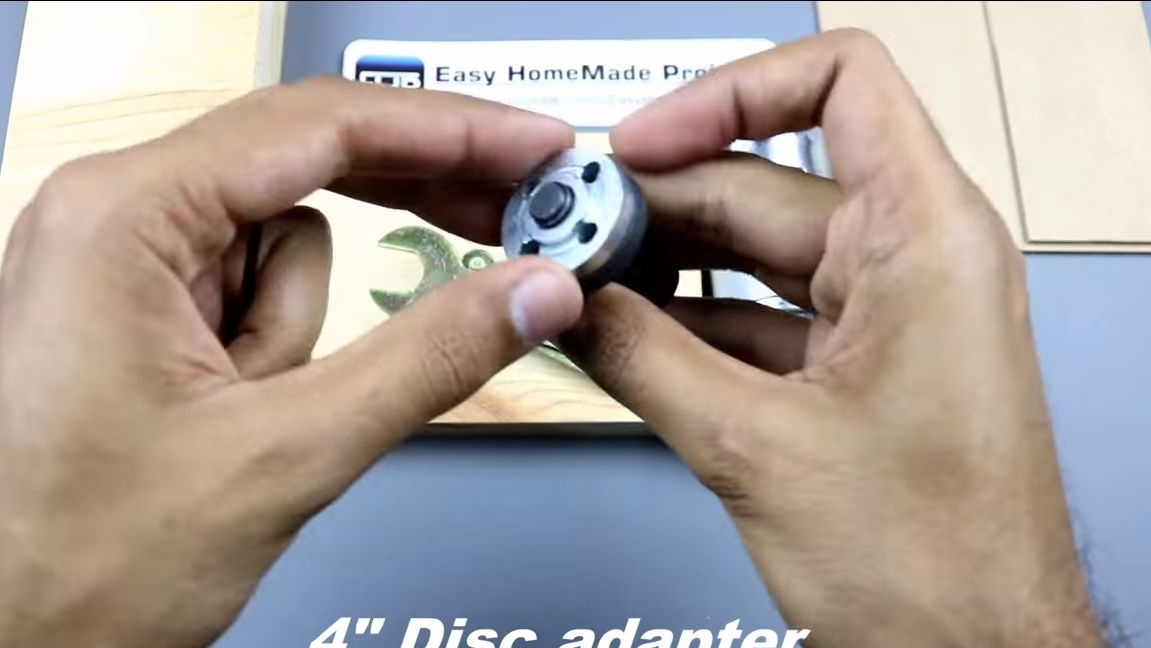
These engines have proven themselves well in practice, they have a forced cooling system in the form of a fan, which does not allow them to overheat under load. And the rotor of the engine rotates on bearings, which significantly increases its service life. Also, under the diameter of the shafts of these motors, many different nozzles are produced, in our case it is an adapter for installing discs from a grinder. So, we will consider in more detail how to make such a sharpener.
Materials and tools used by the author:
Material List:
- ;
- ;
- ;
- wires;
- 4-inch cutting and grinding disc;
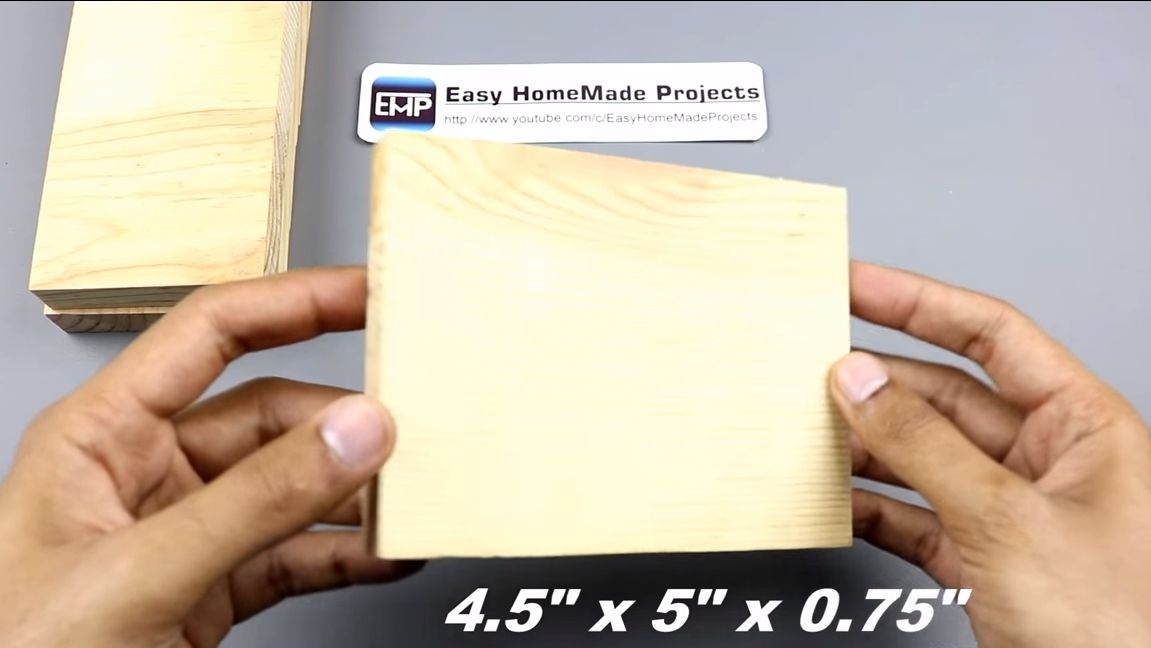
- boards;
- self-tapping screws;
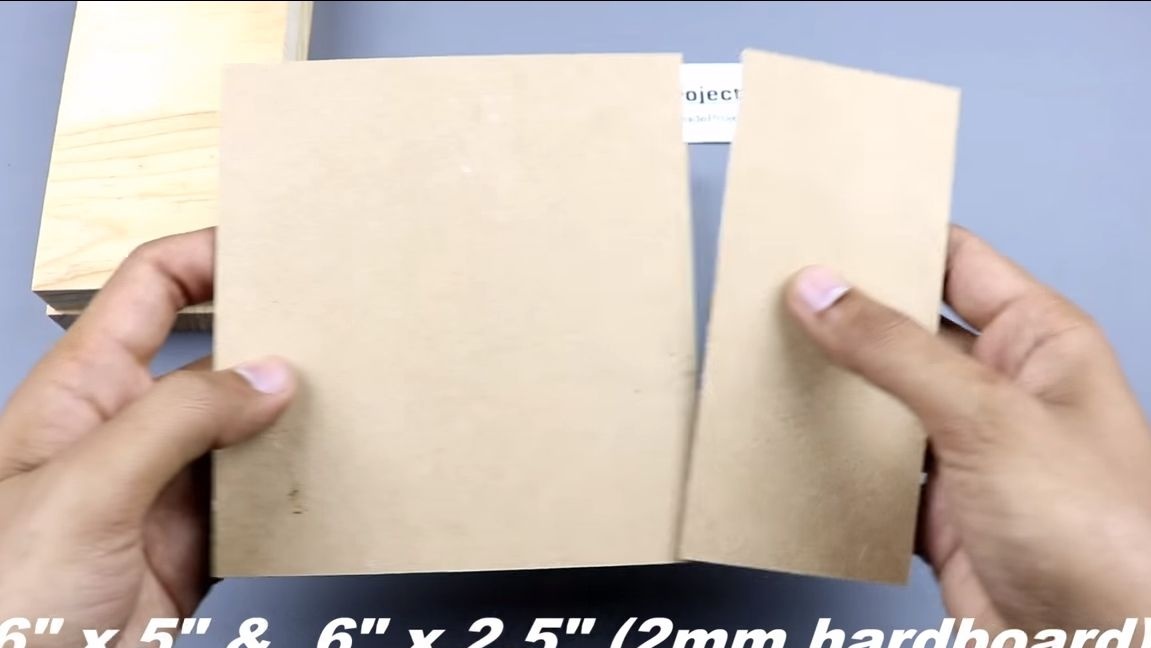
- plywood;
- 12V battery or other power source;
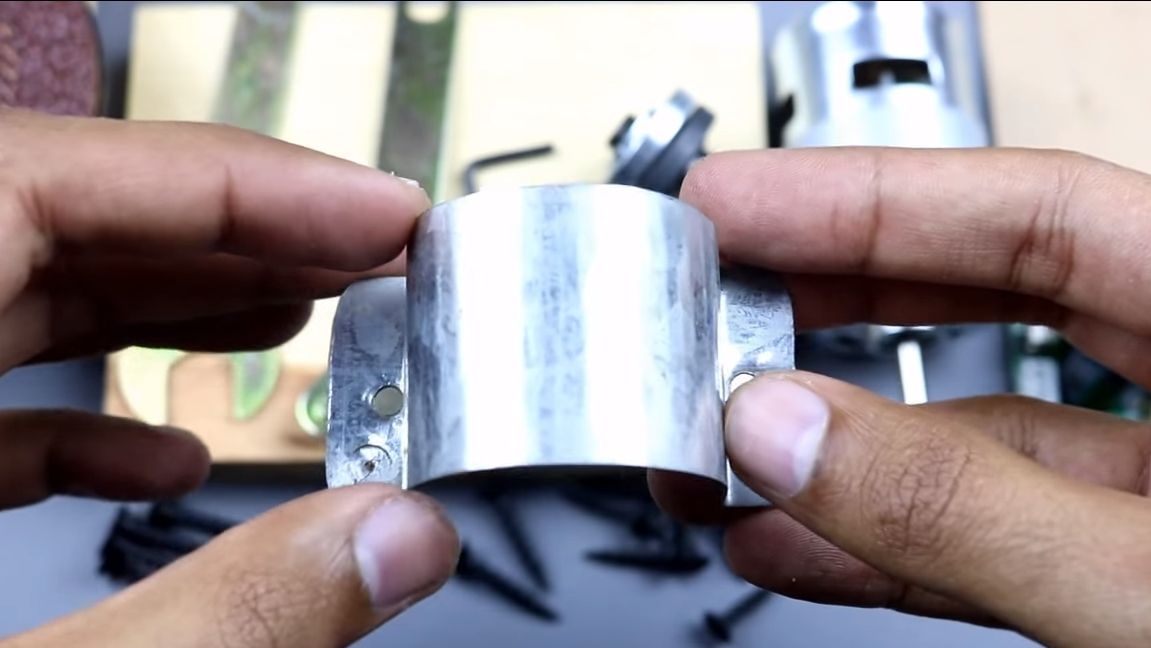
- sheet steel (to make a clamp).
Tool List:
- drill;
- screwdriver;
- screwdriver;
- keys for the grinder (come with the adapter);
- soldering iron;
- tools for cutting wood.
The manufacturing process of the grinding and cutting machine:
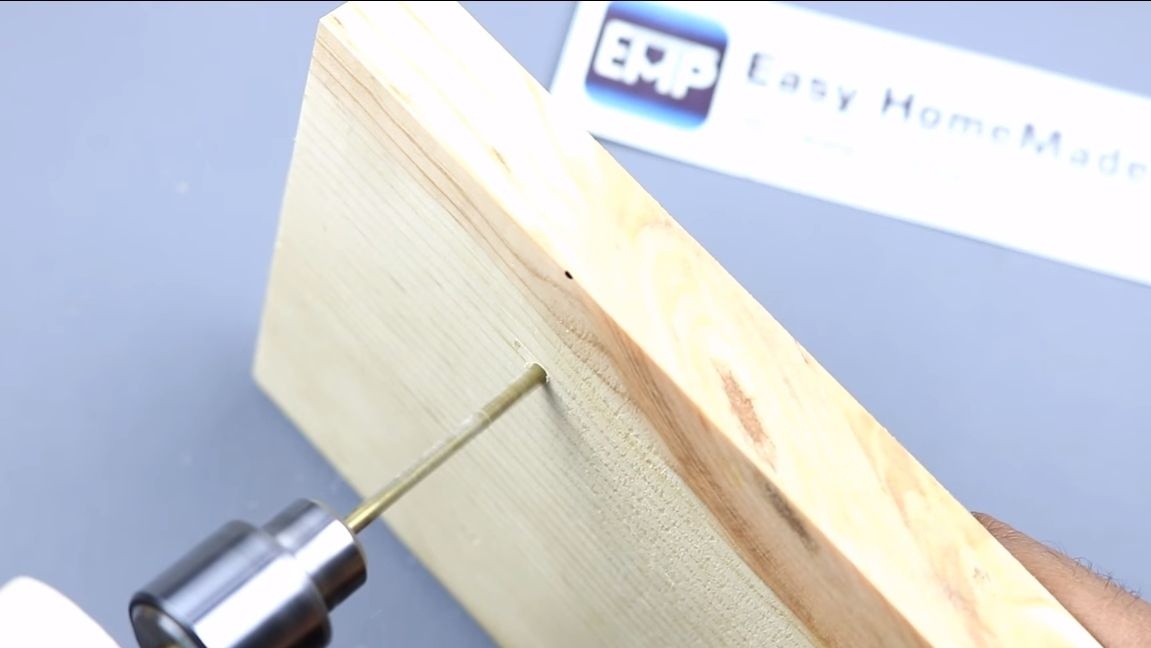
Step one. Prepare parts for the body
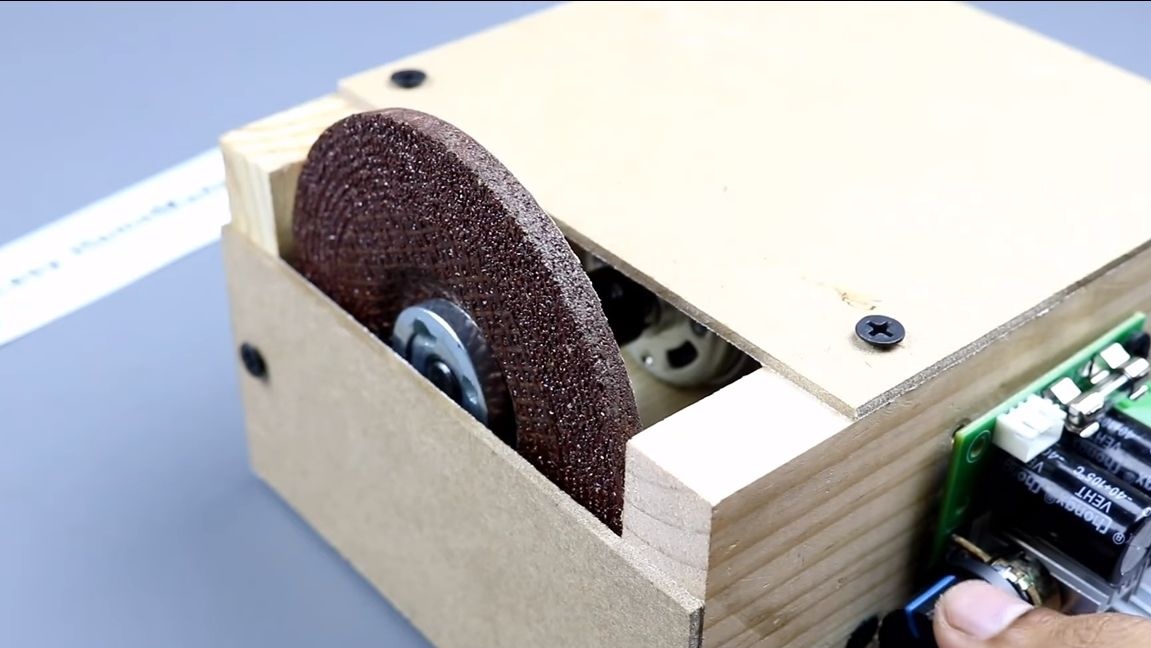
The author made the machine case of wood. The frame is made of boards, we cut it into blanks of a suitable size. We will also need plywood, fiberboard or something similar, we will make protective shields from it.
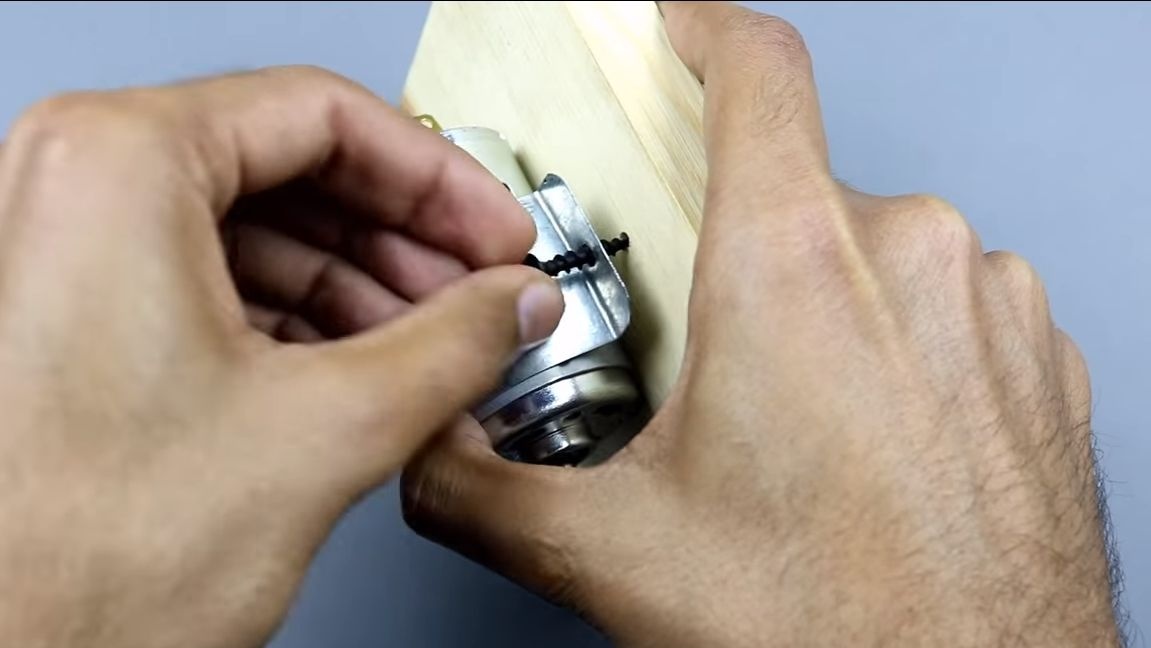
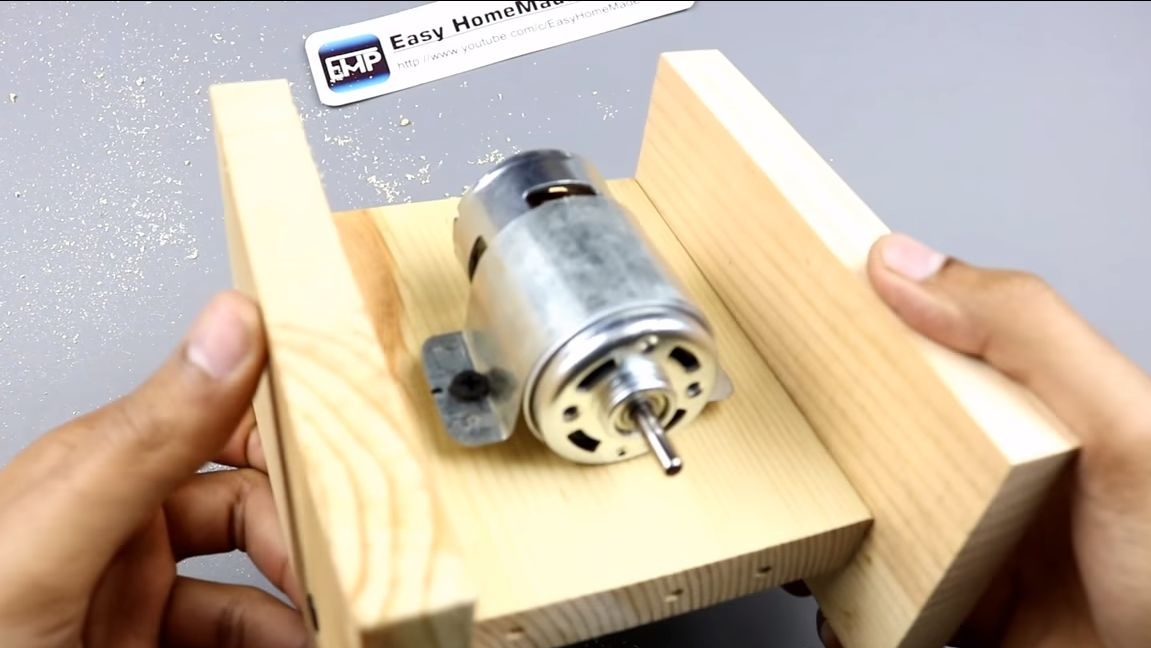
Step Two Install the motor on the base and assemble the frame
A rectangular piece of board is used as the basis. We fasten the engine to it with a clamp and screws. The clamp can be made independently, for this you need thin sheet steel.Metal from cans or the like is quite suitable. Well, then we drill holes and wrap the screws.
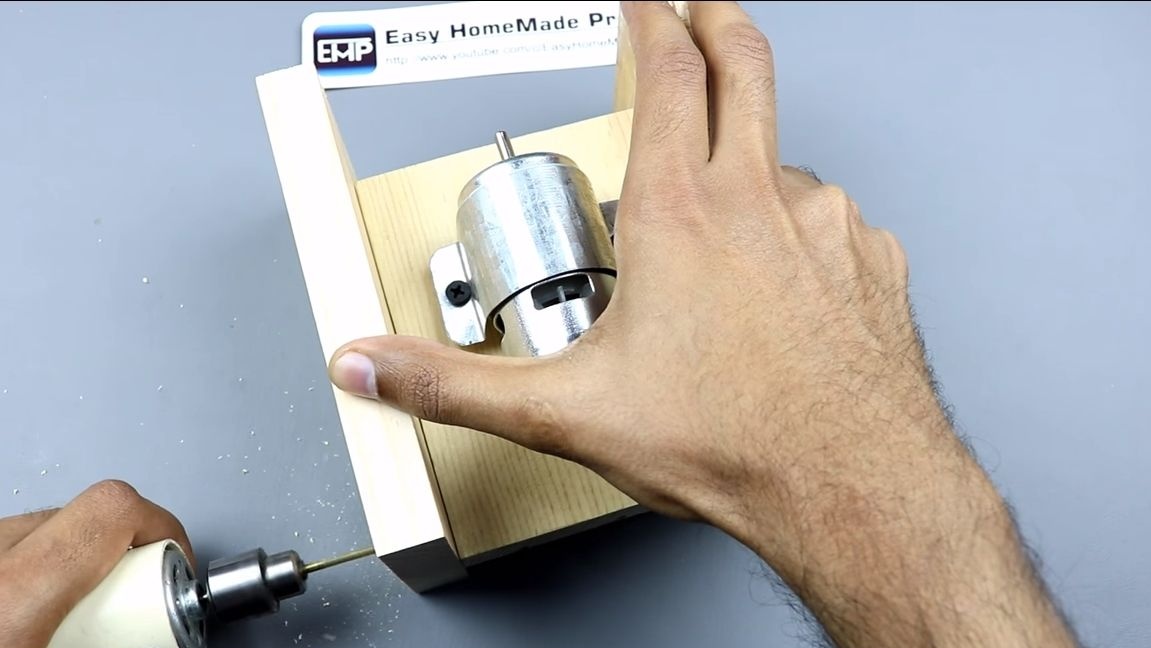
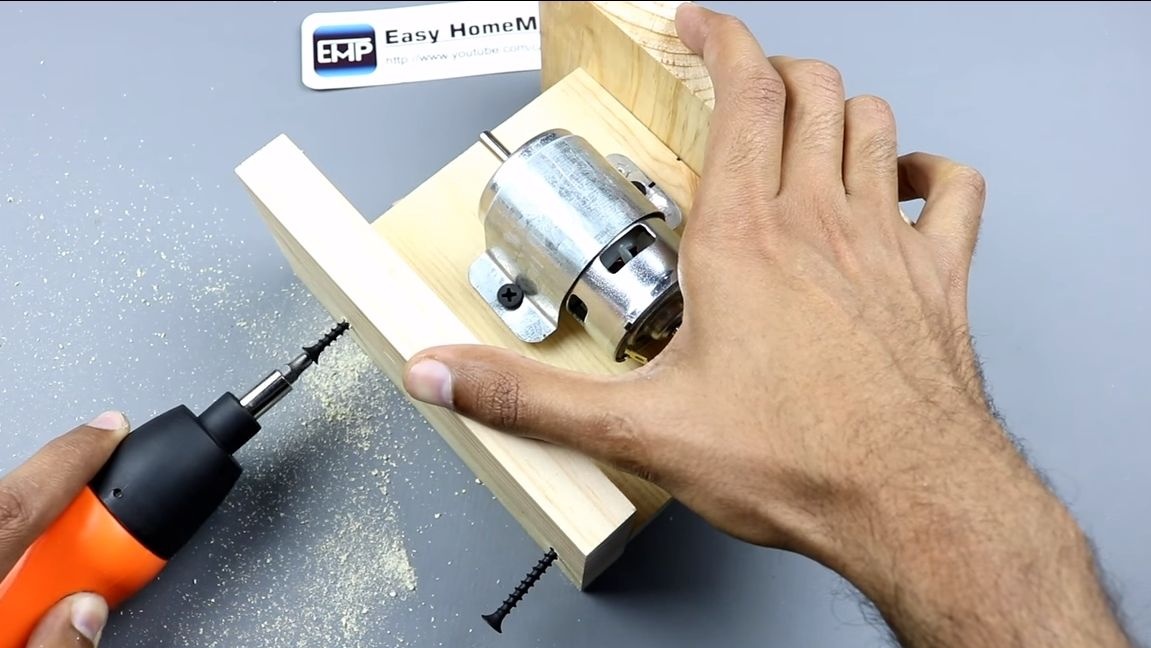
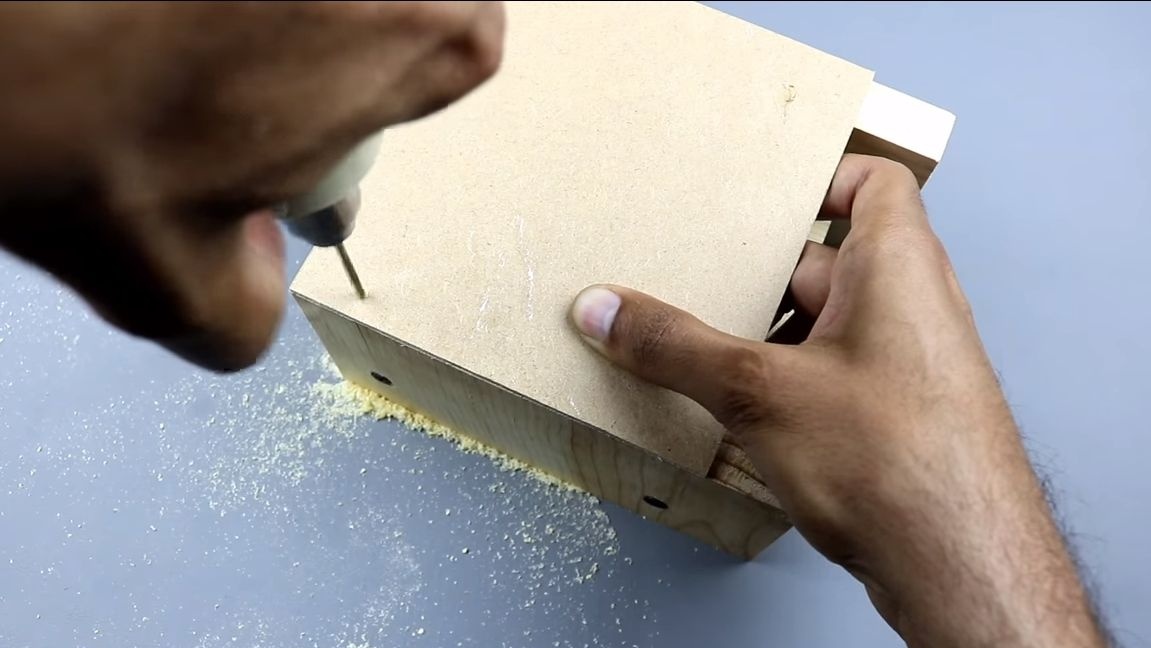
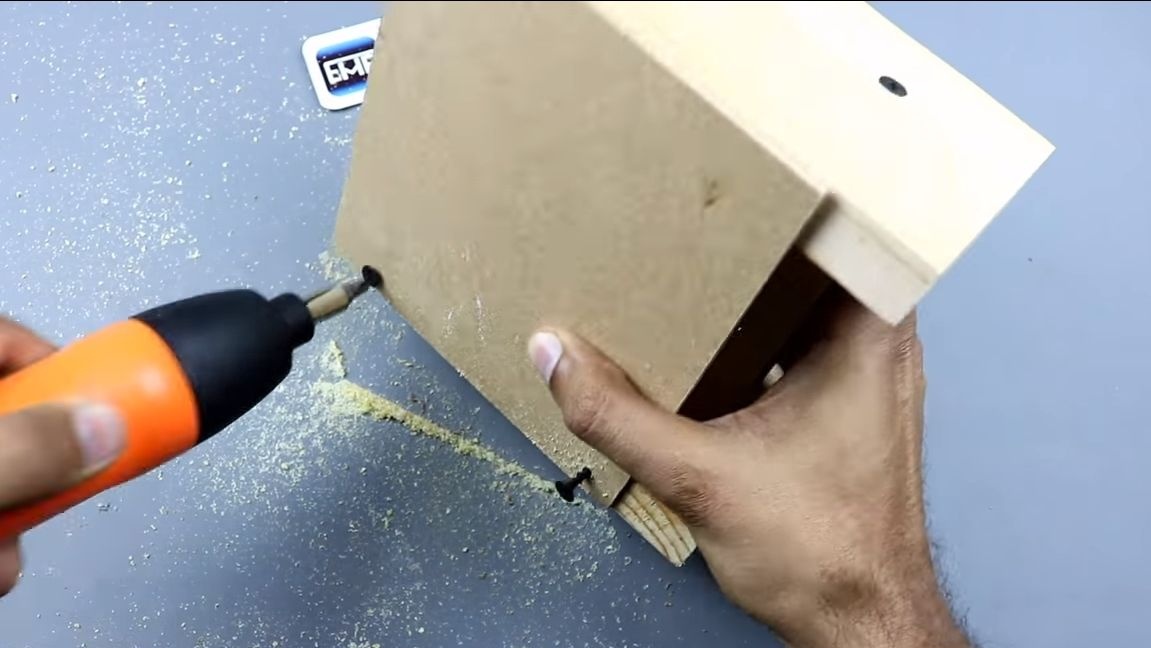
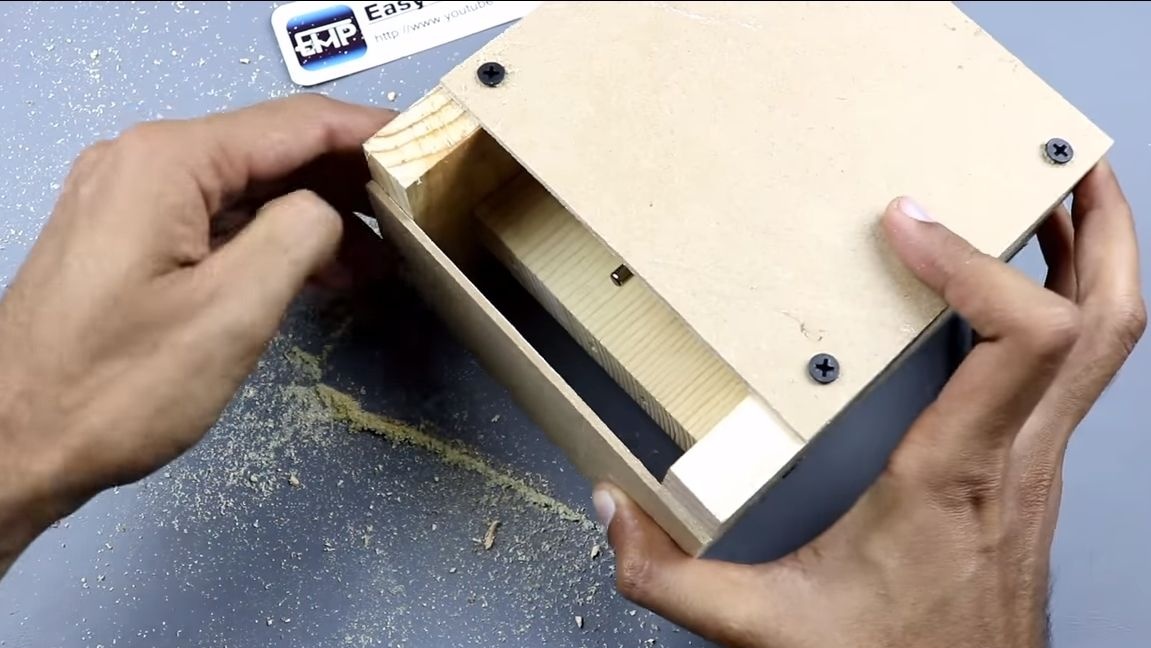
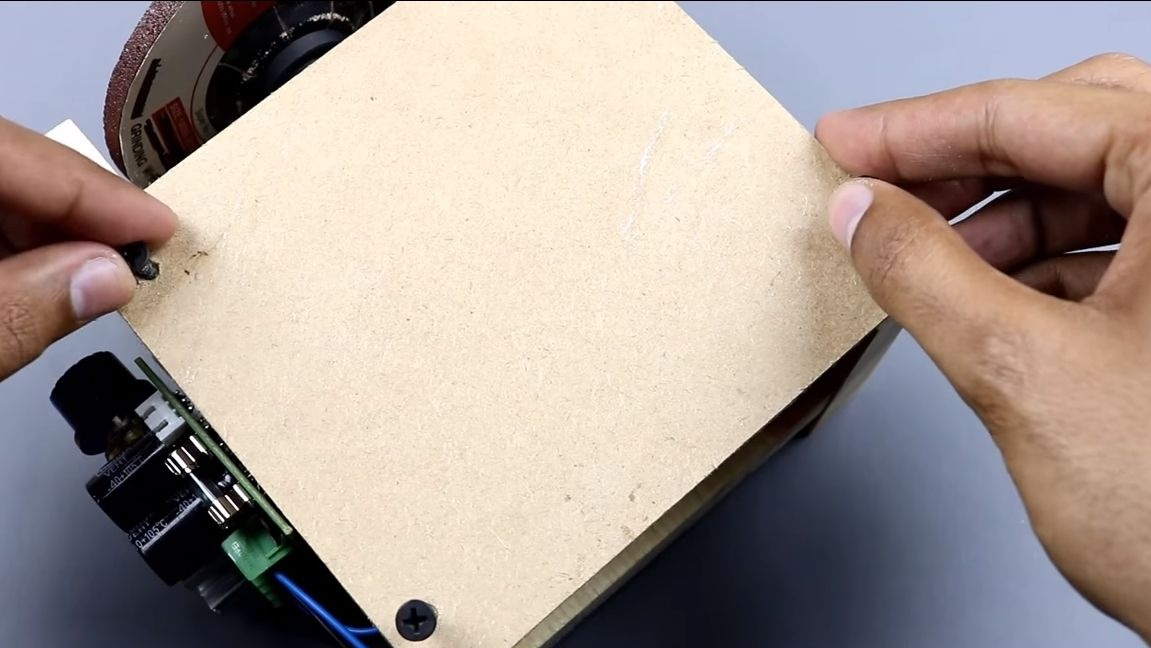
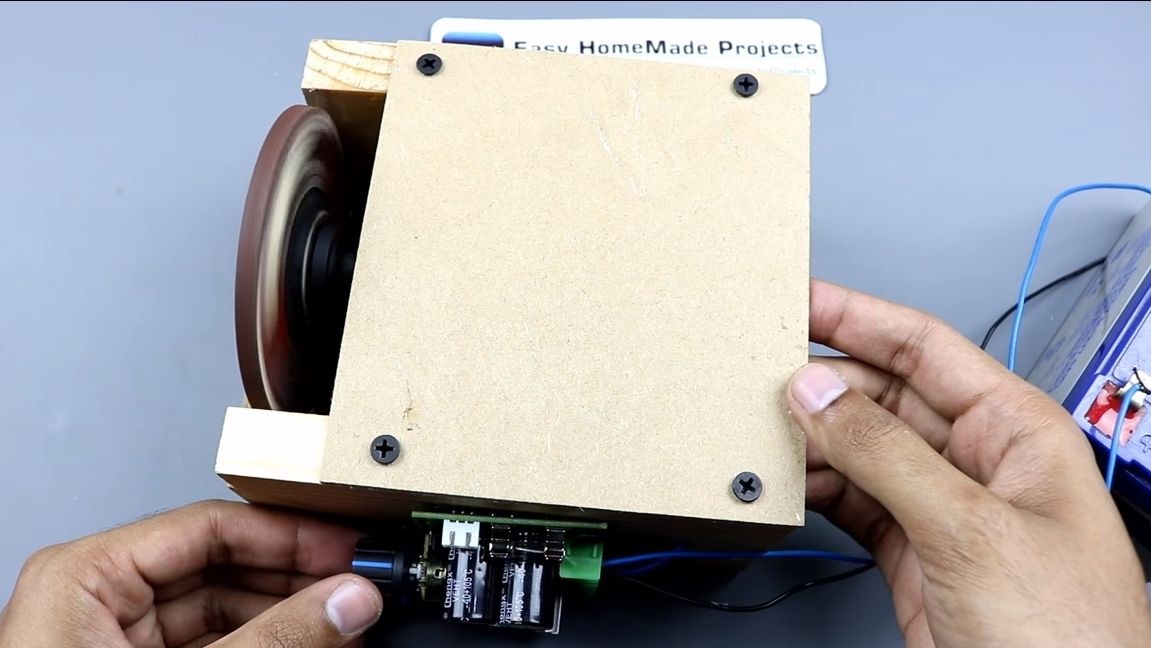
Next, we fix the side parts to the base, for this we drill holes and wrap the screws. For reliability, you can share wood glue. Install the plywood cover and shield as well. But then you need to remove the cover, as the motor has yet to be connected.
Step Three The final stage of assembly of the machine
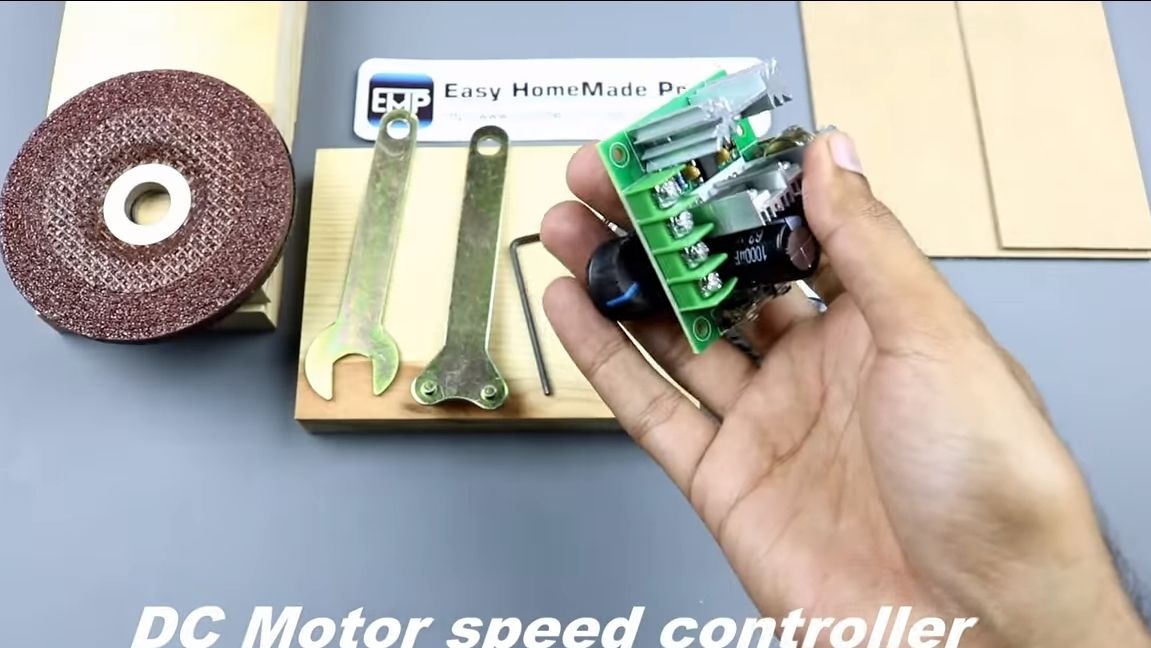
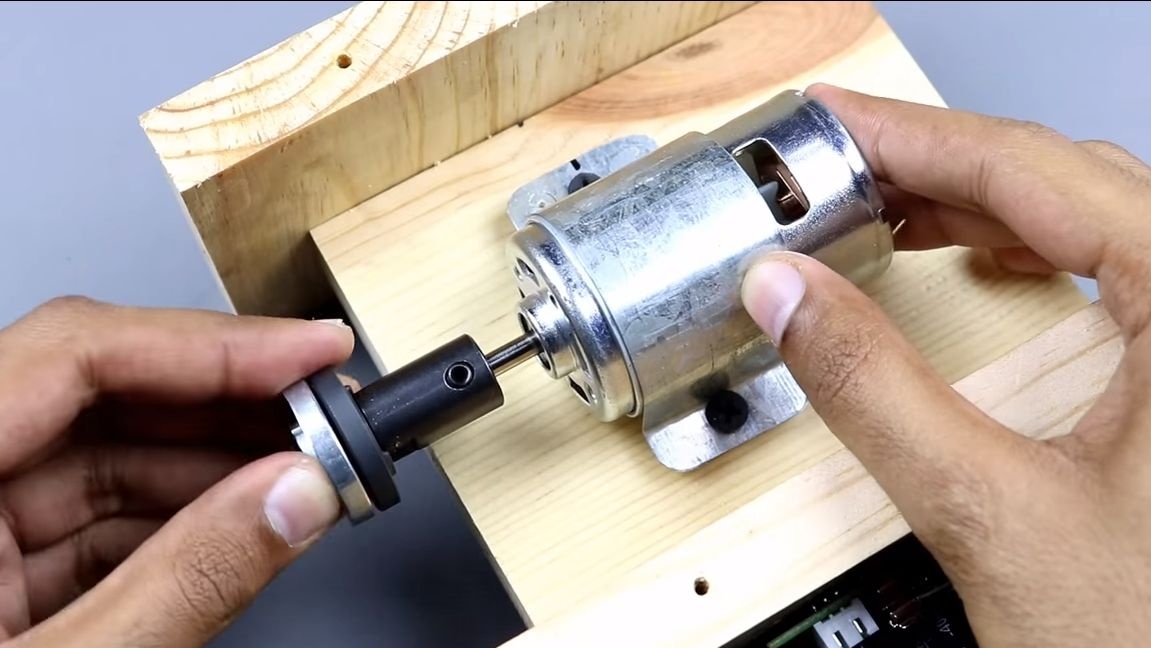
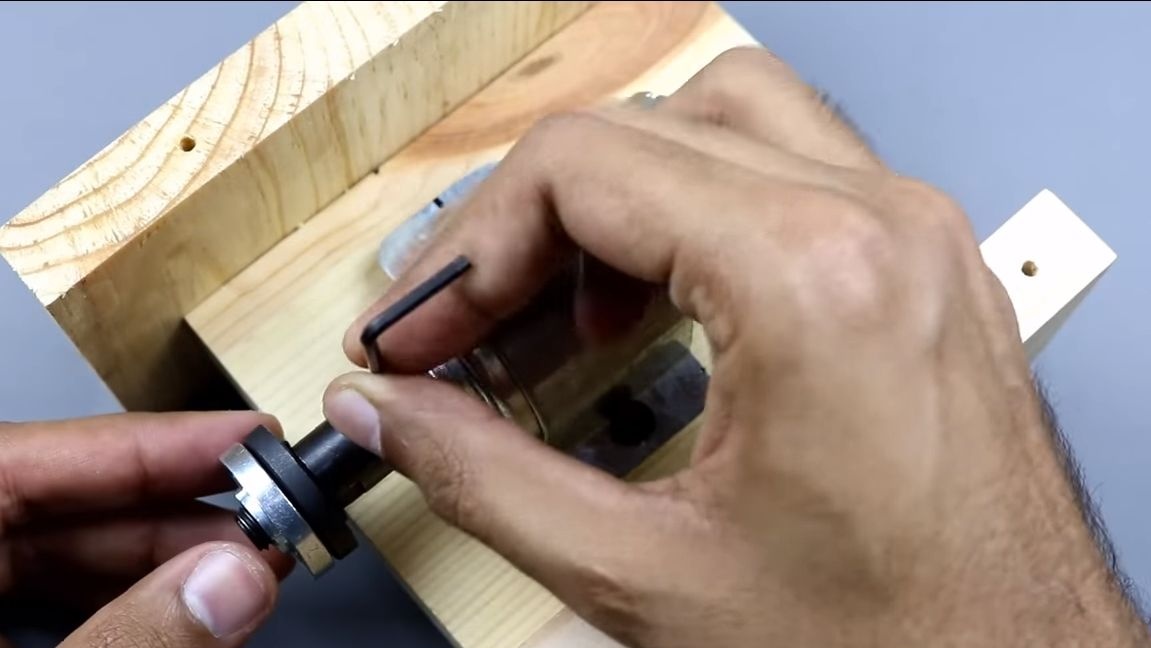
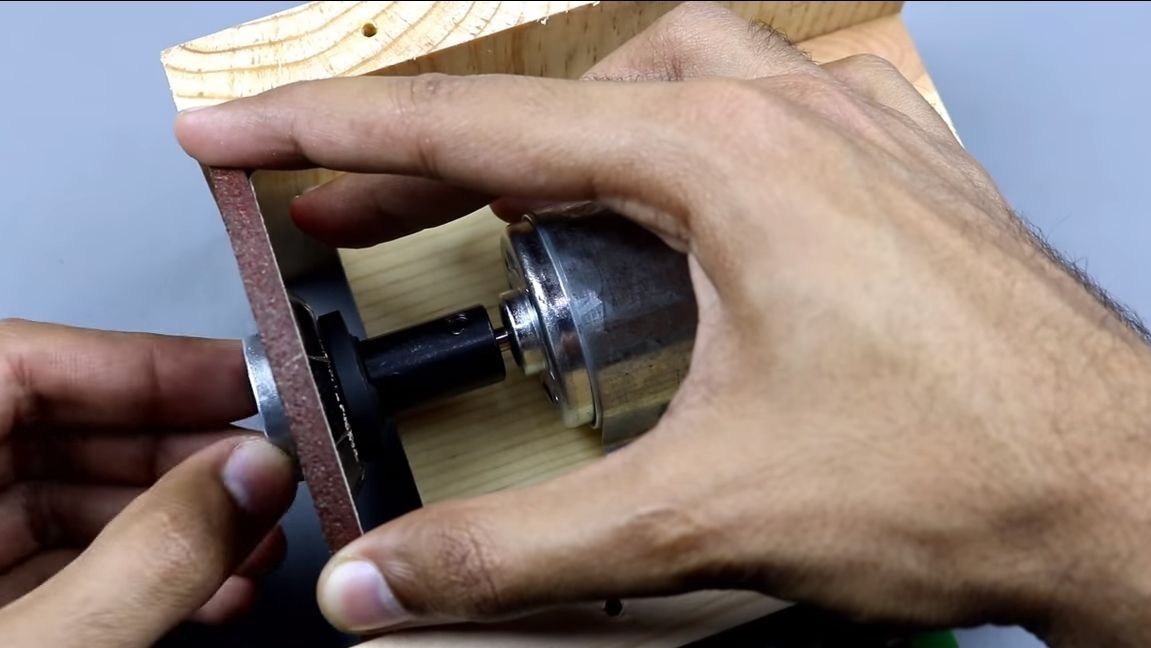
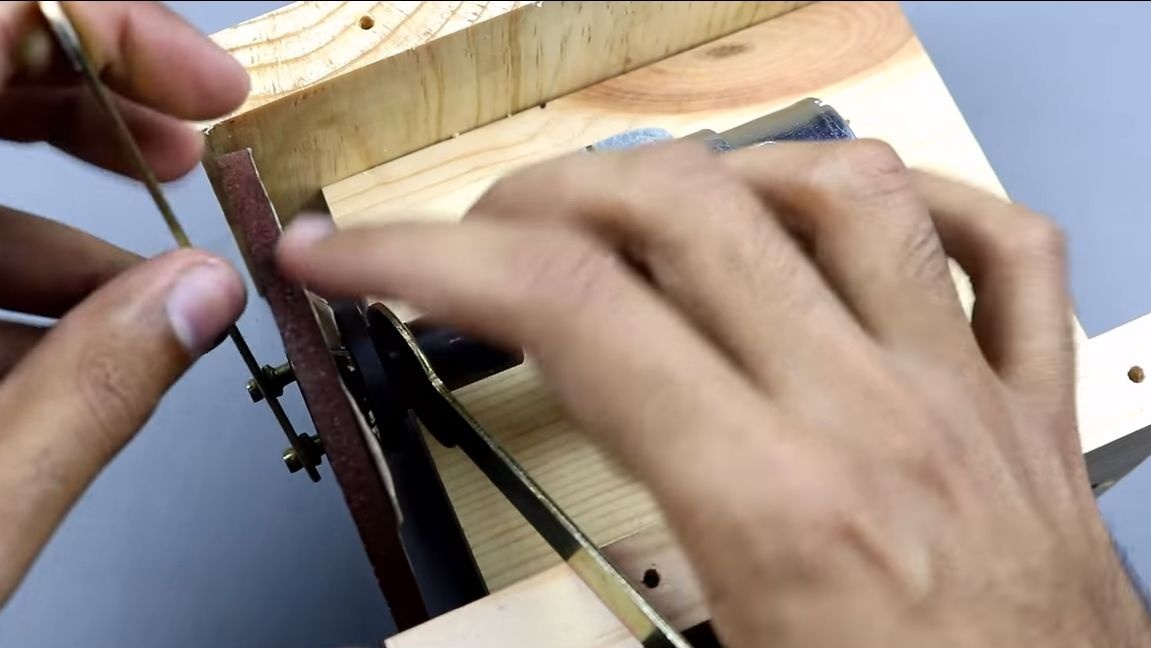
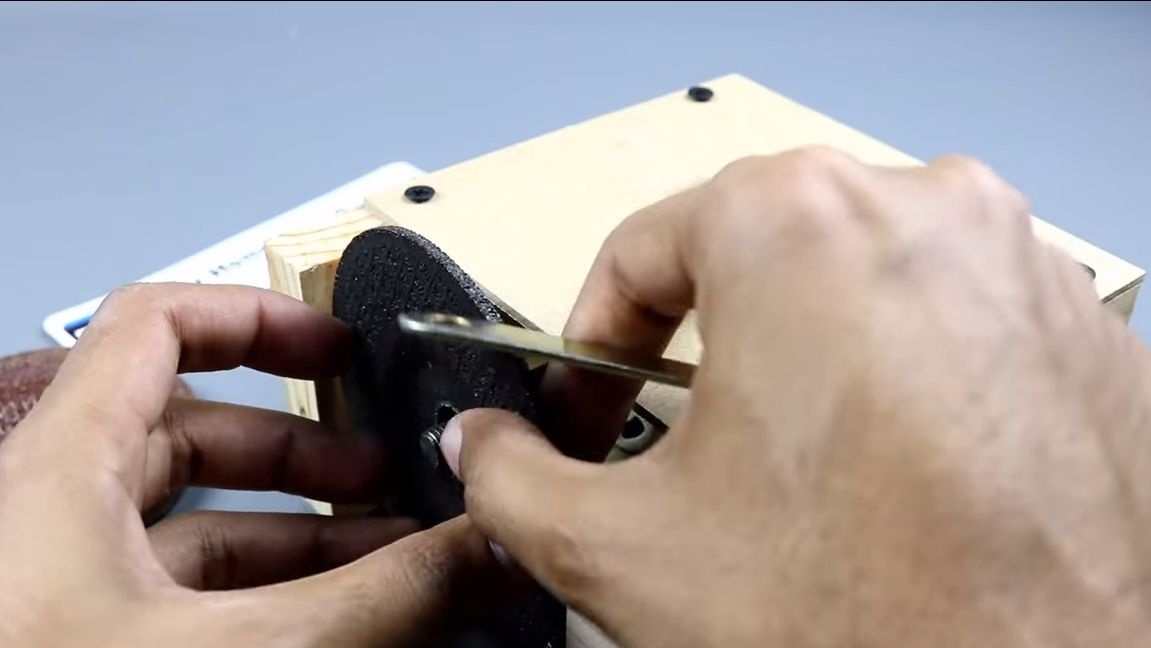
The machine is almost ready, it remains only to fix all the nodes in their places. First, set the speed control. The author fastens it in a suitable place using self-tapping screws. Next, install the adapter on the motor shaft, it is attached using several screws that are wrapped with a hex wrench. Well, after that you can install the grinding disc. Tighten the nut well using the keys for the grinder.
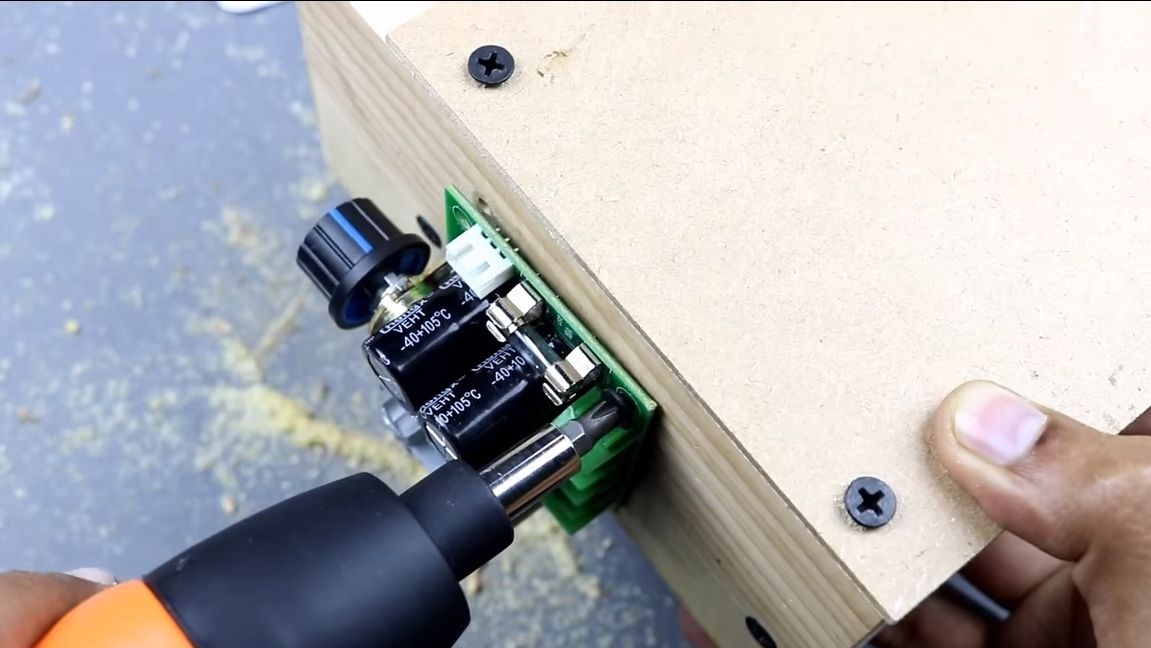
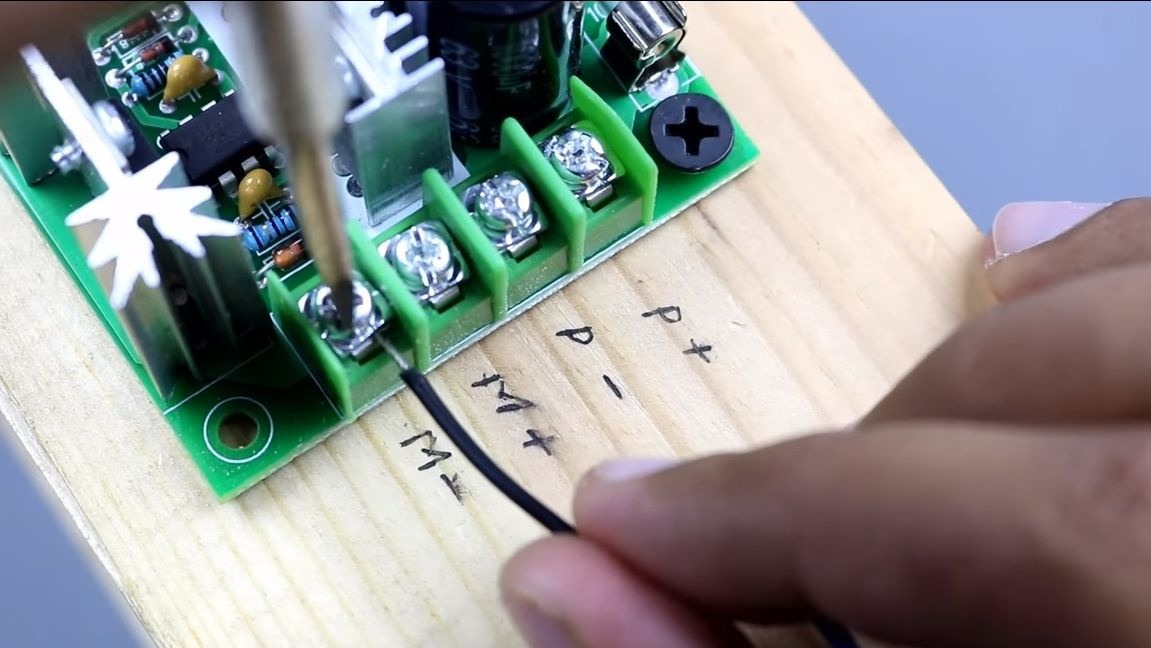
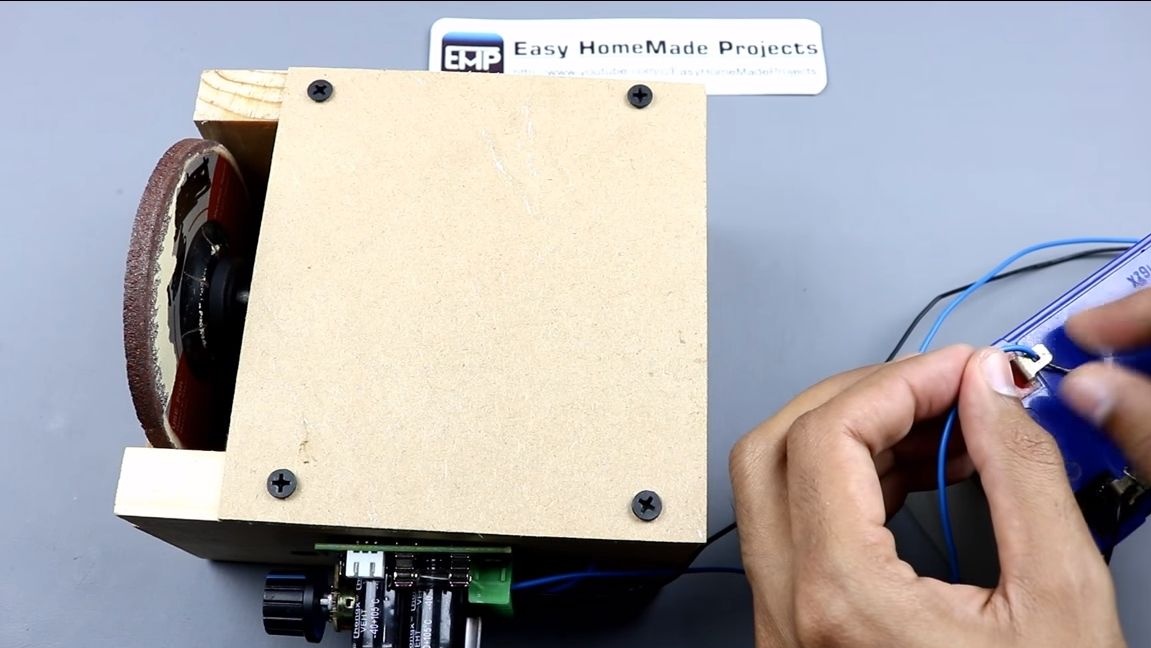
That's all, the machine is almost ready. We take the wires and the soldering iron, in accordance with the scheme we connect the wires. When everything is ready, install the lid and connect the battery. When starting, the grinding disk should rotate away from you; if it is not, we change the polarity. Otherwise sparks will fly into the eyes.
Step Four Challenges!
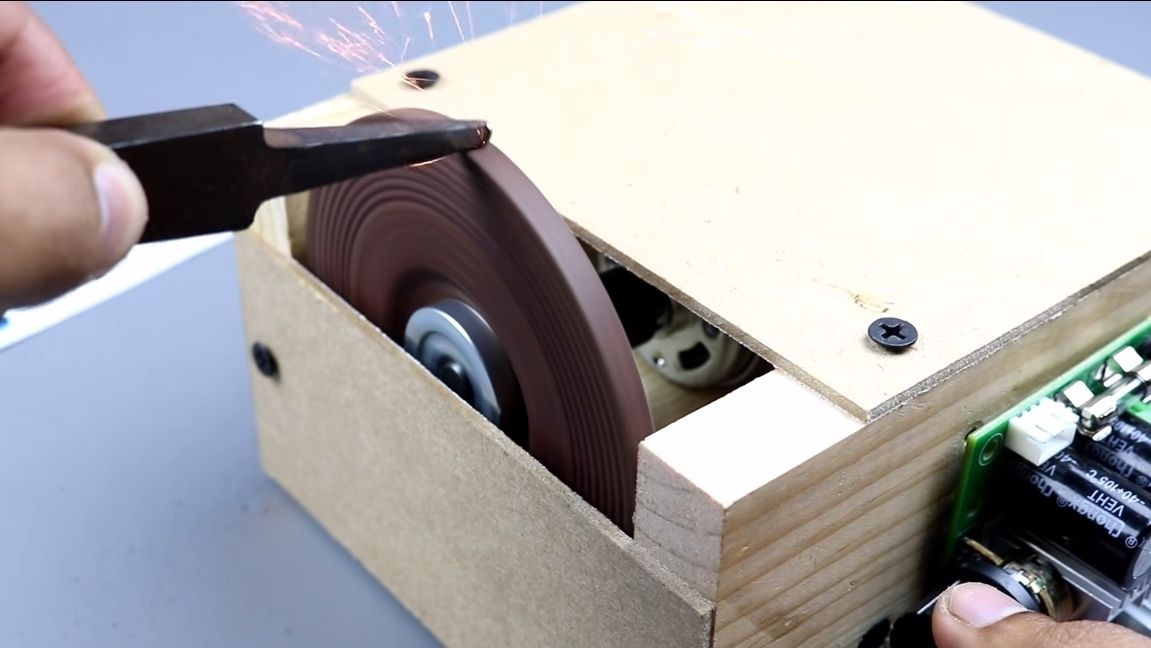
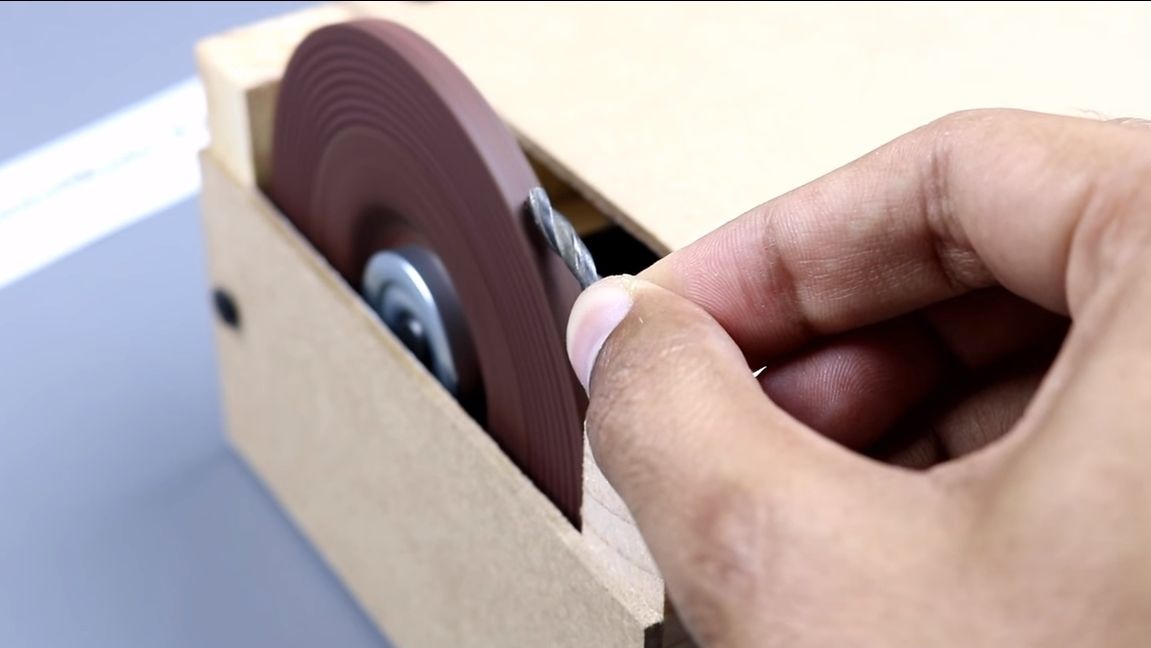
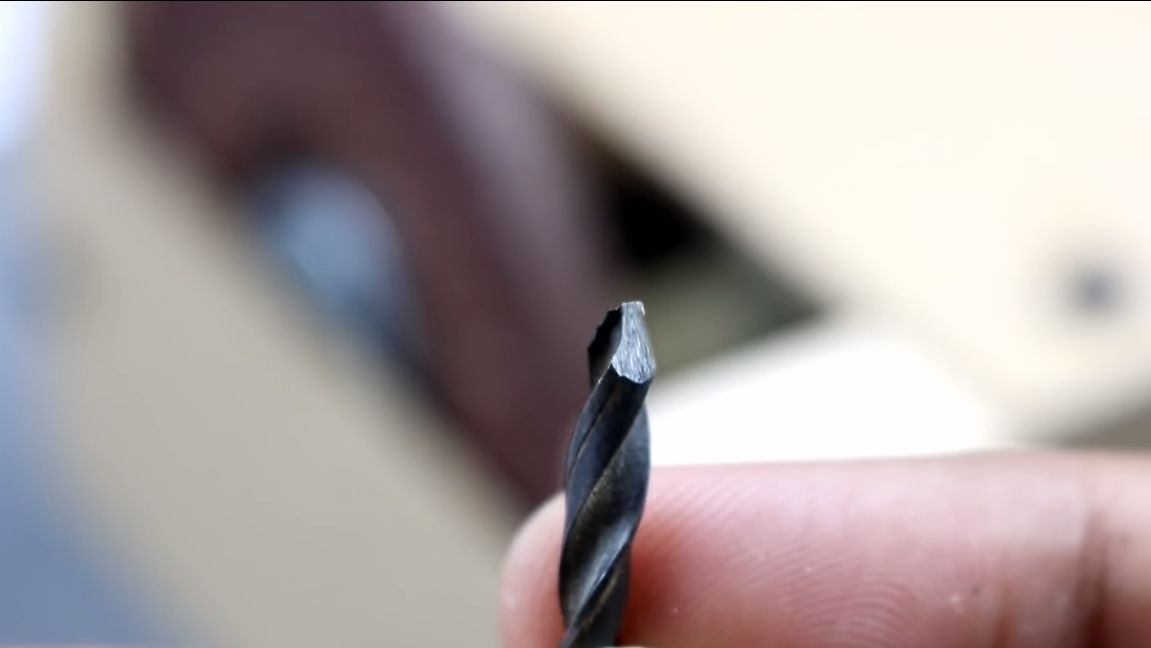
Our machine is ready, you can test it! As an experiment, the author installed a grinding disk. By smoothly turning the knob on the controller, you can adjust the desired number of revolutions. So, for example, when sharpening and processing very small objects, it is better to set the revolutions less so as not to overheat the product. The author easily grinds a drill on a sharpener.
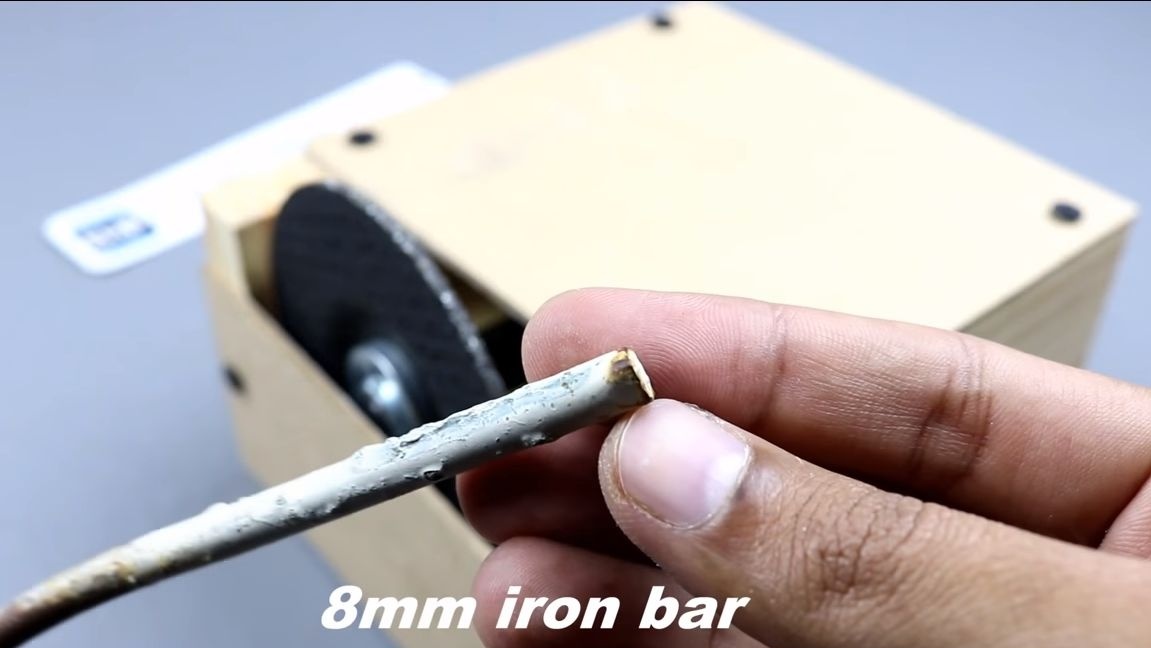
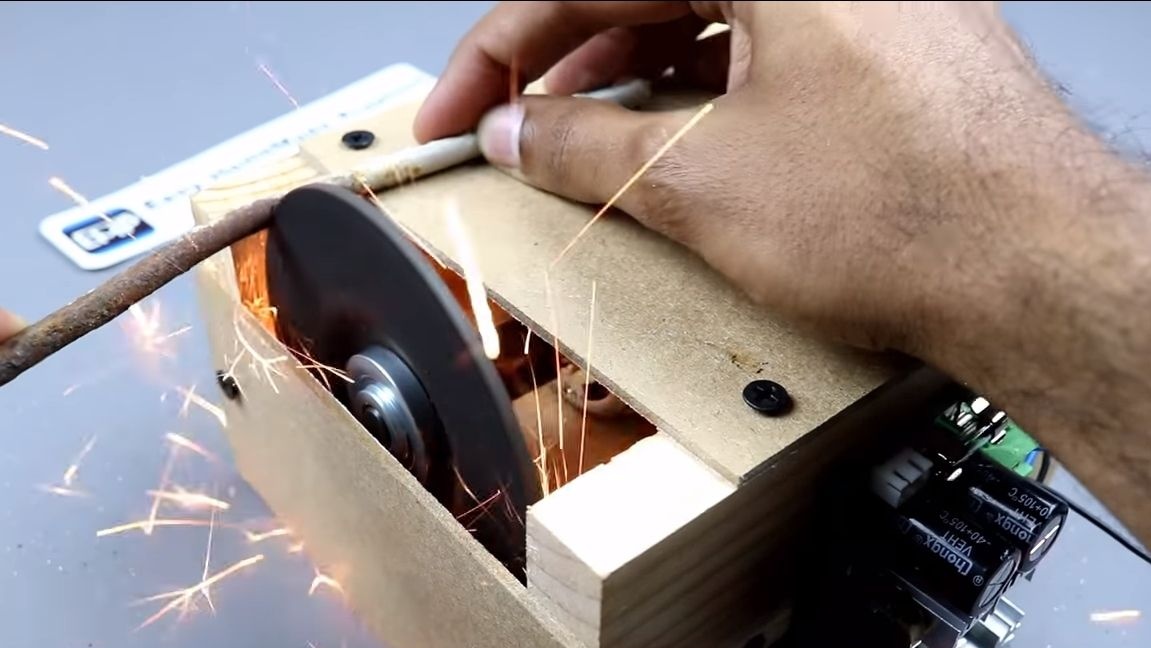
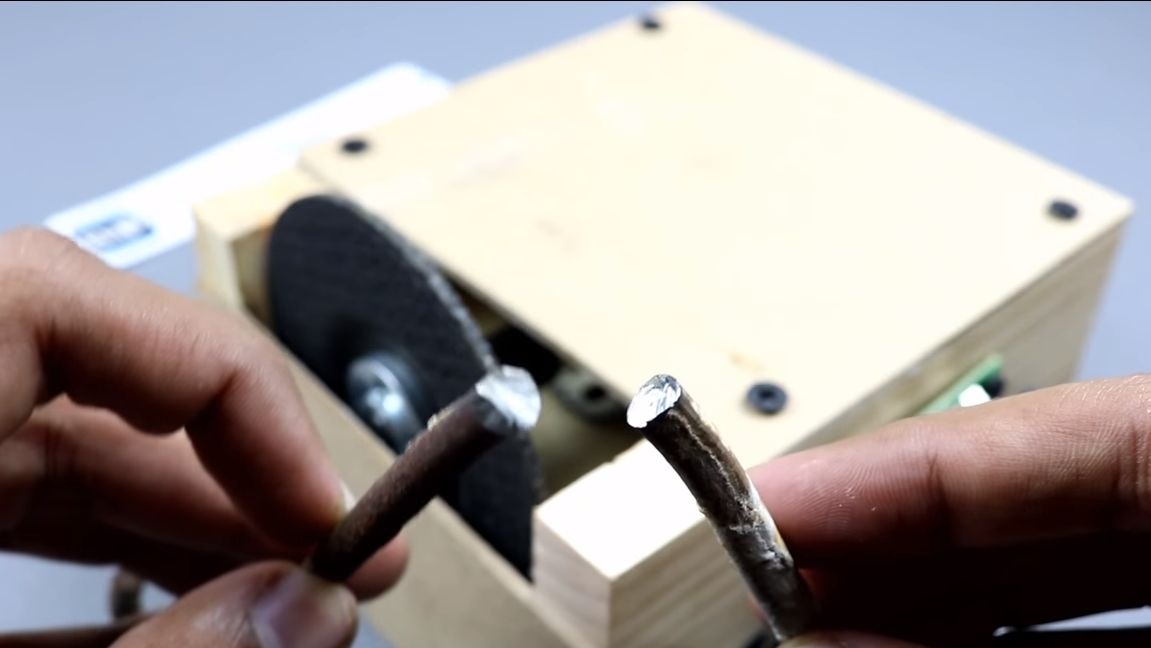
Next, try to use the machine as a cut-off! Install the cutting disc on the adapter and test it in practice. The author easily cut a steel rod 8 mm thick on the machine.
As a conclusion, the machine turned out to be quite good and very easy to assemble, anyone can handle its production. In everyday life, such a machine will be very useful, in addition, do not forget that our machine is mobile, since it can be powered by a battery.
As for the improvements, it is advisable to install a switch on the machine. So you can start and turn off the machine with one touch of a finger, leaving the speed settings at a given level. The wooden case for protection can be painted.
That's all, I hope you enjoyed the project. Good luck and inspiration in making your own grinder! Do not forget to share your best practices with us.