In this manual, we will look at how do it yourself make a pedal whetstone. Now for you a power outage will not be an obstacle to sharpen a knife, an ax and so on. Yes, and you won’t need to pay for electricity, because only the muscular power of a person is used to operate the device.
This installation is convenient to have in the country, now your shovels, hoes, axes and other tools will always be sharp! You can not be afraid that the installation will be stolen, because it is assembled from practically waste materials. In addition, on such a machine you can always pump up the leg muscles.
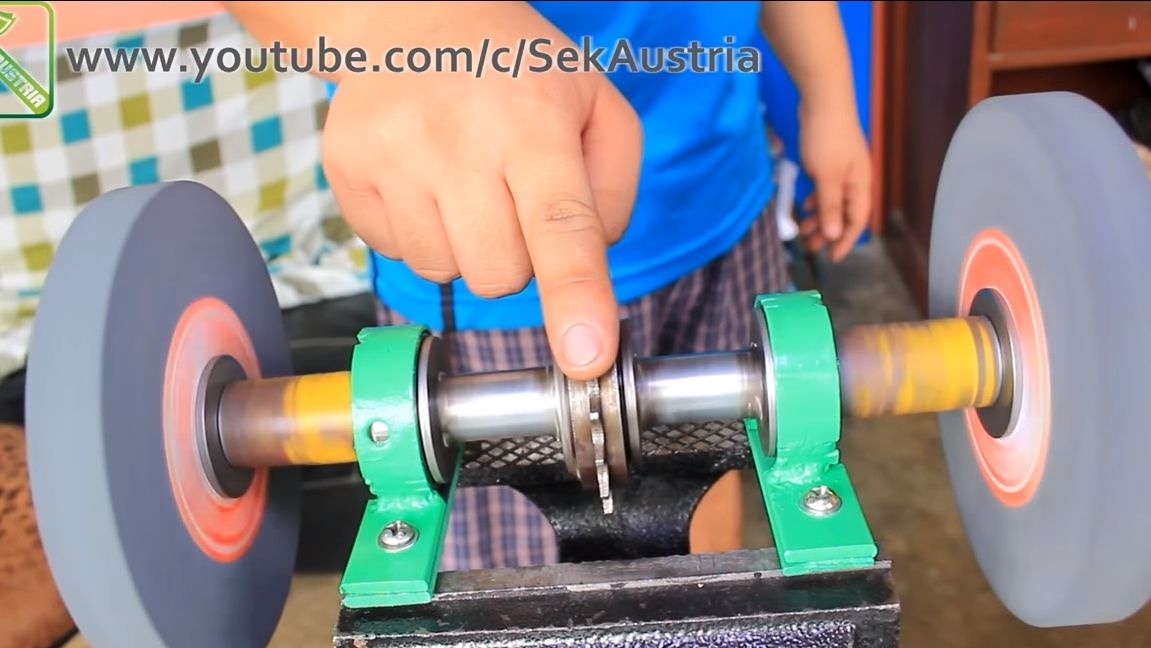
The grinding machine is going to be quite simple, basically here you need to work as a grinder and welding. In total, two disks are installed on the device, this increases the mass of the working drive, due to which it rotates longer. Well, of course, the presence of two grinding wheels expands the functionality.
As nodes for transmitting movement, the author used a chain transmission from a bicycle. The frame is also made of available elements, these are corners, plates, square pipes and the like. The most valuable thing you will need to find are bearings for the working shaft, but they are not expensive, and it’s easy to find. So, we will consider in more detail how to assemble a sharpener.
Materials and tools used by the author:
Material List:
- two grinding wheels;
- steel corner;
- steel plates;
- square pipe;
- sprockets and chain from a bicycle;
- steel pipe (for the manufacture of the shaft);
- washers and nuts;
- bearings;
- spring;
- sheet aluminum;
- paint.
Tool List:
- ;
- welding machine;
- ;
- spanners;
- a vise.
The process of manufacturing a grinding machine:
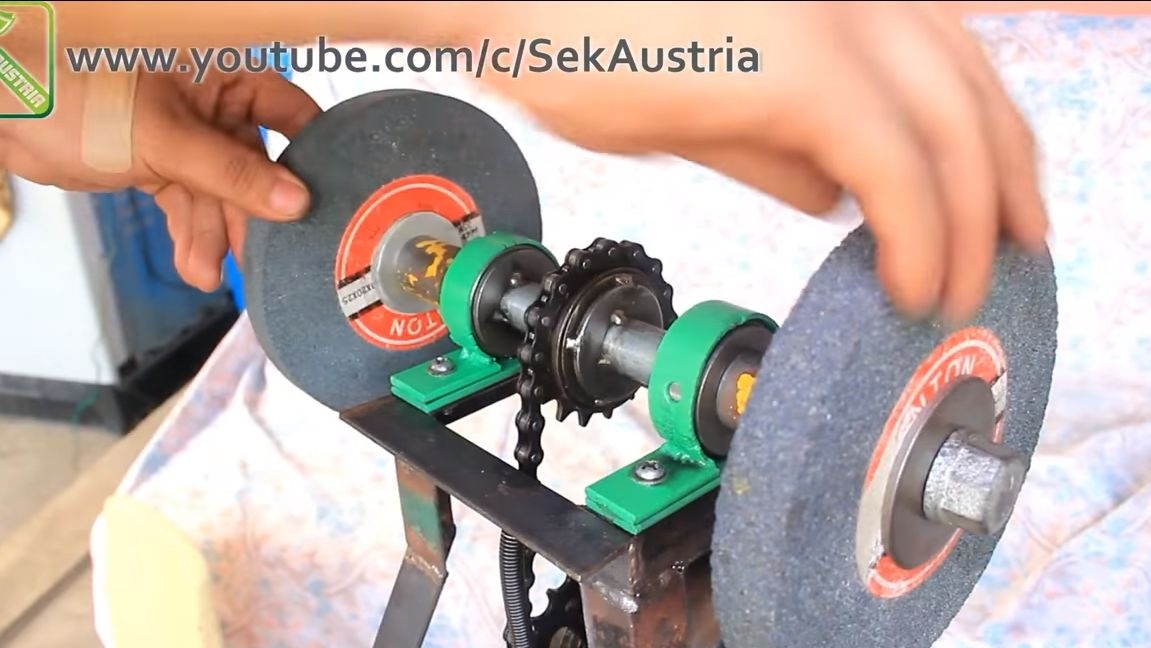
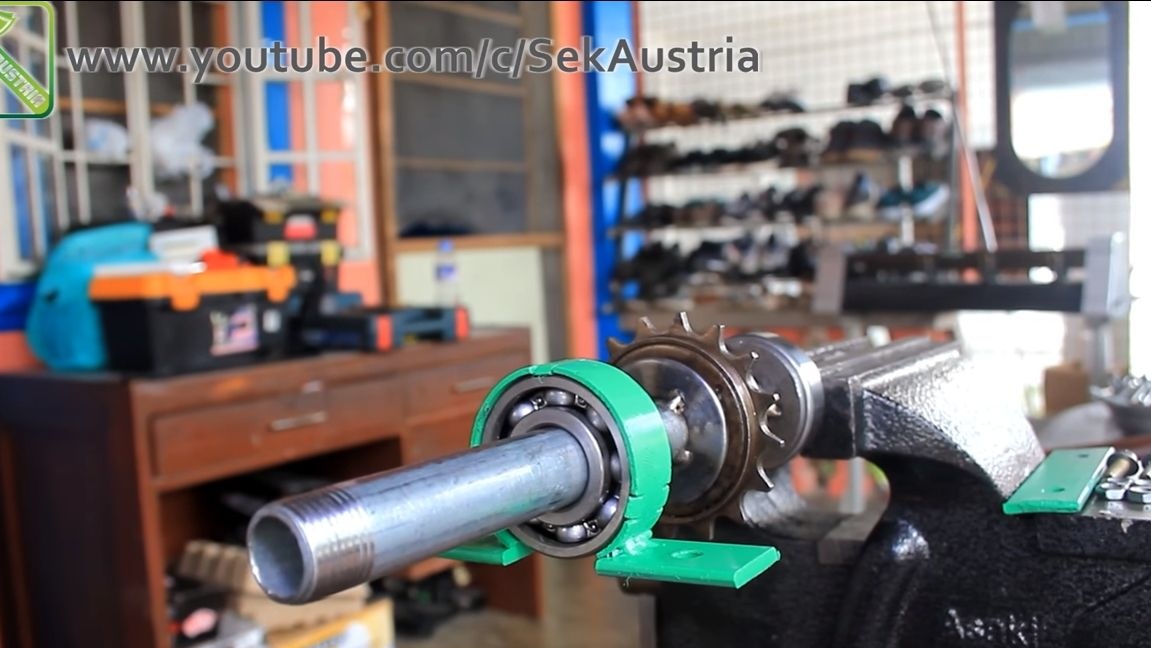
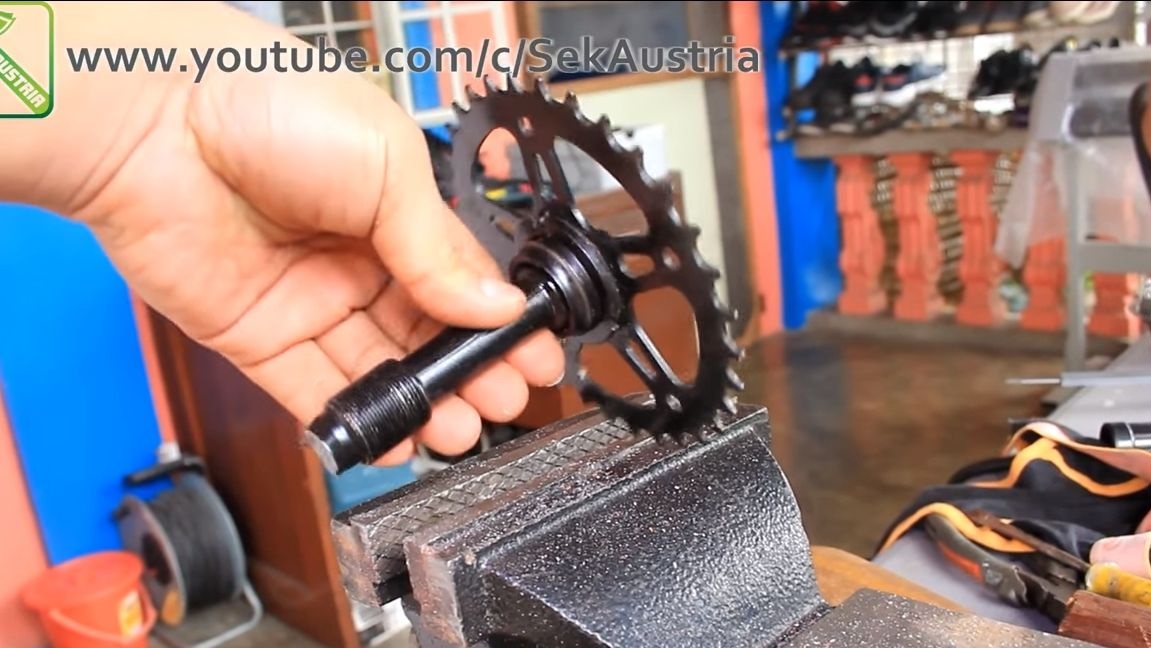
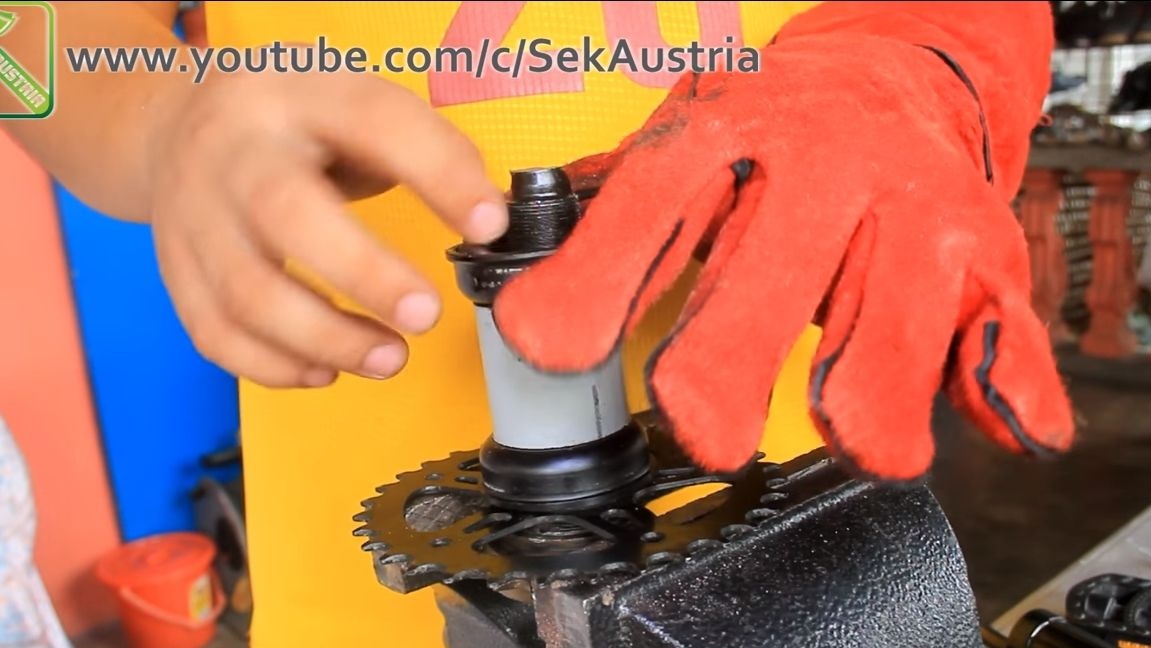
Step one. Install a driven sprocket on the shaft
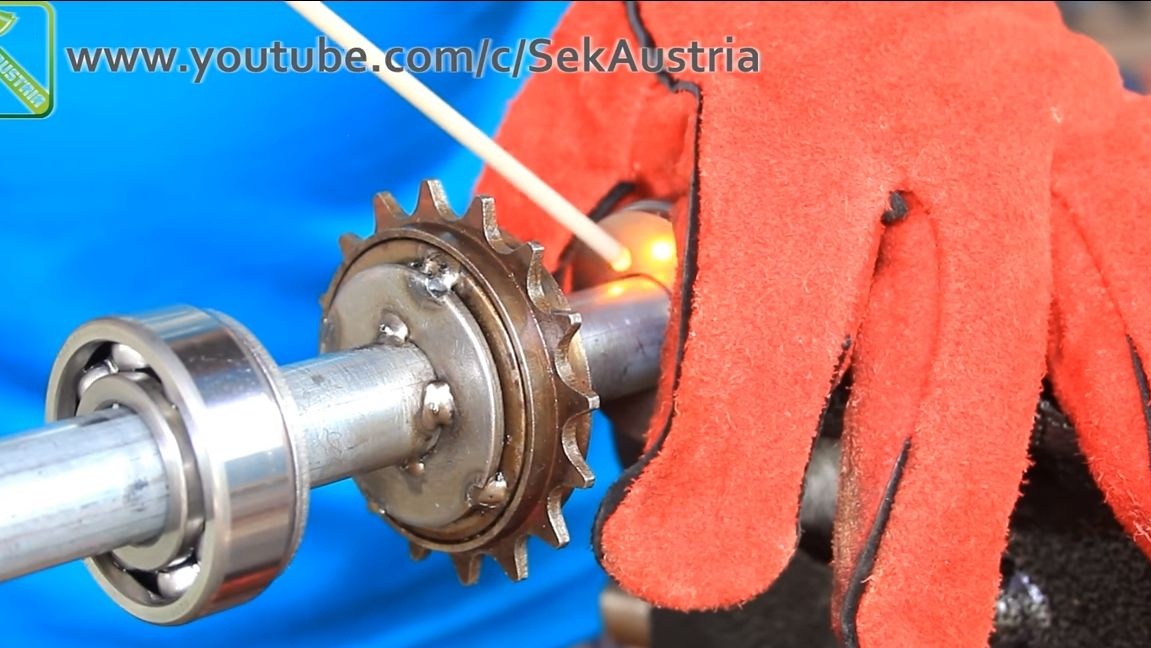
The driven sprocket is used in a small size, and the drive of a large one is all in order to get high speed when you press the pedal. The rear bicycle sprocket with a ratchet is used as an asterisk. As a result, when you press the pedal once, the ratchet will work, and the grinding wheels will rotate for a while. This will save energy, since you do not need to continue to "pedal".
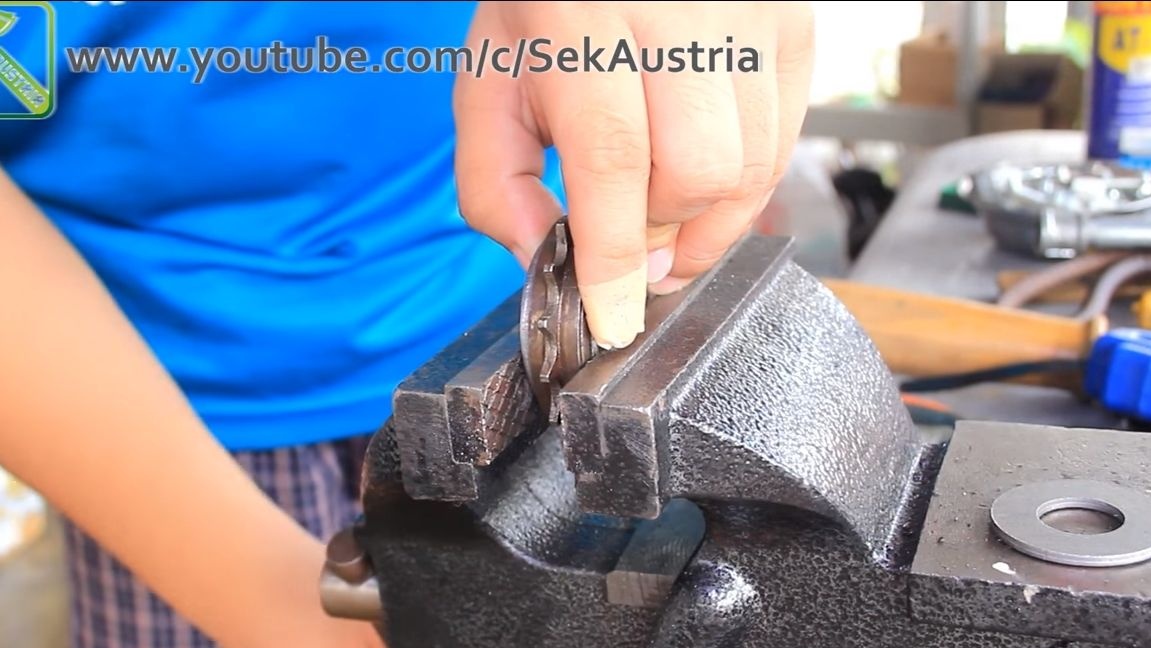
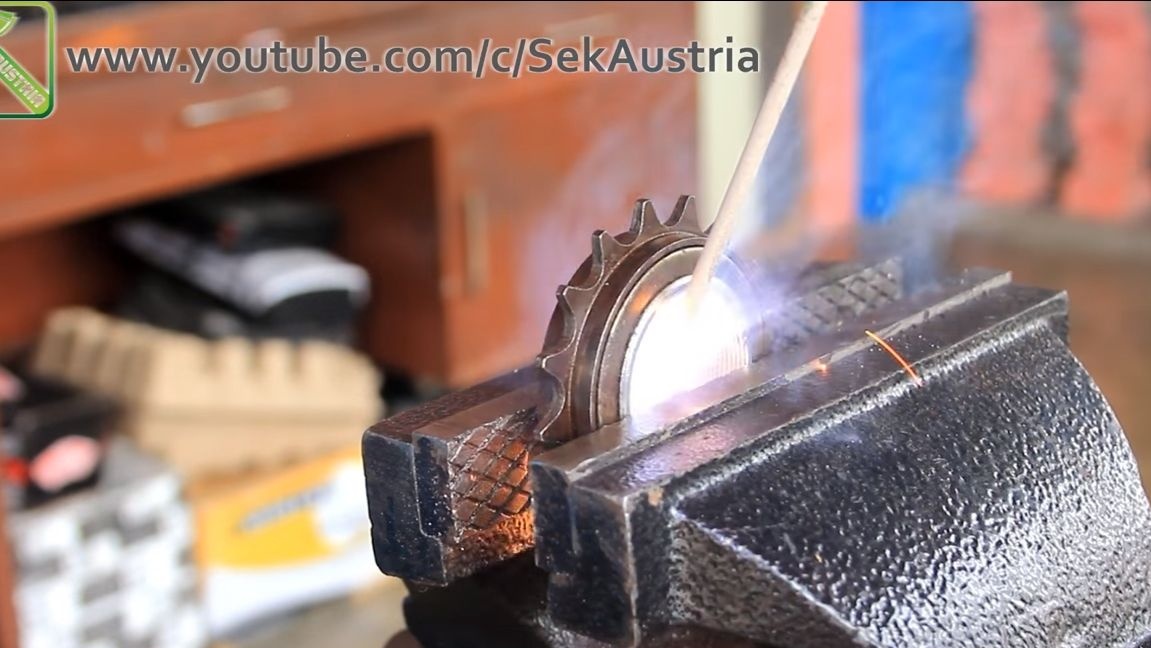
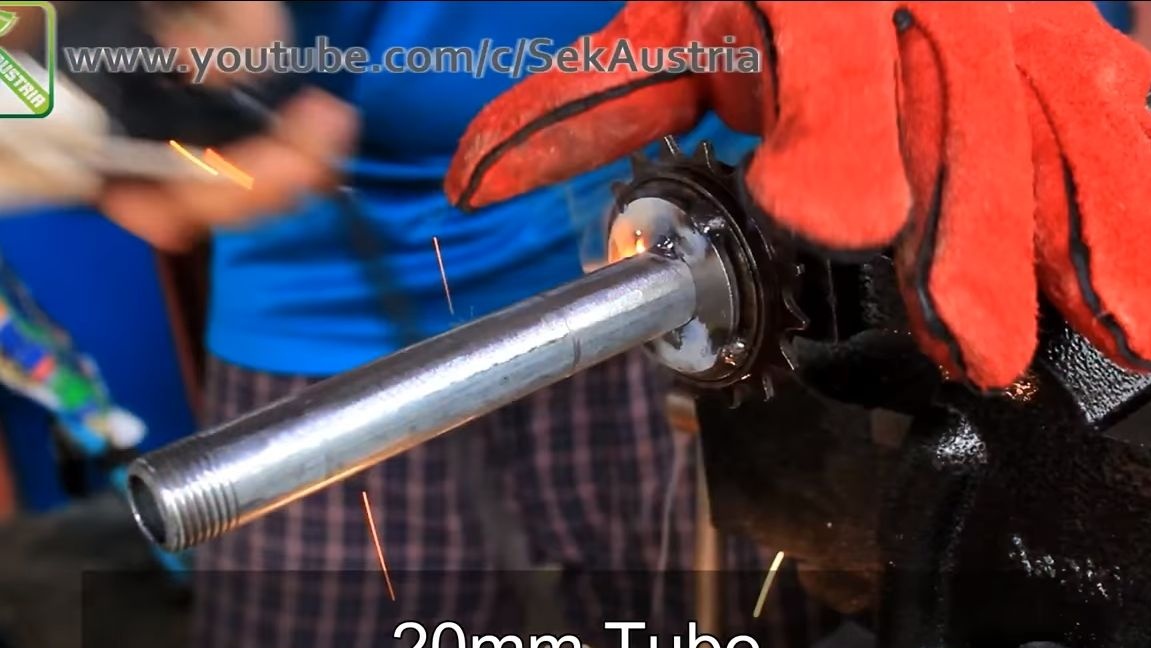
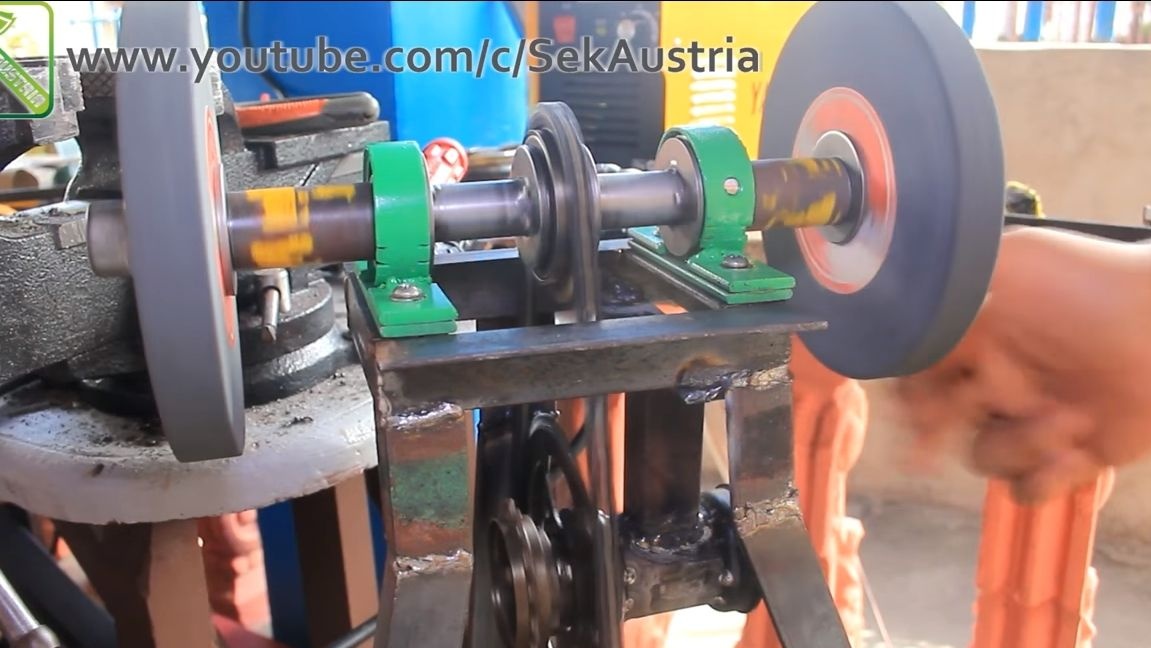
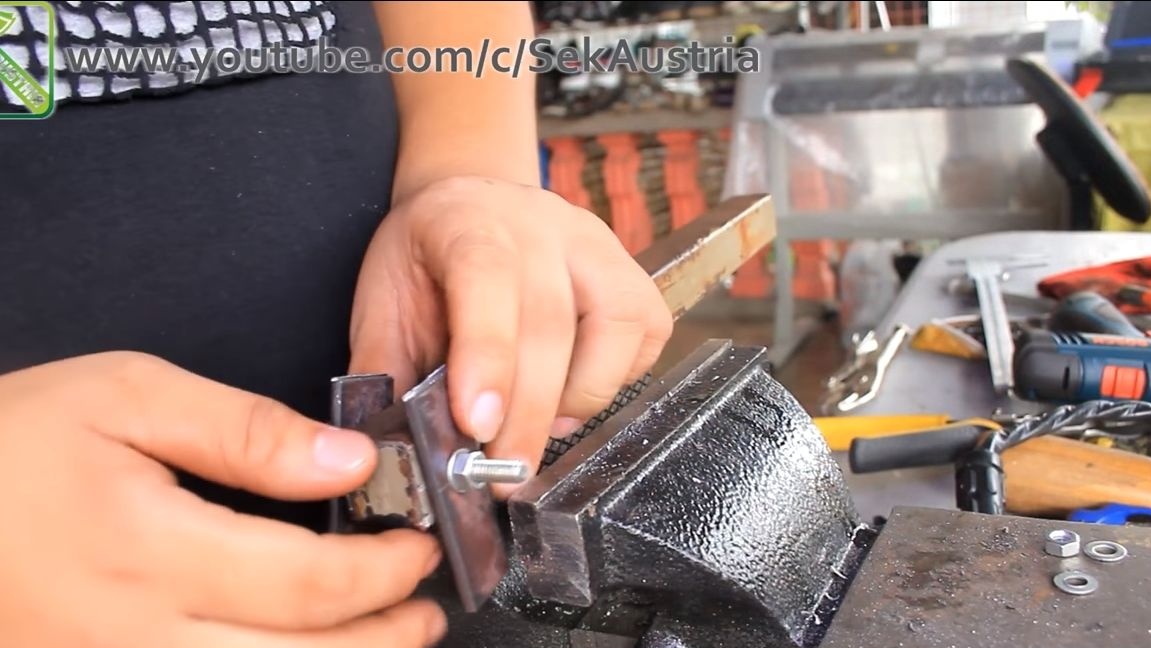
As a shaft, the author used a piece of pipe with a thread at both ends, thanks to the thread, we can screw the grinding disc with nuts. We put an asterisk on the pipe, we need to weld it to the pipe on the inside, that is, the ratchet should work.The author used steel washers as transition elements, and we weld an asterisk to them.
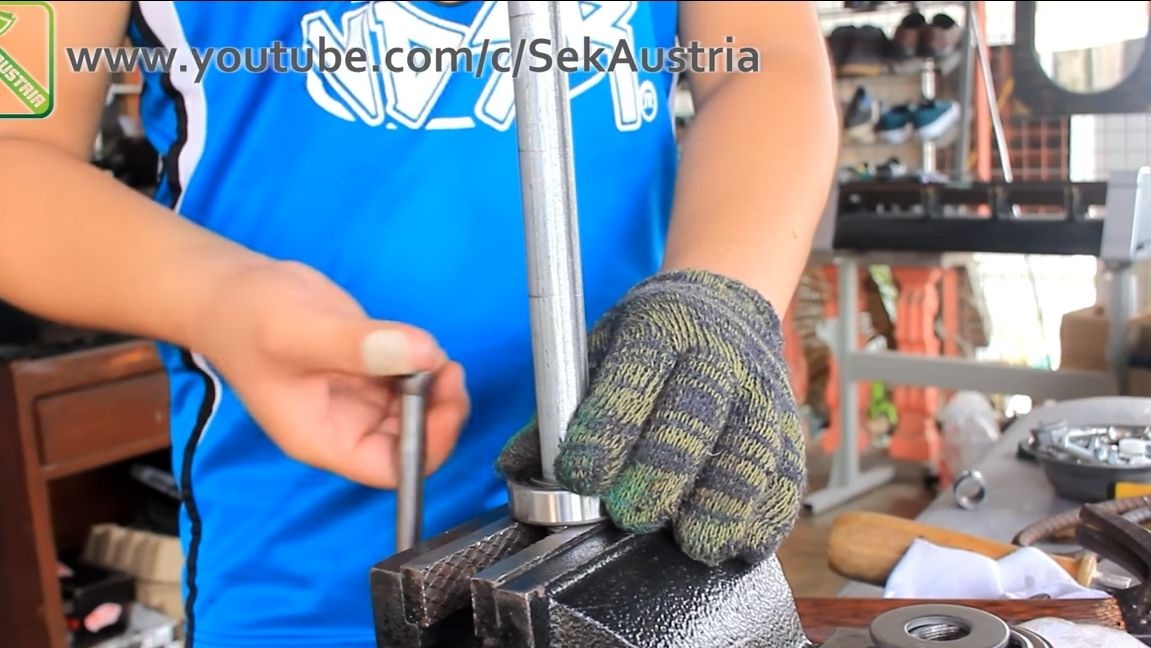
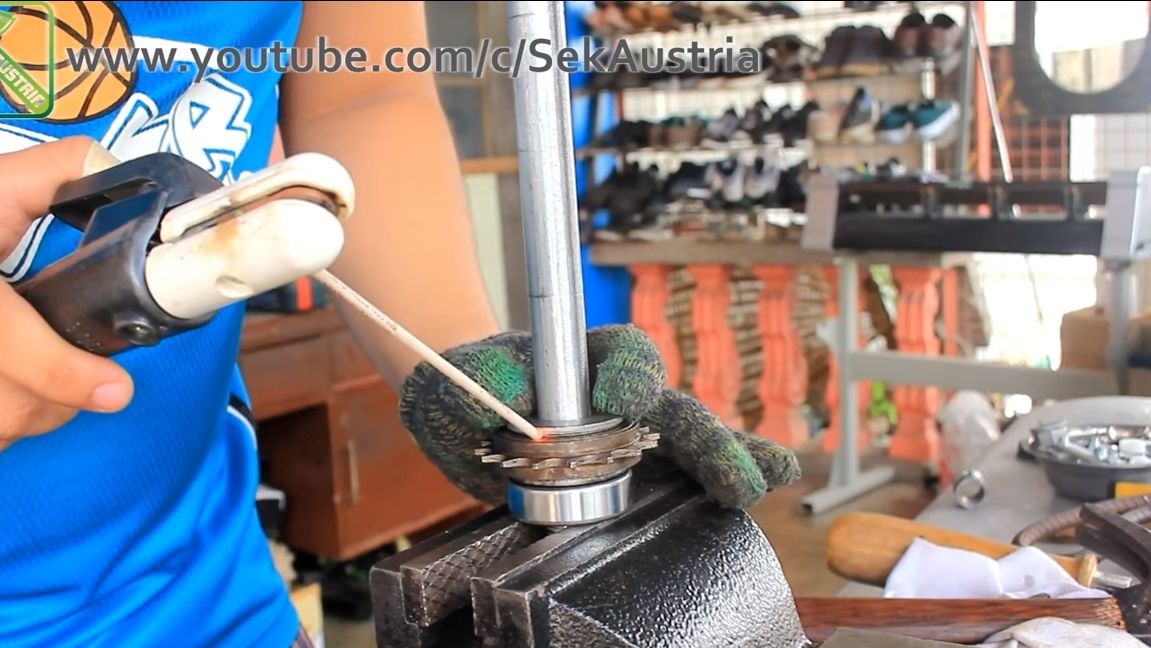
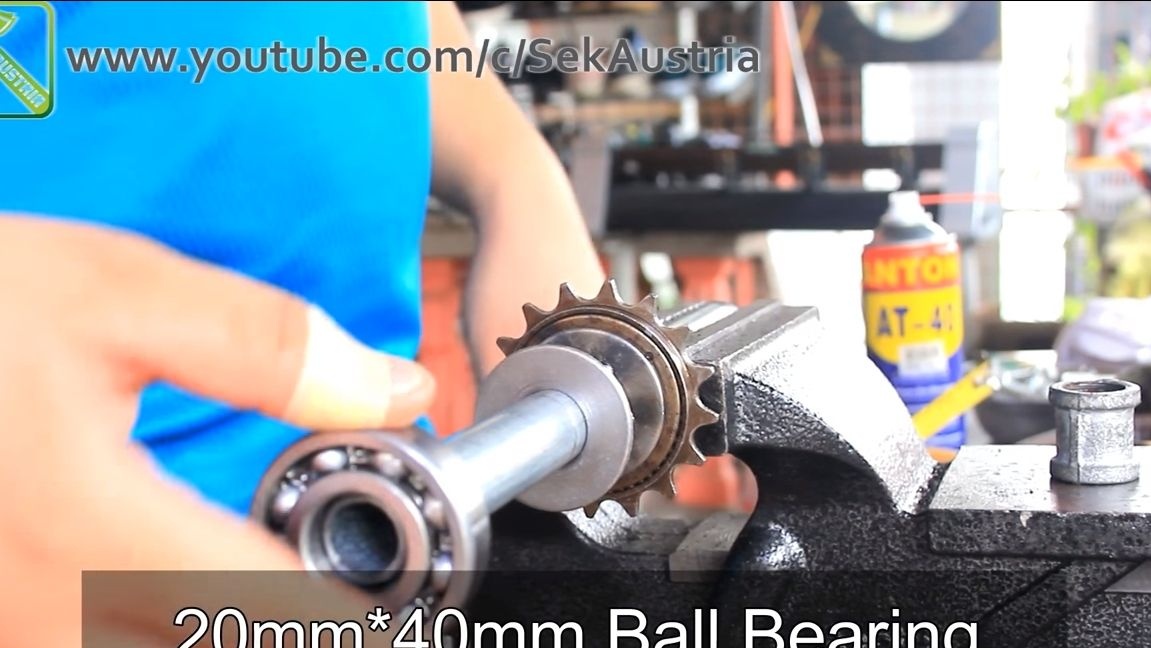
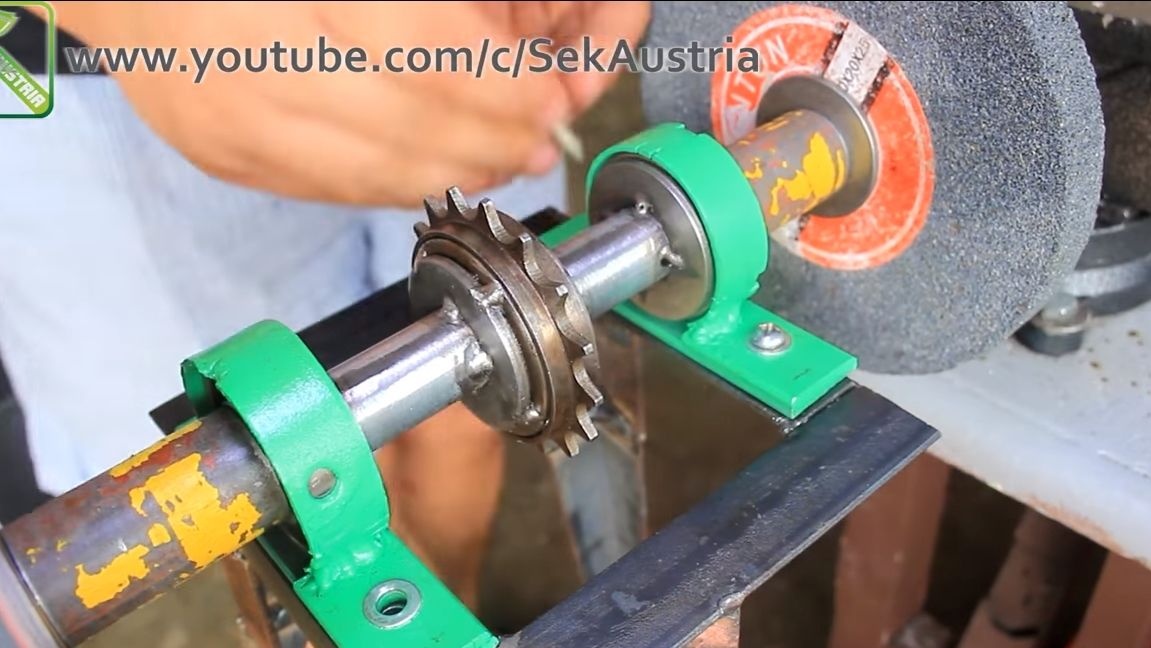
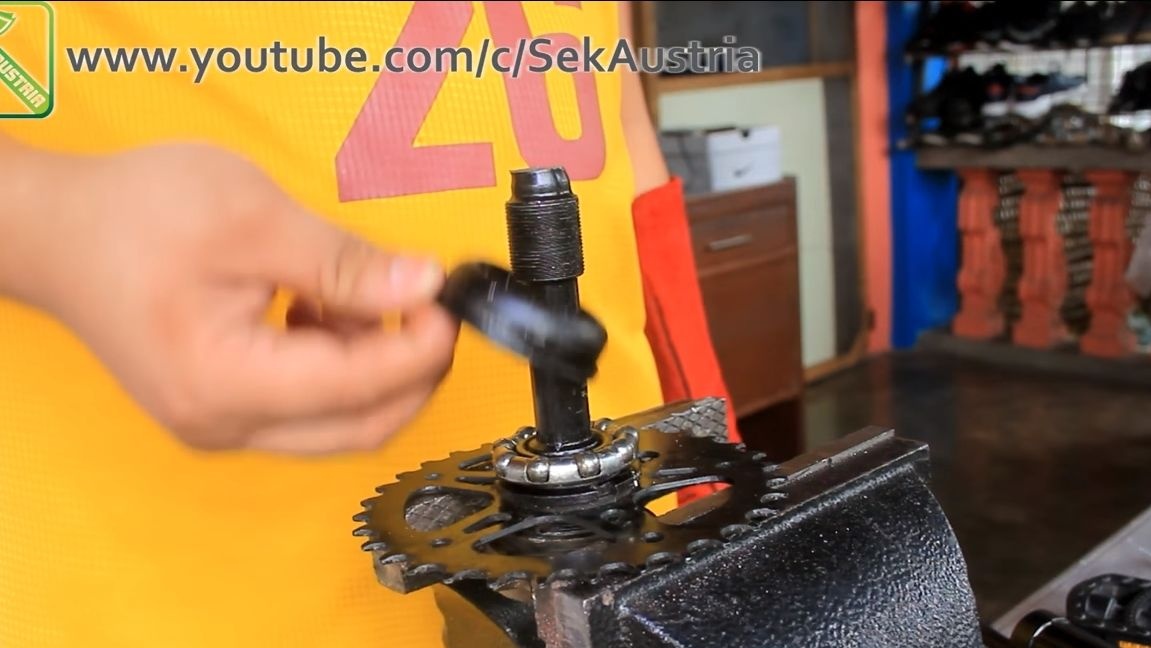
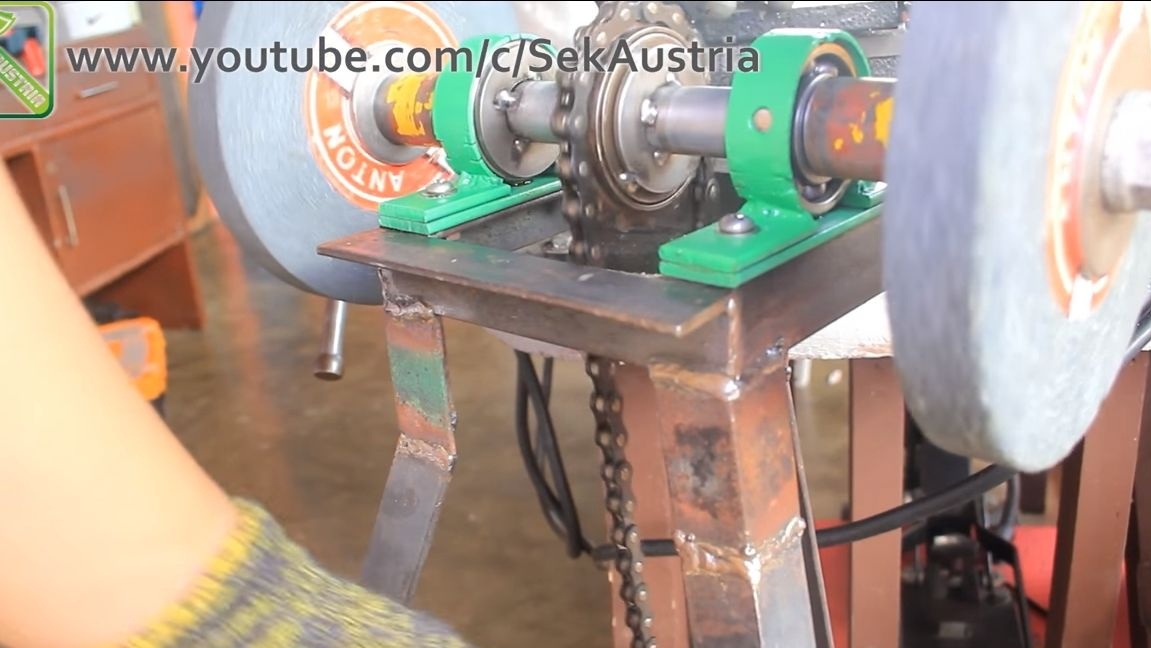
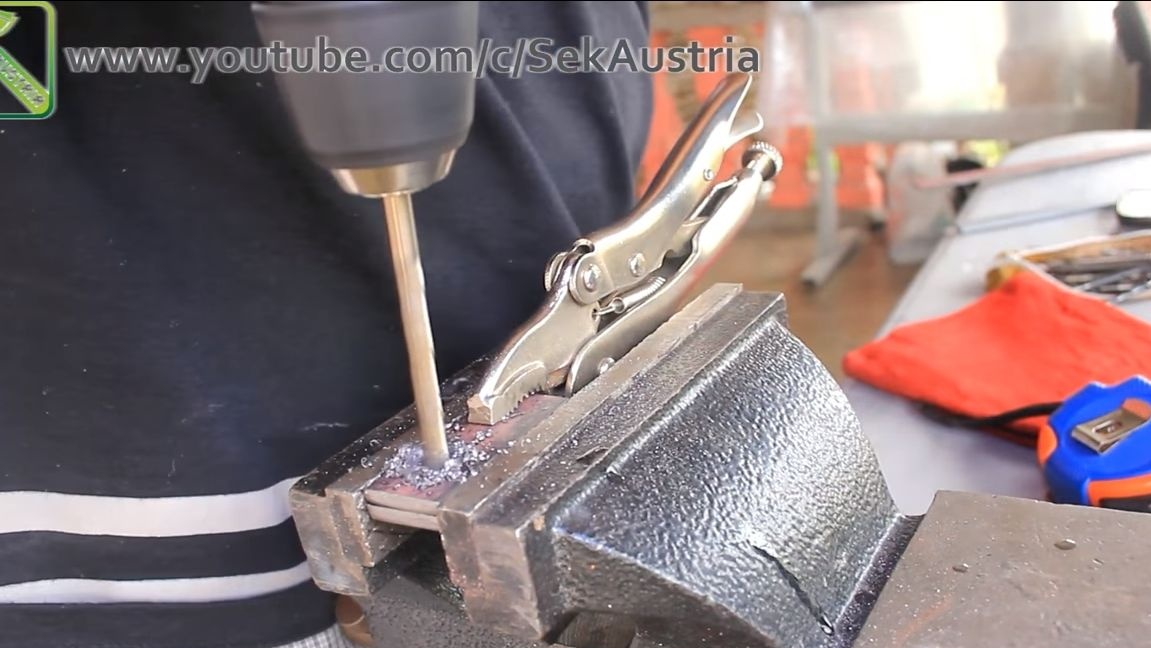
Step Two Bearing Installation
We select suitable bearings according to the shaft diameter. First of all, we put on the washers, and then the bearings. We weld the washers to the shaft, as a result, we get better bearings for the bearings. For mounting bearings, you will need to make clamps from sheet steel, you can buy ready-made ones. In the photo, the fasteners are painted green.
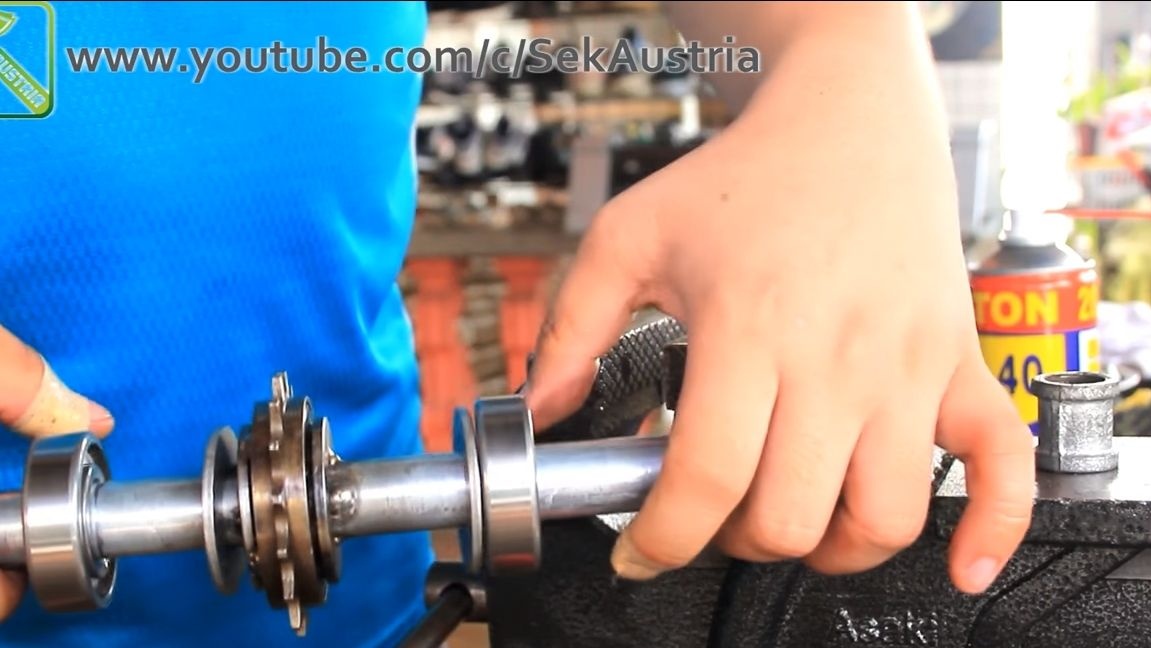

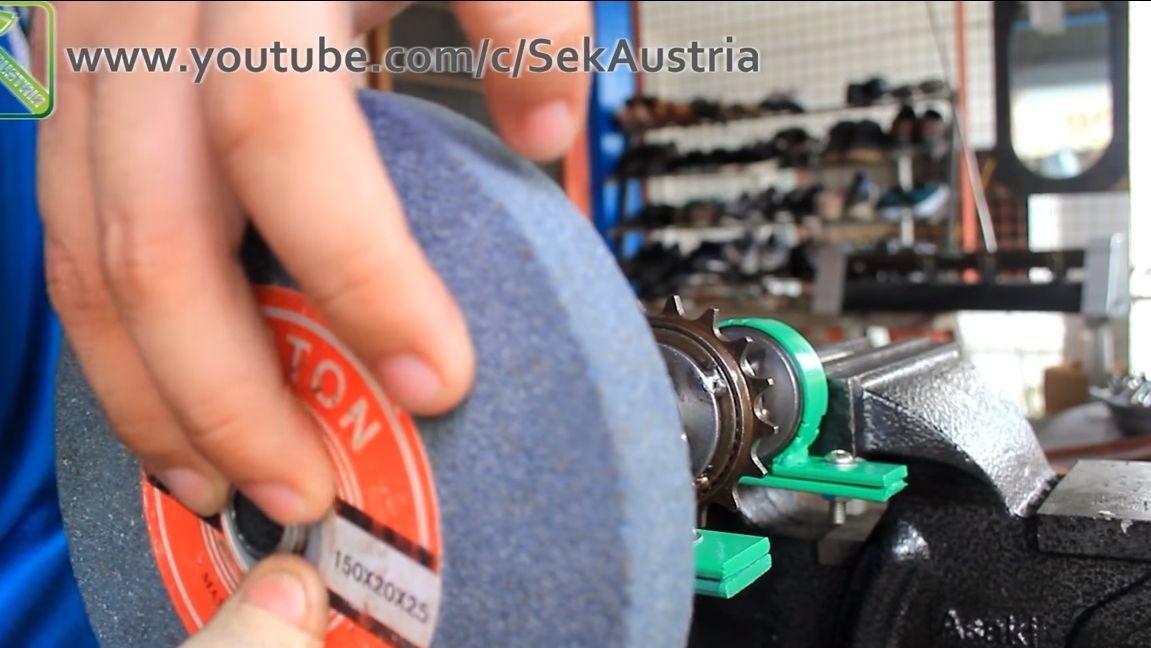
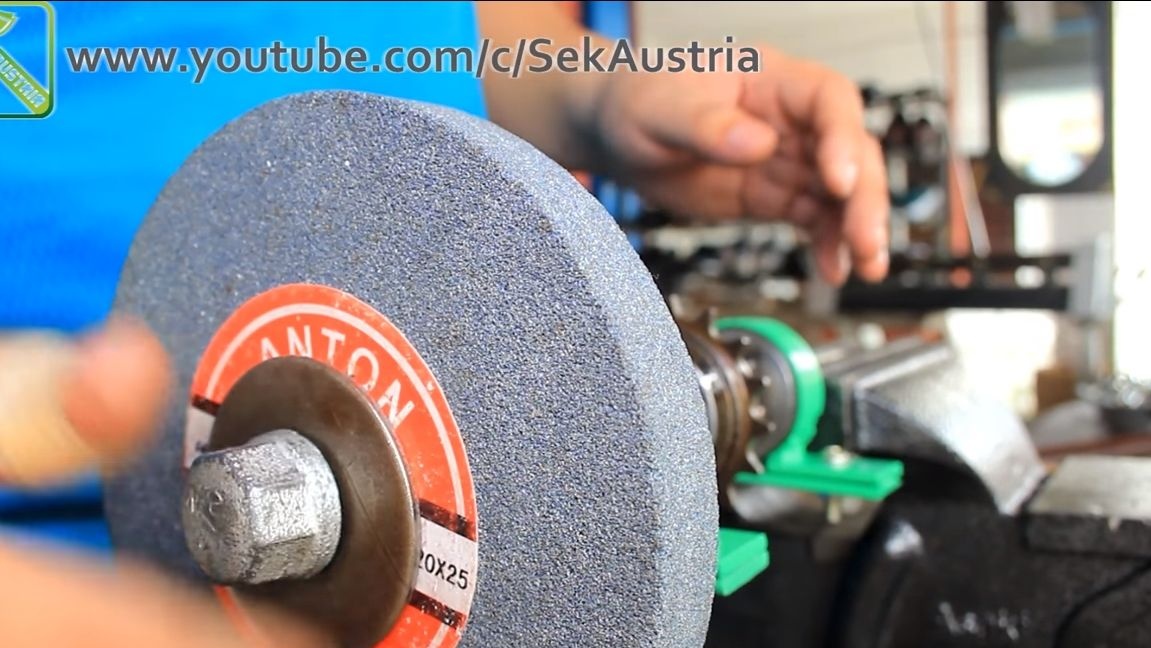
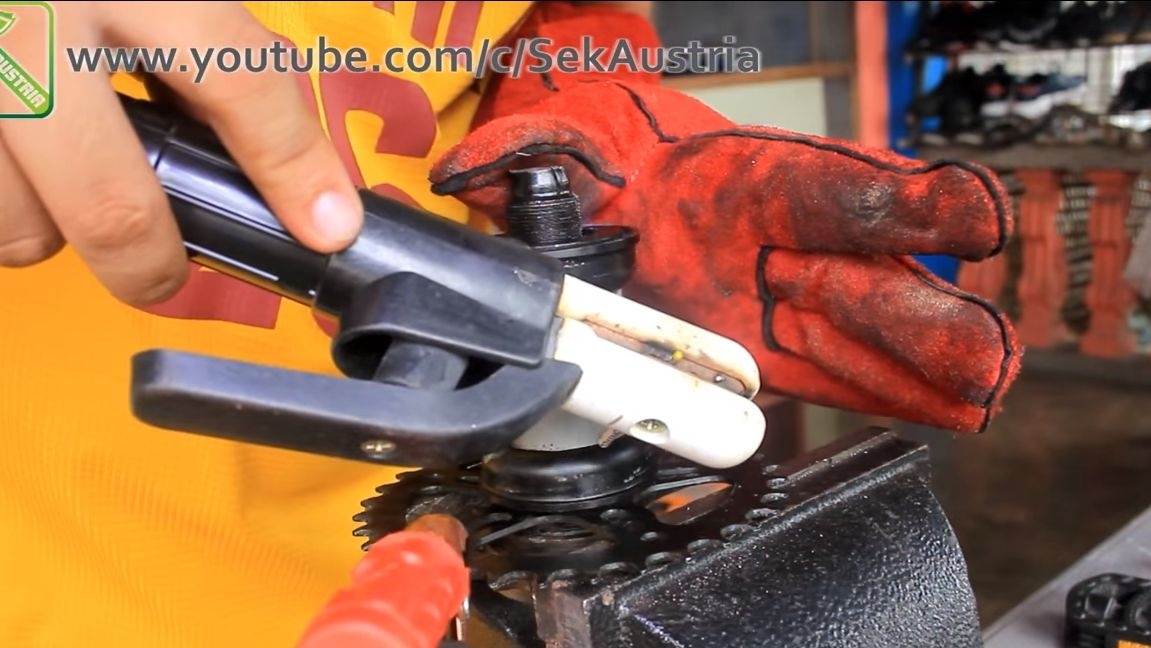
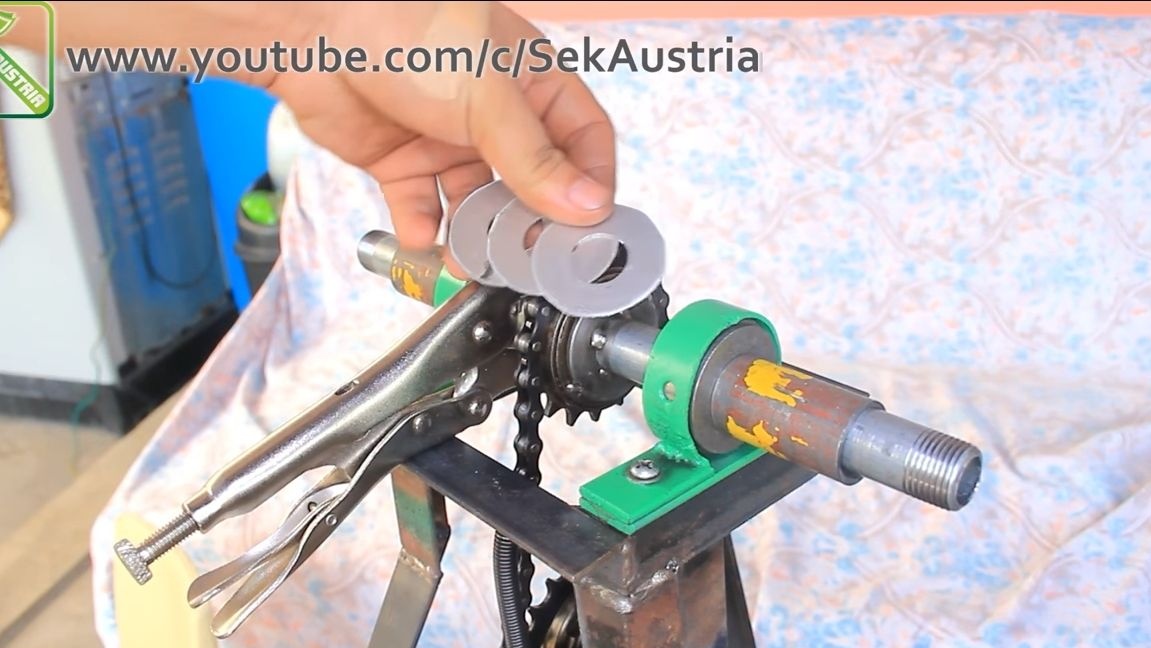
Step Three We install grinding wheels
You can install grinding wheels! To install them, you will need two pieces of pipe of such a diameter so that it is worn on the shaft with a small clearance. The bottom line is to abut the pipe against the inside of the bearing. Well, then install the washers, grinding wheels and tighten the nuts. That's all, now we have a finished shaft with grinding wheels! If you untwist it and touch the sprocket with your finger, it should not turn, the ratchet should work.
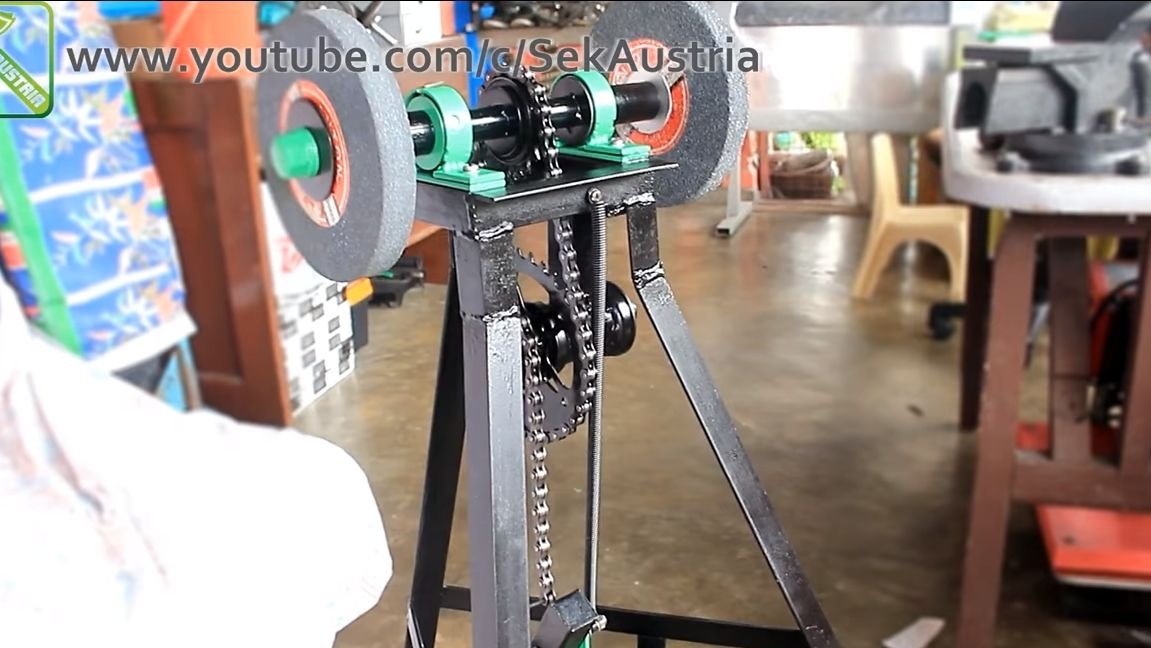
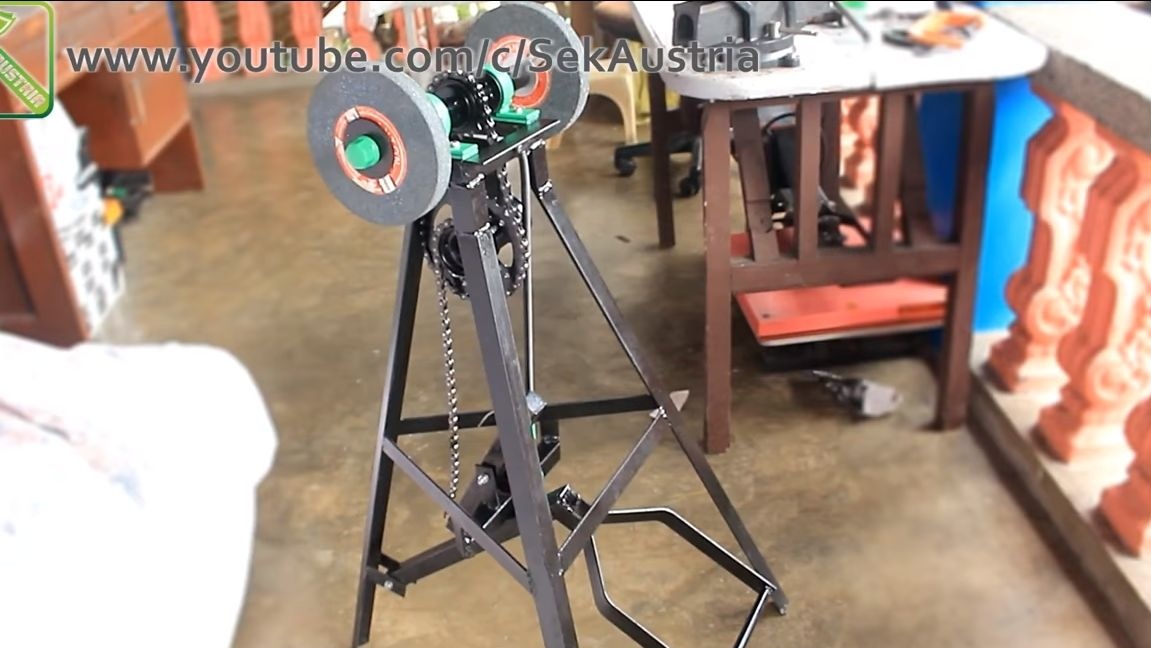
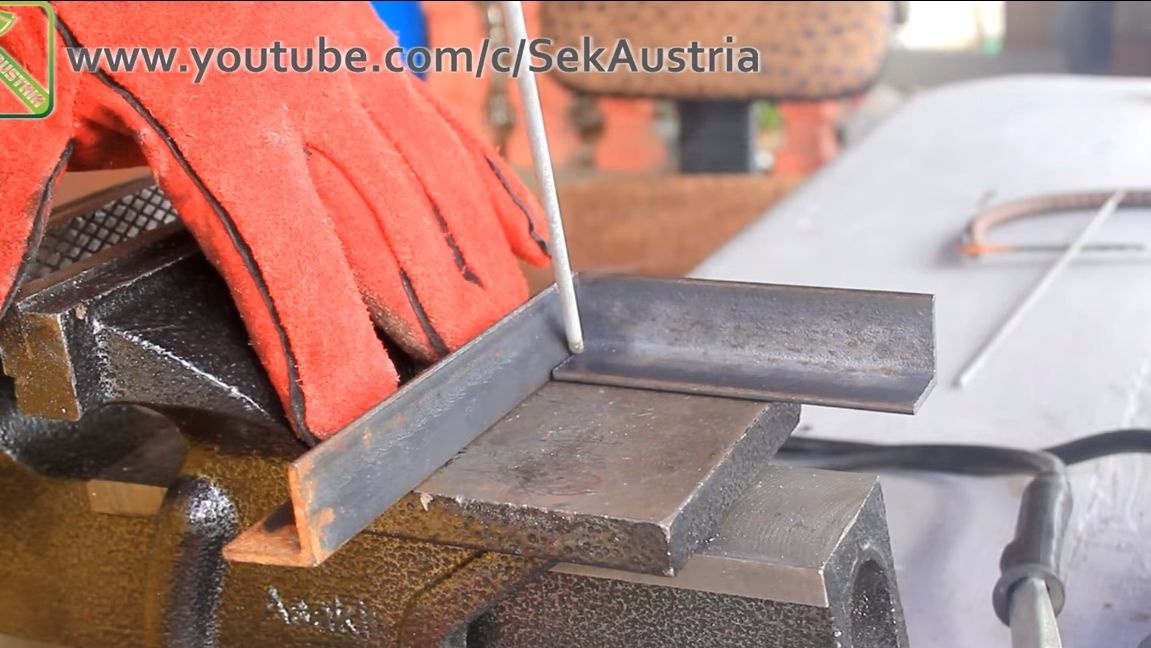
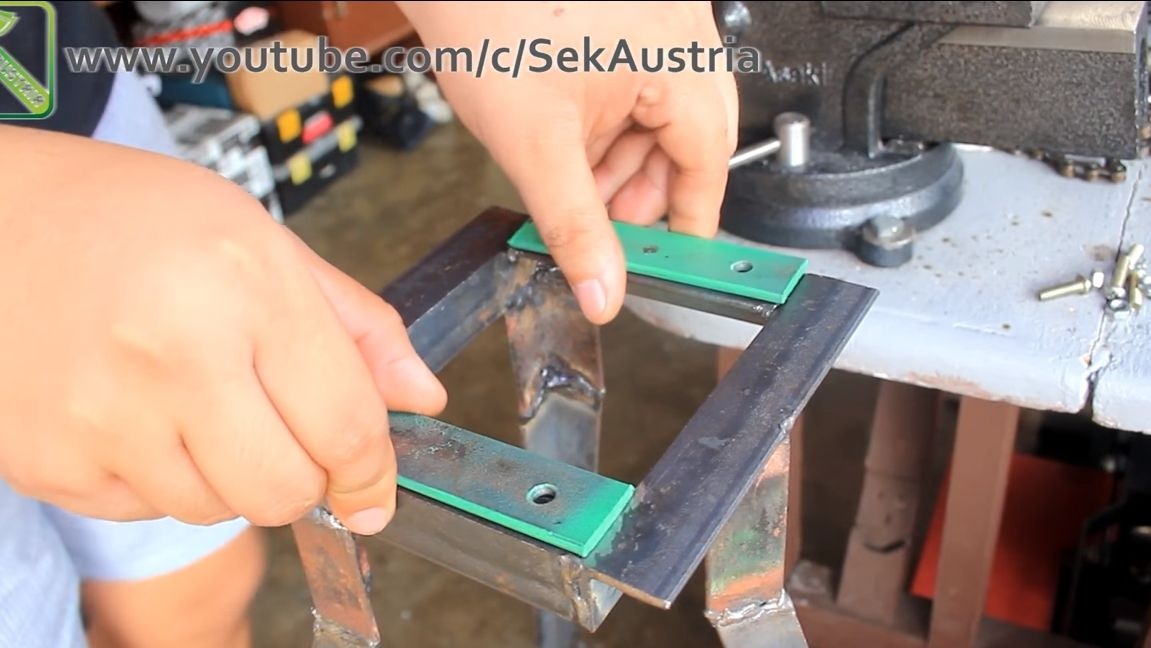
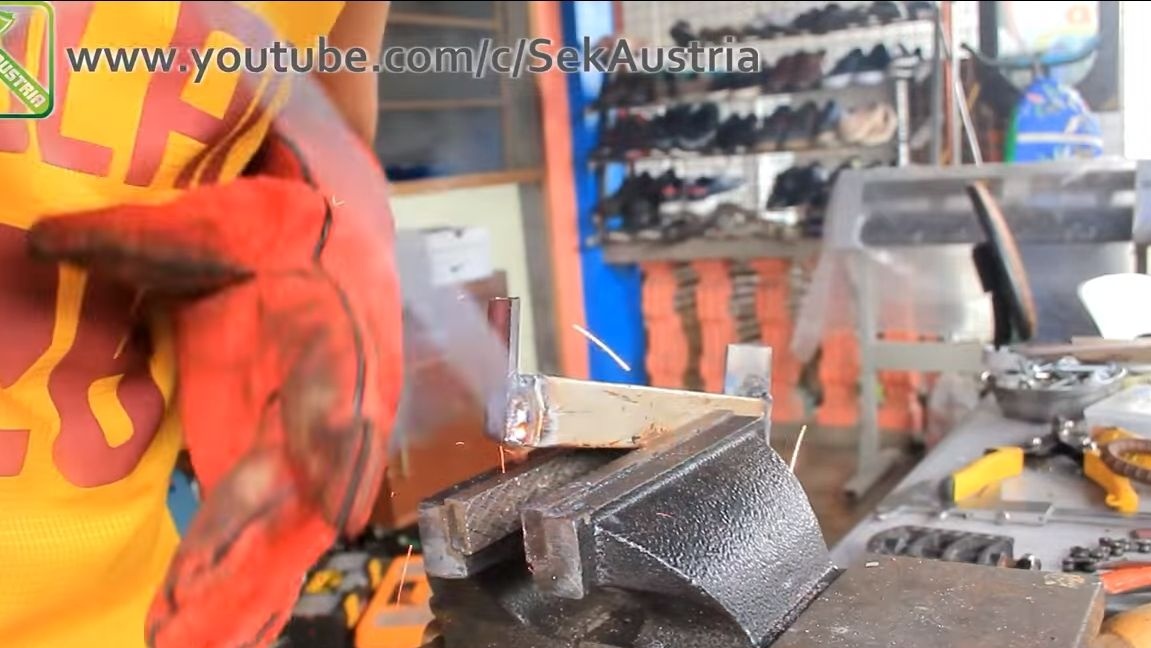
Step Four We make a frame
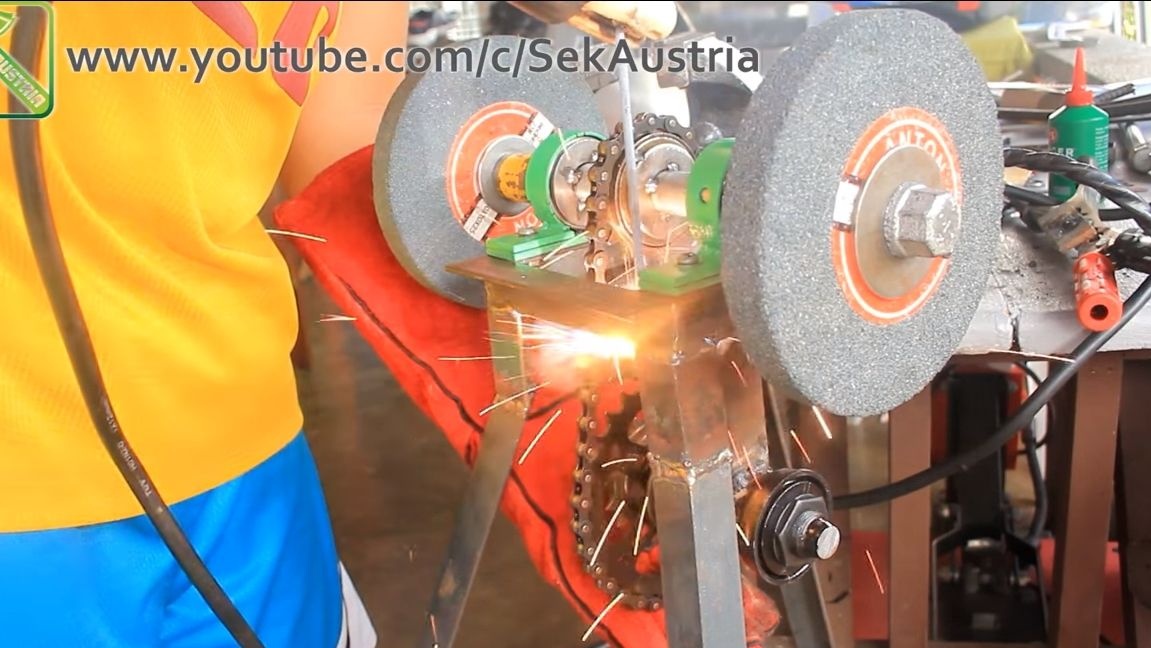
The frame is made of steel corners. First of all, weld a rectangle from the corner, this will be the basis for mounting the working shaft. Next, we weld three short corners to the base, they will be used to attach the legs. We also make legs from the corner, weld them at the right angle. Weld the spacers between the legs so that they do not move apart. As a result, we get an excellent basis for installing all nodes.
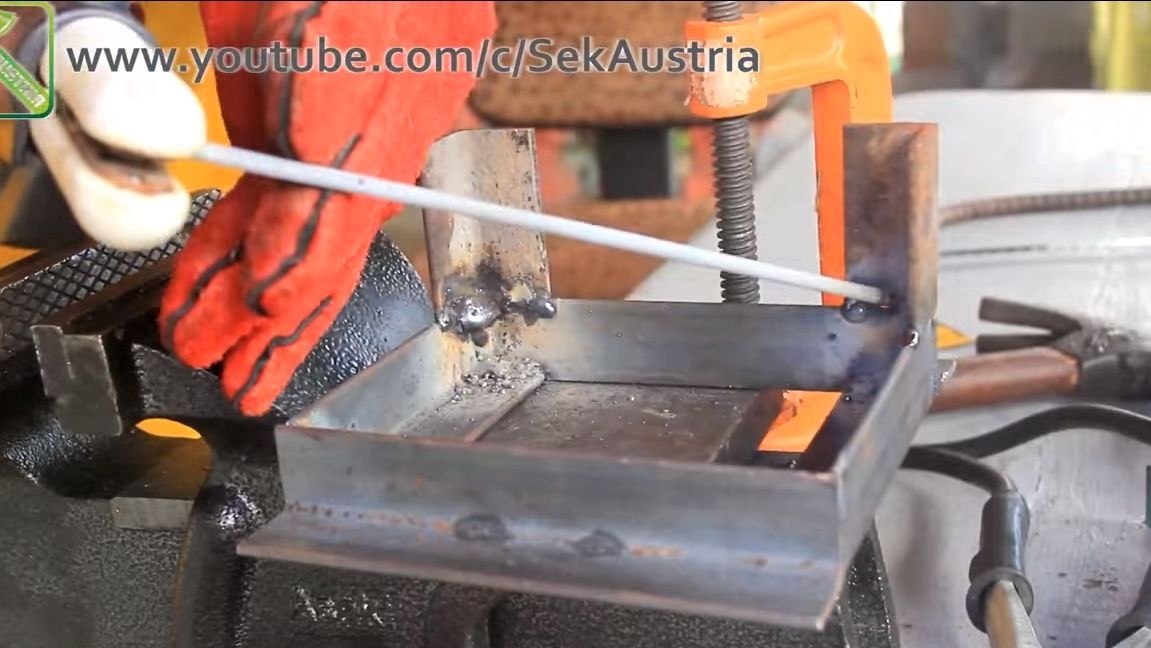


Step Five Install the working shaft
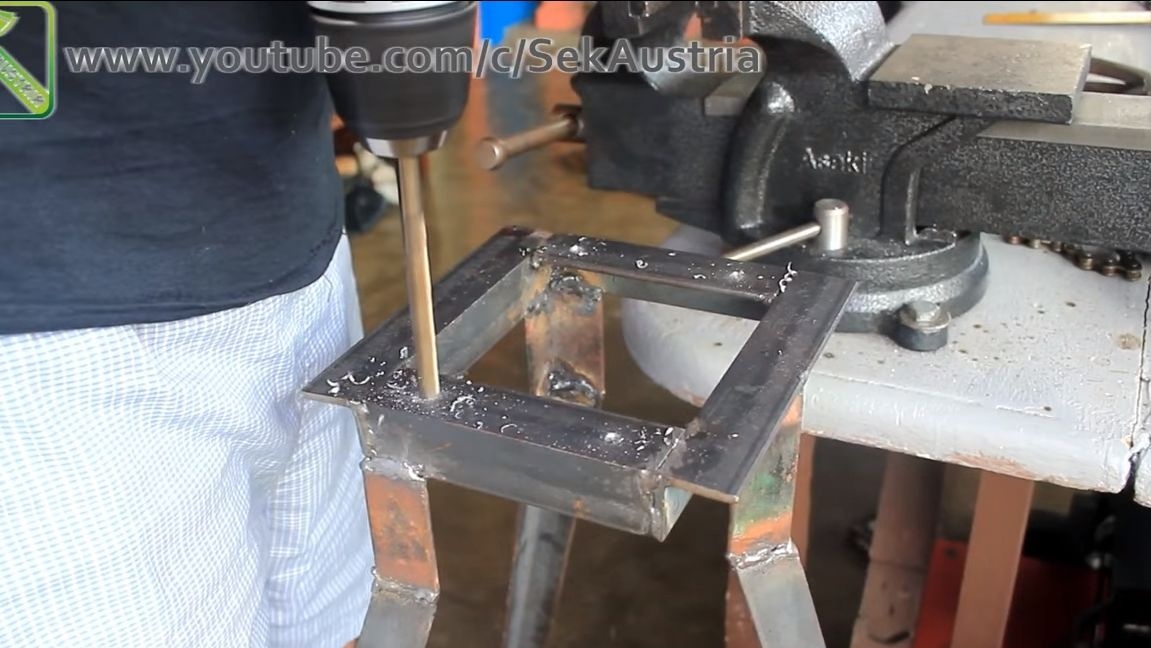
Install a shaft with grinding discs on the frame. To do this, drill holes and fasten the bearings with bolts and nuts. That's it, half the battle is done!
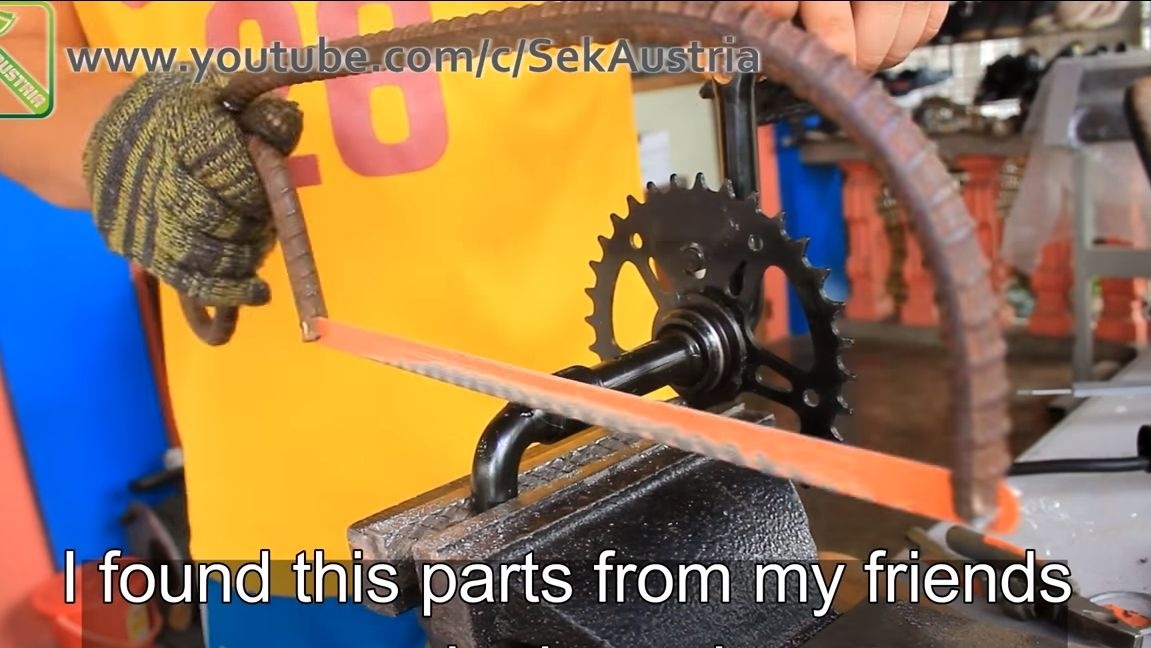
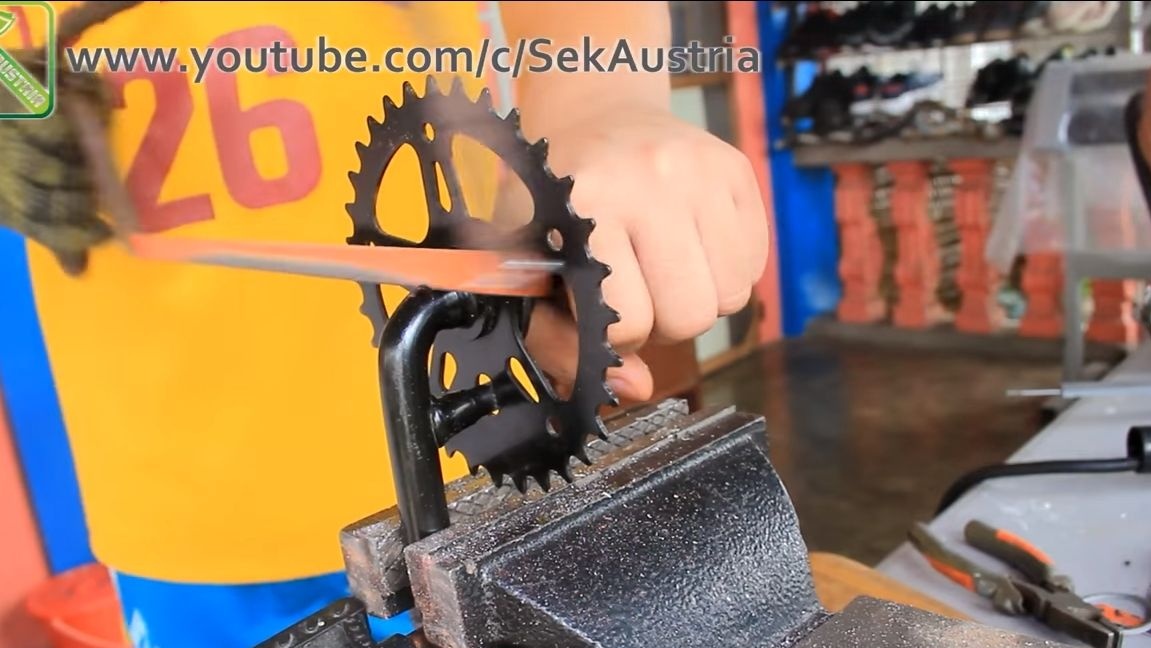
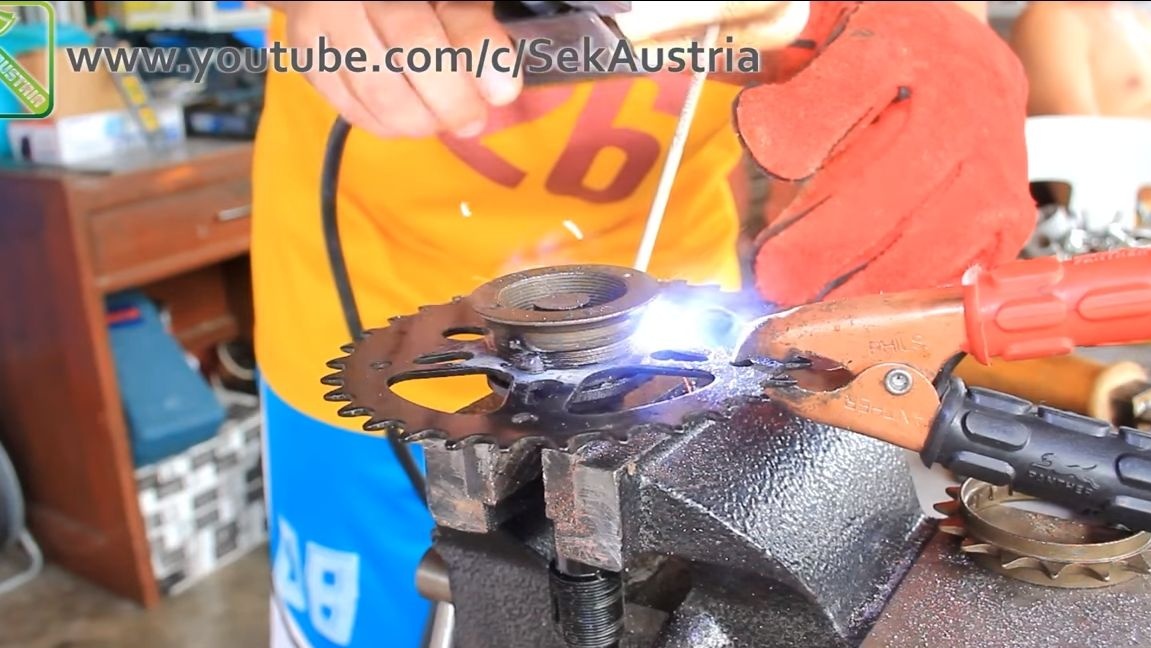
Step Six Prepare the drive sprocket and install on the frame
As a drive sprocket you will need a drive sprocket from a bicycle. Clamp it in a vice and cut off the excess parts (connecting rods) as the author in the photo. And you can do this with a hacksaw for metal.
Then we take one more back small asterisk and we weld it to the leading, as the author. It is needed so that you can connect the pedal through the circuit. We fix the sprocket statically, that is, the ratchet mechanism is not needed here.
Install cups with bearings on the axle; a spacer must be installed between the cups. As it we use a piece of steel pipe.
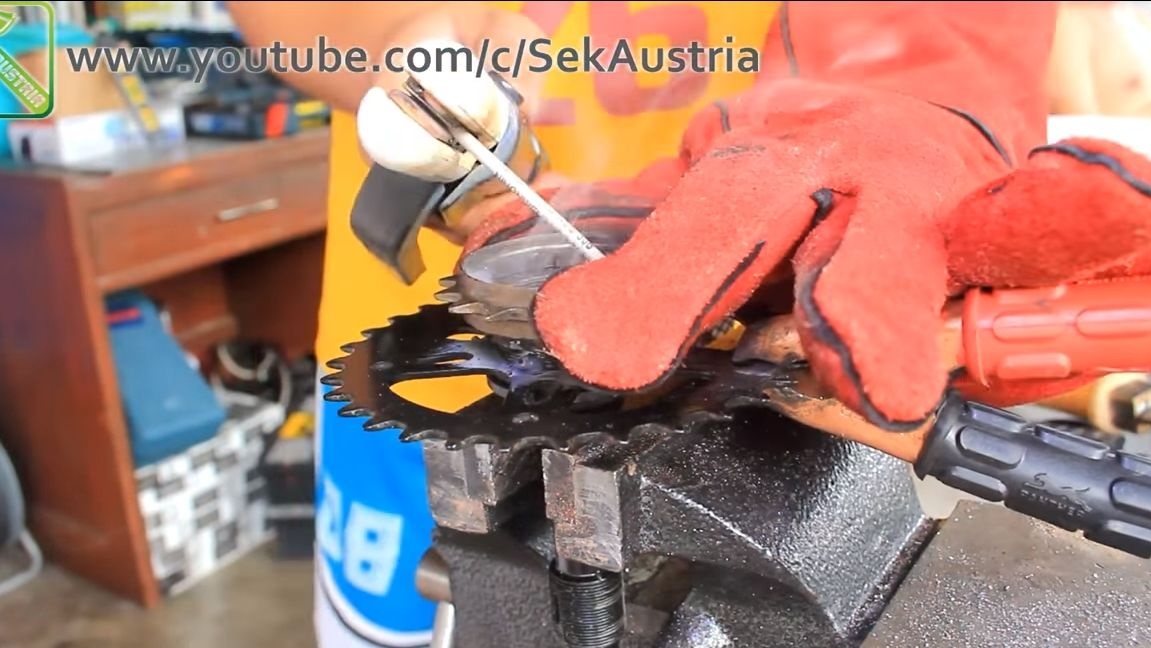
To install this entire structure on the frame, take a piece of a square pipe and weld to the spacer between the cups. Well, then we weld the whole structure to the frame in the right place. It is important that the stars are strictly opposite each other, otherwise the chain will fly off. As for the chain, we cut off the excess, install the lock. Turn the grinding wheels, if the chain does not fly off, fine, move on.
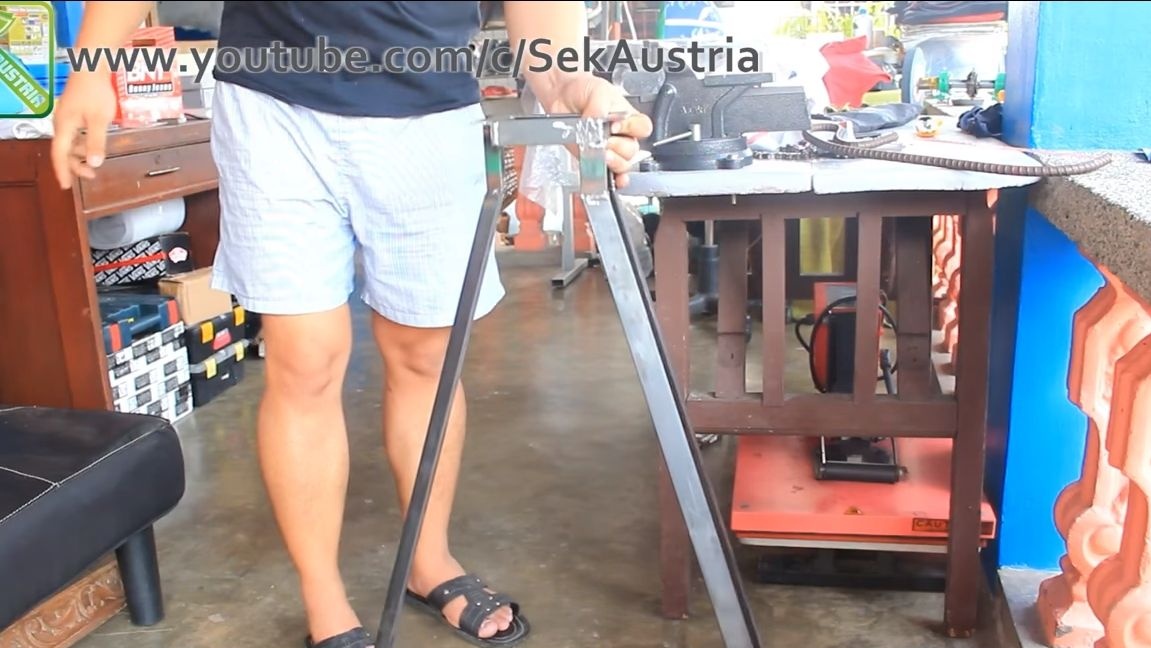
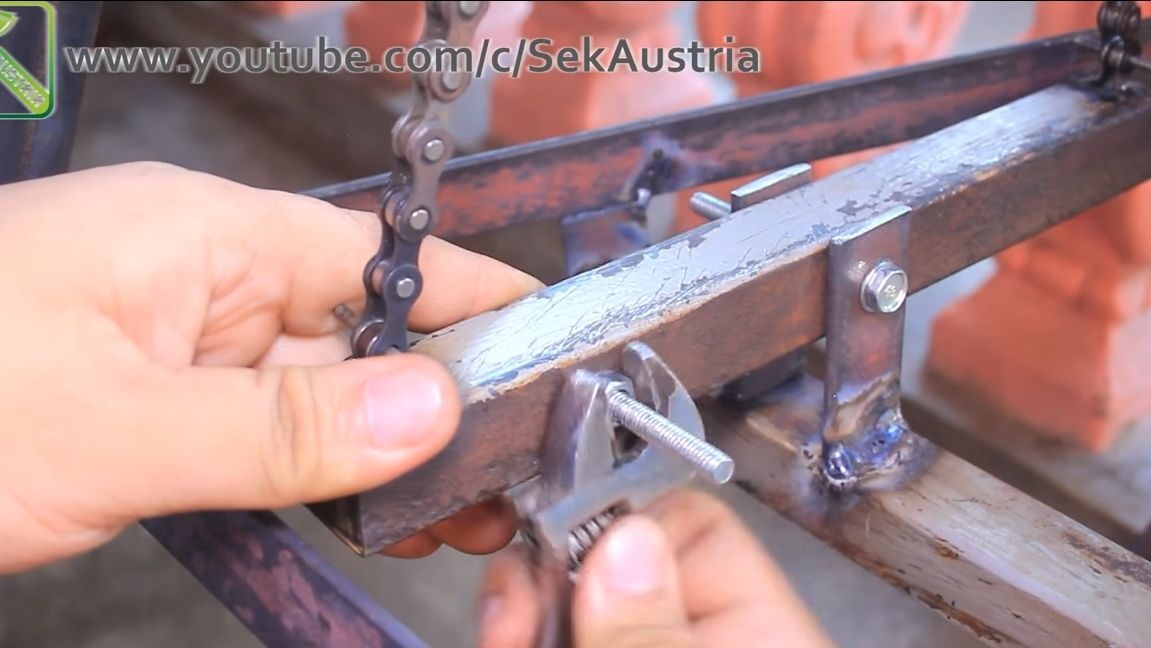
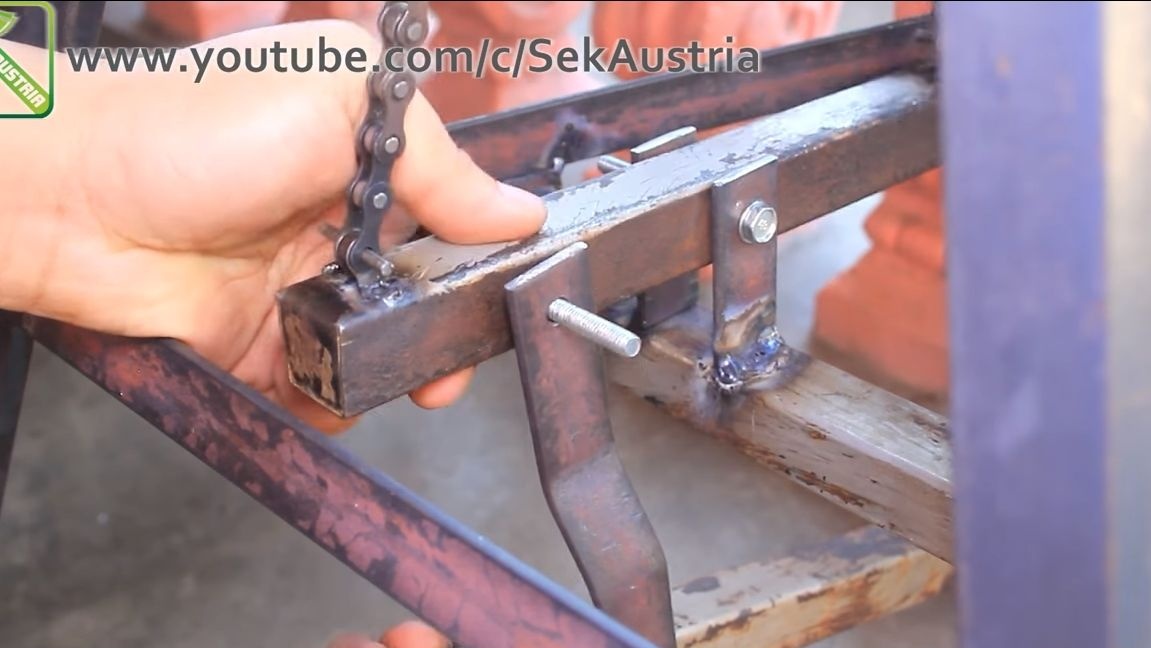
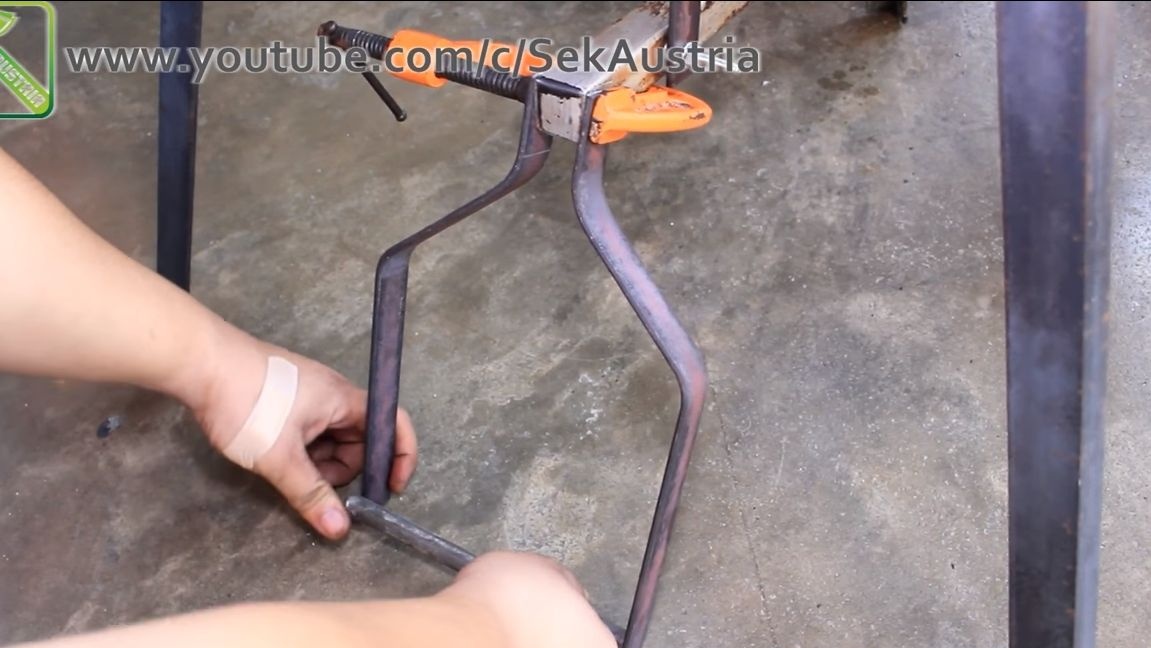
Seventh step. Rocker manufacture and installation
At the bottom of the frame we will need to install a lever, let's call it a “rocker”. Its essence is to transmit movement through a chain to a drive sprocket. For the manufacture of the rocker arm, take two chain links and, bending it as the author, weld to a piece of square pipe at the edges. As a result, we get "loops" to which you can attach the ends of the chain.

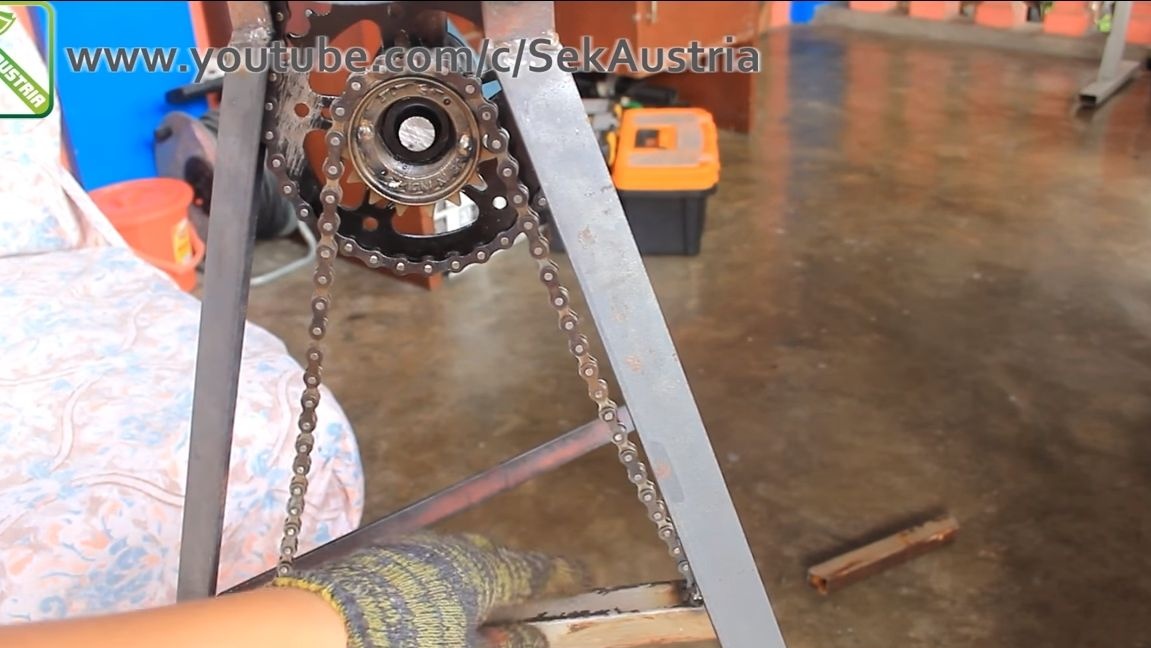

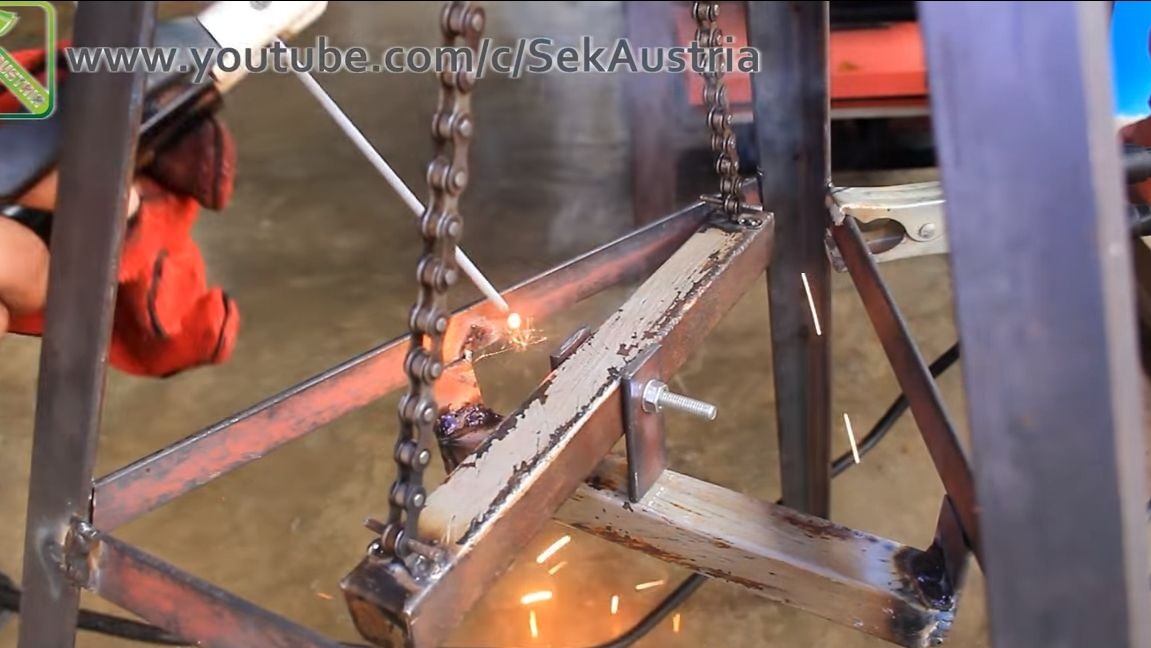
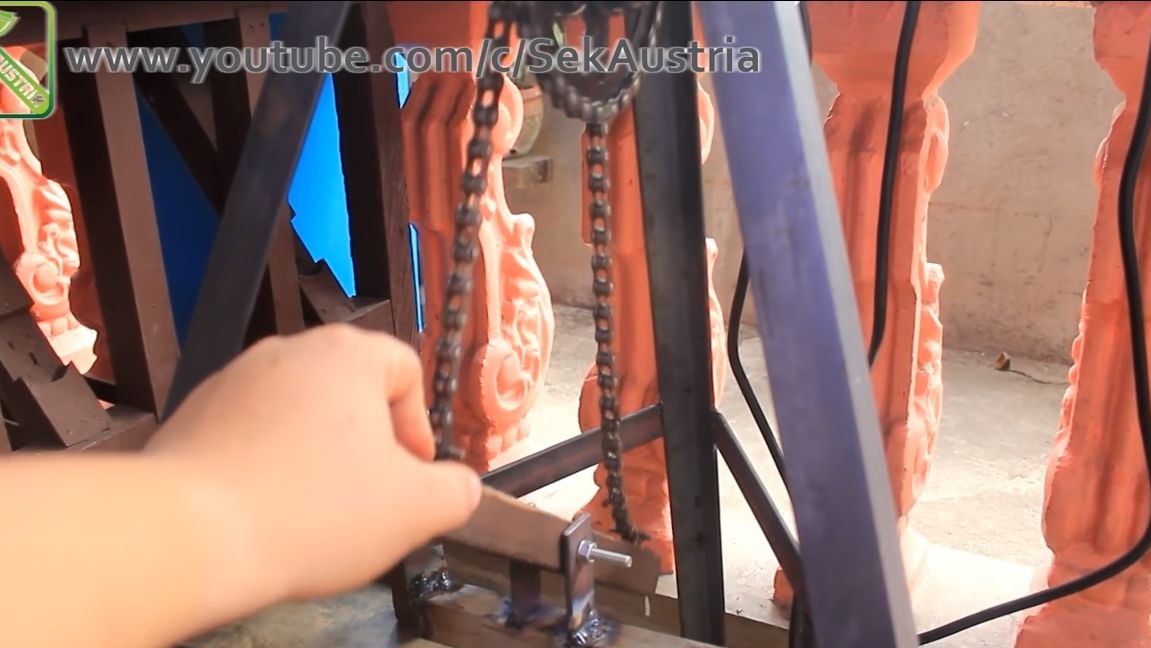
In the center of the beam, we drill a hole for the bolt. Weld a fastener from a piece of square pipe and plates so that the beam can be fixed to the frame. We fix the rocker with a bolt and nut, but remember that it should swing easily. That's all, now cut the desired piece of chain and fasten the ends to the loops of the rocker with nails or other suitable pins.
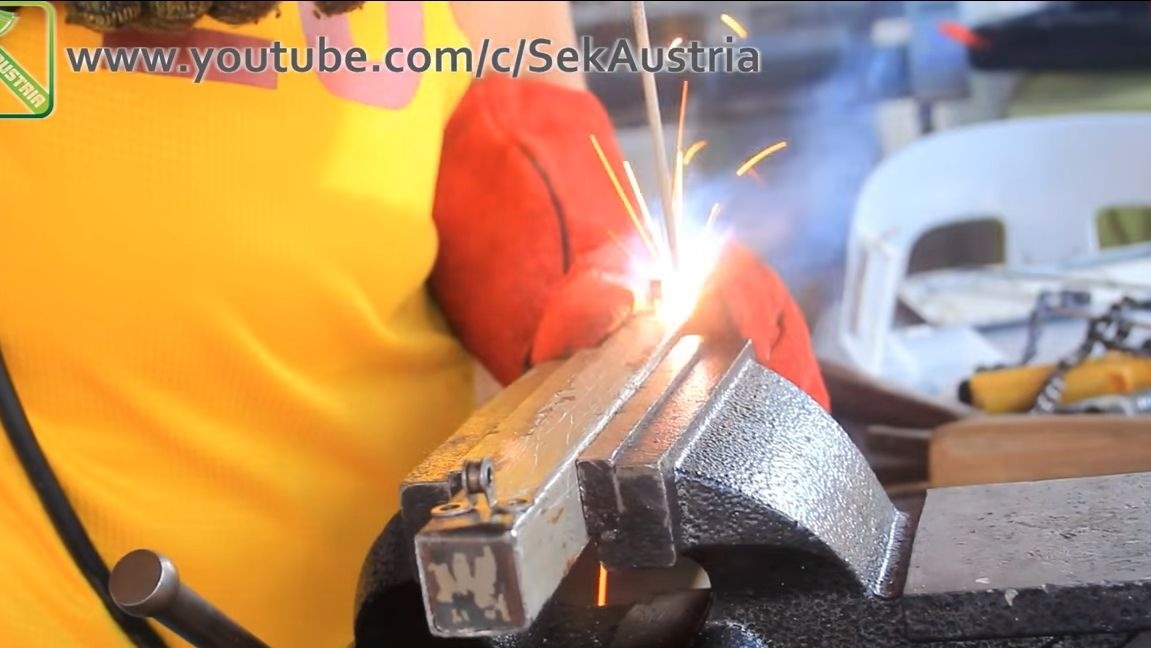
Step Eight. Making a pedal
To make the pedal, take a piece of the square pipe and fasten it articulated with a bolt and nut. In the rocker arm and lower arm, drill holes and install bolts with nuts, these will be the axes. Through which we connect the two levers.Well, then make a pedal from steel plates, set the profile at your discretion. Check how the installation works!
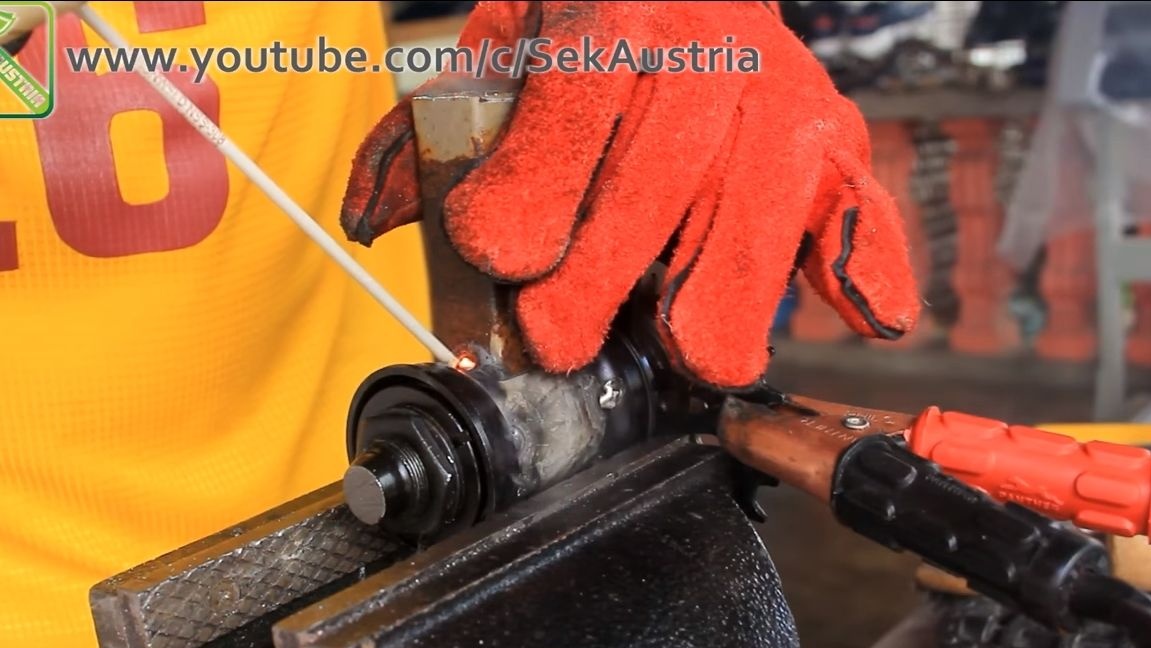
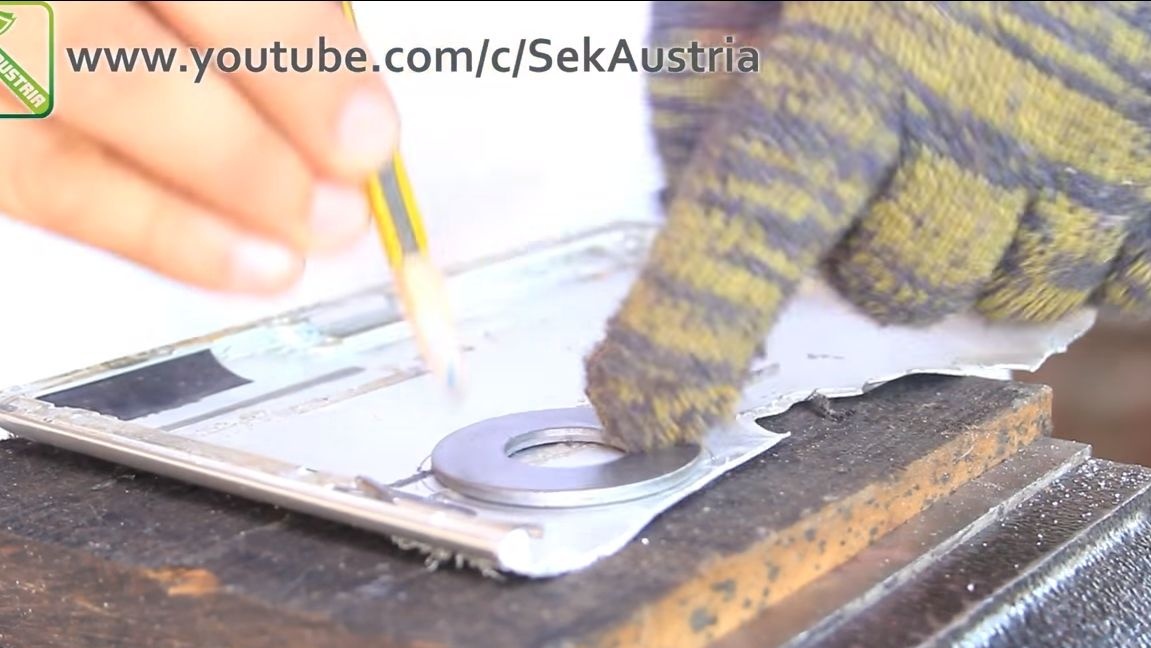
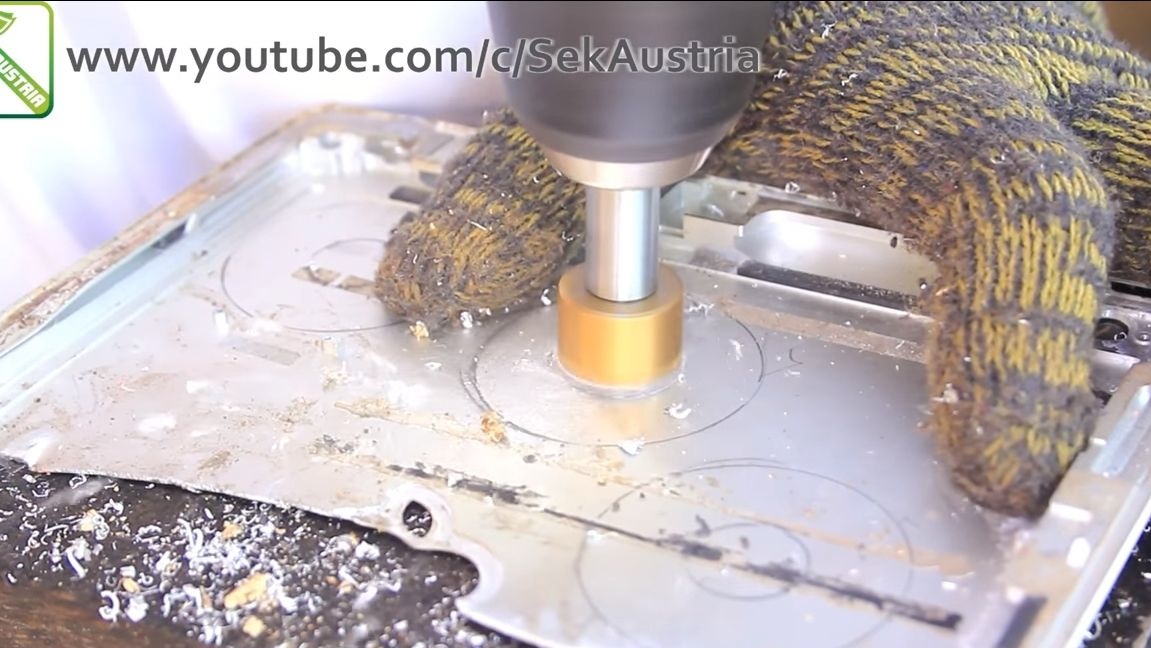
Step Nine. We make washers for grinding wheels
If you cannot fix the grinding wheels with ordinary steel washers, you will need to make one more washer as spacers. The fact is that steel washers do not bend, do not fit well to the wheels, and if you tighten it strongly, there is a risk that the grinding wheel will crack. Here you will need washers from softer metal, the author decided to use aluminum. We take aluminum sheet and with the help of a special bit we drill out the required number of washers. If the metal is thin, then 3 or even 4 washers can be made for each grinding wheel. That's all, now we install the washers and tighten the nuts, the wheels are securely mounted on the shafts, they will never hang out and slip!
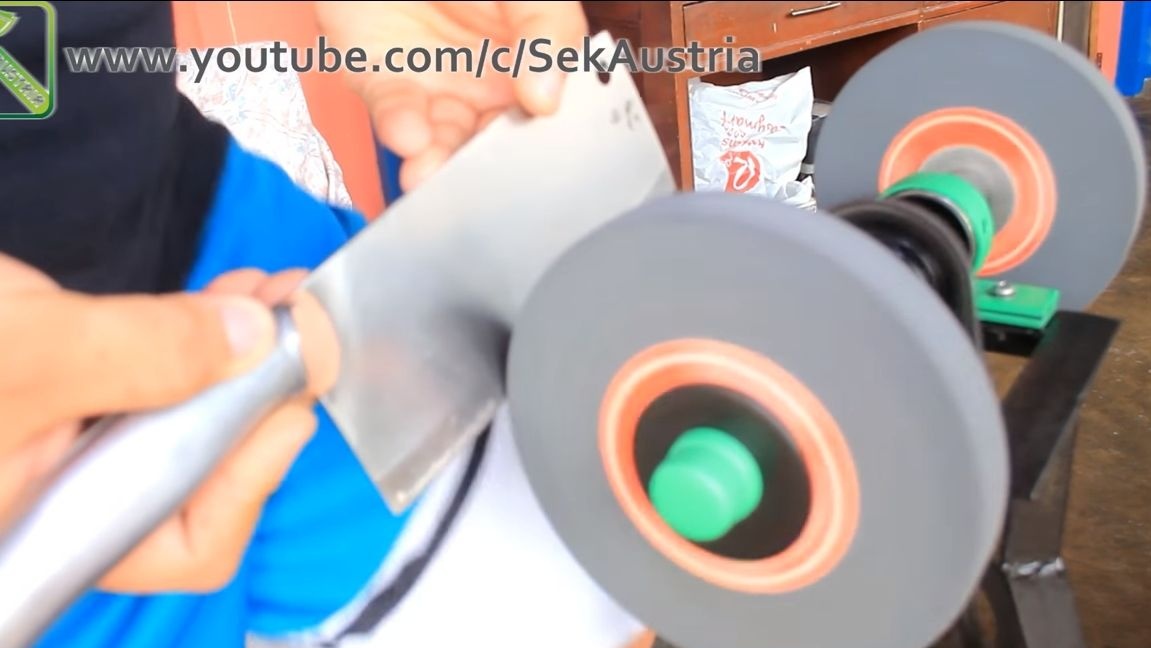
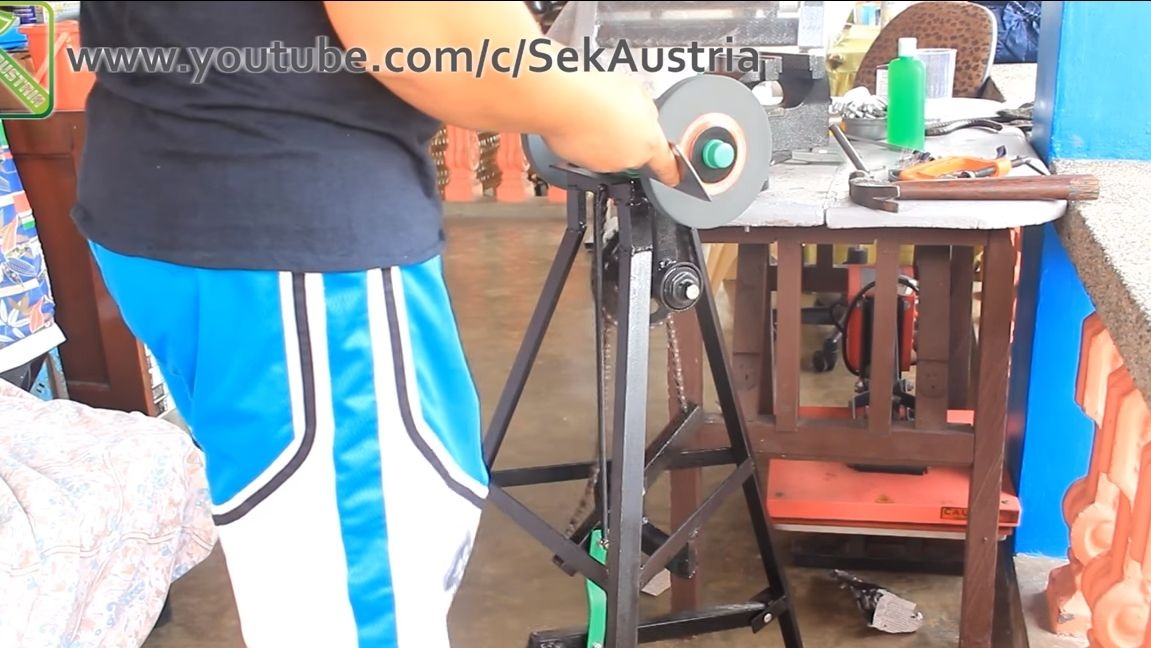
Step Ten Painting and testing
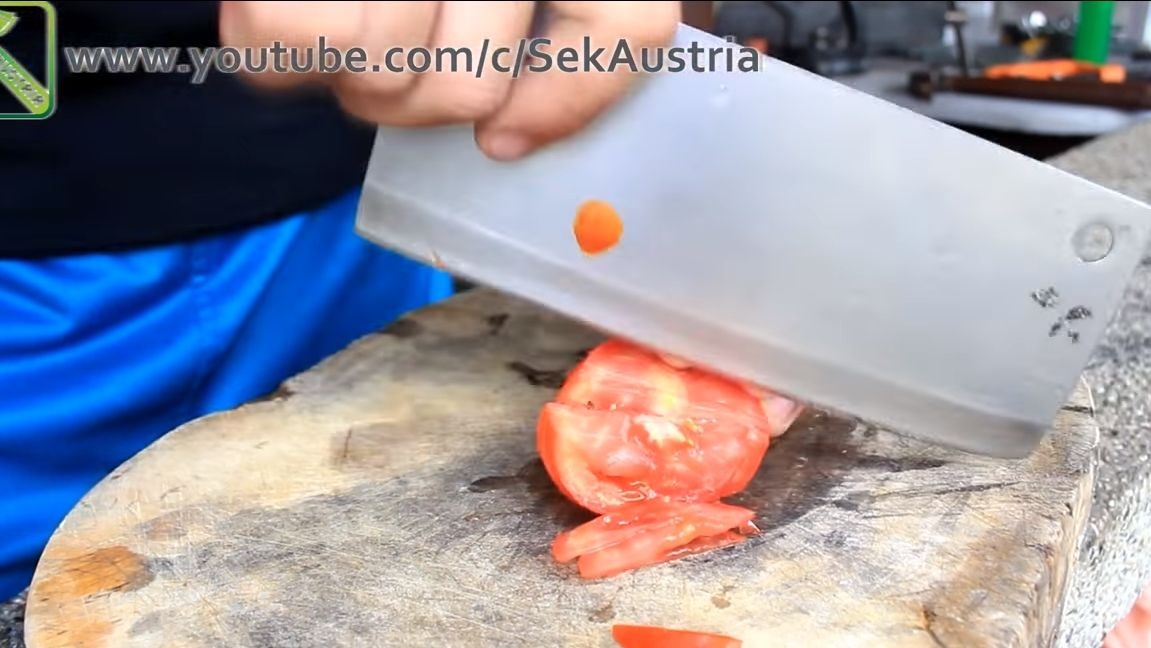
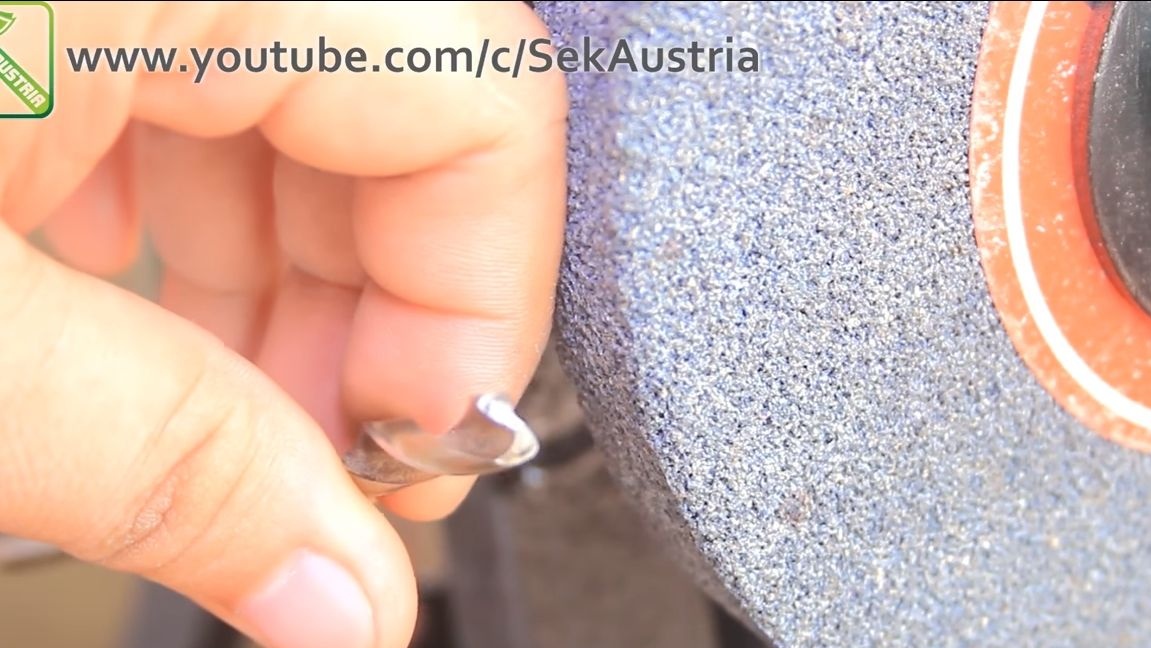
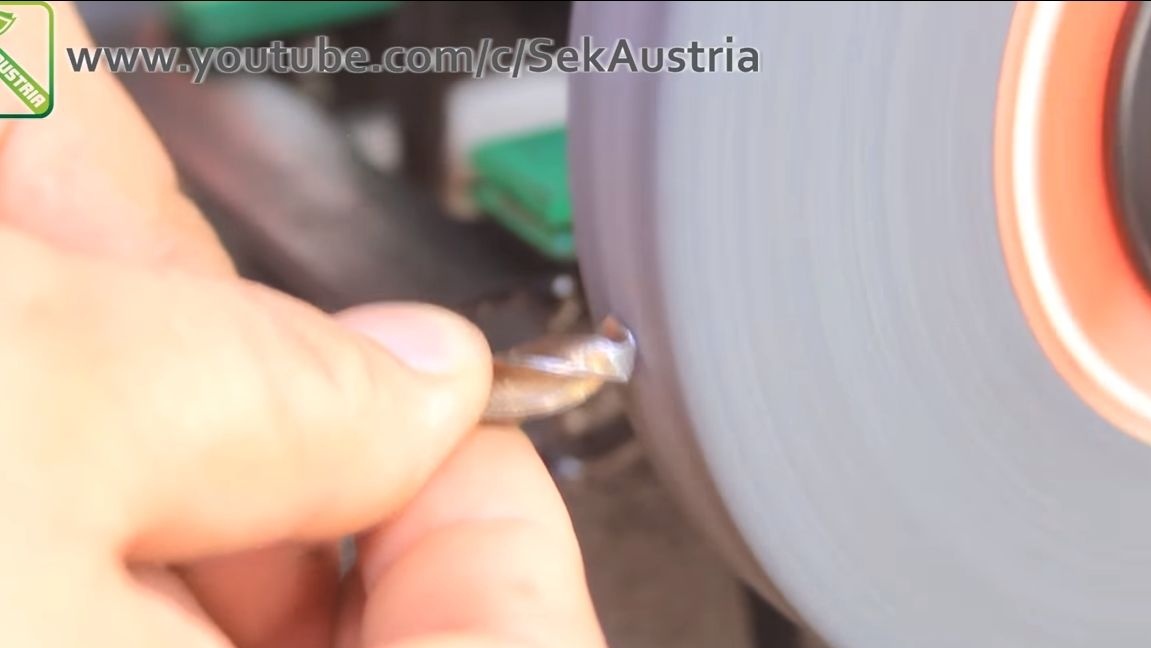
At the end, paint the soy child, so the machine will look better, and will not rust. The author easily grinds a kitchen hatchet with his machine, and then cuts a tomato into it. An attempt was also made to sharpen the drill, but this option is not very good, since the grinding disc has too large grains, is poorly centered, and at the same time pressing the pedal and performing delicate work is very problematic.
That's all, I hope you liked the project. Good luck and inspiration in the manufacture of your own projects, do not forget to share them with us!