
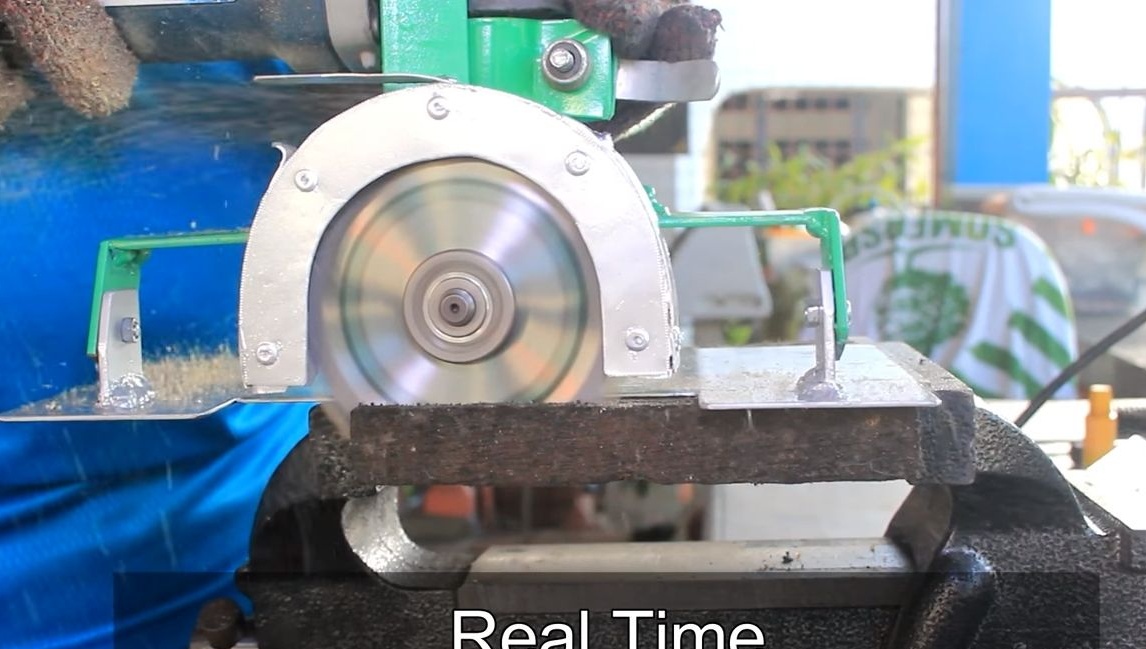
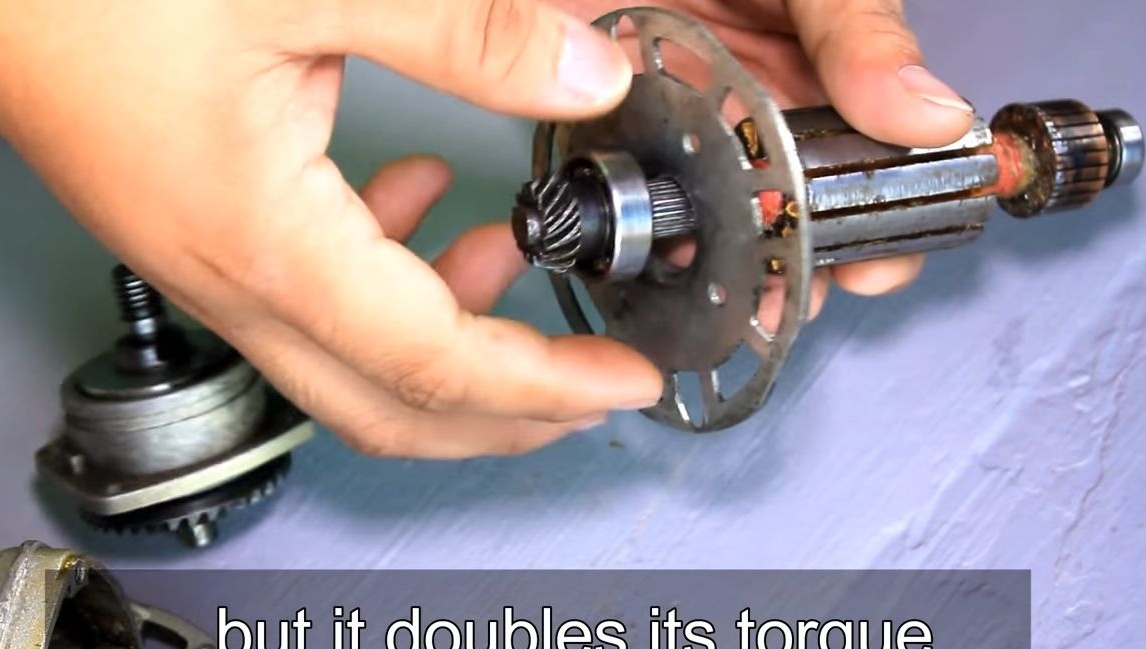
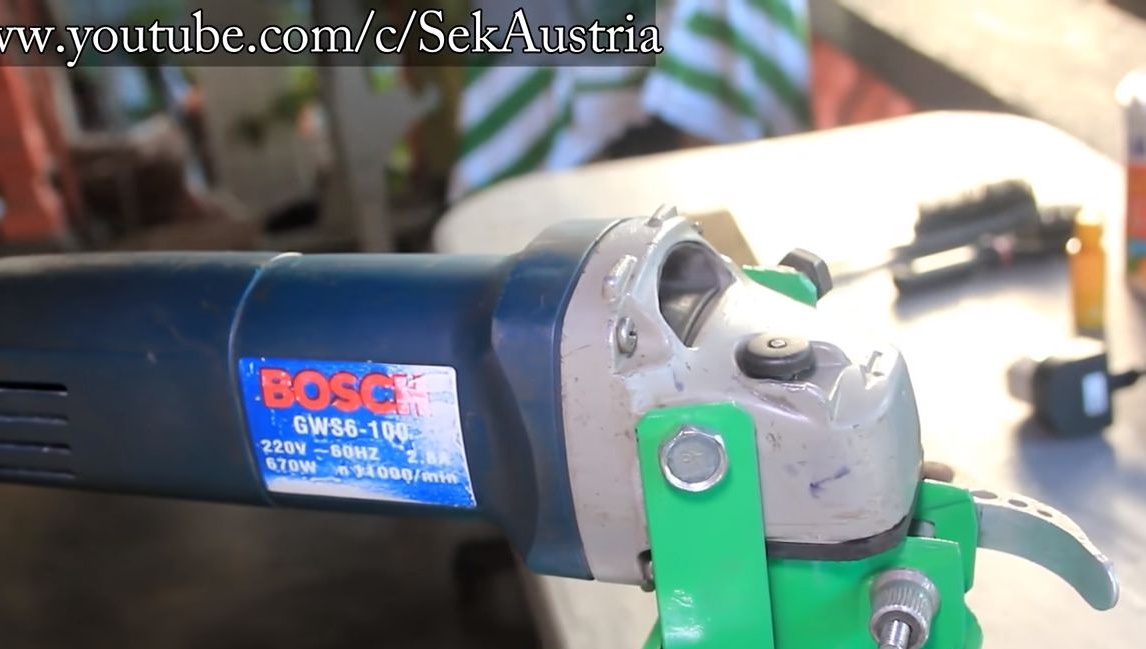
I bring to your attention an interesting project to turn into a powerful circular saw. Of course, you can install the cutting discs directly on the grinder, but this is very dangerous, since the speed here will be monstrous. To protect the structure, the speed must be reduced, and the torque increased. To do this, you need a gearbox, the author's cutting disc rotates no more than 6000 rpm, which allows you to comfortably and safely cut materials. Collect this homemade not difficult, but she always helps out on the farm, all the more so there are a lot of such machines.
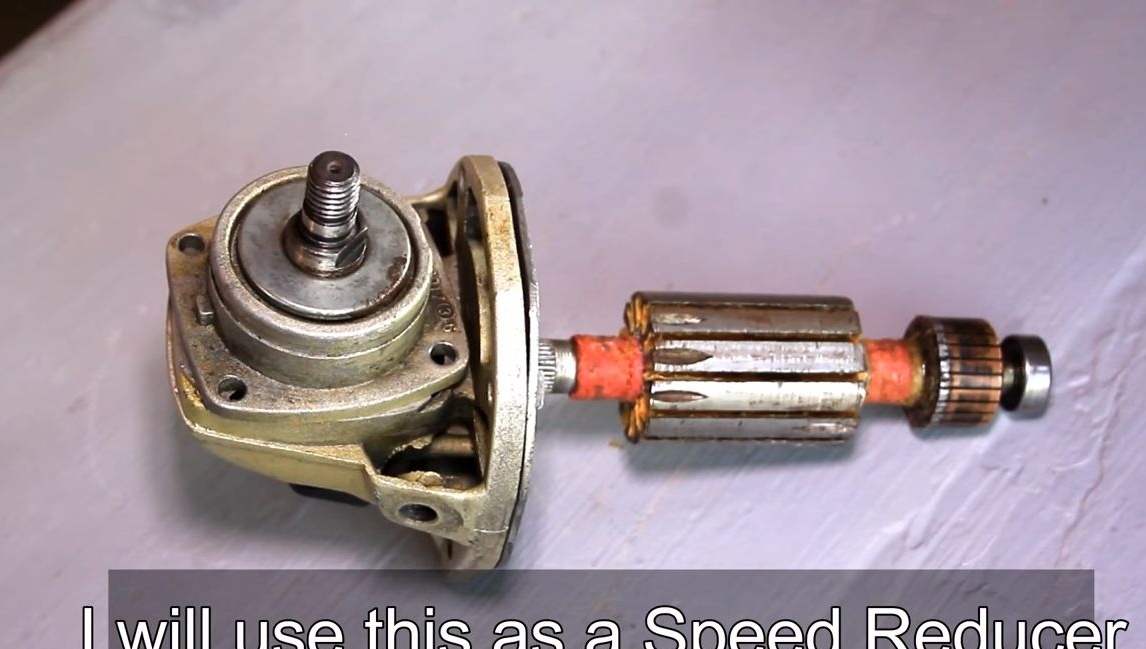
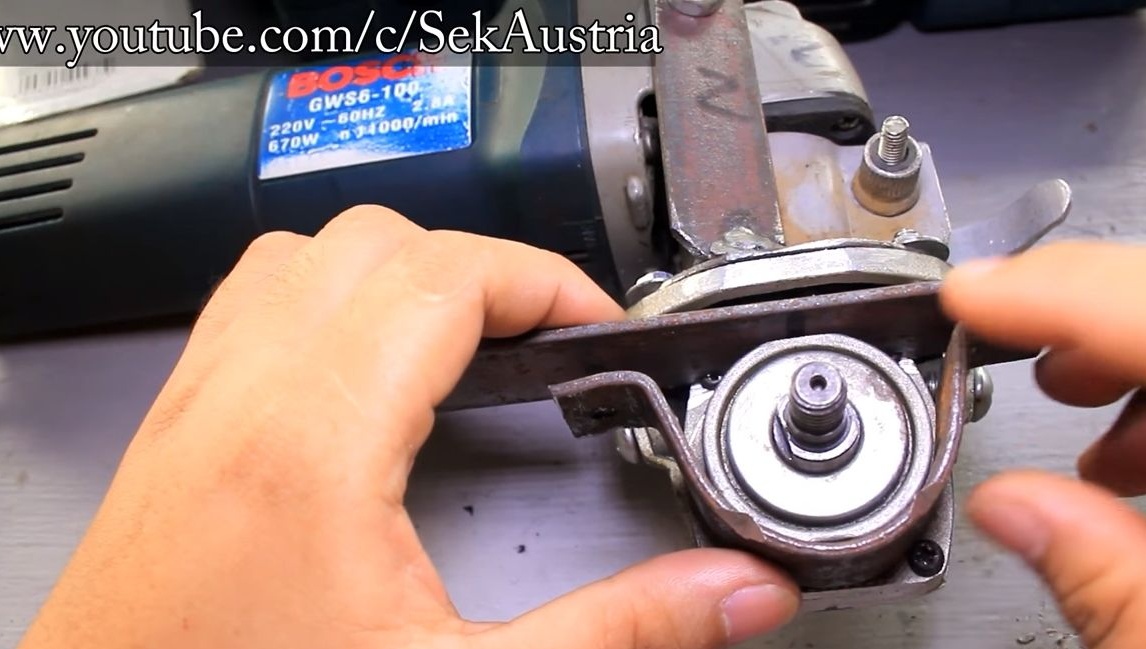
As a basis, the author decided to use a reducer from an old grinder, thanks to him we reduce the speed. As for all other nodes, they are assembled very simply using common materials. No special equipment is needed to make this wonderful nozzle for the grinder. All fastenings are made quite reliably, a shield is also used here, which will not allow the chips to fly into your eyes. In general, the author approached the production quite responsibly. Let's consider in more detail how to make such a nozzle for a grinder!
Materials and tools used by the author:
Material List:
- gearbox from an old grinder;
- sheet aluminum;
- Sheet steel;
- screws and stuff.
Tool List:
- ;
- screwdrivers and wrenches;
- ;
- a hacksaw for metal or grinder.
Homemade manufacturing process:
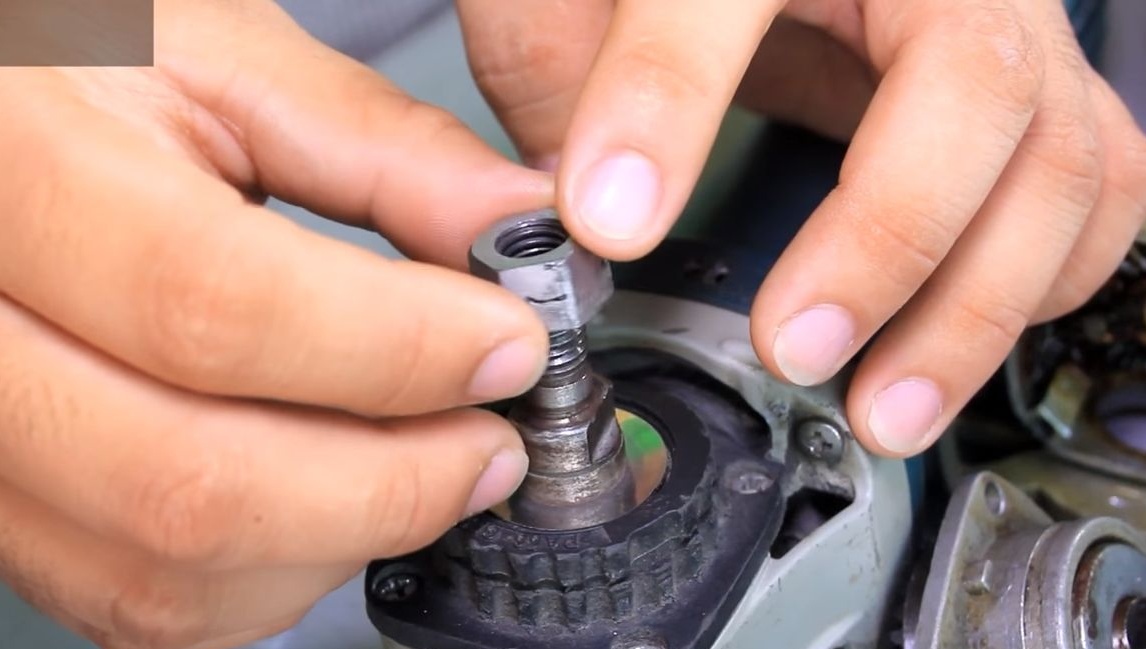
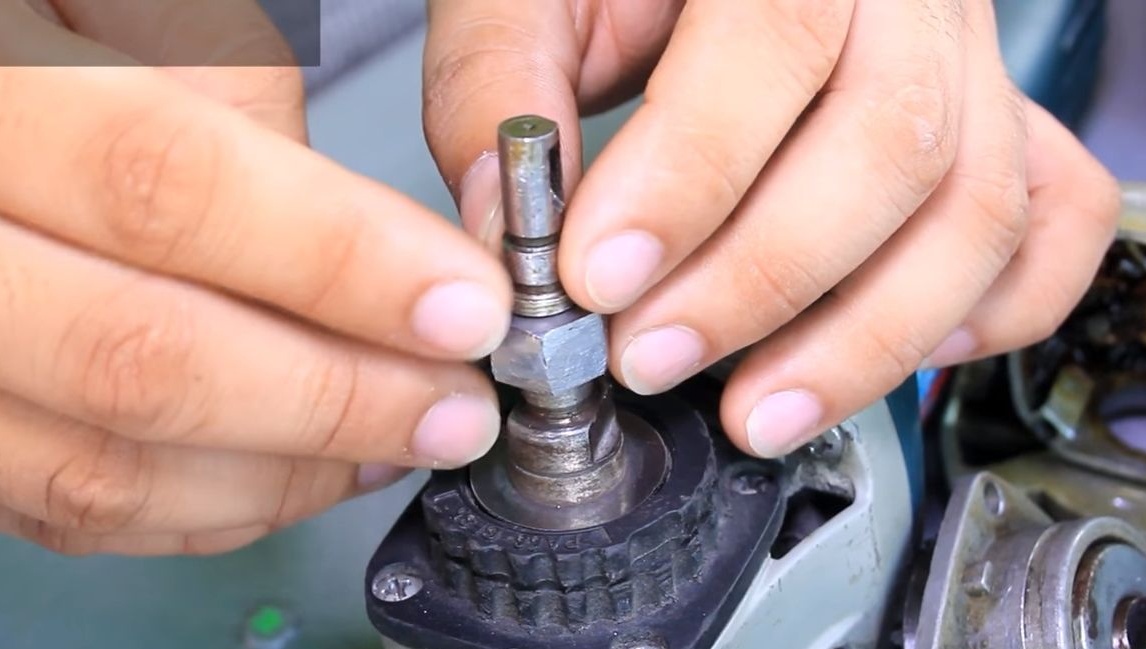
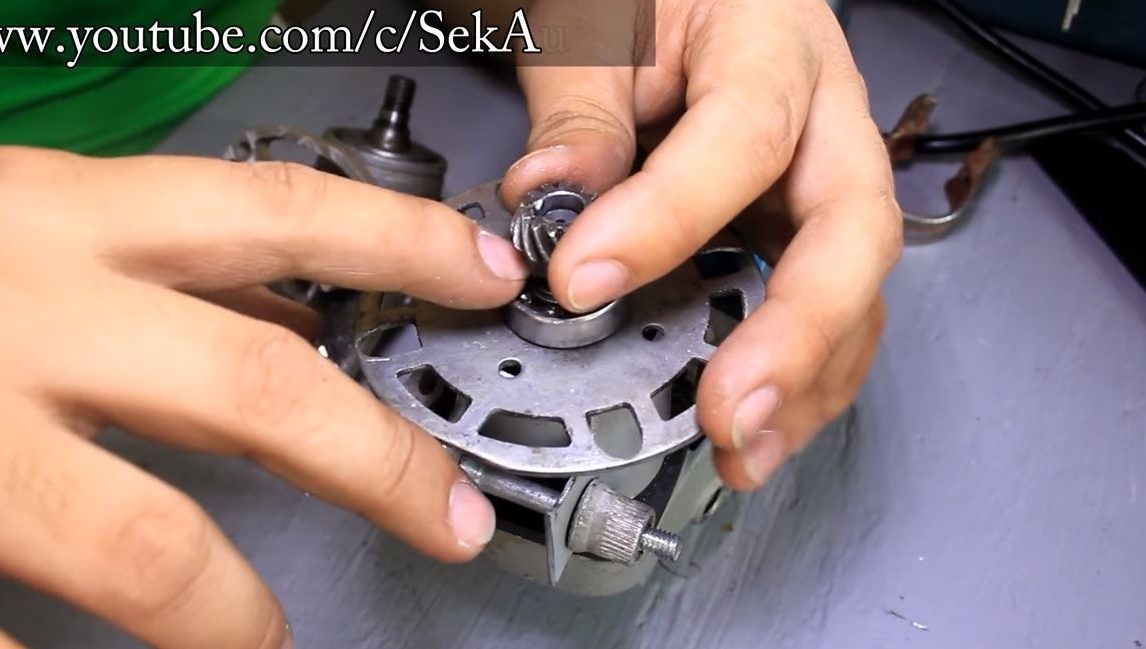
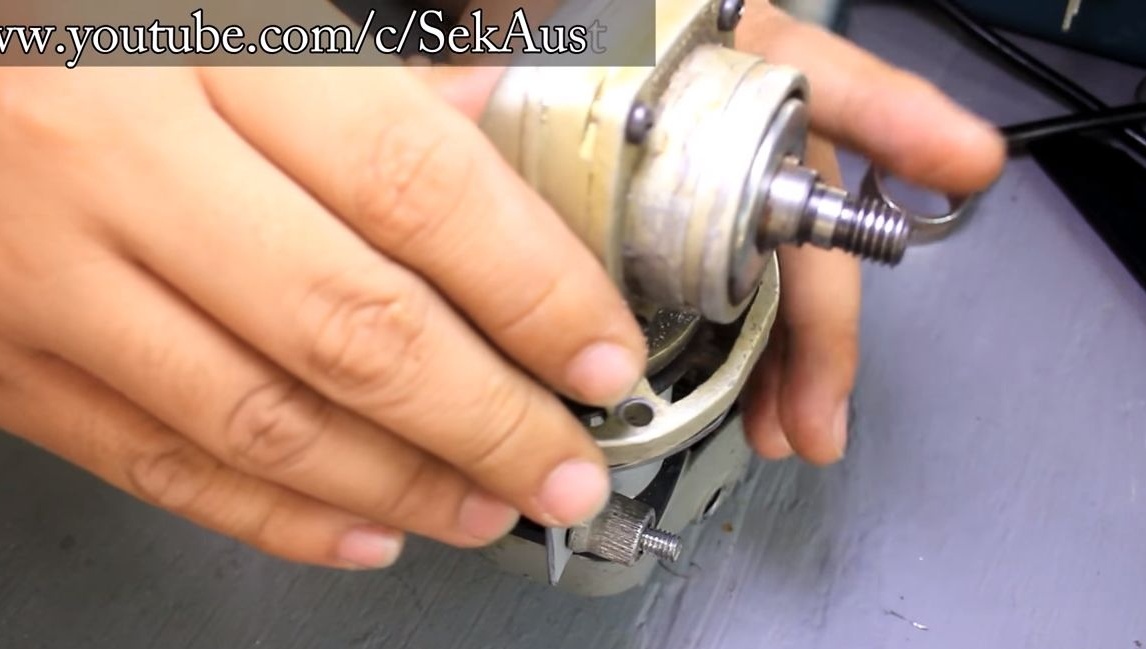
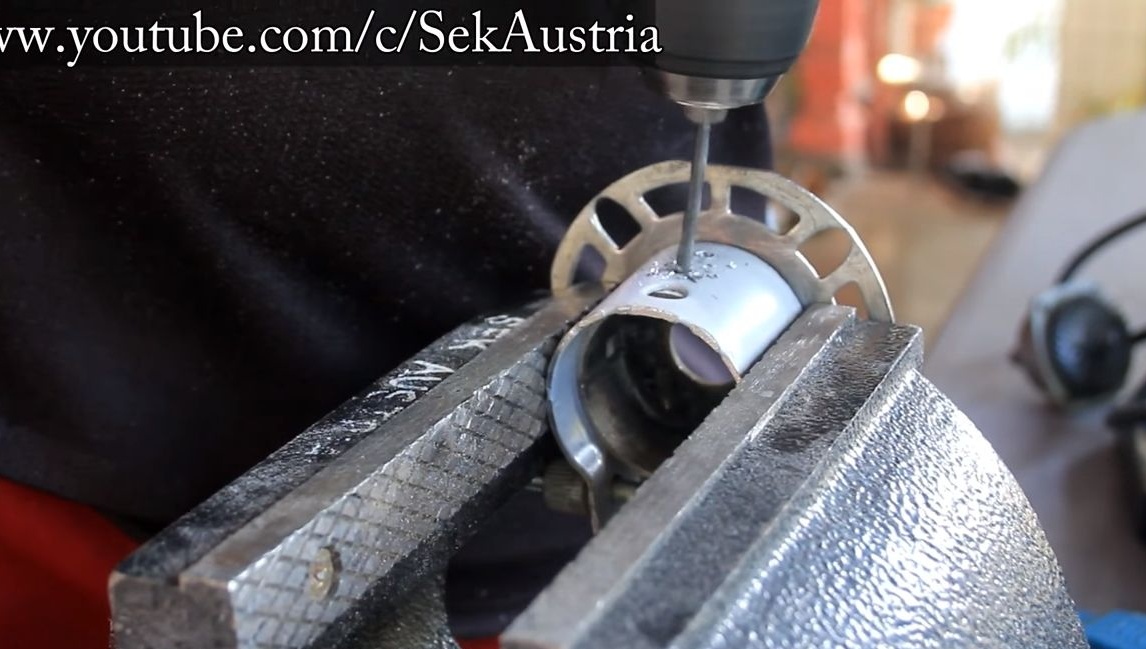
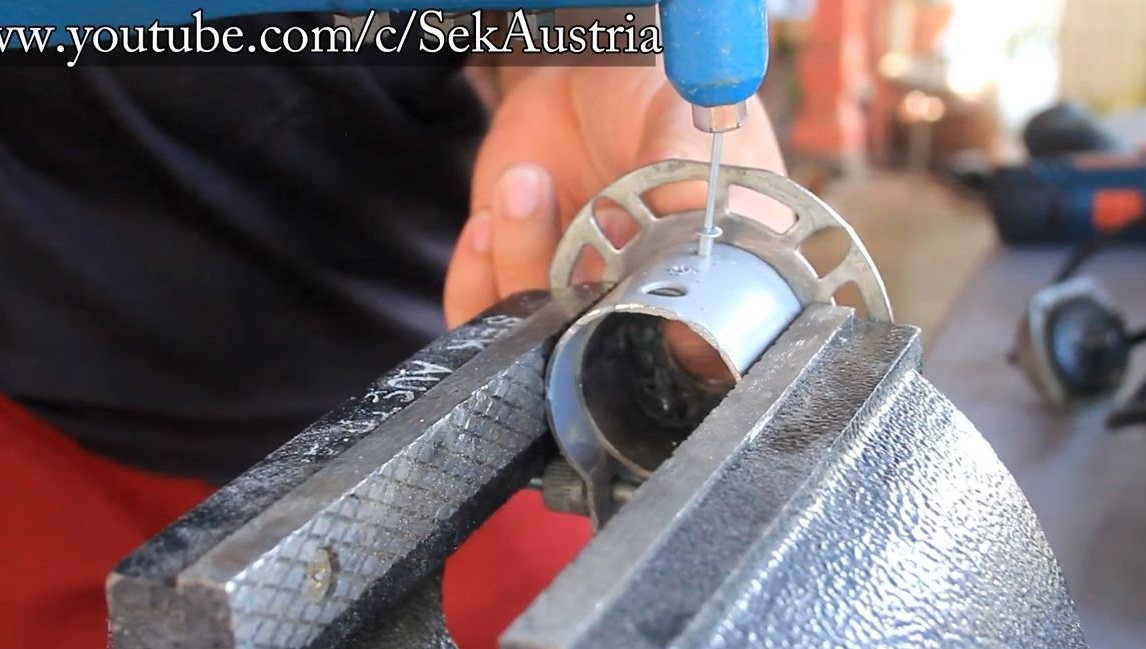
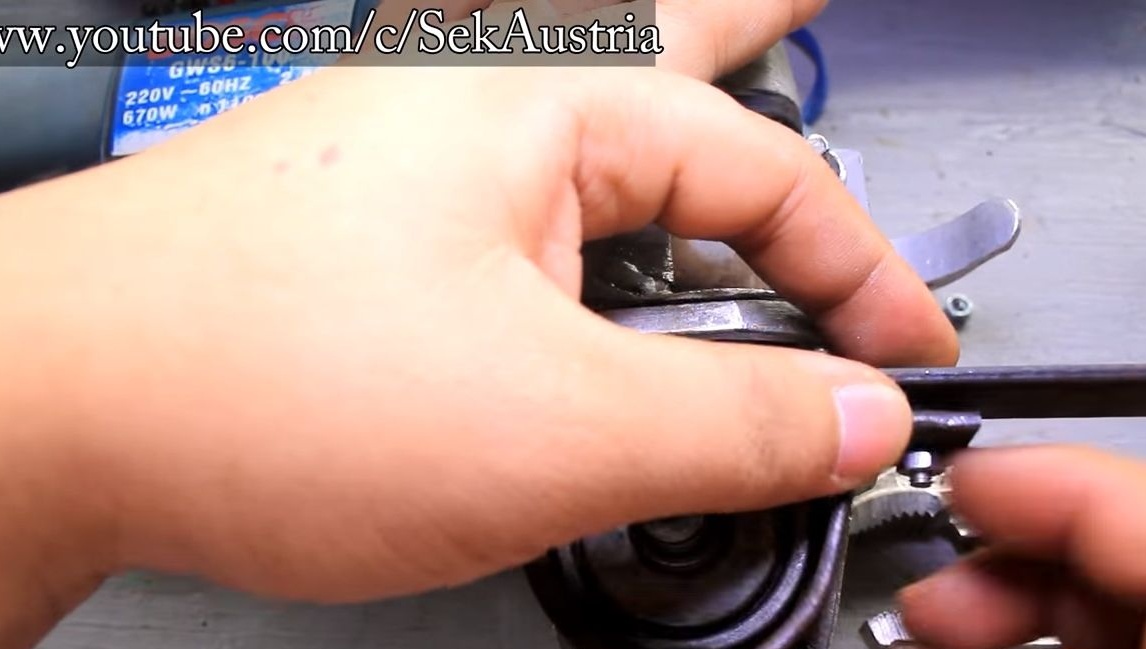
Step one. Disassemble the gearbox
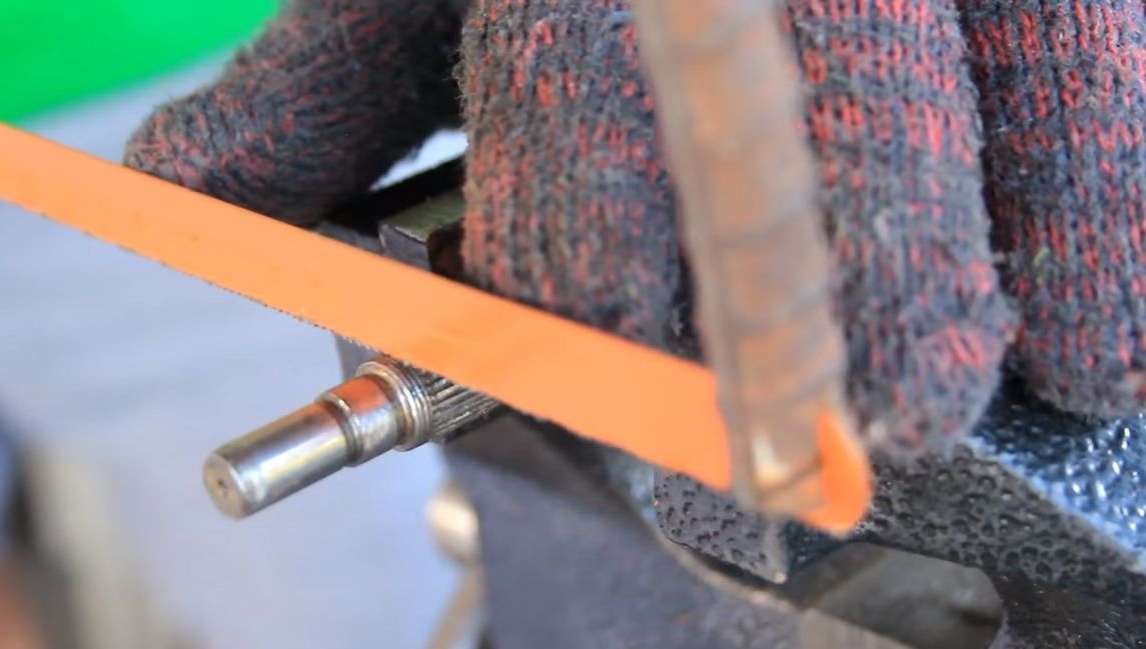
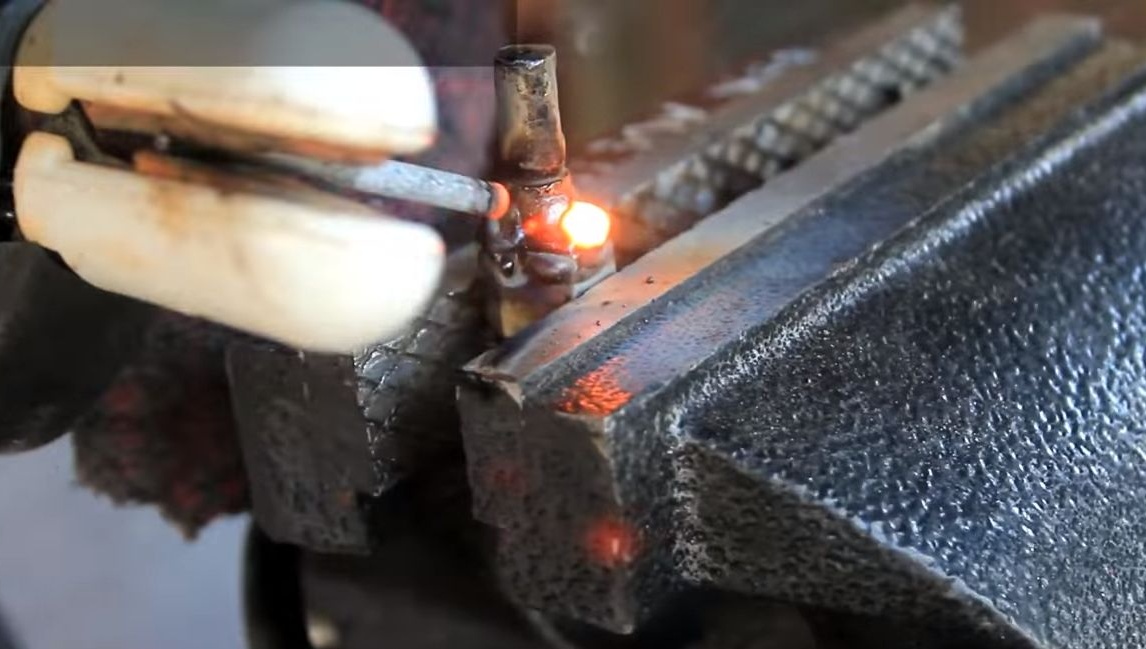
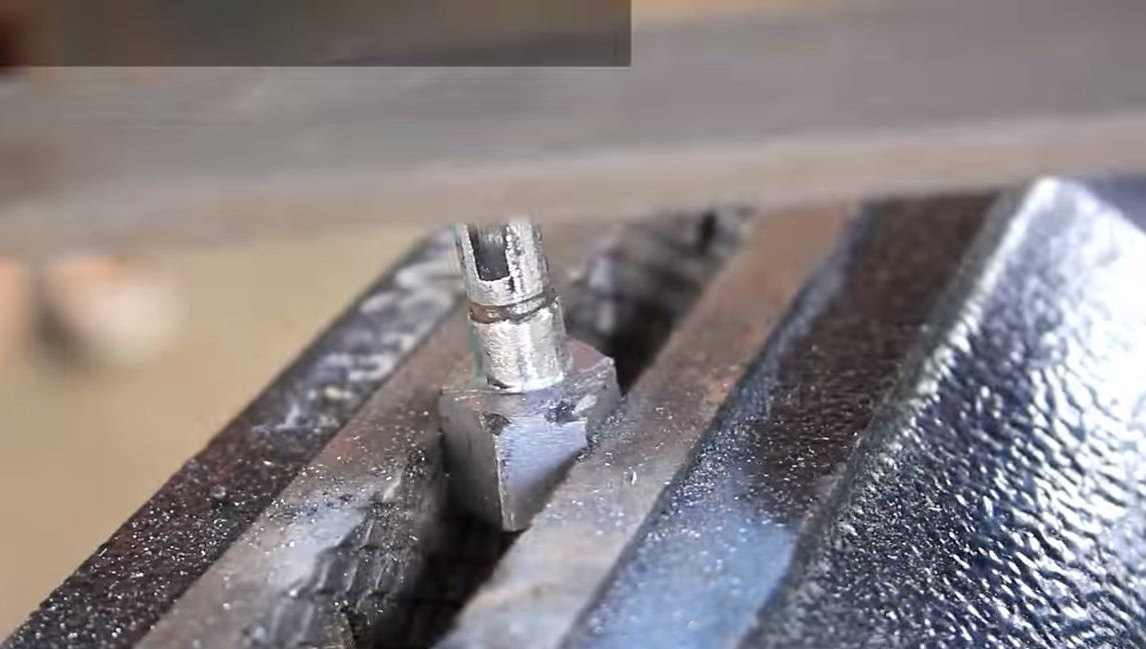
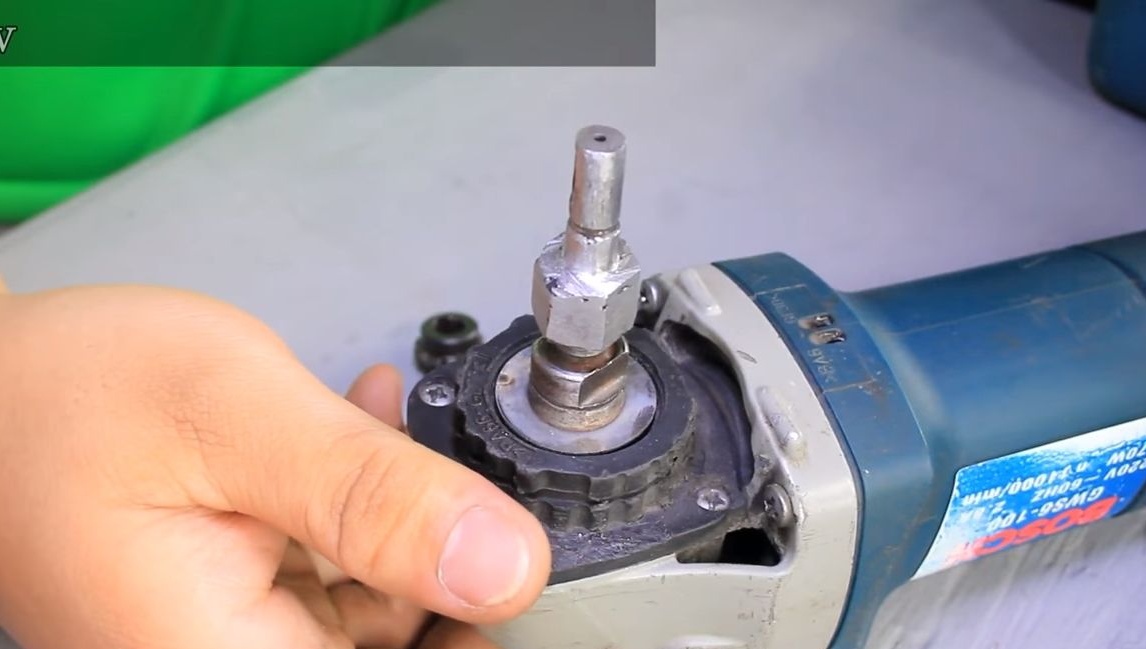
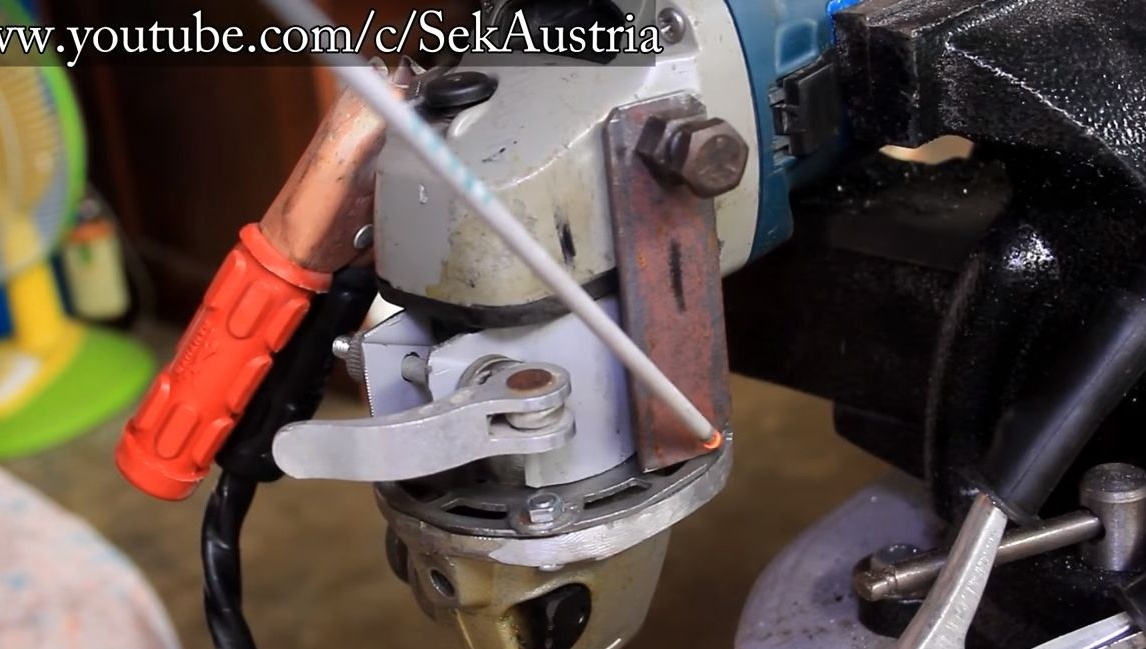
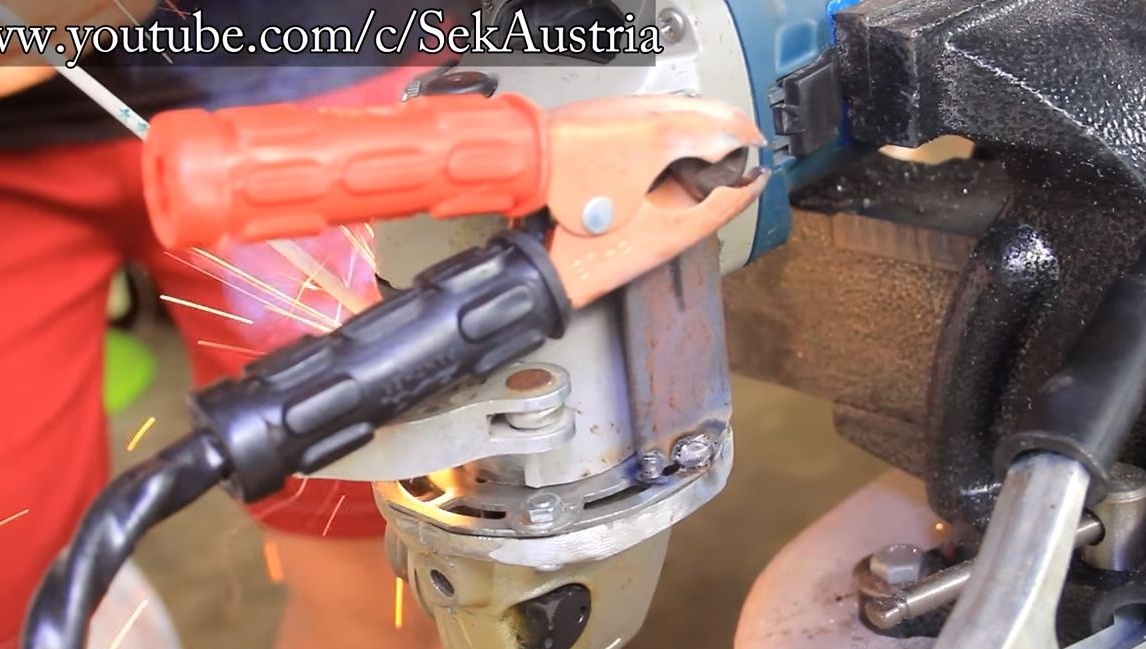
First of all, take the gear from the grinder and disassemble it. If the bearings are very worn, it is advisable to replace them. First of all, we remove the anchor, we need to cut off the bow from it. The author then welds a nut to this detail. The nut must be of such a size and with such a thread that it can be screwed onto the shaft of the grinder. Sand the weld well so that nothing gets in the way. As a conclusion, we have an excellent adapter that will allow you to connect to the gearbox.
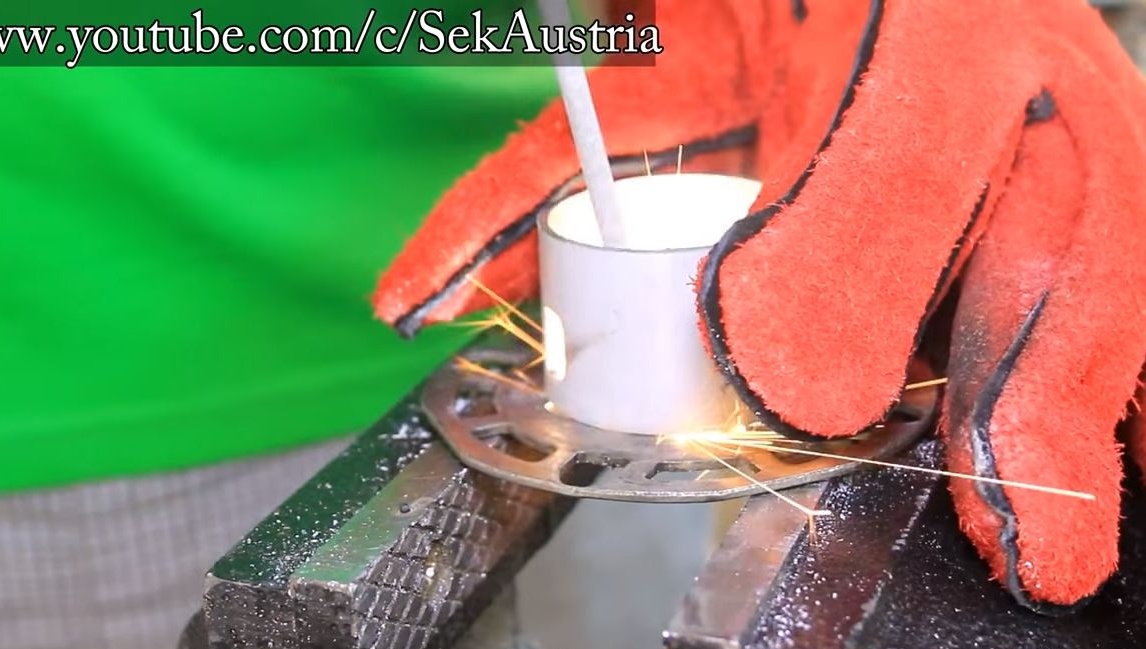
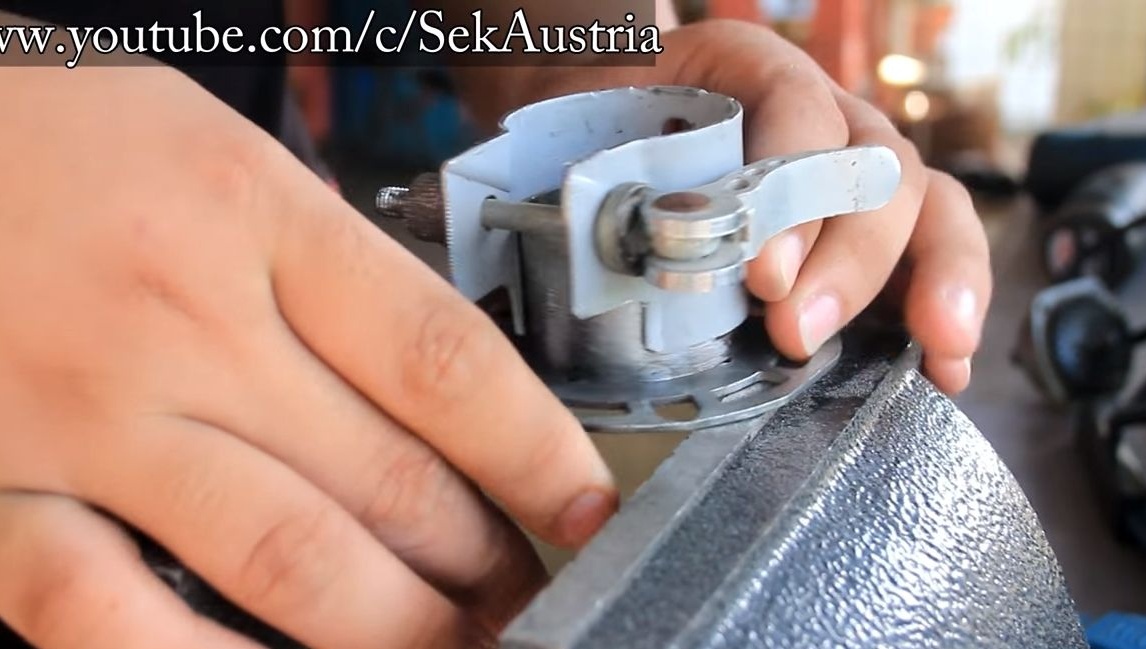
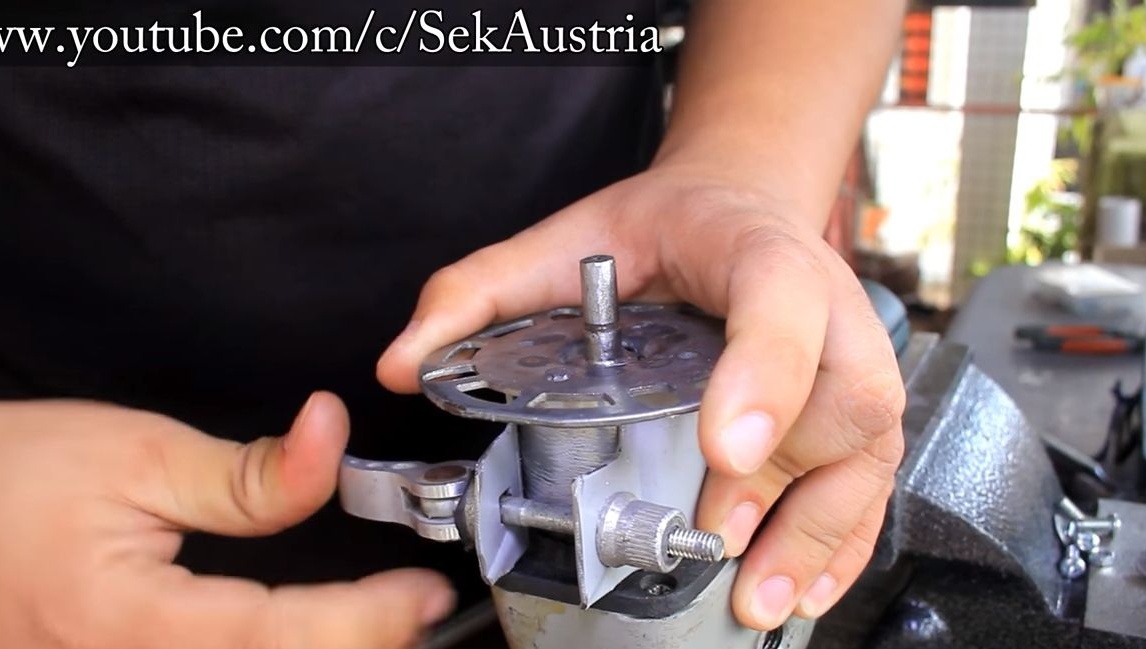
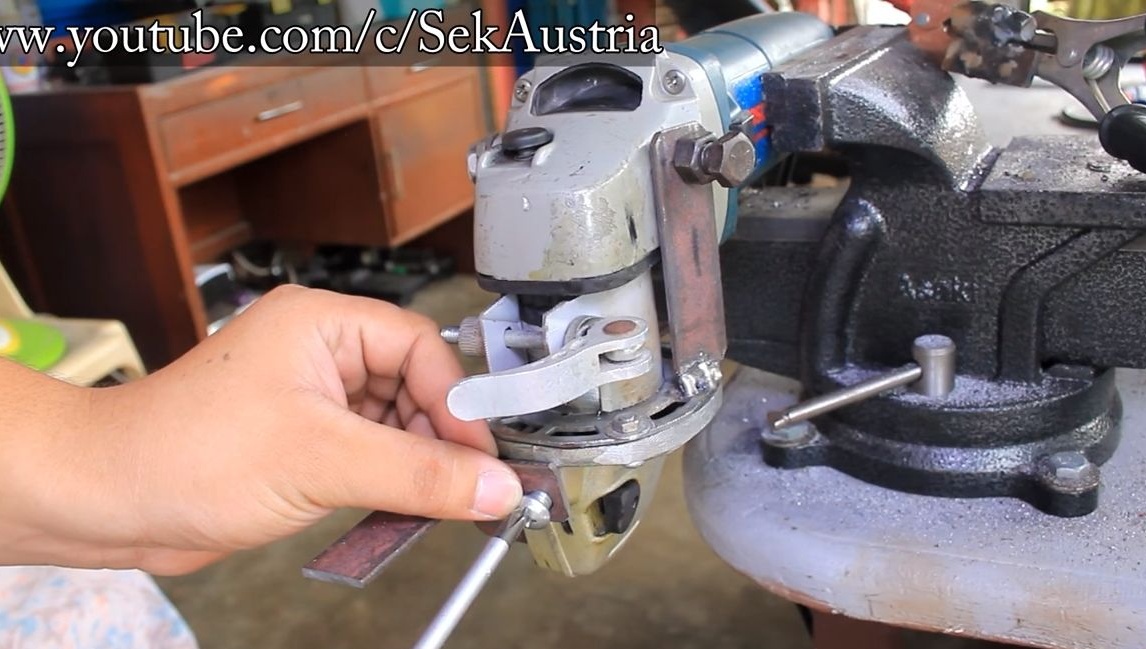
Step Two Manufacturing a mounting bracket
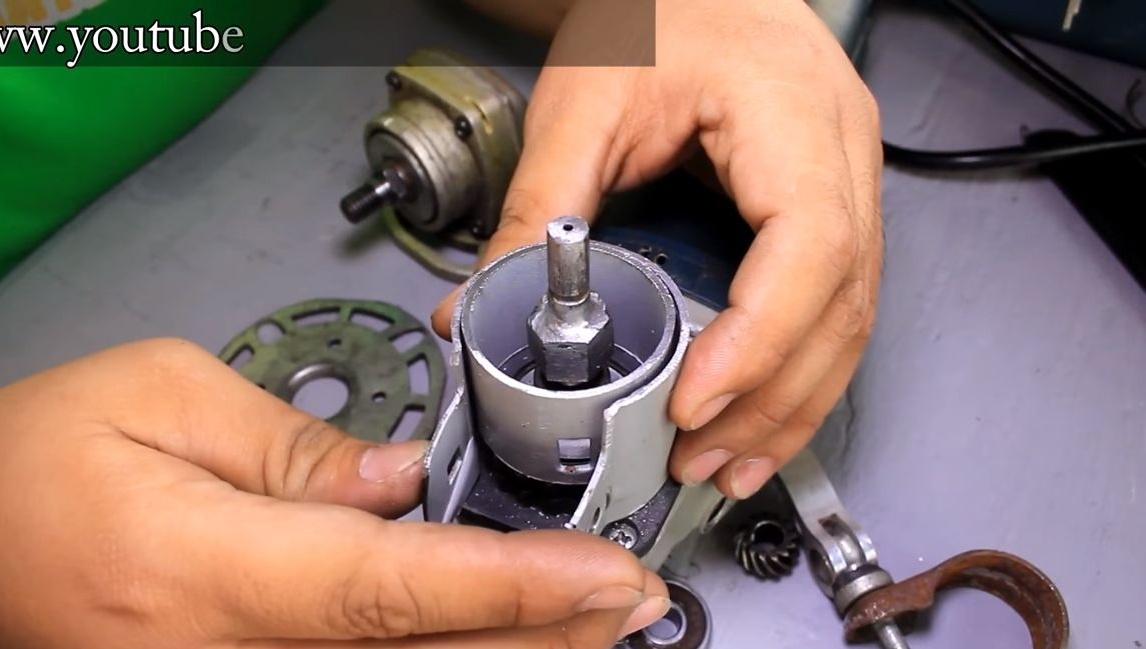
A mounting bracket is needed to fix the nozzle in the place where the bearing of the grinder (nose) is located. This part includes a homemade aluminum sheet clamp. Take a piece of steel pipe of suitable diameter, you need to weld a steel circle on top of it, this platform will be used to install a gear on it. The author decided to fix the clamping clamp with two rivets, so that it was convenient to use.
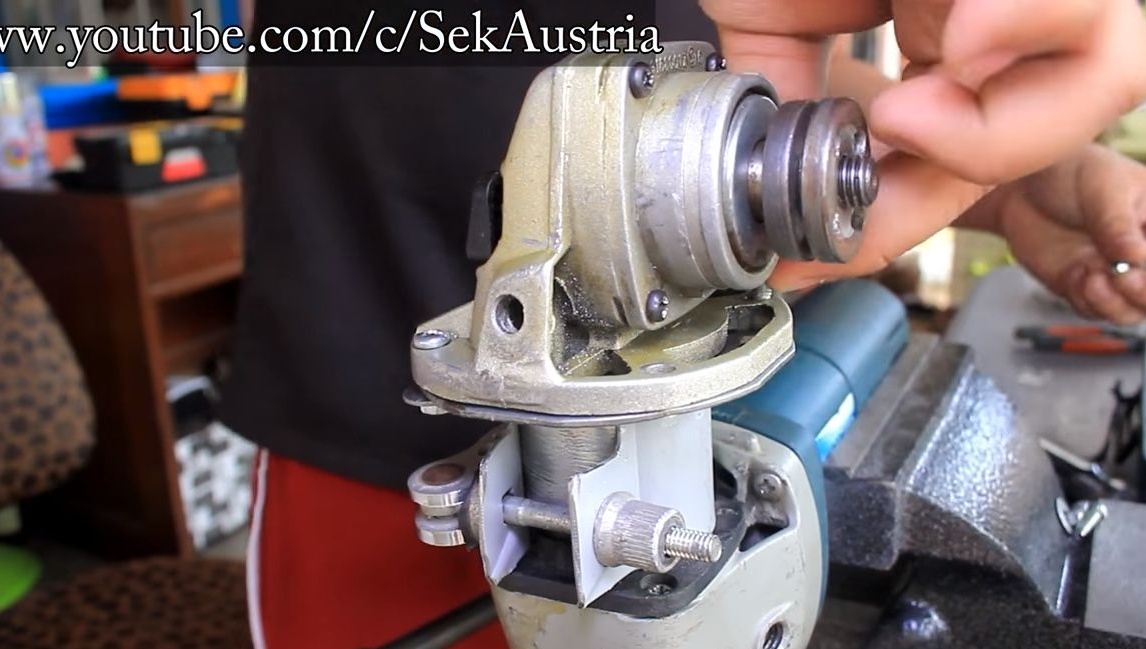
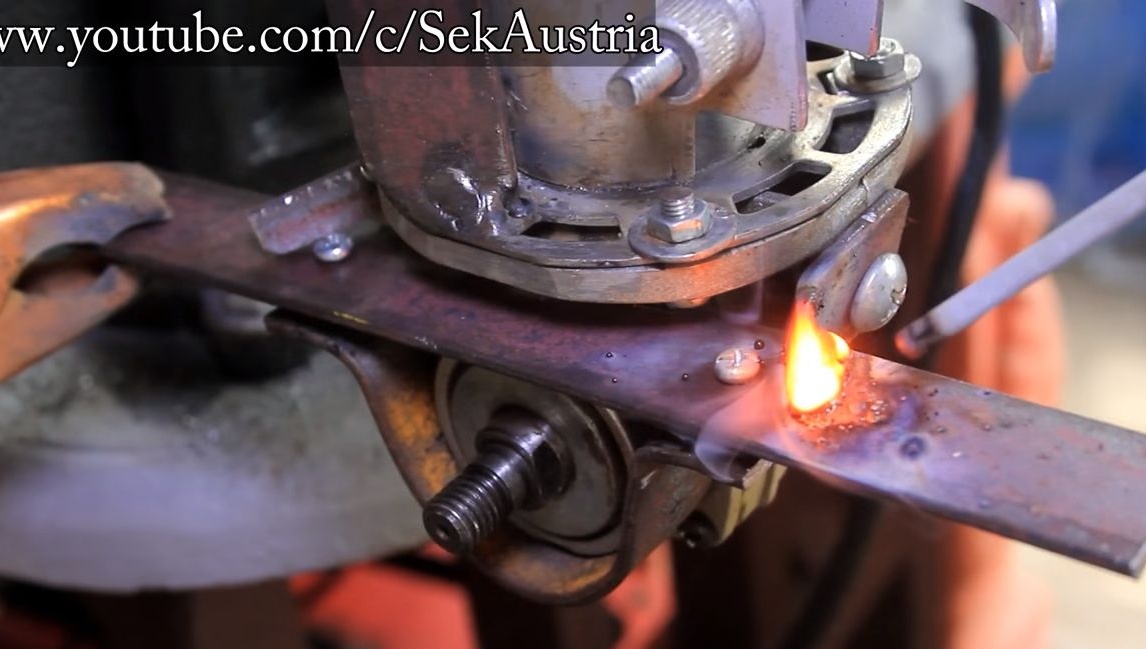
Step Three Install the gearbox
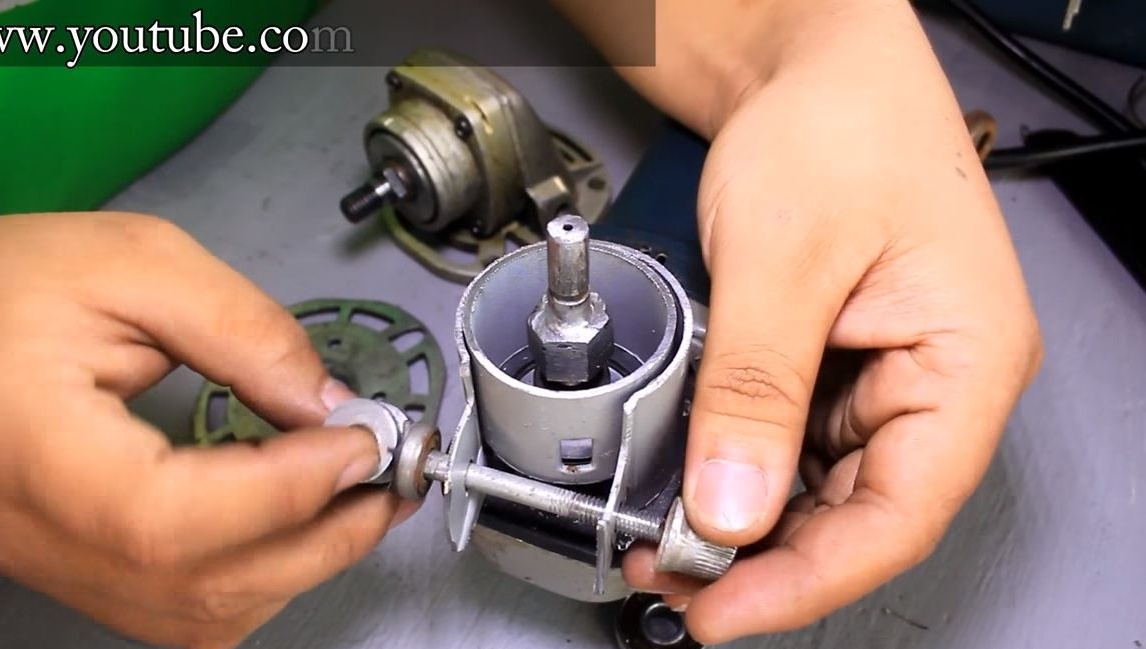
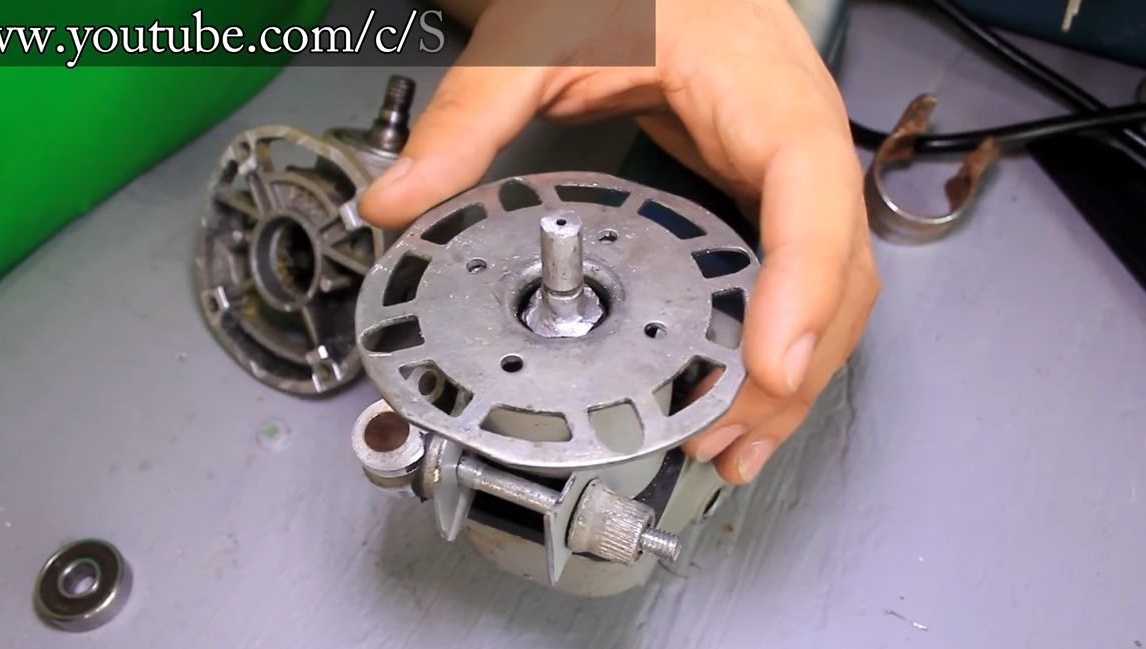
We install the gearbox, for its fastening we use screws with nuts and washers. To further fix the gearbox, we need two steel plates. They need to be welded to the support on which the gearbox is mounted. Further, holes are drilled in these plates, and it is screwed on both sides of the grinder with screws. Now the gearbox is fixed securely and when working, you can not be afraid that the device will fall apart.

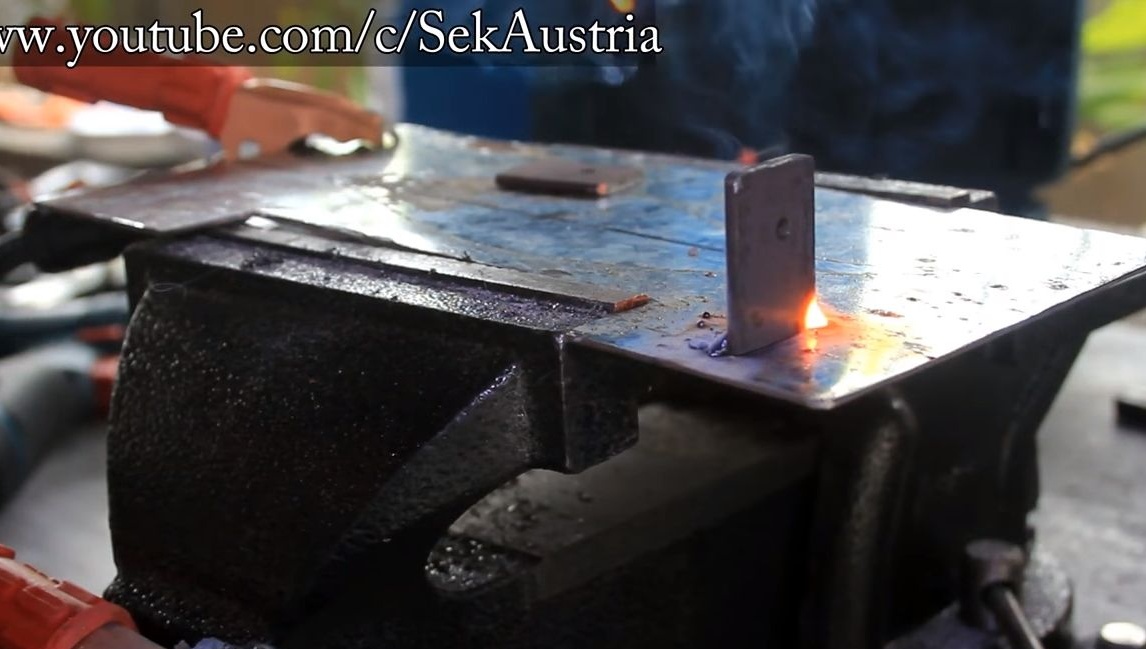
Step Four We make and install the bracket for the thrust plate
For the manufacture of this part, sheet steel will be needed, from it we will make a clamp. As for the long straight plate, we need to weld two more plates with holes to its edges, as a result we get “ears”, for which we will fix the thrust plate.
The bracket also needs to be additionally secured with screws. To do this, we cut steel plates, drill holes and weld them into place. That's all, we get an excellent base for installing the base plate.
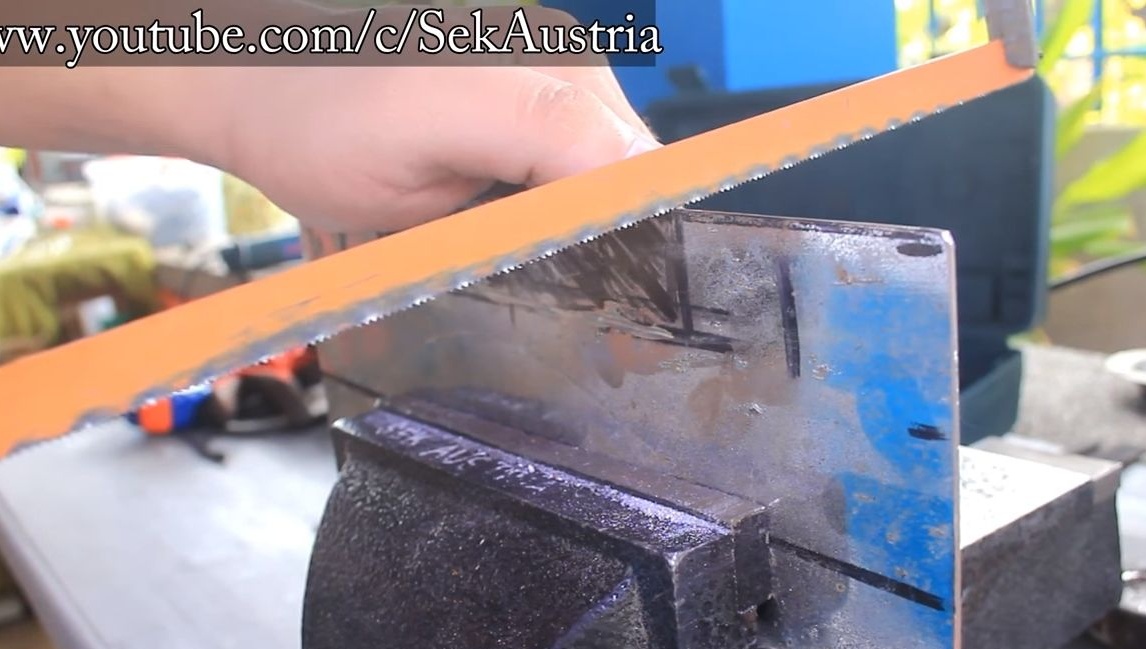
Step Five Thrust plate
We take sheet steel and cut a groove in it. We cut the plate itself to the desired size and remove the burrs with a file. Weld the “ears” to the plate to attach it to the bracket.

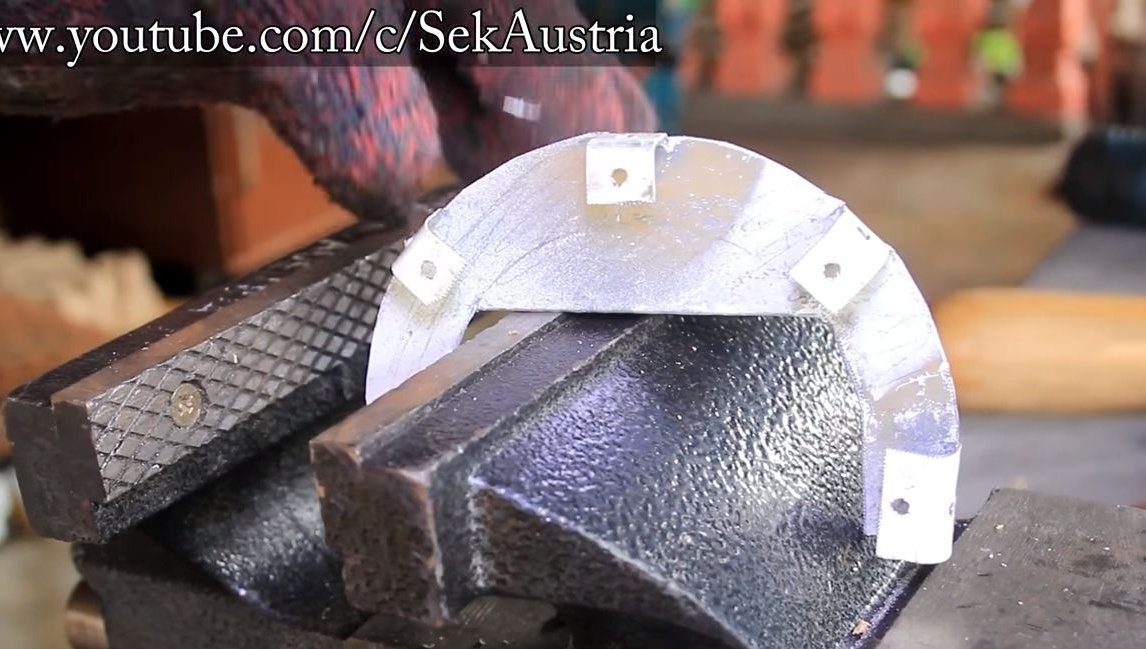
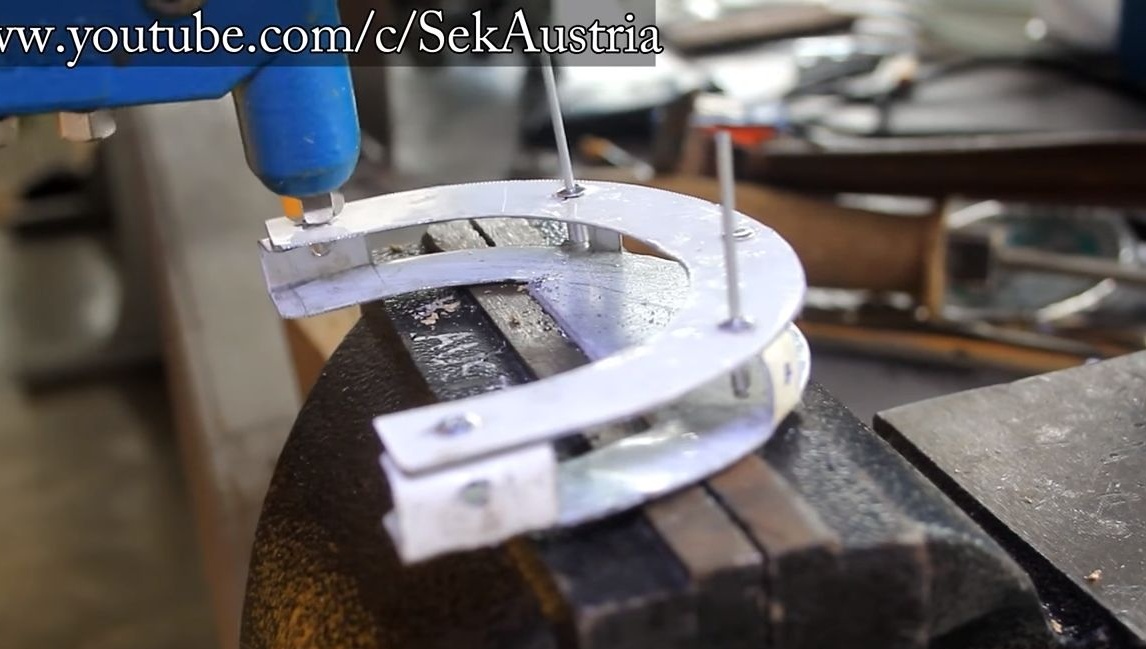
Step Six Protective shield
This element is made of sheet aluminum, as it is easiest to work with. Just cut out the details according to the drawing, using scissors for metal. Further, the whole structure is assembled on rivets, for this it is very convenient to use a rivet gun. As a last resort, we collect everything on cogs with nuts.


Seventh step. DIY assembly
In the end, it is recommended to paint all parts of ferrous metal, so the machine will look more beautiful, and the metal will not rust and collapse. First of all, we fasten the base plate, for this you will need bolts with nuts. Try to use a grover everywhere, as the nuts from vibration quickly untwist. Now it remains to fix the protective shield, we use screws with nuts or rivets.
Step Eight. Testing!
That's all, our brainchild is ready, you can experience it! The cutting disc rotates at a relatively low speed, but has a high torque, so the load on the grinder is minimal. Even this saw will be much safer than if you installed the disk directly on the grinder.
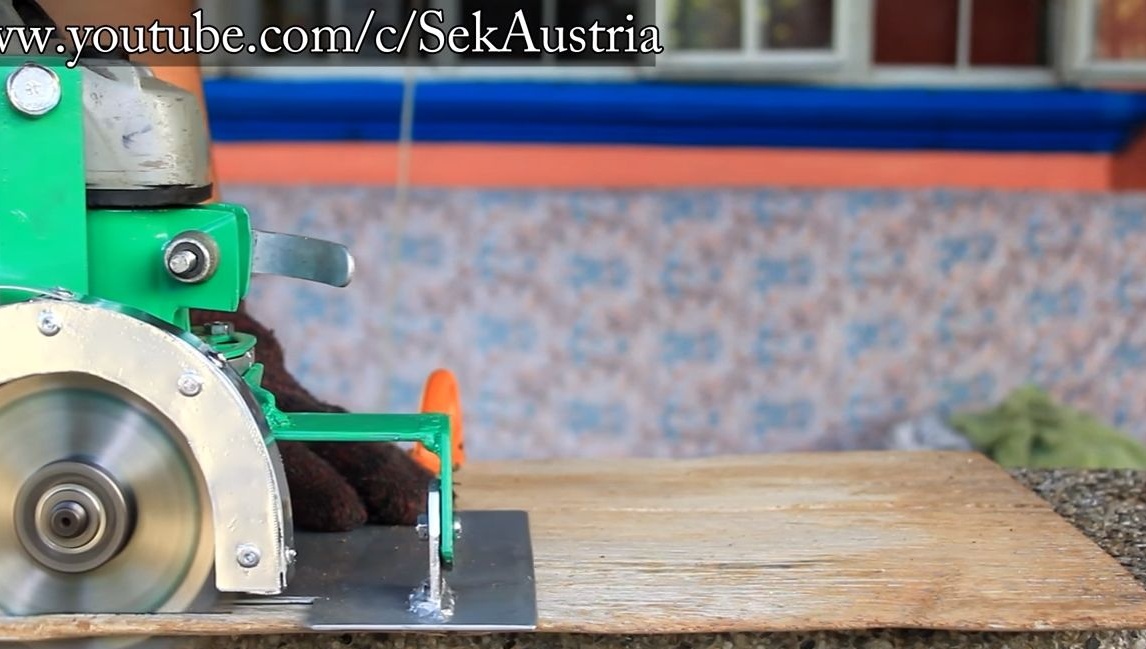
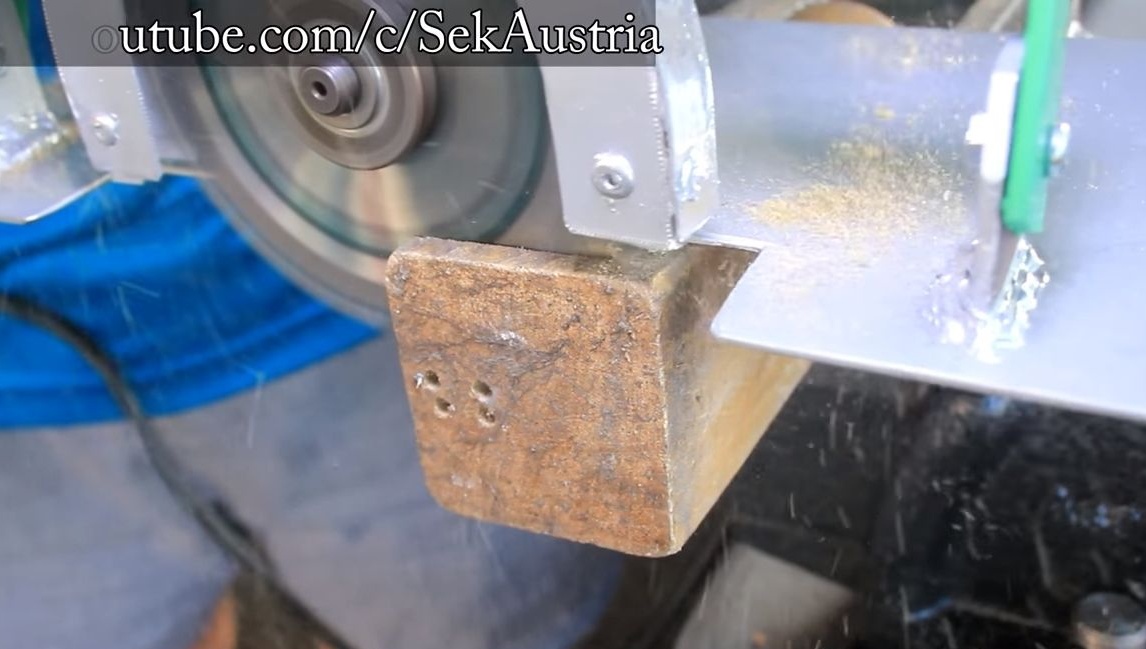
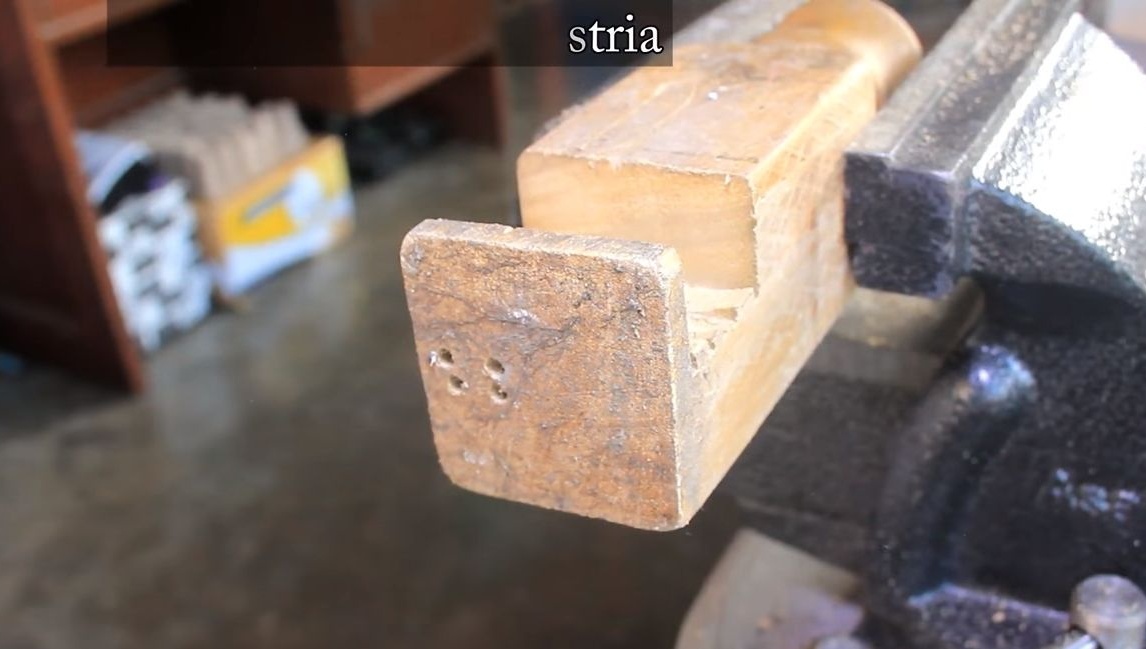
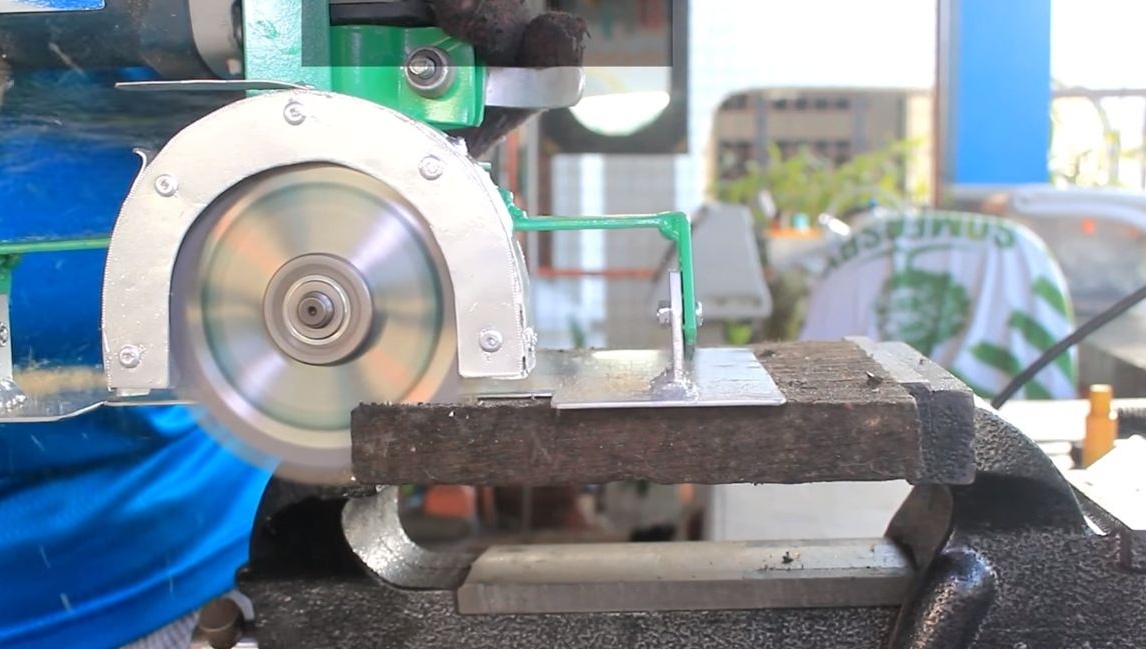

The author on the video effortlessly cuts boards, boards and other materials with a saw. Circular copes with this task without much effort and quite fast for itself, given the relatively low power of a small grinder. The only drawback of the design is that it is impossible to adjust the immersion depth of the cutting disc. But if you modify the homework a bit, this problem will be solved.
That's all, I hope you liked the project. It will be interesting to know your opinion about this car. Good luck and inspiration in the manufacture of their projects. Do not forget to share your homemade products with us.