
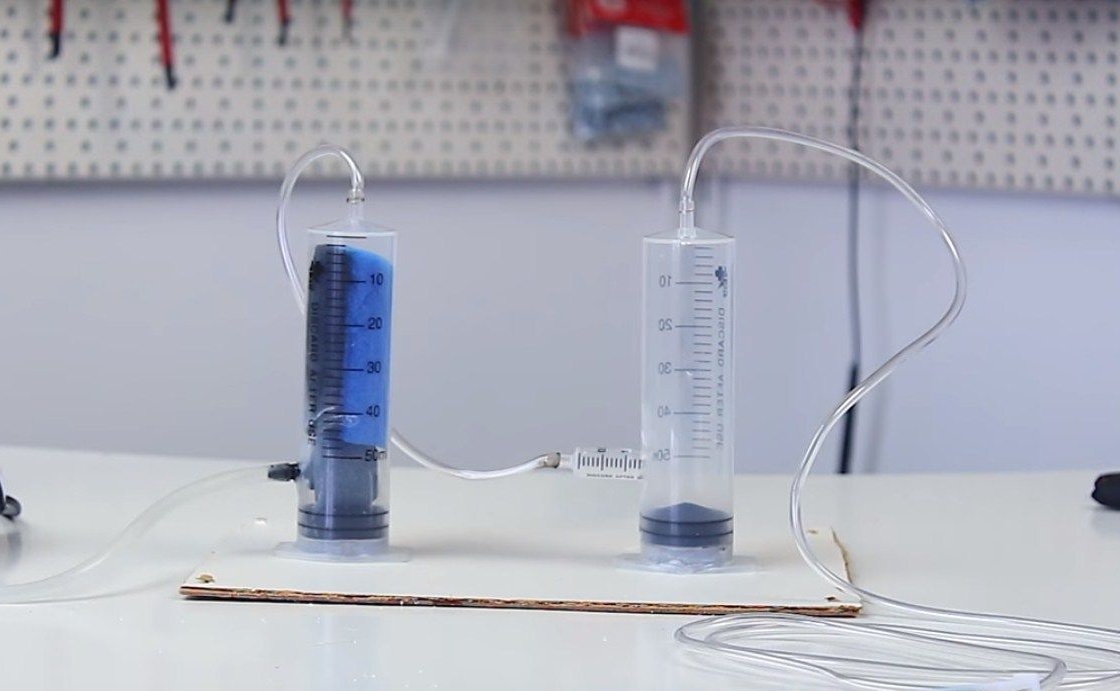
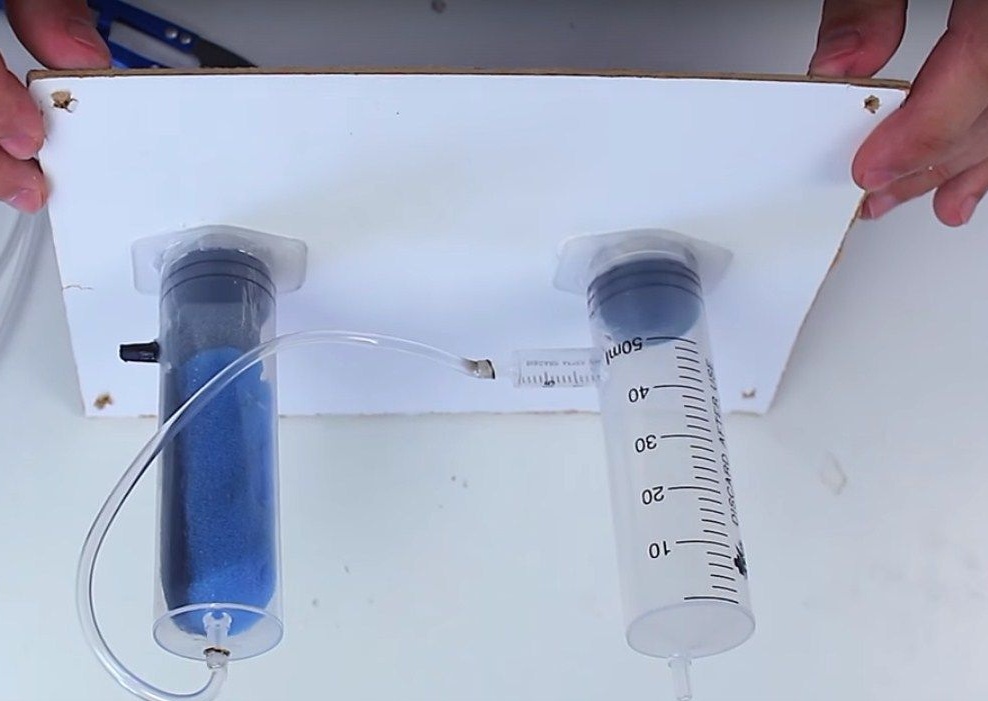
The burner of the author consists of an evaporation chamber and a water shutter.
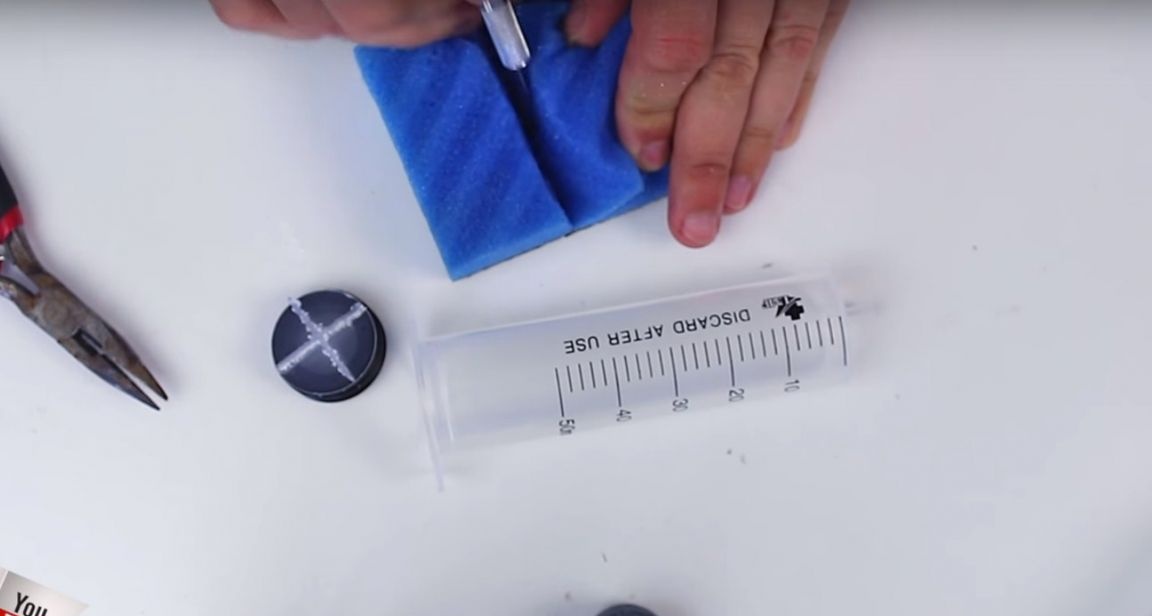
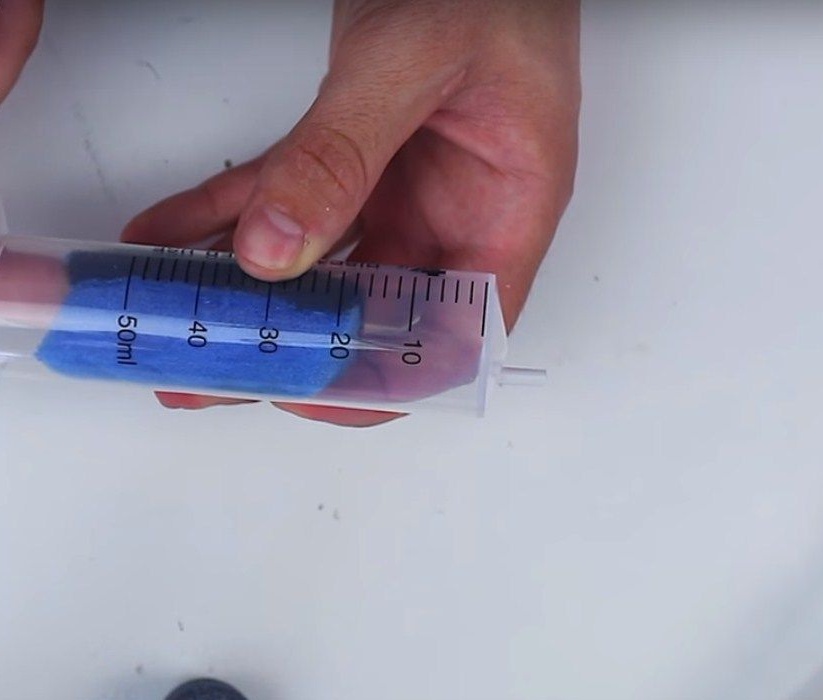
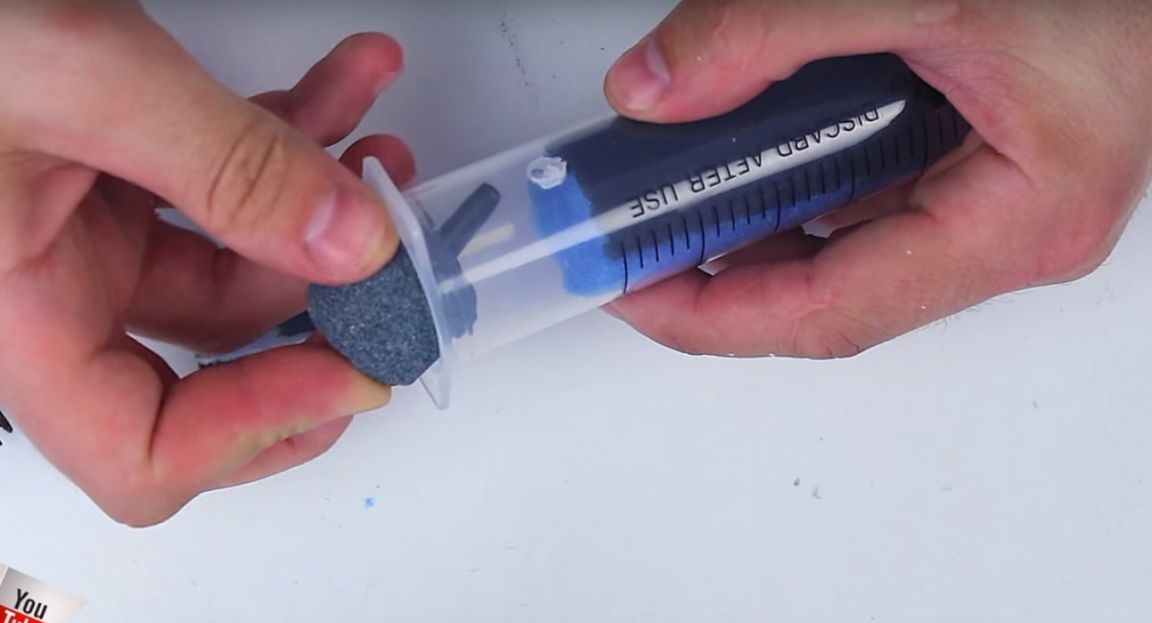
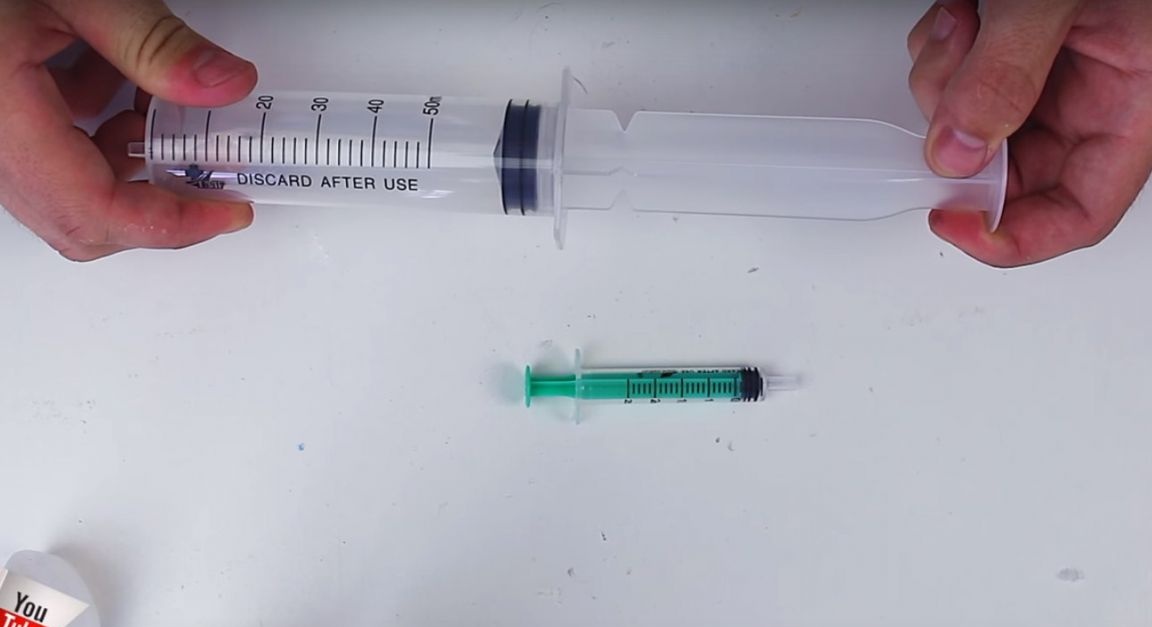
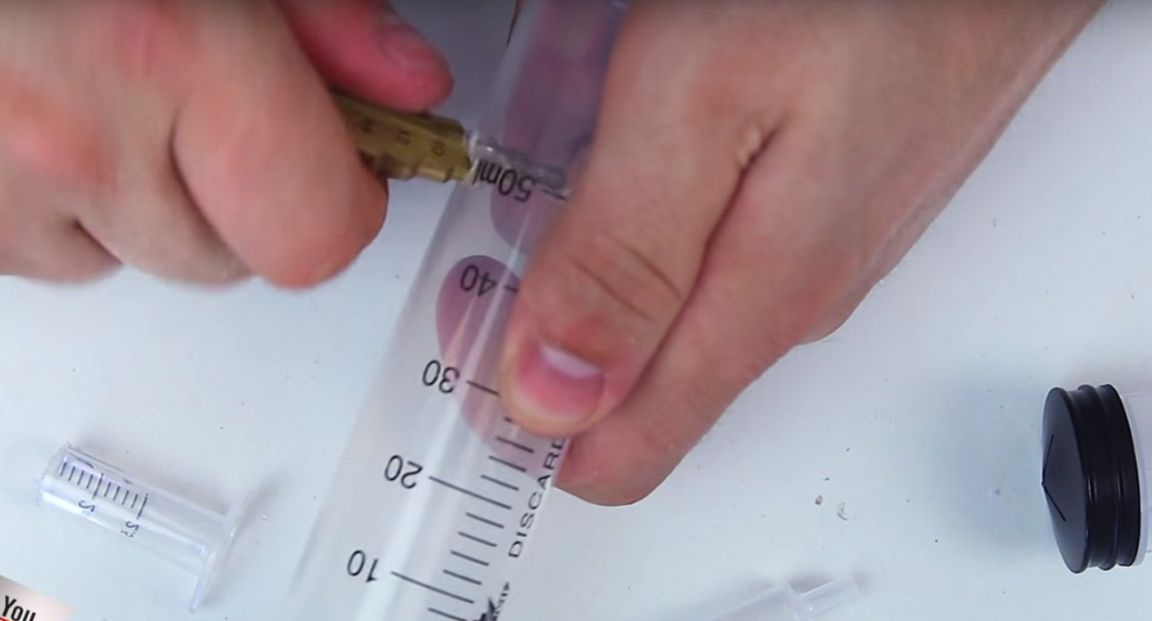
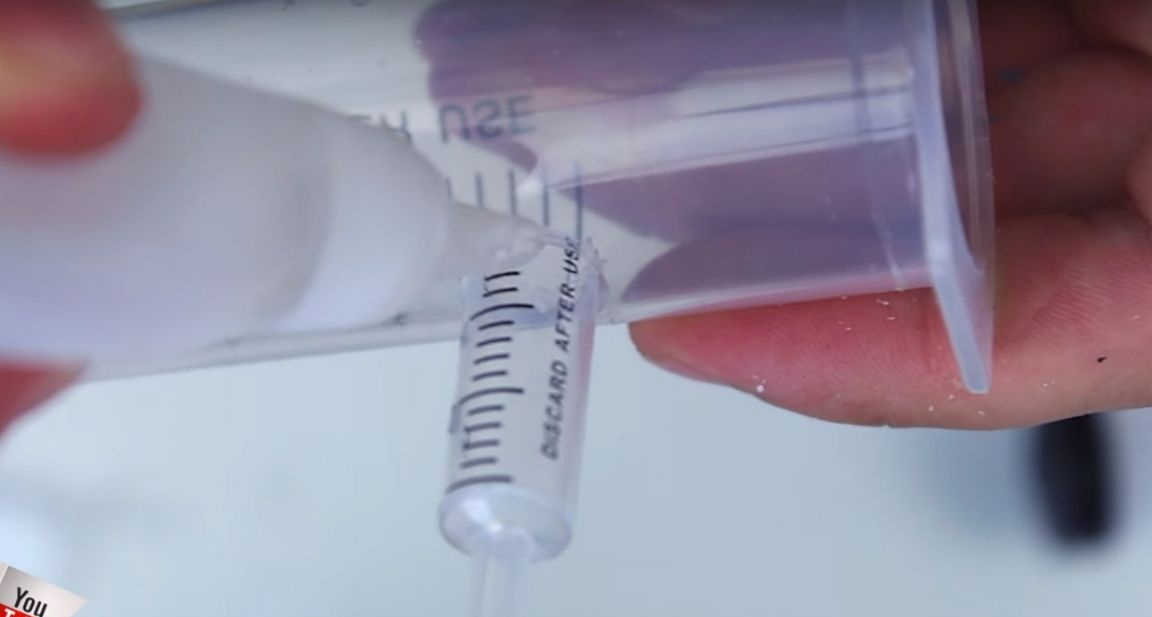
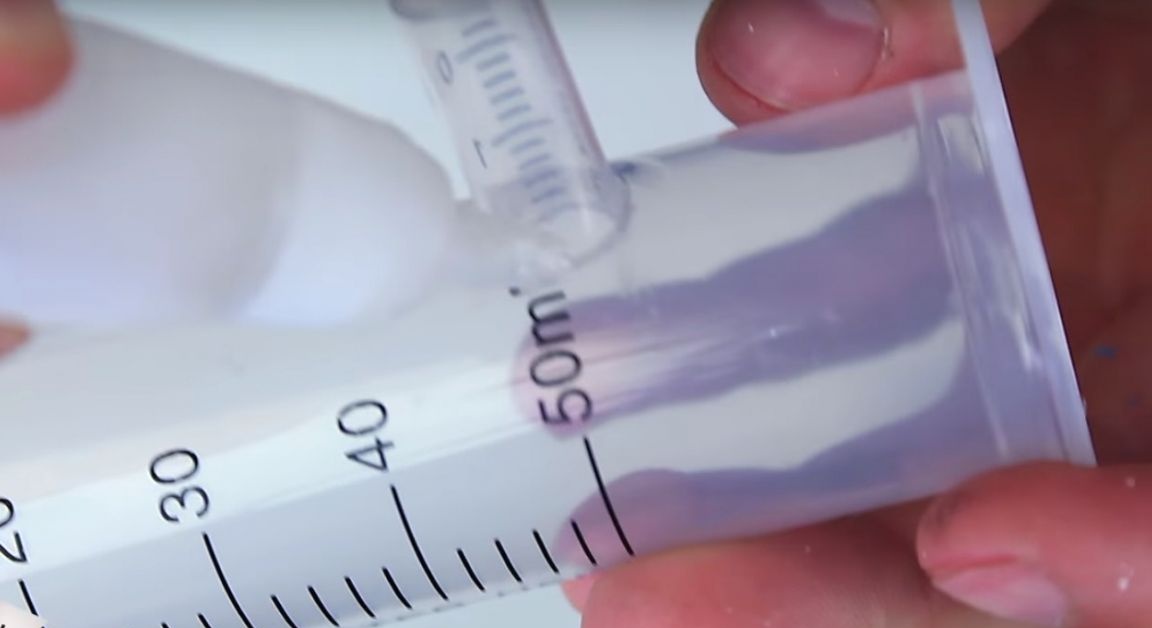
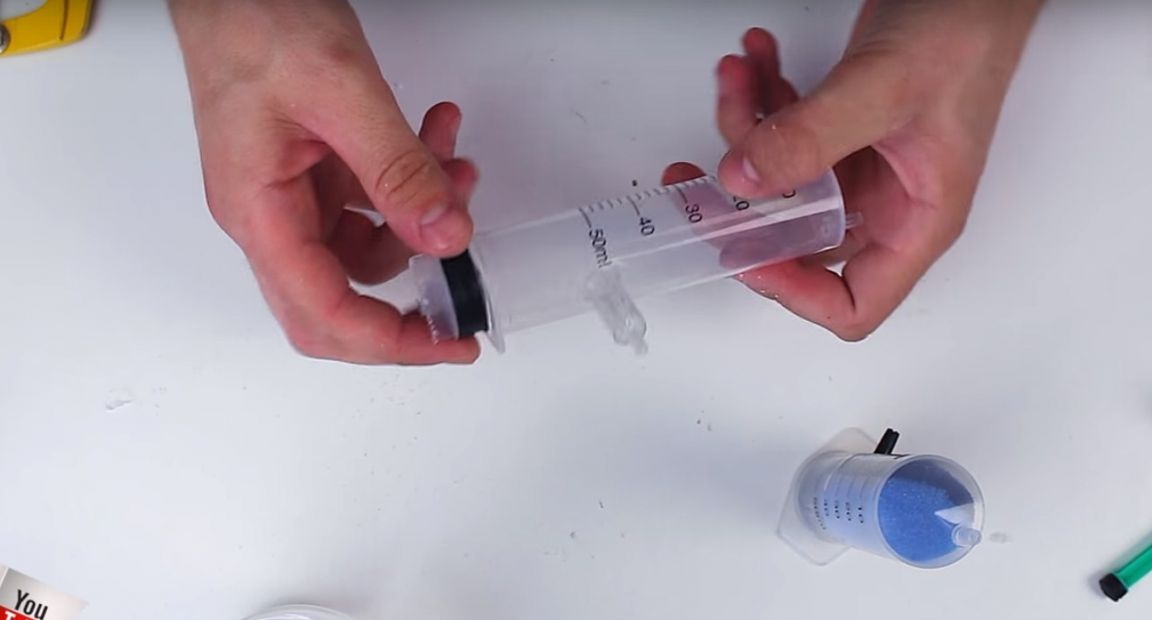
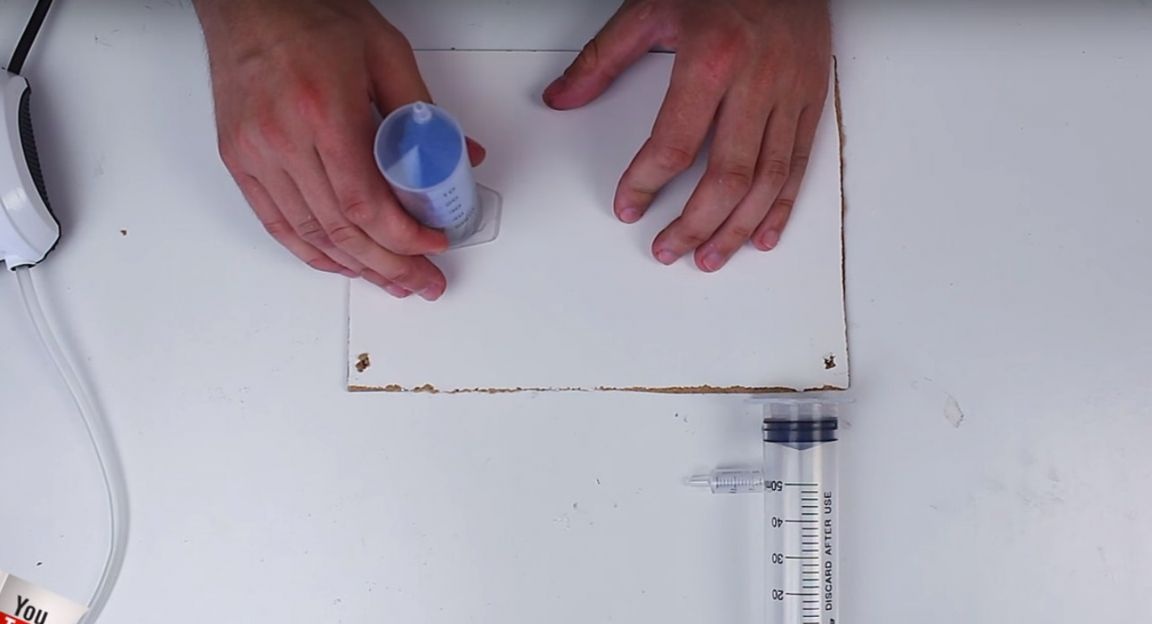
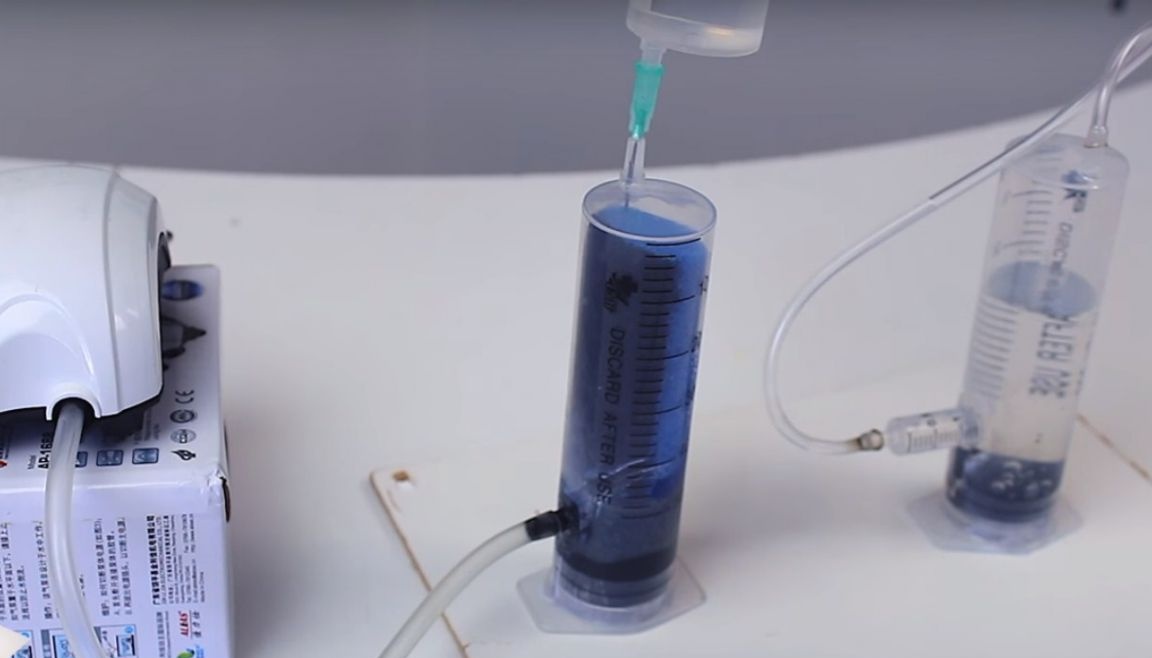
For the manufacture of the evaporation chamber, he took a 50 ml syringe.
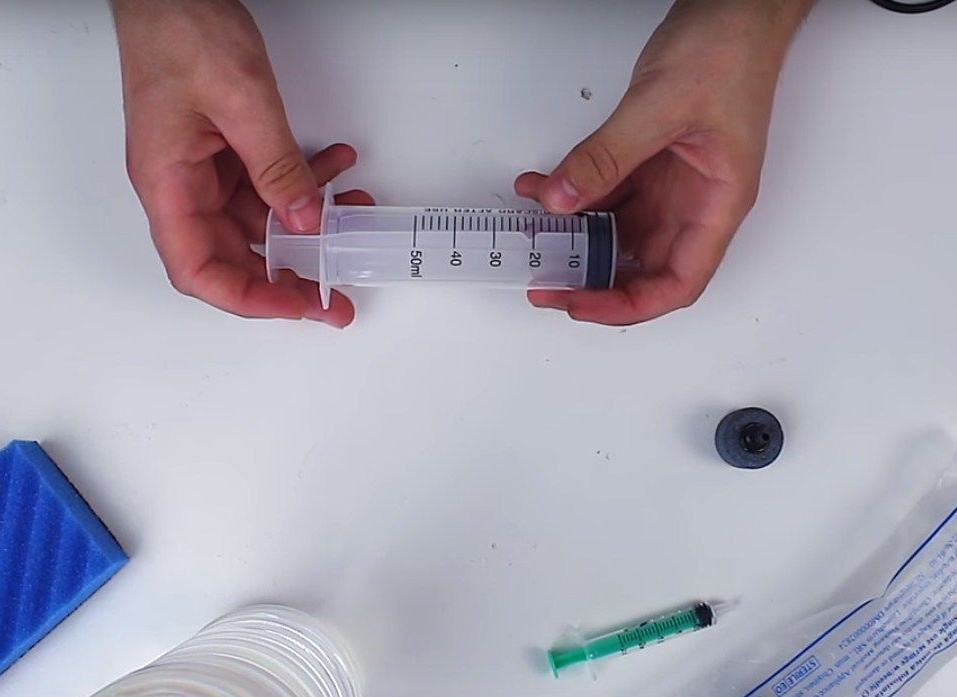
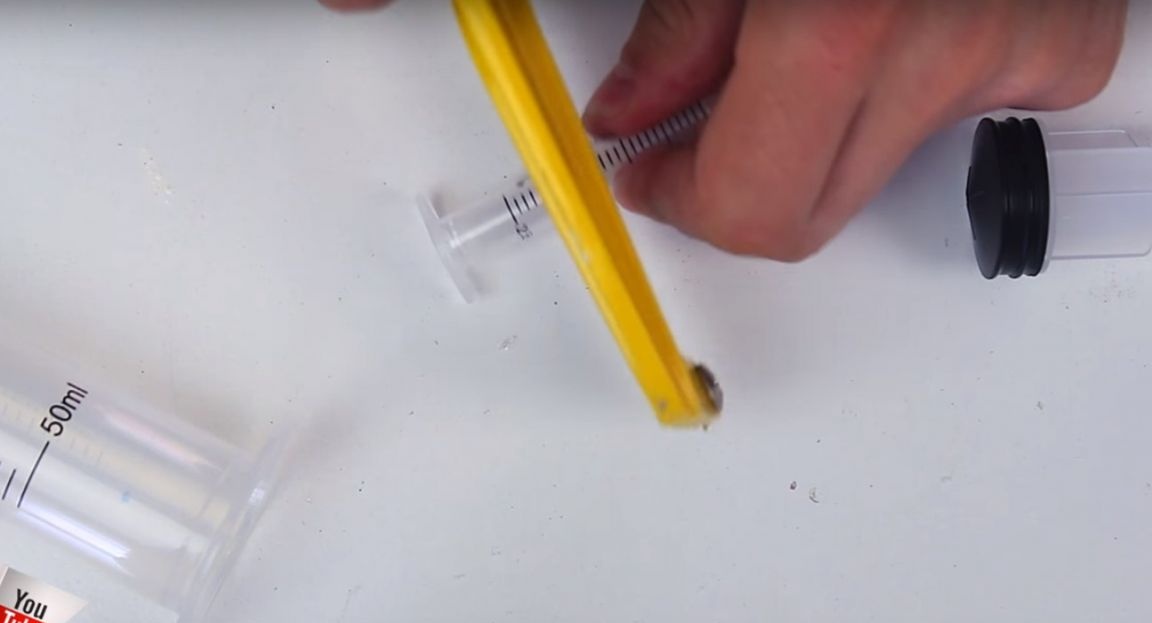
And stretching out the piston of the syringe to the end, cut off all the excess.


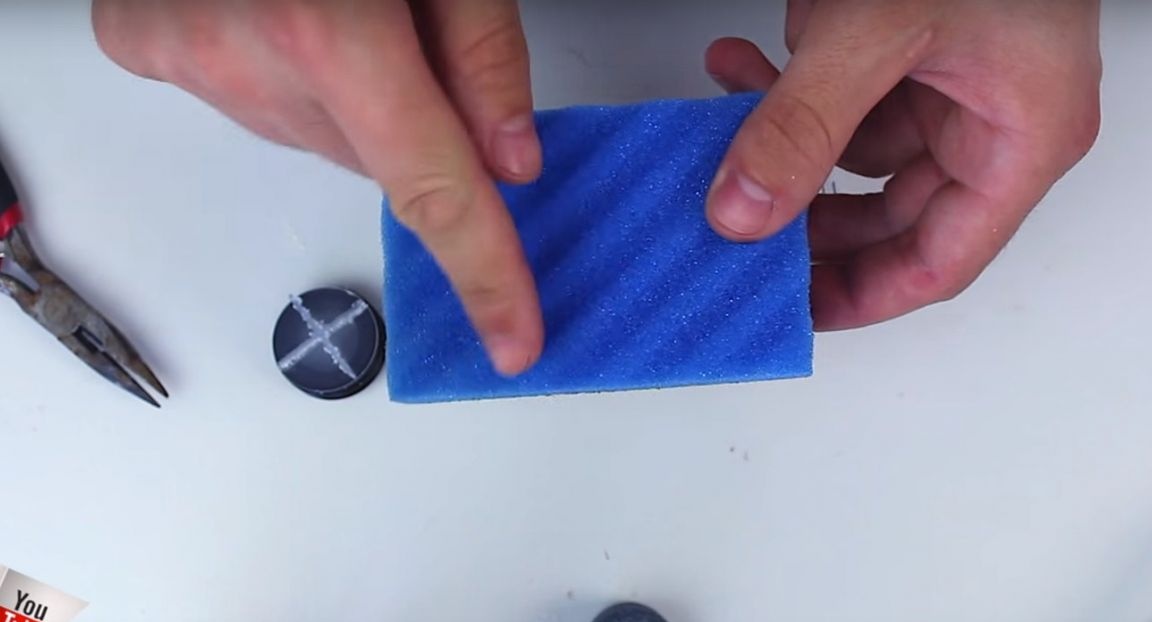
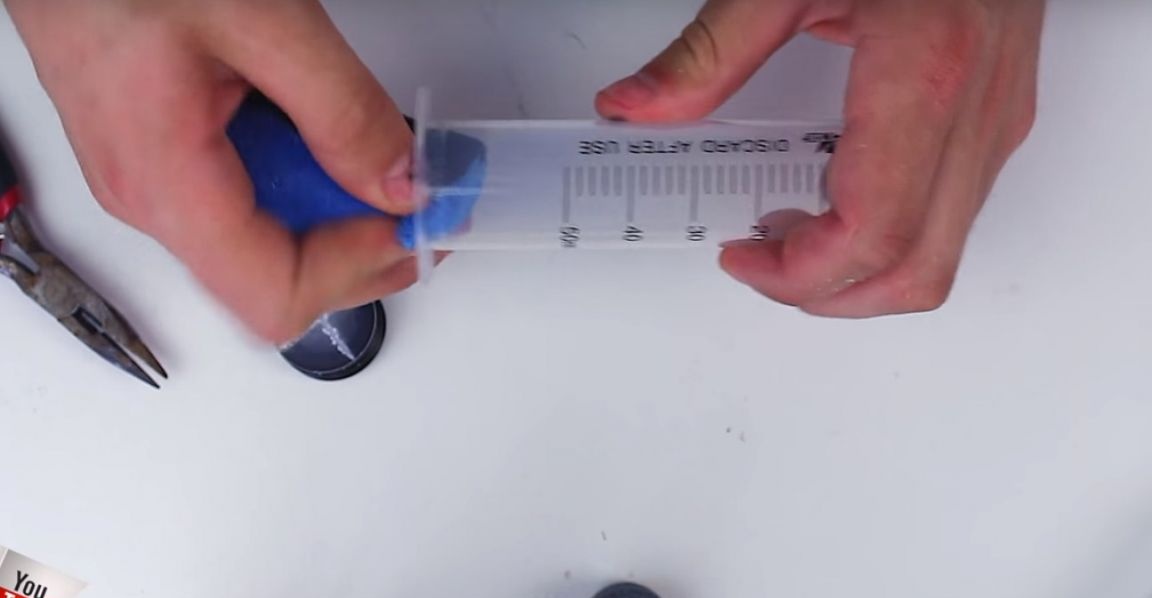
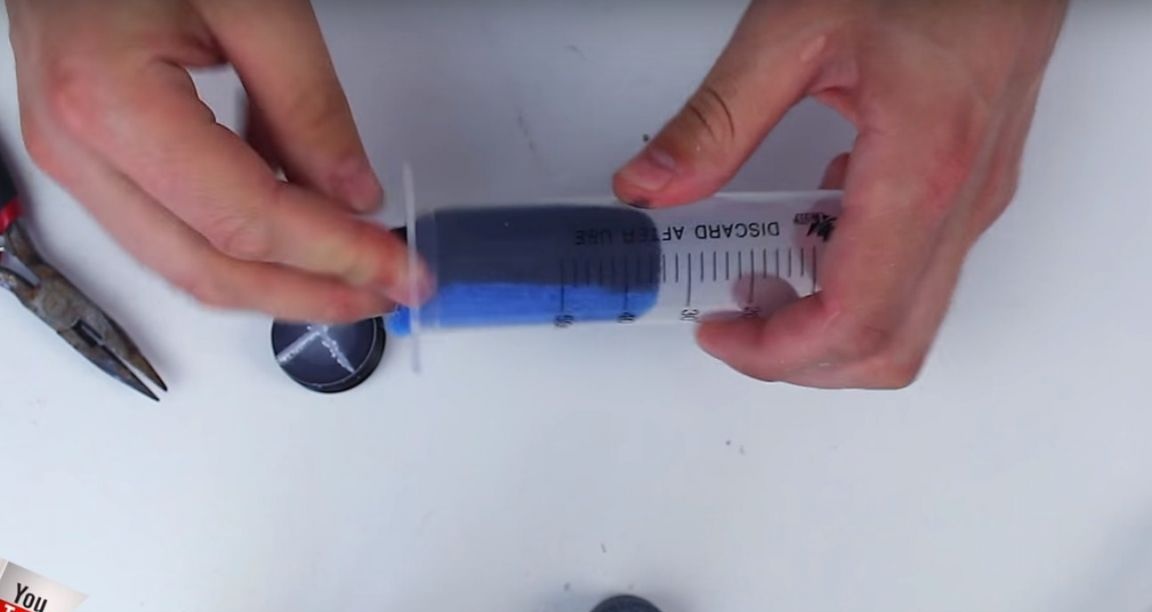
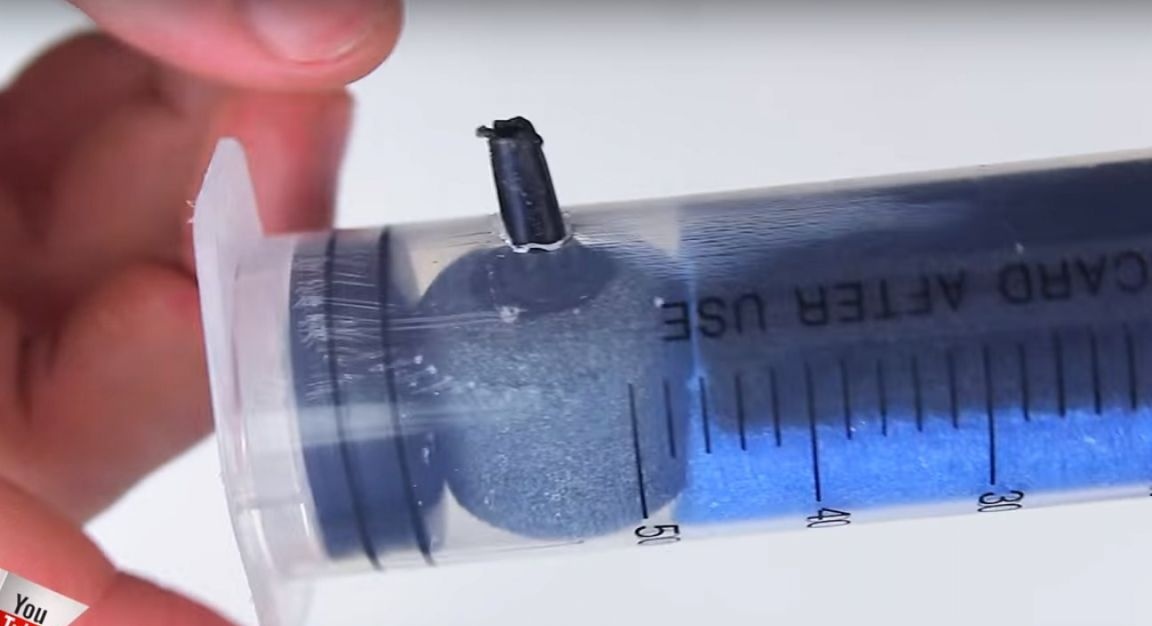
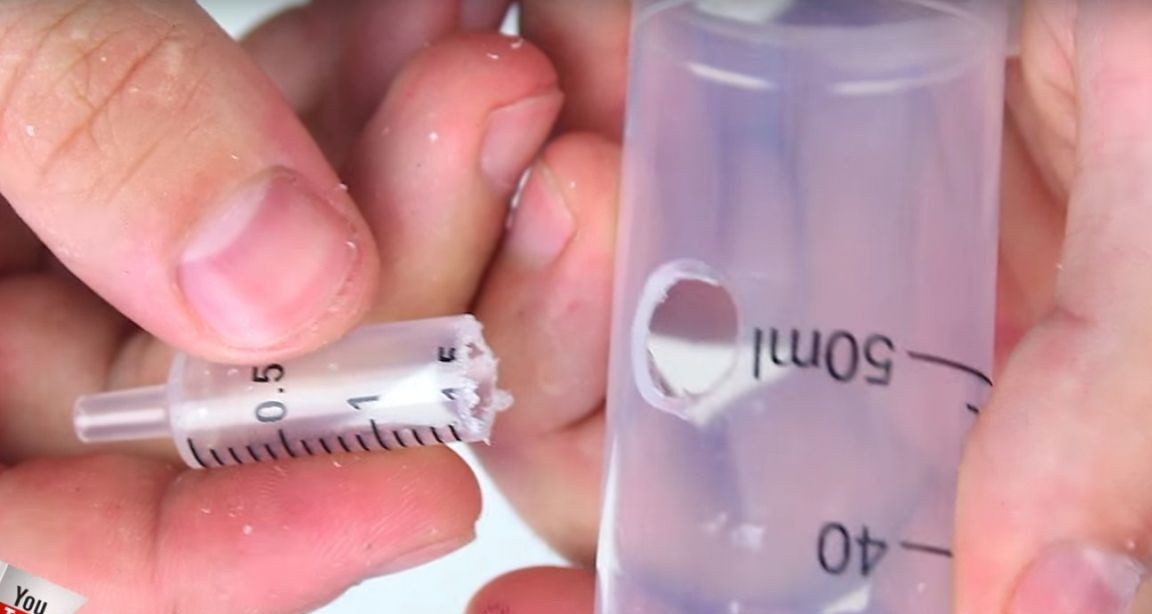
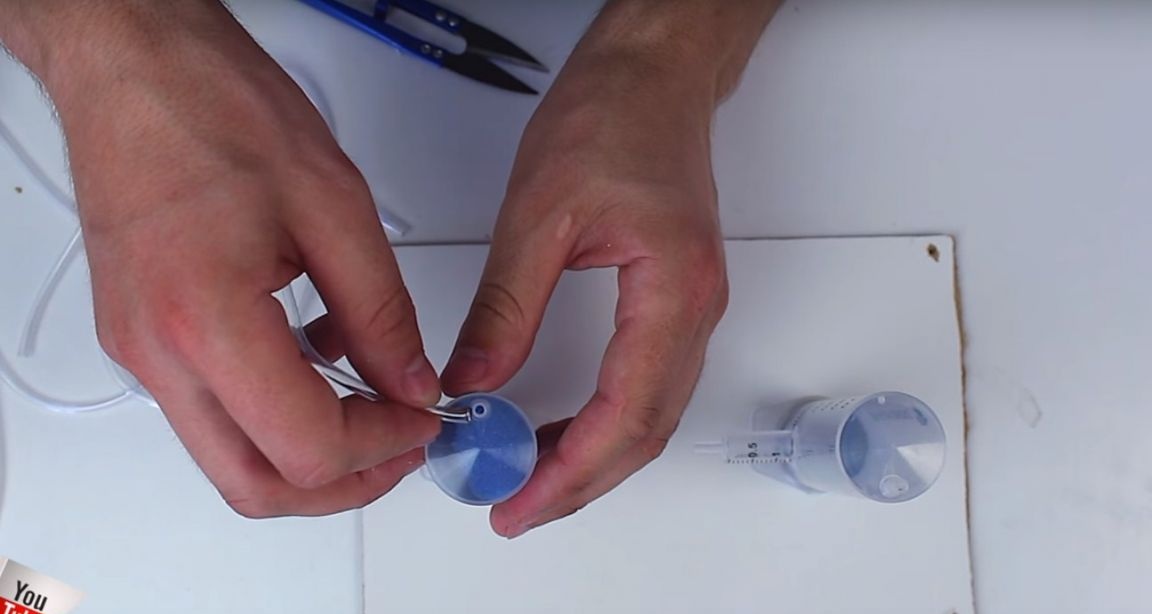
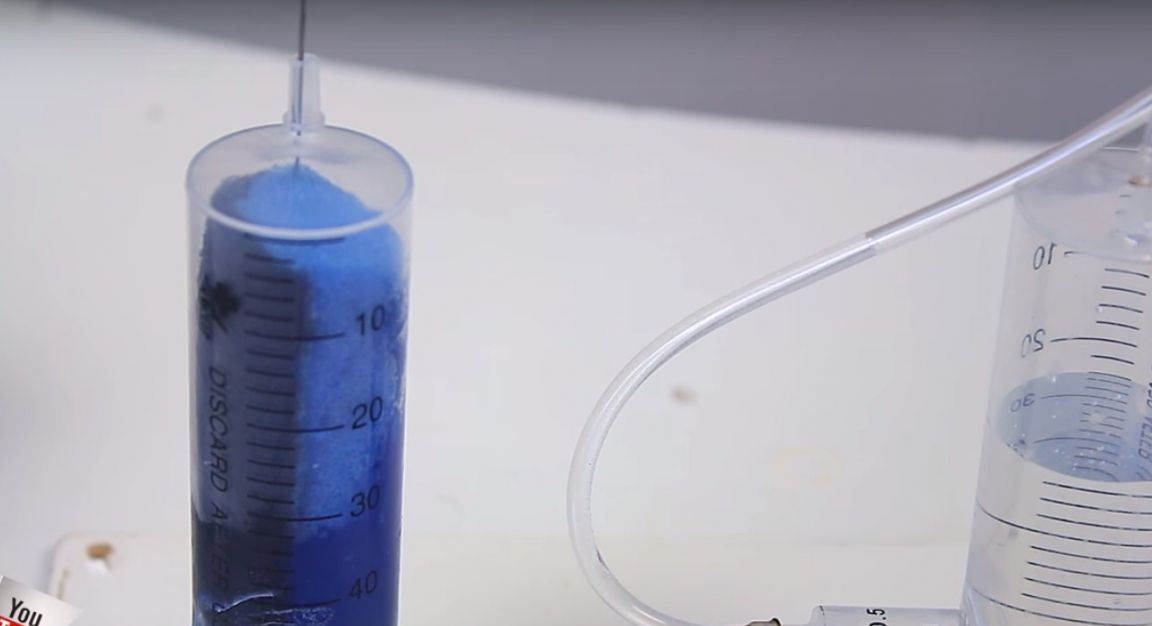
Then, from an ordinary sponge for dishes, he cut a small piece and inserted into a syringe.
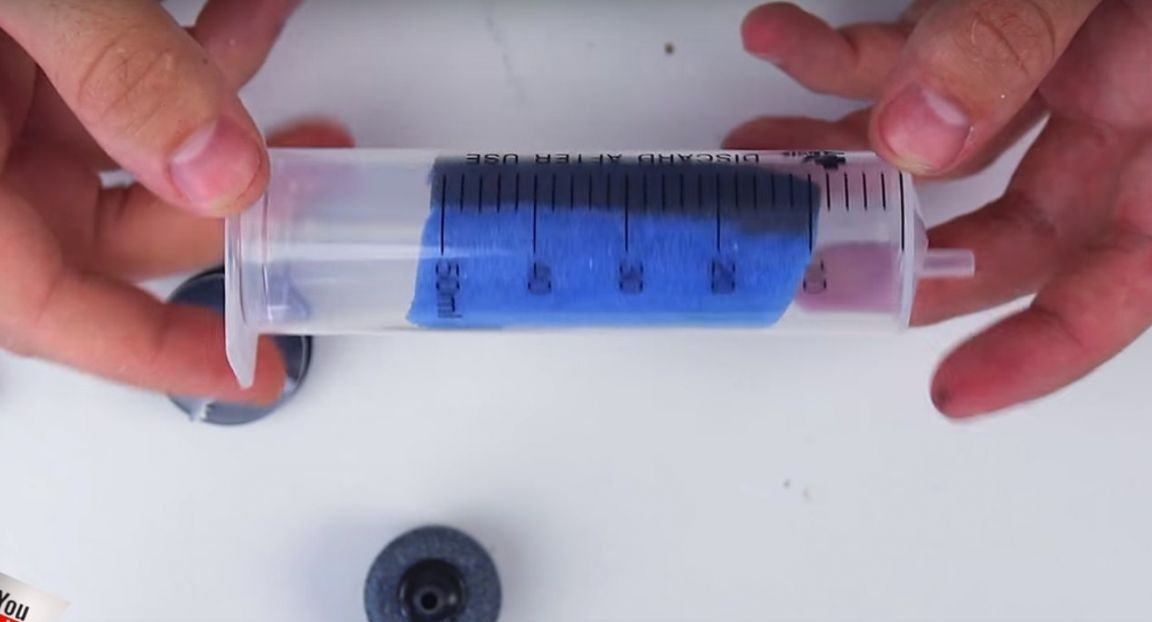
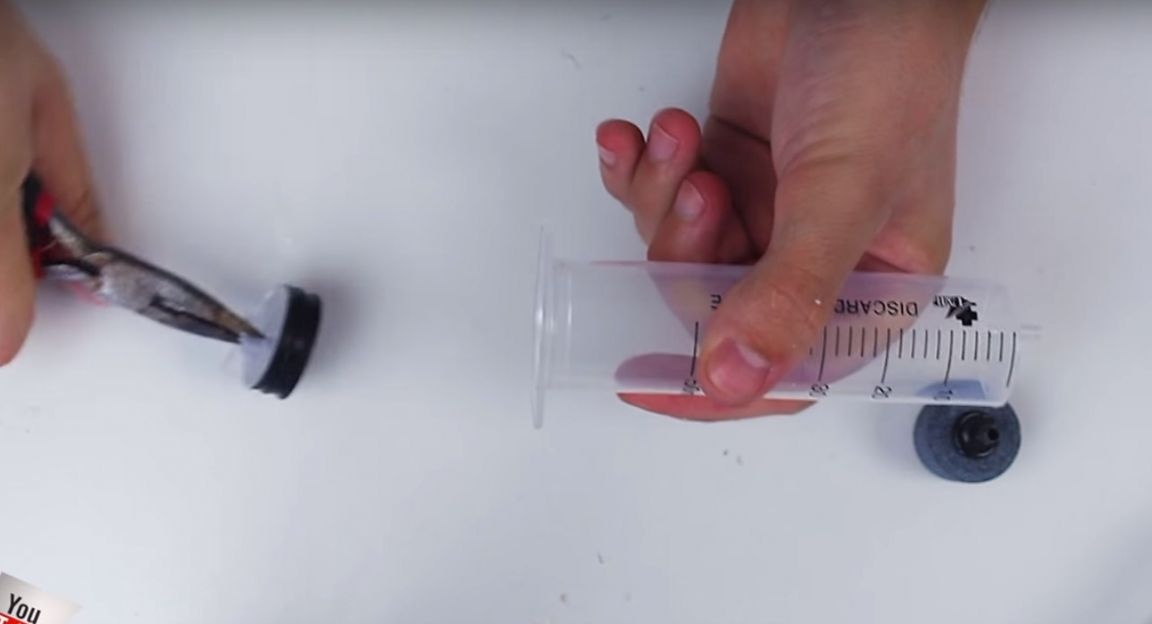
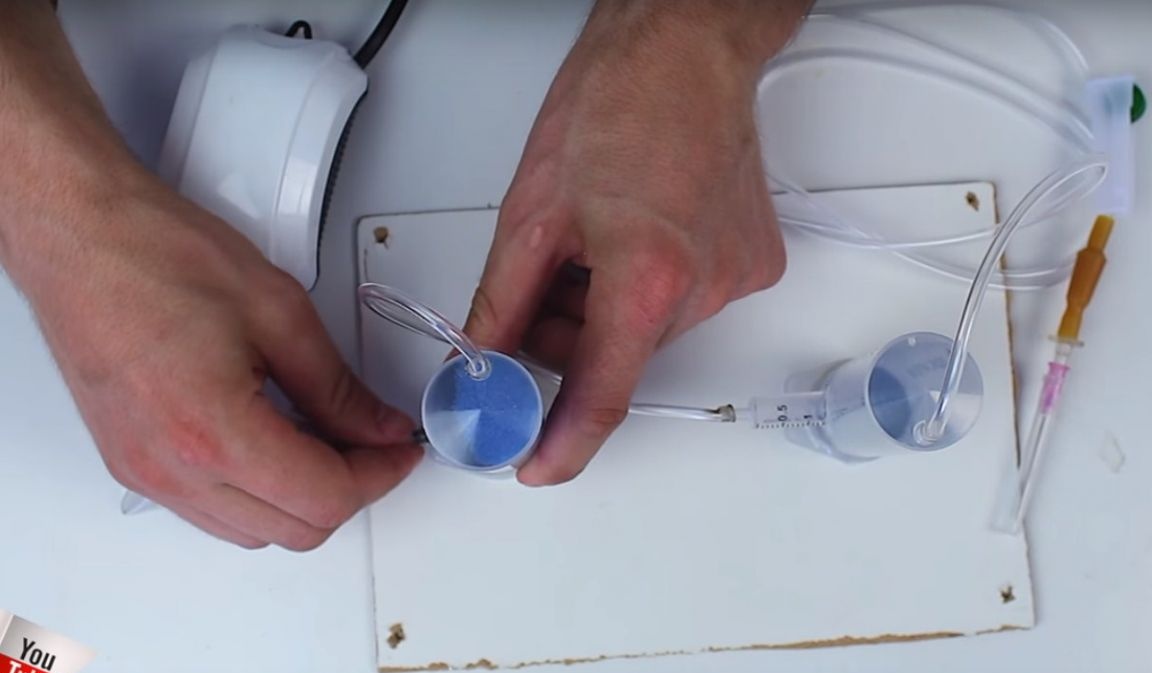
Then he made a hole in the syringe for the aerator (air atomizer for the aquarium.)
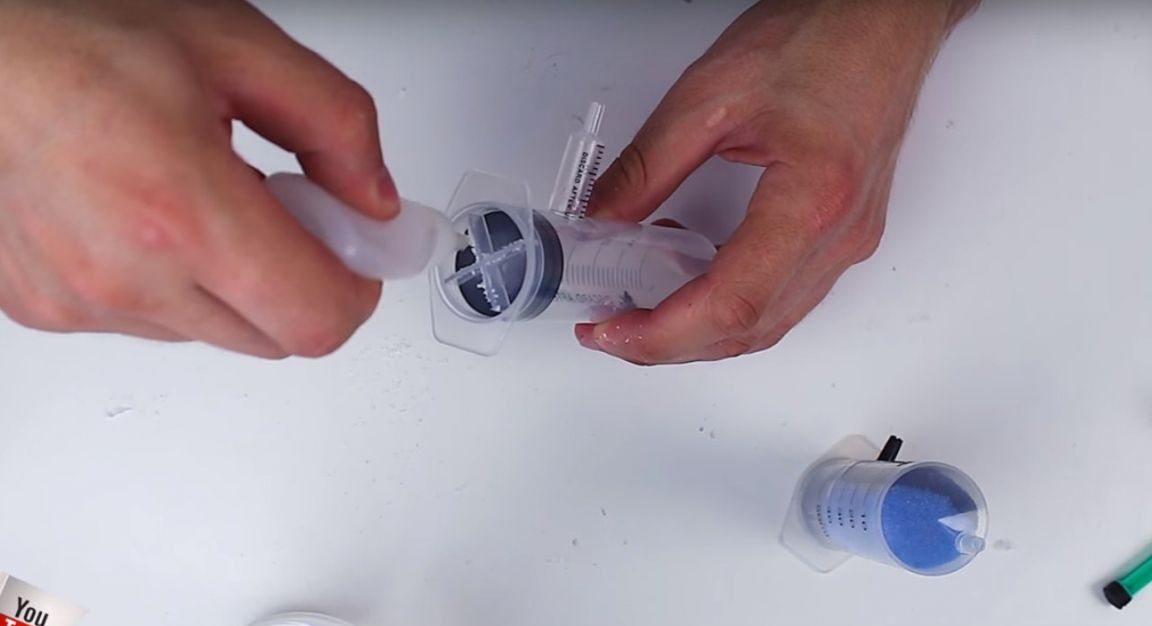
He inserted the aerator into the syringe by threading the nozzle into the hole.
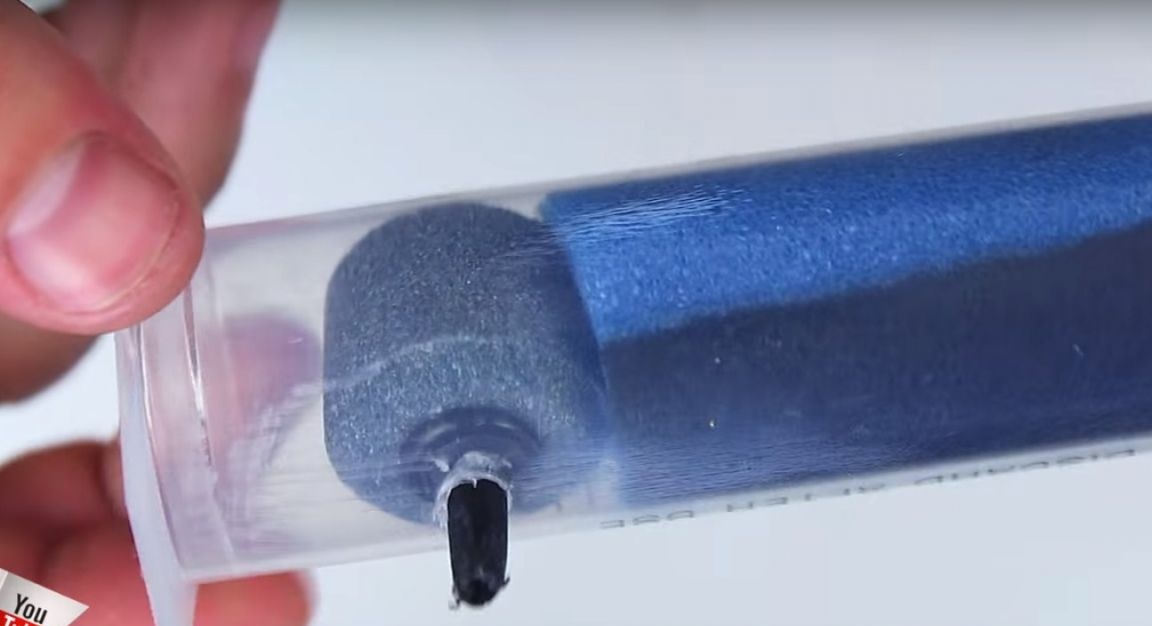
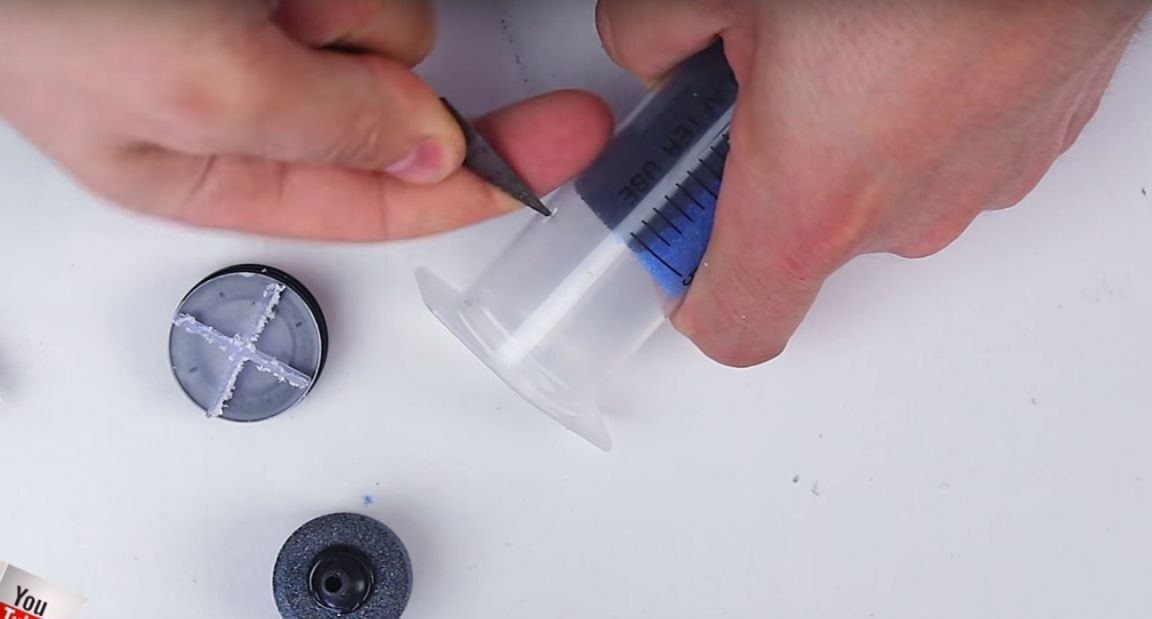
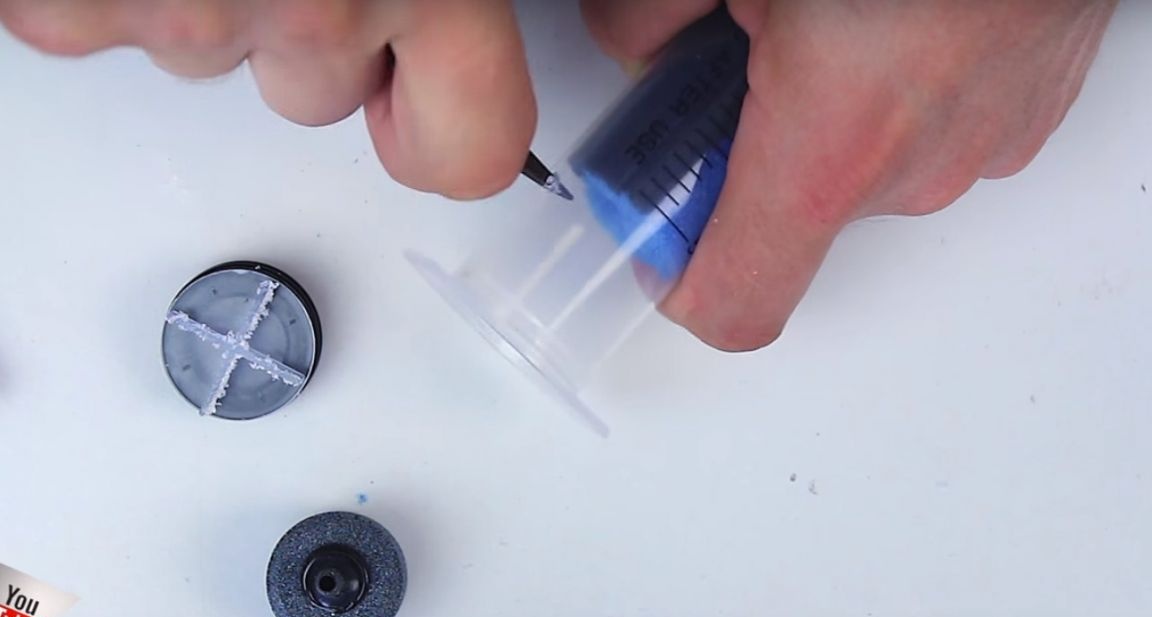
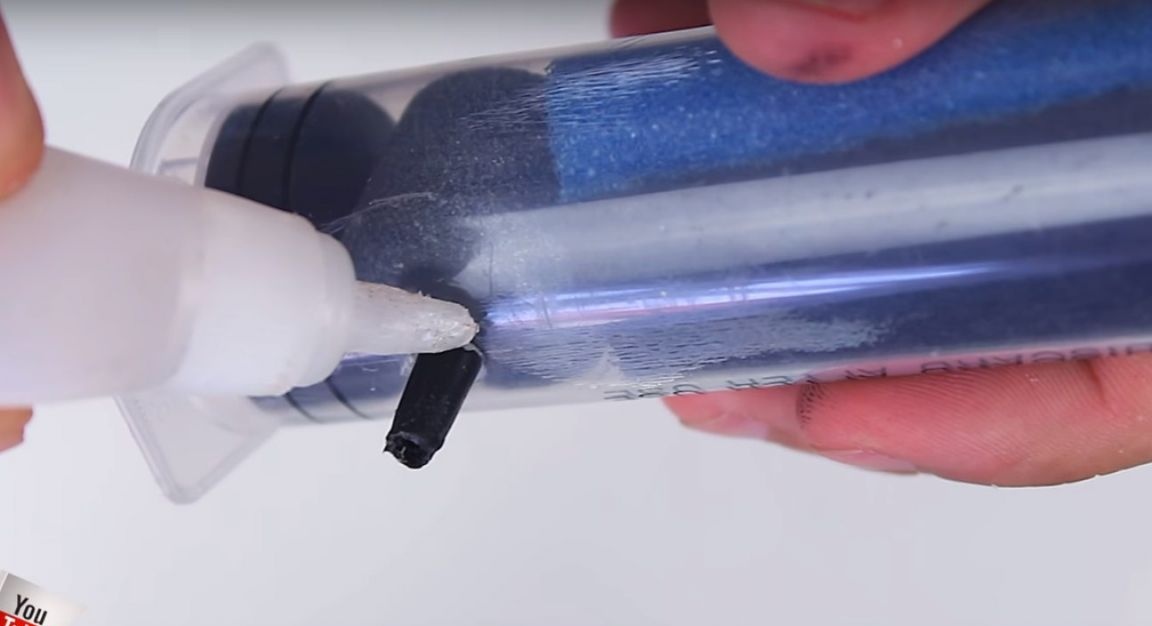
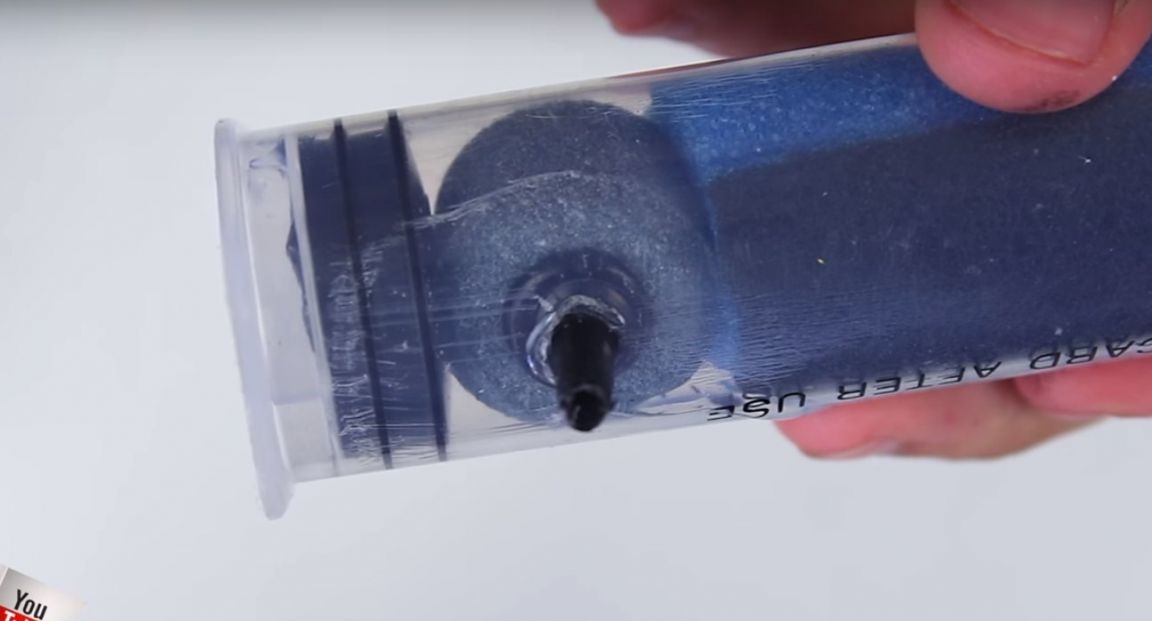
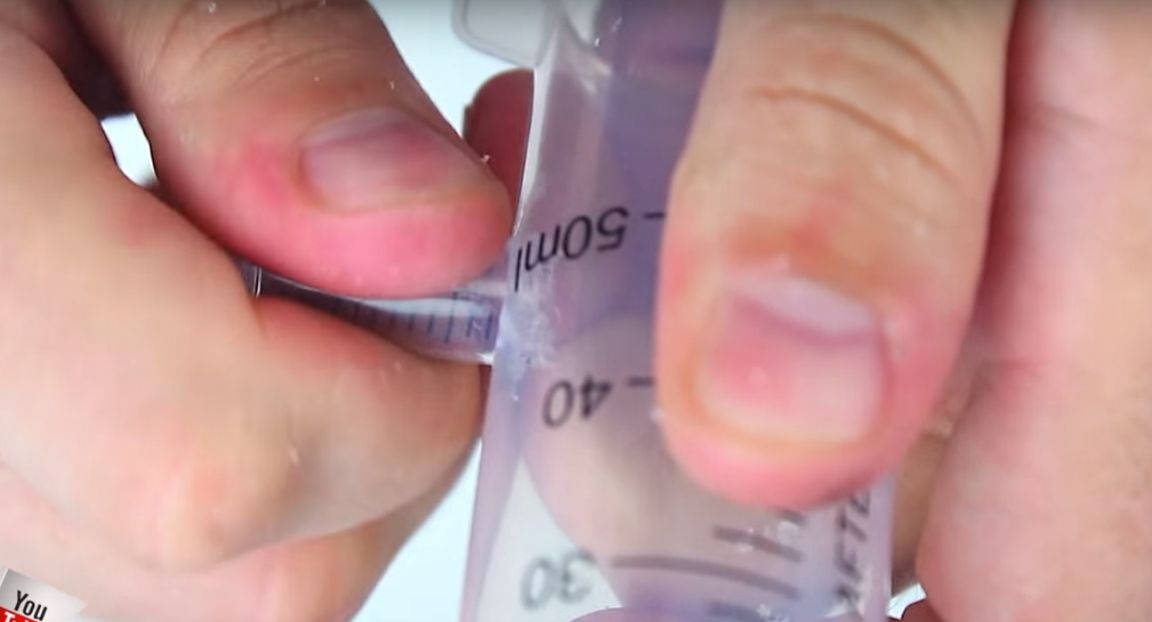
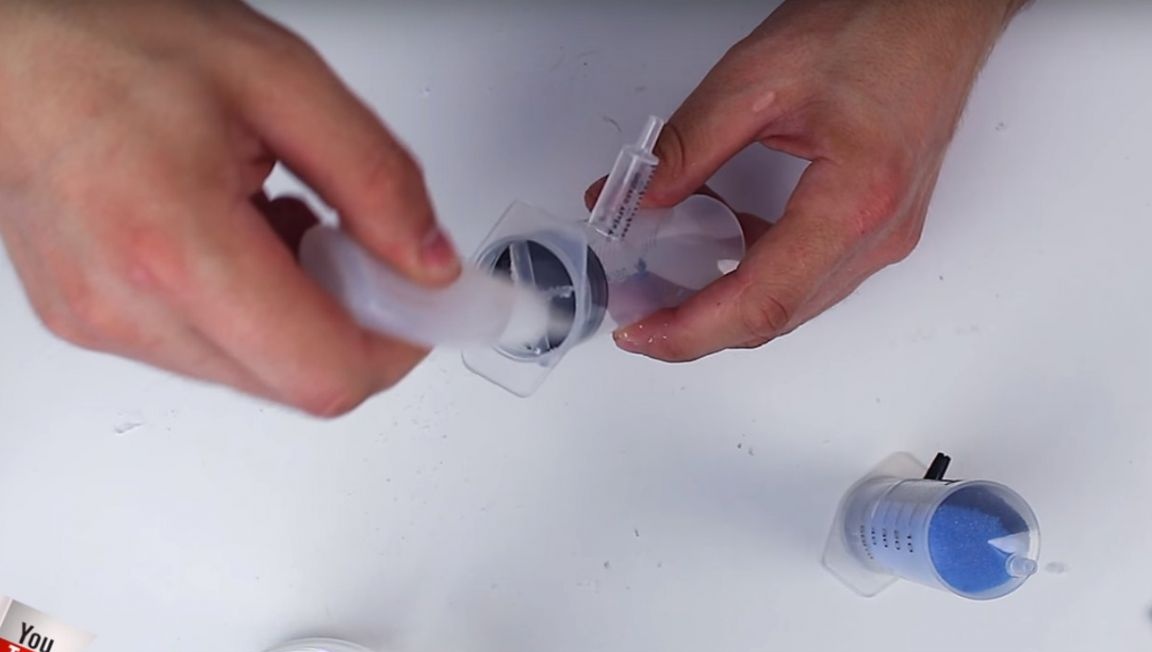
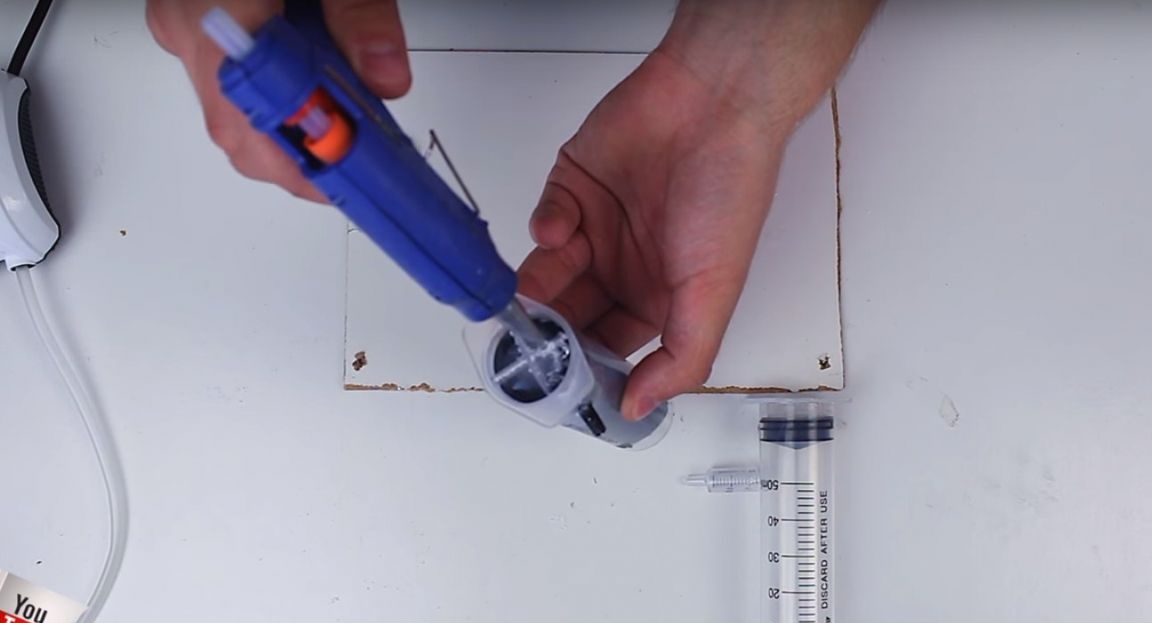
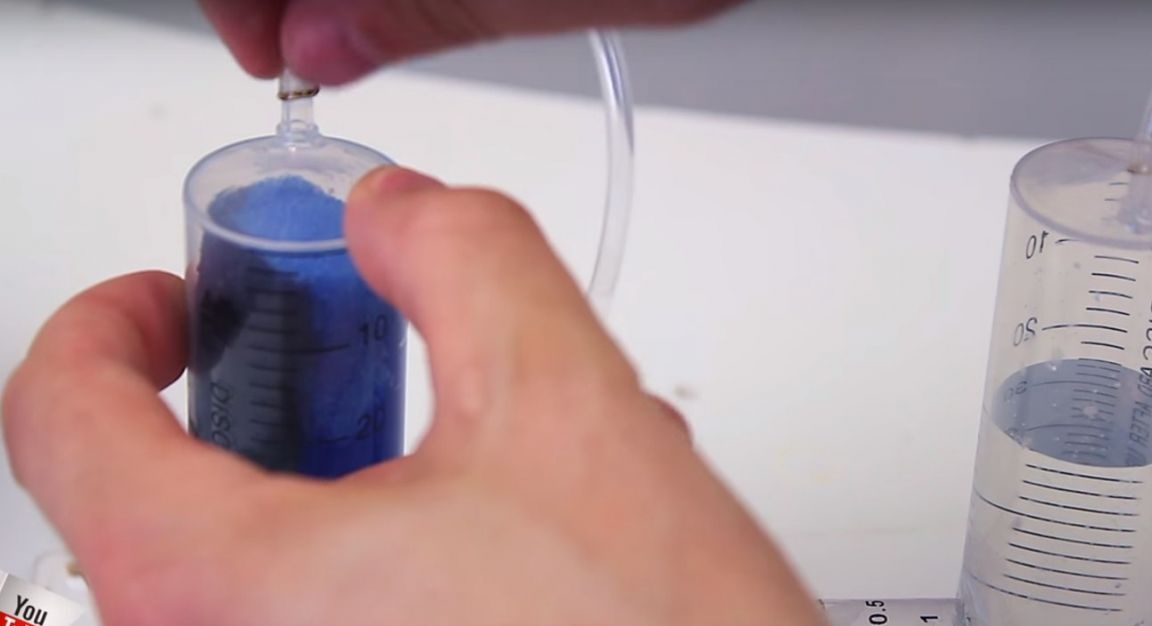
Cut off early, a piece of the piston, he closed the syringe. Then he sealed the parts with super glue.
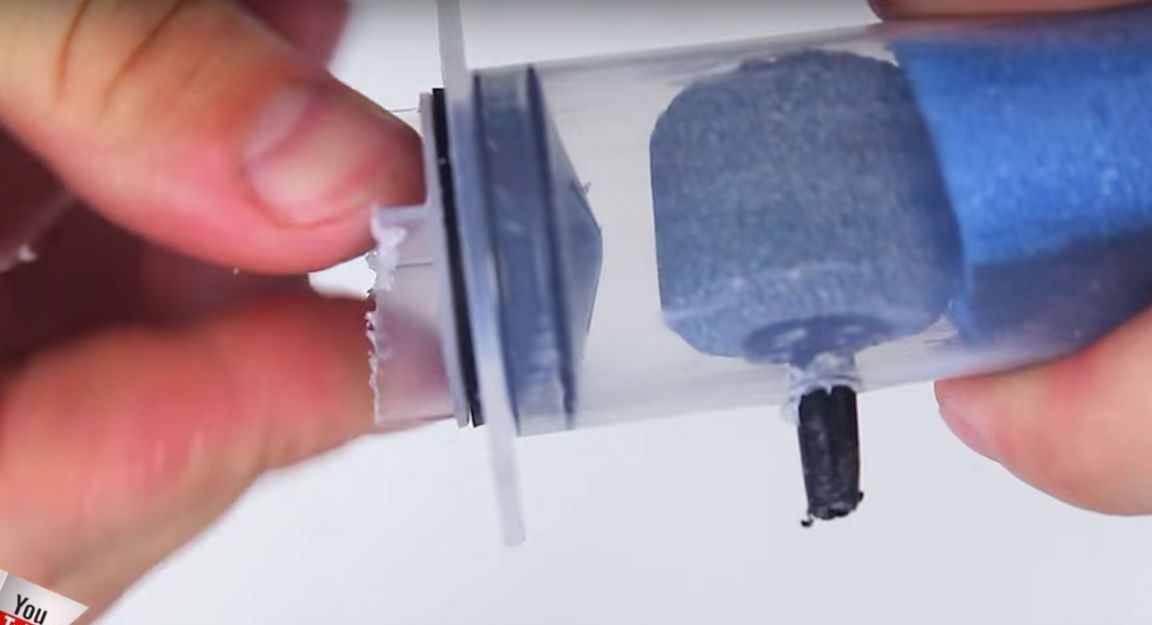
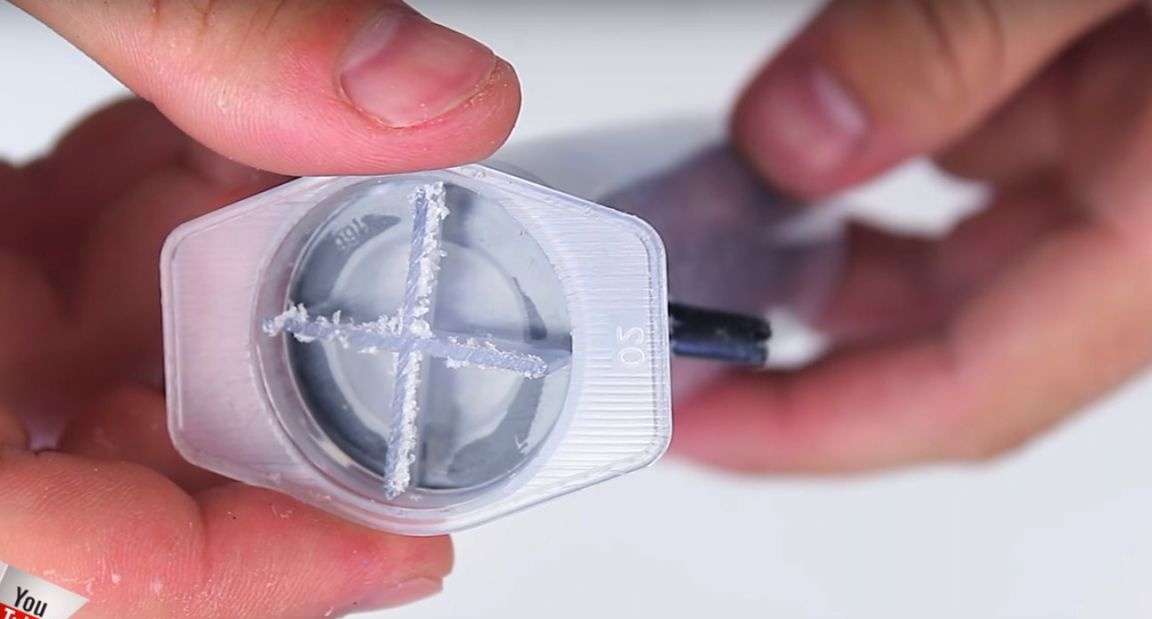
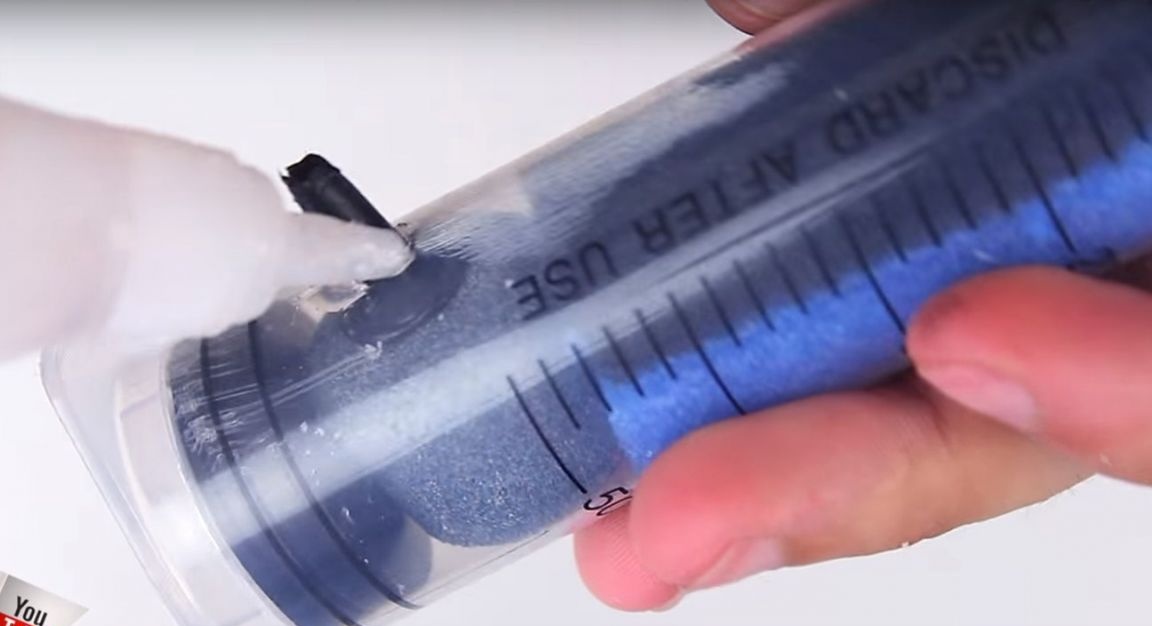

The evaporation chamber is ready.
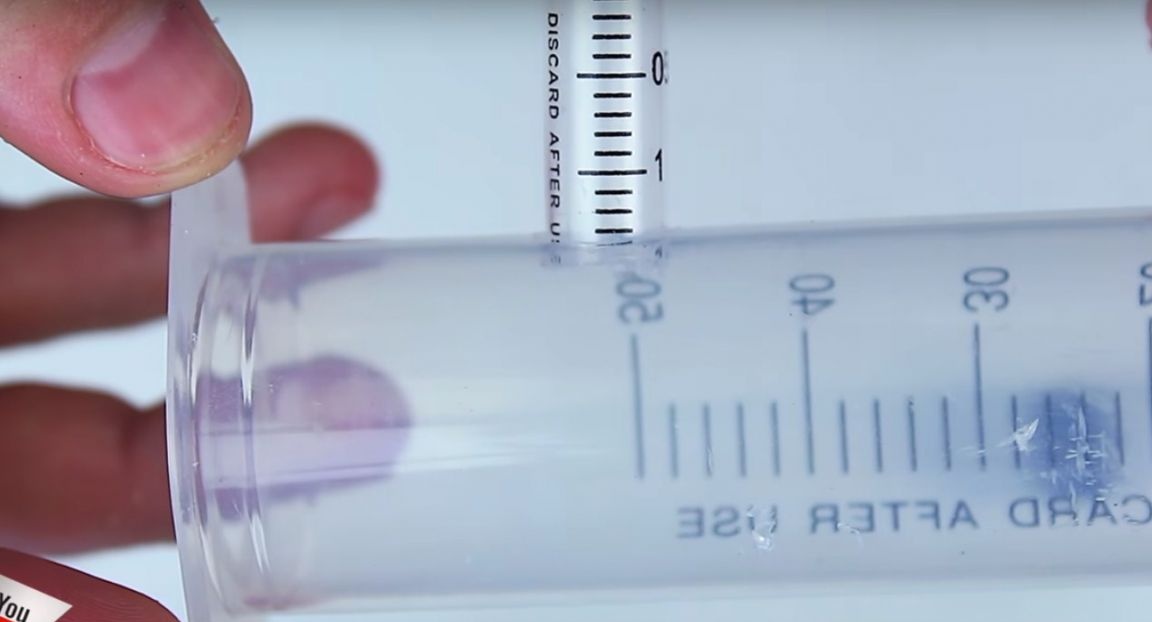
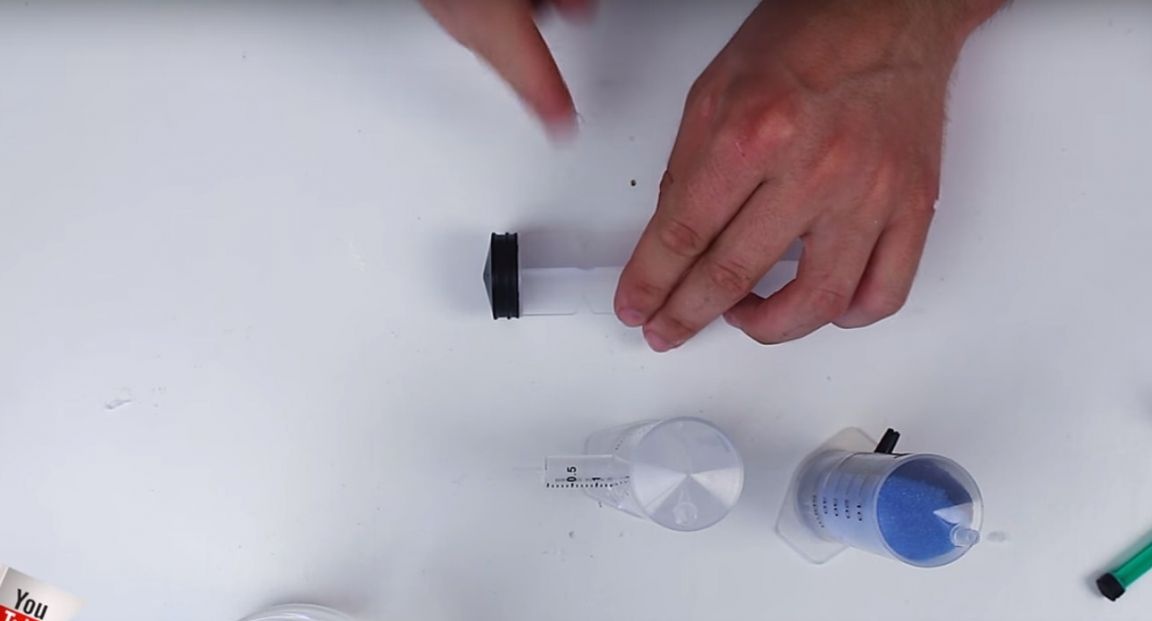
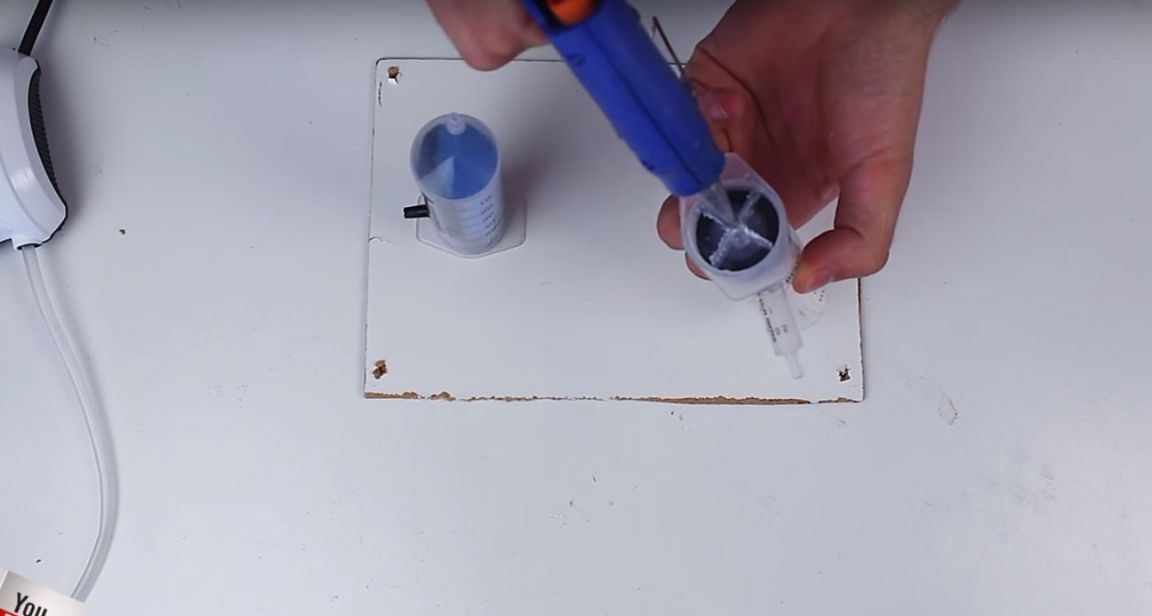
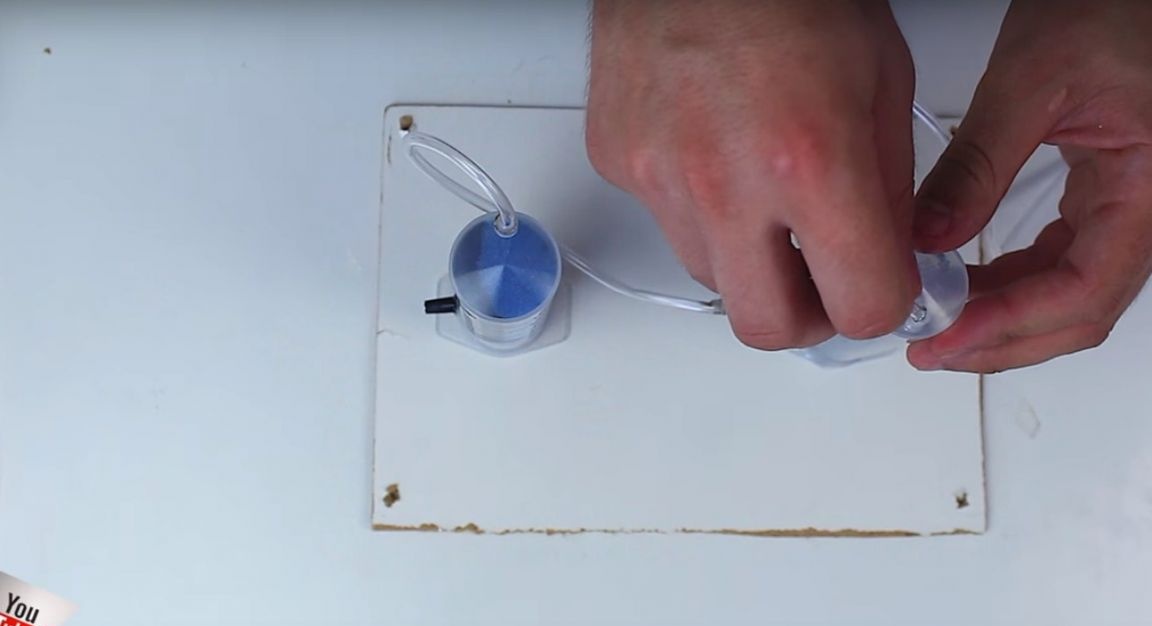
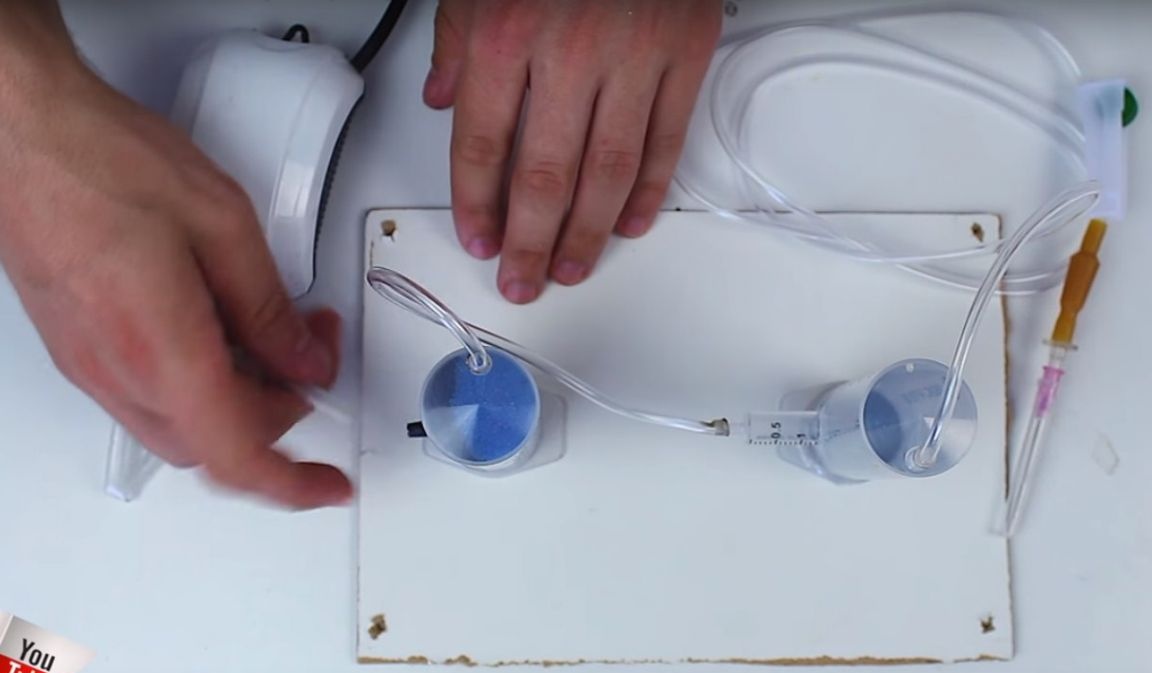
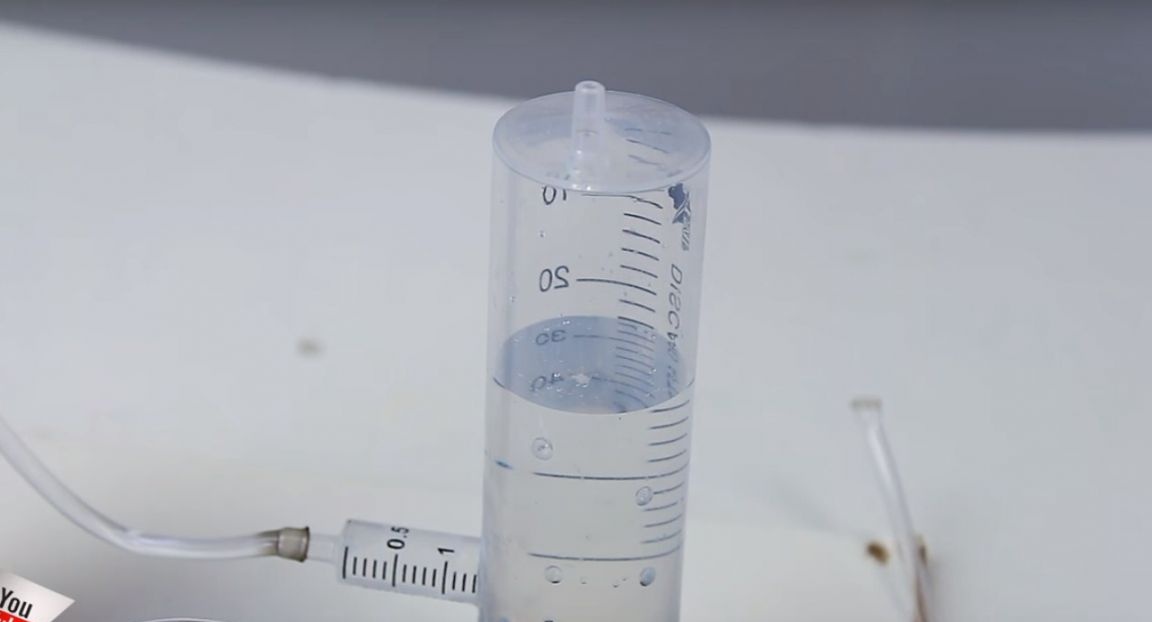
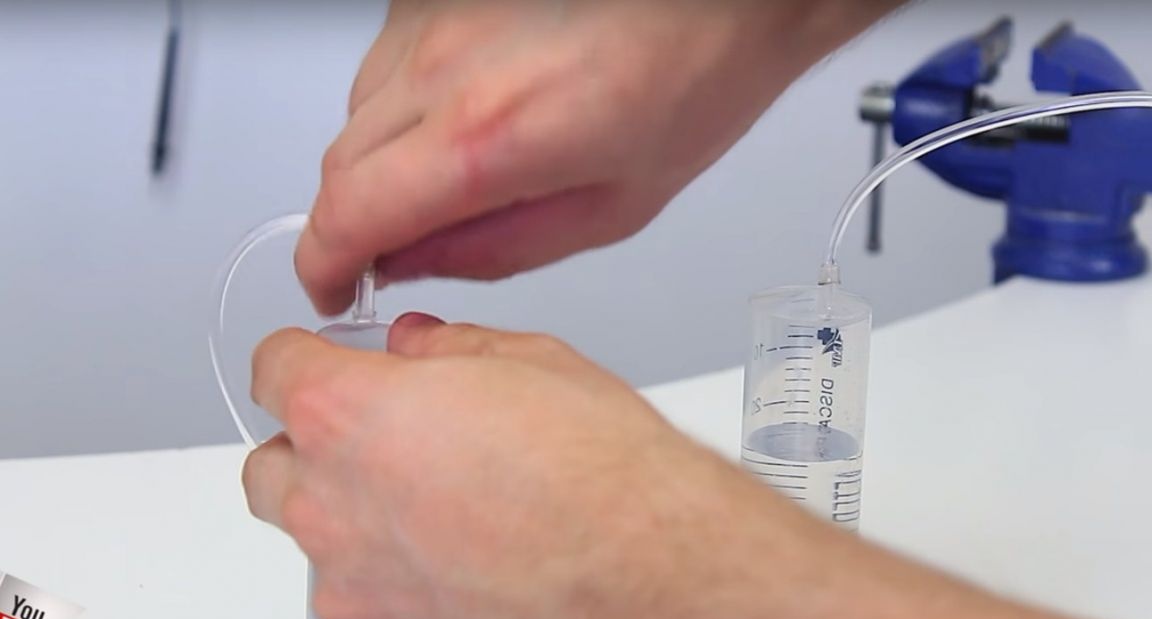
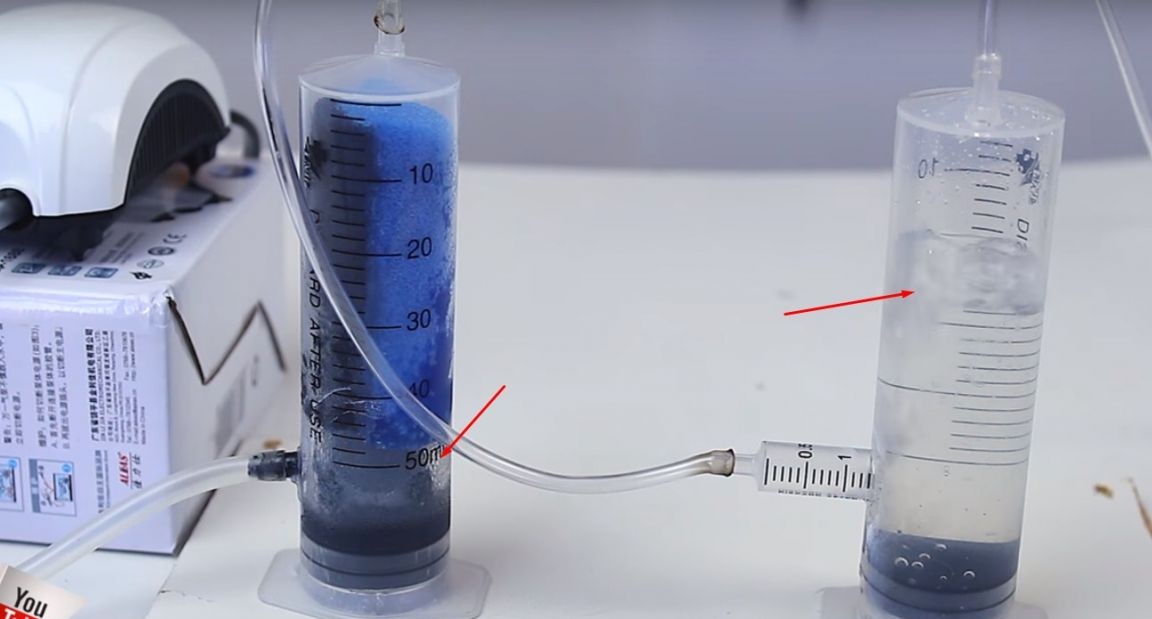
And the author proceeded to the water shutter. For its manufacture took two syringes, one for 50 ml, and the second for 2 ml.
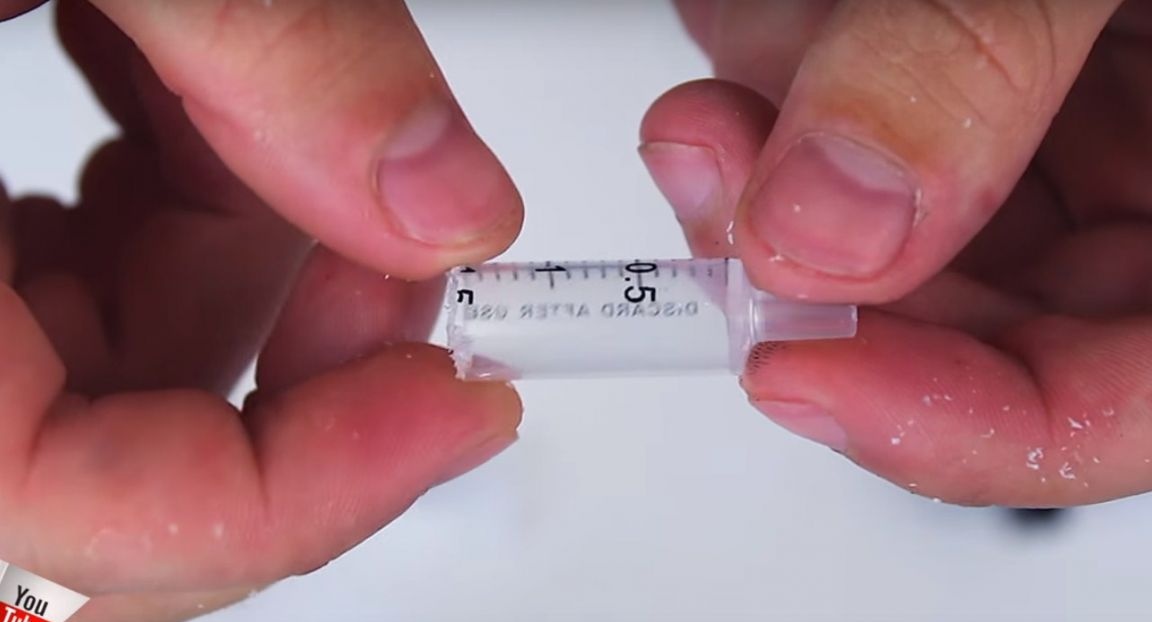
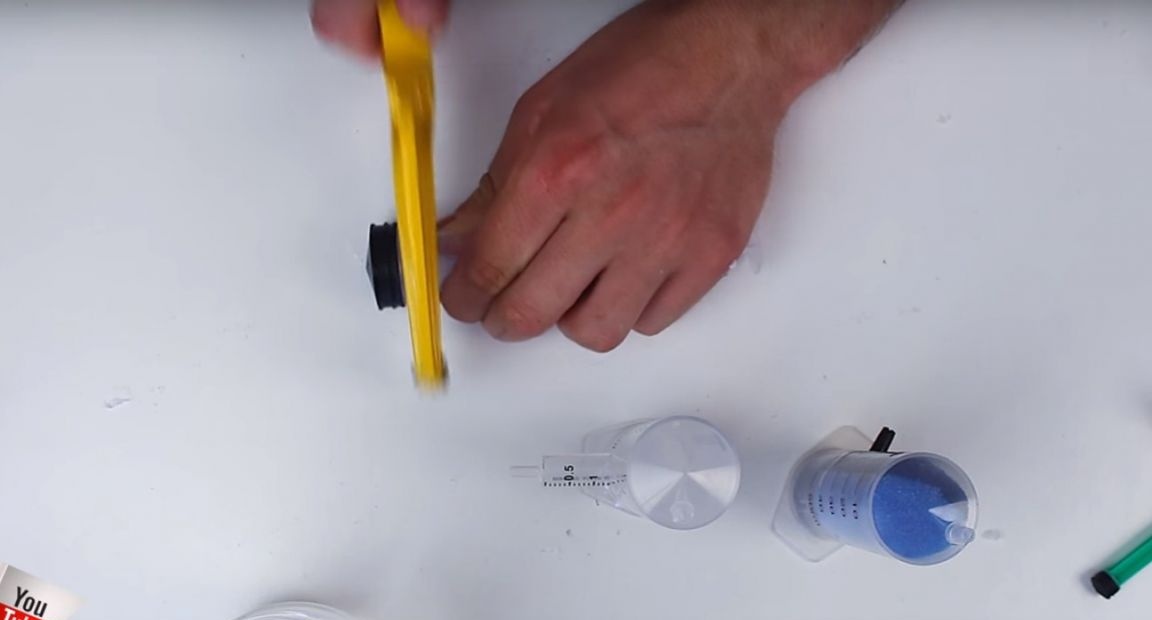
First of all, he will cut a small syringe into two parts, he makes an incision at around 1.5 ml.

Then, in a large syringe, he will make a hole in this place, under a small syringe.
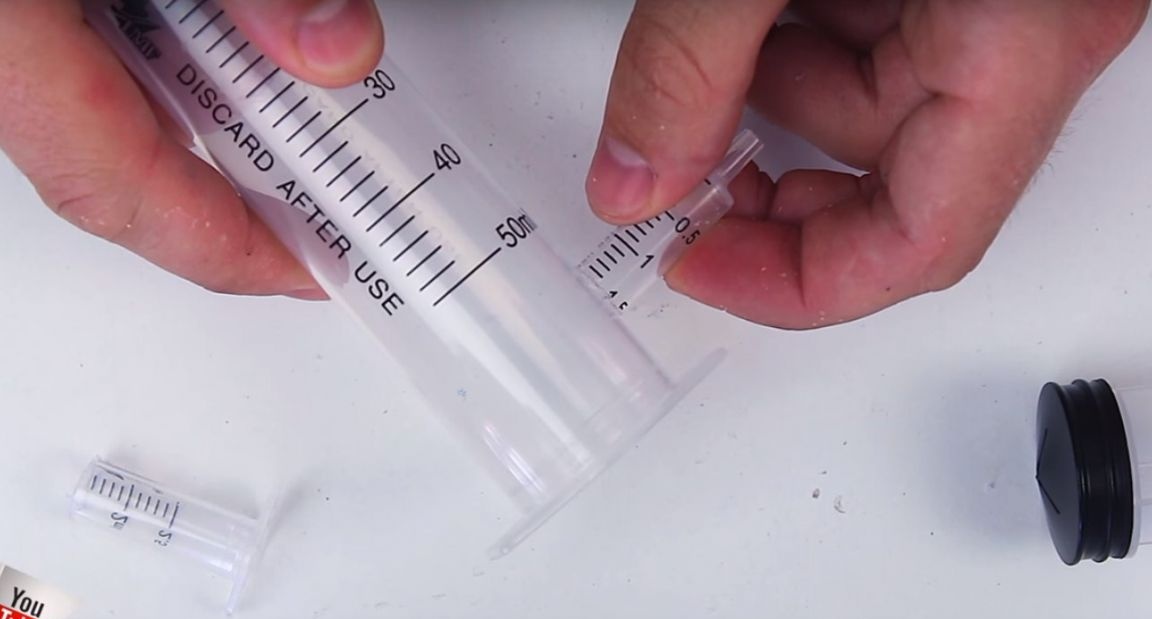
By connecting syringes, it will well glue the joints at the glue.

Having removed the piston from a large syringe, it will cut a piece from it.
Insert it into the syringe and also smear it with glue.
He will glue both parts vertically onto a piece of fiberboard.
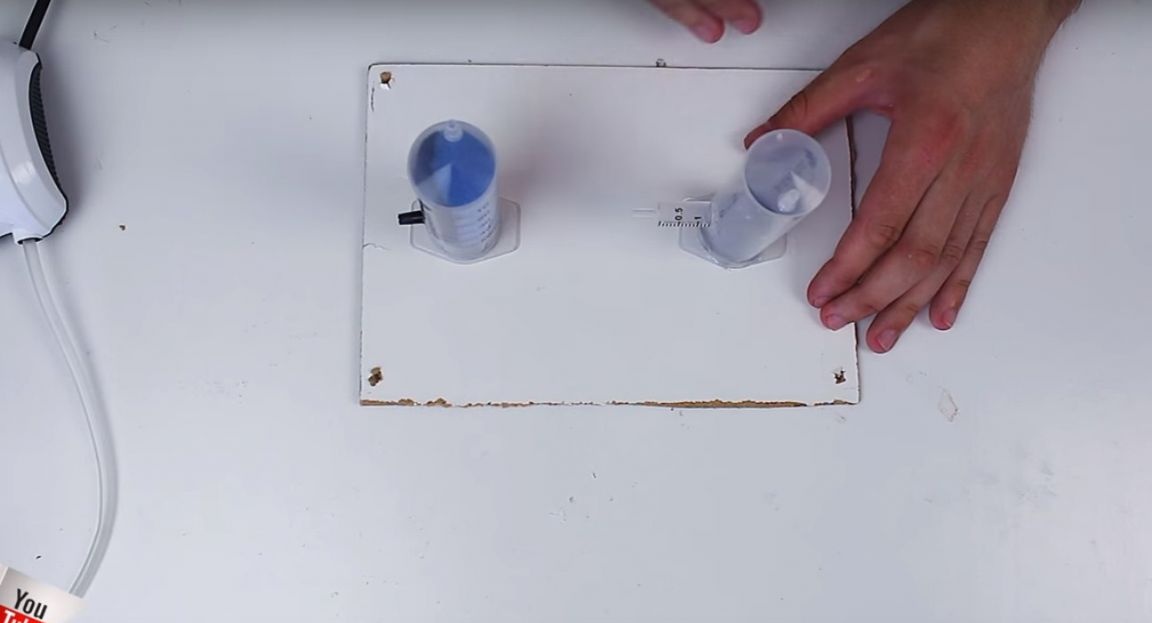
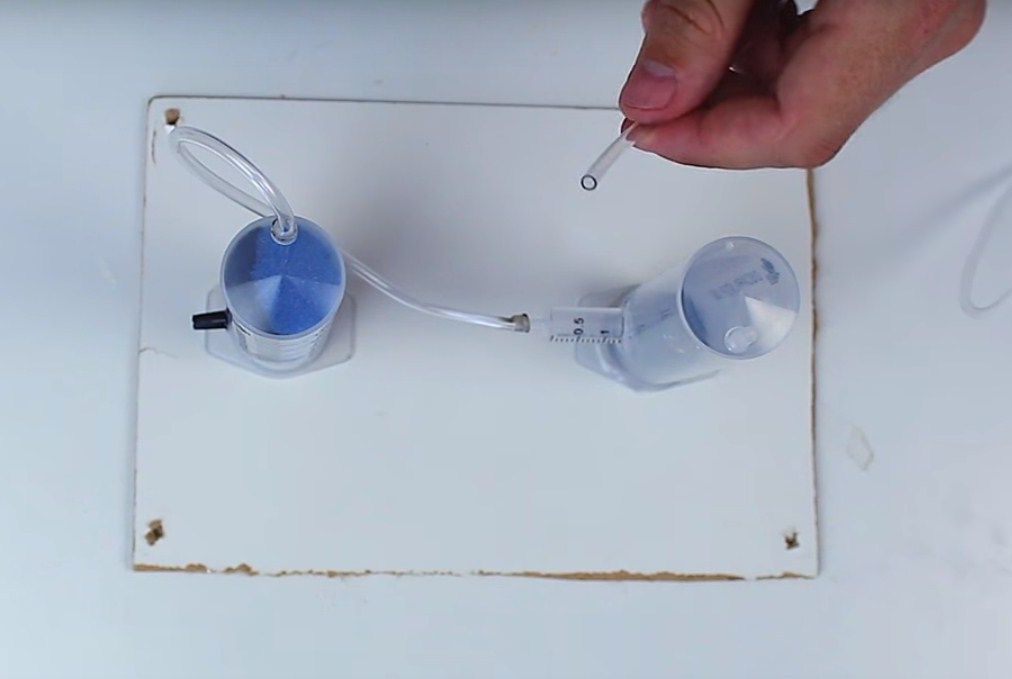
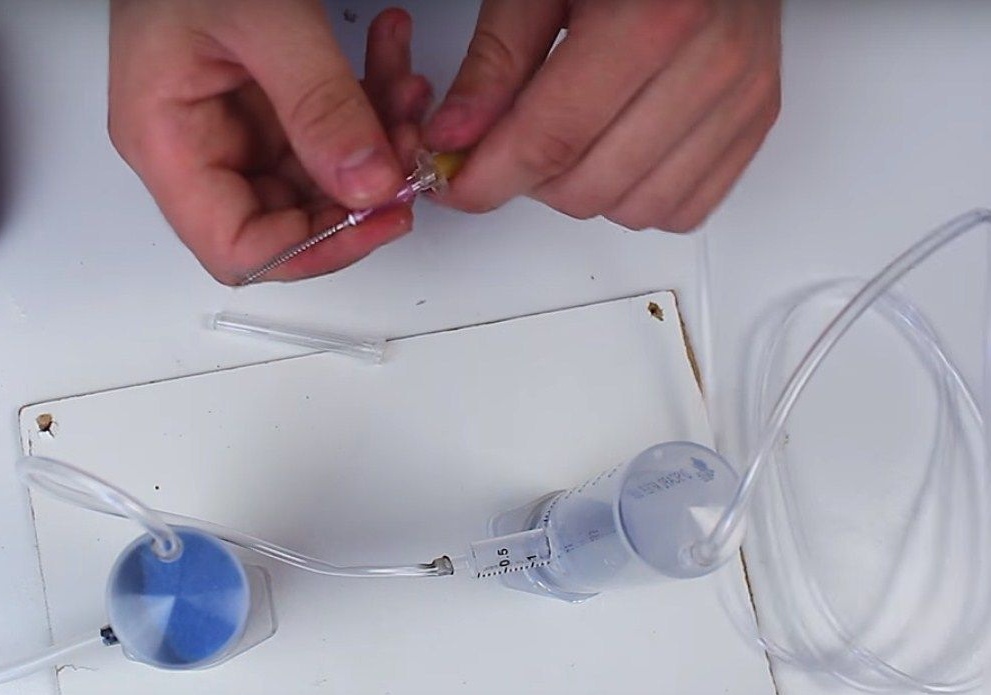
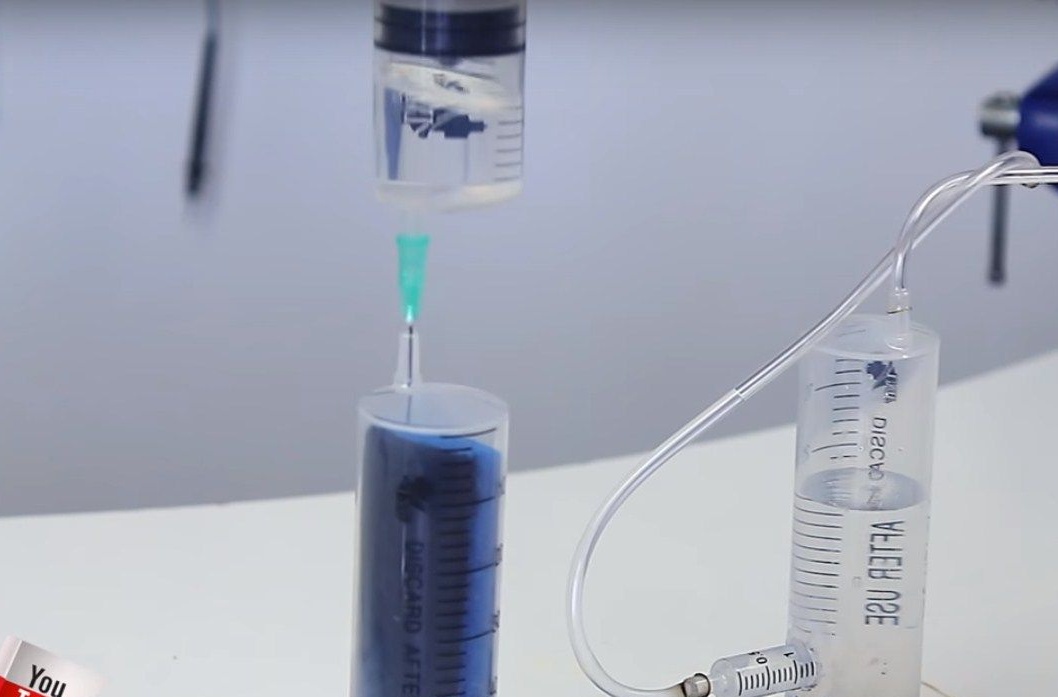
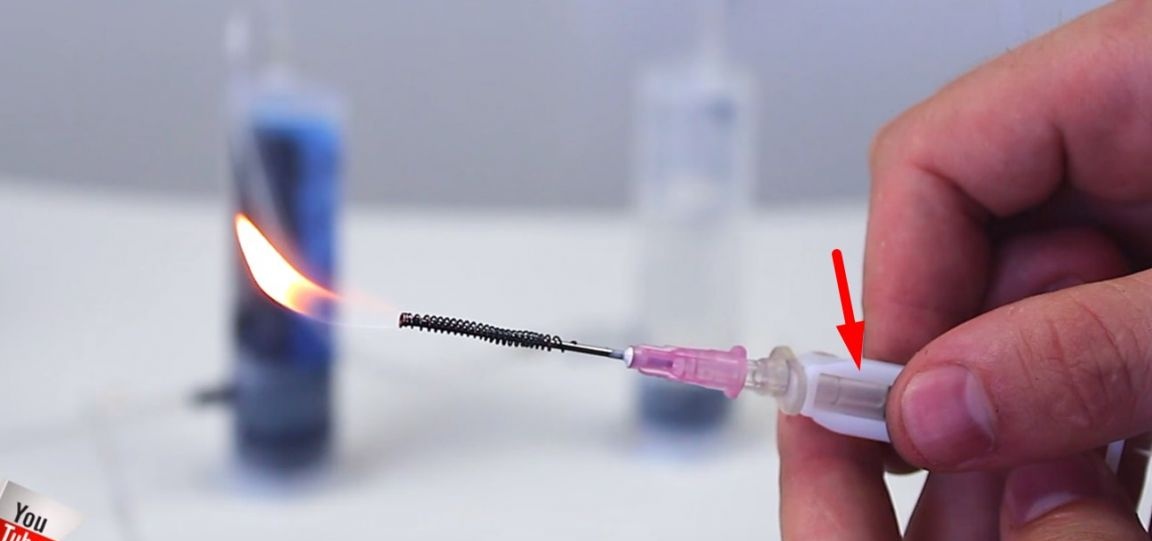
Further, the author took a dropper and cut off a small piece from it.
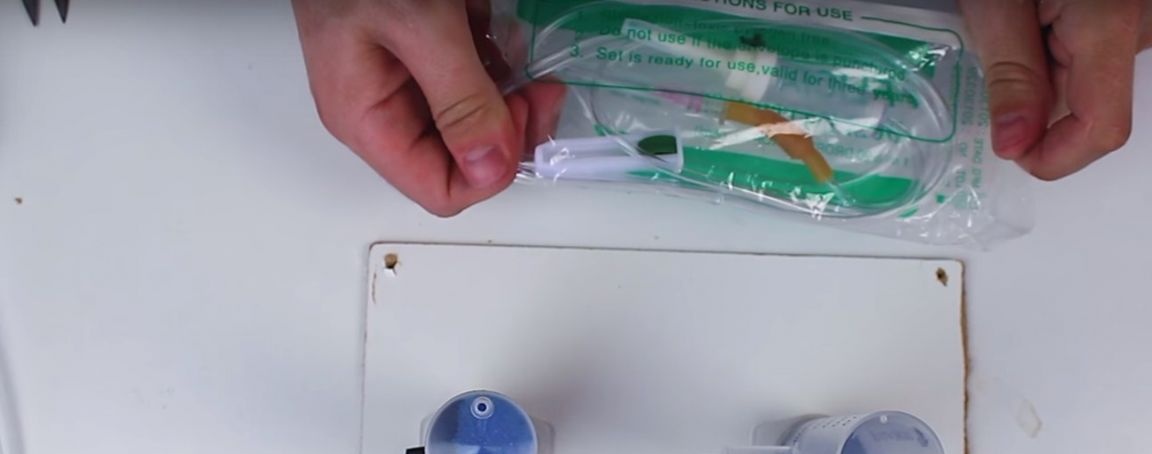
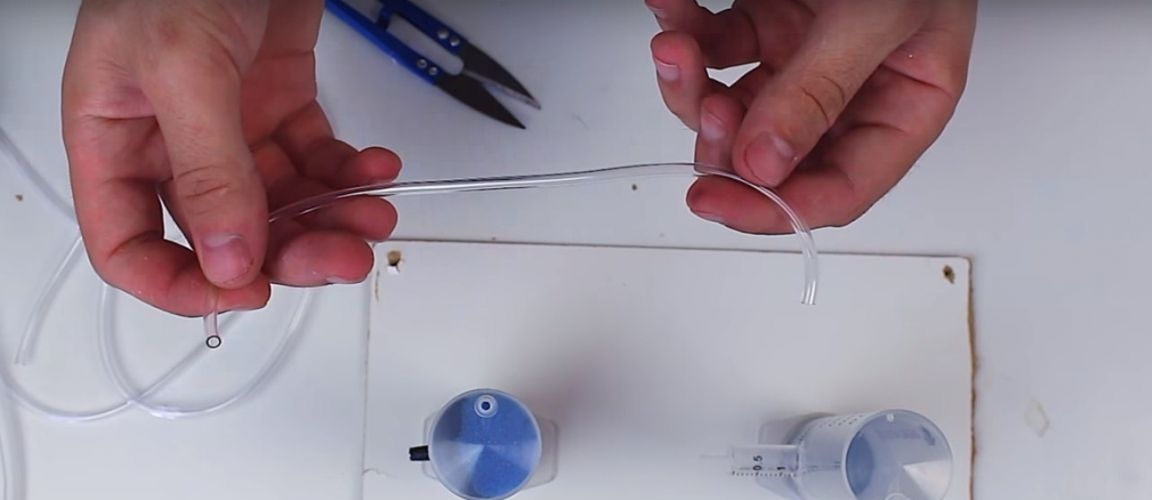
And warming up the edges of the tube, one edge was put on the upper part of the evaporation chamber, and the second edge on a small syringe of a water shutter.
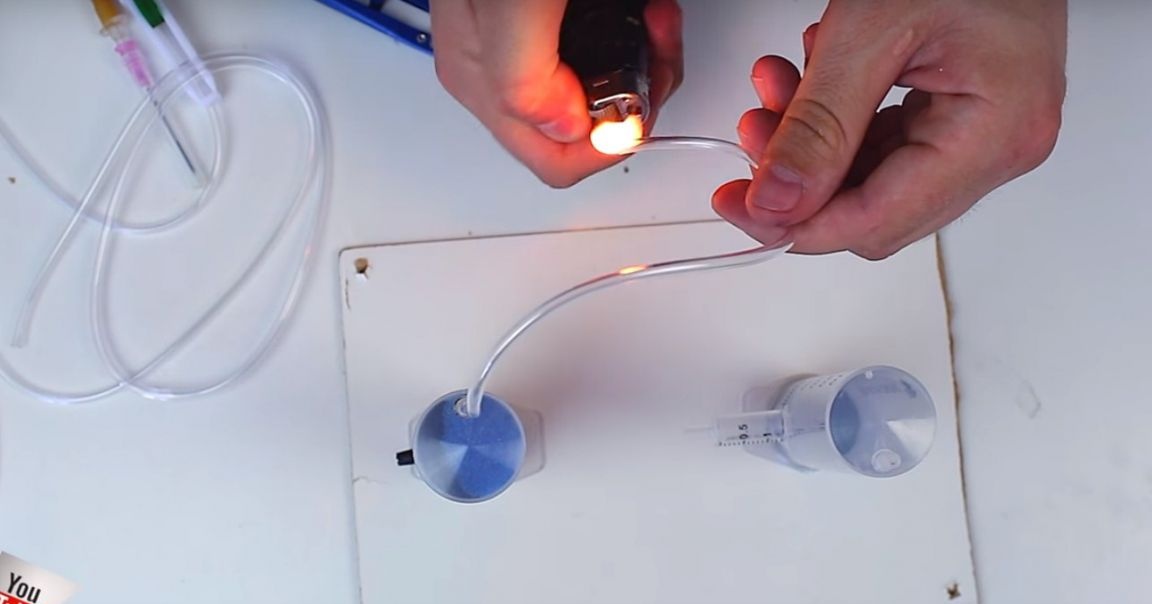
I put the remaining piece of the dropper (with a needle and an adjusting wheel) on the upper part of the water shutter syringe.
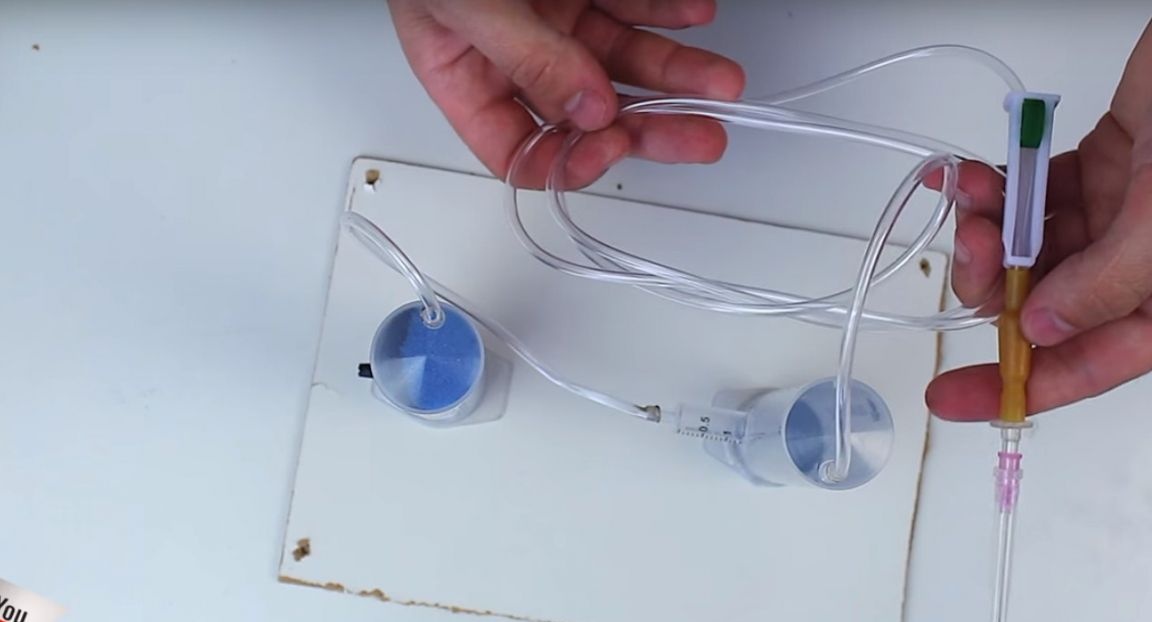
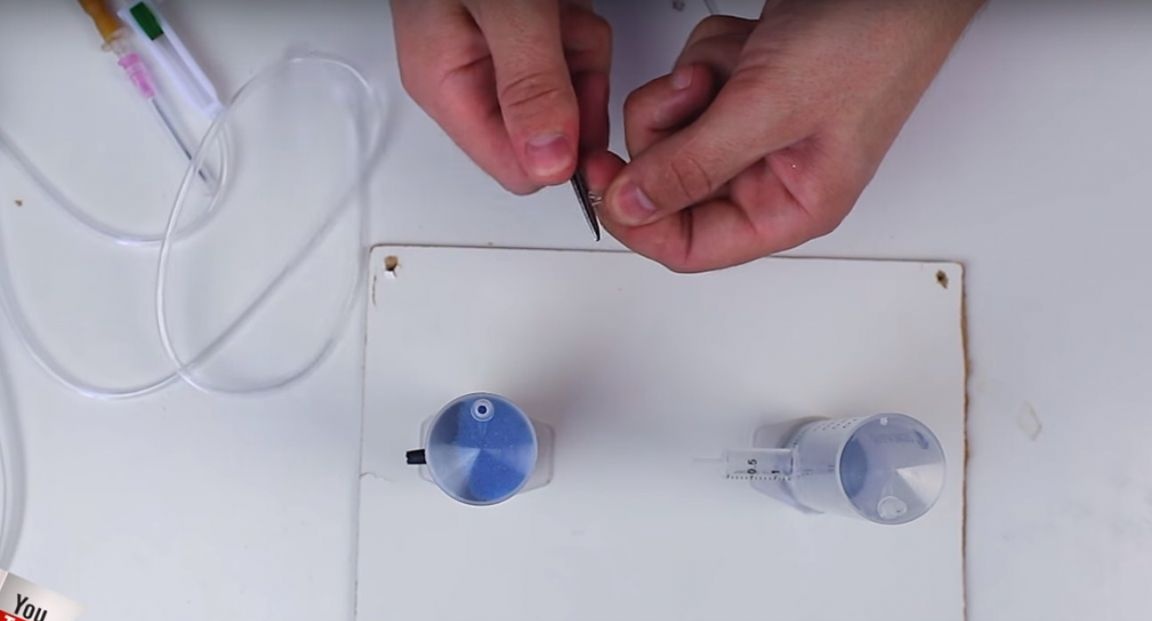
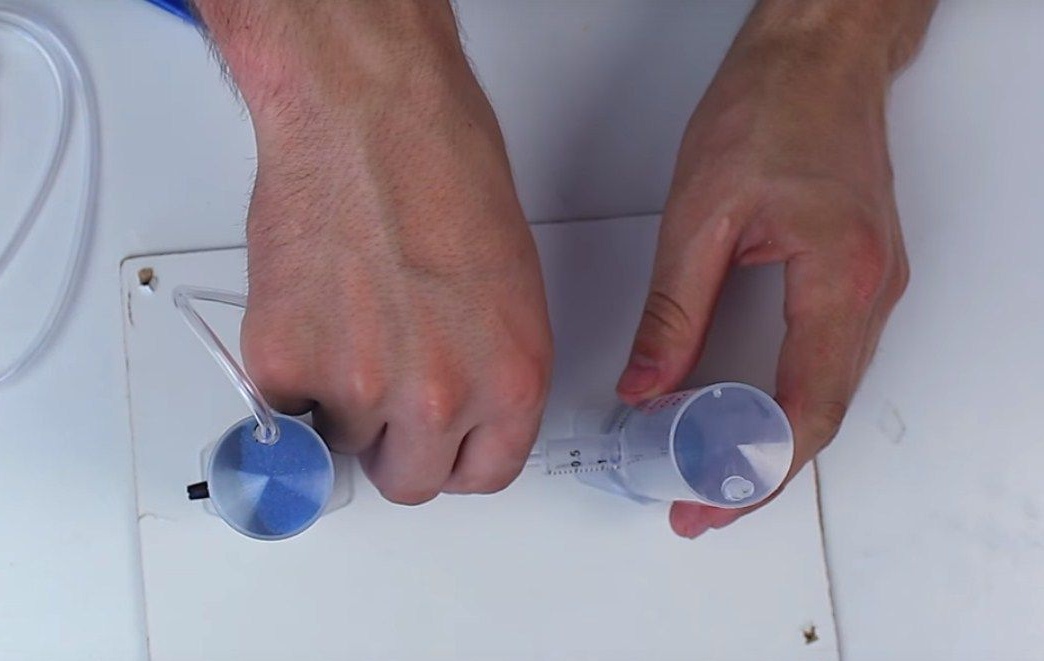
I connected an aquarium compressor to the air atomizer.
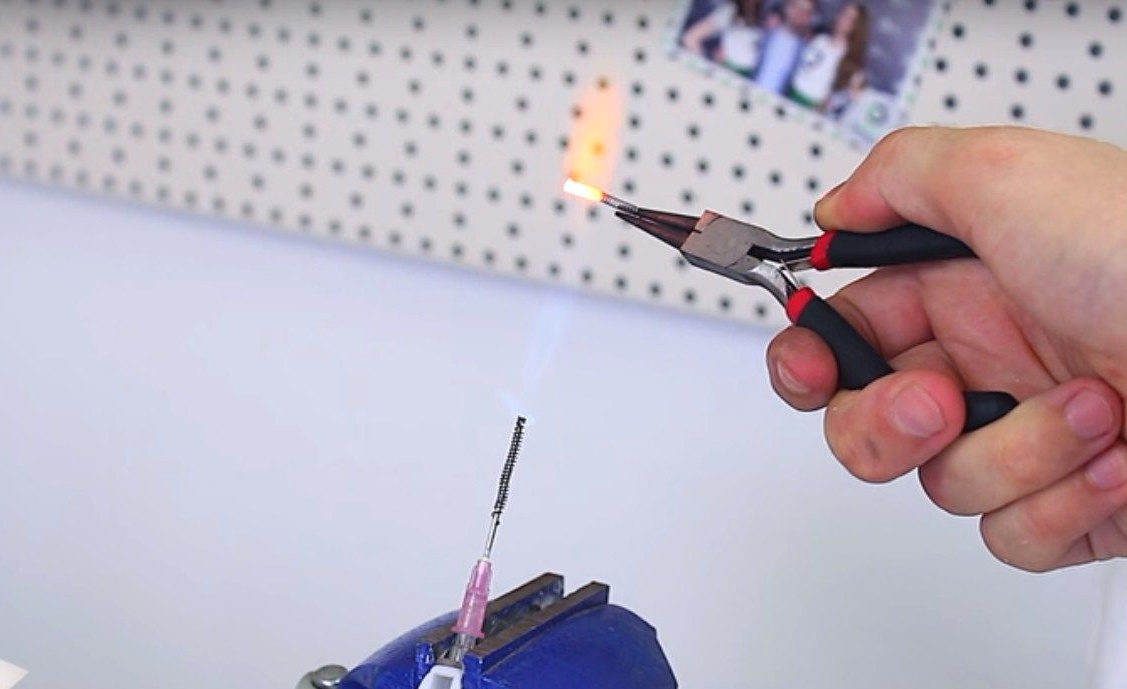
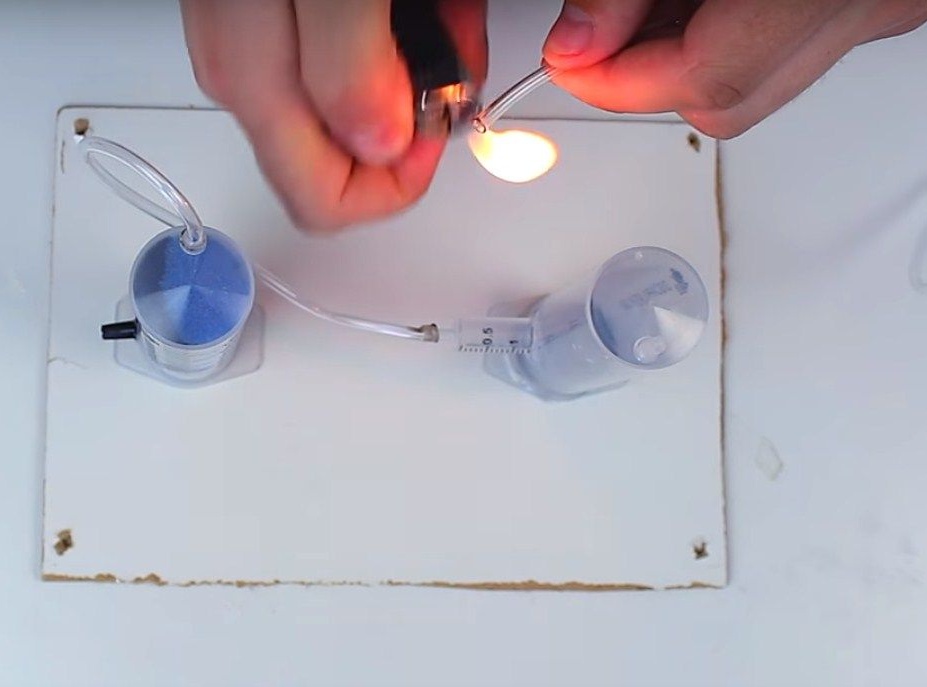
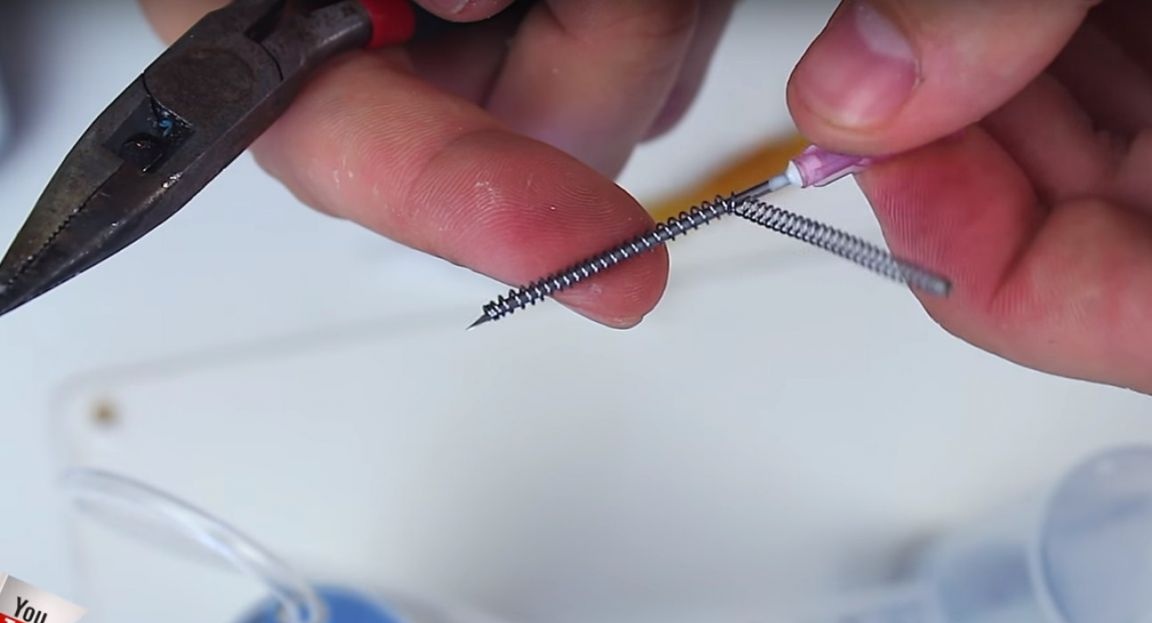
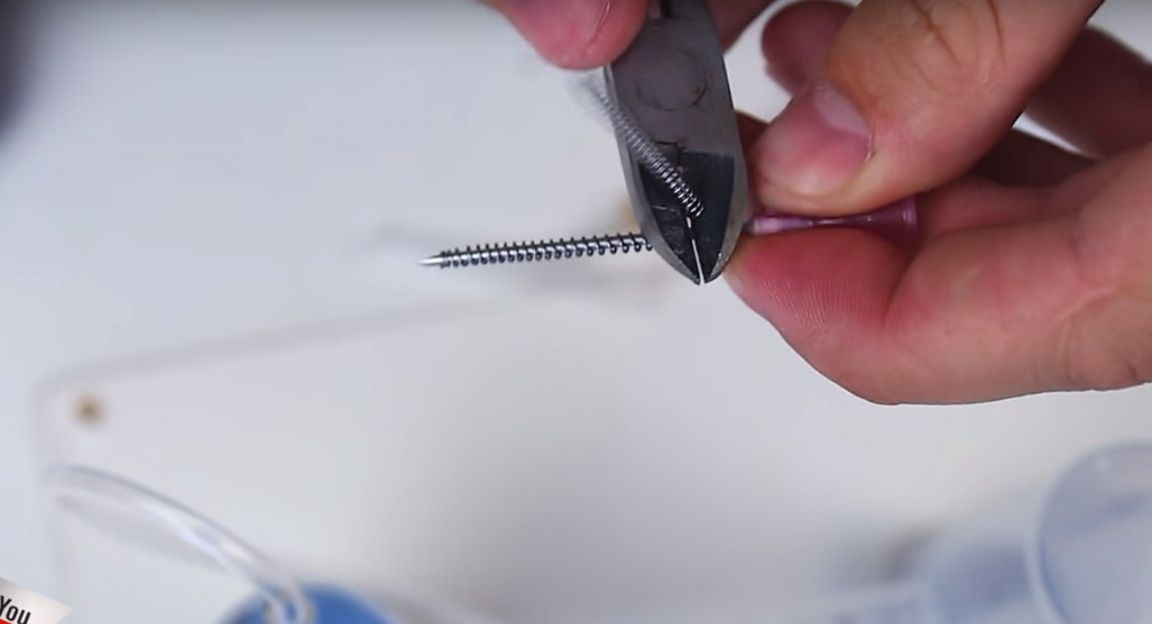
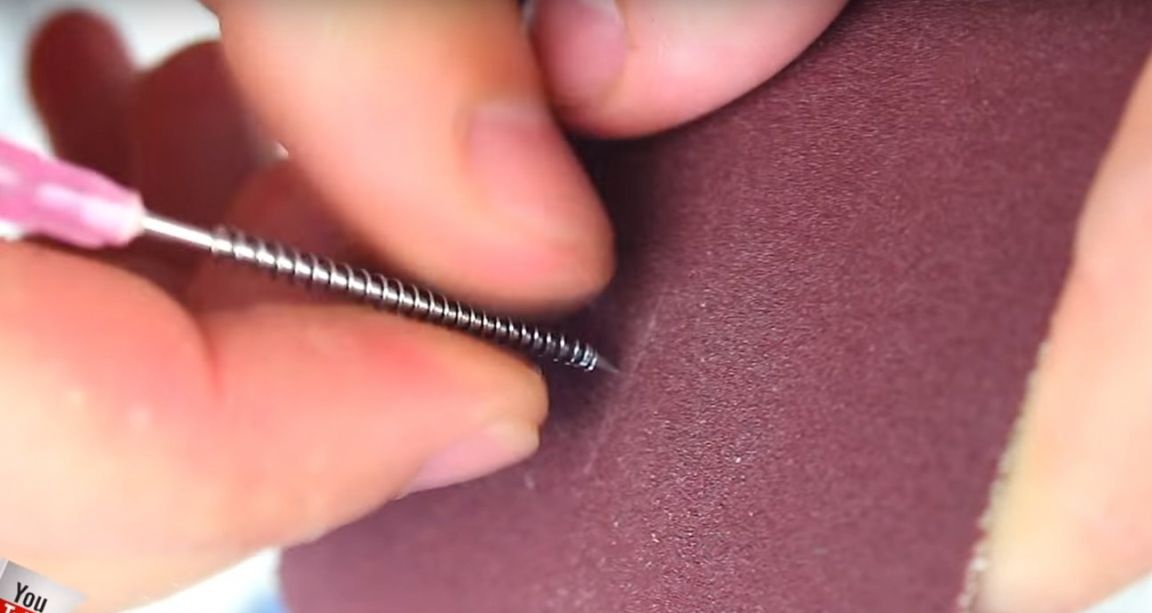
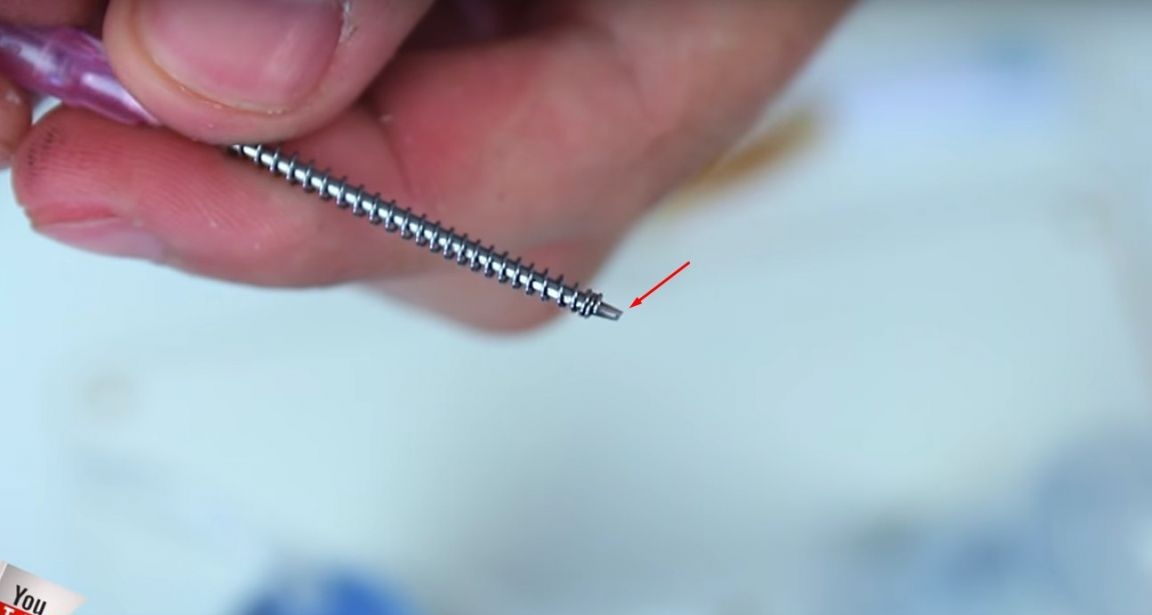
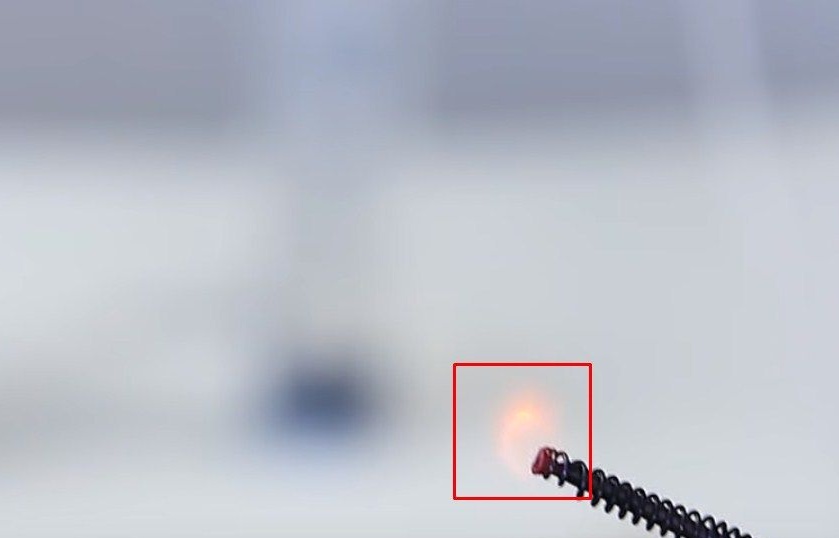
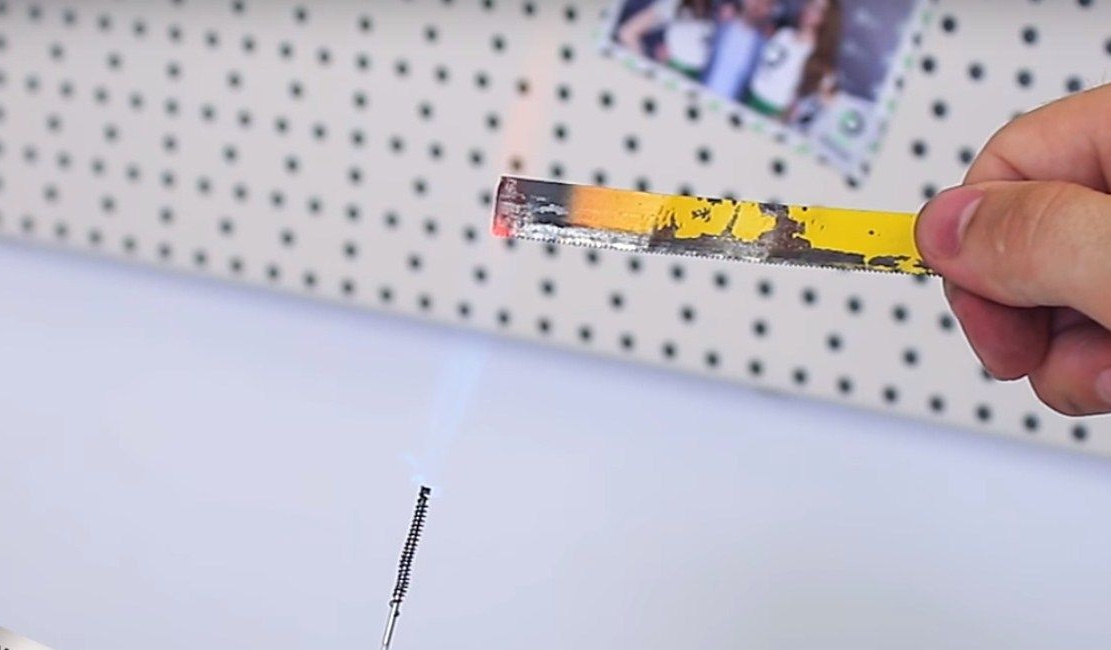
The dropper needle will be wrapped with a spring, which he removed from the lighter.
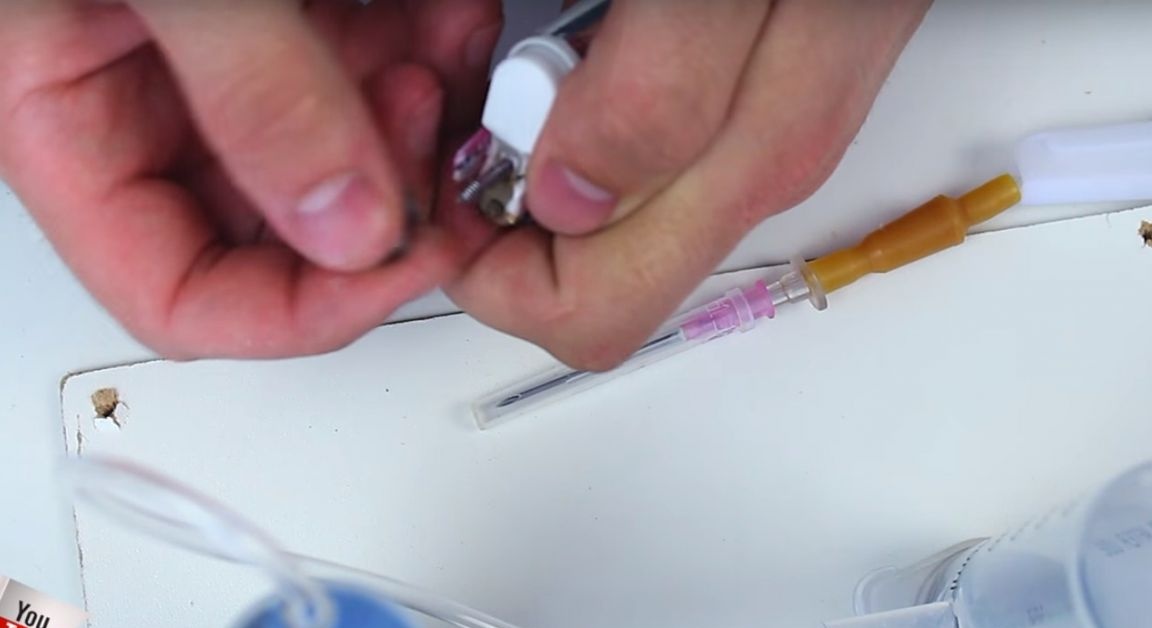
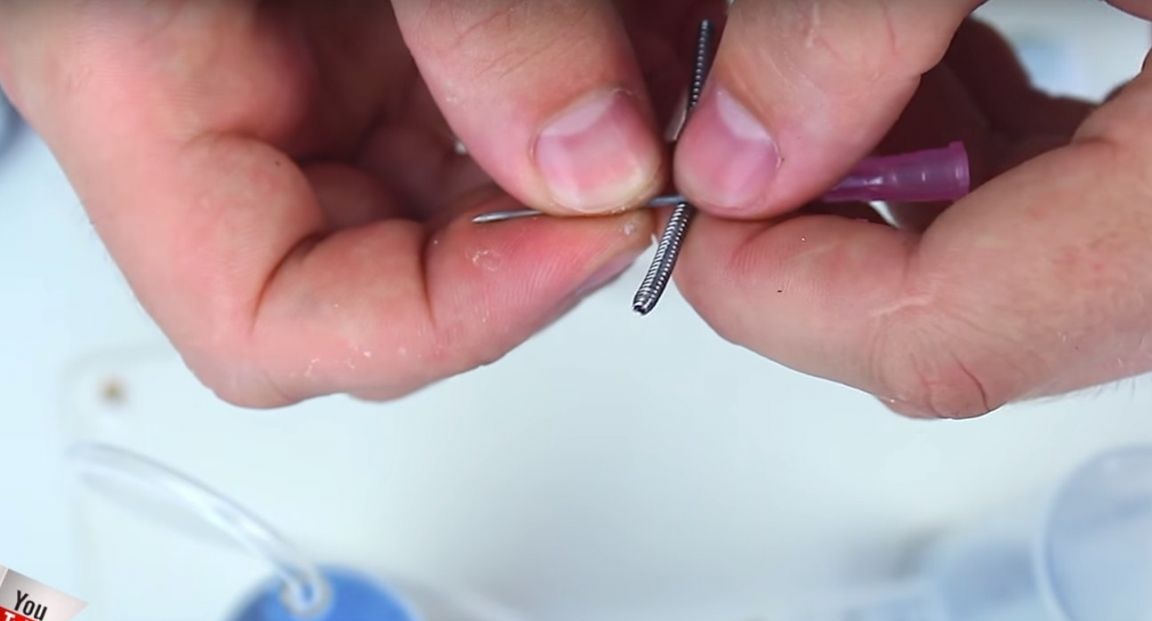
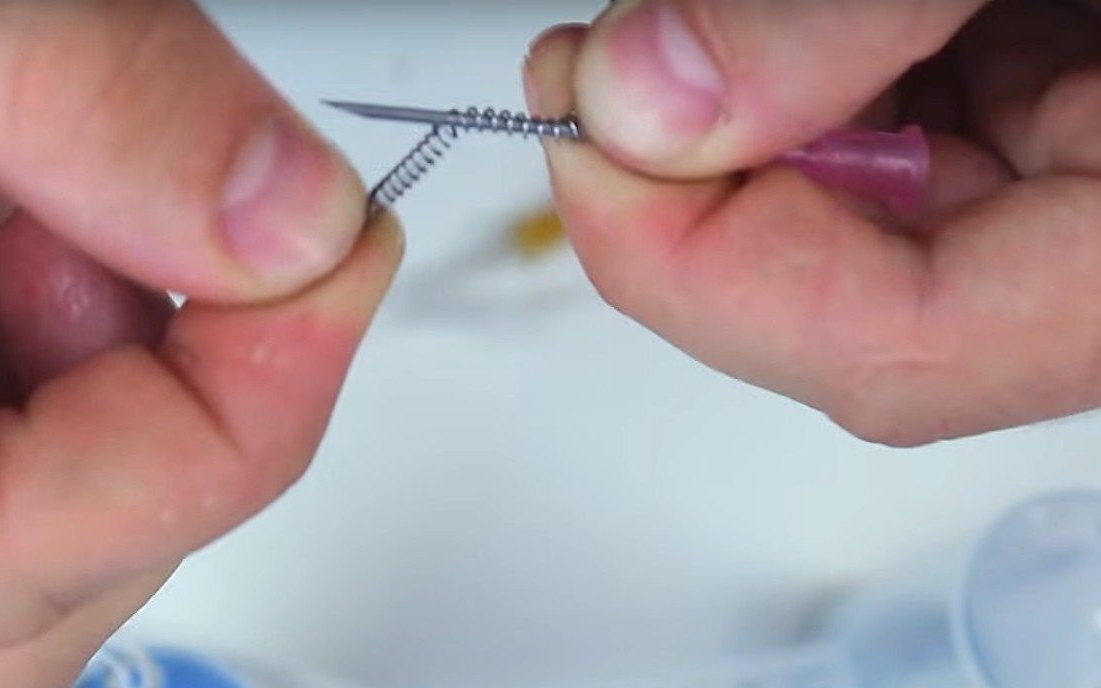
The excess piece of spring will clip, and the sharp part of the needle is drained onto sandpaper.
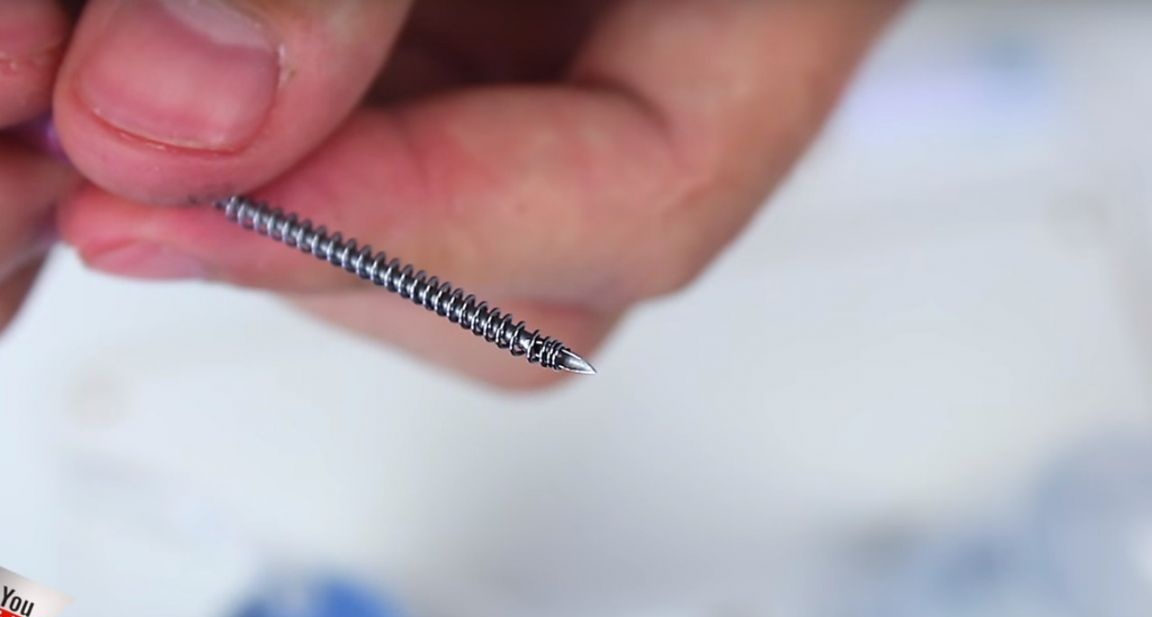
Then put the needle back on the dropper. And the burner is ready.
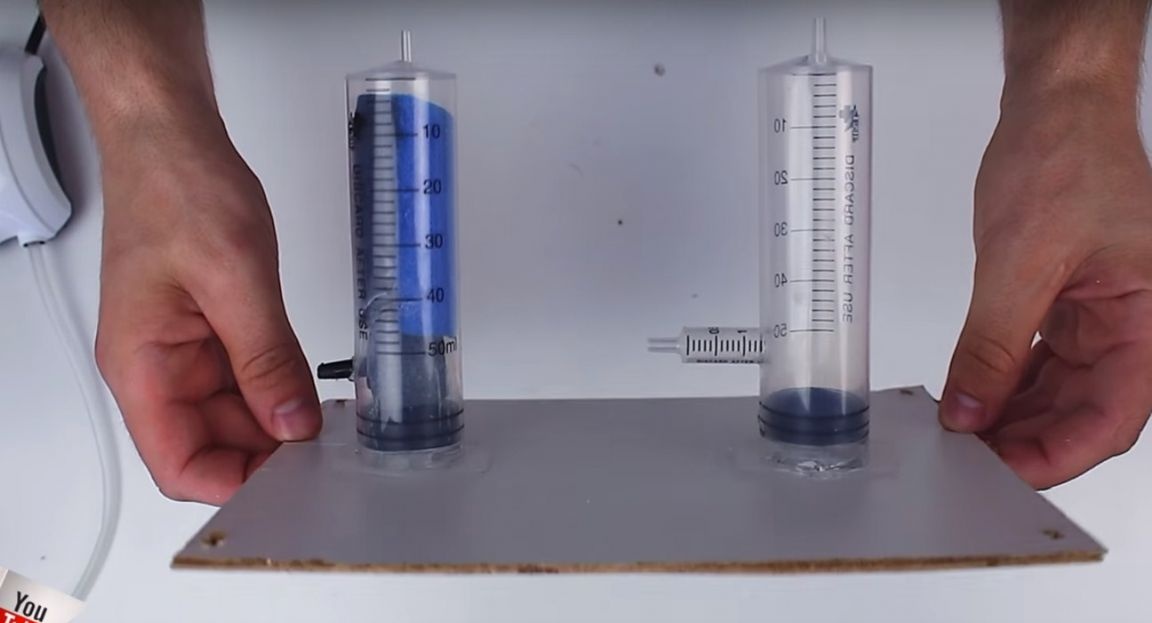
Next, charge the burner. Water shutter with water.
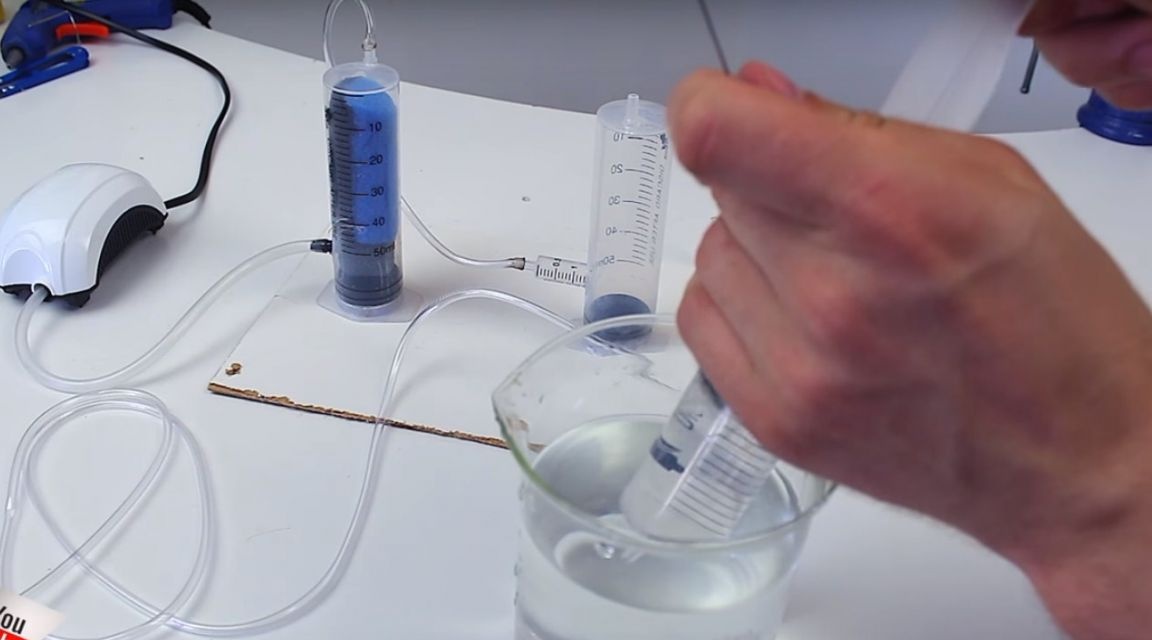
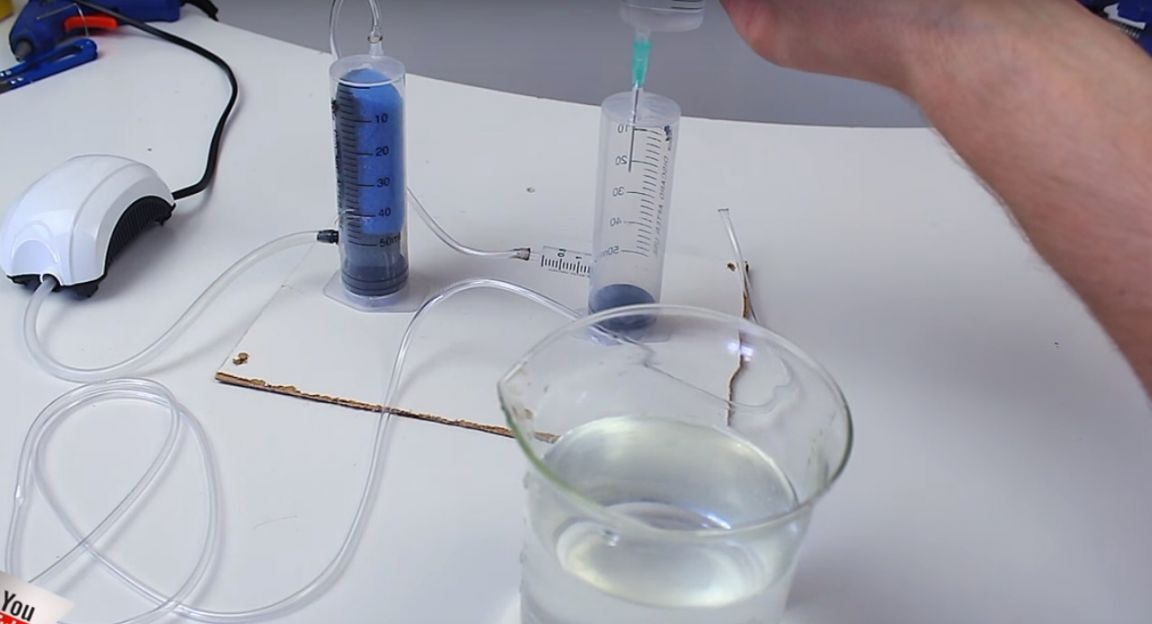
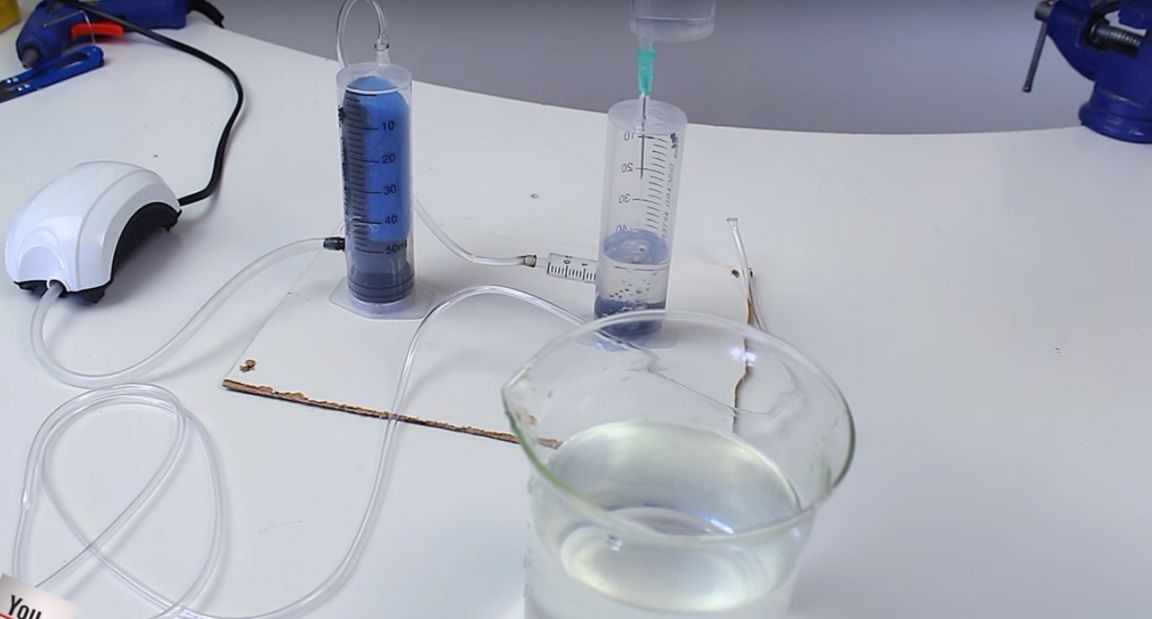
And the evaporation chamber is diluent. (According to the author, the evaporation chamber can also be refilled with other combustibles such as gasoline or a solvent.)

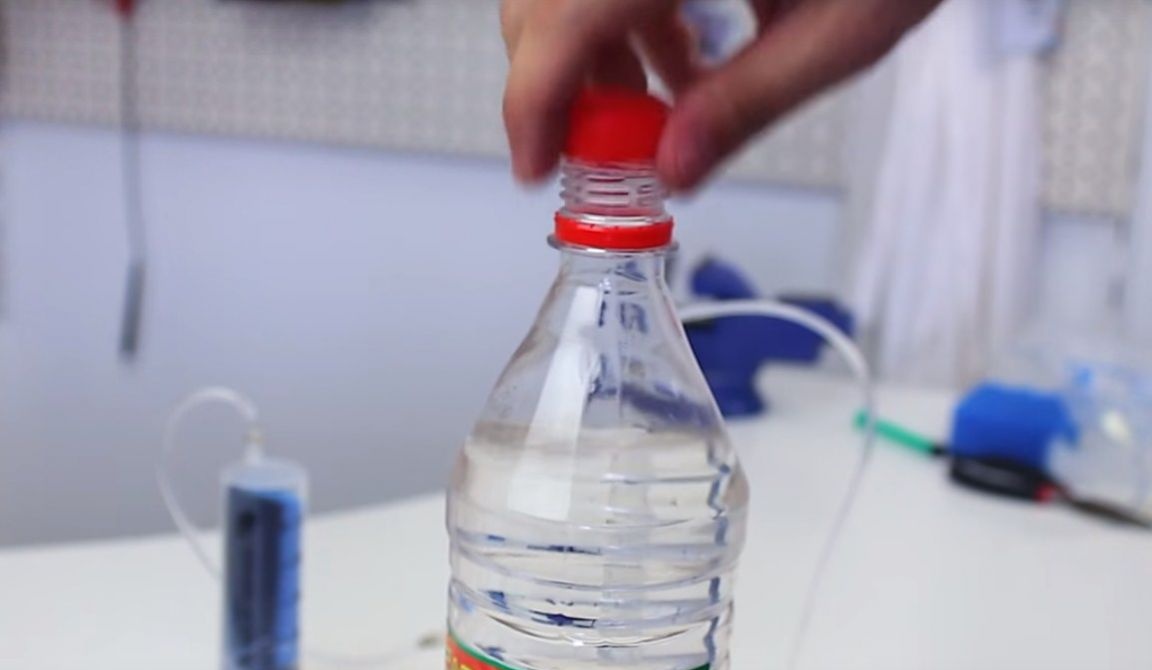
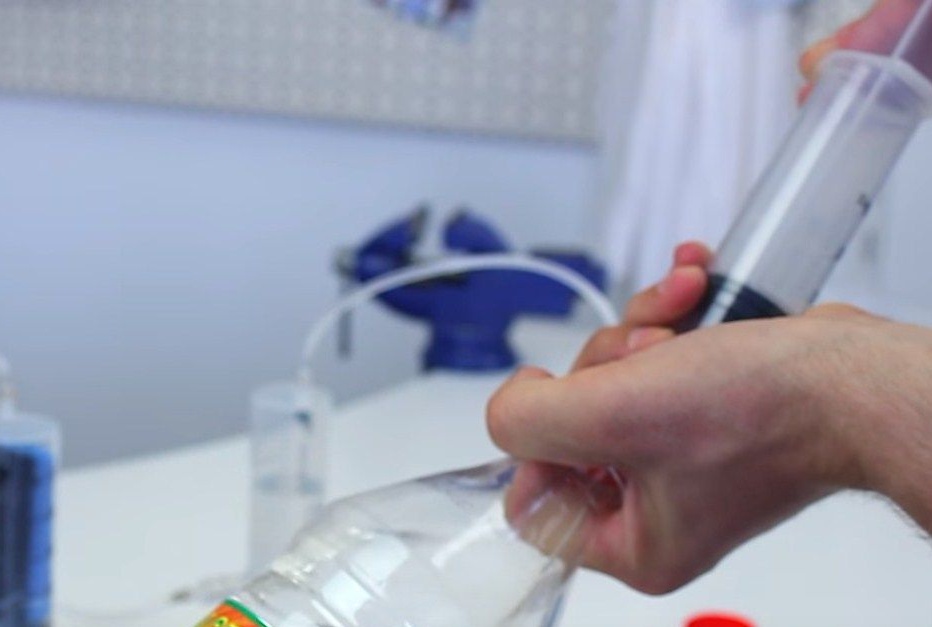
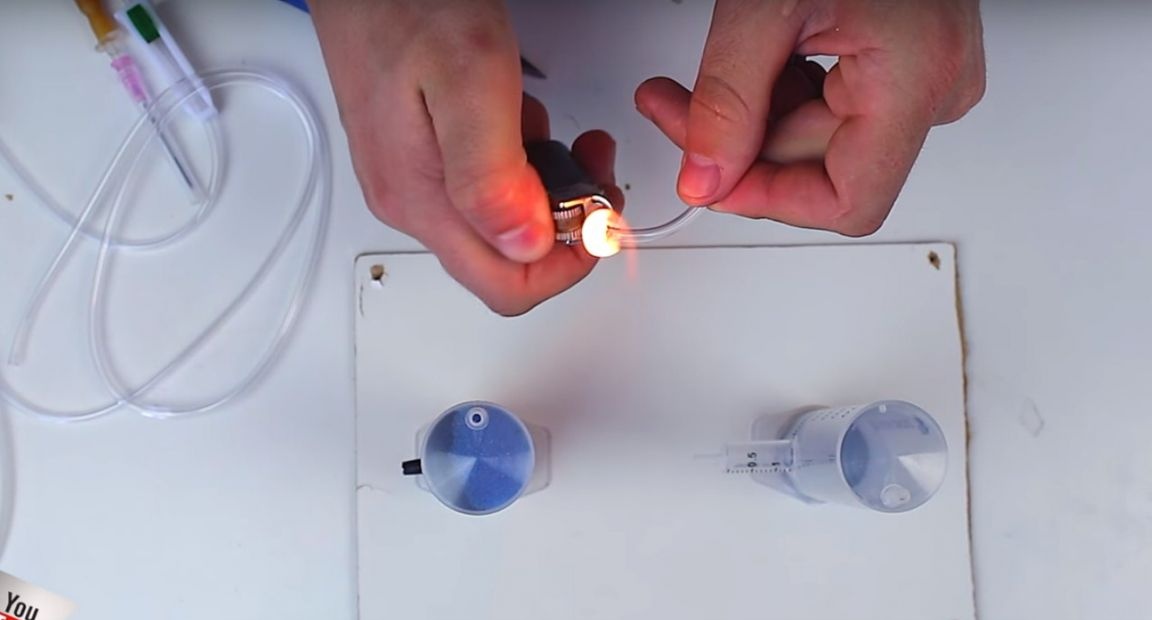
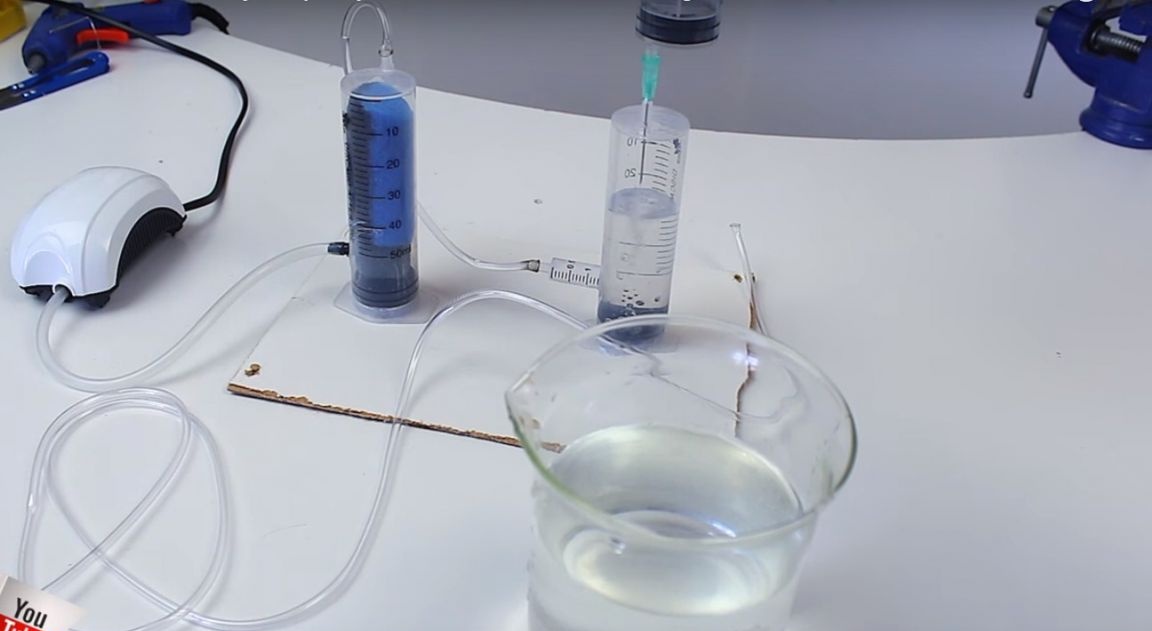
After refueling, it starts the compressor.
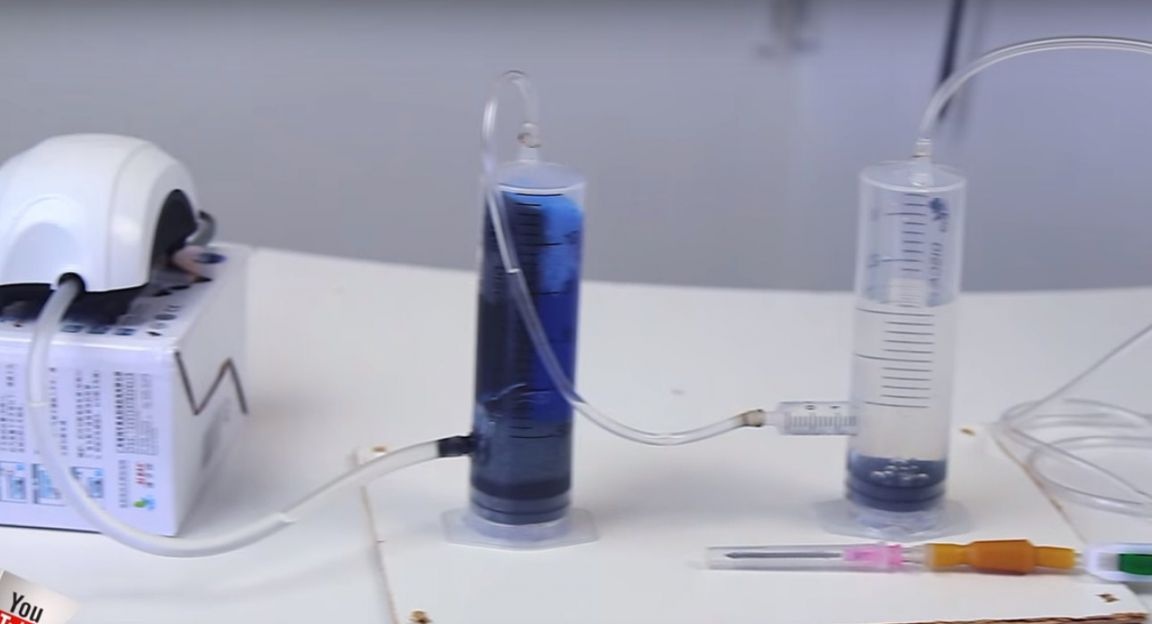
And the process of evaporation began.
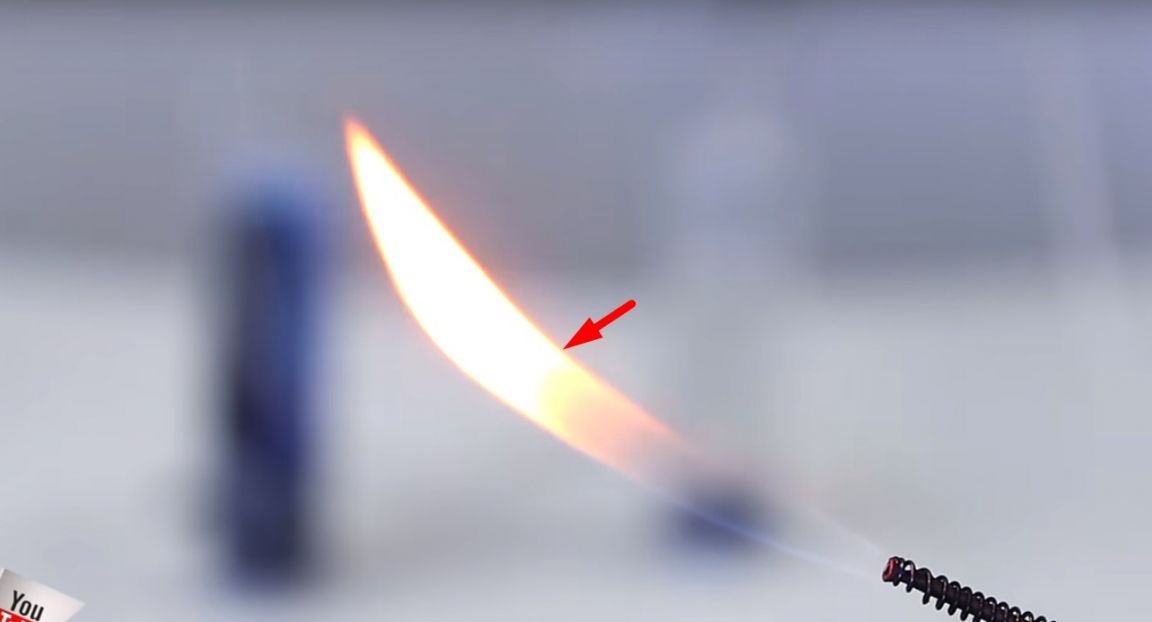
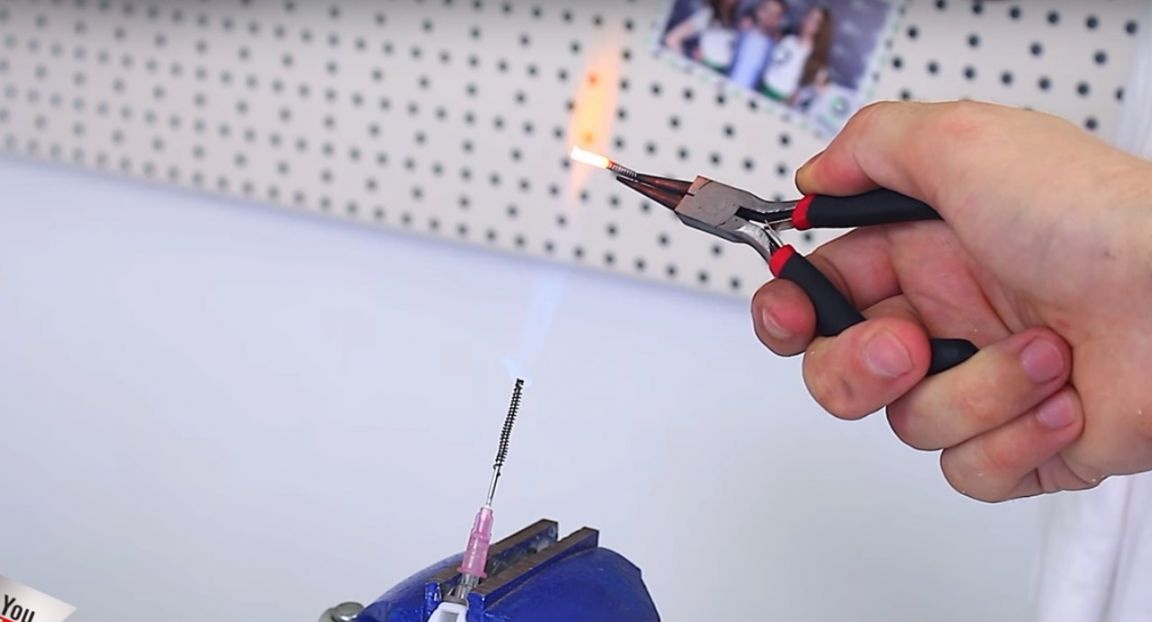
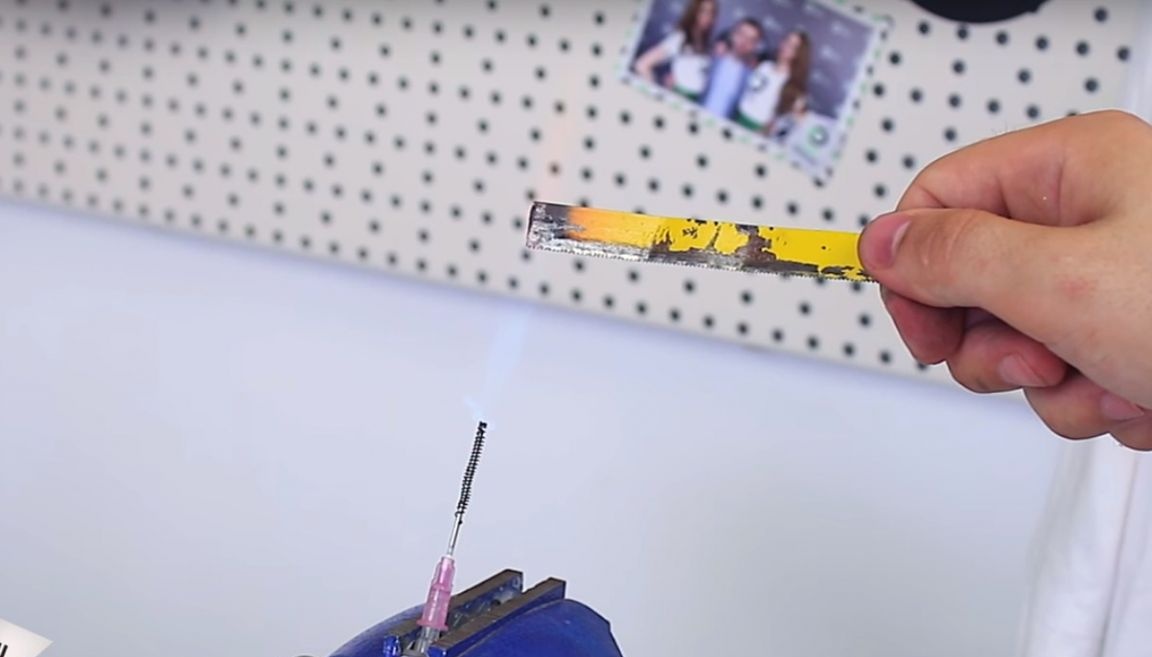
Ignites the burner and everything works.
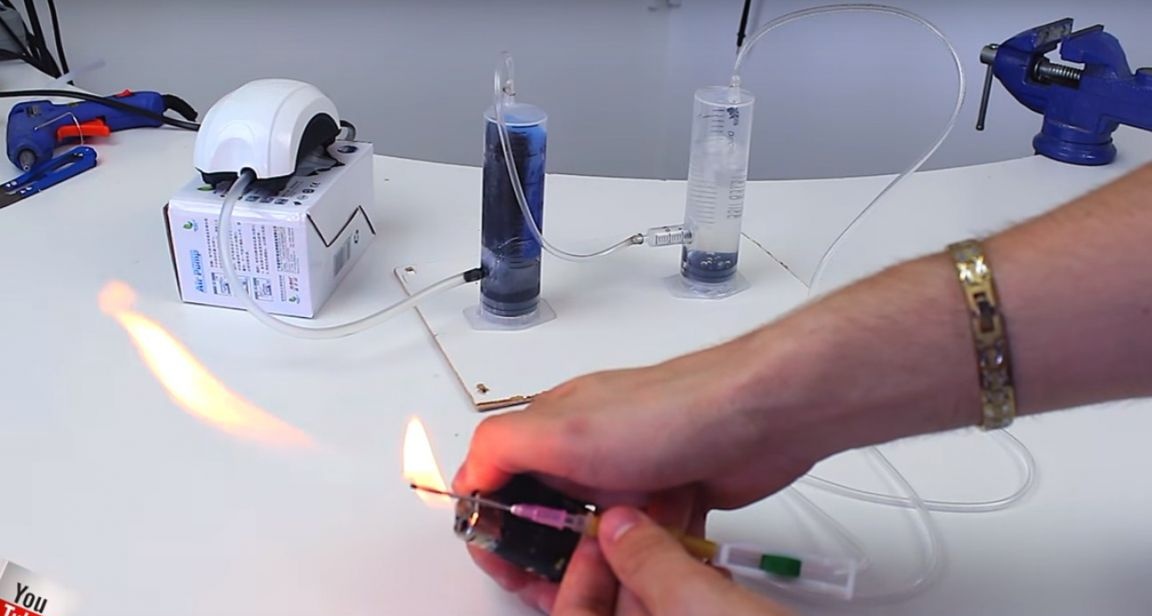
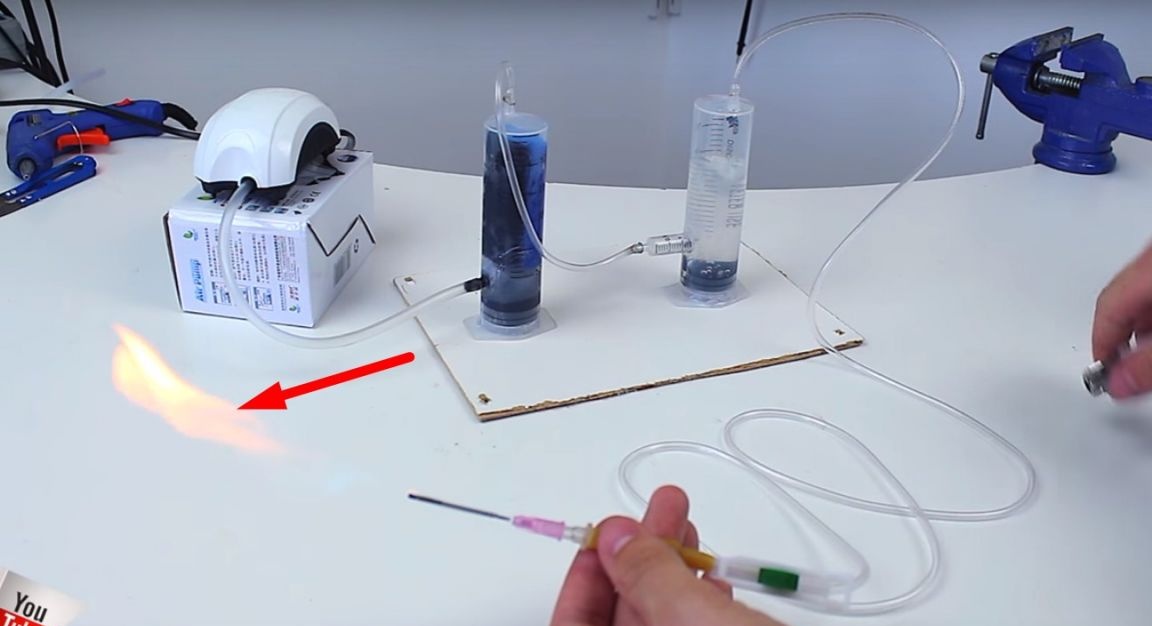
With the help of a wheel it regulates the fuel supply.
Test.
Thanks to all! And see you again.
Video homemade:
[media = https: //www.youtube.com/watch? v = rfT6-2iyyxI]