According to the calendar, winter has long ended, however, there is still snow in some places on the street, and there are frosts. If you work in the garage or workshop, there is an urgent need for heating. The stove is best suited for this business, it will allow you to get heat almost immediately, however, it is not able to accumulate it. There are a huge number of such stoves, today we will consider another interesting option - this is a stove from old car wheels.
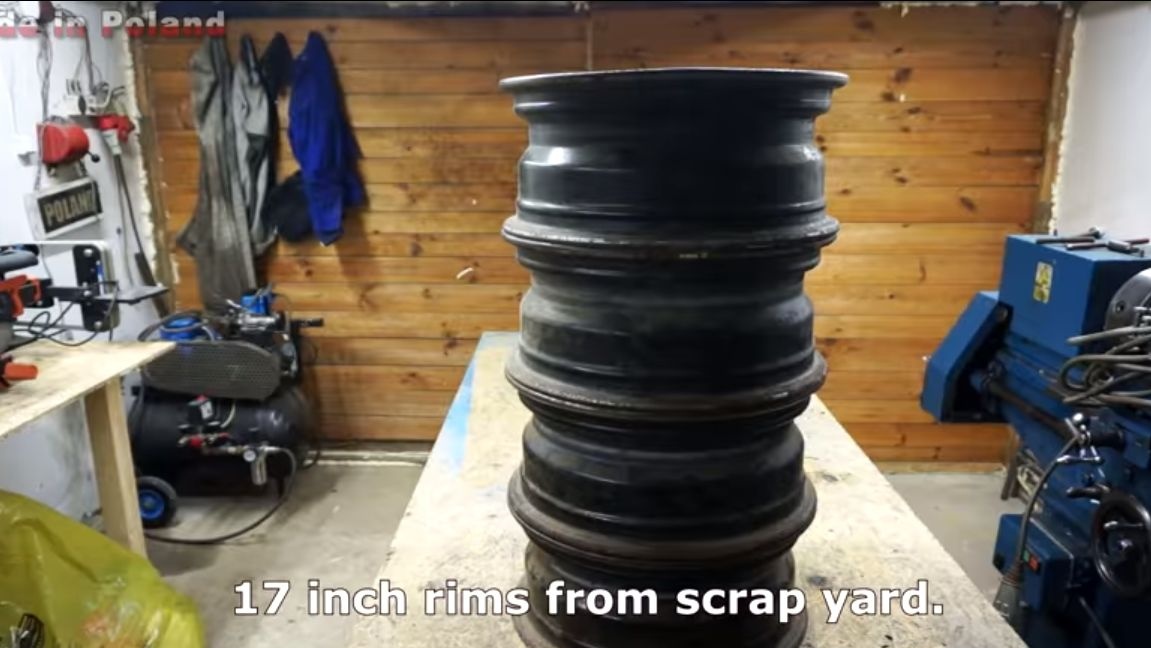
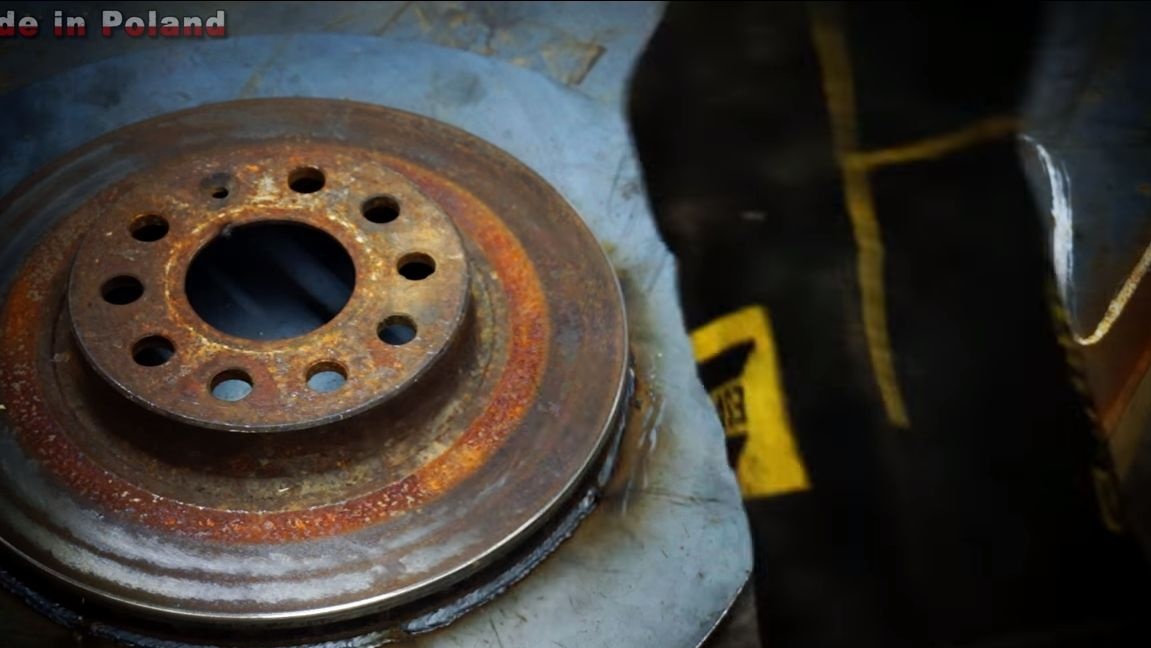
At scrap metal collection points, you can sometimes buy old rims for pennies. As a rule, they are already very dead so that they can be installed on carBut for the manufacture of the furnace they are excellent. The metal here is quite thick, which means that the furnace will serve for quite some time. In the design discussed below, there is a stove on which you can quickly boil the kettle, warm the soup or even fry something in a pan. Everything is going to be quite simple, a minimum of tools and skills is required. So, we will consider in more detail how to build such a furnace.
Materials and tools used by the author:
Material List:
- four car wheels;
- Sheet steel;
- fittings;
- glass;
- door hinges;
- square pipes;
- heat resistant paint;
- chimney.
Tool List:
- ;
- ;
- belt sander (optional);
- or a drilling machine;
- roulette;
- marker.
Furnace manufacturing process:
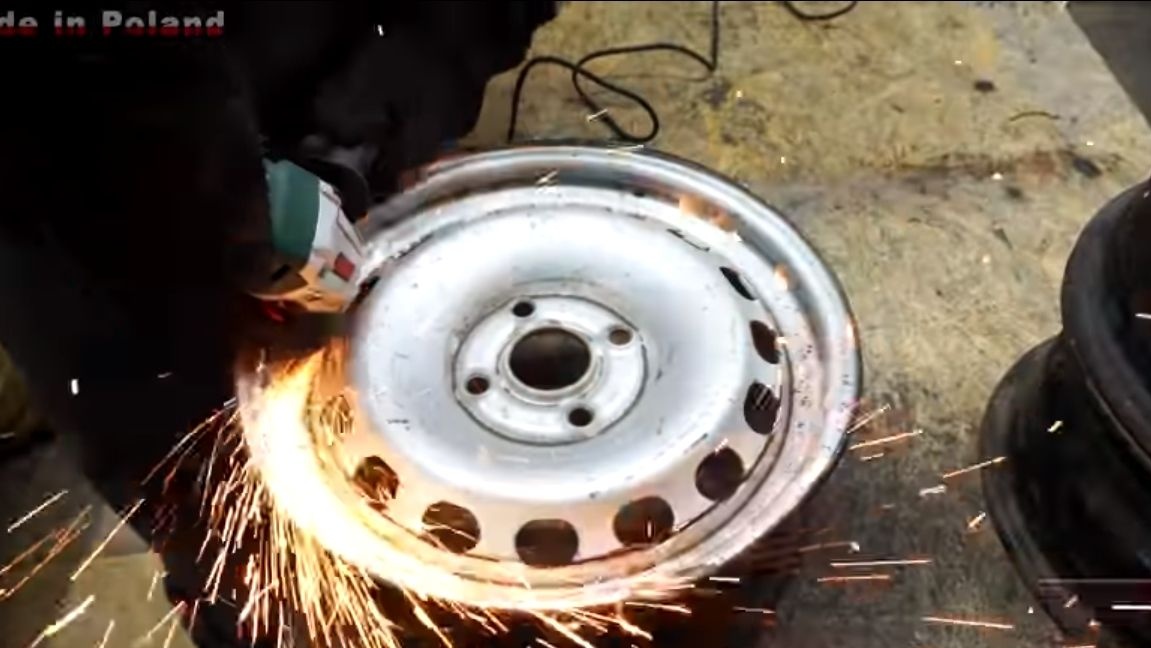
Step one. We prepare disks
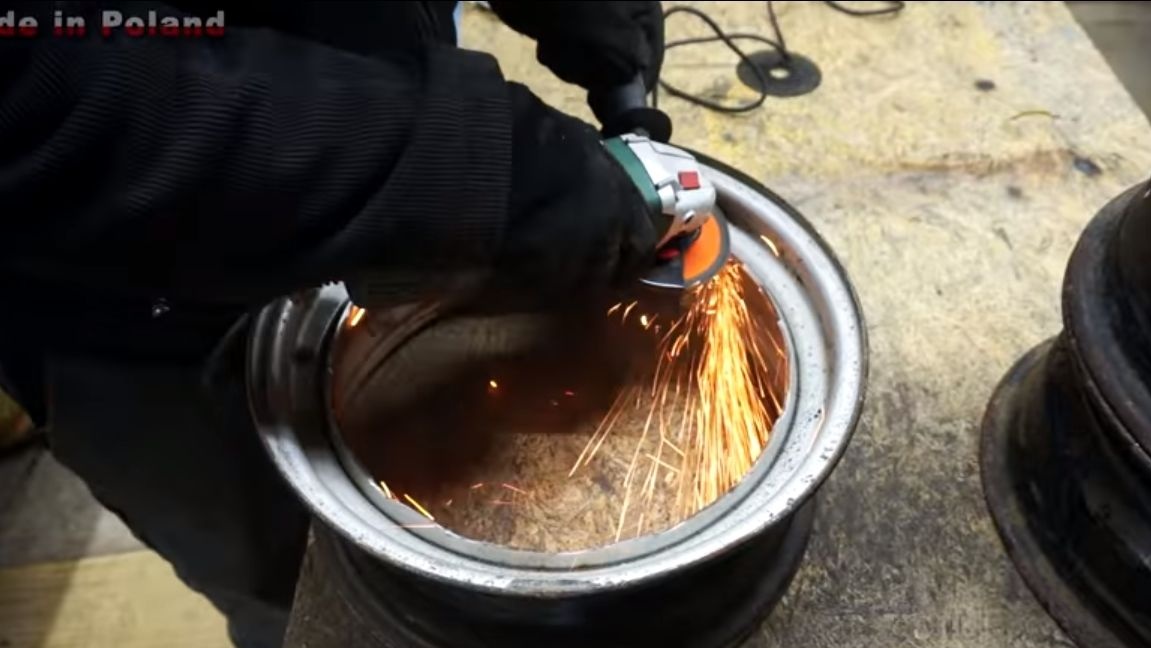
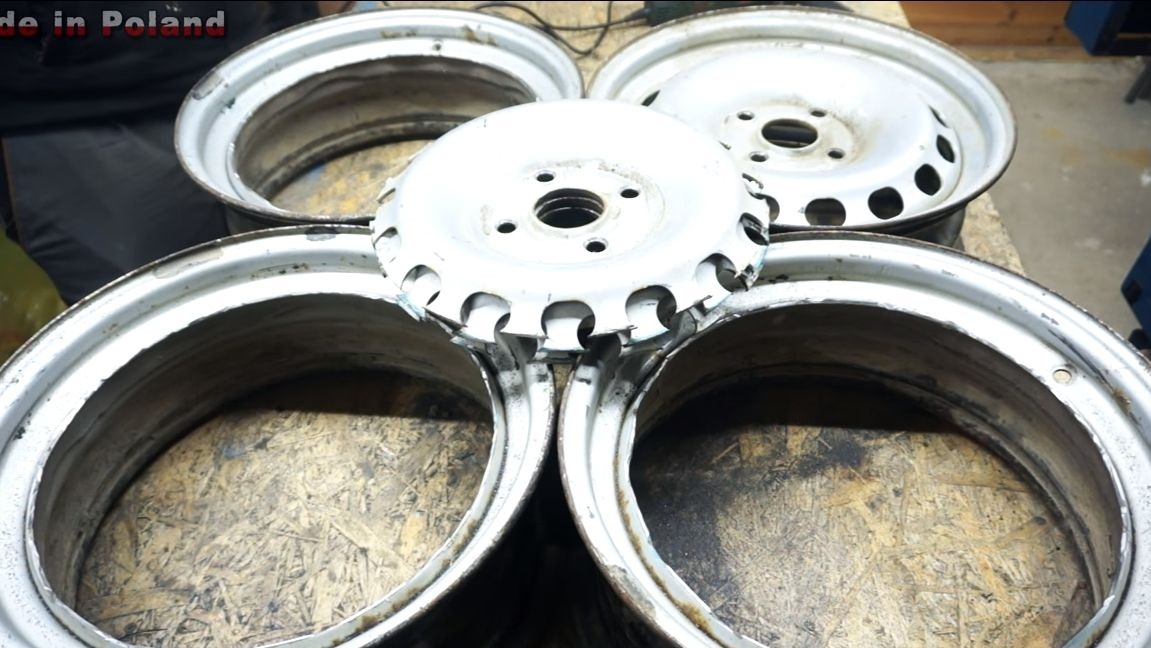
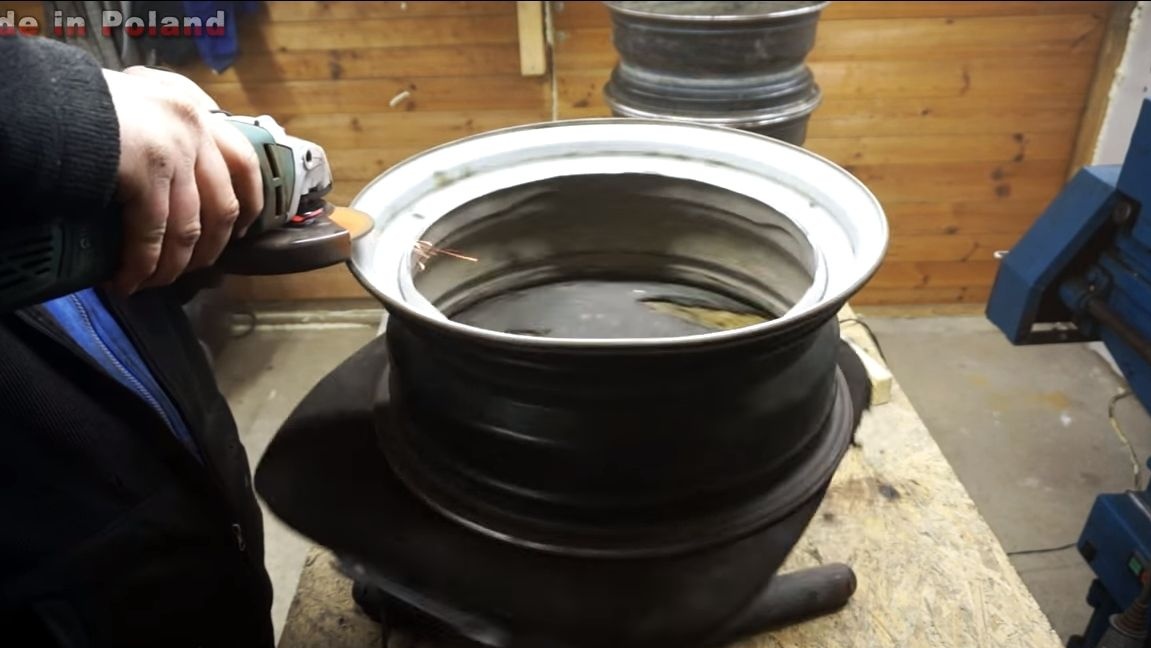
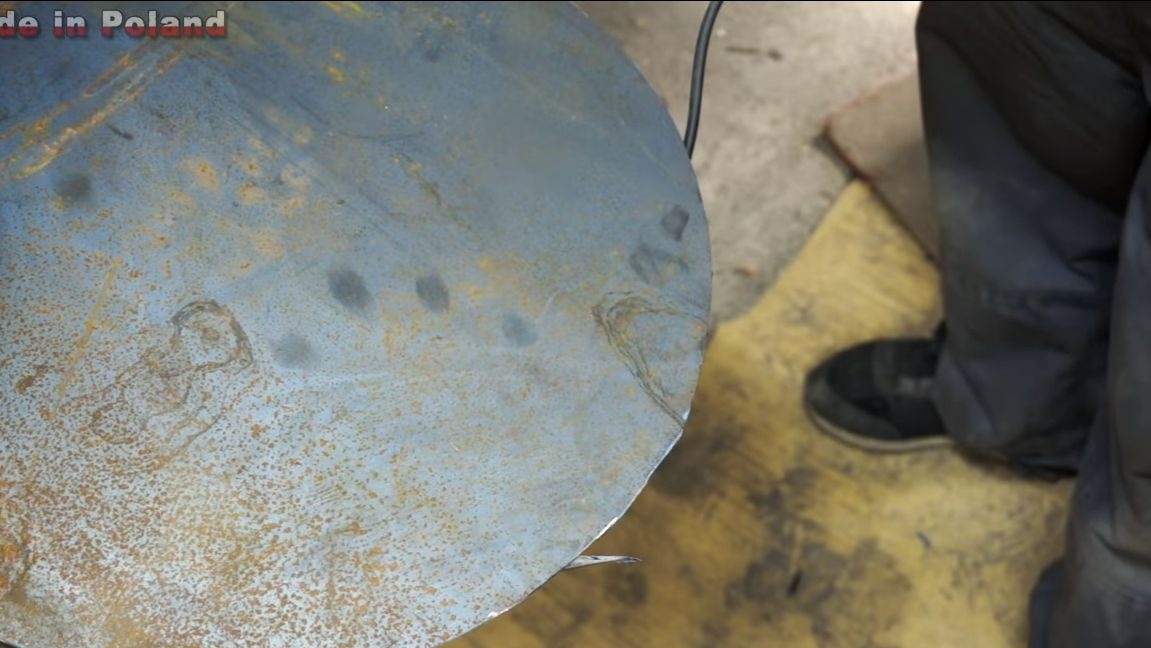
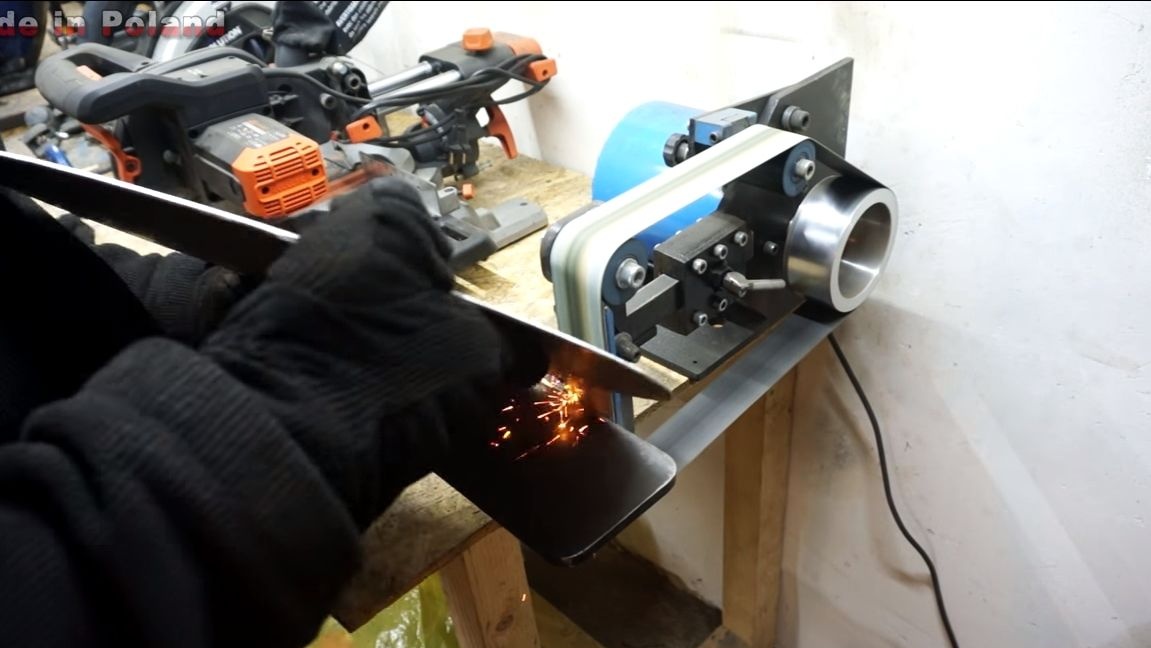
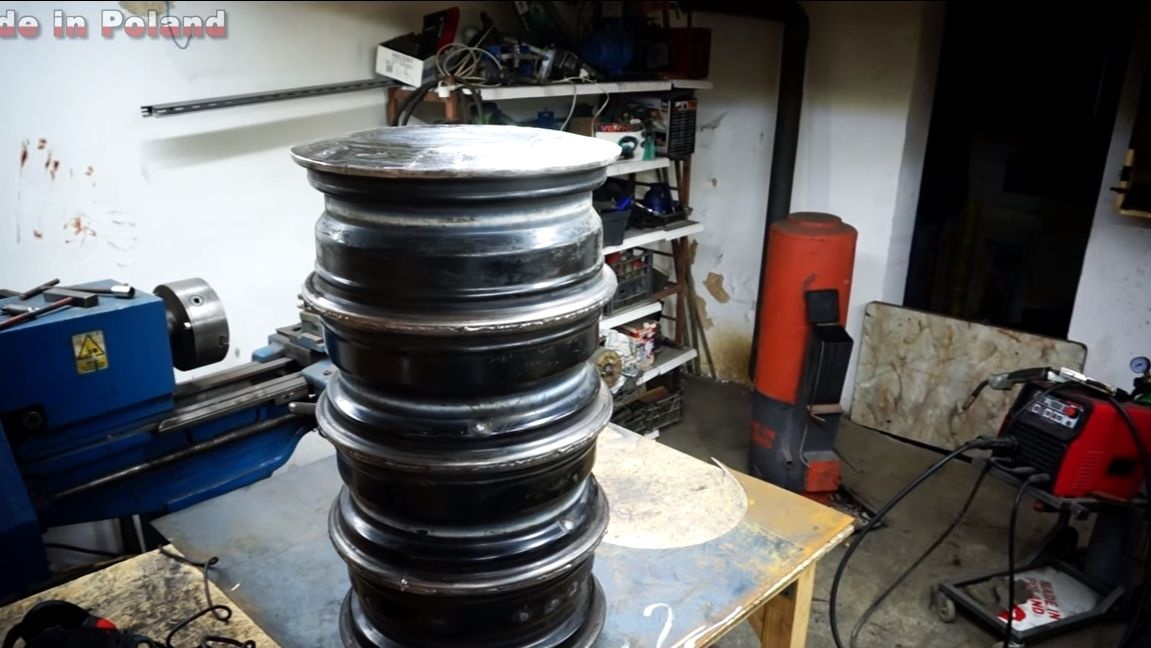
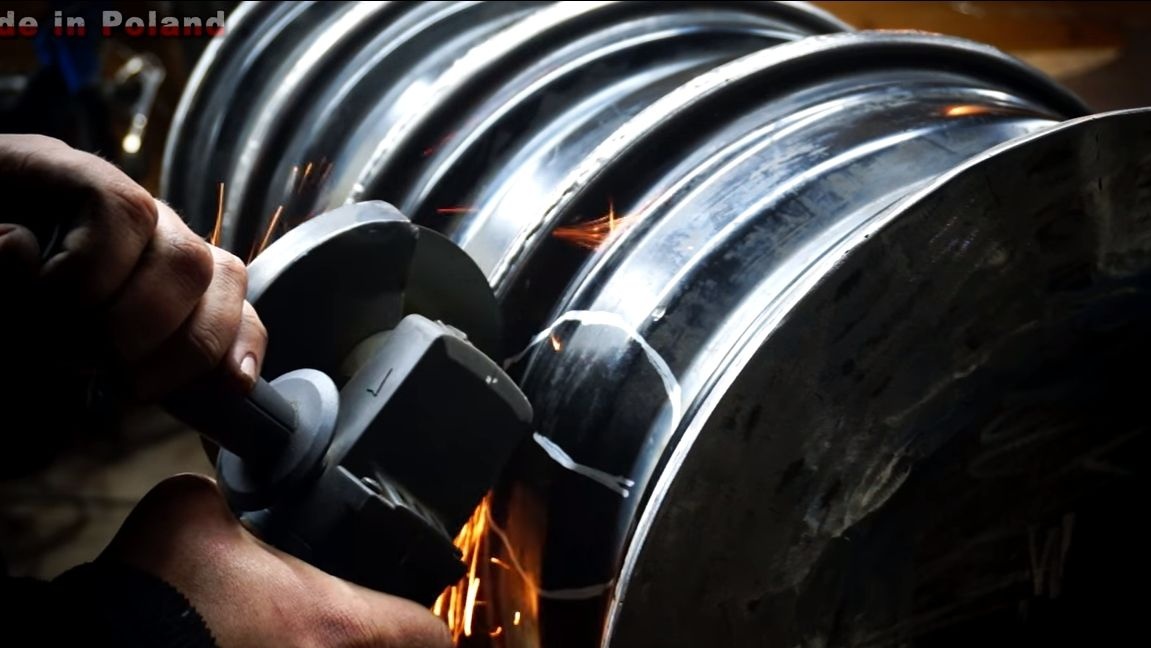
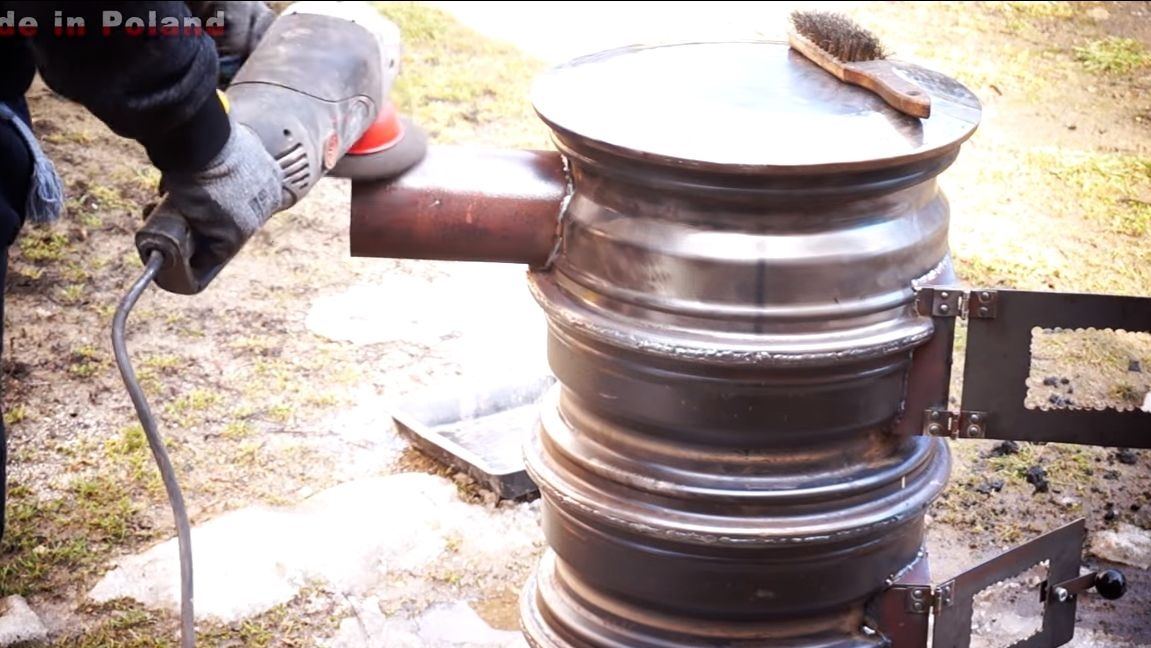
In total, the author needed four discs to make the furnace. The first problem is that the discs should have even edges, otherwise there will be gaps through which smoke will pass. Of course, cracks can be welded, but it is much better to simply align the joints to reduce gaps. If there are significant dents, align them with a hammer. Further, the author polishes the discs in a circle to perfectly smooth the contact area. Conveniently, if there is a rotating chair, we put a disk on it, and it begins to rotate if you bring the grinder at a certain angle.
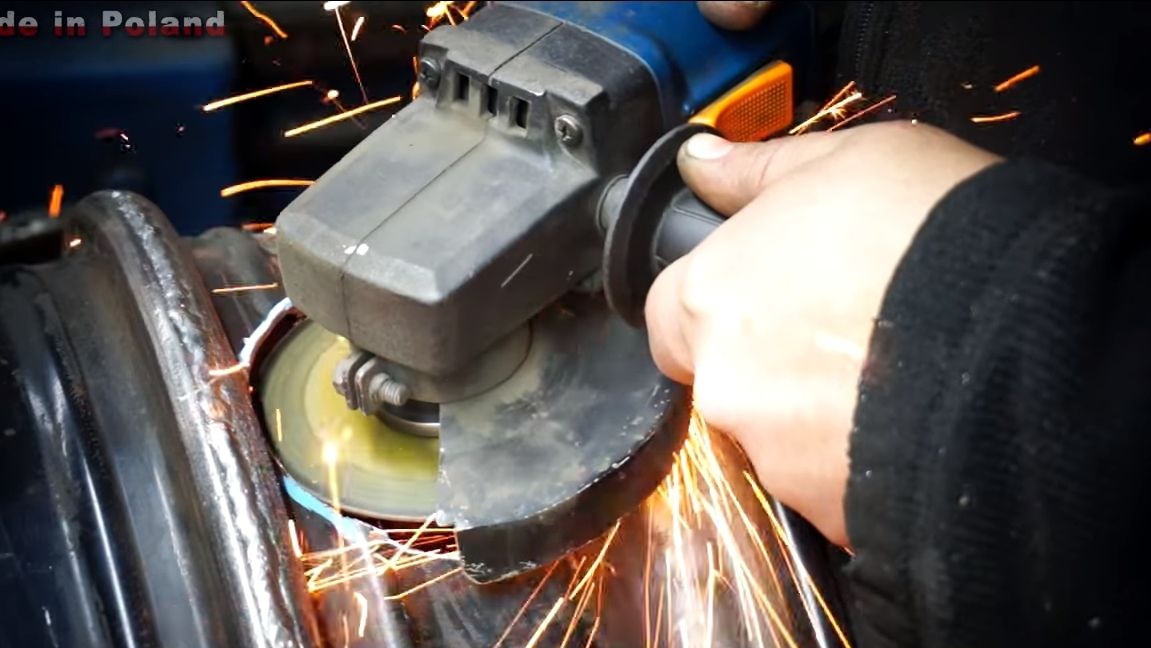
But that is not all, we need to finalize the three discs. From them you need to cut out the central part, you can do it with a grinder. These three barrels will represent the “body” of the furnace.As for the disk installed at the very top, heat will be better distributed through the holes in the disk, so it is better to leave this disk with a core.
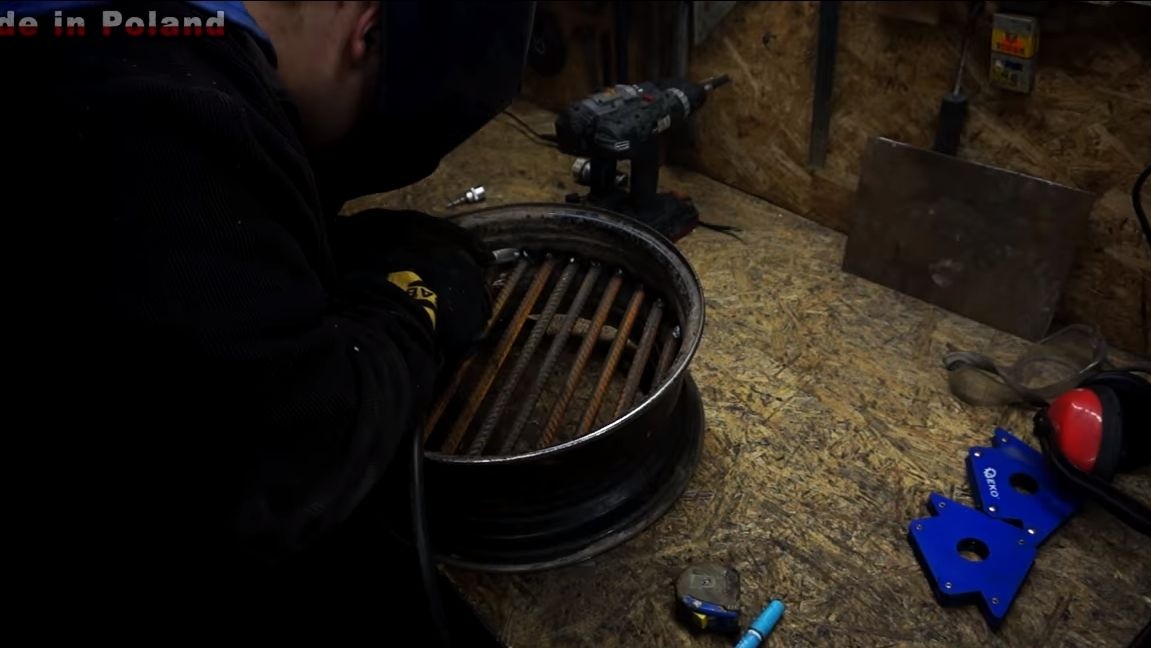
Step Two Grid Making
Grids are a very important attribute of the stove, thanks to them there is something to put firewood on to ensure air supply. For the manufacture of grates, the author decided to use reinforcement. Just cut it into the necessary pieces and weld inside the disk. You can also use a steel plate to make grates, in which holes are drilled or cuts are cut.
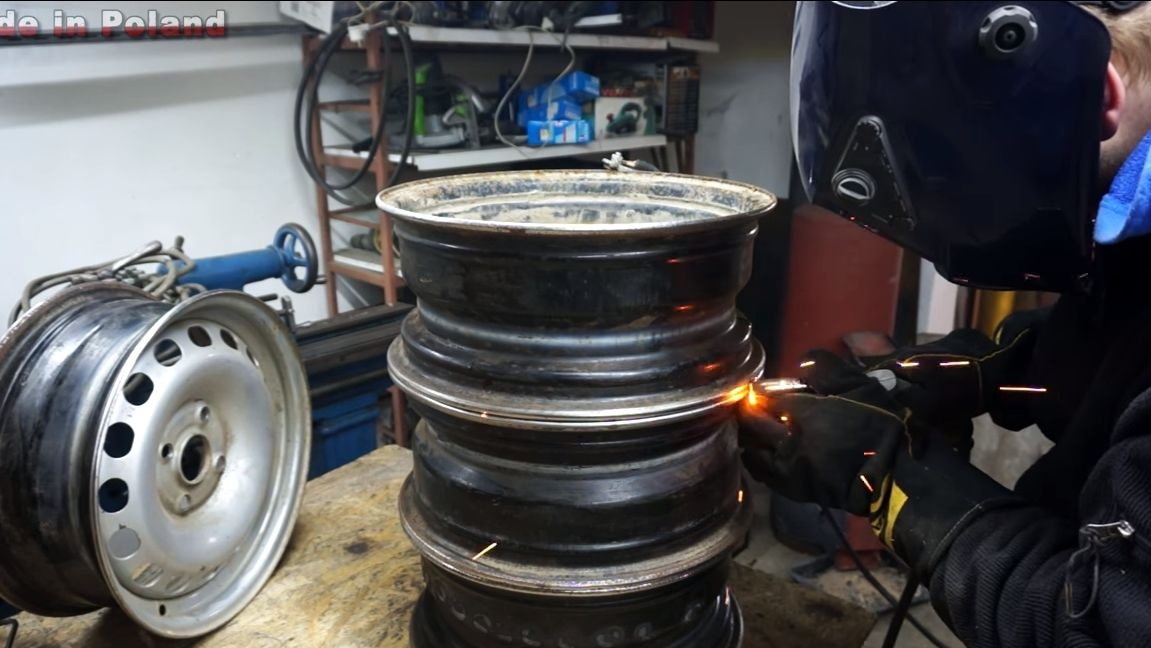
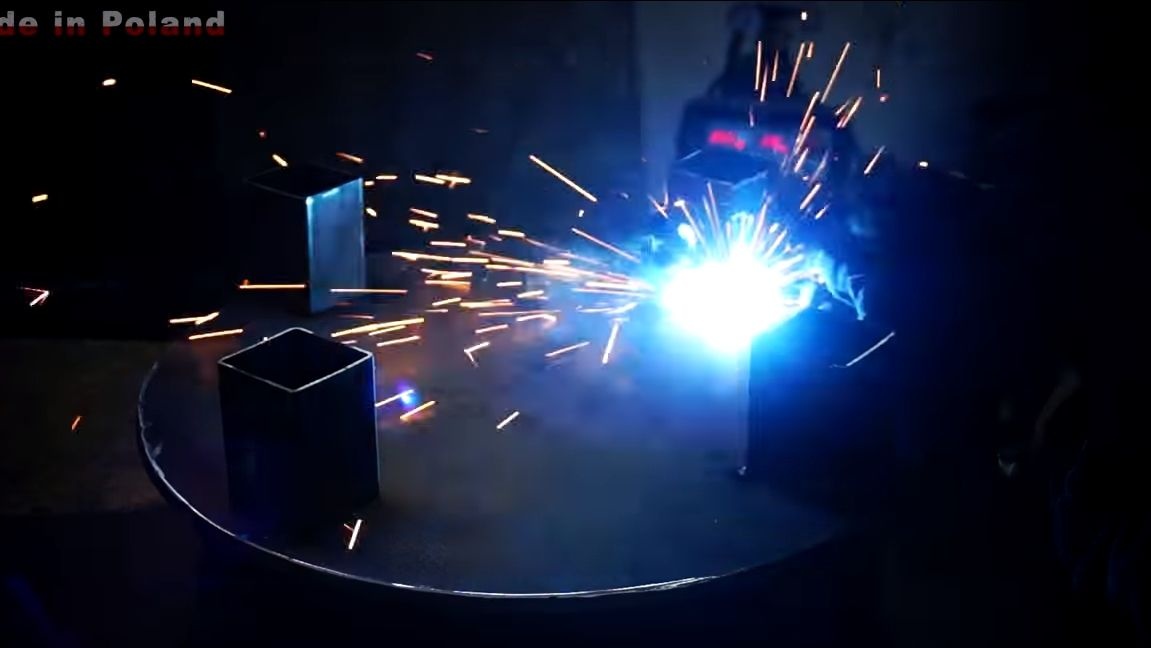
Step Three Welding work
Now you can weld all the barrels with each other. The weld should be solid if you do not want smoke to leak through the slots. It is convenient to carry out such work semi-automatically, but you can also cope with conventional welding, the metal here is quite thick and it is difficult to burn through it. First, grab the discs pointwise and make sure that the structure is assembled evenly. A disk with an untouched core is installed at the very top.
Step Four Making a support for the furnace
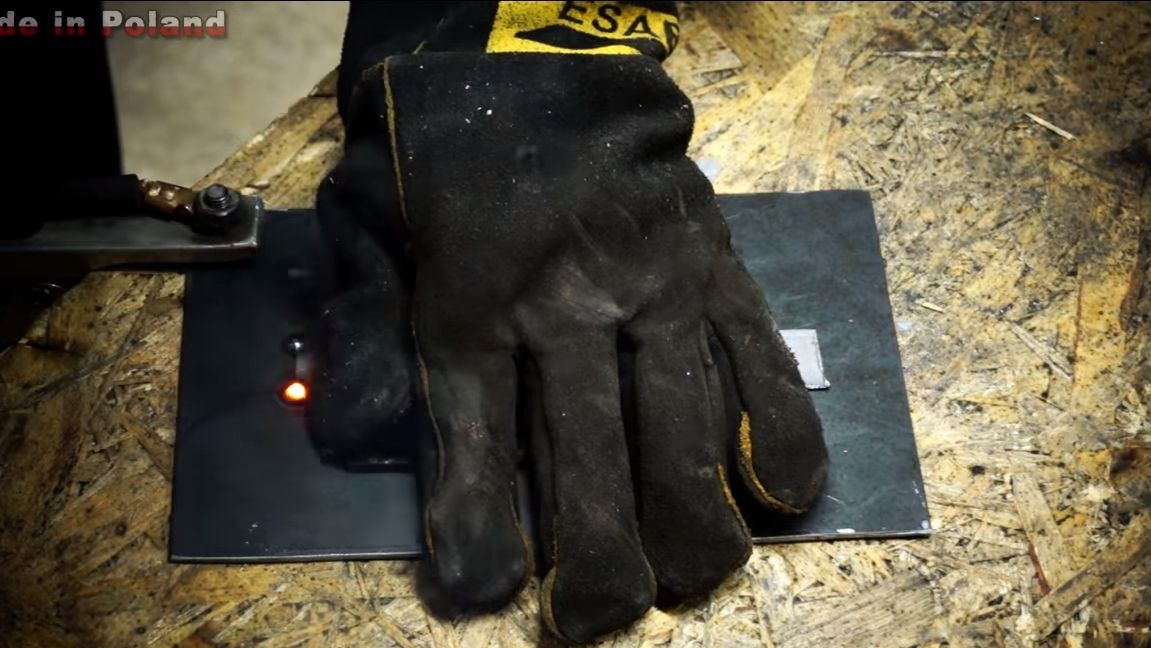
The stove should stand on its feet, and stand reliably, since it is quite weighty. To make a reliable support, you need sheet steel, we cut out a circle of such a diameter that it can be welded to the disk. As legs, cut four identical pieces of a square pipe and weld to the base. That's all, we get an excellent support for the furnace.
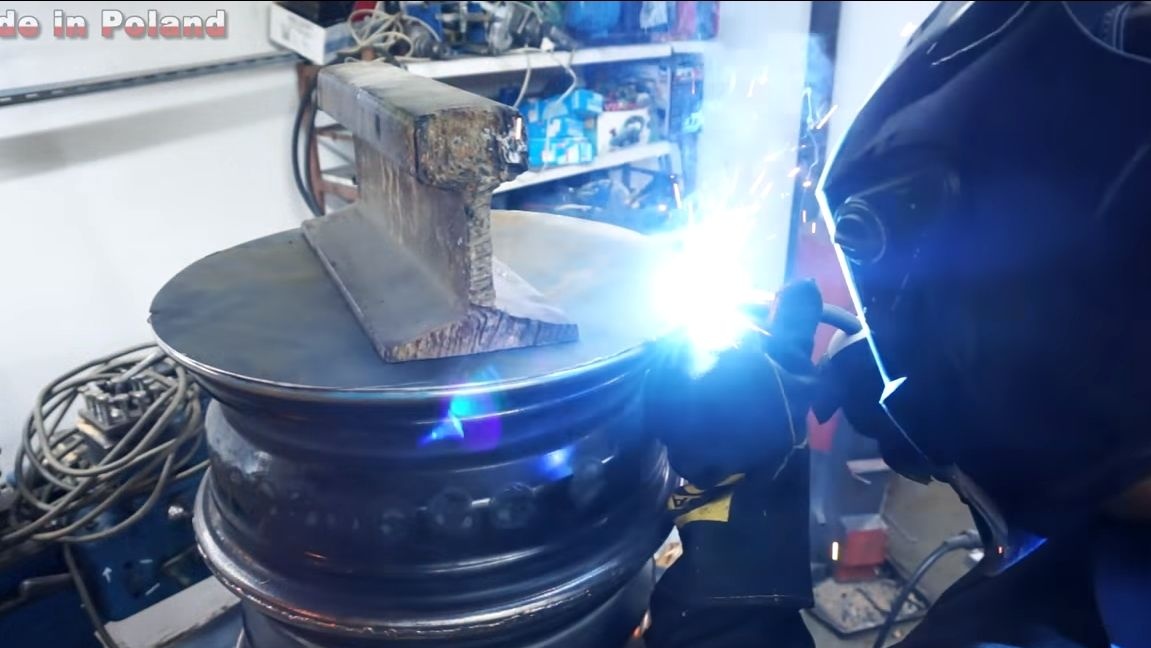

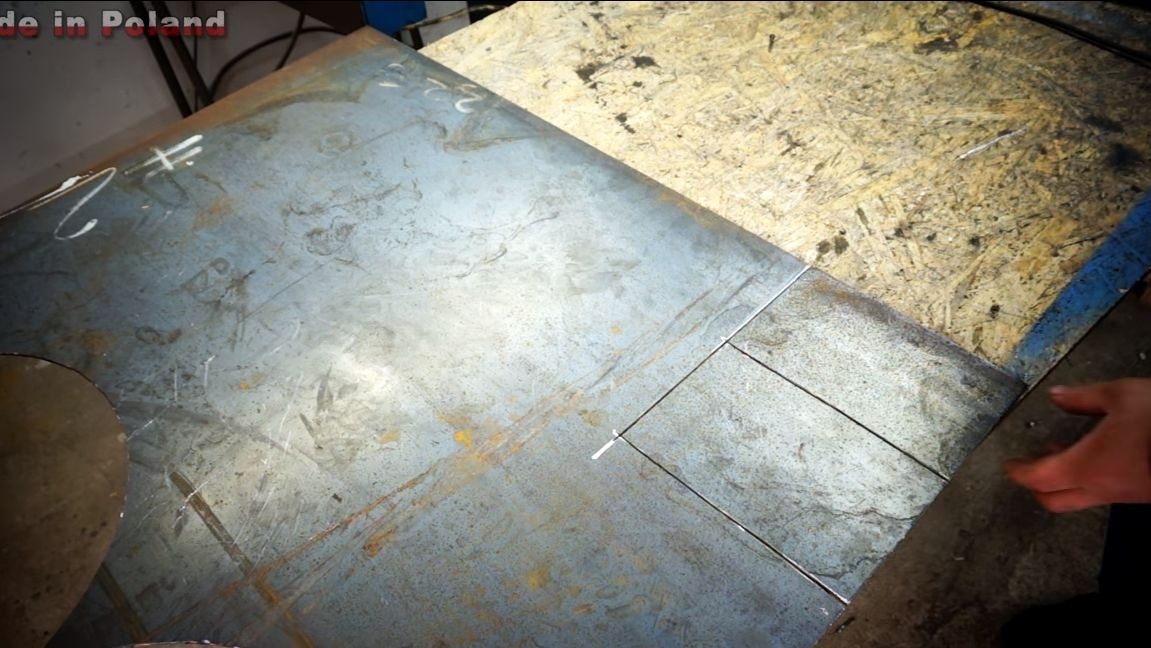
Step Five Cooktop
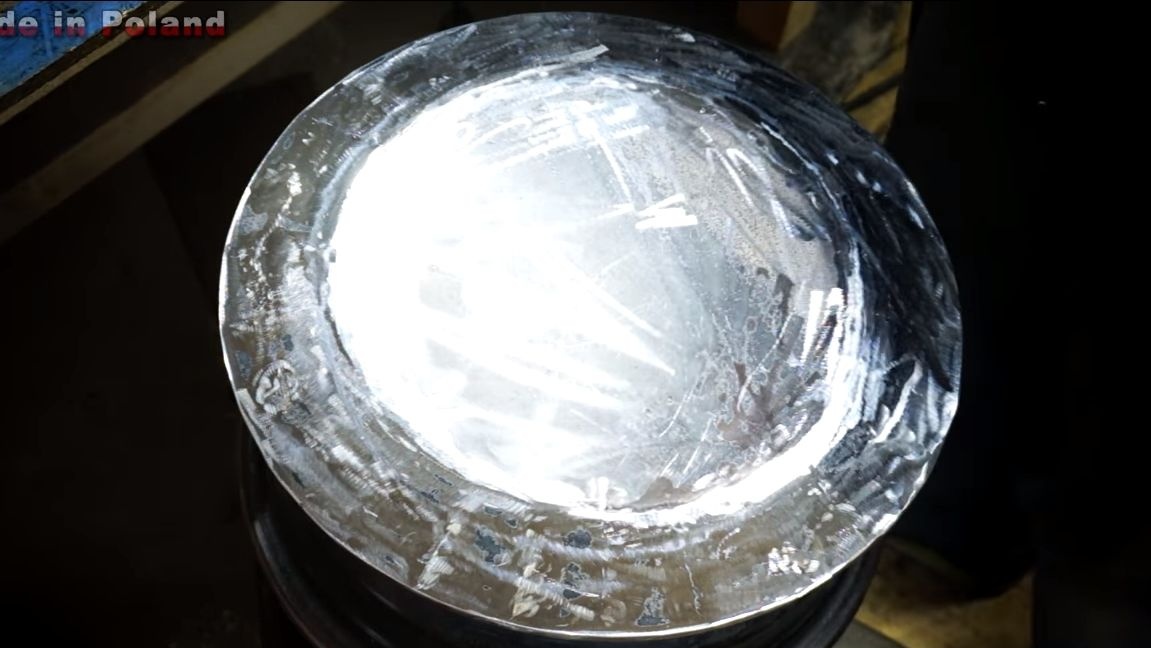
At the very top of the oven is a hob that allows you to cook. For its manufacture, sheet steel will be needed, choose thicker so that it does not burn out. We cut out a circle from it, the author grinds it on a grinder so that it is perfectly even.
The author decided to weld a part from the car pulley to the plate. What is the meaning of this is not clear. Probably in order to strengthen the design.
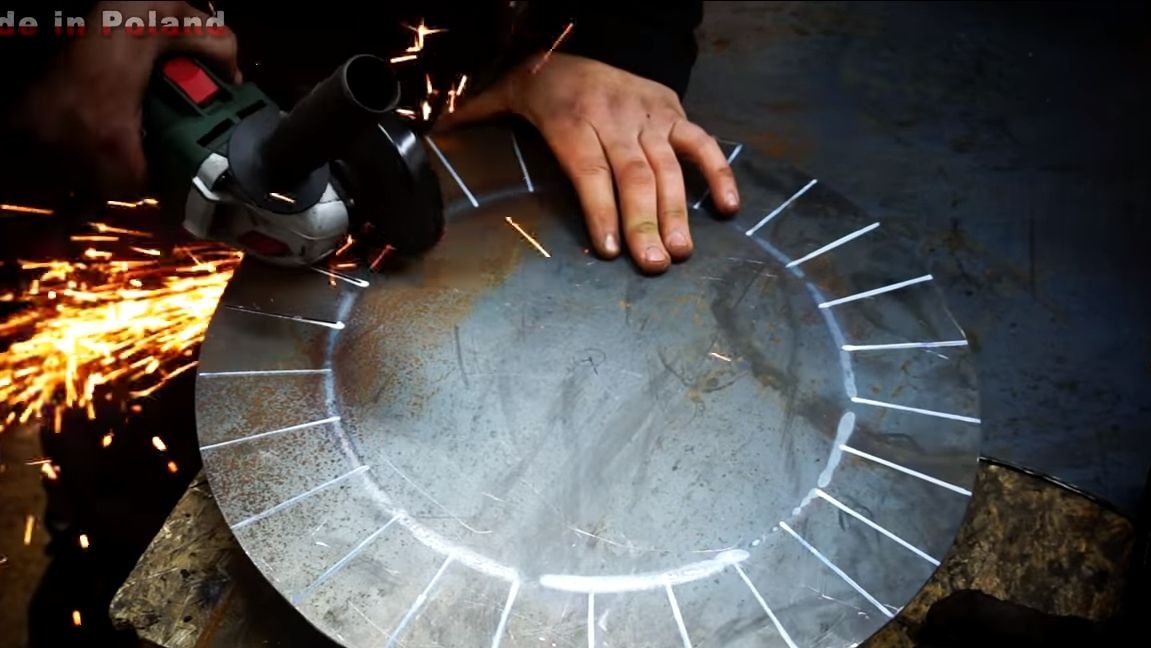
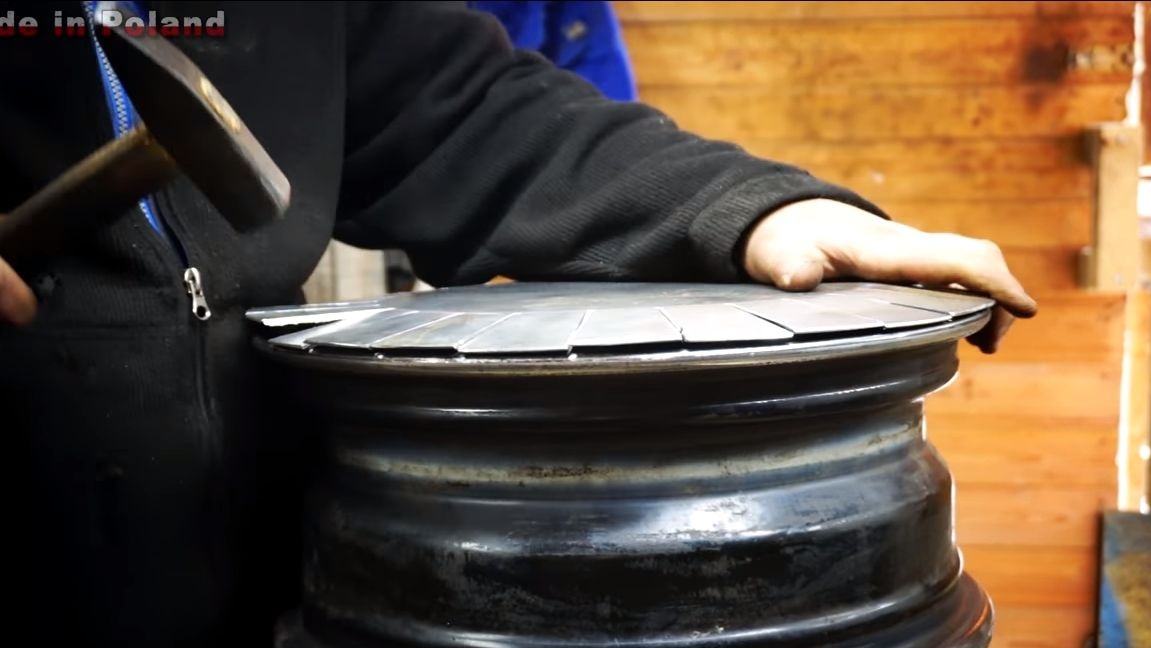
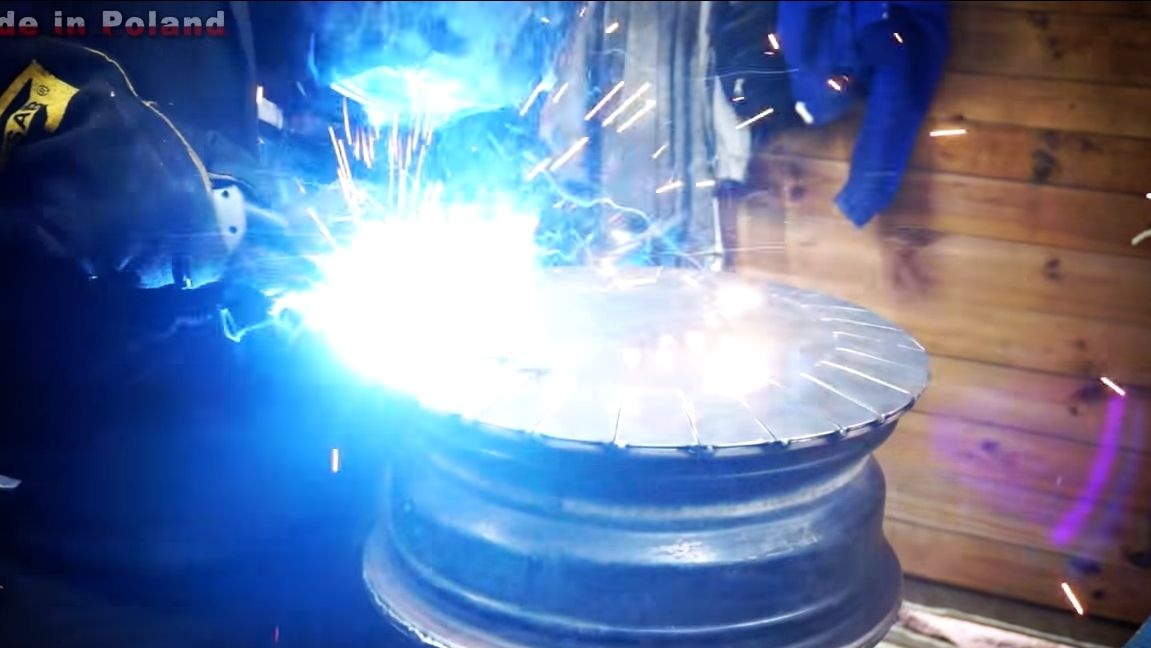
Next, mark the plate and make along the edges of the slots at an equal distance, as the author in the photo. As a result, when you bend these plates, you get a kind of "dome". This dome is now carefully welded on top of the oven. It is important that there are no gaps, otherwise smoke and soft gas will inevitably go into the room, which is very dangerous. Slots that remain in the plate also need to be well brewed. At the end, we grind the welds well to get a monolithic structure. That's all, the furnace case is over, it remains to install a pipe, a furnace and a blower with doors.
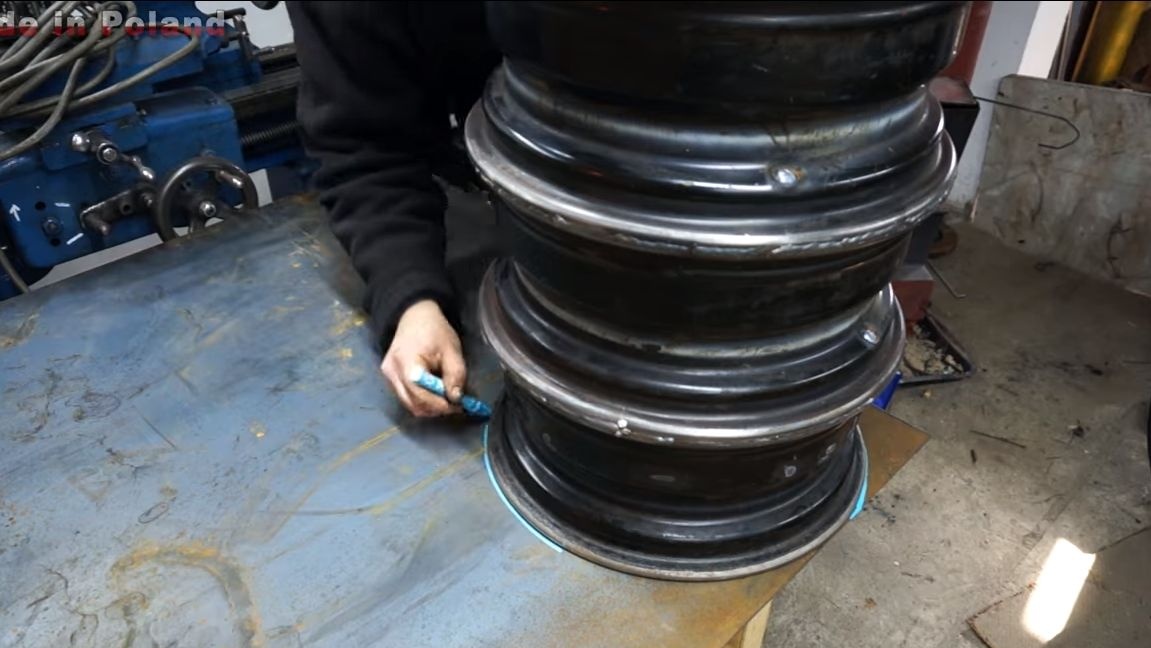
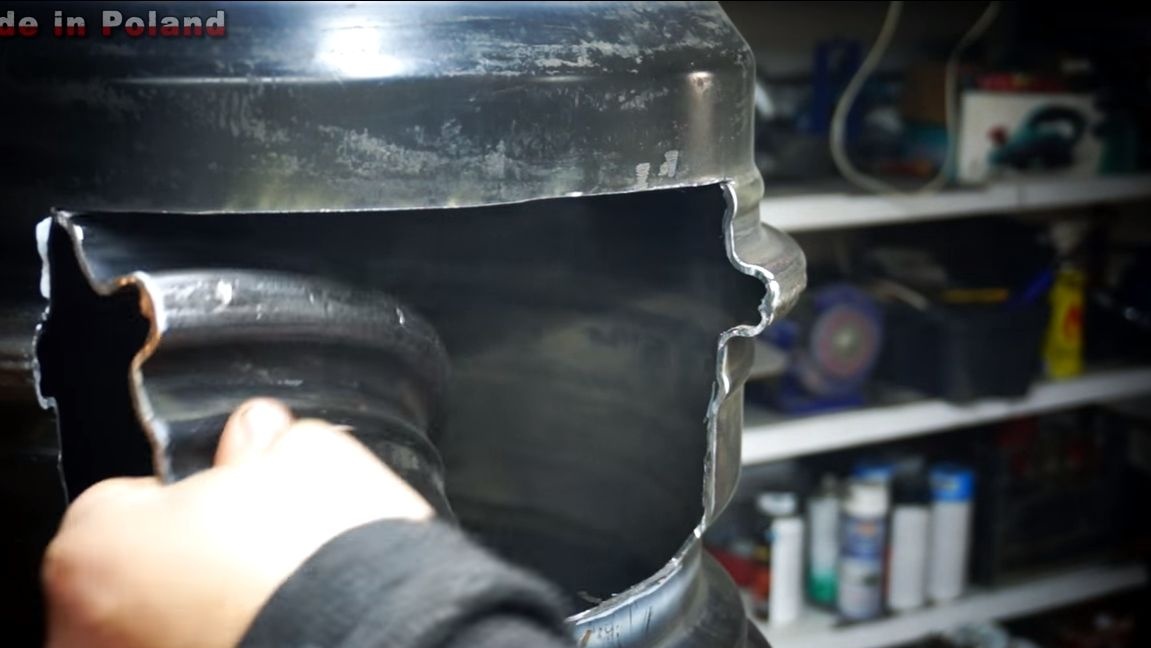
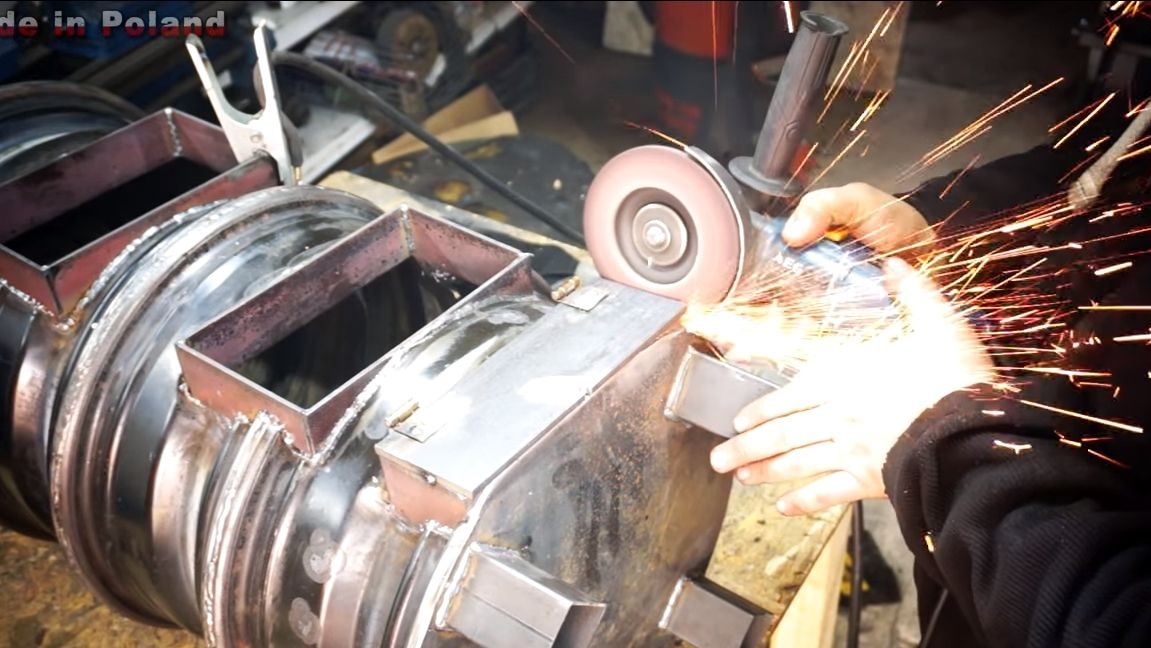
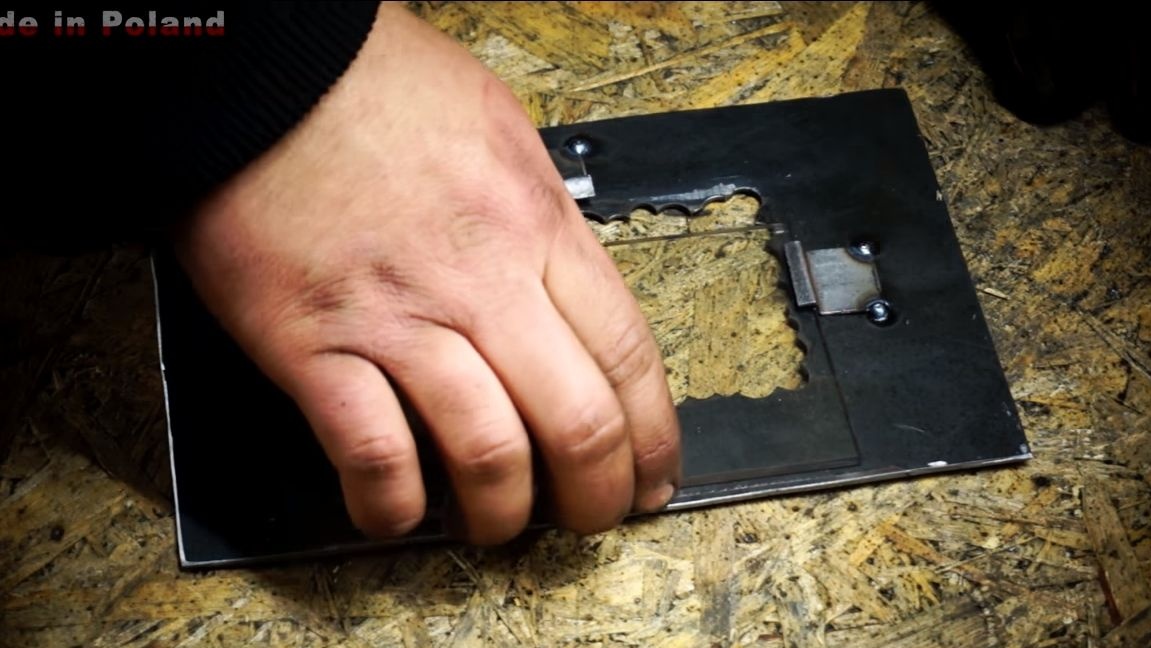
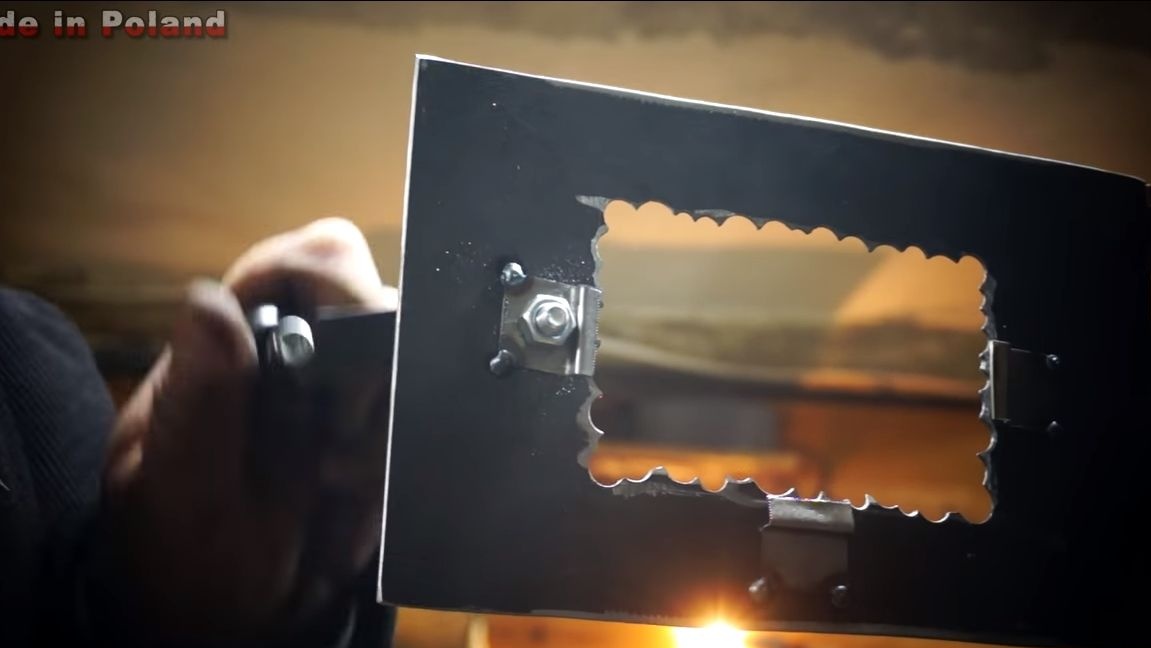
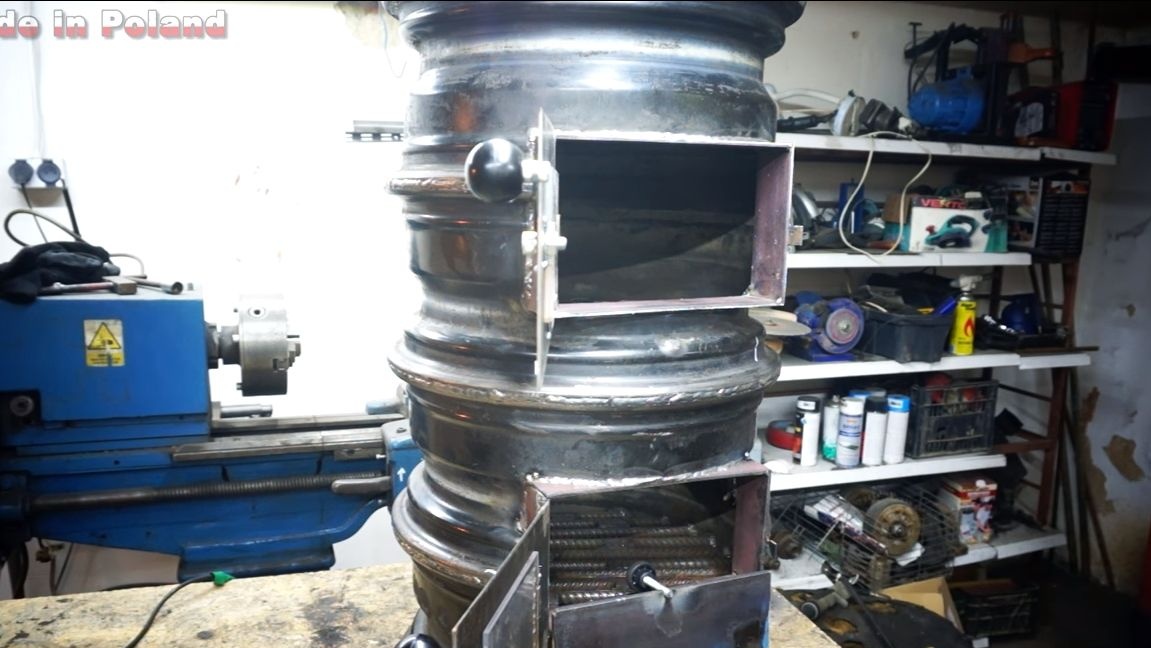
Step Six Cut the furnace and ventilation window
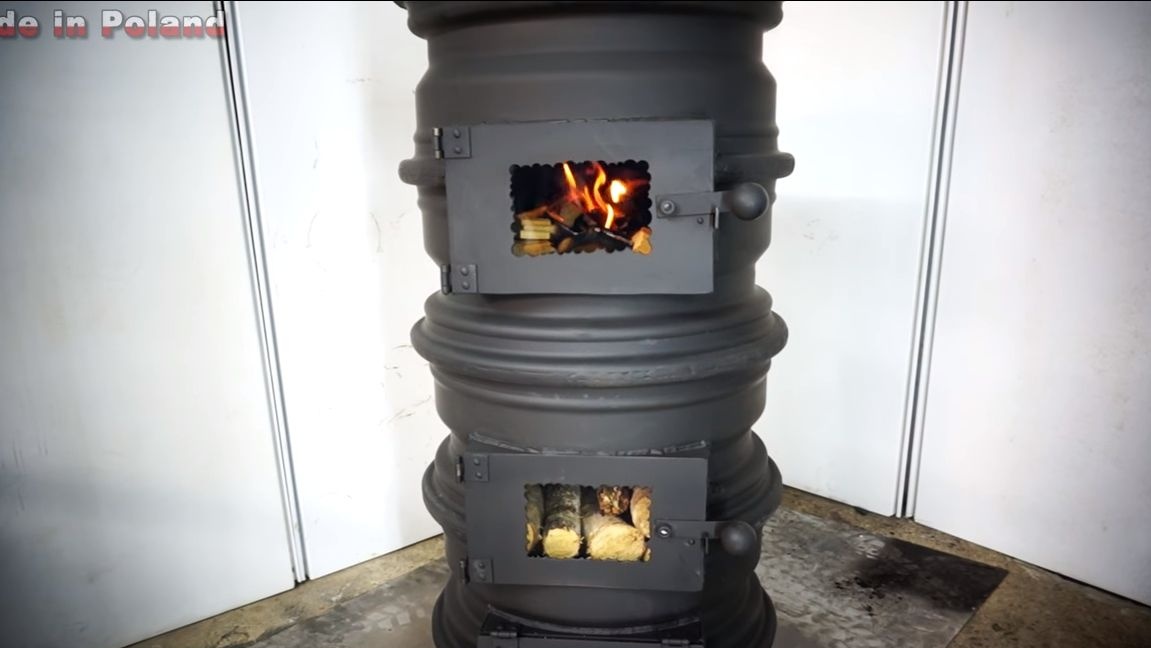
In total, the furnace should have three windows, two of them are used as fireboxes, so that you can load a lot of firewood at a time. Well, the third is small in size, it is located below, it is blown away. We take the grinder and cut out the windows in those places that can be seen in the photo. Now we need steel plates, from them we make a border for windows, we weld it into place.


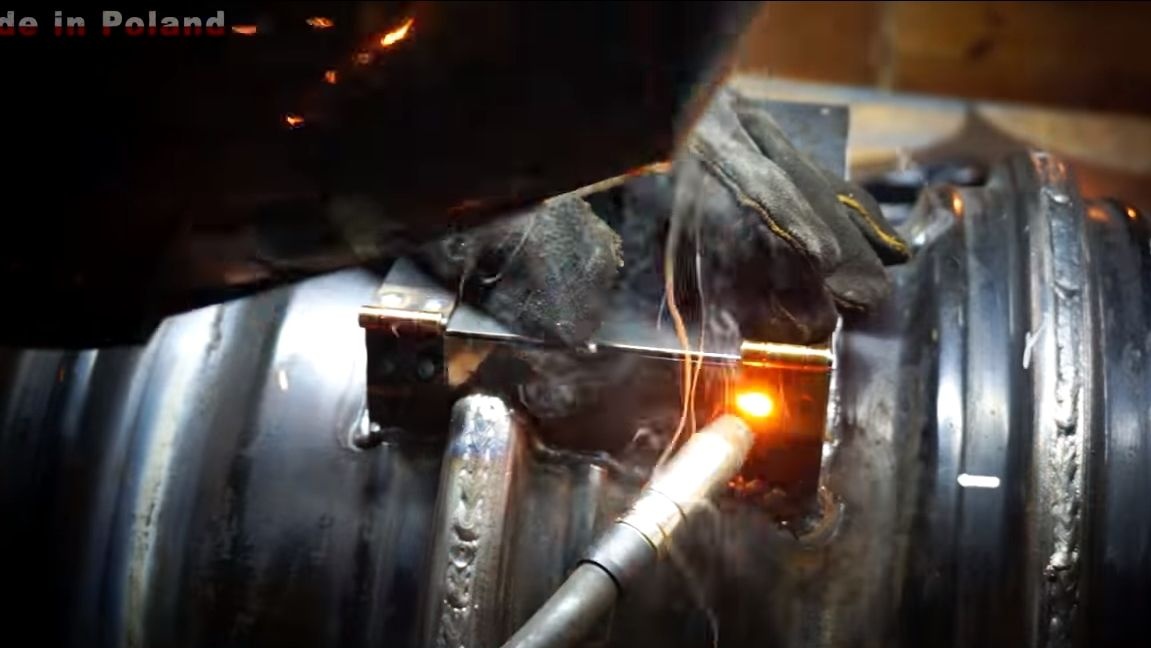
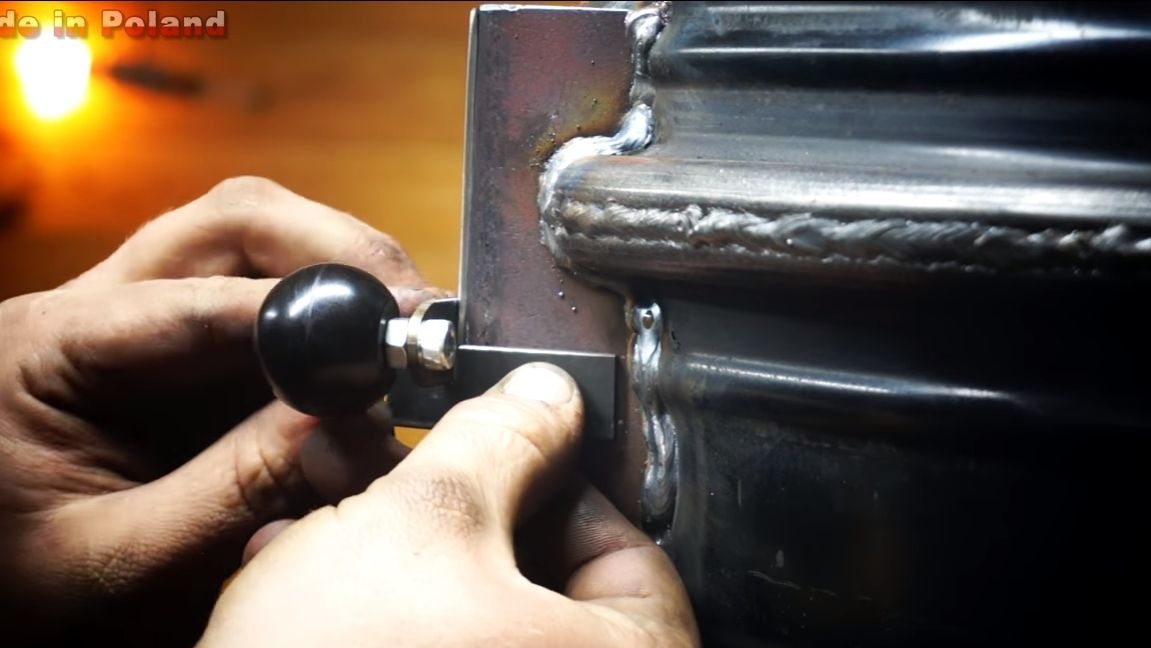
Seventh step. Installing a blower door
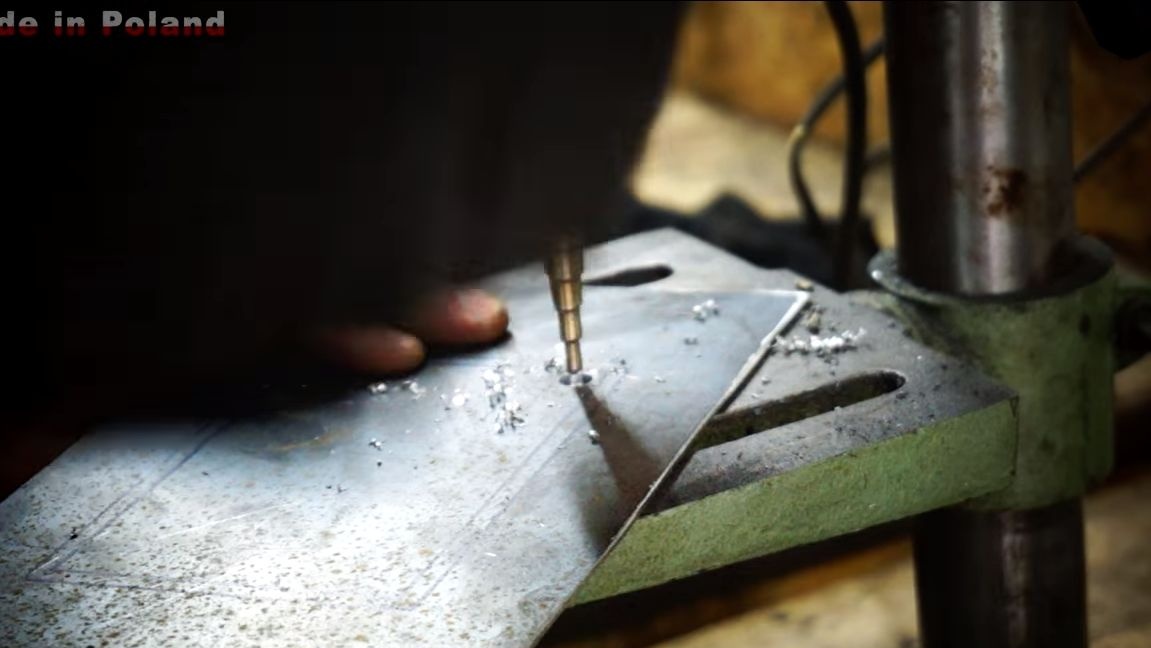
The blower door is made of a steel plate, cut to size and fastened to the window using door hinges and welding. In the door you will need to drill a hole and cut the thread. We wrap the bolt and in the end, now we can conveniently adjust the gap to control the air supply. Ashes will accumulate immediately, which we do not forget to clean.
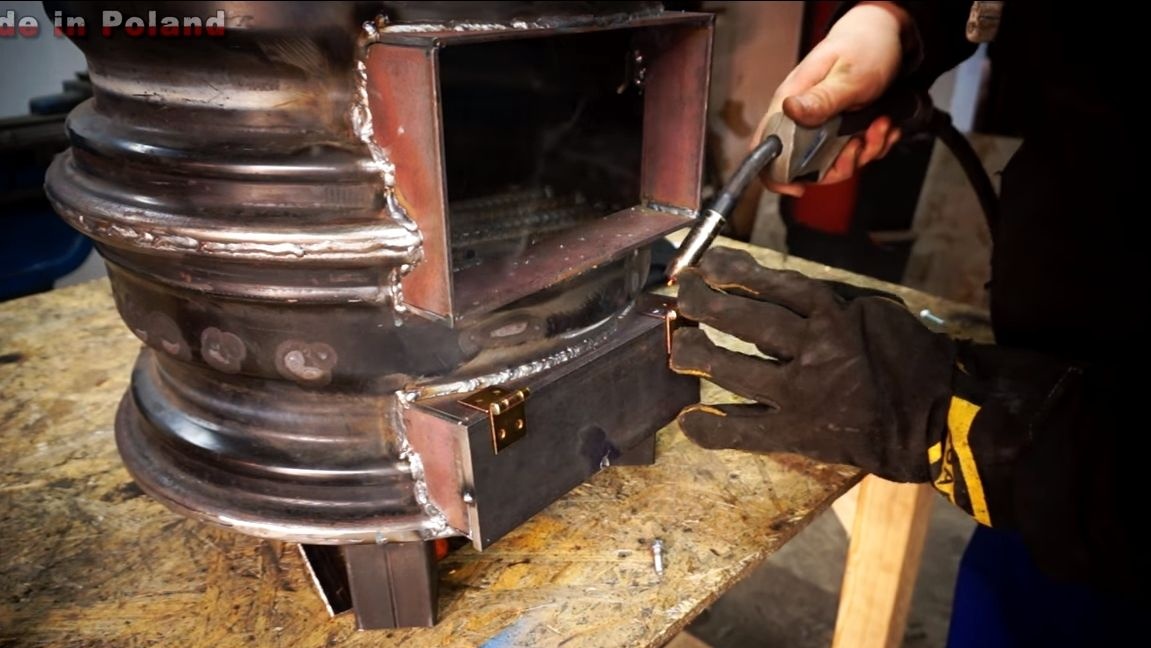
Step Eight. We make furnace doors
For the manufacture of firebox doors, sheet steel will also be needed, the difference between them is that the author decided to install glass in them in order to observe how the fire burns. Cut out the window doors. This can be done with a drill or grinder. For fastening the glasses we weld metal plates. We fasten the doors using hinges.
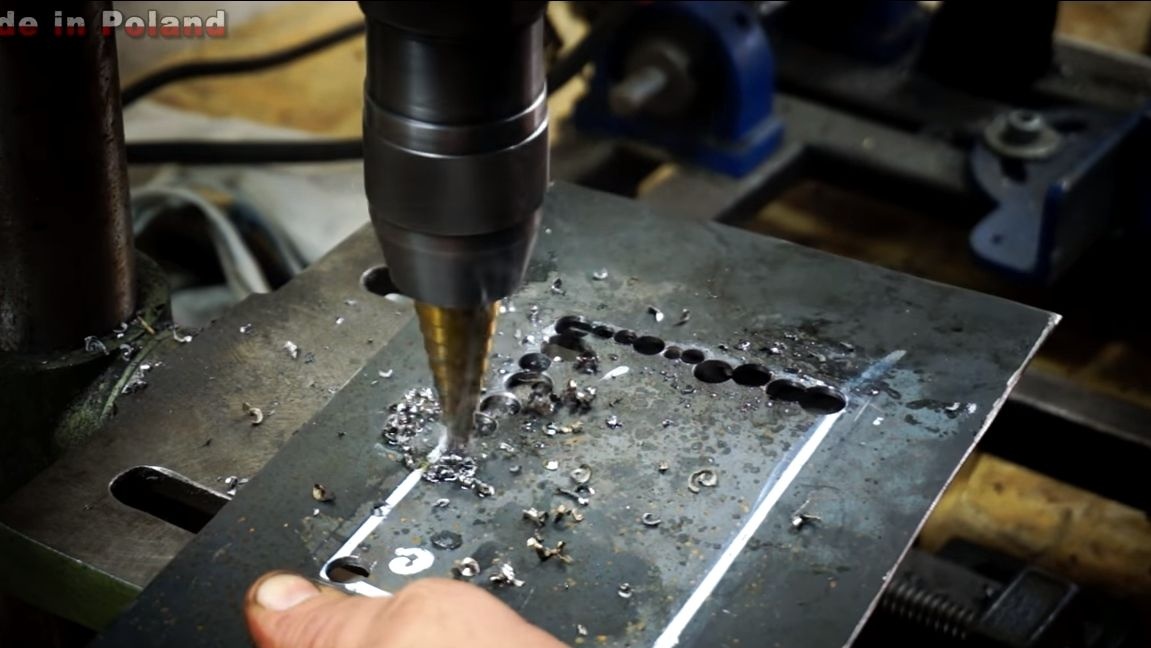

At the same step, you can install the locking mechanism for the doors. Here you will need sheet steel.How all this is done is clearly visible in the photo. It is advisable to make a pen from materials that conduct heat poorly.
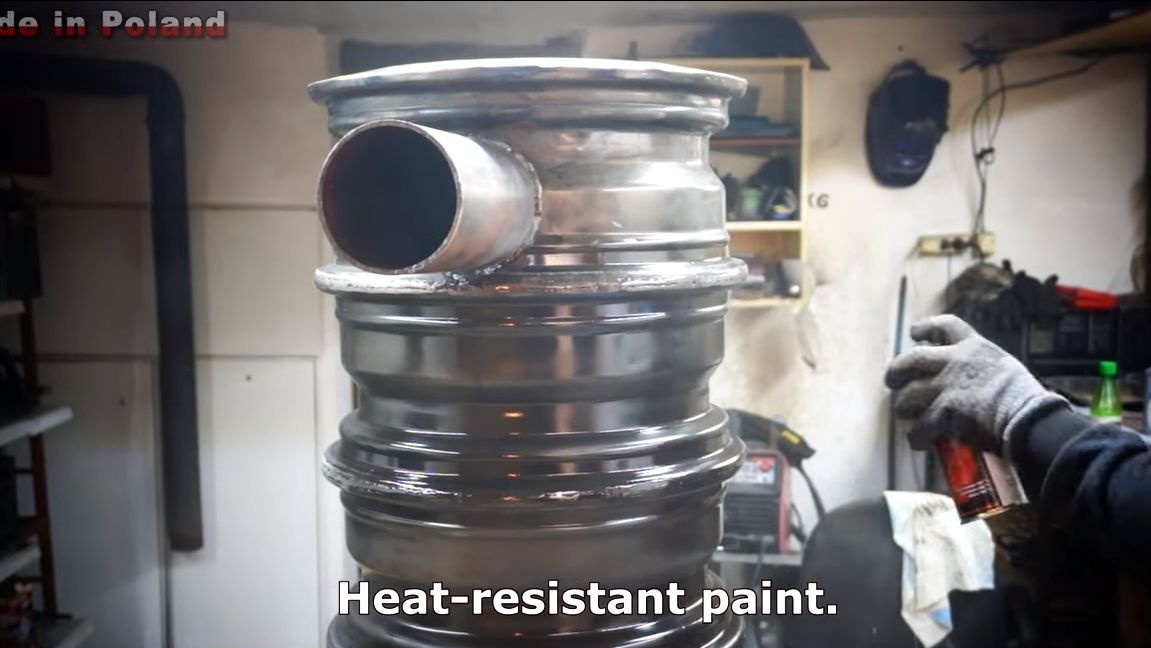
Step Nine. Chimney
In the upper disk we have to cut a hole under the chimney. In diameter, the author makes the hole so that the chimney fits tightly into it. The hole should have smooth edges, otherwise it will be difficult to make large gaps later.
Step Ten Preparation for painting and painting
If you want your stove to look beautiful and not rust, paint it. To do this, take a grinder with a grinding nozzle and carefully process the welds. You also need to clean off all old paint and rust well, otherwise the paint will peel off. That's all, now you can start painting! For these purposes, the author uses a spray can, it is very convenient. Do not forget that the paint must be heat resistant.
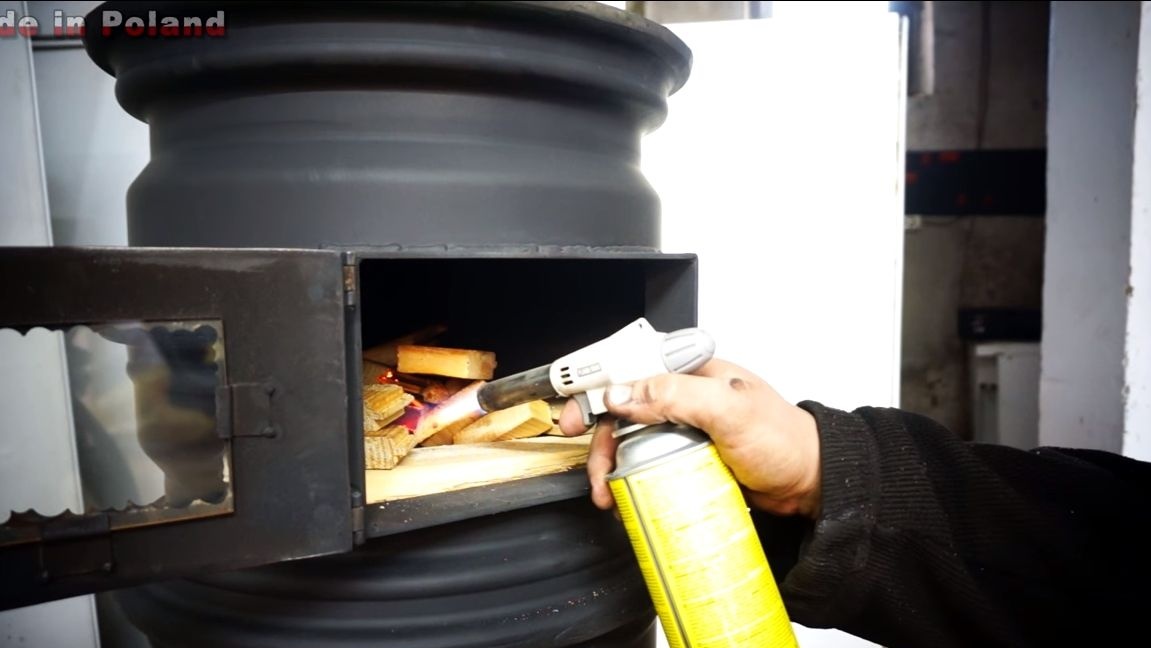
Step eleven. Testing the oven
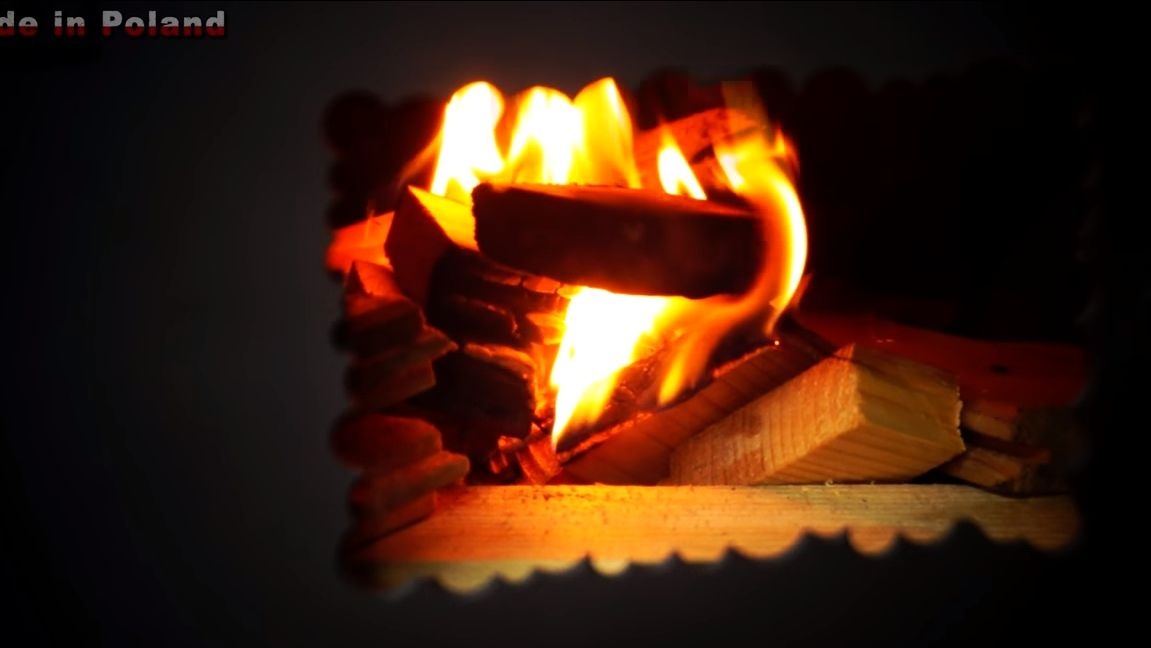
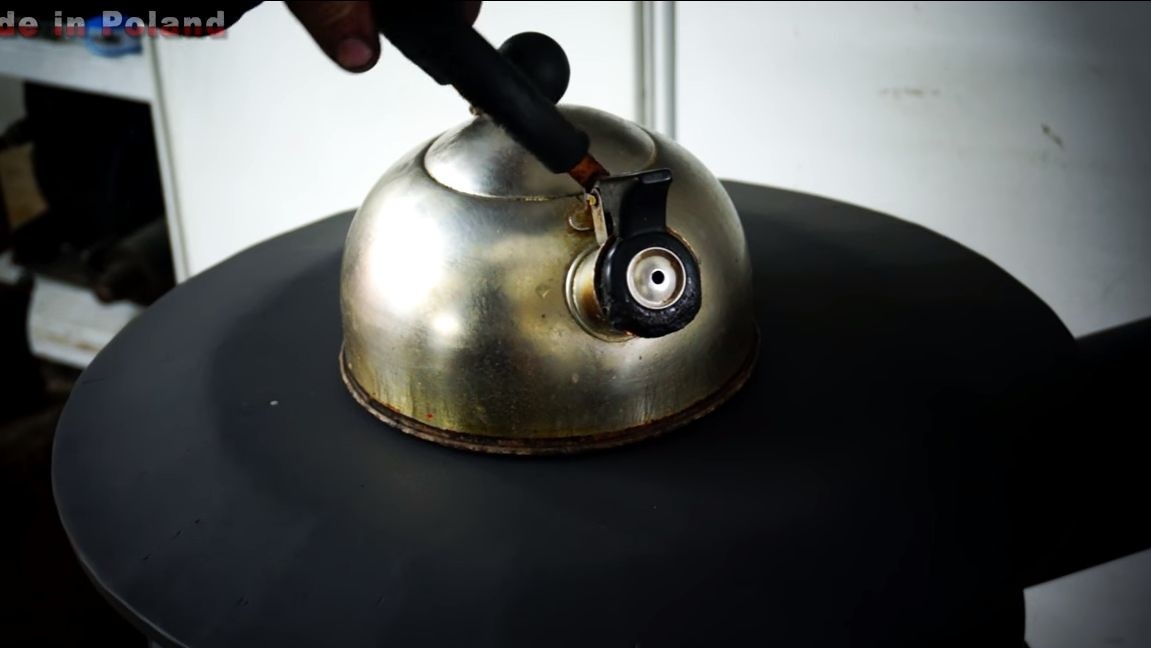
We load fuel through the top furnace window, and you can set fire through the bottom. What I did not understand from this is why the author loaded the firewood upside down, first thick, and then the thinnest from above. Moreover, he also set fire to the furnace from above, which is not at all logical. When the stove was melted, the author tried to boil a teapot with water on it, and it turned out pretty quickly. If the oven is thoroughly heated, the hob may well be heated red-hot.
The air supply is regulated quite conveniently, as a result, the stove can burn for quite some time on one hardening of firewood. Thanks to the windows, you can observe the fire, as well as see how much wood is left in the oven without looking into it every time.
That's all, the project is over! I hope you enjoyed it! Good luck and inspiration in making your own homemade. Do not forget to share them with us.