If you live in the countryside or you have country house, then you probably know such a problem as a large number of branches that have nowhere to put. Chopping them with an ax is quite long and difficult, often they have to be burned. So that such valuable fuel is not wasted, you will need a machine called a wood crusher. Now you are simple and quickly able to process the branches for fuel, which can be used to heat the furnace! You can assemble such a machine do it yourselfTrue, some investment will be needed. In any case, it will be much cheaper than buying a new device.
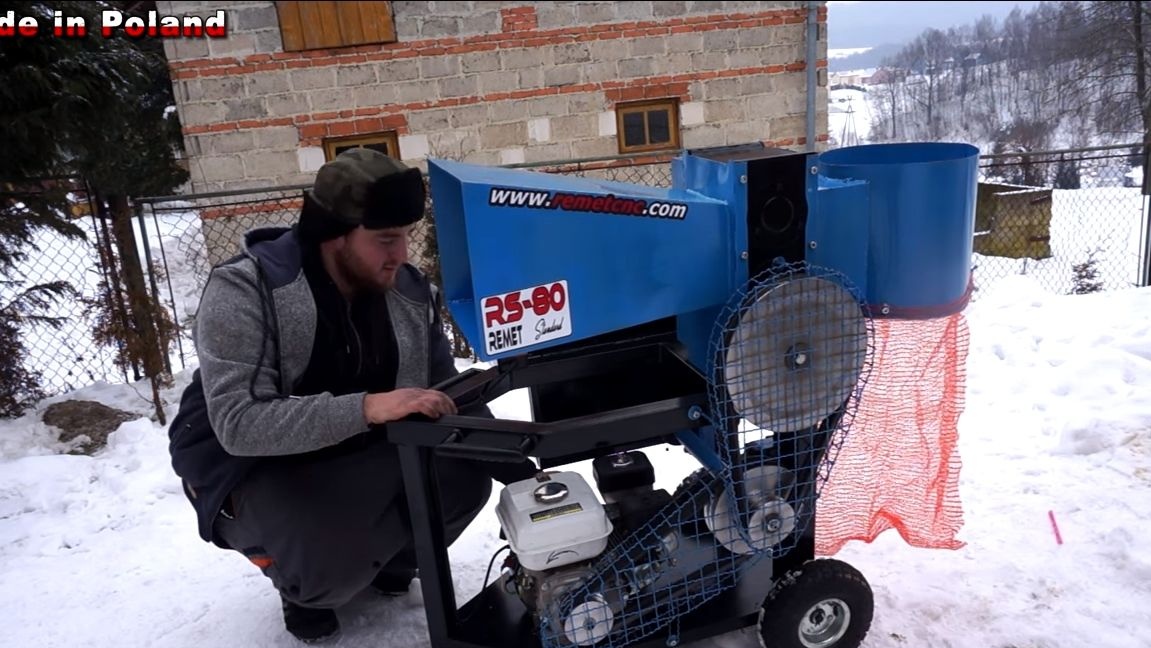
The author ruffled to assemble a crusher based on a gasoline drive, it is very convenient, since processing can be done even in the forest. In addition, the device is equipped with a wood splitter, with it you can easily split thick logs. With such a machine you can easily earn money by traveling with him to the right place for work. If you wish, you can hang a bag on the machine so that chopped sticks immediately fall into it, then it only remains to send them for drying and storage. So, we will study in more detail how to make such a splitter!
Materials and tools used by the author:
Material List:
- belt drive (pulleys and belts);
- bearings;
- square pipes;
- Sheet steel;
- wheels;
- Gas engine;
- steel mesh (for the manufacture of protection);
- threaded cone (for wood splitter);
- steel pipes;
- knives, gears, shafts (for crushing unit);
- bolts, nuts, etc.
- paint.
Tool List:
- ;
- drill;
- ;
- magnetic corners;
-
- marker.
Manufacturing process homemade:
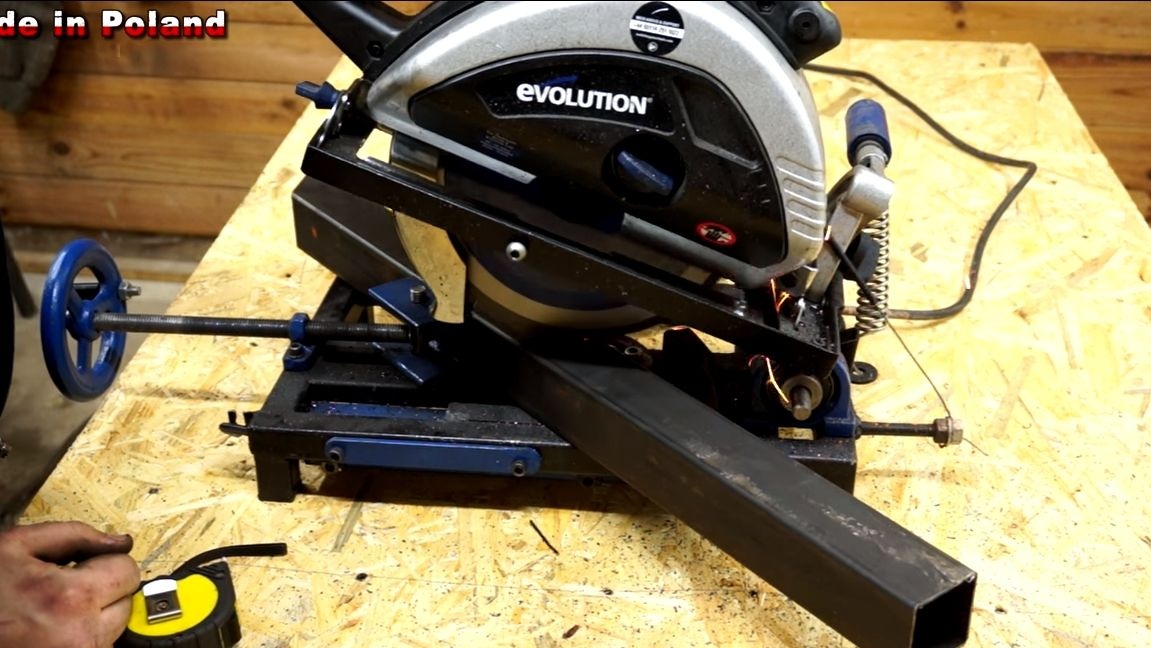
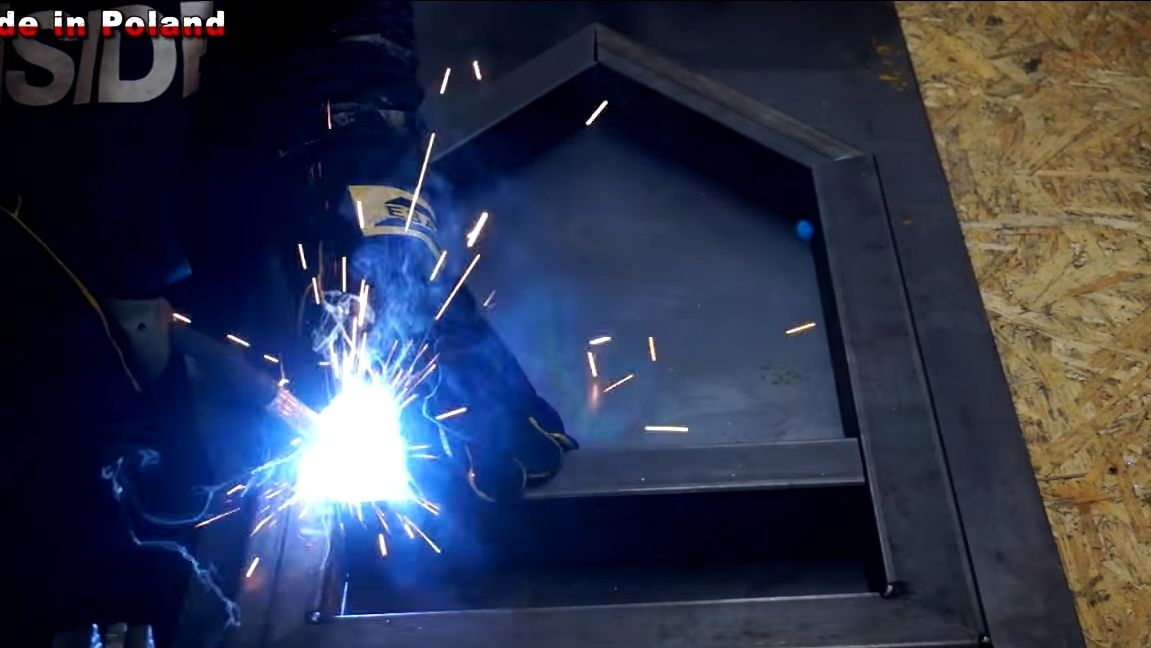
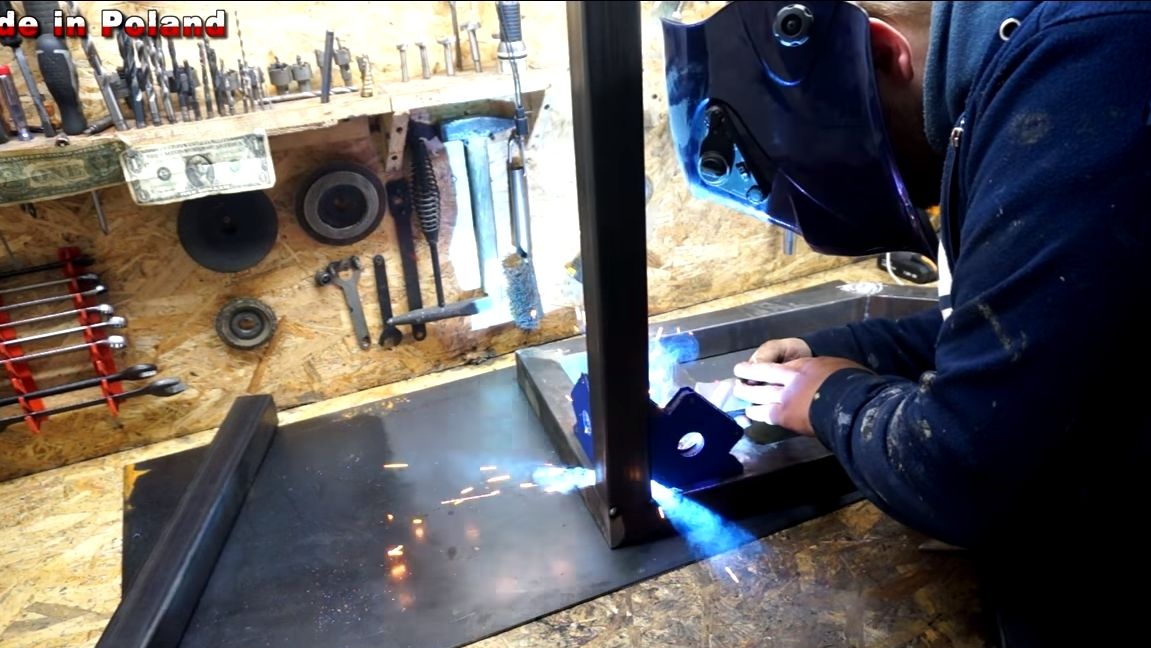
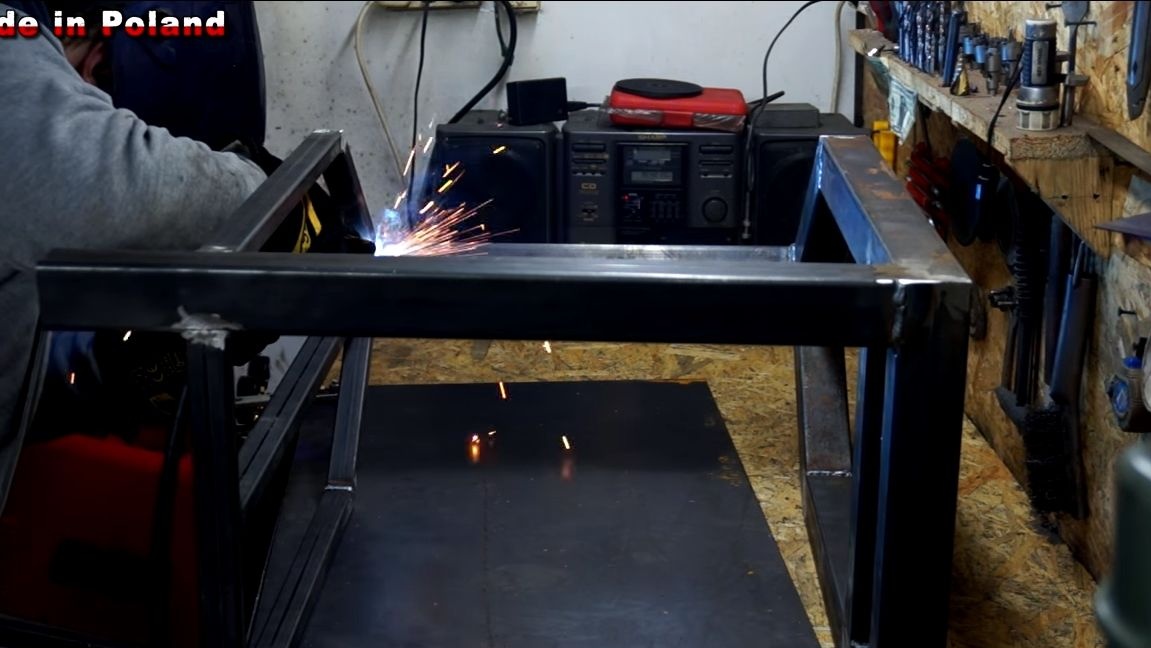
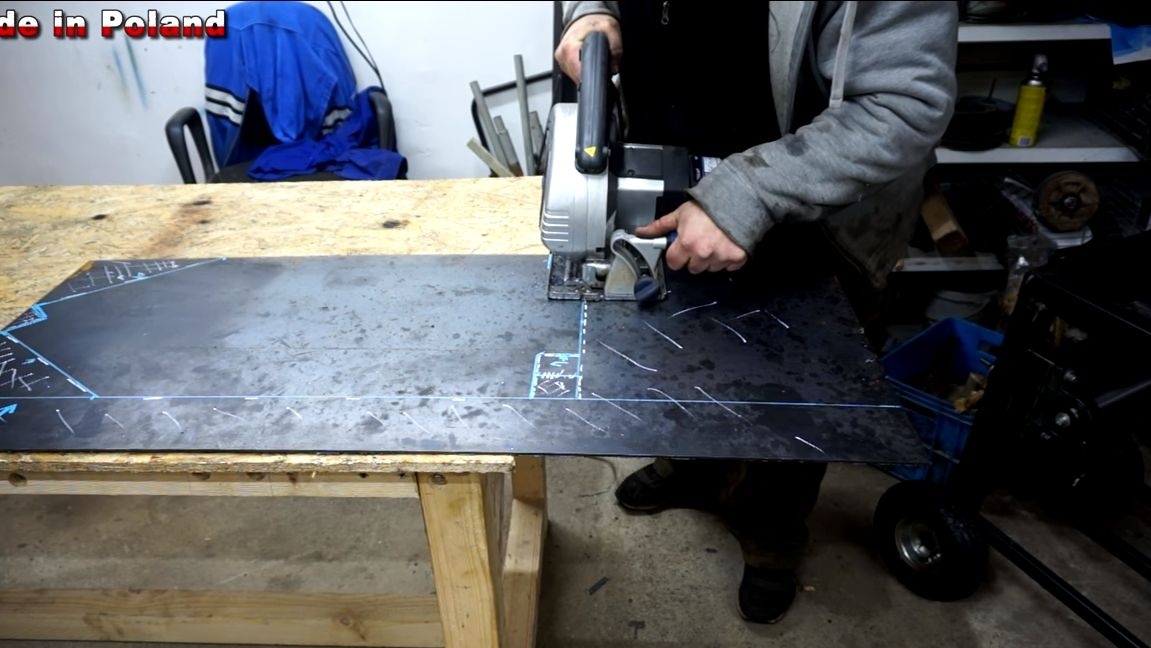
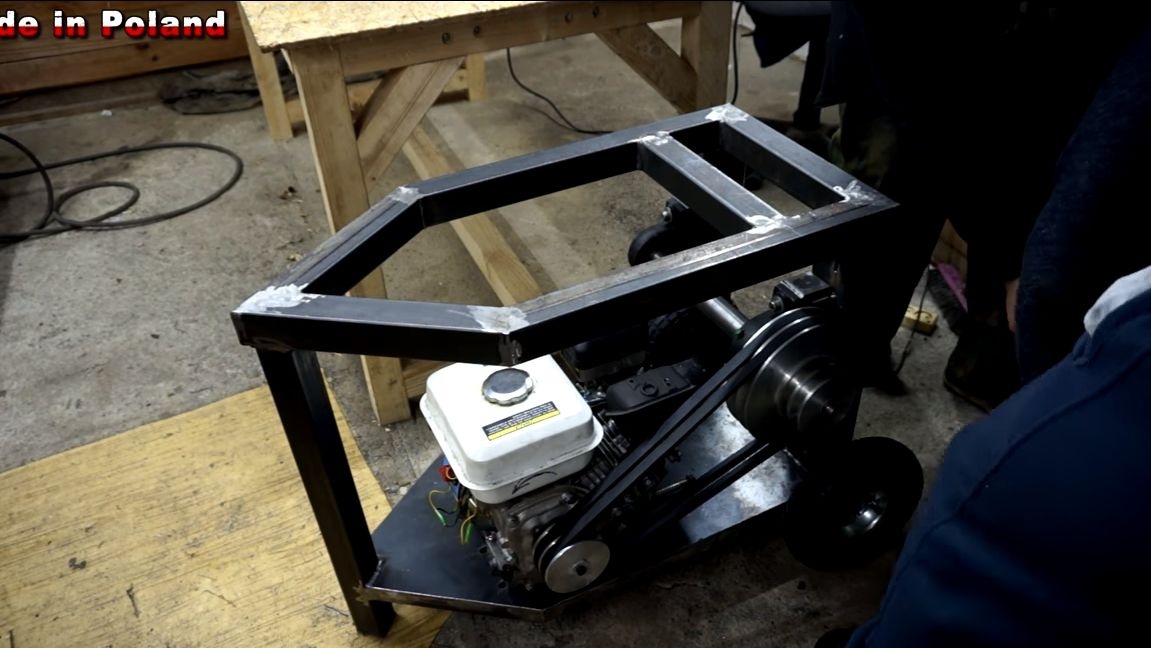
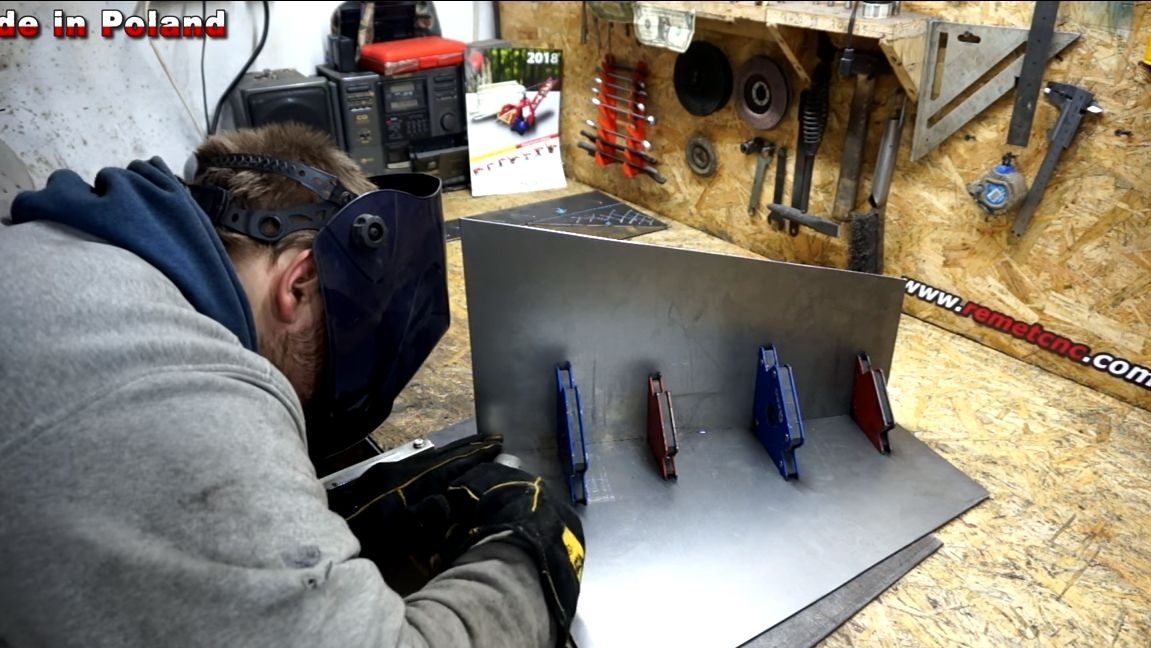
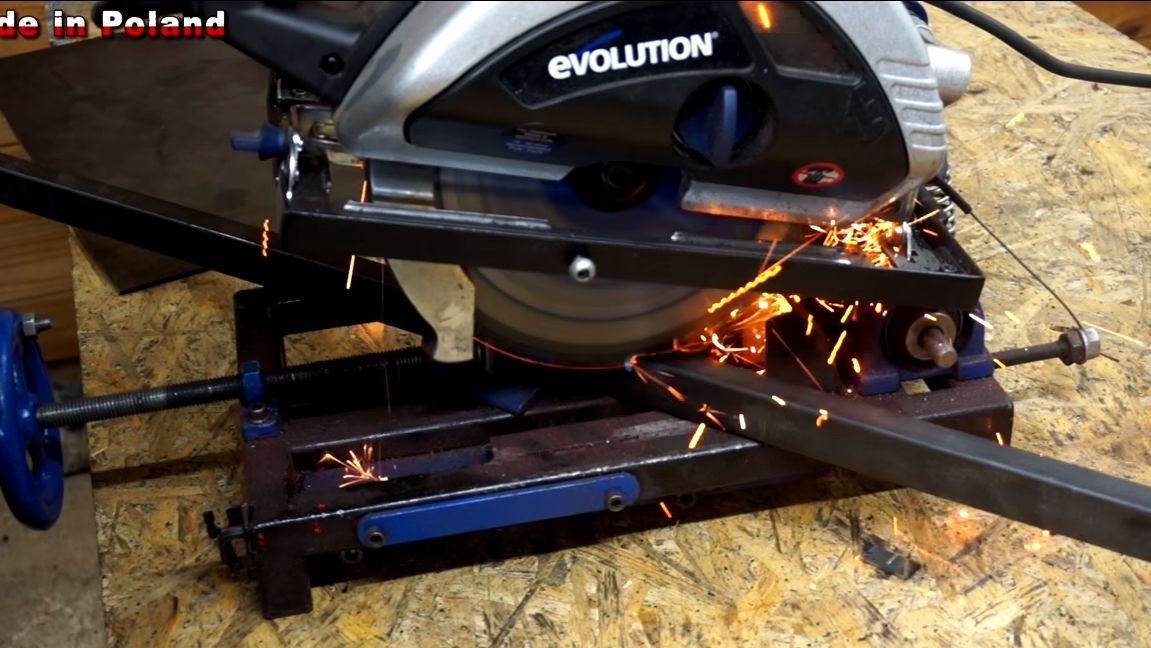
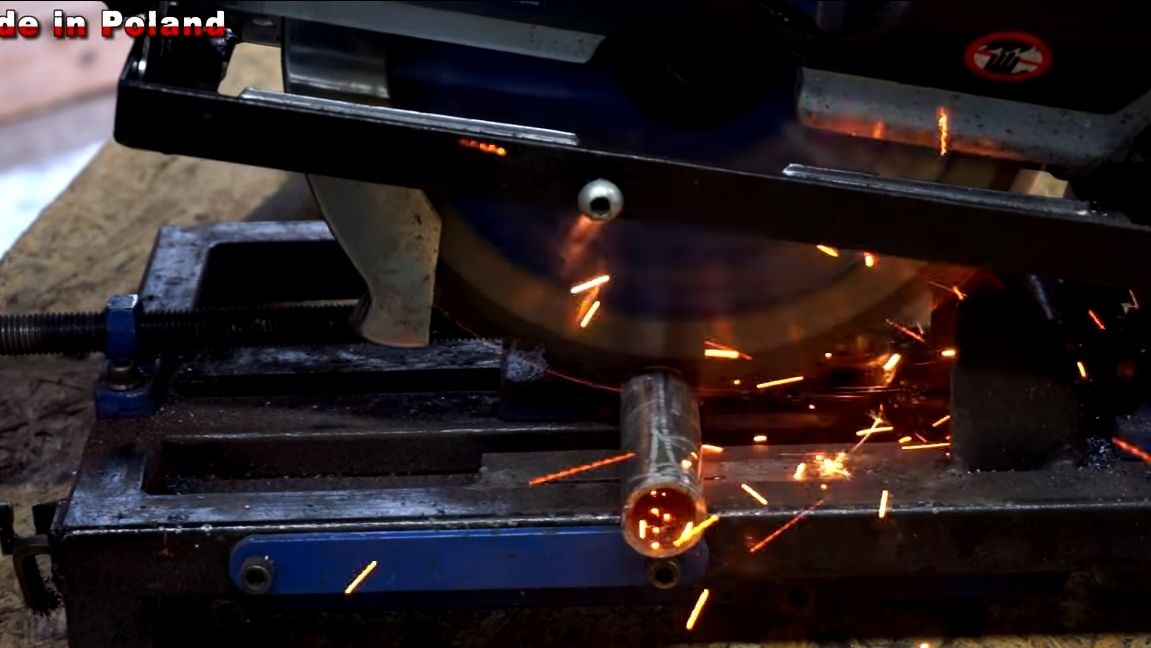
Step one. Frame
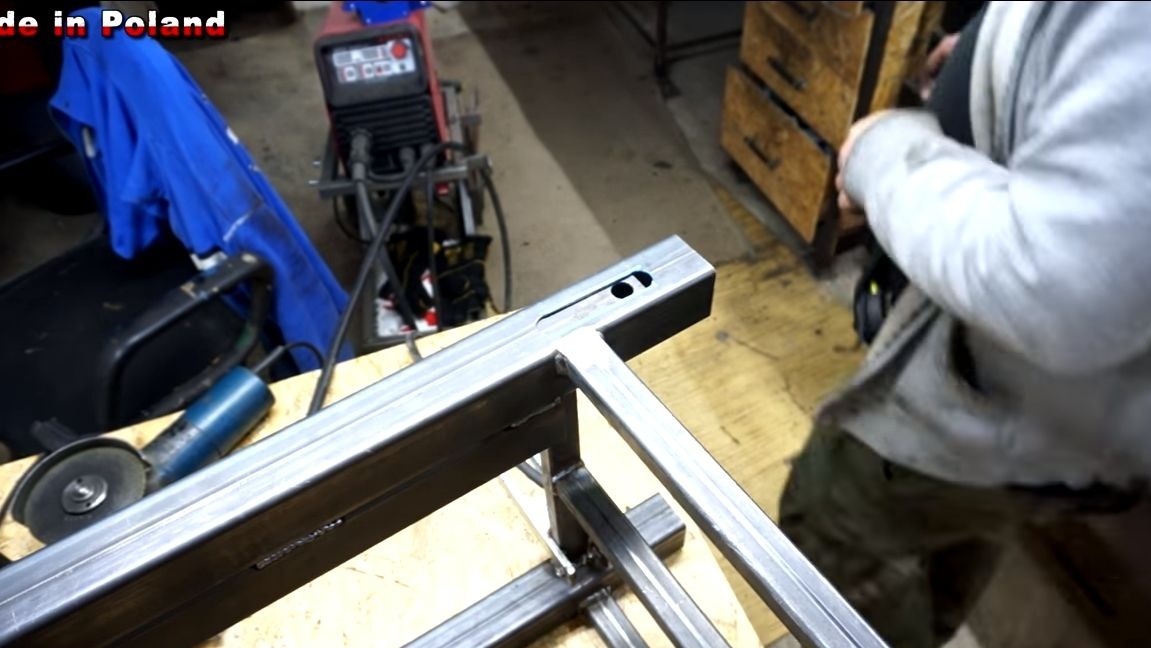
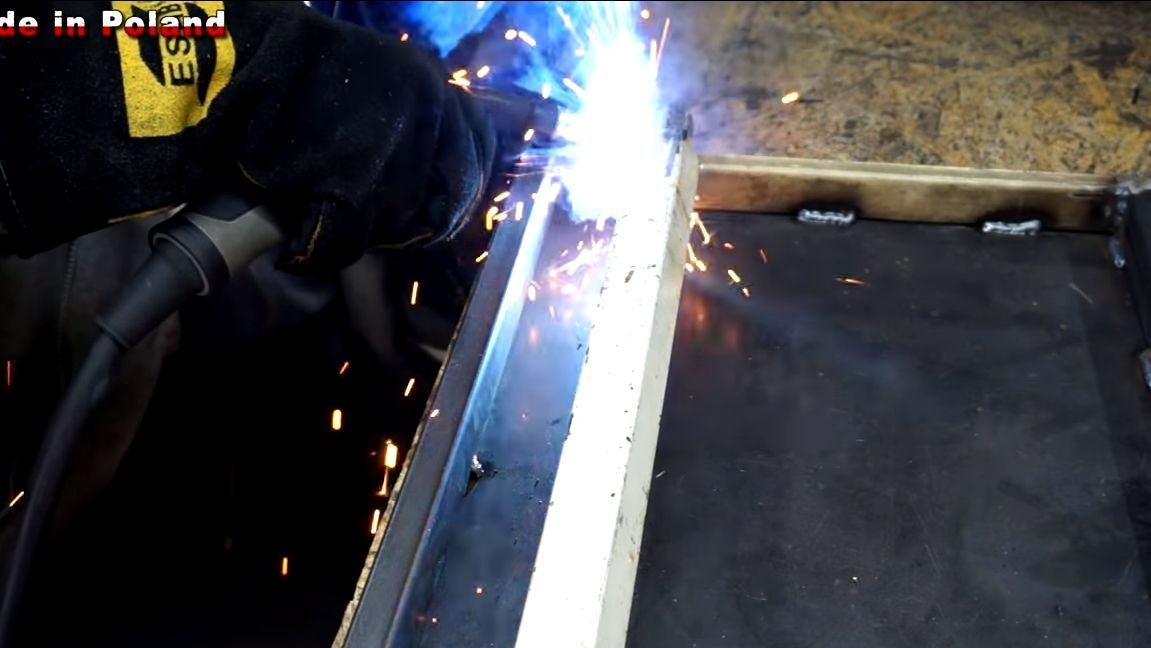
The frame is made of square pipes, which one it should be, you can see in the photo. We cut the necessary details with a pendulum saw, and then just weld. It is important to maintain the necessary angles. It is also convenient to use magnetic corners when welding.

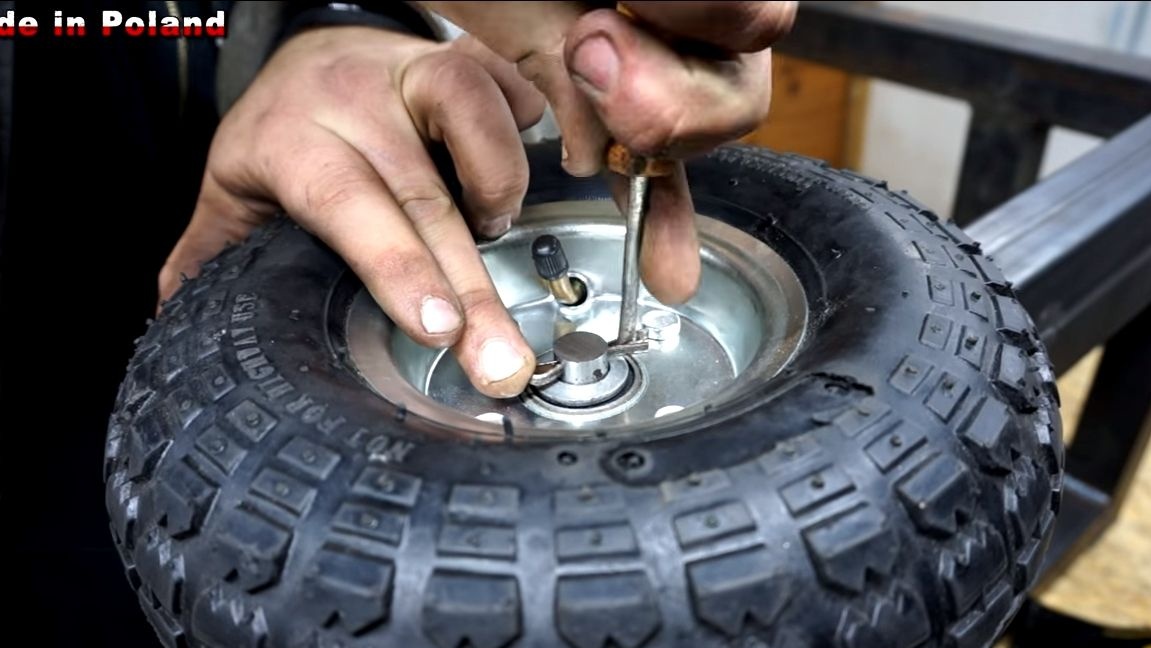
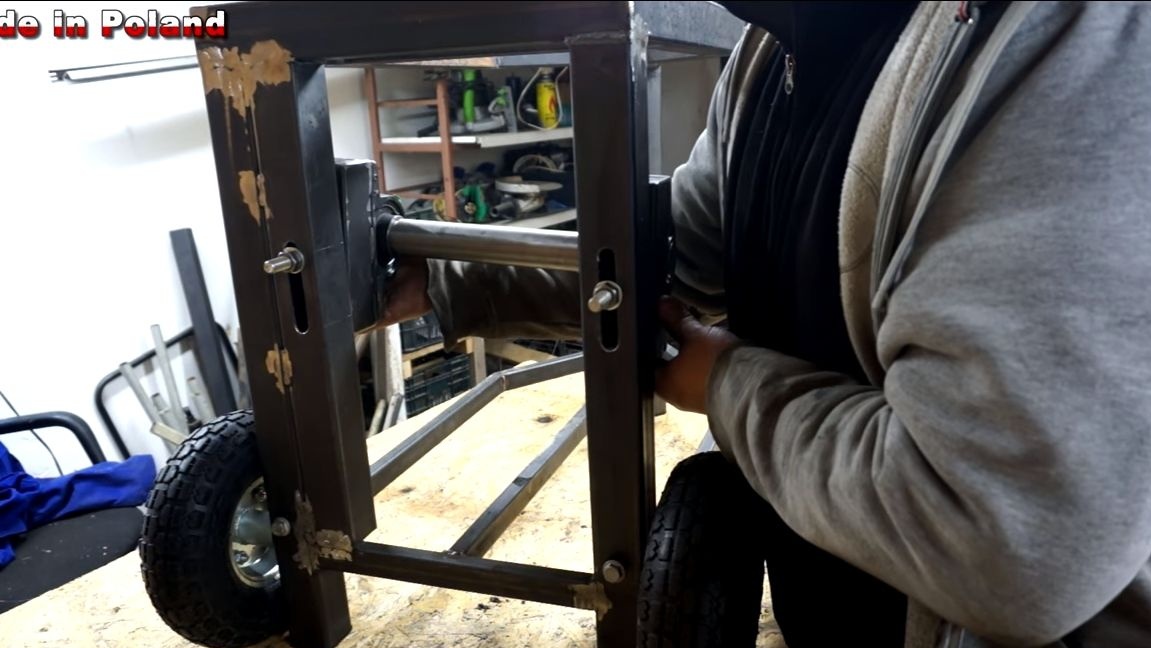
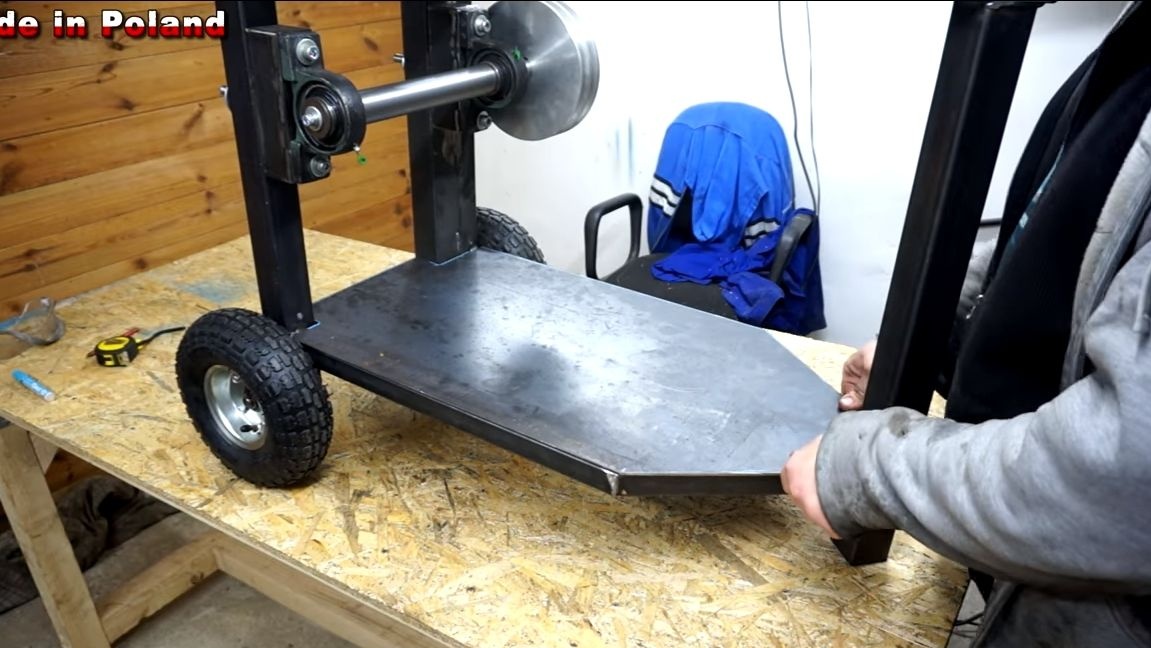
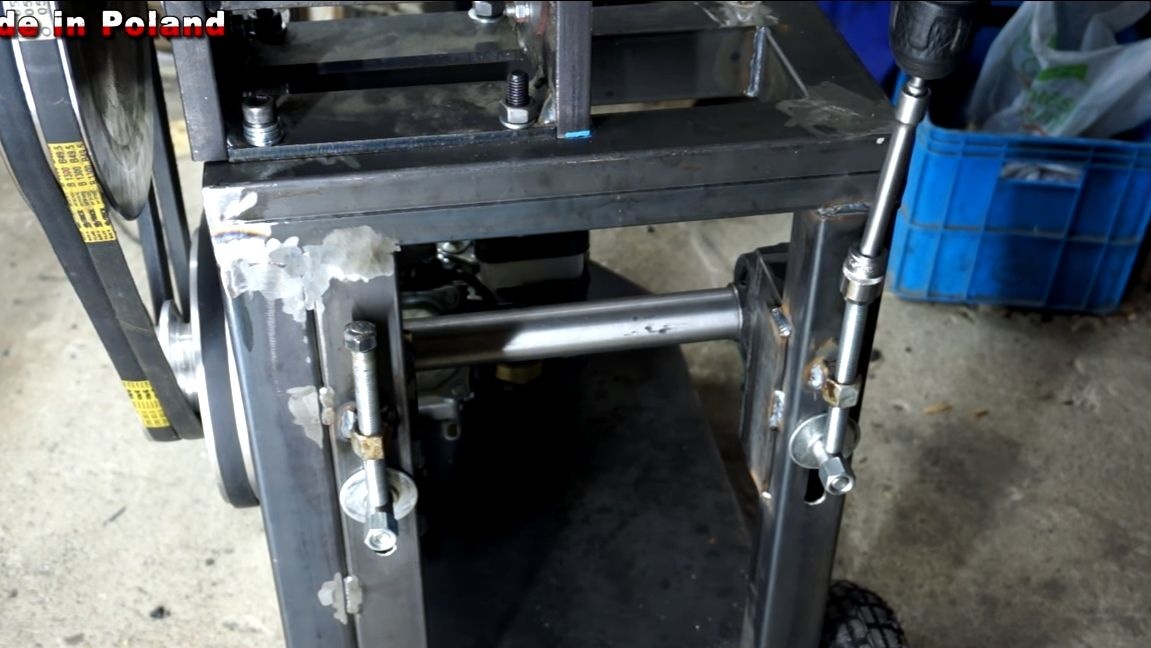
Step Two Wheels
The device is quite heavy, so for its convenient movement it is useful to equip the device with wheels. The wheels need to be fixed in a special way - they must rise and fall. Due to this, when preparing the device for operation, you can install it all three legs, and not on one. This increases stability and, as a consequence, safety.
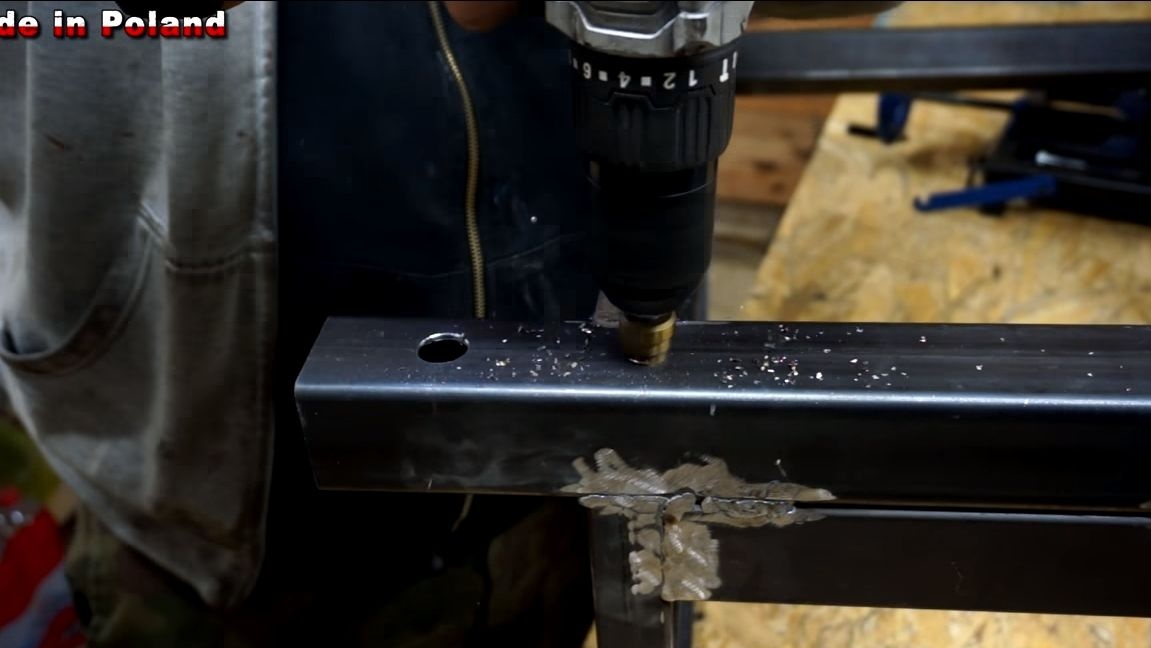
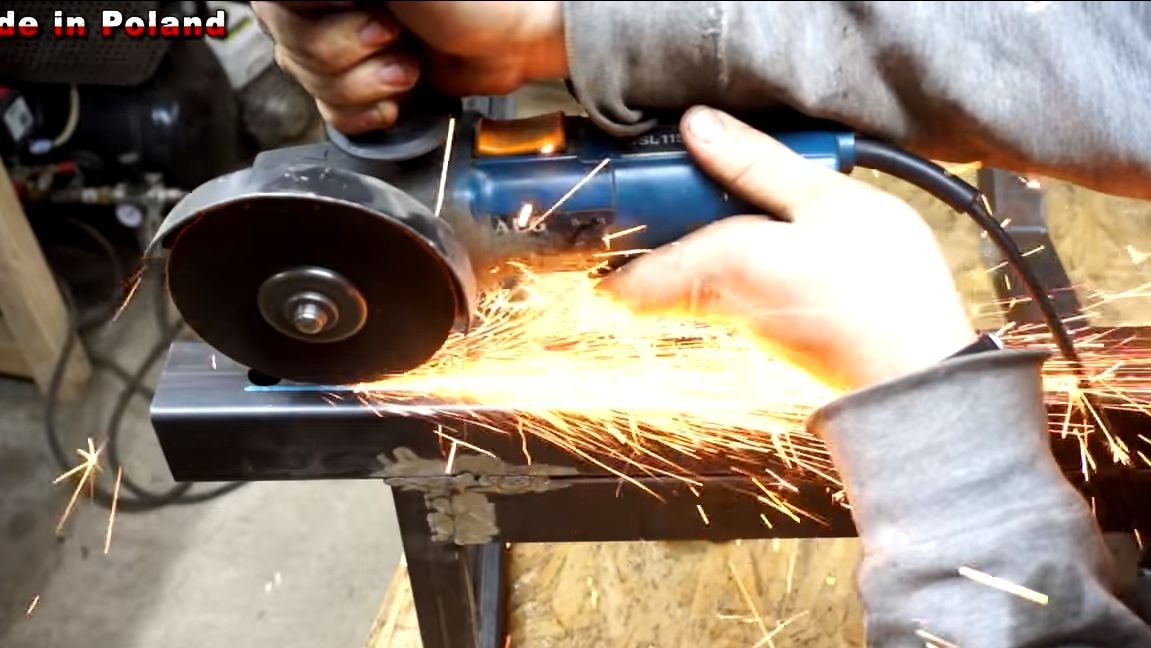

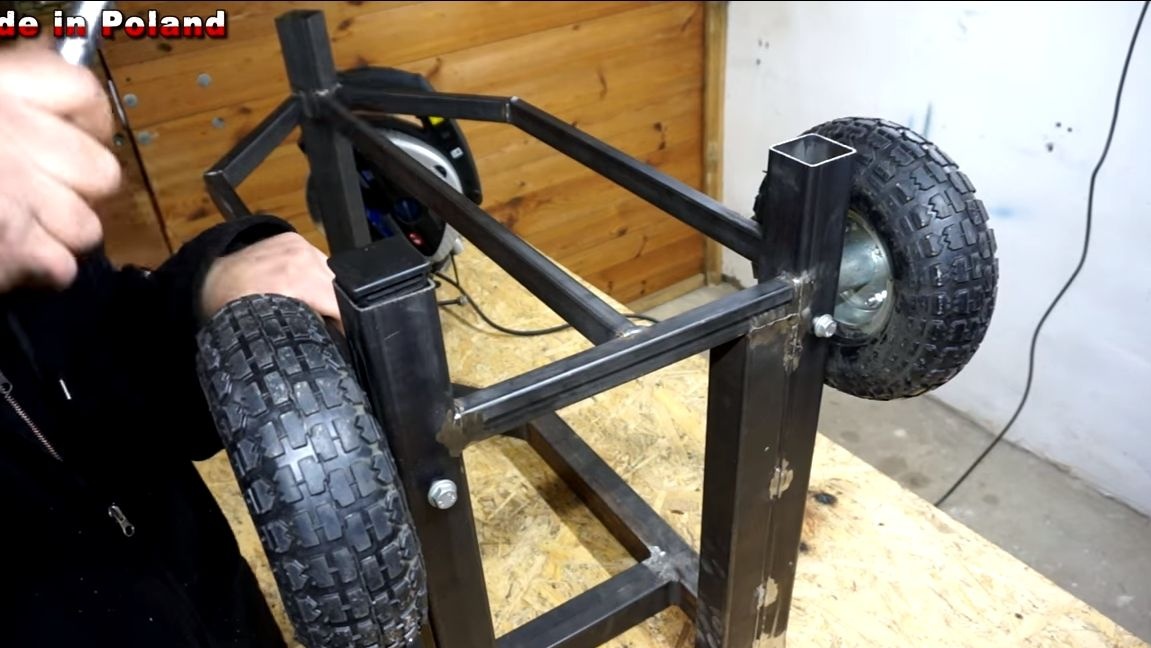
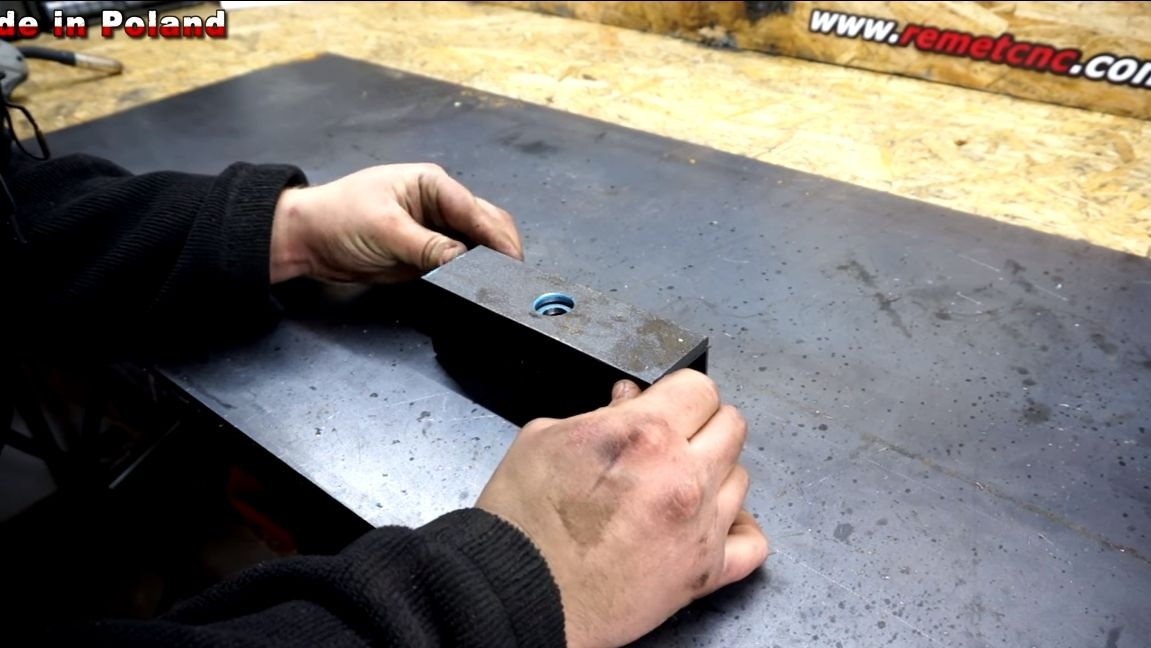
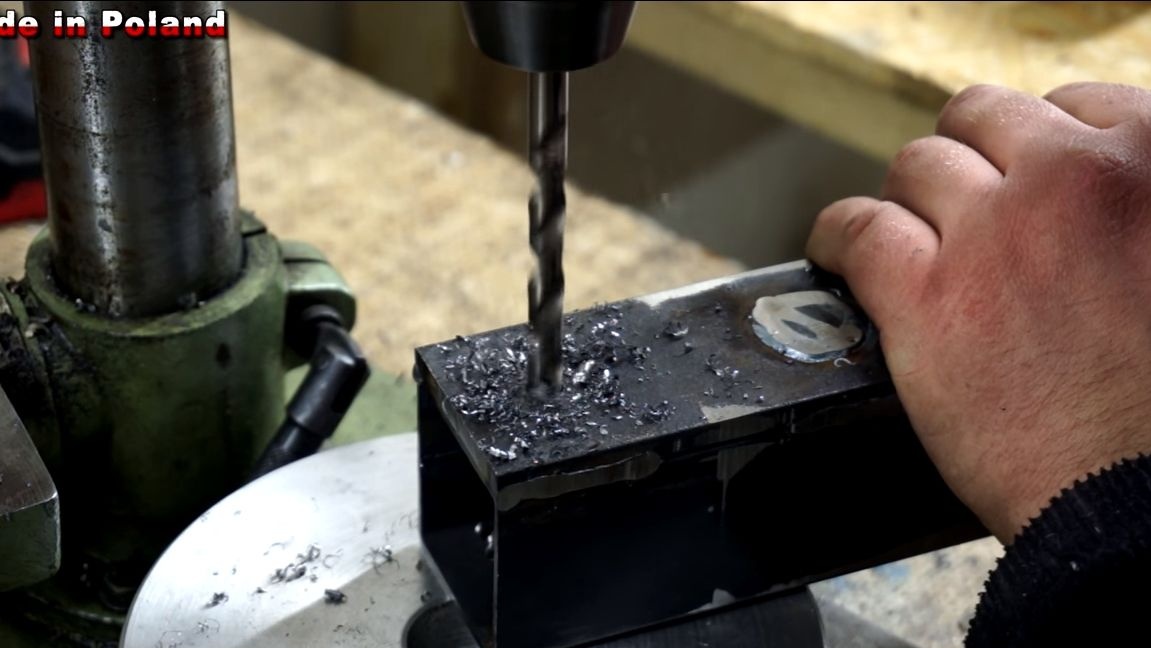
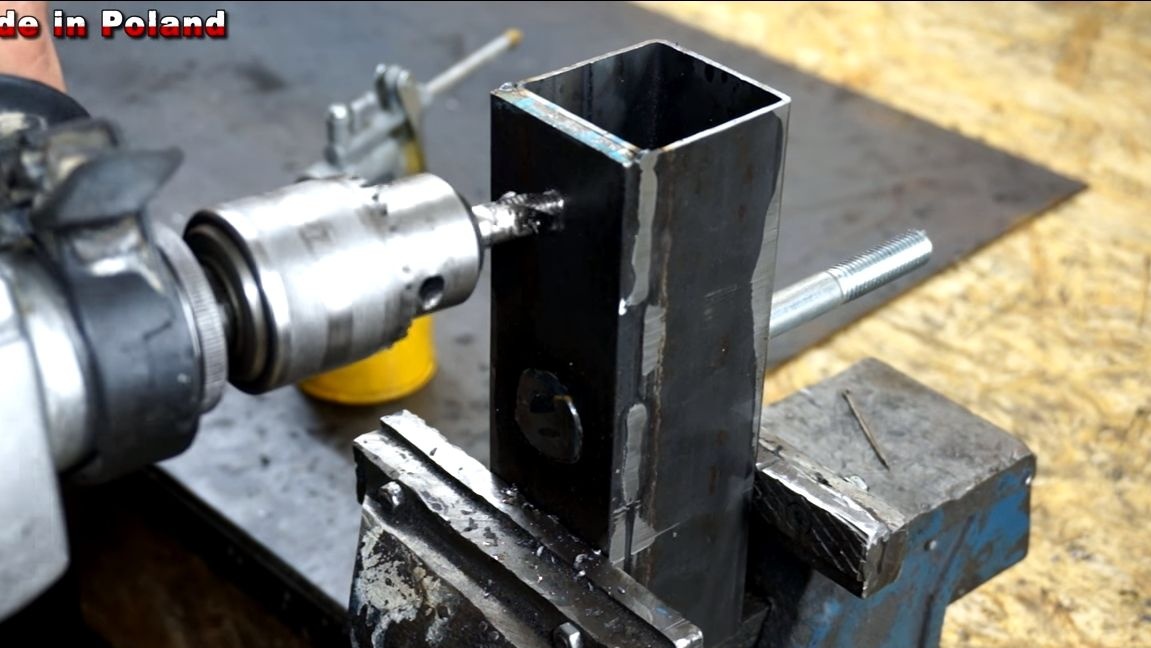
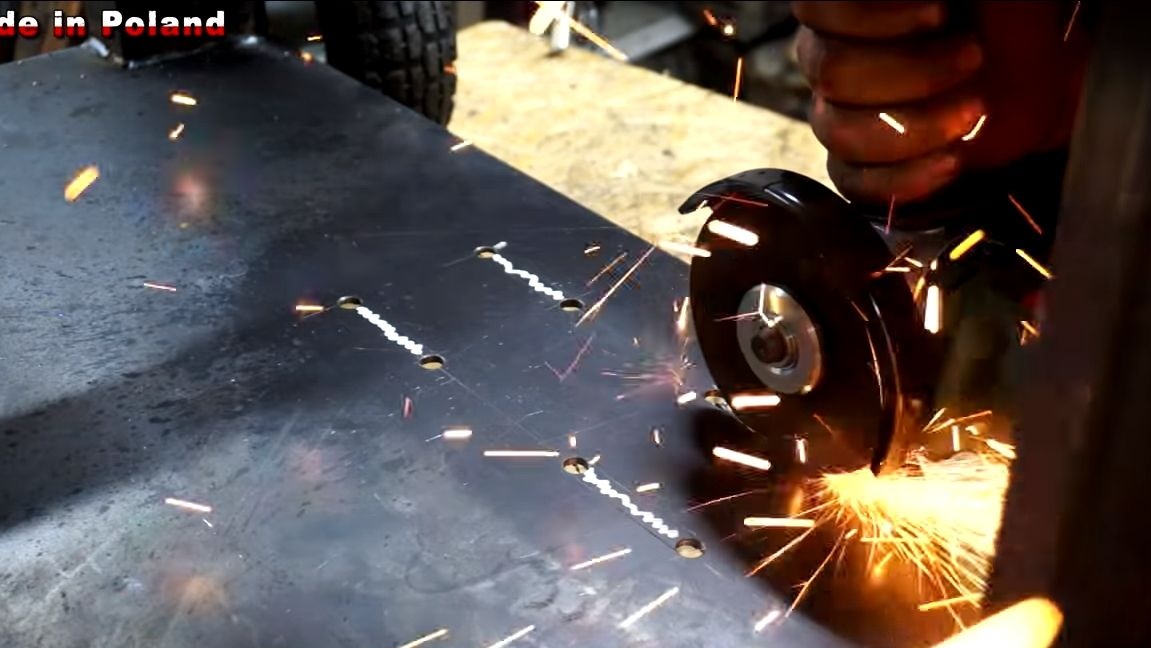
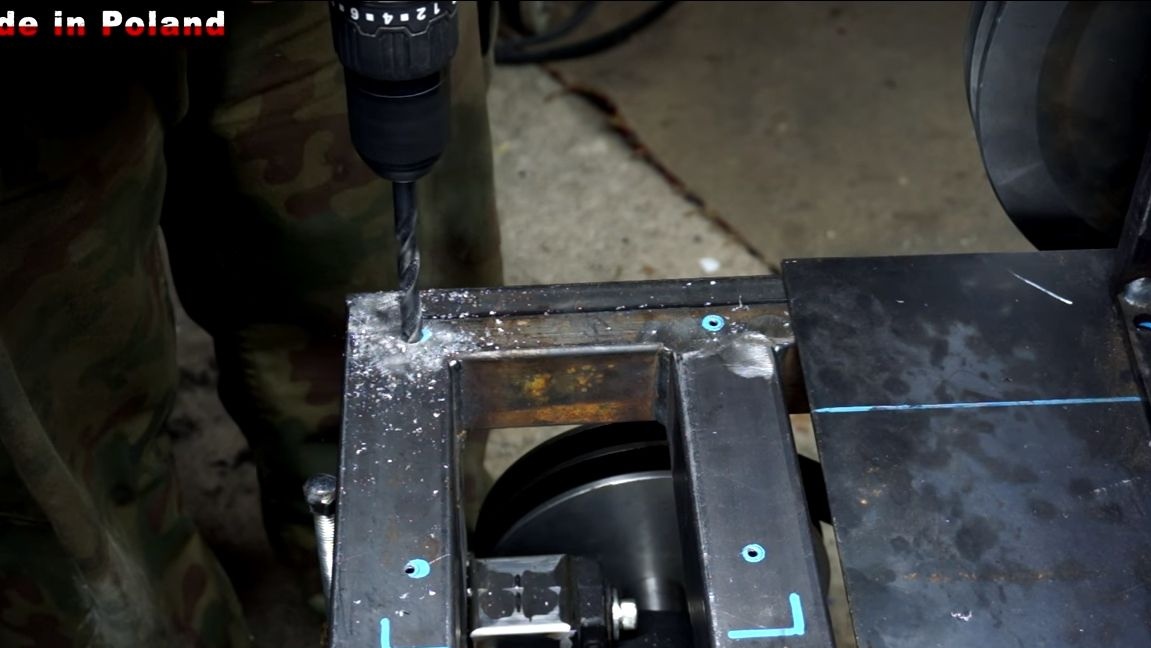
To fix the wheels, we drill holes in the frame, and then we combine them with the help of a grinder, as a result we get slotted holes.A smaller piece of pipe is installed inside the frame pipe, it should move freely there. We drill a hole in it for the axis, and then weld the axis on the frame. As a result, we get an axis that can move in the vertical direction. Fasten to the axles of the wheel.
To fix the wheels in the frame, you need to drill holes, with the help of them and bolts we will block the wheels at the desired height.
Do not forget to install the plugs on the pipes, otherwise the earth will fill in them. Conventional plastic pipe plugs are suitable. It is generally advisable to plug all sides of the pipes where they are open.
Step Three Gearbox axis installation
The author used a double pulley as a reducer. The torque from the engine pulley is transmitted to the large shaft pulley, and then from this shaft the torque is transmitted through the small pulley to the large one. The power for chopping firewood is needed quite high, so you need to carefully calculate what the gear ratio should be.

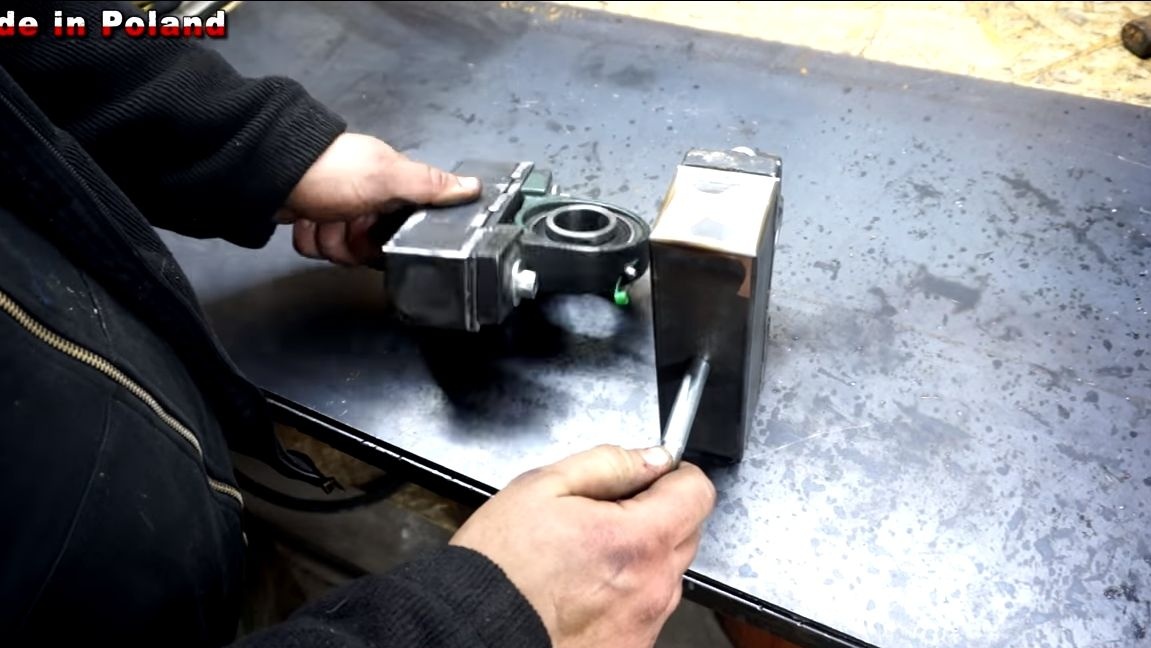
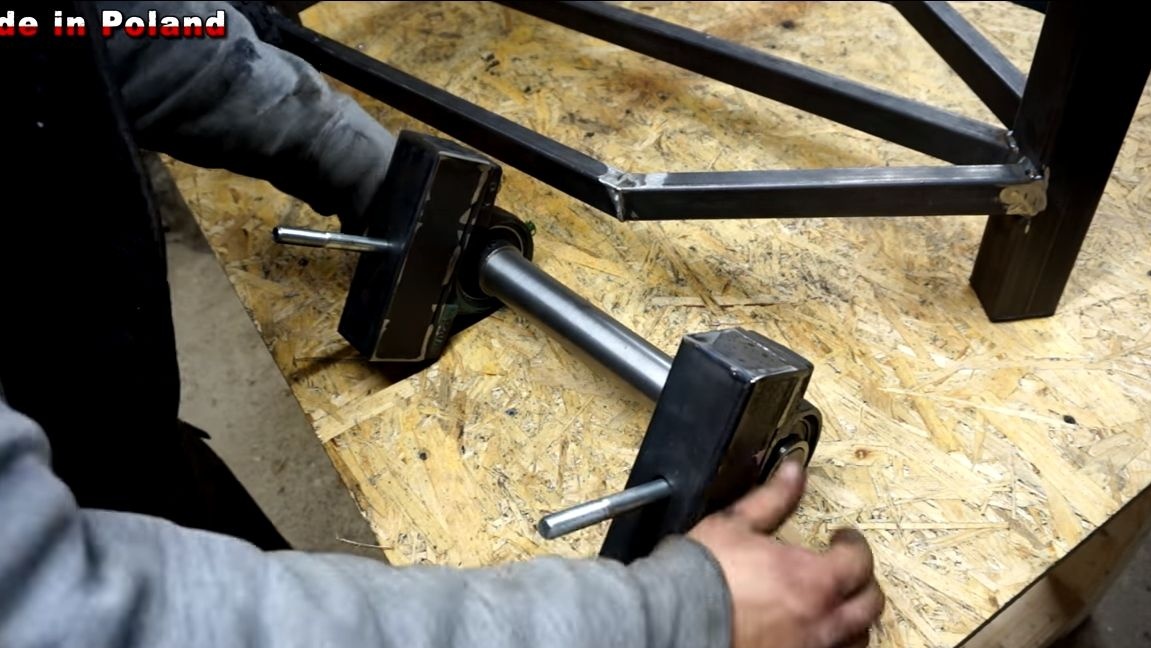
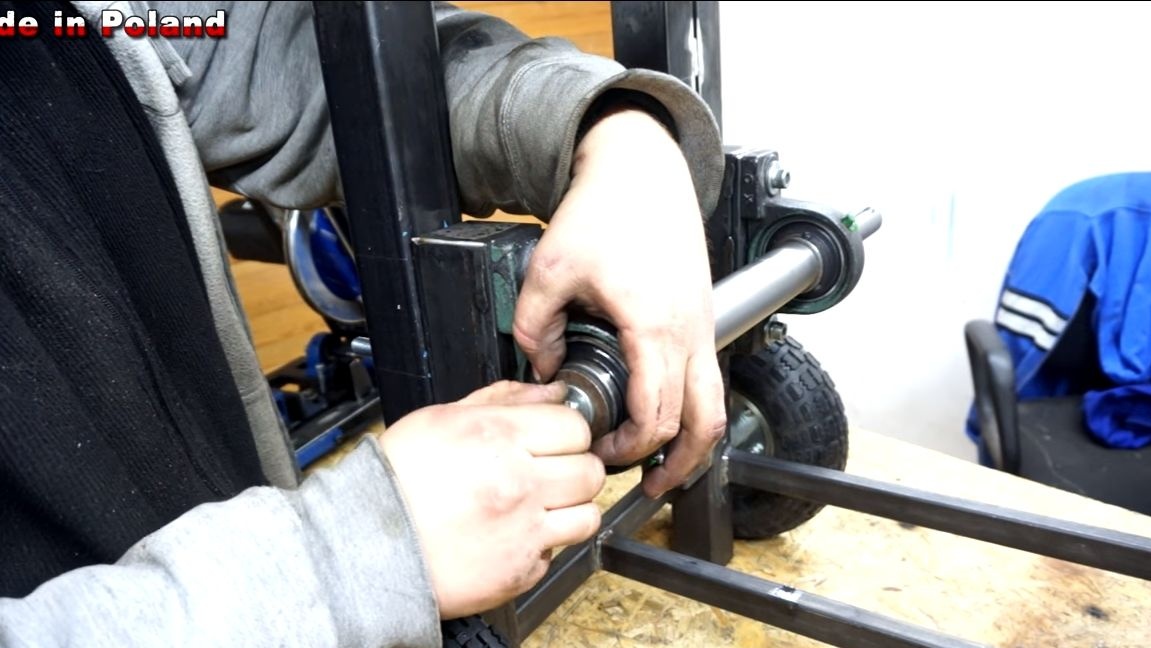
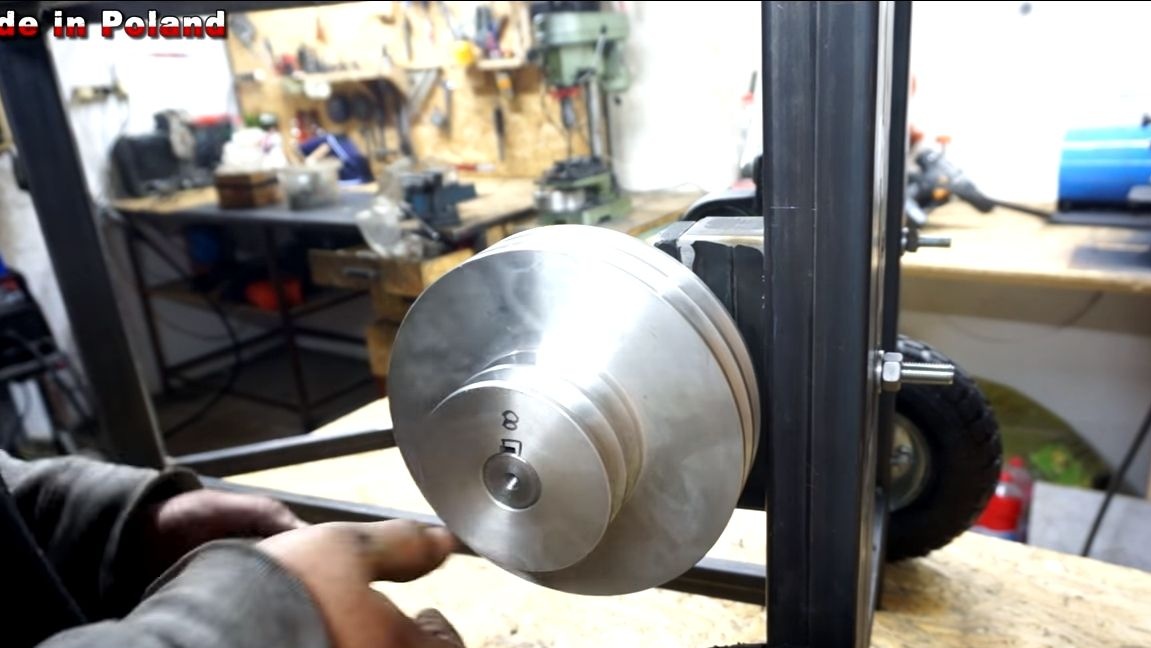
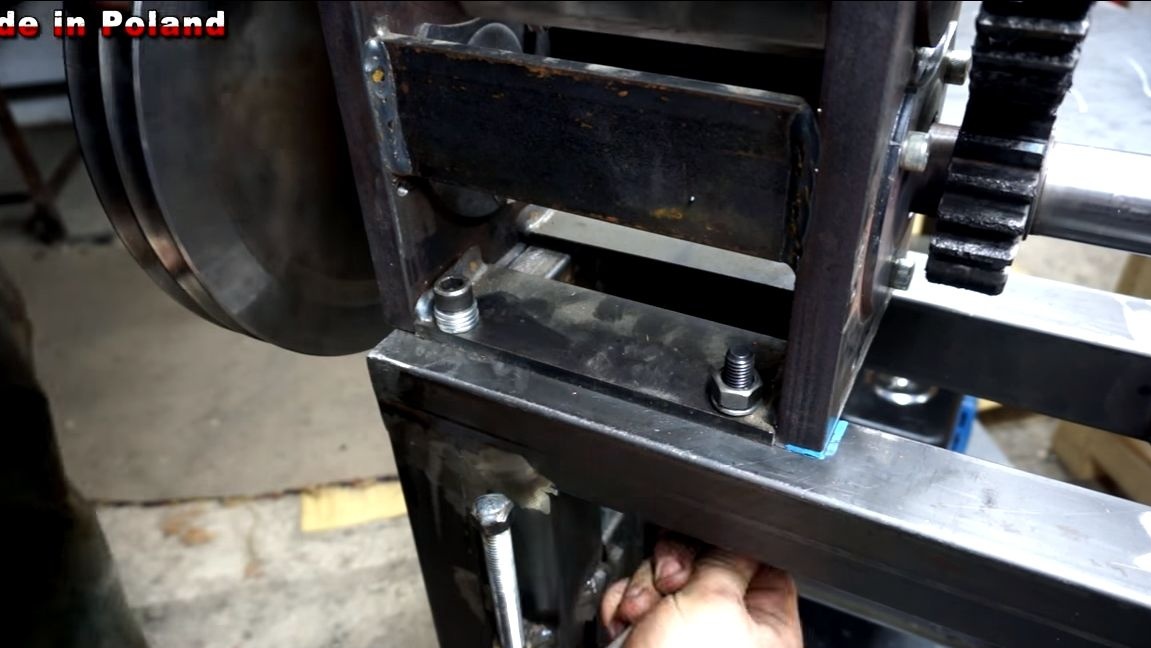
The pulley is mounted on the shaft, the shaft itself rotates on bearings. Under the bearing brackets we make fasteners from square pipes. The axis is attached to the frame through slotted holes. This makes it possible to adjust the tension of the belt by raising the shaft up or lowering.
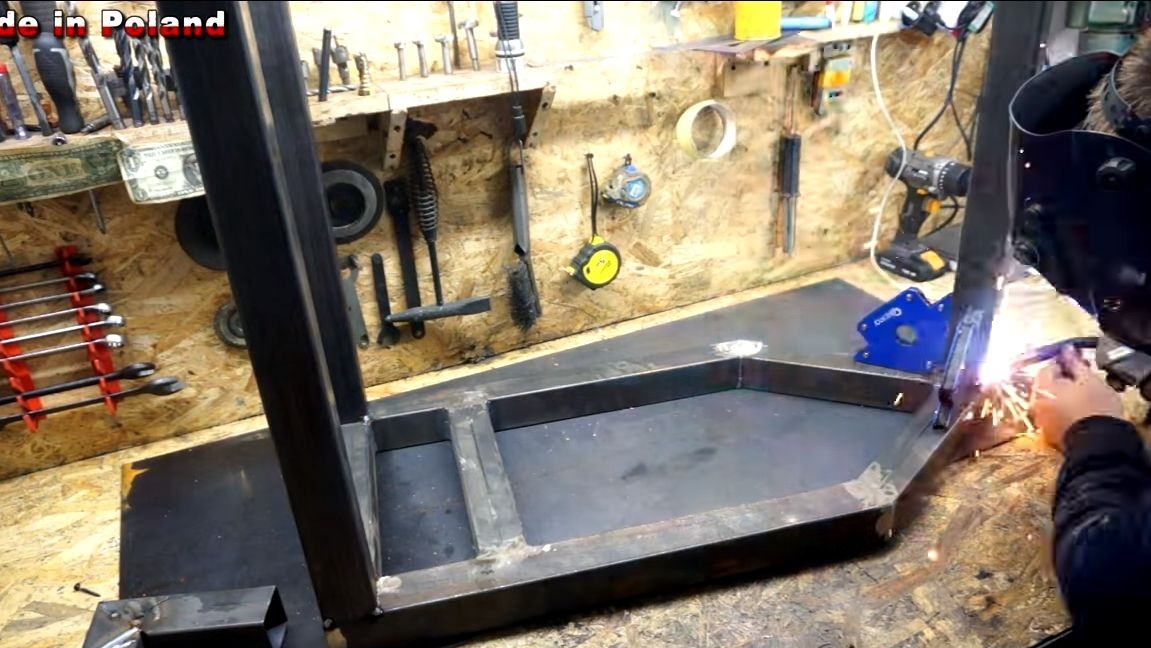
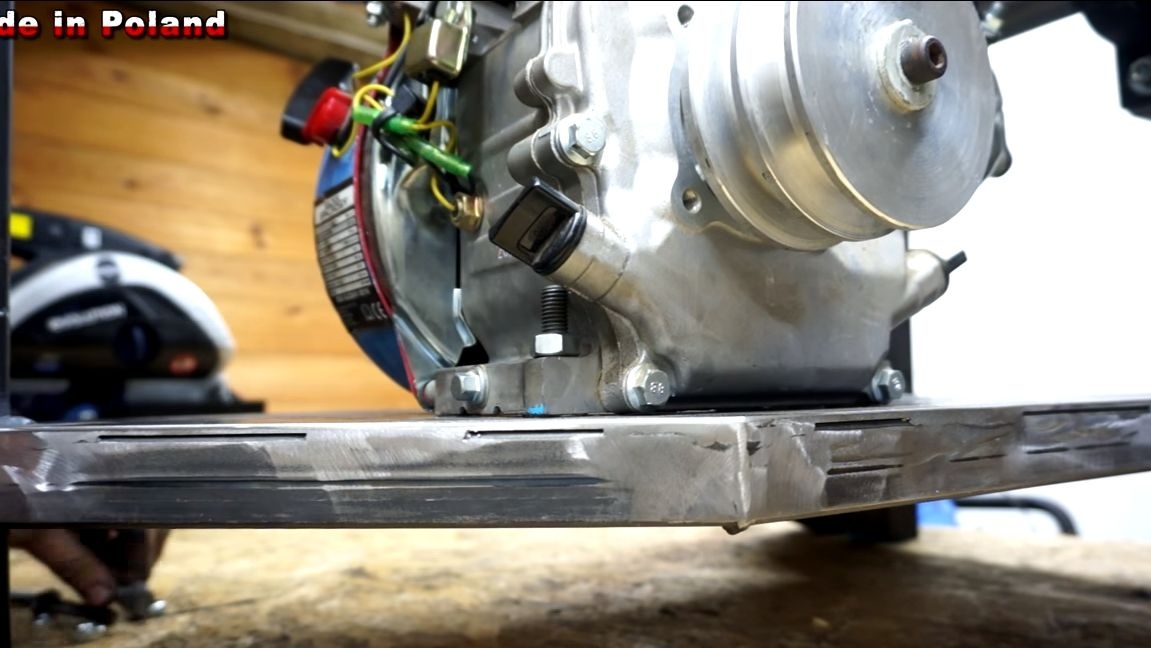
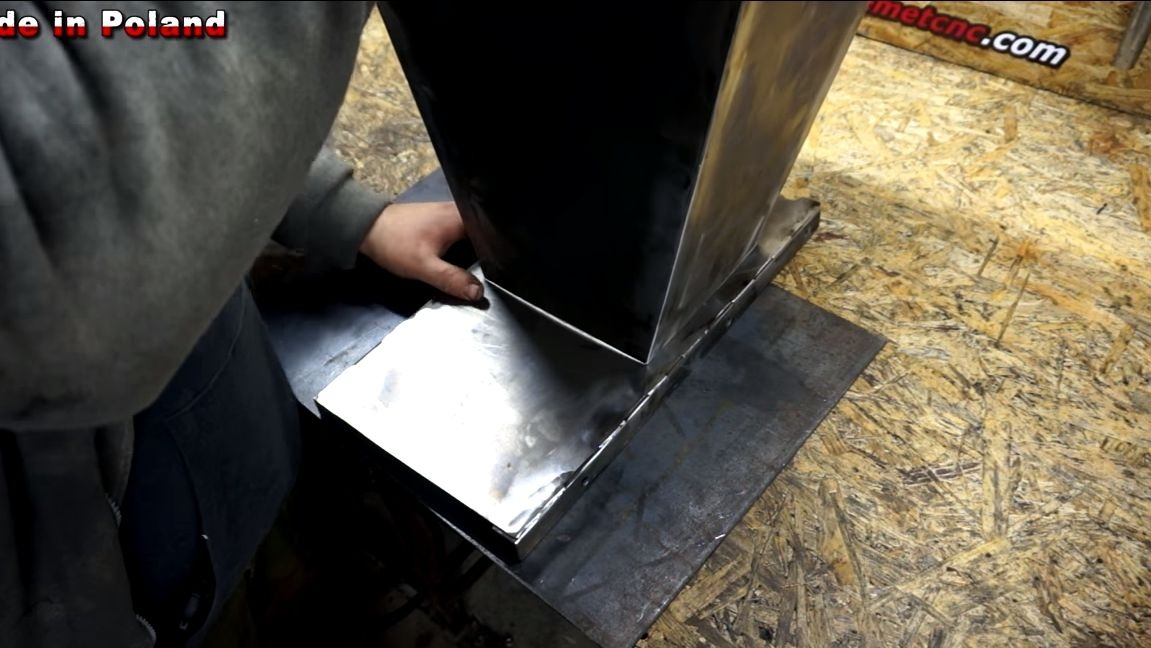
Step Four Engine installation
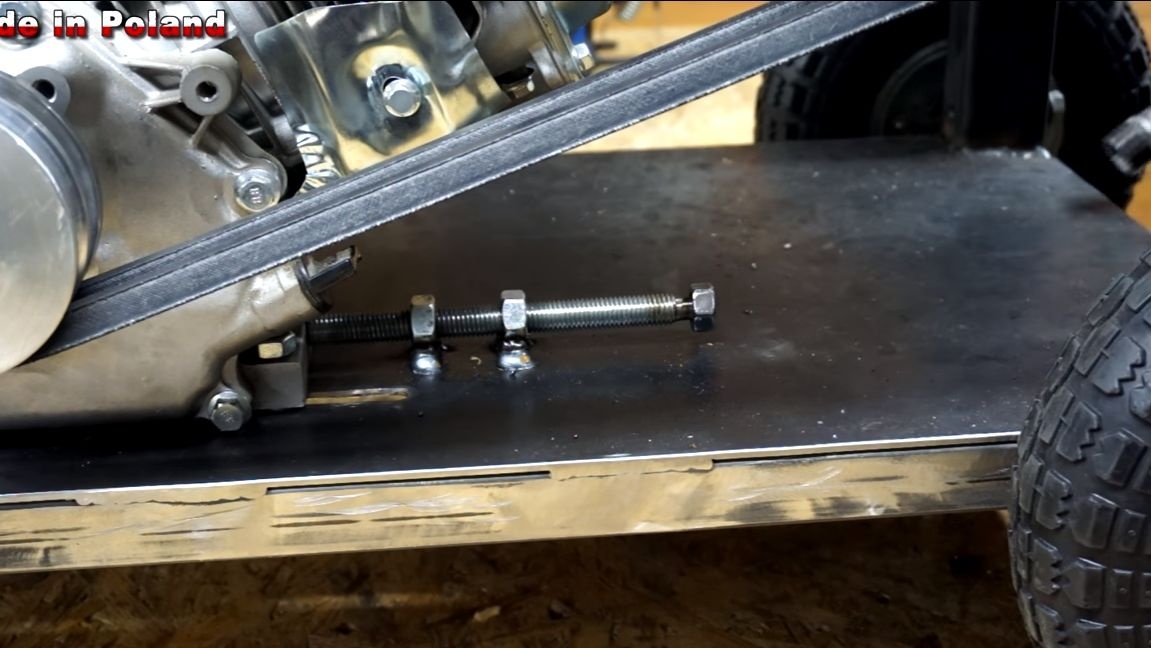
To install the engine, we will need sheet steel. From it you need to cut out the "bottom" for the frame of the appropriate shape. Well, then just weld it to the frame well. We install the engine, it is fastened with bolts and nuts. For the engine you need to focus, the author also works as a tensioner. We weld two nuts near the engine and wrap the bolt, abutting it against the engine. That's all, now you can install and tighten the belts.

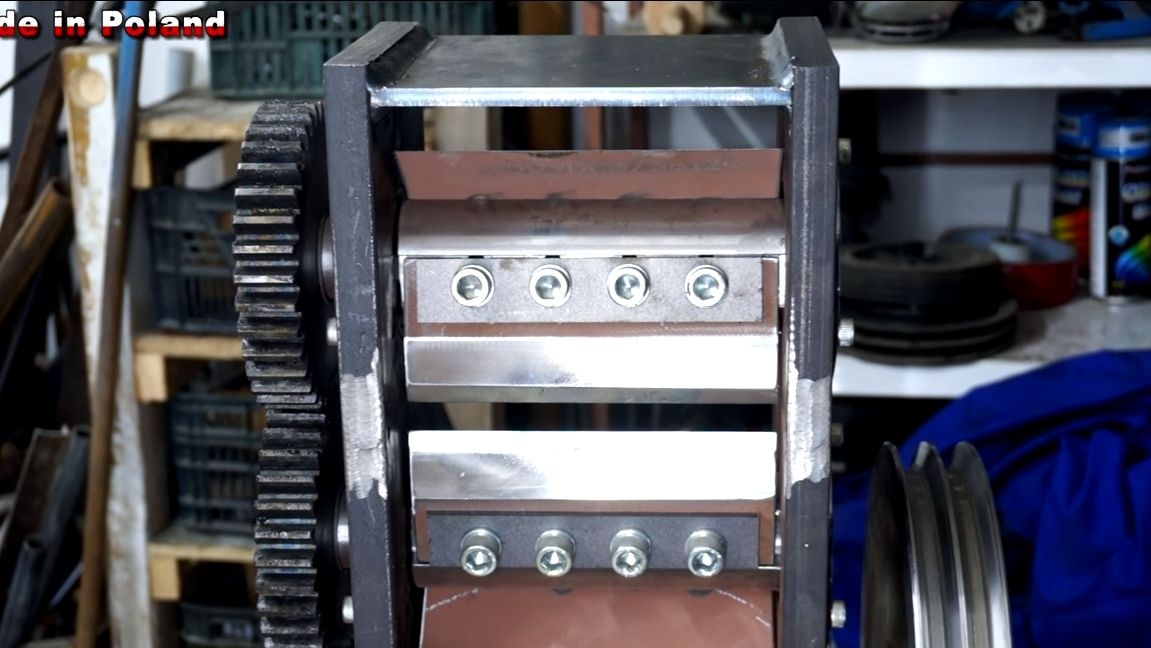
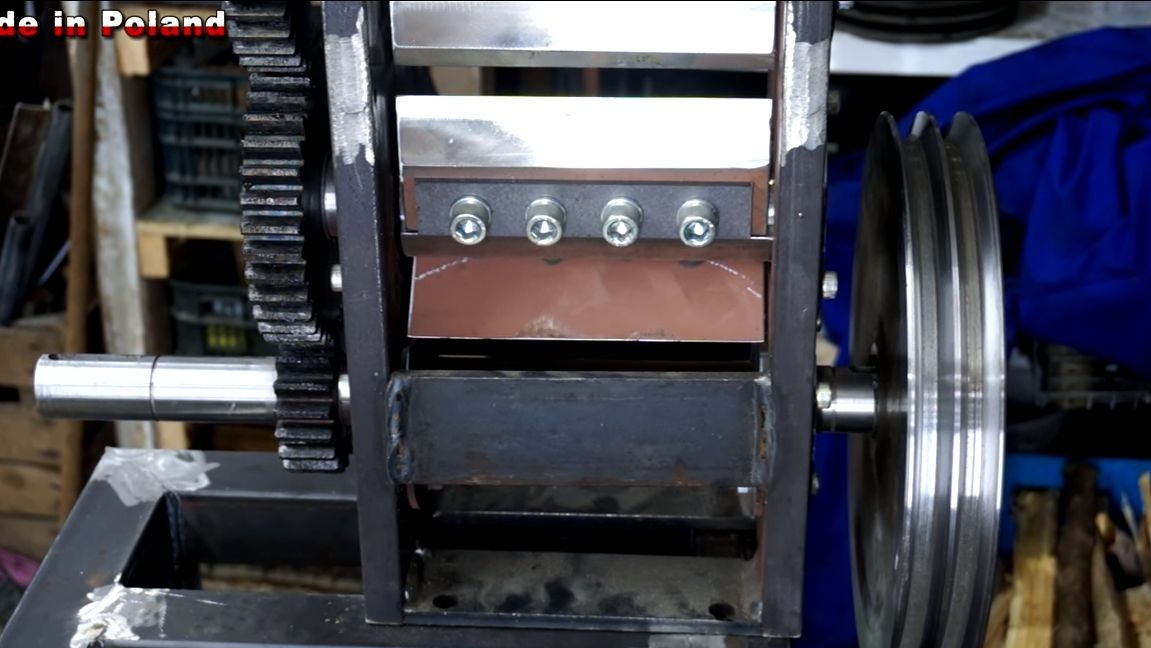
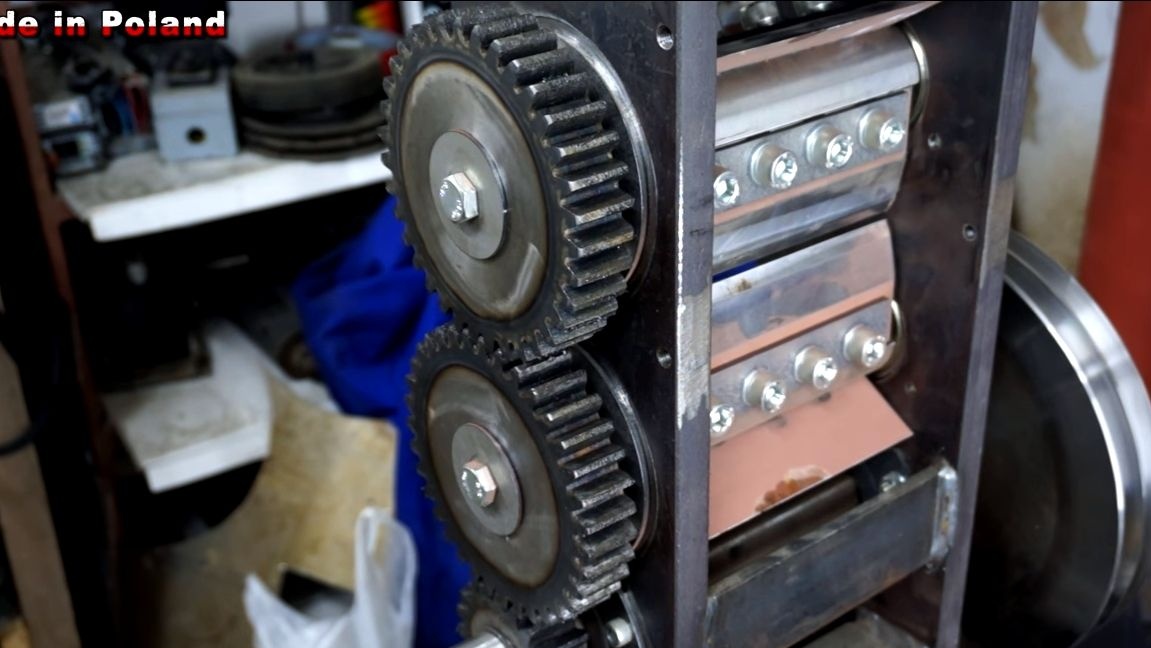
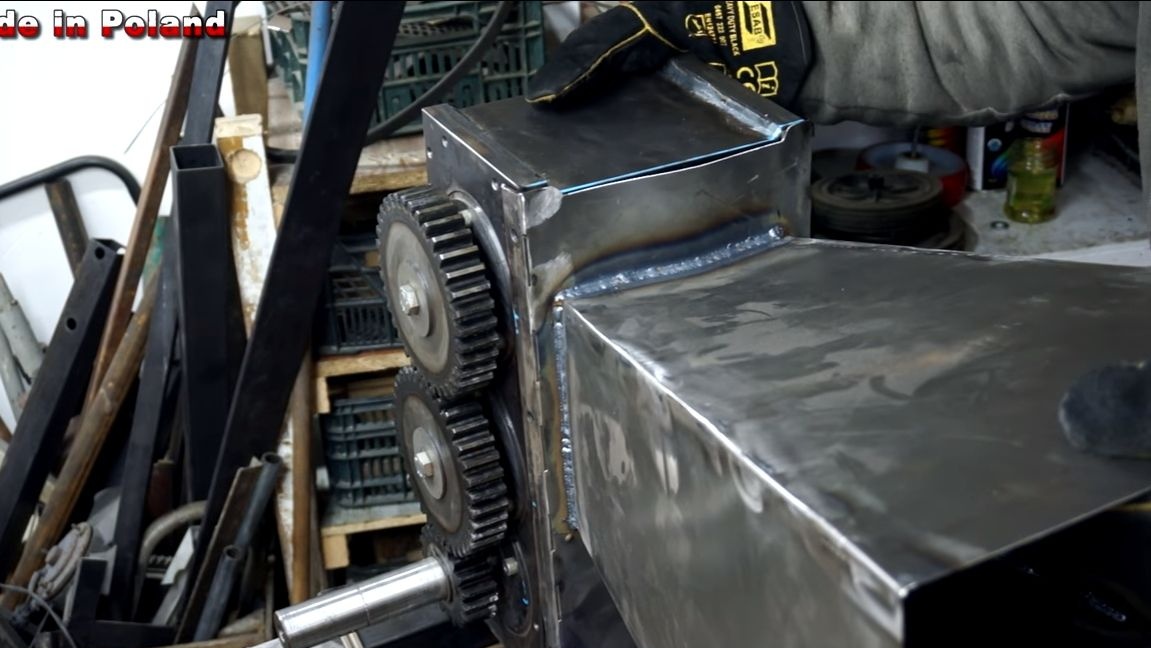
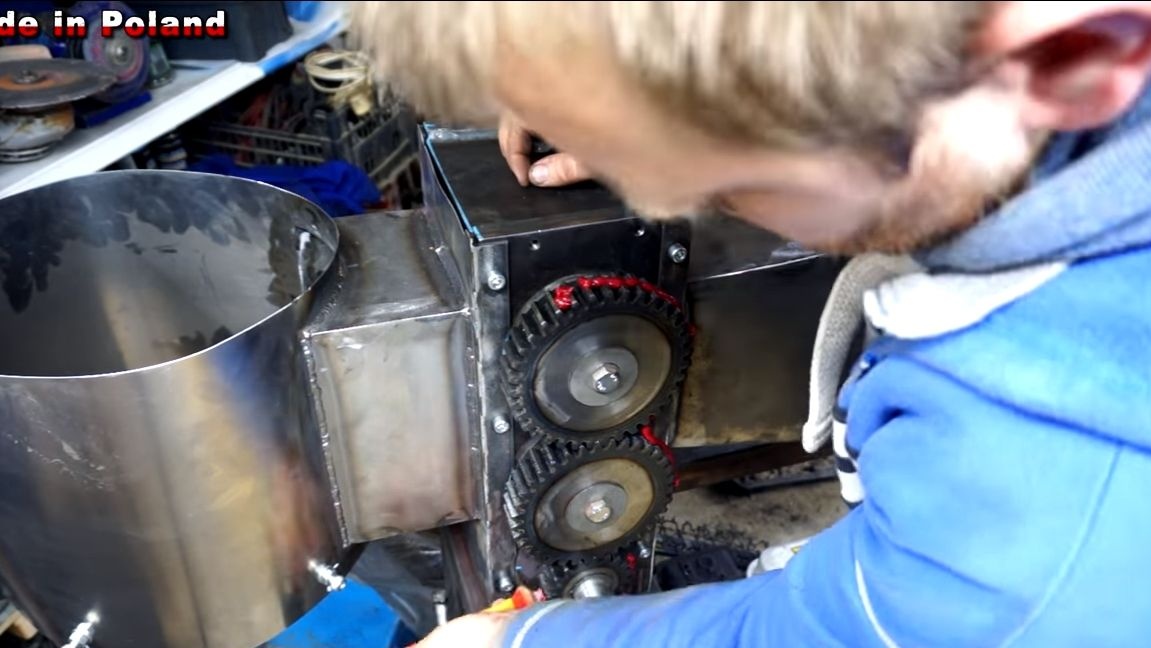
Step Five Crushing device installation
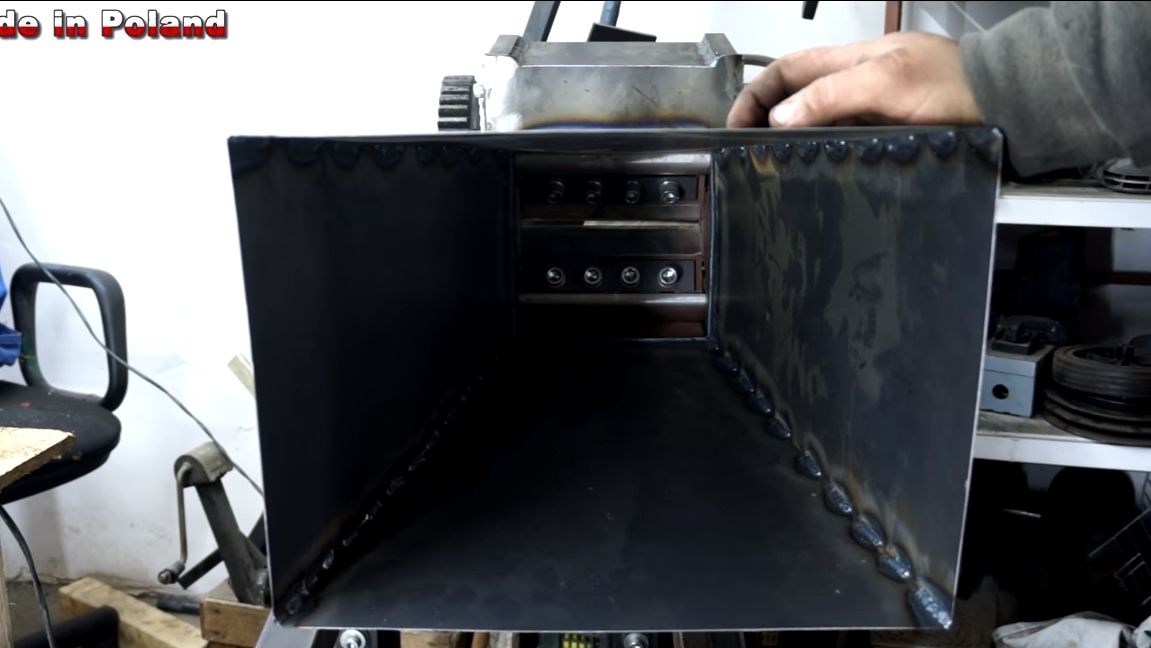
How the crushing device is assembled, the author did not show. The design is quite simple, it consists of two strong shafts on which powerful knives are installed. Both shafts are connected by gears and rotate synchronously towards each other. When a stick gets between the knives, they just cut it like scissors and throw it away from the other side. On the crushing device is installed another gearbox, which allows you to get even more effort. The crusher frame is best made of thick sheet steel, since the loads here are very large.
We drill holes in the frame and carefully screw the crusher with bolts and nuts.
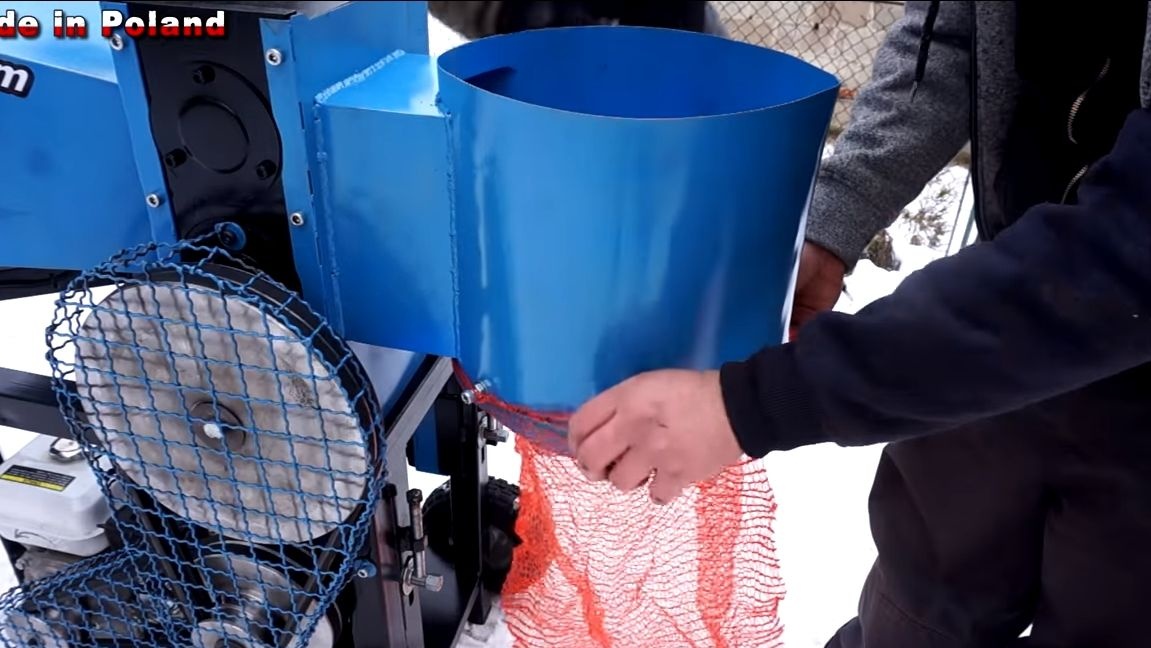
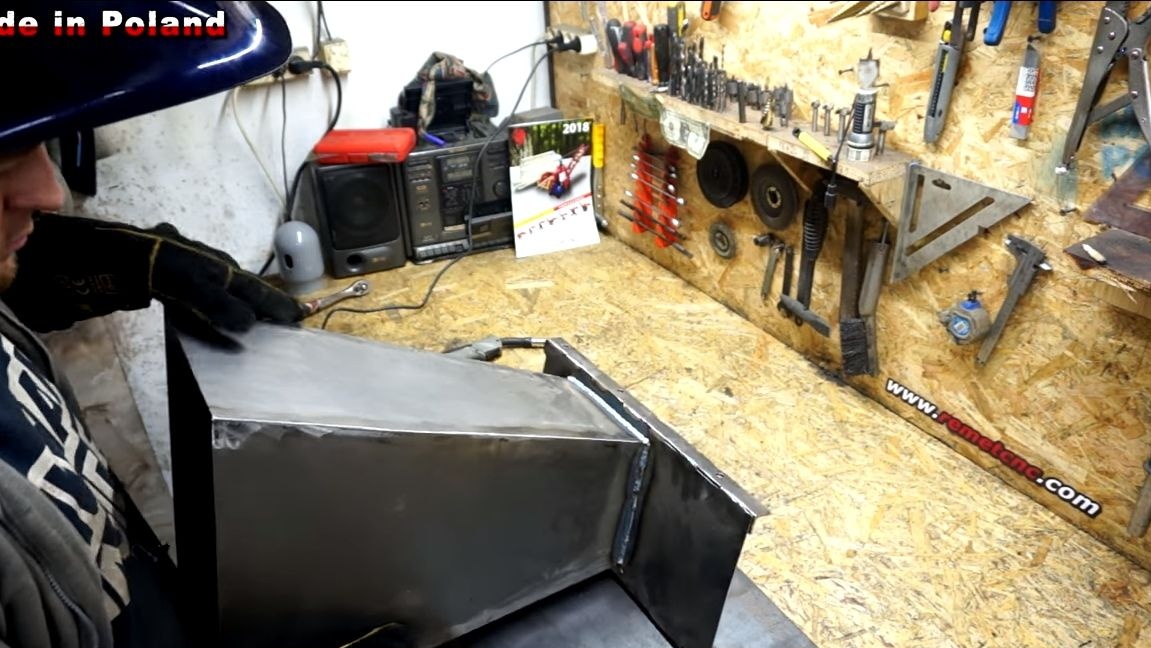
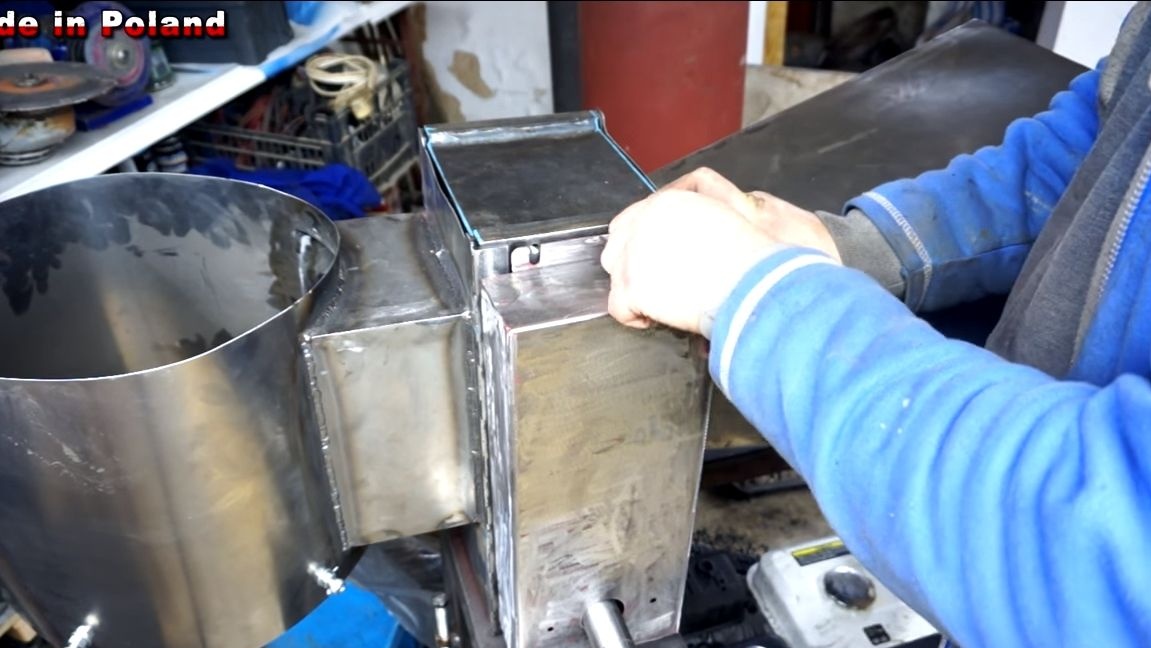
Step Six Production of the supply sleeve and the receiving
To feed the sticks to the crusher, it is important to make a sleeve, this makes the device convenient and safe, which is most important. To make it, you need sheet steel. We cut the necessary parts and weld in the form of a cone. Fasten the part to the crusher with bolts and nuts.

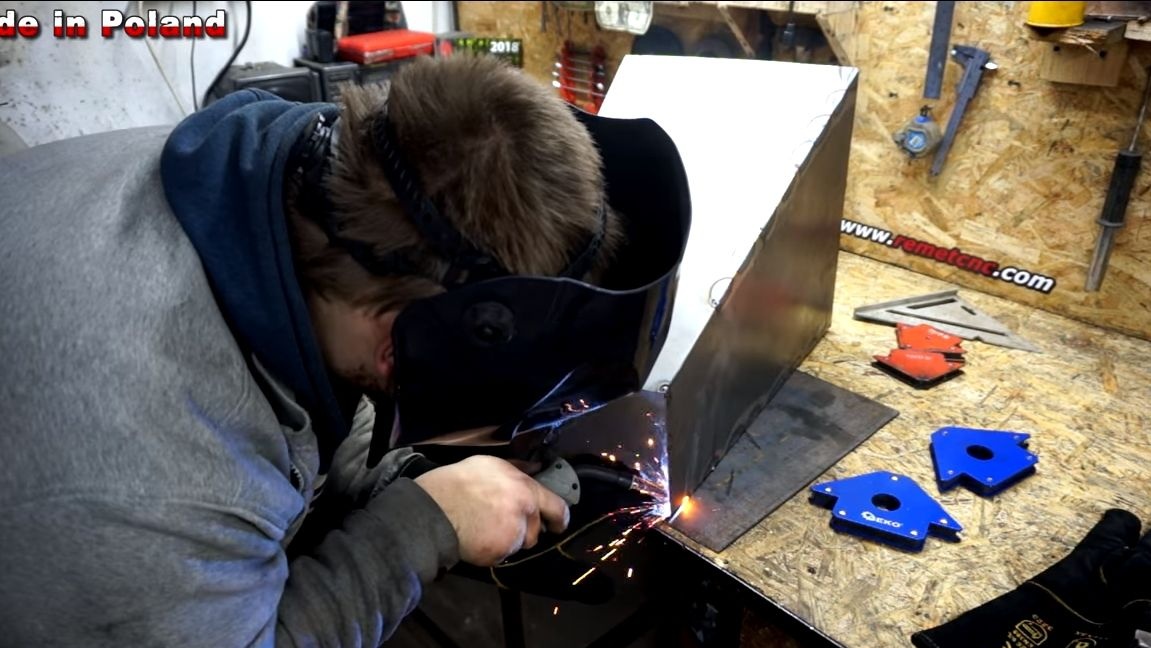
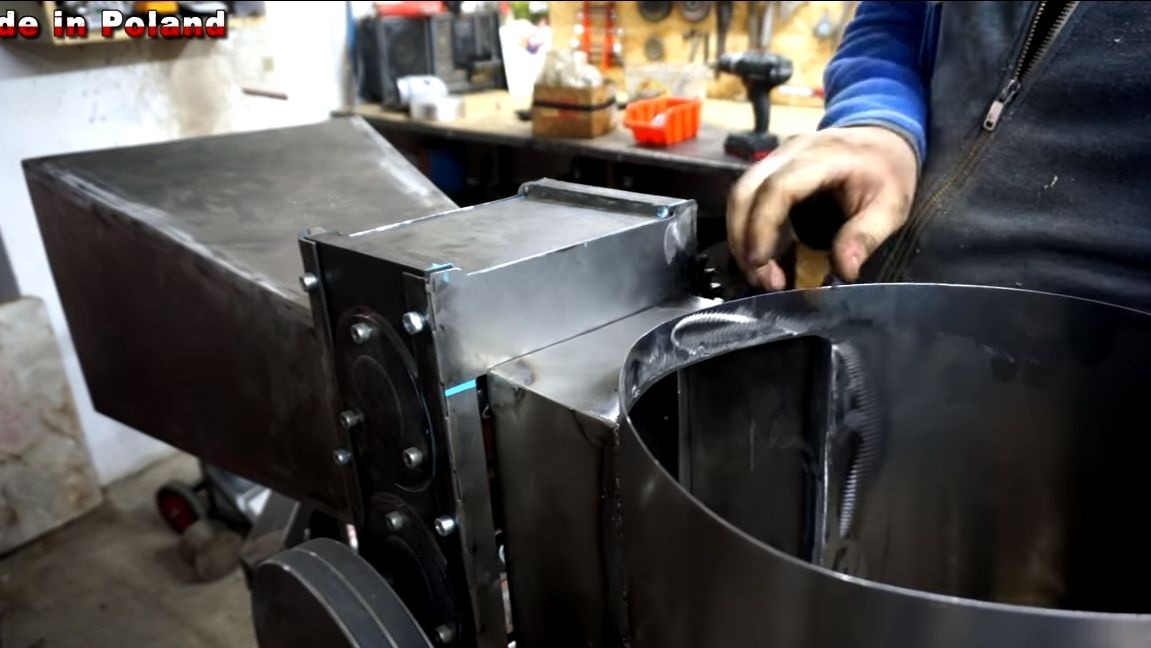
It is also extremely important to make a receiver so that the firewood does not fly anywhere, and again, for security reasons. It is made in a similar way, though its form is different. The author decided to make the receiver so that a bag could be hung on it, it is very convenient, since then there will be no need to collect firewood.
Seventh step. Safety net
Belt transmission is extremely important to protect, otherwise, if a branch disappears here, belts may suffer. It is also necessary for security reasons. Just take a steel mesh, cut, weld and fasten in front of the pulleys. As a conclusion, we have excellent protection.


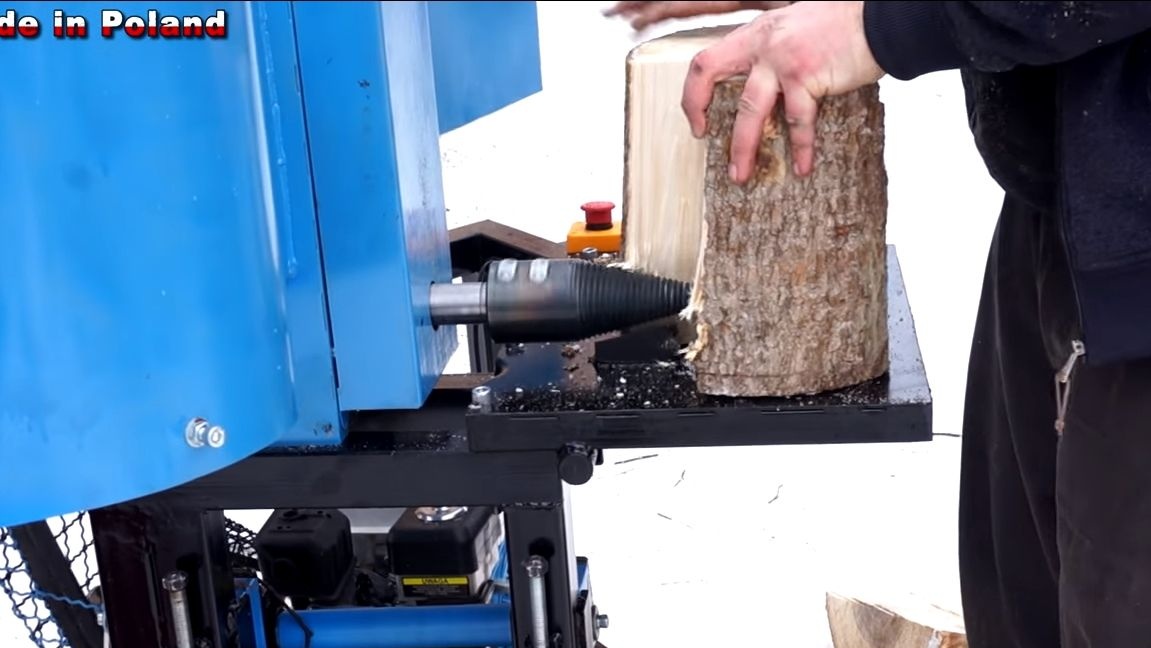
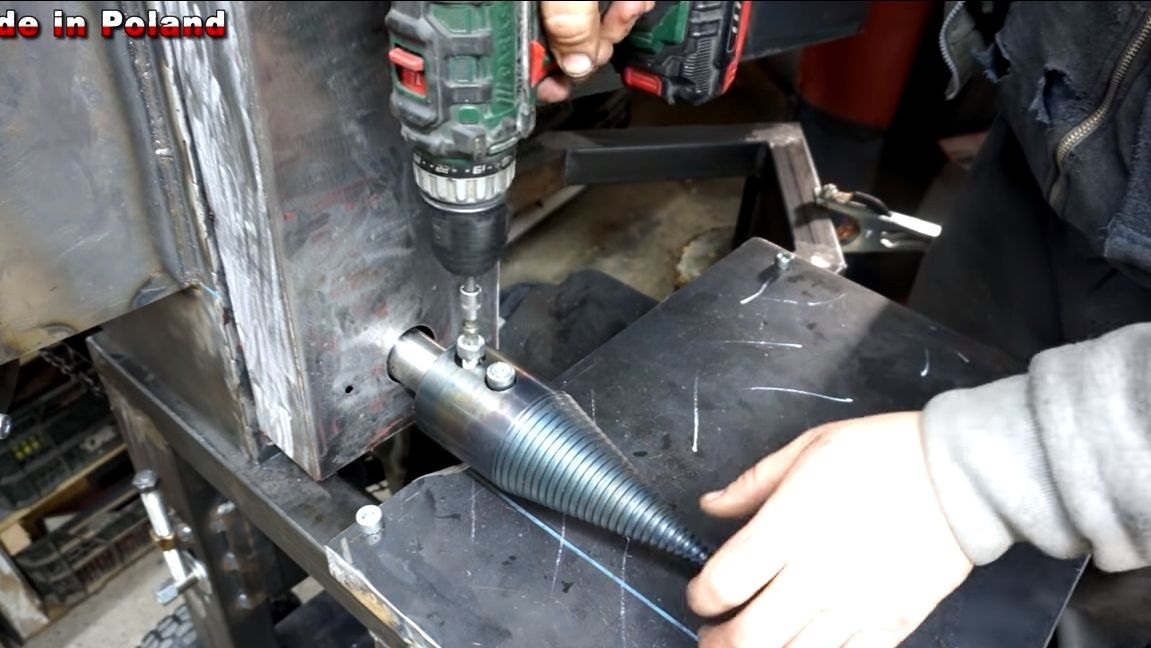
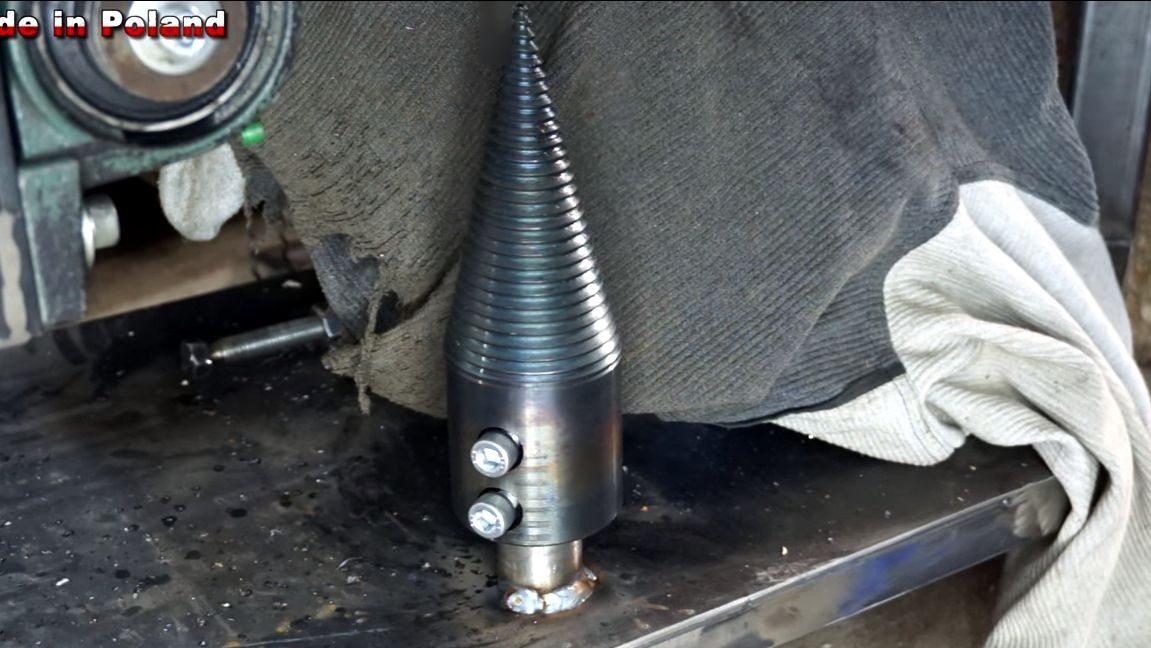
Step Eight. Wood splitter
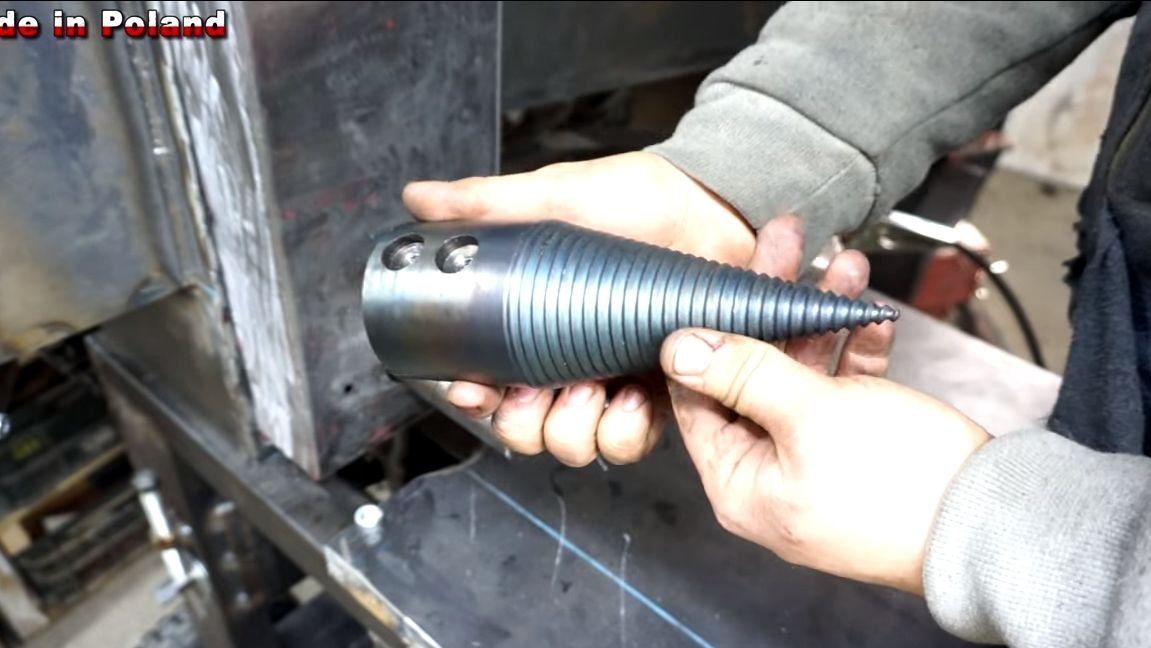
The wood splitter is driven by a shaft that exits the crusher. Install the protective cover on the gears, remembering to lubricate them well with grease. Now we install a threaded cone, it is thanks to it that the wood will split. The cone is smoothly wrapped in a stump, thereby ultimately splitting it.
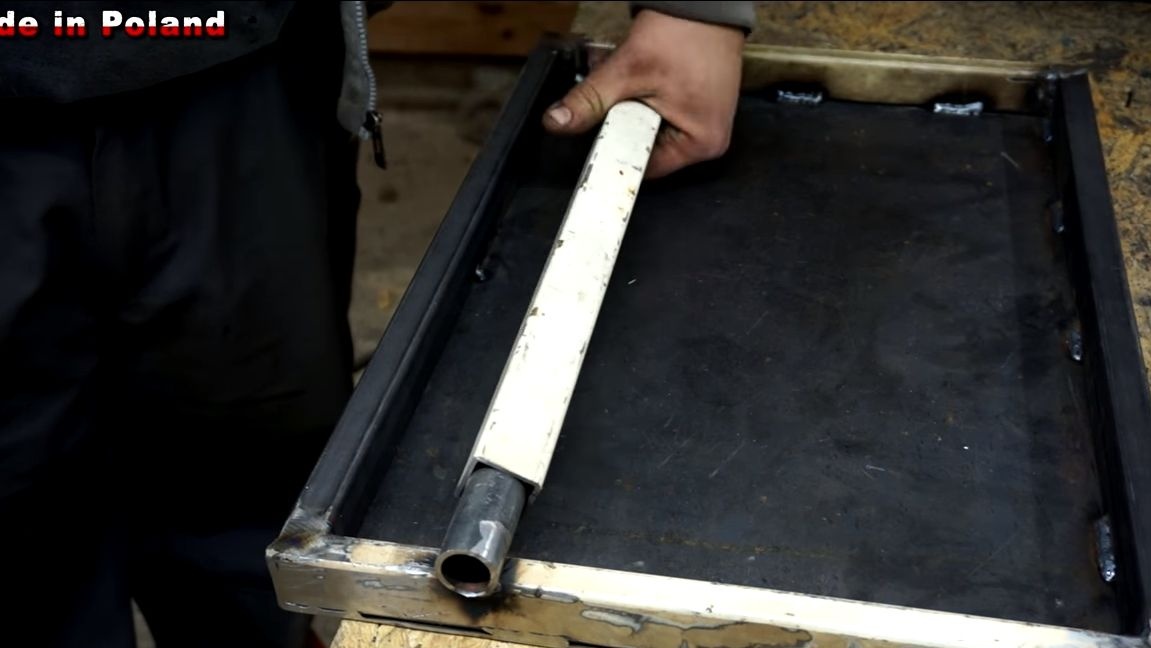
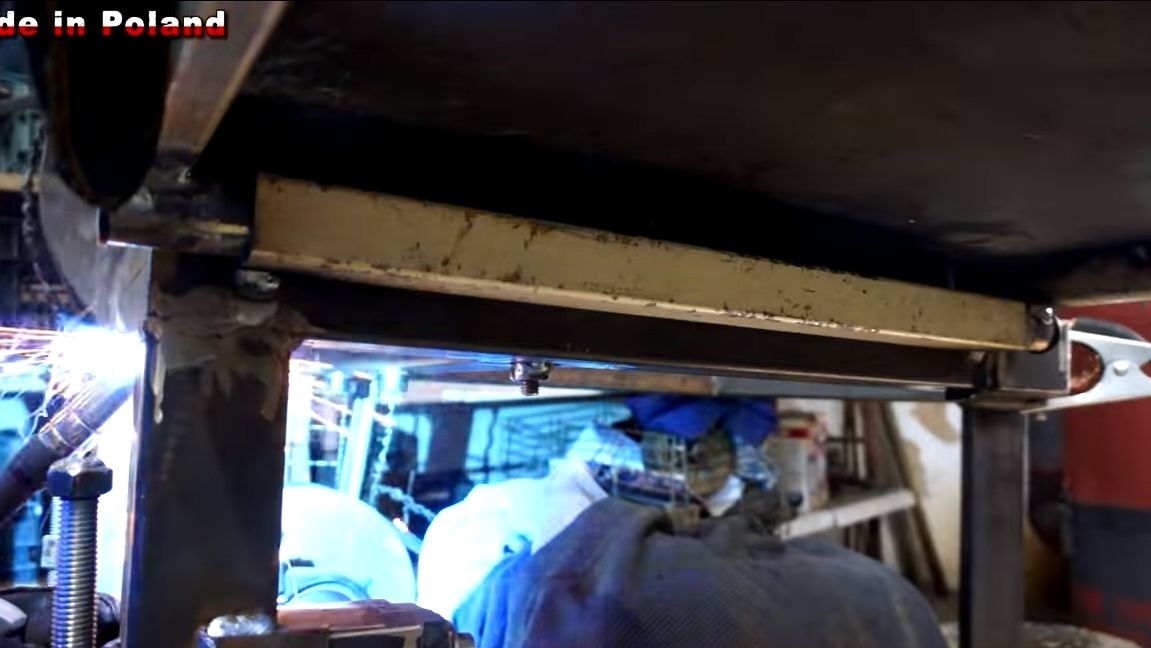
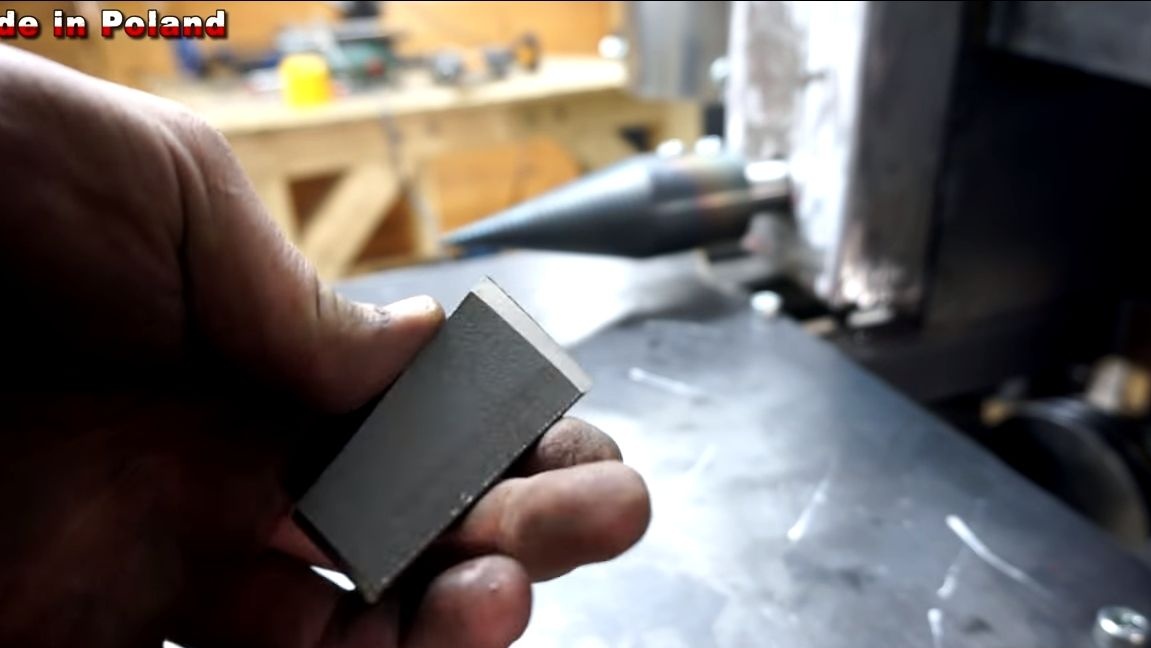
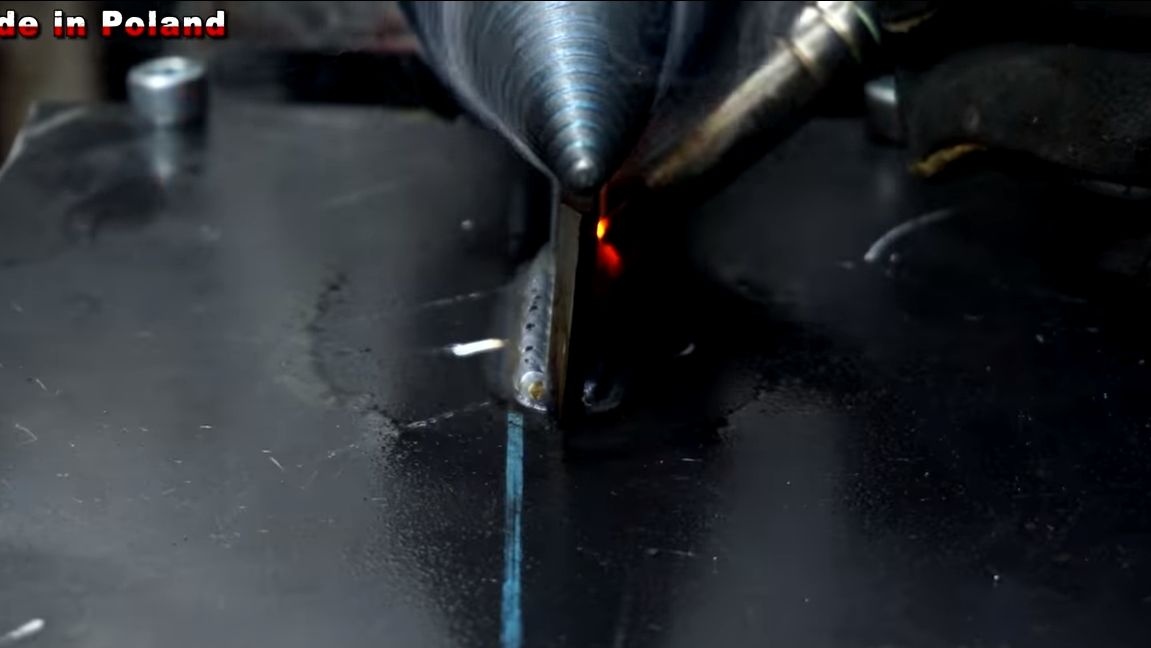
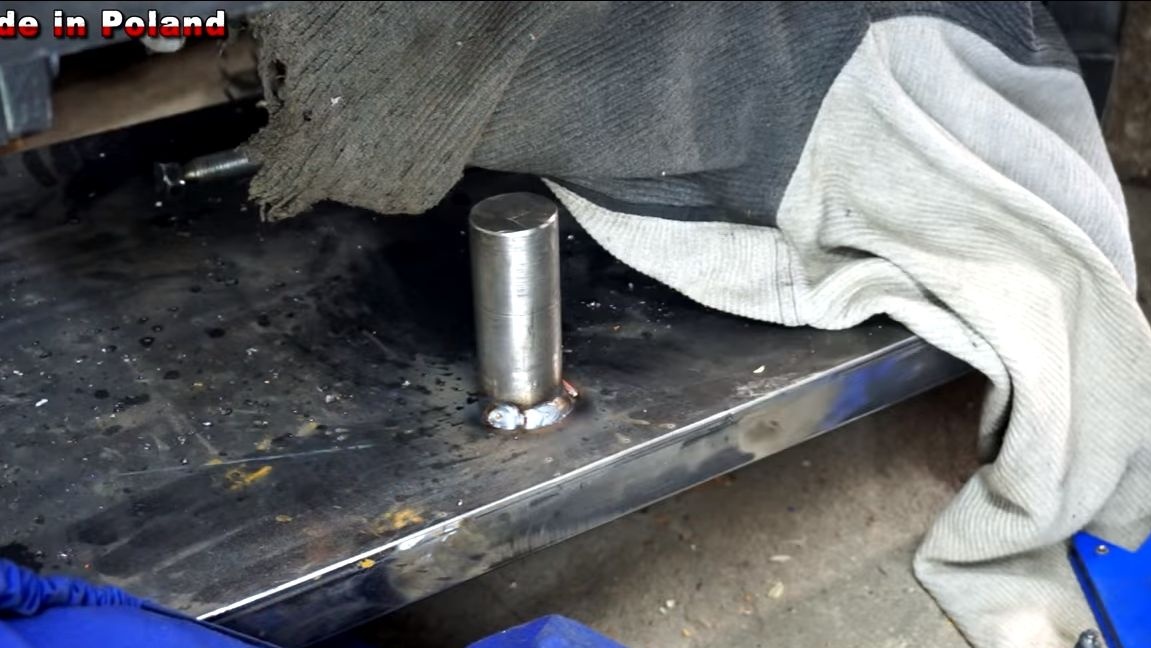
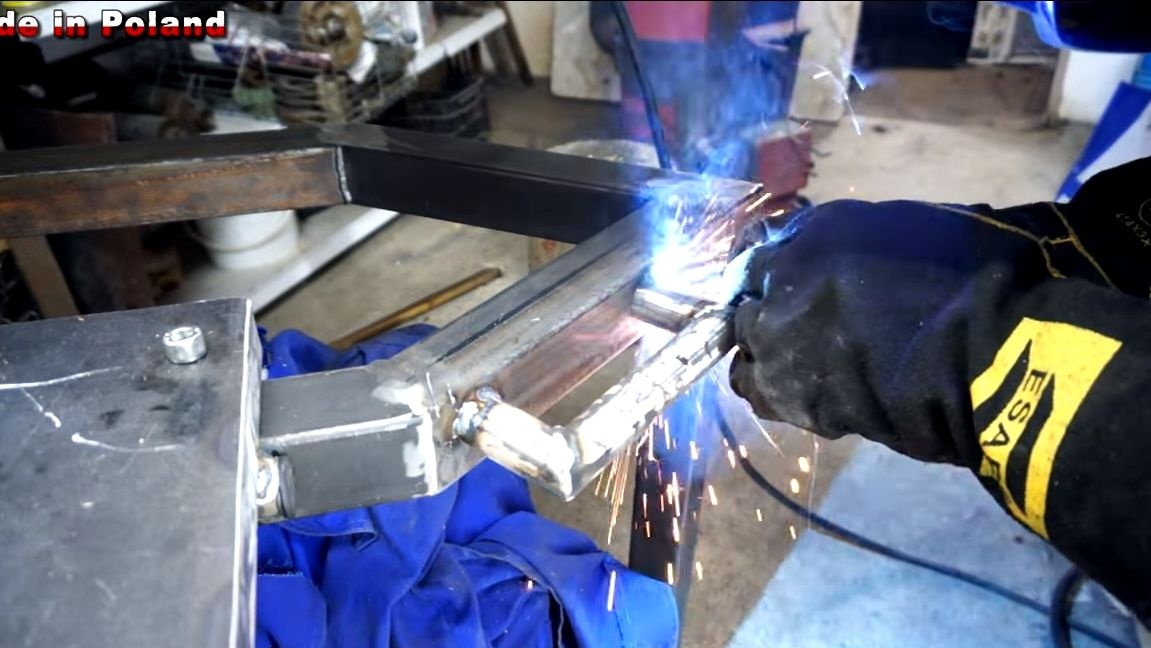
A splitter needs a table, the author decided to make it folding to reduce the size of his machine.To make a table, we weld a square pipe to sheet steel. Next, insert a round pipe into this pipe and weld it to the frame. As a result, we get a pivotally fixed plane. Near the cone, weld a knife to the table, which will work as a stop and an additional wedge for hemp. To fold the table you need to remove the cone. And in order not to lose it, the author welded a steel rod to the table, and a nozzle is installed on it when they are not using the splitter.
Step Nine. We weld pens and paint
Be sure to weld several handles to the machine so that it is convenient to transport. They are made of pipes. We cut at the right angle and weld.
At the end of the work, paint the homemade product so that the steel does not rust. Now few people understand that this model homemade!
Step Ten Testing
The machine can be tested, start the engine and warm up. First, it will take some time to find the right speed. At low revolutions, the crusher may not have enough power, and at too high, there will be high fuel consumption and the risk of overheating. The author’s device works fine.
That's all, I hope you liked the project. Express your opinions.