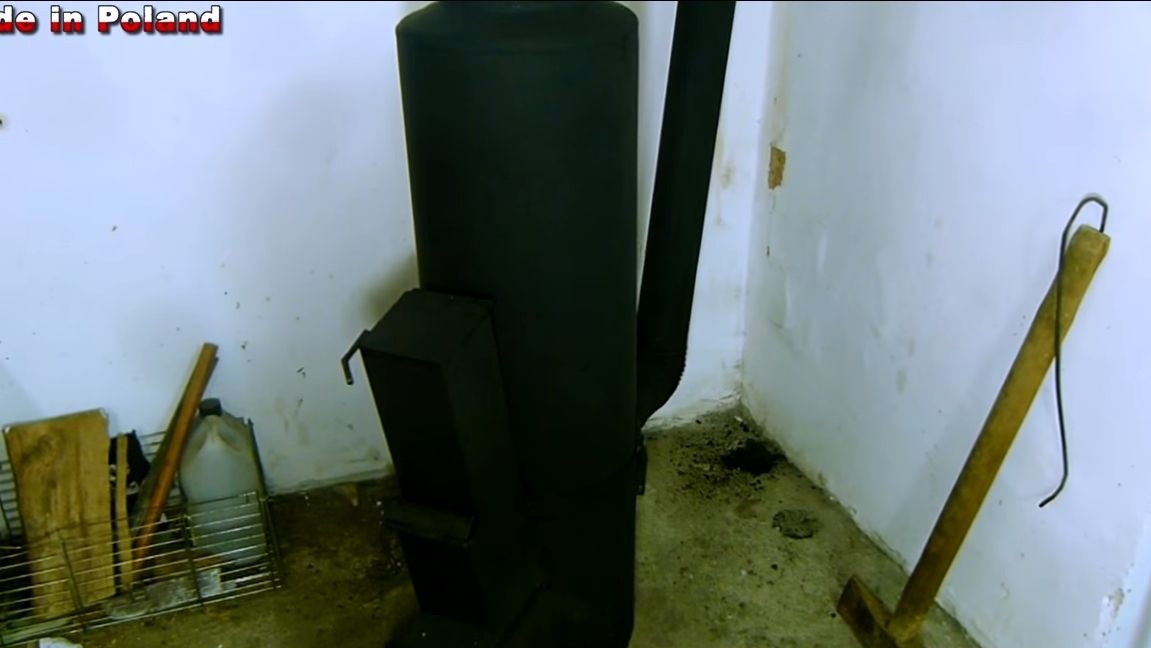
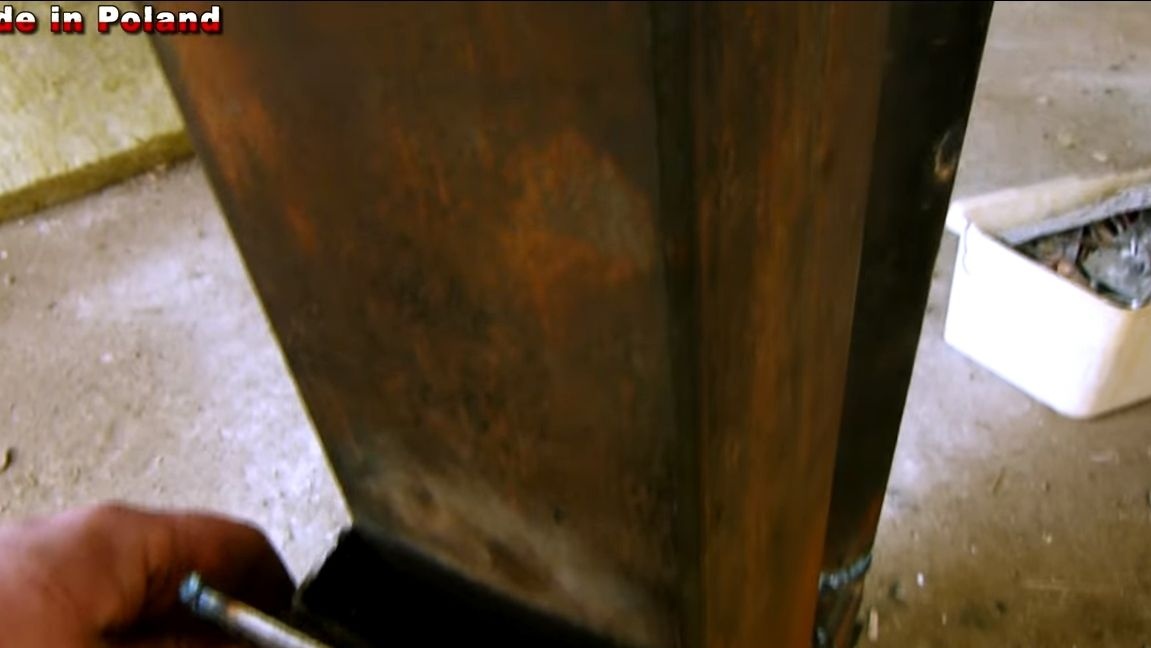
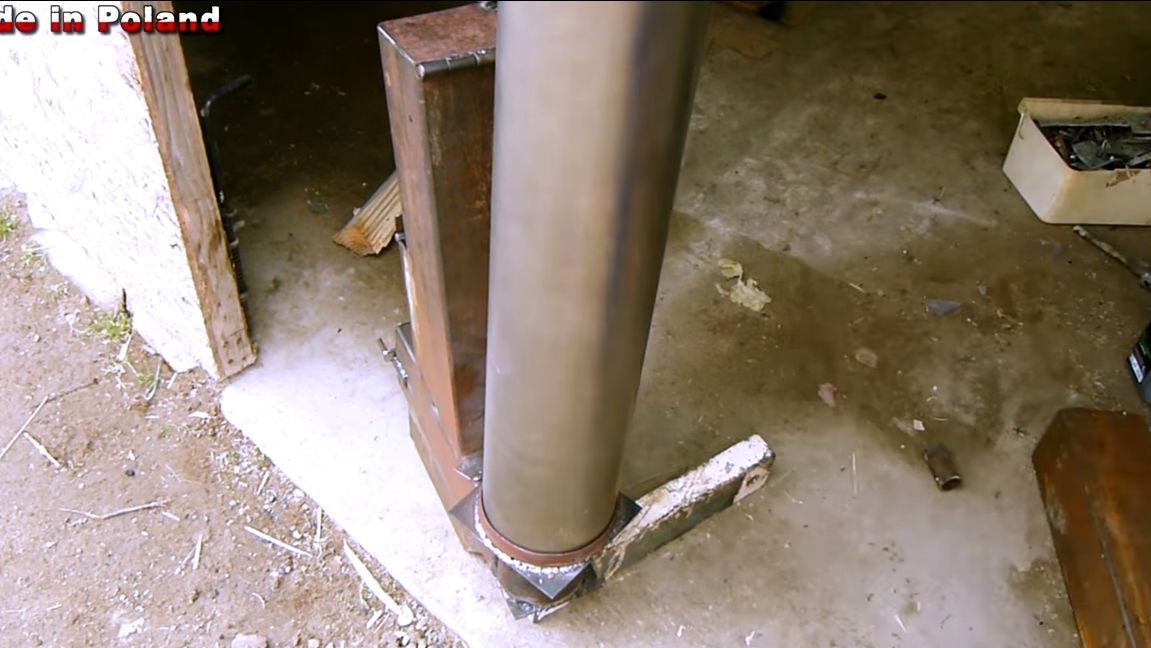
Missile furnaces are ovens with the highest efficiency. The fuel here burns so efficiently that smoke does not come from the pipe of a high-quality rocket furnace. The essence of such a device is that it has an isolated firebox, resulting in a very high combustion temperature. But there are other designs, such as this one. Here it is not the firebox that is isolated, but the subsequent chamber, in which the afterburning of unburned fuel takes place. In such a furnace literally everything burns, firewood, coal, fuel briquettes, various wastes, including plastic and so on. Moreover, even raw firewood will burn perfectly, the main thing is to kindle a stove. The author demonstrates the effectiveness of his furnace by touching the chimney with his bare hands, it is only barely warm, and the furnace body itself gives off a large amount of heat.
With the help of the furnace considered by us, you can easily heat garage, workshop and other similar premises. Using a rocket furnace, you will significantly save fuel. The considered construction is not going to be complicated, but some materials need to be found. These are mainly square pipes of large cross sections, as well as an old cylinder or something similar. Will have to work mainly by welding and grinder. So, we will consider in more detail how to assemble such a rocket furnace yourself.
Materials and tools used by the author:
Material List:
- square pipes;
- old cylinder;
- chimney;
- door hinges;
- Sheet steel;
- insulating material;
- asbestos or other similar cord.
Tool List:
- ;
- ;
- ;
- clamps;
- roulette;
- marker.
The process of manufacturing a rocket furnace:
Step one. The manufacture of the main part of the furnace
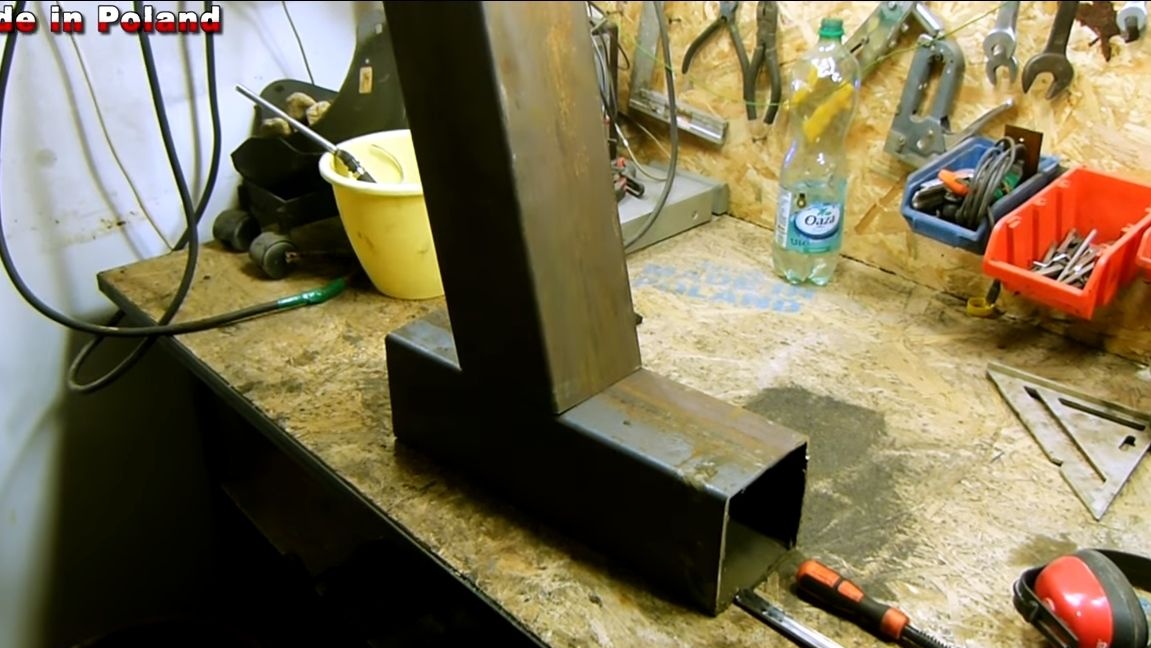
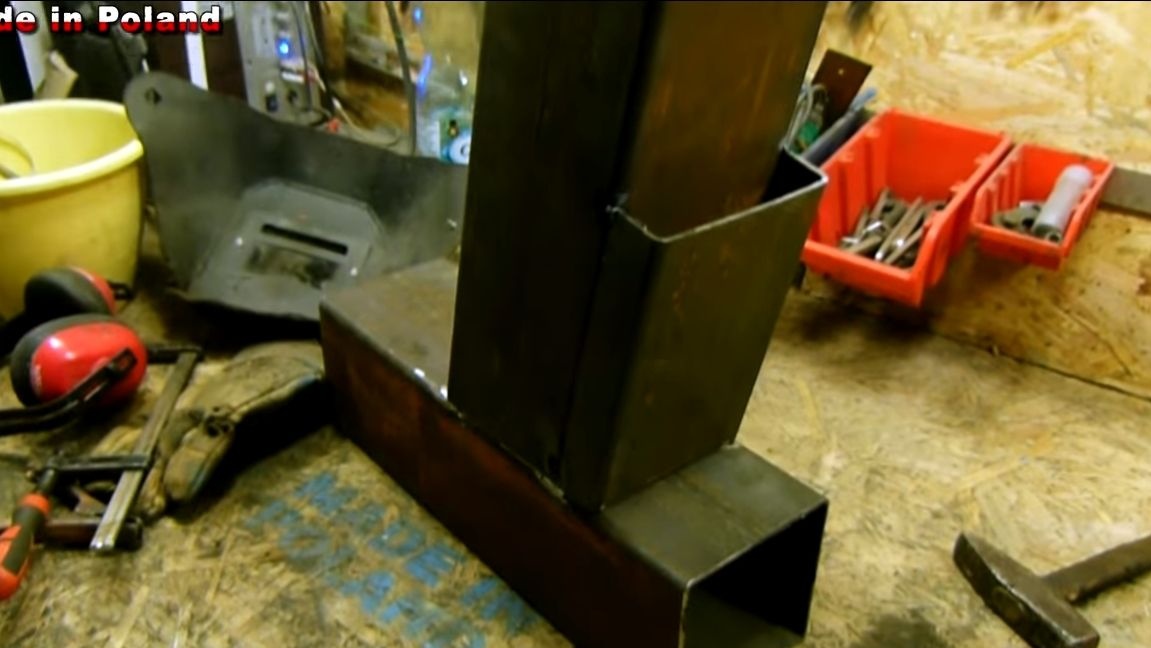
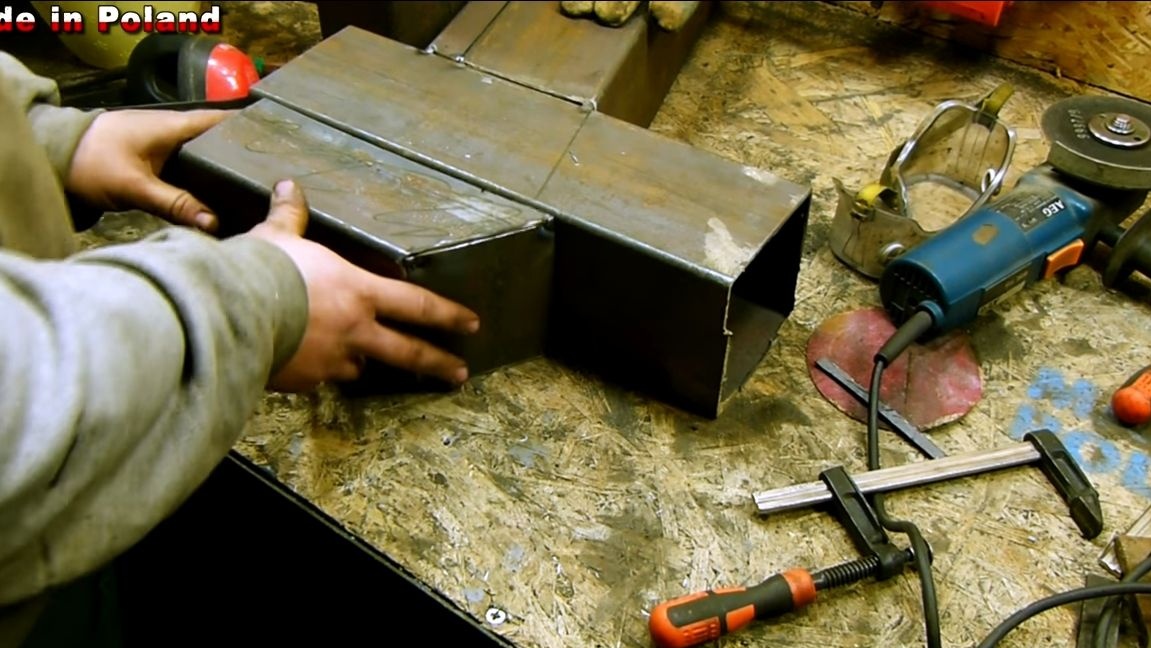
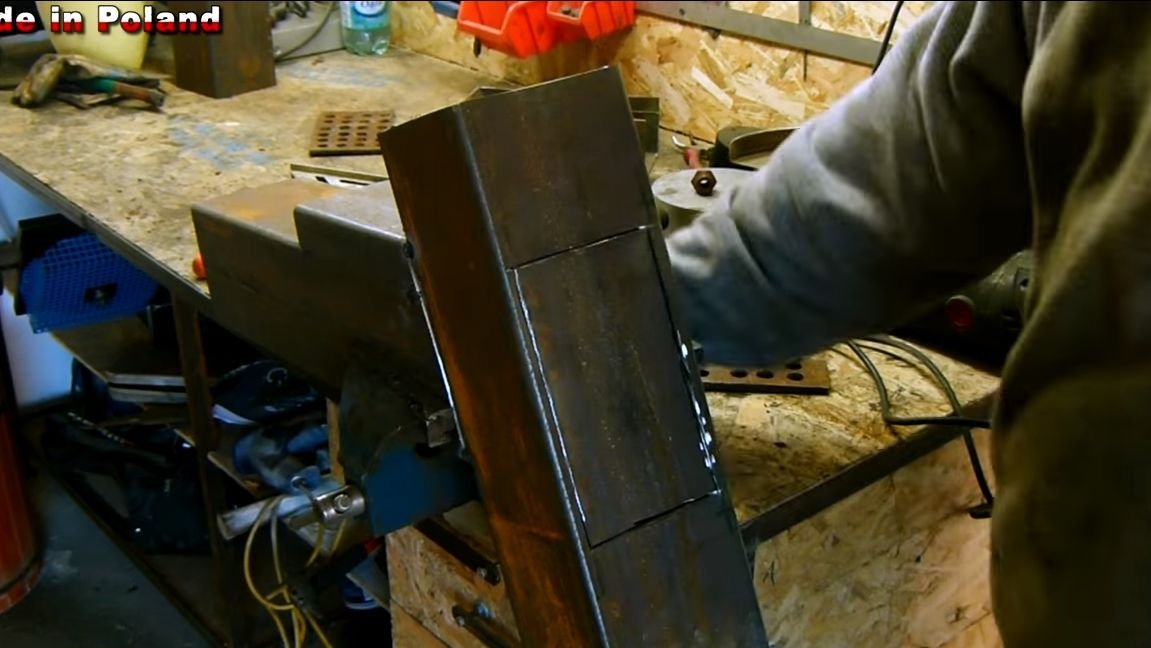
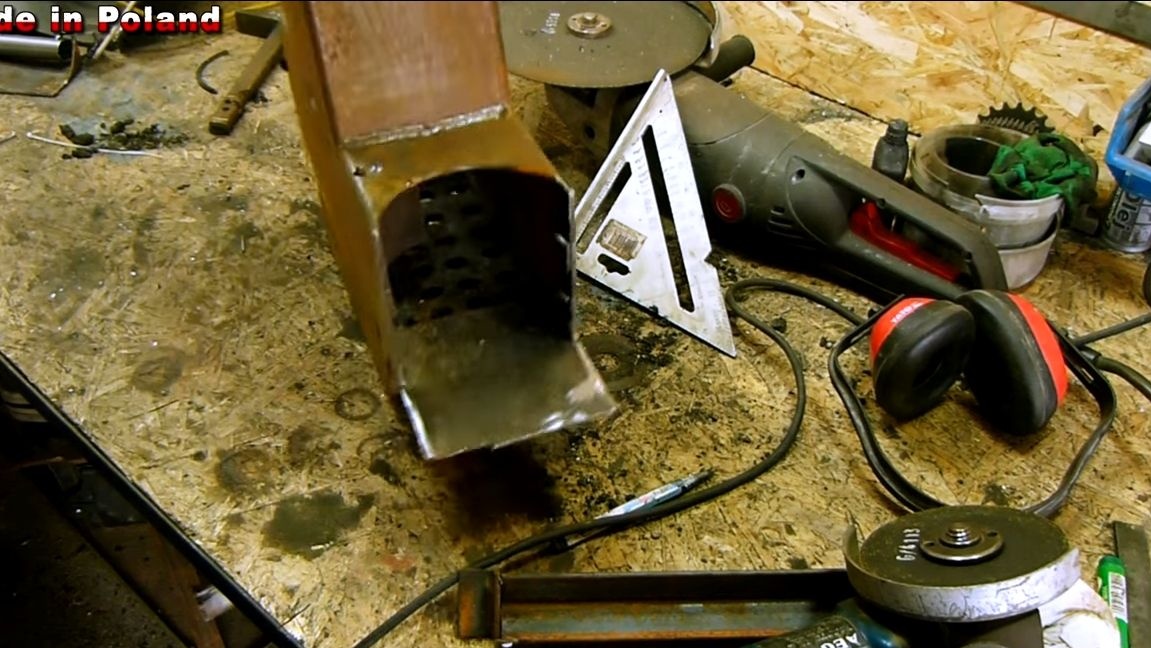
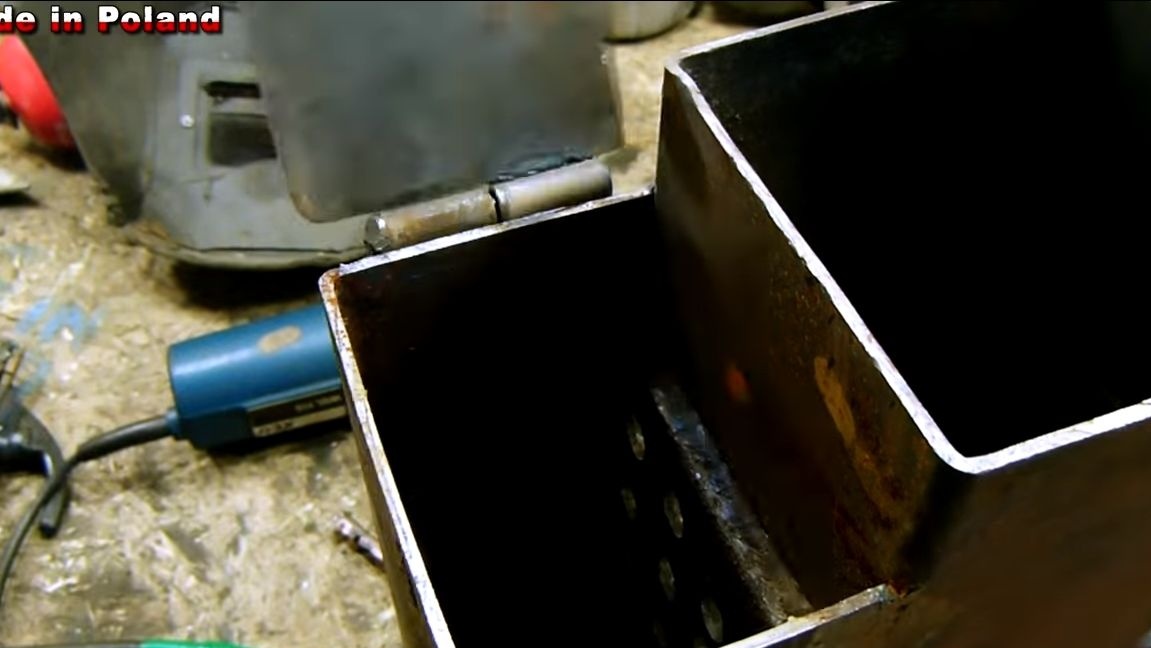
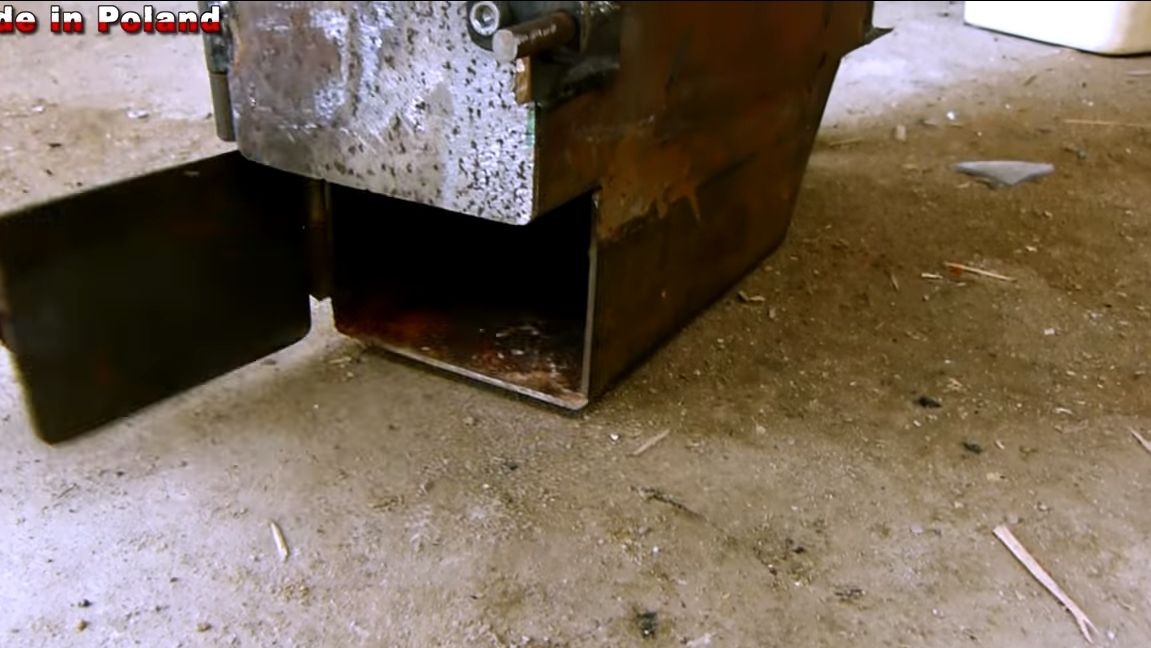
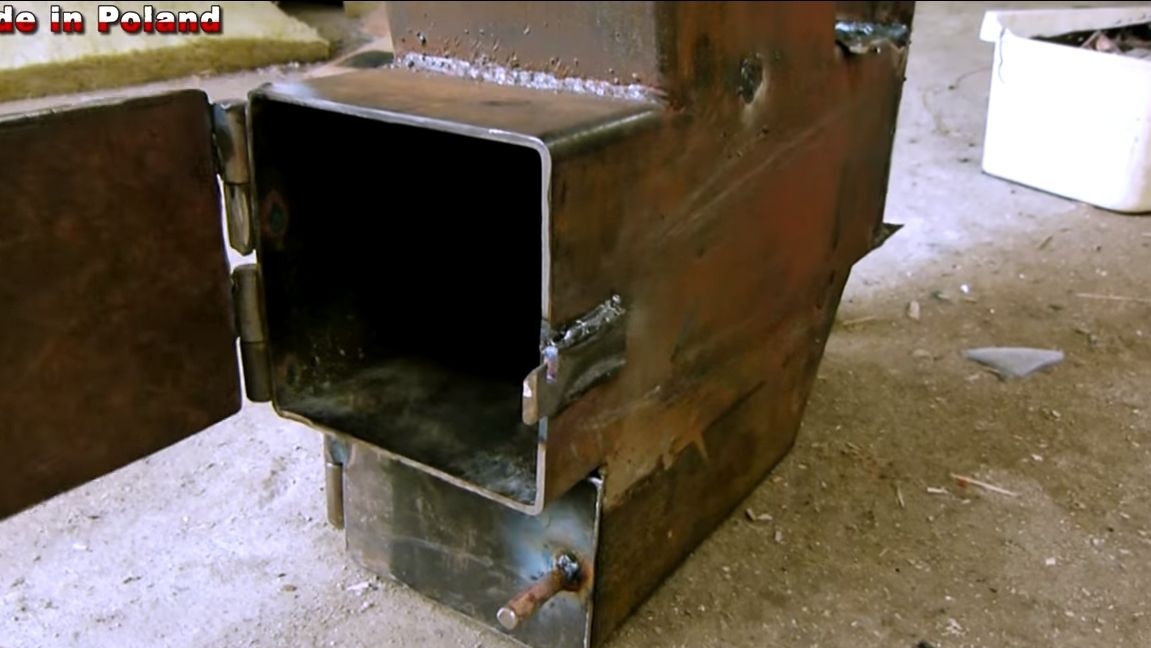
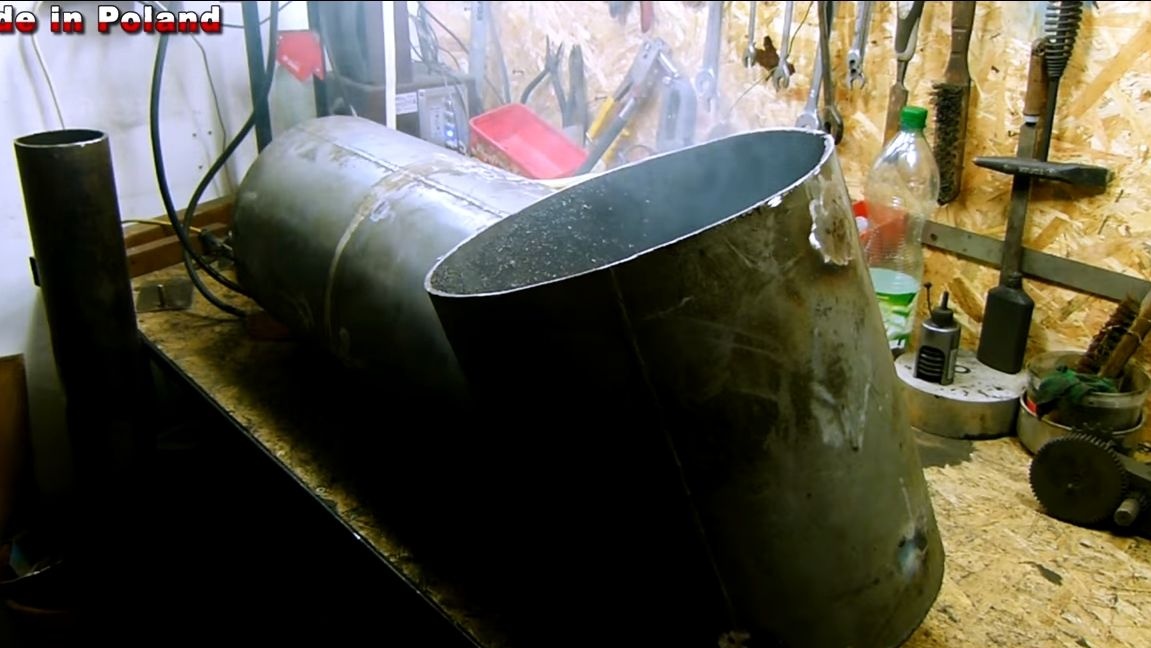
The main part of the furnace includes a firebox, a blower and windows for loading fuel. All this business is made of steel square pipes of big section. First of all, we take a piece of pipe, which we will adapt to the furnace. At the top and bottom we cut openings of a square shape. One of the holes will be used for the blower, and the other for the installation of the hopper. First, we weld the loading hopper, it is a piece of pipe welded at the right angle. Another channel is immediately installed, I did not understand its purpose.
As for the second hole, we weld the grate to it. They are a thick plate with holes.Well, then we weld the ash collector, for its manufacture, cut a square pipe along. All welds must be airtight, passing smoke into the room is unacceptable.
That's all, the main part of the furnace is ready, move on.

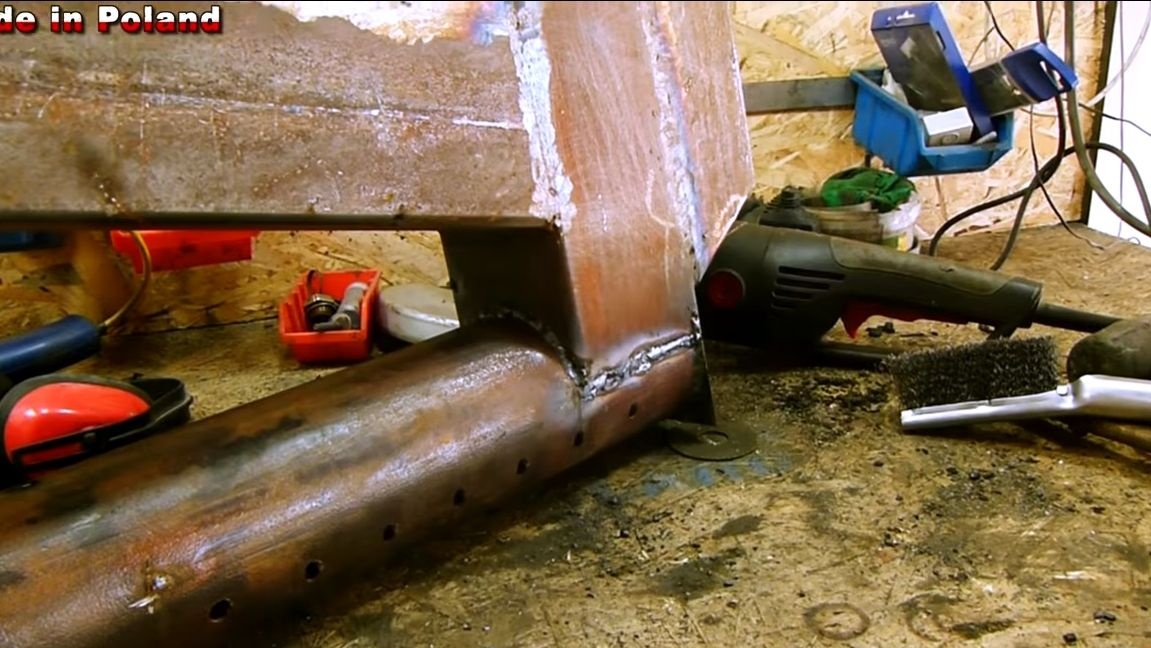
Step Two Pipe installation
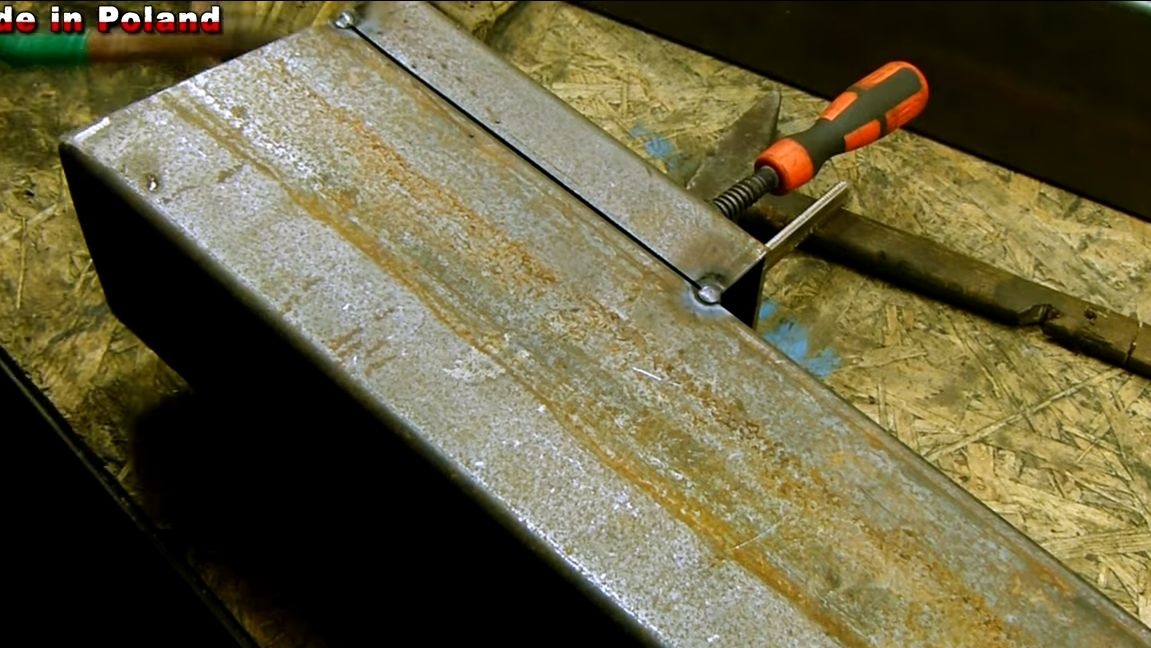
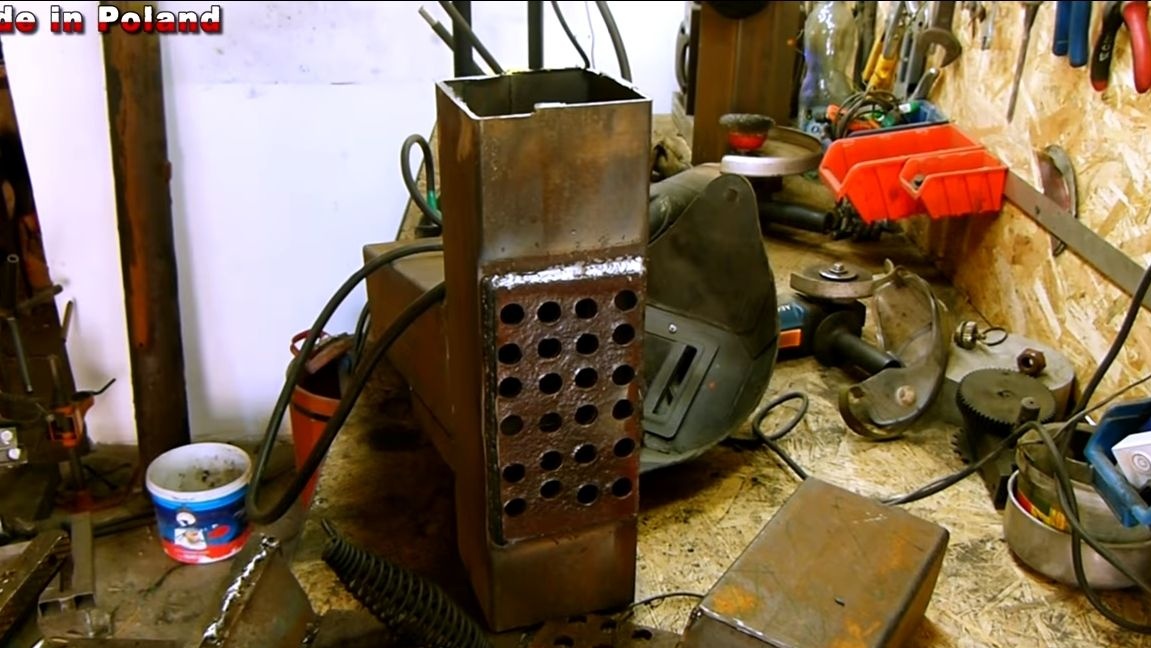
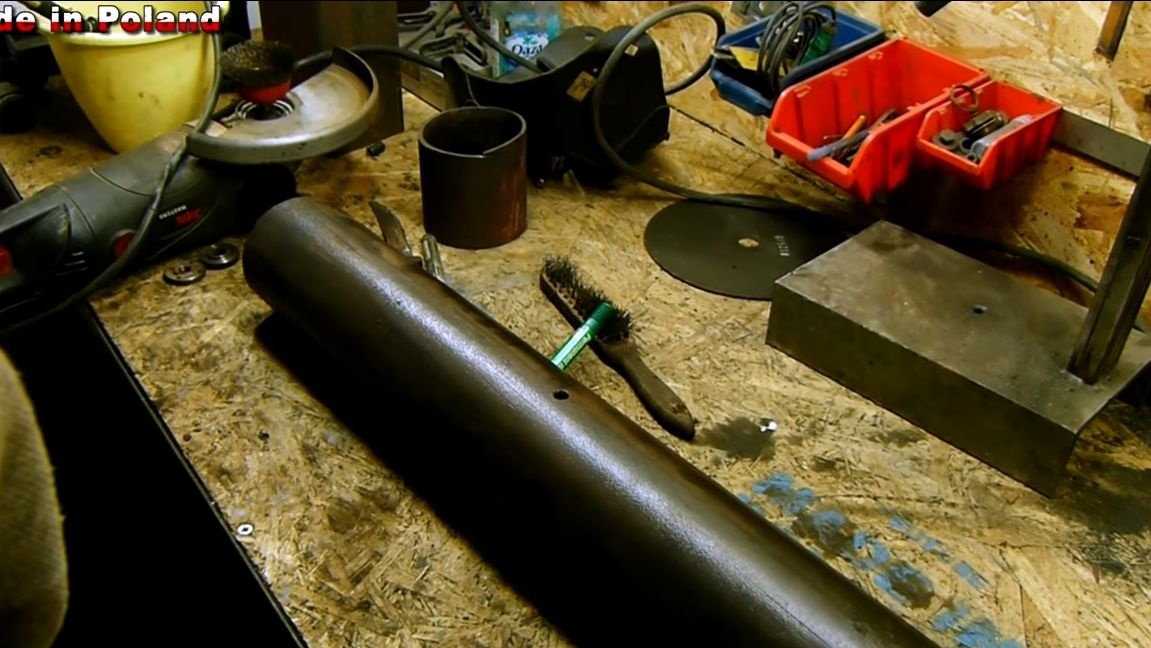
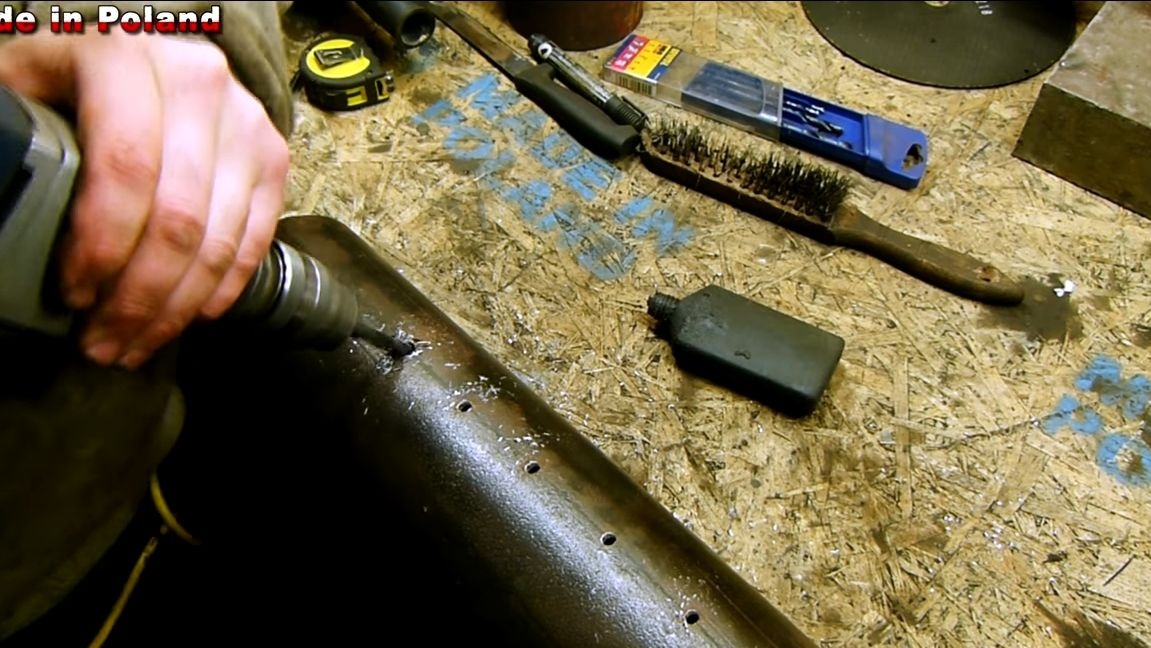
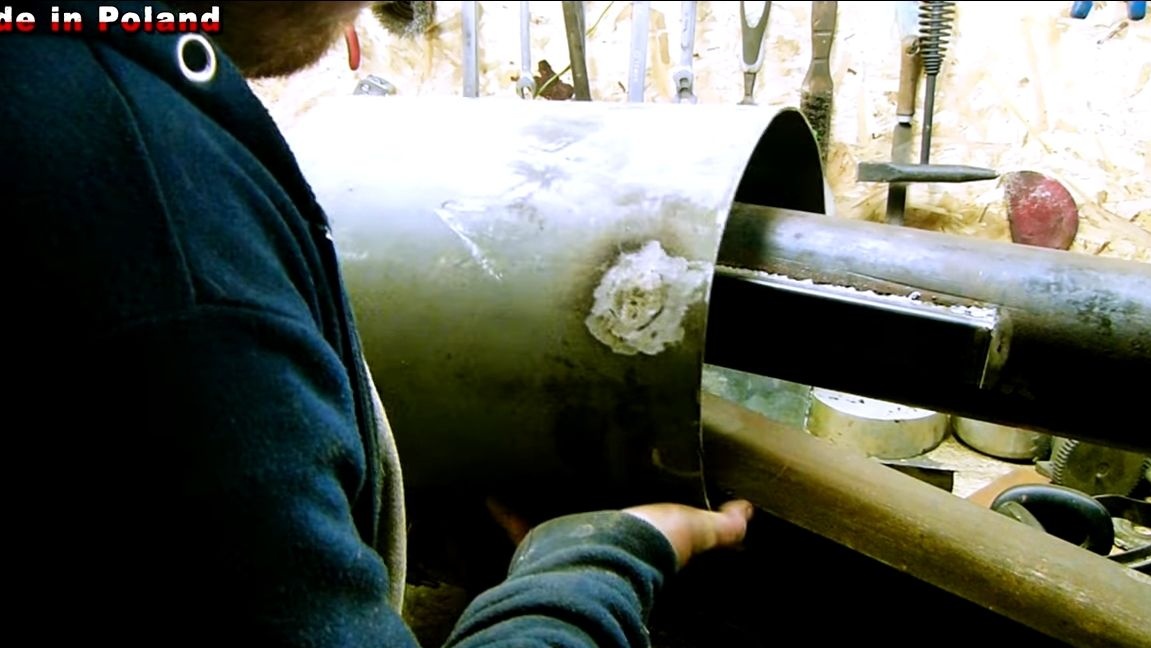
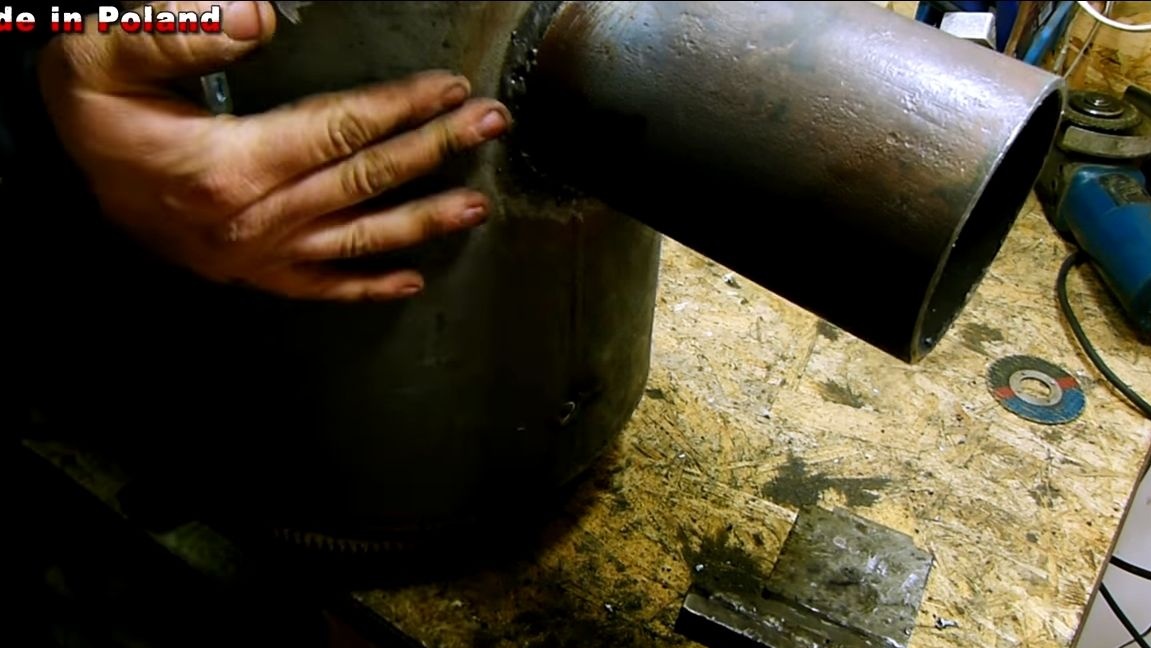
Now we need a piece of a thick-walled pipe, it will have to withstand huge temperatures. This pipe will be a chamber in which unburned fuel will burn out. We drill a number of holes in the pipe, they are needed in order to supply air to the chamber, due to which the fuel will burn out.
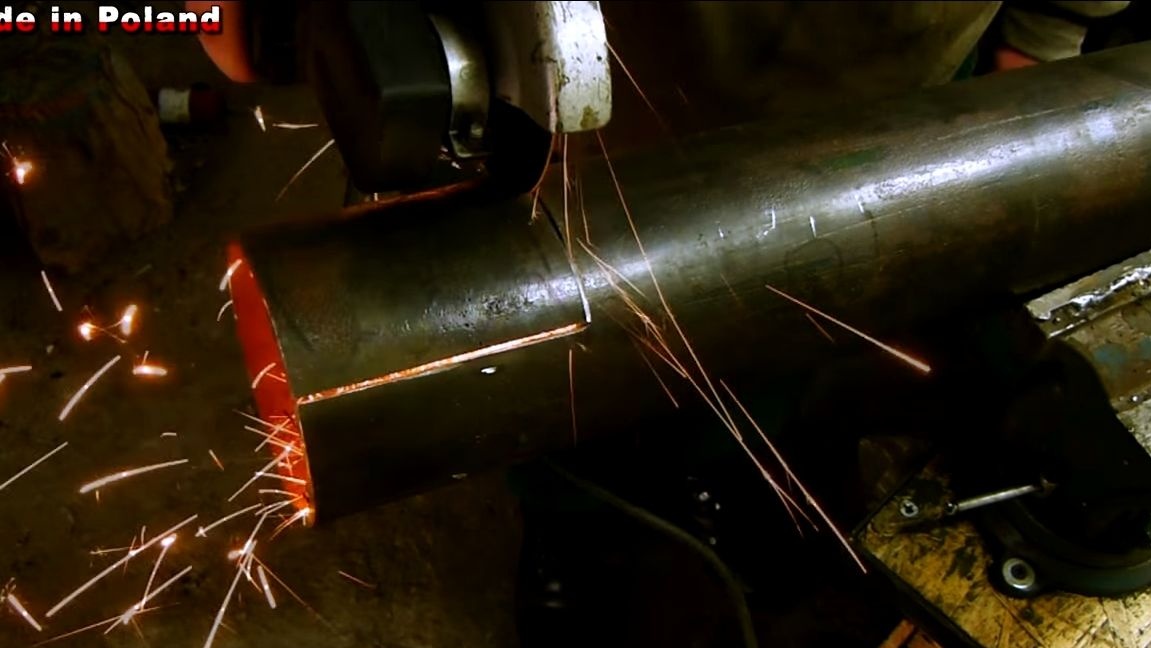
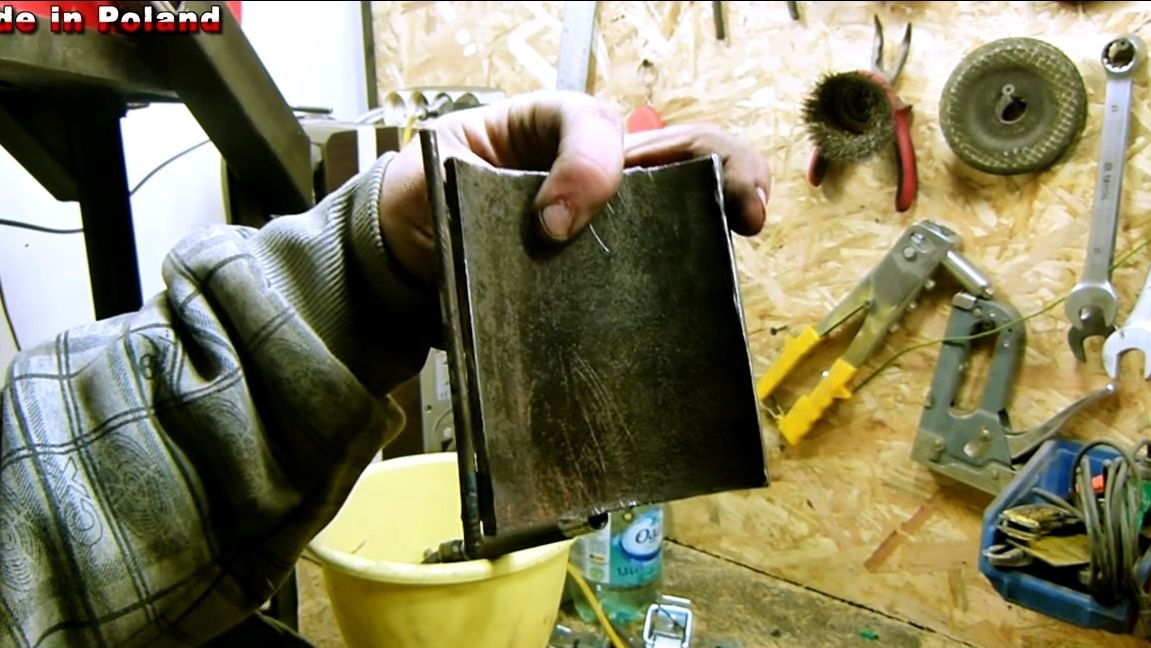
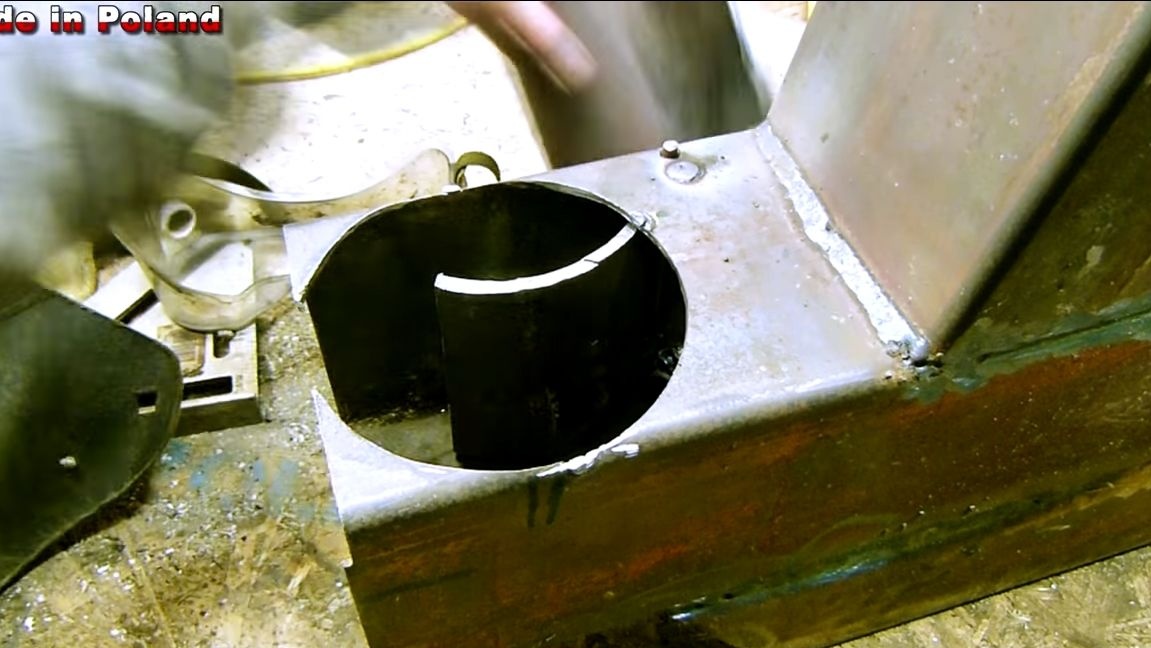
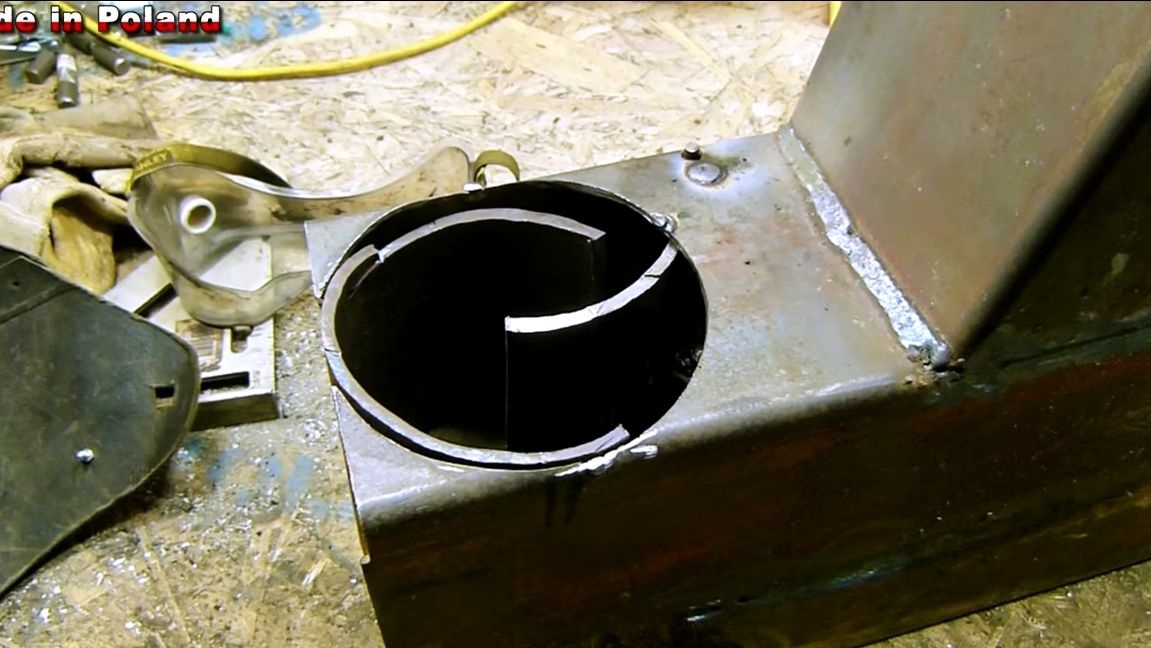
Before installing the pipe, cut out a part in it, as in the photo. We weld the rod to the received part, this part is a damper that will allow you to control the combustion process. Due to this shape, the flame will twist inside the combustion chamber, thereby increasing the efficiency of the furnace. In the furnace, drill holes and install a damper. Next, we install our pipe, the cutout should look opposite the damper. Weld the pipe well in its place.
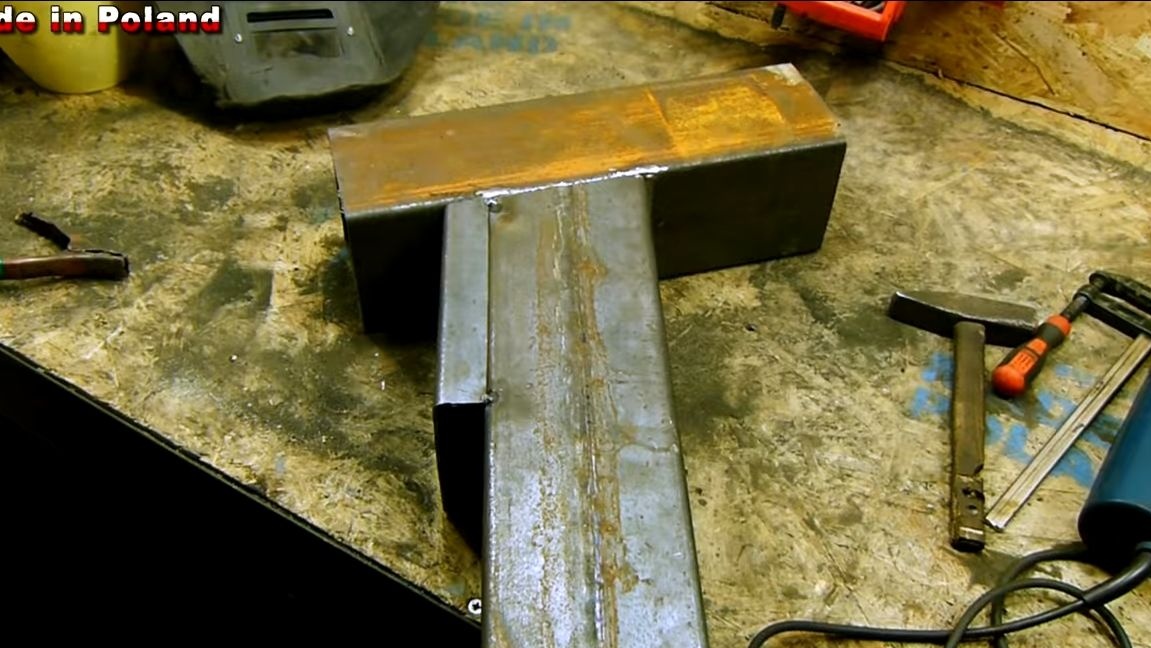
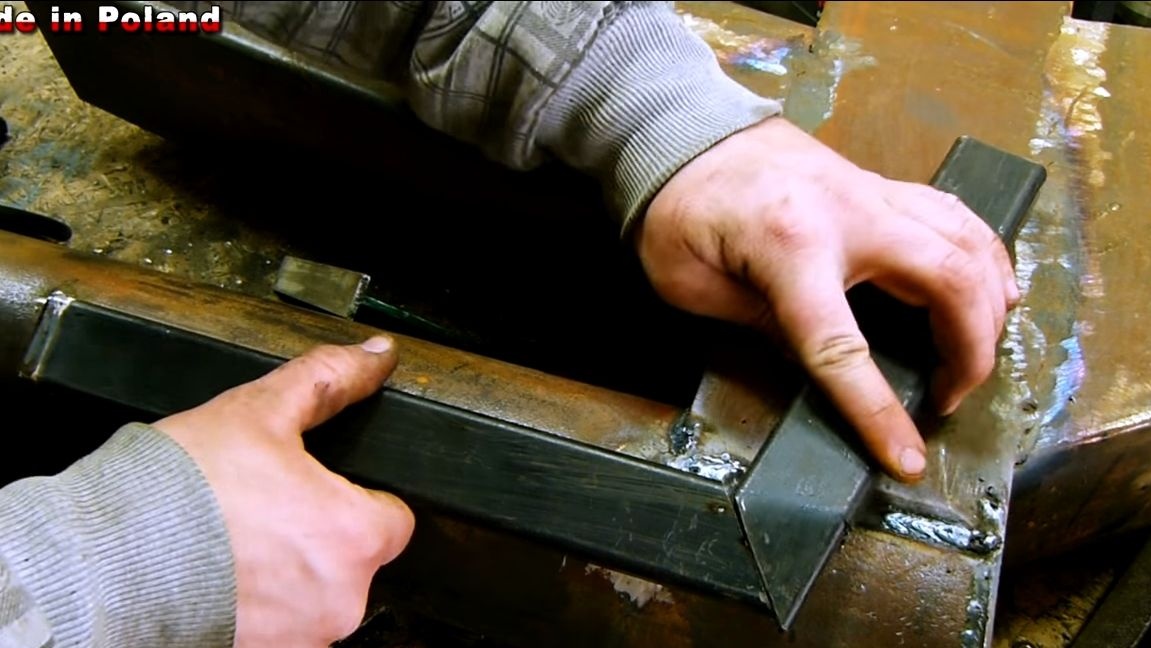
Step Three Air duct
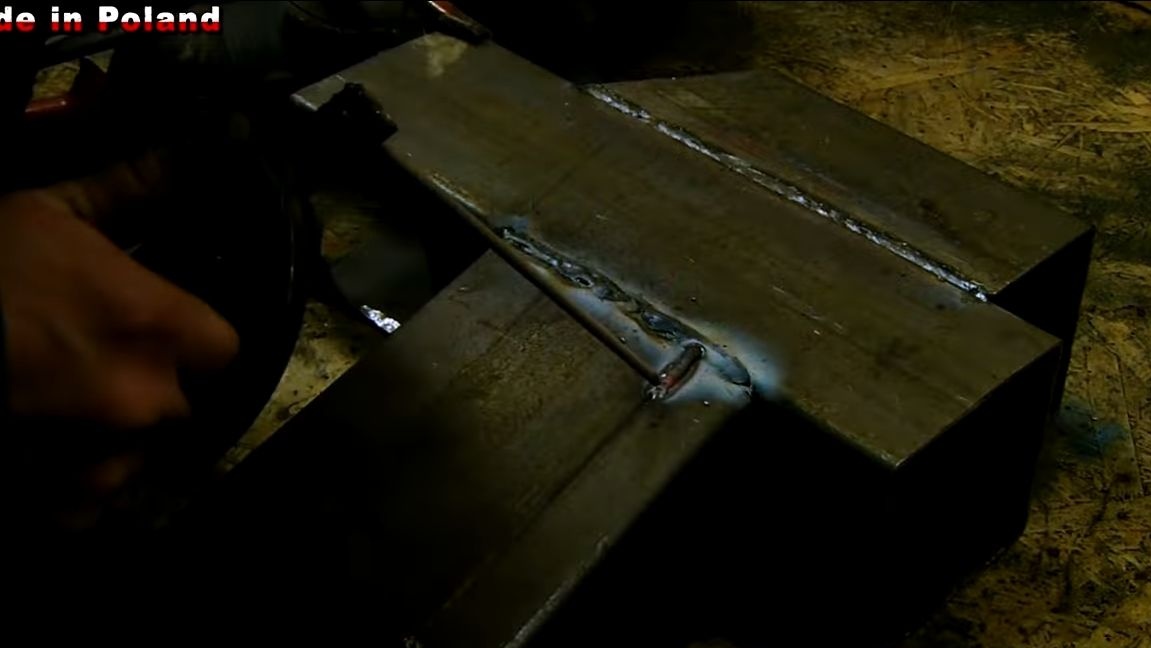
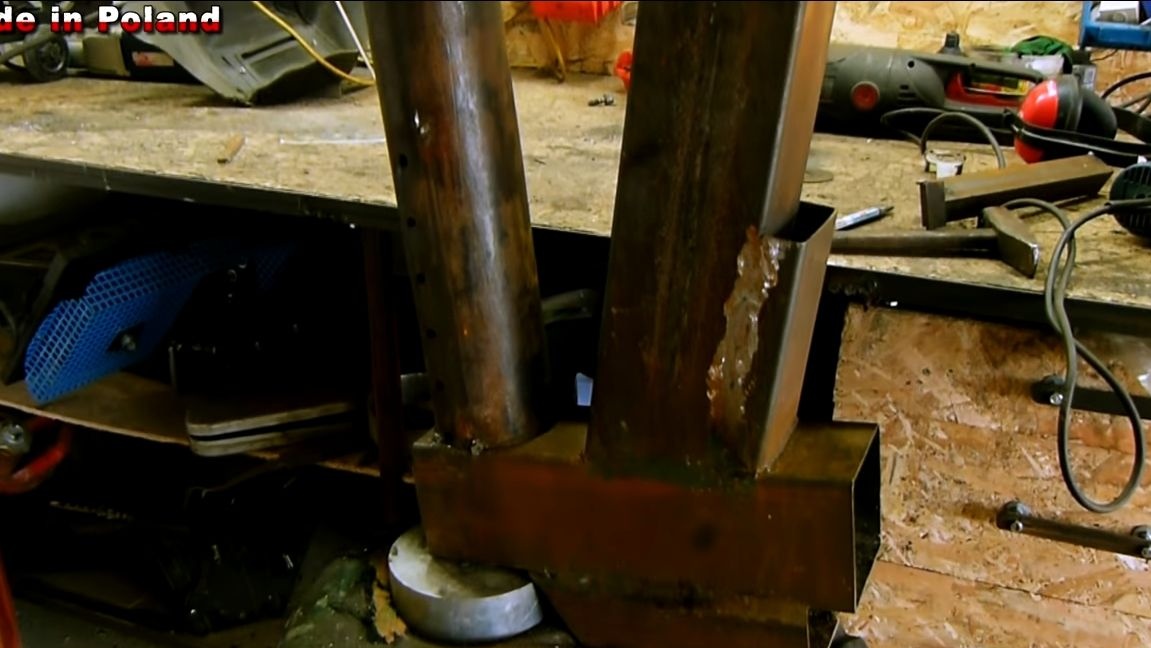
Earlier we drilled a series of holes in the chamber of the subsequent afterburning, they are needed for air supply. To do this, you need to establish a channel over them, through which this same air will enter. To make it, you will need two pieces of a square pipe, one of its walls must be cut off. Now just weld the channel, as the author in the photo. He must go out into the street.
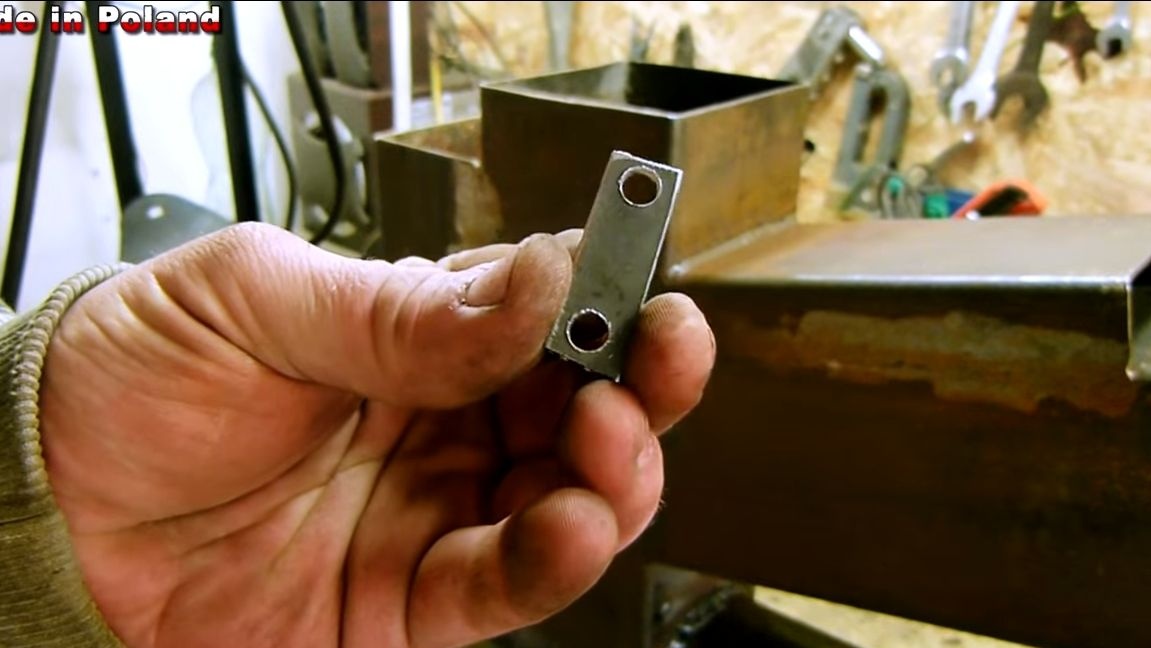
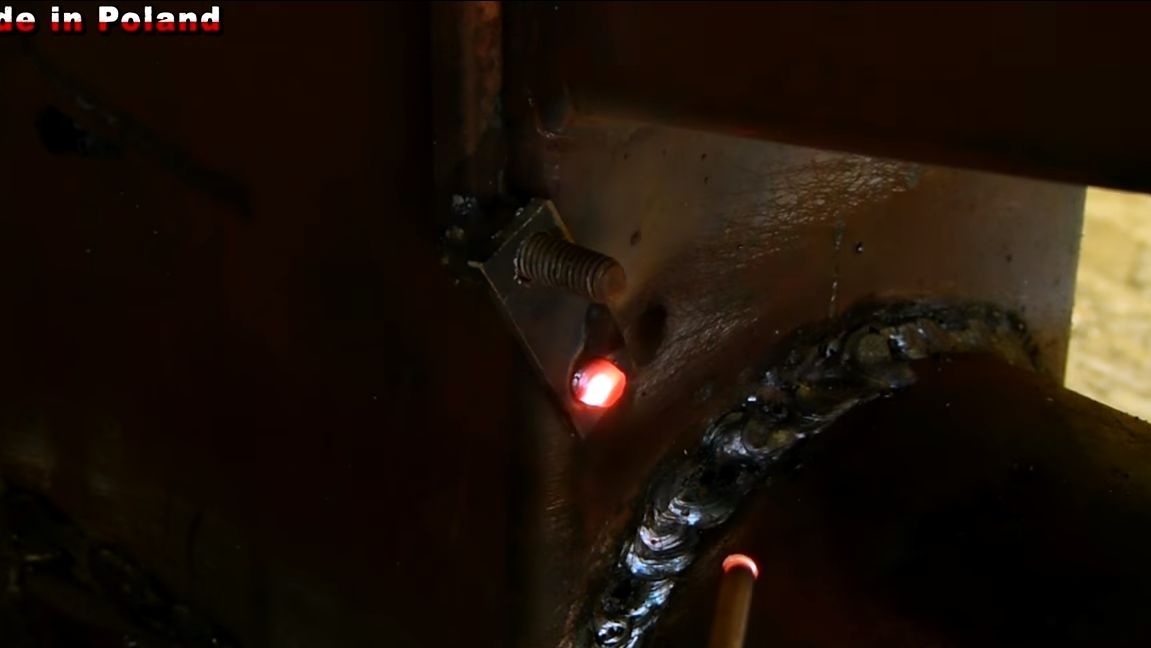
Step Four Damper control lever
After installing the damper, a steel rod protrudes above the surface of the furnace. We need to weld a small plate with a hole to it. Well, now just connect the lever of such a form that you will be comfortable to use here. Now you can control the burning speed with a light movement.
Step Five Door installation
In total, four doors are provided on the furnace, three of them are furnace and one for blowing. We make sheet steel doors, and fasten using door hinges. We weld handles and locking mechanisms to the doors where required.
Step Six Insulation chamber installation
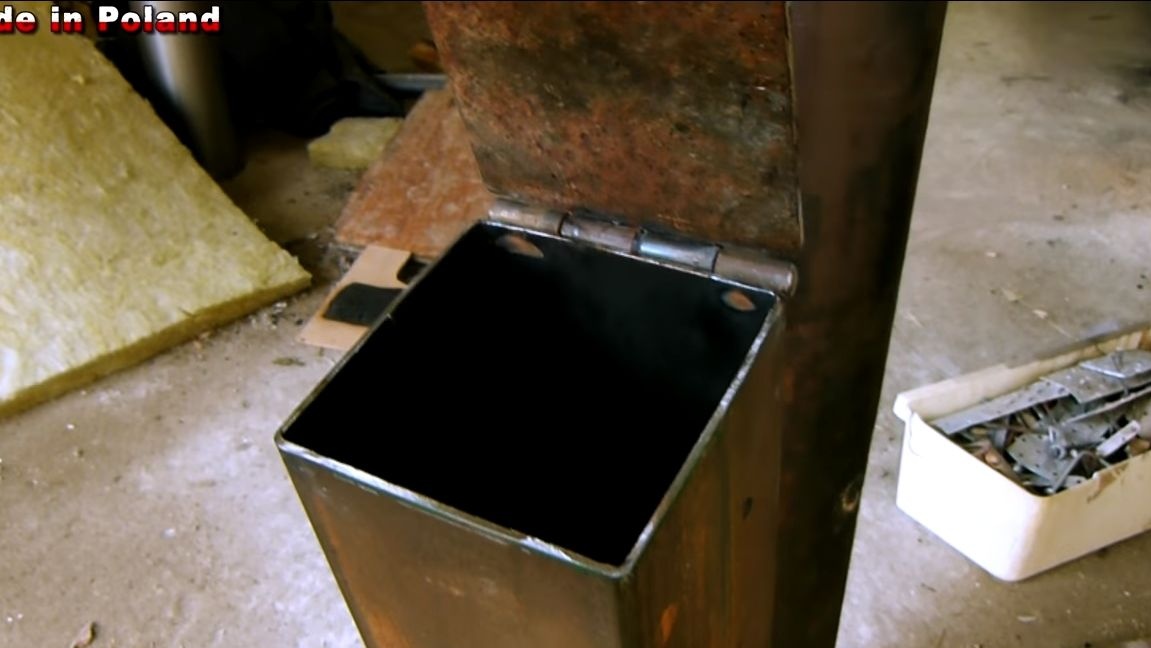
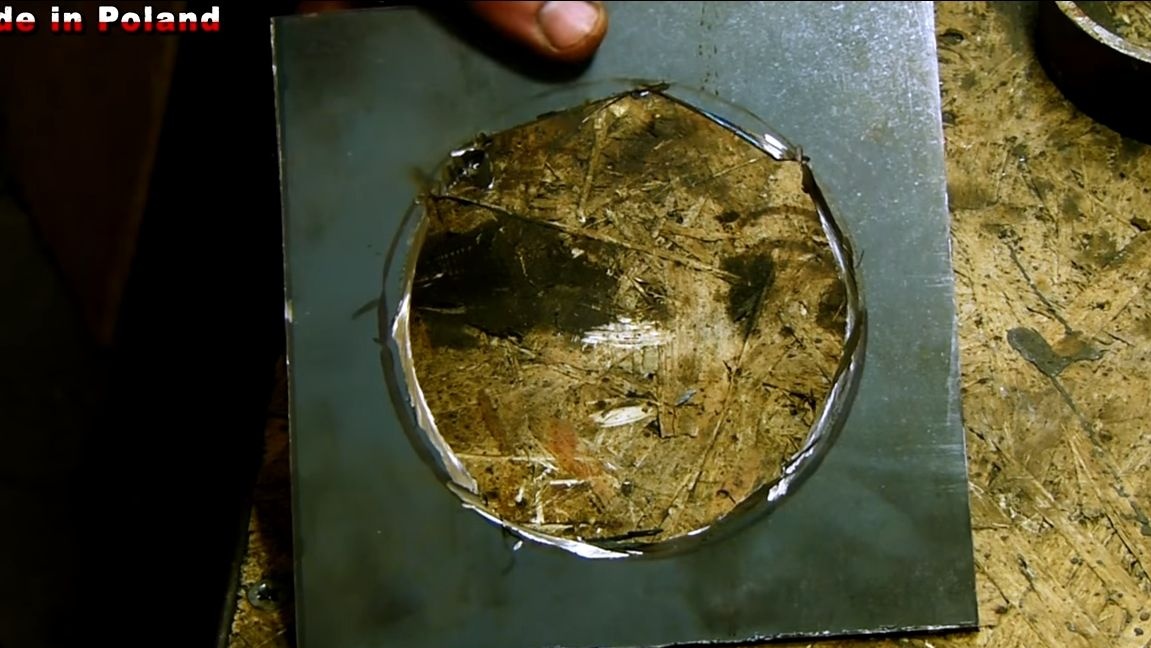
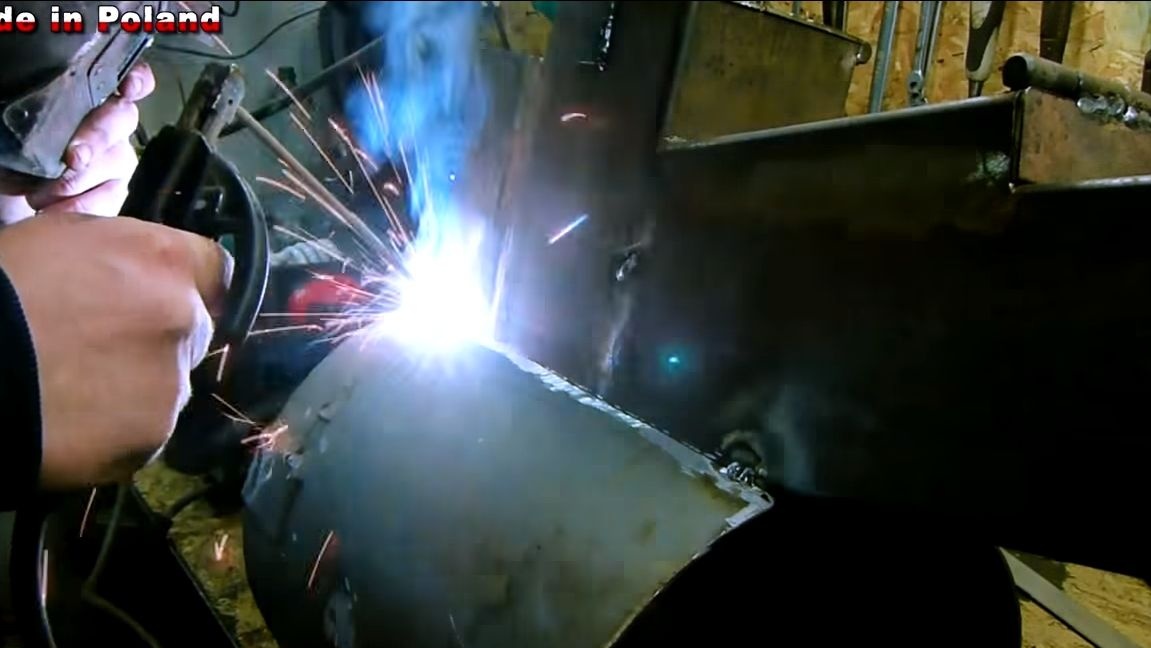
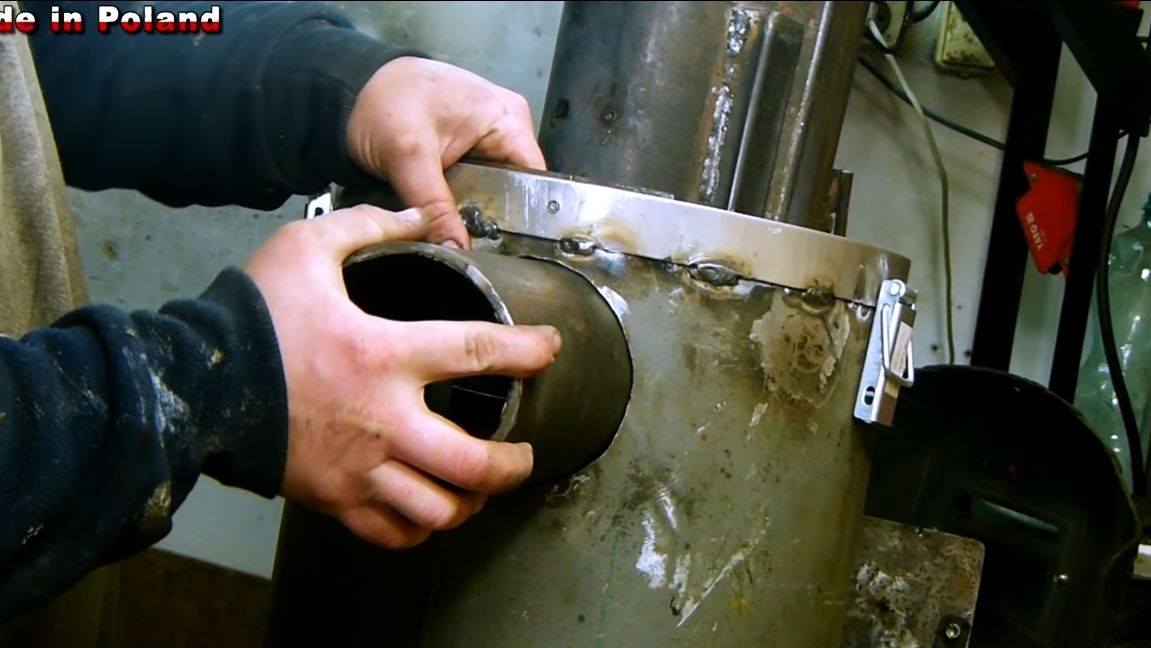
On top of the pipe you will need to install another pipe. To do this, take sheet steel and cut a hole in it along the diameter of the pipe, put the part on the pipe and weld it. We weld the rim to the installed plate, it is needed to fix the pipe, which will be installed on top.
Seventh step. Heat exchanger installation
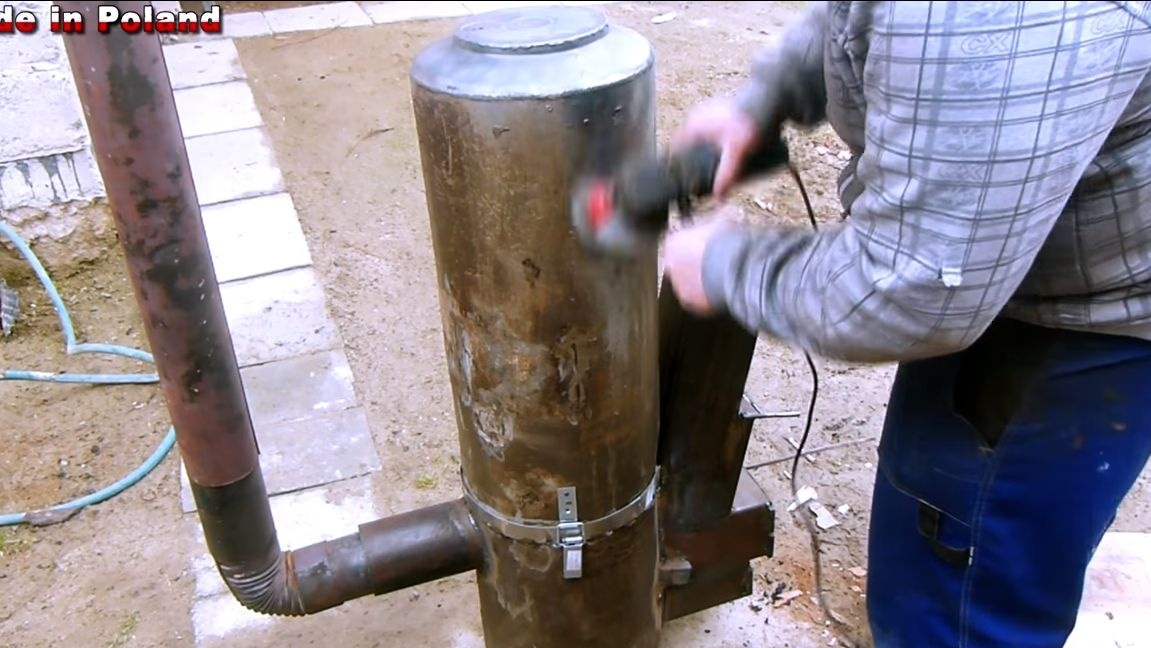
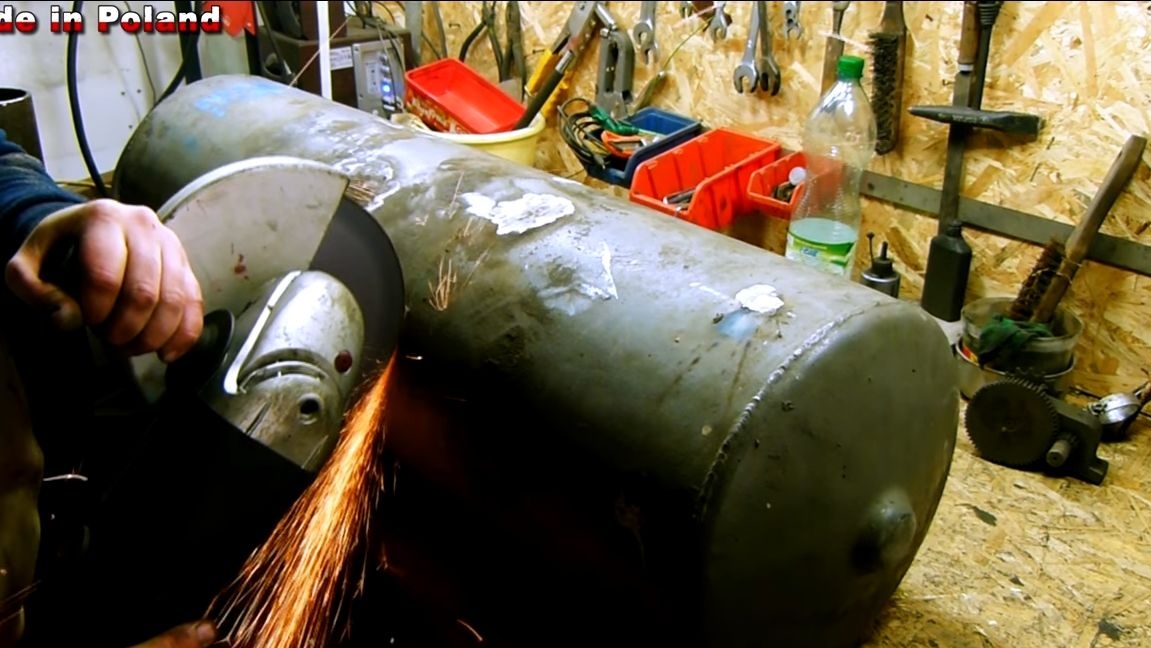
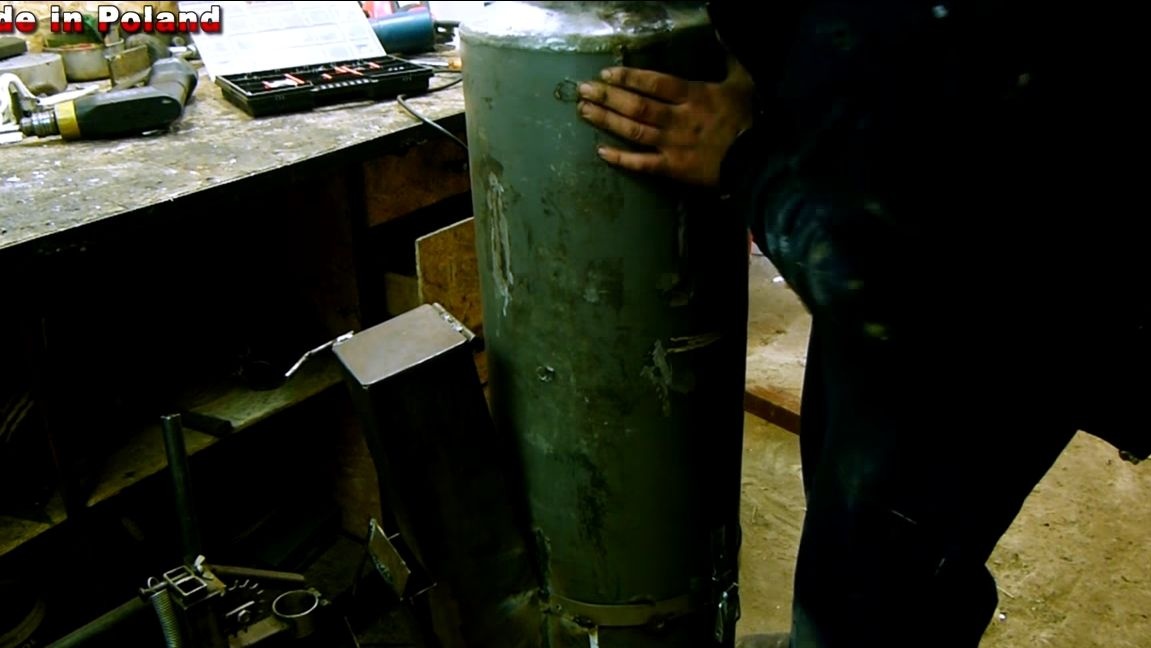
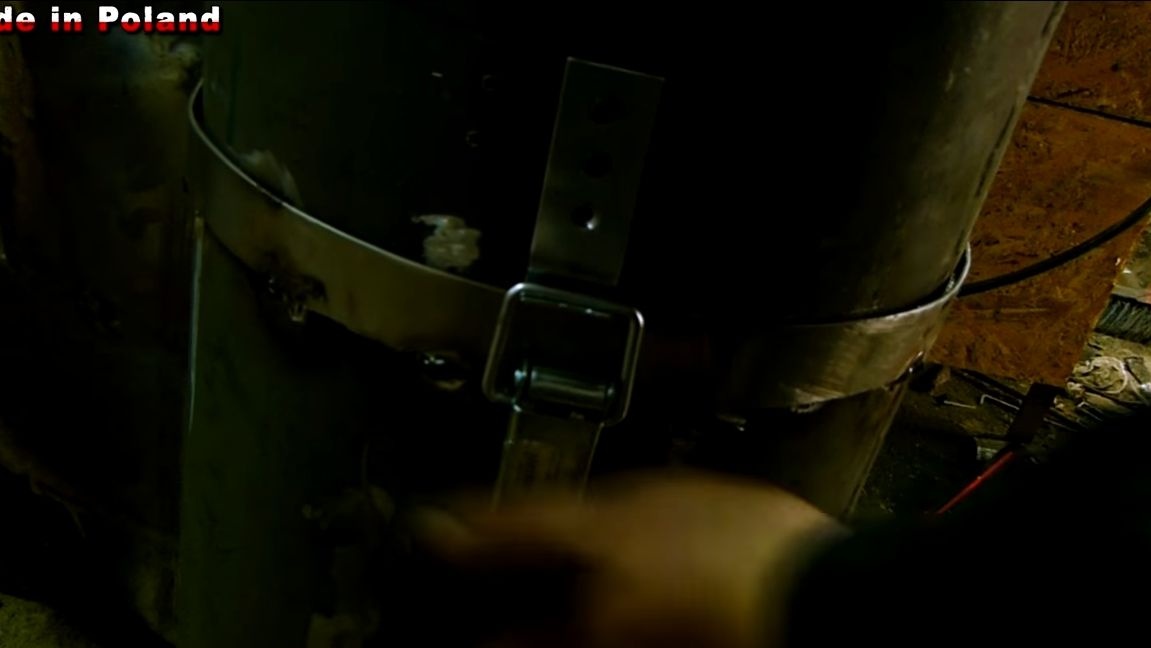
Part of the gas cylinder is installed on top of the afterburner, we need to cut it in half and then weld it to the furnace. This chamber will heat up from hot gases, and then it will transfer its heat to the room. The author decided to make the heat exchanger collapsible. To do this, we need another steel rim for attaching the second half, we weld it in its place.
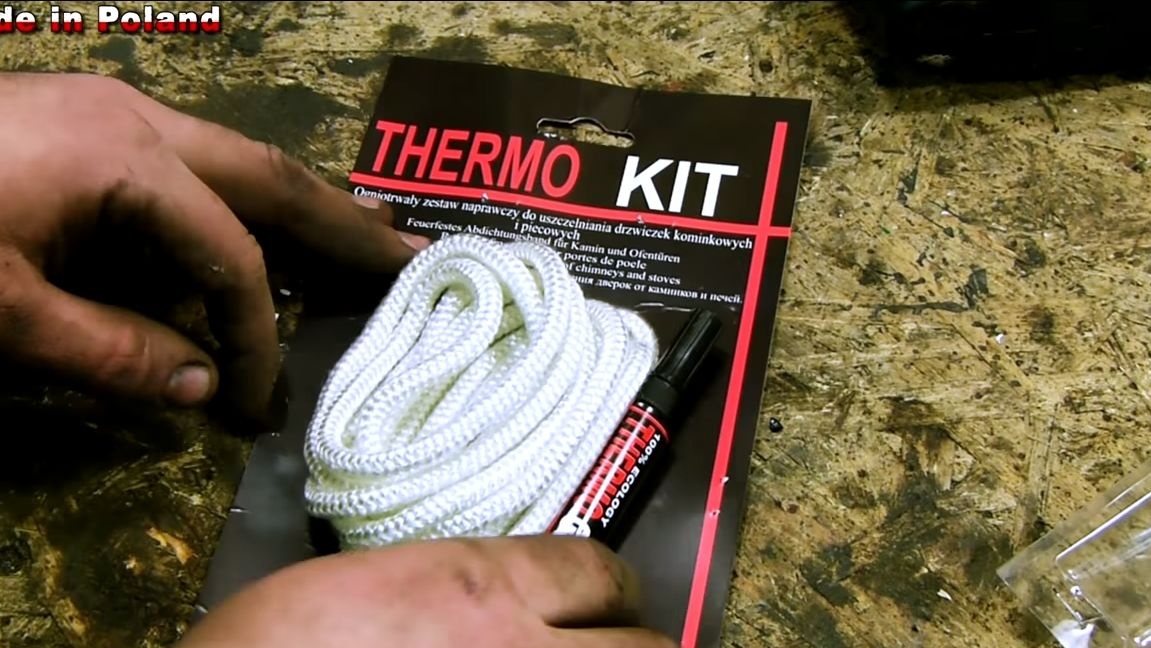
So that the halves do not let carbon dioxide into the room, it is important to take care of insulation. The author for this prepared a special heat-resistant sealant and cord for sealing.


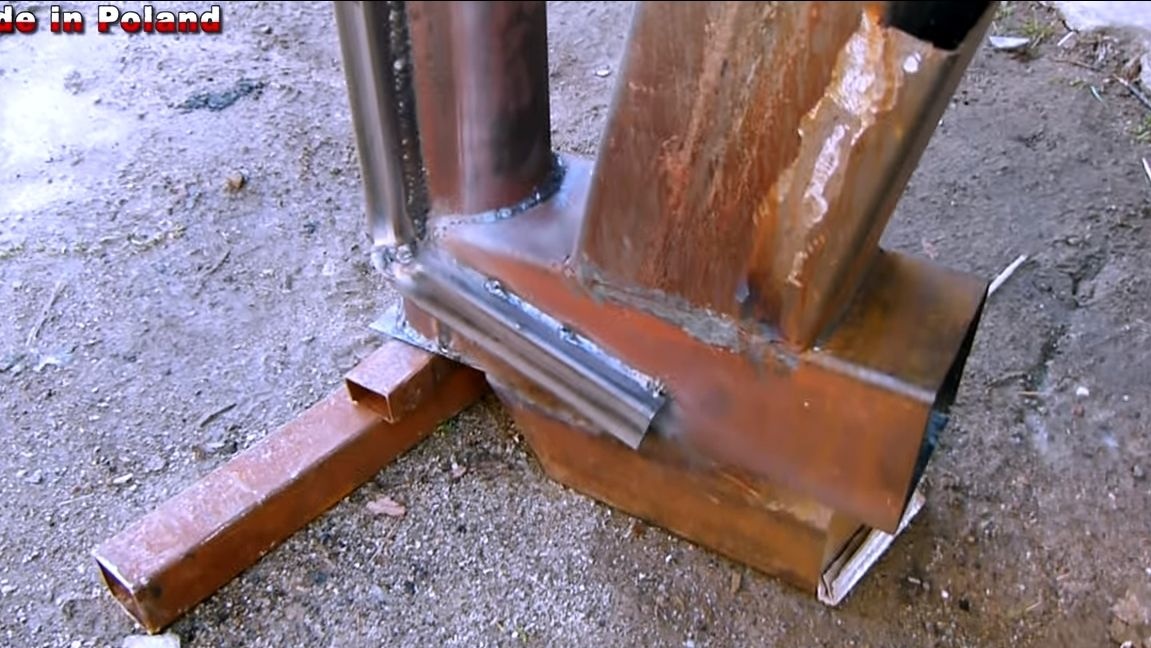
Step Eight. Chimney and base
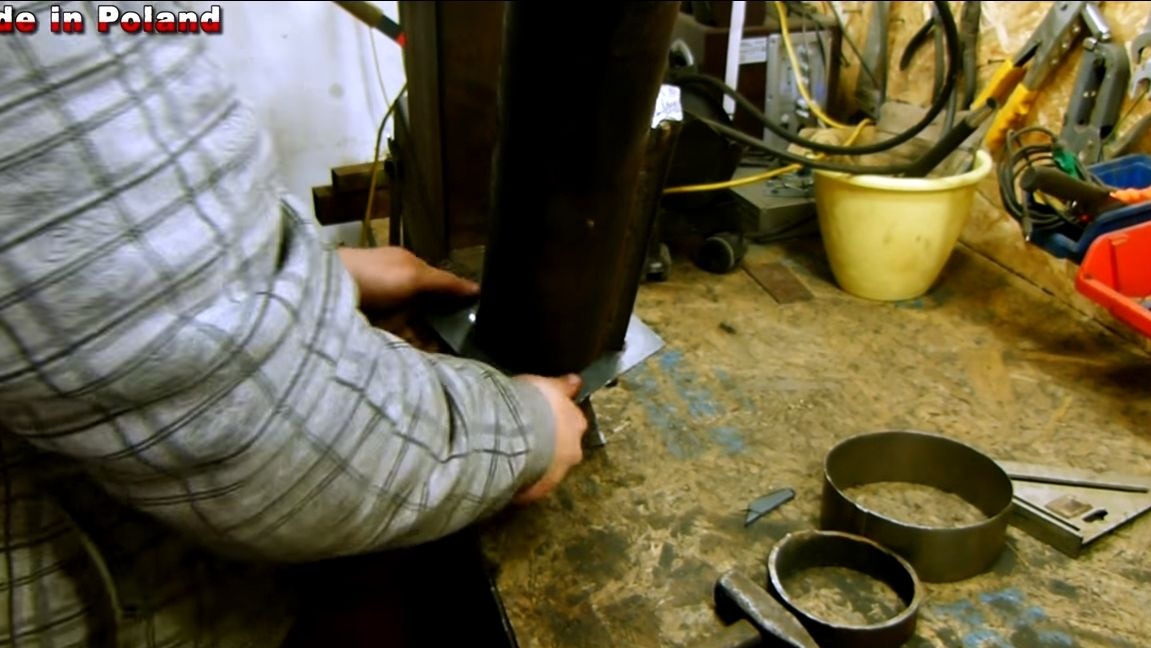
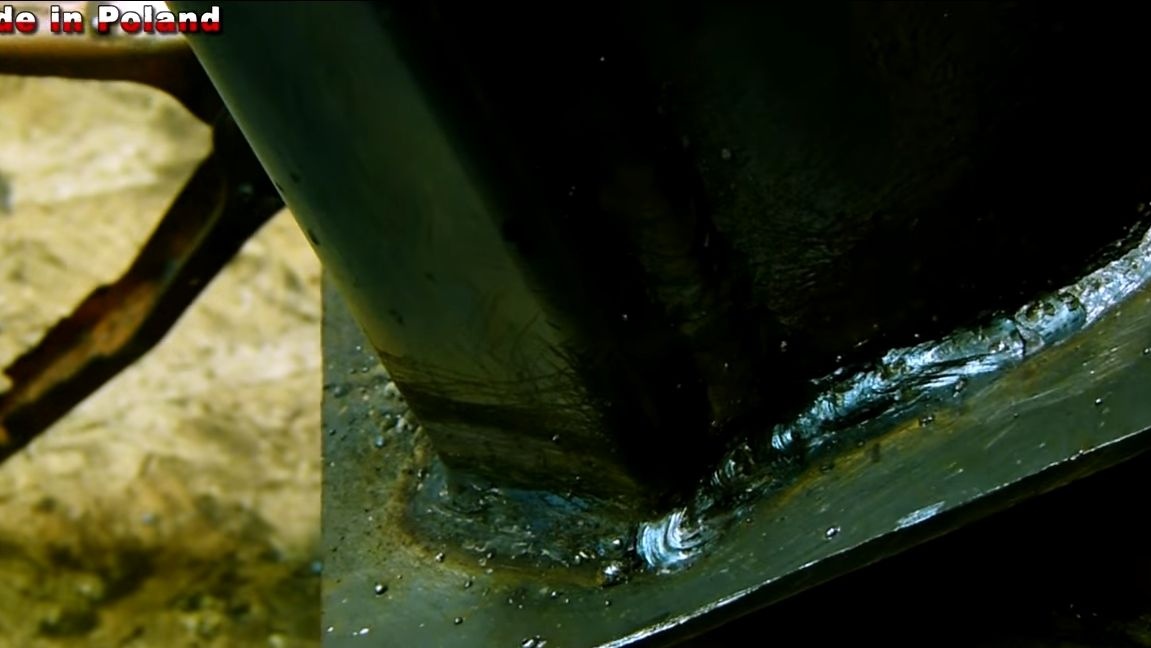
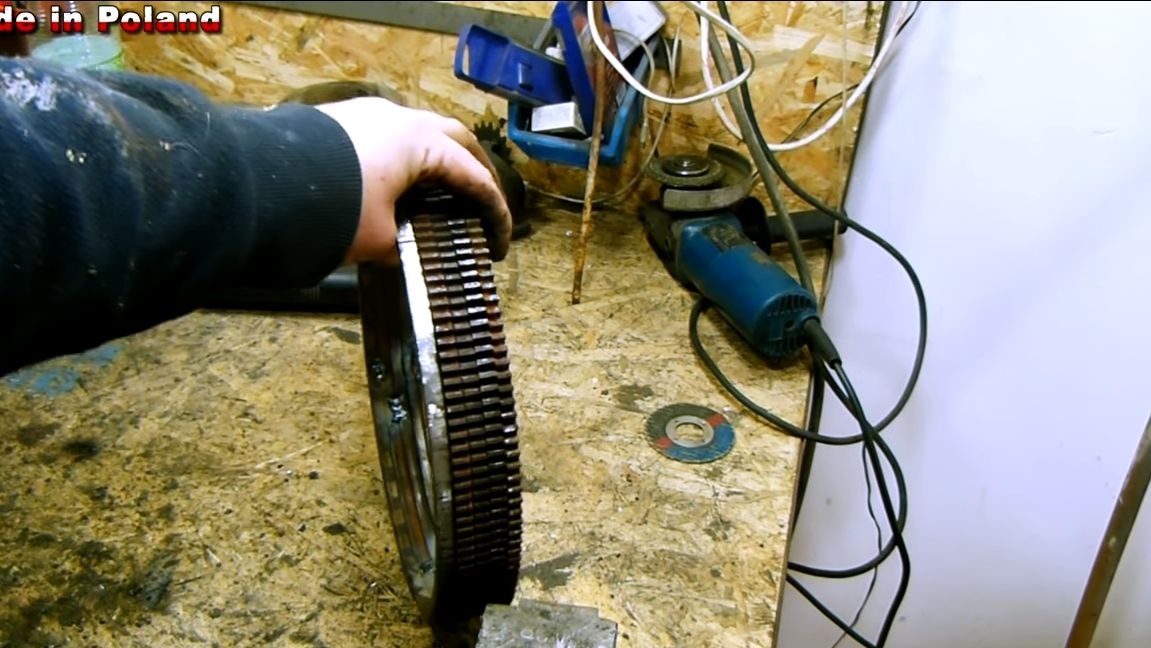
In the lower part of the heat exchanger we weld a pipe through which smoke will escape, or rather carbon dioxide, if the furnace is assembled correctly. As a result, we get a bend that will evenly heat up the heat exchanger and retain heat. As for the base, then heavy sheet metal will be needed to make the furnace stand confidently on the base. A flywheel from a car and another similar item will also do. If desired, you can make legs for the stove.

Step Nine. Furnace assembly
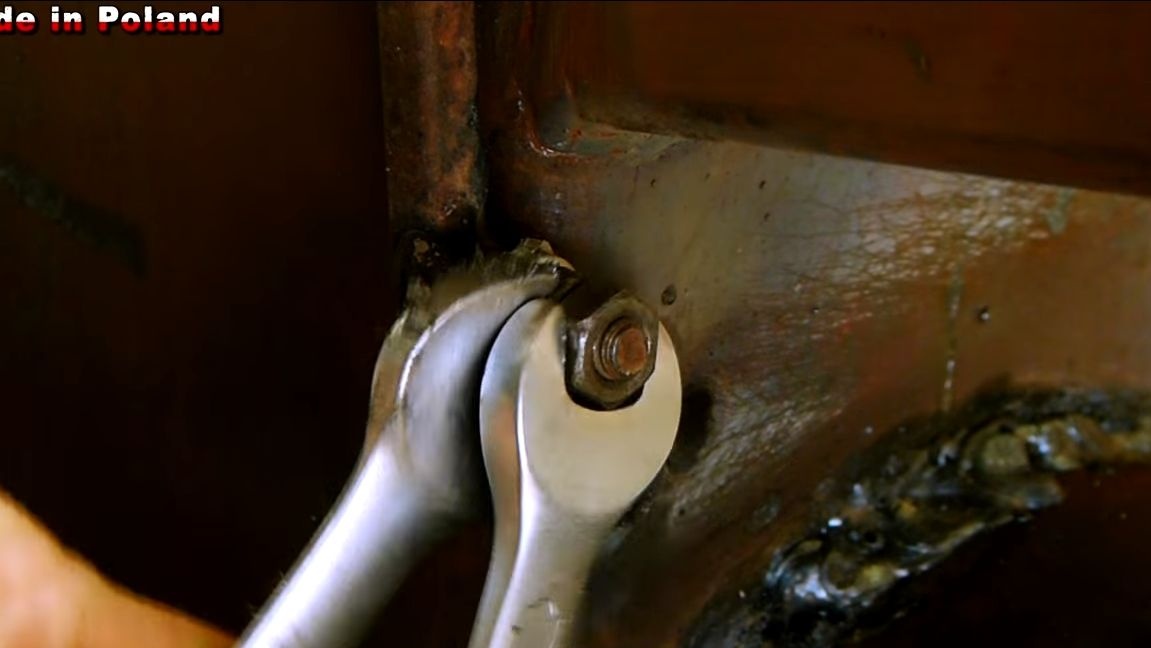
To assemble the furnace, we need to fill up the insulator, it will prevent the passage of heat through the air, and will also interfere with infrared heat transfer. The insulation must withstand high temperatures.We make cuts in the upper part of the outer pipe, and then bend these parts inward. As a result, now the insulating material does not spill out of the body. Well, then install on top the second half of the cylinder. Make sure the parts fit together tightly. If desired, you can install several corners with holes and tighten the halves with bolts and nuts.
Step Ten Finalization
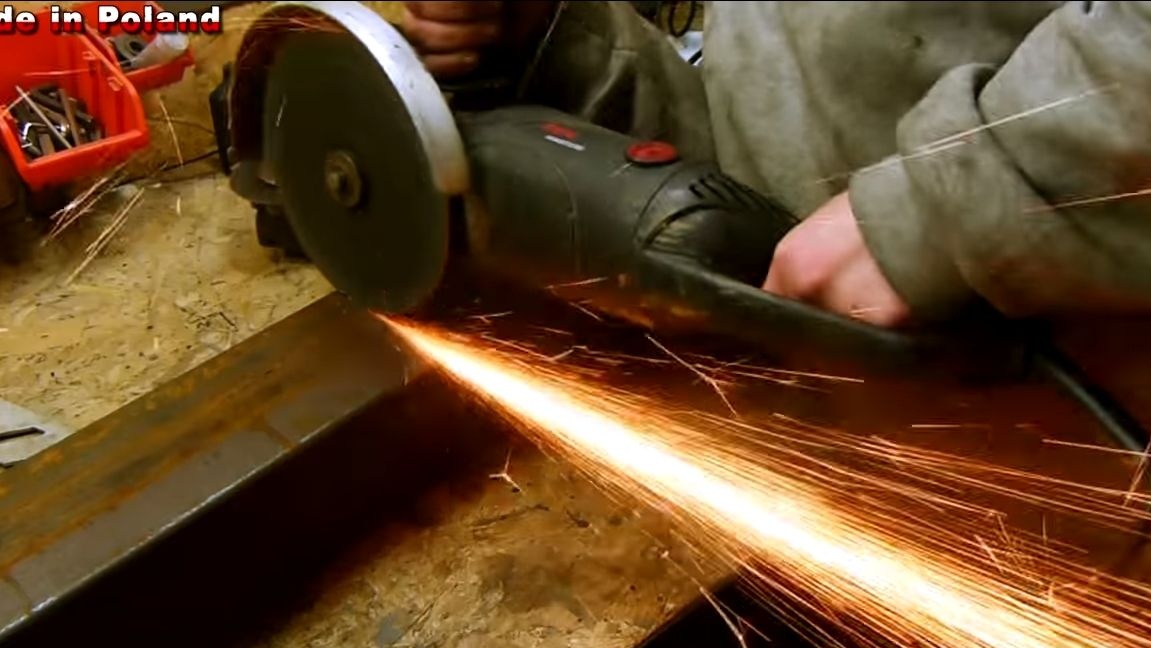
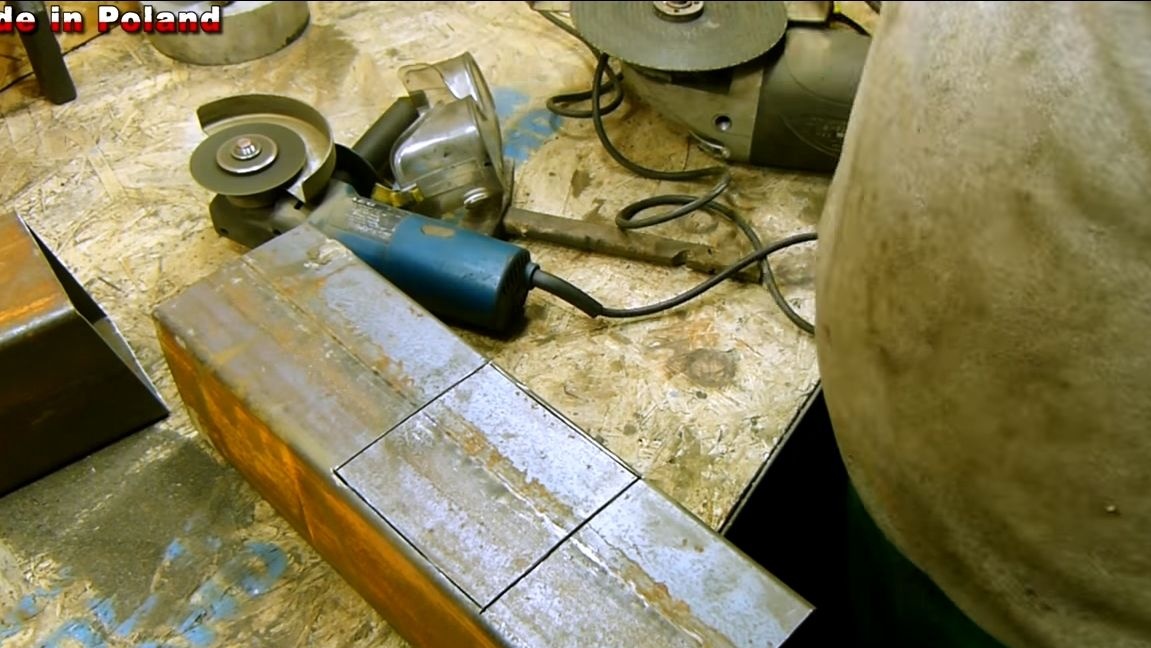
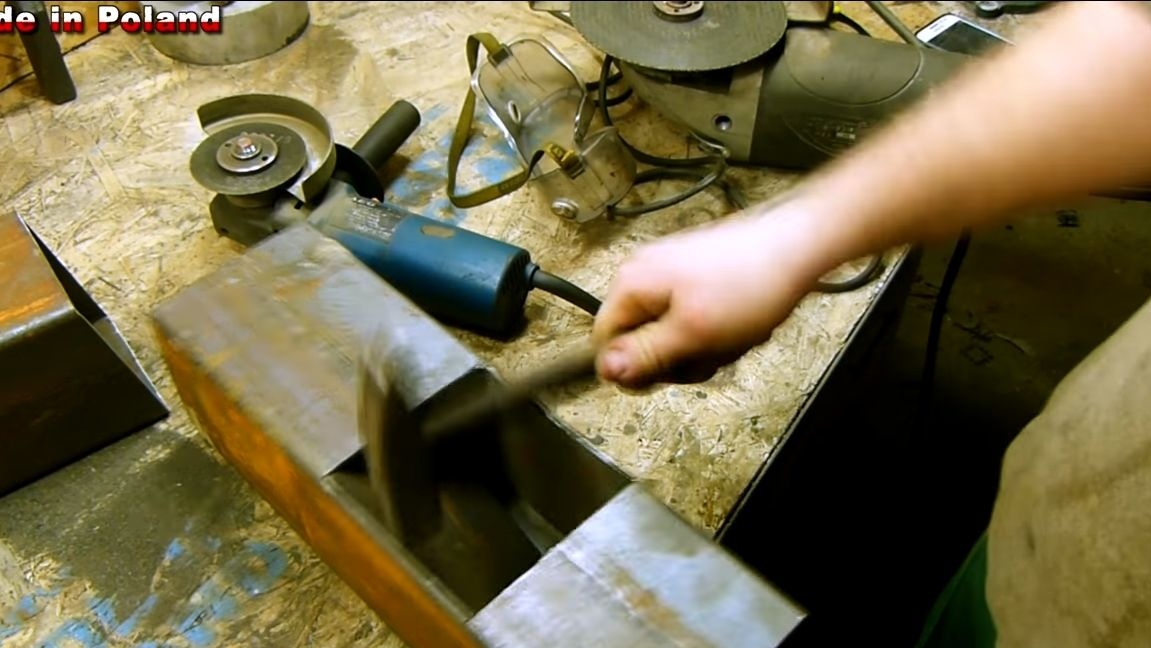
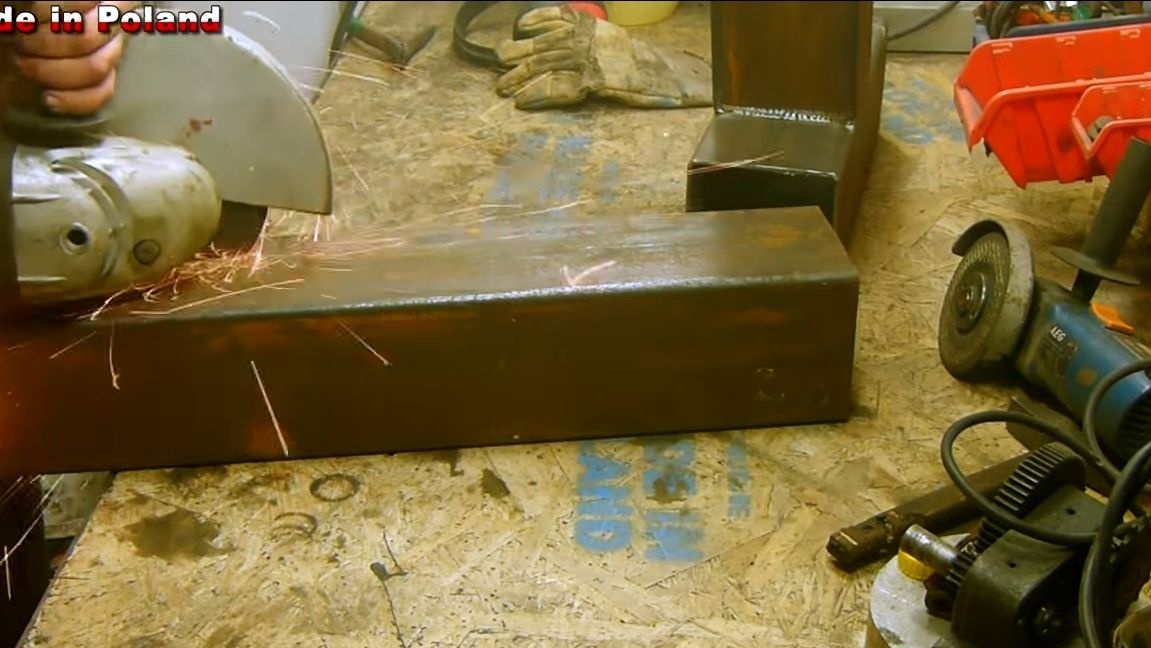
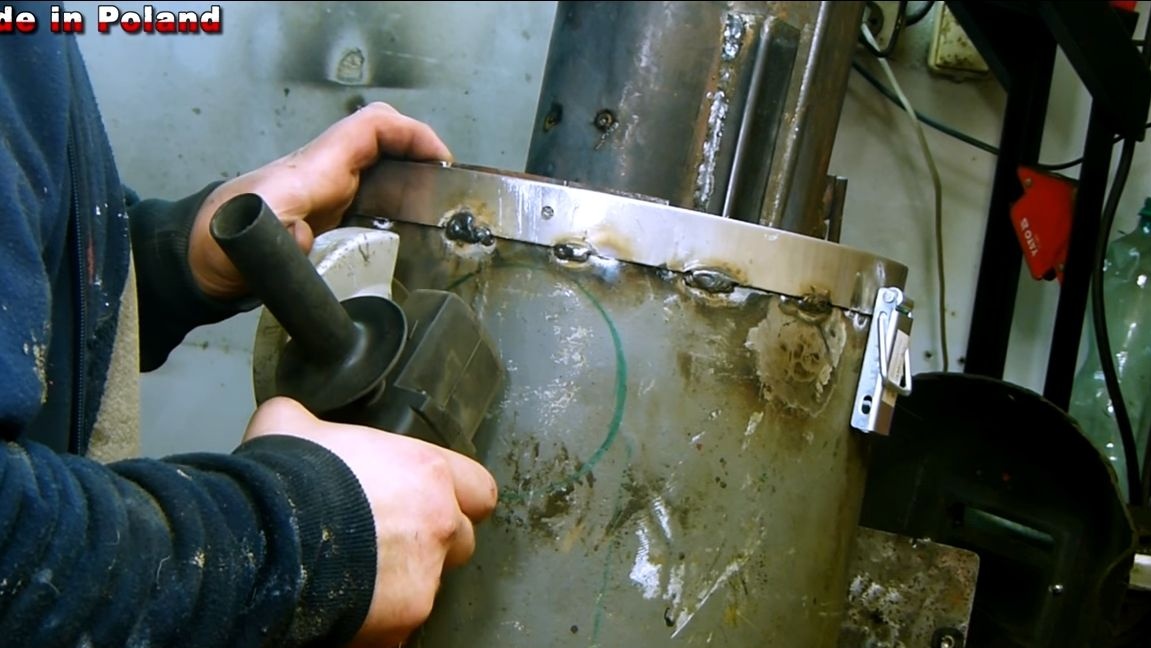
We take a grinder and carefully clean the welds, as well as clean off all rust, paint and other impurities. Well, then paint the oven using spray cans. Paint must be heat resistant.
Step eleven. Testing
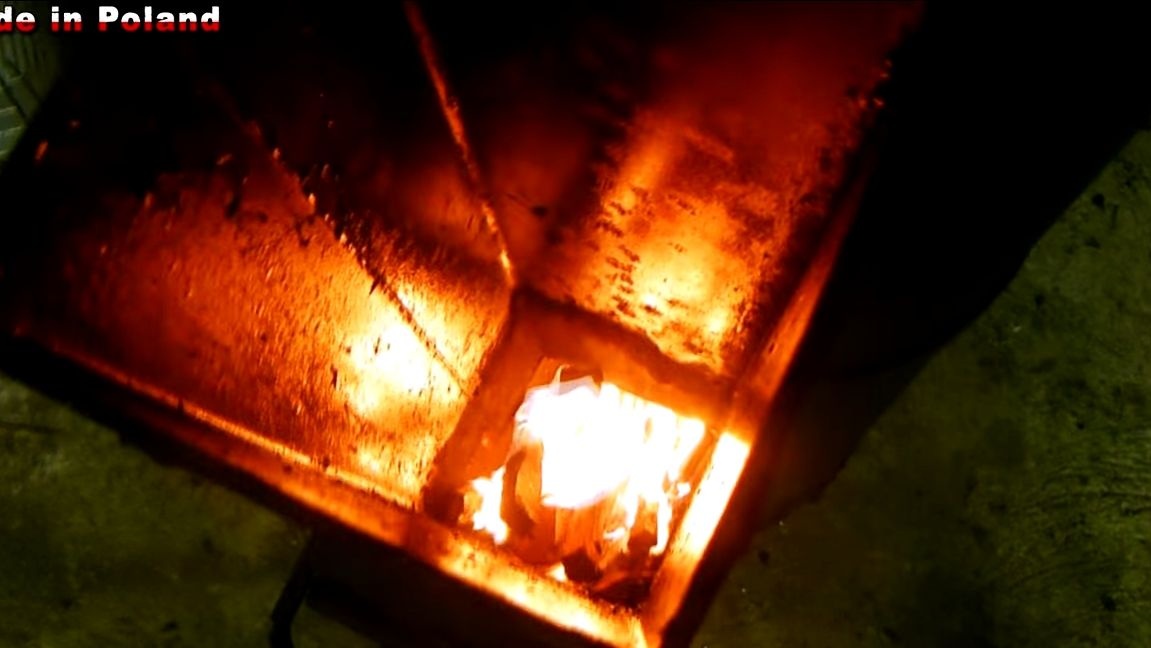
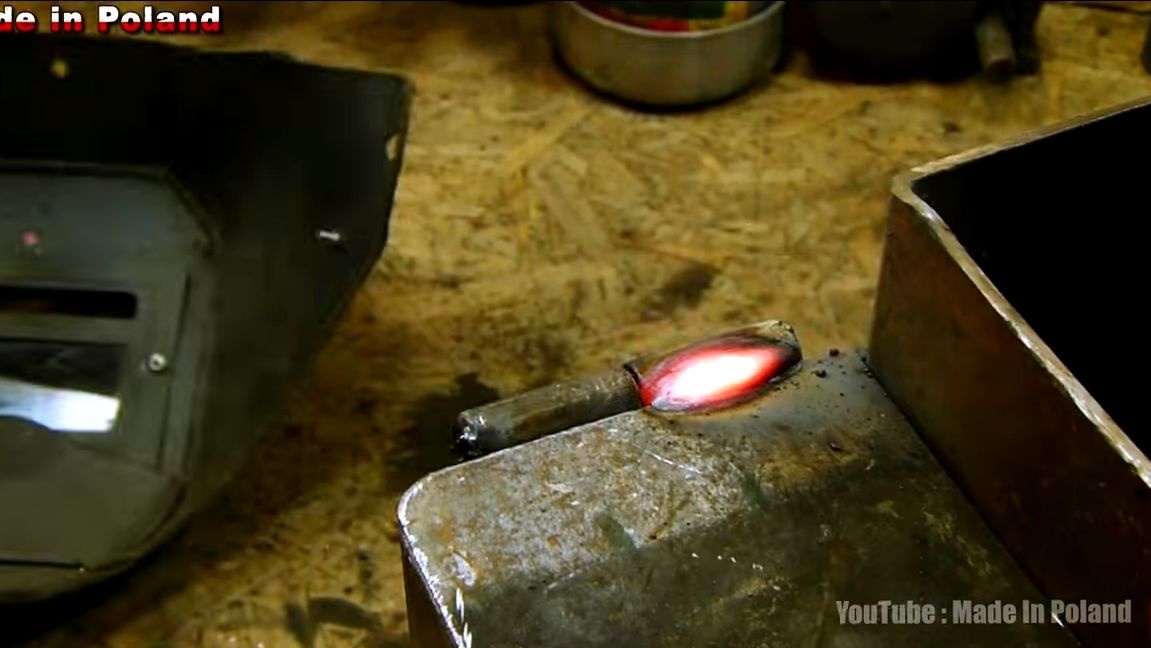
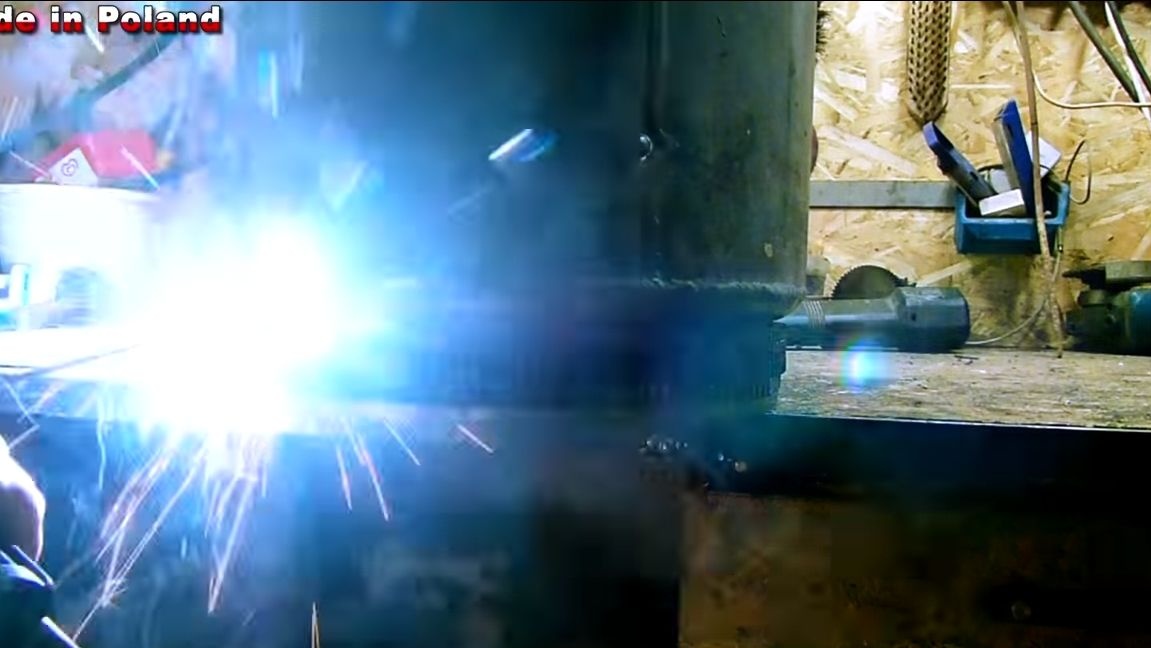
The oven is ready, you can test! We load firewood and kindle, after some time, when the stove warms up. Smoke should stop coming from the chimney. This means that the furnace is assembled correctly and works with maximum efficiency. The author decided to photograph how the fuel burns out in the chamber. It twists into a funnel, as intended.
That's all, the oven is ready! I hope you enjoyed the project! Good luck and inspiration in the manufacture of your own projects. Do not forget to share your best practices with us.