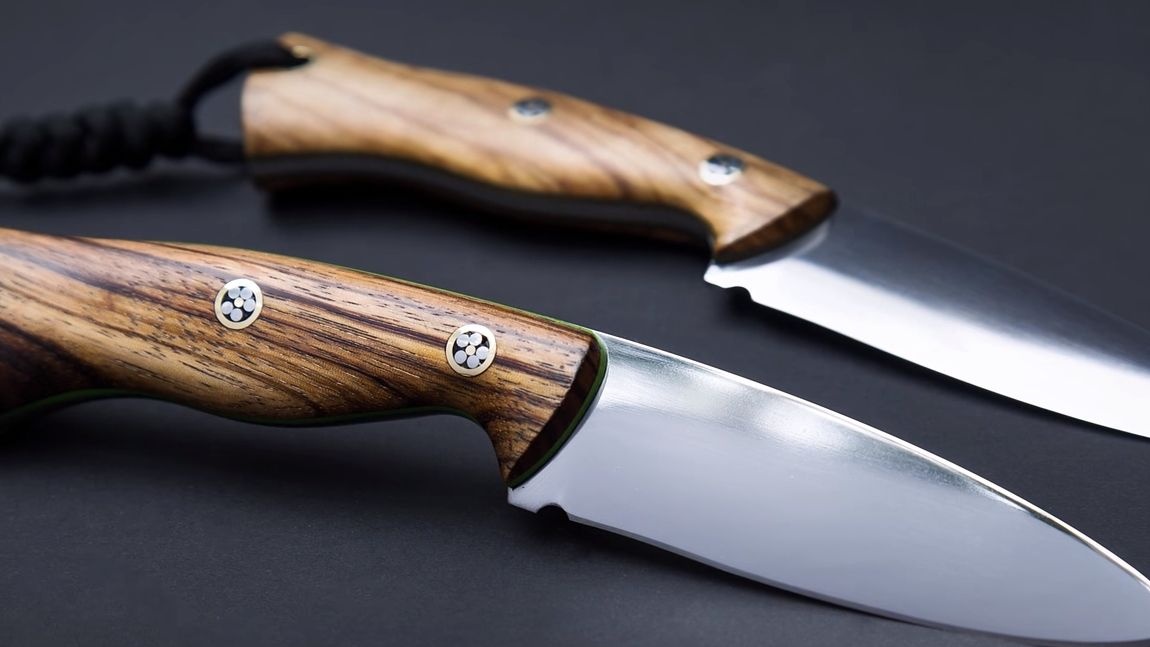
Want to learn how to make high-quality hunting knives? Then this instruction is for you! In fact, there is nothing complicated in this, the most important thing is to choose high-quality steel for the knife, and then, no matter what tools you use, the quality will depend only on skill, the difference will only be in time. Steel for a good knife needs to be used special, knife or tool. Such steel is characterized in that it contains a large amount of carbon, due to which the blade can be hardened. And hardening for a knife is everything, thanks to it, he keeps sharpening for a long time, does not bend, there are no scratches on it, and so on.
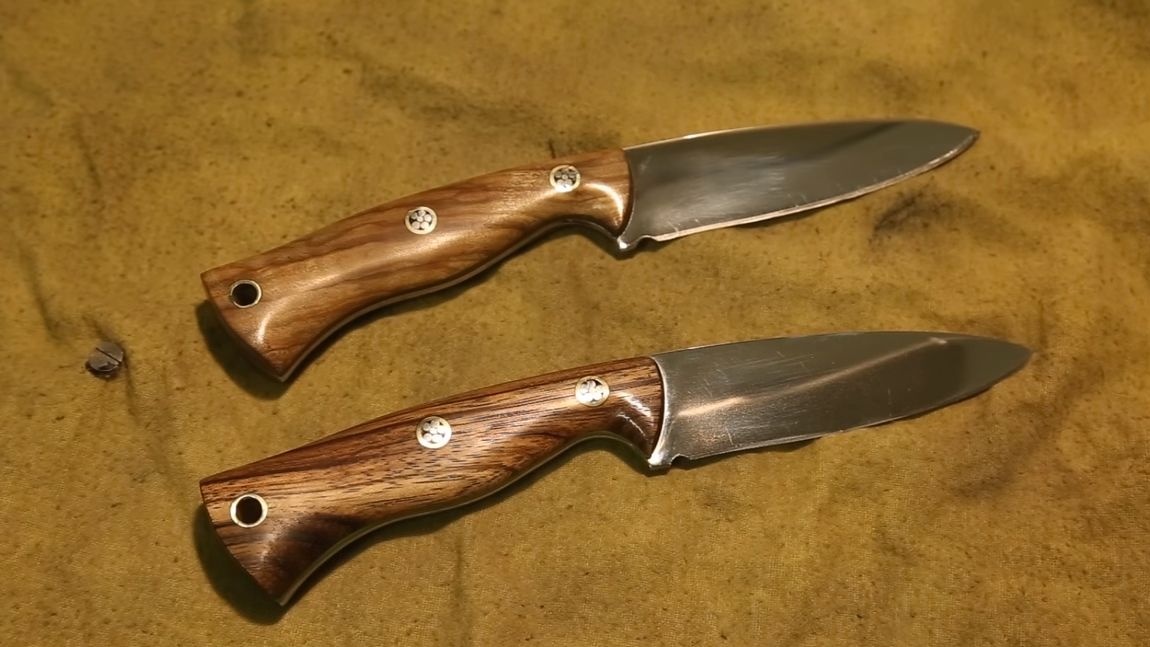
As for the tools that the author used, there are no particularly sophisticated machines here. The most expensive car here is a belt sander, however. They have now fallen prices. In addition, you can make such a machine yourself or buy a nozzle for a grinder. Using a tape machine, it is convenient to remove the bevels, they turn out smooth. But many masters prove that this task can be handled manually. As for other tools, any real one can find all of them in his workshop. So, let’s take a closer look at how to make such a knife, and their author decided to make two at once.
Materials and tools for making a knife:
Material List:
- suitable steel;
- wood or other lining material;
- pins (brass rods, duct or something similar);
- oil for impregnation of the handle;
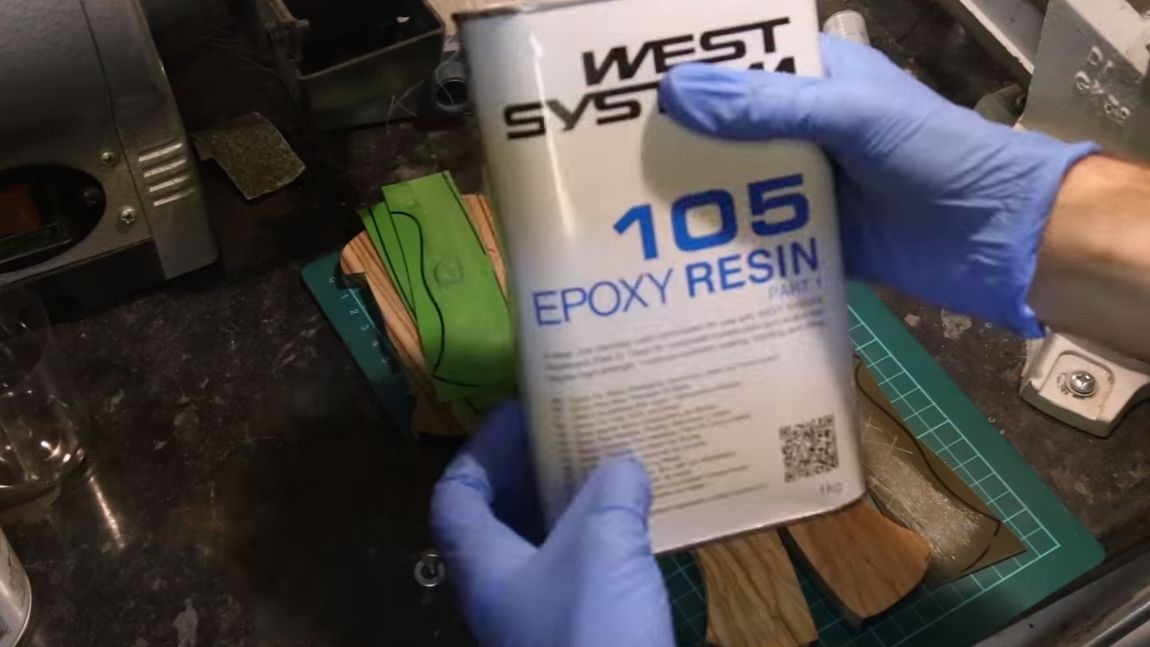
- epoxy adhesive.
Tool List:
- blacksmith furnace and hardening oil;
- household metal tempering furnace;
- ;
- a hacksaw for metal;
- jigsaw;
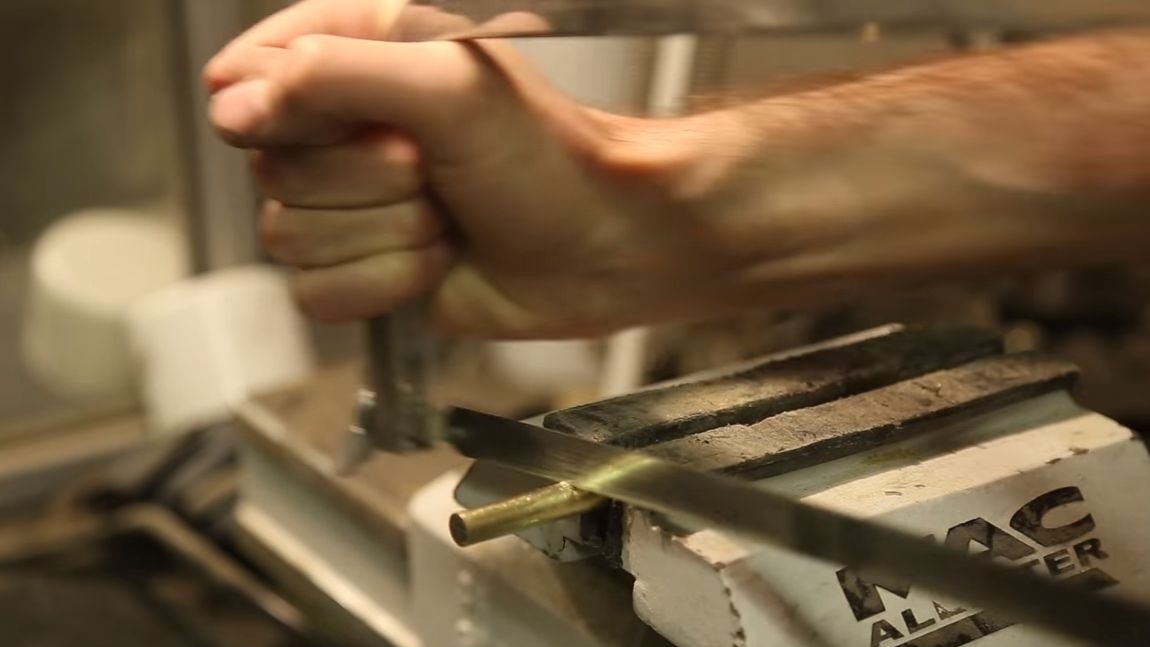
- vise;
- files;
- belt sander;
- hammer;
- whetted;
- polishing machine;
- marker;
- vernier caliper;
- a drill (of the same diameter as the thickness of the metal);
- sandpaper of different grain size;
- clamps.
The process of making a knife:
Step one. We make a template
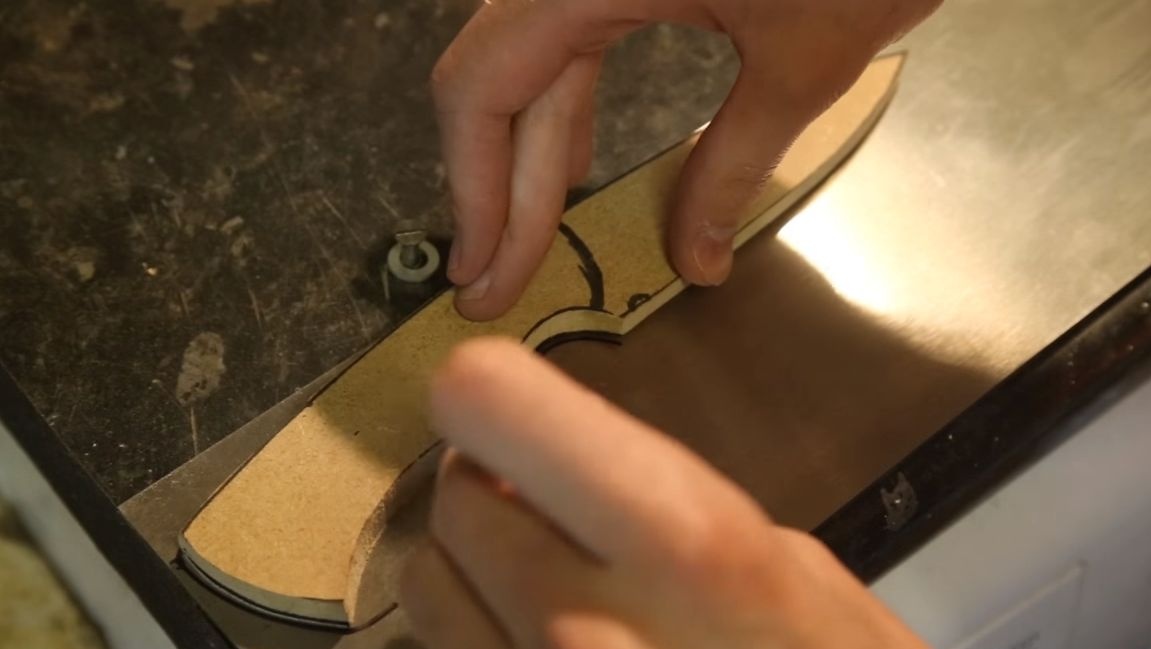
With the template should begin any manufacture of a knife. First, draw it on paper, and then cut it out. If you are thinking of making several knives, then it is advisable to make a template out of cardboard or other similar material. If you make a template from a dense material, you can hold it in your hands and understand whether the knife made will be convenient.
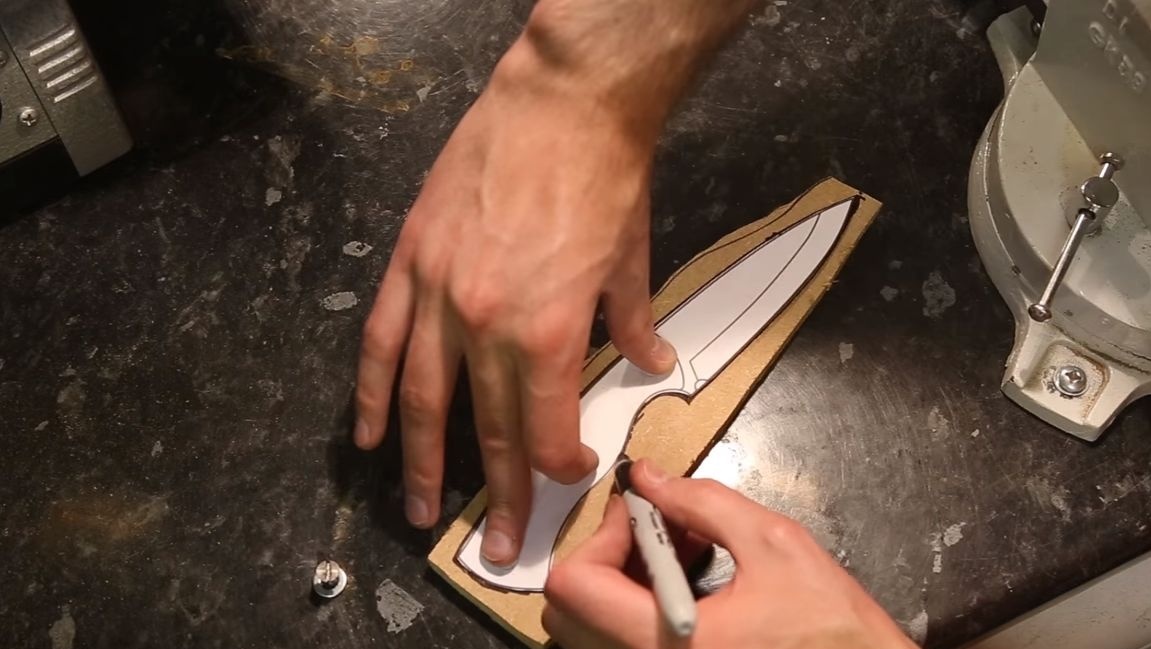
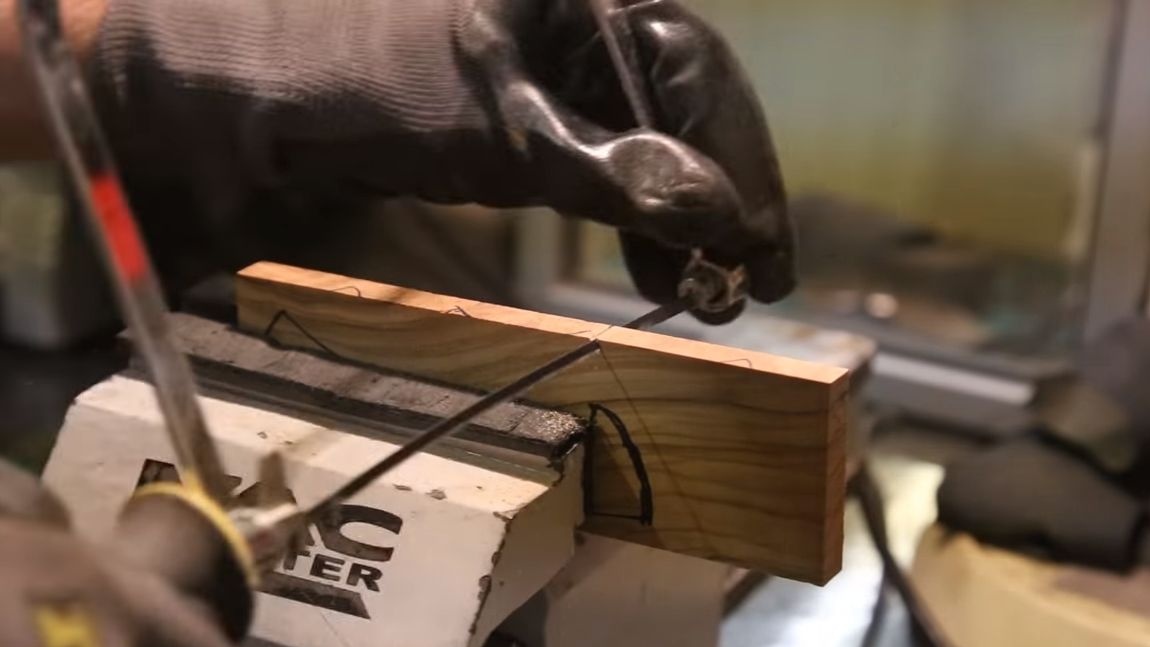
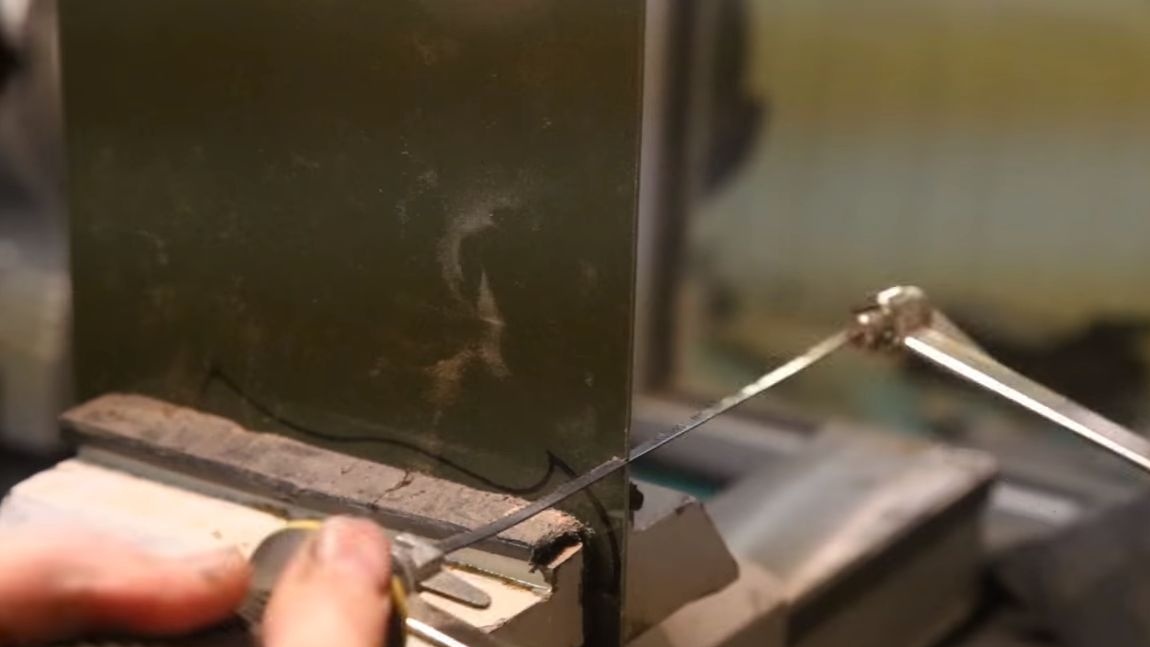
Step Two Cut a rough profile
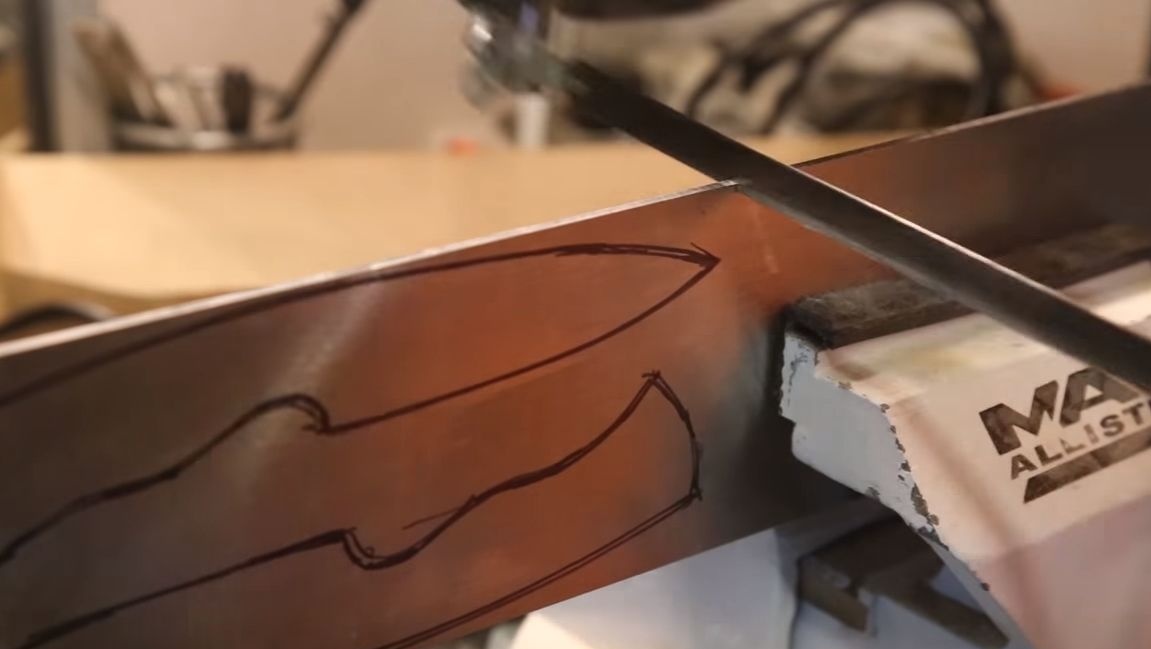
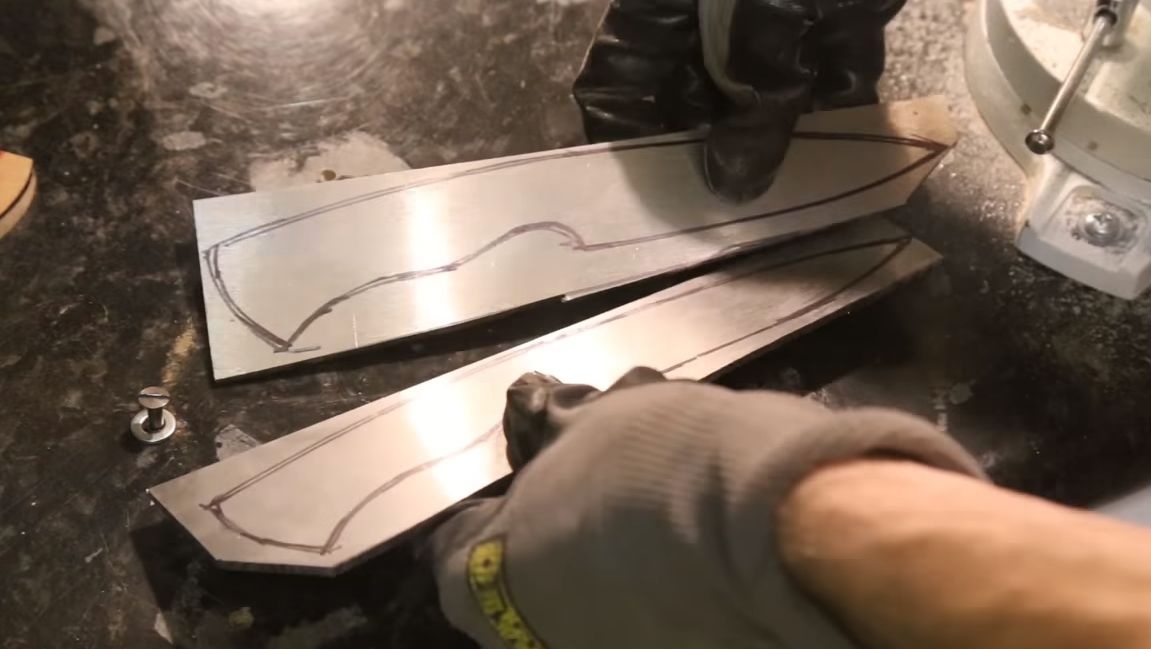
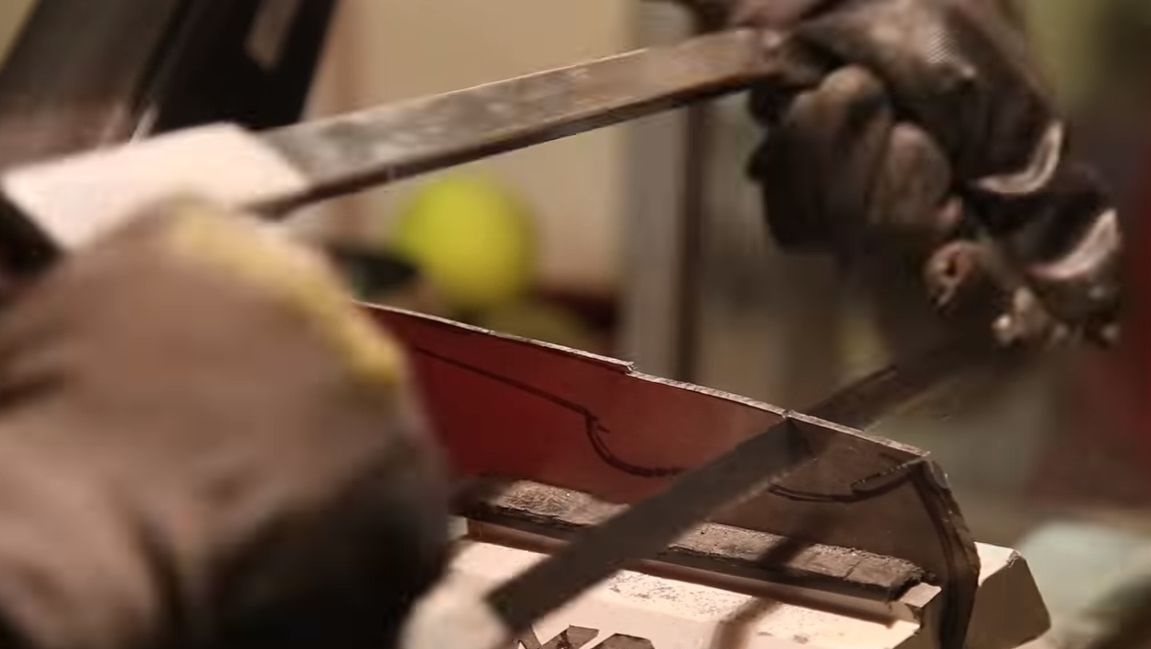
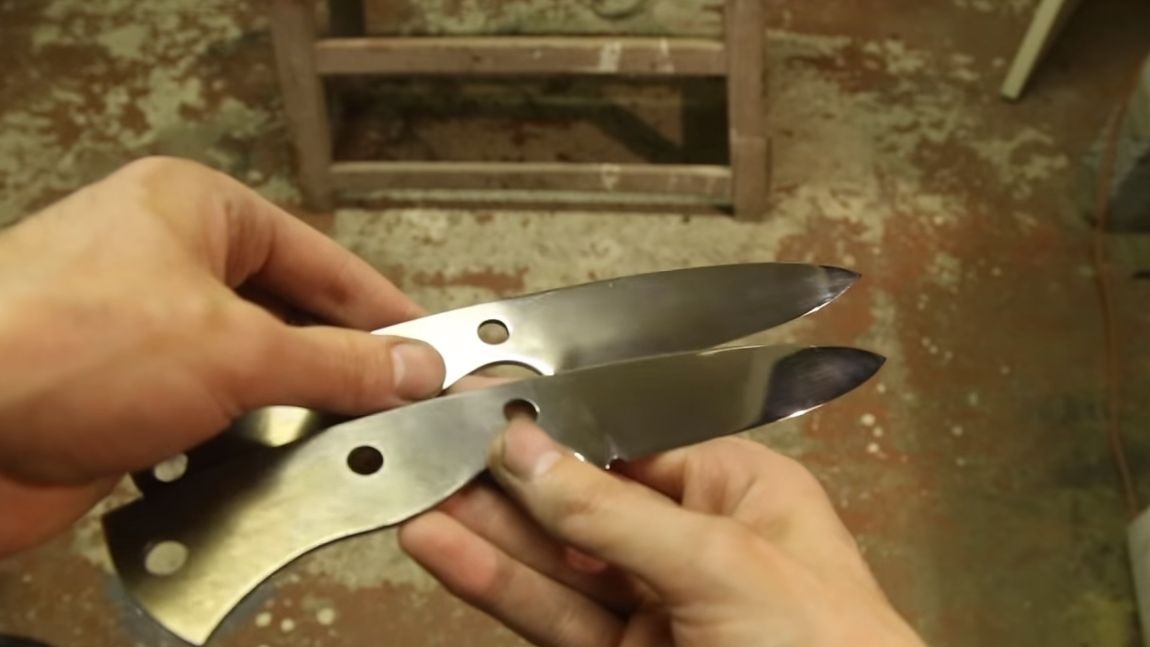
We apply the template to the metal and circle the marker.The author decided to make two blades at once. Well, then cut out the main profile. This task can be handled with a hacksaw. Hard-to-reach places are cut into pieces. The more you cut, the less then you will need grinding work.
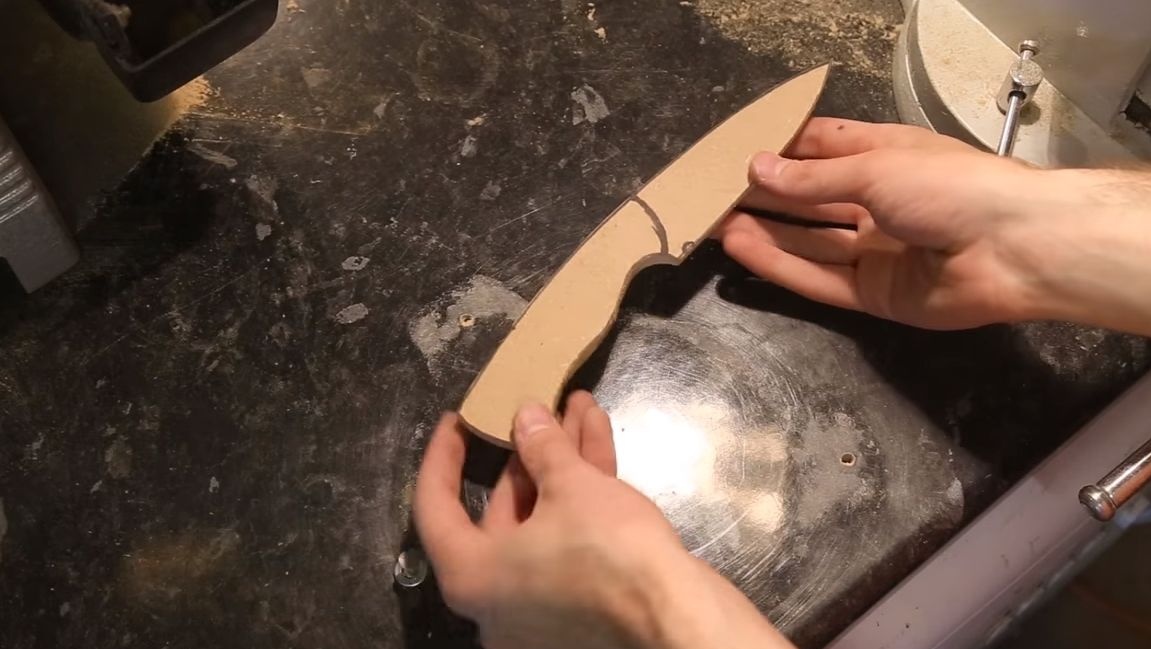
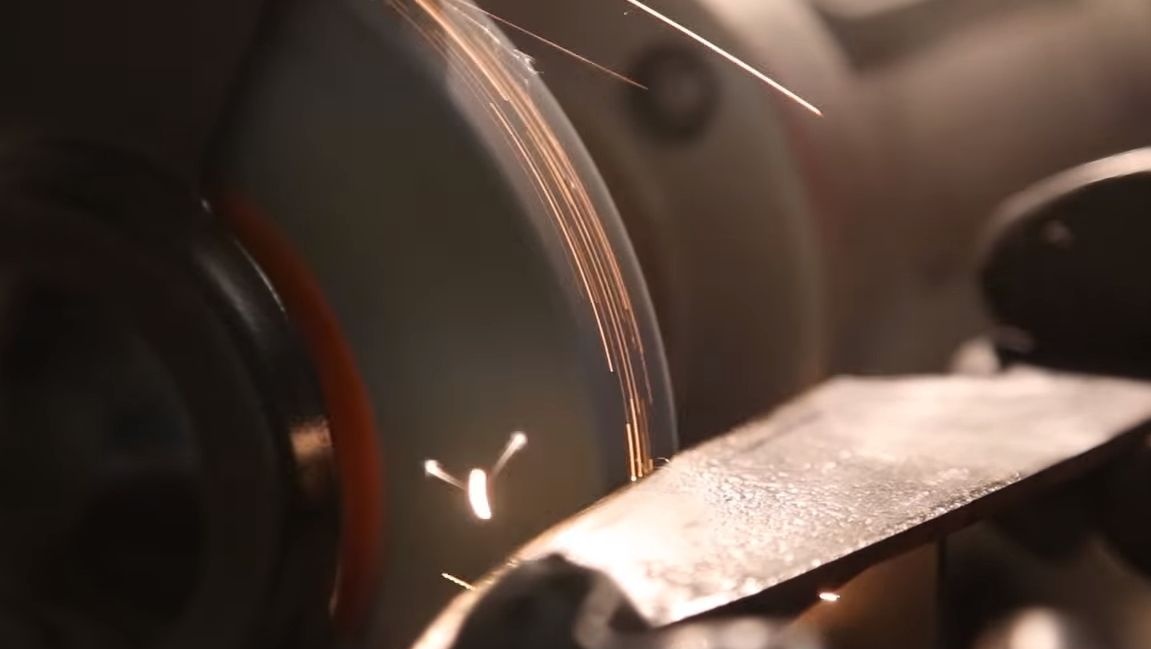
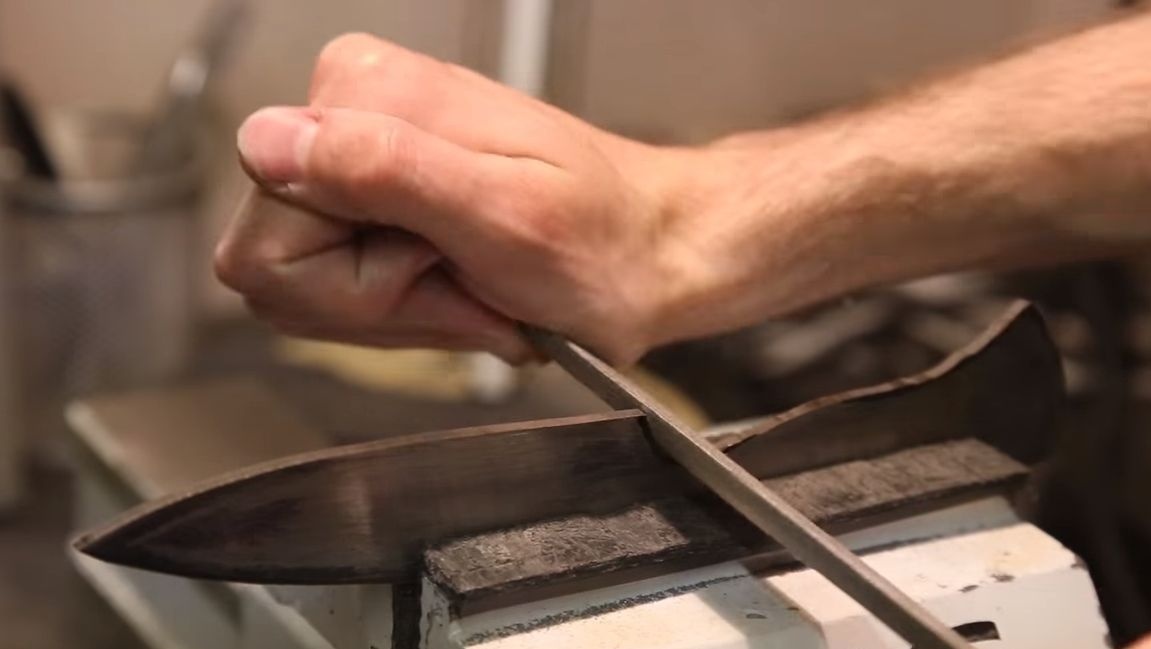
Step Three Grinding
At the first stage of grinding, we need to align the profile, bring it to the ideal. First, we work on a sharpener, and then we switch to manual processing. With the help of files of various shapes, you can get to those places where we could not crawl with a sharpener and a saw. We will also need to align the planes. Here the belt sander comes to the rescue. If there is no such machine, just fasten the emery paper on the stick.
Step Four Bevels
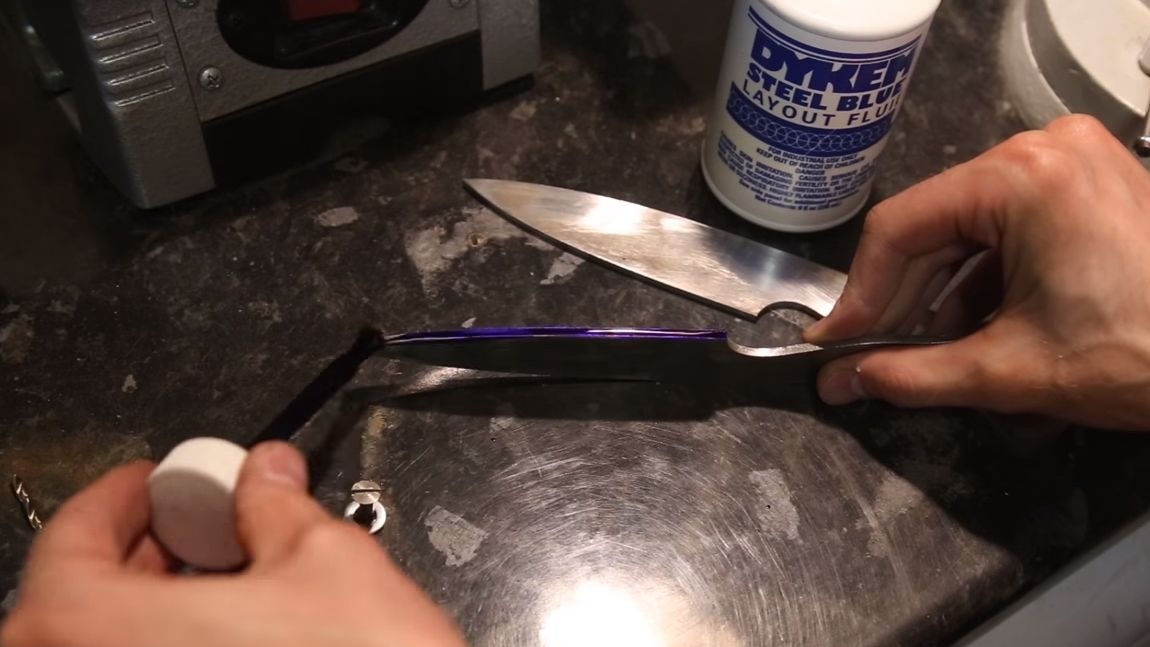
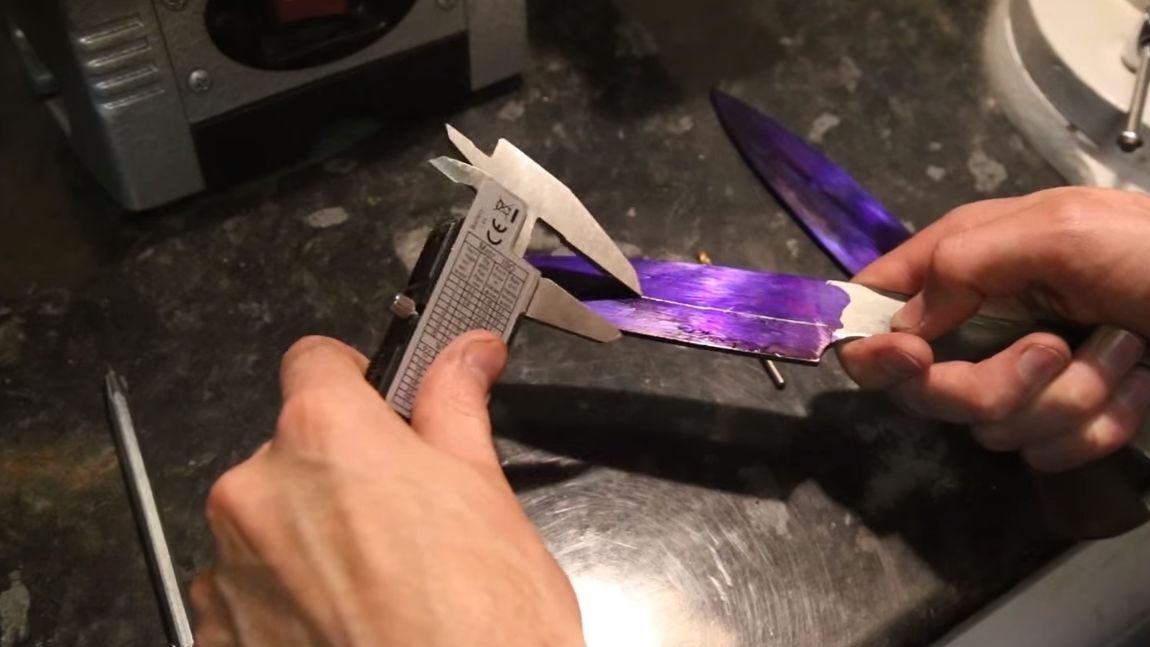
To make the right smooth bevels, you will need to mark everything up first. For this, the author paints the blade so that it is convenient. Next, take a caliper and draw on both sides of the line, they will determine the width of the bevels. The smoother the angle of the blade, the better the knife will cut.
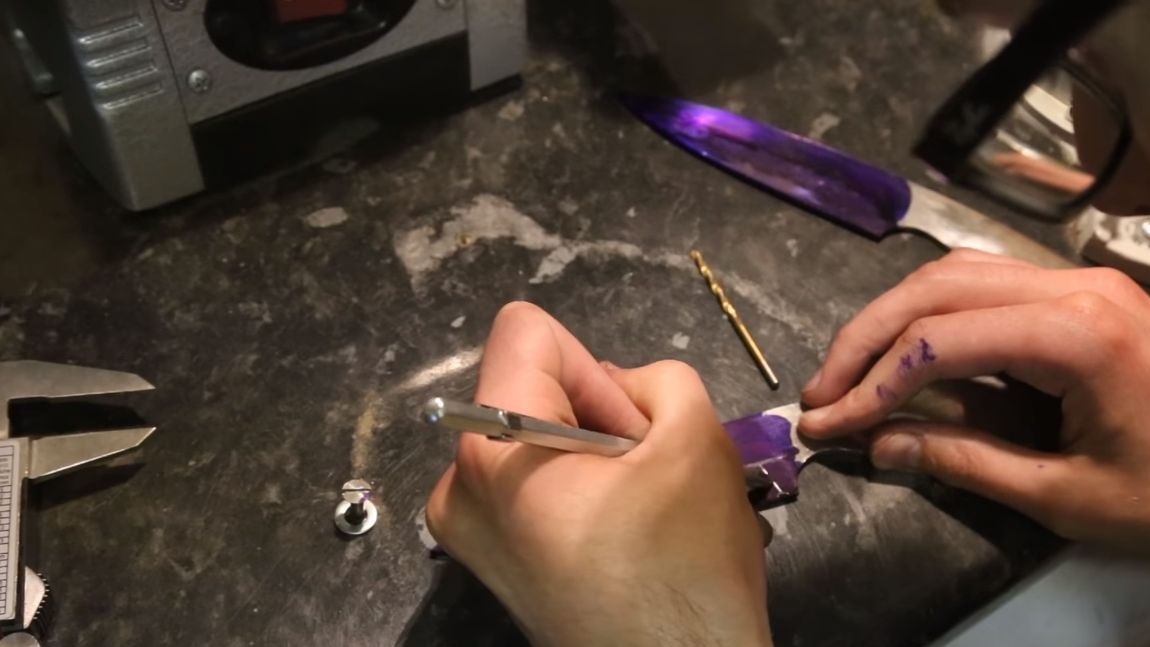
In addition, we need to divide the future blade into two halves, for this we use a drill of the same diameter as the thickness of the blade.

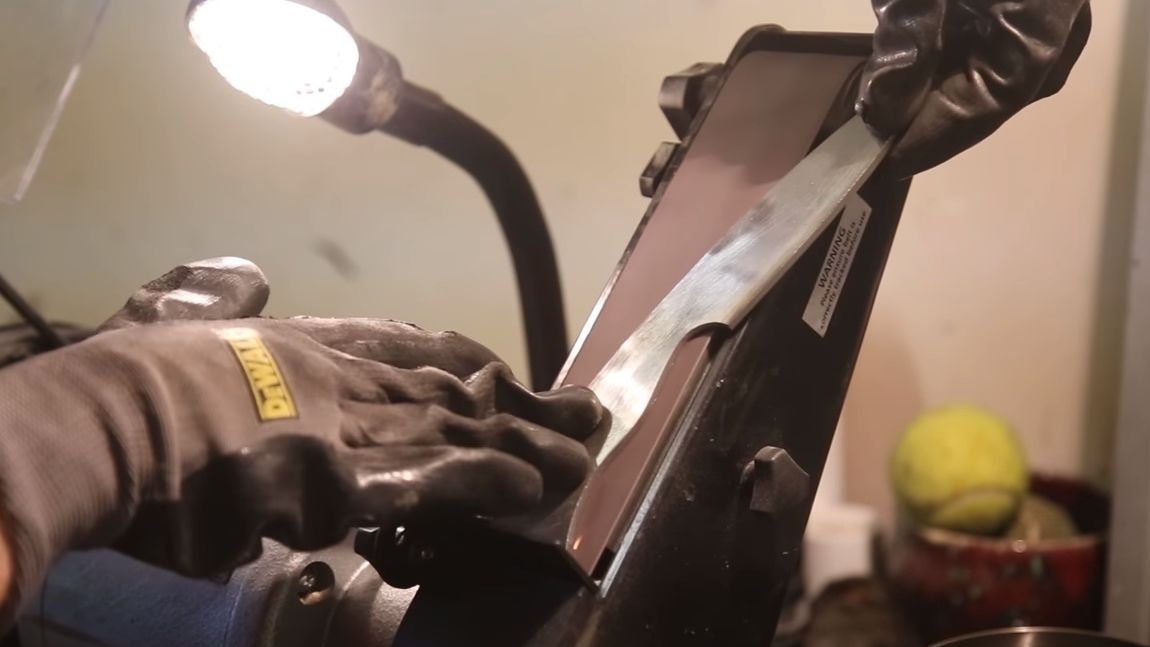
You can start grinding! It is most convenient to carry out such work on a belt sander. Thanks to the paint, you will clearly see the border of grinding. We make the bevels symmetrical, even, there is no need to rush here. But do not sharpen the blade at this stage, since the metal can overheat during quenching.
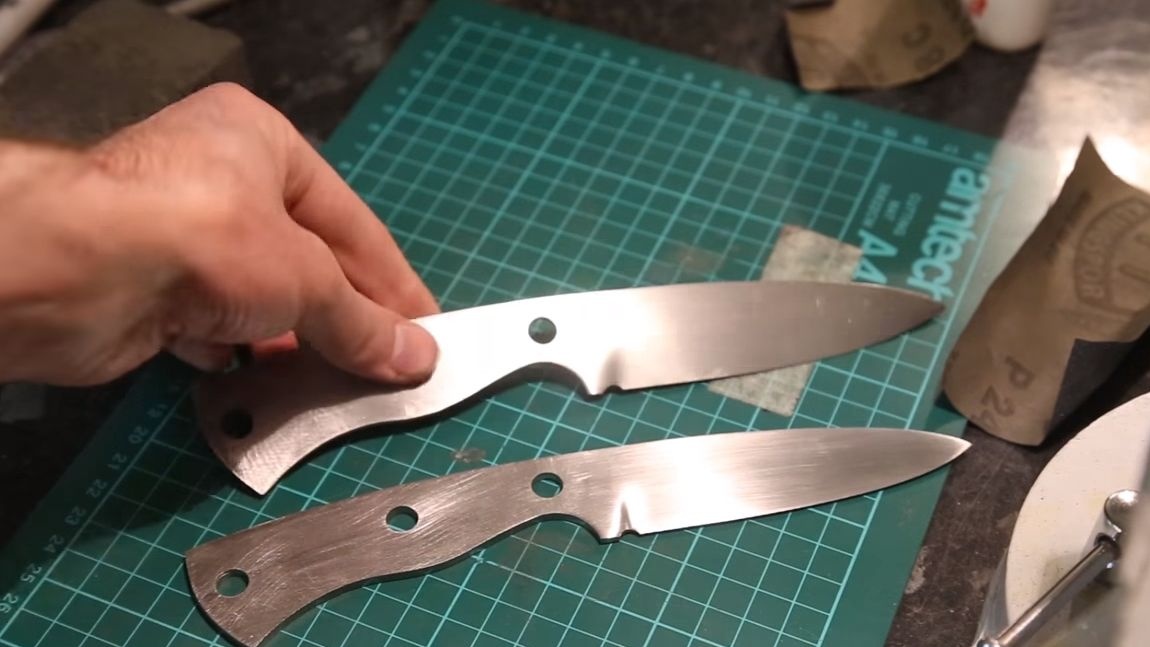
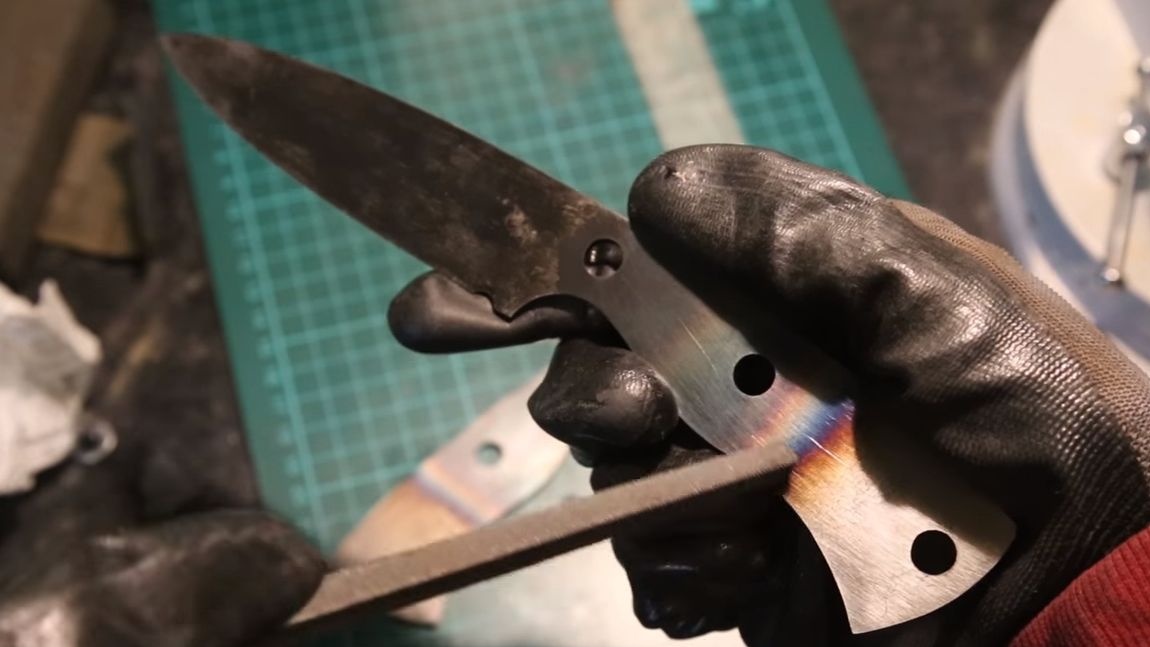
Using a round file, the author also made a strategic notch at the end of the blade.
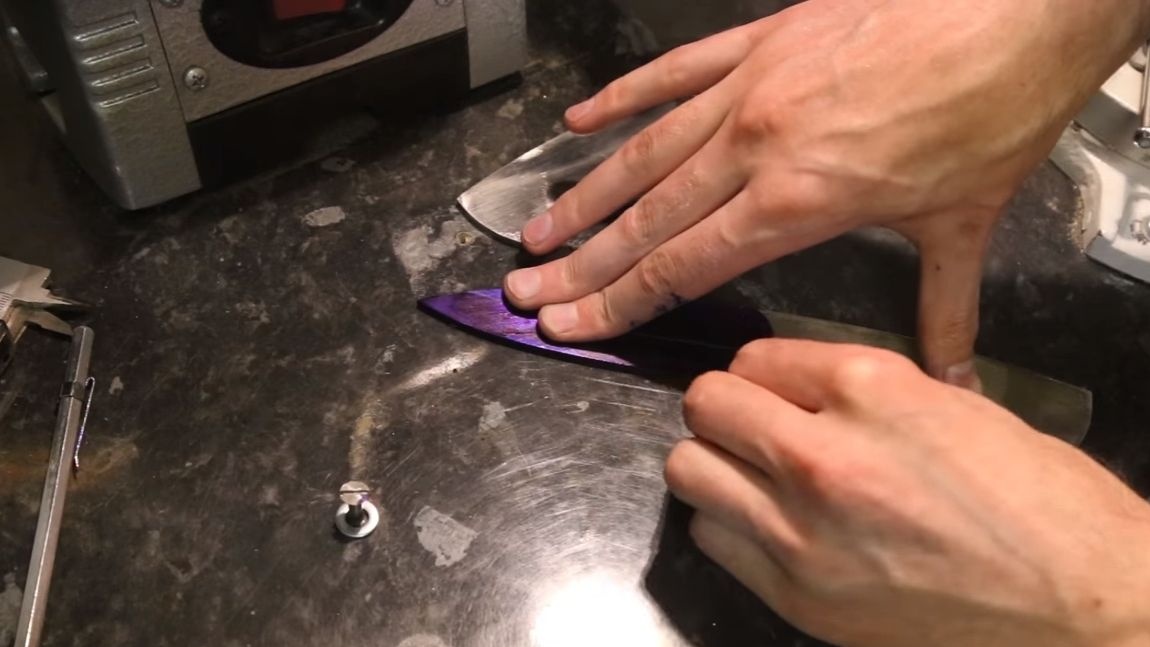
After finishing work, sand the blade manually using sandpaper. It will work better if moistened in water.
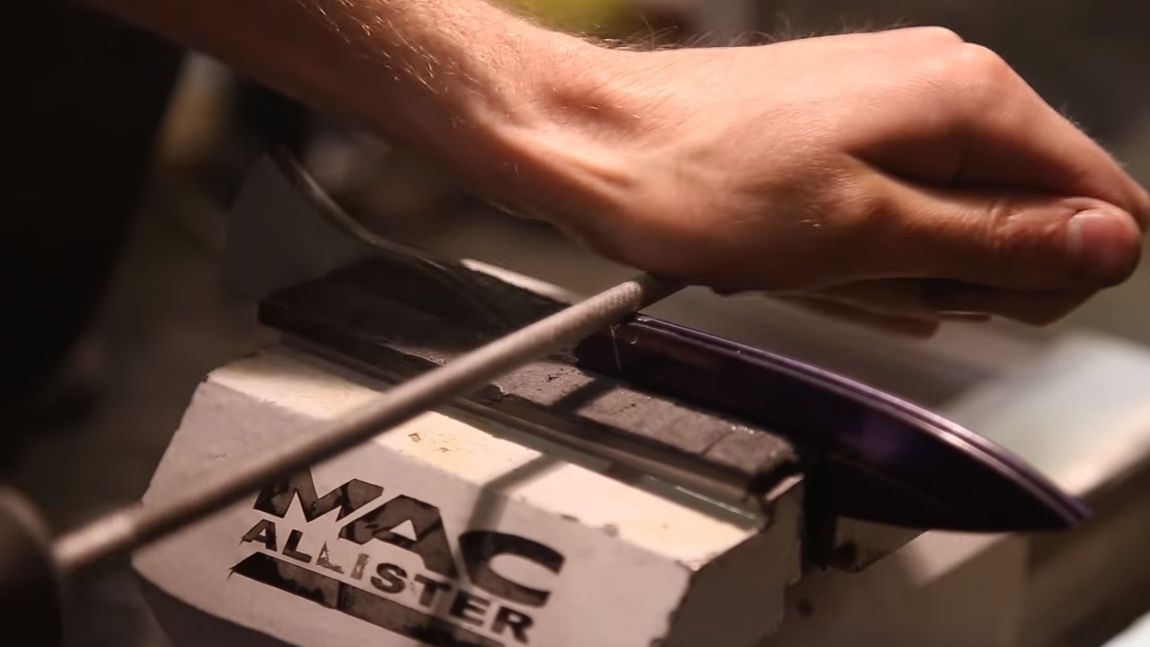
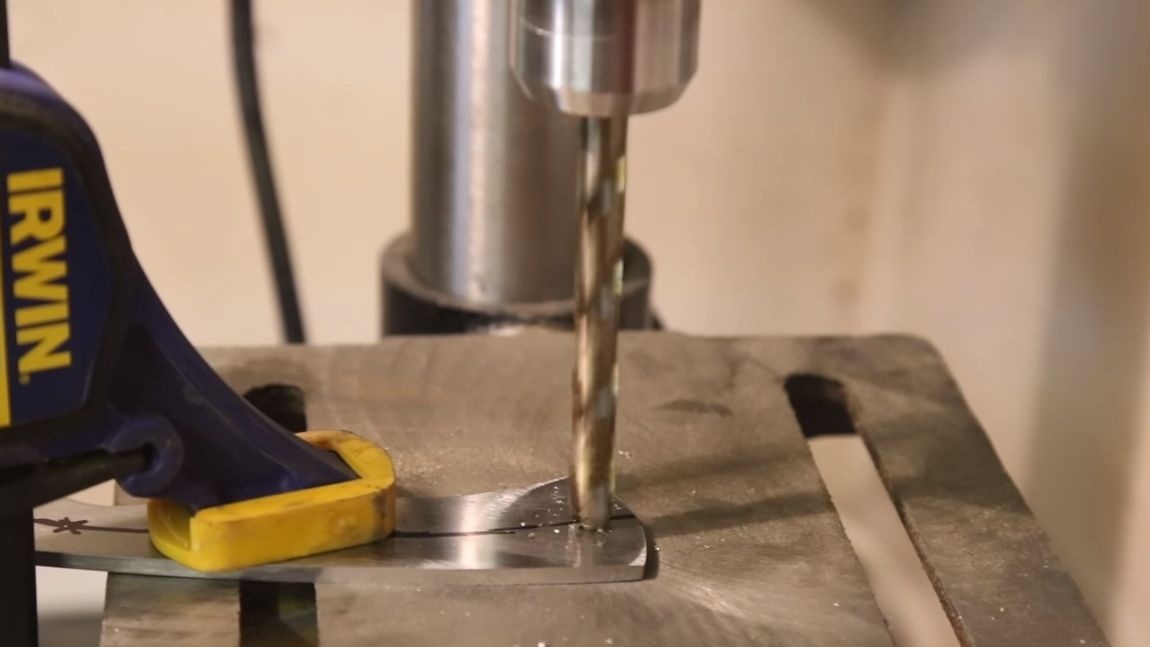
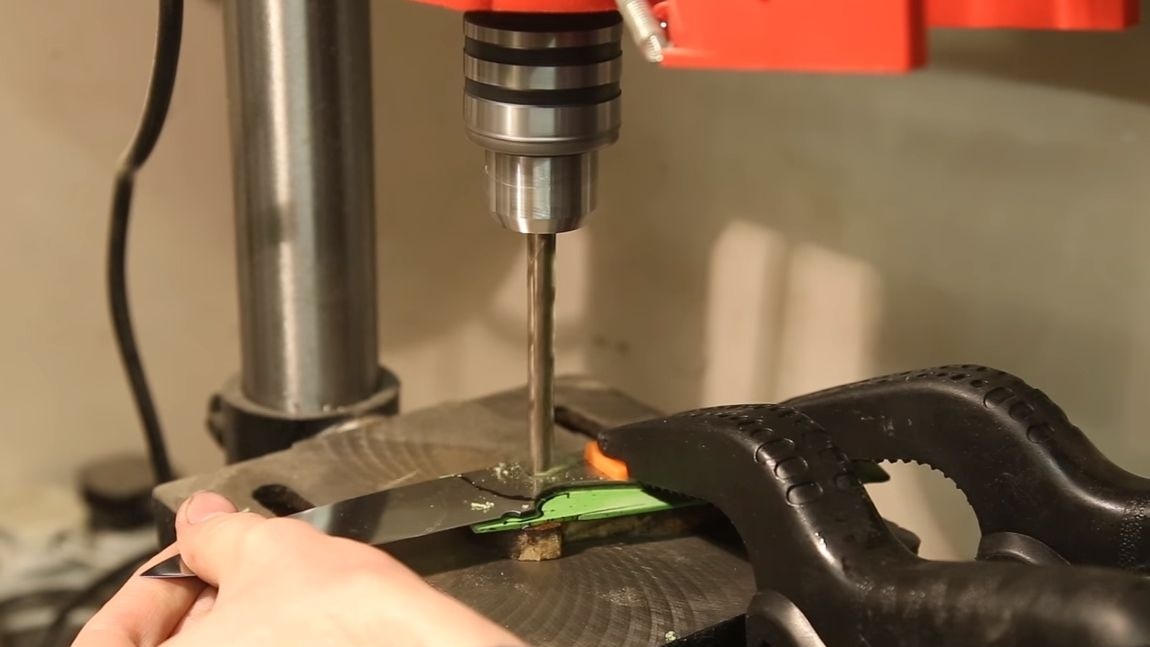
Step Five Pin holes
In the blades you need to drill holes for the pins. You need to do this before hardening, since after that it will be problematic to solve the problem. The diameter of the hole should be such that the pins in them come with force.
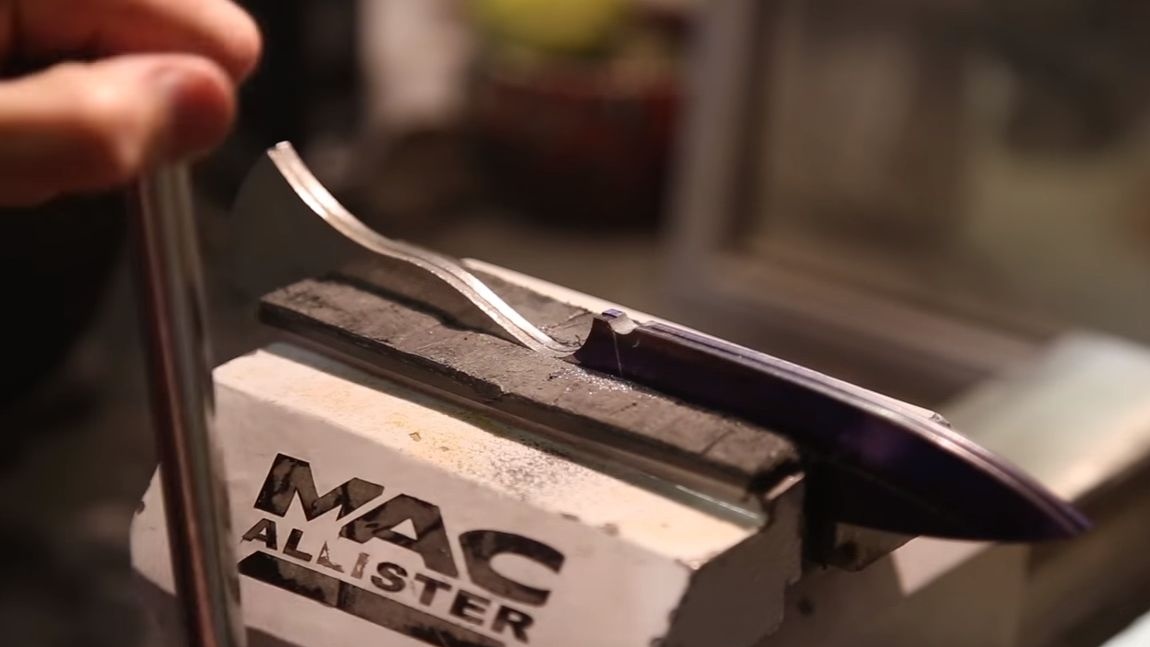
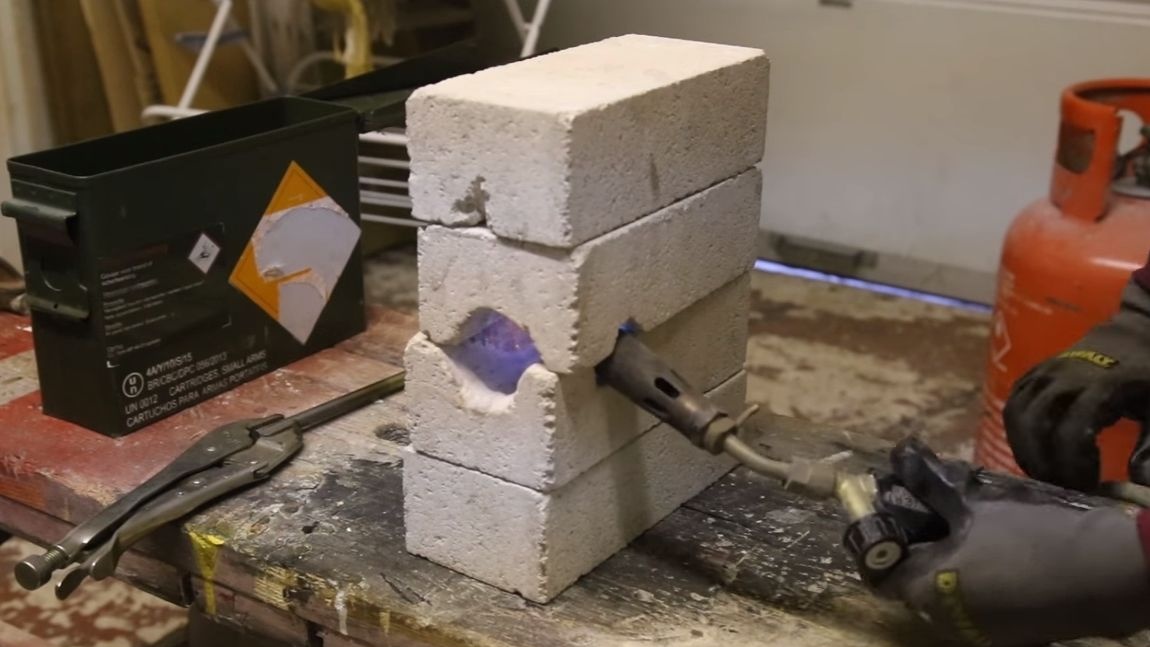
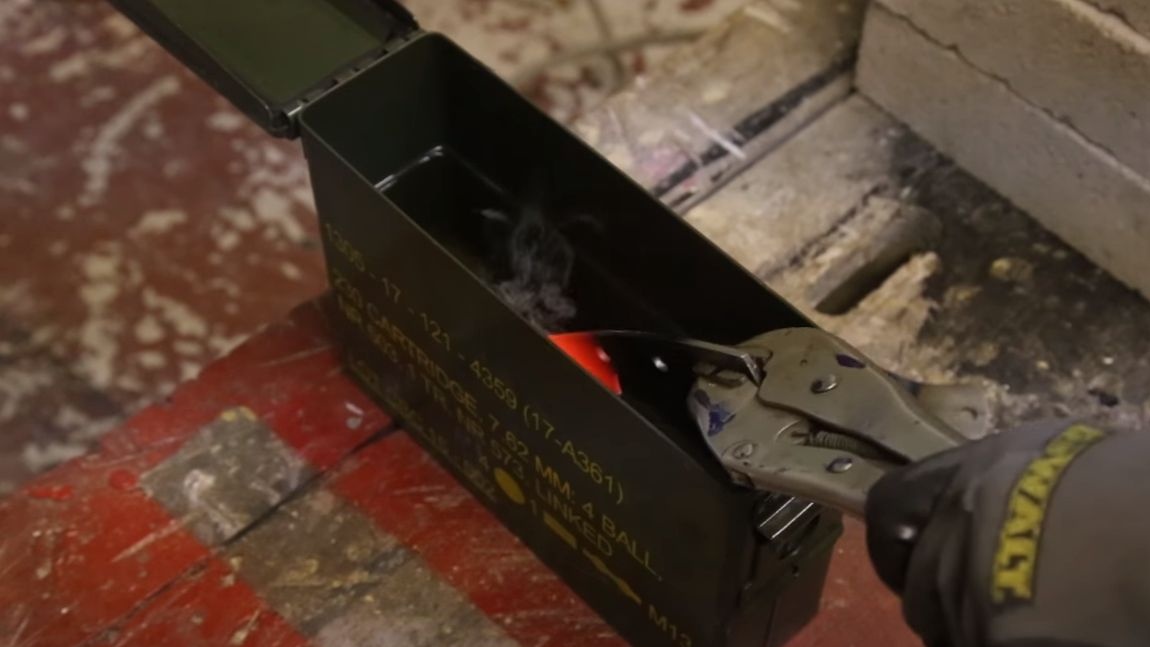
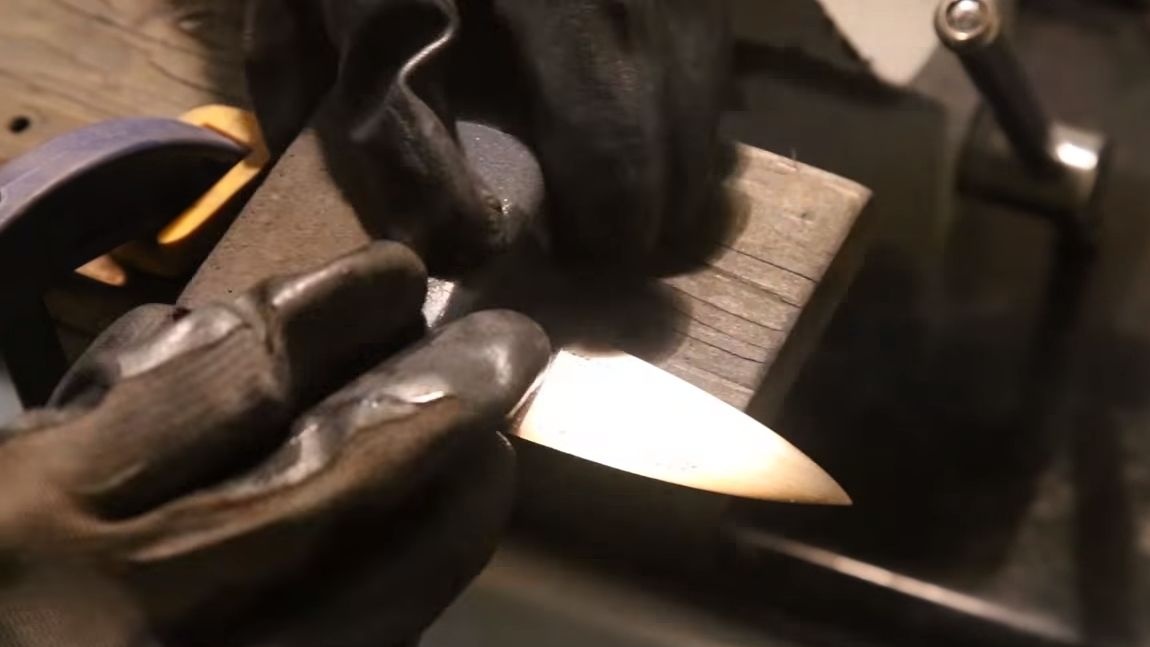
Step Six Blade hardening
Hardening of the blade consists of two stages, this is hardening and vacation. When hardening, the metal becomes as strong as possible, but brittle. To make it spring-loaded, the steel is again slightly heated and allowed to cool smoothly.
First of all, we temper the blade, for this we heat it in a forge furnace to such a temperature until the magnet ceases to attract it. In color, the metal should turn to yellowish, but for each steel grade it is individual. Well, then cool the blade in oil.
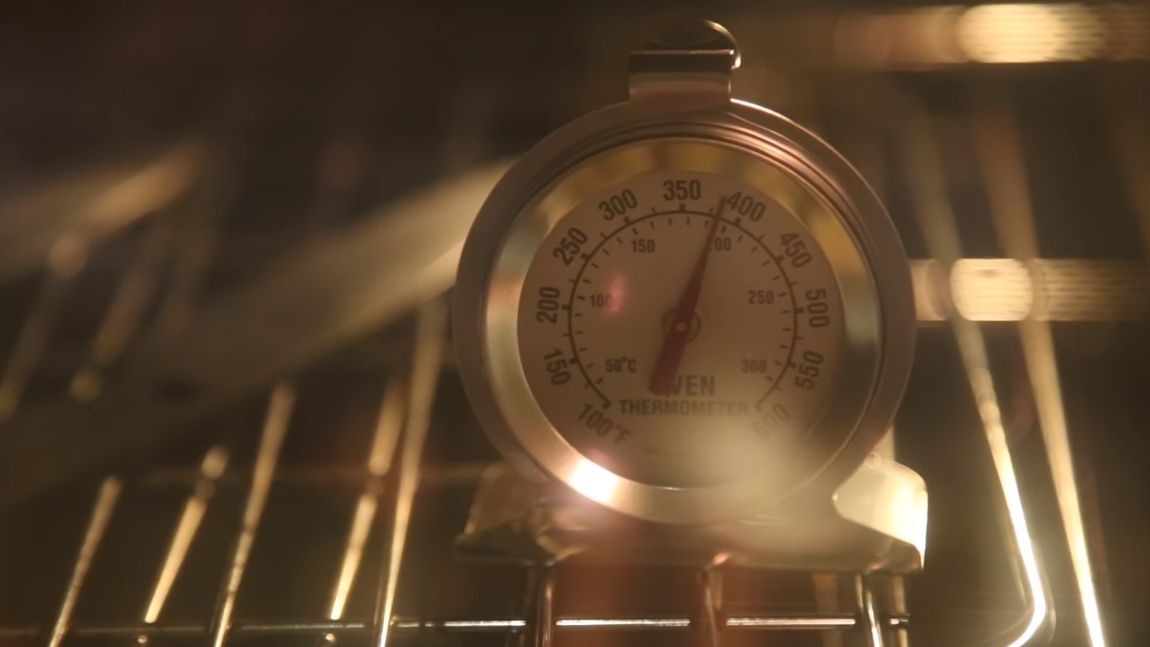

After quenching, we make metal tempering, put the blade in the oven with a temperature of about 200 ° C and heat for about an hour. Then turn off the oven and let it cool in a closed state with a blade. The color of the blade should become a straw color, this will mean that the vacation went well. Try to scratch the blade with a file, scratches should not remain.
After heat treatment, sand the blade with sandpaper.
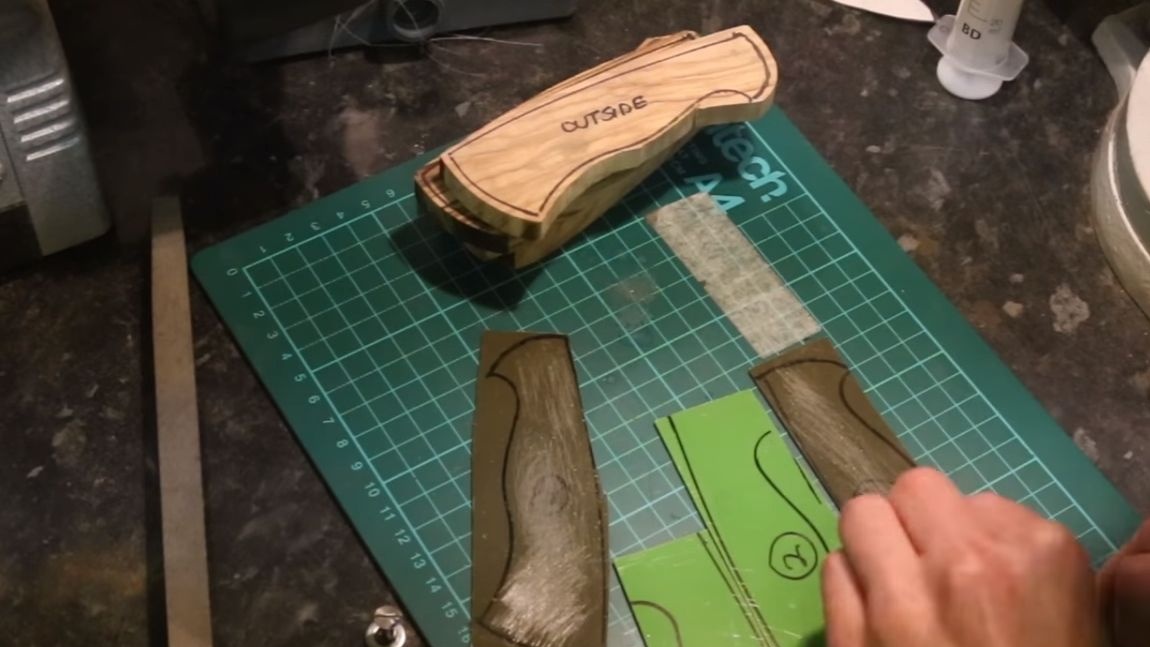
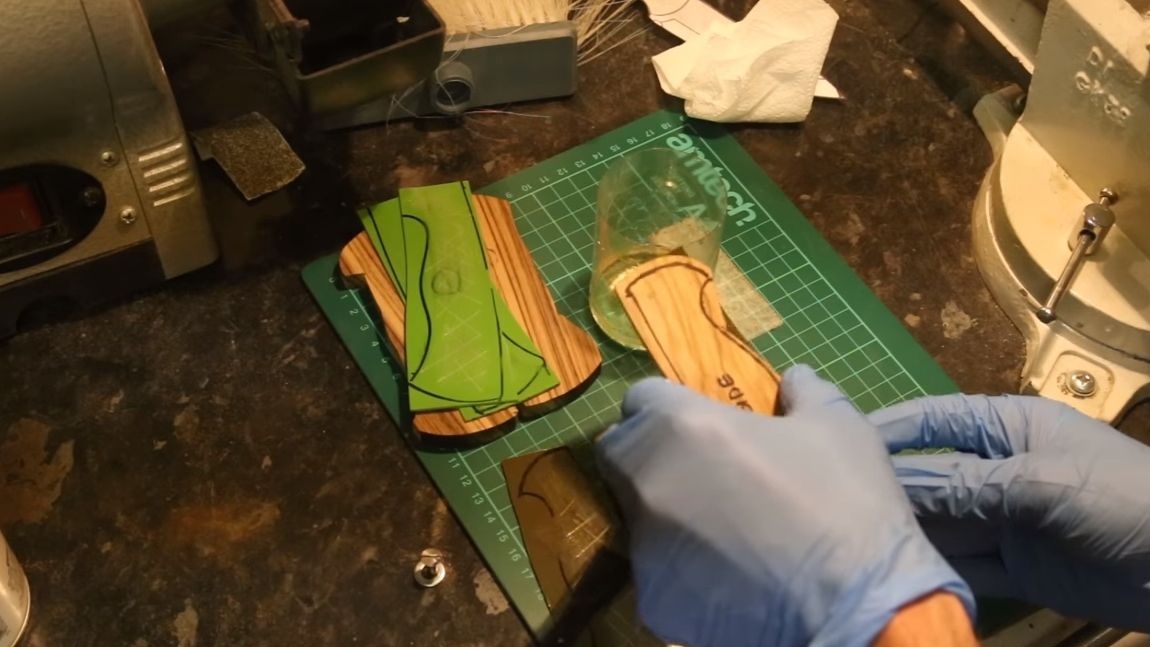
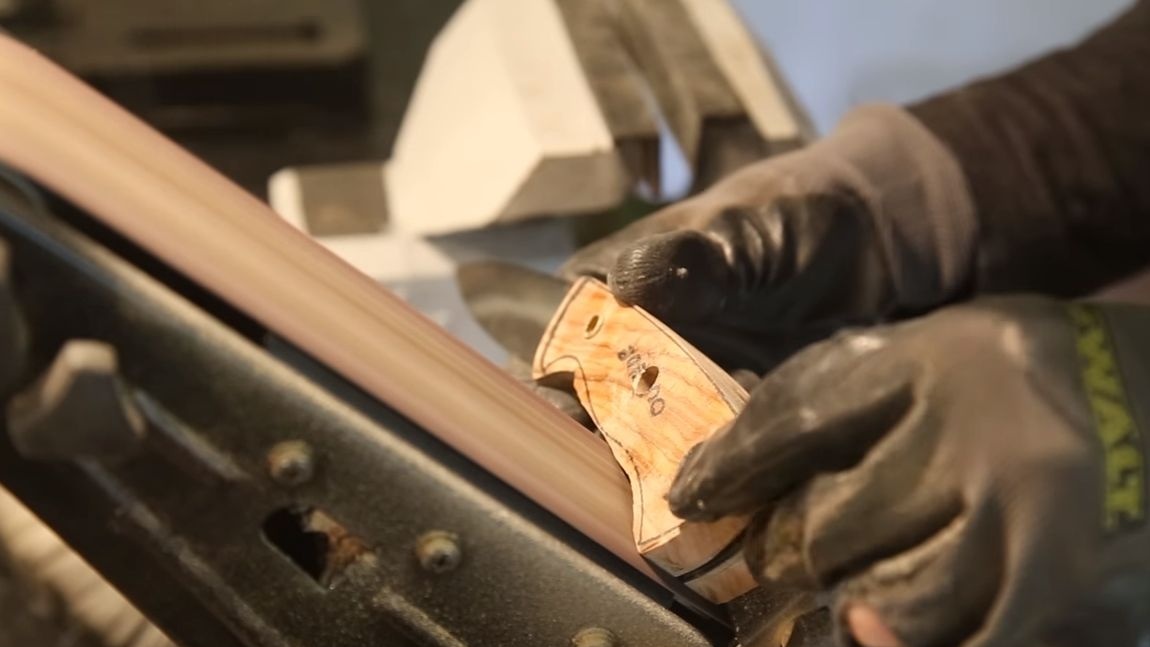
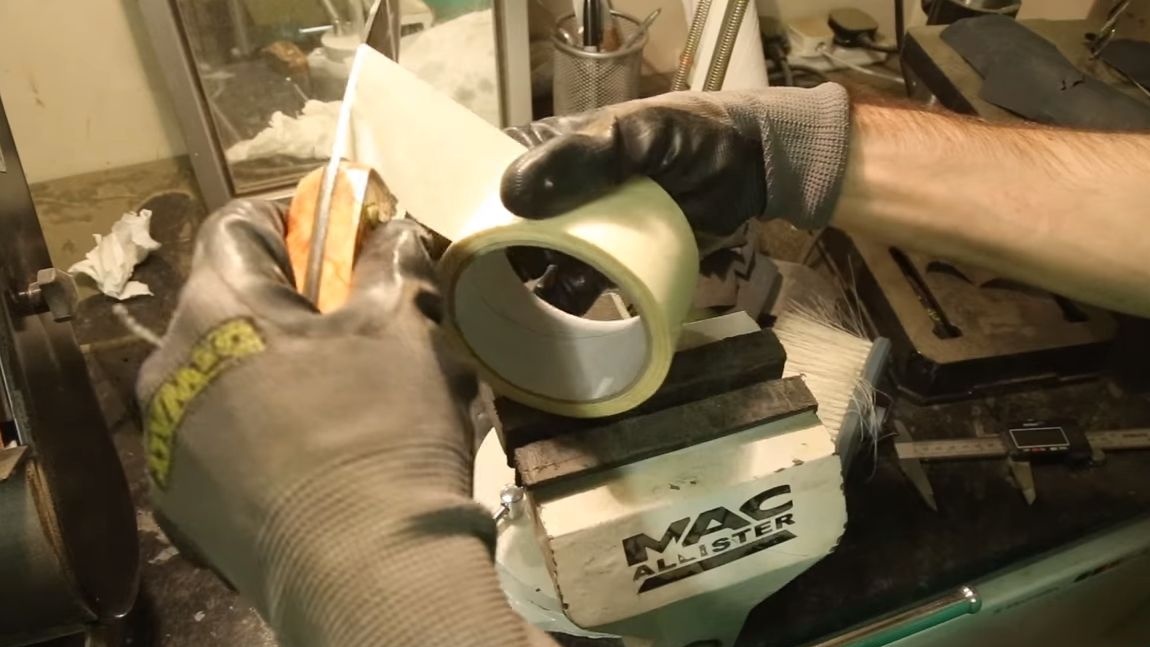
Seventh step. Handle blanks
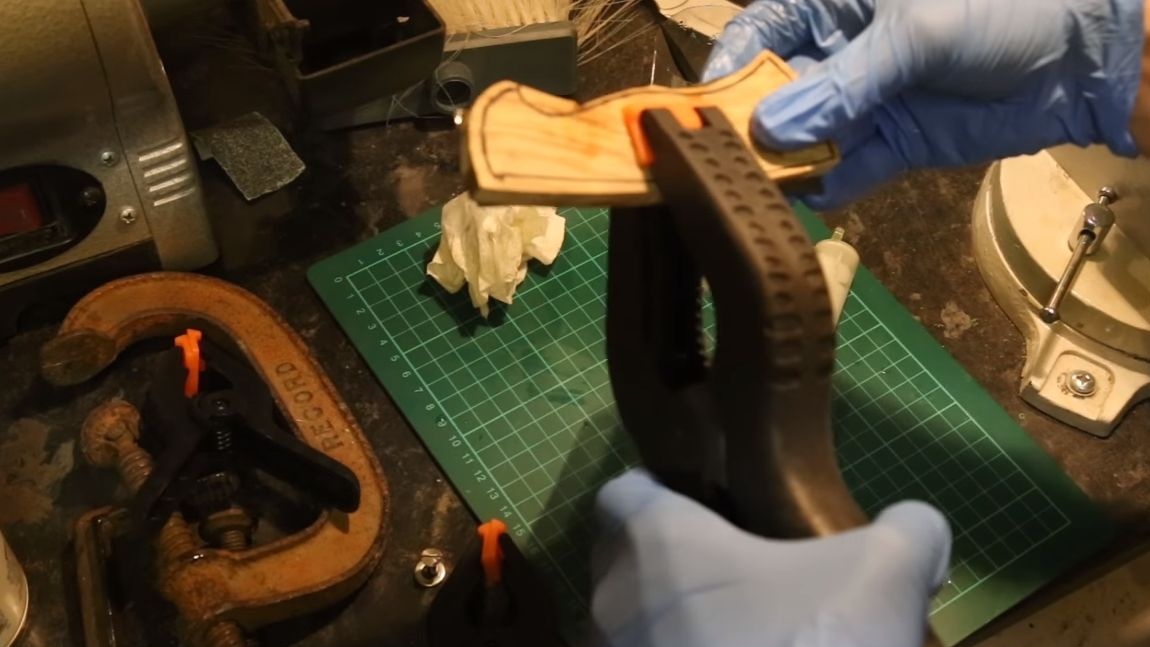
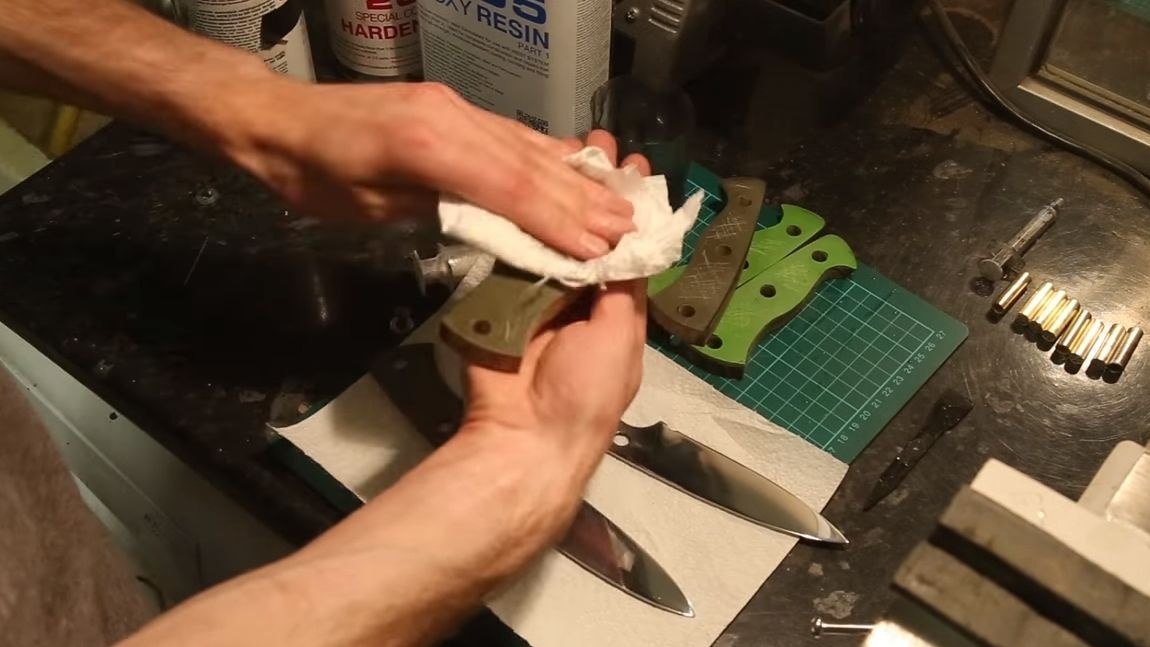
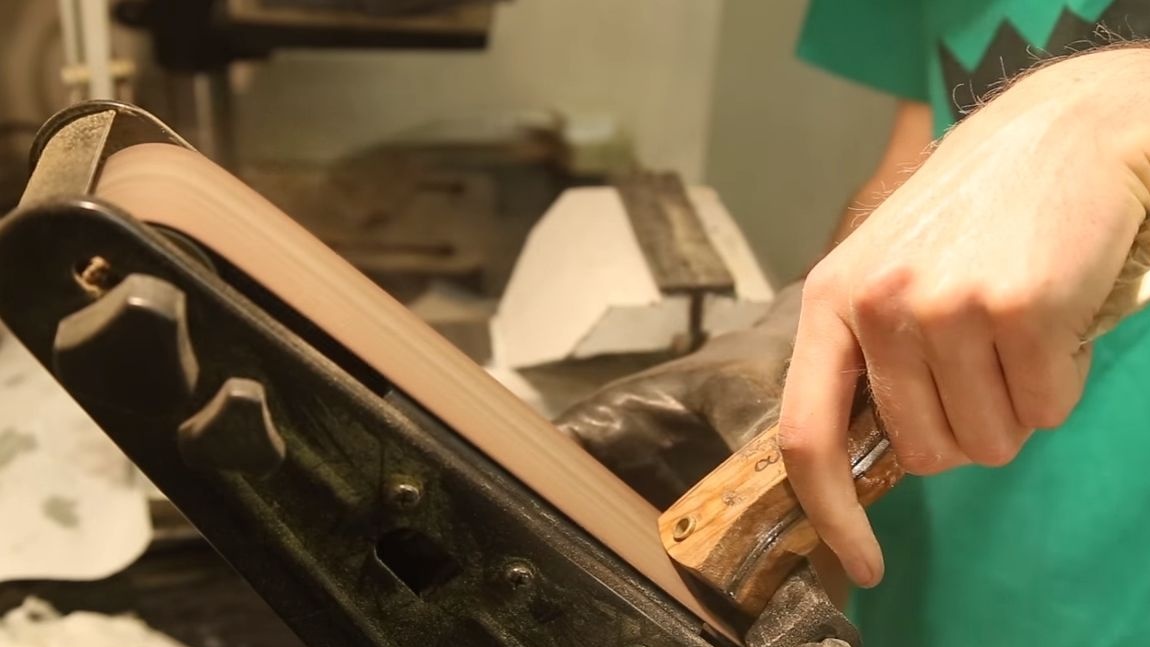
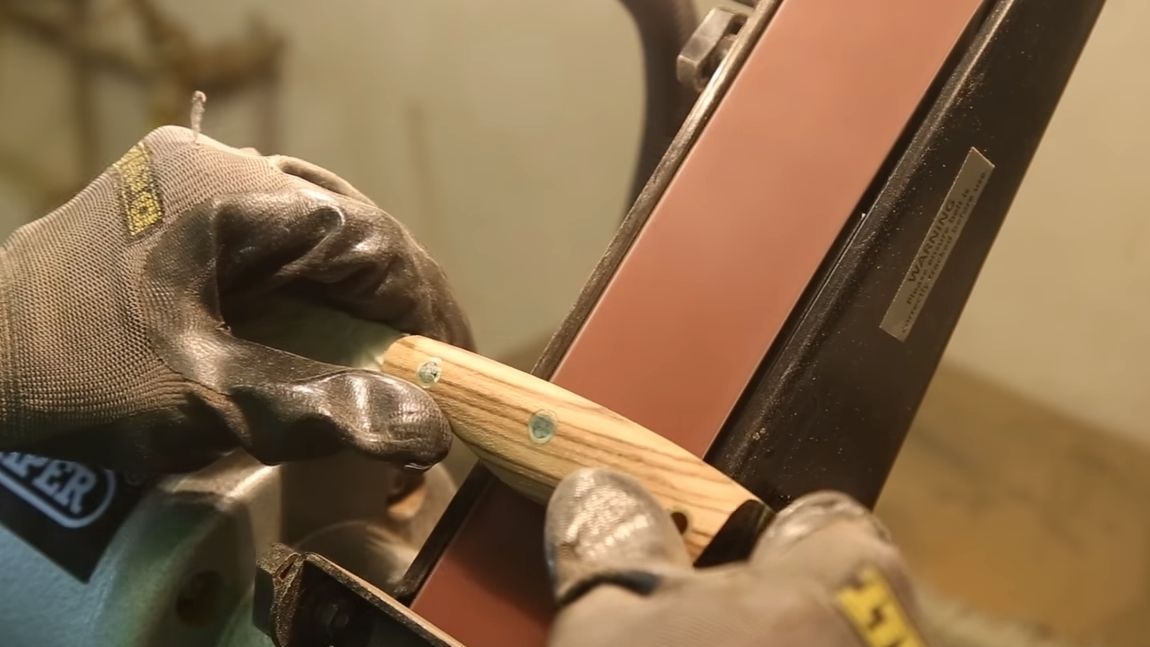
Getting to the manufacture of pens, the author decided to make them combined, this is wood and plastic. Cut the workpiece with a jigsaw, and then glue it with an epoxy. When everything is ready, we drill holes in the pads and collect them on the pins. After that we proceed to grinding. You can easily and simply set the desired profile for the handles using a tape machine. You will also need manual processing, files of various shapes and sandpaper will be used.


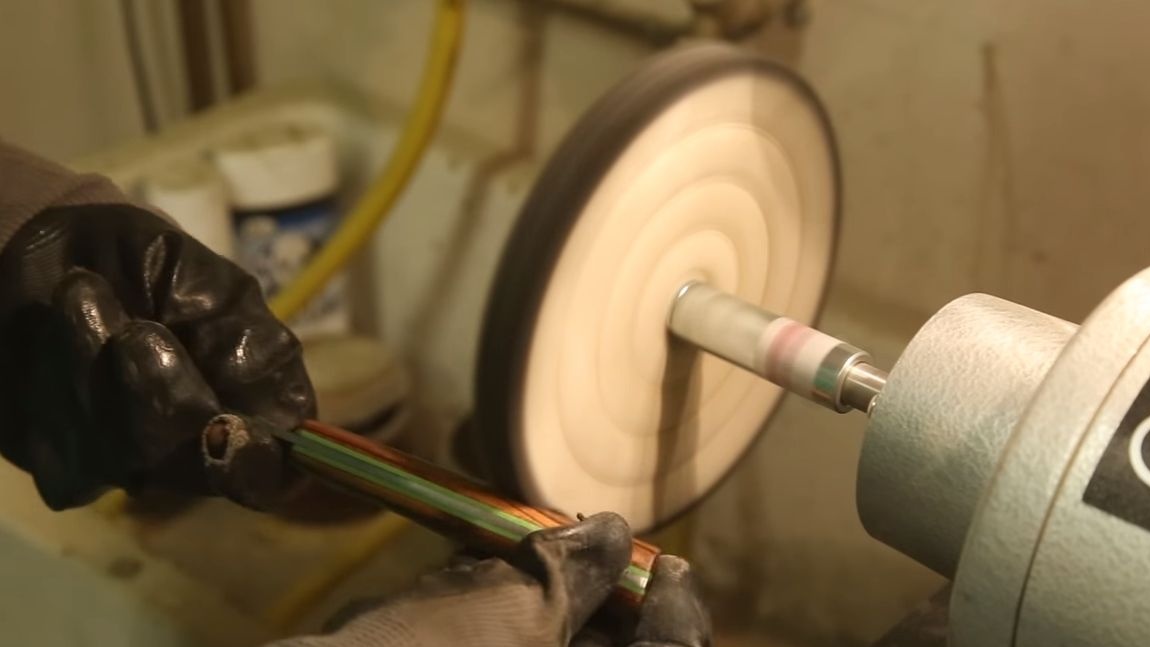
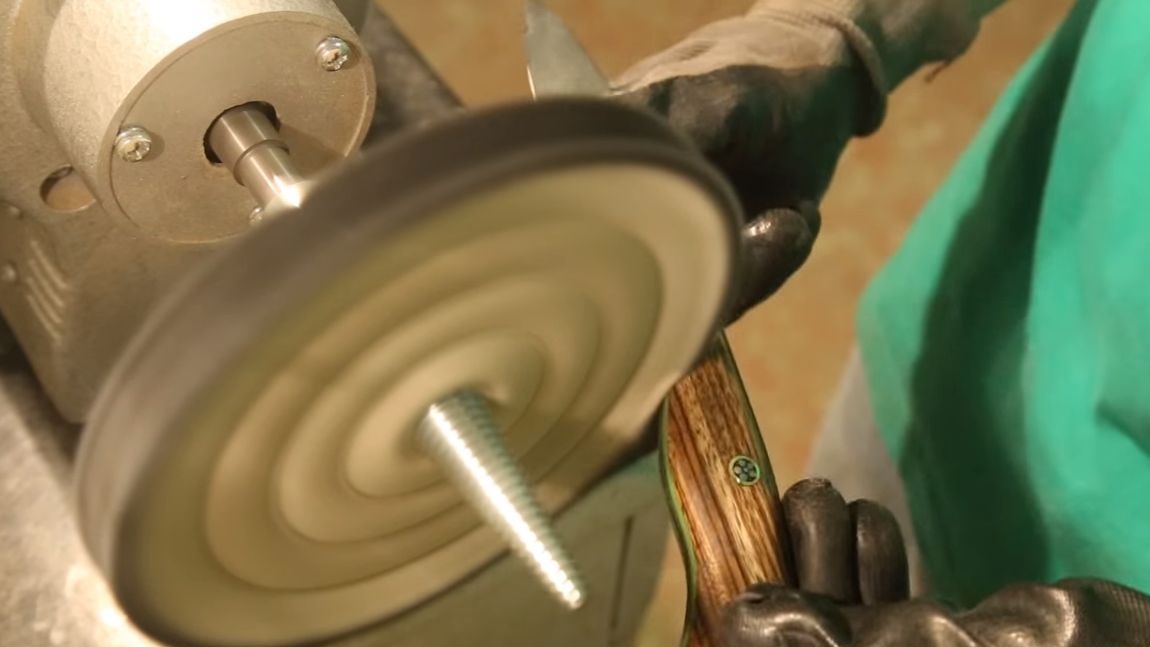
Step Eight. Blade revision
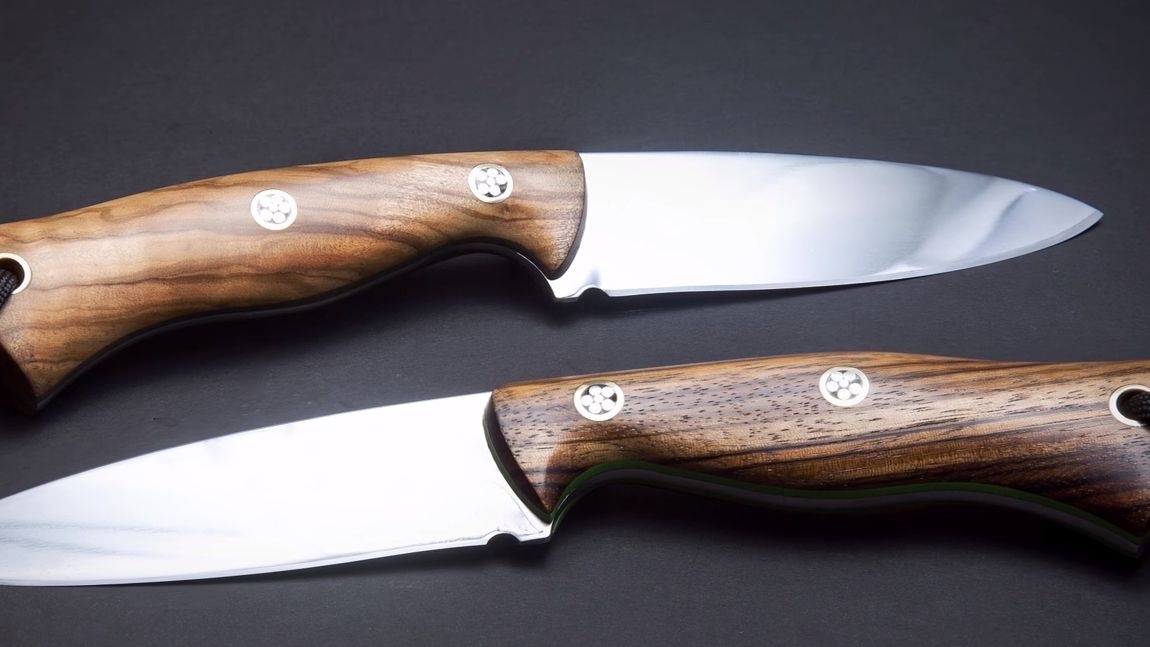
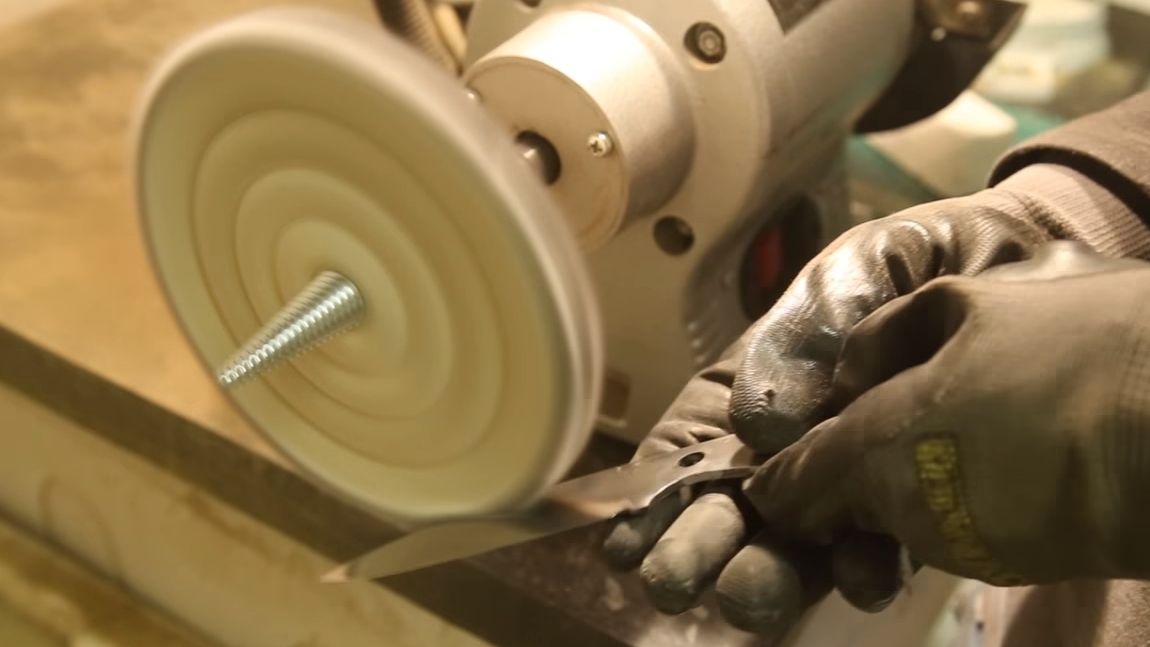
The final refinement of the blades is their polishing. If you wish, you can make them mirrored. The author does polishing on a polishing machine.
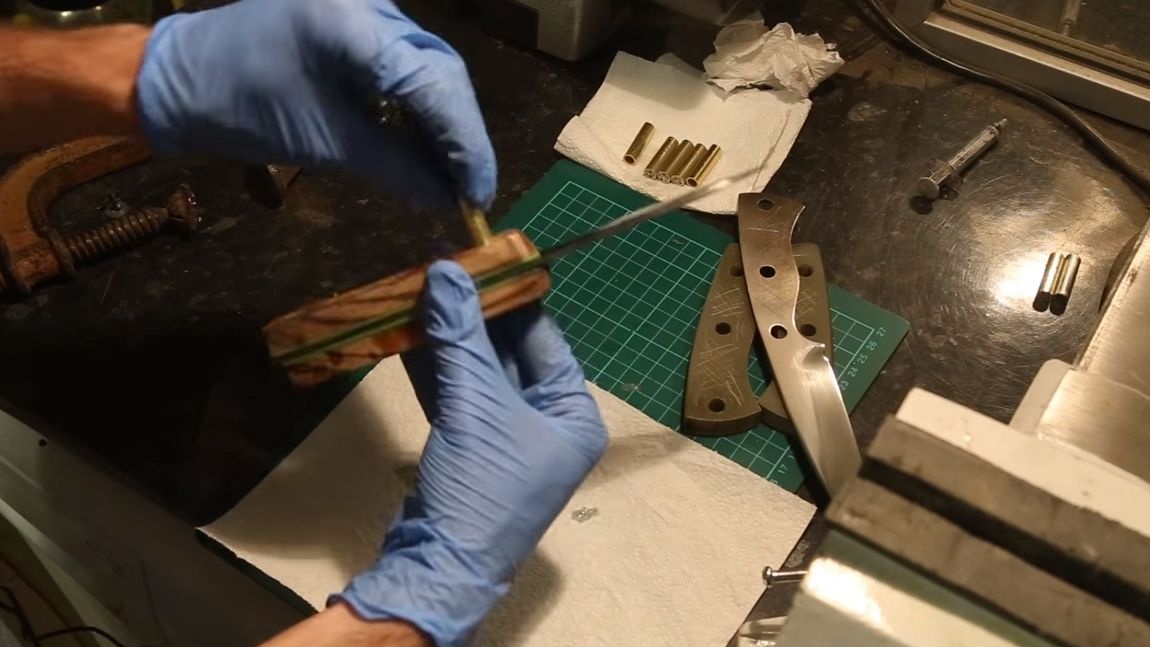
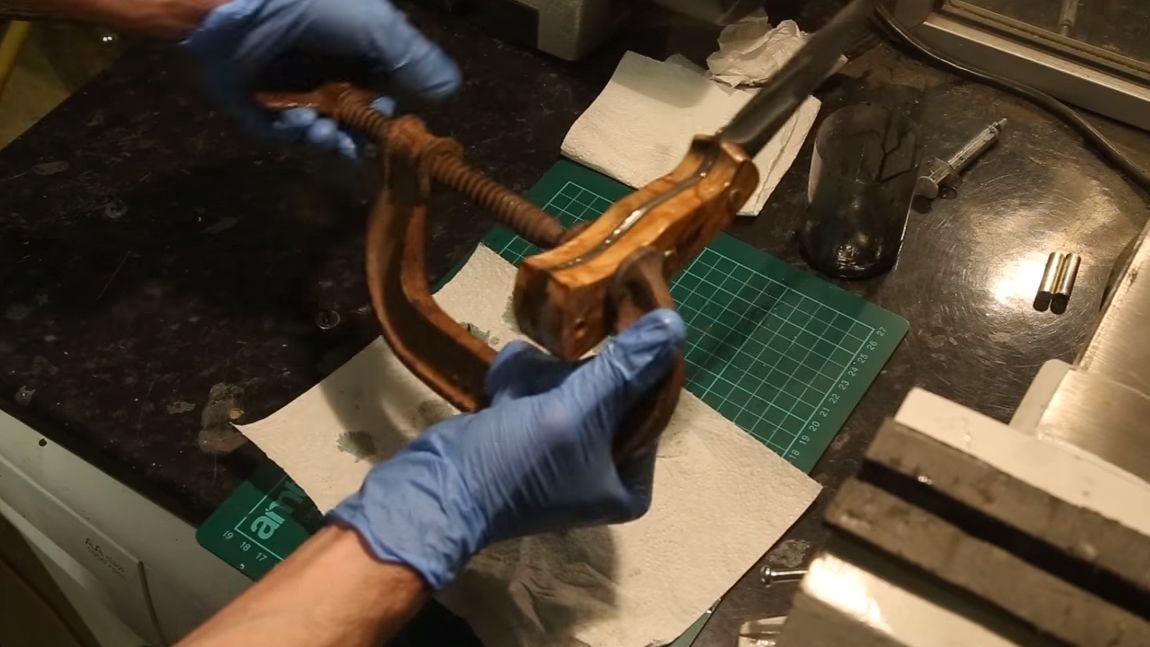
Step Nine. Pen assembly
We take the pads and glue them on the blade with epoxy glue. We clamp everything with clamps and give the glue a day so that it is completely dry. We carefully hammer the pins into place using a hammer.
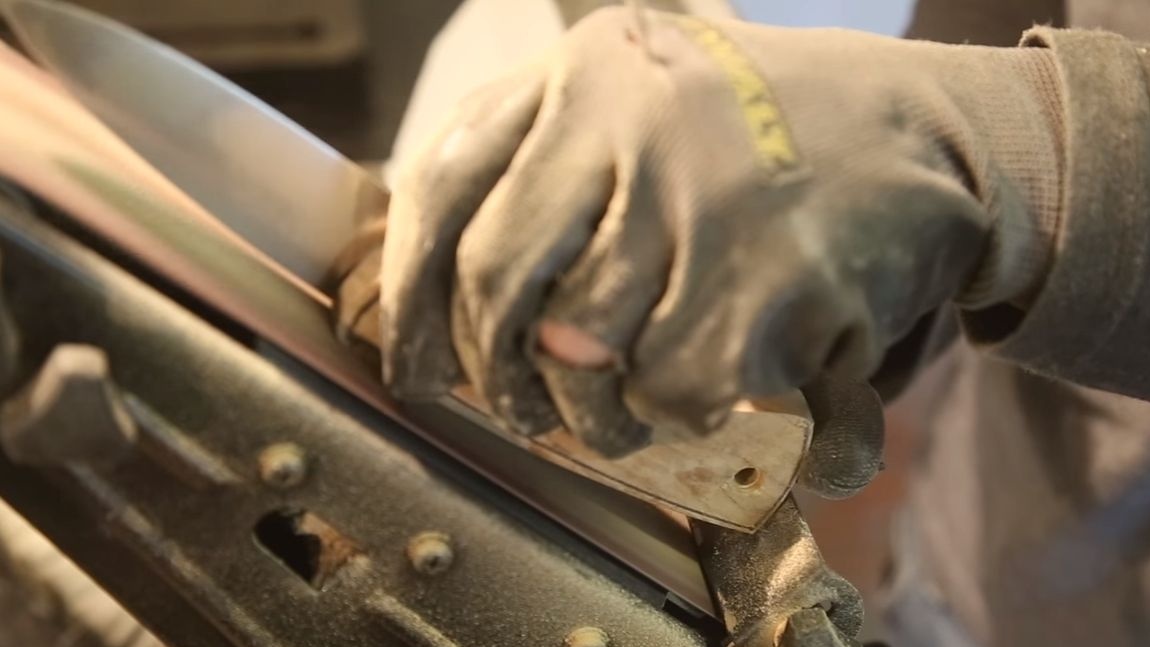
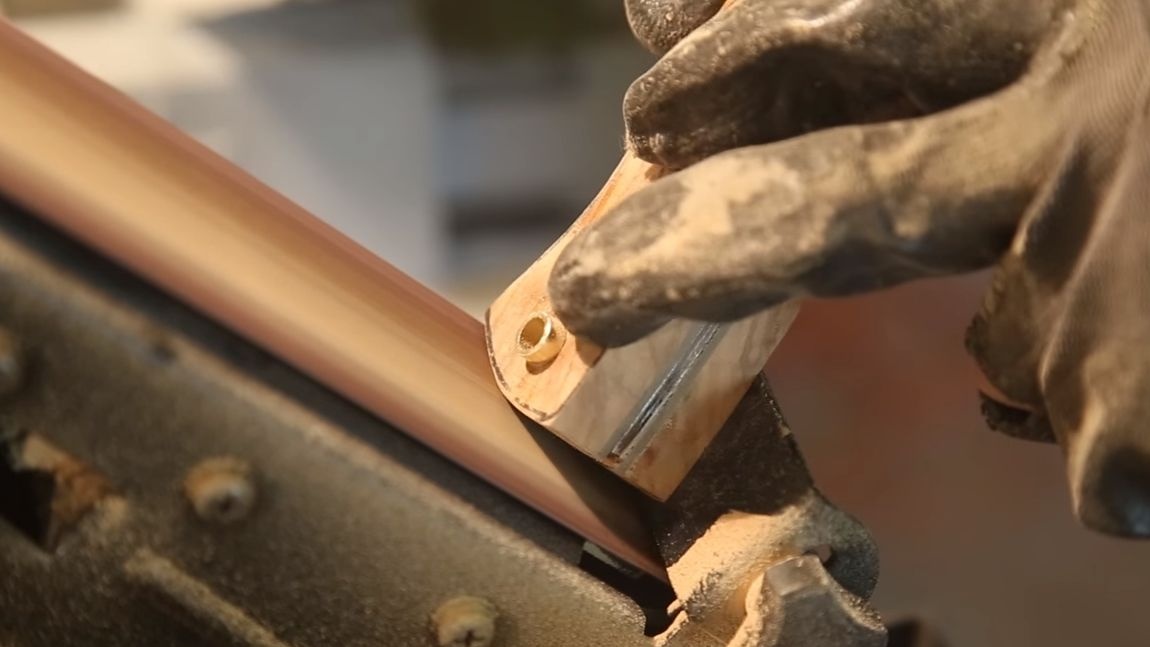
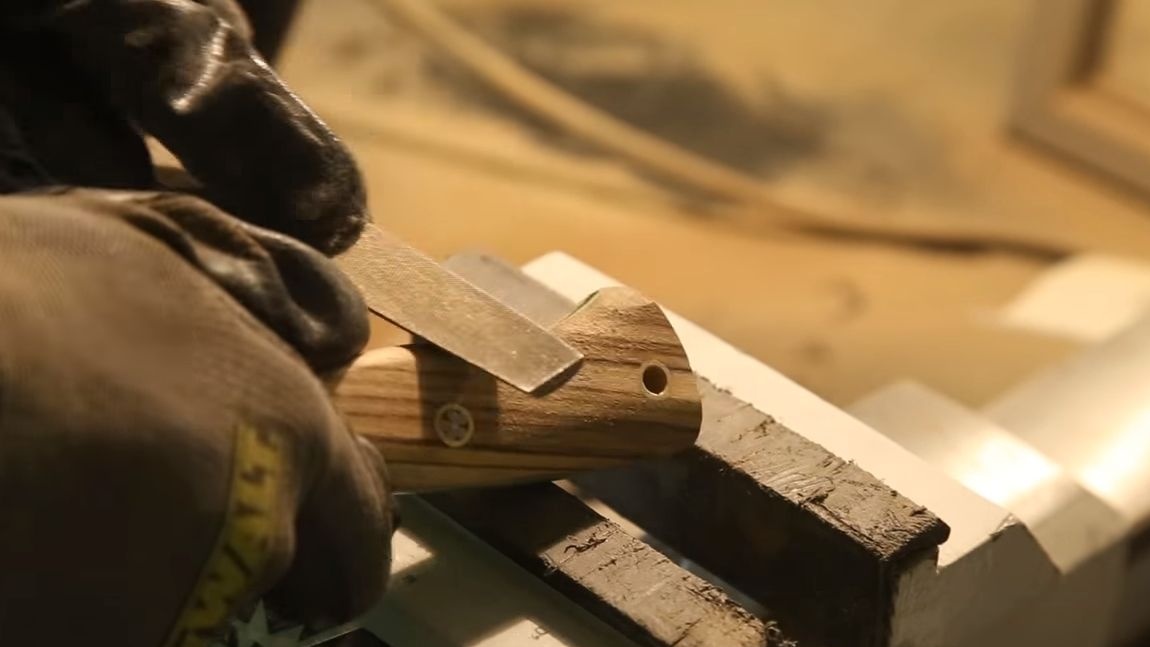
Now we have the final grinding.For help, we again turn to the belt sander. Then we work with files in those places where we could not get a flat belt. Well, in the end we use sandpaper, gradually reducing the grain size. Handles should become smooth and have a finished look.

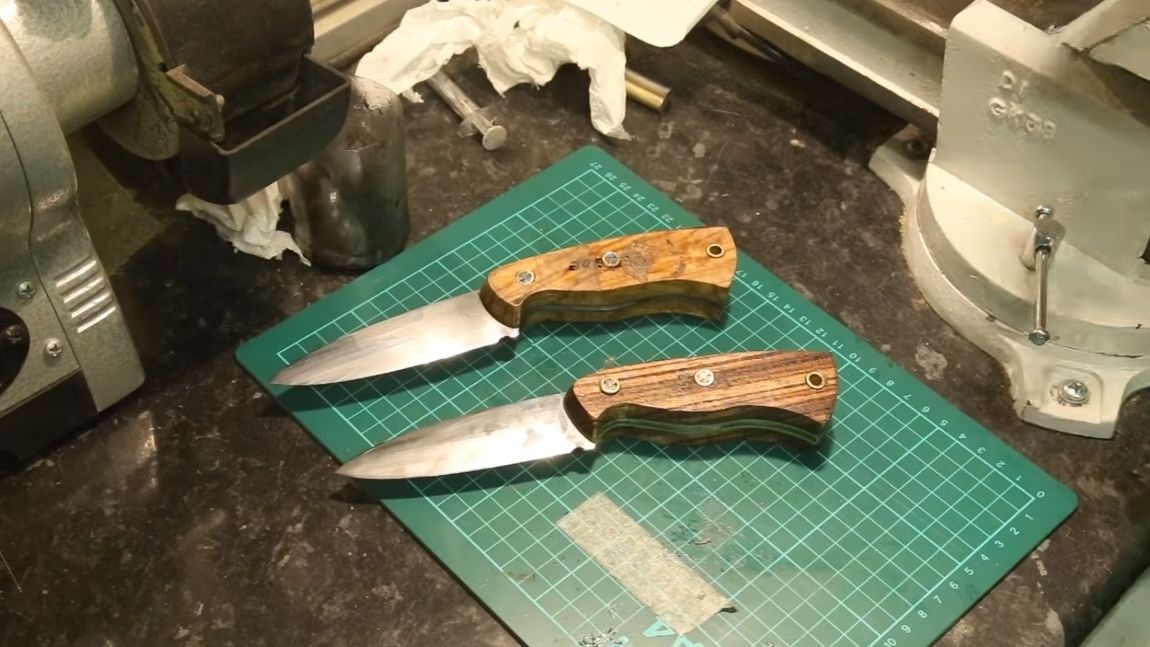
When the pens are ready, soak them in oil. Impregnation will protect the tree from moisture, and will also make the pens very beautiful. After the impregnation, the author also decided to polish the pens. Now they look great.


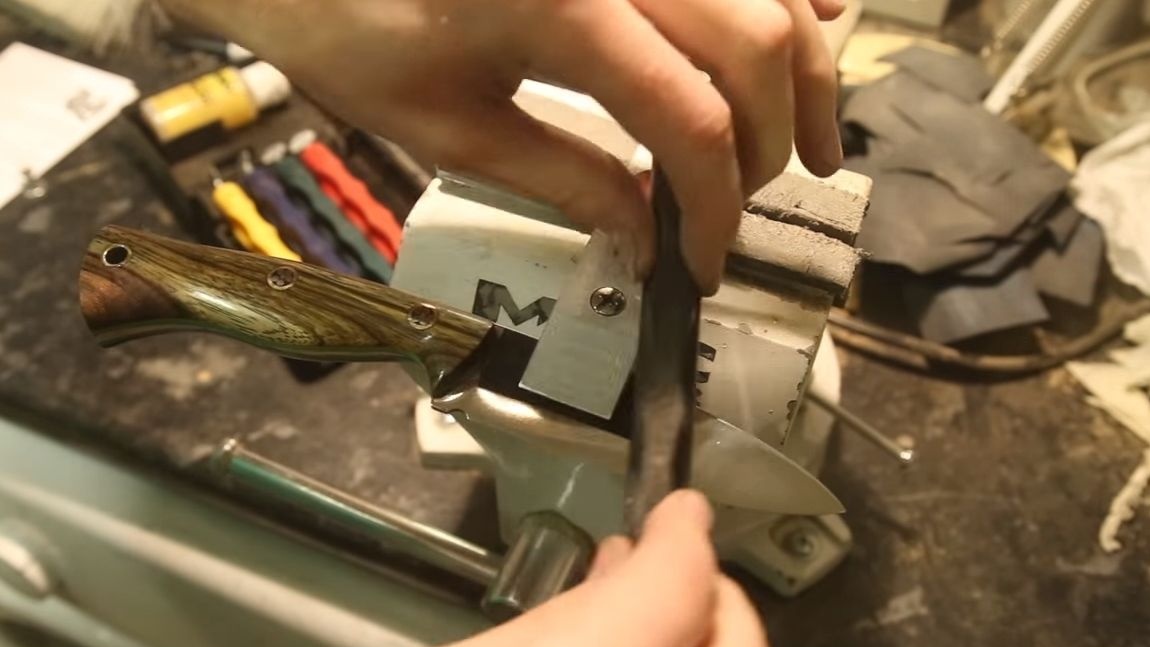
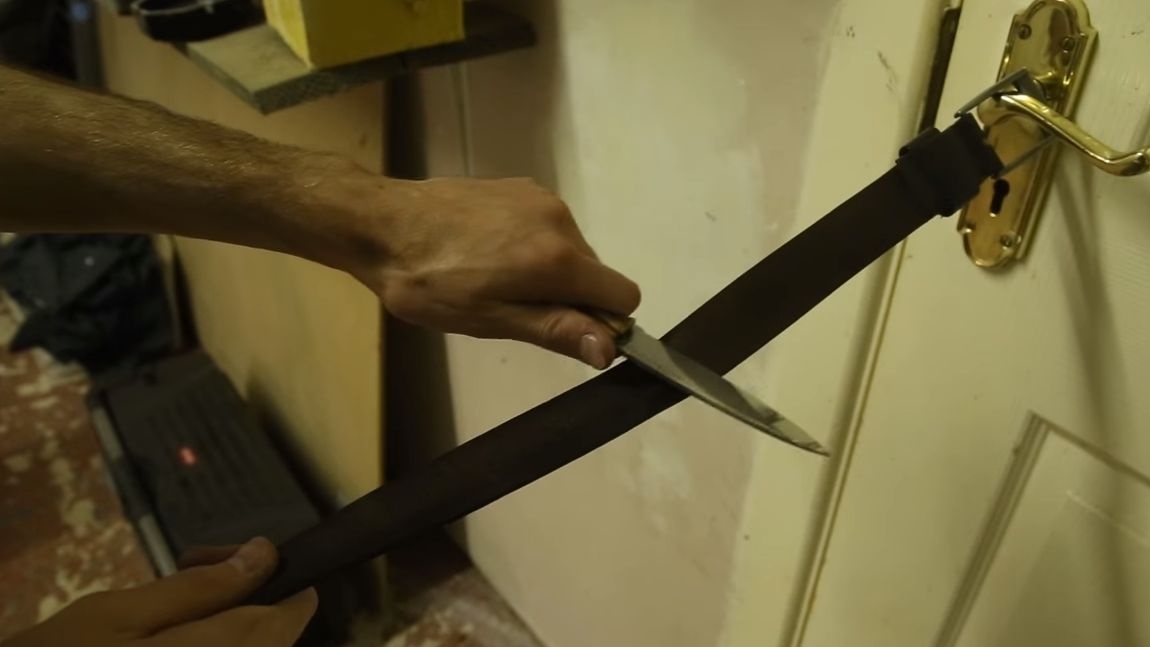
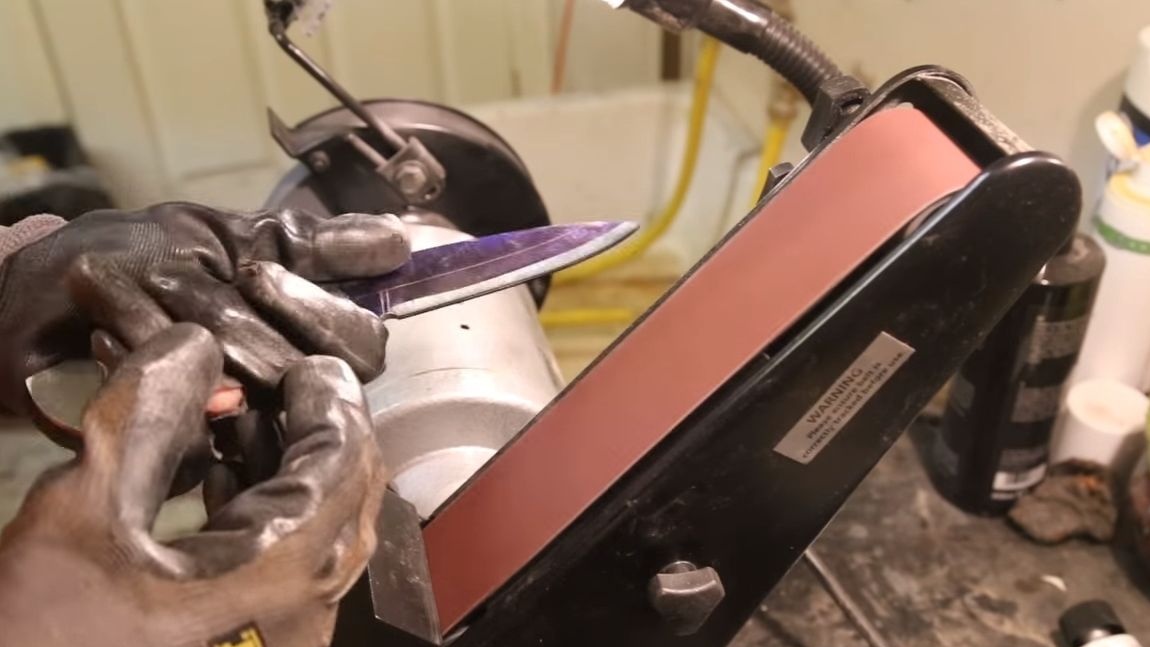
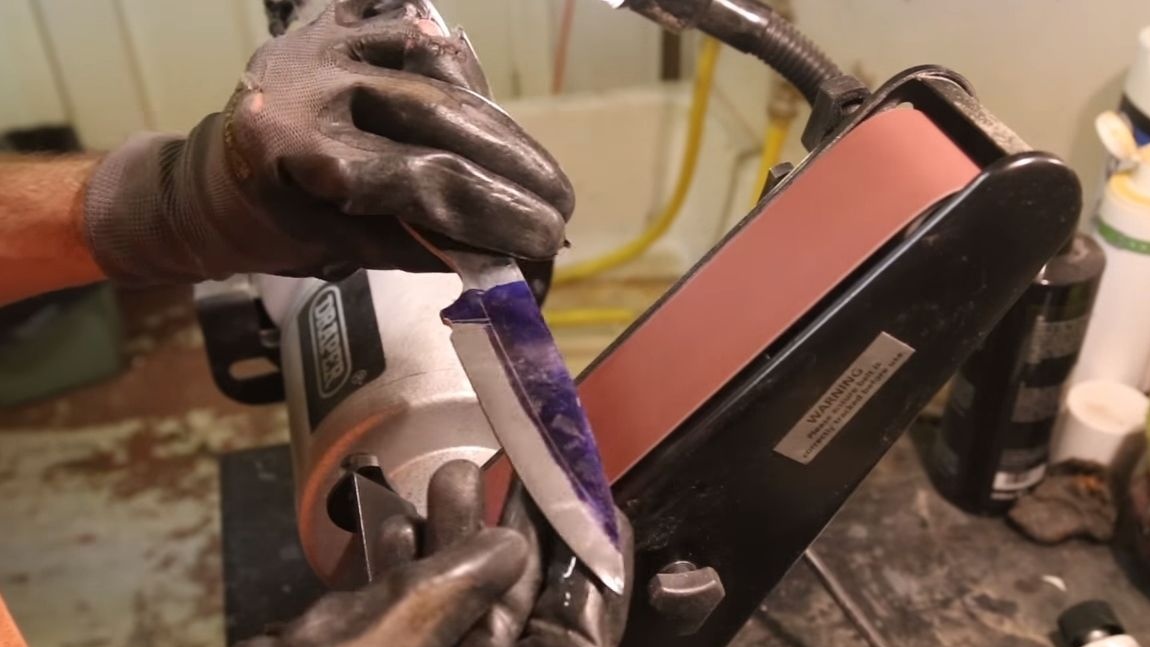
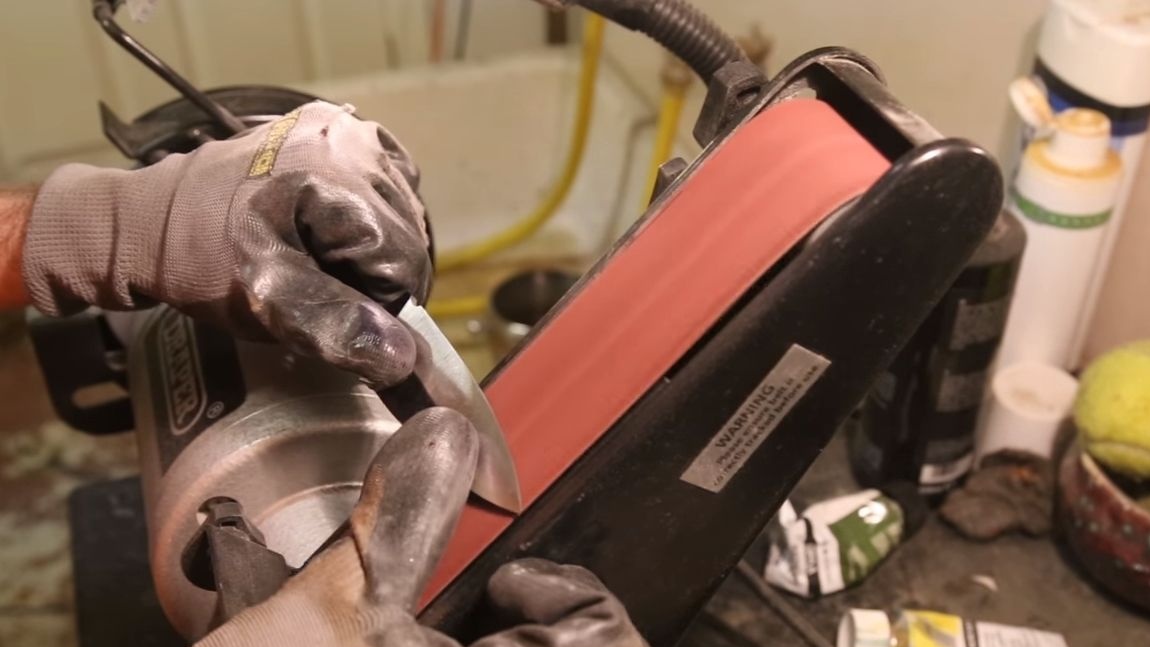
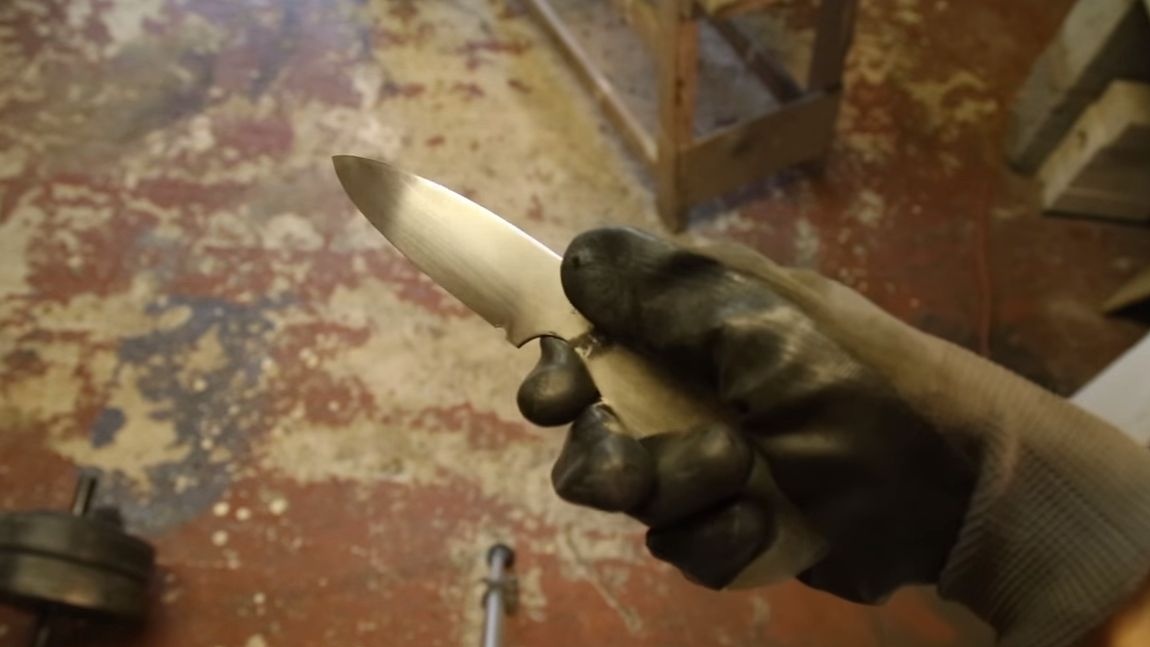
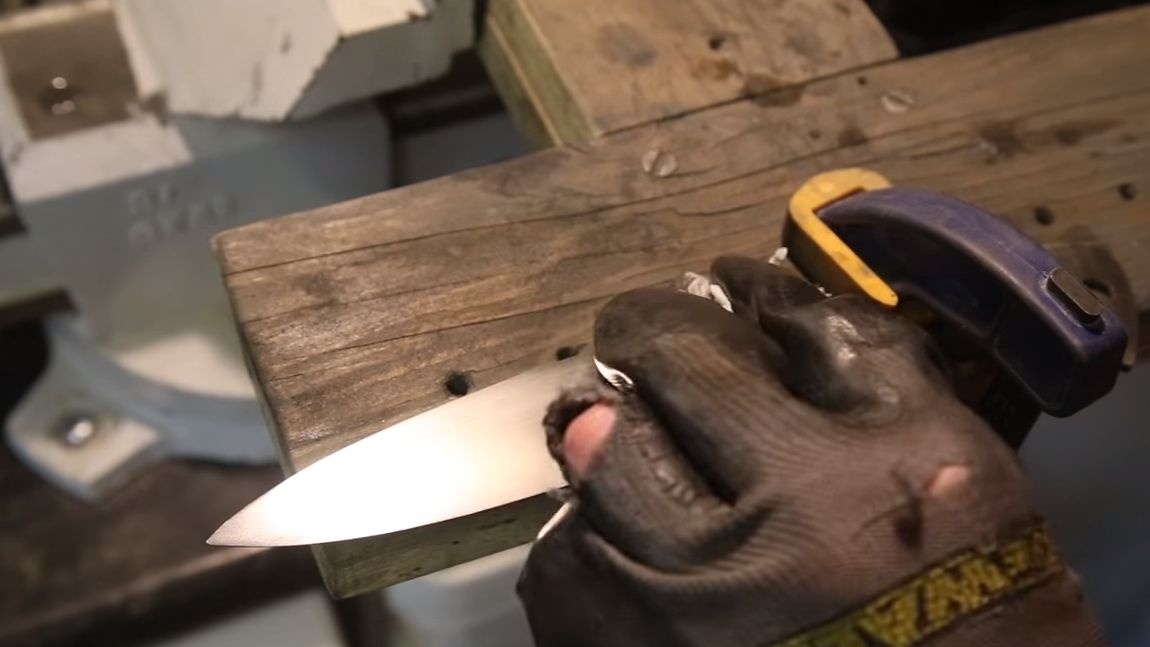
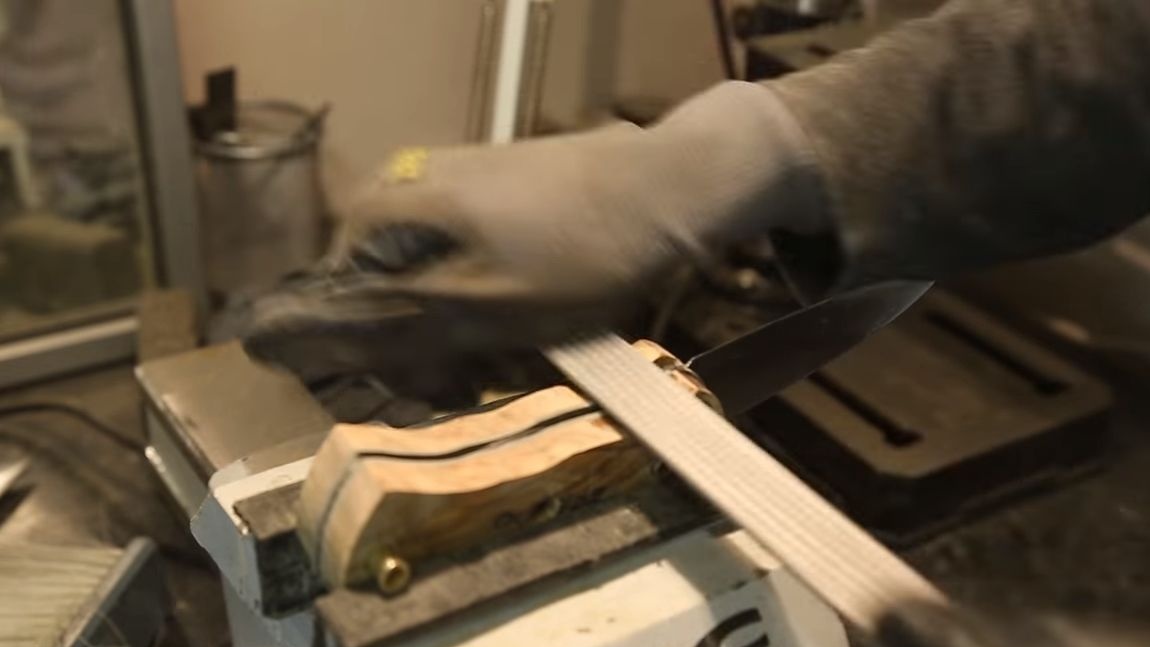
Step Ten Sharpening and testing
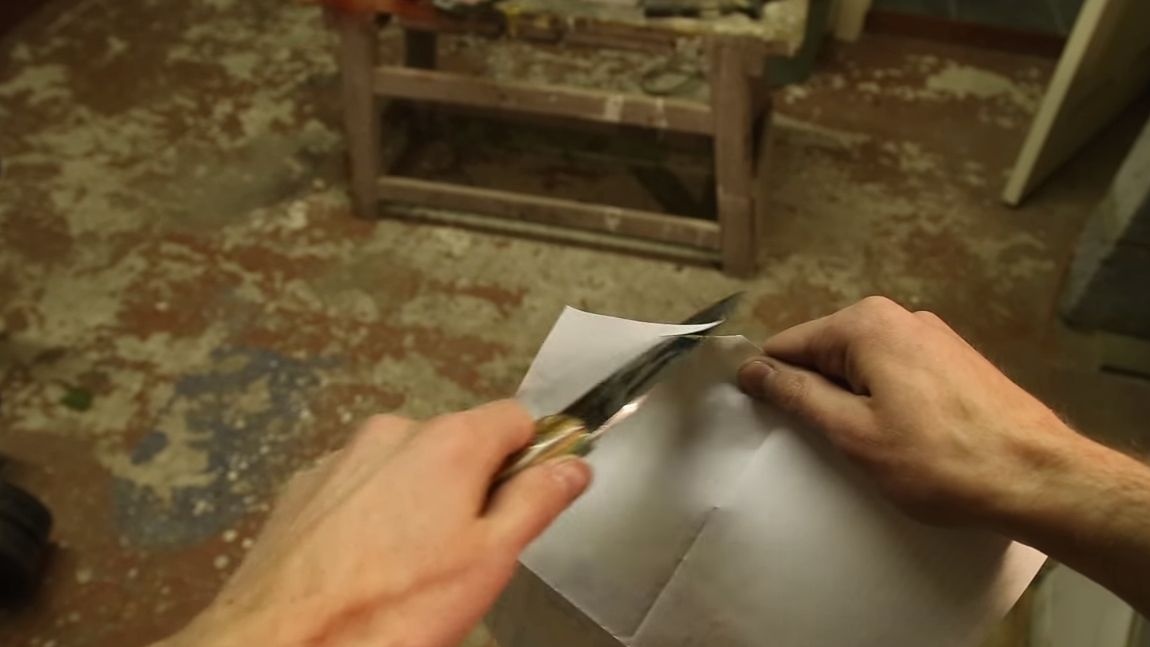
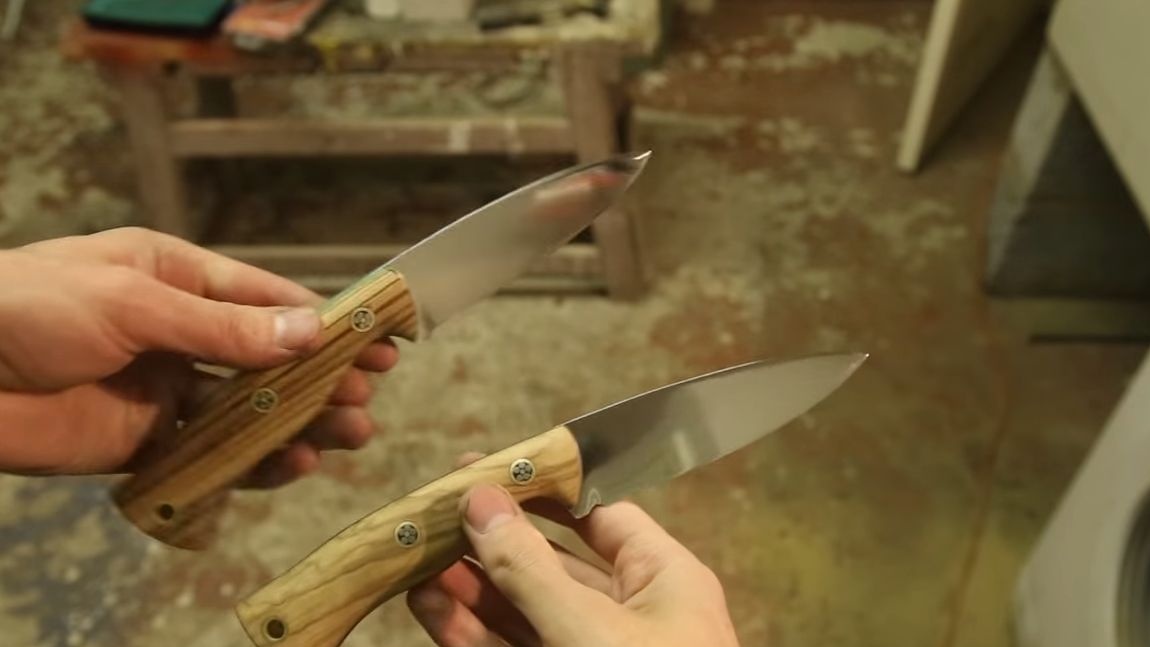
The knife is ready, it remains to sharpen it! For this, the author used a special device for sharpening. This task can be handled with the help of whetstones or a simple sandpaper. We bring the blade to the ideal, sharpening it on the belt. That's all, now the knife is so sharp that it easily cuts paper!
That's all, I hope you enjoyed the project. Good luck and creative inspiration!