
If you constantly master something and you have a need for a mobile small drill, this instruction is for you. Today we will discuss how to make such a drill do it yourself. The made drill has a convenient handle, which is made of PVC pipe. A switch with continuously variable speed control is installed in the drill, this will save energy and adjust the drilling mode to your needs. To do this, you need to assemble a controller on JLCPCB or buy a ready-made one.
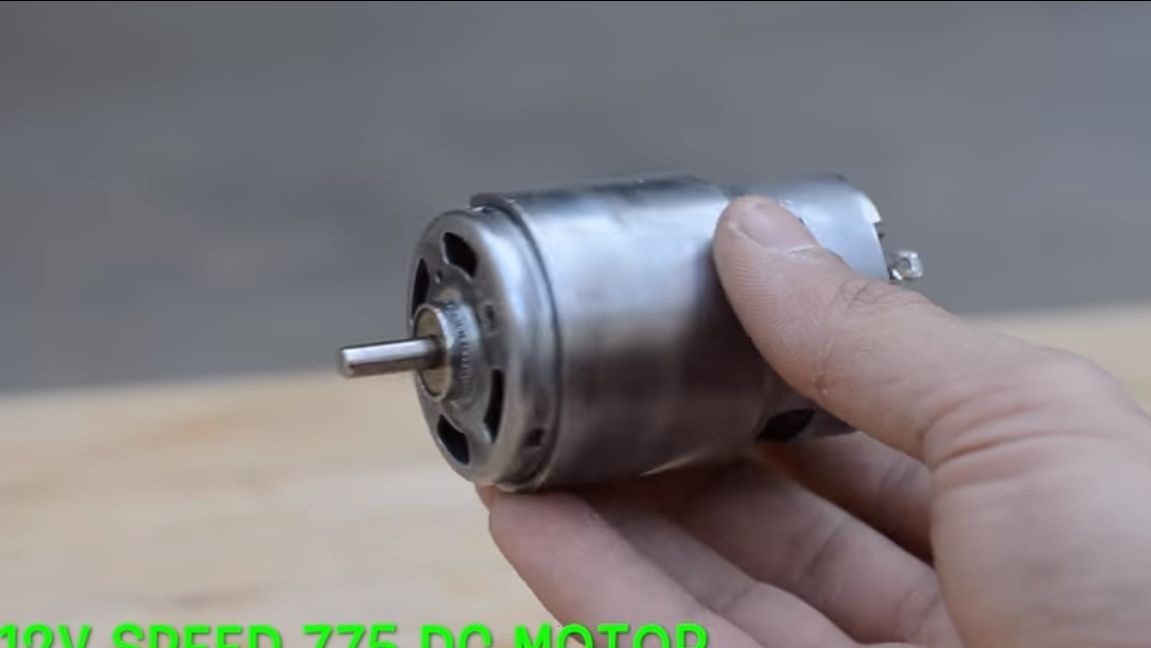
As a power element, we will use the 775 engine, which operates on a 12V voltage. These engines are quite powerful and durable, they are actively used in the manufacture of various home machine tools. The peculiarity of such engines is that they have a built-in fan, which will not allow the engine to overheat during a long period of operation. Also, for such engines, the rotor does not rotate on the bushings, but on the bearings, which increases reliability and service life. The motor shaft has a standard diameter, many different adapters are made for it, which can be ordered from China. In our case, you need a drill cartridge. The drill is powered by 18650 batteries, although the author forgot to arrange a socket for connecting a charger. So, we will consider in more detail how to make such a drill.
Materials and tools used by the author:
Material List:
- ;
- PVC pipe and corner;
- plywood;
- PCB JLCPCB;
- batteries 18650;
- switch from the drill;
- wires;
- heat shrink;
- ;
- cogs;
- screw and wooden cork;
- Super glue;
- electronics for smooth adjustment of turns;
- heat shrink.
Tool List:
- drill;
- a hacksaw for metal;
- glue gun;
- soldering iron;
- multimeter;
- nippers.
Drill manufacturing process:
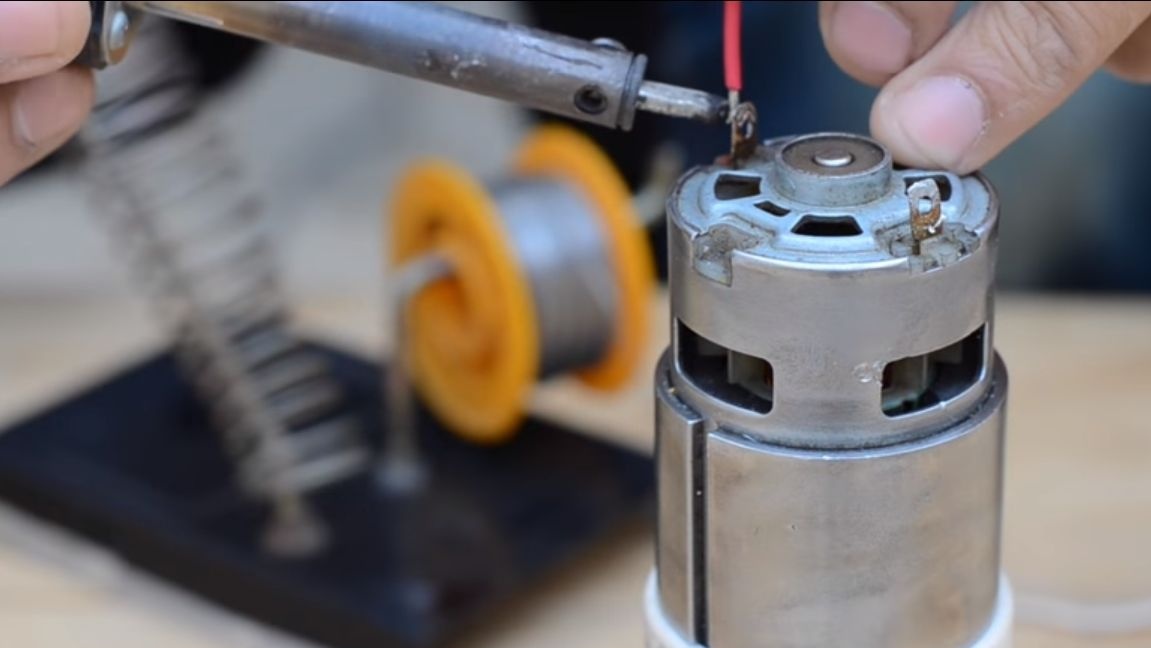
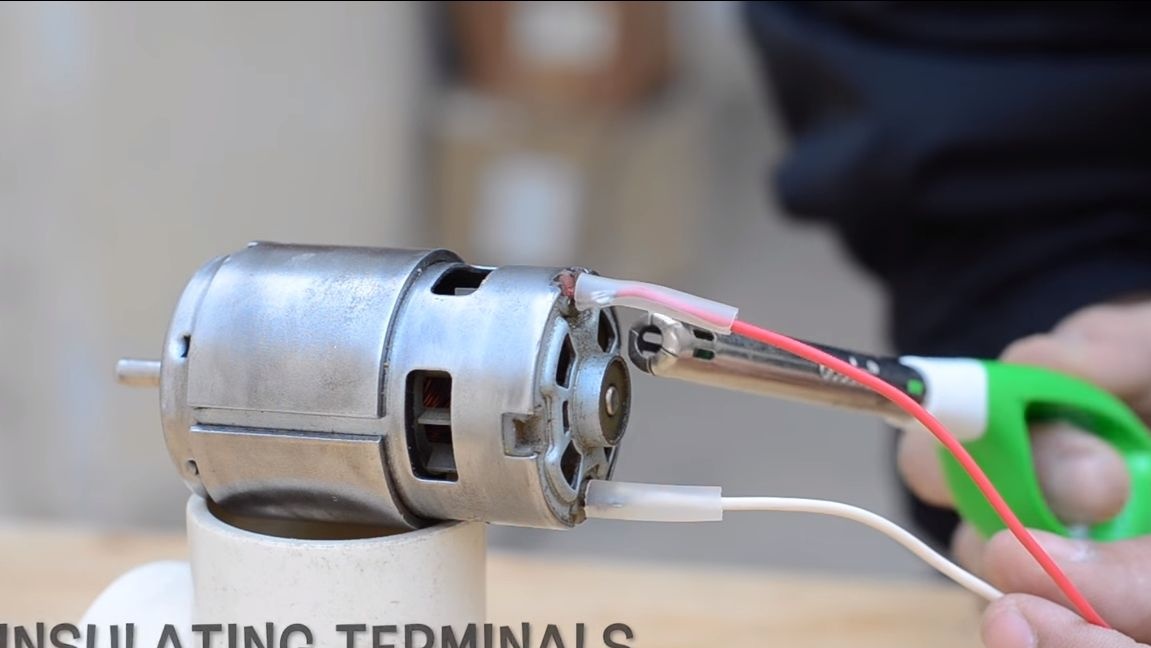
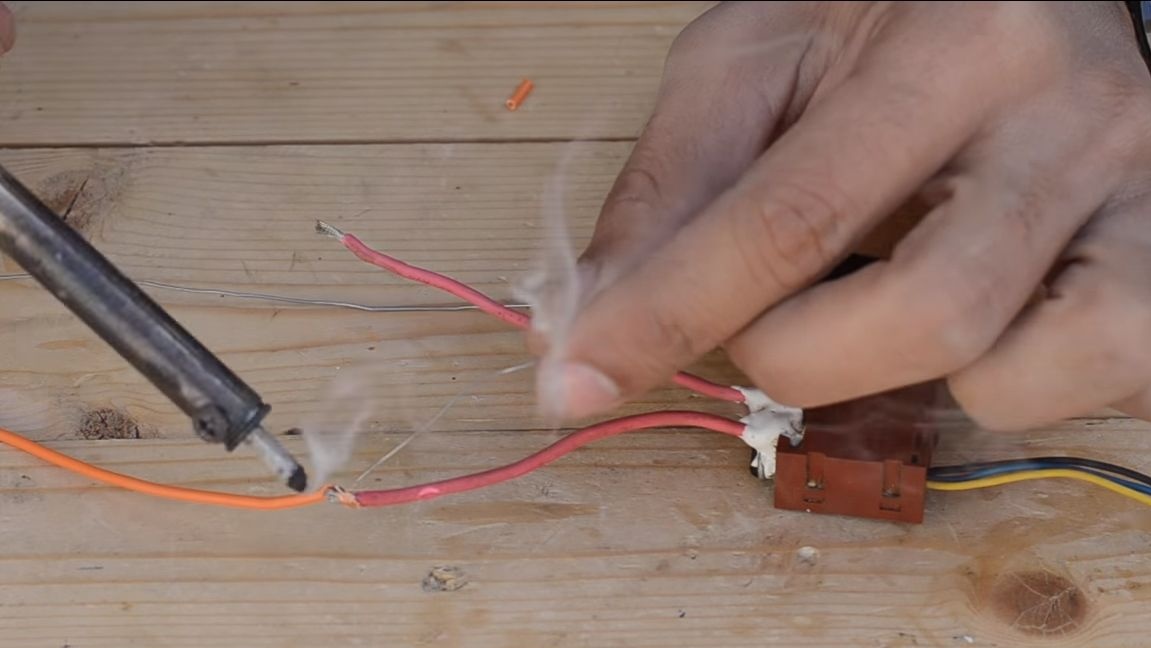
Step one. We prepare the motor
For homemade you need a 775 engine, you can use another similar one, the most important thing is that it be powerful enough. We solder the power wires to the motor contacts, and then isolate the solder points just in case using heat shrink. Use wires of different colors to avoid confusing them when connected. If the polarity is reversed, the drill can rotate in the opposite direction. Another thing is if you have a reverse.
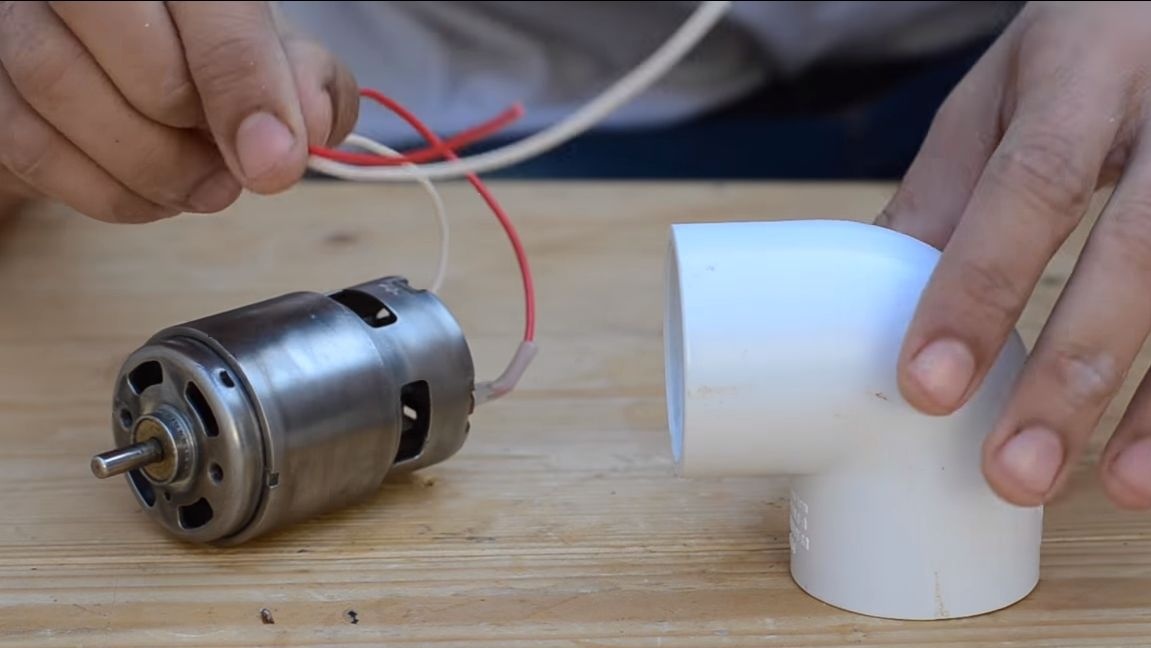
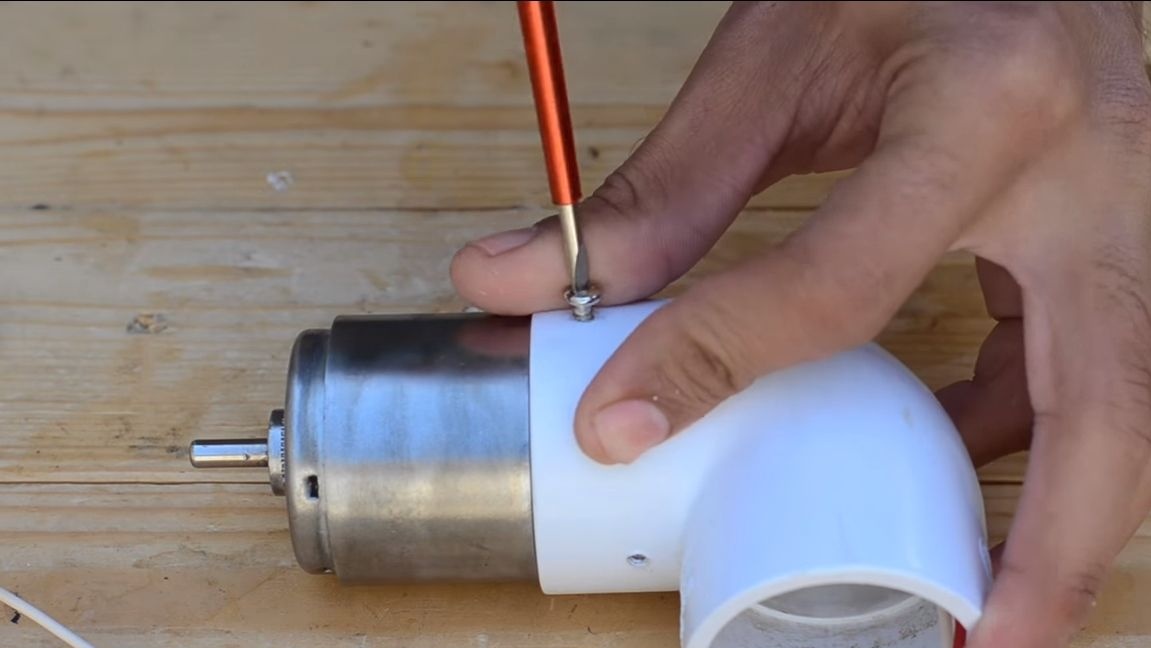
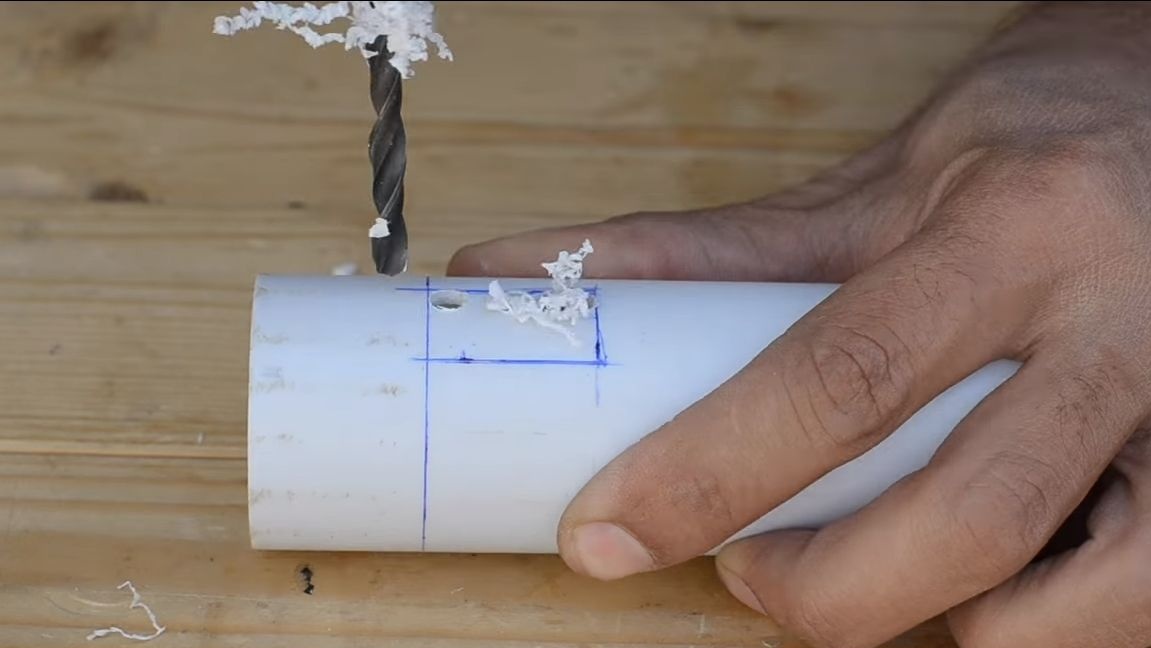
Step Two We fix the motor on the corner
The corner will allow to fix the motor on the pipe in the form of the letter "G".We drill in the corner holes for the screws, they will wrap in front of the ventilation windows. The engine should go as tightly as possible into the pipe. If this is not the case, you can rewind electrical tape on it. There is one thing but, the author did not provide windows for cooling the engine. If you use the drill for a long time, the engine may overheat. It is best to drill cooling holes against the ventilation windows of the engine.
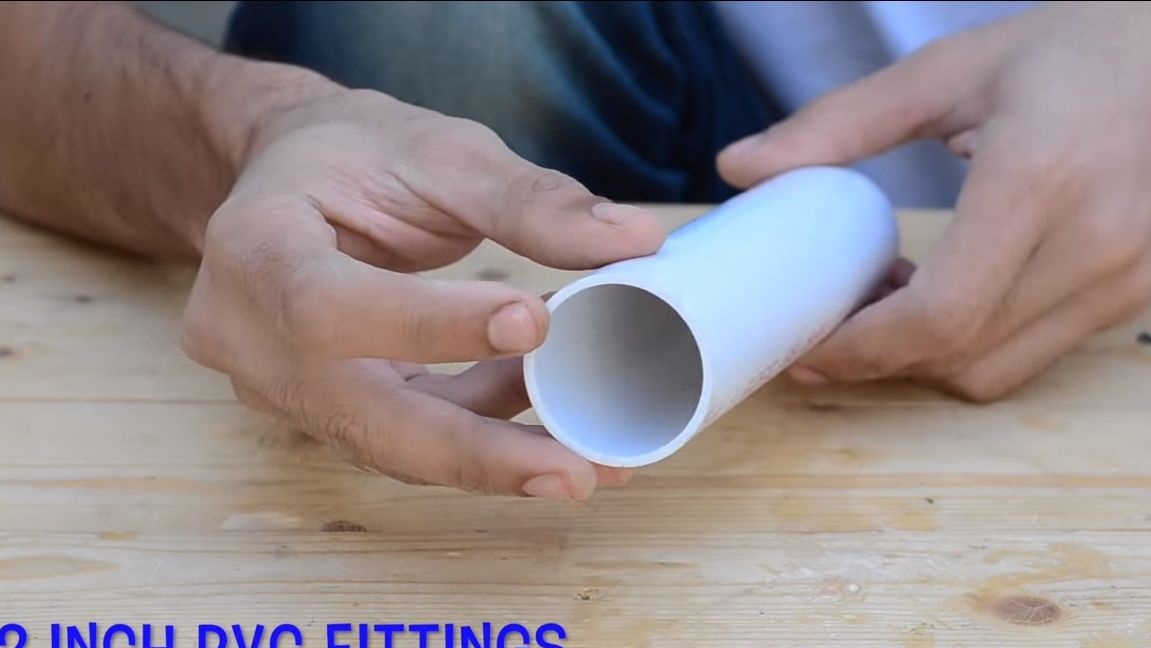
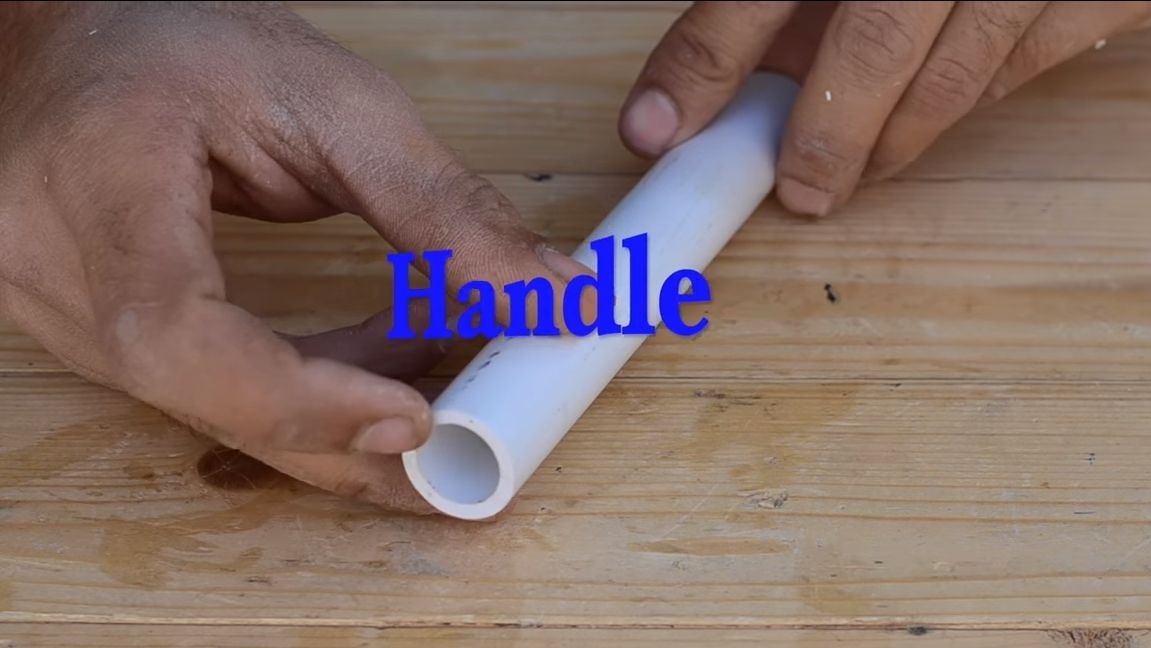
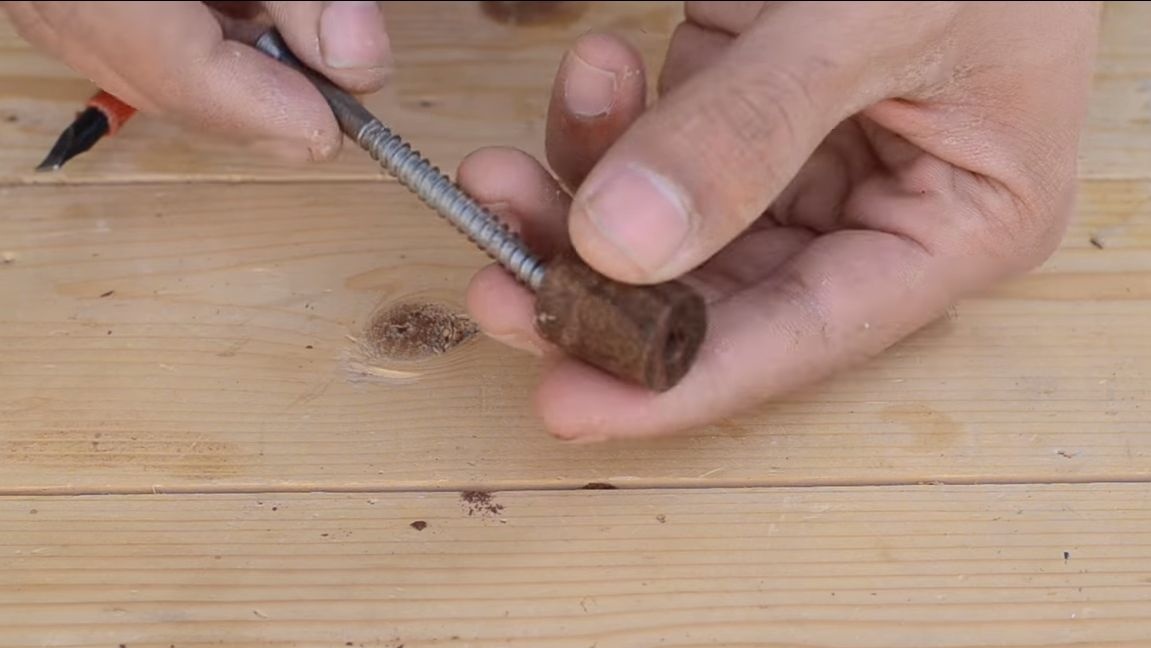
Step Three Making a side handle
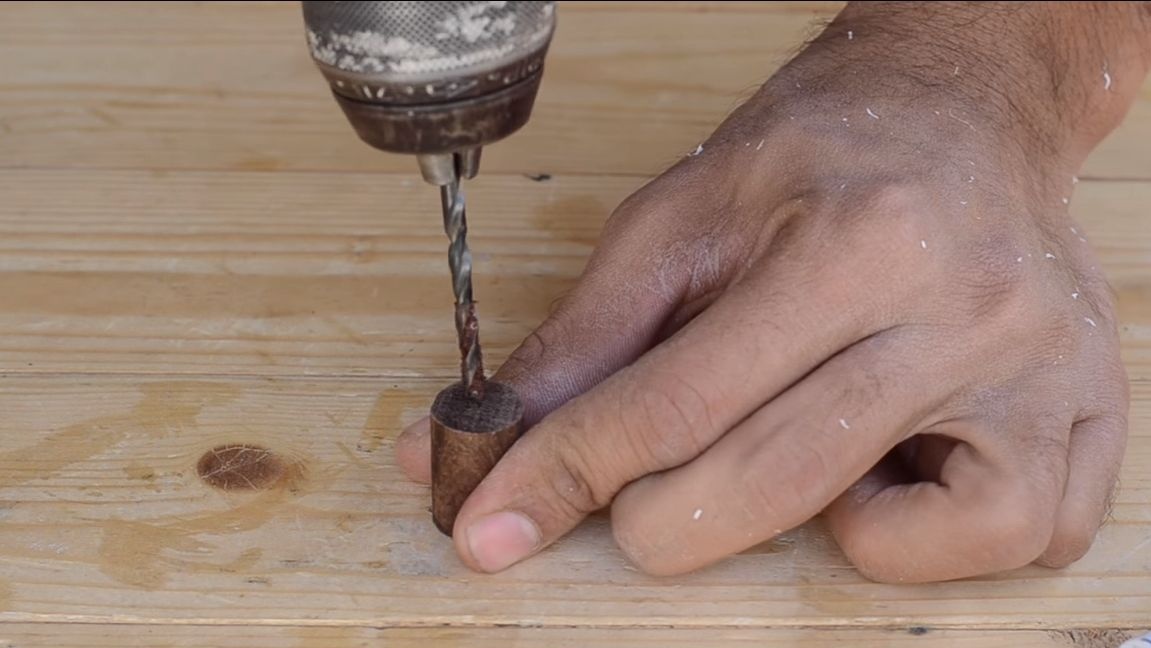
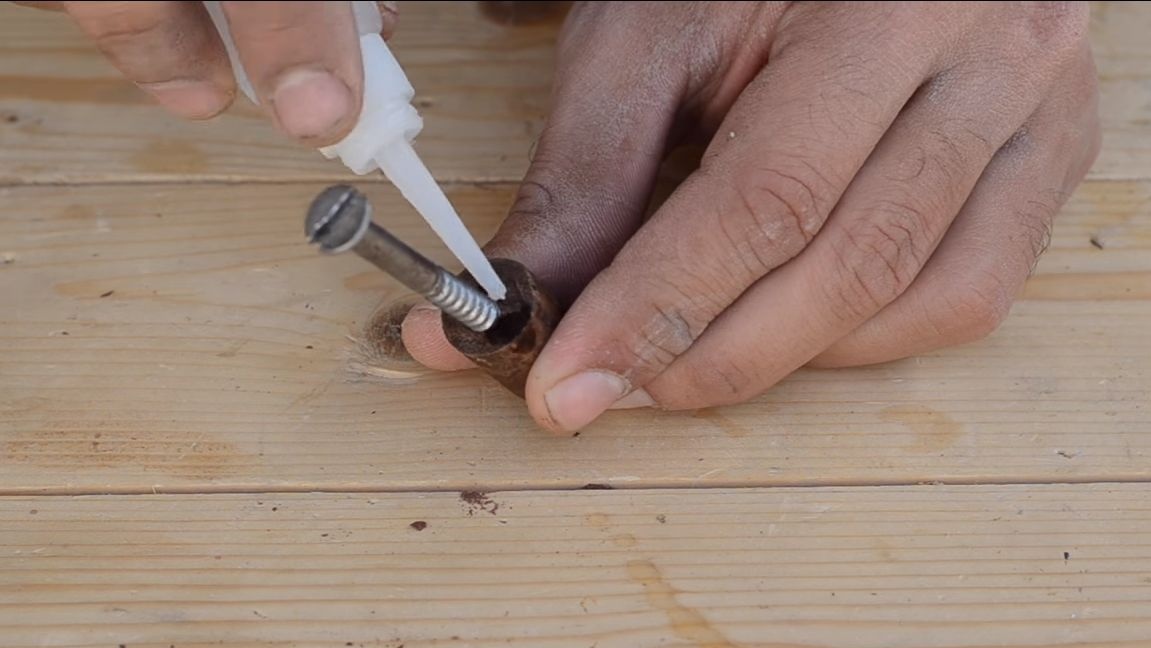
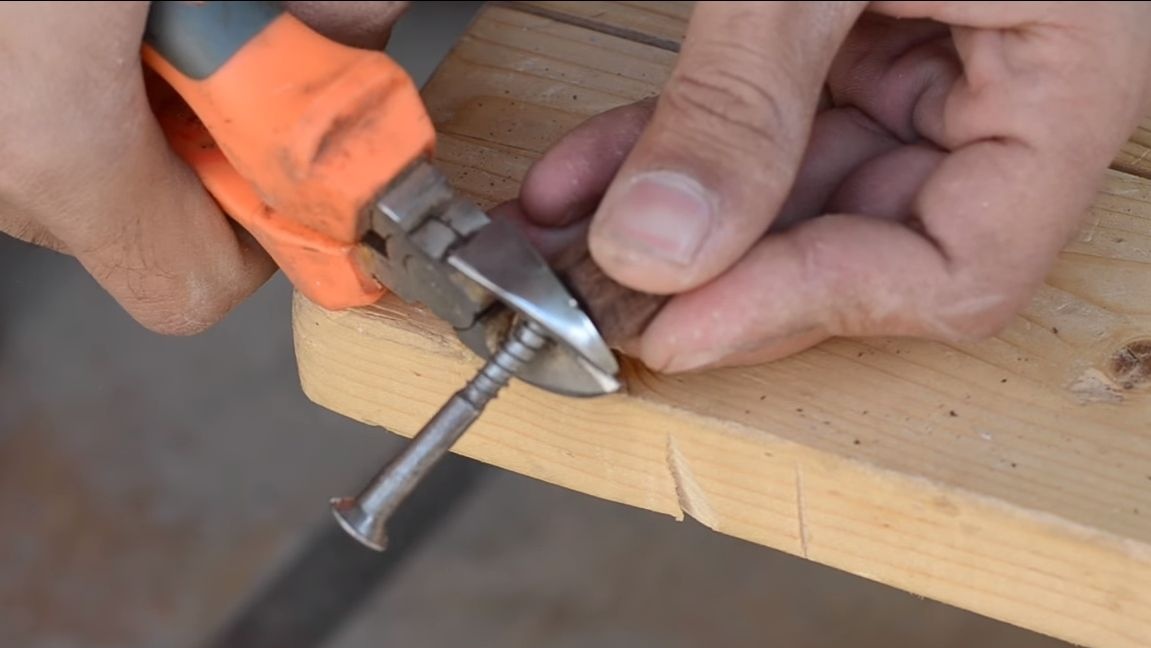
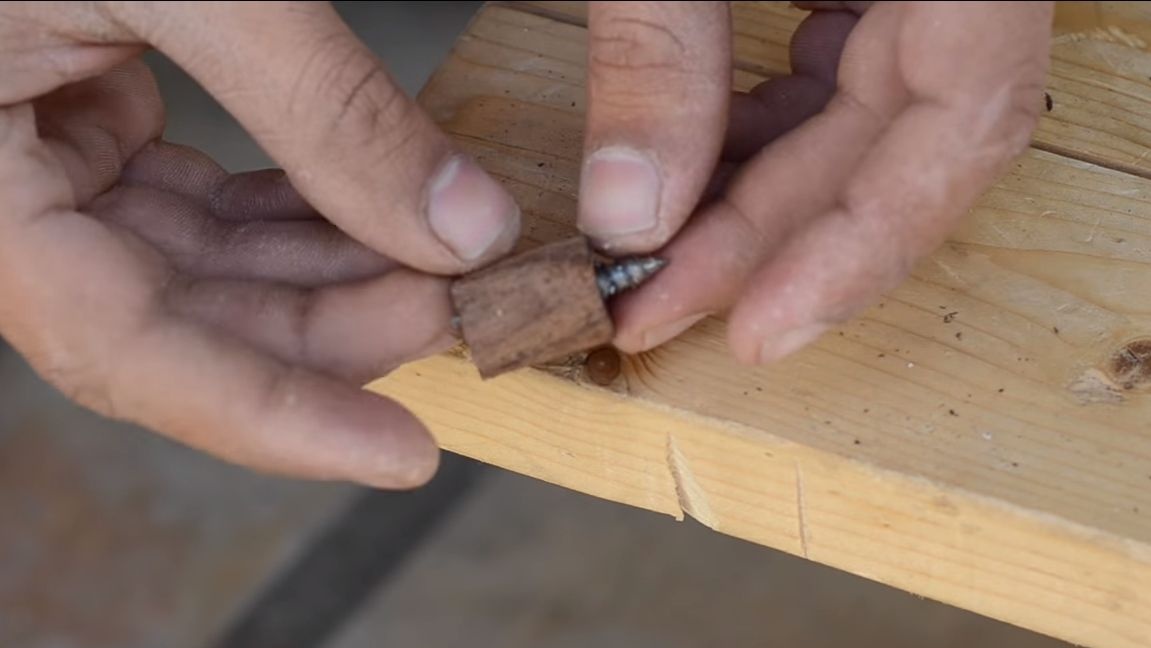
To make a side handle, you will need a piece of a thick PVC pipe. Under it we make a cork made of wood, to which we drill a hole and wrap a screw so that it gets out a little from the other side. On the side of the hat, cut off the screw. Just in case, glue the screw with superglue.
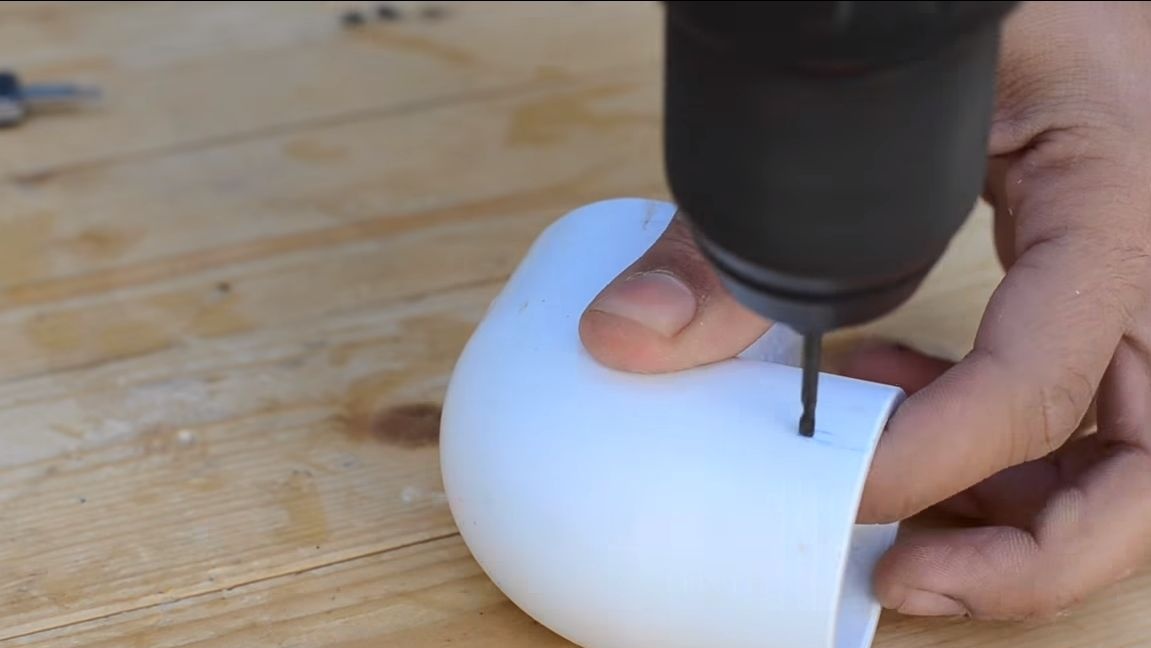
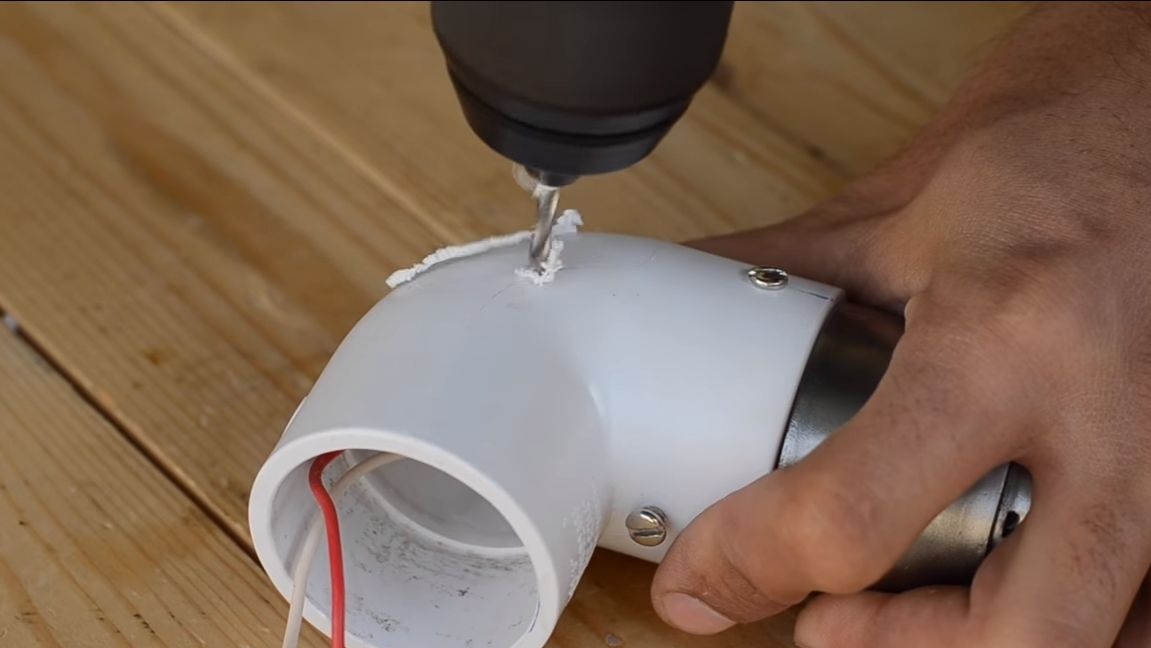
We plug the cork into the pipe, then pour superglue on top. We drill a hole in the corner and now you can just wrap the handle in its place.
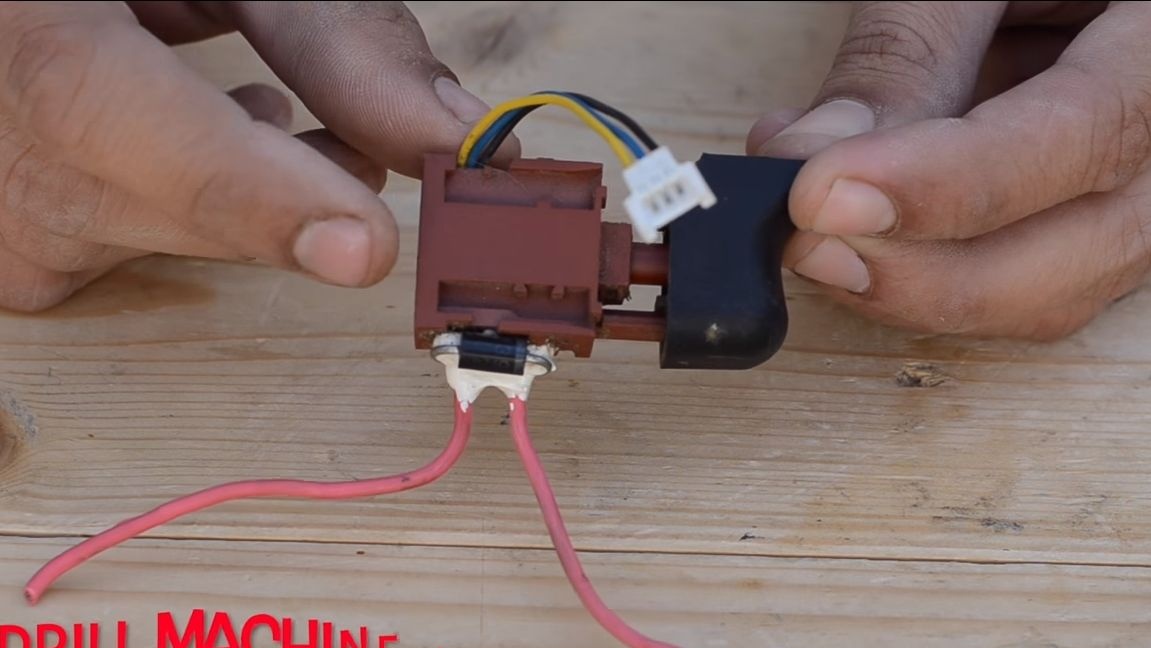
Step Four Preparing the handle and setting the switch
To make the handle, you need a piece of pipe, in it we make a window for the switch. Well, then solder the necessary wires to the "trigger" from the drill. Well, then install the trigger in the housing, putting it on hot glue. Insert the handle into the corner, drill holes and fix with screws.
Use wires for connection in different colors and it is better to write down each color, since there are quite a lot of wires.

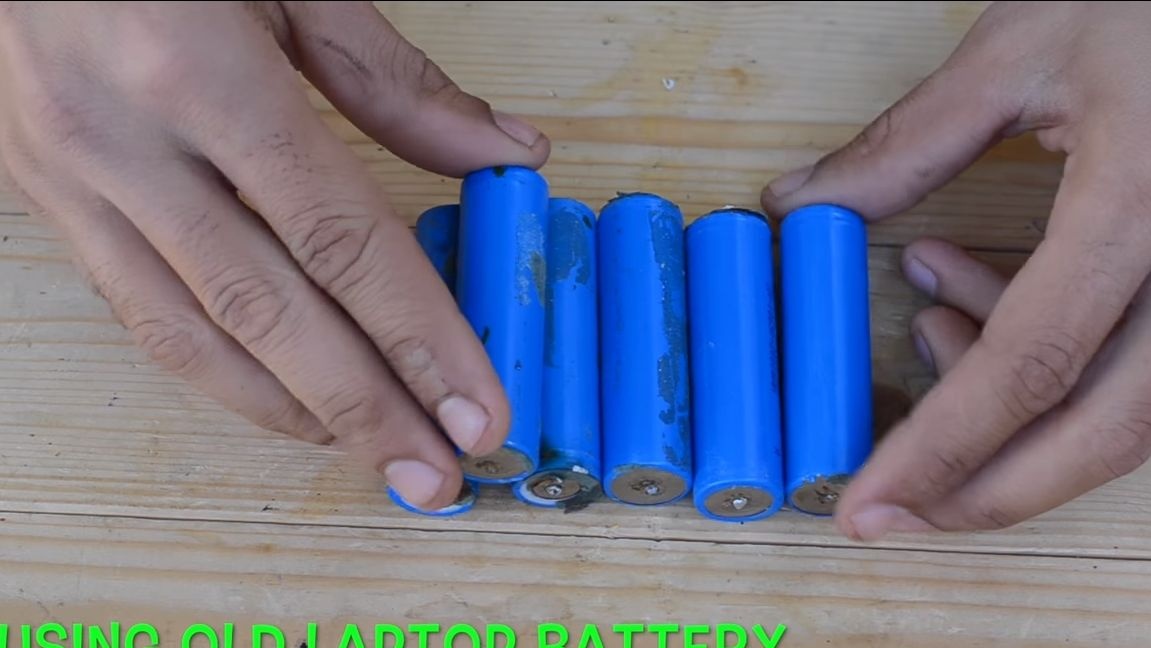
Step Five Battery assembly
As a power source, the author decided to use old 18650 cells from a laptop. Keep in mind that there are no controllers here, the author even forgot to put out a charging socket. In this mode, these batteries will last a very short time. Instead of batteries, you can always use a 12V power supply.
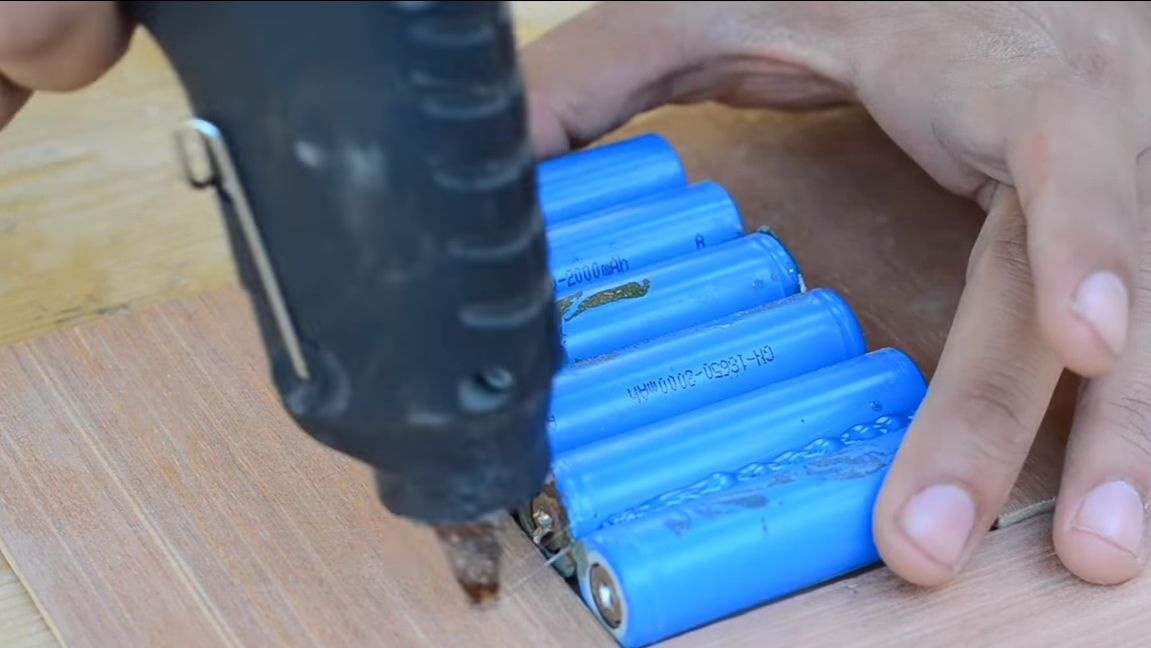
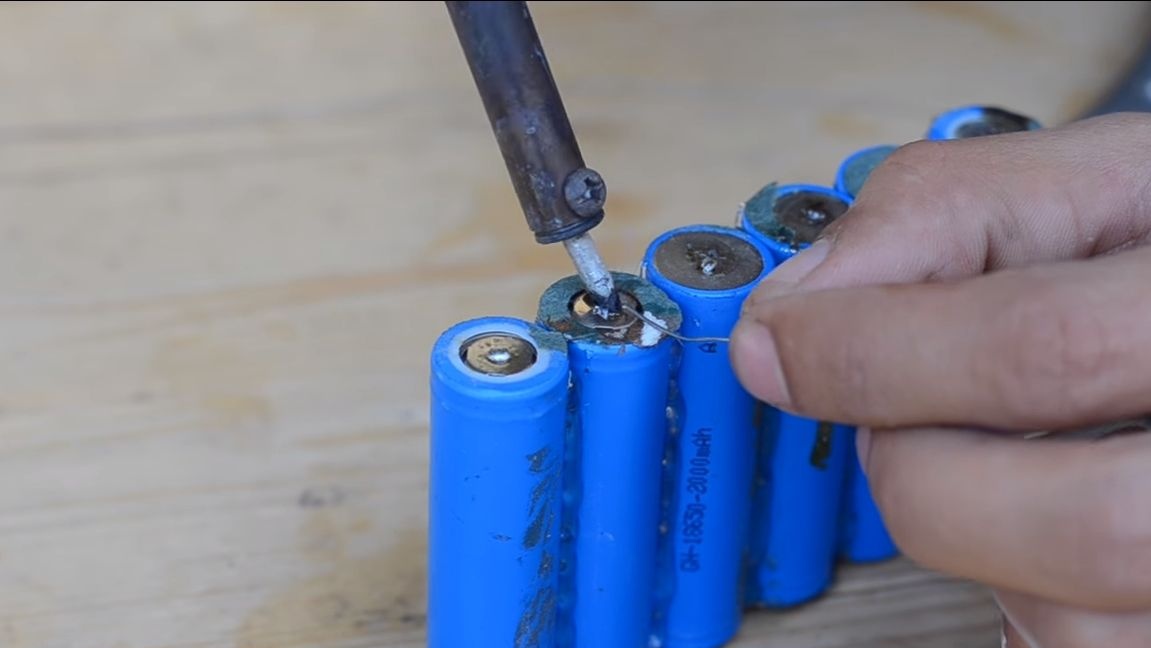
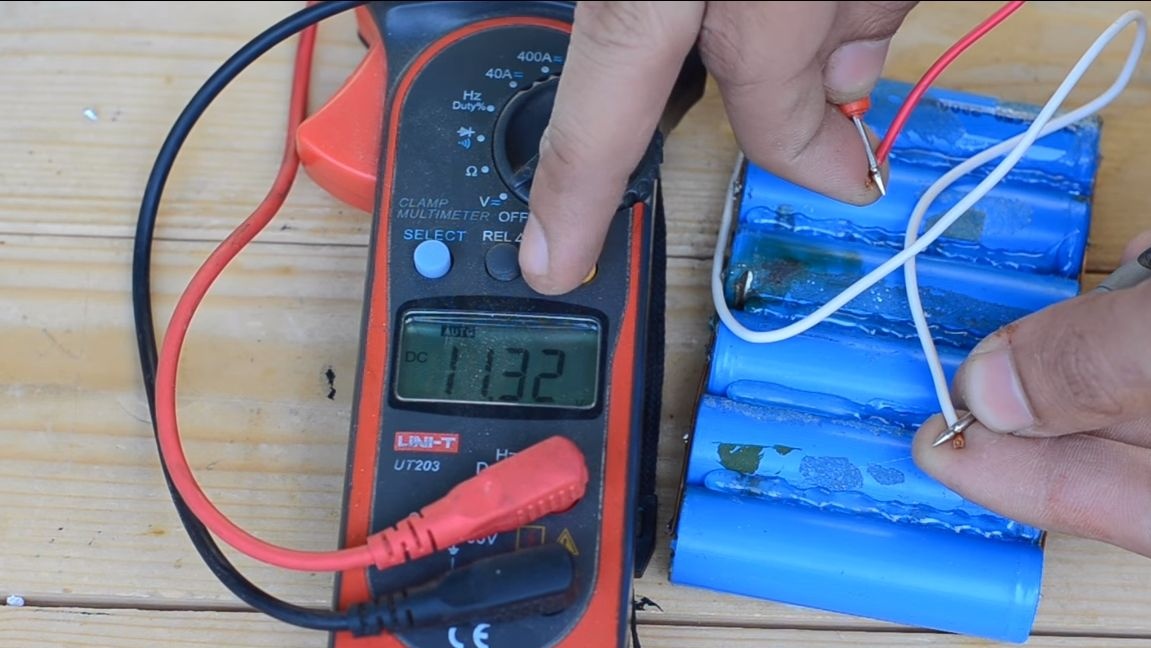
We need to solder the cells in parallel and sequentially, as a result, the voltage should be a little more than 11V. This is enough to power the engine. In total, the author used 6 cells 18650, three are connected in series, and then these two blocks are connected in parallel. We connect the cells to each other using hot glue.
Step Six Battery housing
Batteries need to be fixed in the case, which is done by yourself. We just need to assemble a box of plywood. The author glues parts using superglue. In the lid we drill a hole and draw the wires. Above the wires you need to install a piece of PVC pipe of such a diameter so that a handle can go into it. Thanks to this, the battery can be mounted on a drill. Glue this part using superglue.


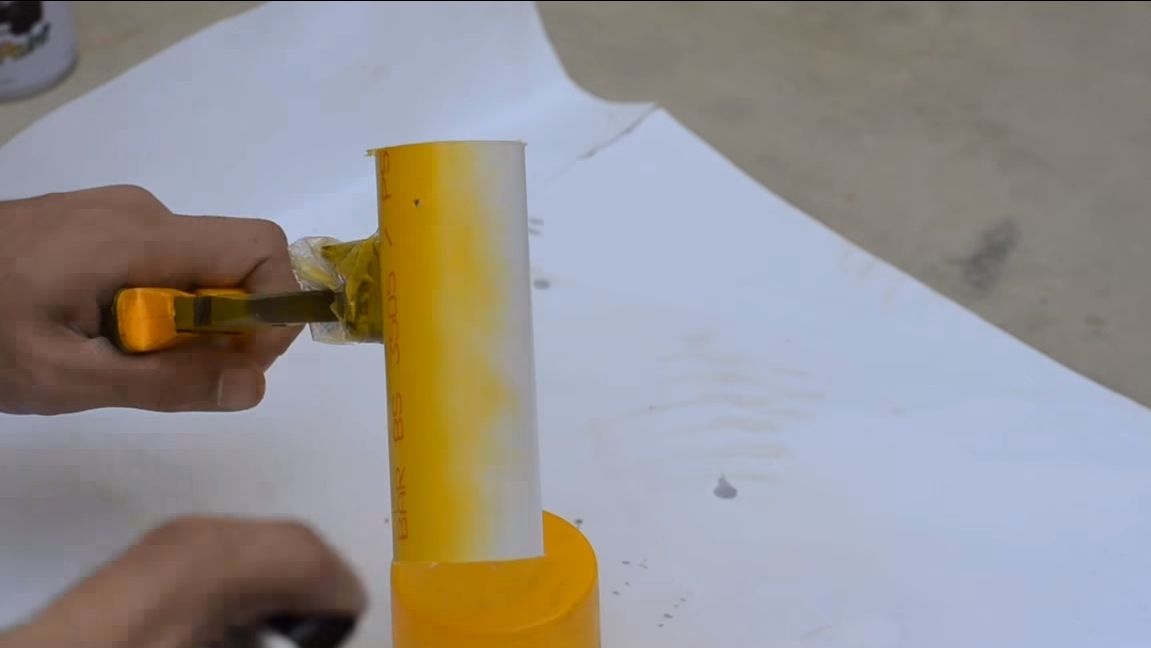
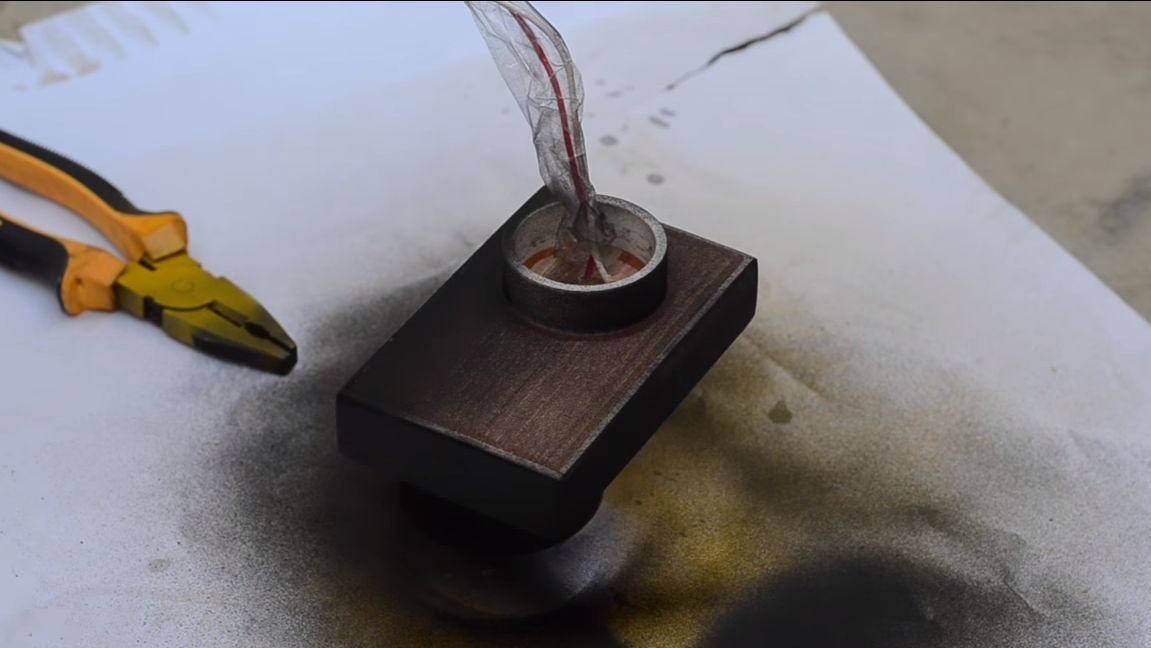
Seventh step. Painting
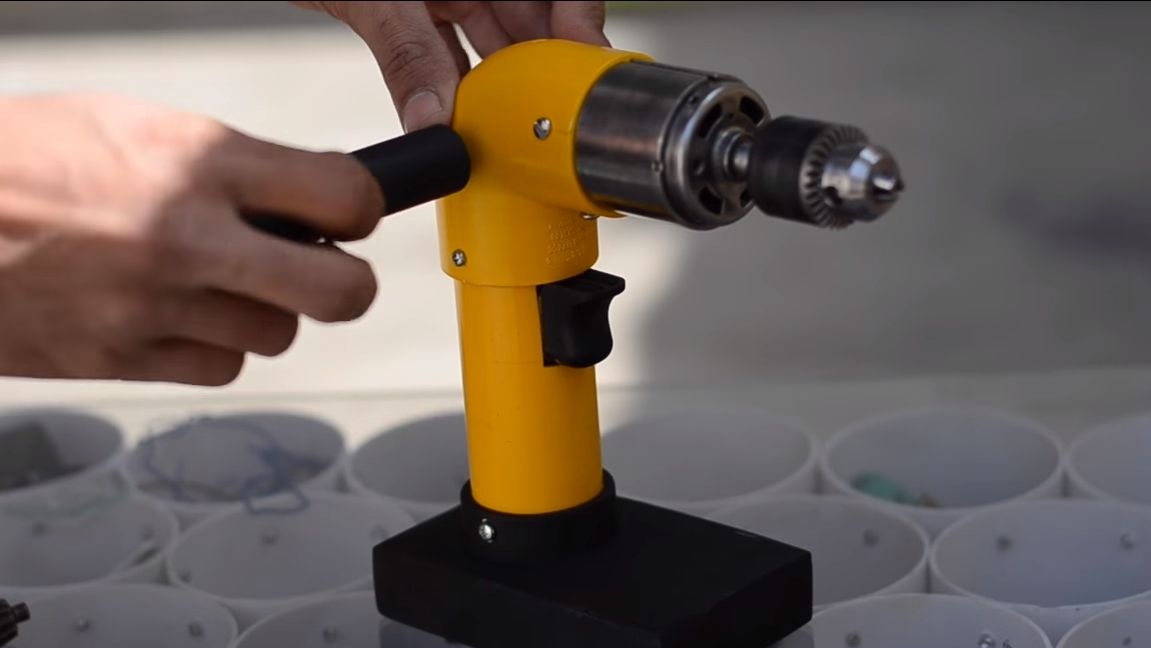
Color the details of your drill so that it looks beautiful. To do this, we wind the wires and other parts with a bag and paint the parts with a spray can. The author decided to use a combination of yellow and black paint. Now your device looks like a purchase model mass production!
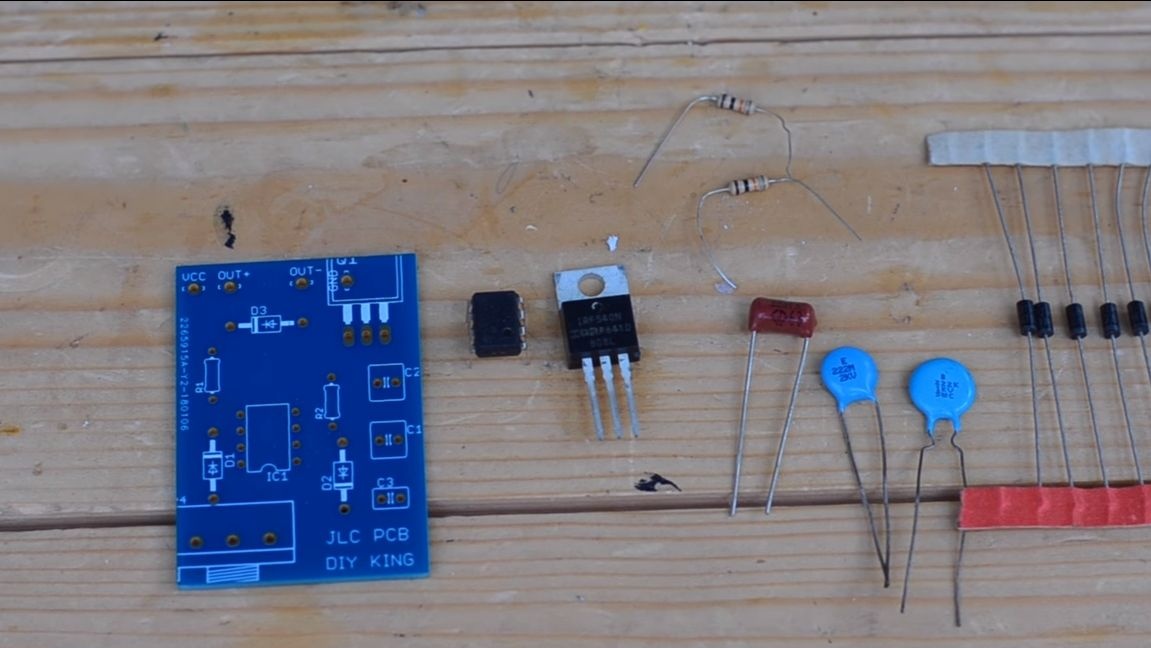
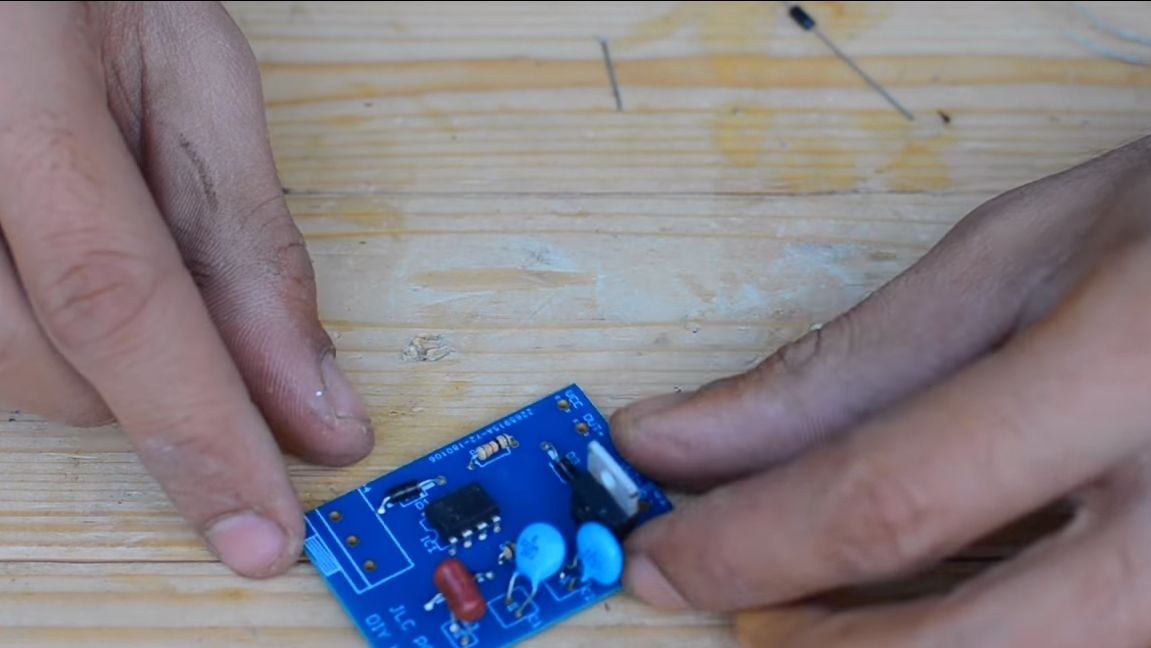
Step Eight. RPM assembly
To control the smoothness of revolutions you will need to assemble a special circuit. It is assembled on a JLCPCB board. It is inexpensive, you can order from China. We search the Internet for a suitable circuit and install electronic elements in their place. If you don’t want to assemble the controller yourself, you can buy a ready-made one.
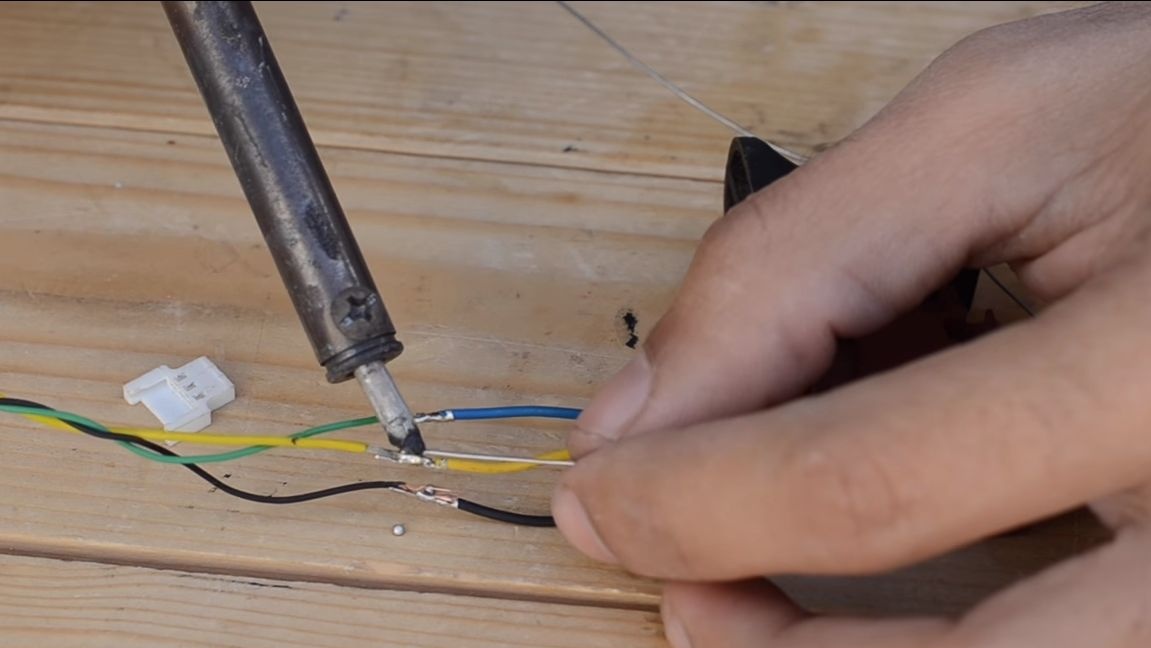
Step Nine. Drill assembly
We take a soldering iron and solder the wires from the trigger to the controller, we also connect the battery to the controller. The controller itself is carefully laid in the case, it is best to fix it with hot glue so that it does not hang out. We fasten the handle using the screws.
As for the battery, we drill holes in the bracket and now it can also be screwed. Do not forget to install the connector for connecting the charger before final assembly.

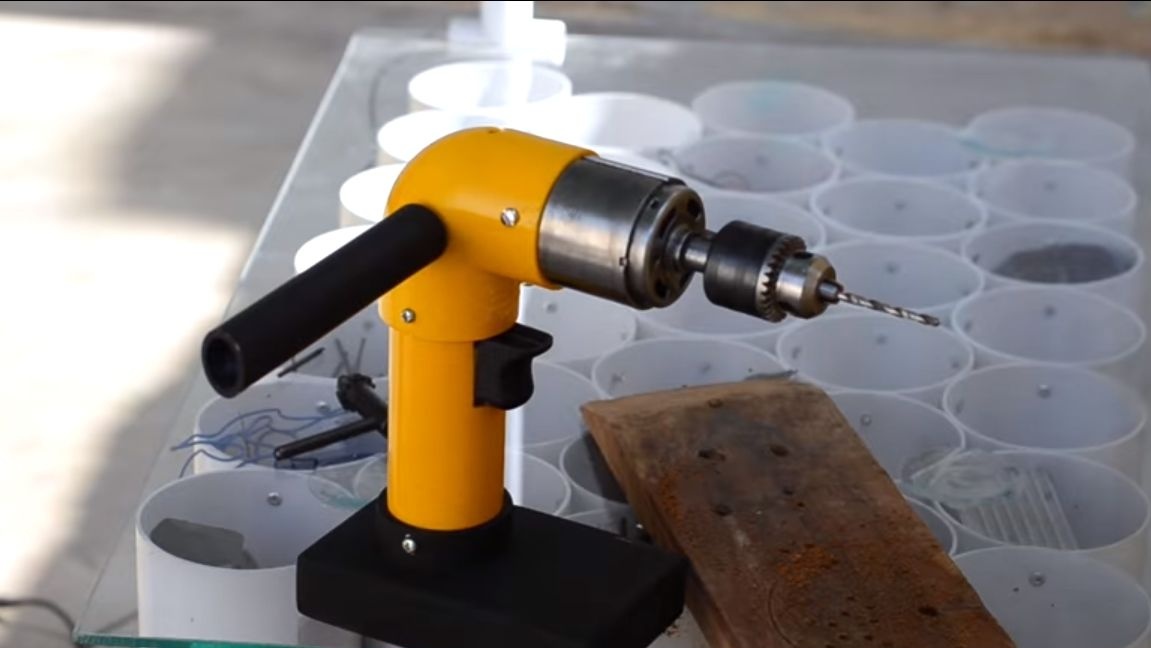
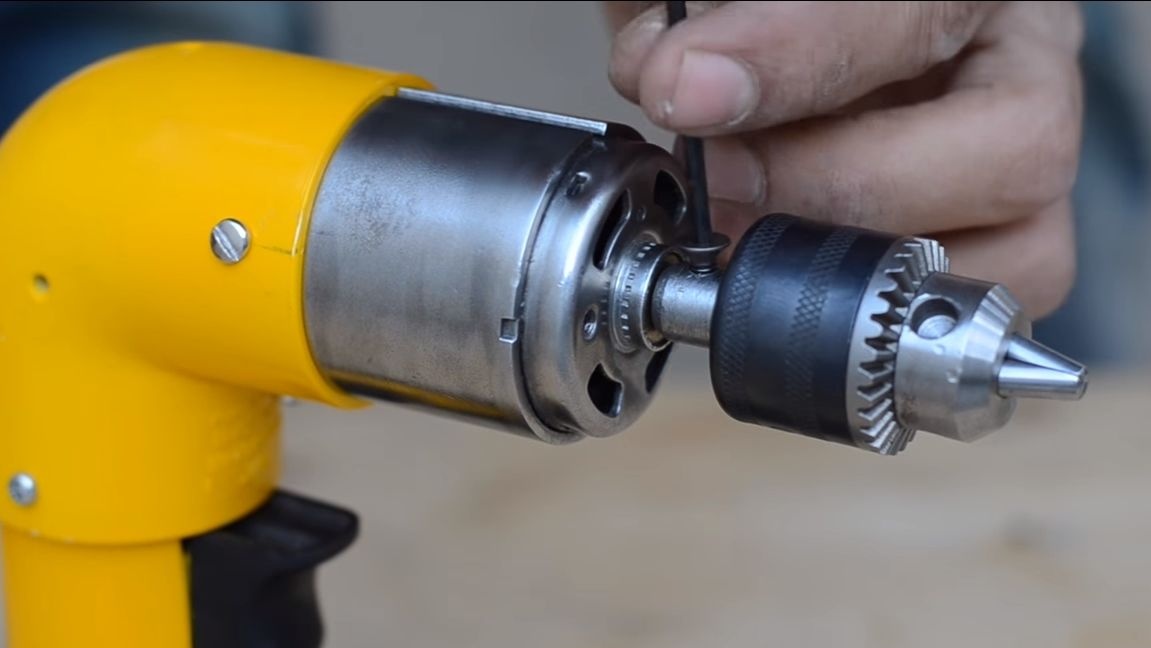
Step Ten Final assembly
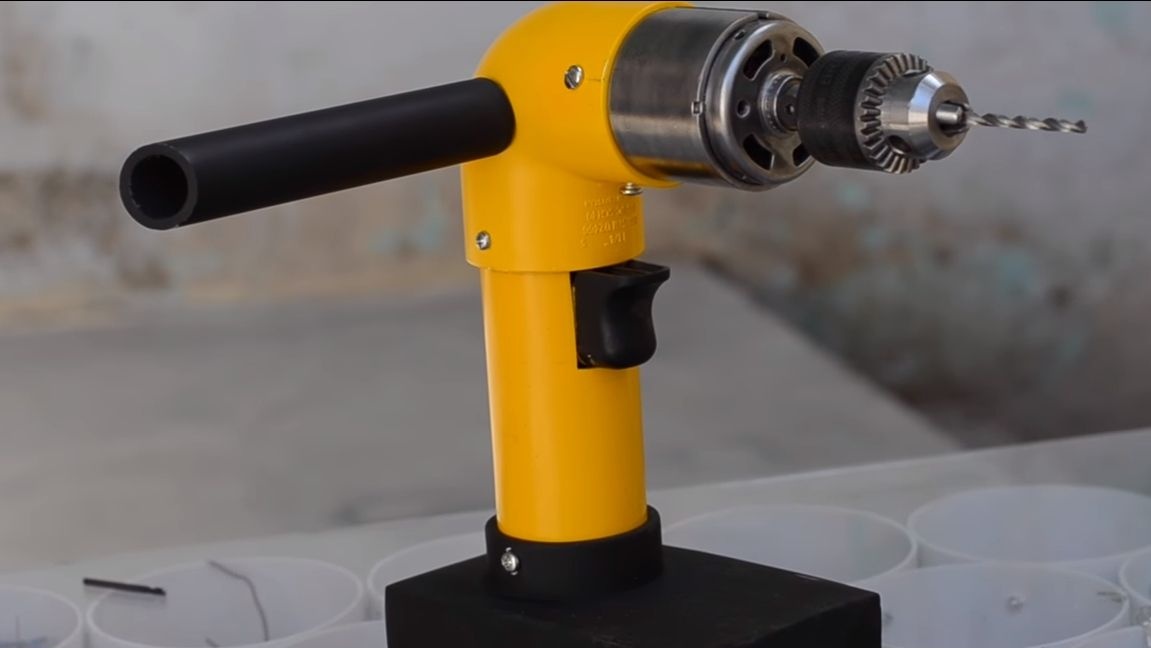
We install a 6 mm drill chuck on the motor shaft. It is conveniently fastened with a screw. At the end, screw the side handle to the drill.Additionally, it can be fixed with glue by applying it to the screw thread. The drill is ready, you can try it!
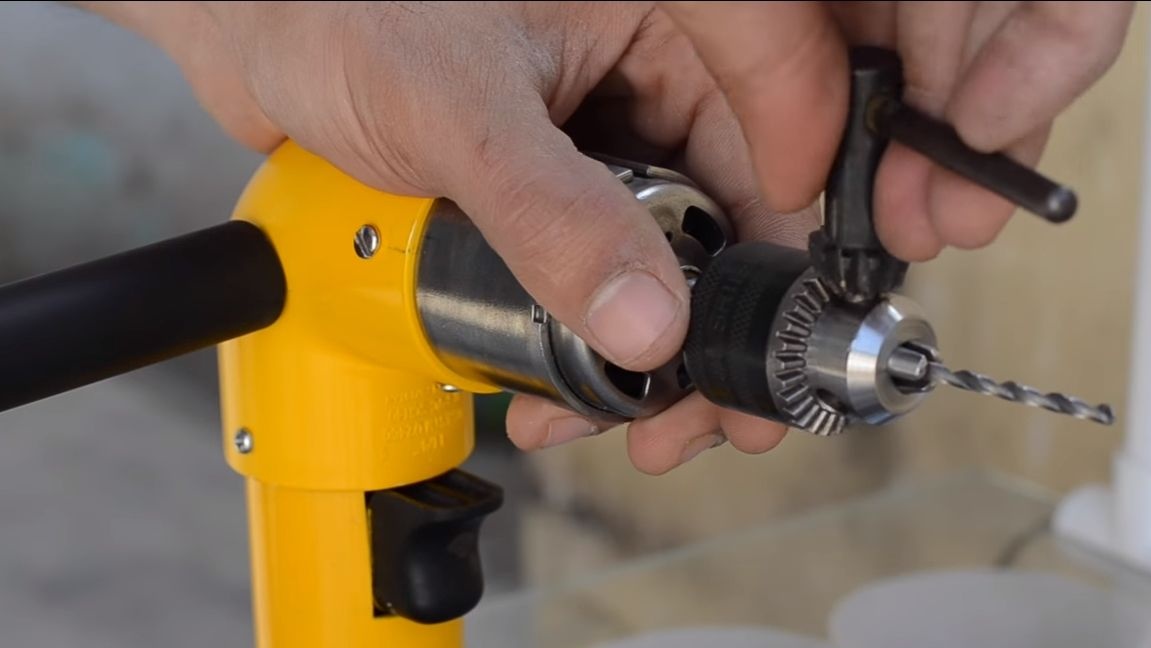
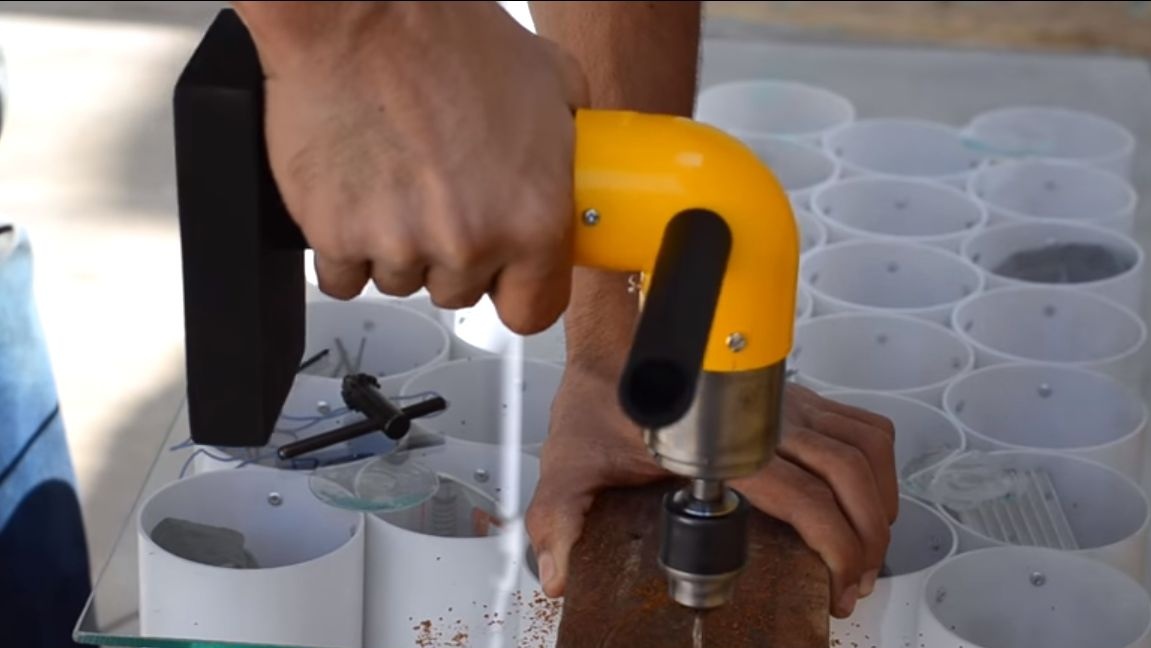
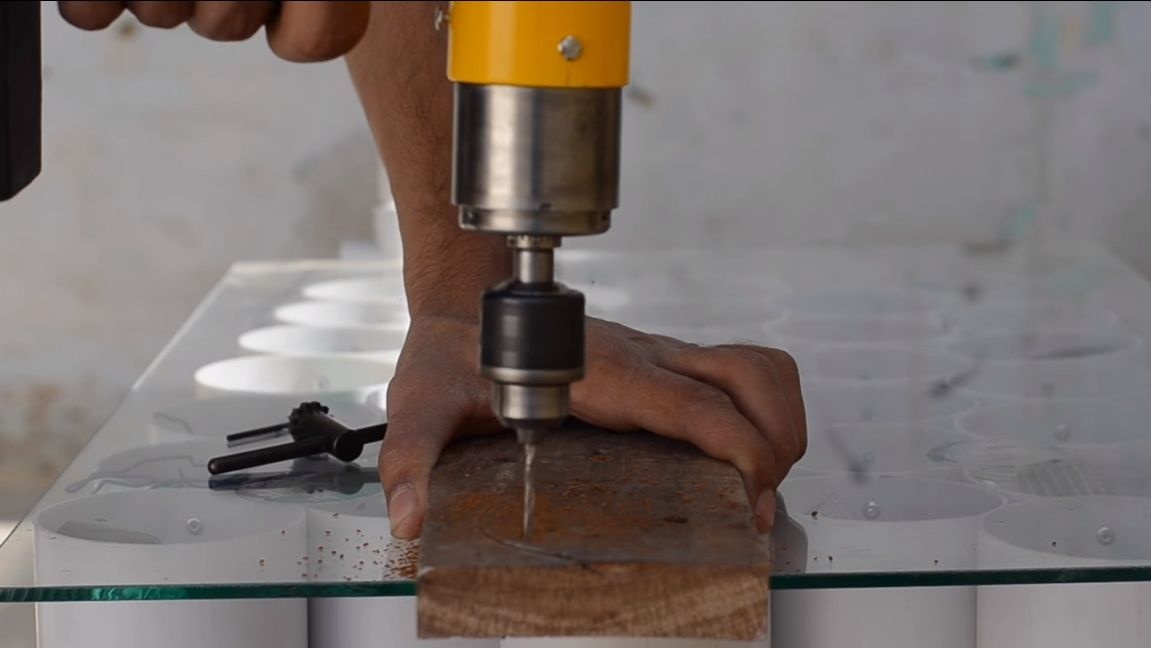
Step eleven. Test
As an experiment, we will install a drill in the drill chuck and try to drill something. The author of the video drilled boards without much effort. This drill itself can quite cope with more complex tasks, such as plywood, metals, plastic and so on.
What conclusion can be made? The drill turned out to be good, comfortable, powerful and looks beautiful. But the device has a significant drawback - the lack of a jack for connecting a charger. But, most likely, the author simply forgot about him. In addition, it is very important to install a controller for lithium batteries. These batteries really do not like deep discharge, as well as overcharging. Their capacity is greatly reduced, and the number of recharge cycles decreases from several thousand to several tens. That's all, the manufacture of a drill can be considered complete. I hope you enjoyed the project, and you learned something useful from this. Good luck and creative inspiration in the manufacture of your own projects, do not forget to share your best practices with us.