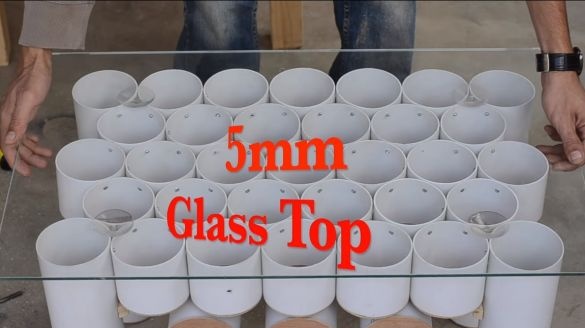
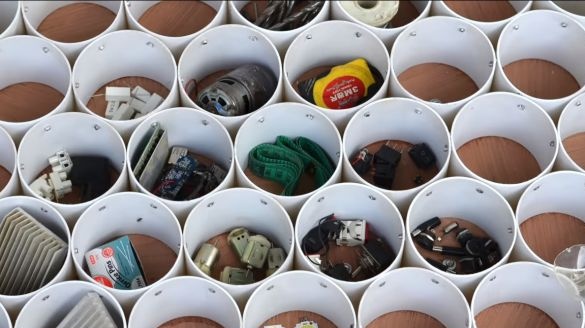
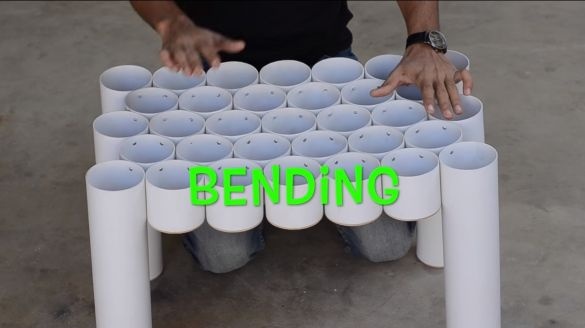
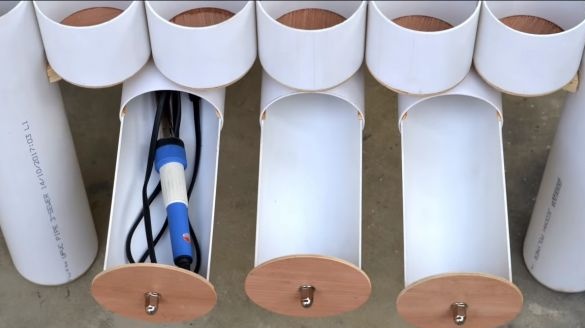
I bring to your attention a simple and interesting table for various small things. If you are engaged in electronics, for example, you can arrange all the components in separate compartments so as not to look when they are needed. Besides electronic It is so convenient to store elements, screws, nuts, washers and other small things. But this is far from all the functionality of the table in question. He also has sliding shelves, in which you can easily store a soldering iron, file, screwdrivers and other oversized tools.
The table is assembled quite simply, it is all made of PVC pipes, and assembled on rivets, you can use a screw connection. This is good because you do not need to invent anything, look for materials. True, you need to spend some money to buy pipes. A countertop is a piece of glass. You will also need to make plywood and slats. Let us consider in more detail what is needed to make a table and how it is done.
Materials and tools used by the author:
Material List:
- PVC pipes;
- plywood;
- glass;
- Super glue.
Tool List:
- jigsaw;
- mitral saw;
-
- a hacksaw;
- rivet gun;
- screwdriver;
- ruler.
The process of making a table:
Step one. Cutting workpieces
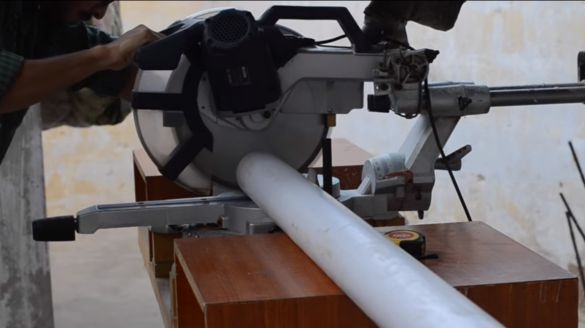
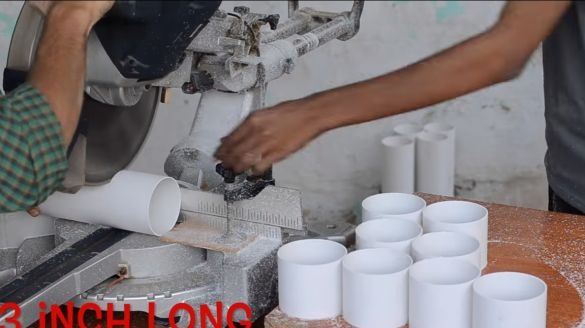
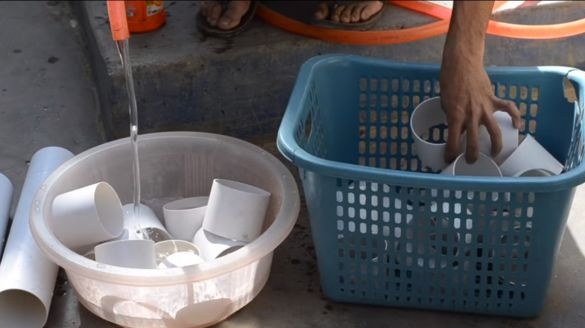
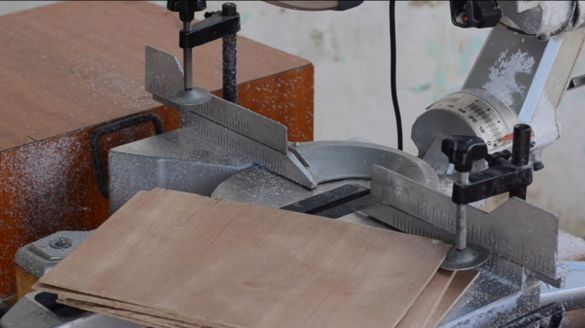
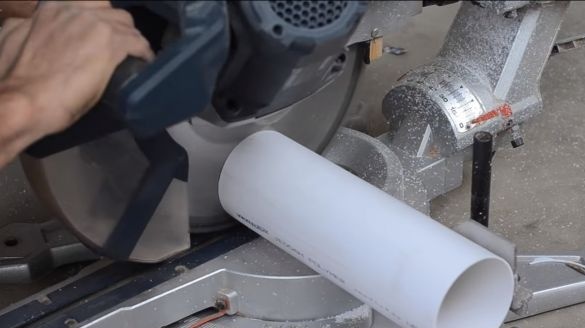
We cut the required number of blanks from pipes. It will be convenient to use a mitral saw for this. You will need many short pieces to make a countertop. There will also be four long legs for legs. Do not forget about the blanks from which the drawers are made.
After that, I thoroughly wash all the pieces from the chips, the author even decided to use a detergent.
Step Two Production and installation of caps
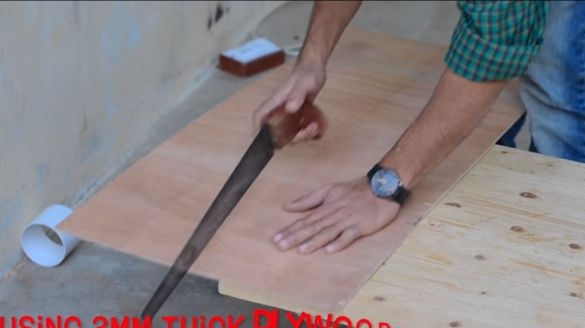
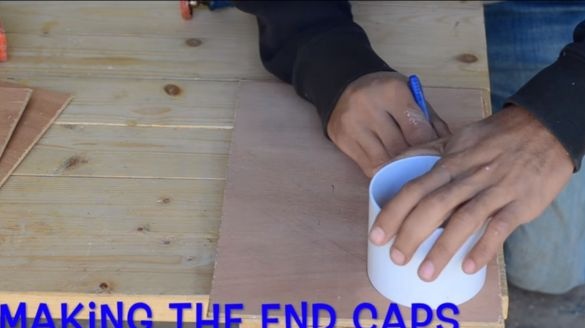
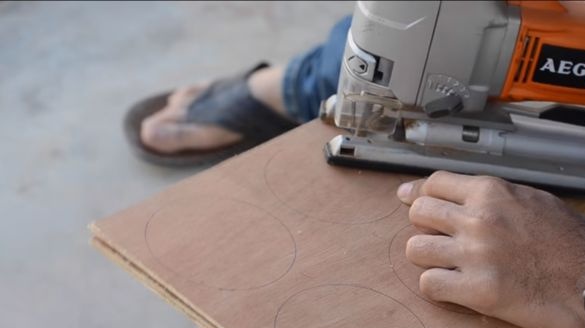
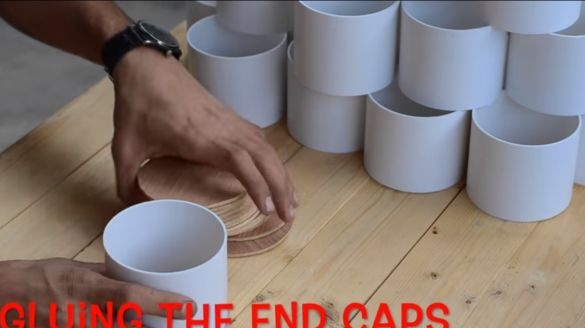
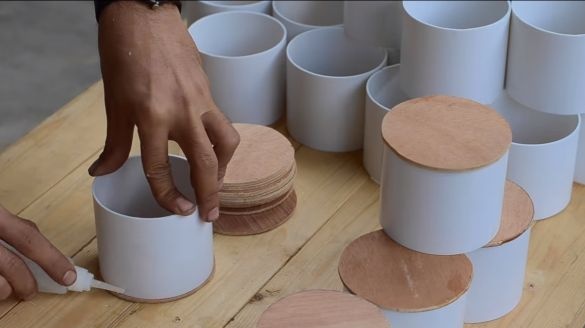
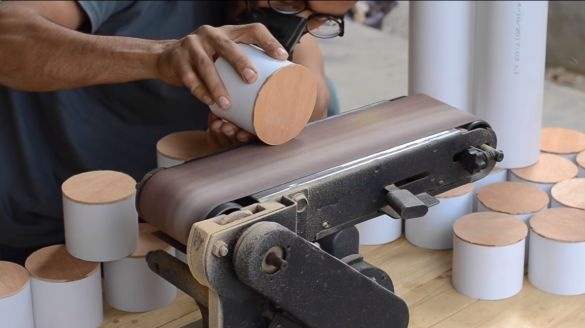
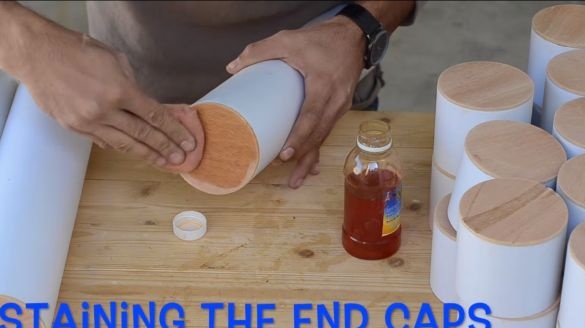
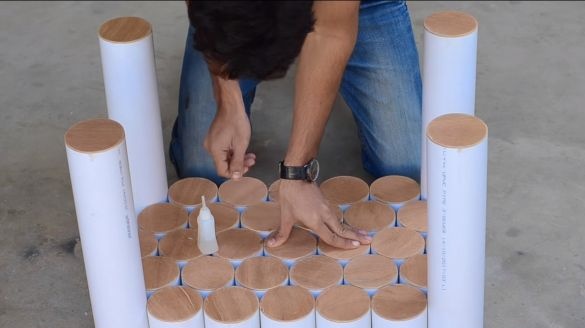
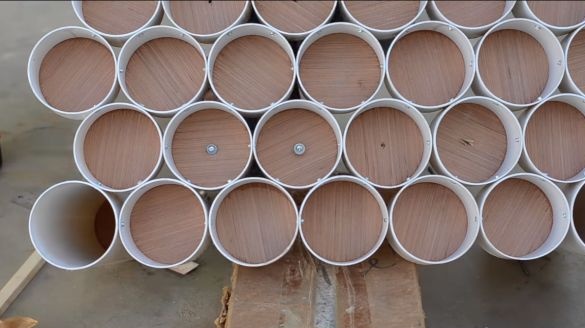
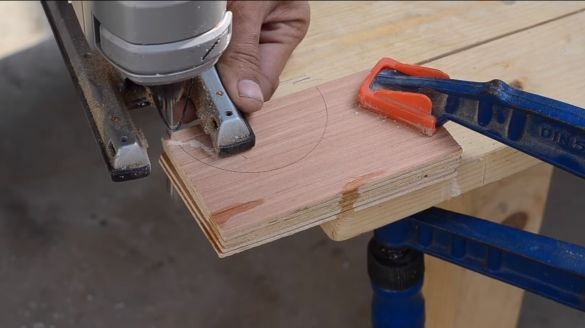
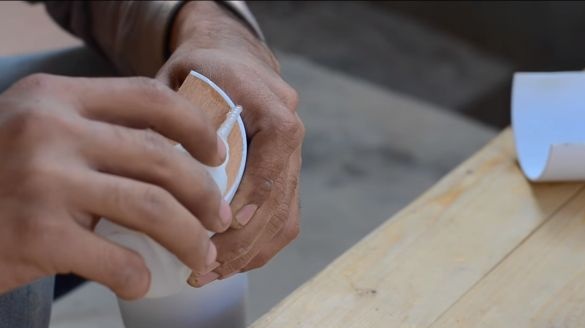
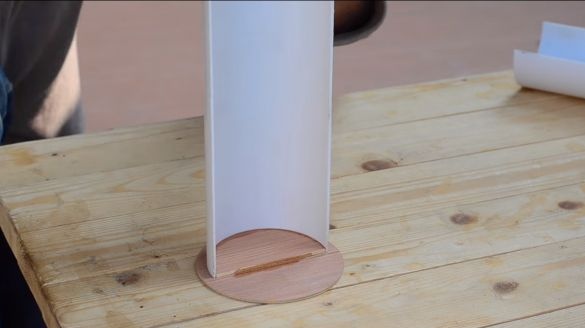
Under the upper compartments you need to make stubs. To do this, we will need plywood, cut out the right number of circles from it. If you have a large sheet of plywood, you can simply stick all these details to it. The author uses superglue as glue. Plywood can be varnished or oil, so the material will look better.
Step Three Table assembly
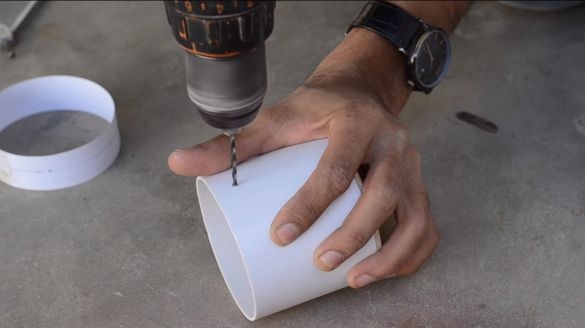
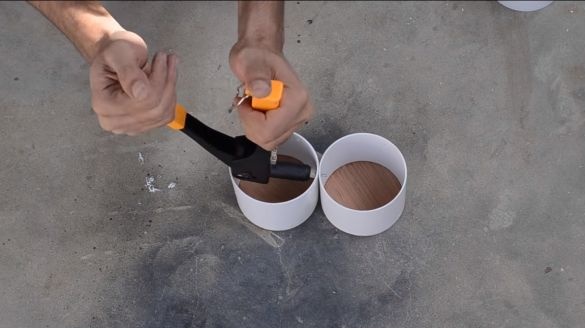
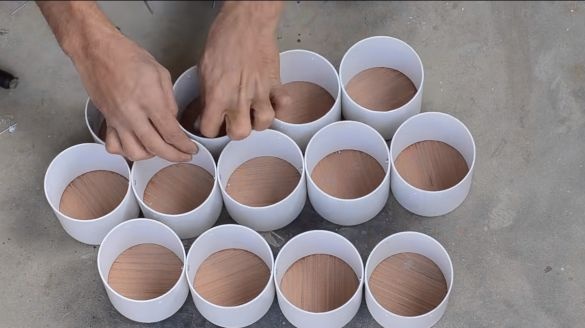
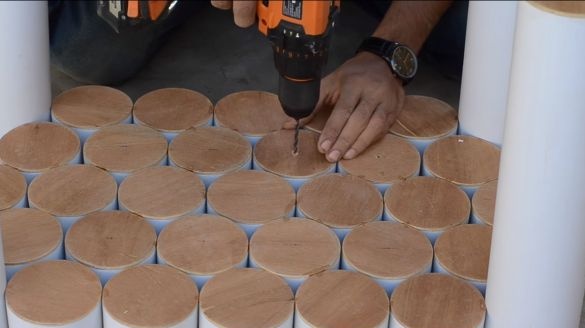
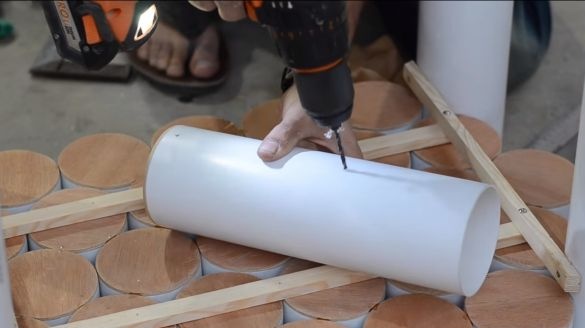
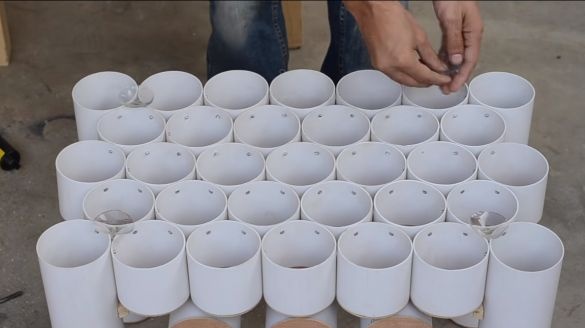
We proceed to the assembly of the table. We start with the countertop, it is assembled on rivets, this process greatly facilitates the presence of a rivet gun. We drill holes and slowly collect the countertop. Then, in the same way, we attach the legs to the countertop.
Step Four Table hardening
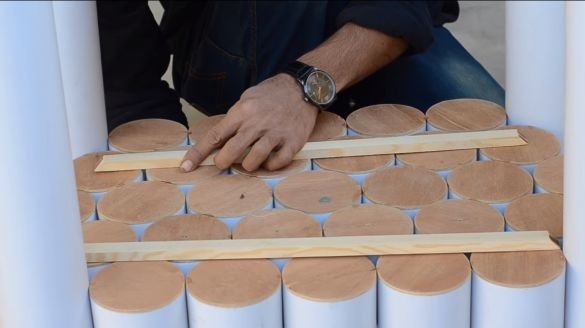
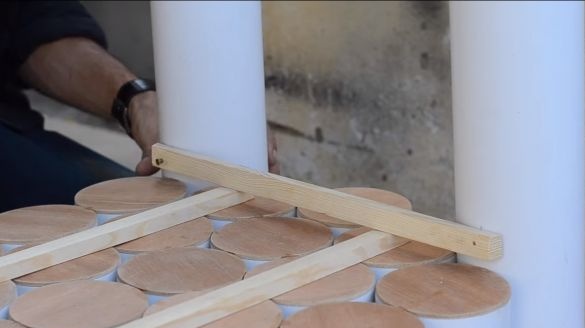
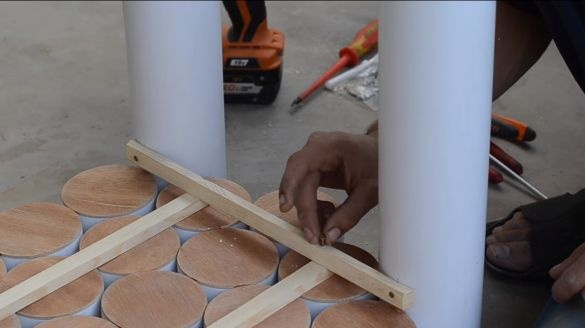
After assembling the table, it turned out that he was not strong enough and his legs were moving apart. To solve this problem, the author tried to use superglue, but nothing worked. Then it was decided to strengthen the table with the frame. For its manufacture, wooden blocks were needed. We fasten this whole thing with the help of screws with nuts. As a result, we get quite a solid little table for small things.
Step Five Installation of drawers
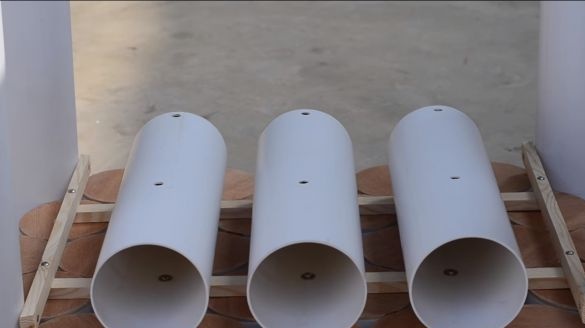
For sliding shelves you will need pipes of larger and smaller sizes, since one is inserted into the other. First of all, we will manufacture the external parts into which the shelves are installed. Cut to the desired size, drill holes and fasten to the table frame.
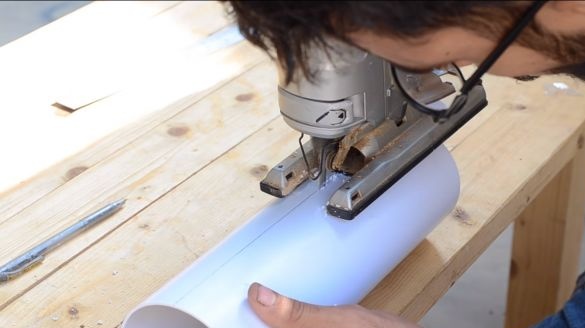
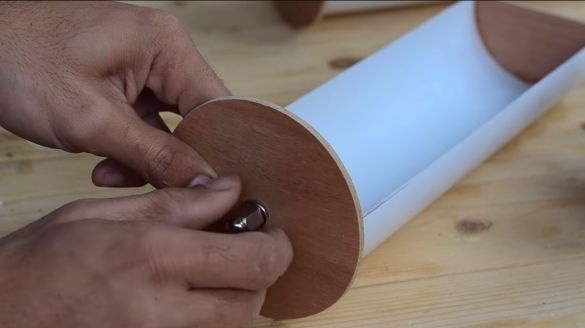
Next, make and shelves, cut pipes along and drown their edges with plywood. Glue round logs and handles to the front part, which were served as long nuts. We put the shelves in place.
Step Six Final stage
In the end, you just have to install glass as a countertop. To do this, install rubber spacers between the glass and the table. That's all, now the table is completely ready! Everything turned out pretty well. The only minus of the table is that it is difficult to get to the contents of the compartments. To do this, remove the glass. However, this is not so difficult.
That's all, I hope you liked the project. Good luck and creative inspiration in making homemade! Do not forget to share your best practices with us!

